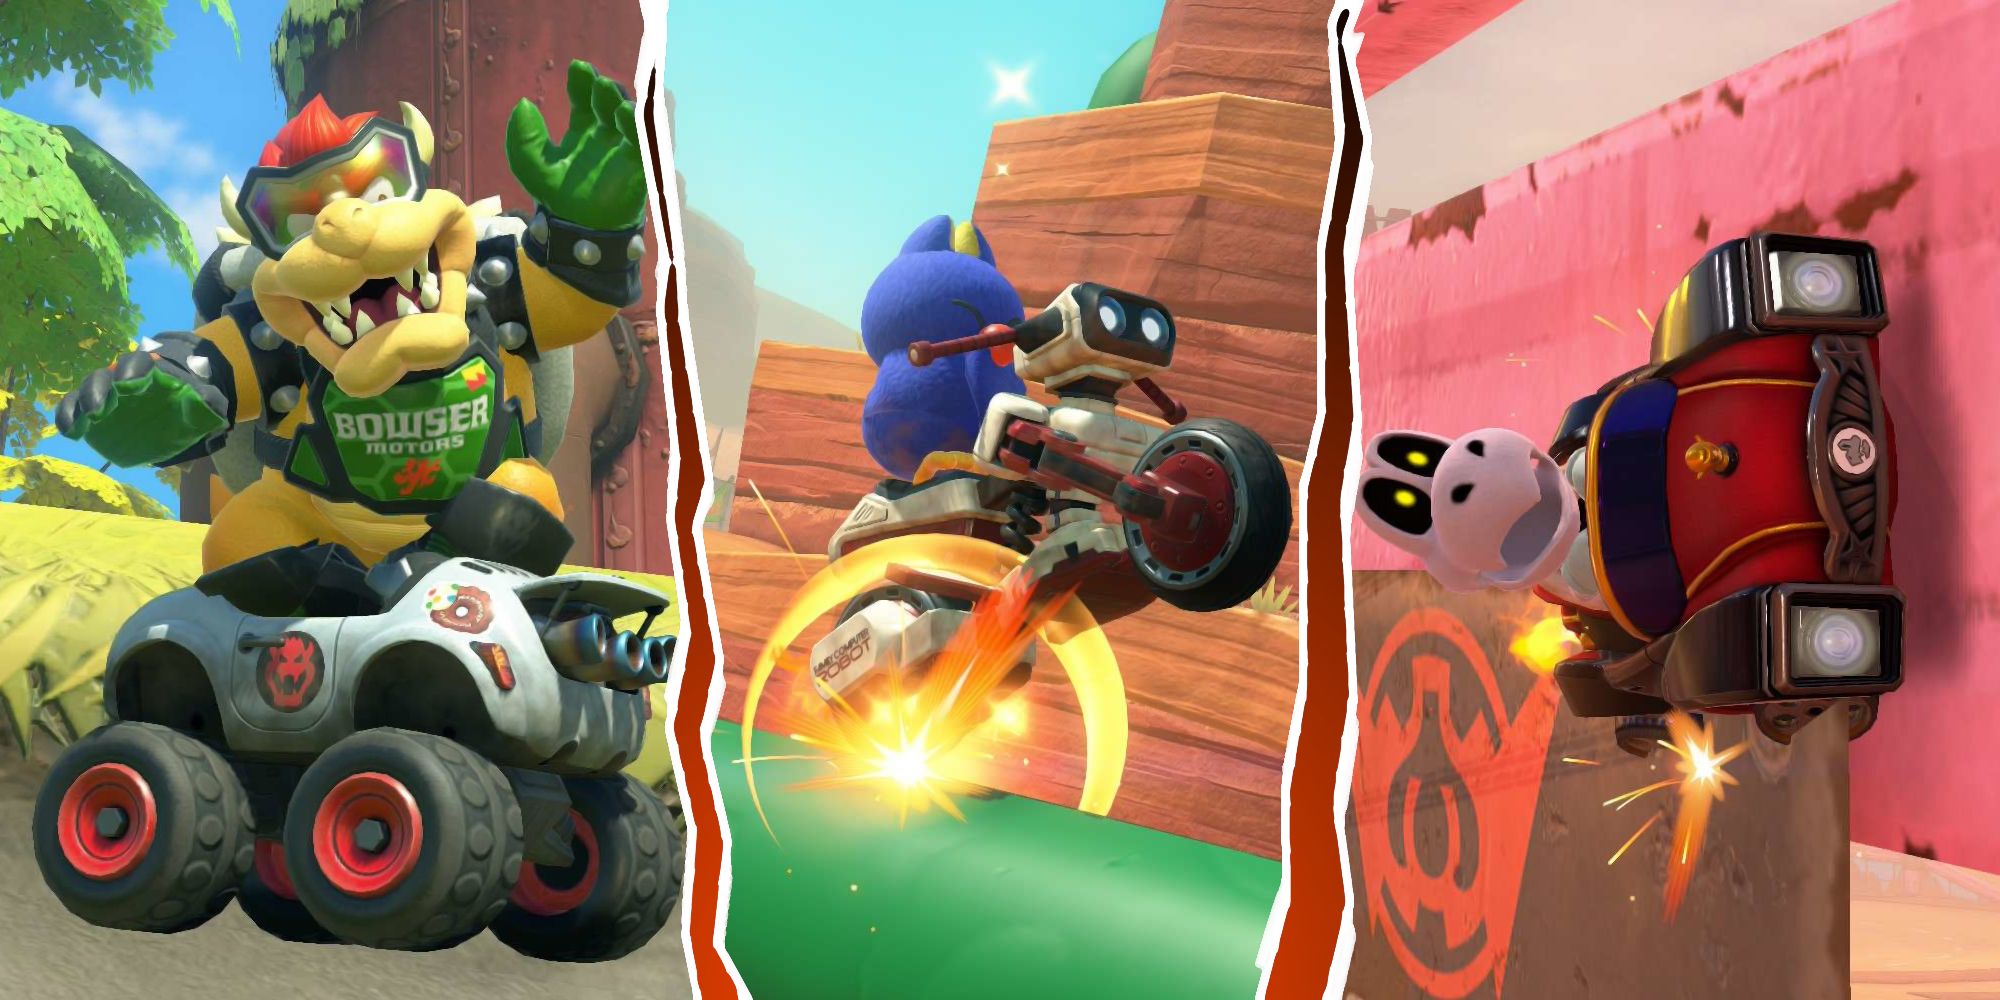
Unlike most previous Mario Kart games, Mario Kart World doesn’t have a single optimal kart combination that works well across many tracks. Instead, it encourages players to choose their combination based on the specific circumstances of each race.
This reduces excessive repetition in character-kart pairings such as Funky Kong with Flame Runners or Yoshi with Teddy Buggies from previous times, yet numerous other combinations will continue to appear frequently.
This occurs because certain characters and carts have distinctive, concealed statistics that provide an advantage in specific terrains, making them stand out from the rest.
Most characters typically belong to certain weight categories and perform similarly to others within those groups. However, I will highlight exceptions or optimal choices for combinations when necessary.
8.
Dirt Cheap
Cow + Dread Sled
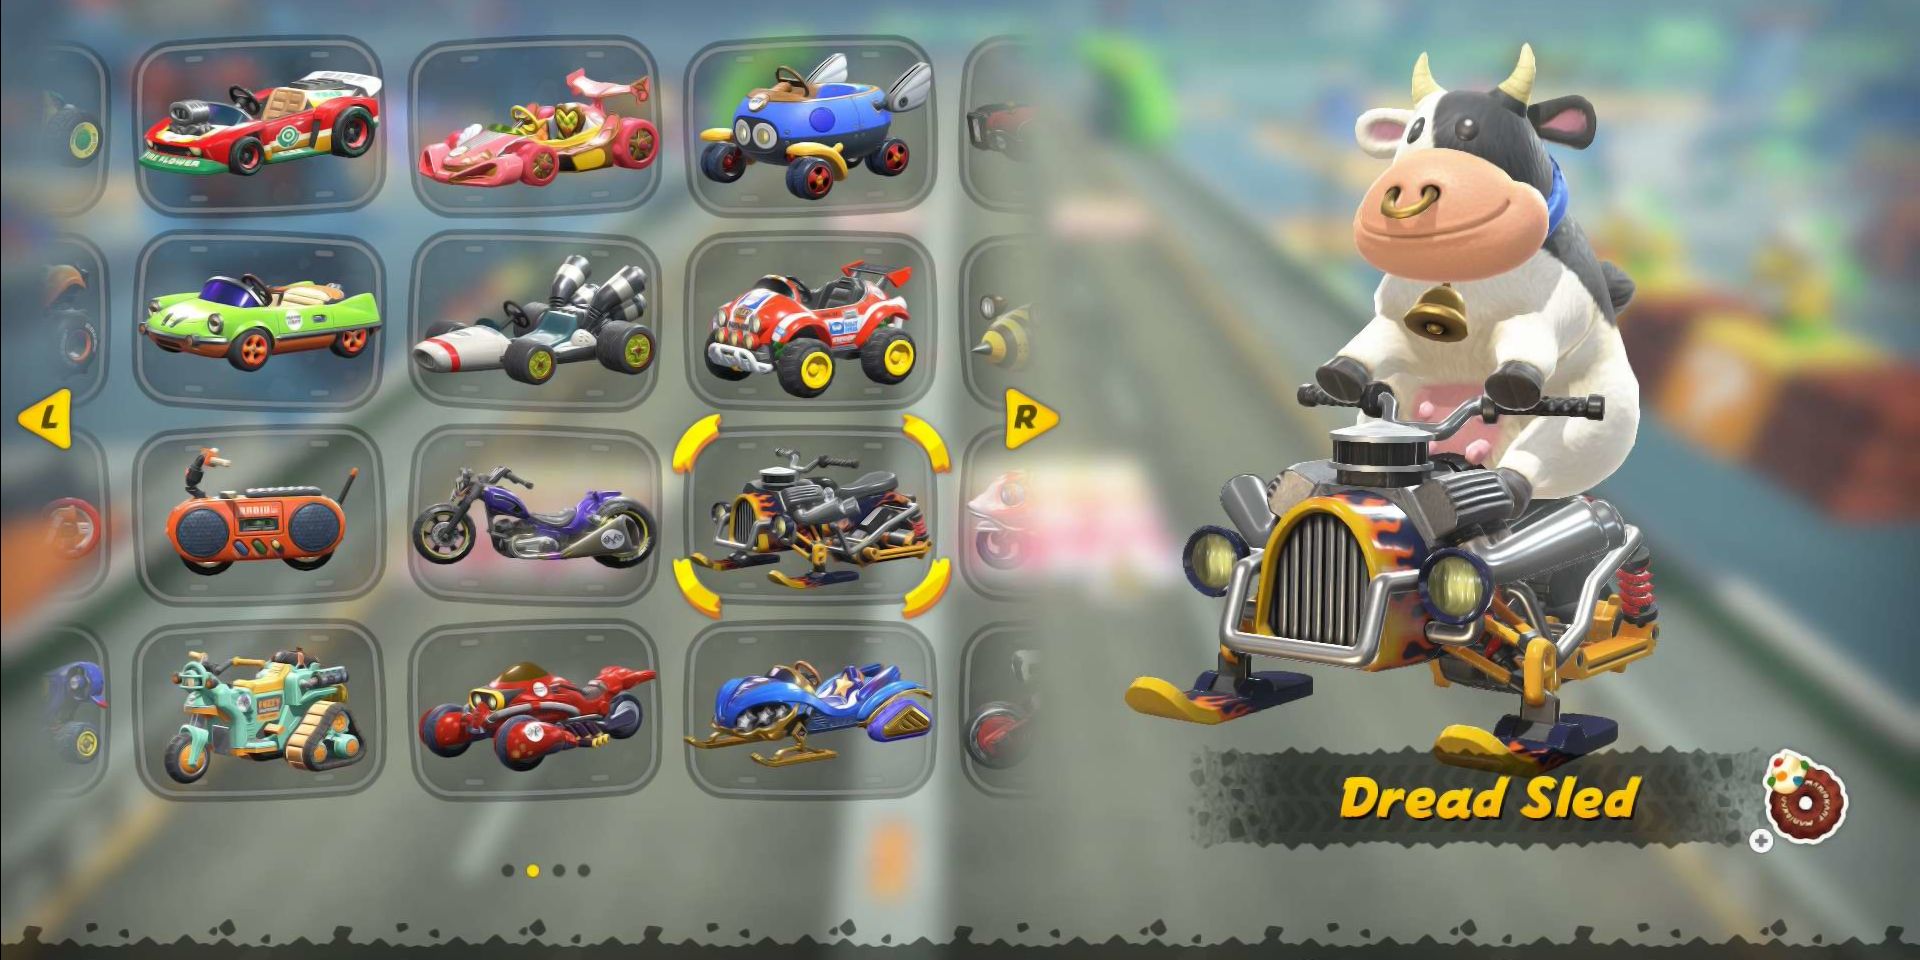
| Stats | Acceleration | Handling | Speed | Weight |
|---|---|---|---|---|
| Cow | 4 | 4 | 8 | 8 |
| Dread Sled | 3 | 4 | 5 | 4 |
If you’ve witnessed any time trial records at Moo Moo Meadows, it’s likely that you’ve observed the same specific kart and character combination being used by the dominating racer on the track.
This advantage is due to Cows having an unseen bonus in speed on dirt roads, a factor that typically only comes into play in Moo Moo Meadows or any intermediate stages that traverse the farm located right in the center of the map.
On dirt terrain, the Powerful Sled gains an additional speed advantage, allowing it to travel significantly quicker than expected on this particular course. While this combination isn’t universally beneficial, it offers a delightful speed boost in open-world exploration.
If you find yourself tackling numerous open-world missions that require off-roading or navigating rough terrain, this combination could be very helpful for you. So, if you’re having trouble with such missions, you might consider trying it out.
7.
Roadbound
Wario/Wiggler + B Dasher/Hot Rod
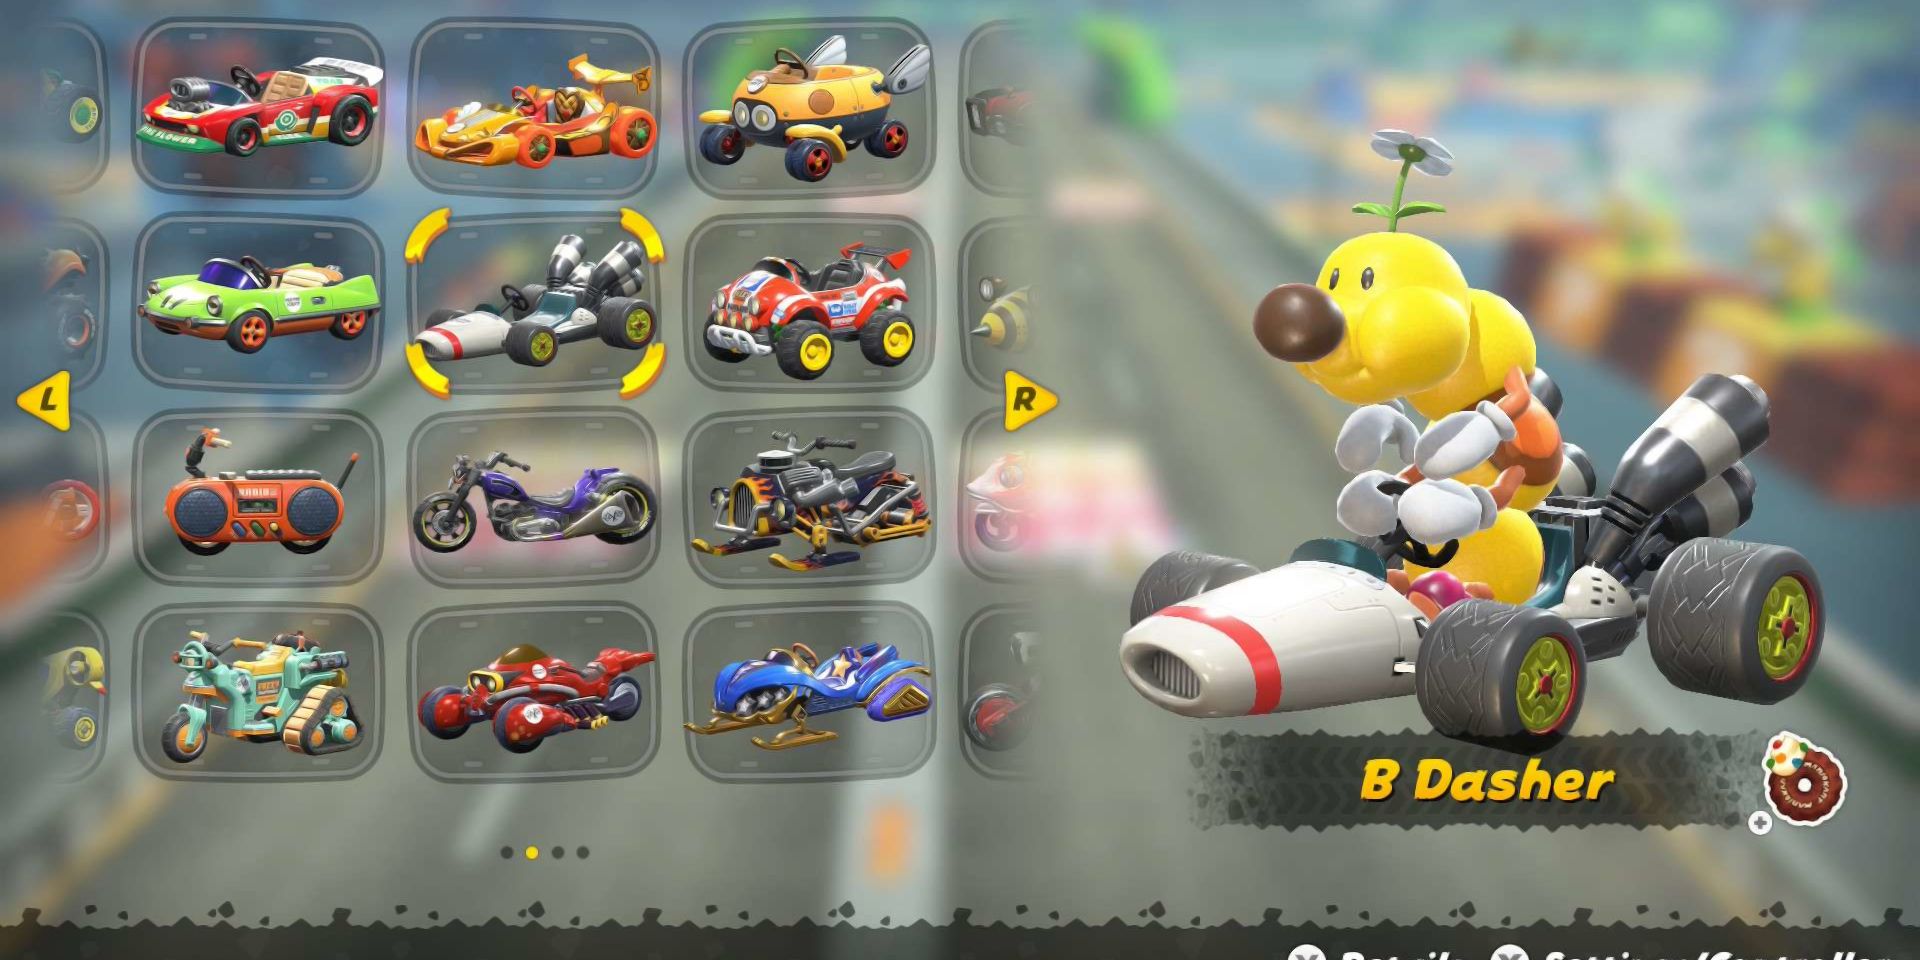
| Stats | Acceleration | Handling | Speed | Weight |
|---|---|---|---|---|
| Wario/Wiggler | 4 | 4 | 8 | 8 |
| B Dasher/Hot Rod | 4 | 3 | 5 | 4 |
In an unusual turn of events, Mario Kart World considers Metal and Asphalt to be the same type of material. Consequently, racers frequently find themselves achieving records in DK Spaceport and Crown City using either the B Dasher or Hot Rod, as these two vehicles share identical performance statistics due to this shared material.
These statistics confer an additional advantage specifically for terrain labeled as “Asphalt,” a term encompassing any durable substance primarily used in constructing roads, which predominantly describes Crown City and DK Spaceport.
Wario and Wiggler, notably, are robust characters who also receive an advantage while navigating on roads. Given that these two courses feature long stretches of straight driving punctuated by several sharp curves, they make excellent choices for these characters.
This duo performs exceptionally well on many one-break tracks, yet struggles slightly during Knockout Tour and Grand Prix events. The reason being, it tends to lose its edge when faced with diverse terrains or courses featuring an excessive number of turns. Consequently, it becomes quite challenging on the track Shy Guy Bazaar.
6.
The Grindset
Ultra-Lightweight + Mach Rocket
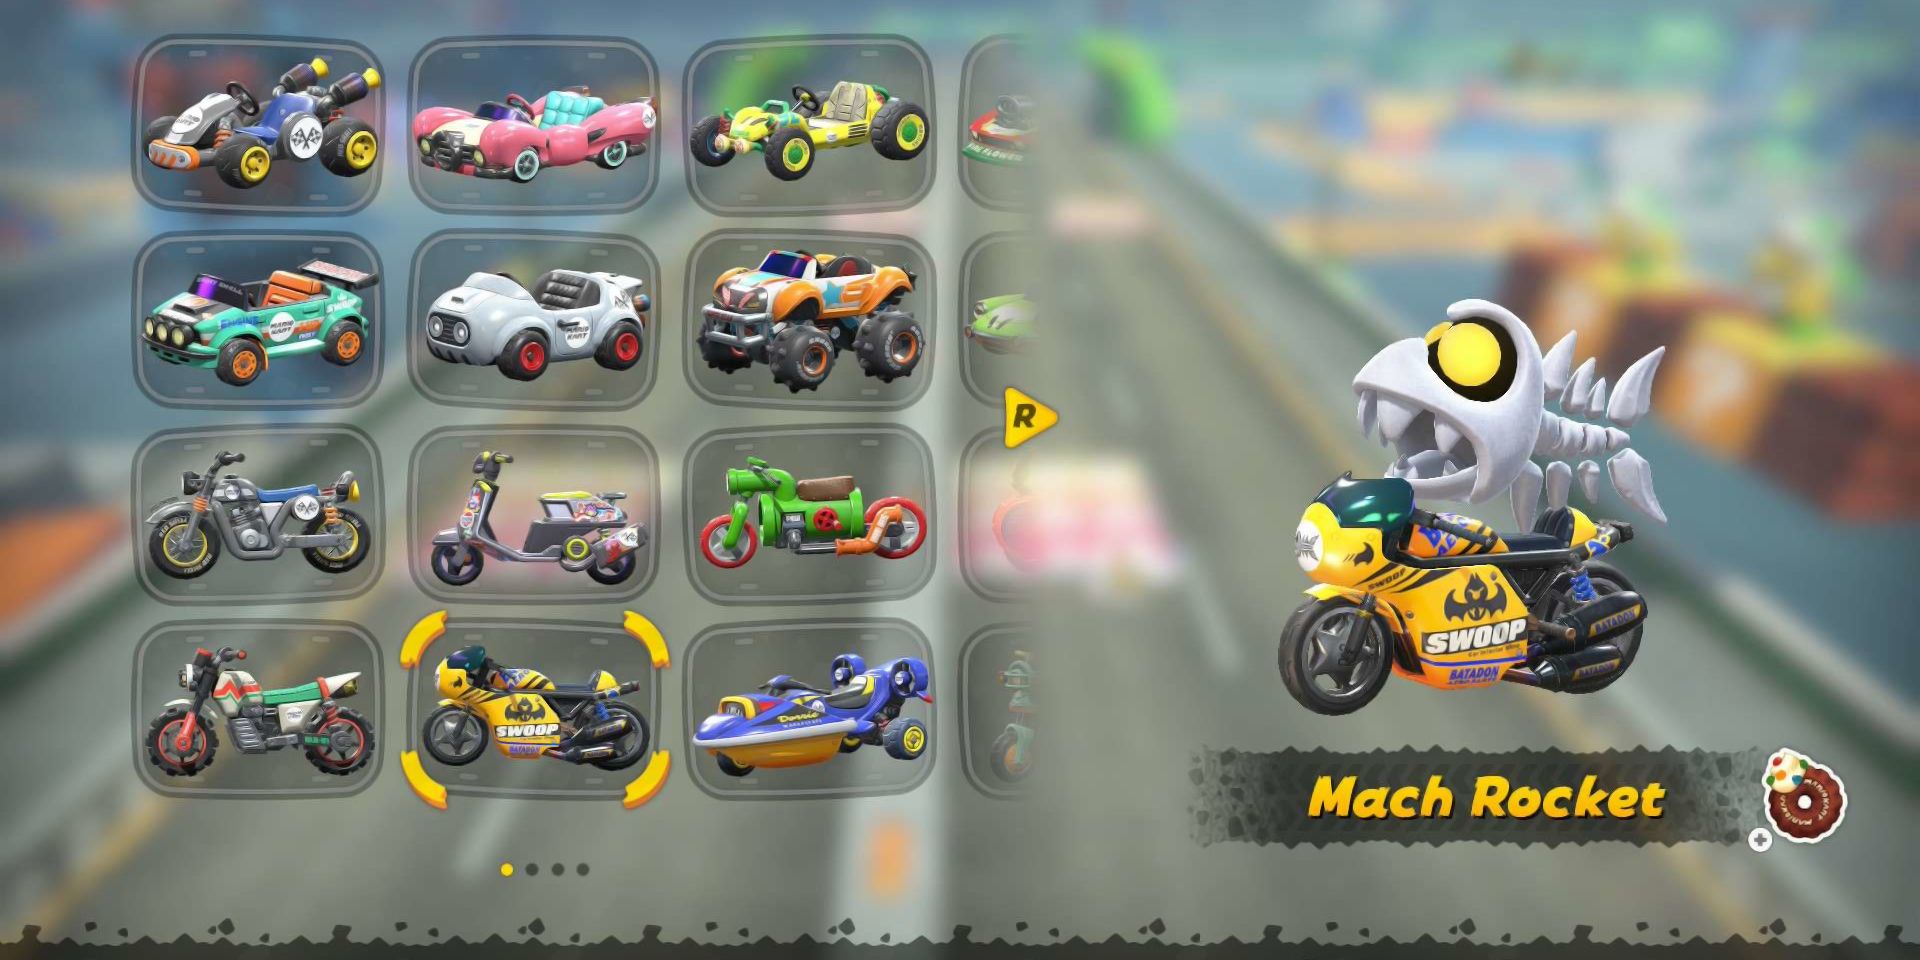
| Stats | Acceleration | Handling | Speed | Weight |
|---|---|---|---|---|
| Ultra-Lightweights | 9 | 9 | 3 | 3 |
| Mach Rocket | 7 | 6 | 2 | 1 |
Did you know? The coding structure of rails in Mario Kart World does not take into account your speed stat. Another interesting tidbit, maintaining high-speed combos while airborne is not favorable, but it has minimal impact on lighter characters.
Opting for agile characters such as Swoop or Parabiddybud in challenging locations like the Great Block Ruins and Whistlestop Summit, which frequently involve rail grinding or suspended action, creates an exhilarating playstyle combination.
The disadvantages, particularly when it comes to the Mach Rocket, of these agile characters is frequently the sacrifice in speed, as they prioritize maneuverability. However, these tracks are designed primarily for rail grinding and navigating extremely tight corners.
At Whistlestop Summit, this duo truly excels, with much of the course featuring rail tracks. The primary method to secure a substantial advantage lies in outsmarting and exploiting shortcuts, a skill that lighter-weight entities tend to master.
5.
Soaring Skies
Swoop + R.O.B. H.O.G.
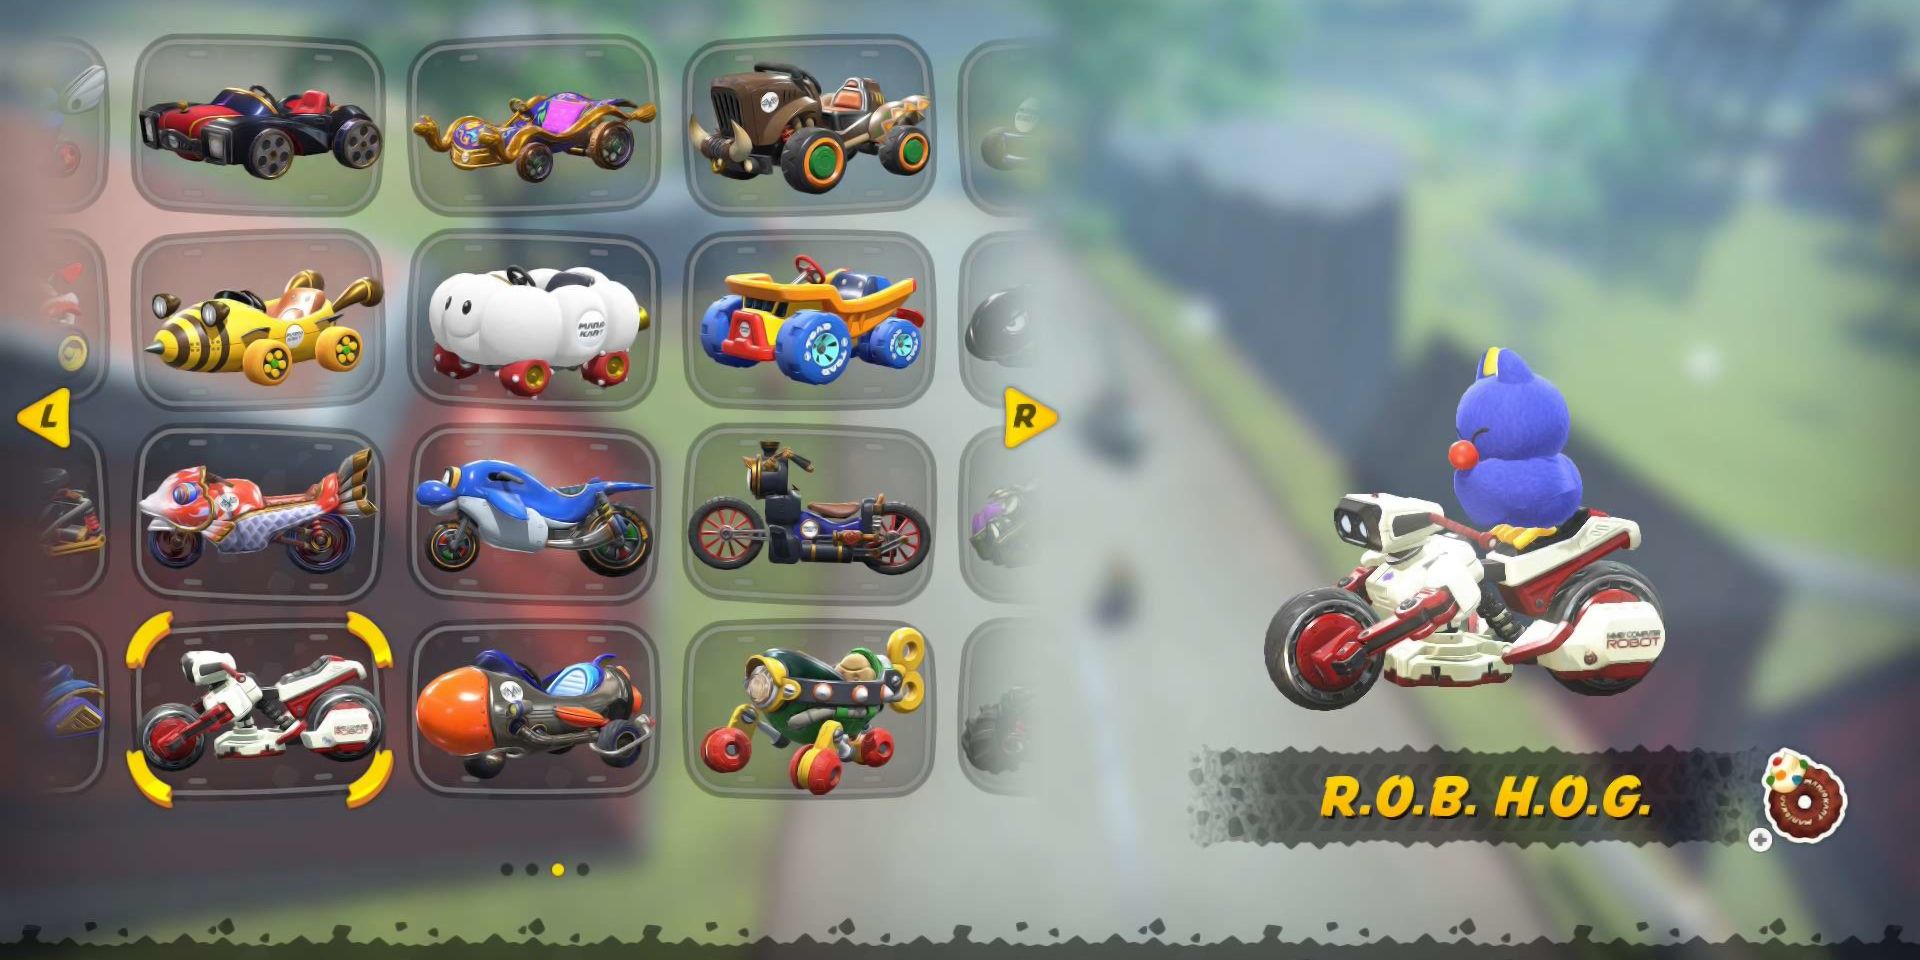
| Stats | Acceleration | Handling | Speed | Weight |
|---|---|---|---|---|
| Swoop | 10 | 9 | 3 | 2 |
| R.O.B. H.O.G. | 7 | 6 | 2 | 1 |
It’s peculiar that only one character is present at each end of the scale, and among all characters in the game, Swoop is the lightest one. He compensates for his small weight with an exceptionally high acceleration stat.
This indicates they perform exceptionally well when used alongside R.O.B. H.O.G., as well as tracks similar to Mario Bros. Circuit or DK Pass, and any other courses with numerous jumps, a few rails, and tricky shortcuts that are difficult to reach without executing significant maneuvers.
Utilizing the R.O.B. H.O.G.’s superior speed and maneuverability boost on highways allows you to easily conquer tracks that require frequent changes in direction rather than prolonged straight-line driving.
As a diehard racing enthusiast, I can say that this setup truly shines on short 3-lap tracks and some time trials. However, it’s important to note that it’s a highly specialized tool. Engaging in online races or intermissions with this configuration could leave you lagging significantly behind. In fact, it makes the Knockout Tour borderline unplayable due to this disadvantage.
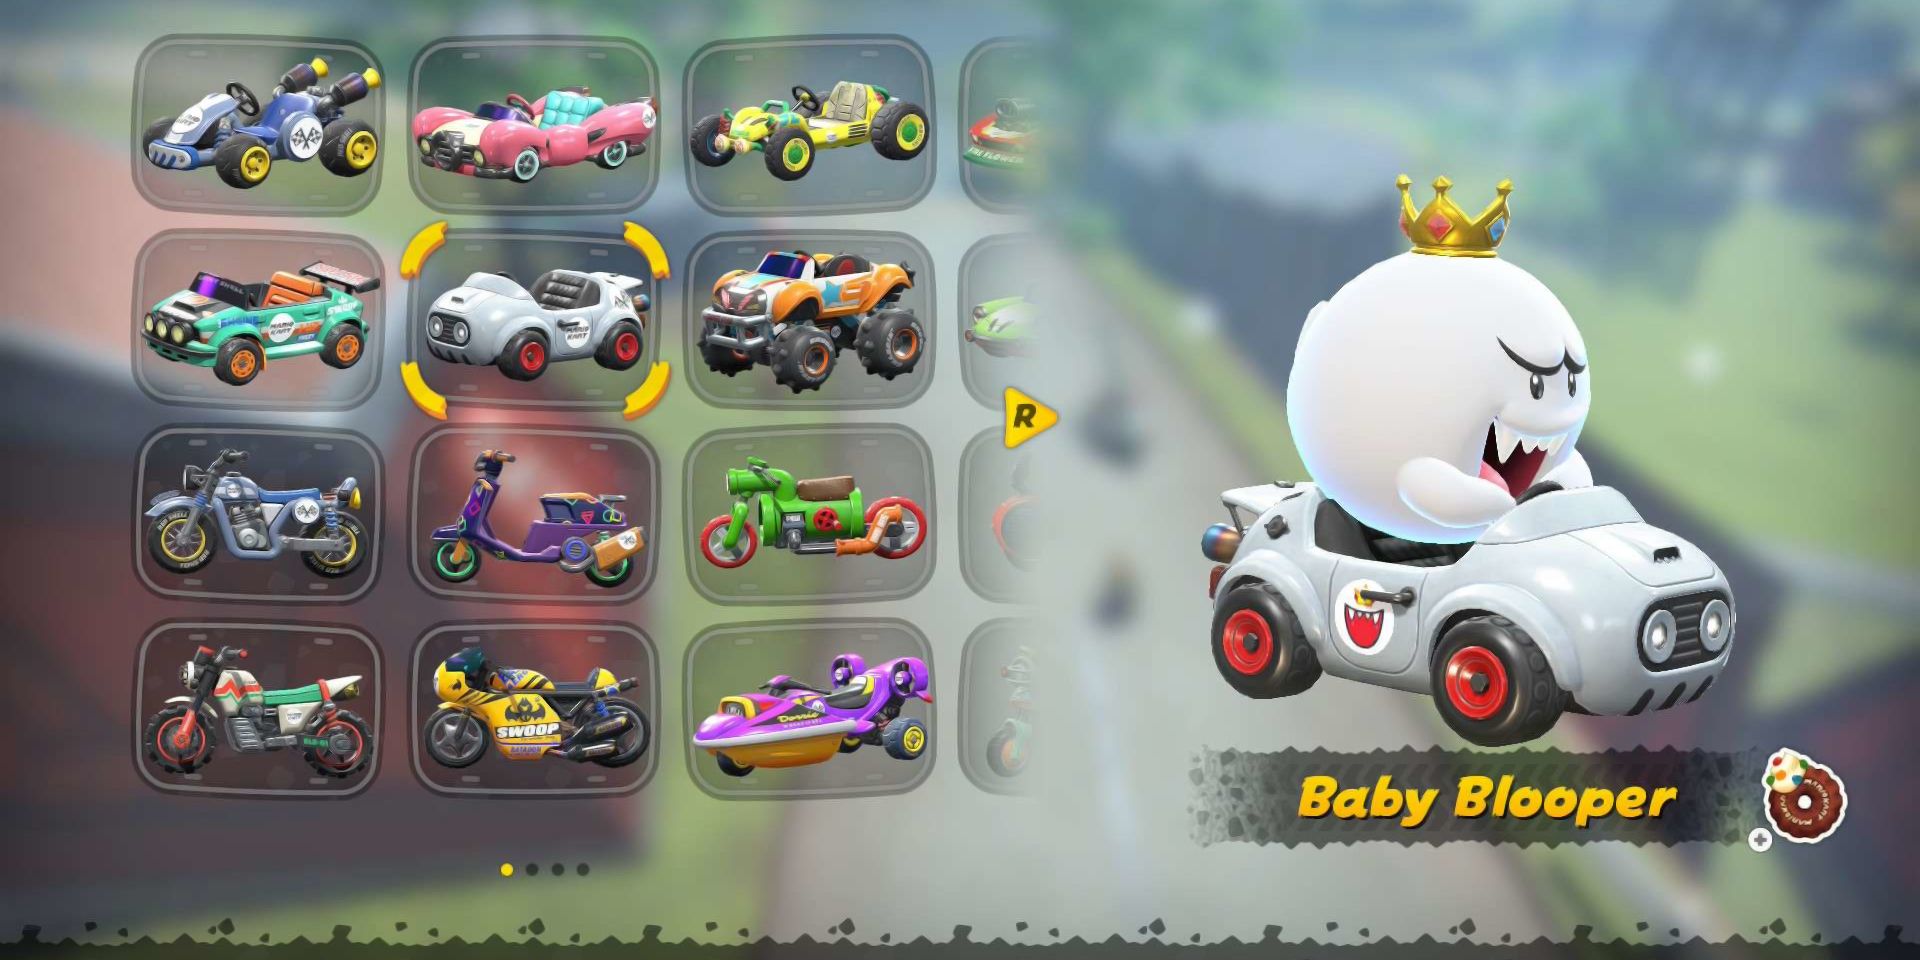
4.
Shortcut Supreme
Light or Midweight + Baby Blooper
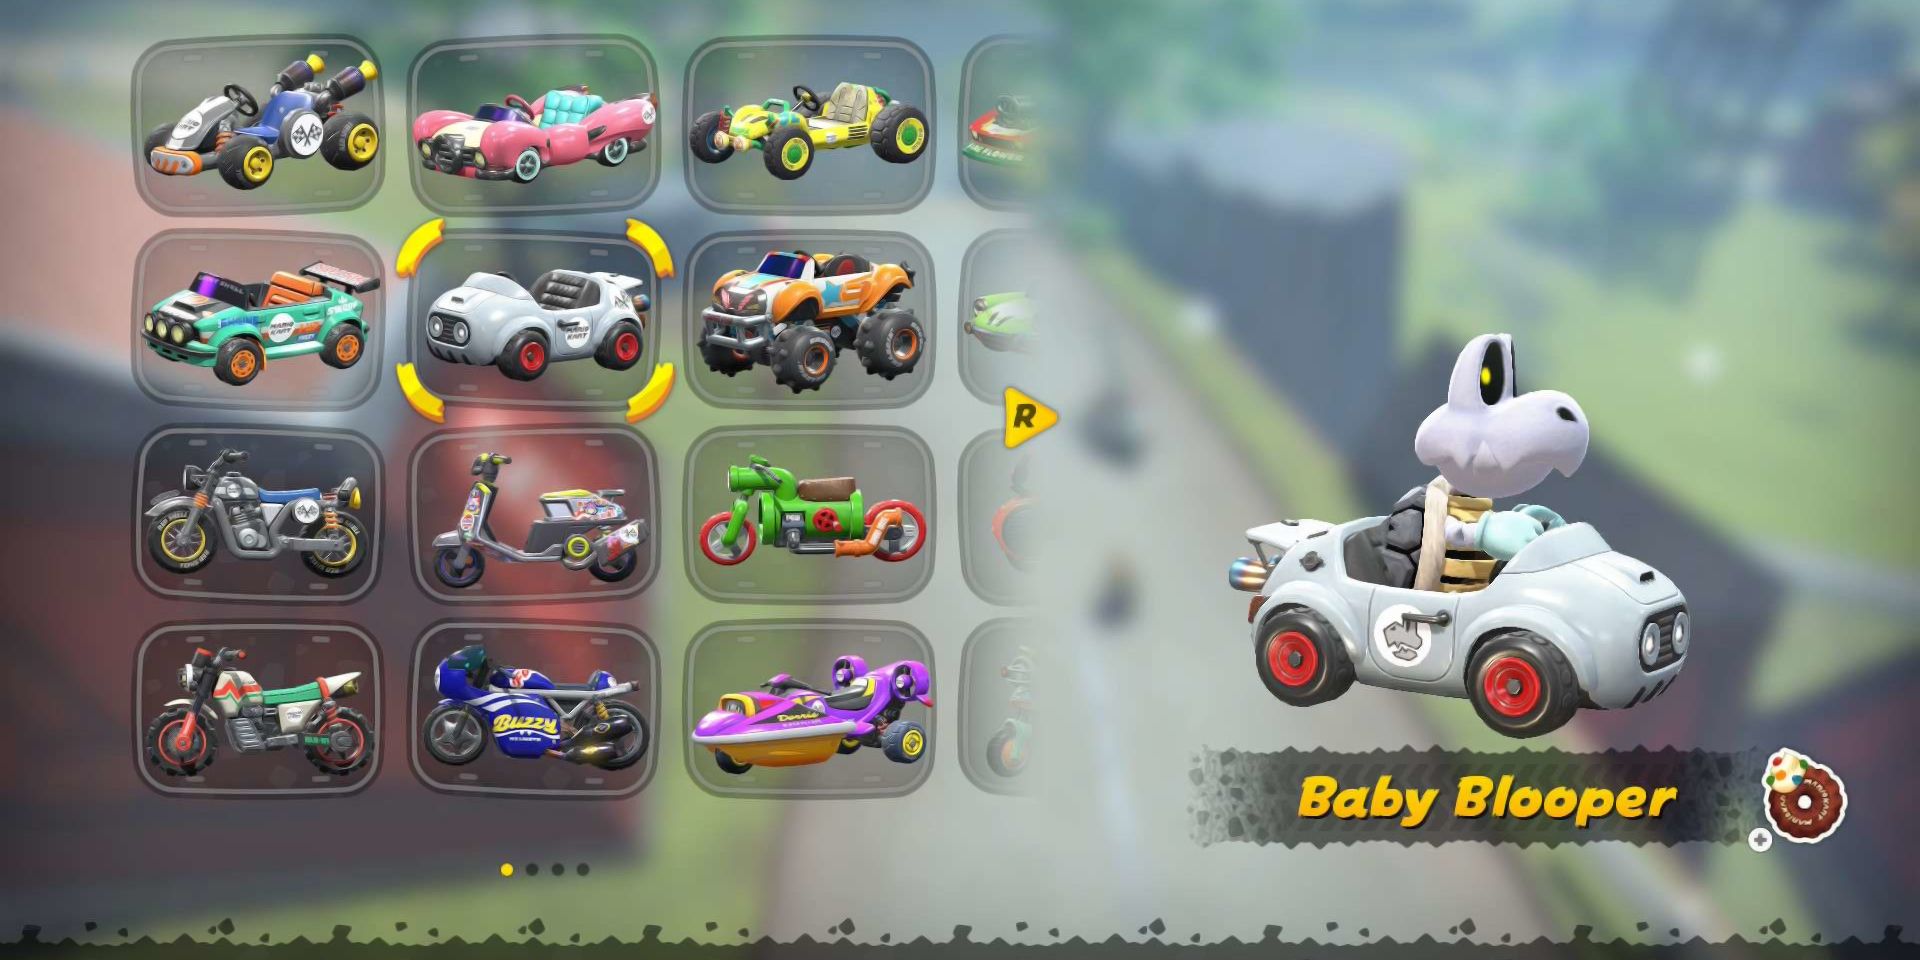
| Stats | Acceleration | Handling | Speed | Weight |
|---|---|---|---|---|
| Lightweights | 8 | 8 | 4 | 4 |
| Baby Blooper | 6 | 5 | 3 | 2 |
If you observe a Time Trial on tracks filled with numerous shortcuts, like Shy Guy Bazaar or Mario Circuit, it’s quite possible that you’ll spot a racer using the heavier Baby Blooper, as the choice of vehicle changes based on how much the track deviates from a straight path.
As a devoted enthusiast, I must admit that while there are some circuits where the heavier kart is used, it’s usually a pairing with a lighter or medium-weight kart that takes center stage. Witness them as they zoom through the course, effortlessly leaping off every obstacle on the track like a seasoned acrobat.
As a gamer, I’ve found that the Baby Blooper stands out due to its exceptional stats. Compared to heavier karts, it boasts superior handling, yet doesn’t skimp on speed, making it a solid choice for road races.
This device is quite versatile, but requires effort in mastering shortcuts and skips. It excels particularly on 3-Lap tracks, yet it’s still decent for intermissions as well.
3.
All Speed
Bowser + Reel Racer
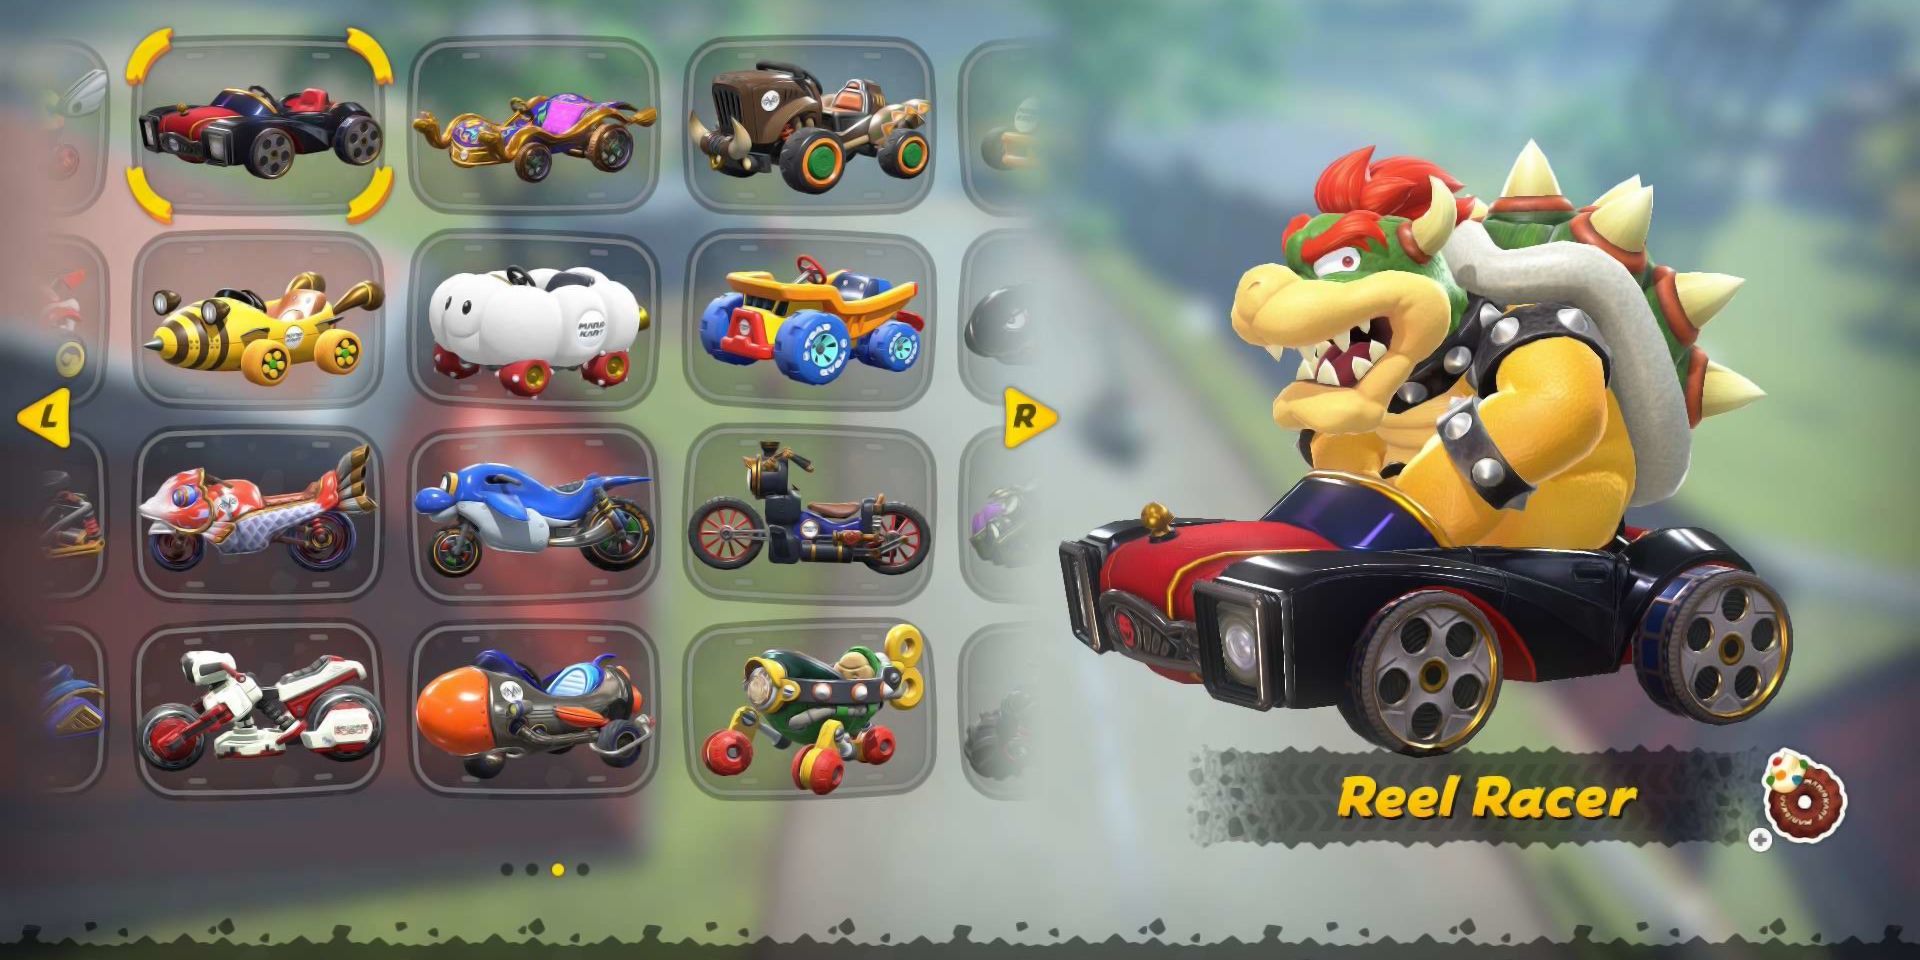
| Stats | Acceleration | Handling | Speed | Weight |
|---|---|---|---|---|
| Bowser | 3 | 3 | 9 | 9 |
| Reel Racer | 2 | 3 | 7 | 4 |
In most Mario Kart games, aiming for the fastest combo based on speed statistics isn’t wise because of the specific quirks in these games. However, in Mario Kart: World, where the focus is on driving straight ahead, this strategy becomes quite advantageous.
As a gamer, I’ve got to say that while the Stellar Sled boasts a higher top speed, the Reel Racer is a real contender due to its lighter weight, better handling, and slightly quicker acceleration. Interestingly, the Reel Racer only trails behind in speed by a single point, making it an exceptional choice for any racing game!
With this choice, you’ll undoubtedly achieve an impressive top speed when using Bowser in this kart. However, it should be noted that this speed might leave you struggling on tracks with sharp curves. Additionally, compared to many other character-item combinations, you’re likely to experience more chaos from a single item.
Instead of relying heavily on intricate maneuvers, you’ll shine during pauses, specifically in the Knockout Tour and stages such as Starview Peak or Desert Hills. Provided you avoid getting hit frequently, you’re likely to emerge victorious on many tracks using this approach.
2.
Road Rage
Heavyweight + Billdozer
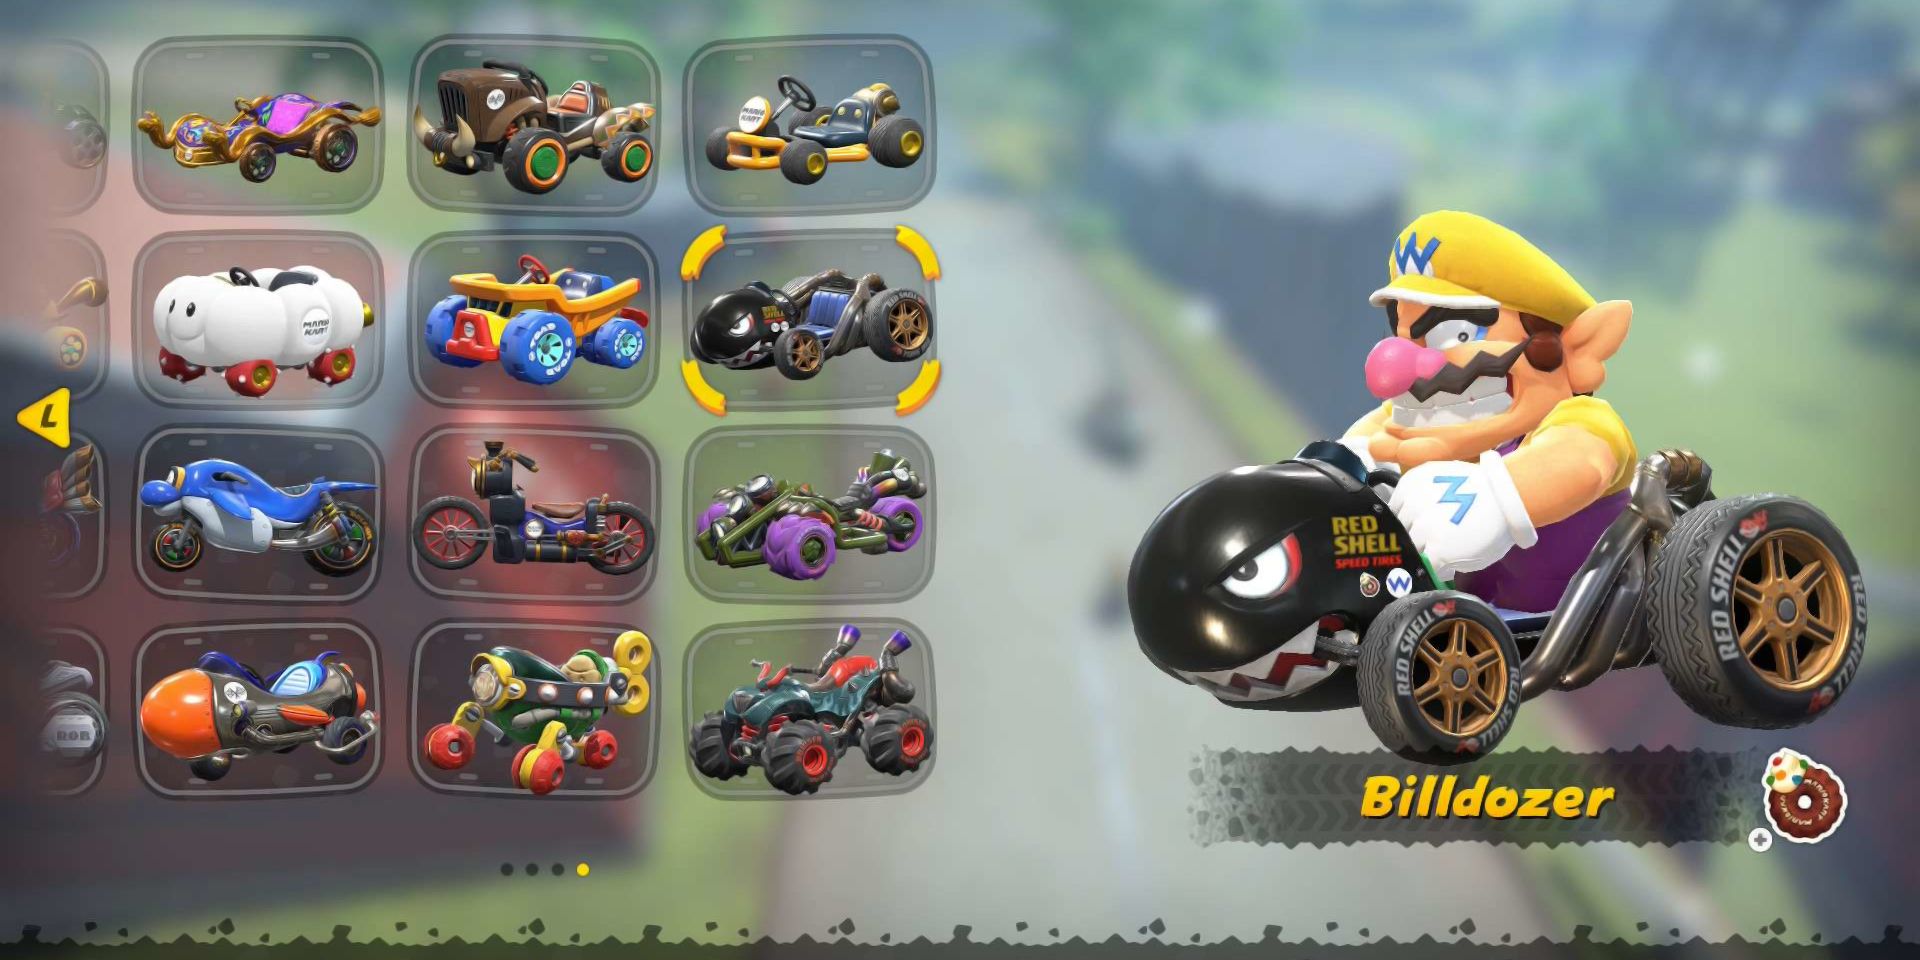
| Stats | Acceleration | Handling | Speed | Weight |
|---|---|---|---|---|
| Heavyweights | 5 | 5 | 7 | 7 |
| Billdozer | 2 | 2 | 6 | 6 |
If you’re seeking a combination that performs exceptionally well on all types of road tracks without requiring you to learn specific shortcuts, then this is the ideal choice for you.
Feel free to place any substantial item on it, but for top-tier speed performance on highways, consider using Wiggler or Wario once more. On Rainbow Road or during a Grand Prix race, you’ll outrun Bowser effortlessly with Reel Racer at maximum speed.
The drawback it shares with that combination is more pronounced when it comes to navigating narrow passages and sharp turns. However, its exceptional highway speed makes it perfectly suited for extended road trips, with no other option quite comparing.
While Bowser with Reel Racer may offer a broader range of applications, this game excels in its focus on long, asphalt-covered roadways. Despite being less versatile, the specialized nature of this game compensates effectively for that aspect.
1.
Opposing Force
Heavyweight + Baby Blooper, or Lightweight + Reel Racer
| Stats | Acceleration | Handling | Speed | Weight |
|---|---|---|---|---|
| Heavyweights | 5 | 5 | 7 | 7 |
| Baby Blooper | 6 | 5 | 3 | 2 |
| Lightweights | 8 | 8 | 4 | 4 |
| Reel Racer | 2 | 3 | 7 | 4 |
In Mario Kart World, it might seem like using a heavyweight cart with a lightweight character, or vice versa, would have similar effects as using a midweight setup. However, this is seldom true.
Choosing the agile Reel Racer character over the heavyweight champ’s mount can result in impressive lap times on complex tracks such as Toad’s Factory and Wario Stadium, offering a satisfying boost in speed.
Using a powerful contender in the current Lightweight Greatest of All Time, Baby Blooper, provides a fantastic choice for tracks such as Boo Cinema. It also works well as a versatile option, though it might not be the optimal pairing for every scenario.
The concept essentially involves placing your go-kart and character at the two extremes in terms of weight, resulting in remarkable enhancements to your maneuverability during tricks, all without compromising on the speed needed to maintain pace regardless of the situation.
Read More
- All Skyblazer Armor Locations in Crimson Desert
- One Piece Chapter 1180 Release Date And Where To Read
- How to Get the Sunset Reed Armor Set and Hollow Visage Sword in Crimson Desert
- All Shadow Armor Locations in Crimson Desert
- All Golden Greed Armor Locations in Crimson Desert
- How to Beat Stonewalker Antiquum at the Gate of Truth in Crimson Desert
- Cassius Morten Armor Set Locations in Crimson Desert
- Grime 2 Map Unlock Guide: Find Seals & Fast Travel
- Marni Laser Helm Location & Upgrade in Crimson Desert
- Amber Alert Secrets & CDs In Crime Scene Cleaner Act 2
2025-07-06 18:11