Summary
- Easy to set up base for Day 7 Blood Moon.
- Simple cobblestone base suits nights 14 & 21.
- Multiplayer endgame base is resource-intensive but effective.
After more than a decade in early access, I’ve found that “7 Days To Die” truly embodies what a fantastic zombie survival game should be. It boasts an intricate crafting system, an engaging approach to player development, and, needless to say, a plethora of pesky undead creatures to manage. Every seven days, the game enters a tower defense mode where, at 10 pm, I’m besieged by endless waves of zombies until either dawn breaks at 4 am or I meet my demise. Fending off a Blood Moon involves constructing a robust defensive base that not only safeguards me but also efficiently dispatches the horde.
Seasoned gamers who have spent considerable time with the game “7 Days To Die” will recognize that constructing an invincible Blood Moon base takes dedication. Some players relish this challenge, but others find it monotonous since there’s little to do during a Blood Moon event. This list, however, focuses on base designs that excel in specific situations or cater to distinct playing styles. It steers clear of discussing the ultimate defenses, a topic that often sparks vigorous discussions among the gaming community.
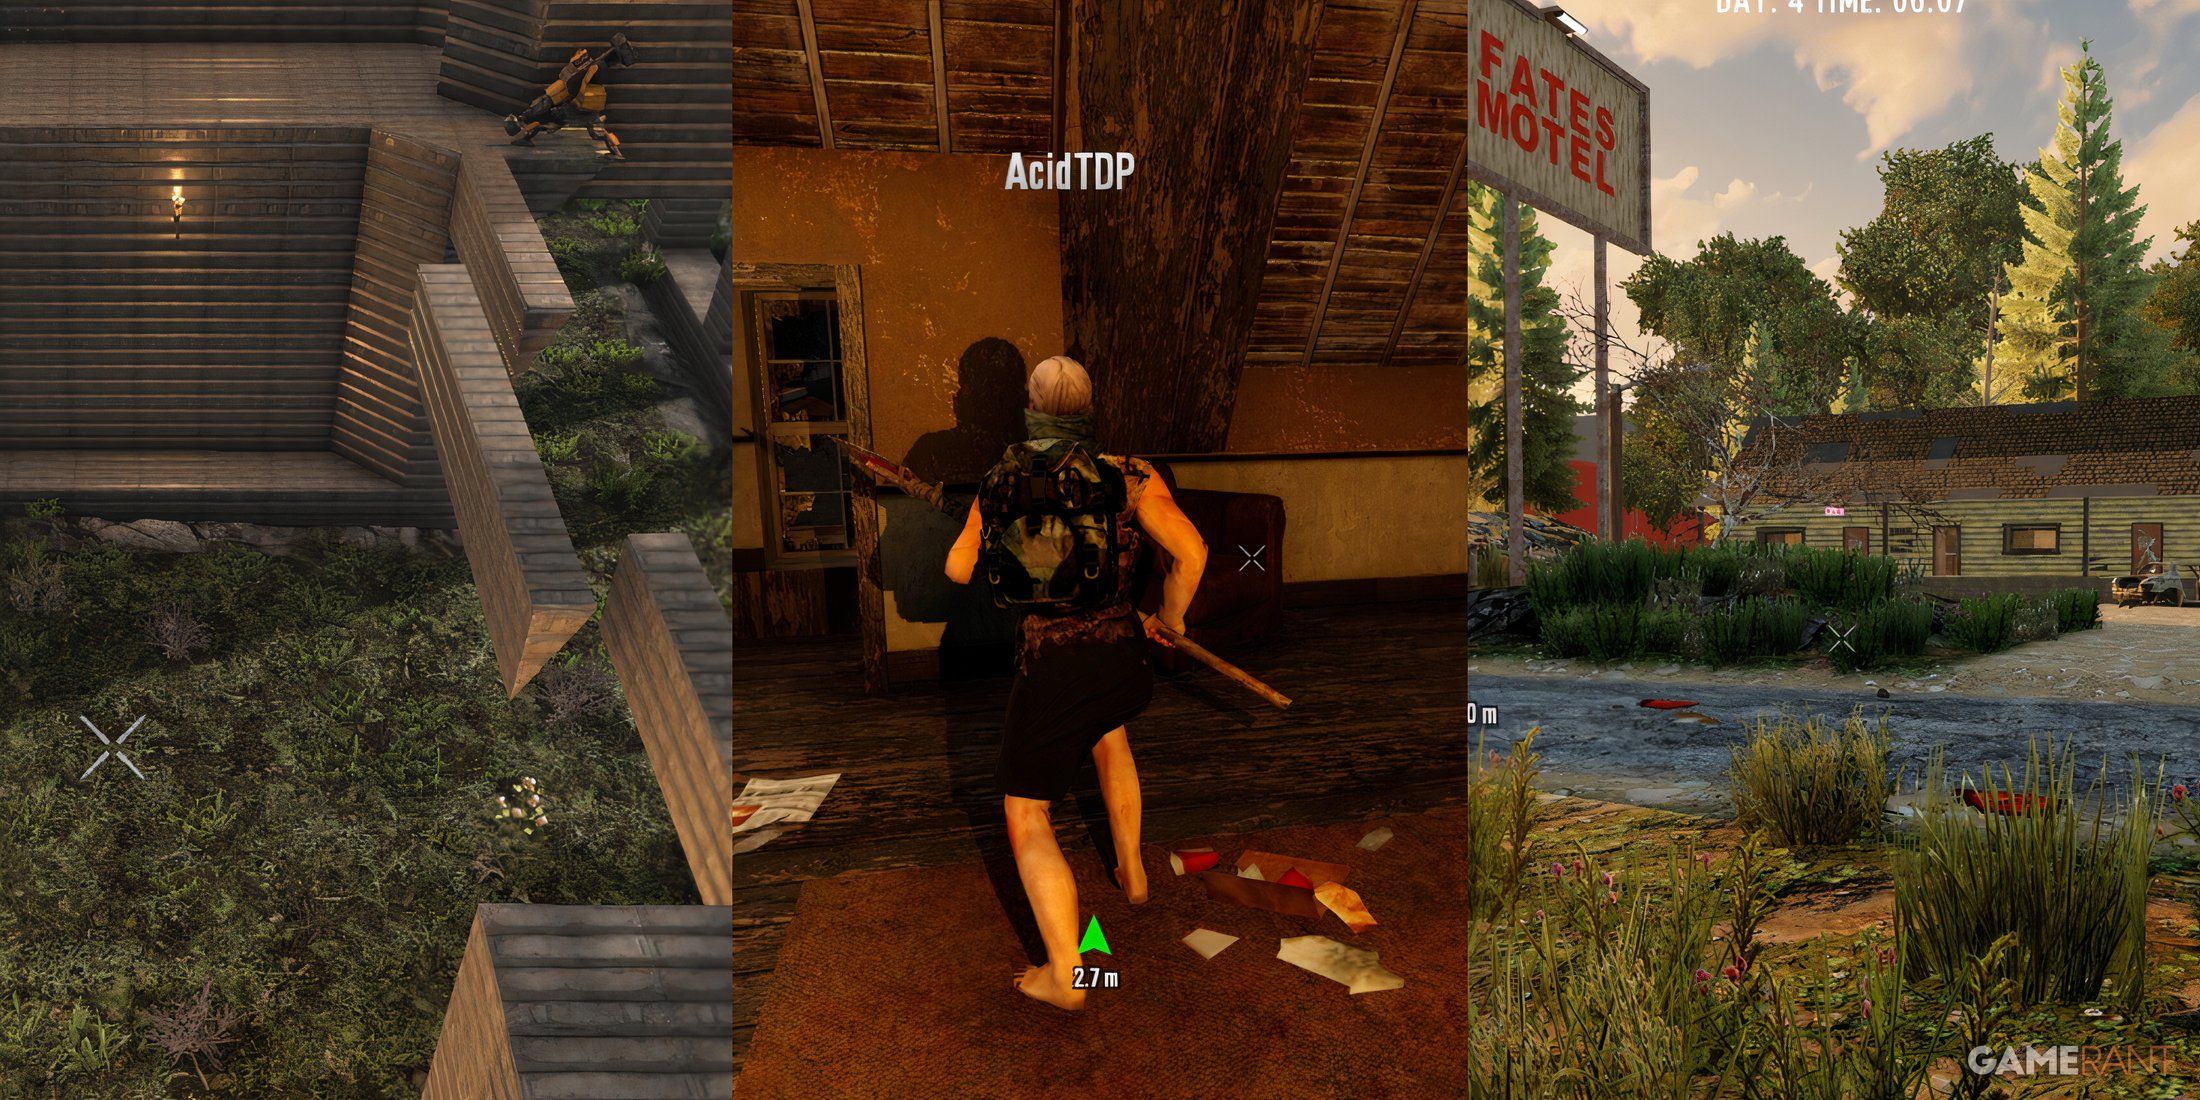
7. First Blood Moon Base
Great For Day 7
- Simple to set up
- Relies on a specific POI
Over the past few years, updates to the game “7 Days To Die” have made the beginning of a new game progress much more gradually. Most players won’t be able to obtain decent gear until around level 40. While this might not be a negative aspect as it introduces new difficulties, it does mean that by the end of the first week, a player will primarily have a wooden club and basic armor for defense during the initial Blood Moon. To survive this first horde night, players can establish a basic base that funnels zombies towards them one at a time, allowing easy dispatchment with the club.
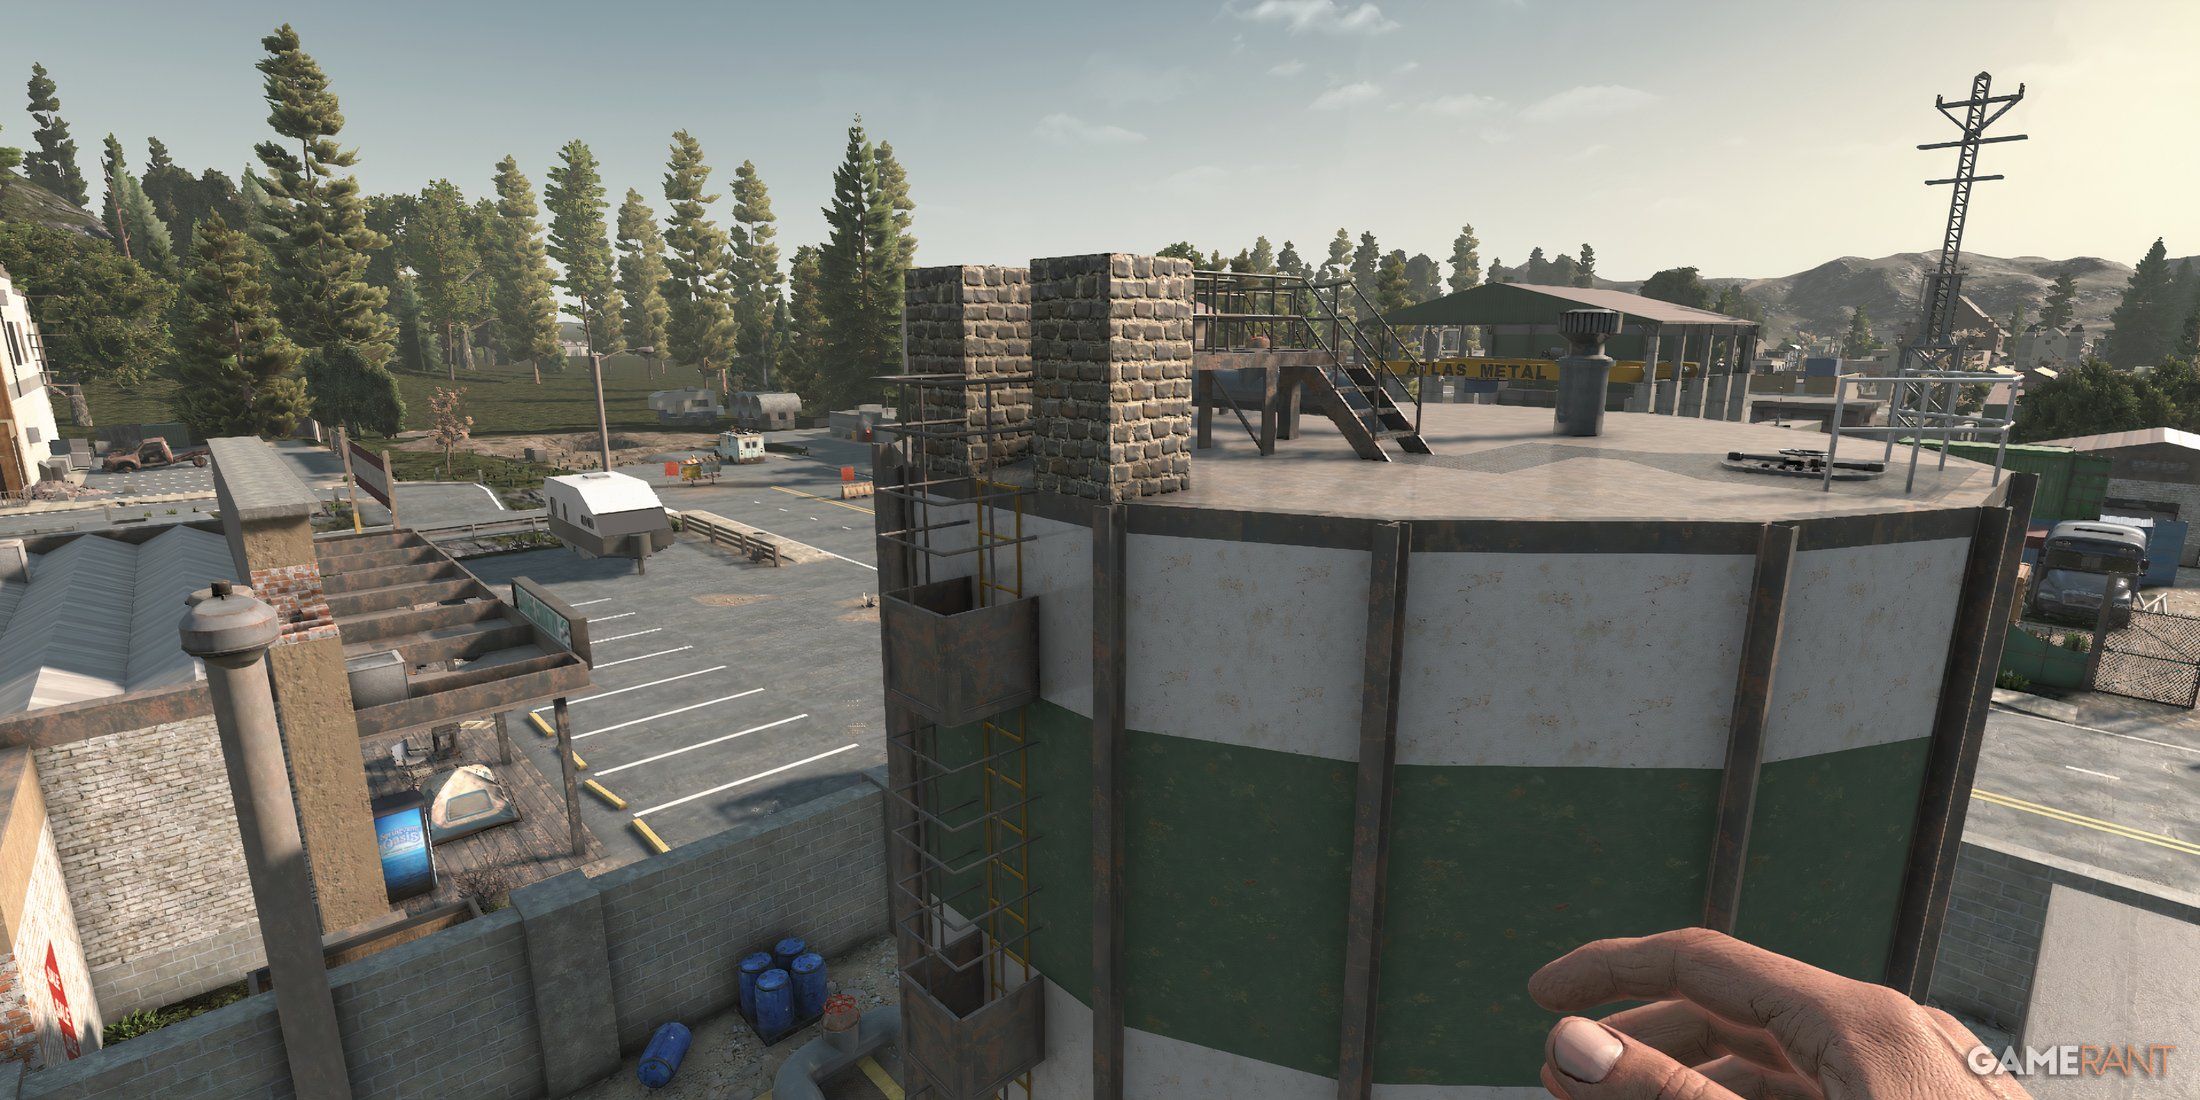
In a corner of the game world, you’ll find an existing location known as Clunky Oil, ideal for establishing a makeshift base swiftly. To locate this spot, simply search in your starting town. Once found, give it a minor facelift by adding cobblestone blocks around the spiral staircase’s top to prevent zombies from leaping over the railings. Encircle the player as well.
There’s a hatch on its roof, with a ladder descending into the silo below. Break the bottom of this ladder to deter zombies attempting to climb up through the hatch and ambush you from behind. Position yourself at the top of the staircase and aim for each approaching zombie’s head when they ascend.
6. Simple Cobblestone Base
Great For Days 14 And 21
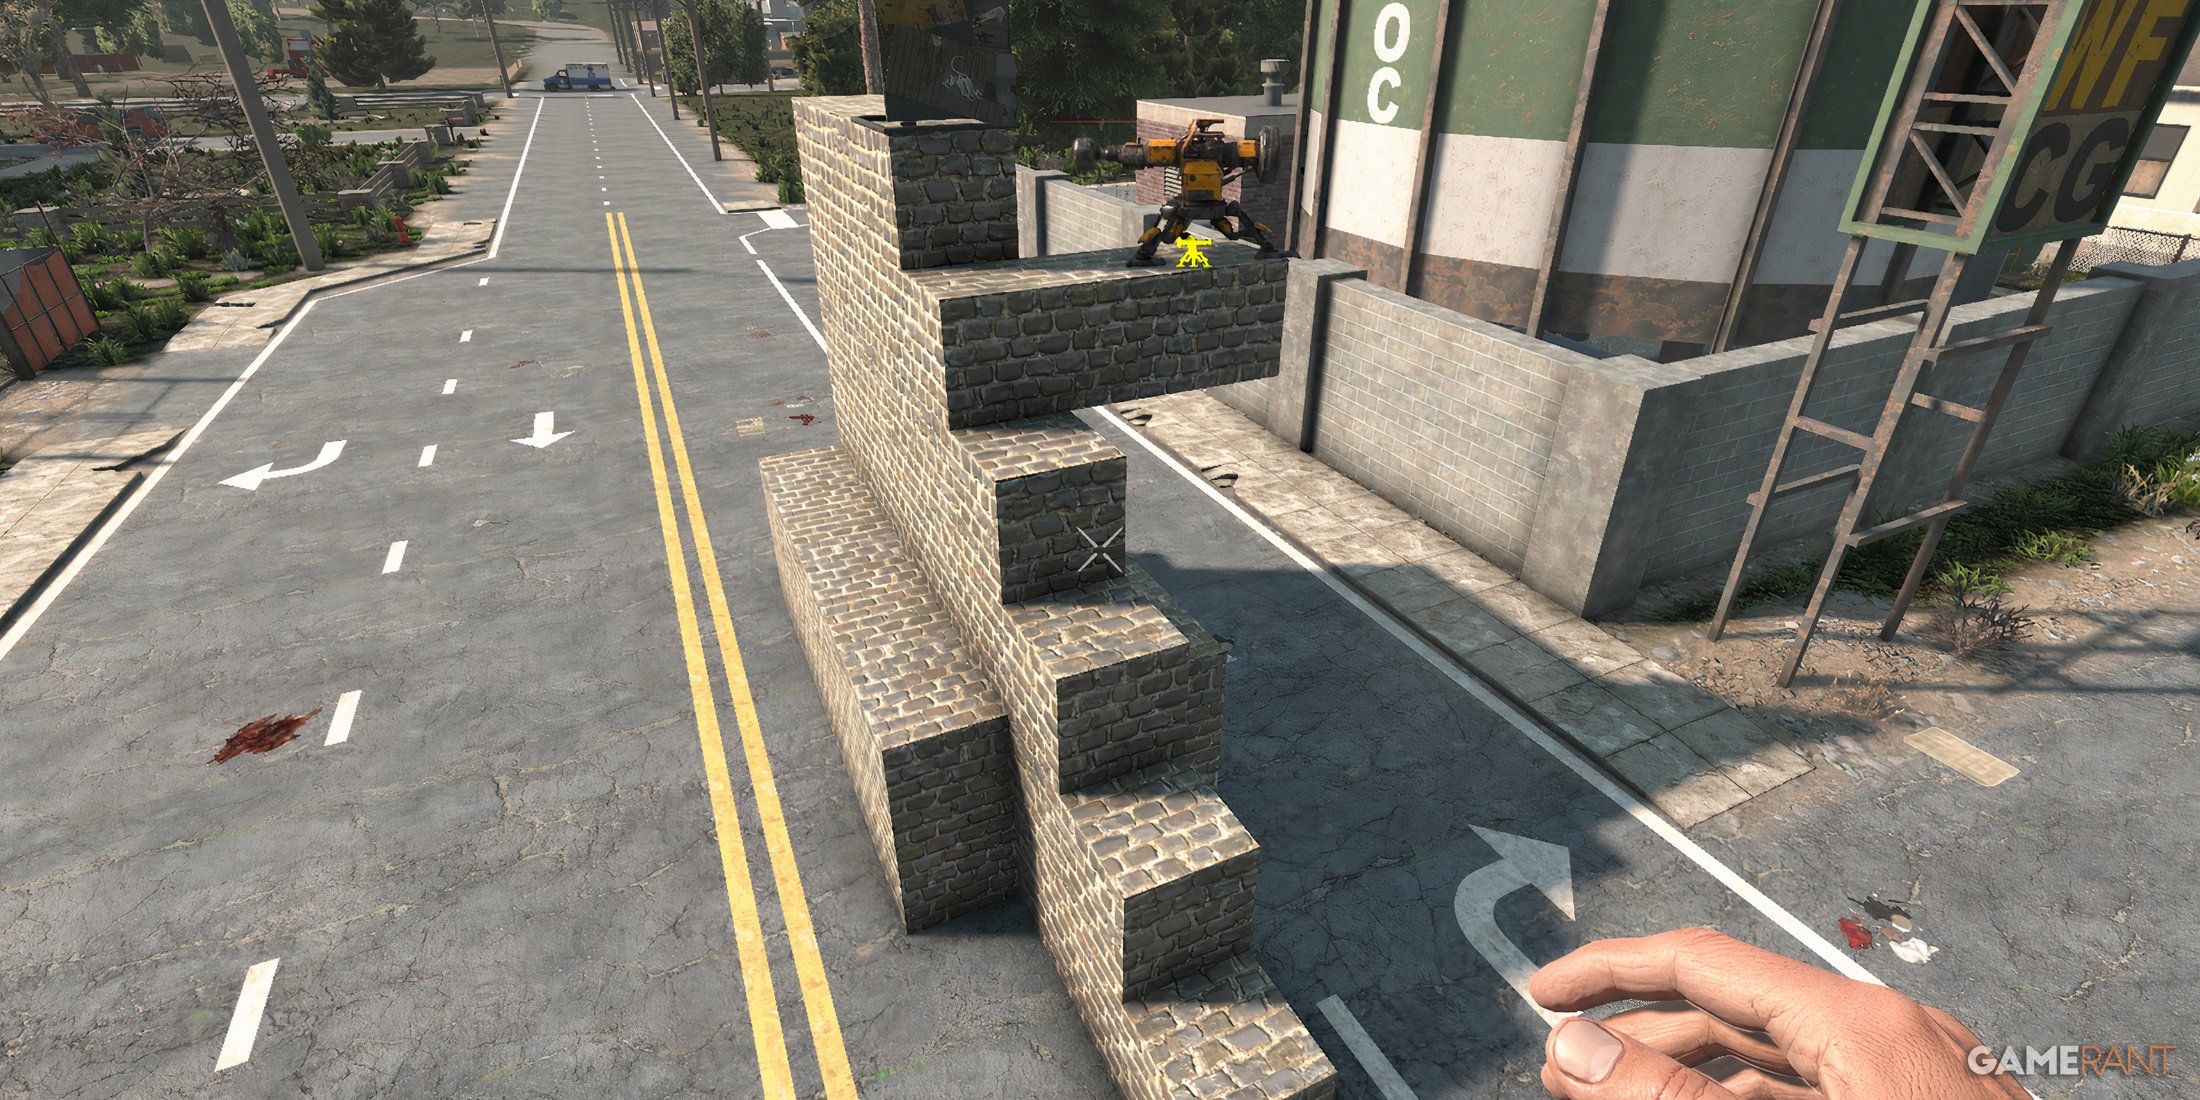
- Simple to construct
- Relies on the player having a robotic sledge
Initially, by the second Blood Moon on day 14, players of 7 Days To Die often had adequate armor and weapons. However, due to recent crafting updates that necessitate skill books to access recipes, it’s now less common for players to be well-equipped within this timeframe. Additionally, the alterations in loot distribution and trader rewards make it improbable for a player to find quality gear within this timescale.
For nights 14 and 21 Blood Moons, it’s advisable to continue using a temporary cobblestone base as a makeshift shelter rather than establishing a permanent horde base just yet. This basic structure serves as a stopgap solution until more resources become available. You can obtain or create a robotic sledge turret for defense, which should be relatively easy. The double-layered sides are designed to prevent hordes of zombies from breaching the base quickly. An iron hatch will help regulate the inflow of zombies if they manage to bypass the sledge turret. Lastly, a ladder on the backside ensures you can climb back up if you fall off the base.
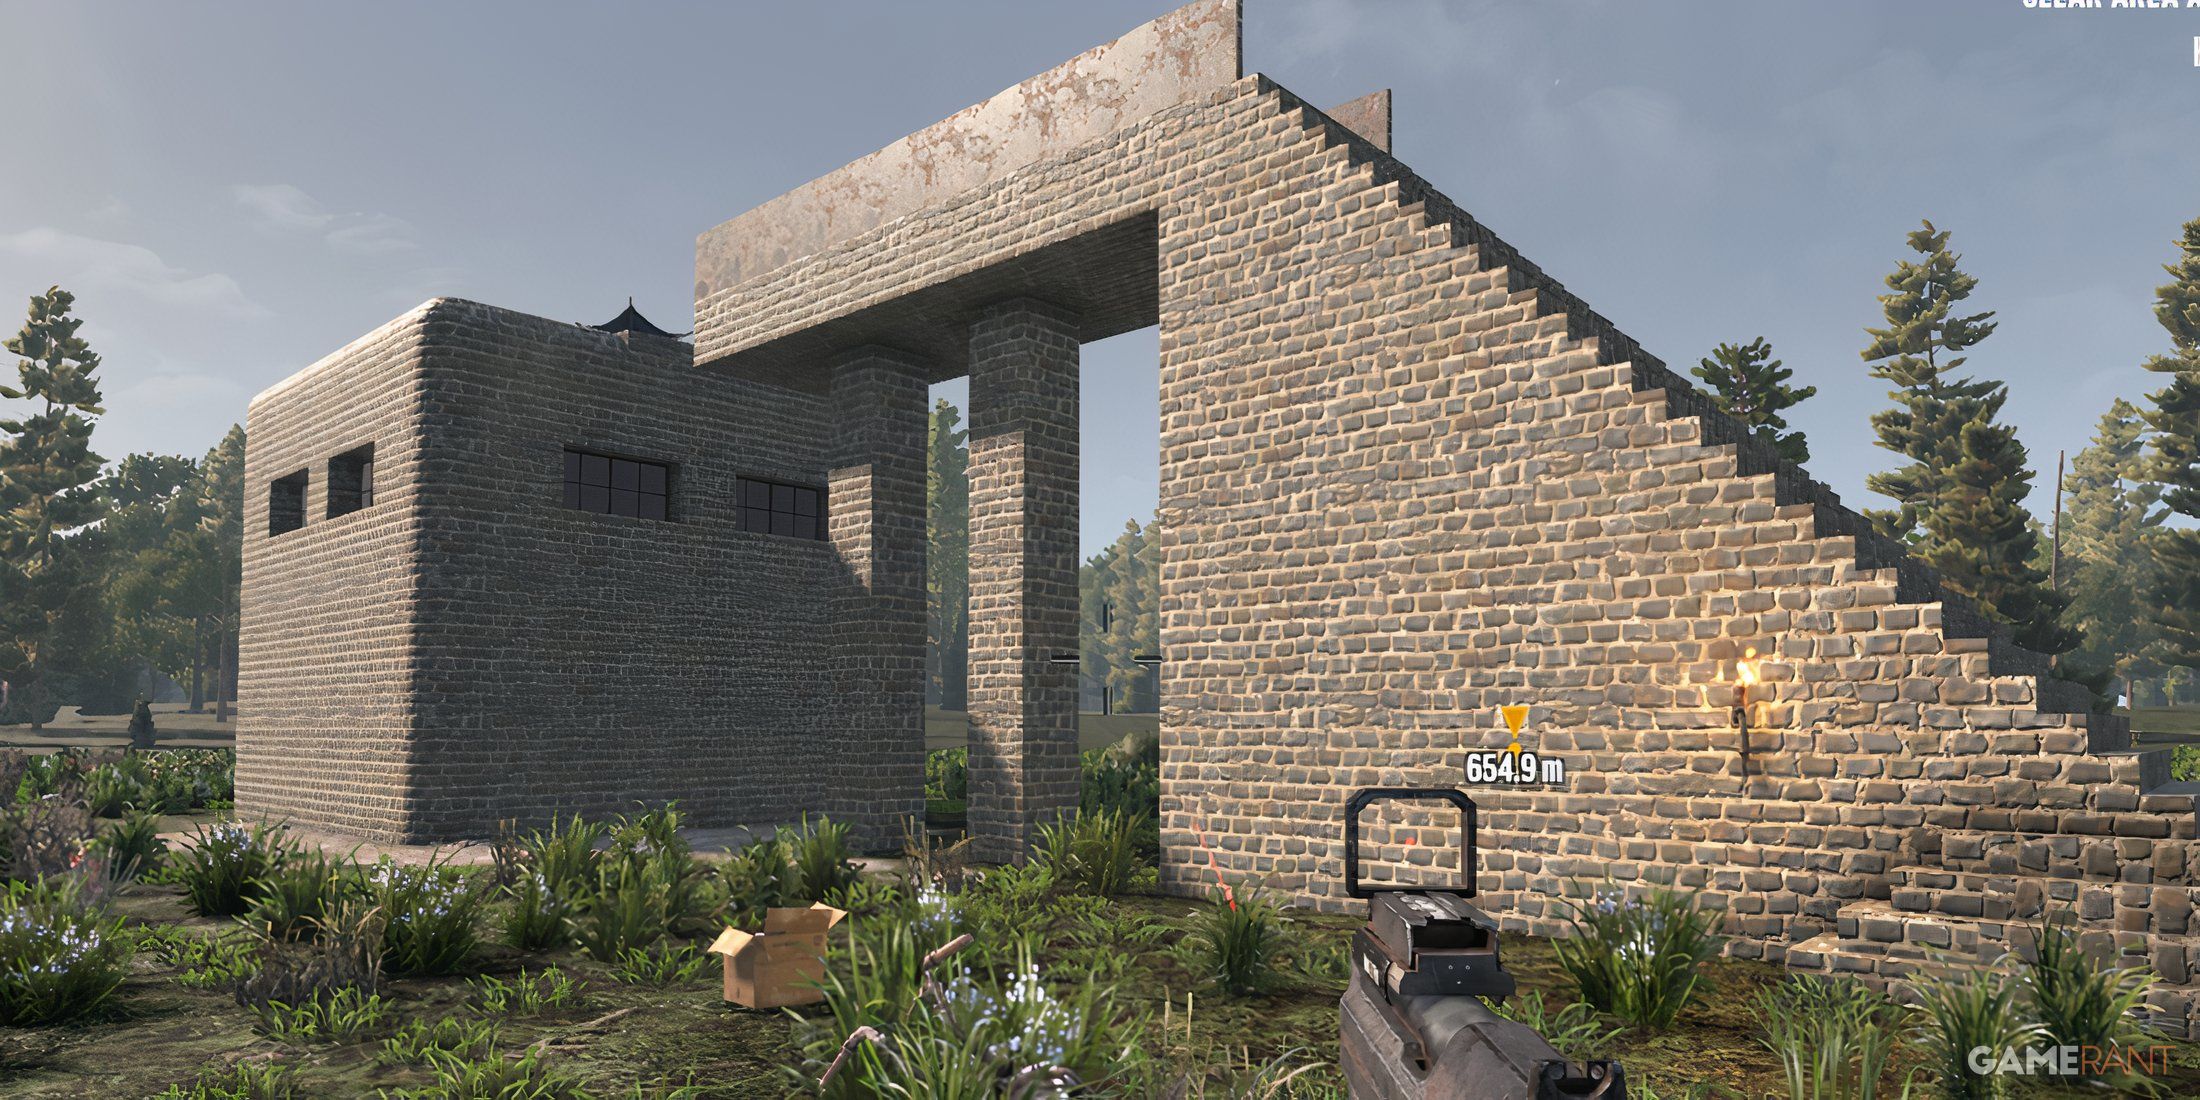
5. Limited Build Base
Surprisingly Effective Even In The Late Game
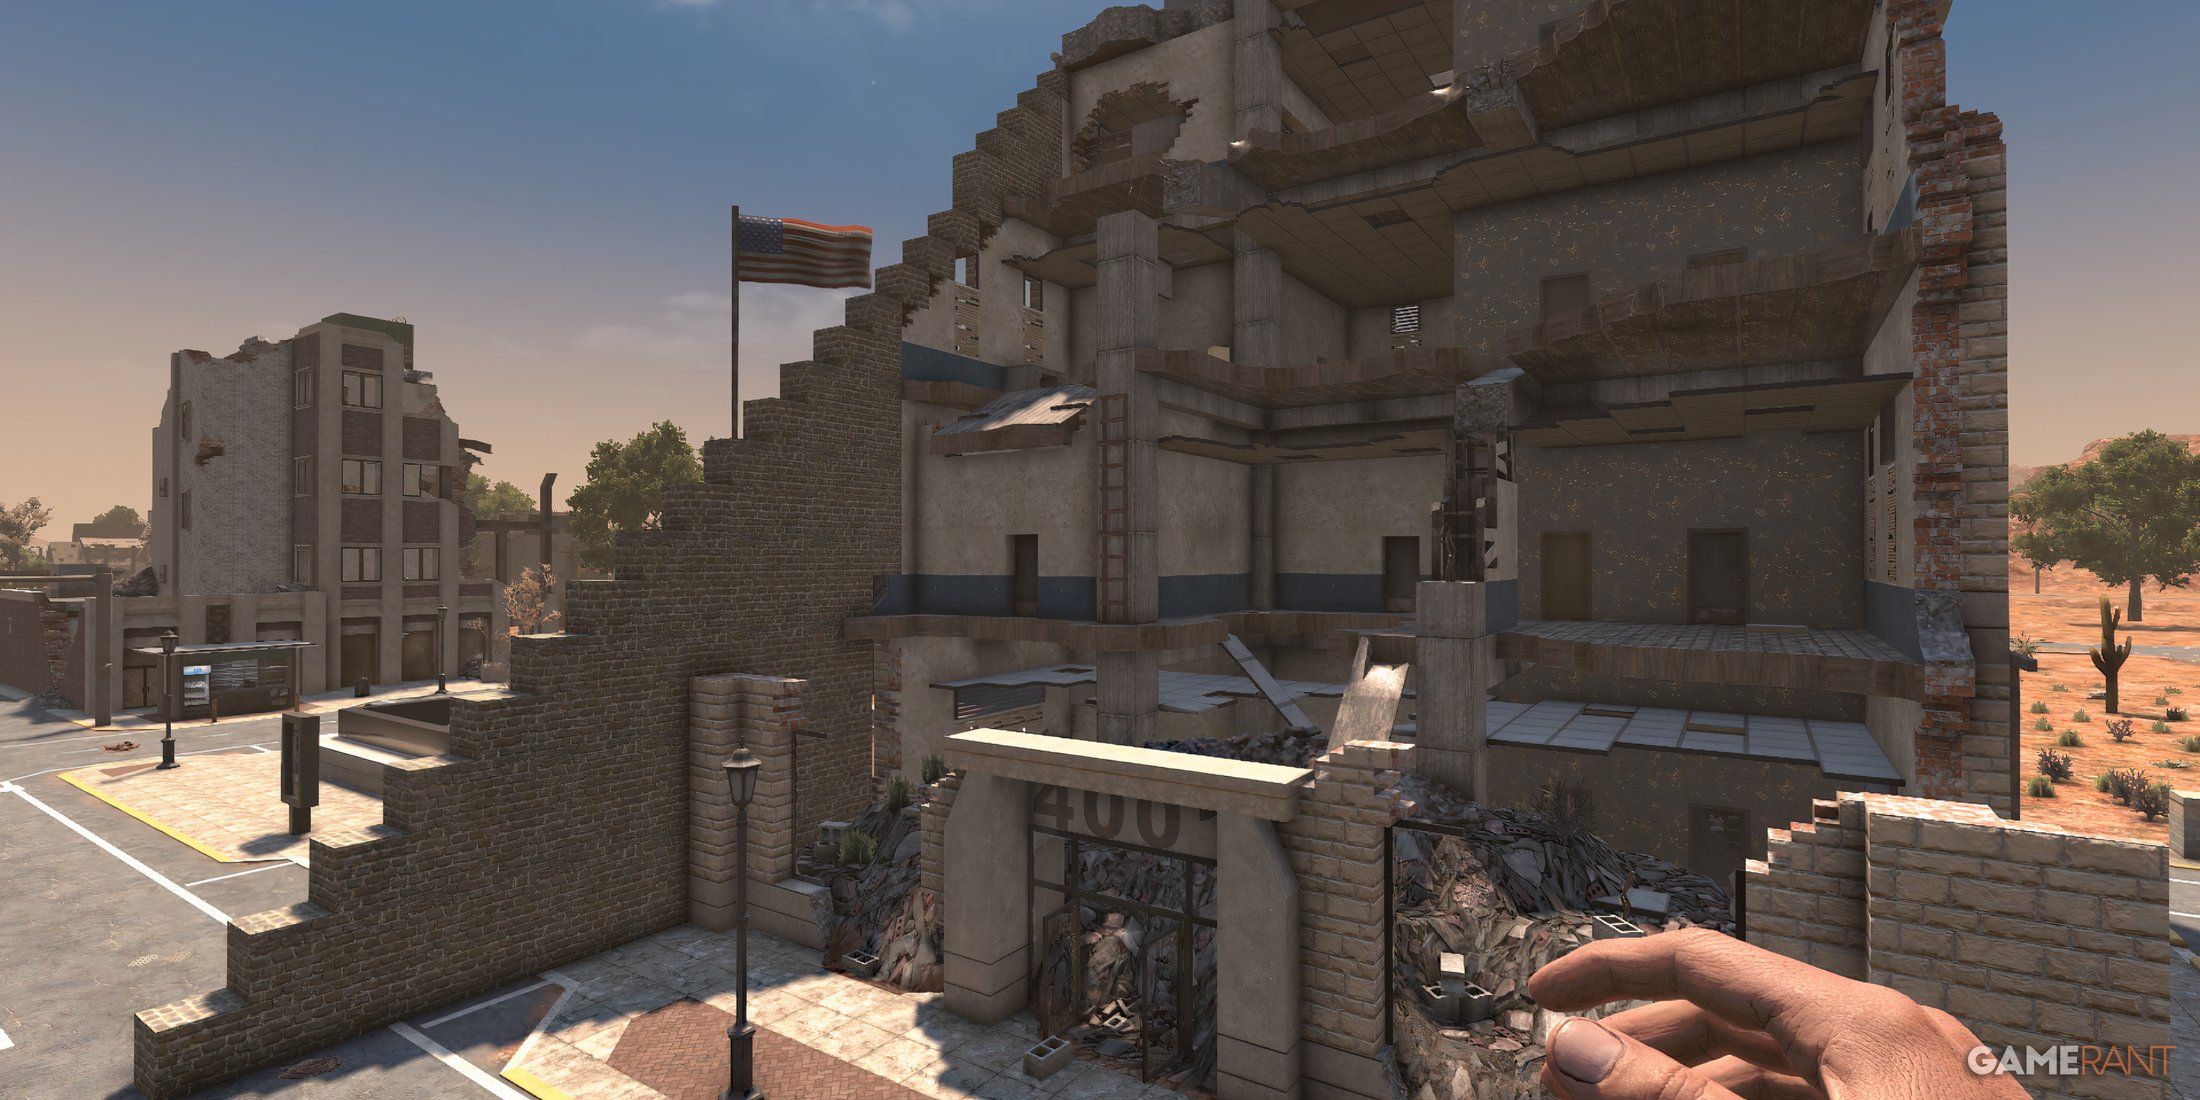
- Requires the player to find the right POI
- Care must be taken to check the routing of zombies
This base blueprint caters to players seeking a pre-existing Blood Moon structure without having to build one entirely on their own. Instead, an appropriate Point of Interest (POI) is selected and adapted. Ideal POIs are multi-story buildings that have partially collapsed, allowing for a player to simply extend a wall to create zombie staircases. Once at the top, players can then engage in combat by firing down at approaching zombies.
As I progress in-game, I’ve discovered that enhancing my base with cement and strategically placing turrets can make it robust even during the latter stages of play. The vacant rooms in Points of Interest (POI) serve as ideal spots for setting up crafting stations and storing materials. It’s essential to remember that zombies may have multiple paths leading to me, so these routes should be barricaded to compel them to take the staircase route. A clever method to test this is by luring a screamer horde and observing the path the zombies choose to traverse.
4. Solo All-In-One Base
Effective And Easily Upgraded
- Combined defensive base and home
- Defenses can be added as needed
Next up, we’ll delve into our first personalized base construction designed primarily for single-player experience. This choice is ideal due to the fact that in multiplayer games, Blood Moon swarms become more numerous. The concept behind this base is that it serves as both a residence and workstation with crafting areas and storage space. For added convenience, it can be built adjacent to a trader.
As a player progresses and gains access to stronger defense systems like shotgun and SMG turrets, they can upgrade their base instead of constructing a large, custom base for late-game waves. A proficient player might find this upgraded base sufficient throughout the game. It’s worth mentioning that during a Blood Moon event, the player must deactivate all heat sources within the base interior to prevent zombies from attempting to break in.
3. The Gauntlet
A Heck Of A Lot Of Fun
- Set up as a zombie meatgrinder
- Can be added to over time
In the course of their gaming experience, many players of the game “7 Days To Die” might attempt building a structure similar to this, which is reminiscent of a classic design. This base is easy to construct and, with some dedication, can withstand the onslaught of hordes even during the late stages of the game.
The strategy is to make zombies navigate a series of obstacles before they reach the player, using electric barriers and blades traps for this purpose. As the game level increases, players have the option to add more turrets and additional traps to handle increasingly menacing crowds. Upgrading the base to steel strengthens it against multiple explosions caused by zombies detonating during a Blood Moon event.
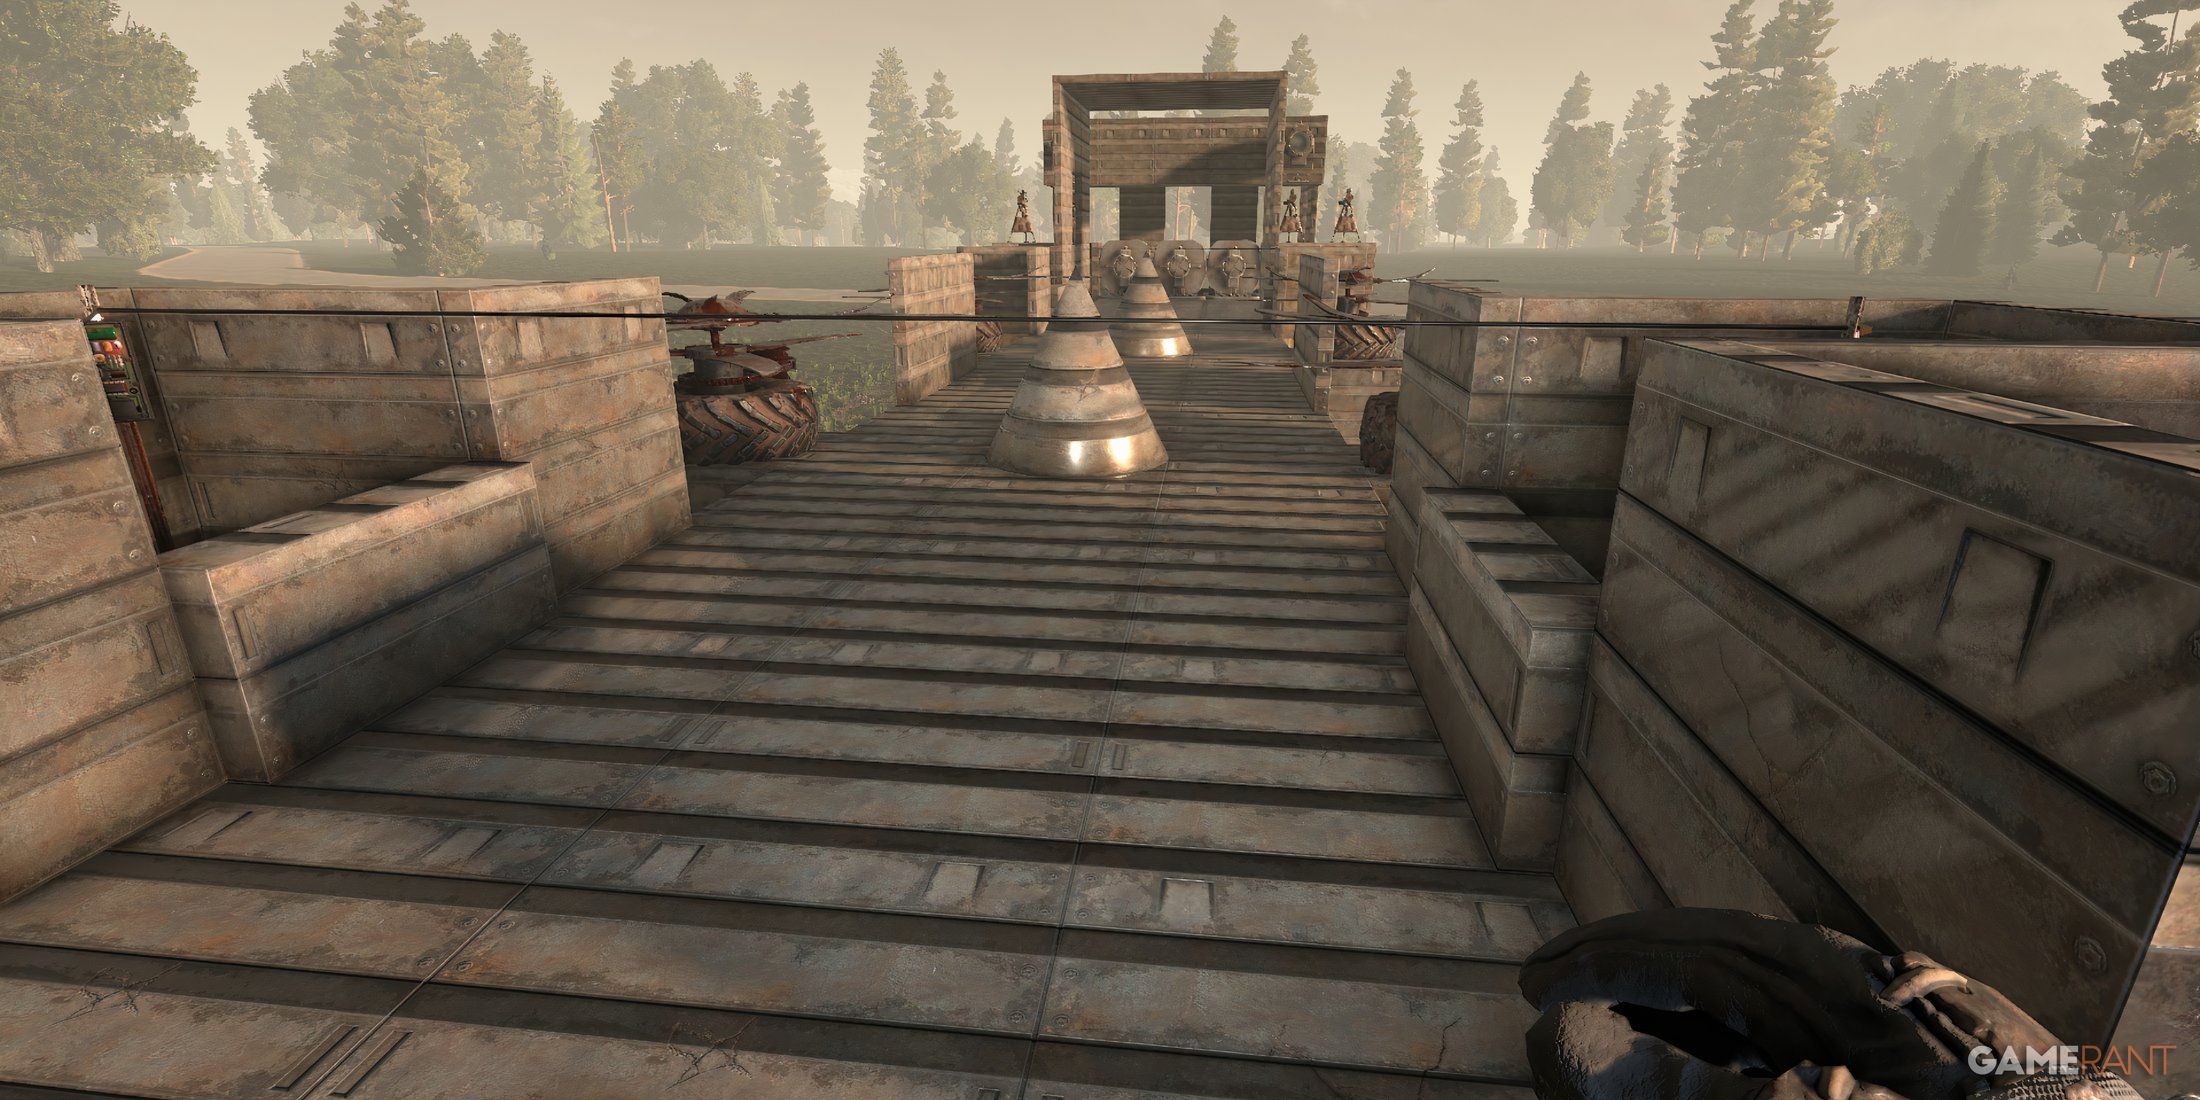
2. Multiplayer Endgame Base
Takes Some Effort To Build
- Can handle any Blood Moon horde
- Requires a large investment of time and resources to build
This outpost is designed to be staffed by a minimum of two individuals and is robust enough to withstand the onslaught of the Blood Moon’s largest zombie hoards. During an attack, zombies are driven across a bridge where players can take them down from a distance. These creatures are then directed through a sequence of traps within the base, ultimately ending up close to the player who must finish them off if necessary. The outpost also features sniper positions for additional players or spaces to set up SMG turrets on the wings.
Constructing this fundamental design will require substantial resources and time, with the process of creating the cement being rather lengthy itself. Yet, it’s worth noting that its effectiveness is unquestionable, and it offers an additional advantage by completely enclosing players, thus shielding them from bothersome vultures during a Blood Moon event.
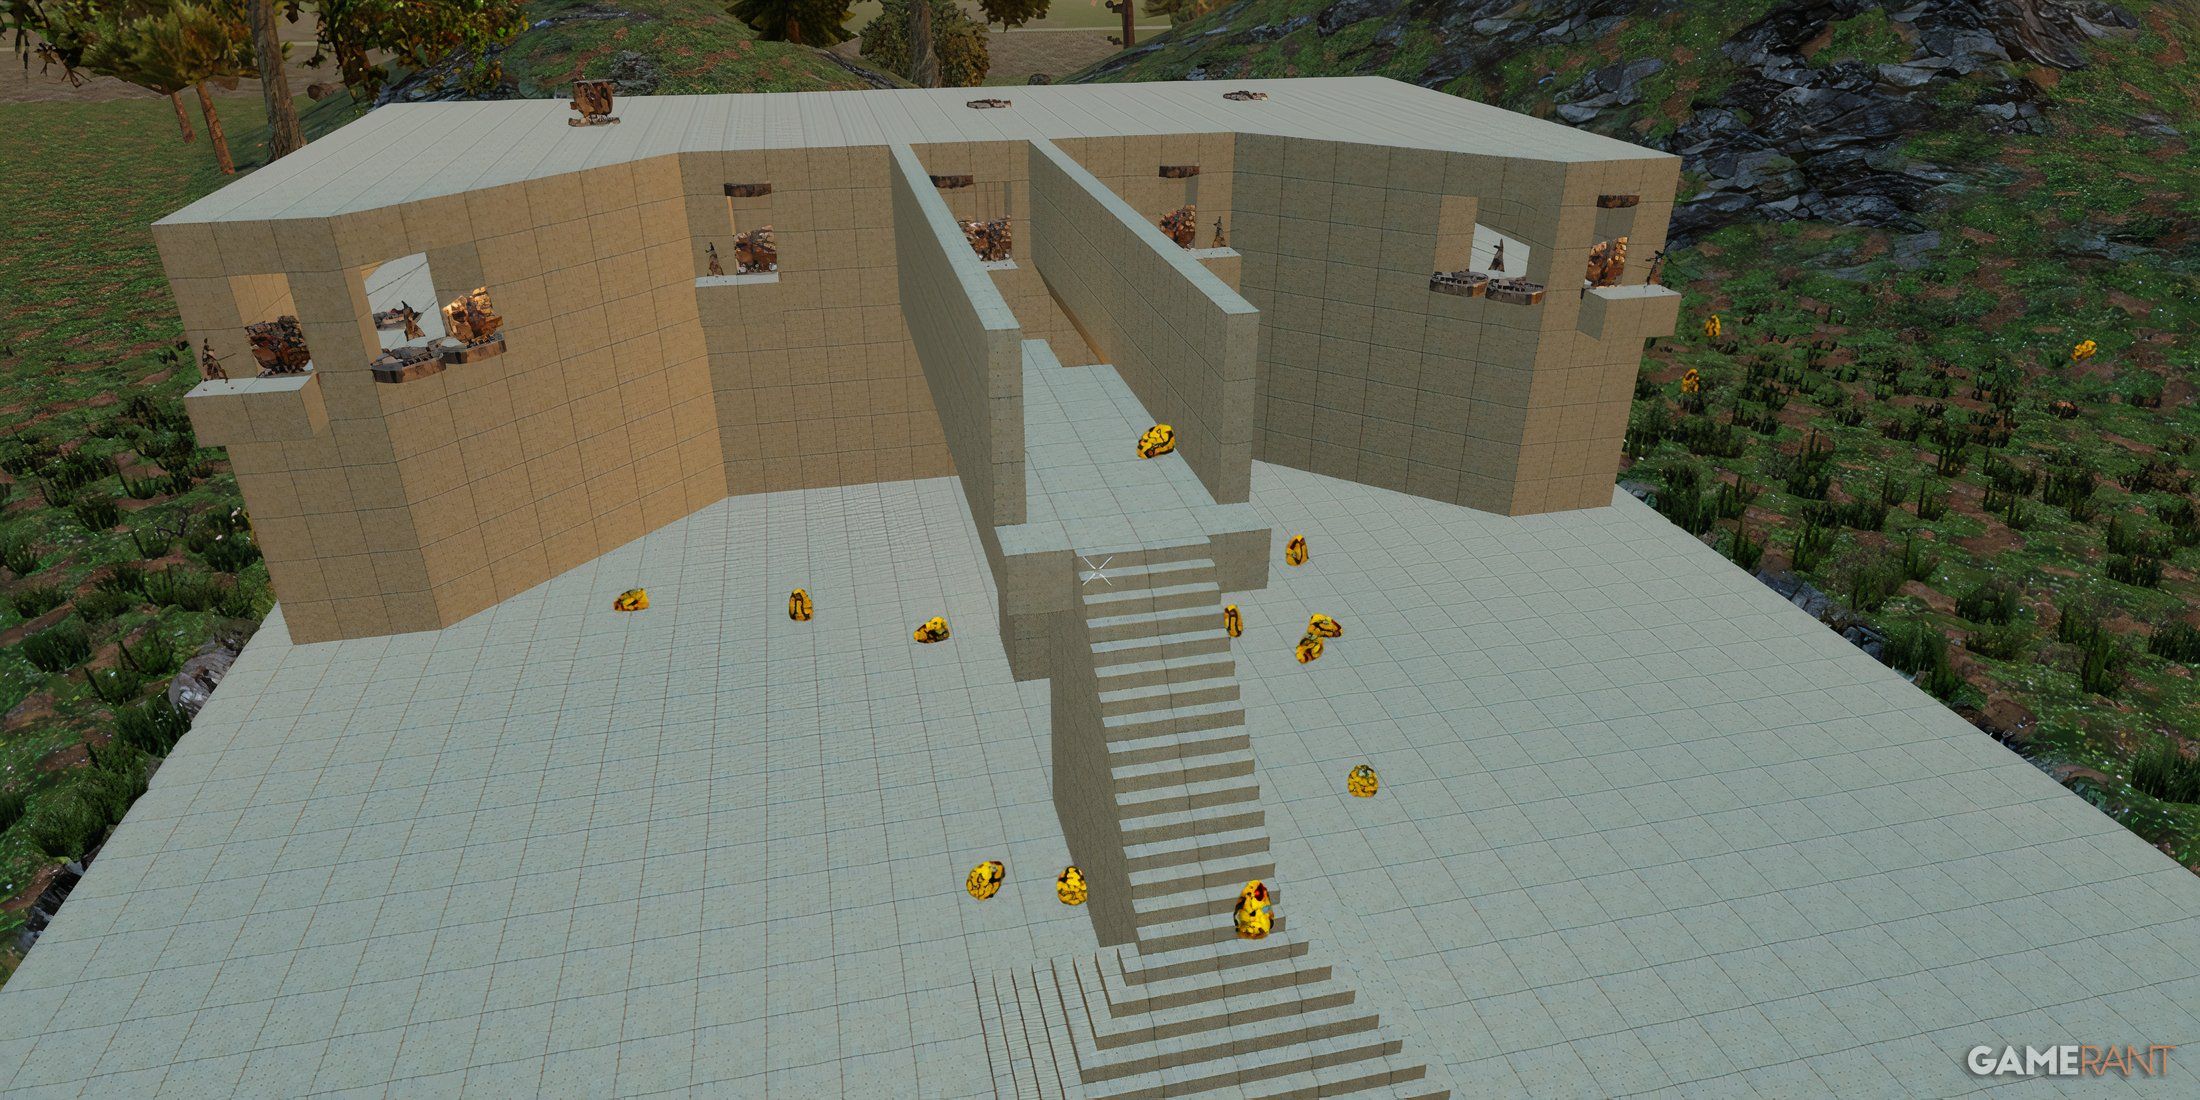
1. AFK Base
Just Stand And Watch
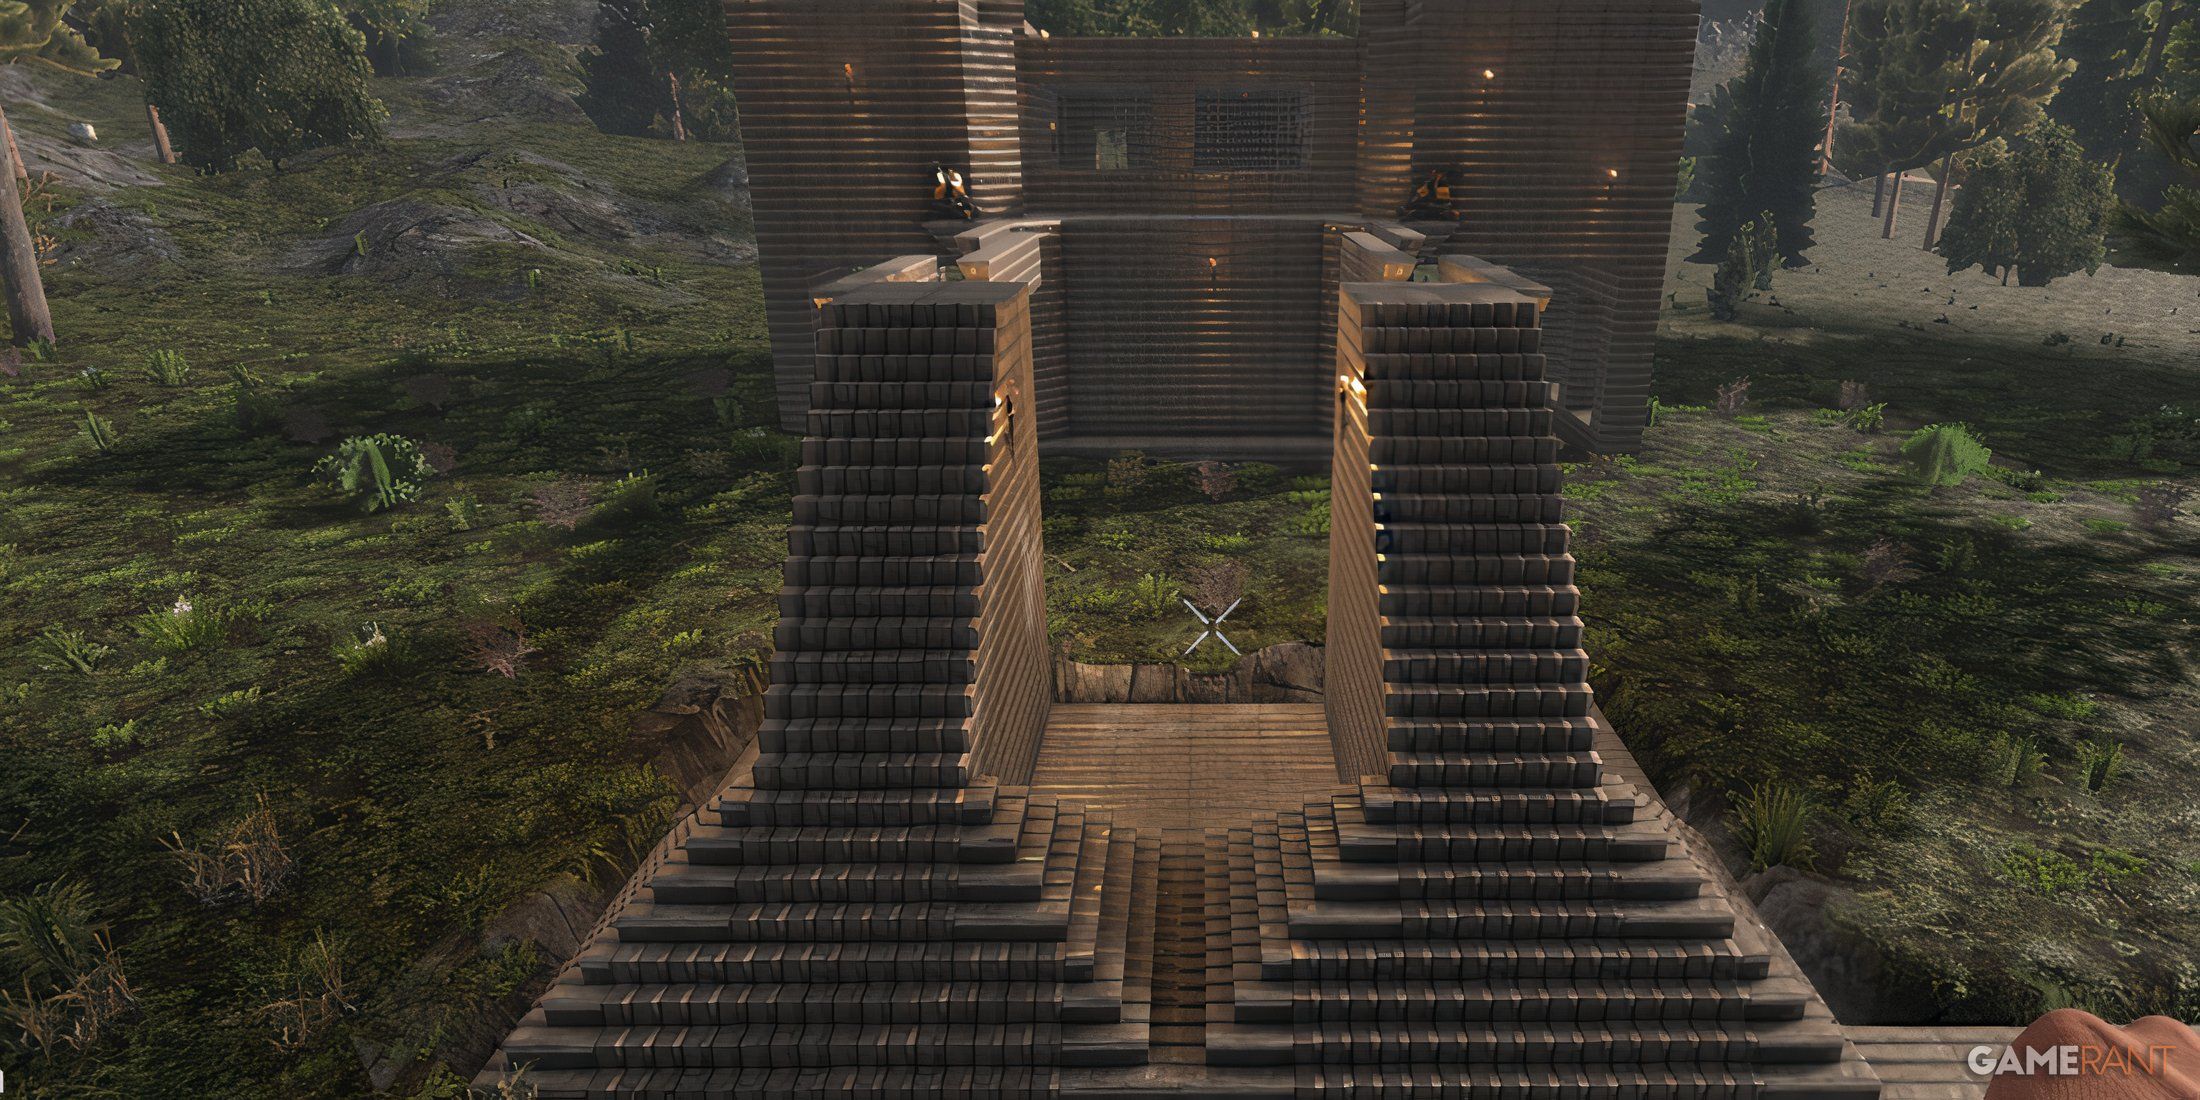
- The player does not directly attack zombies at all
- Can burn through a vast quantity of turret ammo
As a dedicated fan, I’d like to share an intriguing strategy in the zombie-survival game we all love. This base design is unique because it doesn’t require players to deal any damage to the zombies during Blood Moon events. Instead, it leverages a clever trick and strong defensive structures.
To create these bridges, corner blocks are strategically placed close together, leaving a narrow gap barely wide enough for a player to walk across without falling through, but just right for those pesky zombies. The zombies, in their mindless pursuit, cross the bridges, only to trigger traps and come under fire from turrets.
If they somehow make it past these obstacles, they fall through the gap at the end and are forced to start over again. It’s a clever loop that keeps the undead at bay and ensures our survival!
The issue with this base layout is that it heavily relies on SMG turrets, which consume vast amounts of 9mm ammunition, likely thousands, even tens of thousands, during a Blood Moon event. Despite this, it performs exceptionally well against massive zombie swarms. Building this base requires a significant amount of time and iron to produce all the steel required.
Read More
- Forza Horizon 6: Find the Ohtani Treasure Chest Location
- LEGO Batman Legacy of the Dark Knight Batcave Minikits & WayneTech Caches
- NTE Drift Guide (& Best Car Mods for Drifting)
- Diablo 4 Best Loot Filter Codes
- Boruto: Ikemoto Has Already Hinted At Sasuke’s New Eye After Return
- USD RUB PREDICTION
- Cookie Run Kingdom Timeline of Fate Update Guide
- Top 10 Must-Watch Isekai Anime on Crunchyroll Revealed!
- Deltarune Chapter 1 100% Walkthrough: Complete Guide to Secrets and Bosses
- Starsand Island’s Rarest Achievements and How to Earn Them
2025-05-05 04:40