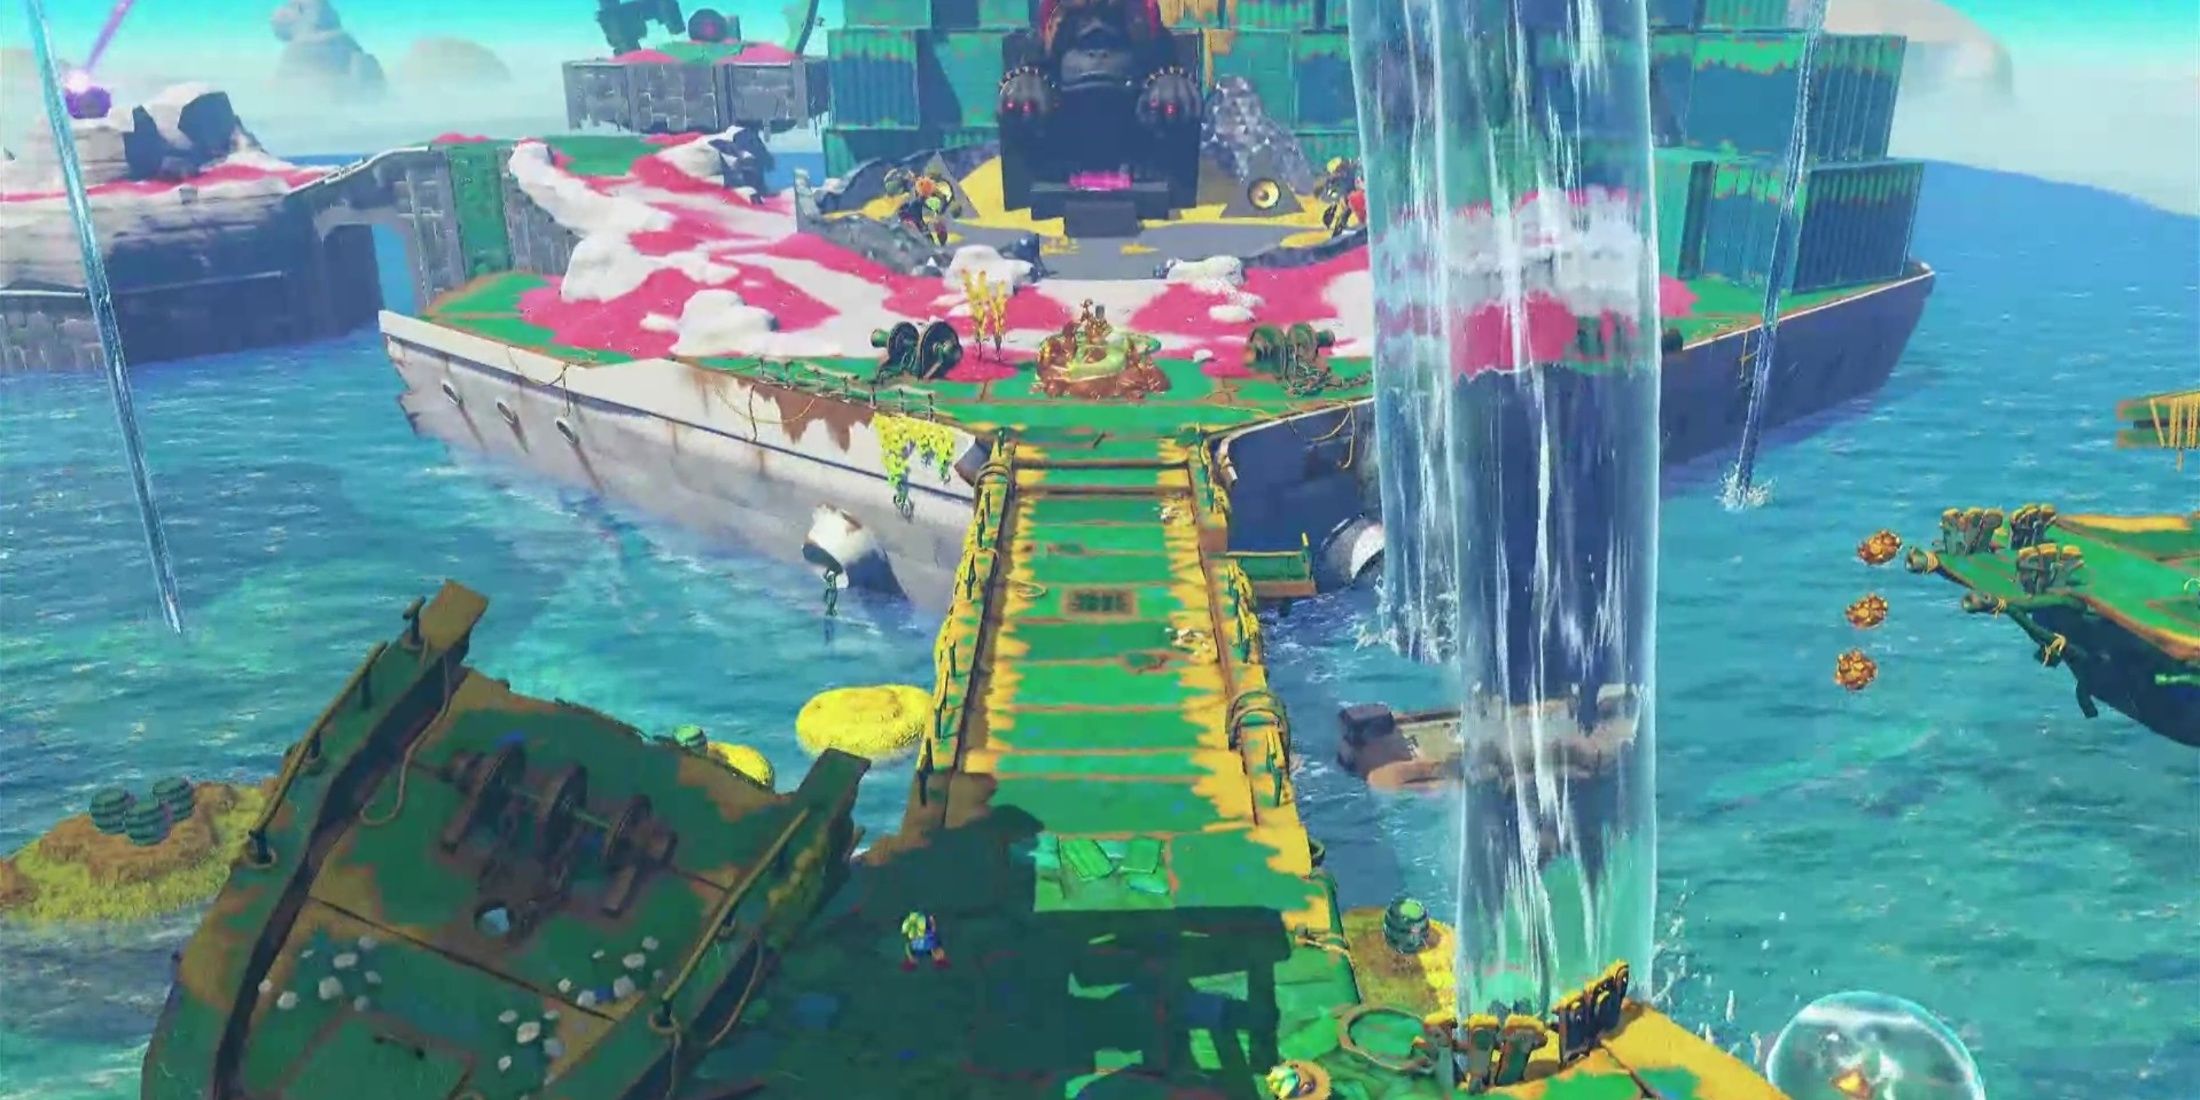
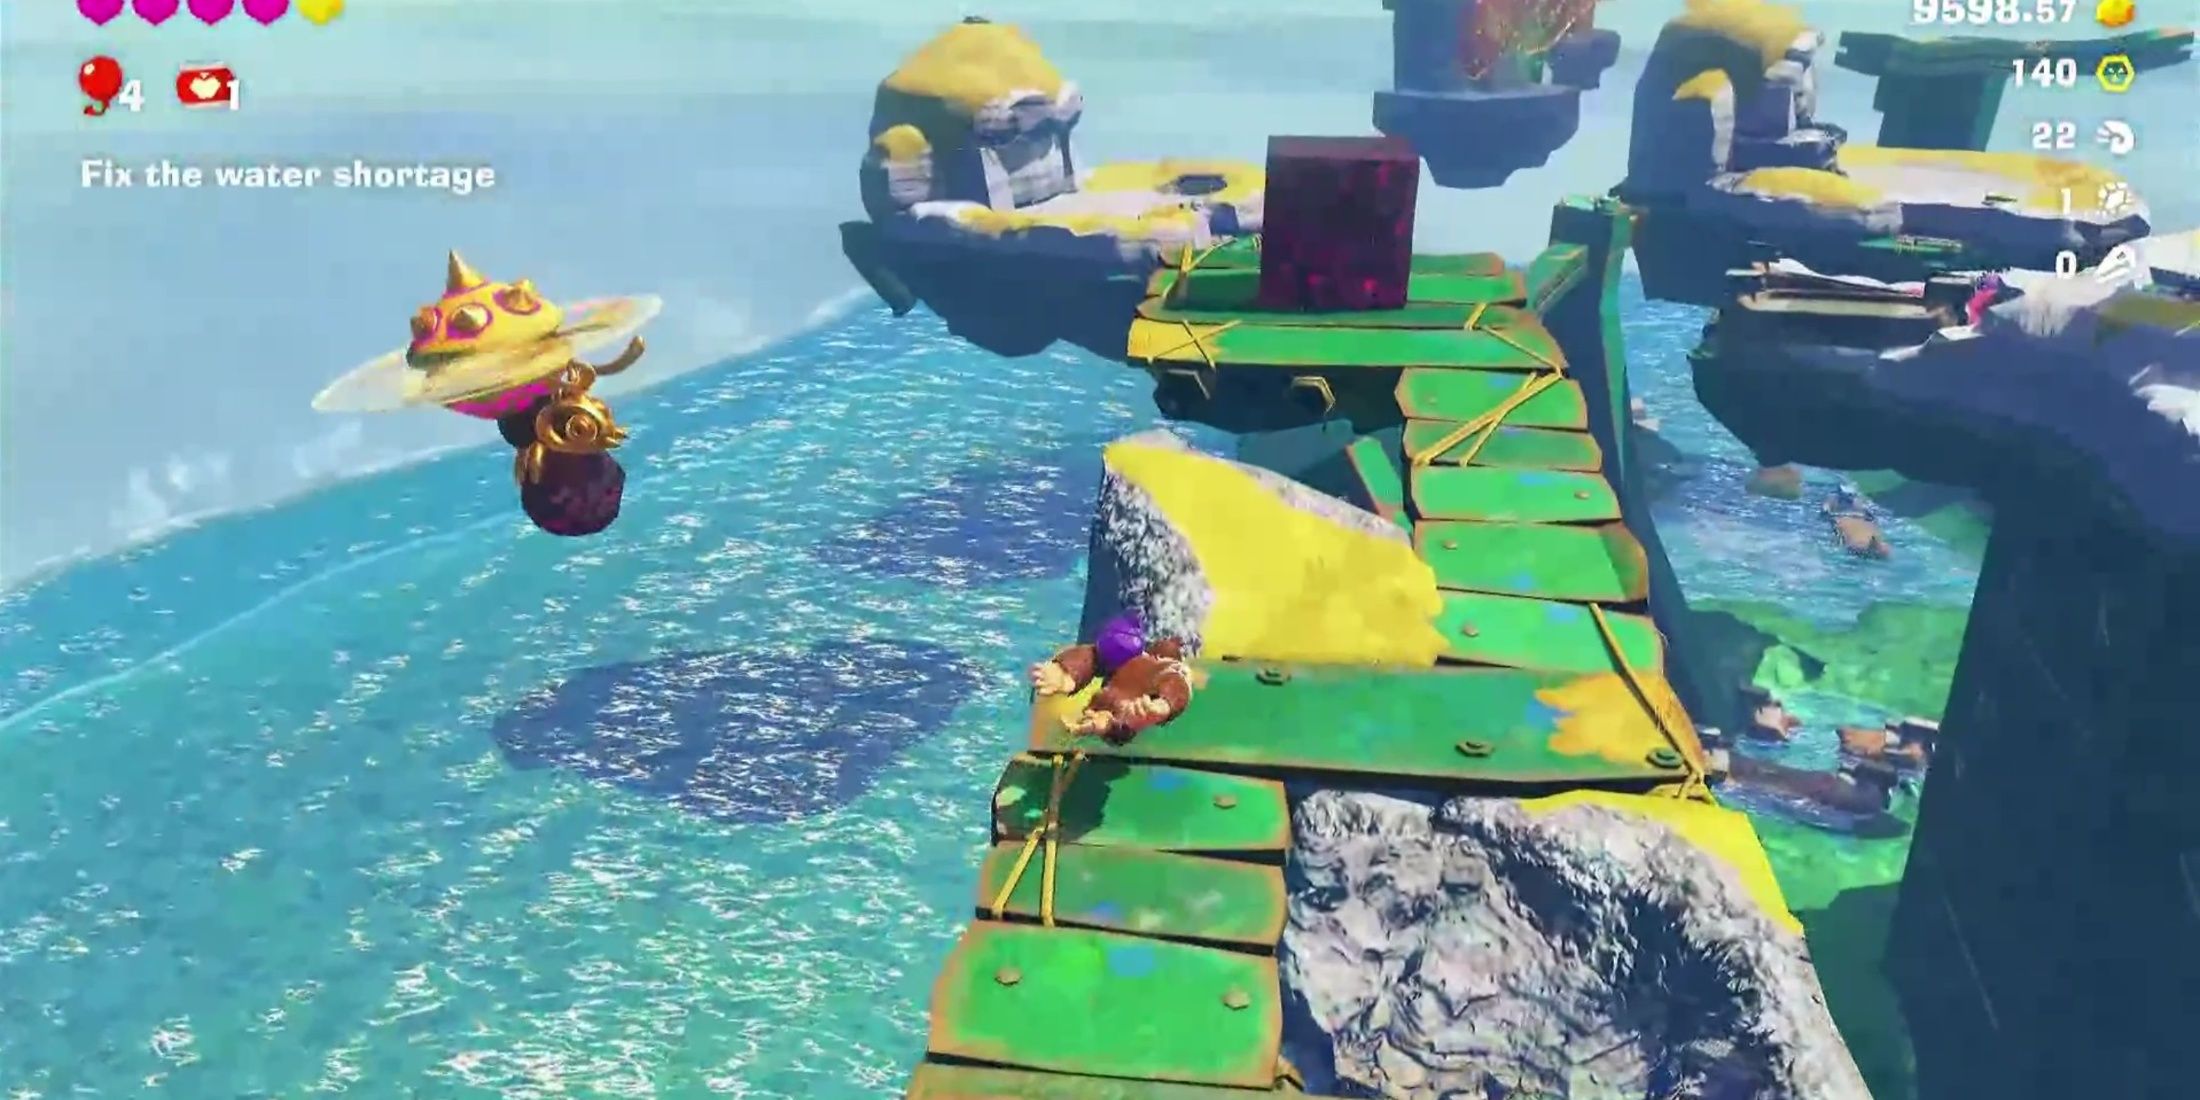
Upon entering Lagoon Layer within Donkey Kong Bananza, the primary goal for players is banana collection. As they delve deeper into the environment, they’ll stumble upon an odd structure at the heart of a tranquil pond. This structure seems to function as a stopper, obstructing water from flowing to the lower layers. It is at this point where Donkey Kong will be challenged to tackle this water shortage issue and restore the water levels in the other layers to their normal state.
In this tutorial, players will find assistance navigating through the tale of Donkey Kong Bananza’s Lagoon Layer. This layer contains two additional areas that need to be thoroughly investigated before proceeding to the next level, SL200.
Go Down to SL101
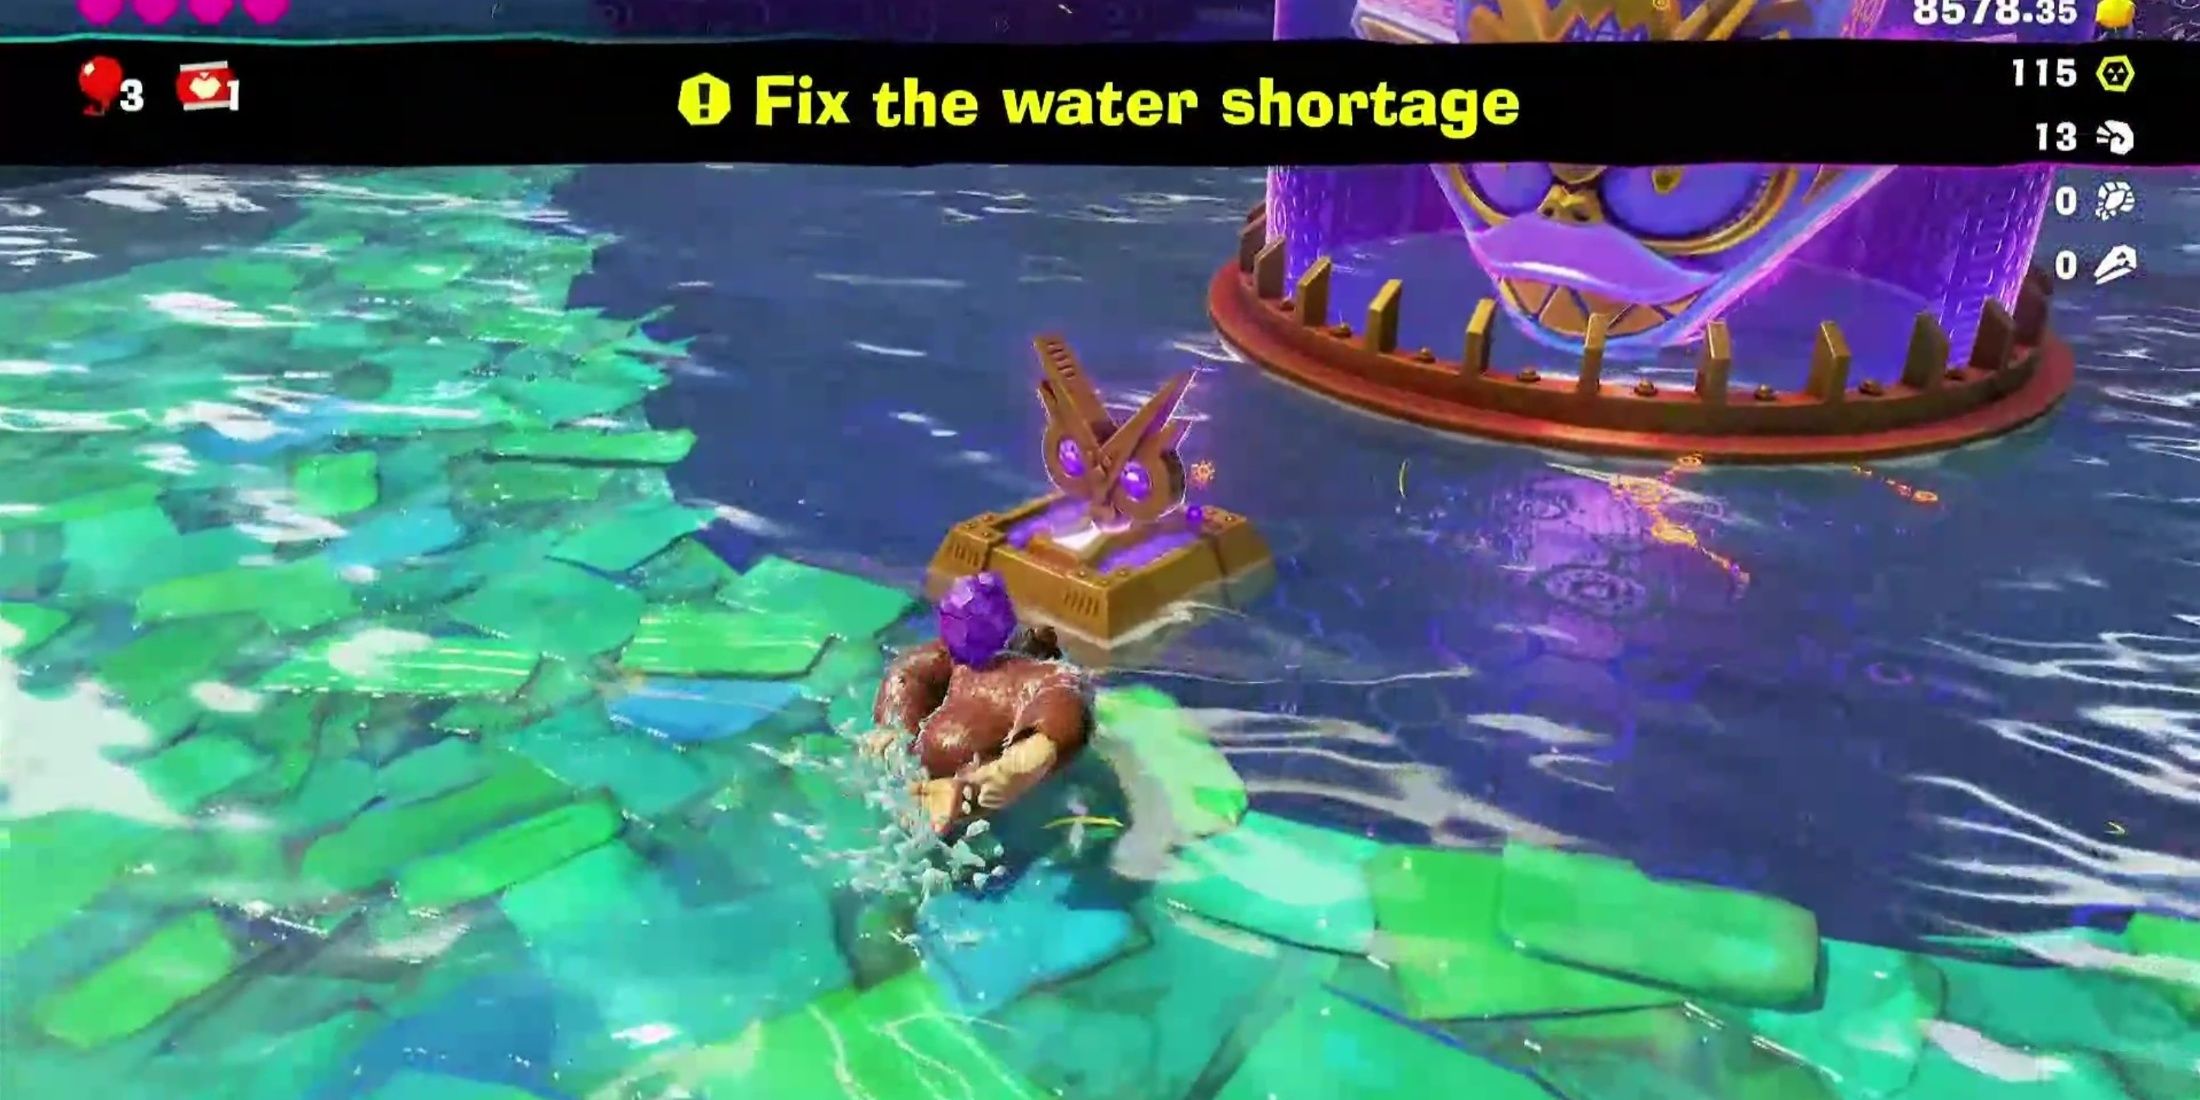
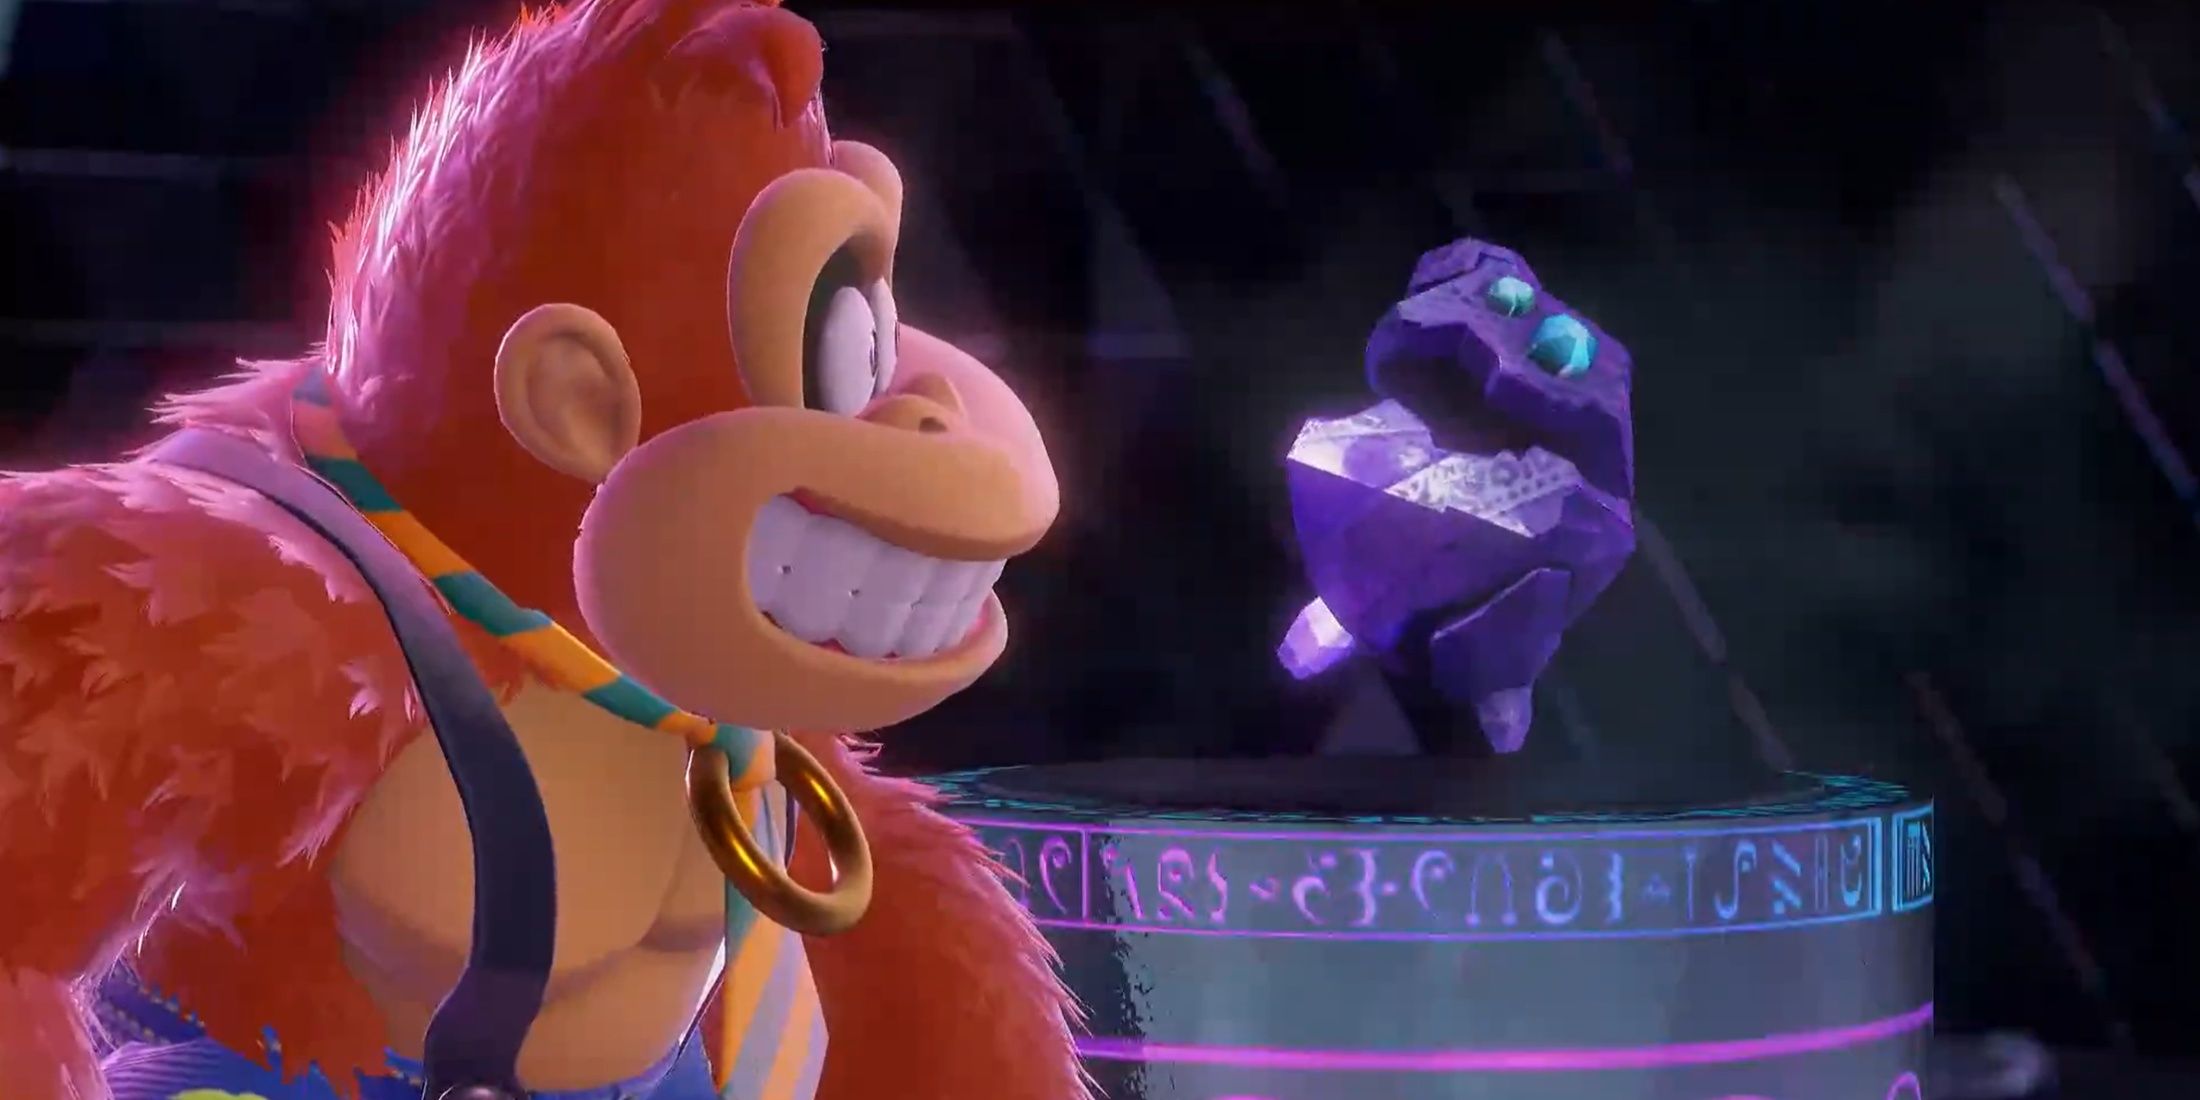
Players are assigned a mission to resolve the water scarcity issue post defeating the Crockoid near the central pool in Lagoon Layer’s SL100. After successfully vanquishing the Crockoid, a key will be positioned before a masked plug. Players can then rotate (or punch) this plug to break the protective glass covering it, revealing the solution to the water problem.
As a fan, I’d say: I should move towards the plug and give it a good push, ensuring the water makes its way to the deeper layers. Simultaneously, a trio of Banandium Gems will follow the waterfall, landing on Sublayer 101. Upon my arrival at SL101, I’d see that while some water has indeed seeped through, the water levels are still far from their usual state.
Destroy the Three Pillars
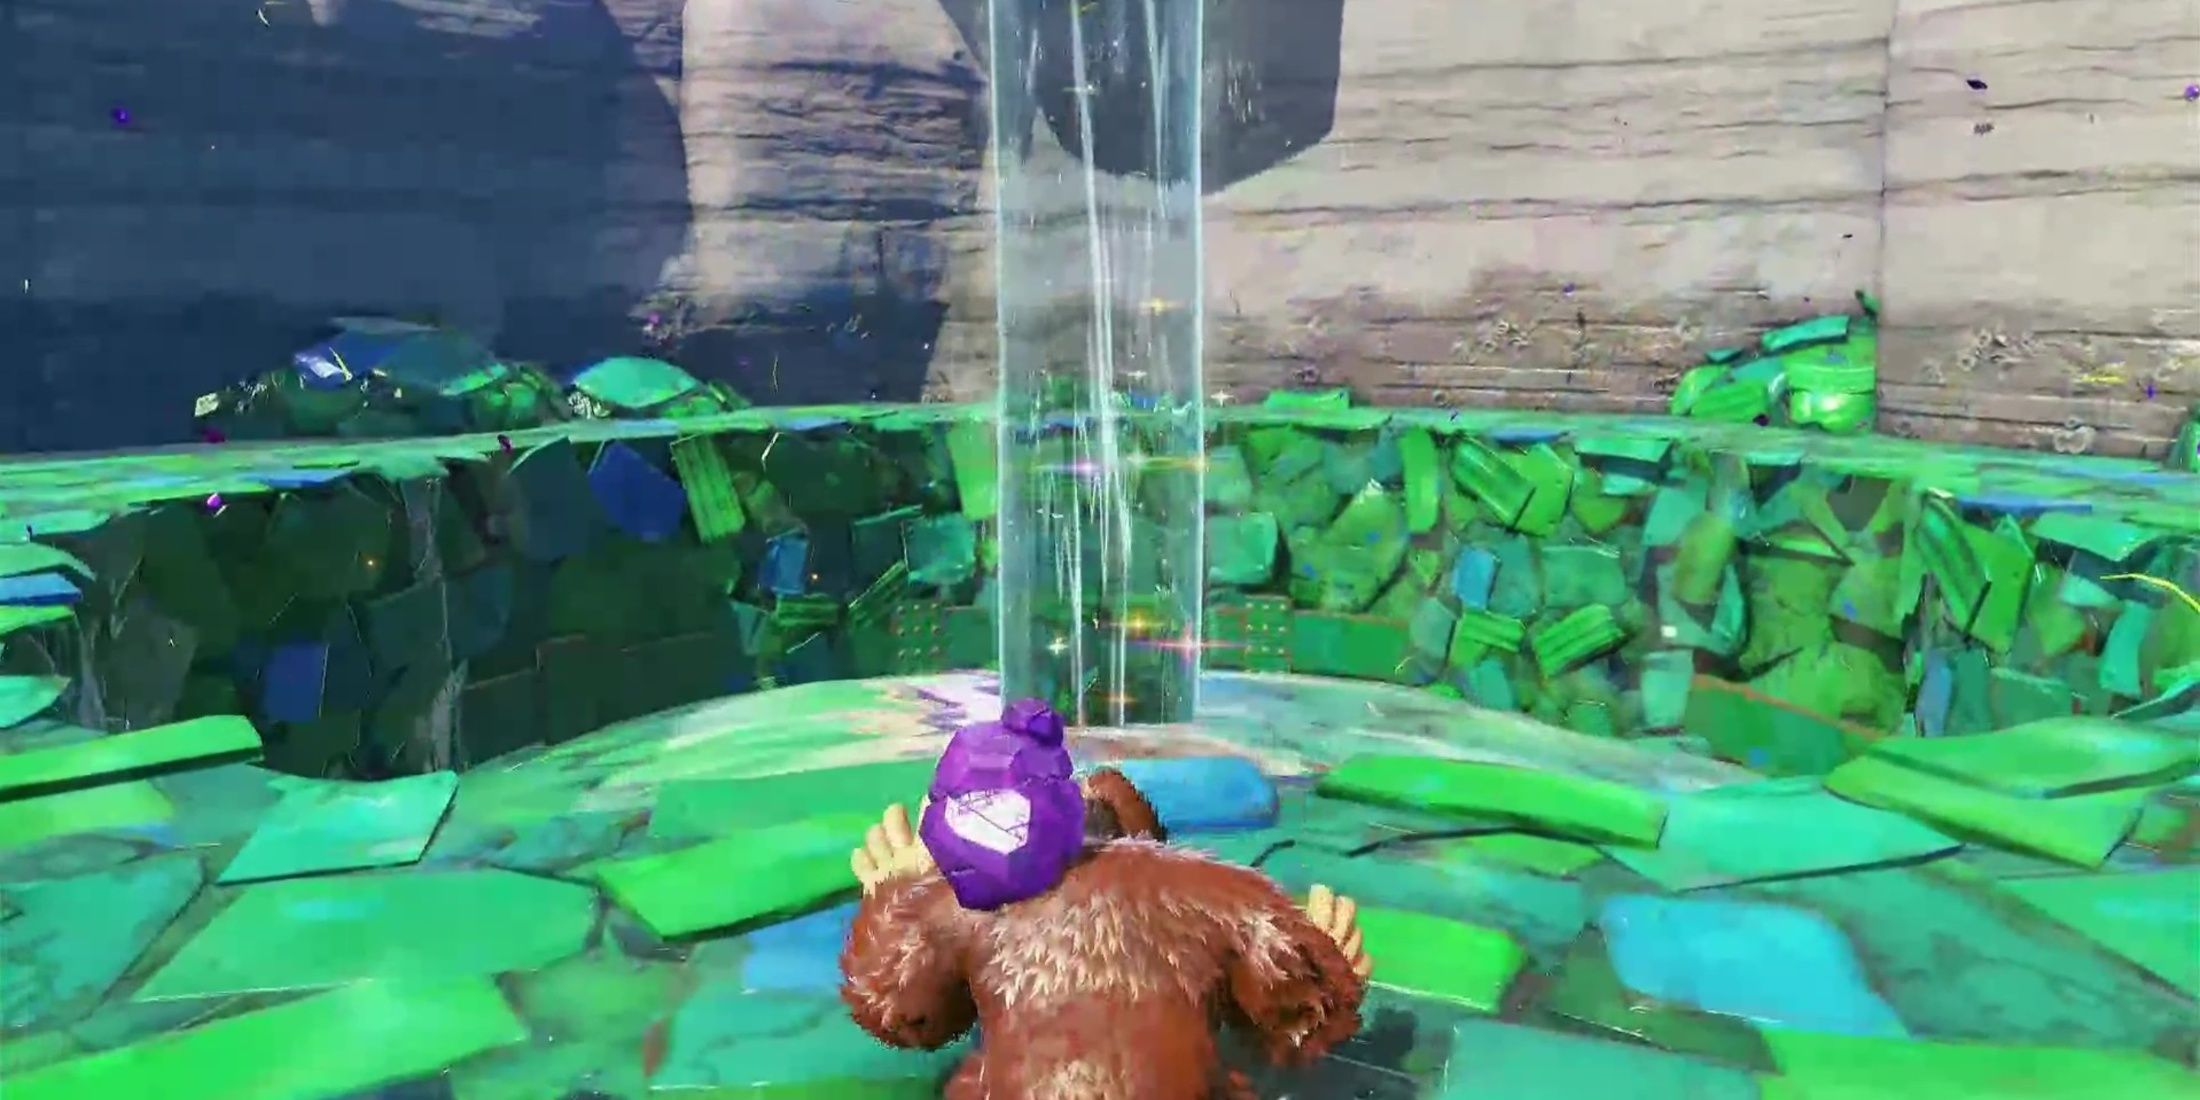
To drain the water from the tank suspended over the village, players need to dislodge the three supports holding the plugs in position. Once these pillars are broken, the water will cascade to its rightful location.
First Pillar
Players can reach the first pillar by jumping from a ledge next to a water bubble, which is located near an old bridge that once connected the village to Elder Court but is now unreachable.
When you’re close to the body of water, players should ascend a towering, lush construction. But be cautious, as three airborne adversaries, who hurl rocks and fly around it, pose a threat. At the summit, there’s a Boom Rock, which they can pick up and employ to eliminate these enemies and also demolish the column emitting purple energy. As soon as that column is obliterated, water will start gushing out from a tank and the water level will gradually rise.
Second Pillar
As the water level rises, players will gain access to a tiny island located beyond the impassable bridge. On this island, they’ll encounter two Antickoids that can be hit, allowing them to collect the Boom Rocks on their backs. These rocks are essential because Donkey Kong can hurl them and shatter the concrete platform inhibiting his ascent of the structure ahead.
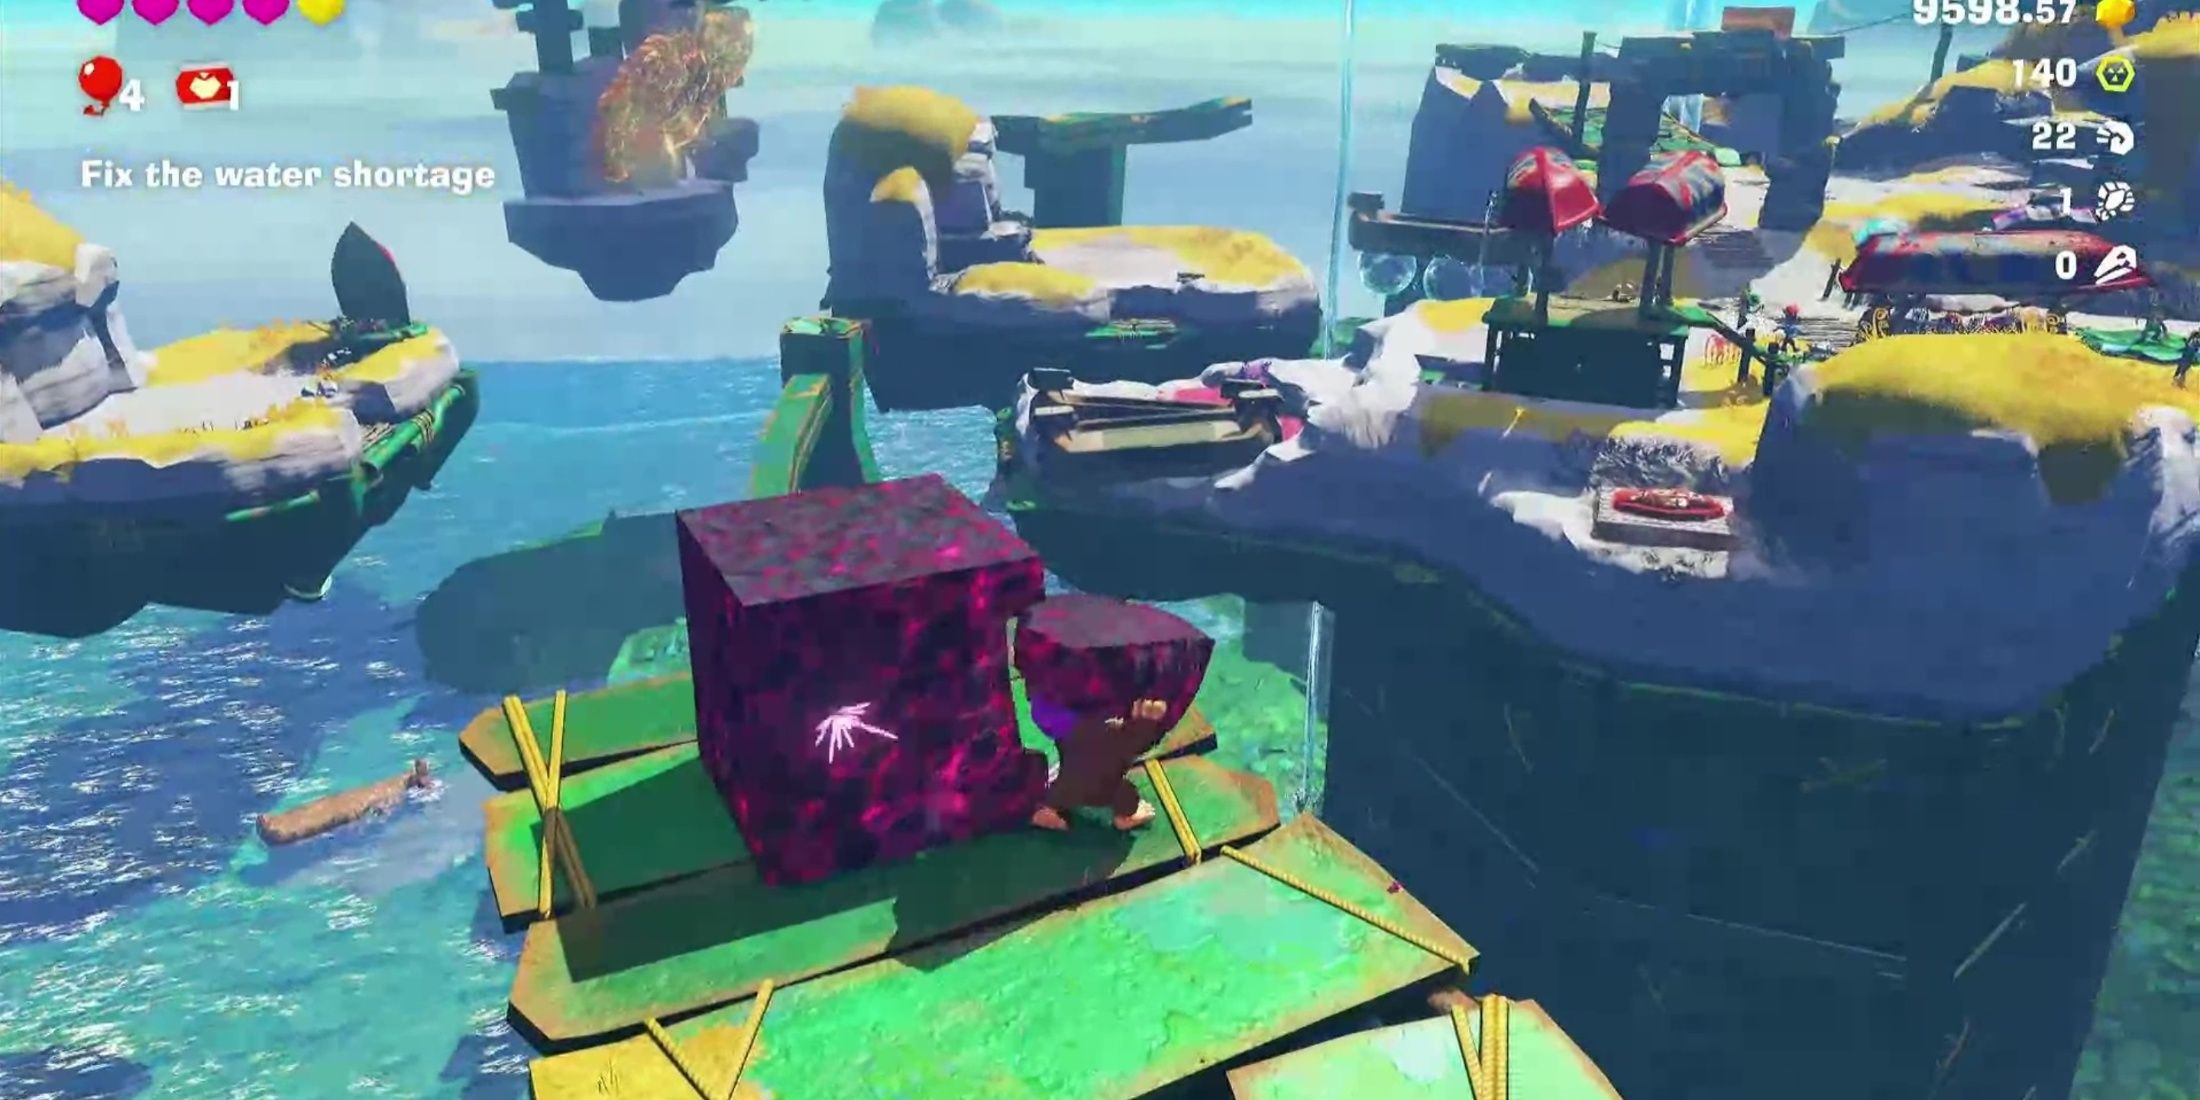
After finishing the climbing part, players should traverse onto the ceiling and move towards the next platform. At the end of this area, they’ll discover a barrel that transports them back to SL100. This step is crucial because it allows players to retrieve another mask plug and dive again to approach the second pillar closely enough to destroy it.
On SL100, players should navigate to the opposite end of the island and locate the plug to be removed. Reaching the destination is straightforward, but the area containing the plug is too steep for Donkey Kong to ascend. Consequently, he’ll inadvertently slide down instead.
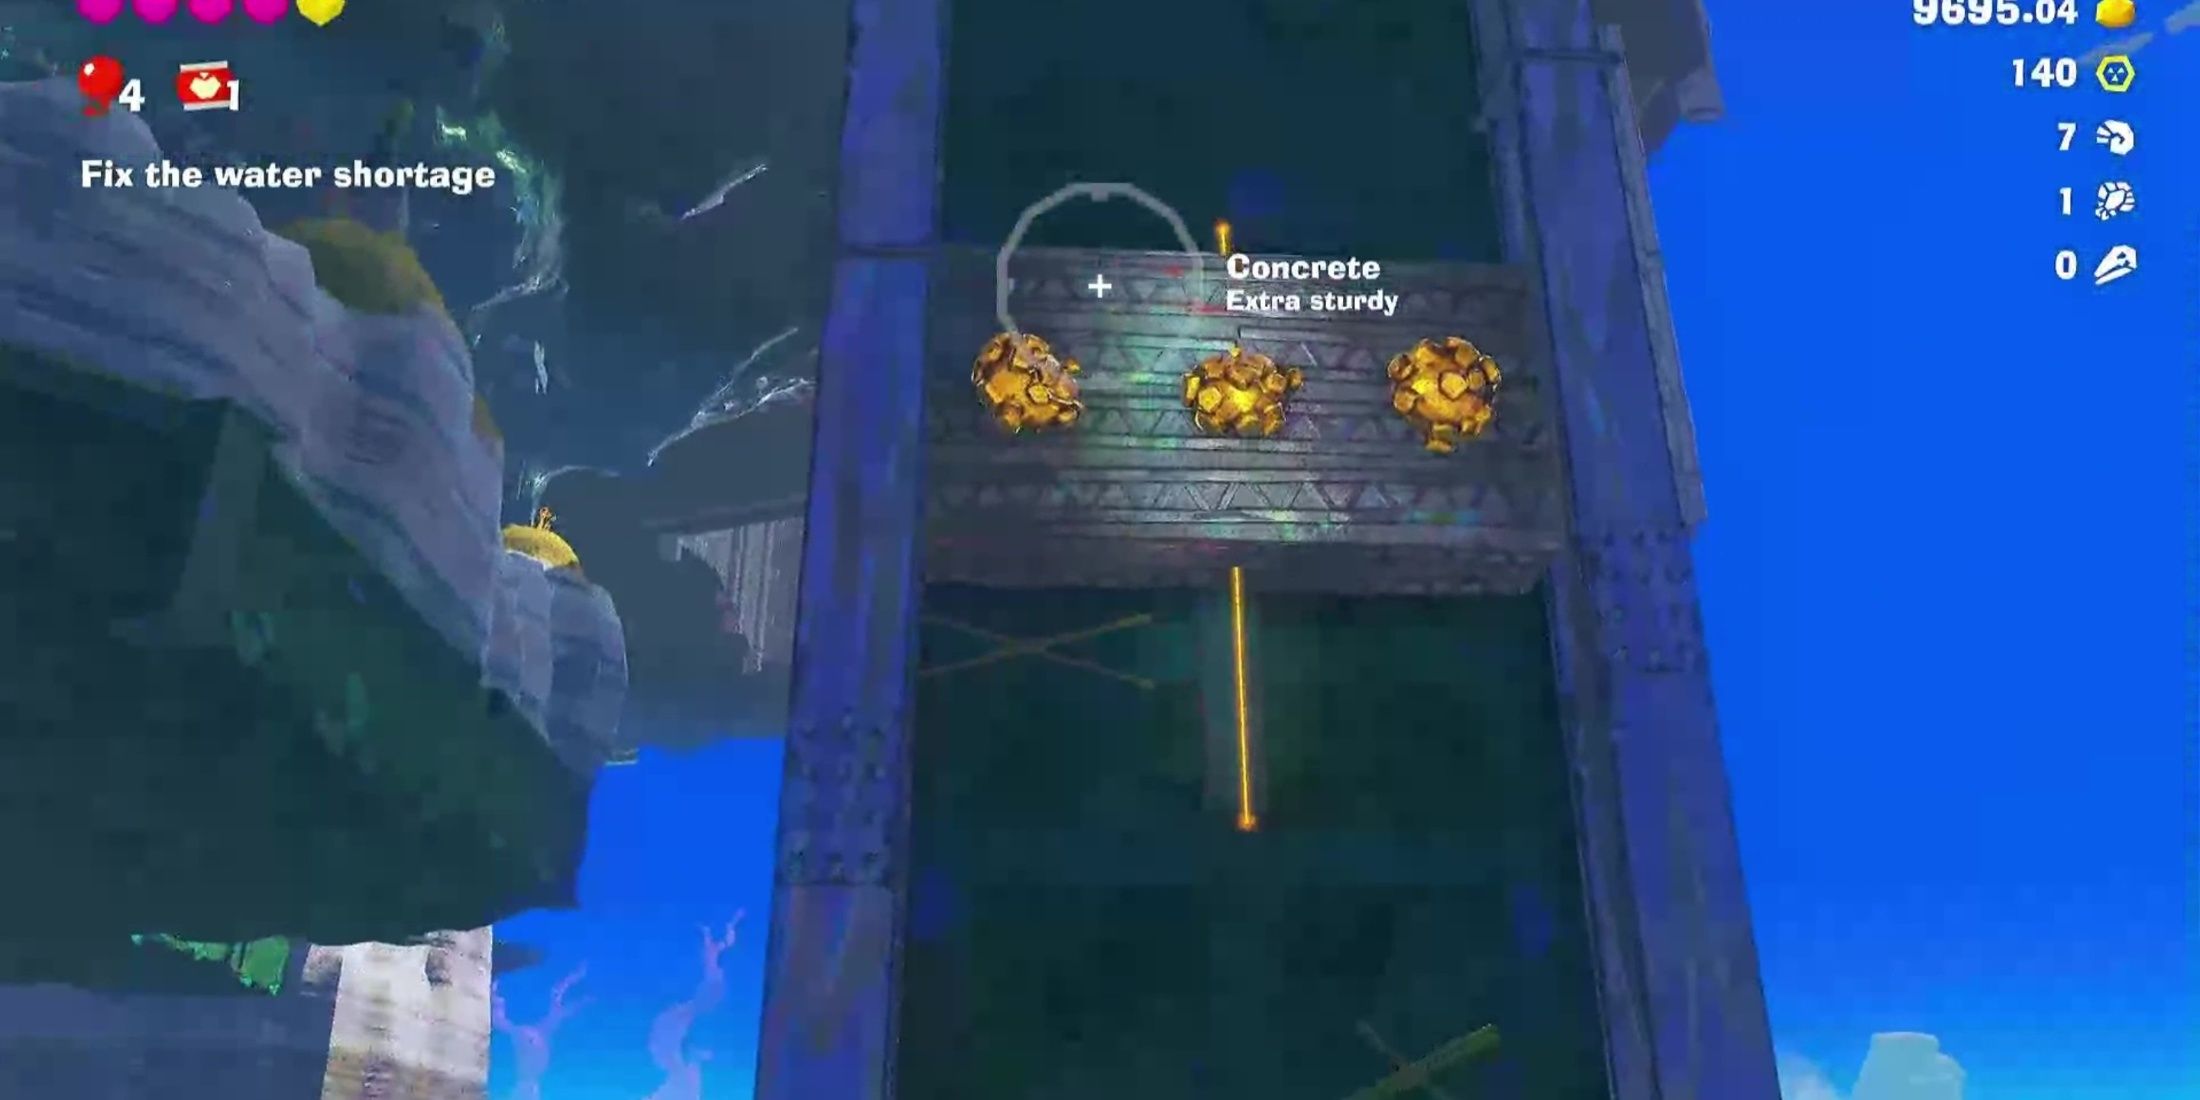
As an enthusiast, I’ve stumbled upon a fascinating climbing spot, but alas, it seems to be barricaded with concrete blocks. Luckily, there’s some Boom Rock conveniently positioned in front, ready to be utilized for demolition. However, be wary! A horde of Peekaboopoids is likely to appear and give you a tough fight.
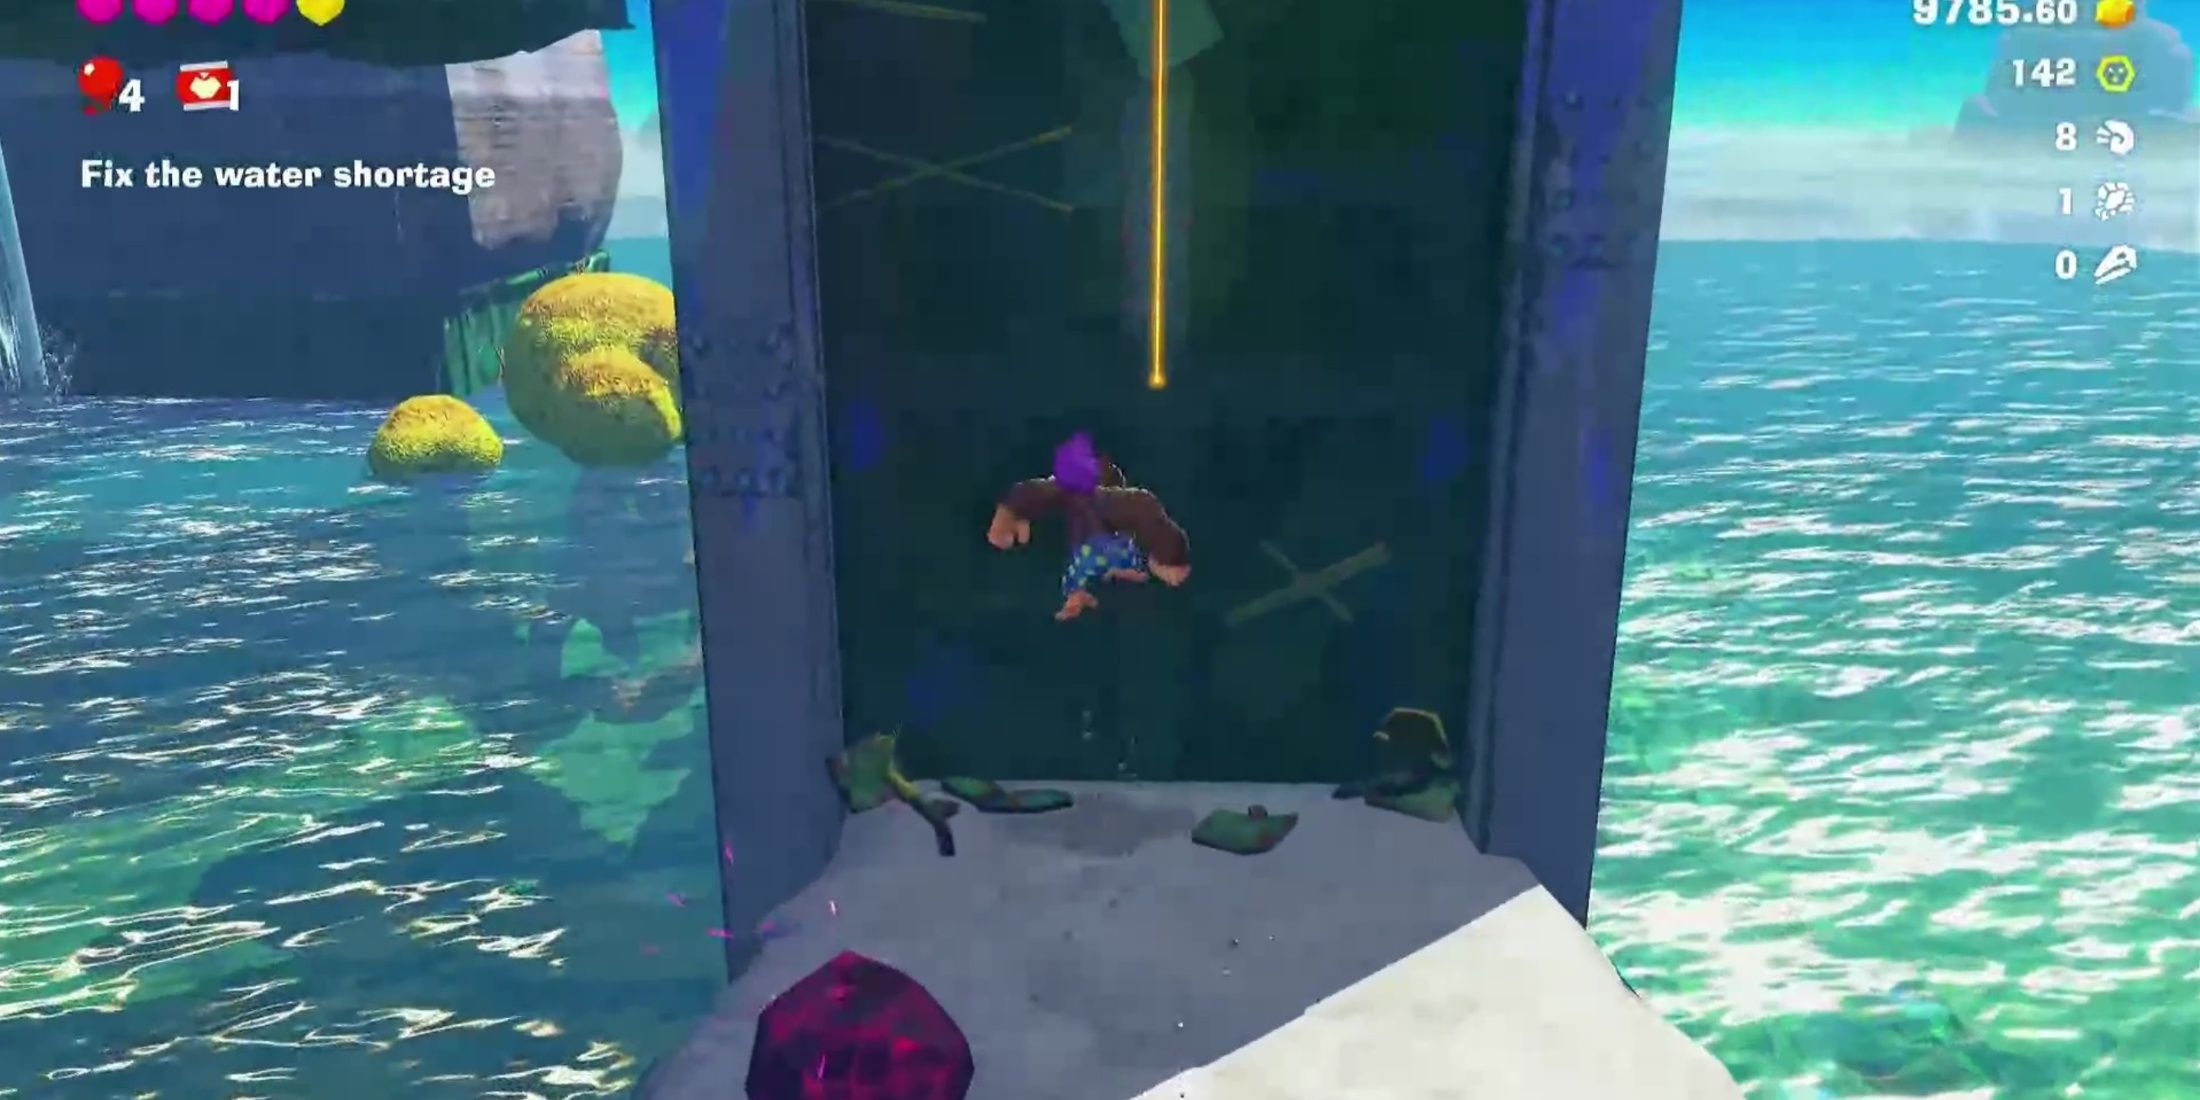
After clearing the path, they should ascend, persistently fending off the Peekaboopoids. At the summit, they need to demolish the mask before plunging back down. They will discover themselves on Orangu-Hang Highway. Further along, there’s a vertical stretch where an adversary will keep emerging from the ceiling. Players should endeavor to evade this enemy and successfully navigate to the opposite side.

On the opposite side, you’ll encounter another foe, but this time he is constructed of Boom Rock. Ahead, players will spot a second pillar. They need to gather some Boom Rock, dodge the enemy’s attacks, and then hurl it at the pillar to demolish it.
As for the other side, there lies another adversary, this one fashioned from Boom Rock. Up ahead, you’ll come across a second pillar. Players should scoop up some Boom Rock, avoid the enemy’s assaults, and then toss it at the pillar to obliterate it.
Third Pillar
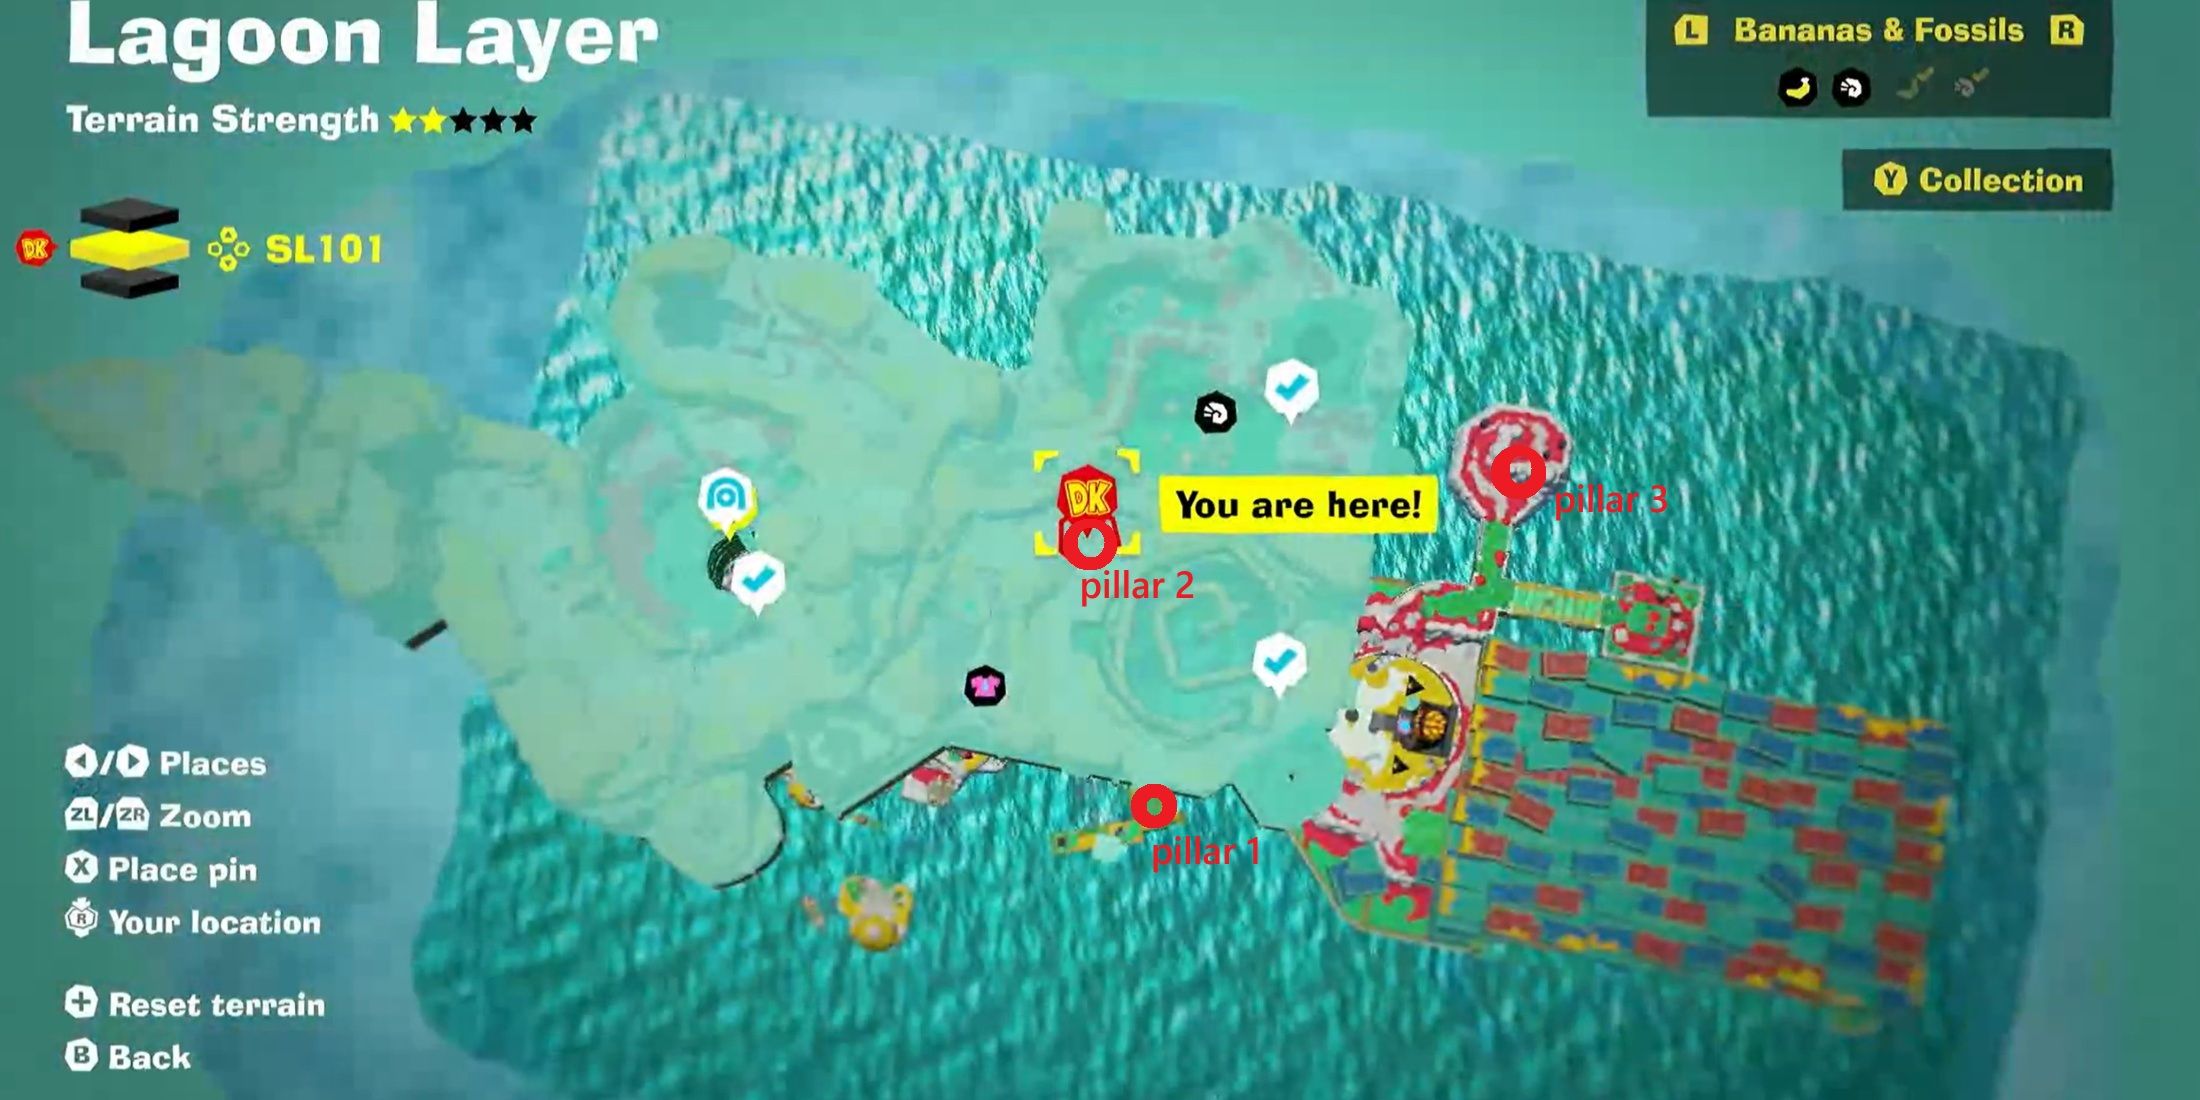
Raising the water level further by eliminating the second support structure will restore the bridge to its original position, making it accessible for both the player and villagers to reach Elder Court. Near Elder Court, on the left side, not far from the Ancient Record’s location, players can find the final pillar easily. They can shatter it using the nearby explosive rock and continue with the game’s narrative.
Go Down to SL102
Players need to find the Ancient Record near the third pillar and deliver it to Kong Elder. Once played, the peculiar stone will transform into Pauline. As Donkey Kong beats his drums and inspires her to sing, he transforms into Kong Bananza. A tutorial level will follow, allowing players to learn how to harness Bananergy and unleash Kong Bananza’s powerful abilities.
In conclusion of the tutorial, Kong Elder will guide players towards their next destination – the Planet Core. To get there, keep venturing deeper into the lower layers. To find SL103, make your way to the container area hidden behind Kong Elder. This path is filled with enemies and solid walls, so it’s wise to gather plenty of gold beforehand, as transforming into Kong Bananza will help you breeze through them effortlessly.
At the termination of the tunnel lies a mask-shaped device they need to activate to enter SL102 – it’s the lowest level in the Lagoon Layer, the final subarea players can traverse before advancing to the Hilltop Layer.
Fight Peekabruiser
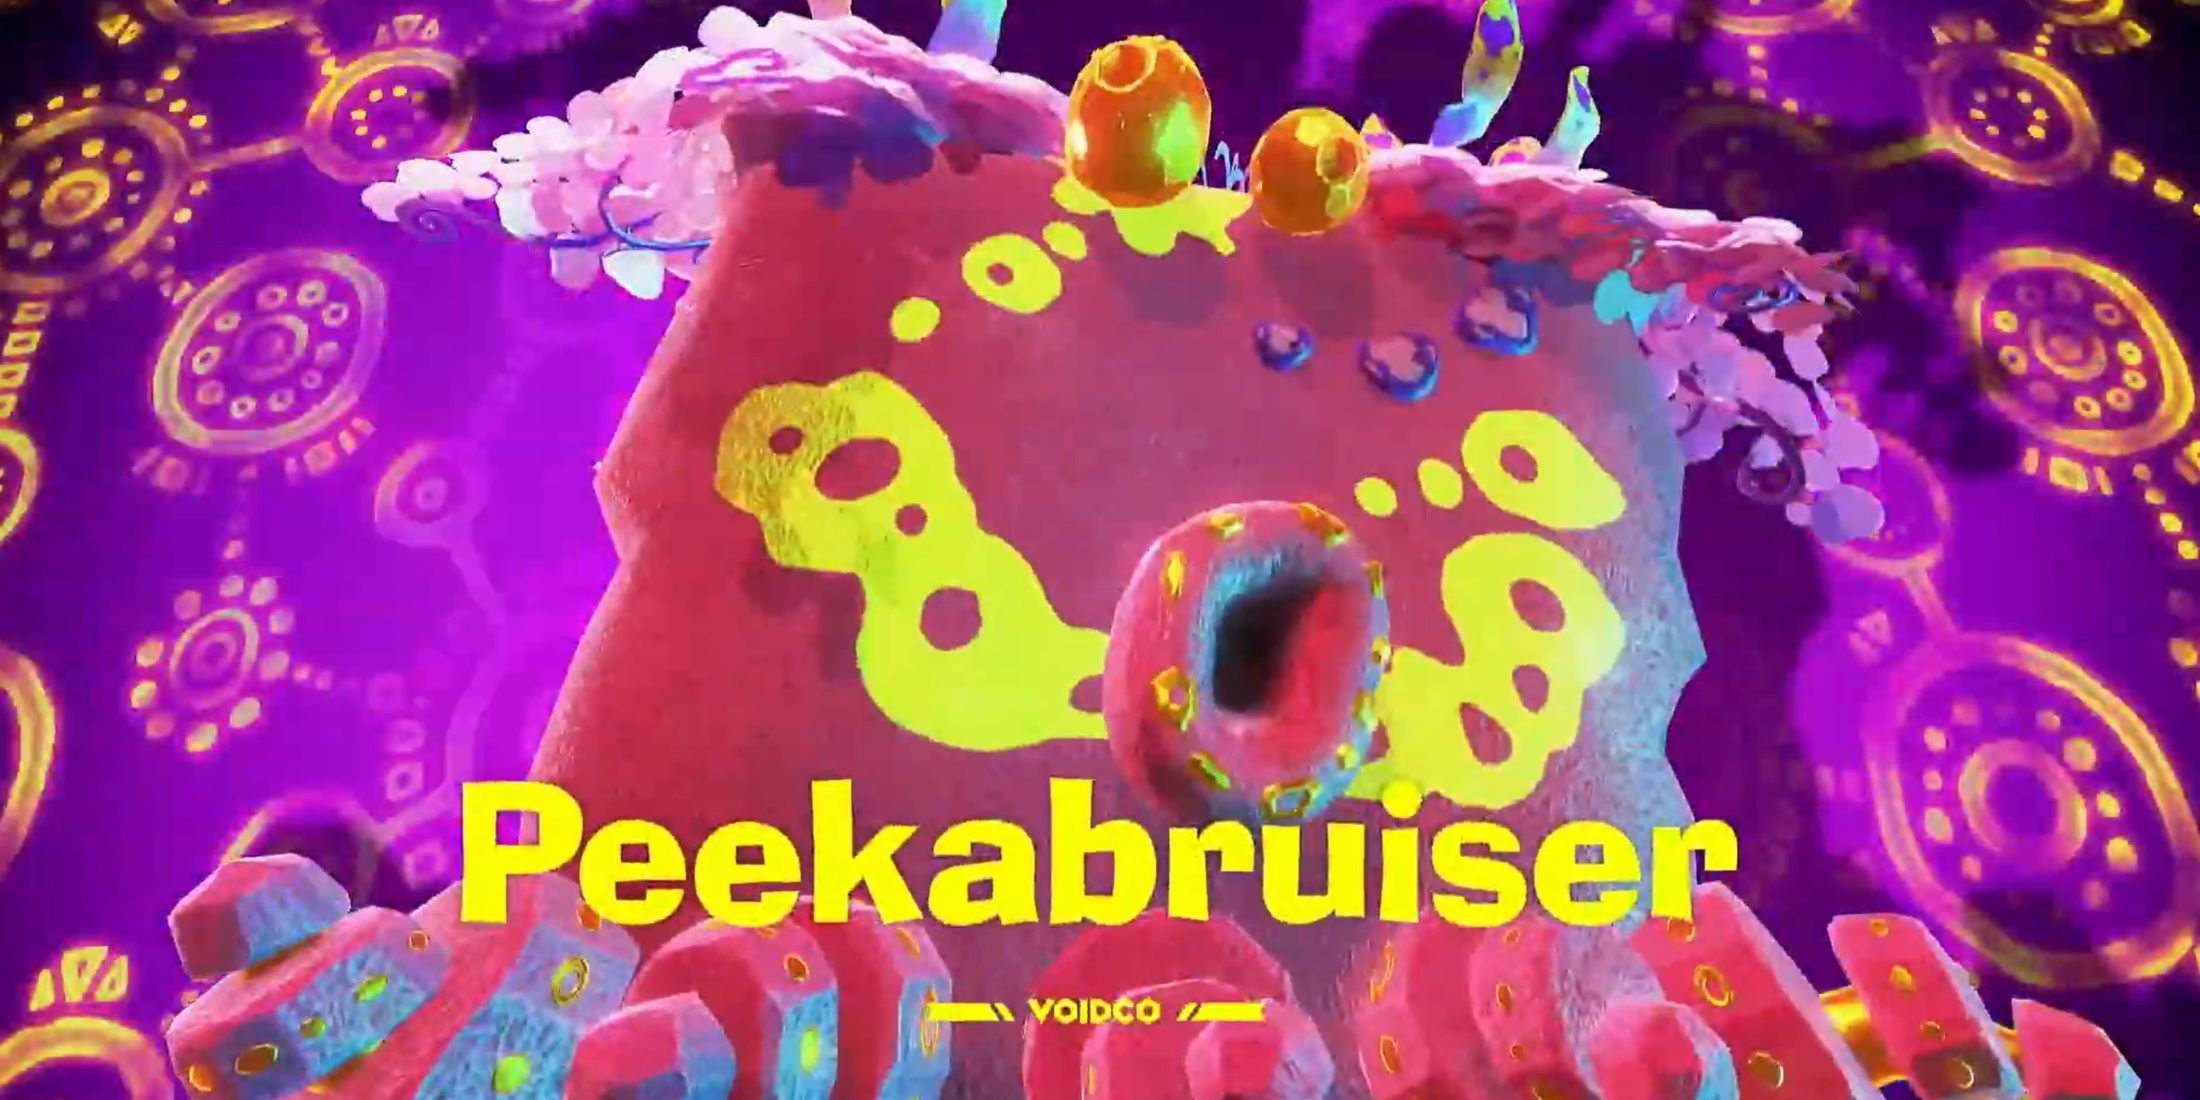
Players need to make their way towards the heart of Chimpy Channel. They can get there by scaling the structure situated at the tunnel’s exit and leaping over to the other side. On their journey, they will have to battle past the Peekaboopoids until they reach the area leading to the Chimpy Channel Exit. Afterward, a cutscene will ensue, followed by a fight against Peekabruiser as a boss.
Here is a full guide on how to defeat Peekabruiser in Donkey Kong Bananza.
-
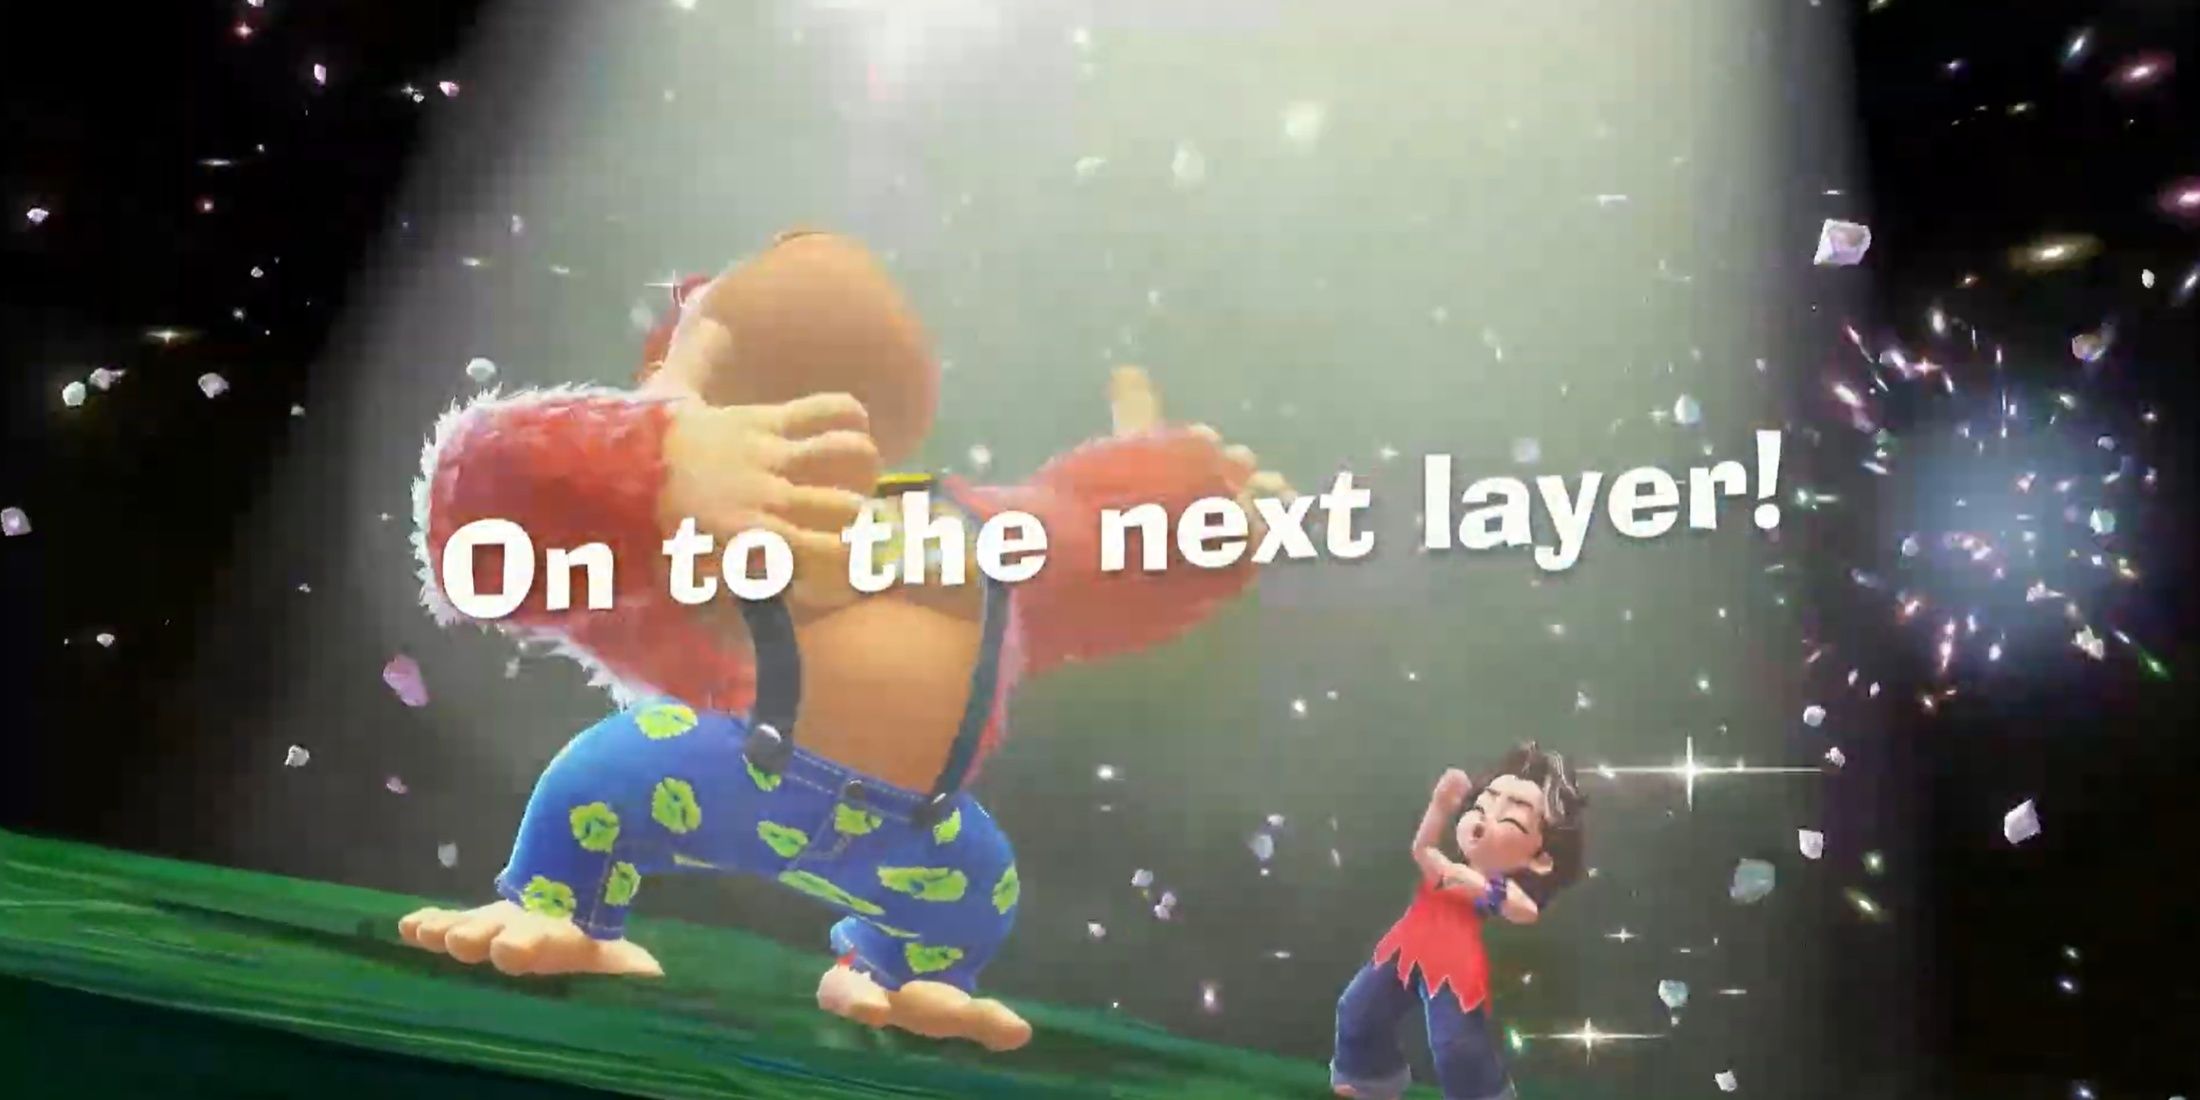
After vanquishing Peekabruiser, players should demolish the mask attachment. This action transforms it into a cluster of bananas and creates a gap in the ground, allowing Donkey Kong and Pauline to ascend to Hilltop Layer at SL200. Players can either Punch Downwards for increased speed or use Brake to savor the journey or maintain better control over DK.
Read More
- All Skyblazer Armor Locations in Crimson Desert
- New Avatar: The Last Airbender Movie Leaked Online
- How to Get the Sunset Reed Armor Set and Hollow Visage Sword in Crimson Desert
- One Piece Chapter 1180 Release Date And Where To Read
- All Shadow Armor Locations in Crimson Desert
- Boruto: Two Blue Vortex Chapter 33 Preview — The Final Battle Vs Mamushi Begins
- Cassius Morten Armor Set Locations in Crimson Desert
- Red Dead Redemption 3 Lead Protagonists Who Would Fulfill Every Gamer’s Wish List
- Euphoria Season 3 Release Date, Episode 1 Time, & Weekly Schedule
- USD RUB PREDICTION
2025-07-21 01:34