After spending numerous years on PC platforms, the game “Ready or Not” has now made its debut on consoles, offering its intense tactical realism to a fresh wave of players. Although the tutorials and mission introductions give an overview of the fundamental mechanics, the true challenge lies in how players make judgments about risk and perform effectively under pressure. Achieving success, whether it’s gauged by survival, high scores, or flawless completions, isn’t solely dependent on quick reflexes. It also involves learning strategies that have been honed by survivors of the fiery trial, and understanding the unspoken rules that “Ready or Not” doesn’t explicitly state.
As a fan, I can tell you that “Ready or Not” is unlike most First-Person Shooters you might be used to. If you approach it as just another FPS, you’re likely to run into trouble. Instead, the game thrives on strategic thinking reminiscent of a real SWAT team. Managing angles, scanning corners, and making decisions based on limited information are common practices in this game.
Success hinges on more than just aim and reflex – you’ll need to understand AI behavior, how various weapons and tools impact each encounter, and know when it’s wise to abandon a failed breach. Whether you’re a newcomer or a returning player, mastering these unspoken rules of “Ready or Not” is key to the difference between a smoothly executed mission and a chaotic one.
Unwritten Rules for SWAT Success in Ready or Not
AI Teammates Are Moving Cover With Trigger Discipline, Not Operators
In the Commander Mode of the game Ready or Not, the AI teammates are skillfully effective: they arrange themselves, reflect doors, even tidy up rooms quite efficiently. Nevertheless, these AI companions should not be seen as strategic allies; rather, they are tools. In this mode, playing Ready or Not is much like a Real-Time Strategy (RTS) game, and considering the AI as independent thinkers could lead to failure. They excel at basic tasks such as maintaining positions and responding to threats within their field of vision. Overall, these AI squadmates won’t let you down if you only expect them to follow your instructions literally. Successful players of Ready or Not should remember that the AI companions are more like extensions of the player’s strategic positioning. They can fill gaps in coverage, secure flanks, and serve as anchor points, but they cannot be treated as if they’re learning or adapting because they don’t.
Compliance is Negotiation Through Fear
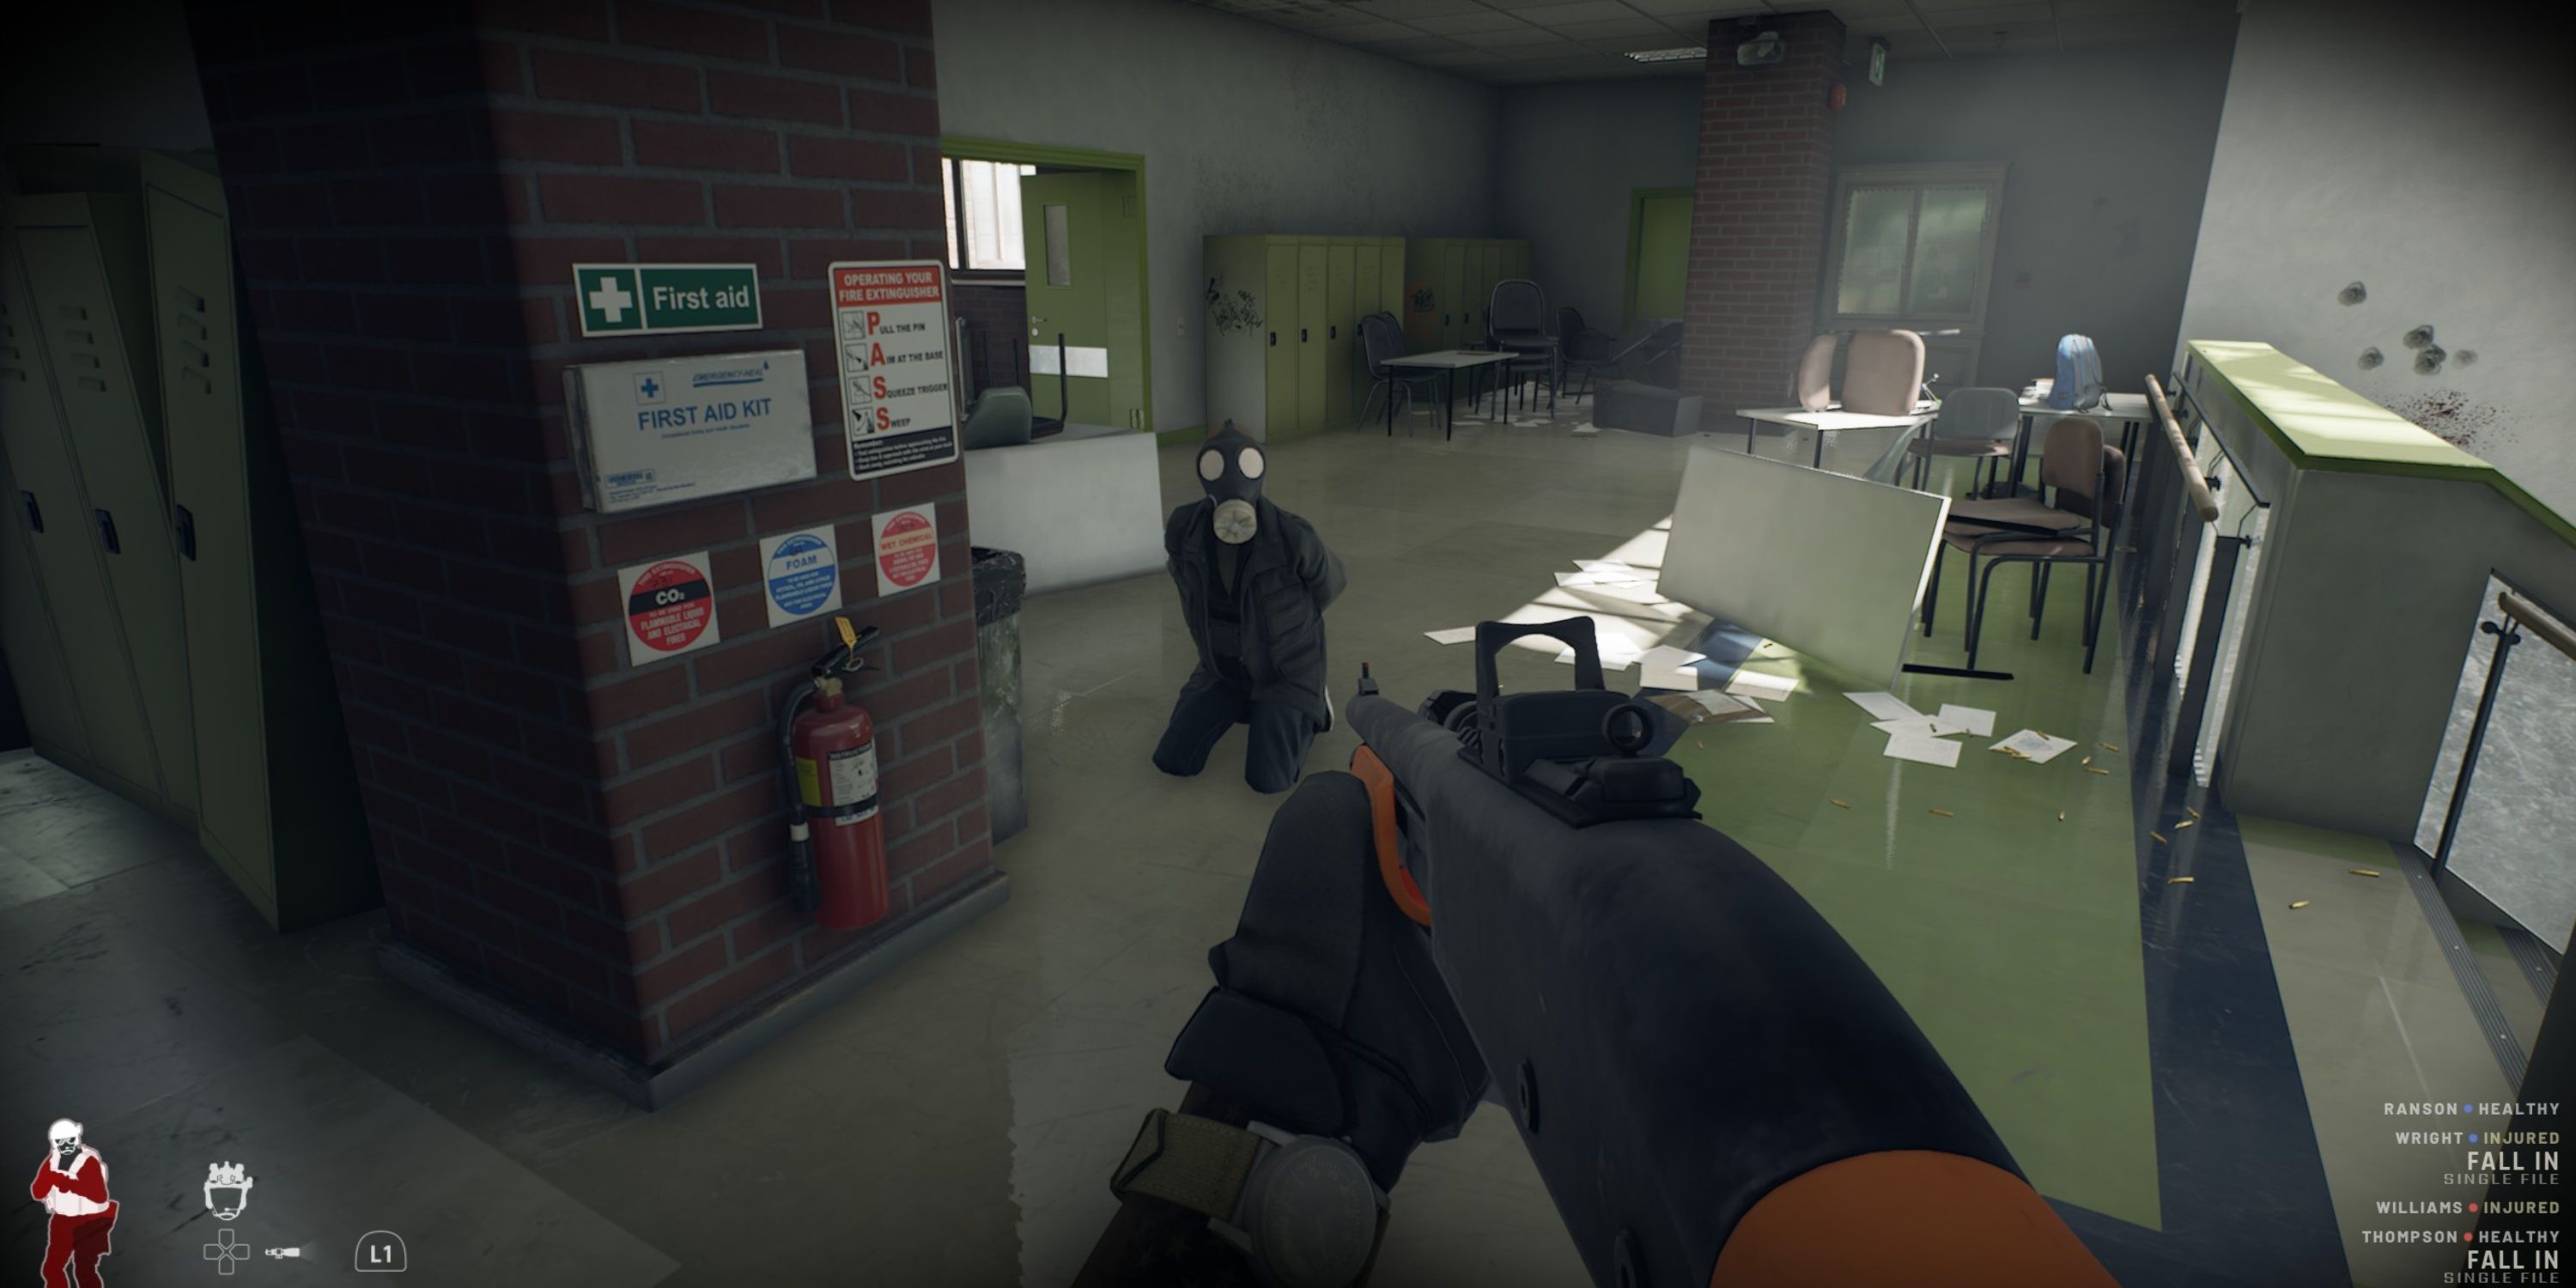
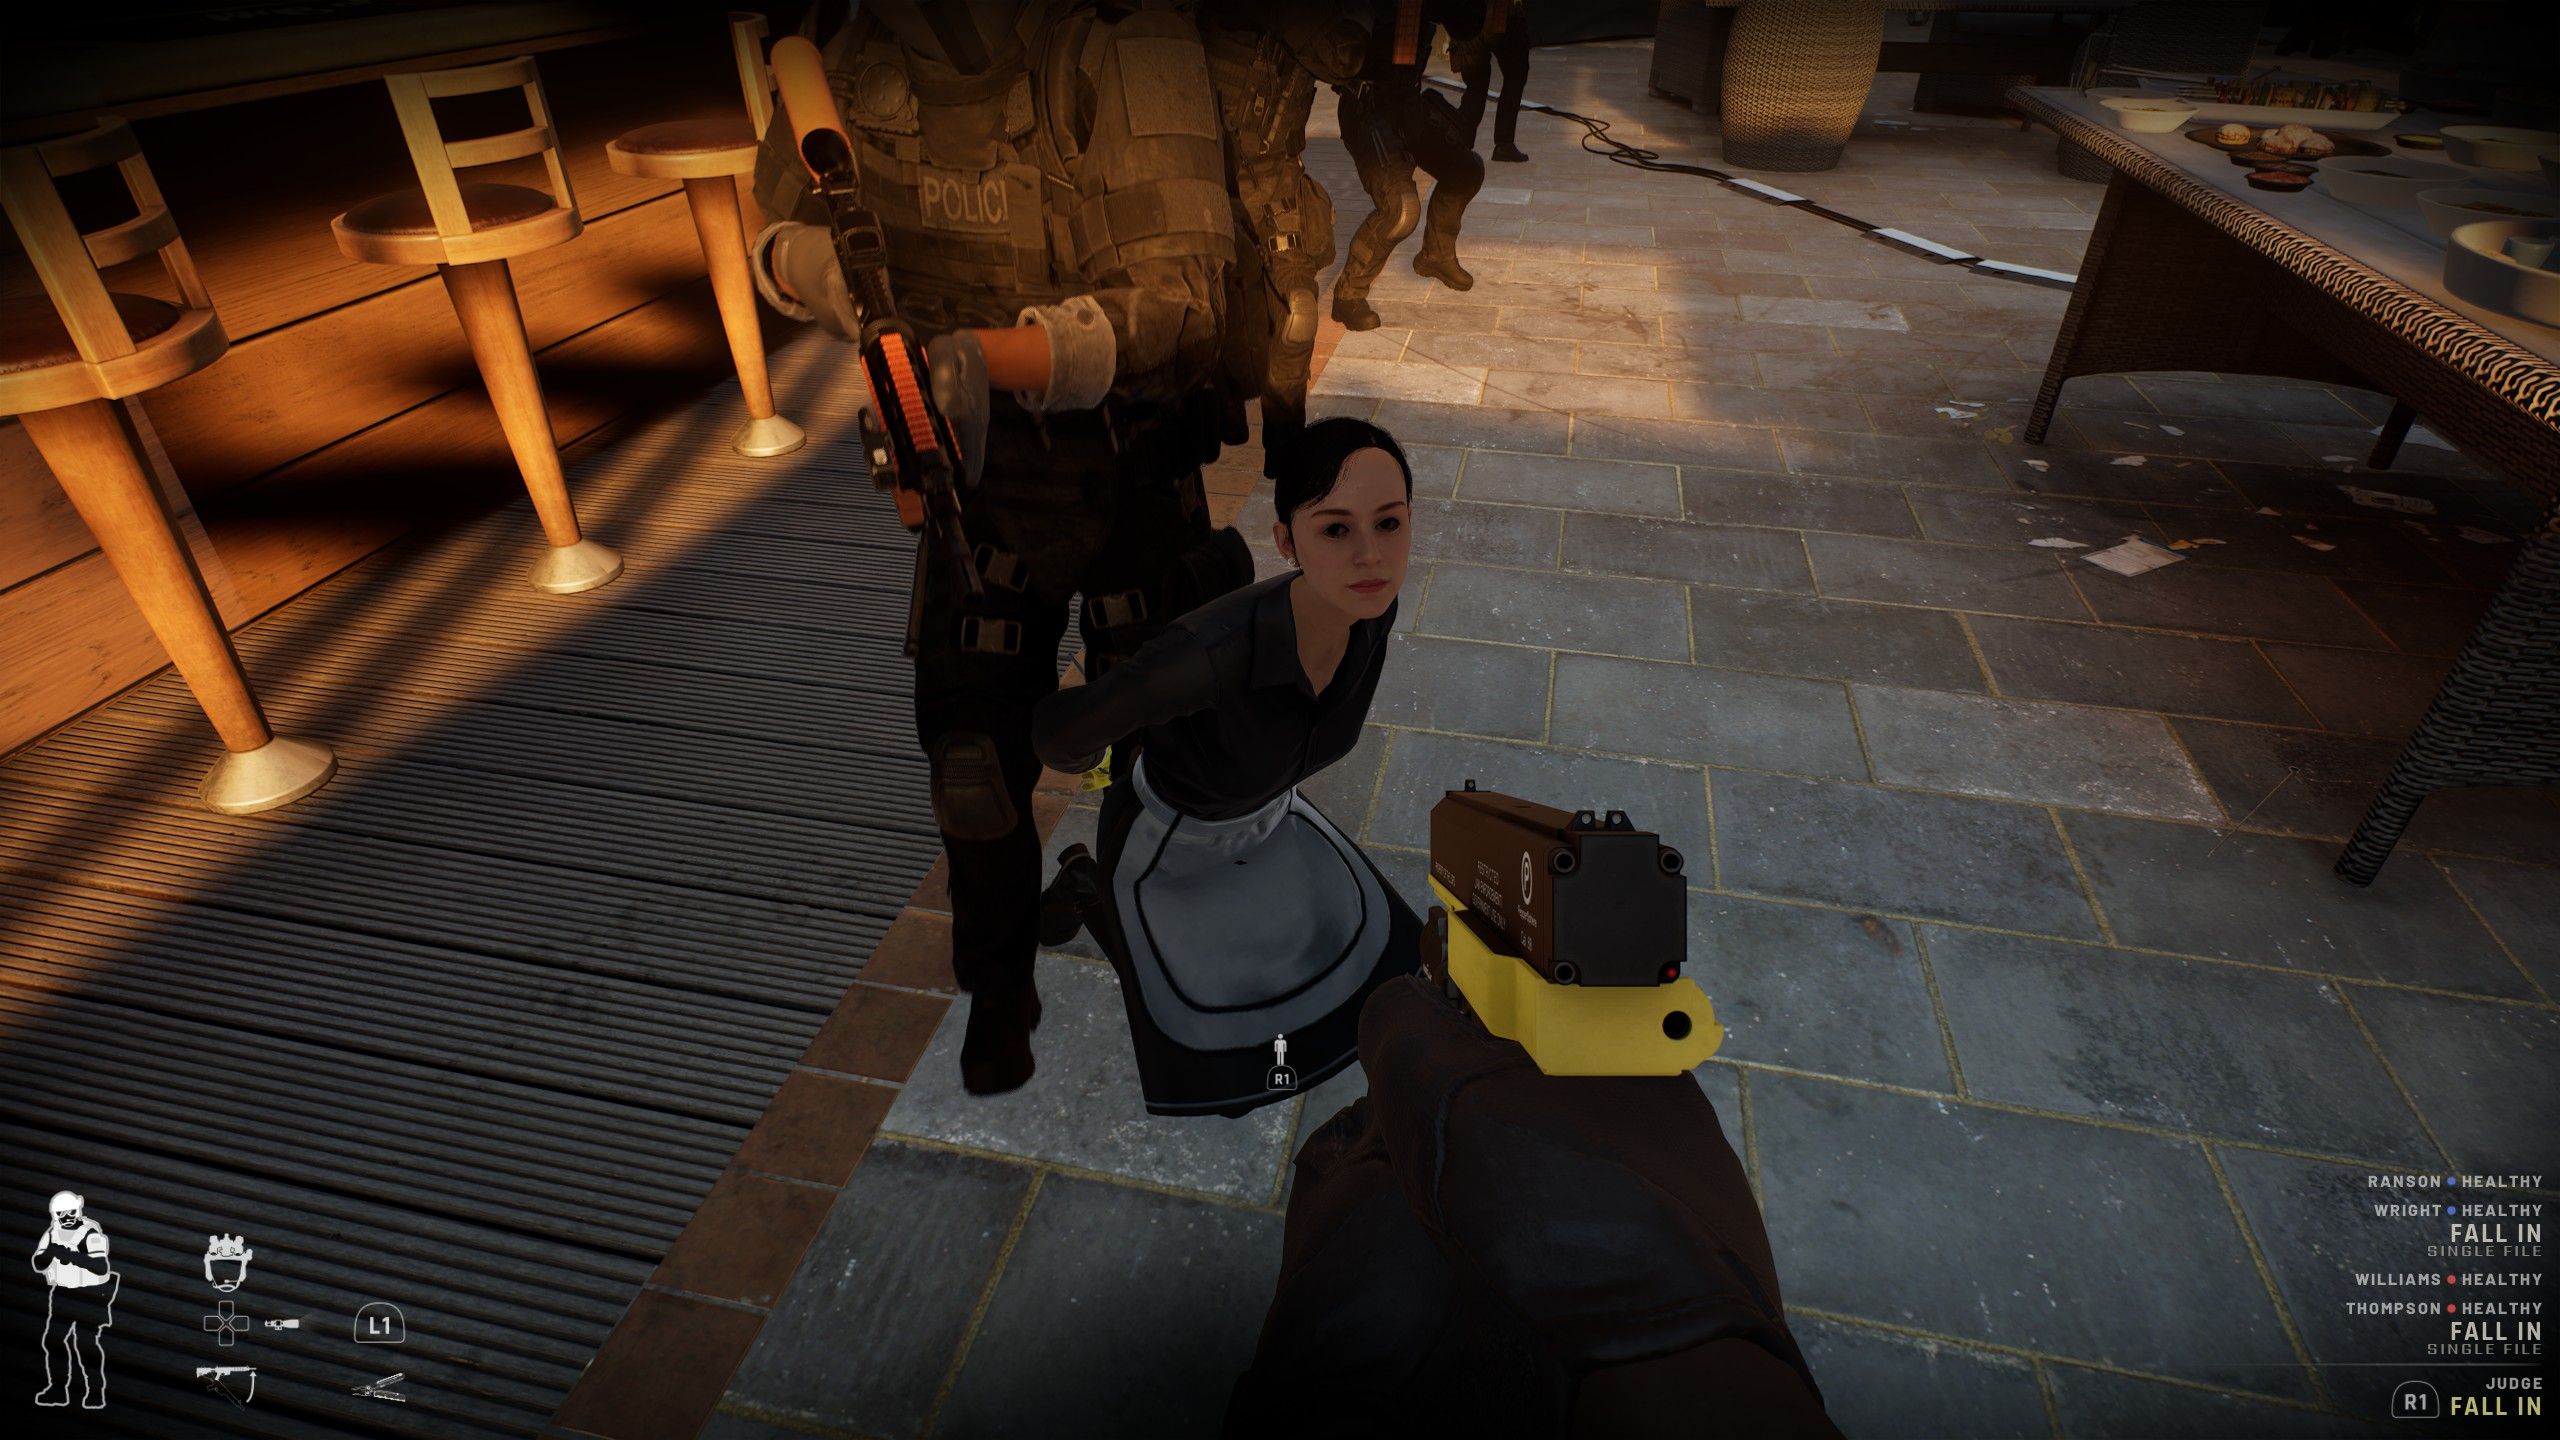
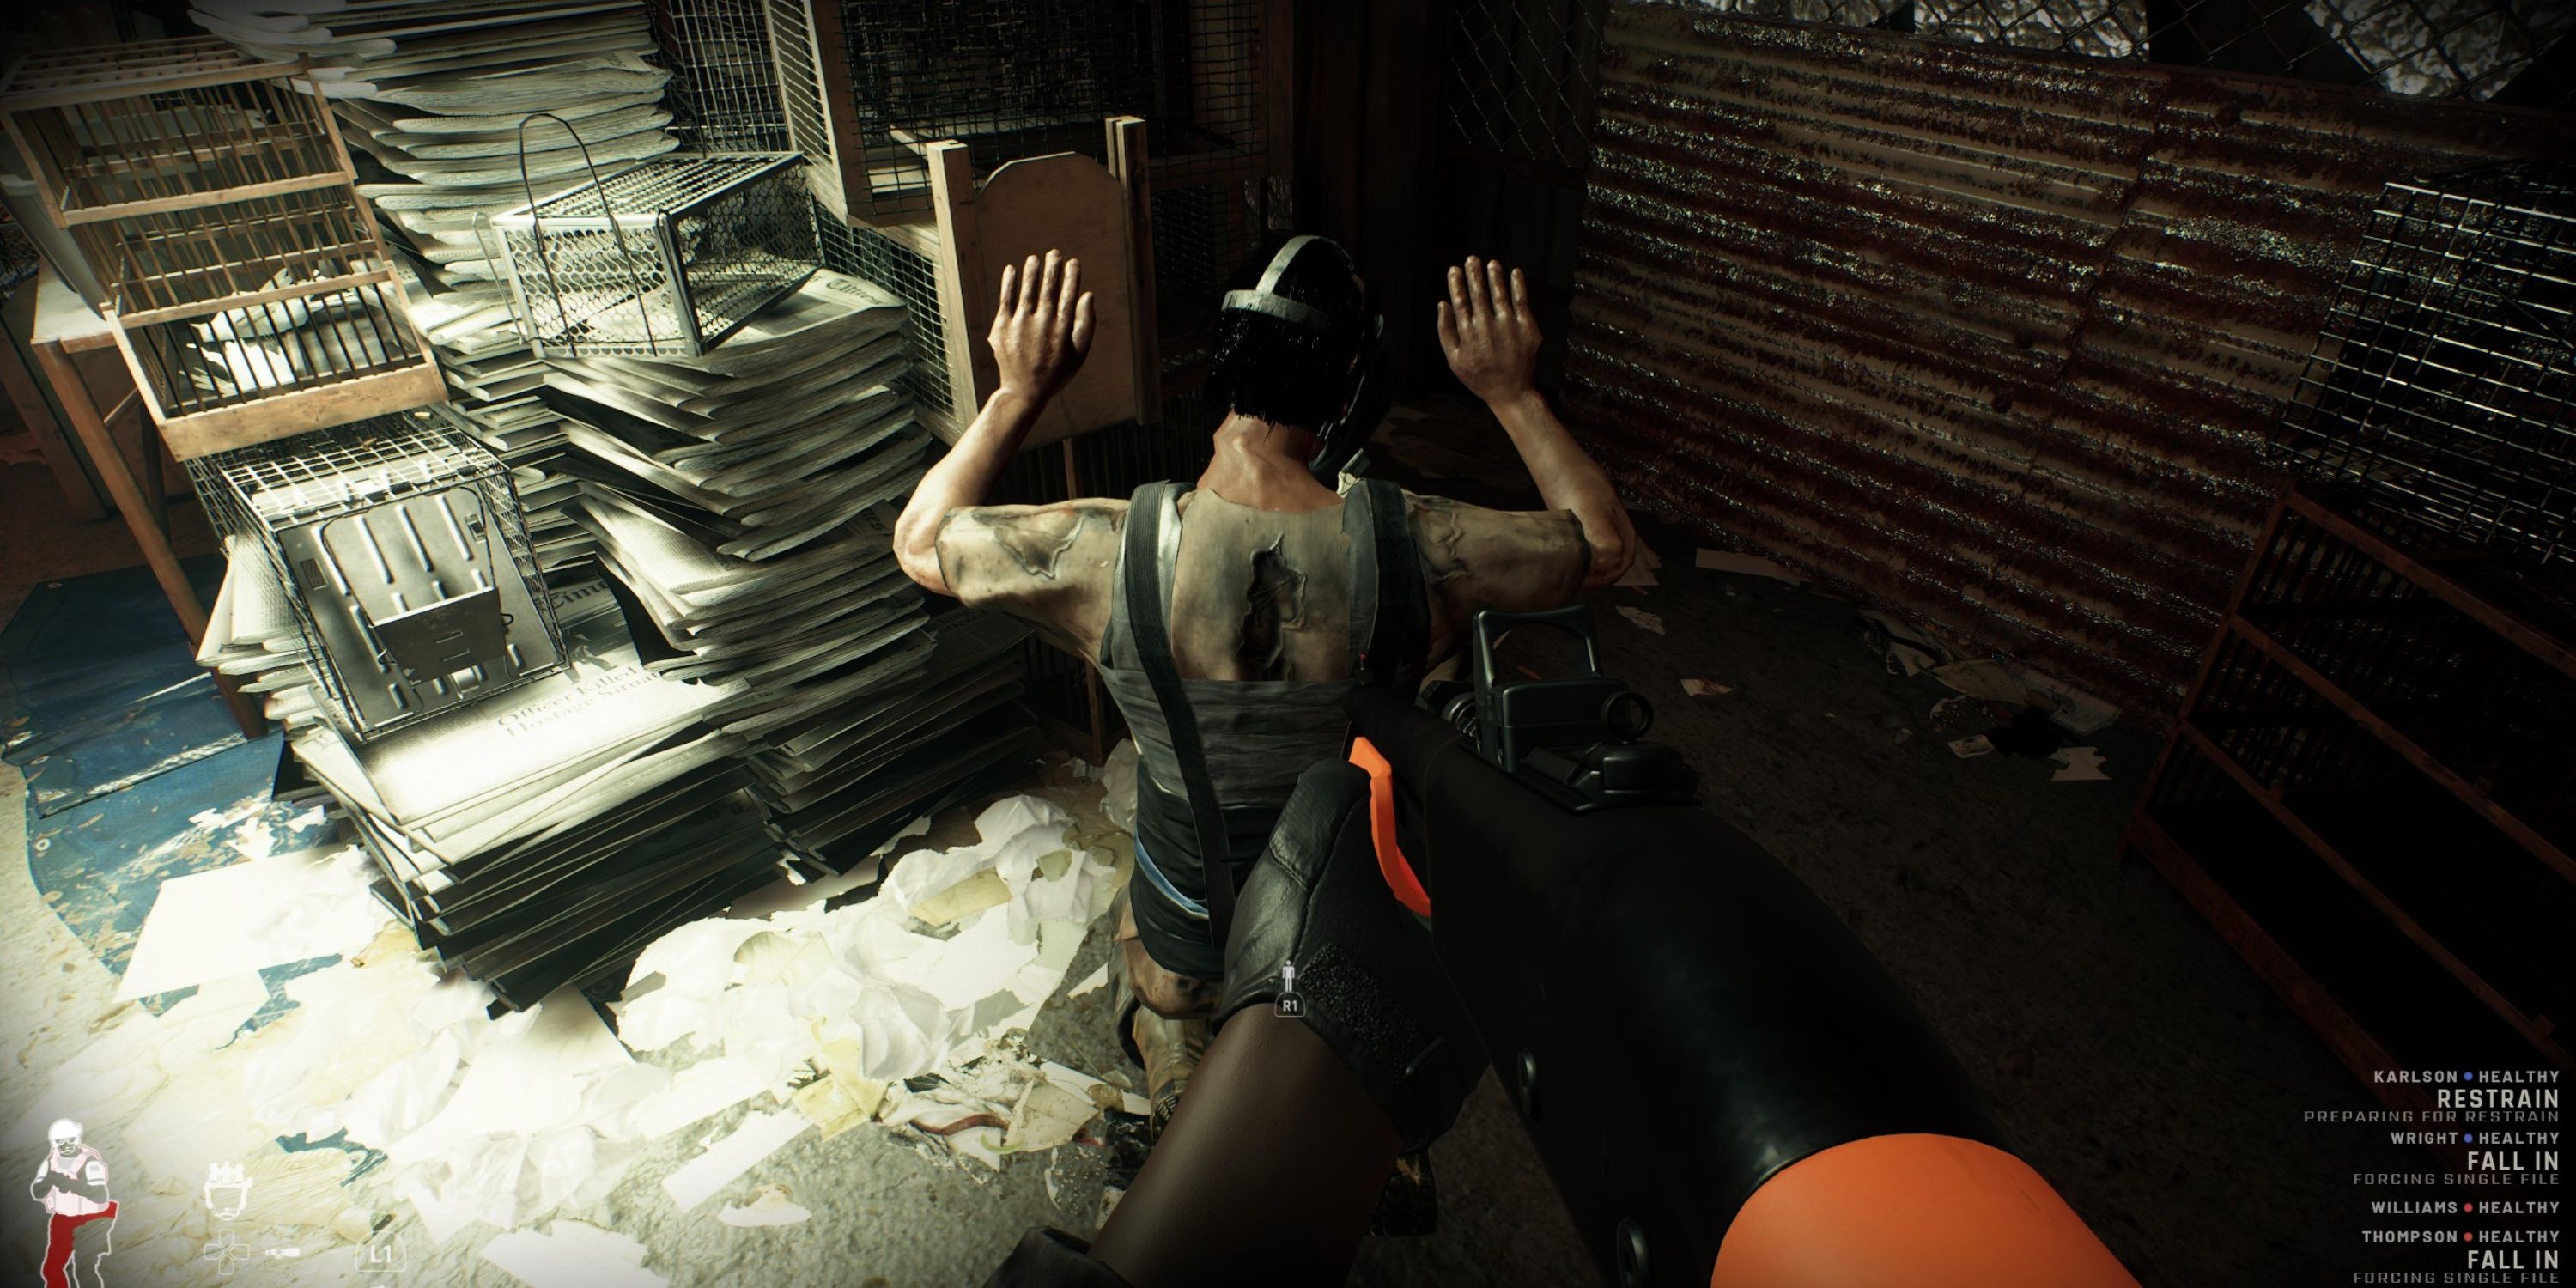
In the game Ready or Not, AI suspects don’t automatically comply or resist instantly. Instead, their reactions change based on factors like dominance, numbers, and timing. For instance, a suspect might hesitate when confronted alone but surrender faster if multiple officers give commands in quick succession. However, using a flashbang prematurely could make the suspect run instead of freeze. Players should think of compliance as a psychological mini-game and try to have as many officers visible to suspects, strategically layer commands, and use less-lethal force cautiously by pausing before its application.
In the movie “Ready or Not“, just because a target is giving up doesn’t necessarily mean it’s secure to move in for apprehension. Potential threats could still grab for their hidden weapon, but if they do, they’ll shoot at your initial position during the start of their movement sequence. To ensure safety, just step aside and the suspect will likely miss their shots.
The Mirrorgun is Useful, but it Doesn’t Stop the Clock
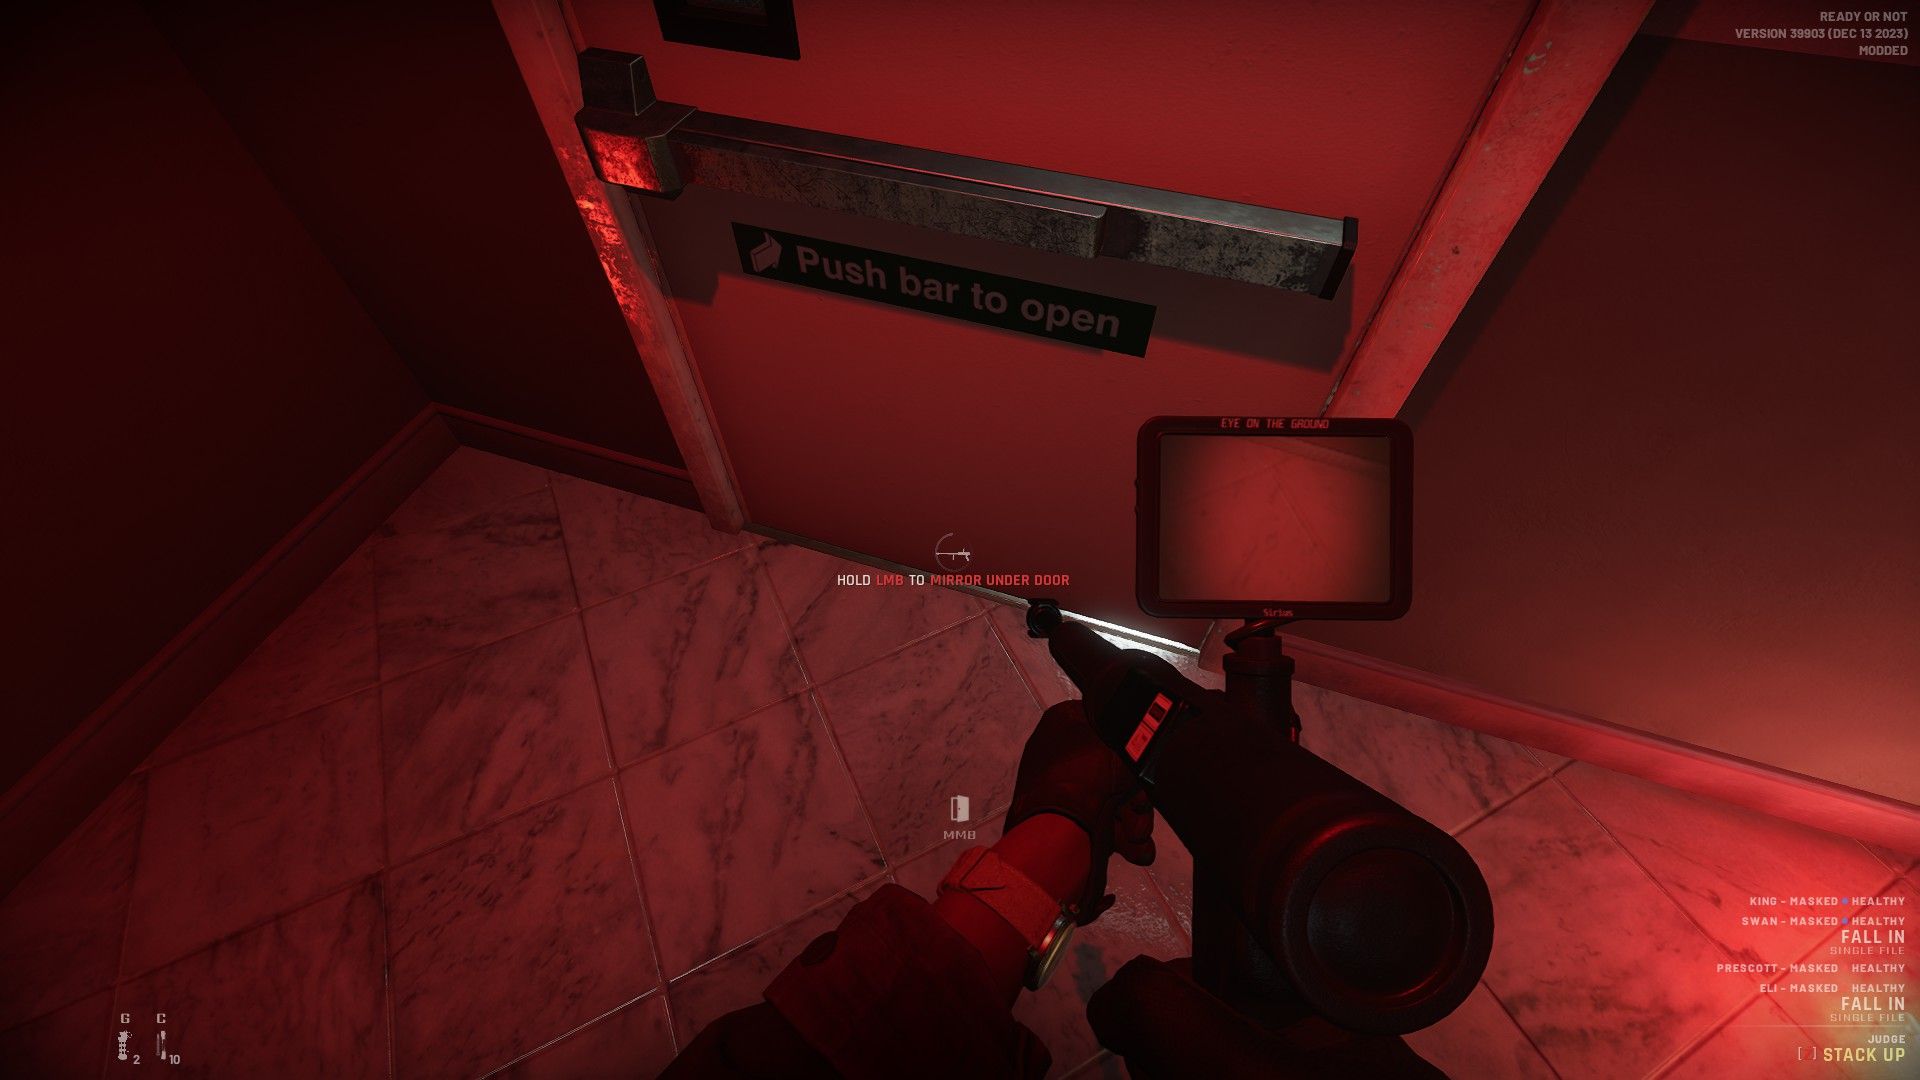
In this game of “Ready or Not,” players should consistently rely on the mirrorgun, but while one player is checking from beneath a door, the world continues to spin. The suspects don’t stay put, and as a squad remains stuck in reconnaissance, it becomes increasingly likely that a suspect’s position will shift, making previous intel obsolete and leaving the team vulnerable. The mirrorgun serves as a snapshot, not a live feed. Utilize it quickly, then act even more swiftly. If the team spends too much time observing rather than acting, it might be challenging to keep up with the fast-moving game.
CS Gas Isn’t Flashy, but it’s an S Rating Staple
If flashbangs cause confusion, CS gas brings order. Players aiming for top scores in the game Ready or Not can feel confident that CS gas is crucial to their success. It quietly incapacitates suspects, giving you control of a situation without sounding an alarm across the entire map. Unlike stingers or grenades, CS gas significantly increases the chances of compliance without endangering civilians. Equipping your team with gas masks and using CS gas allows for smooth entry into controlled areas while suspects are coughing, disoriented, and more likely to surrender. Plus, CS gas is very effective because the AI-controlled suspects struggle to react to it. They rarely escape or move effectively, often standing still. A player who utilizes gas strategically can complete a mission with more arrests and fewer casualties.
In Commander Mode, Let the AI Handle Cleanup
After the final suspect is apprehended, many “Ready or Not” players switch to a methodical search, revisiting rooms to gather dropped weapons and overlooked evidence. This procedure can be time-consuming, particularly in expansive maps, slowing the pace of action. However, giving a single “Search and Secure” command at the end of a mission allows AI teammates to scan the entire map for anything missed during the initial sweep. In commander mode, these AI allies can carry out thorough searches once the firefight has ceased, functioning like efficient post-conflict cleaners, albeit not infallible during combat. They may not be perfect in the heat of battle, but they prove to be exceptional post-encounter cleaners.
The Player Who Free Leans Lives Longer
In comparison to swift cover adjustments, the freedom of maneuvering (free leaning) might appear as a new addition, but perfecting this mechanic opens up a realm of situational awareness and control that could determine the success or failure of entire missions in the game Ready or Not. This function enables players to remain concealed while surveying unusual perspectives, manipulate enemy responses without exposing themselves excessively, and even peer over barriers by standing on tiptoes. When employed skillfully, free leaning reduces risk and enhances control, often determining whether one can identify a potential threat ahead of time or find oneself in the line of fire.
Nobody’s Faster Than a Suspect Aiming at A Door
In an age-old scenario, a player hides behind a door, spots a potentially dangerous individual armed with weapons, and attempts to outmaneuver them by peeking out first. However, this narrative usually concludes the same way, as the suspect’s AI reacts more swiftly than any human during heightened alert states. In such situations, the mirrorgun serves as a heads-up rather than a chance for those eager to prove themselves. Instead, consider changing positions and attacking from another angle or using gas or flashbangs to disorient them. For players in the game ‘Ready or Not’ not pursuing high ratings, simply shooting through the door might be the best option.
Read More
- NTE Drift Guide (& Best Car Mods for Drifting)
- All Aswang Evidence & Weaknesses in Phasmophobia
- Conduit Crystal Location In Subnautica 2
- Where to Find Prescription in Where Winds Meet (Raw Leaf Porridge Quest)
- Diablo 4 Best Loot Filter Codes
- Boruto: Ikemoto Has Already Hinted At Sasuke’s New Eye After Return
- Best Burst & Full Auto Builds for the M16A4 in BF6
- USD RUB PREDICTION
- Deltarune Chapter 1 100% Walkthrough: Complete Guide to Secrets and Bosses
- GBP CNY PREDICTION
2025-07-25 01:05