The “Museum of Truth and Vanity” is the latest installment in the storyline of “Crossroads of Fate,” which is a joint event between “P5X” and the “Persona” series. In this exciting new episode, fans will re-encounter several cherished characters from the franchise, as well as have the opportunity to collect numerous prizes upon completion of each episode.
To reap all the rewards on offer, gamers must pinpoint the whereabouts of every treasure hidden within each challenge. This comprehensive guide provides step-by-step instructions for navigating Museum of Truth and Vanity, revealing precise directions to aid players in locating all collectibles and achieving a perfect 100% completion in each episode.
P5X: Museum of Truth and Vanity Full Walkthrough
As a dedicated gamer, I’m diving headfirst into the Museum of Truth and Vanity, the second act of Crossroads of Fate. This thrilling journey spans across ten gripping episodes! Starting with episode 2-1, I’ll be exploring a fresh palace and encountering familiar faces from Joker’s Phantom Thieves team. Remember, completing each episode at 100% will earn you coveted Destiny Badges and Meta Jewels, so this guide is here to help me achieve perfect completion in every single one of them. Let’s get gaming!
Now, complete the Museum of Truth and Vanity to its fullest potential by following the guidelines provided for each episode. To participate, players must reach at least Level 60 on Wonder. Rest assured, the other Phantom Thieves will be scaled to match your level. Before we begin, here are some points to ponder before venturing into this Palace:
1. Understand the objectives and strategies for each episode.
2. Ensure you have the necessary skills and resources to tackle the challenges ahead.
3. Be prepared for unexpected obstacles and make adjustments as needed during gameplay.
4. Communicate with your team members, collaborate effectively, and leverage everyone’s unique abilities to overcome adversity.
5. Keep an open mind and embrace creativity when problem-solving within the Palace.
6. Most importantly, enjoy the experience of uncovering the truth and vanity hidden within this intriguing location!
- Yusuke and Anne will be locked during most of the Episodes.
- Lufel will be one of the characters from Wonder’s team that will be locked in the later stages.
- The ideal partner for Yusuke is Kotone Montagne, since she can chain Ice attacks with him to cause brutal damage to enemies.
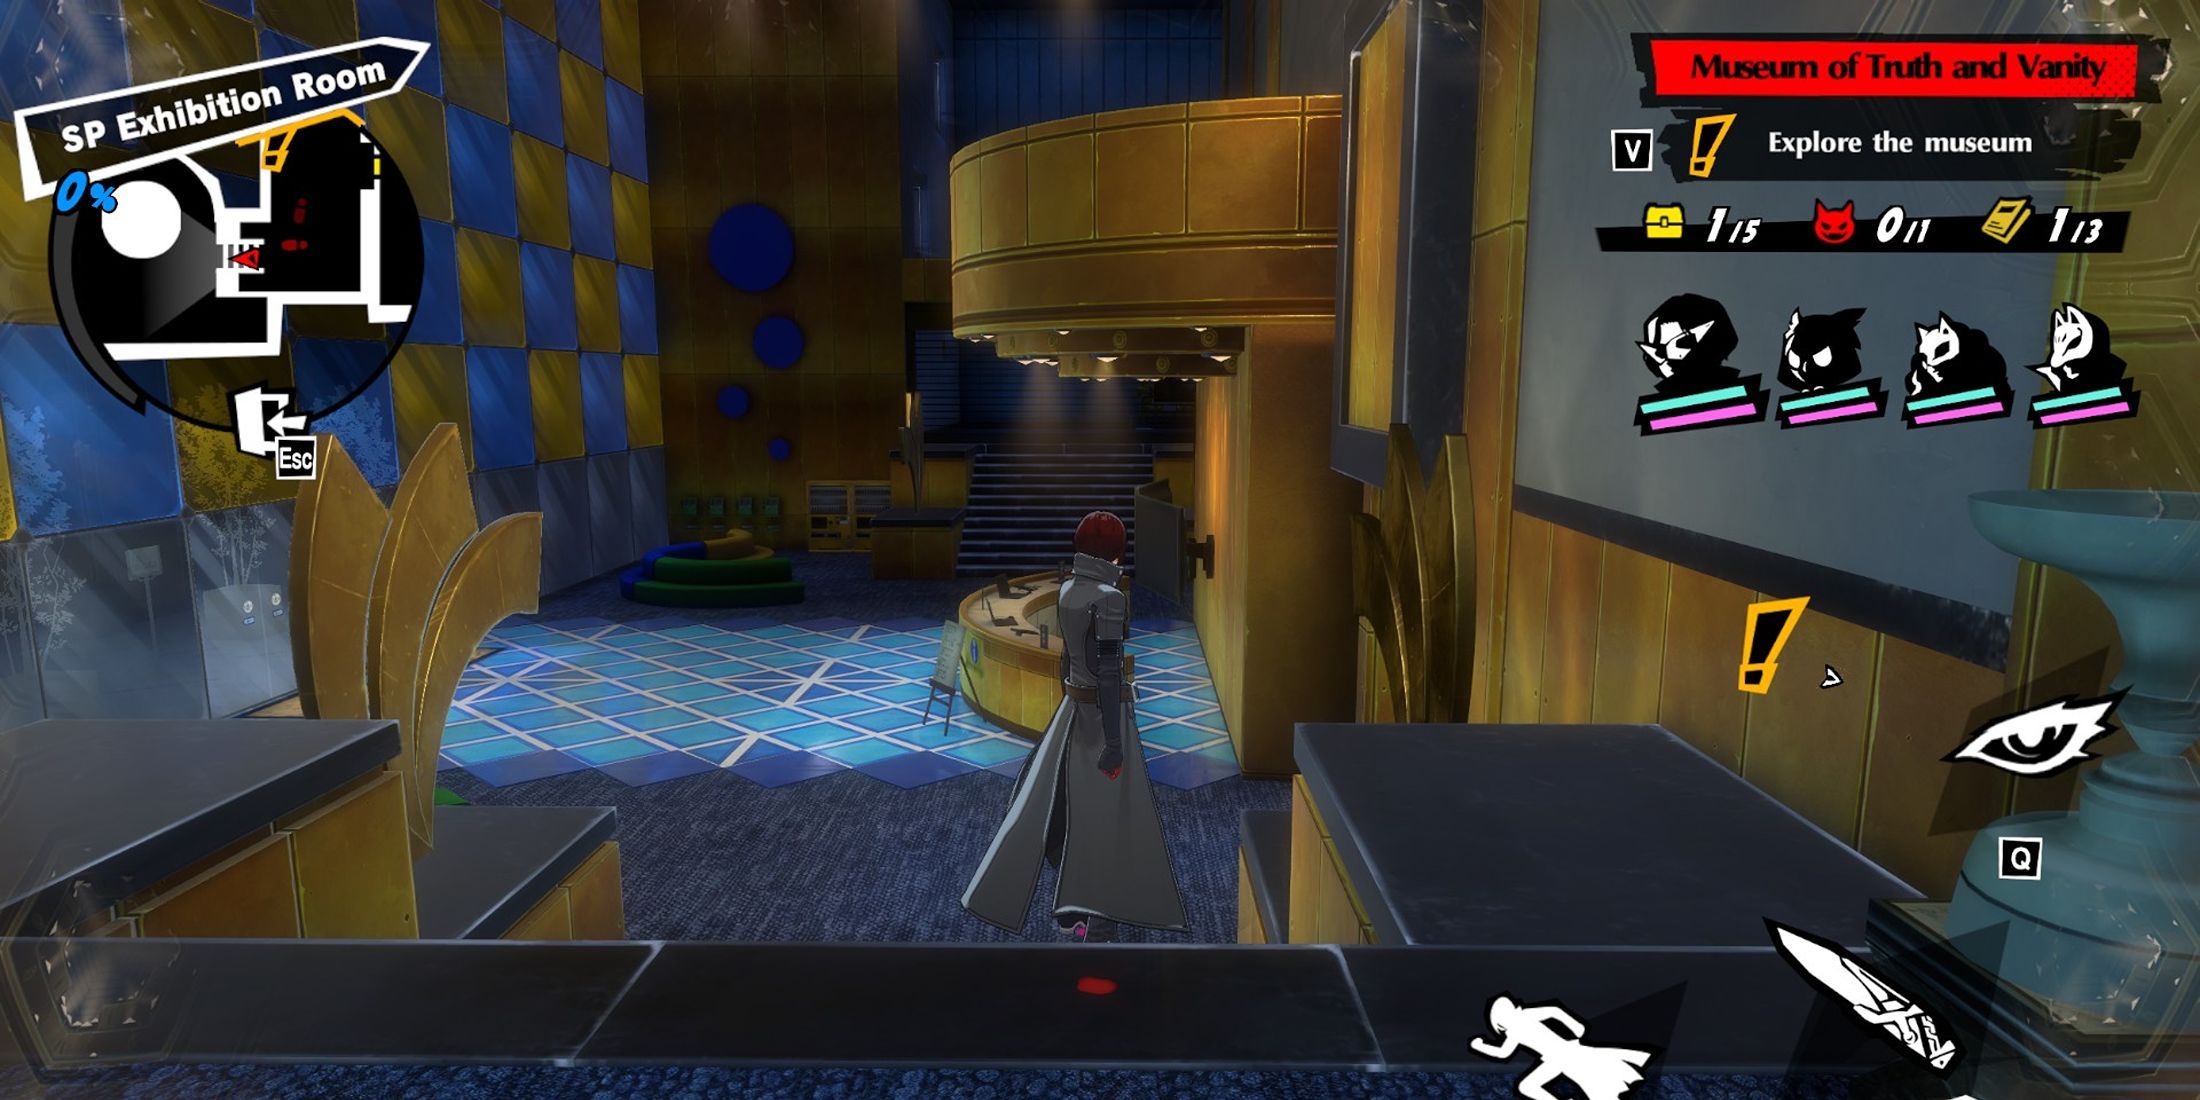
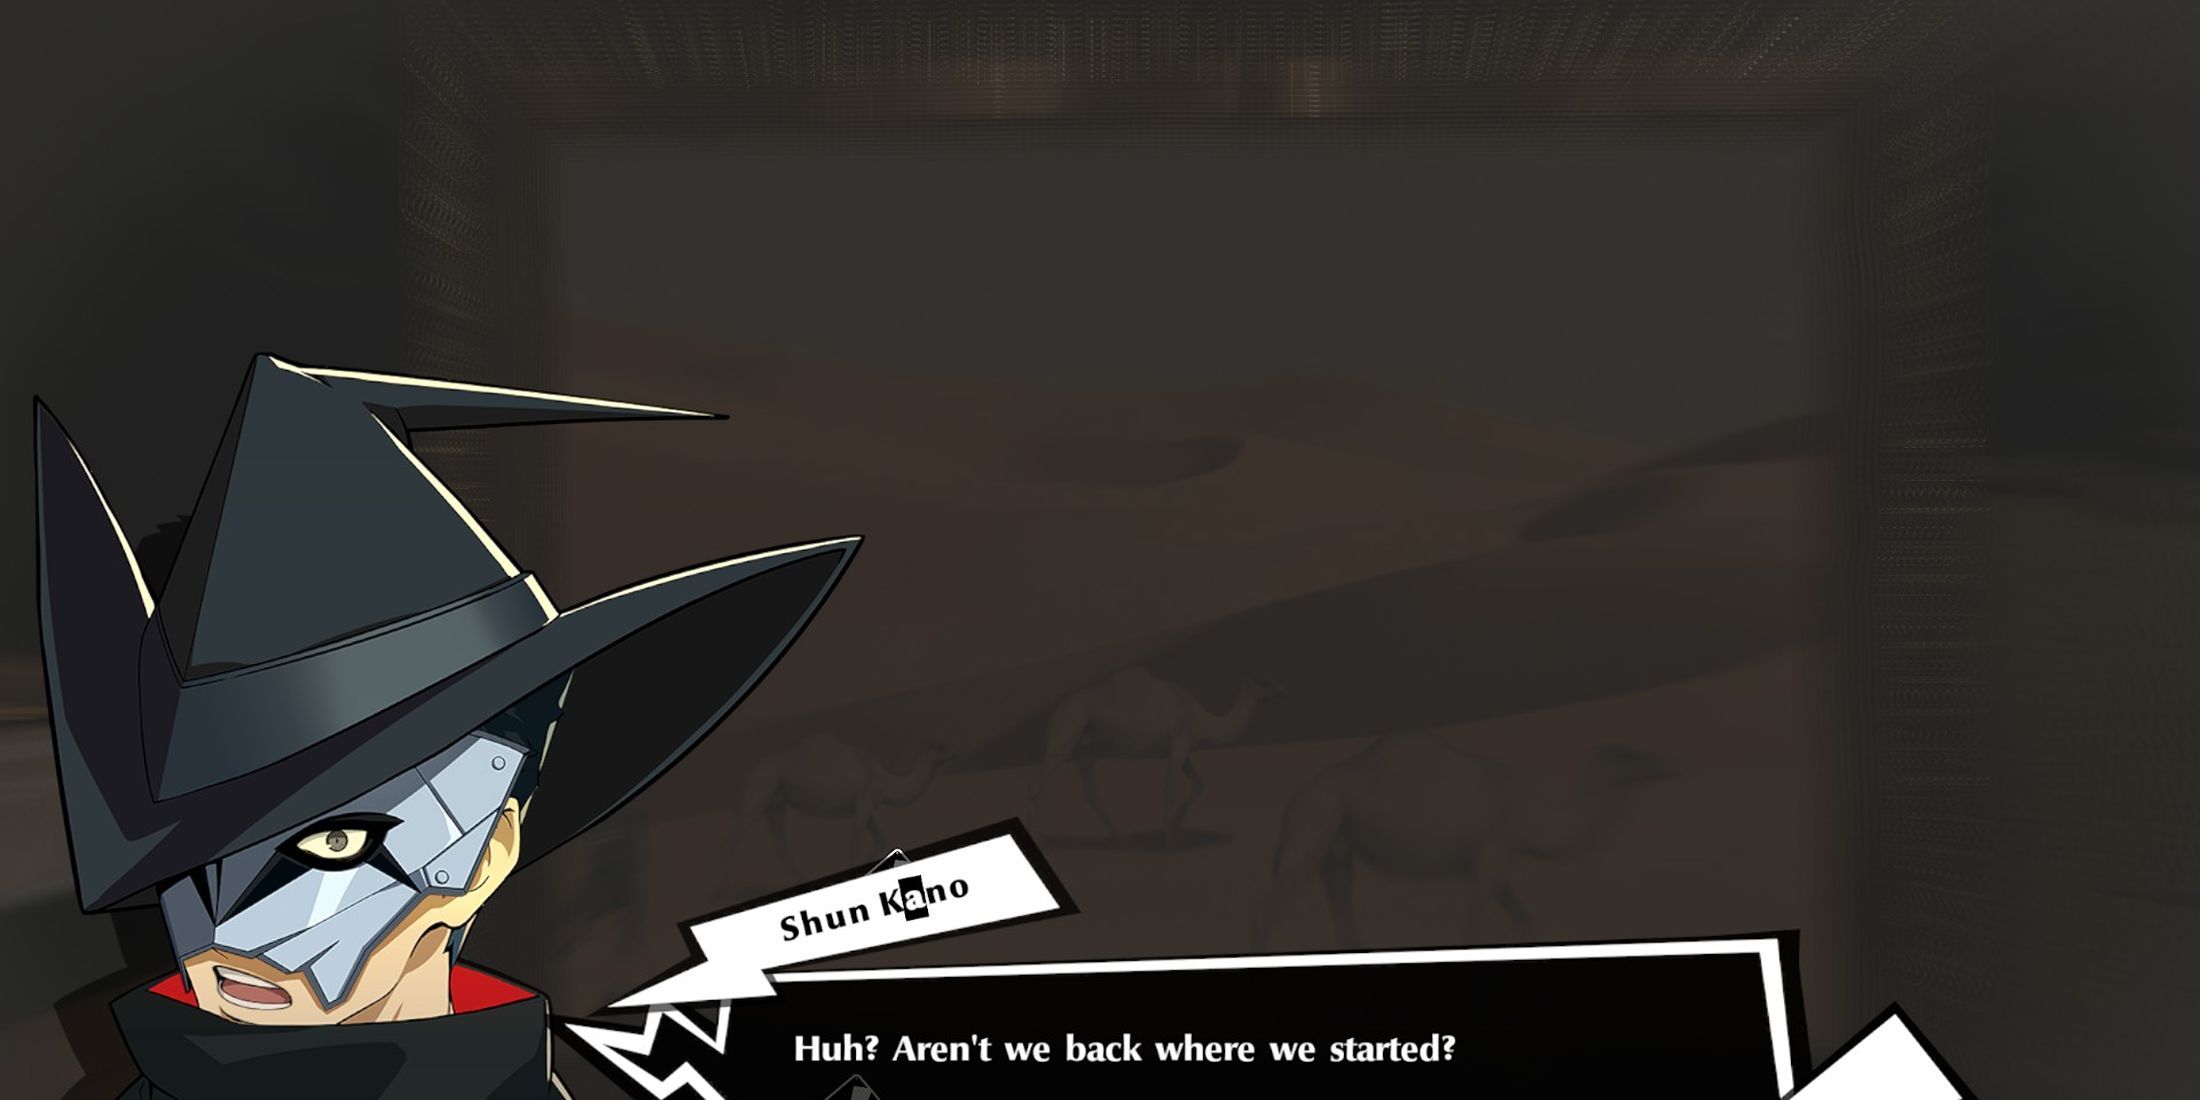
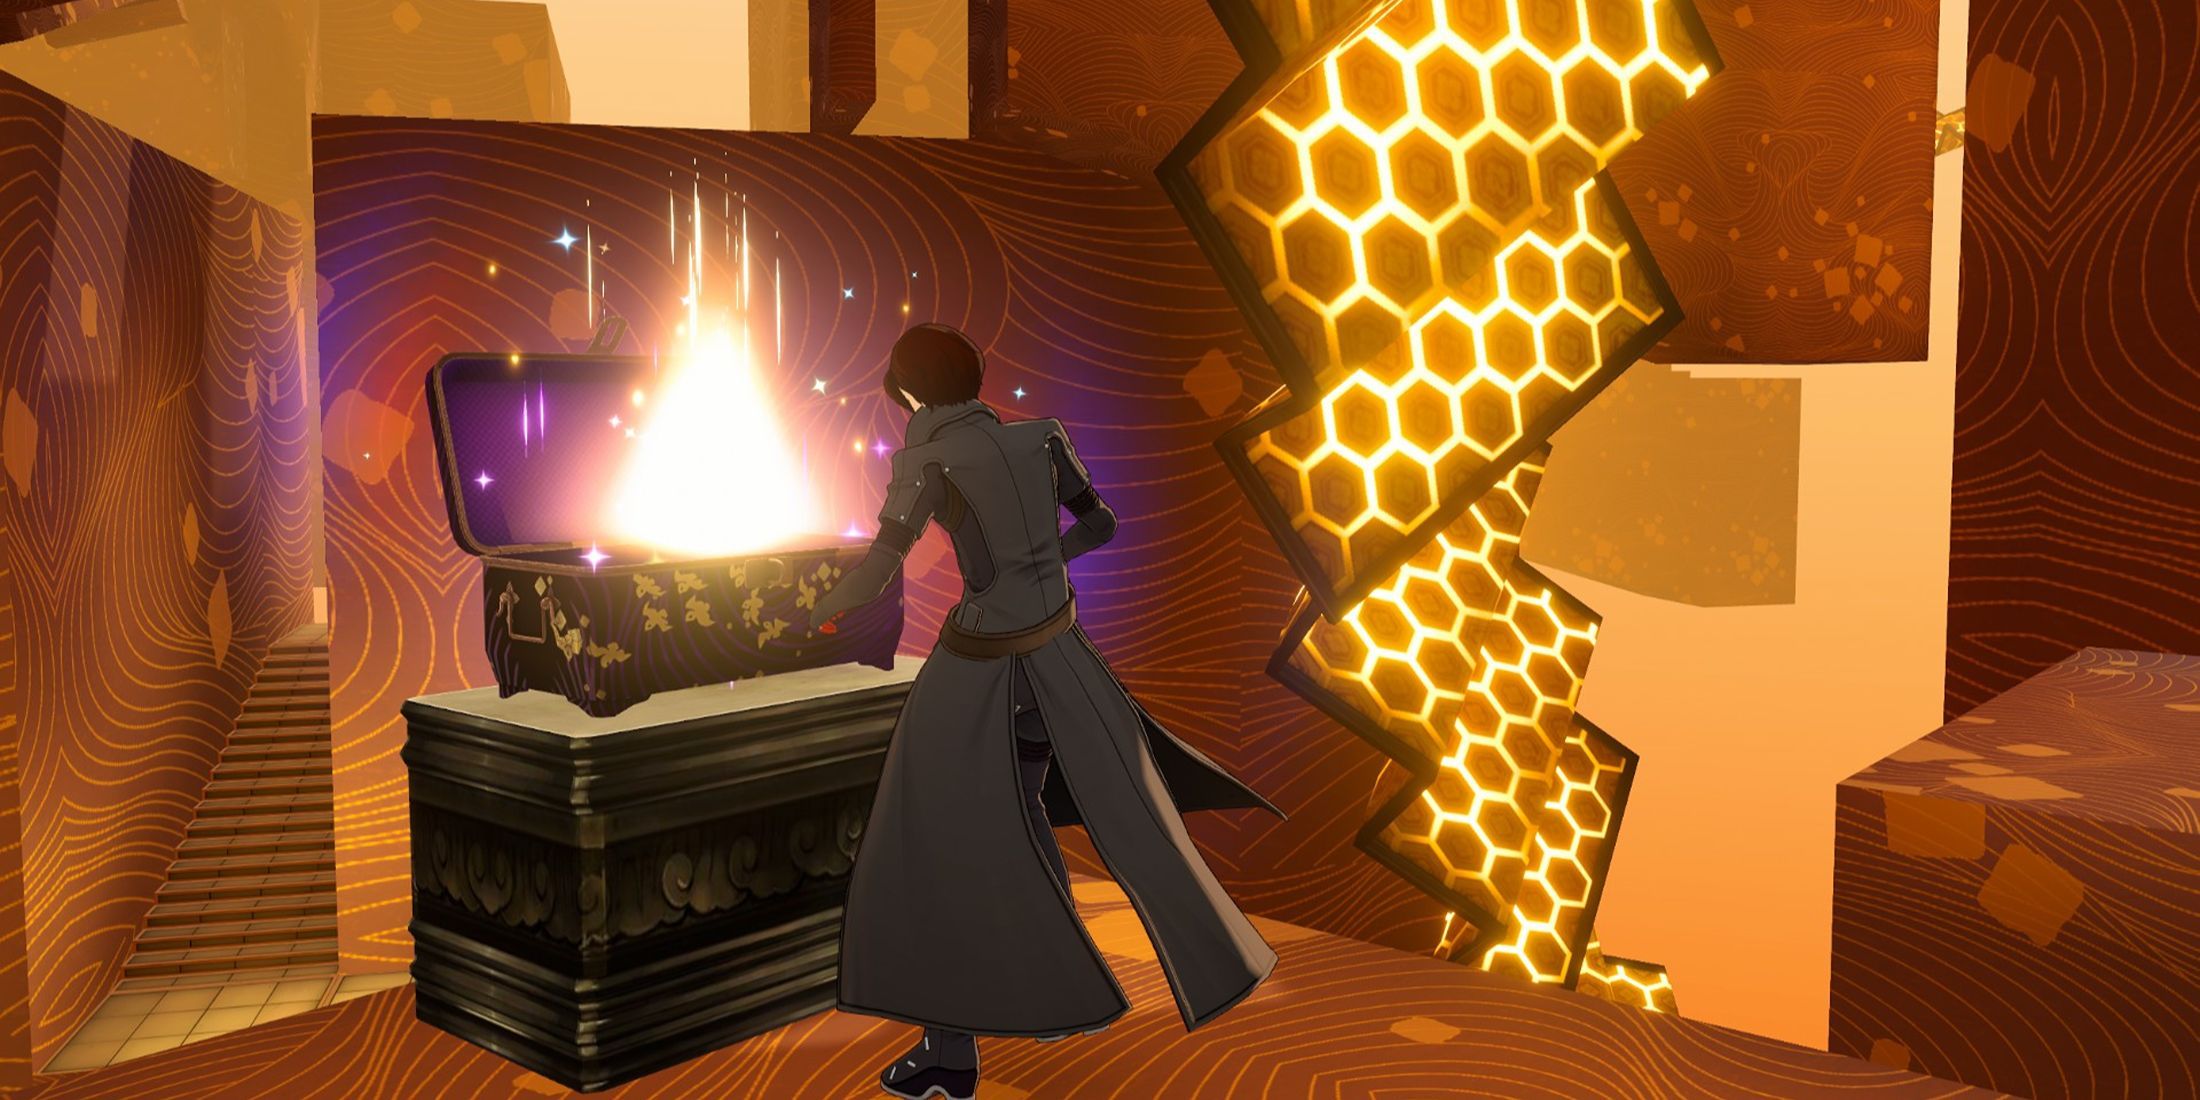
Episode 2-1 Reunion
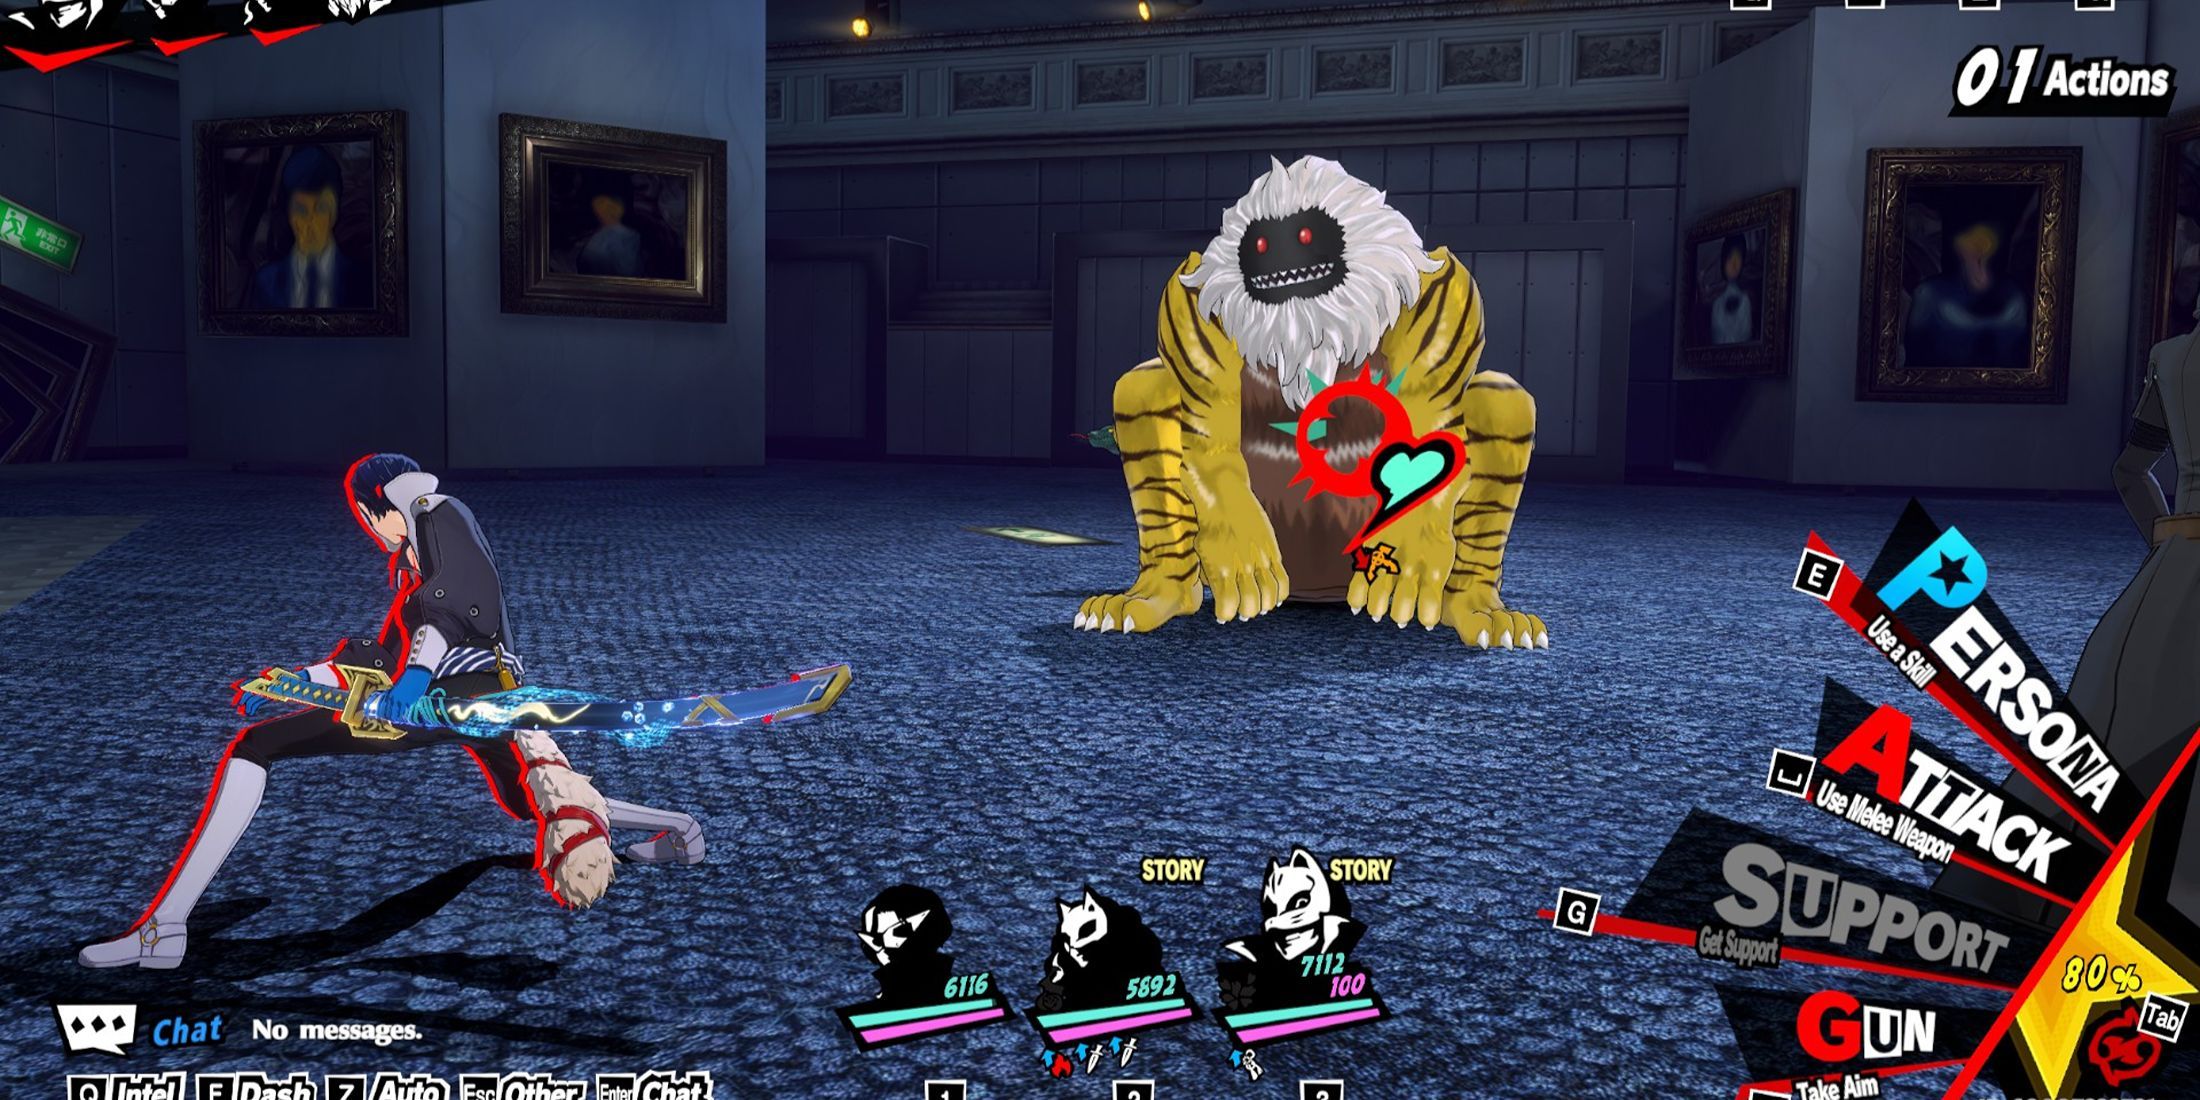
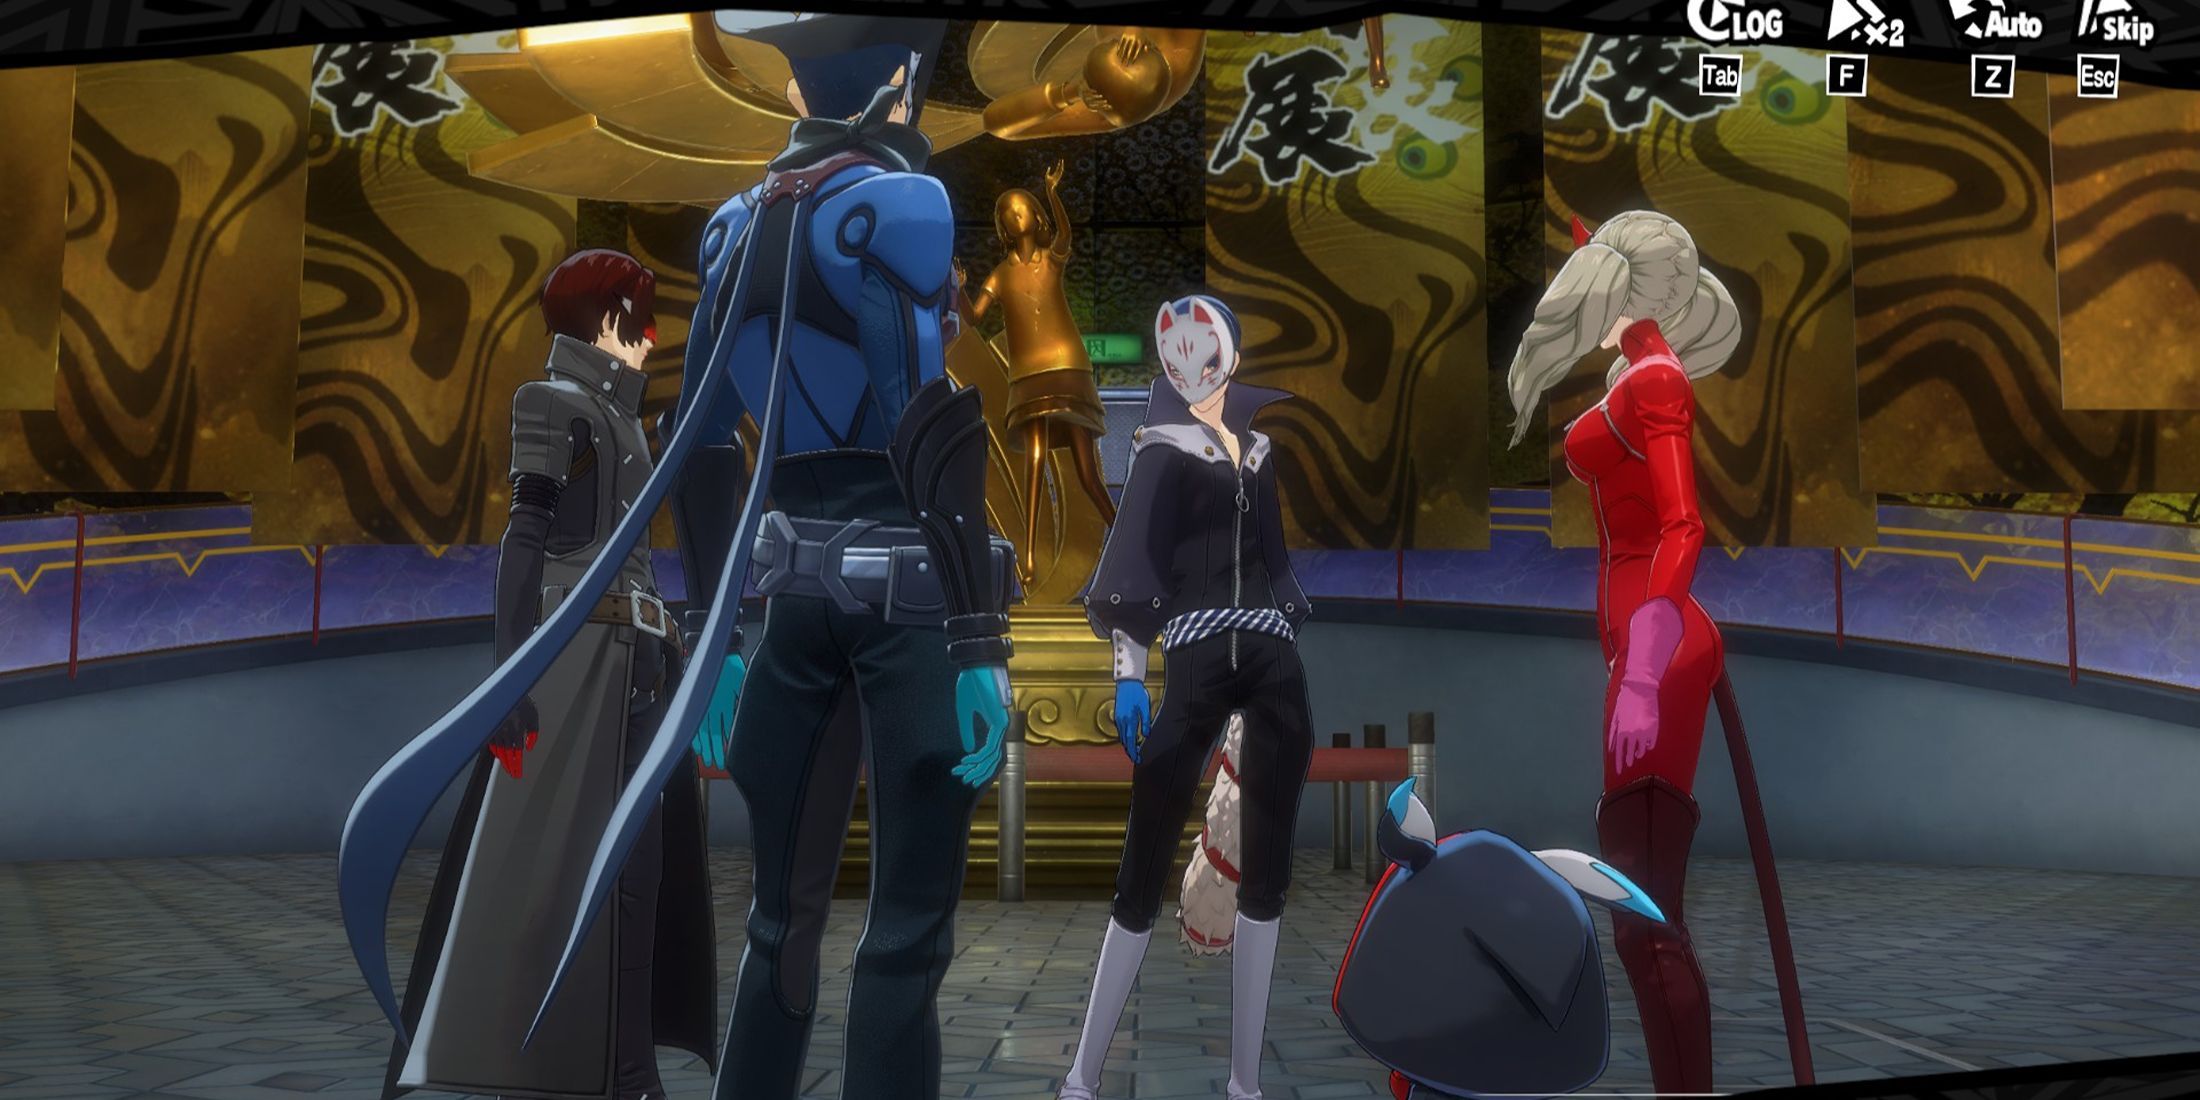
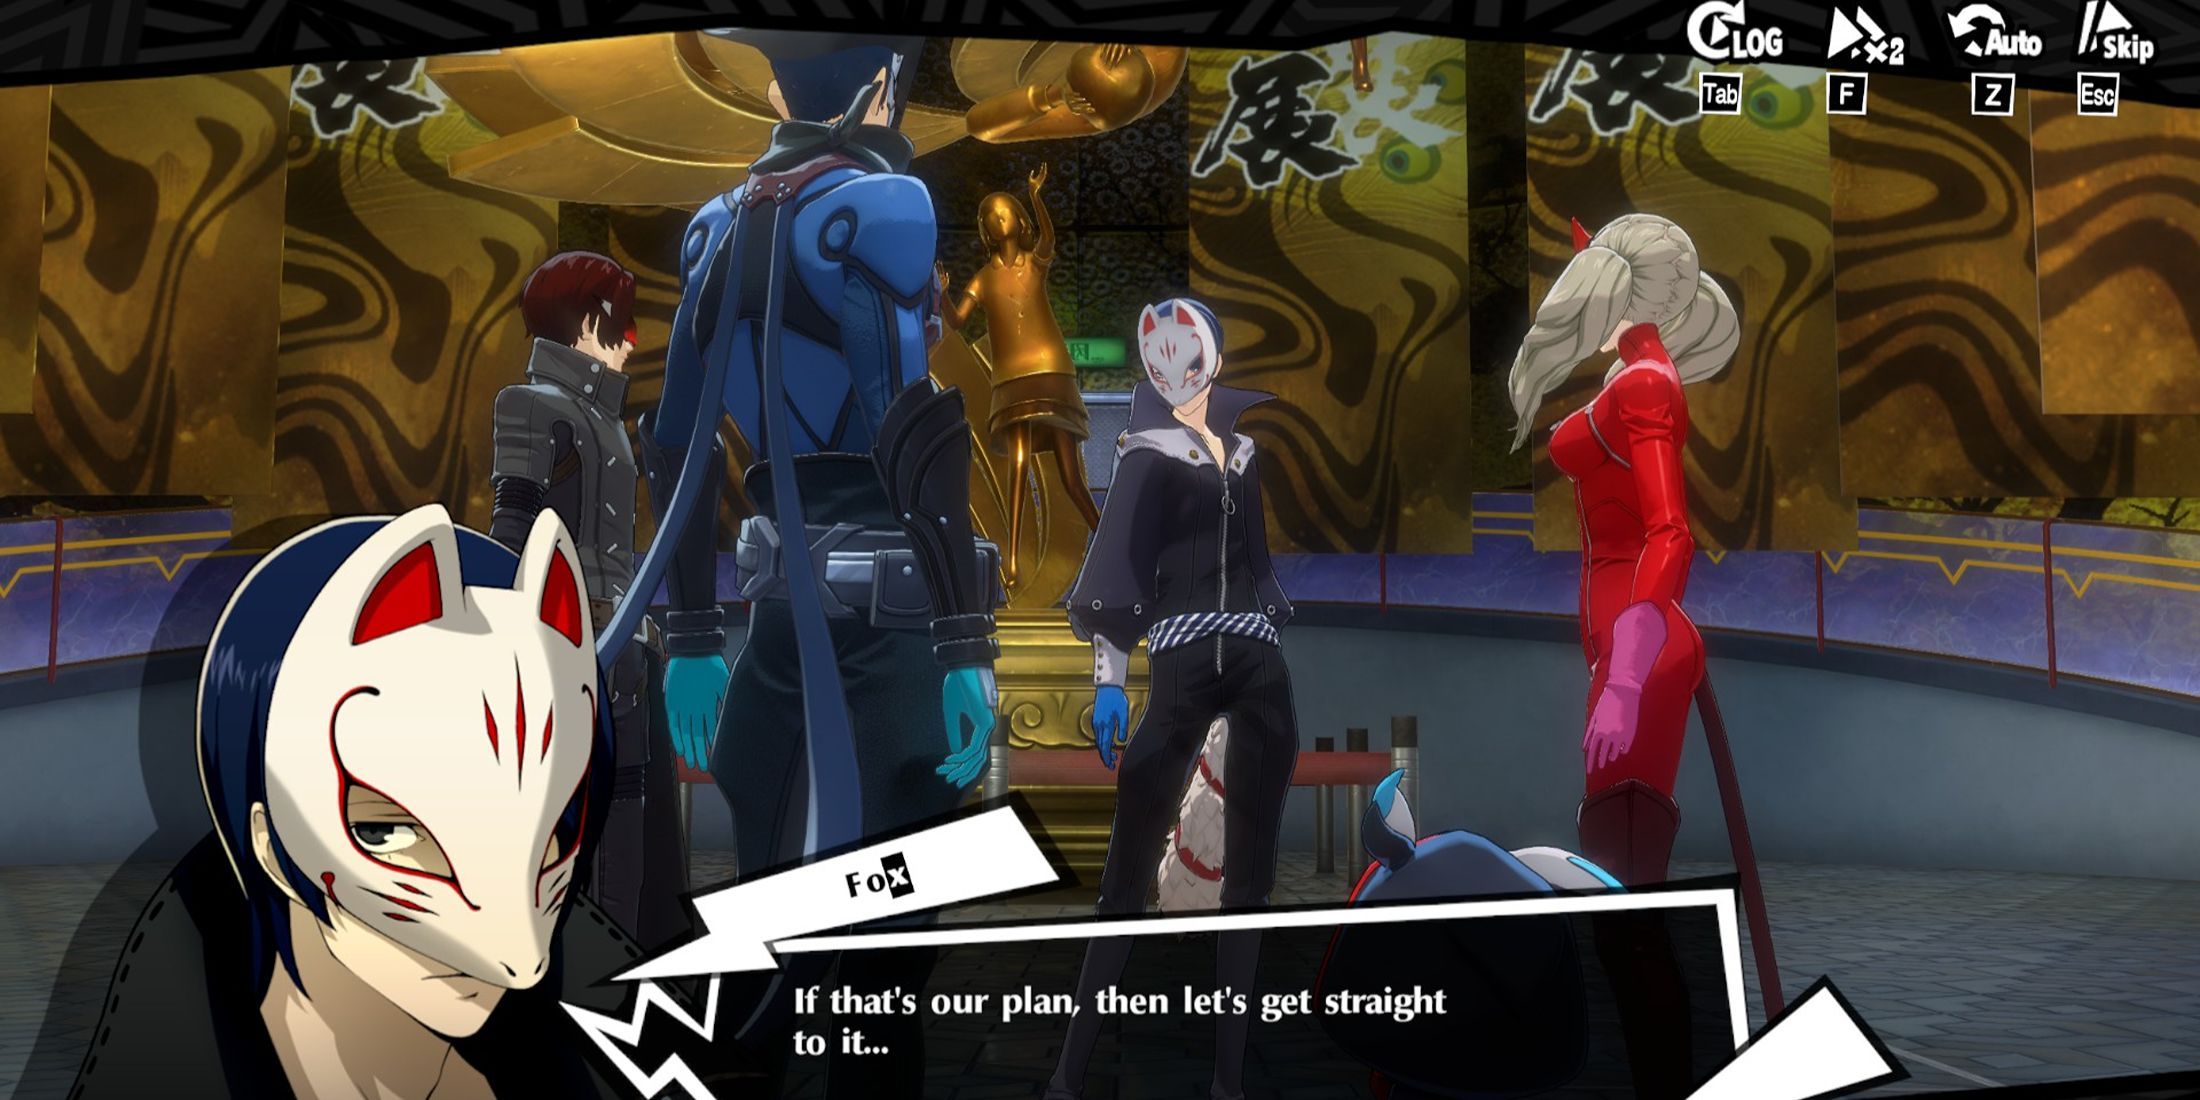
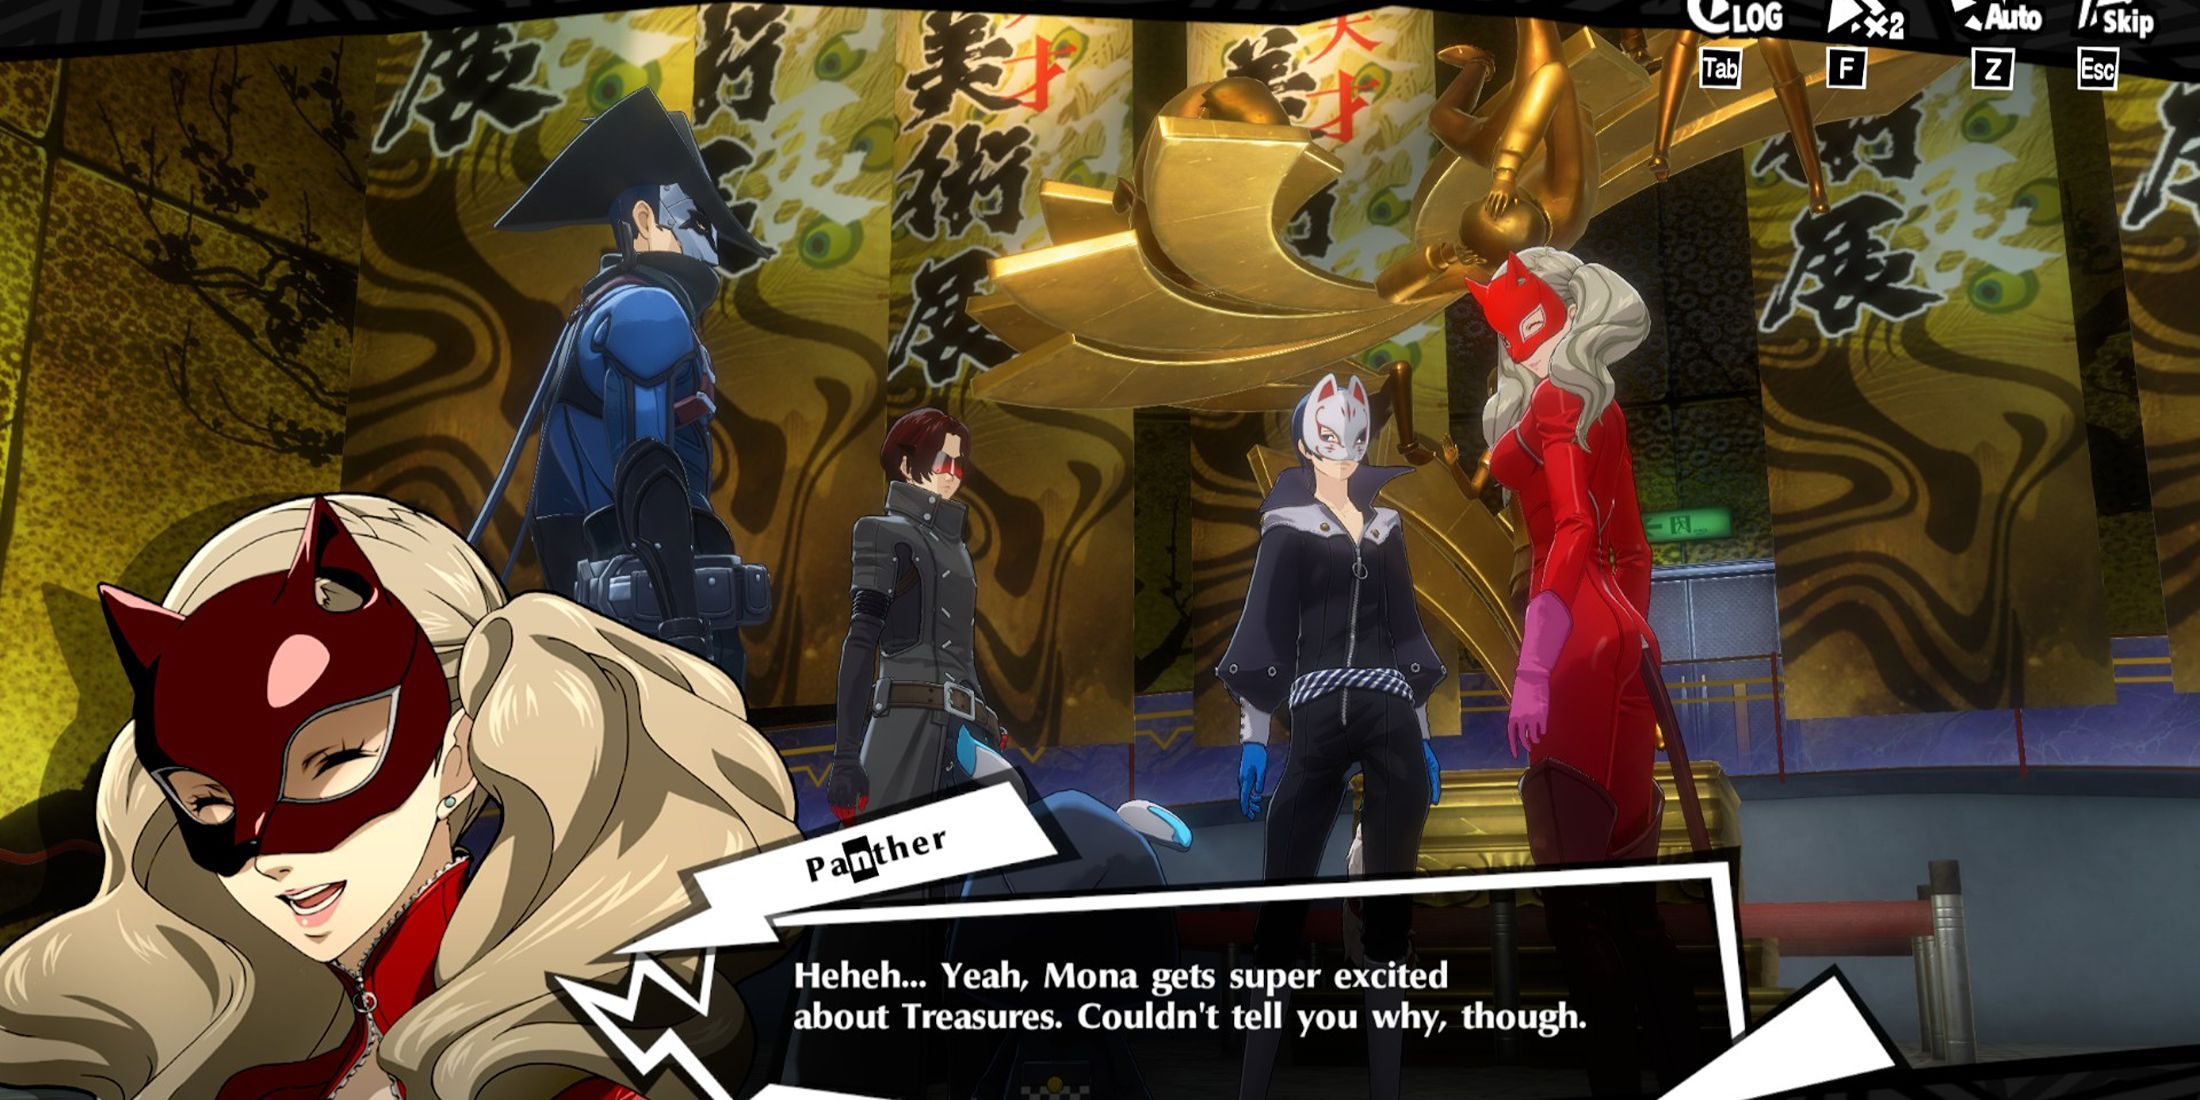
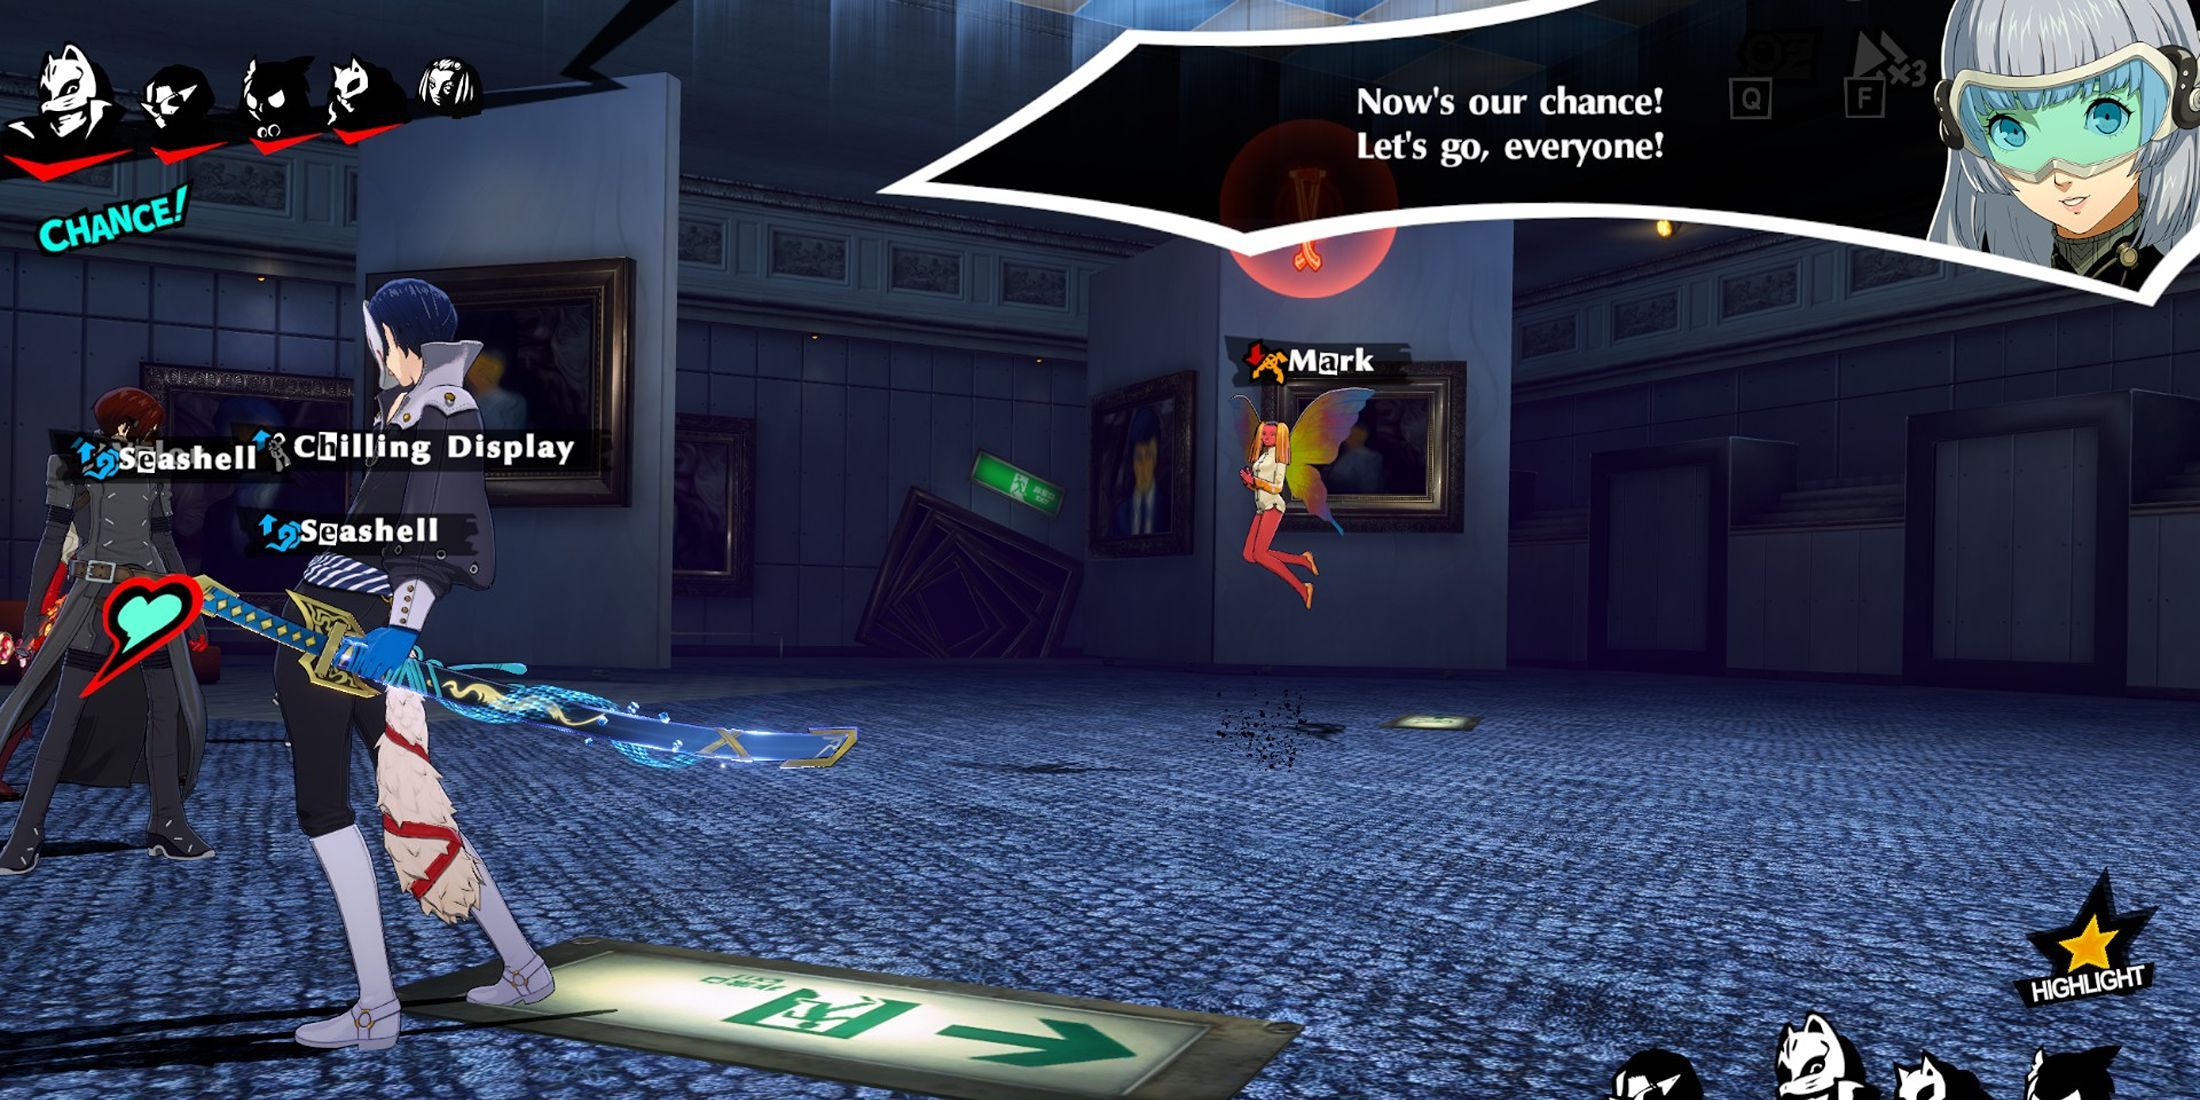
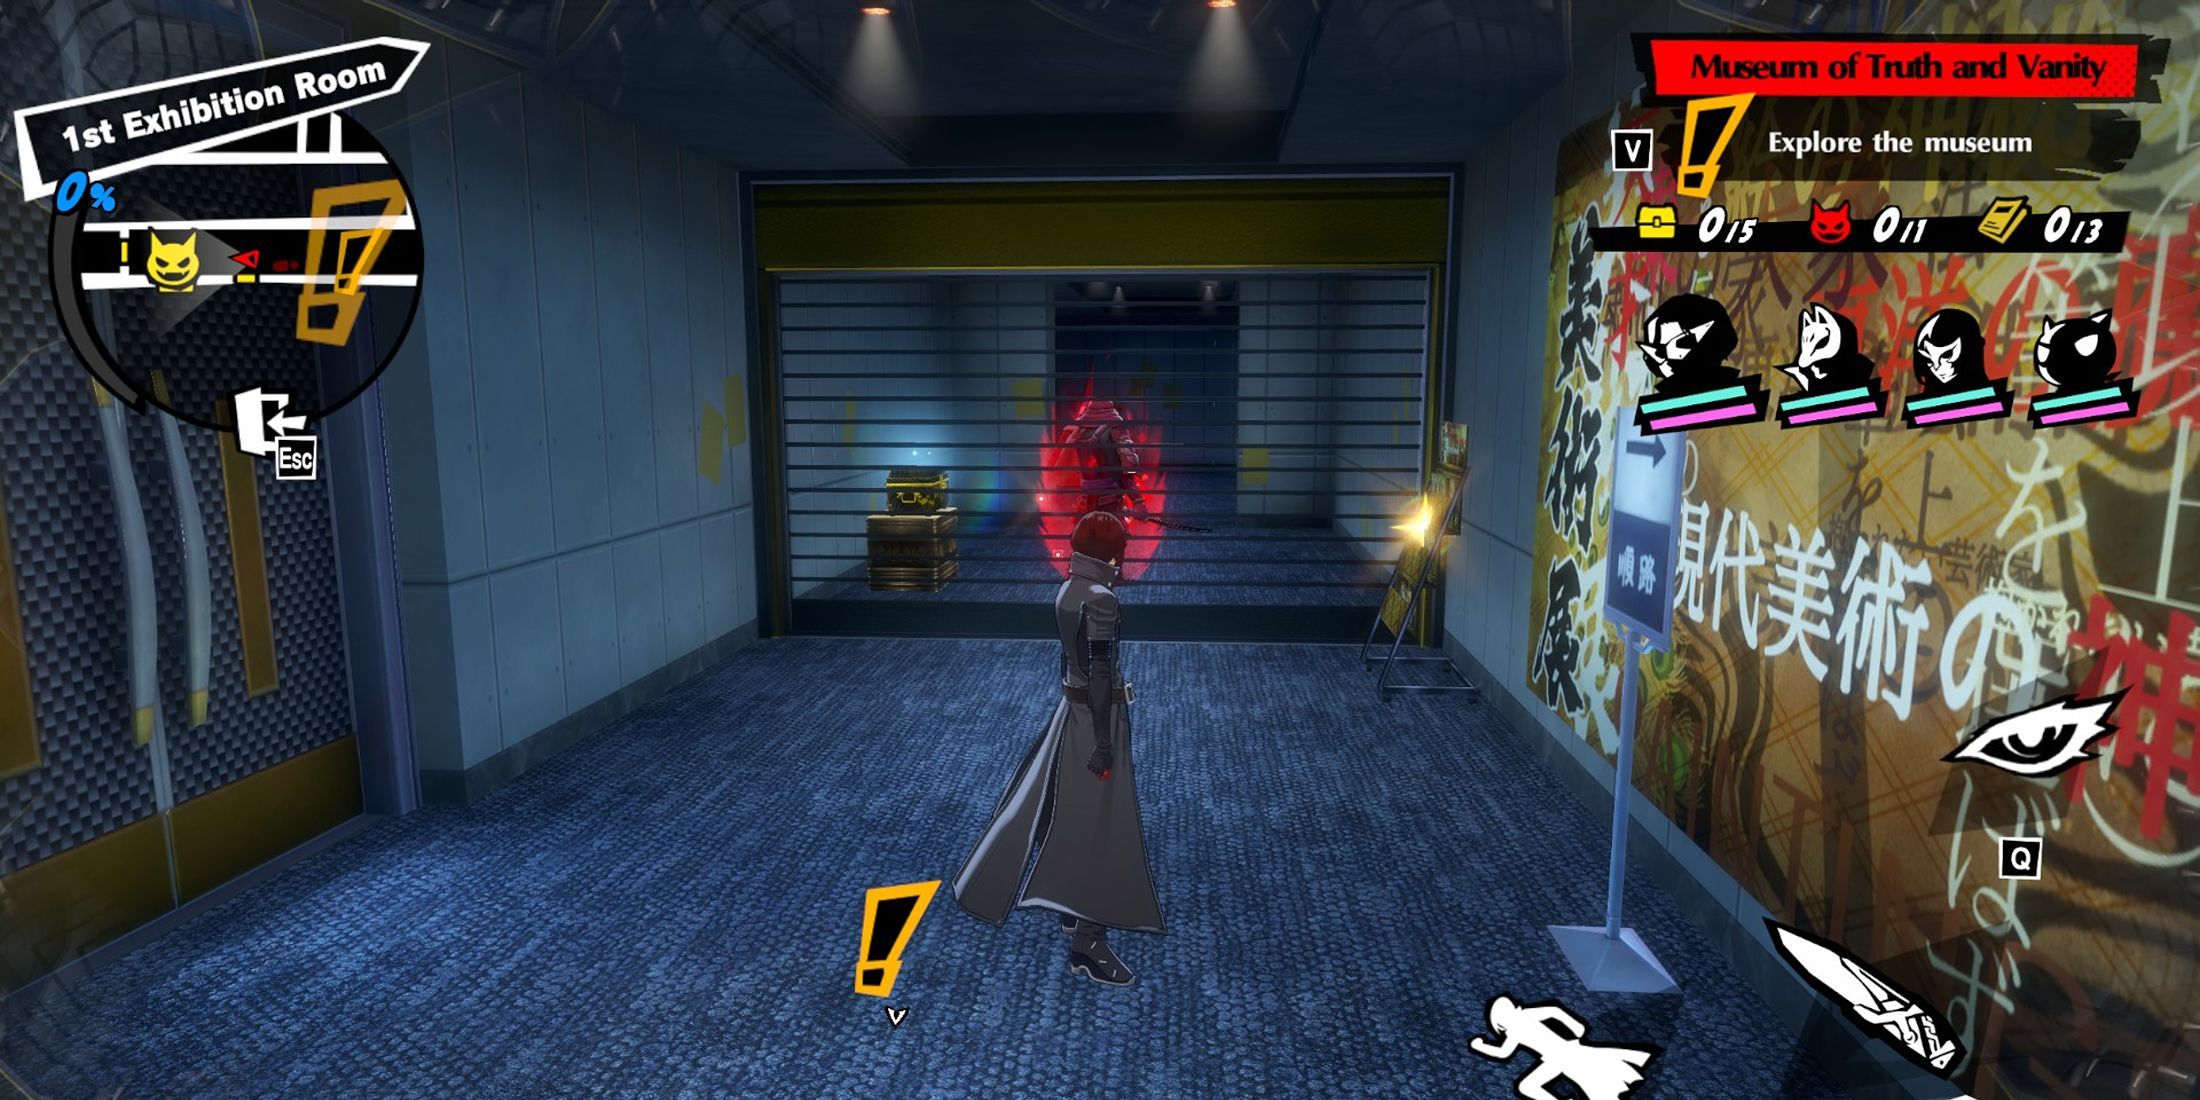
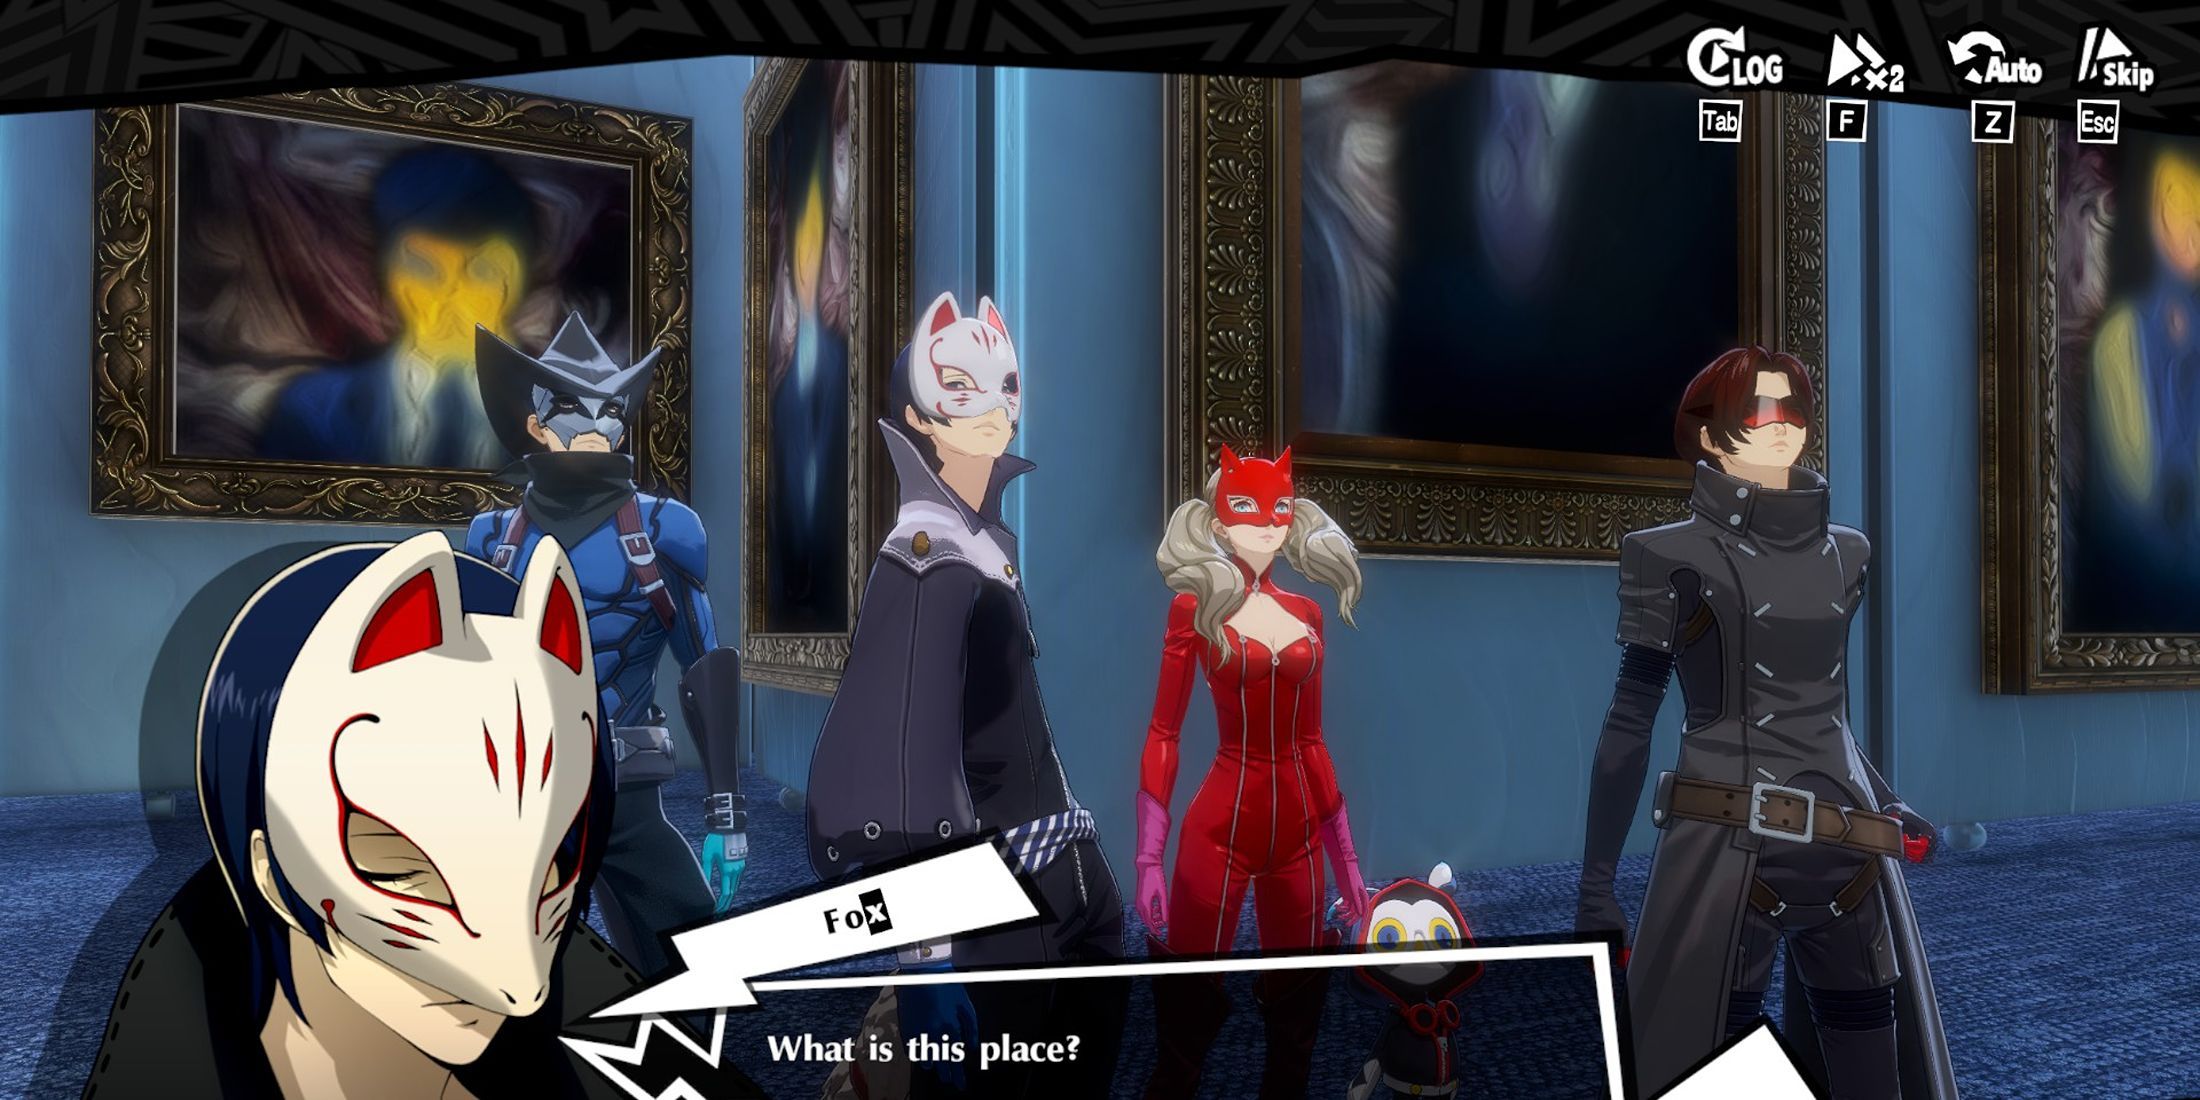
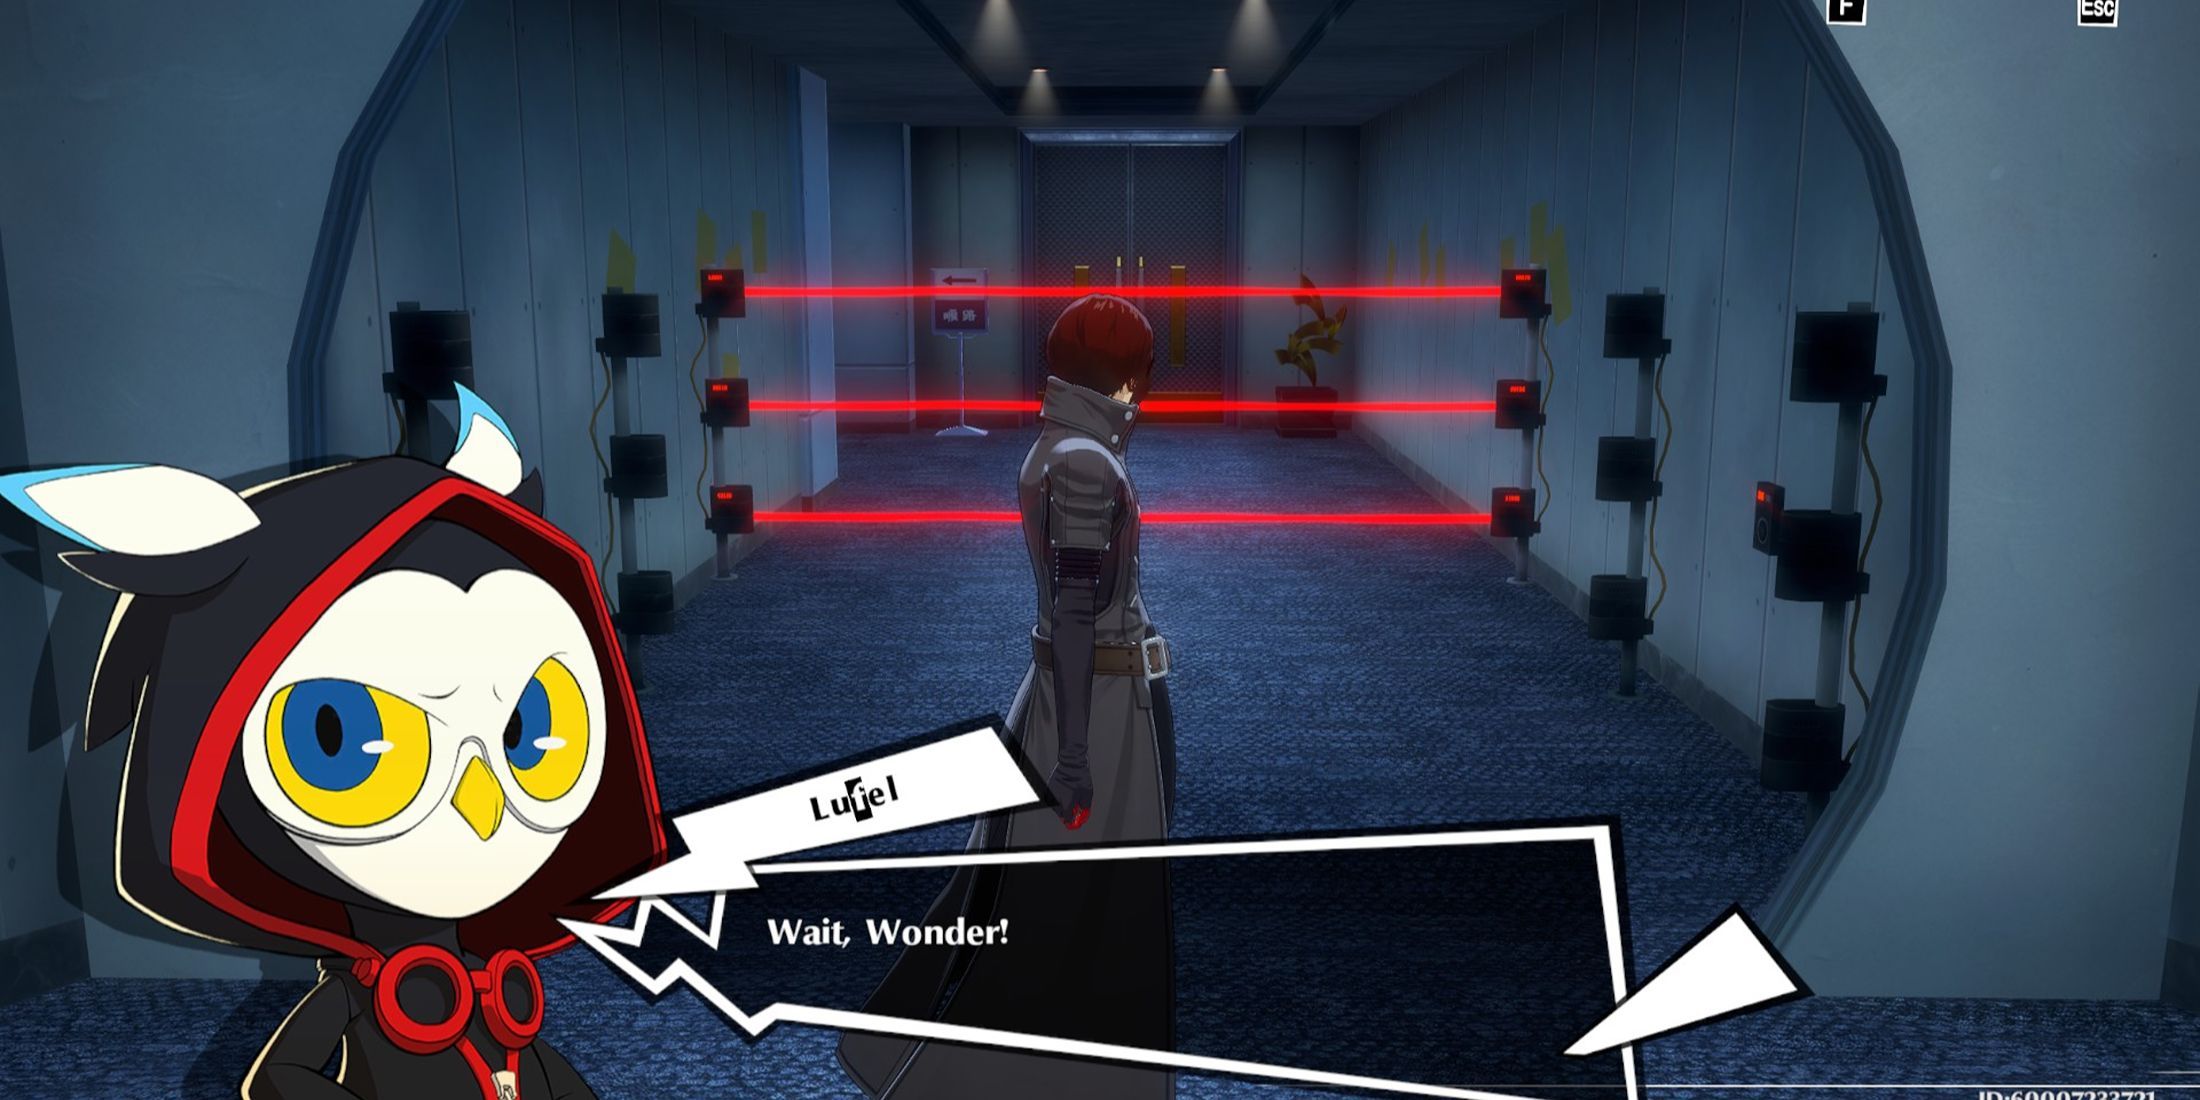
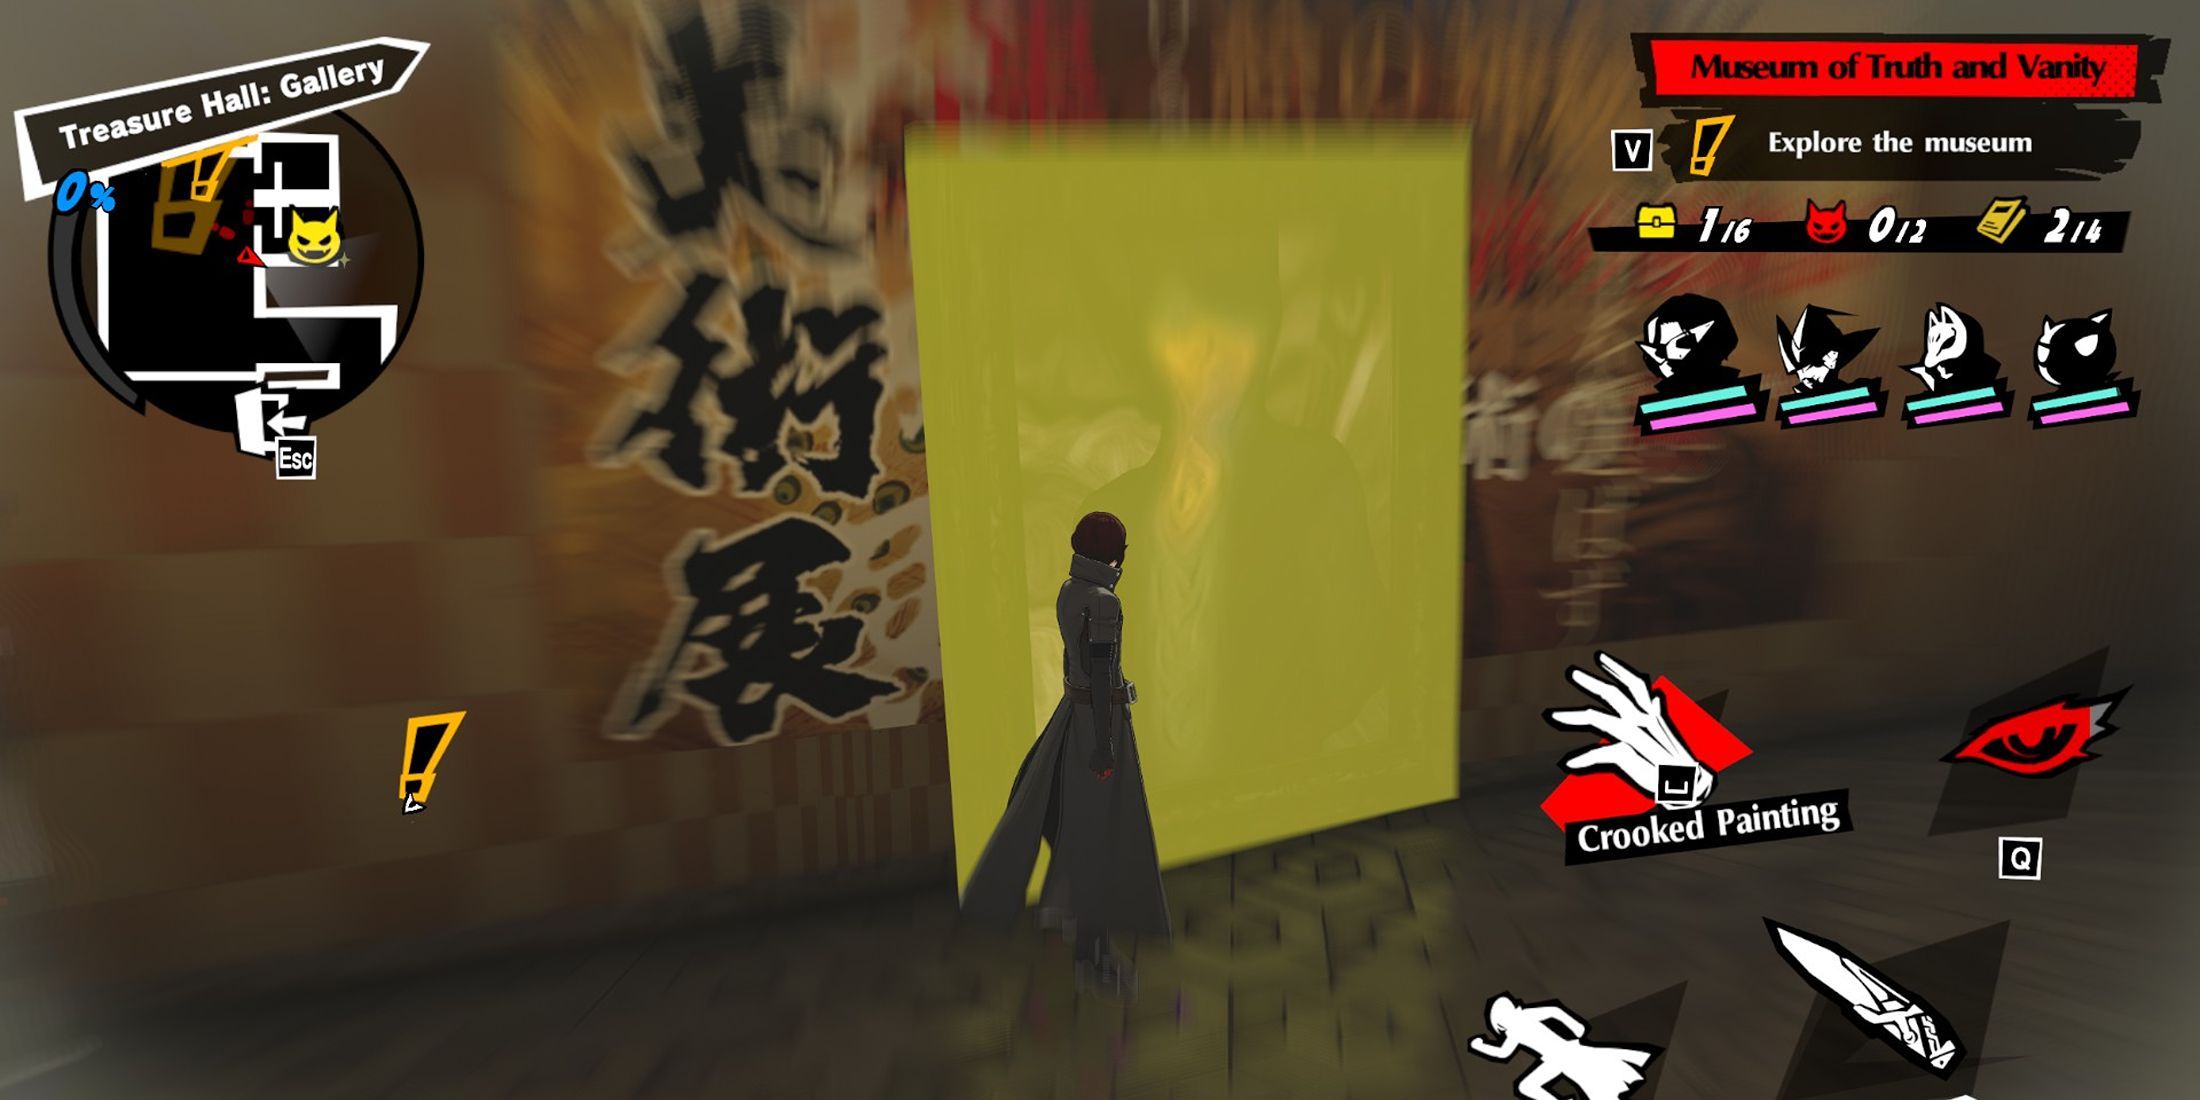
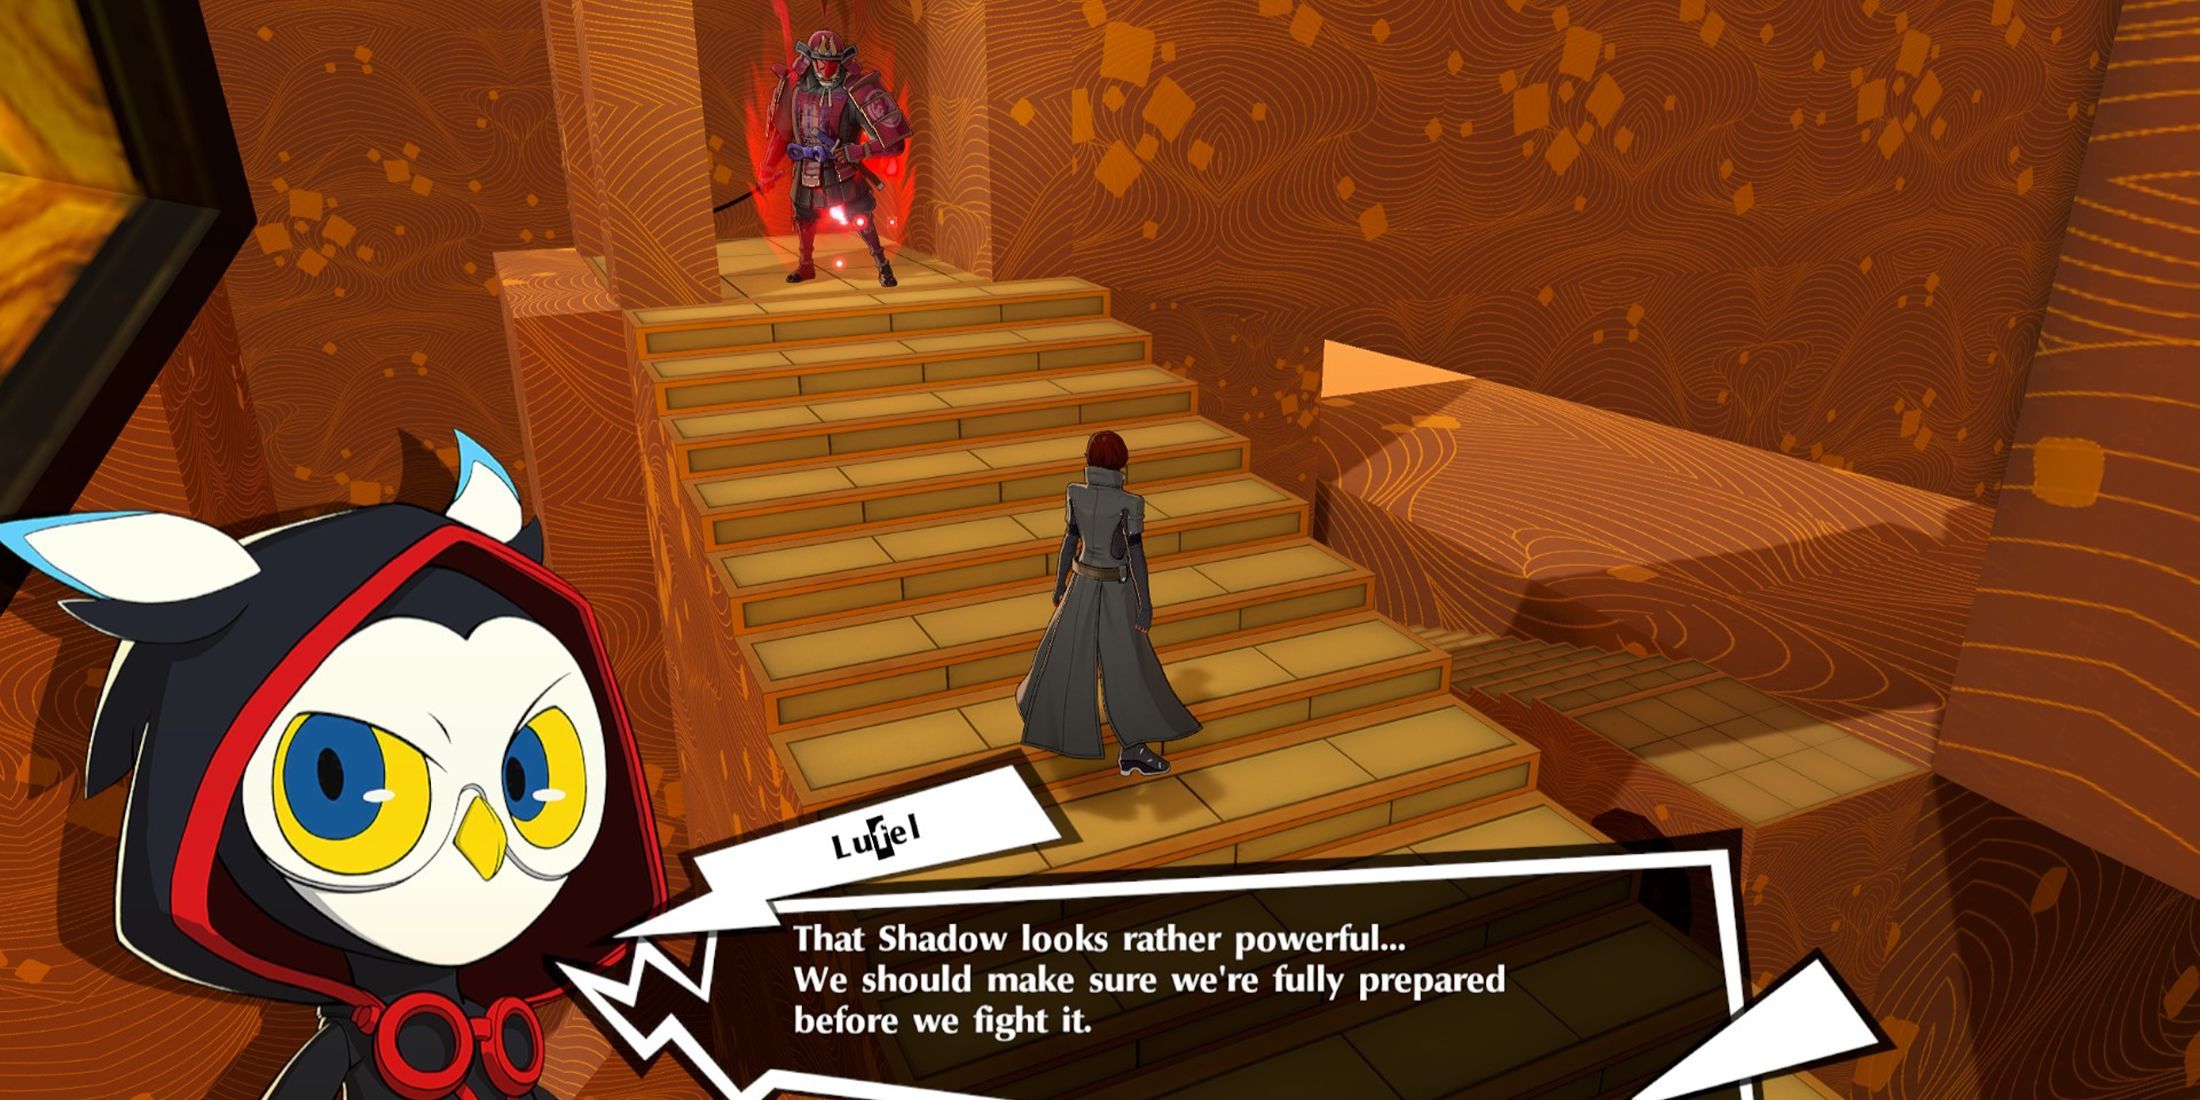
In this second episode, you’ll find yourself outside a museum where a vast parking lot awaits. Resist the urge to head straight for your target; instead, explore the building as there are several hidden treasures and a formidable Shadow to conquer. Take your time, make sure not to open the double doors before exhausting all possibilities in the parking lot. Once you’ve cleaned it out, feel free to enter through those doors and witness a cutscene, where you’ll encounter a new Phantom Thief (Fox) joining forces with Panther. Overcome the boss battle to wrap up this episode successfully.
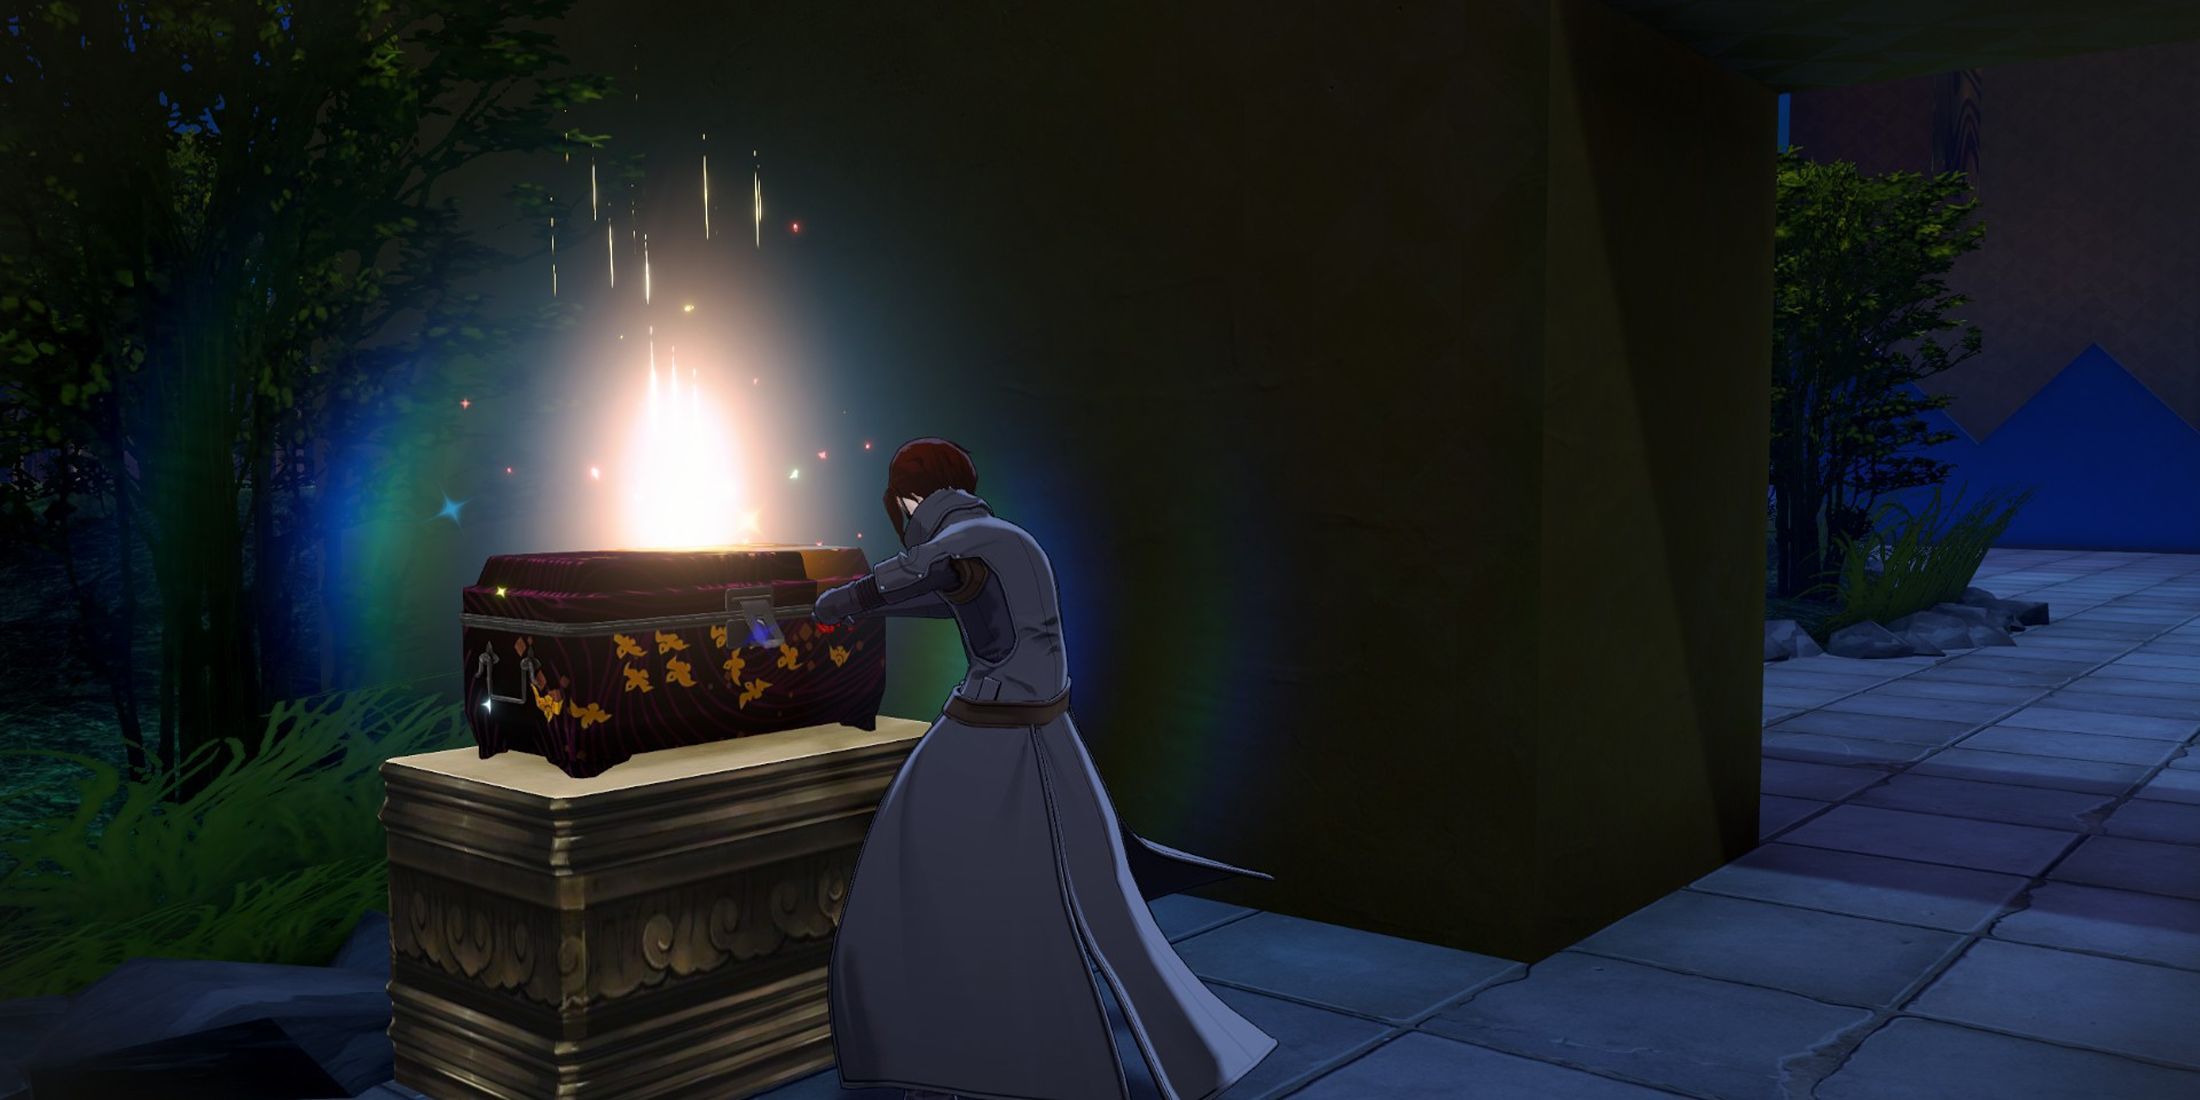
Episode 2-2 One More Core?
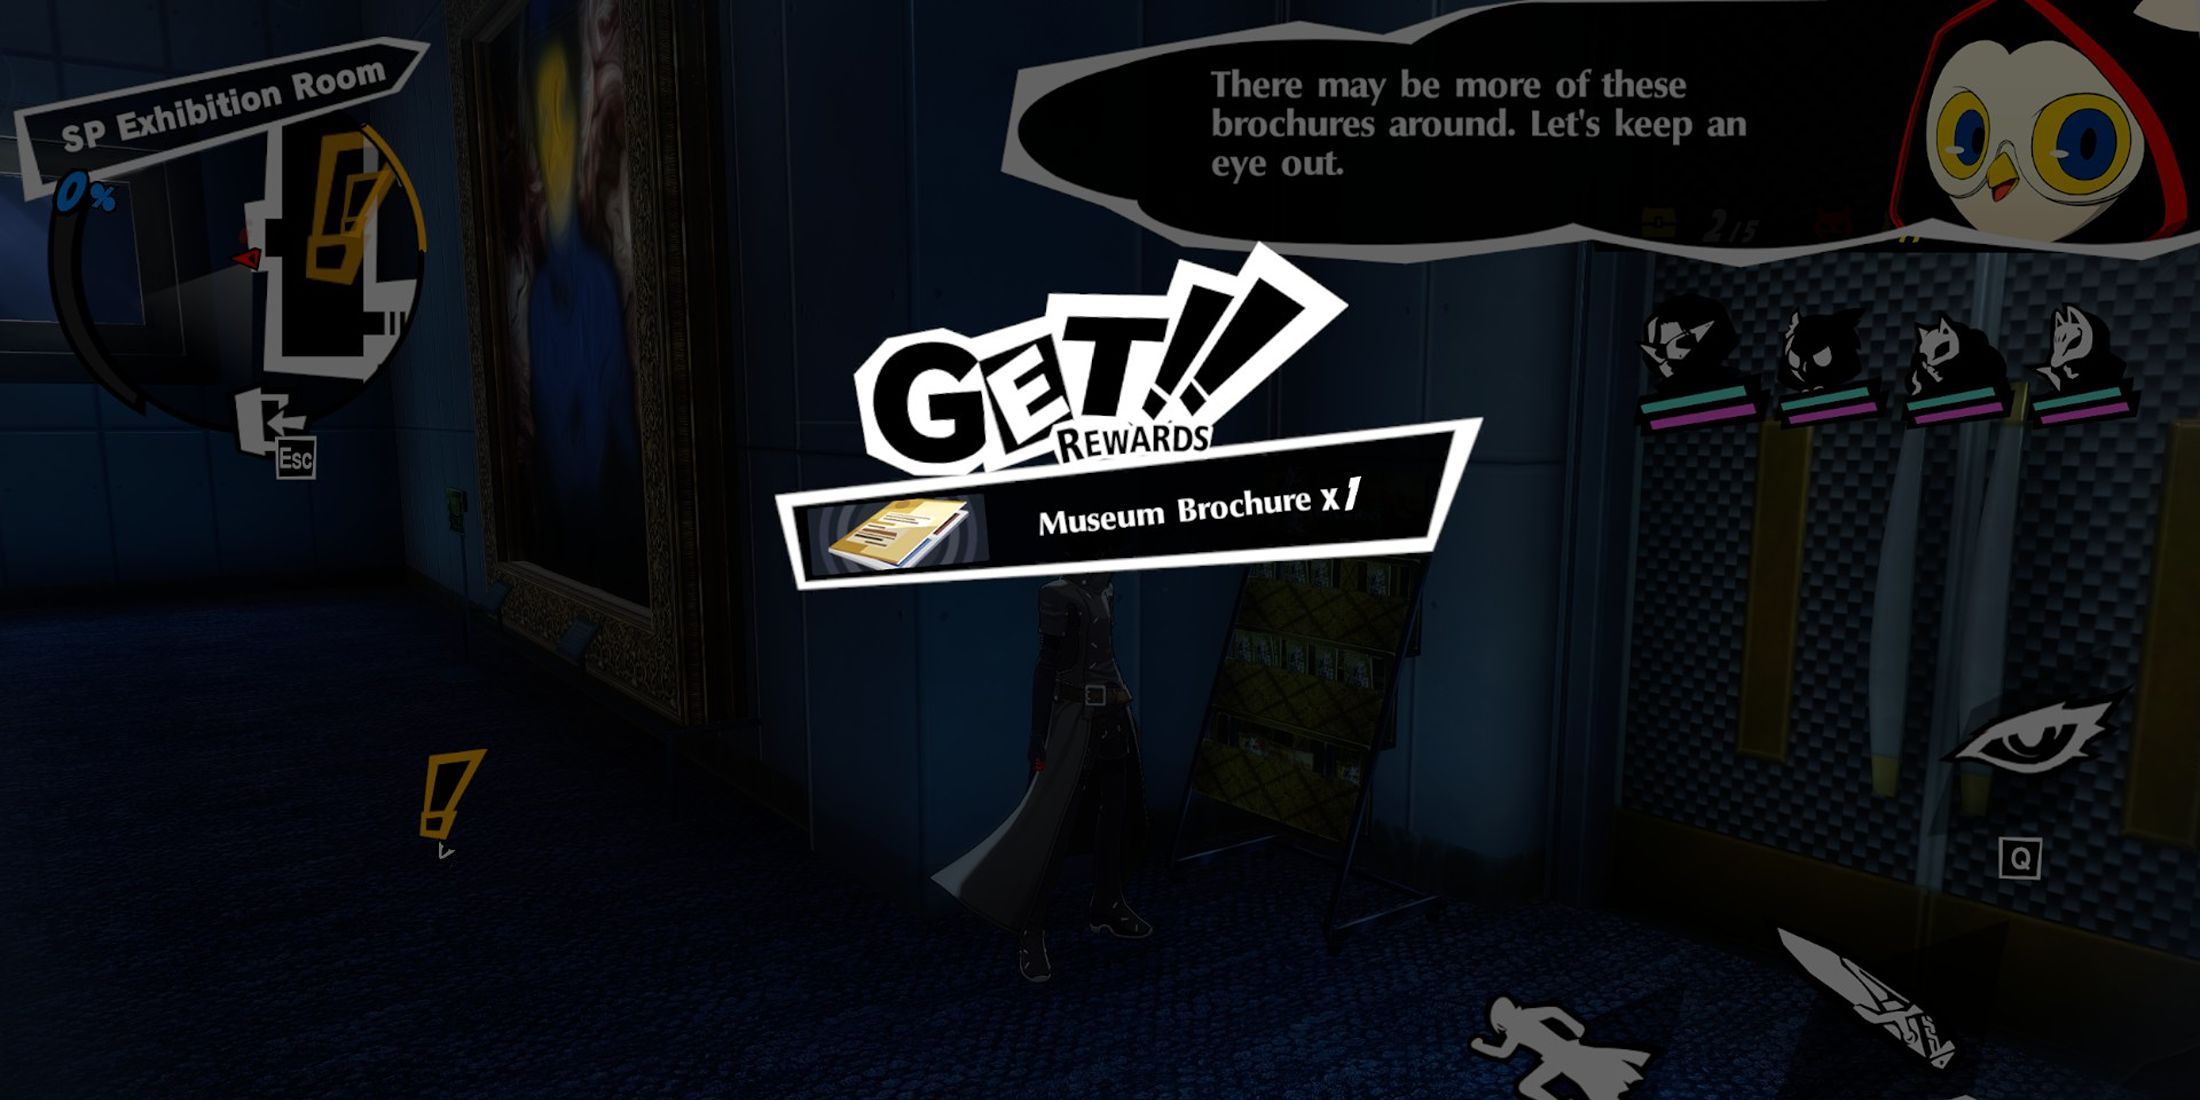
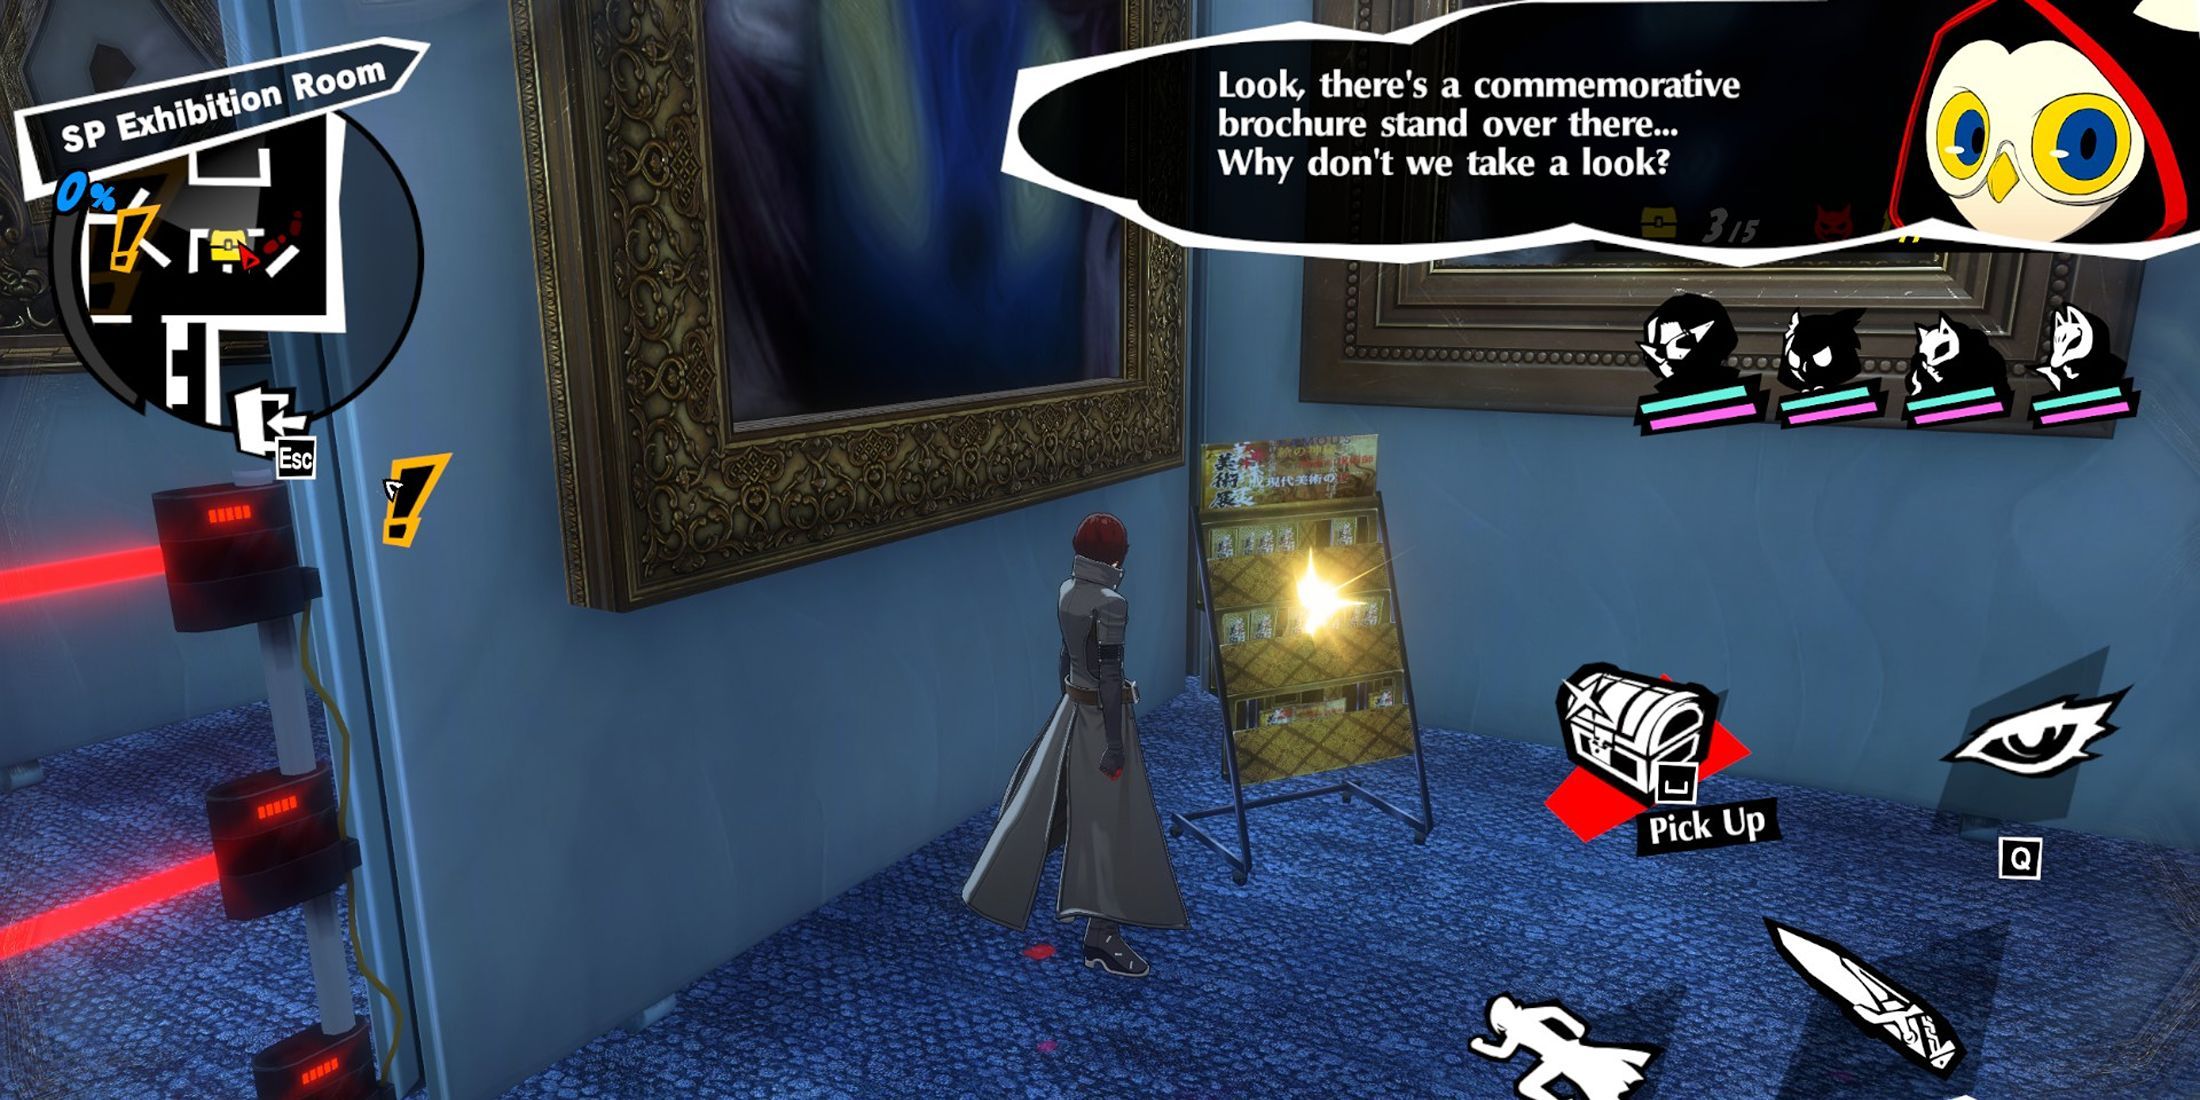
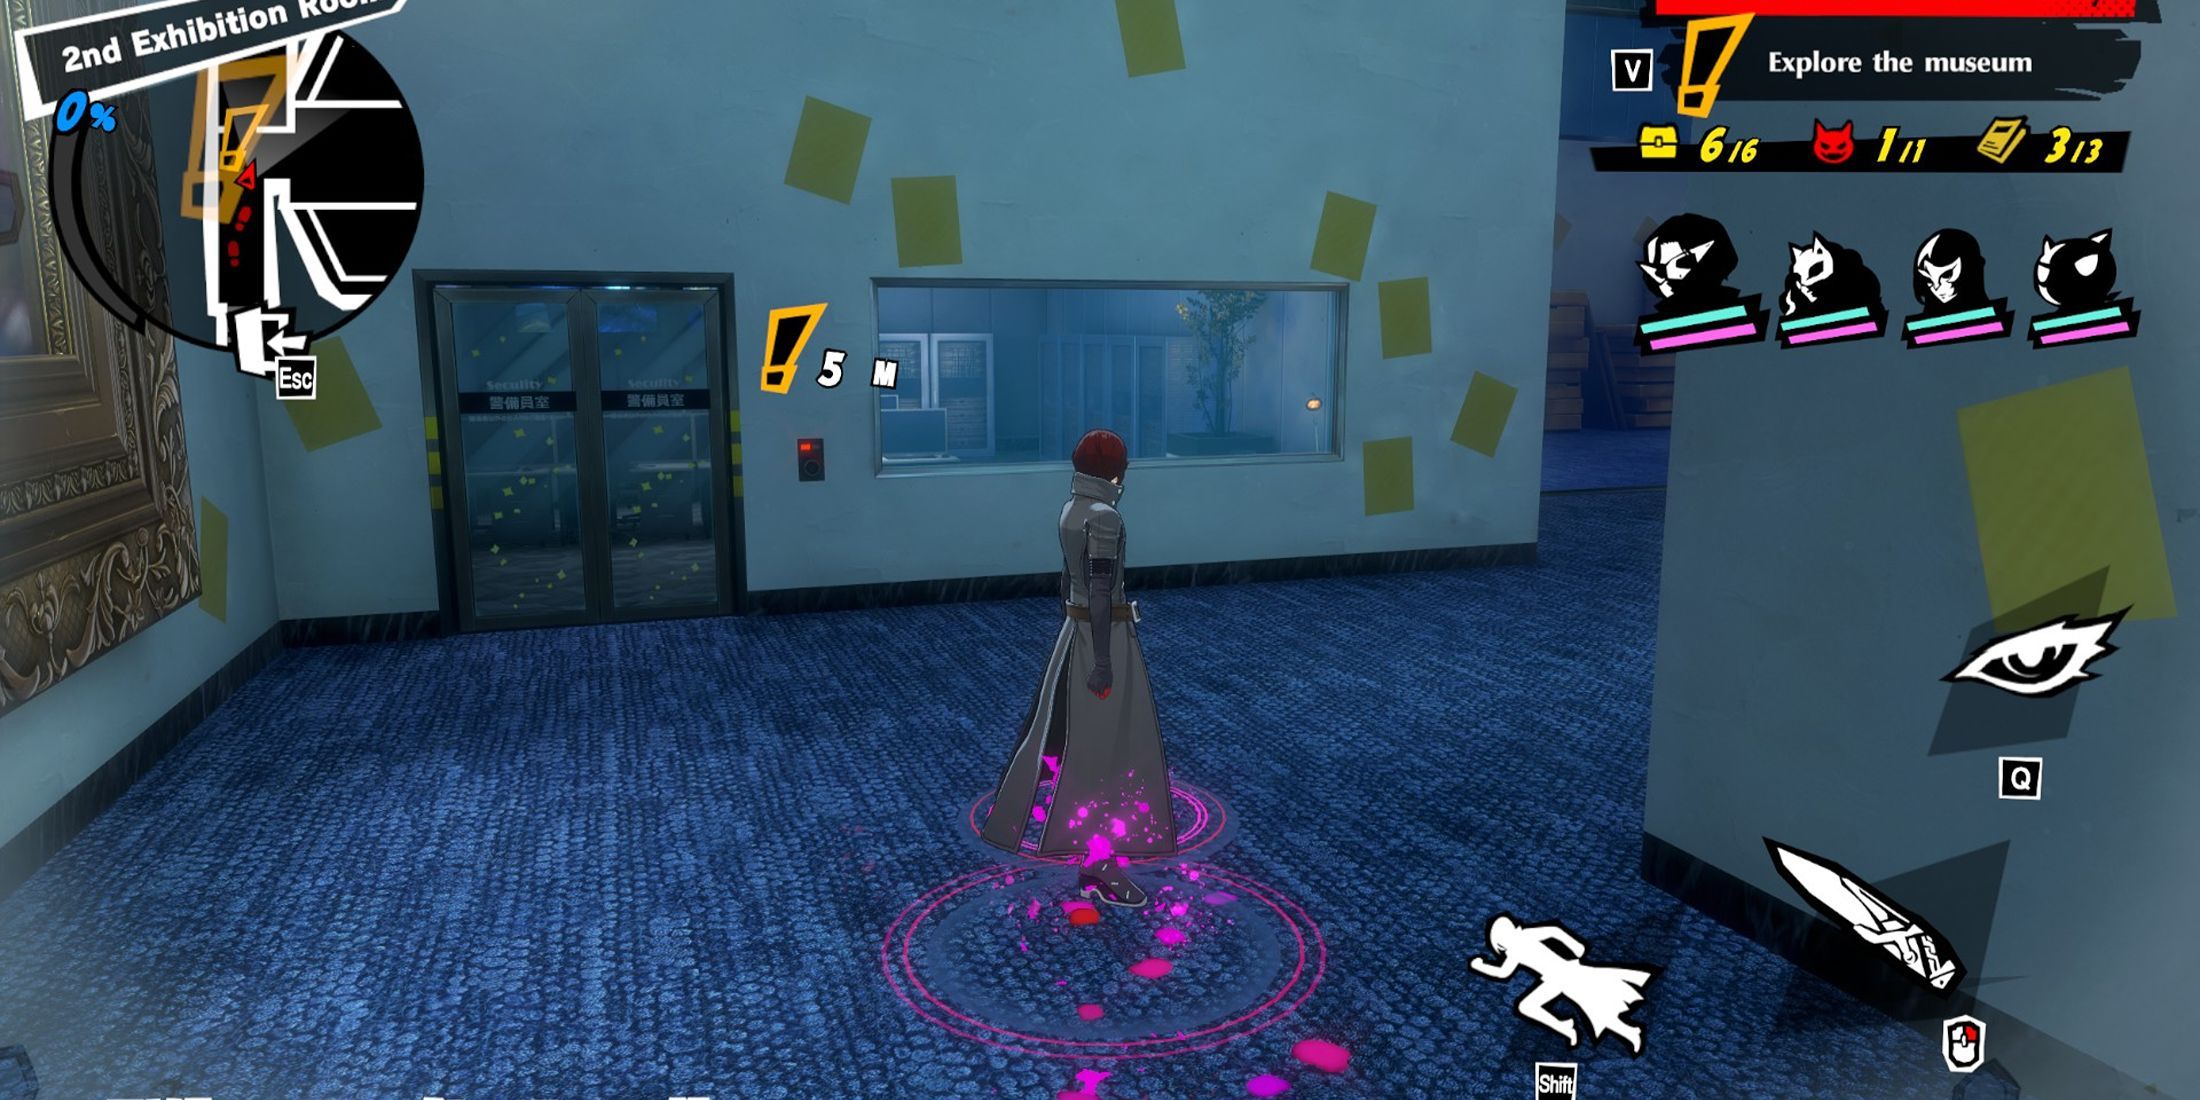
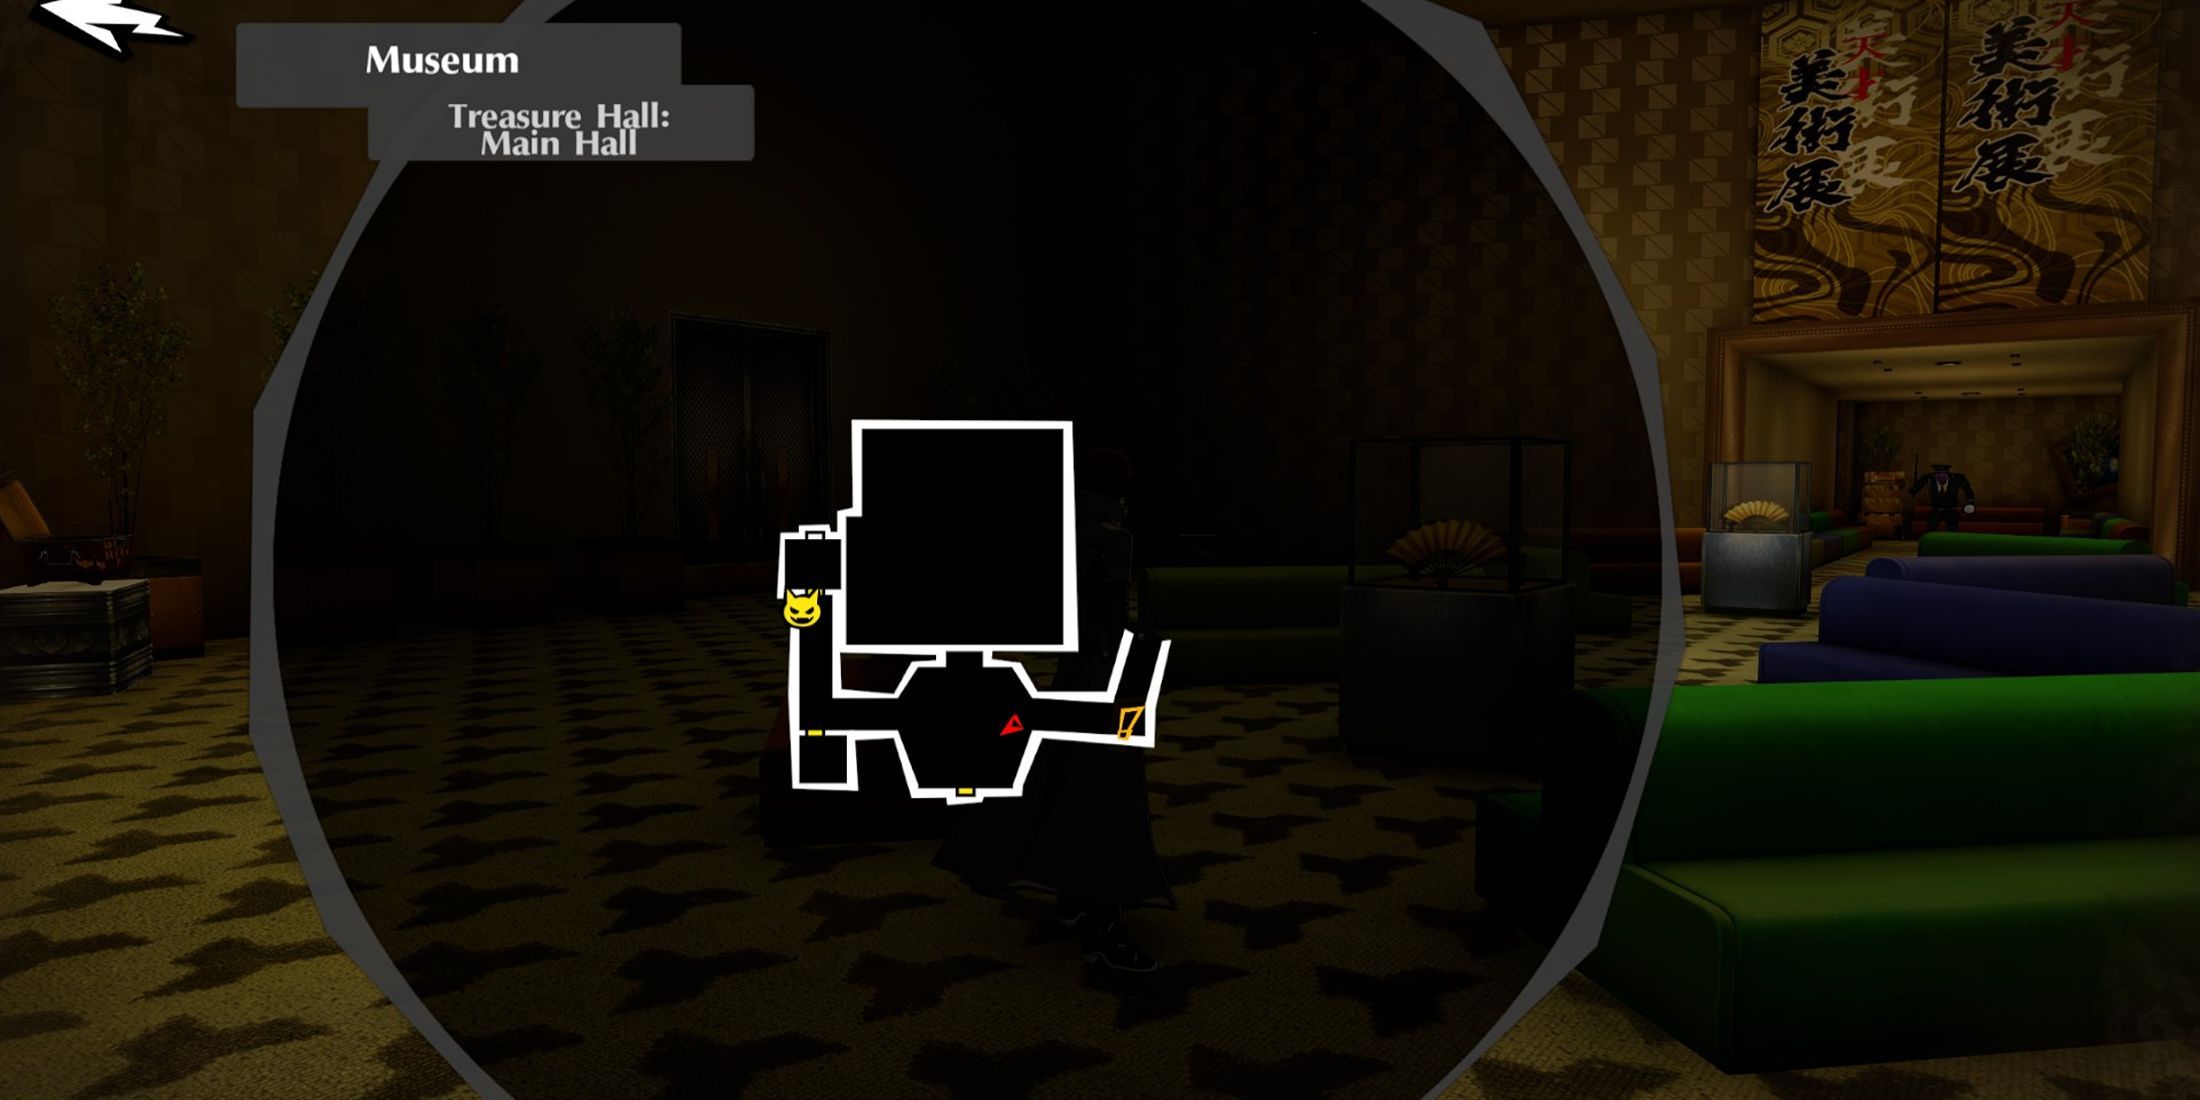
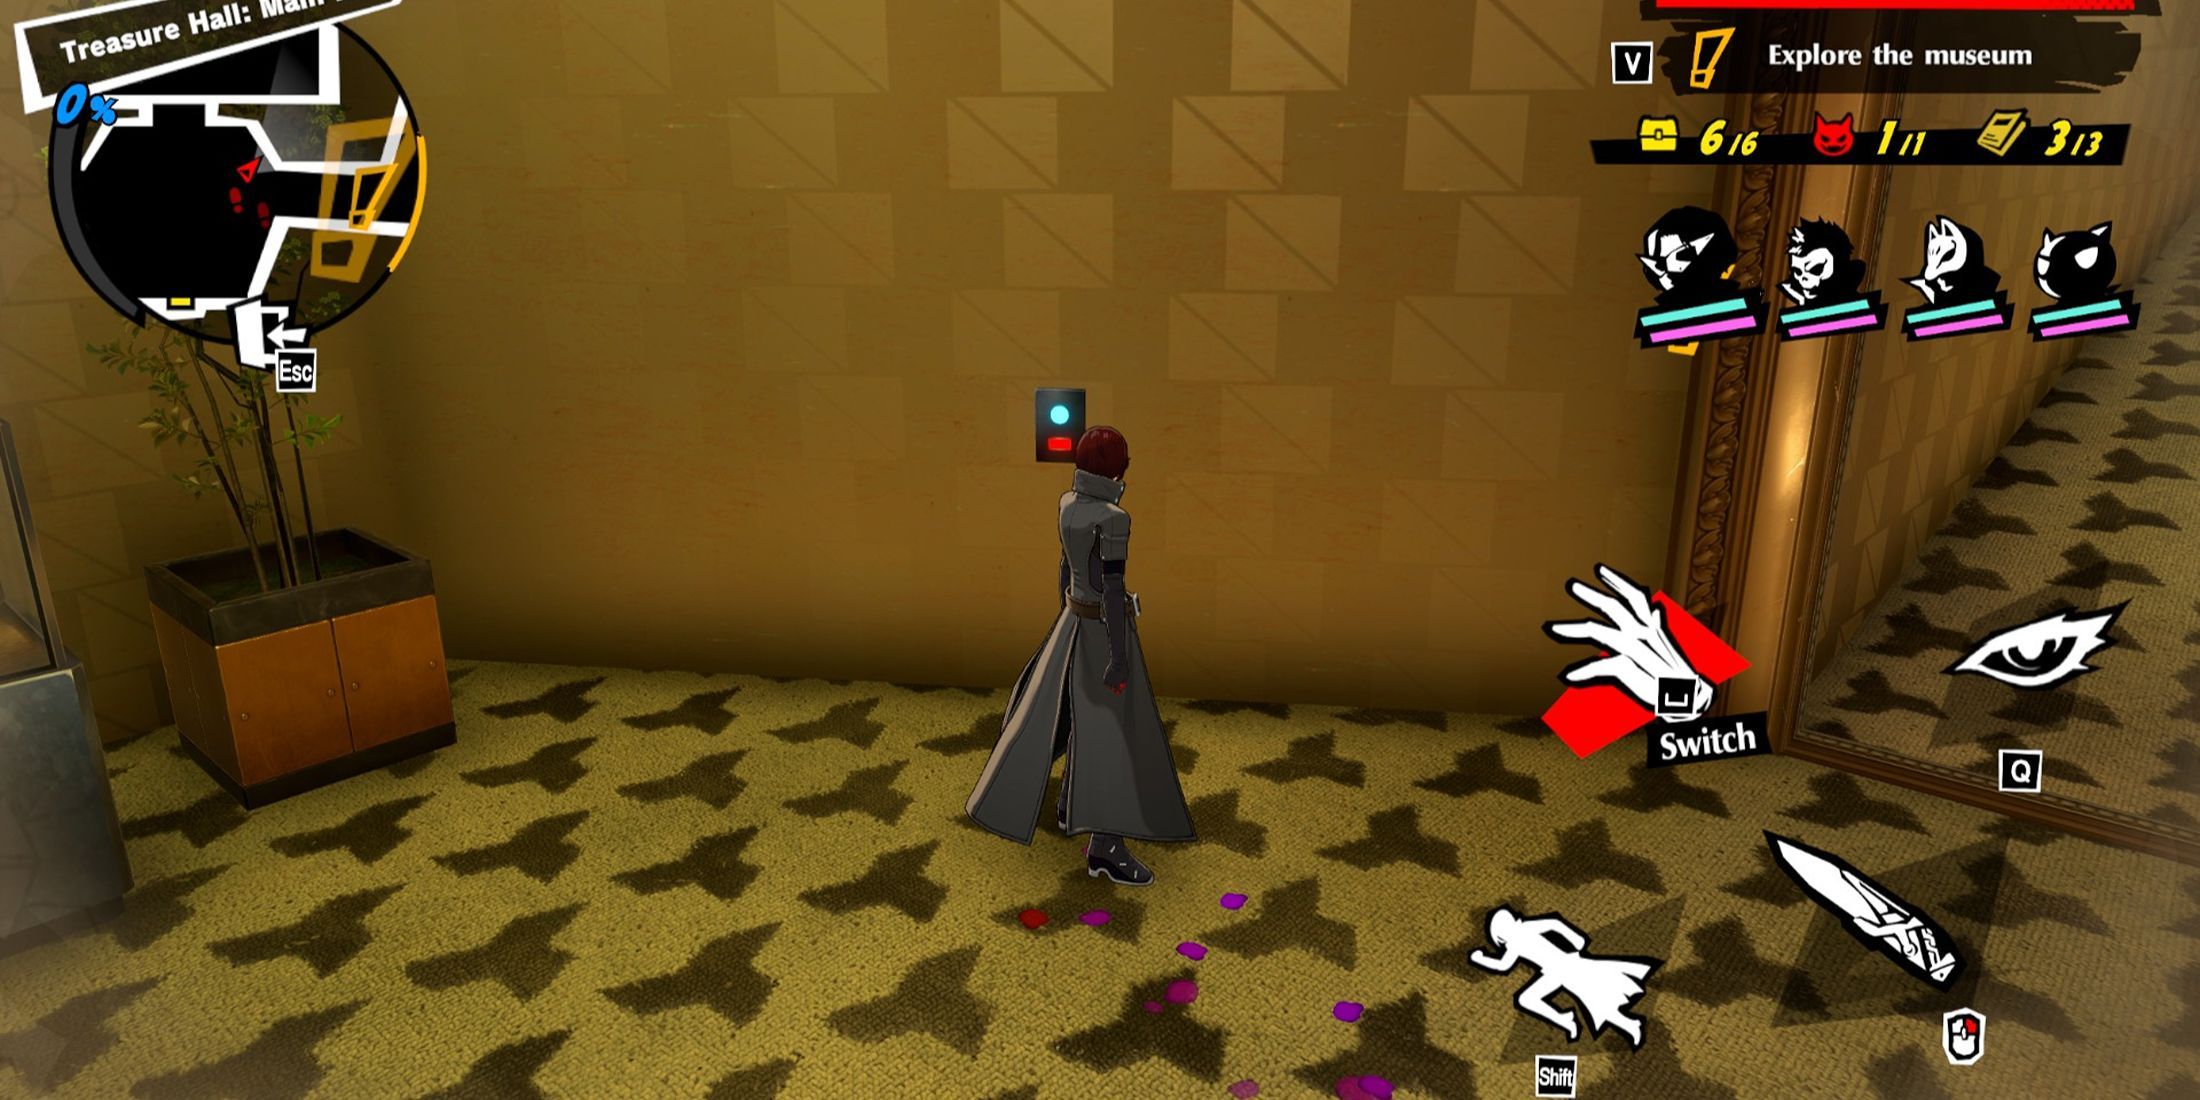
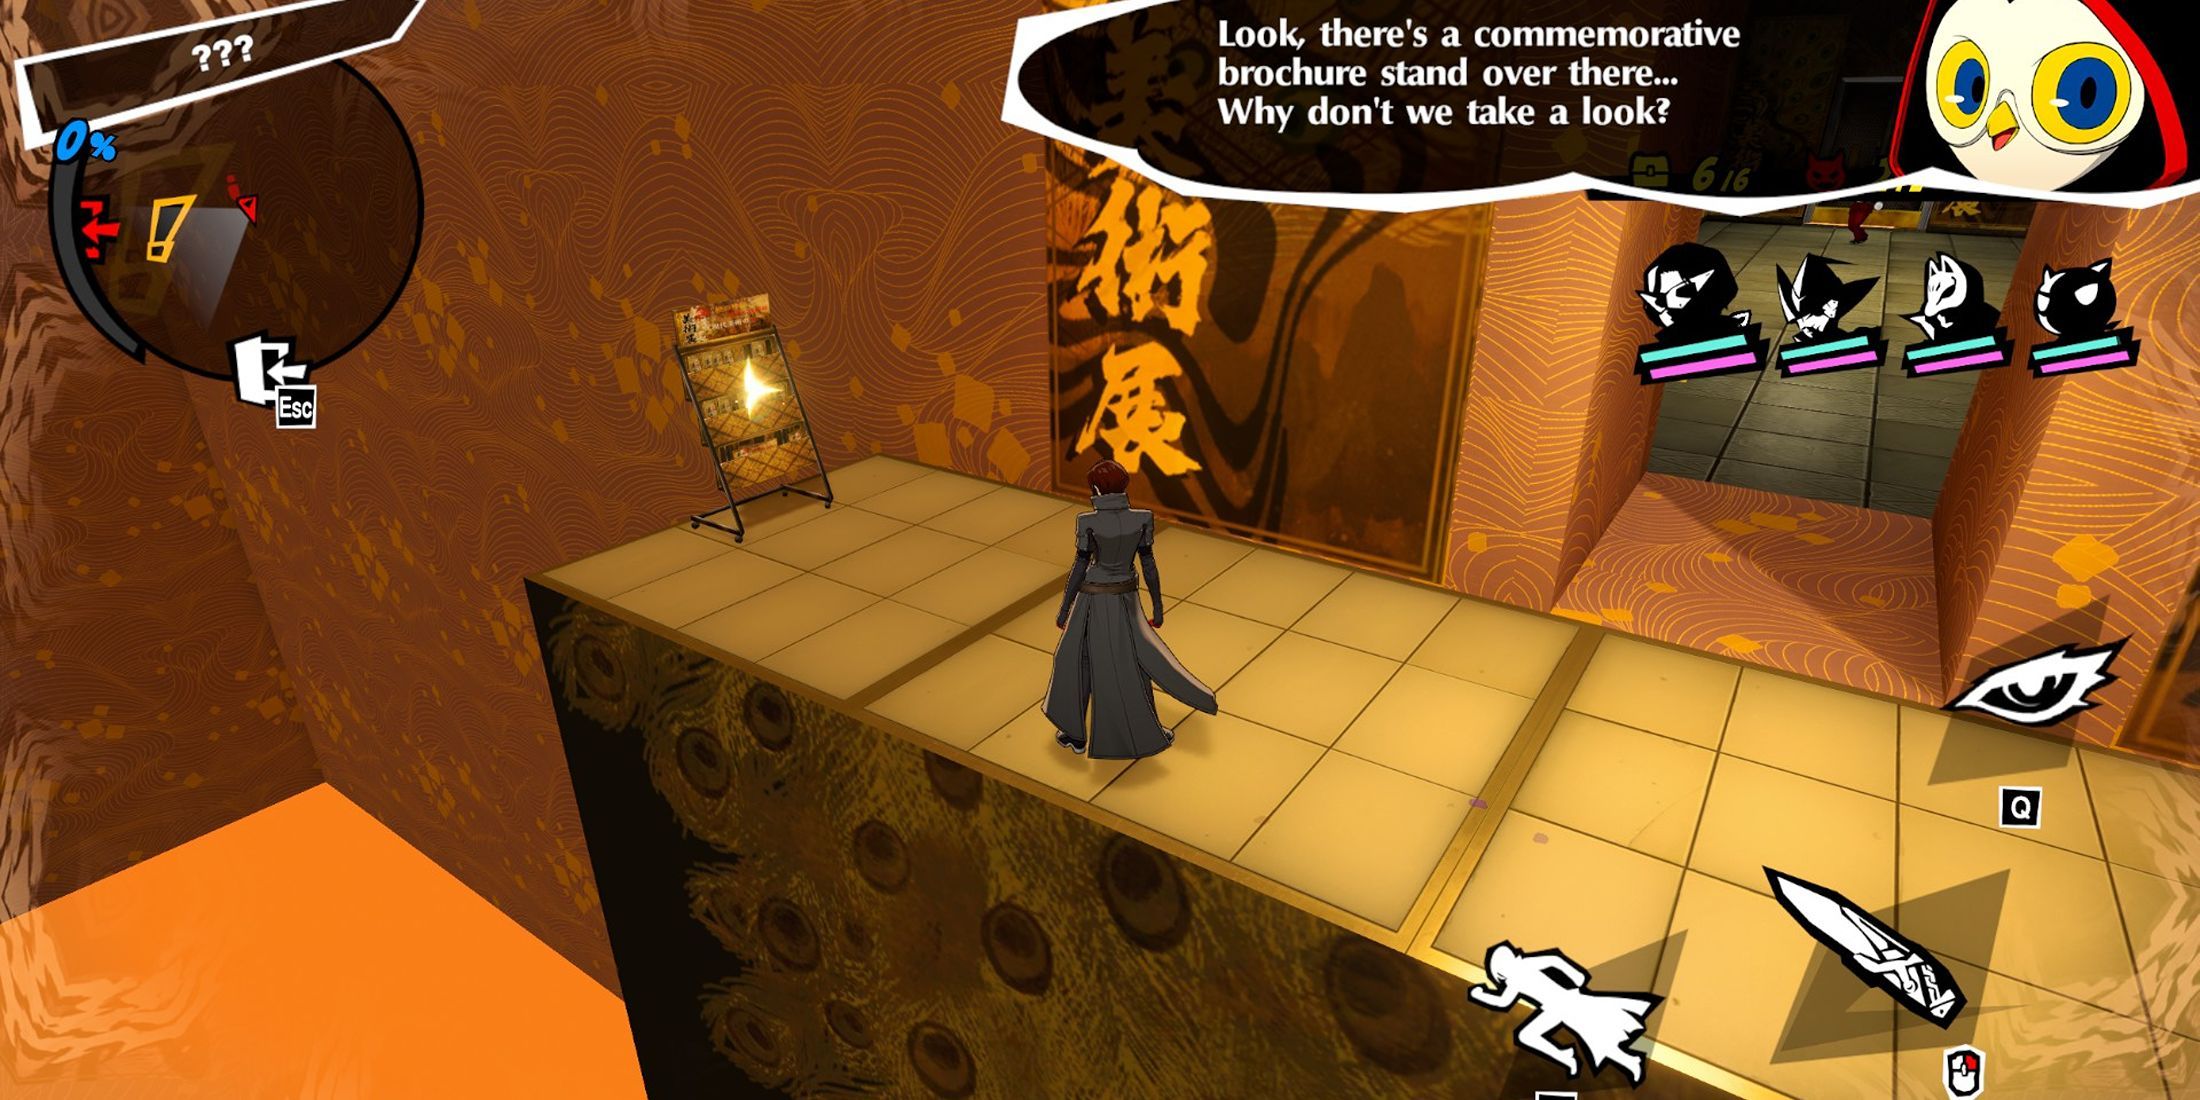
In Episode 2-2, players begin their journey in the Museum’s receiving hall, with the goal of collecting all items to achieve 100% completion (3 Museum Brochures, 5 chests, and defeating a powerful shadow). First, rotate around and head towards the east wing. Pull the lever beside the reception desk, then take the left pathway into the East Wing.
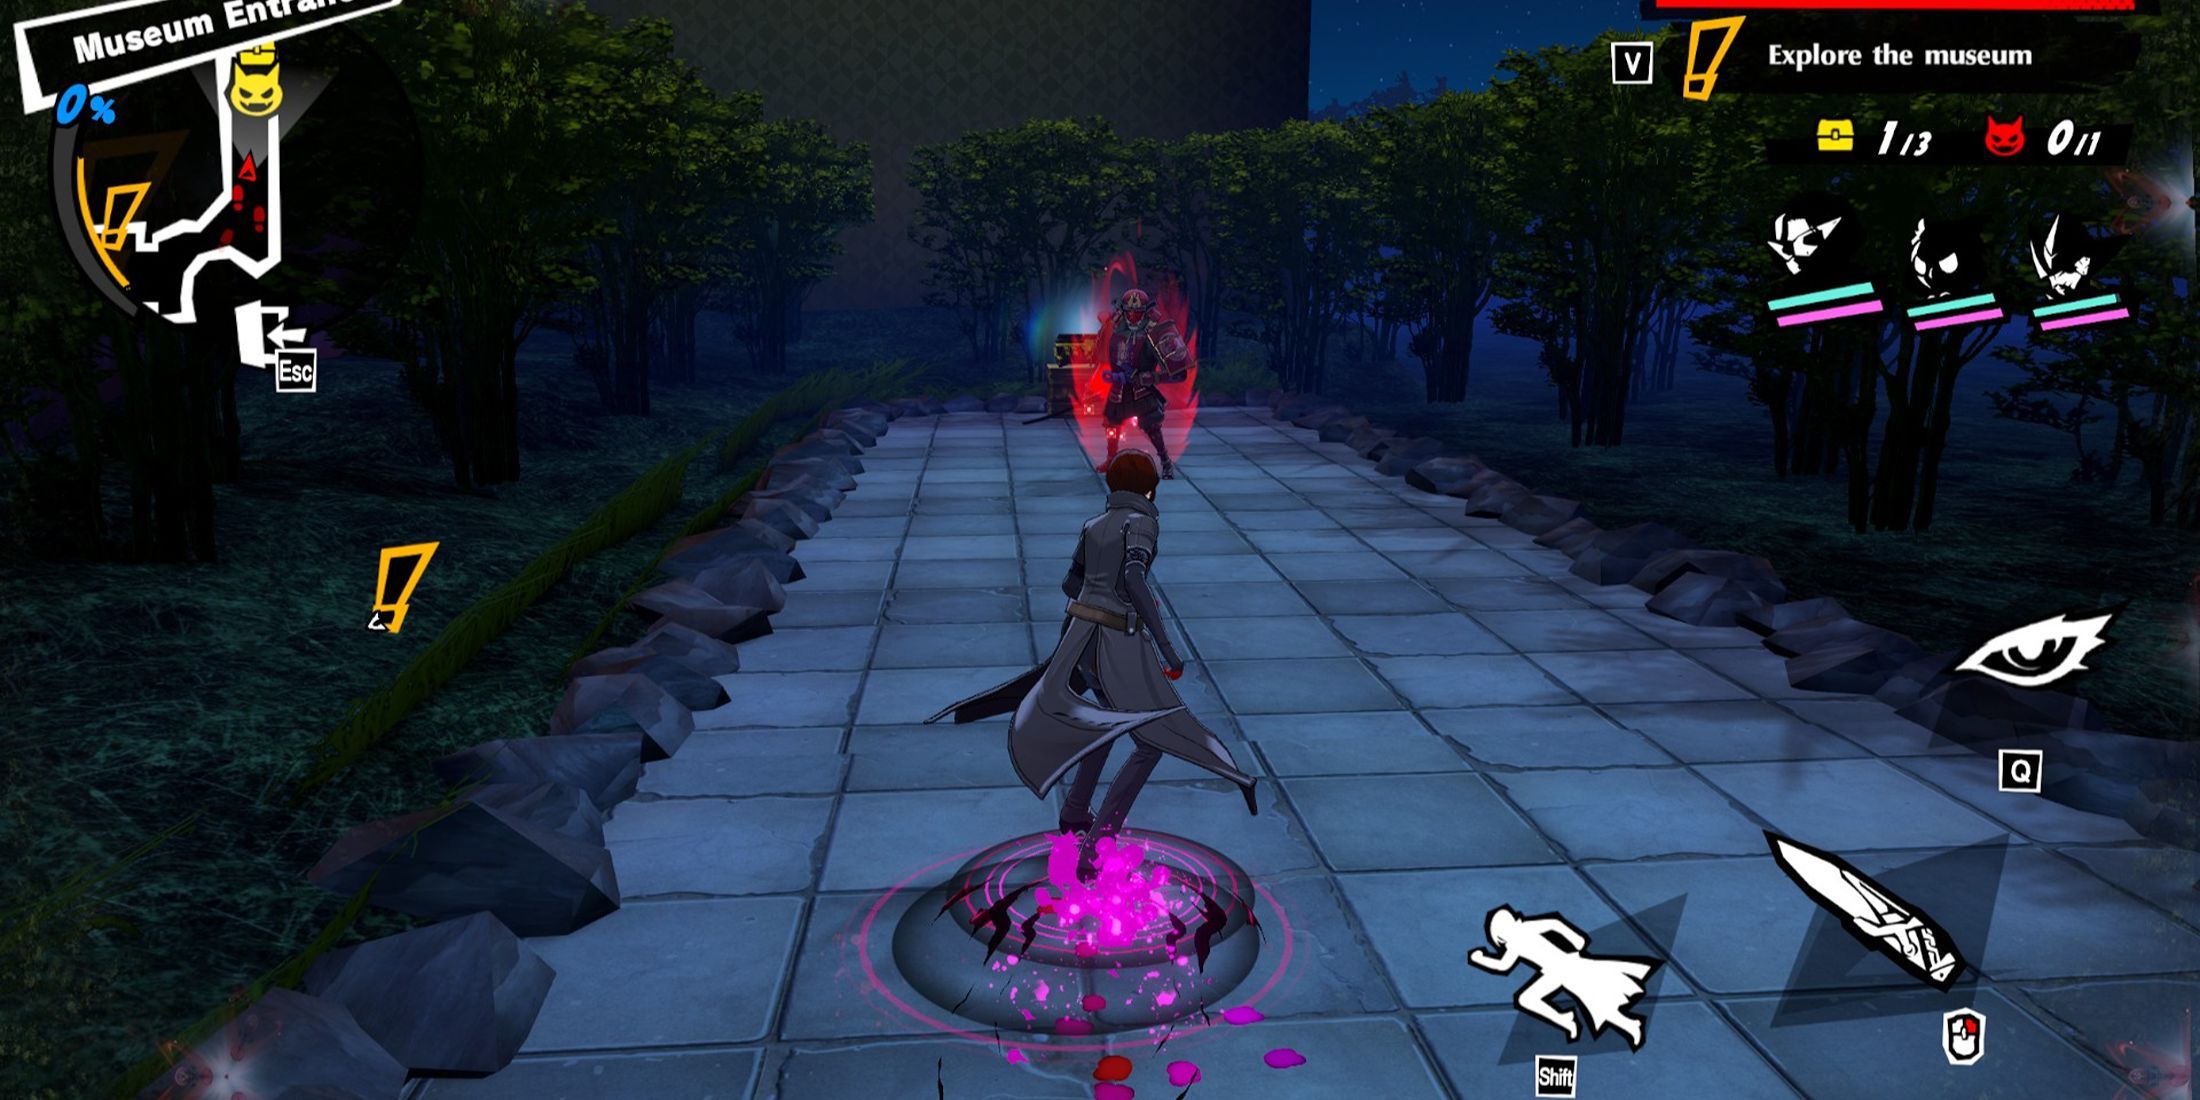
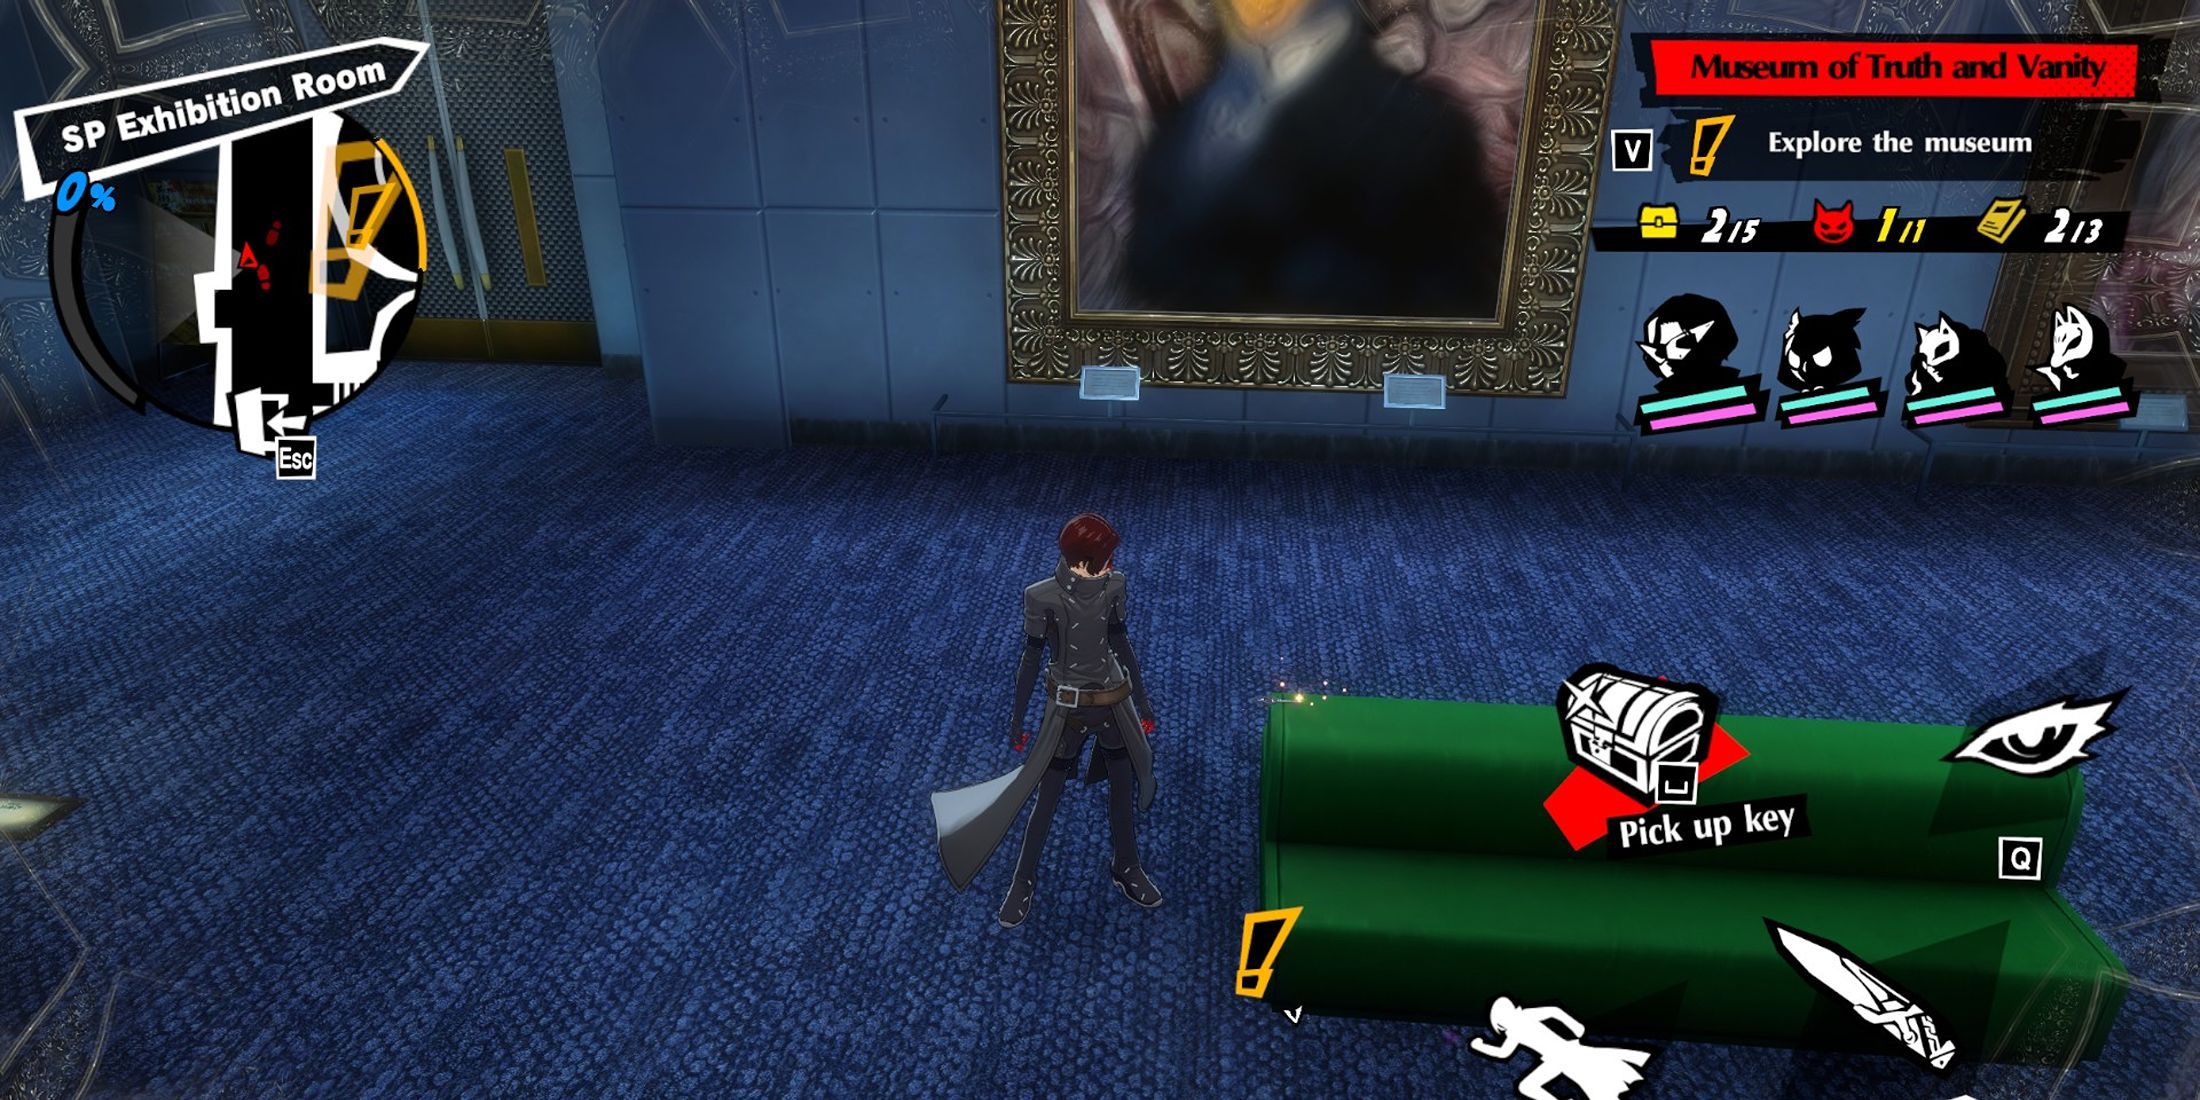
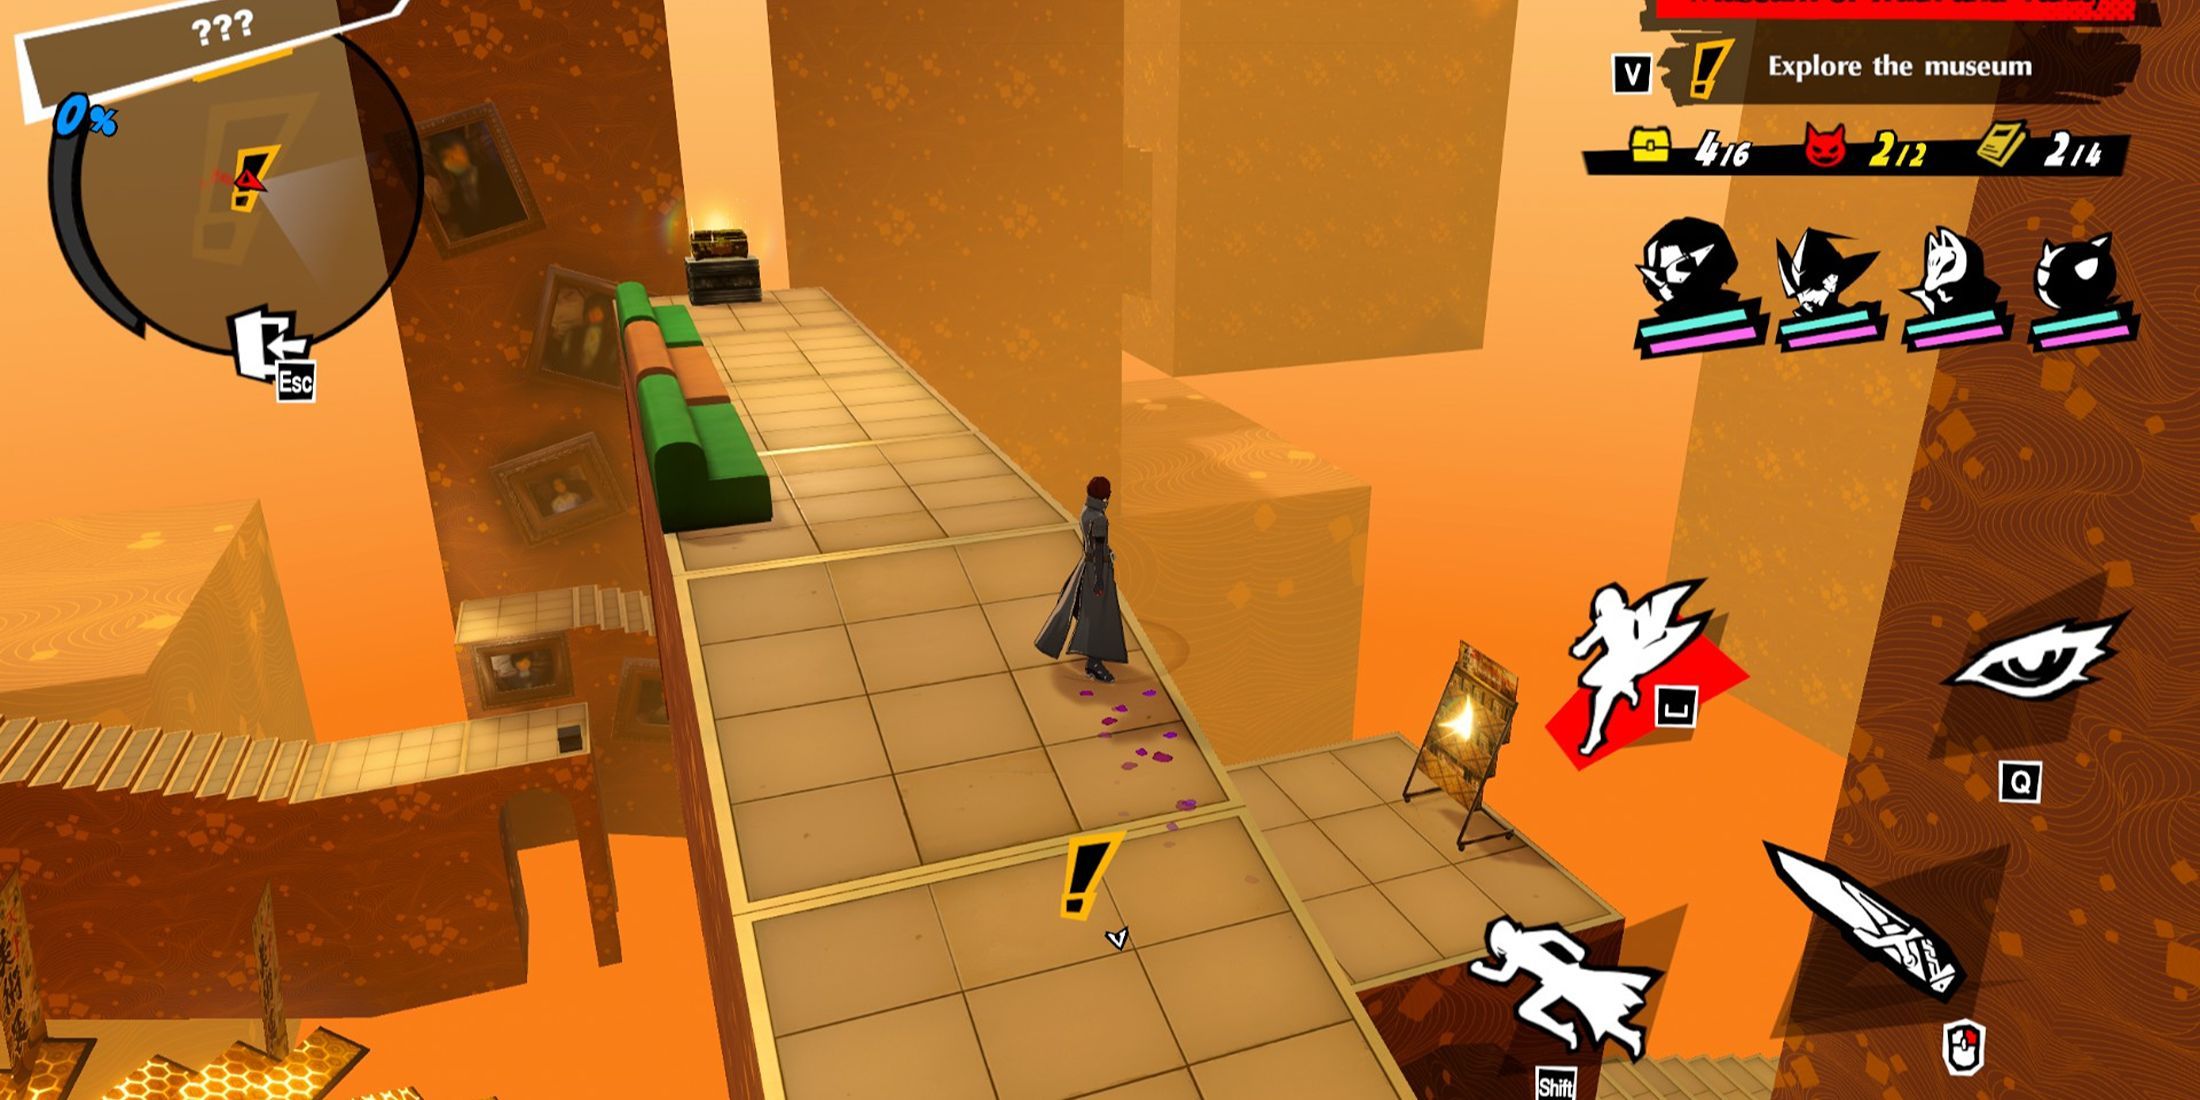
In this area, players will find one of the Museum Brochures, battle the Powerful Shadow guarding a Treasure Chest, and discover a Treasure Key Chest on a green bench. Using the key, you can open the Treasure Chest located in the Central Circular Room.
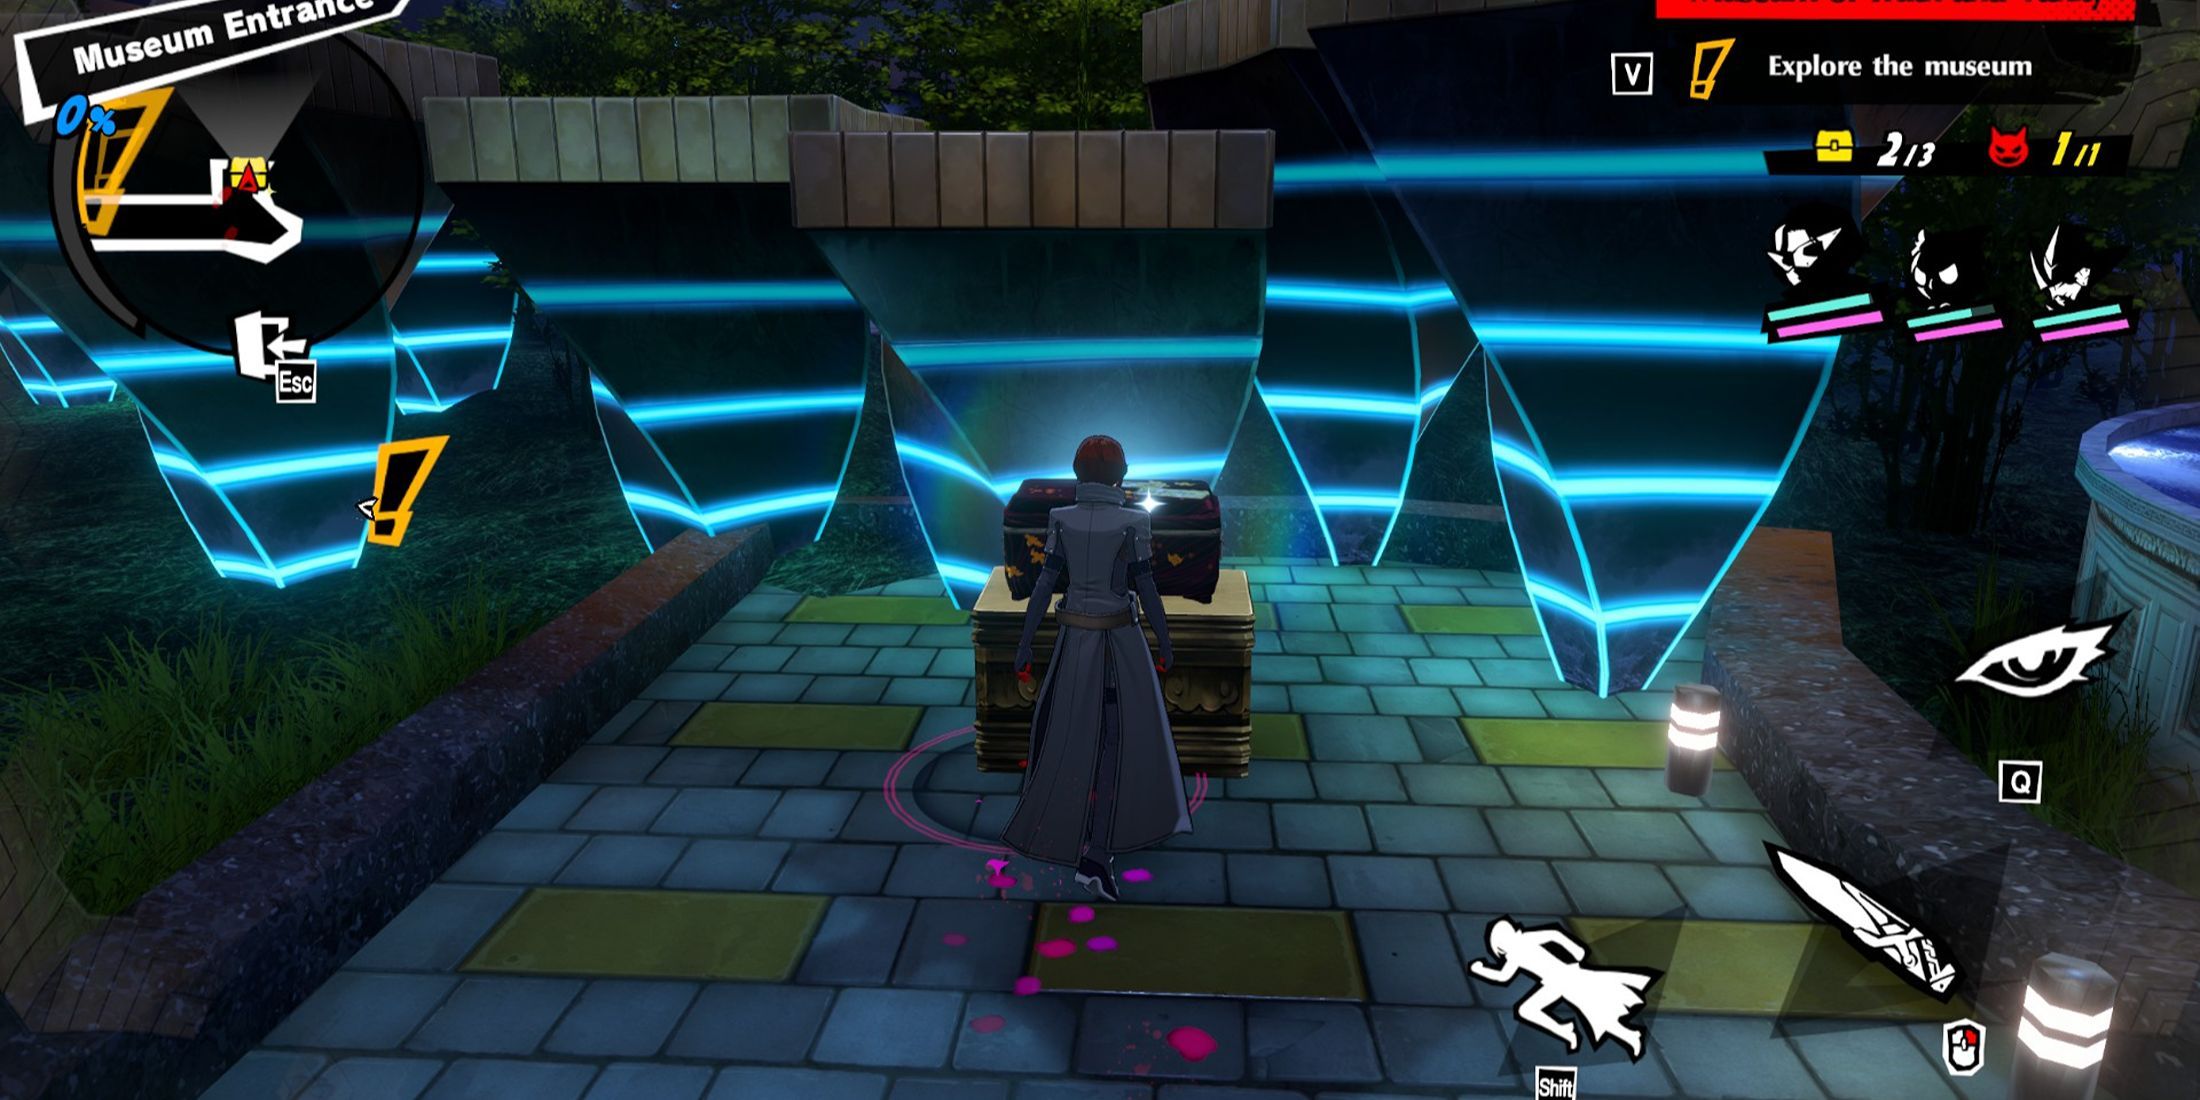
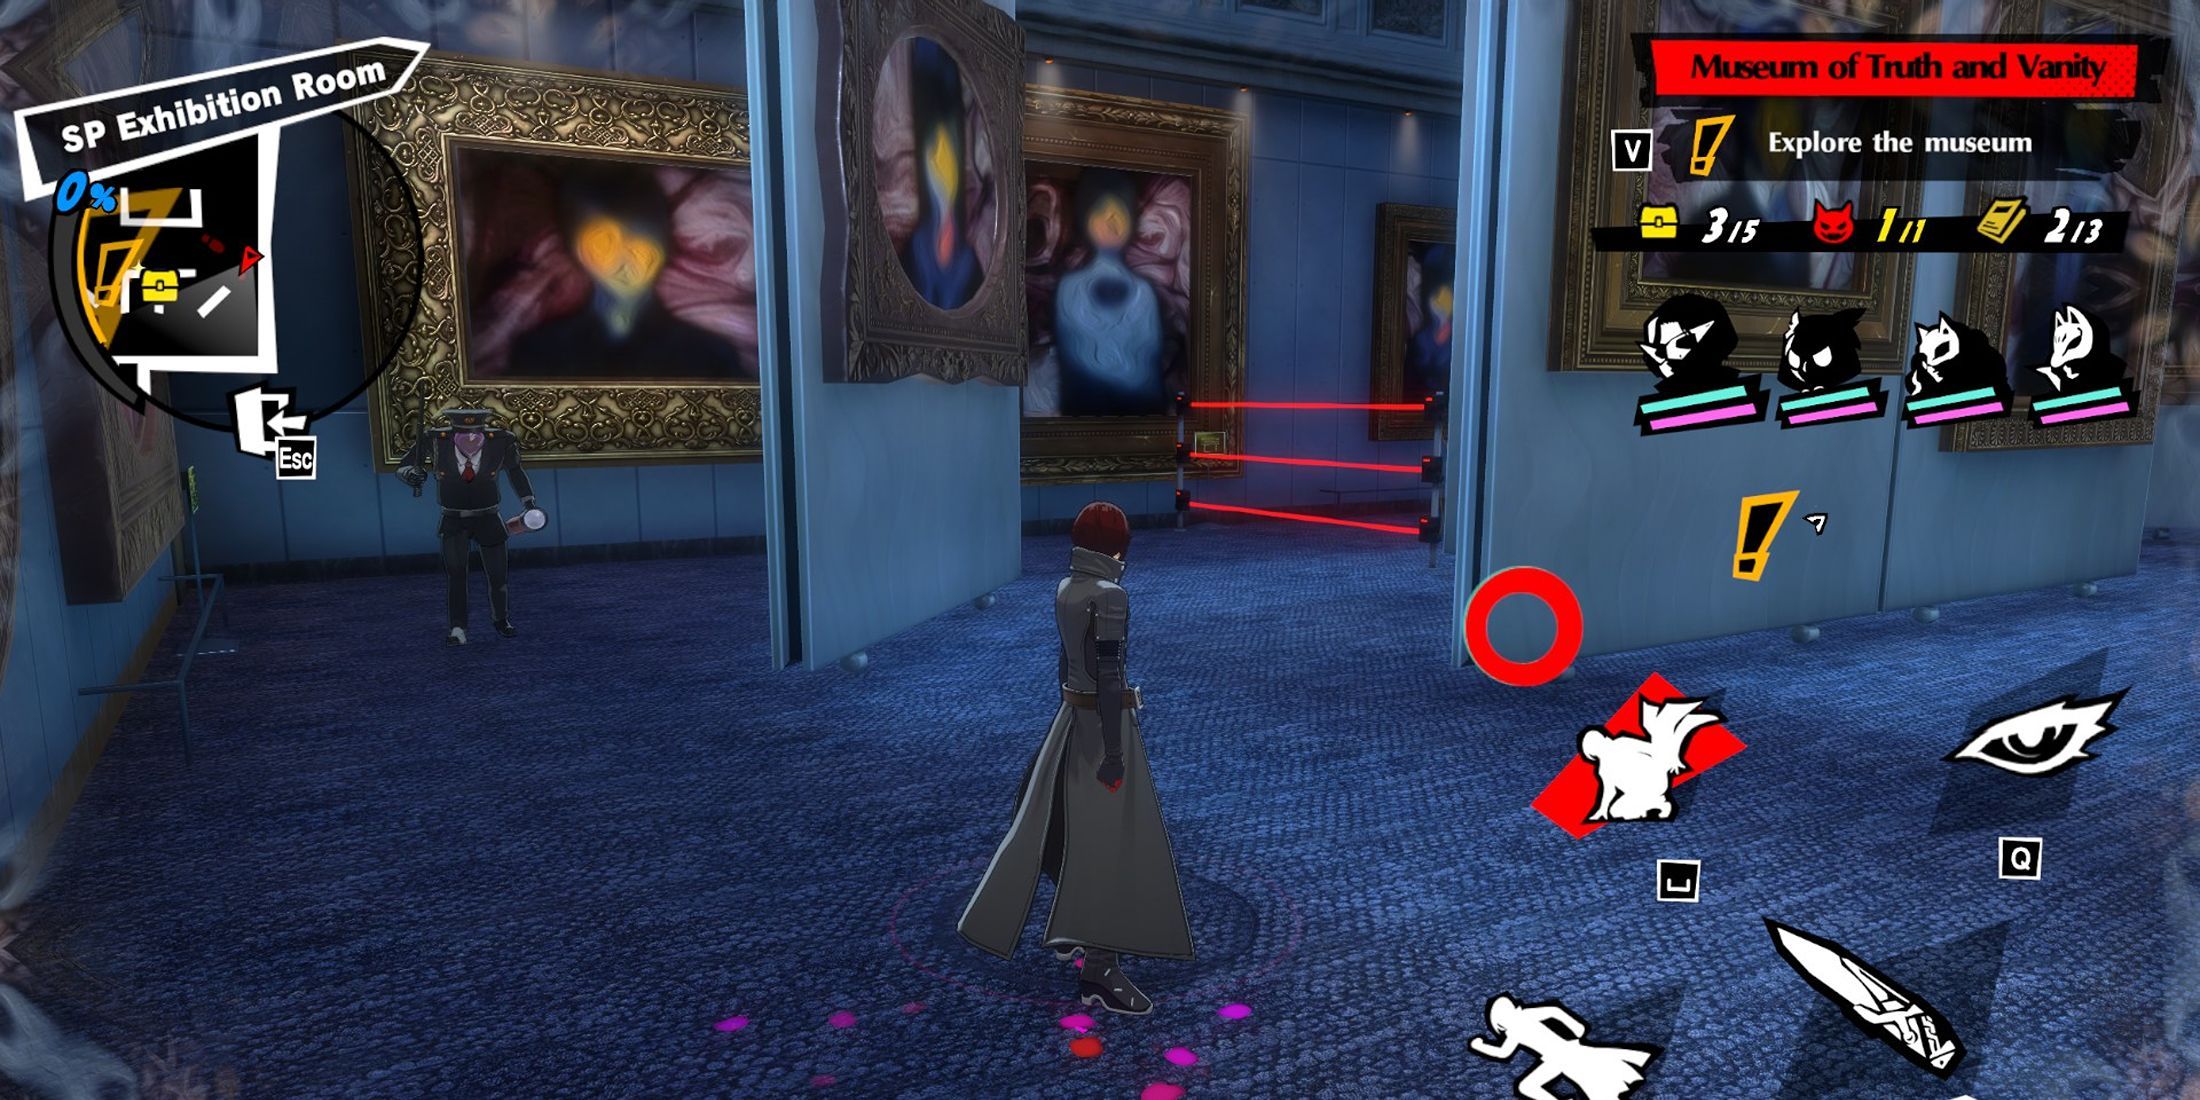
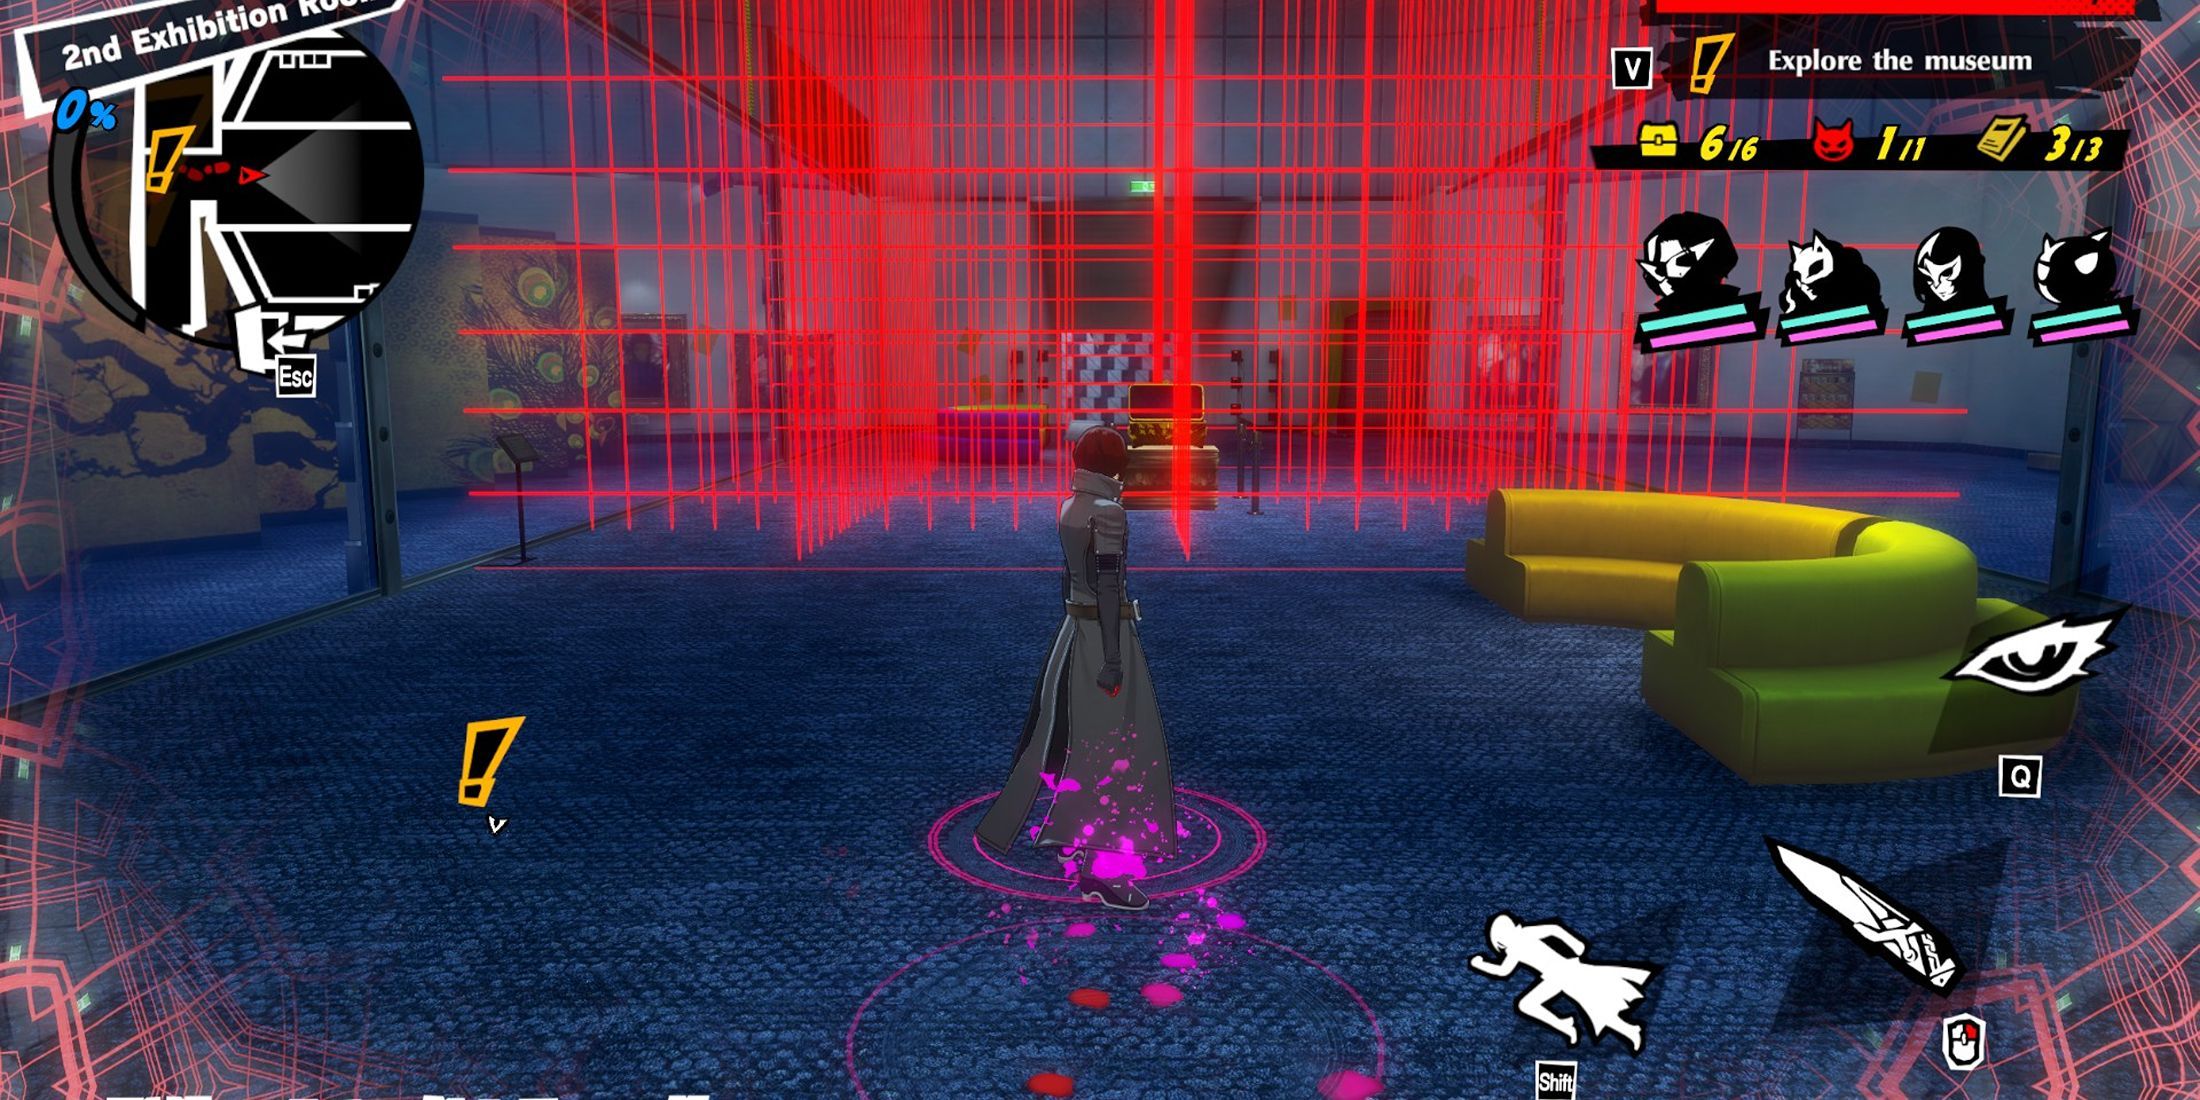
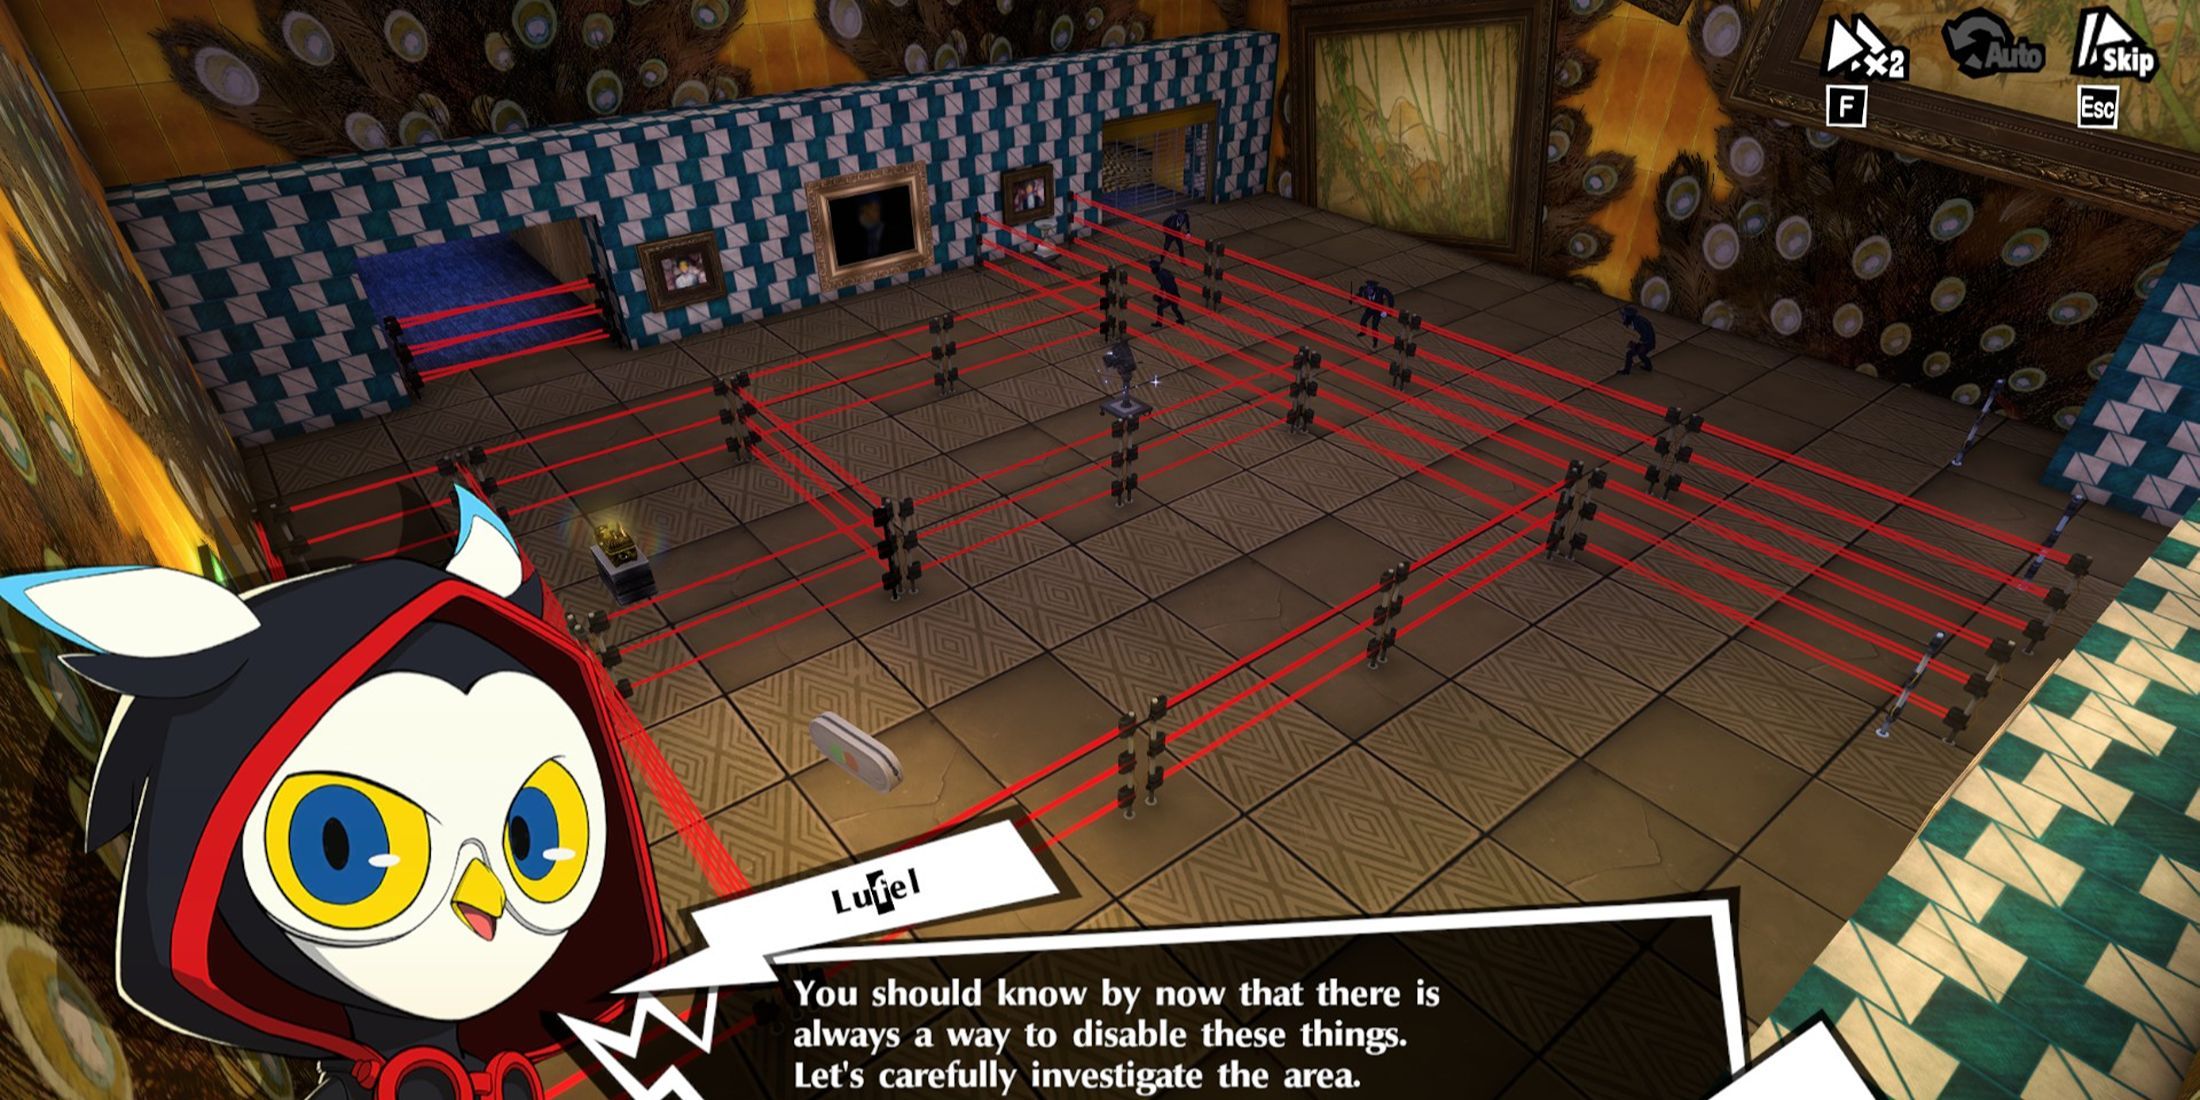
Upon returning to the east wing (where players initially spawn), there will be another Museum Brochure where players start, as well as a Treasure Chest hidden behind laser fences.
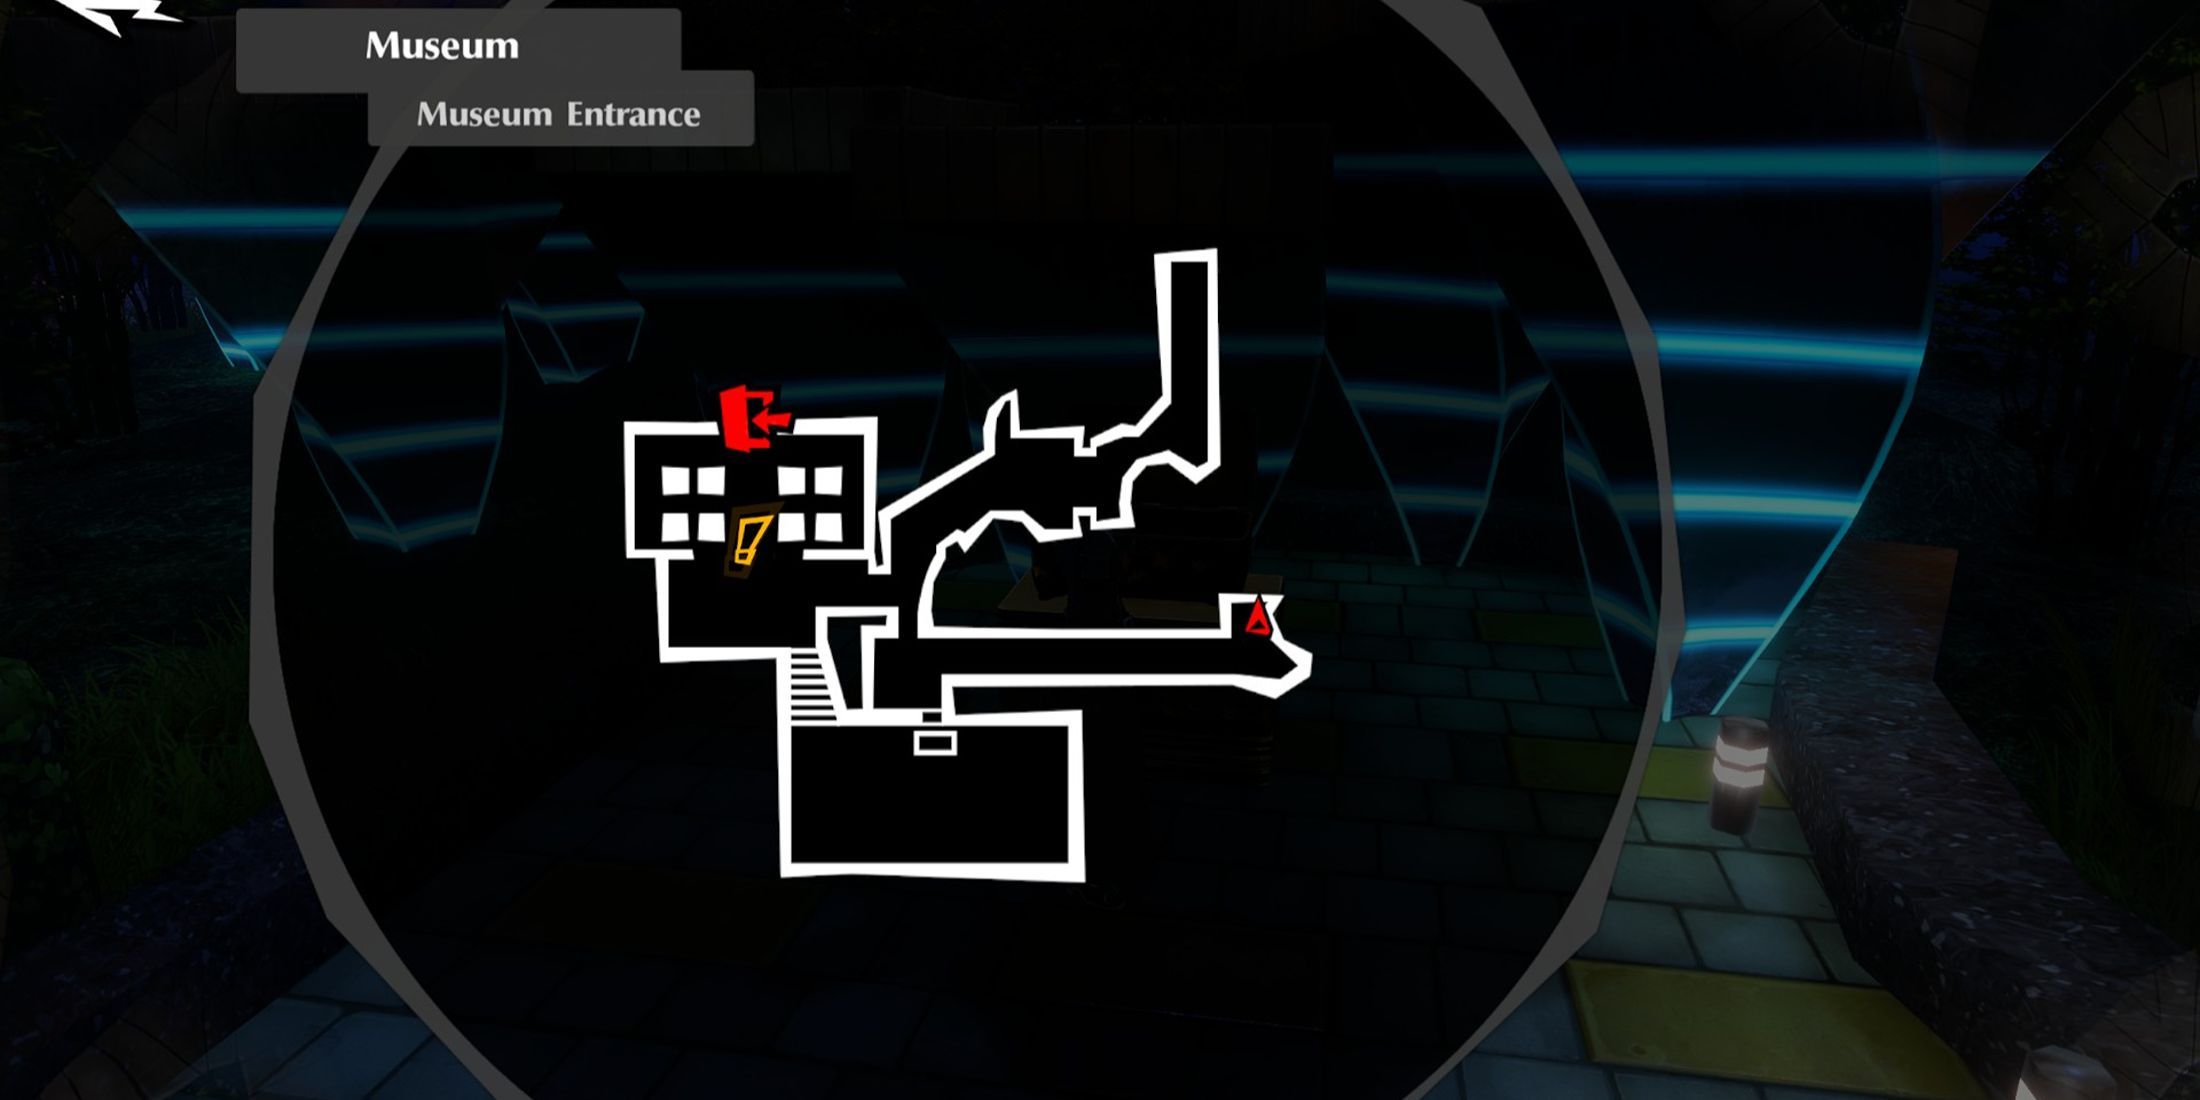
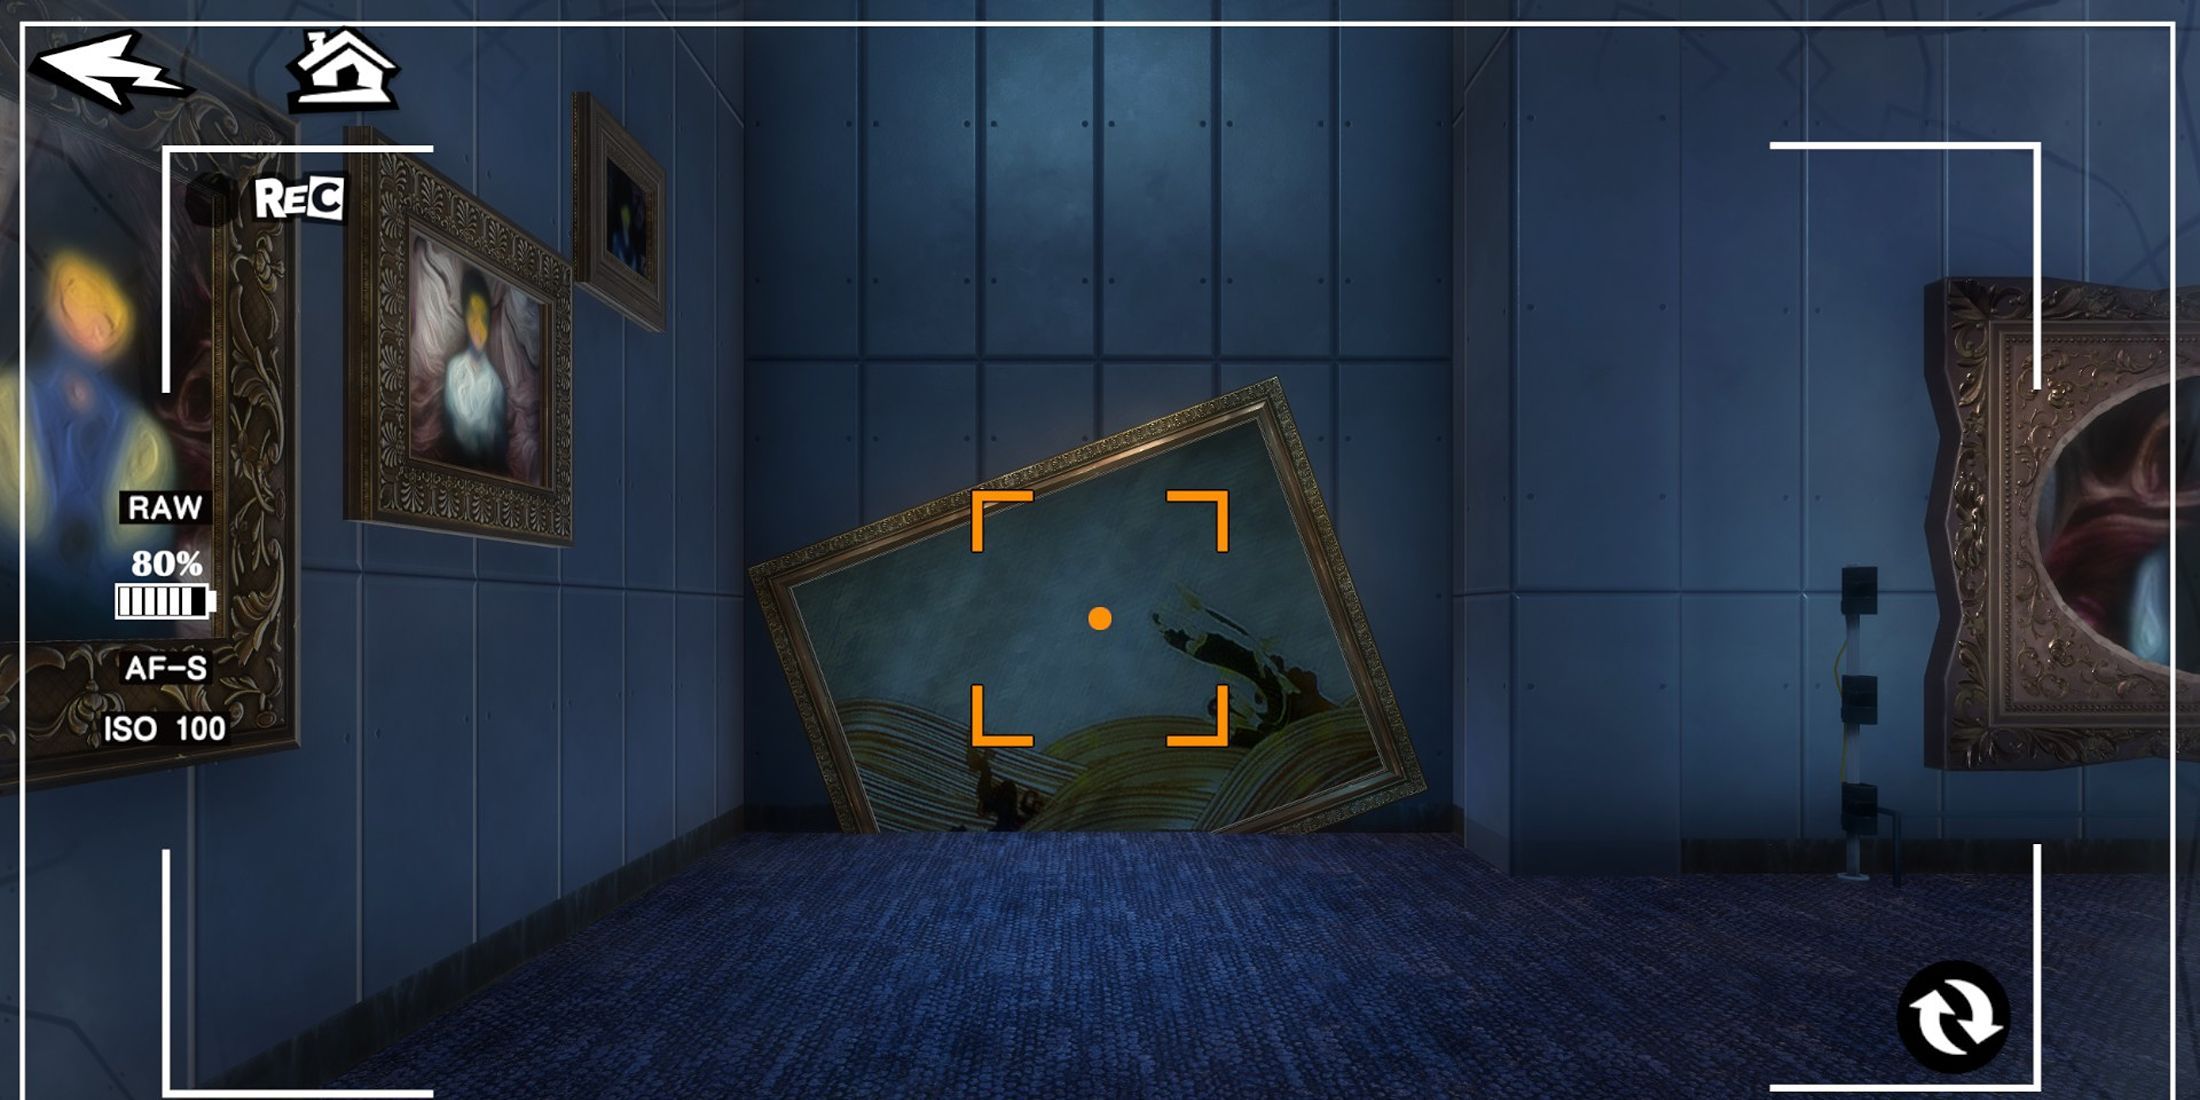
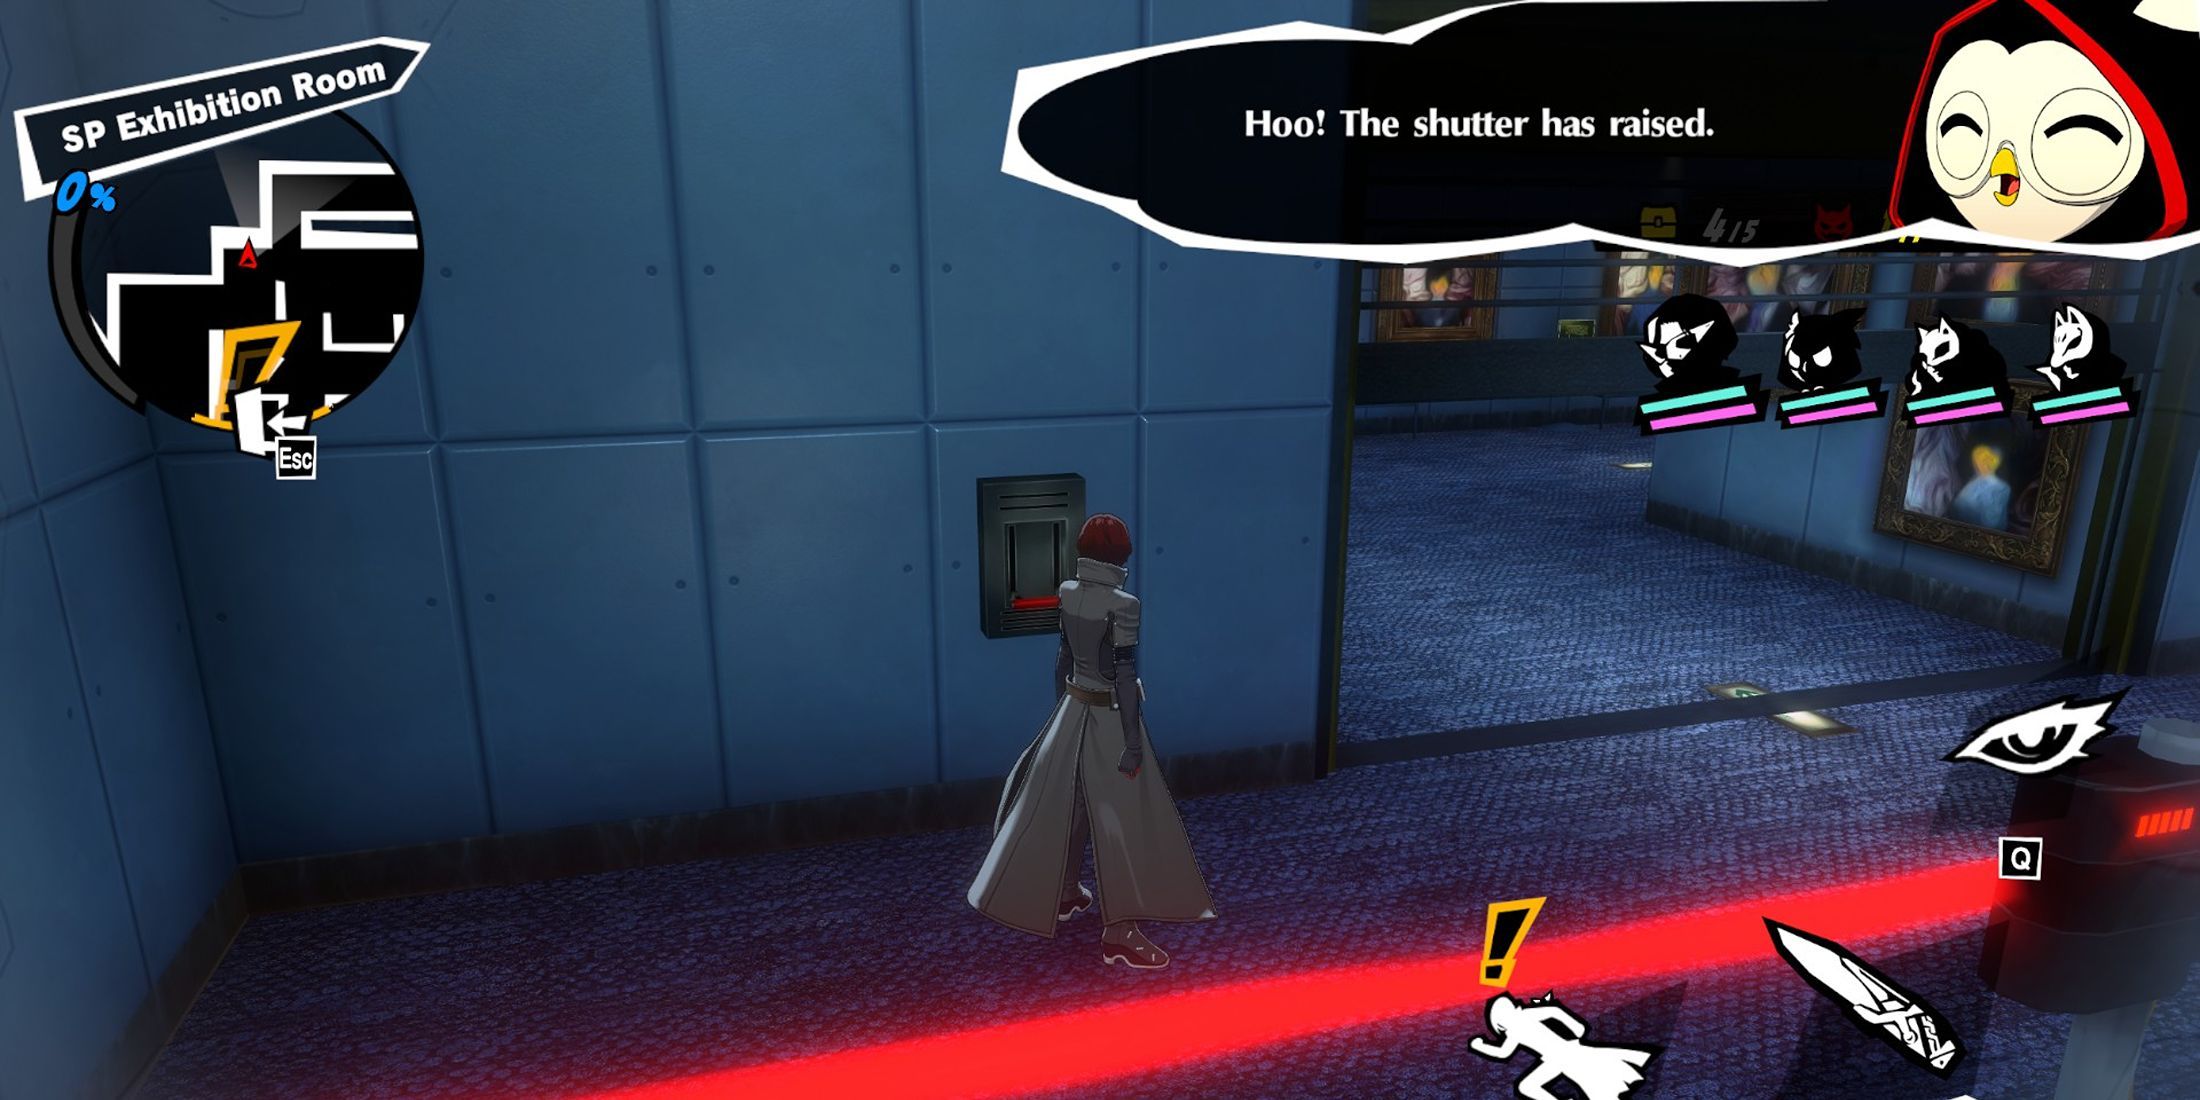
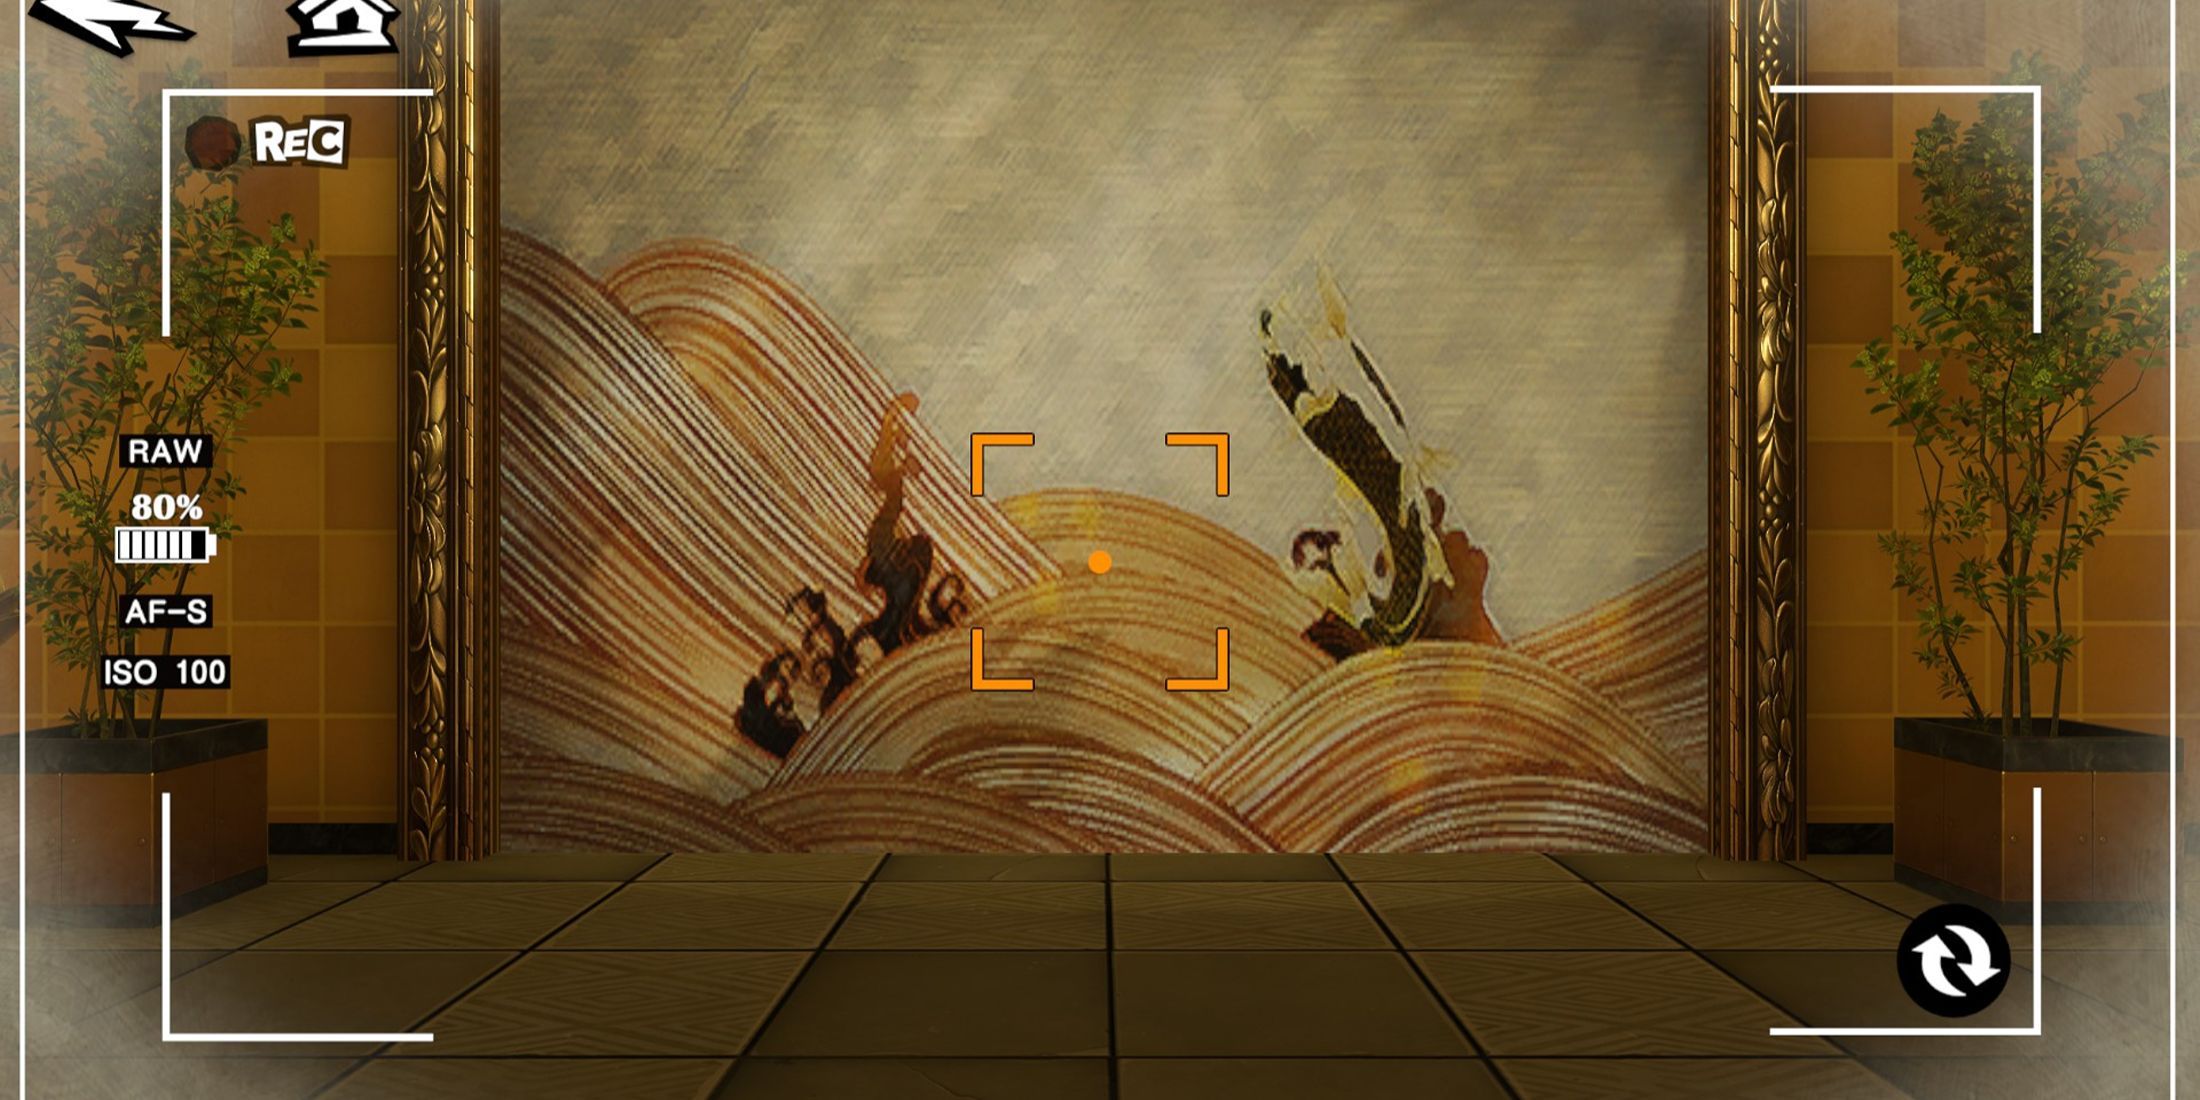
Advance steadily and employ the Chroma Module Camera to erase the painting on the wall, then move to the adjacent room. Weave your way past the lasers, then head towards the northwest direction to activate another lever and reach a passageway with a silhouette and a Treasure Chest. After that, retrace your steps to the main gallery with the lasers, evade or neutralize any shadows you encounter, and grab the Brochure from one of the nooks. With this item in your possession, all secondary tasks will be accomplished, allowing players to proceed to the next phase of this segment. In the end, players must vanquish one more adversary before wrapping up the Episode.
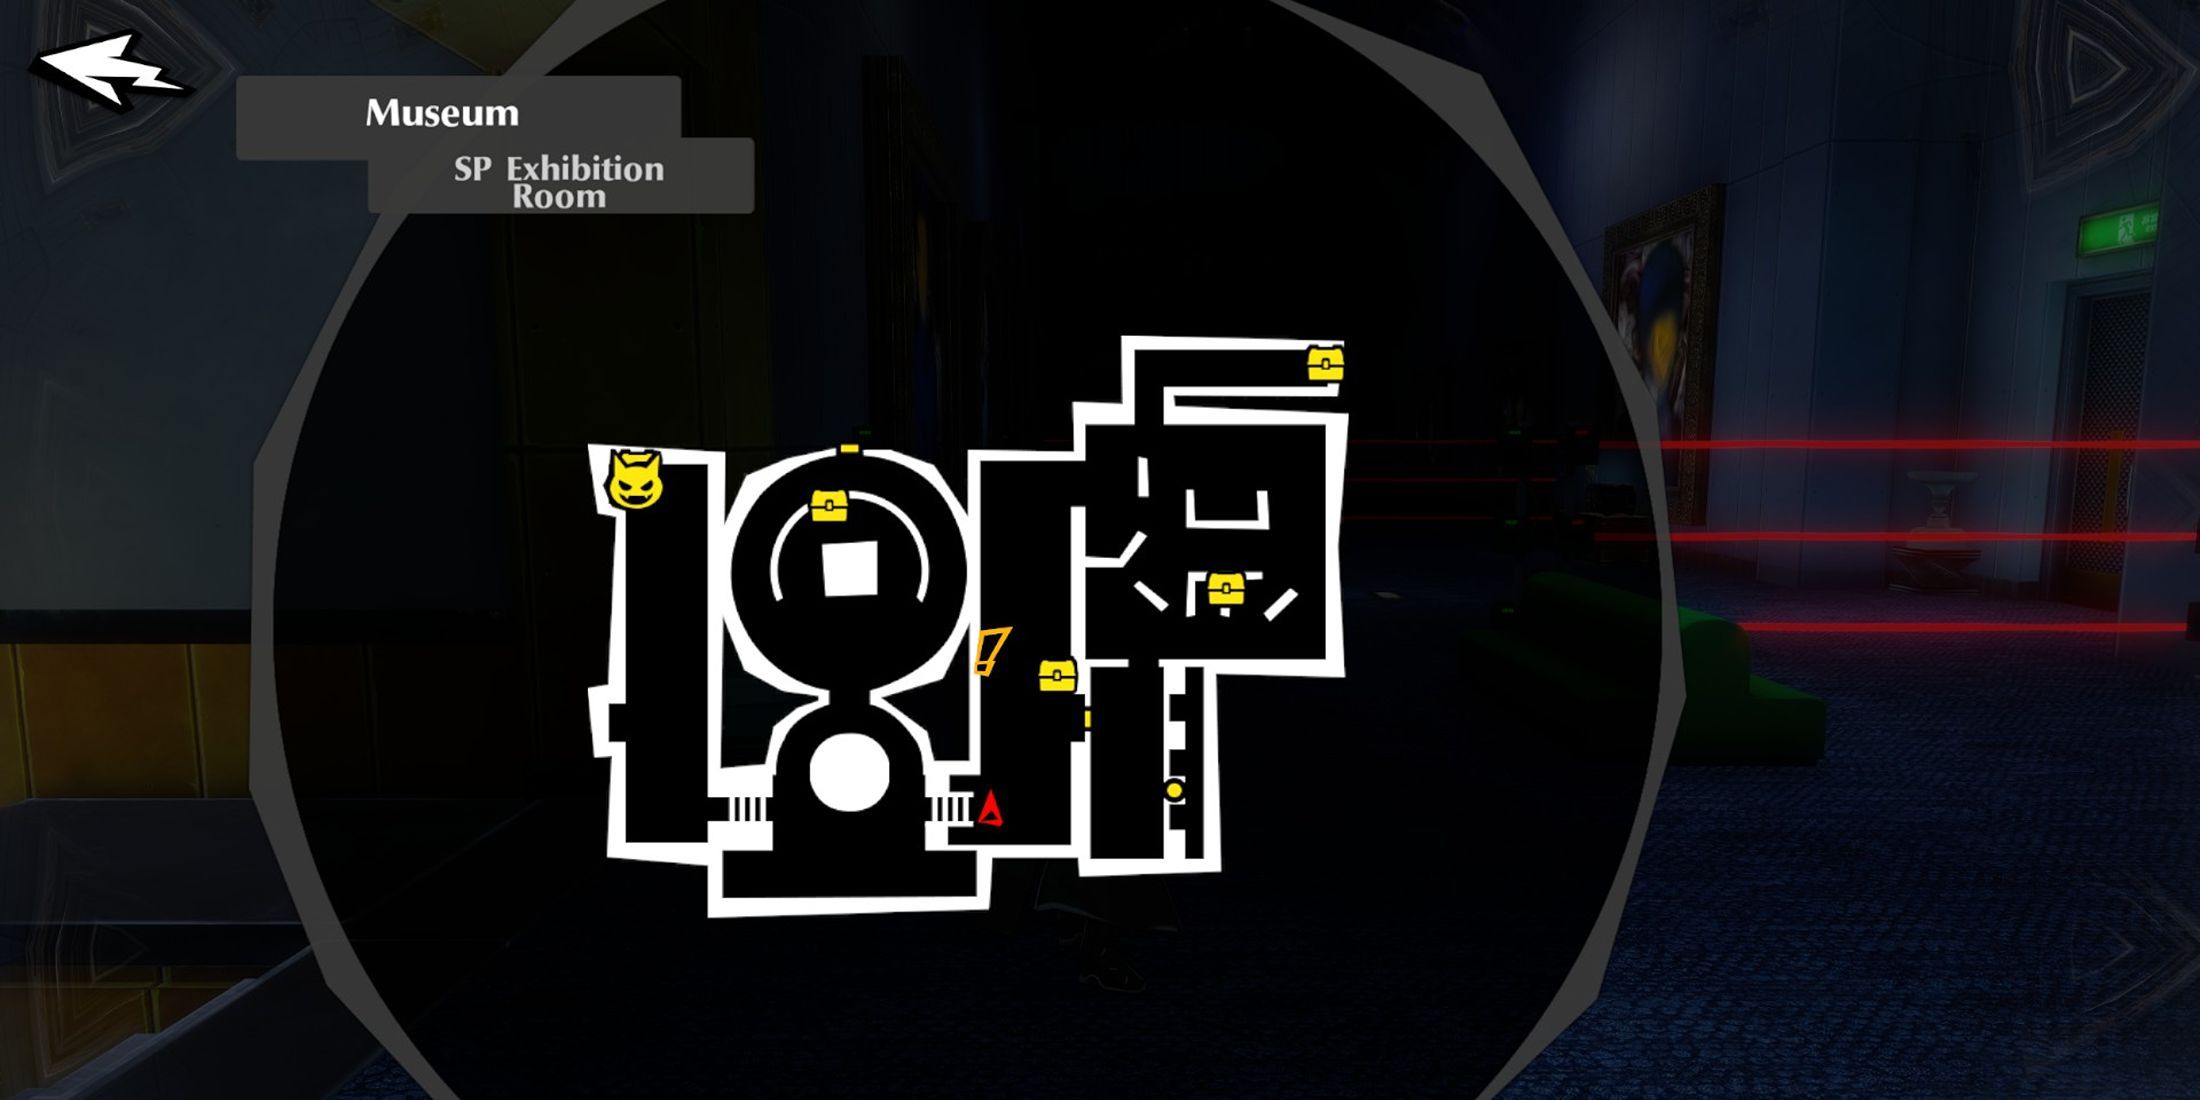
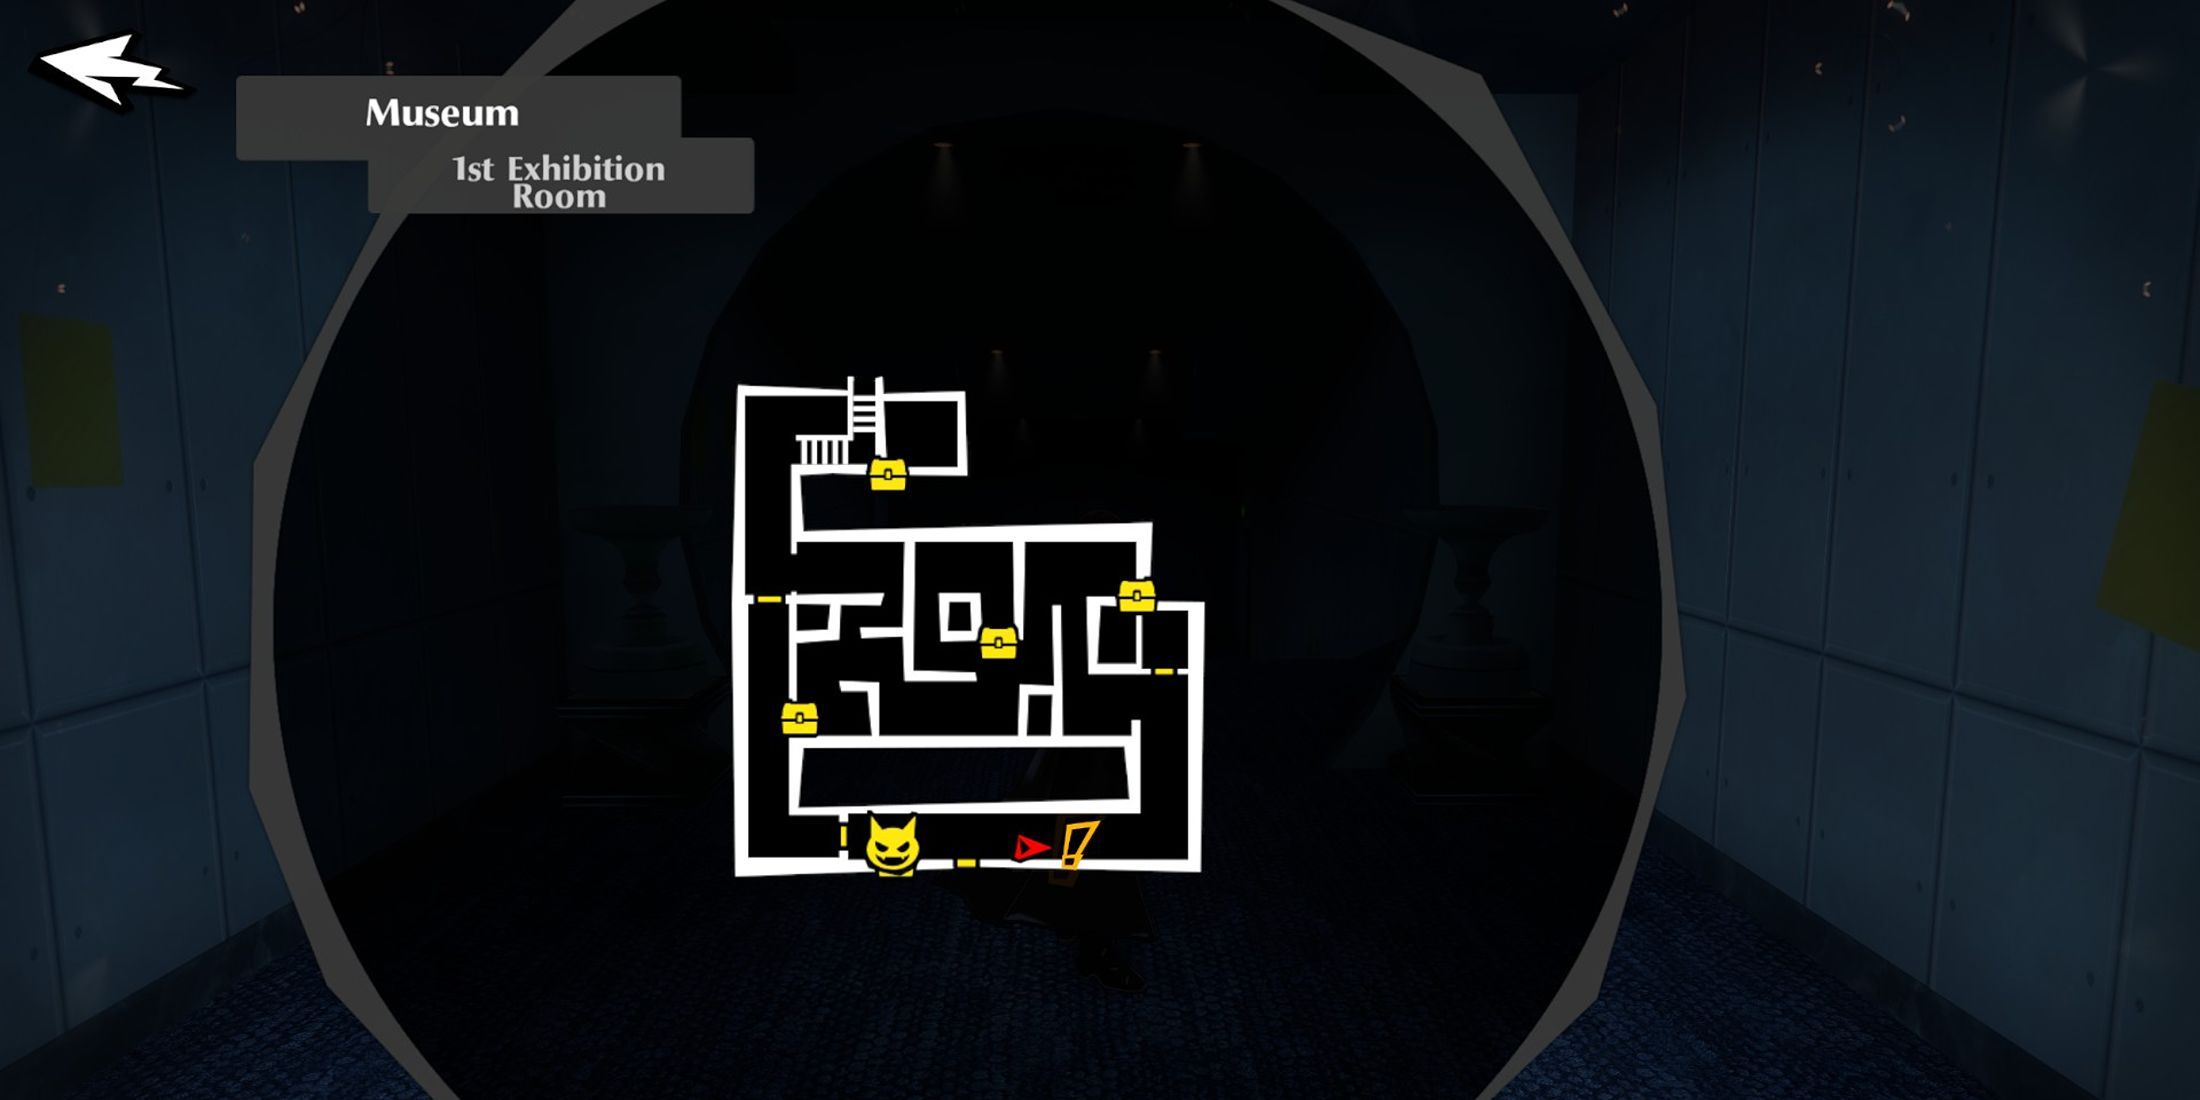
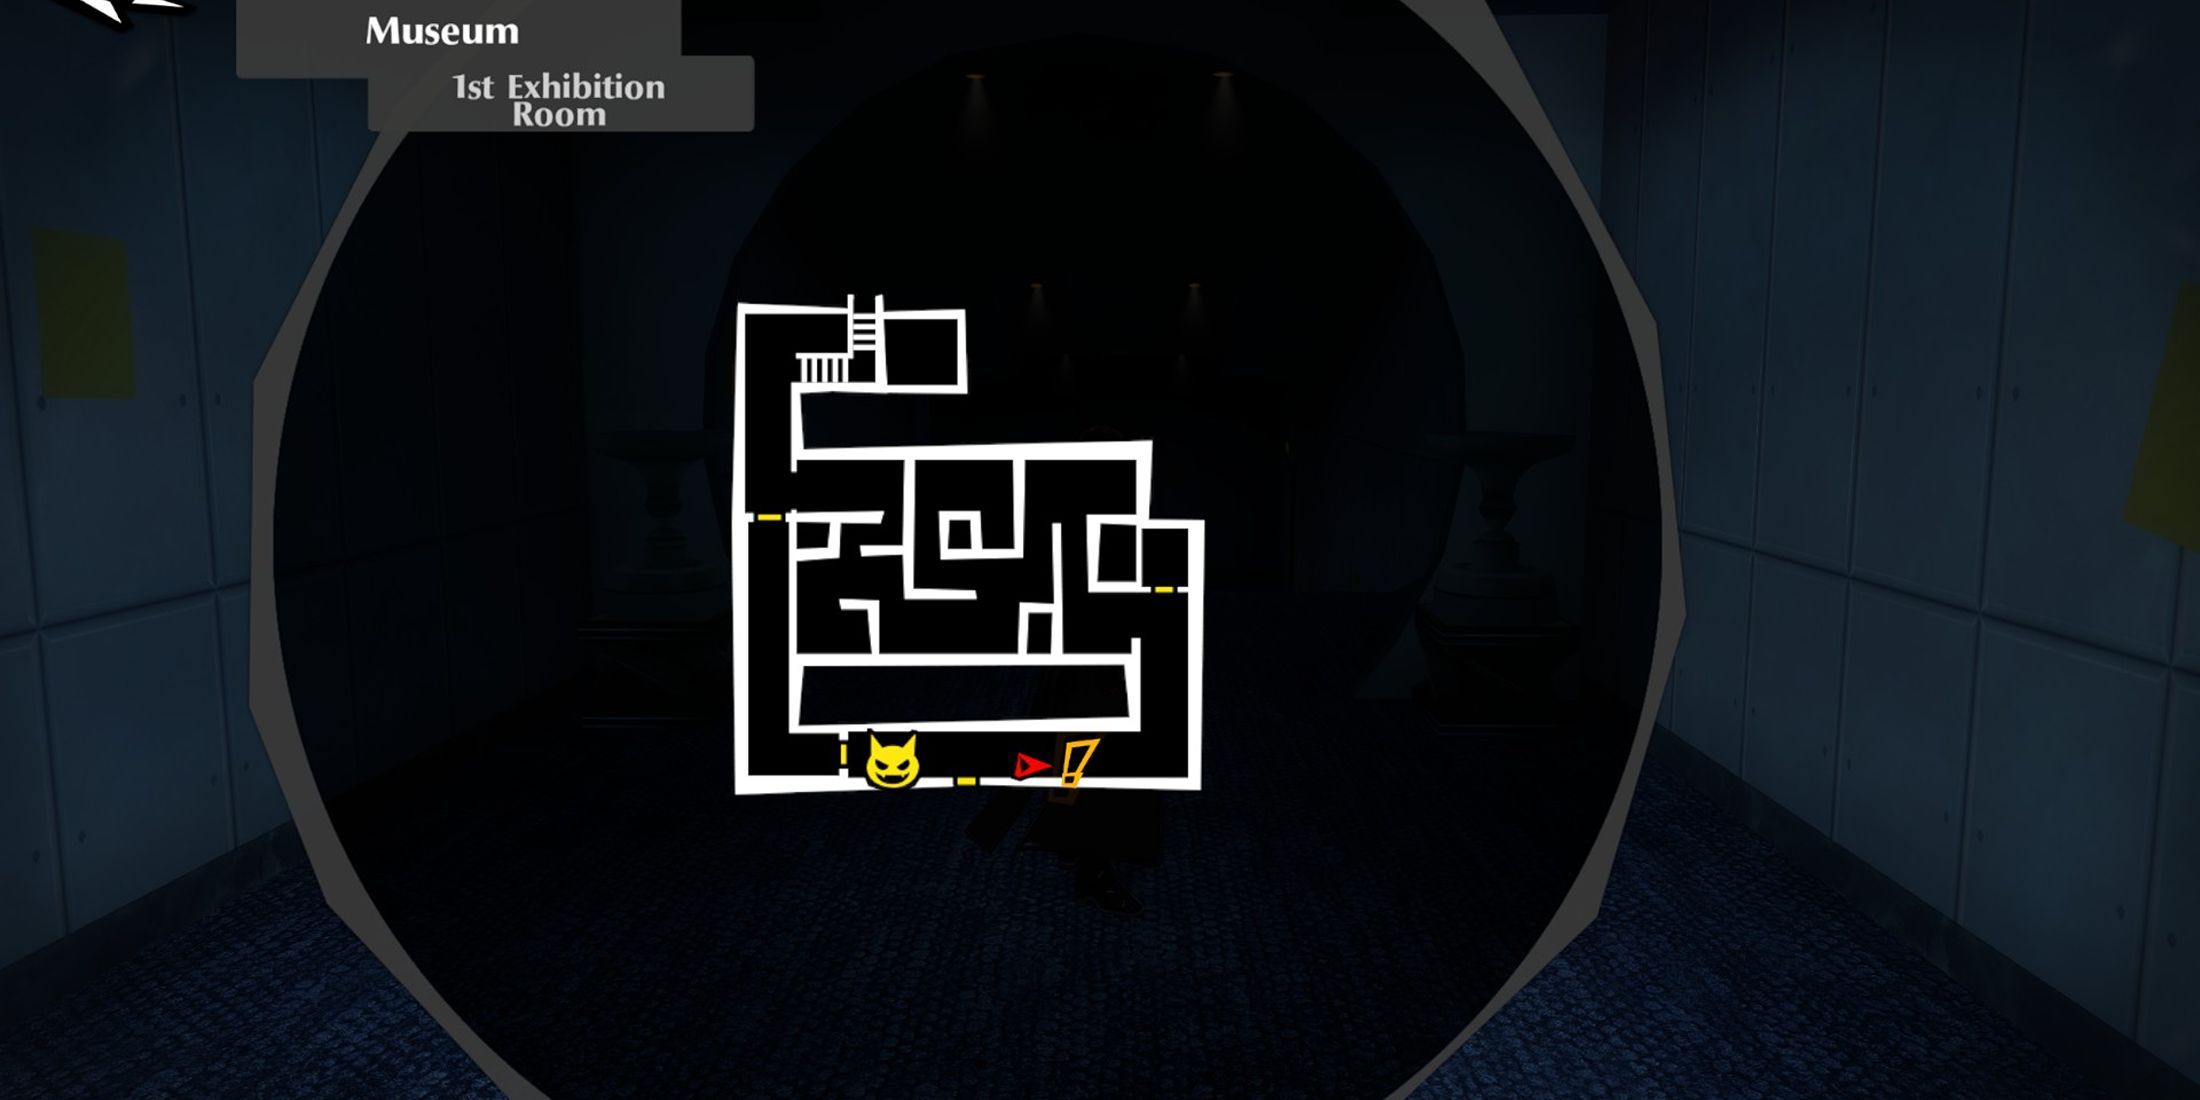
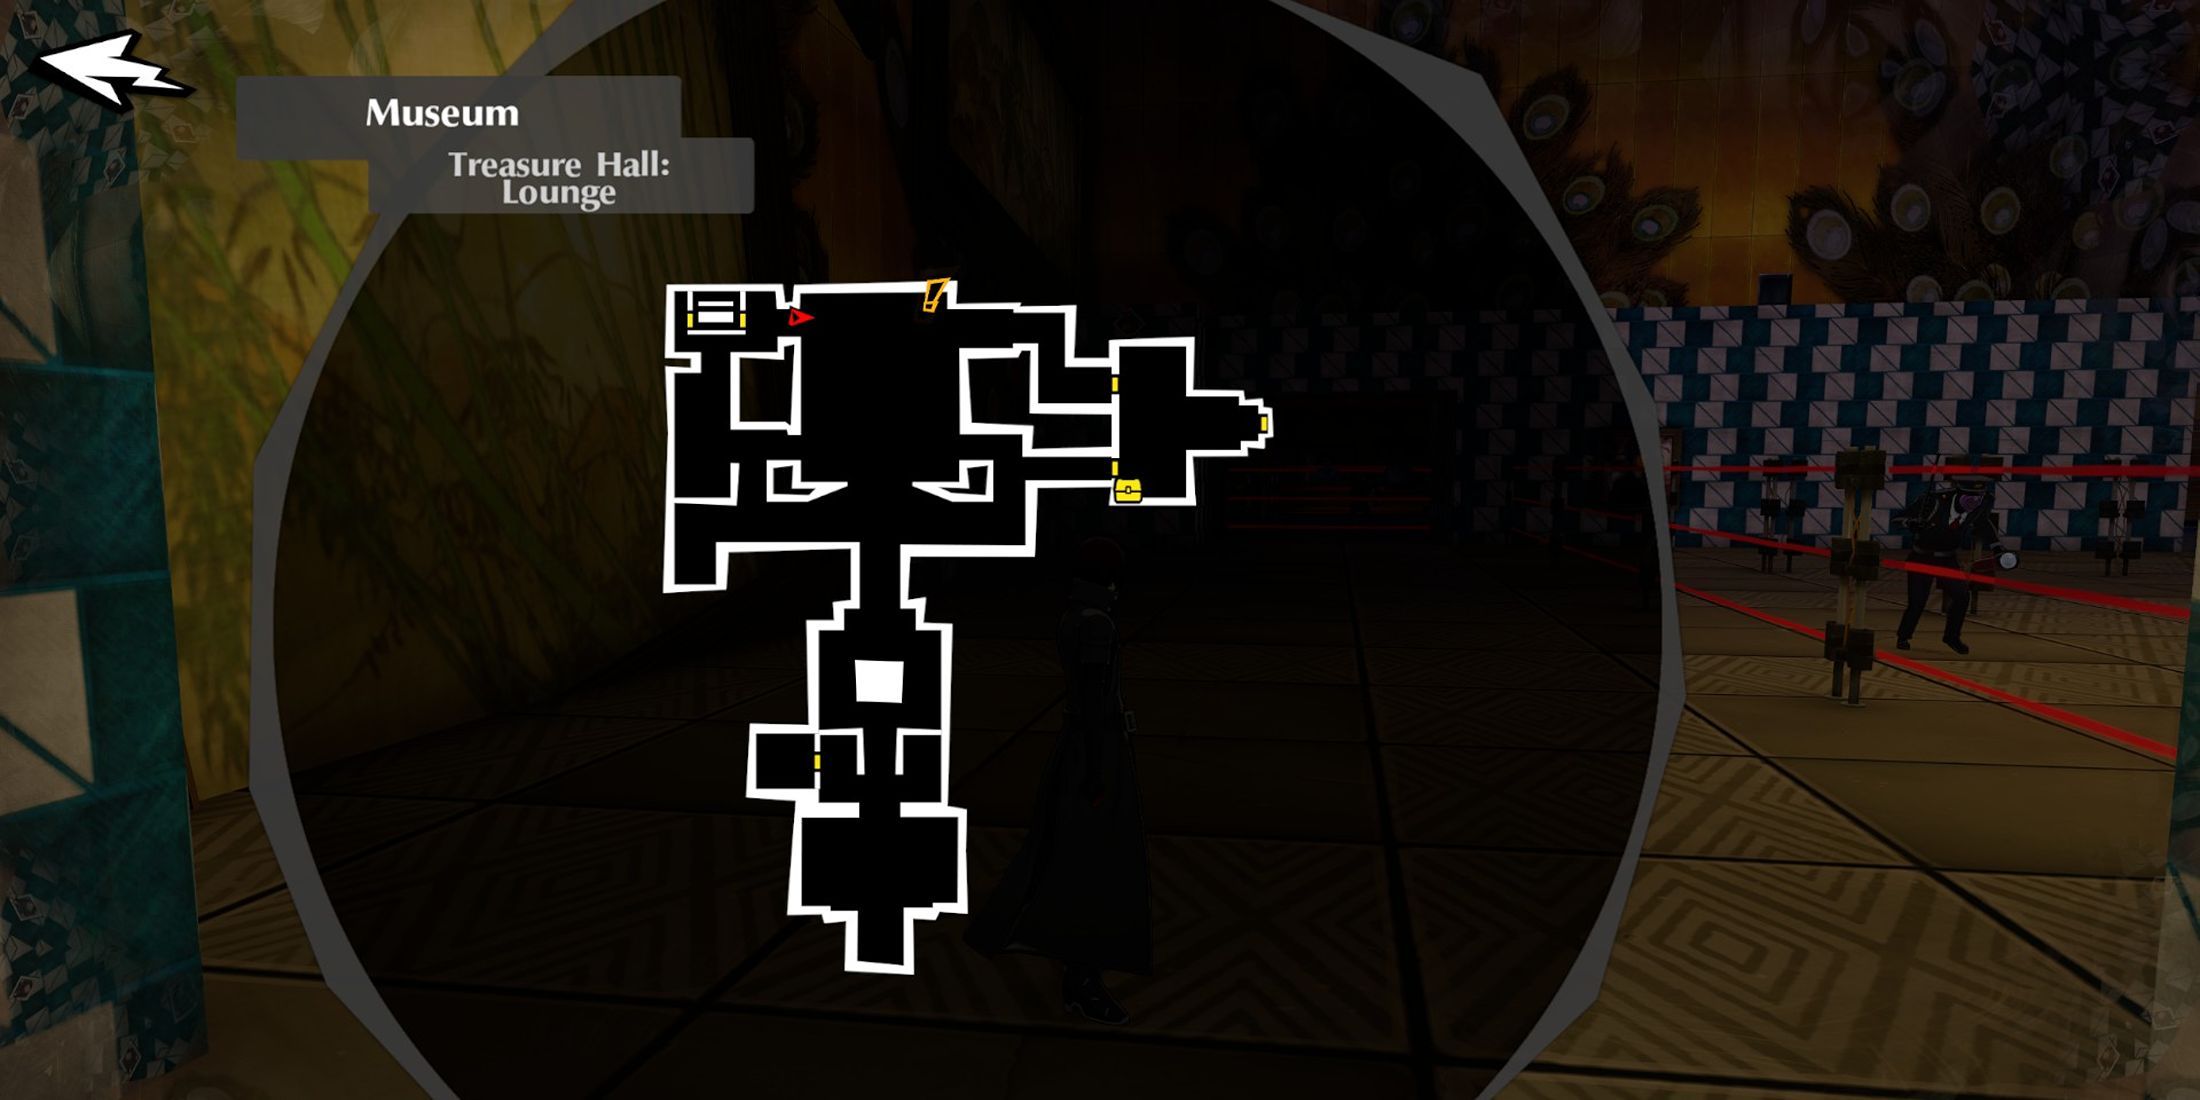
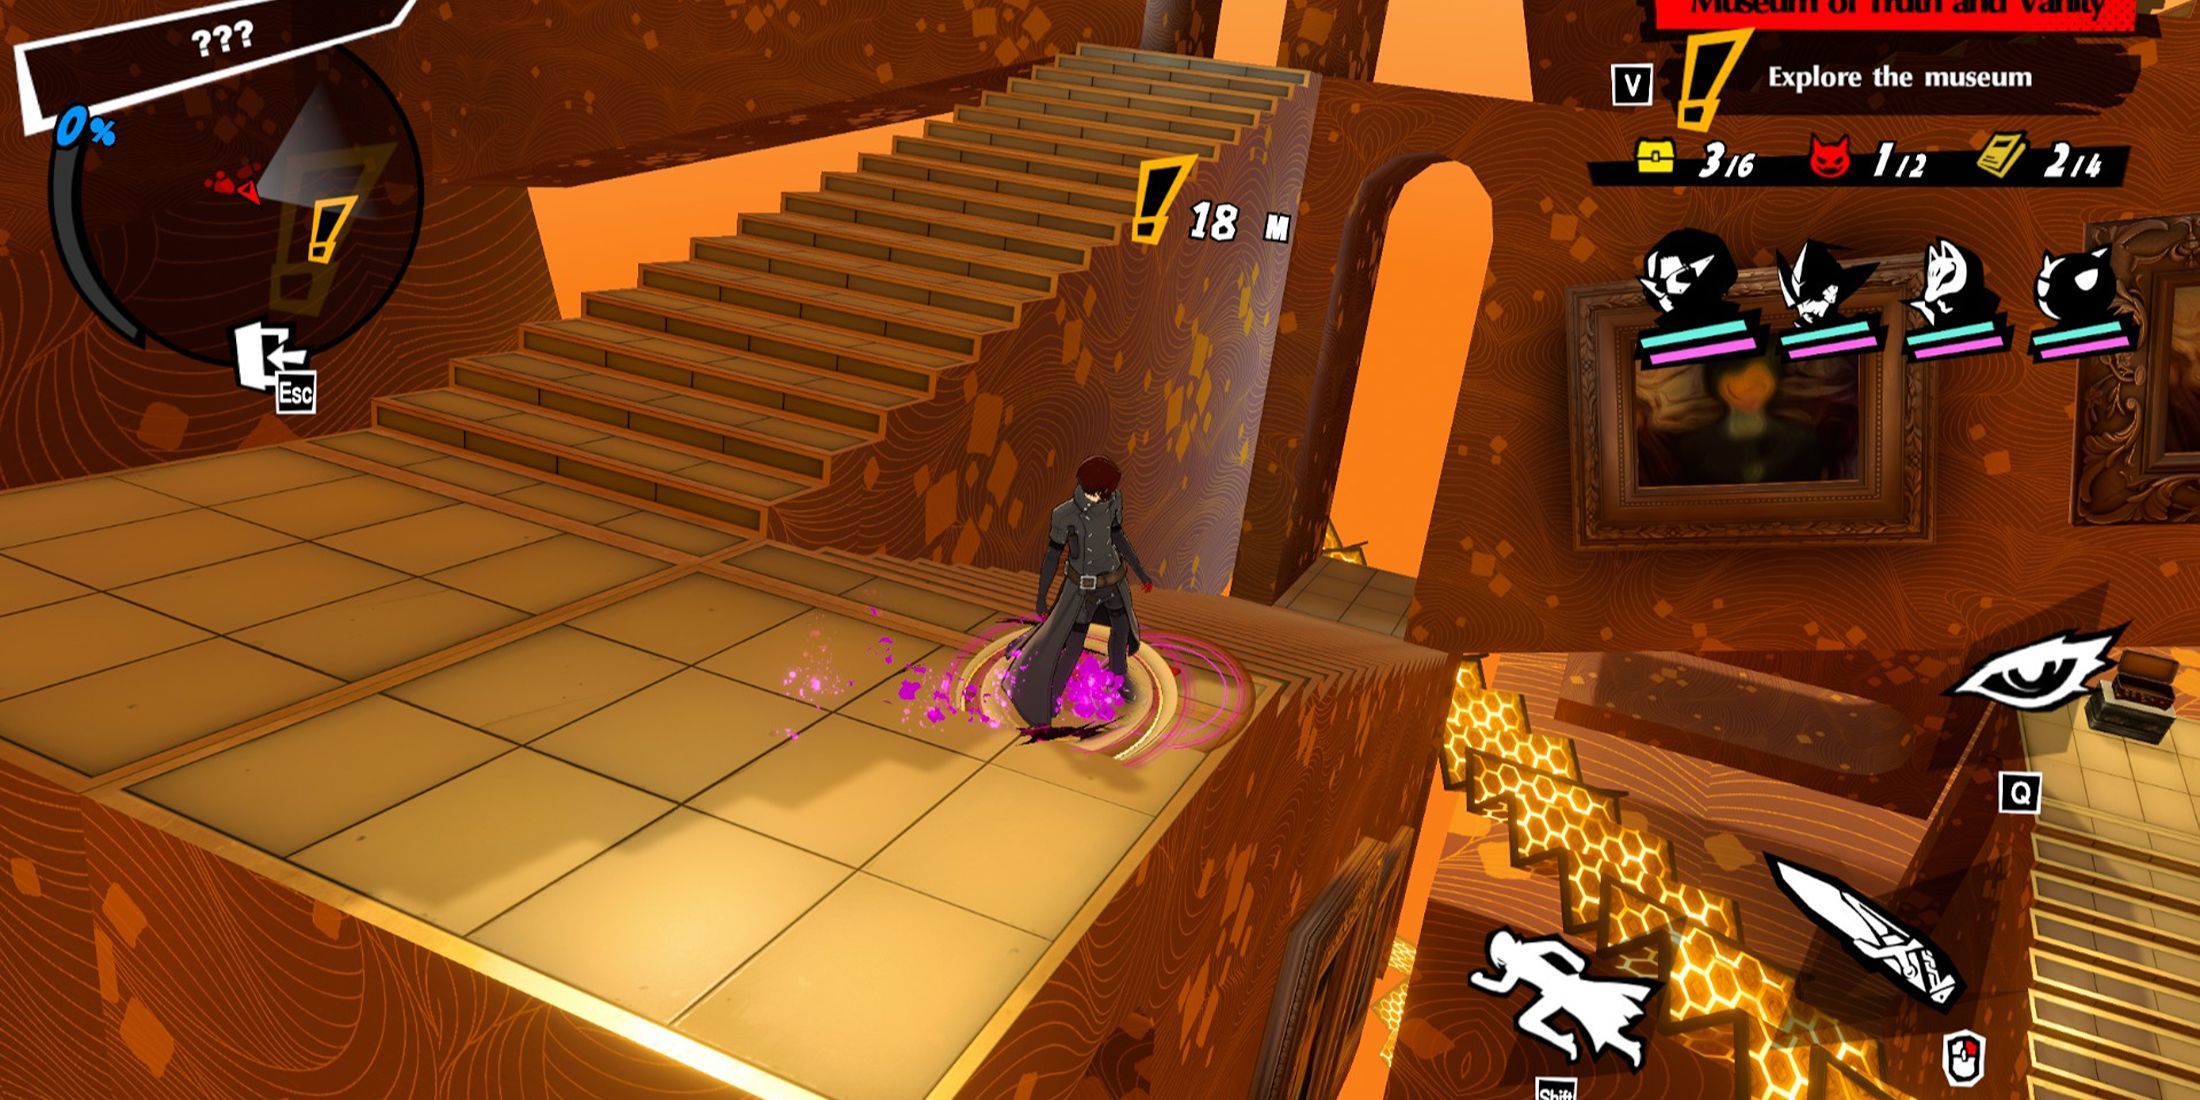
Glance at the mini-map to locate treasures and strong adversaries. Make sure you don’t overlook any area so you can collect all the prizes.
Episode 2-3 Determination To Resist
In Episode 2-3, you’ll find yourself in an area teeming with adversaries and rich with treasures to gather. Begin by picking up the Museum Guide located behind you, then continue moving forward in your original direction. To disable the lasers, press against the pad on the right wall. Once pressed, advance forward and wait for the cutscene to end before pressing the button on the right side to pass through the now deactivated laser passage. To your right, you’ll spot a Treasure Chest, and another Museum Guide is guarded by a wandering Shadow. Rotate around the obstruction to pick up the second Treasure Chest, then turn completely around and activate the switch to carry on.
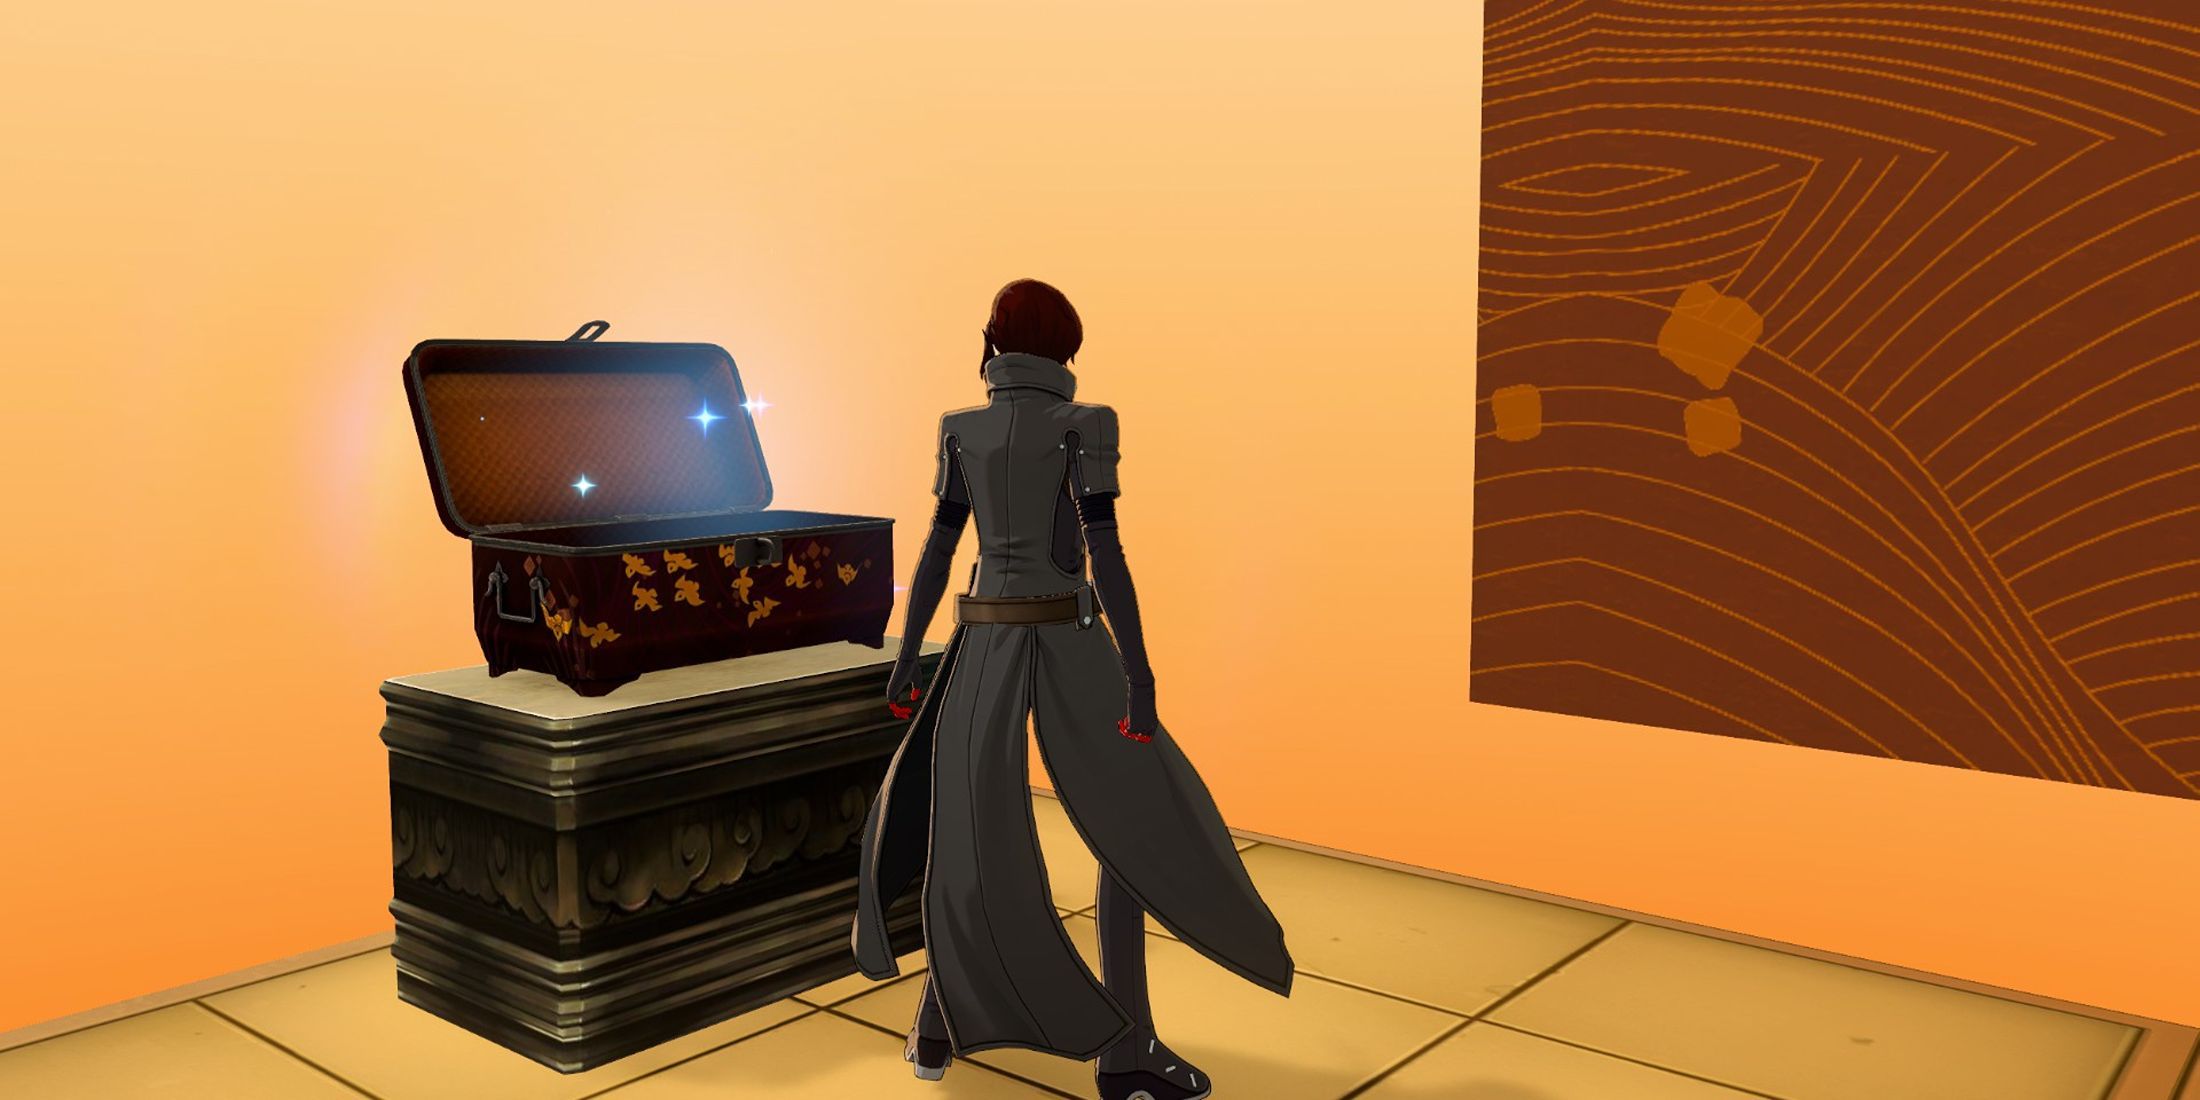
Clear the obstacle obstructing your path and advance to the next switch. Grab the Treasure Chest situated beside the switch, then press another switch to progress to the subsequent area indicated by the marker. Instead of adhering to the marked direction, head towards the steel gate and pull the lever to create a new path. Traverse this fresh corridor and press the switch on the wall to your right to disable the lasers, then vanquish the formidable Shadow to obtain another Treasure Chest. Return to the main route, eliminate the Shadow boss en route, and collect the third Museum Brochure. Rather than ascending and unlocking the Golden Chest, explore behind the stairs for another adversary and a concealed Treasure Chest nestled beside a planter. With the fifth Treasure Collectible in your possession, players can now unlock the Golden Chest to complete this episode.
Episode 2-4 Find The Password
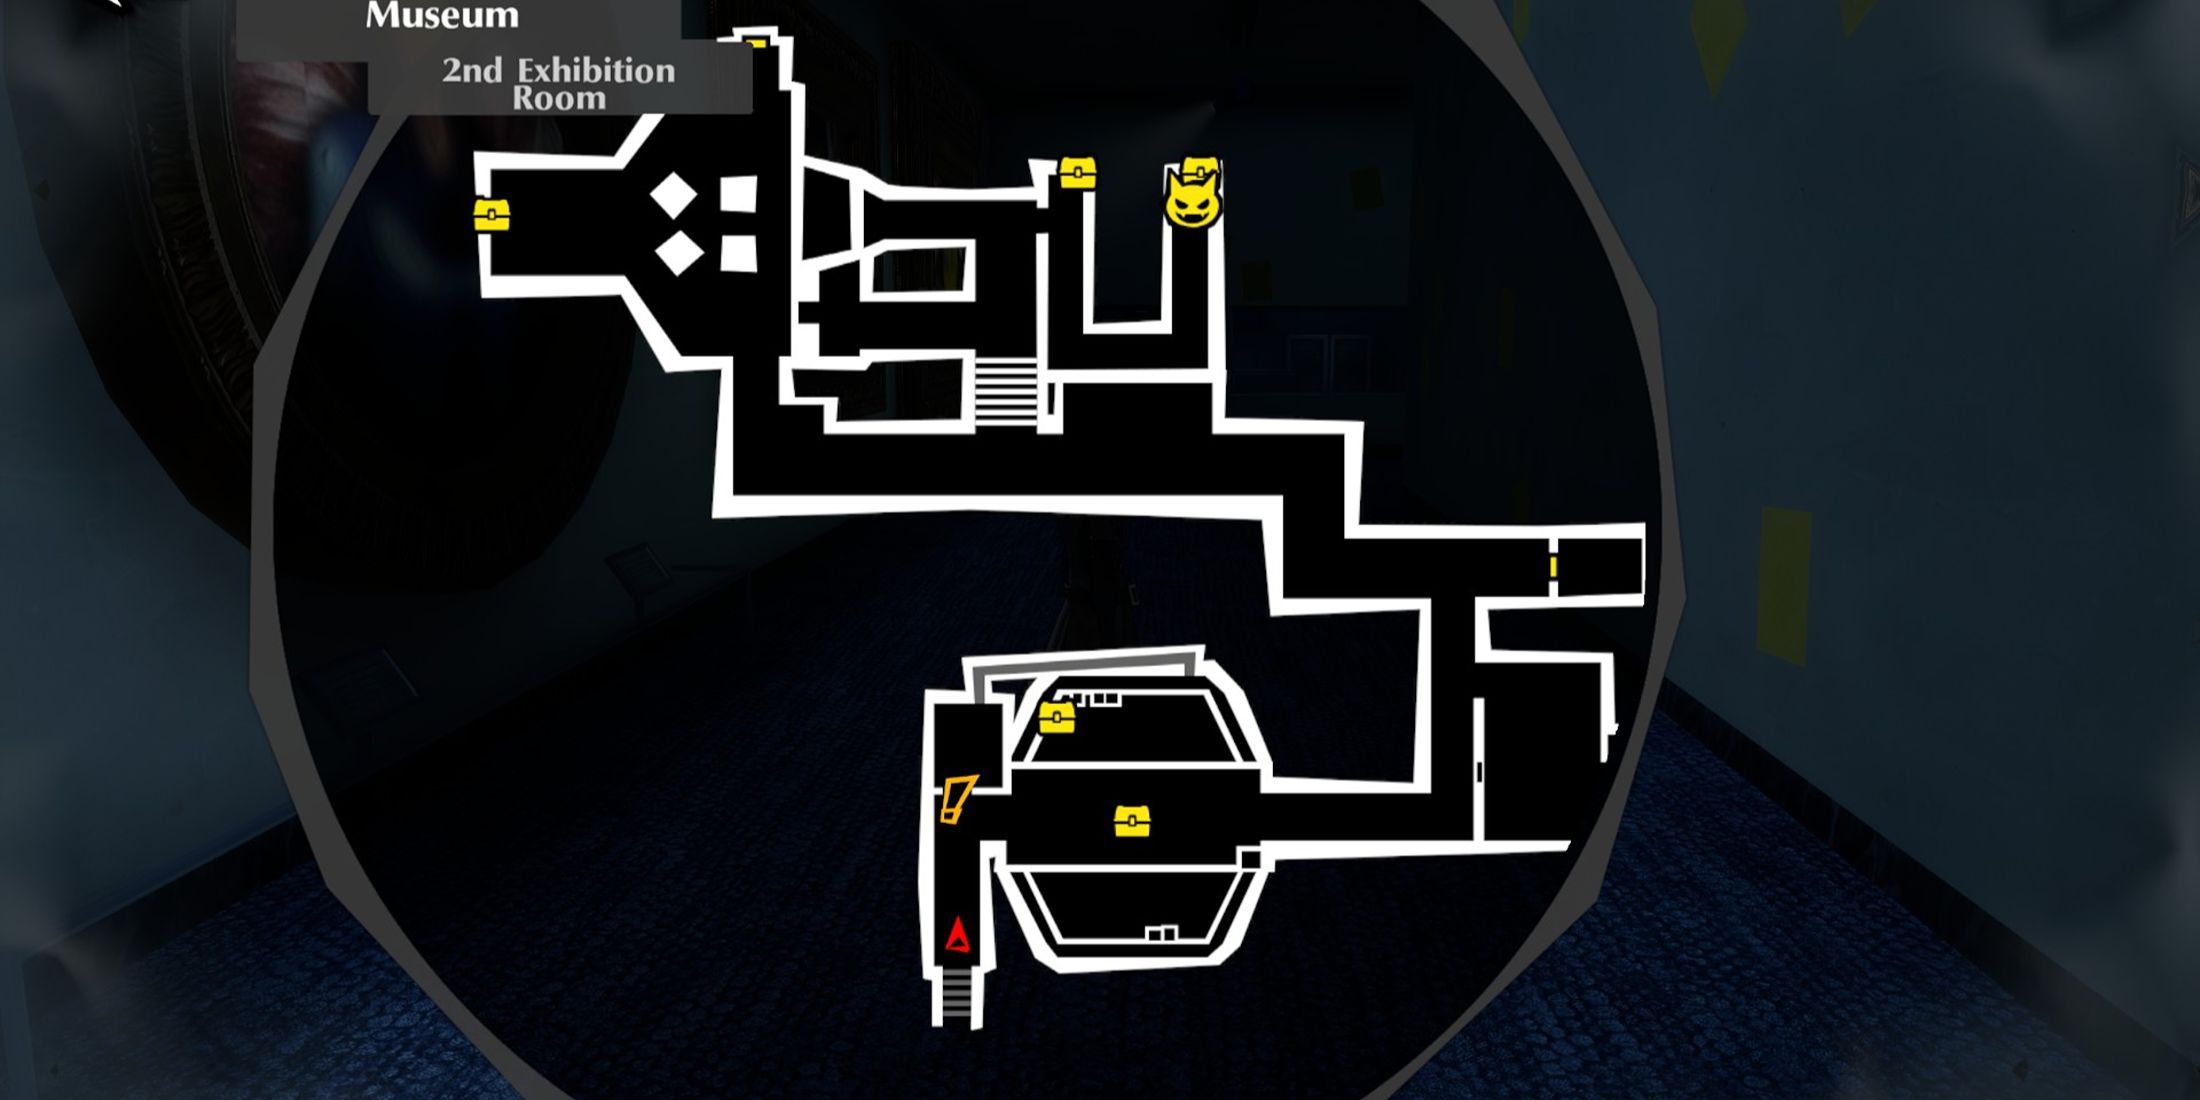
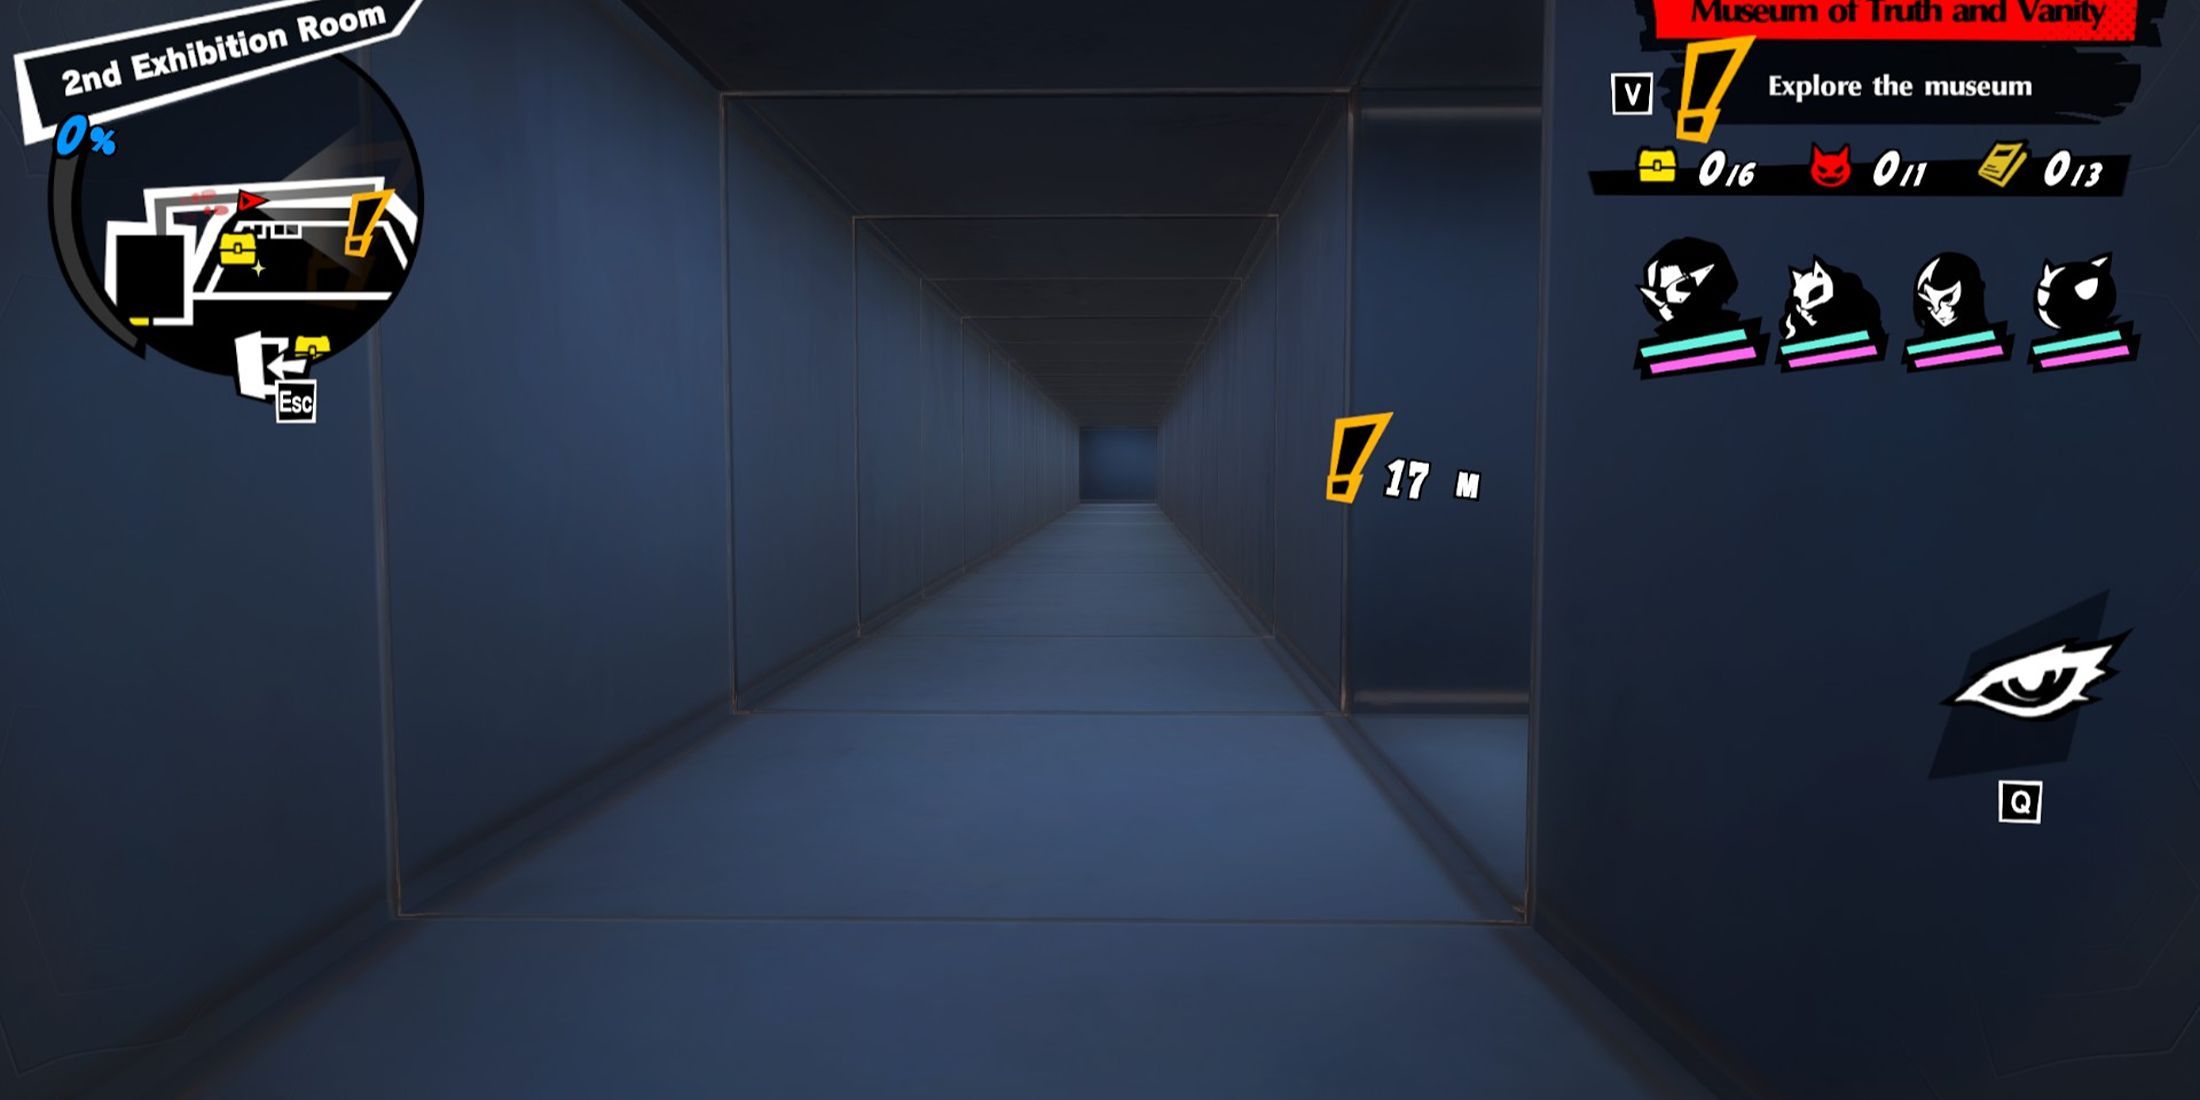
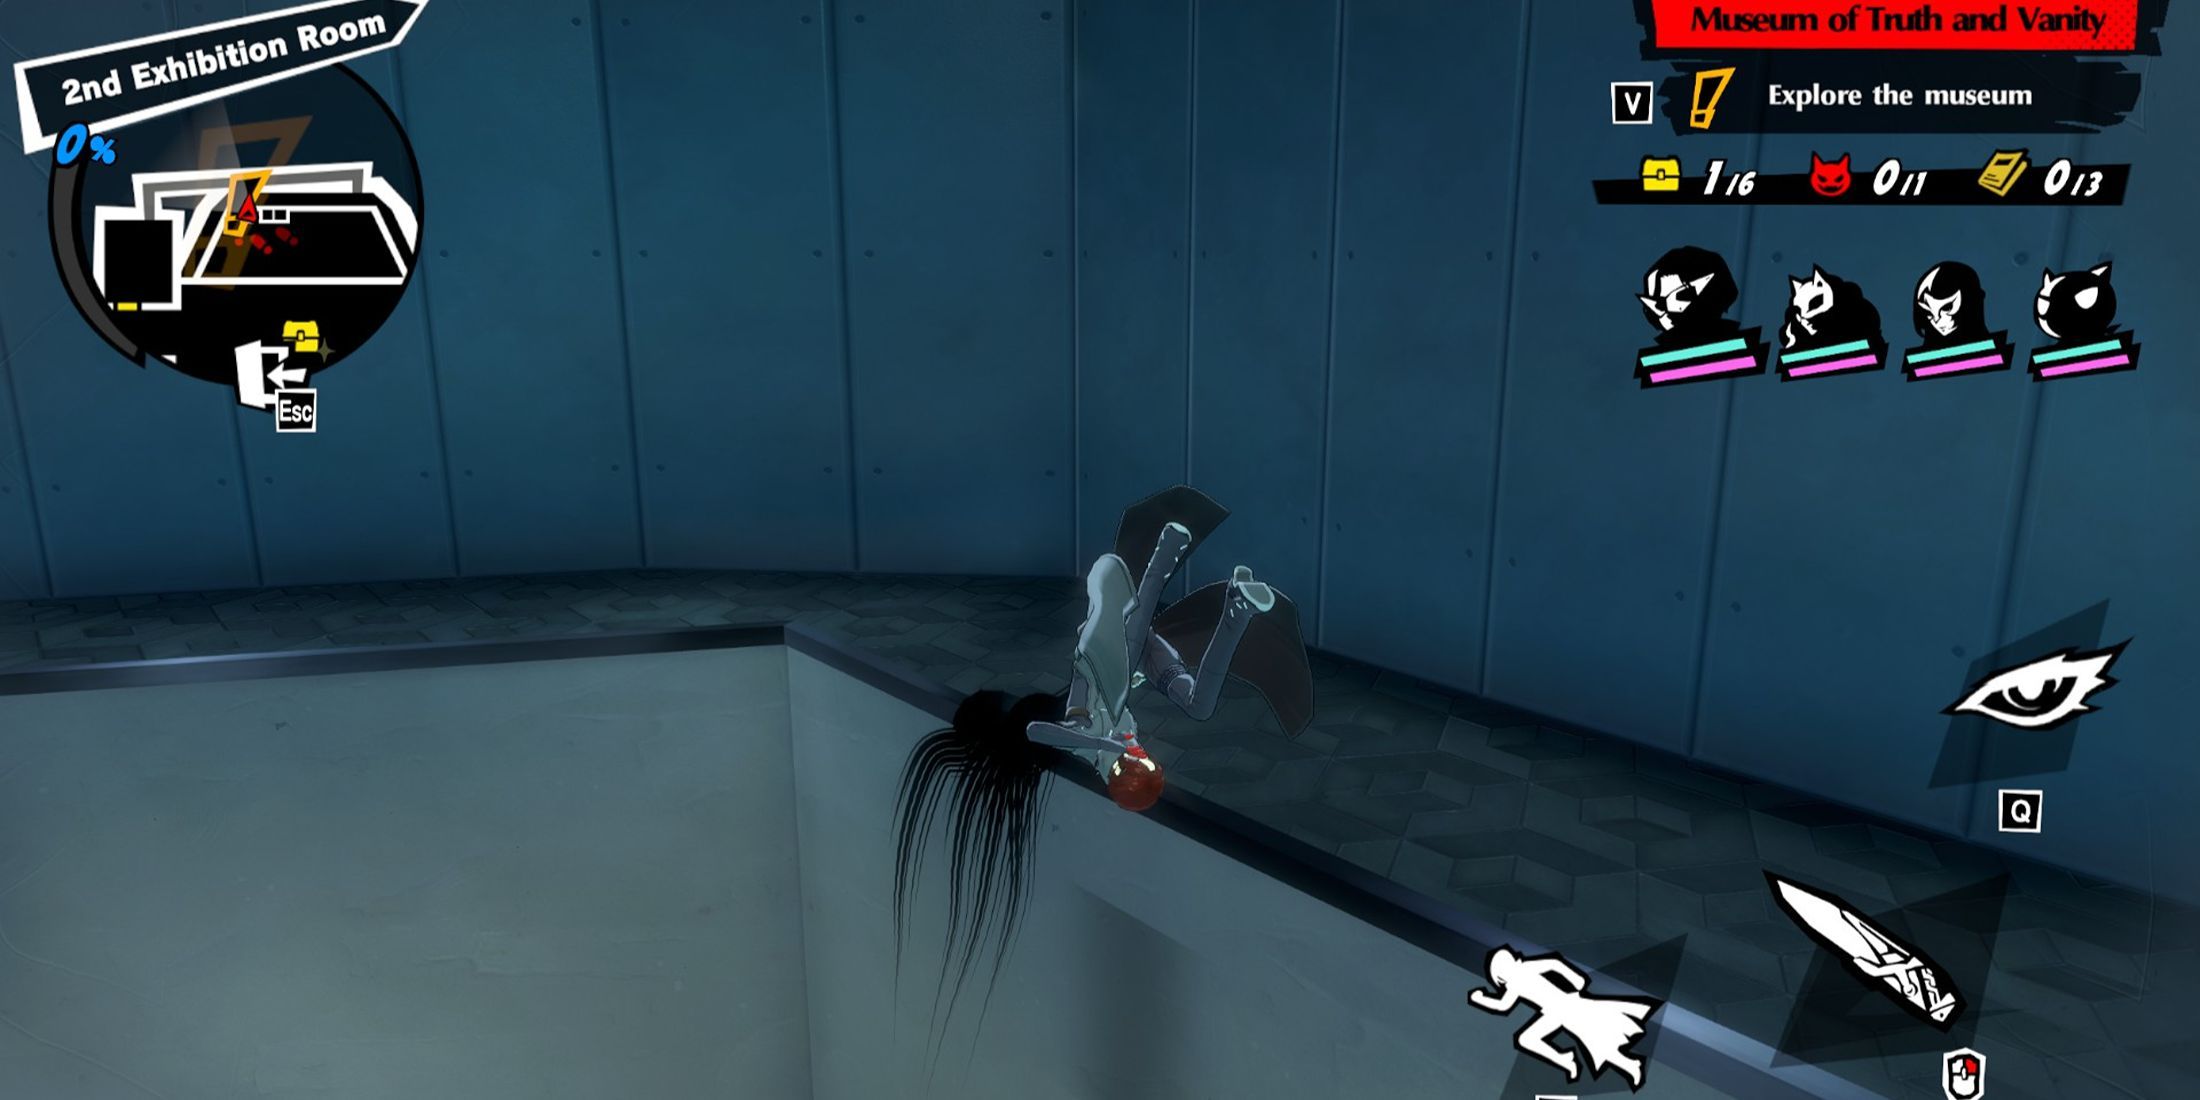
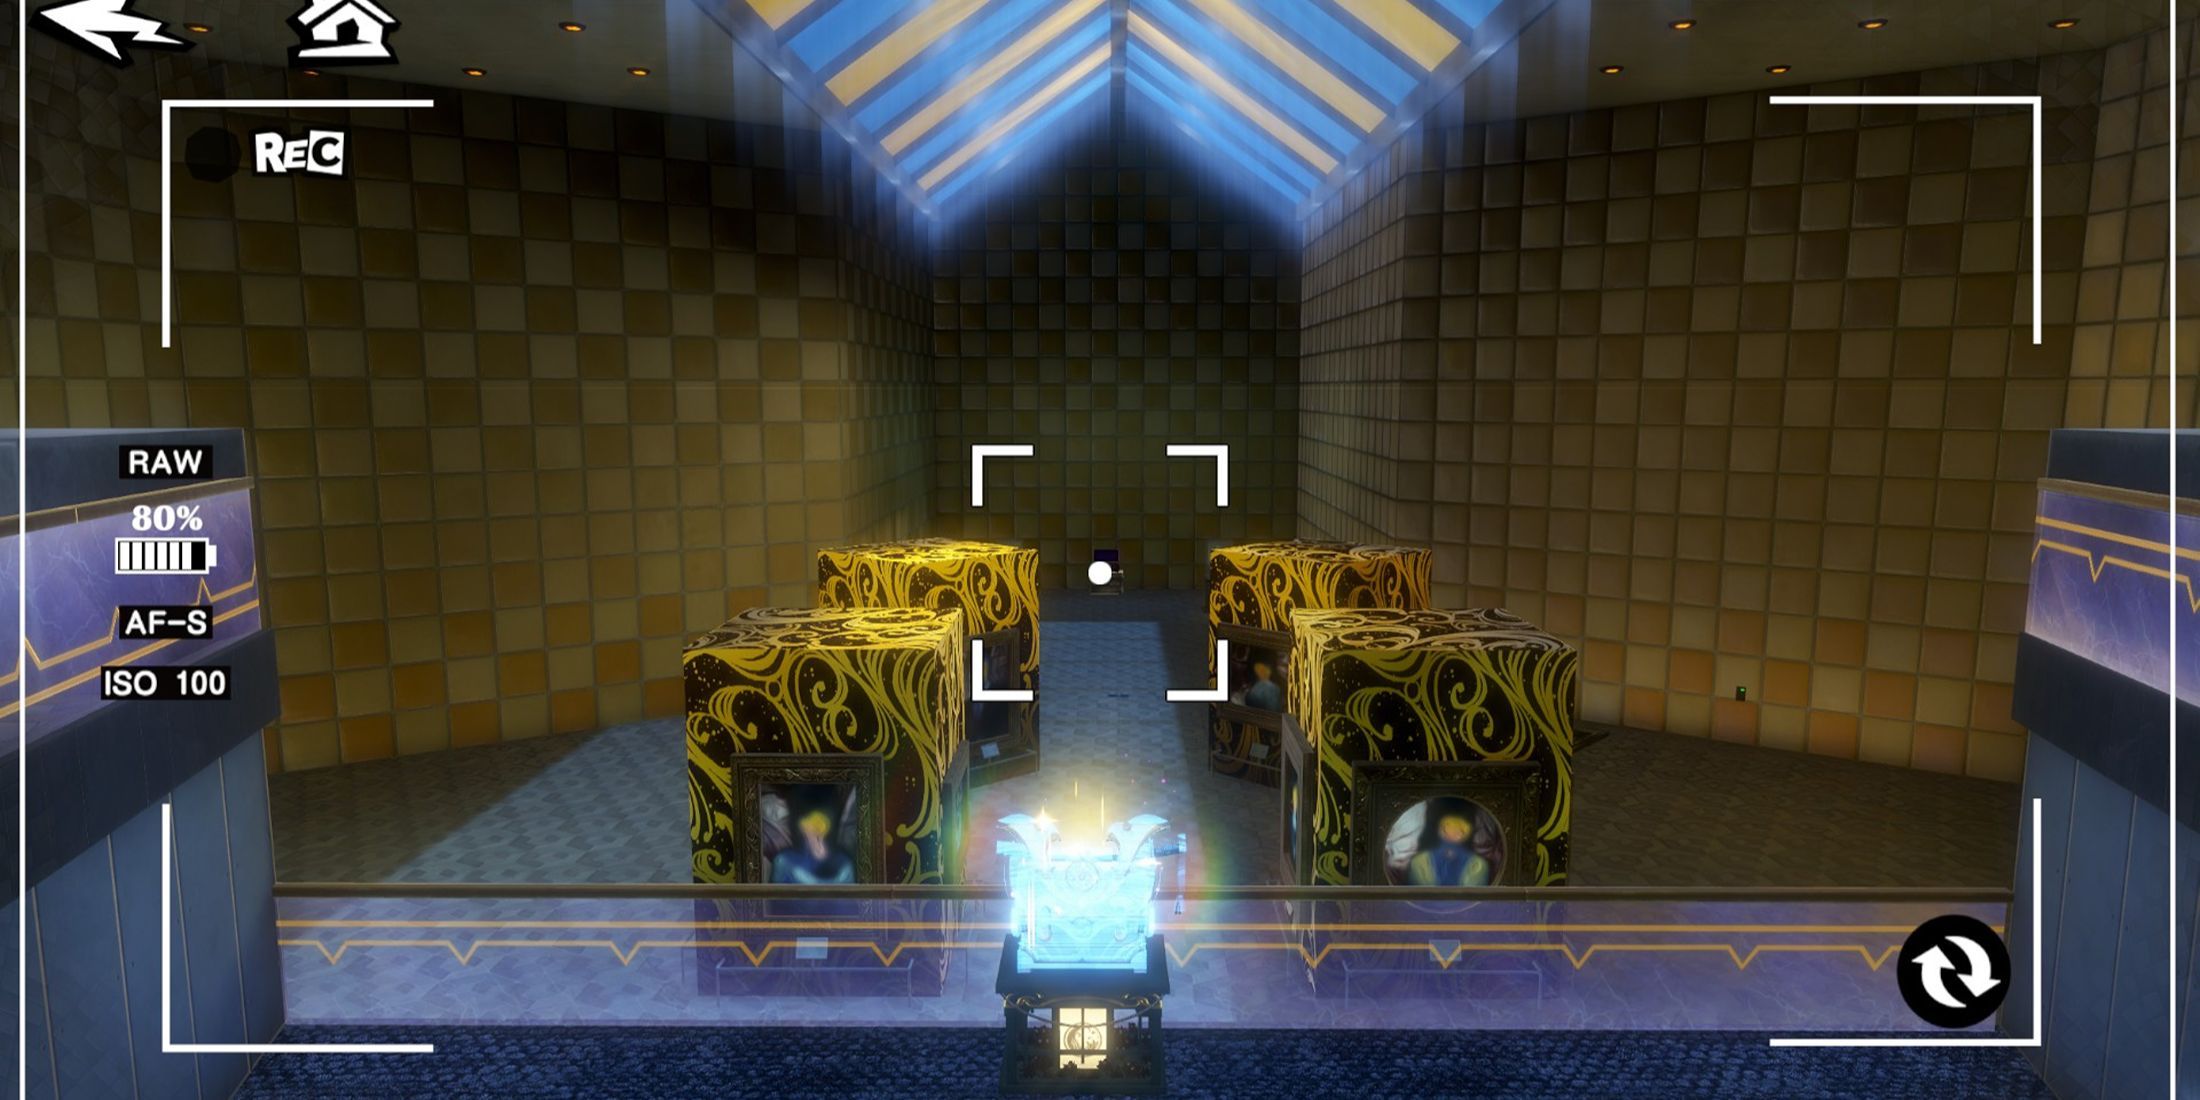
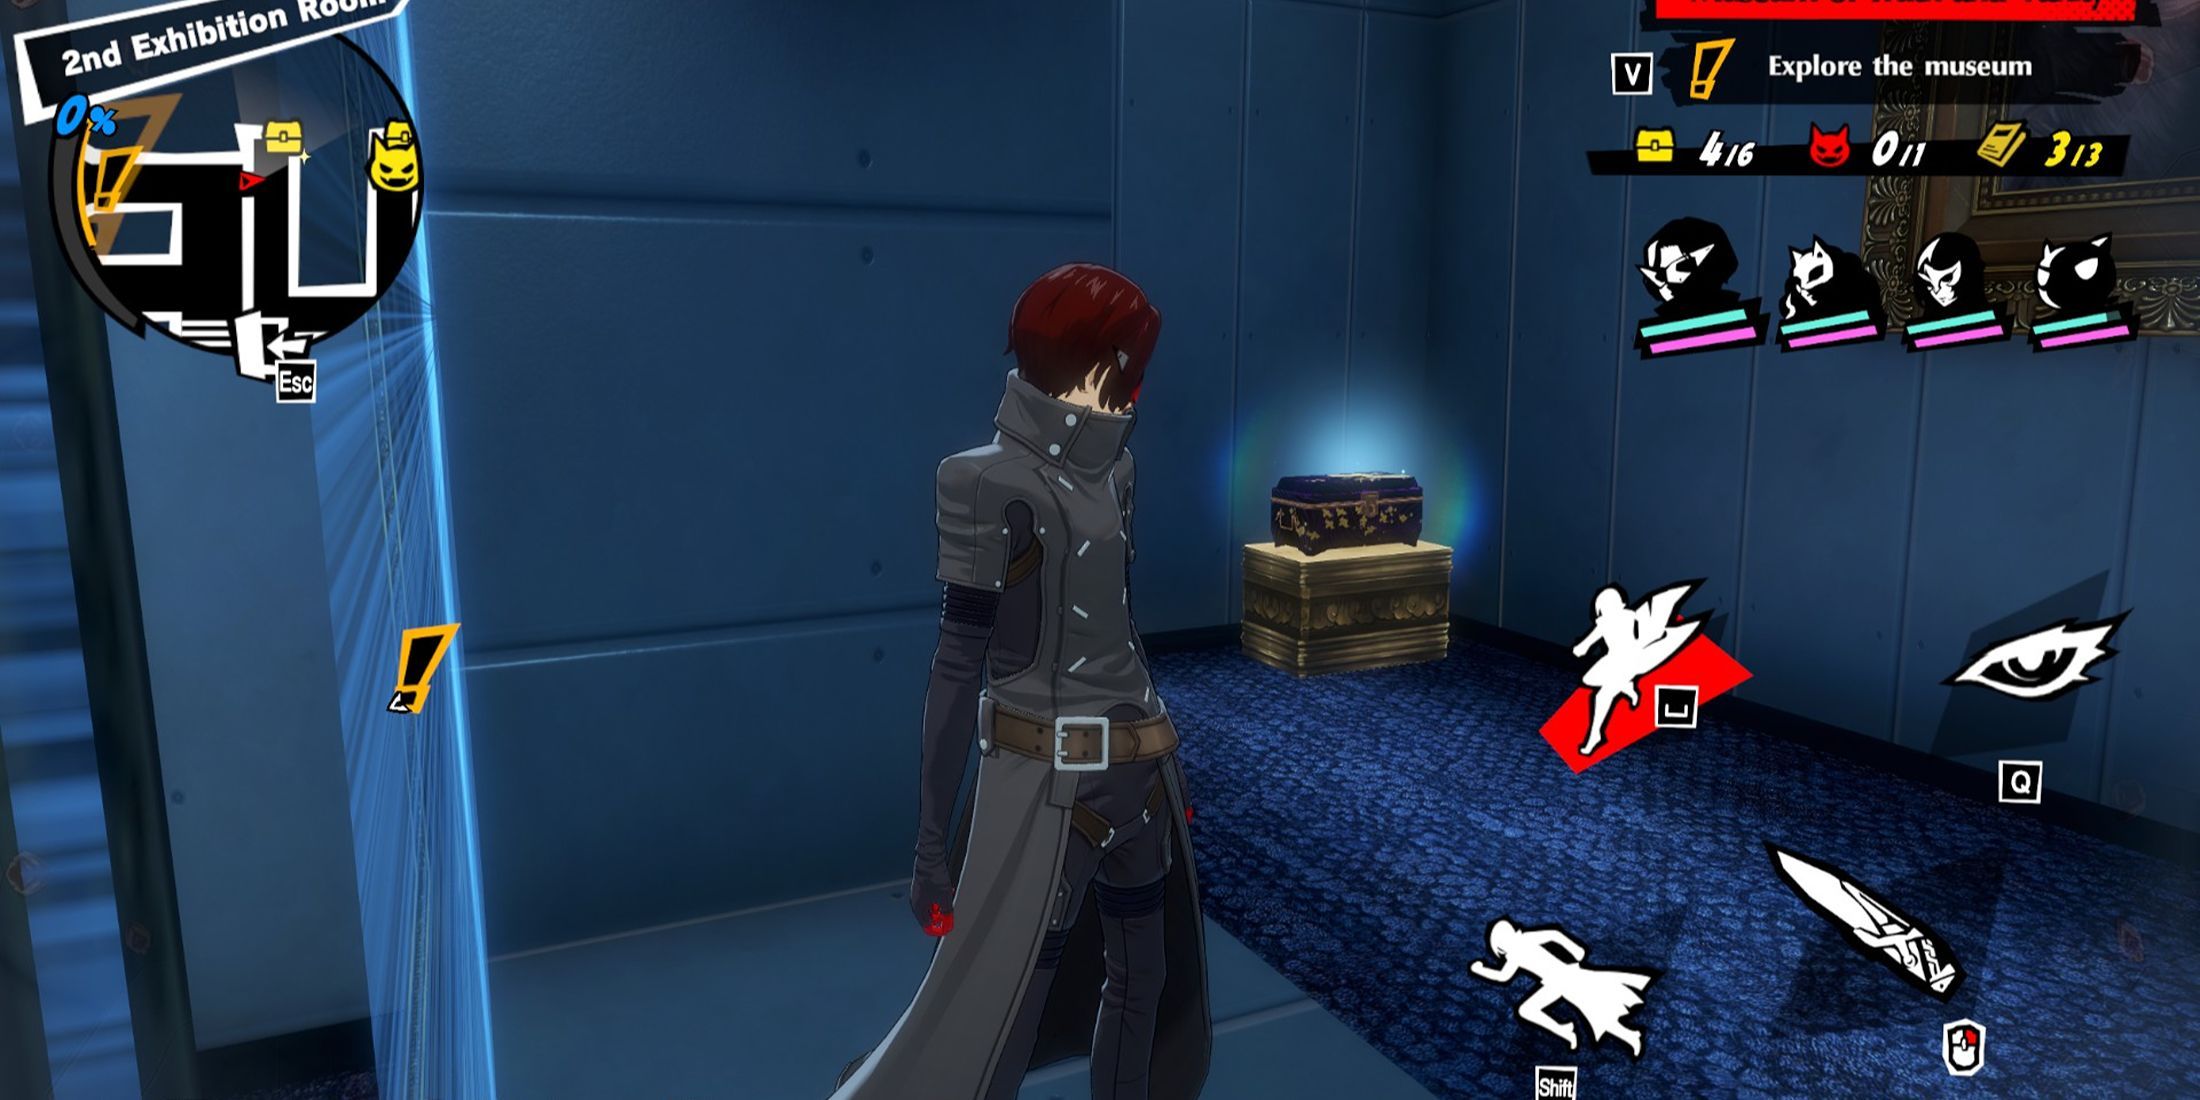
In my gaming adventure, I found myself tackling the intricacies of Episode 2-4’s Exhibition Room 2. The journey began by following the marker to unlock the control room, followed by a dive into the Ventilation Shaft. Upon exiting, I veered right to discover a hidden Treasure Chest. A quick peek at the Crooked Painting revealed a switch, which, when pressed, lowered barriers in a hexagonal chamber on one side.
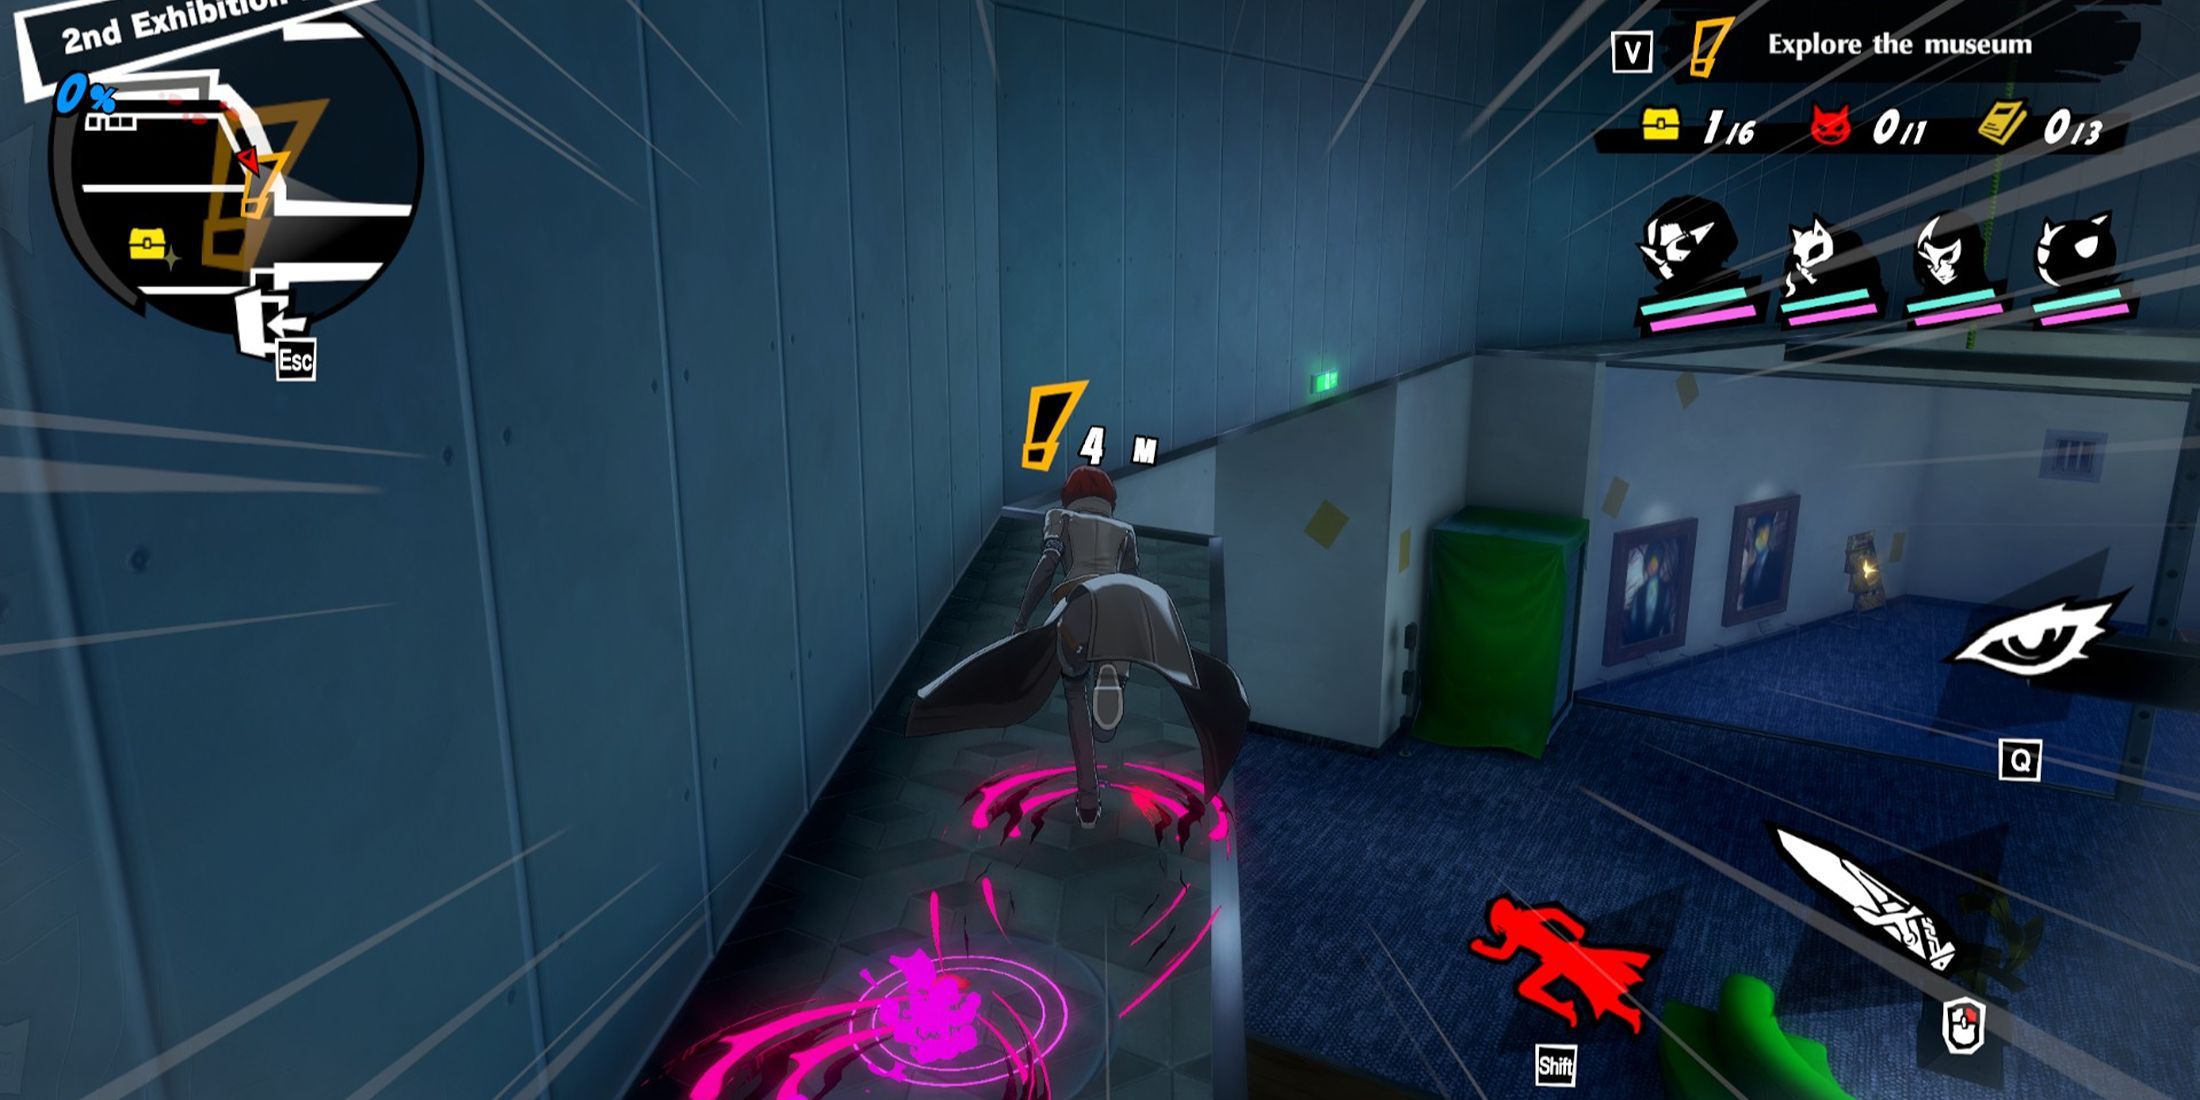
I then retraced my steps to jump onto a ledge and traverse across to the other side, overcoming a laser barrier. Scaling crates again, I crossed to the shadowy side to snatch a Powerful Shadow’s defeat and grab a Security Key Card and another Museum Brochure. Wheeling around, I pressed the nearby switch, climbed up once more to leap over to the other side yet again.
First, make your way back to the control room and interact with the computer to disable the sensors. Then, locate the central safe, which was guarded by lasers, and open it. Next, descend the stairs and leap over the lasers to reach an area where you’ll encounter a Shadow enemy. Continue on to find another Treasure Chest in the women’s restroom and a Museum Brochure in the men’s restroom.
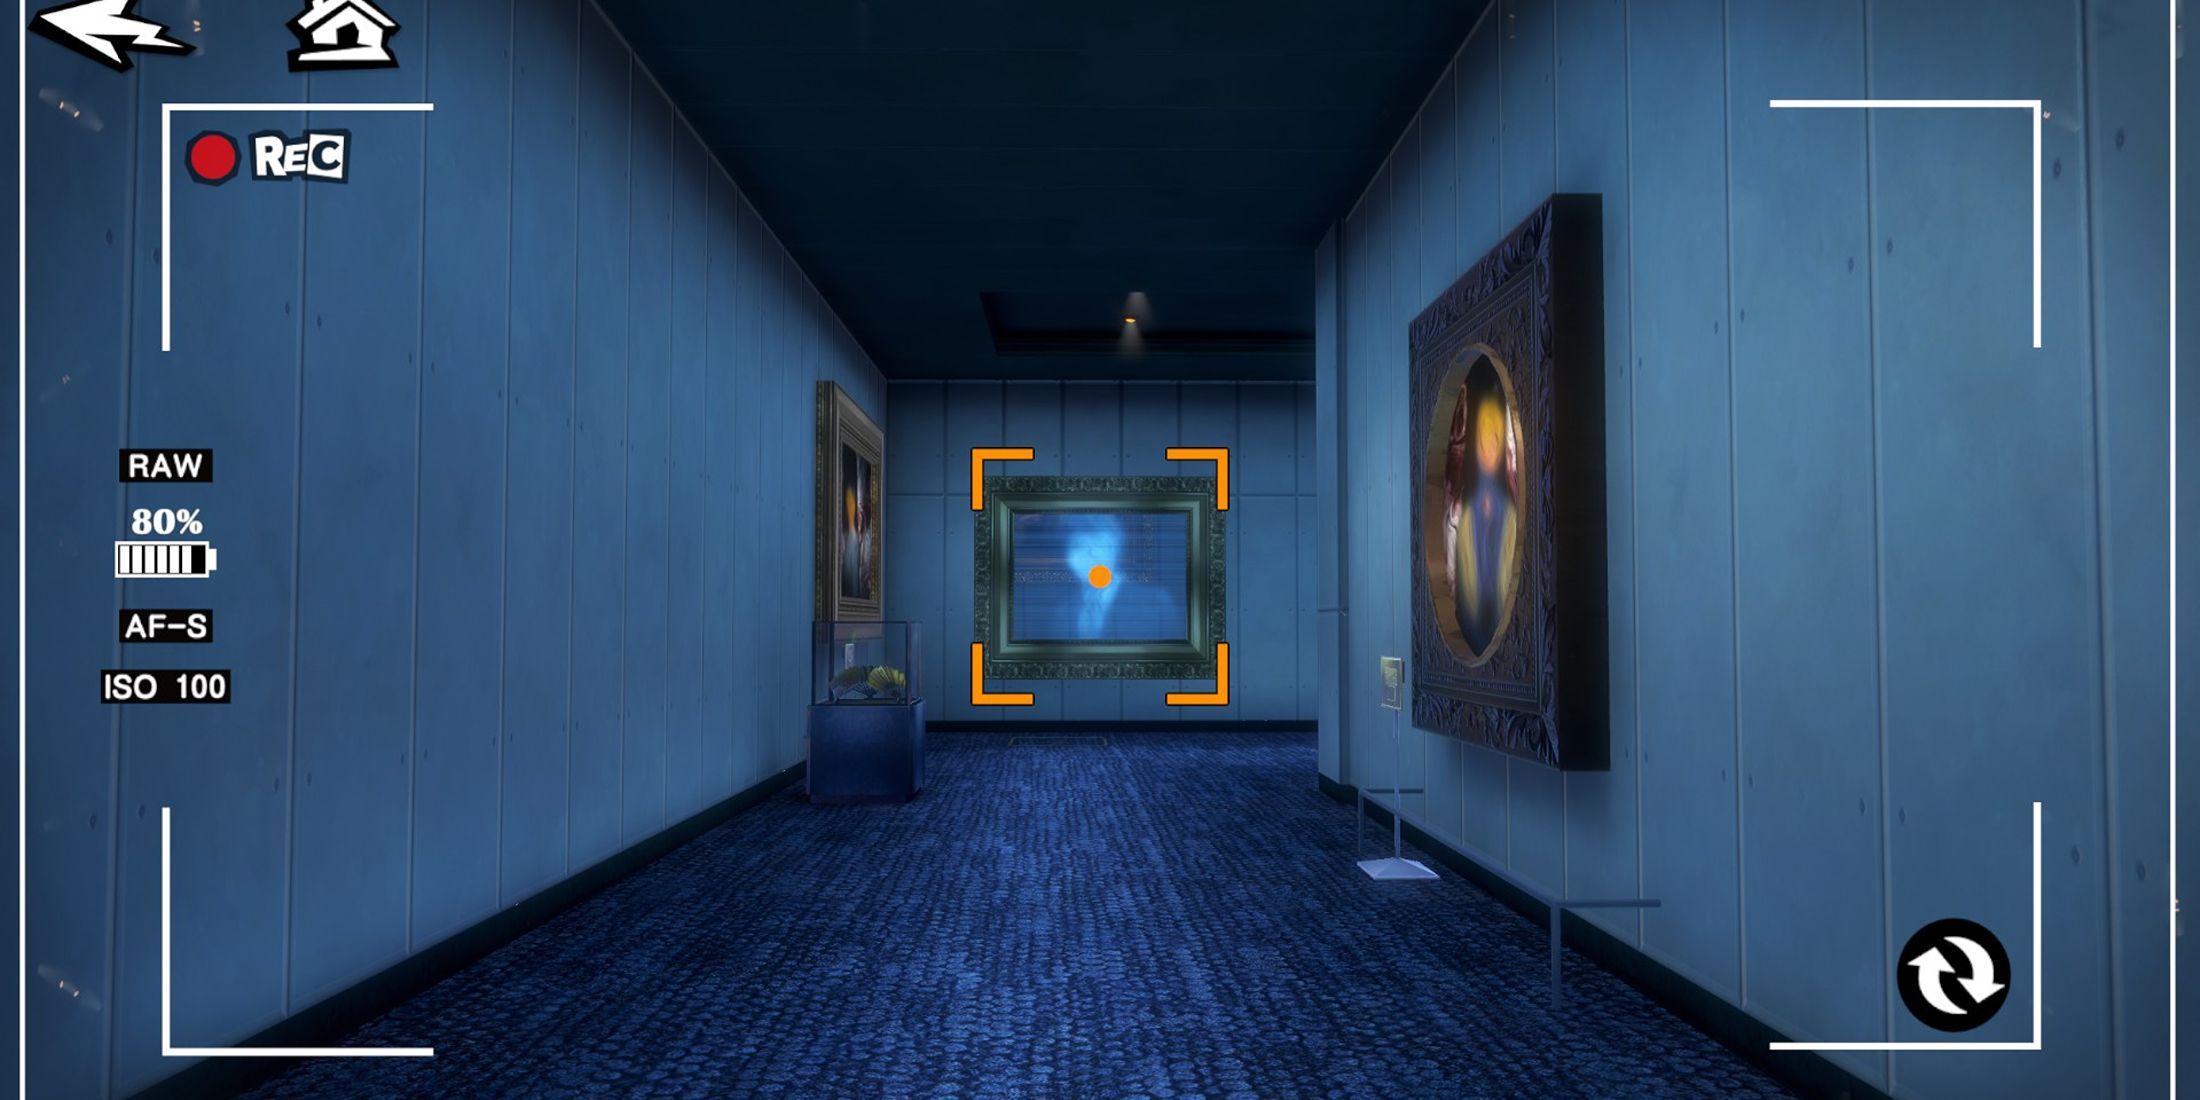
After that, go back down the stairs and travel through the hallway, defeating any Shadows you come across. You’ll eventually reach a hall with electric fences. Search for a crooked painting there, then hit the switch to deactivate the electrical hazards. As you deal with the attacking Ninja Shadow, grab the Chroma Film Module (akin to those from Miyazawa’s Palace) and another Treasure Chest from the newly opened section.
Return to the previous room, climb the stairs, and collect the remaining Museum Brochure. Activate the camera, rotating it 180 degrees to open a hidden path into a secret room containing a chest, a Powerful Shadow, and the final Treasure Chest. Once that’s done, move back to the camera and point towards the chest on the lower shelf to reveal it. Jump down and pick up the chest to conclude the Episode.
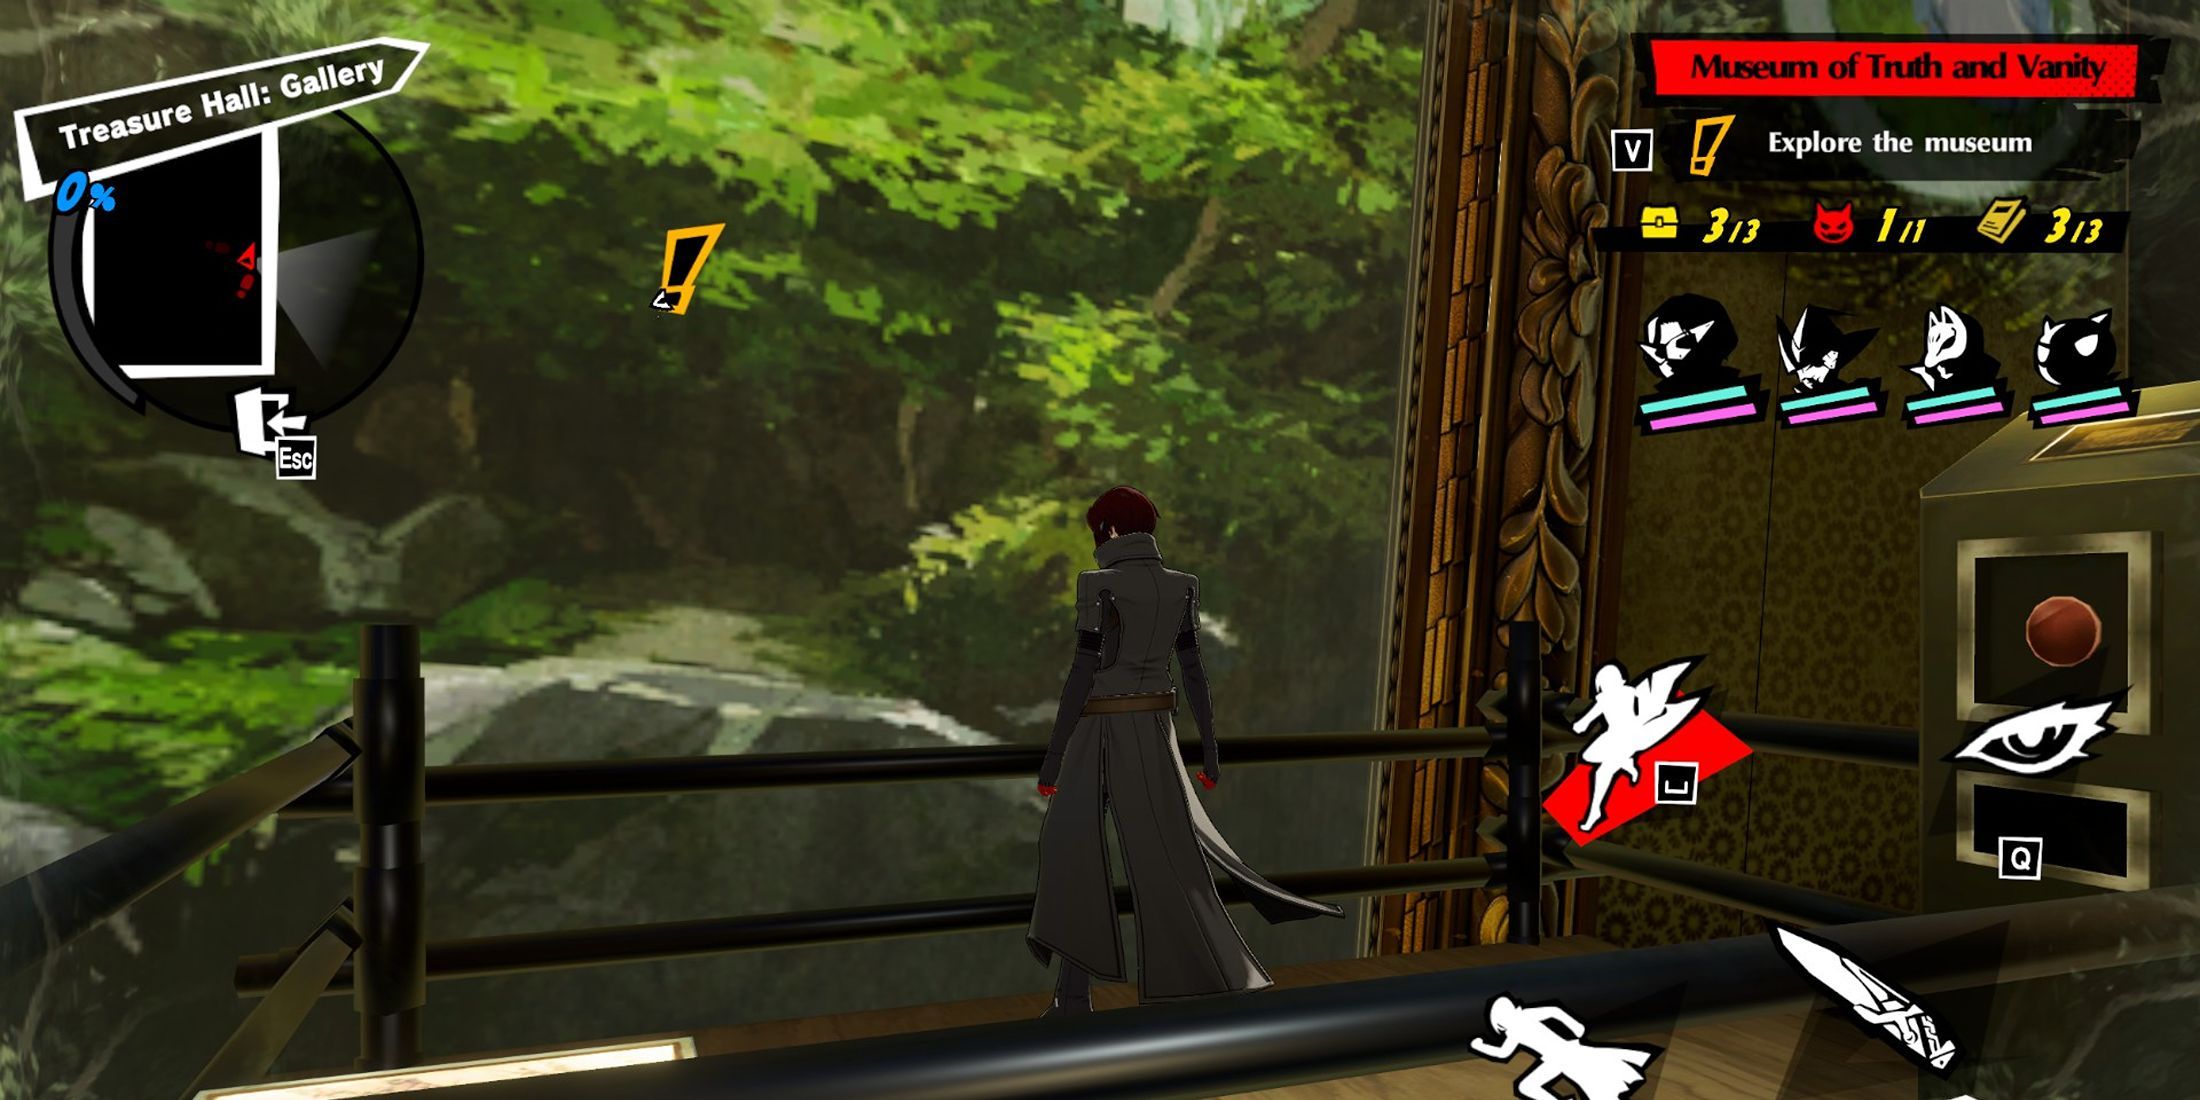
Episode 2-5 A Calm, Yet Forceful Entry
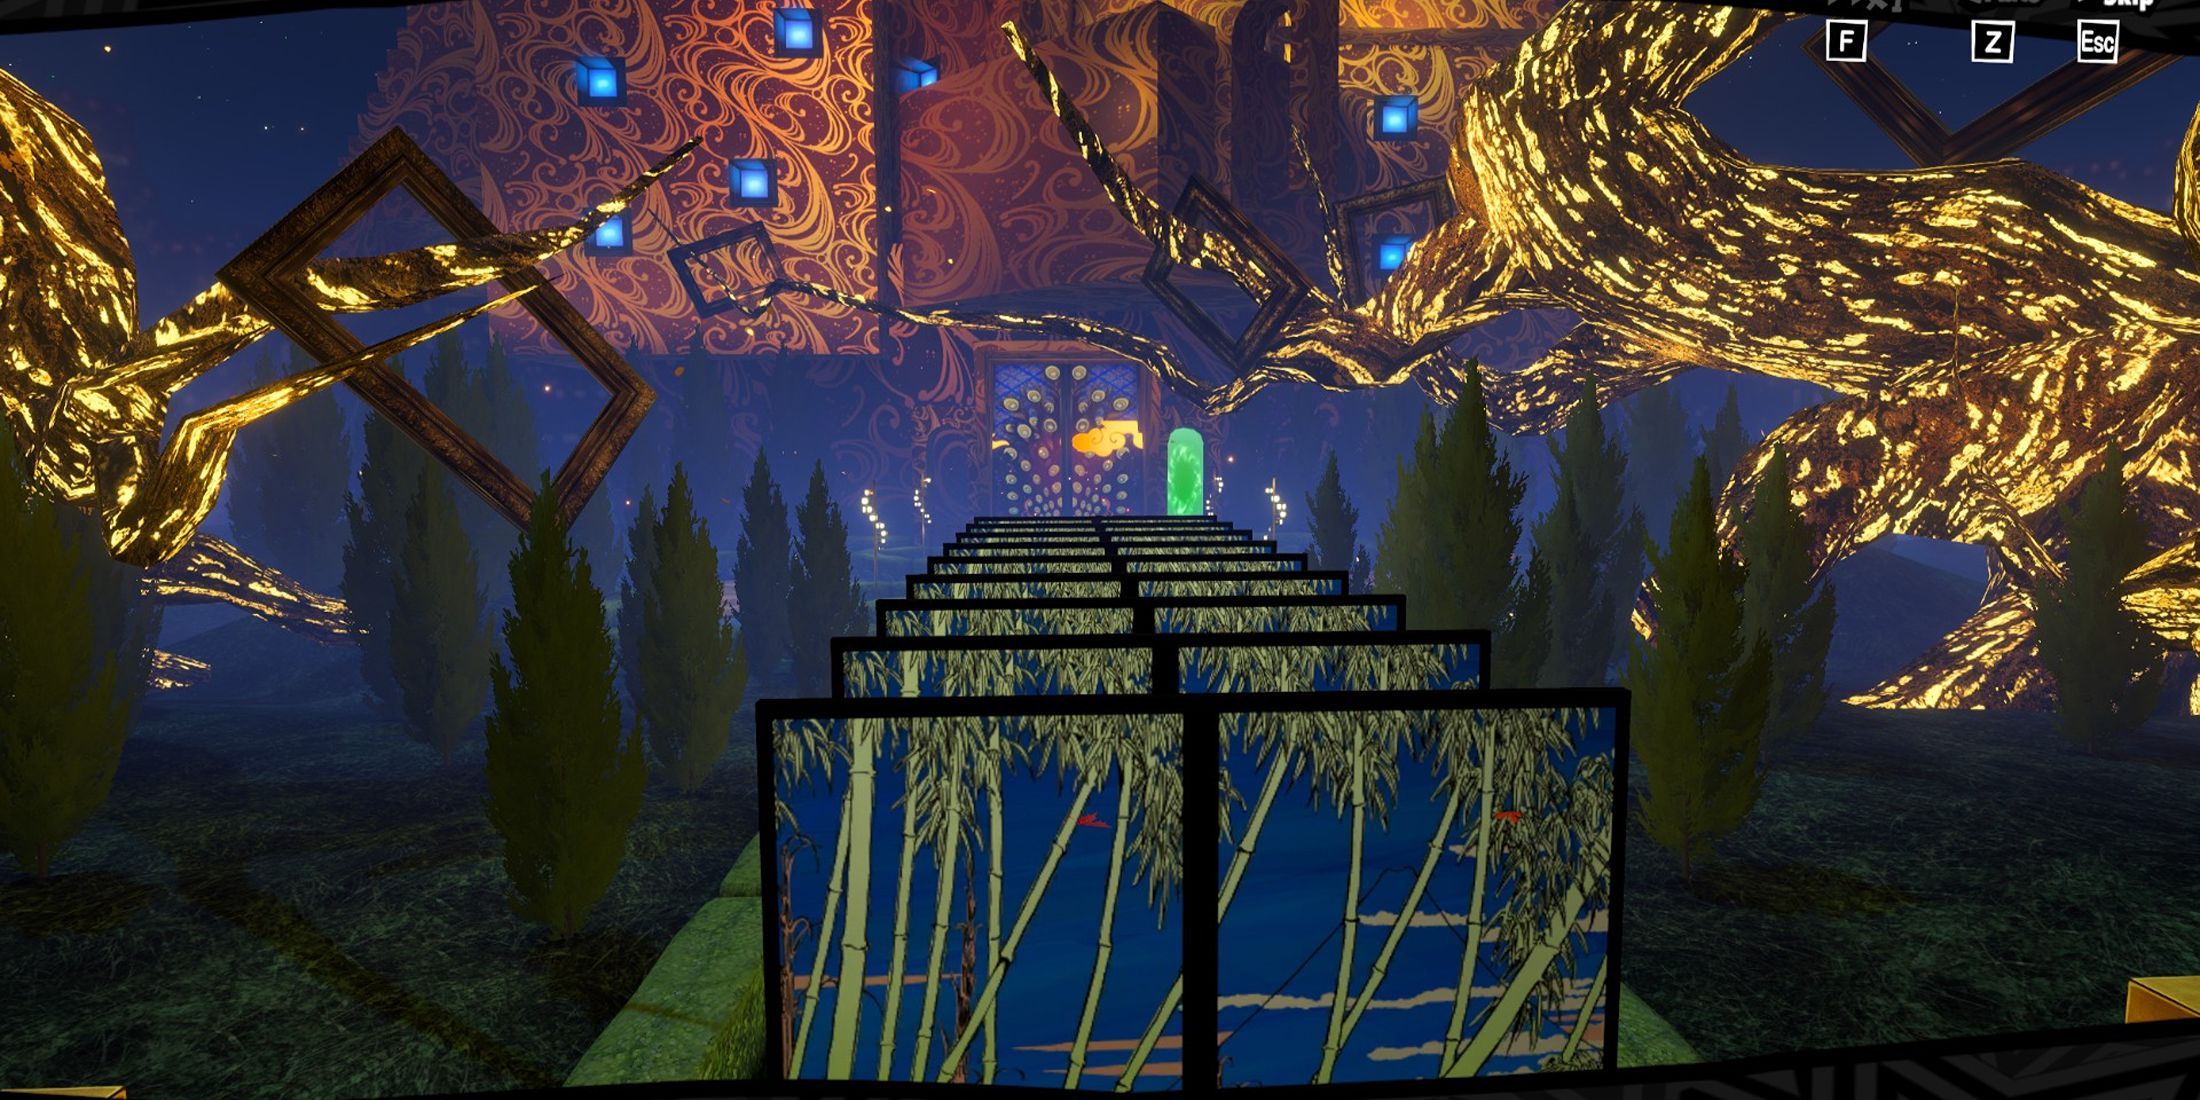
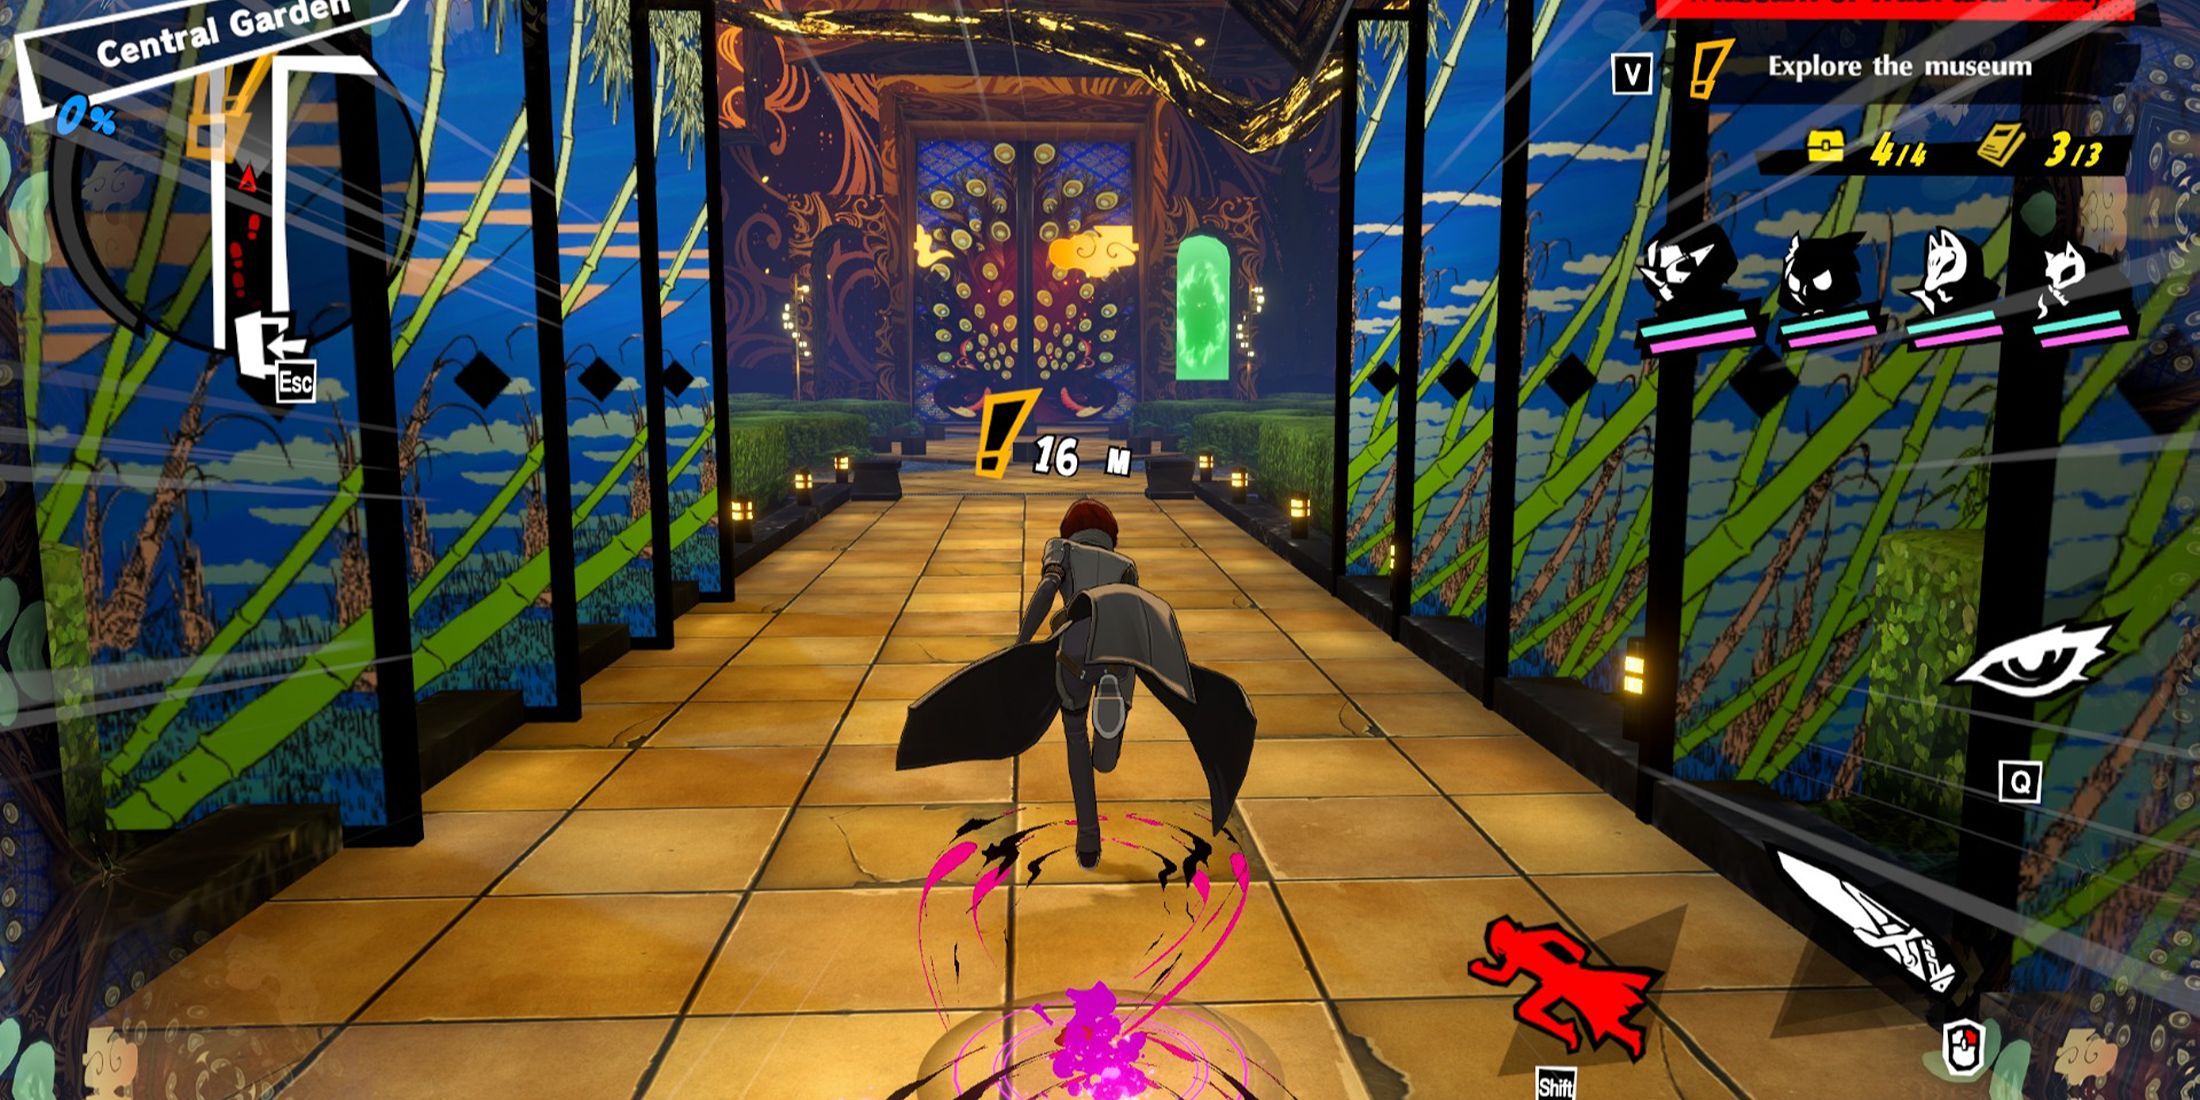
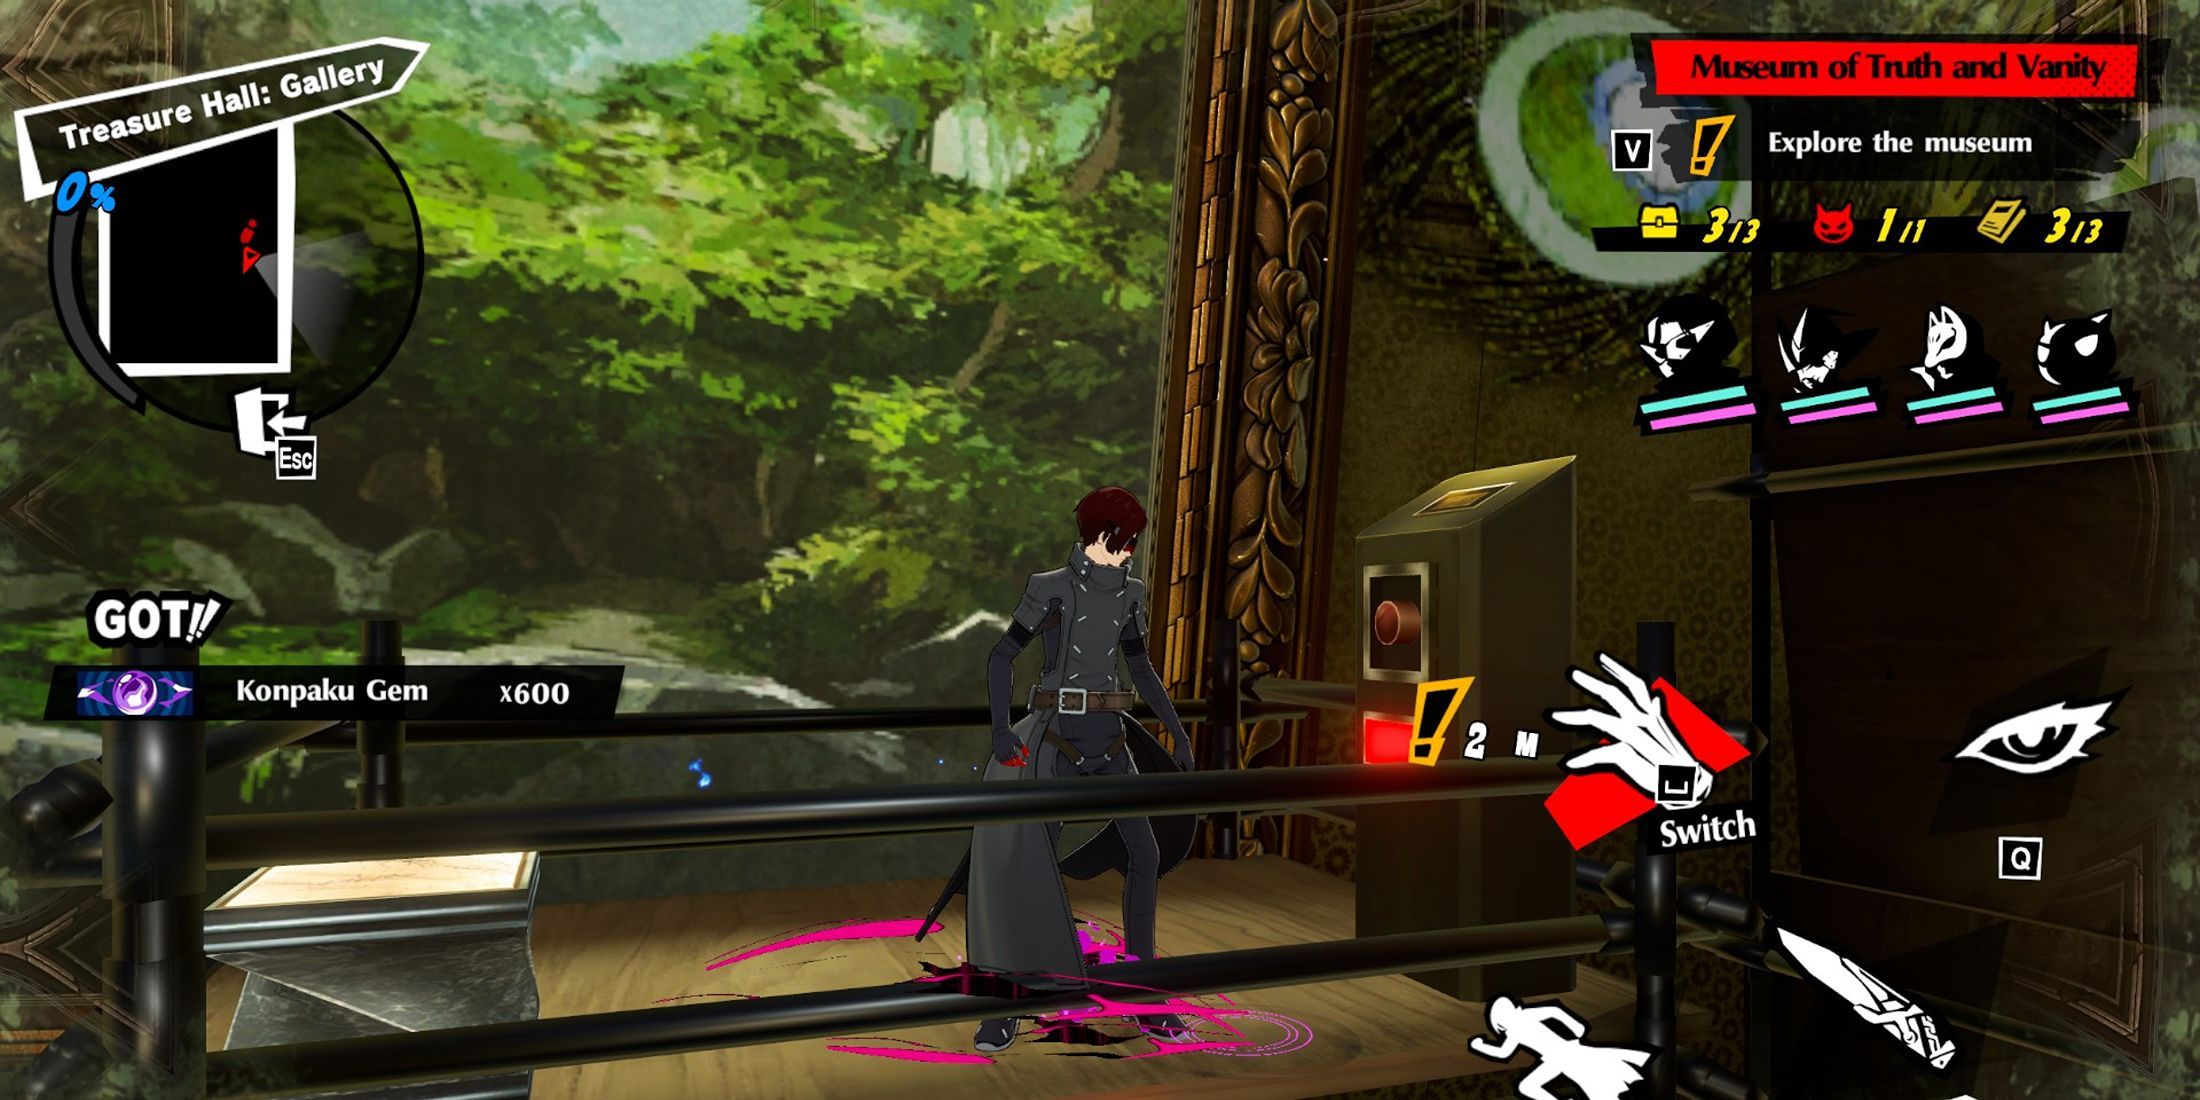
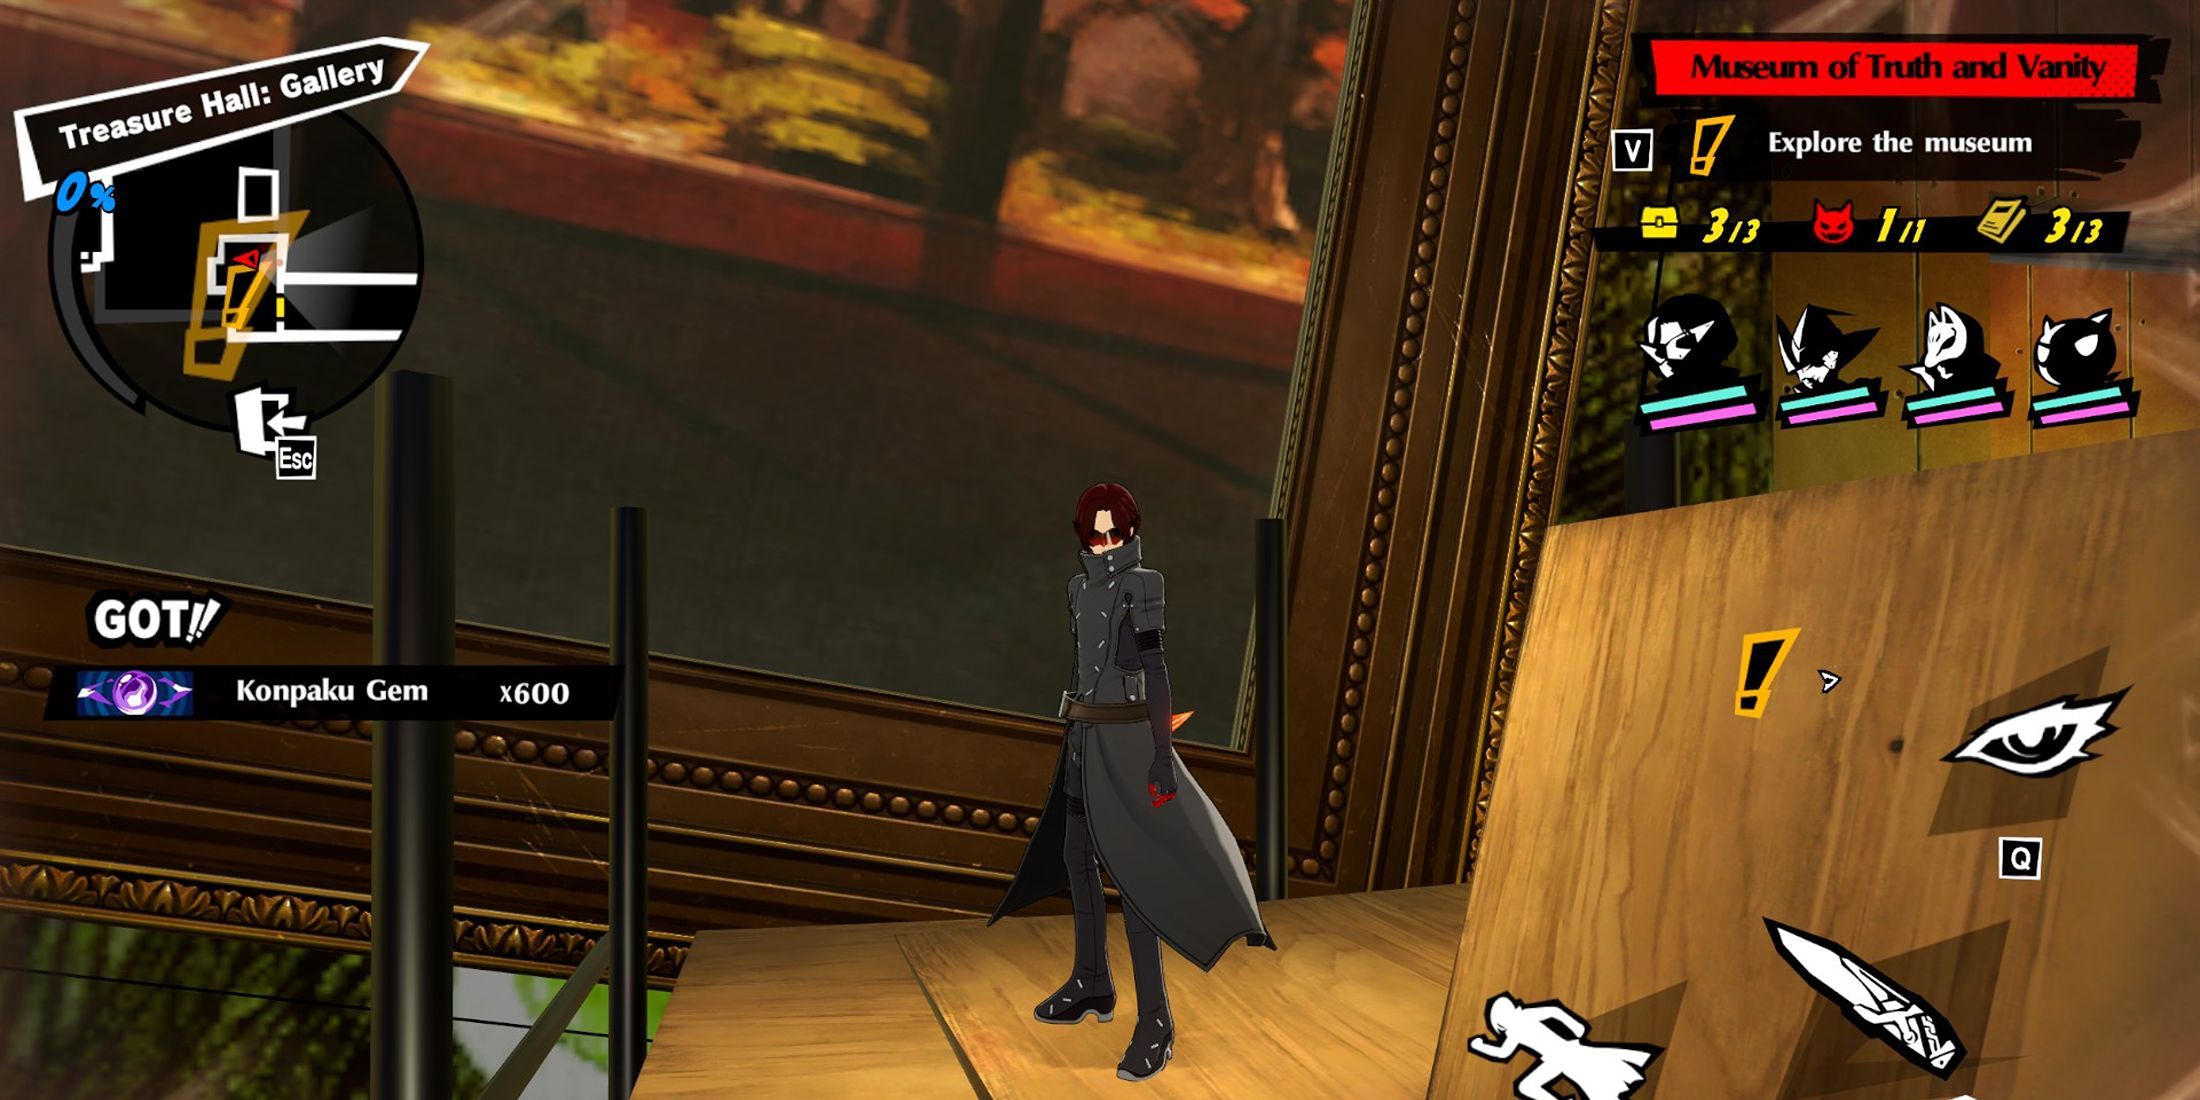
In Episode 2-5, Lufel and Wonder begin by exploring the Central Garden’s layout. First, they advance towards a brochure stand to grab a Museum Brochure. Along the way, players can smash vases that contain 600 Konpaku Gems each. Later, they’ll find a chest on the opposite side of the room near the pool, followed by moving into the main area where Shadows roam. Here, they can collect two Treasure Chests (one on either side, with a patrolling Shadow guarding each), as well as another Museum Brochure. Afterward, they proceed to the next section.
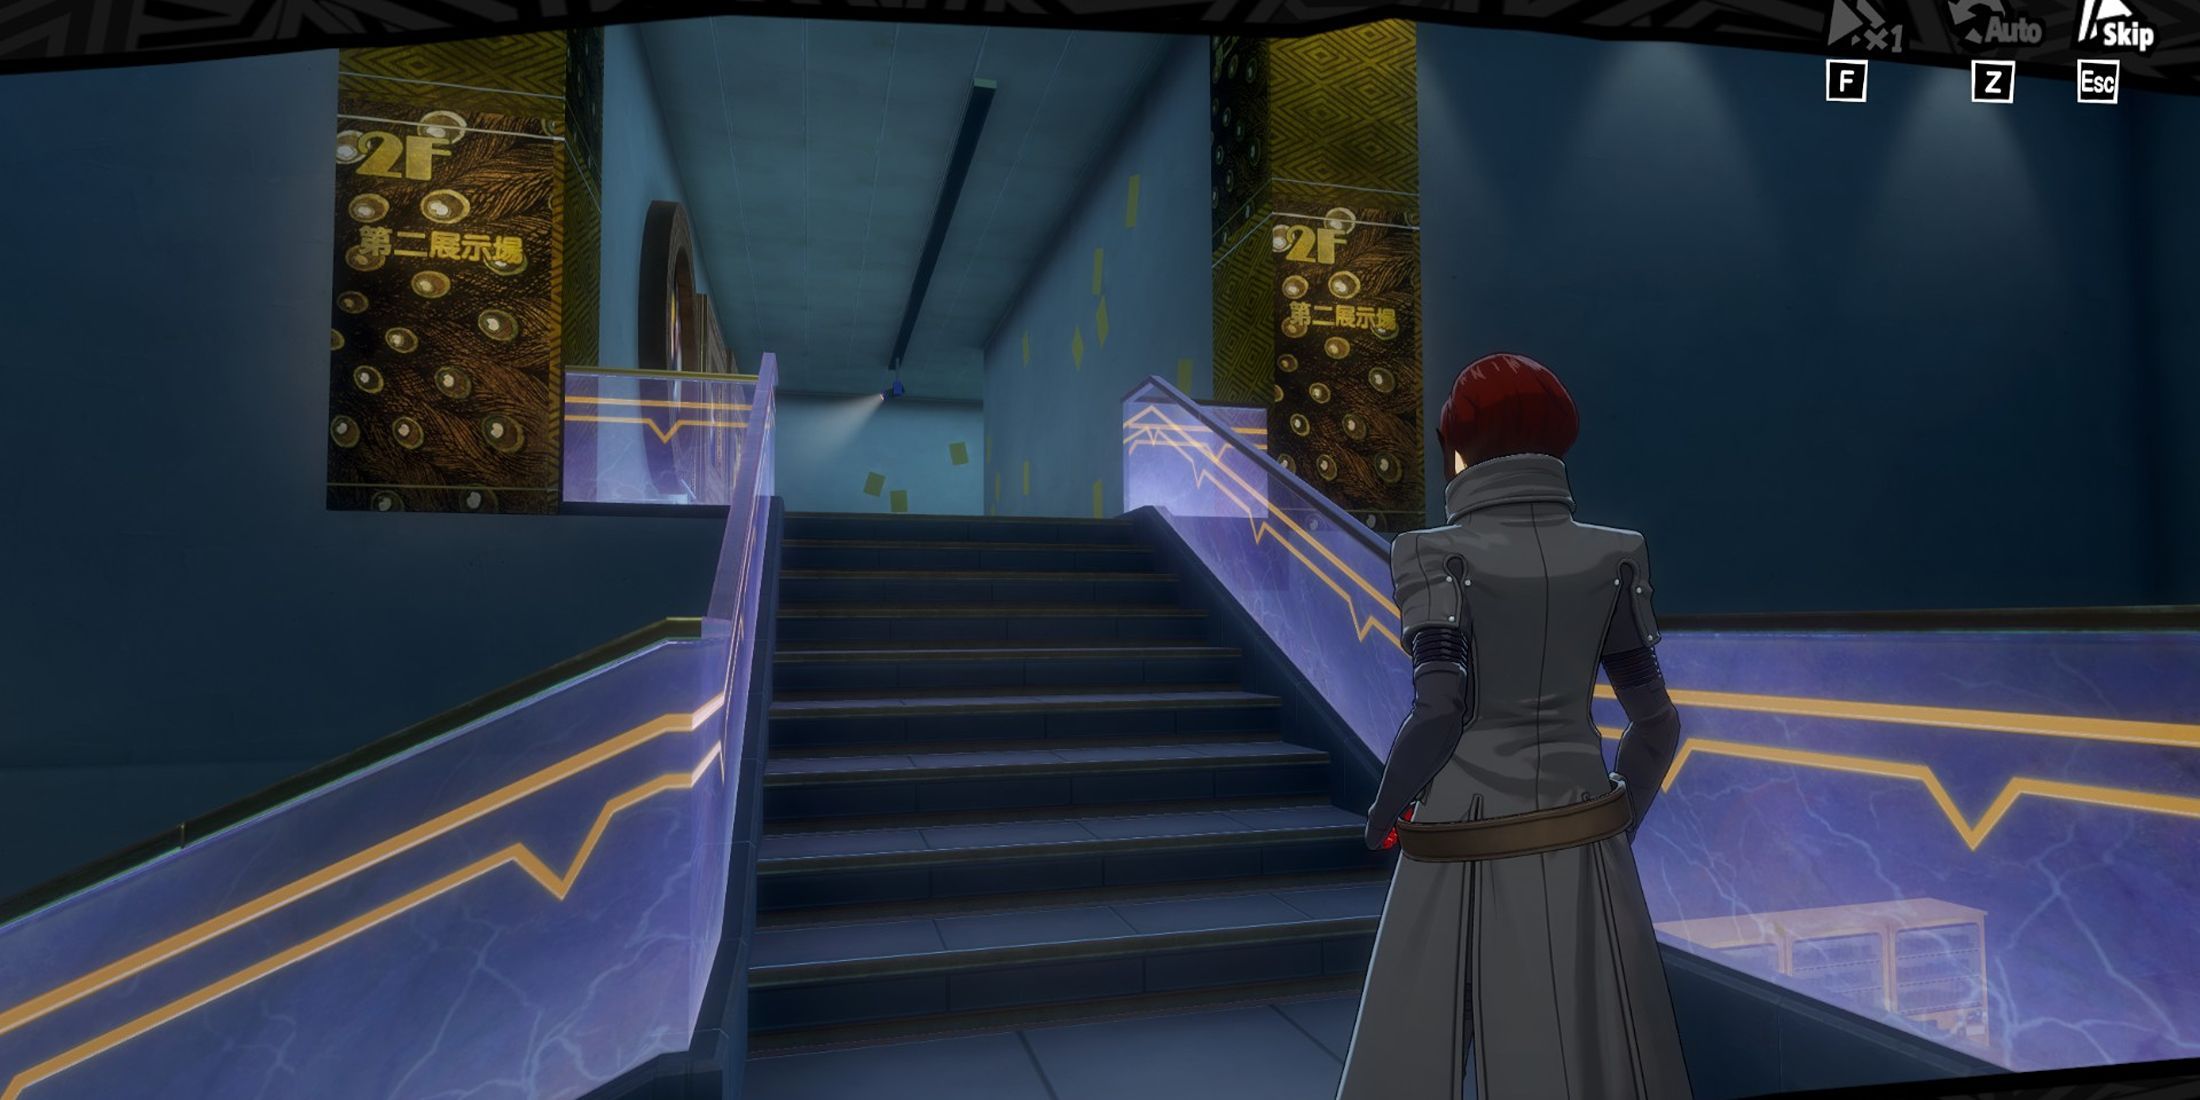
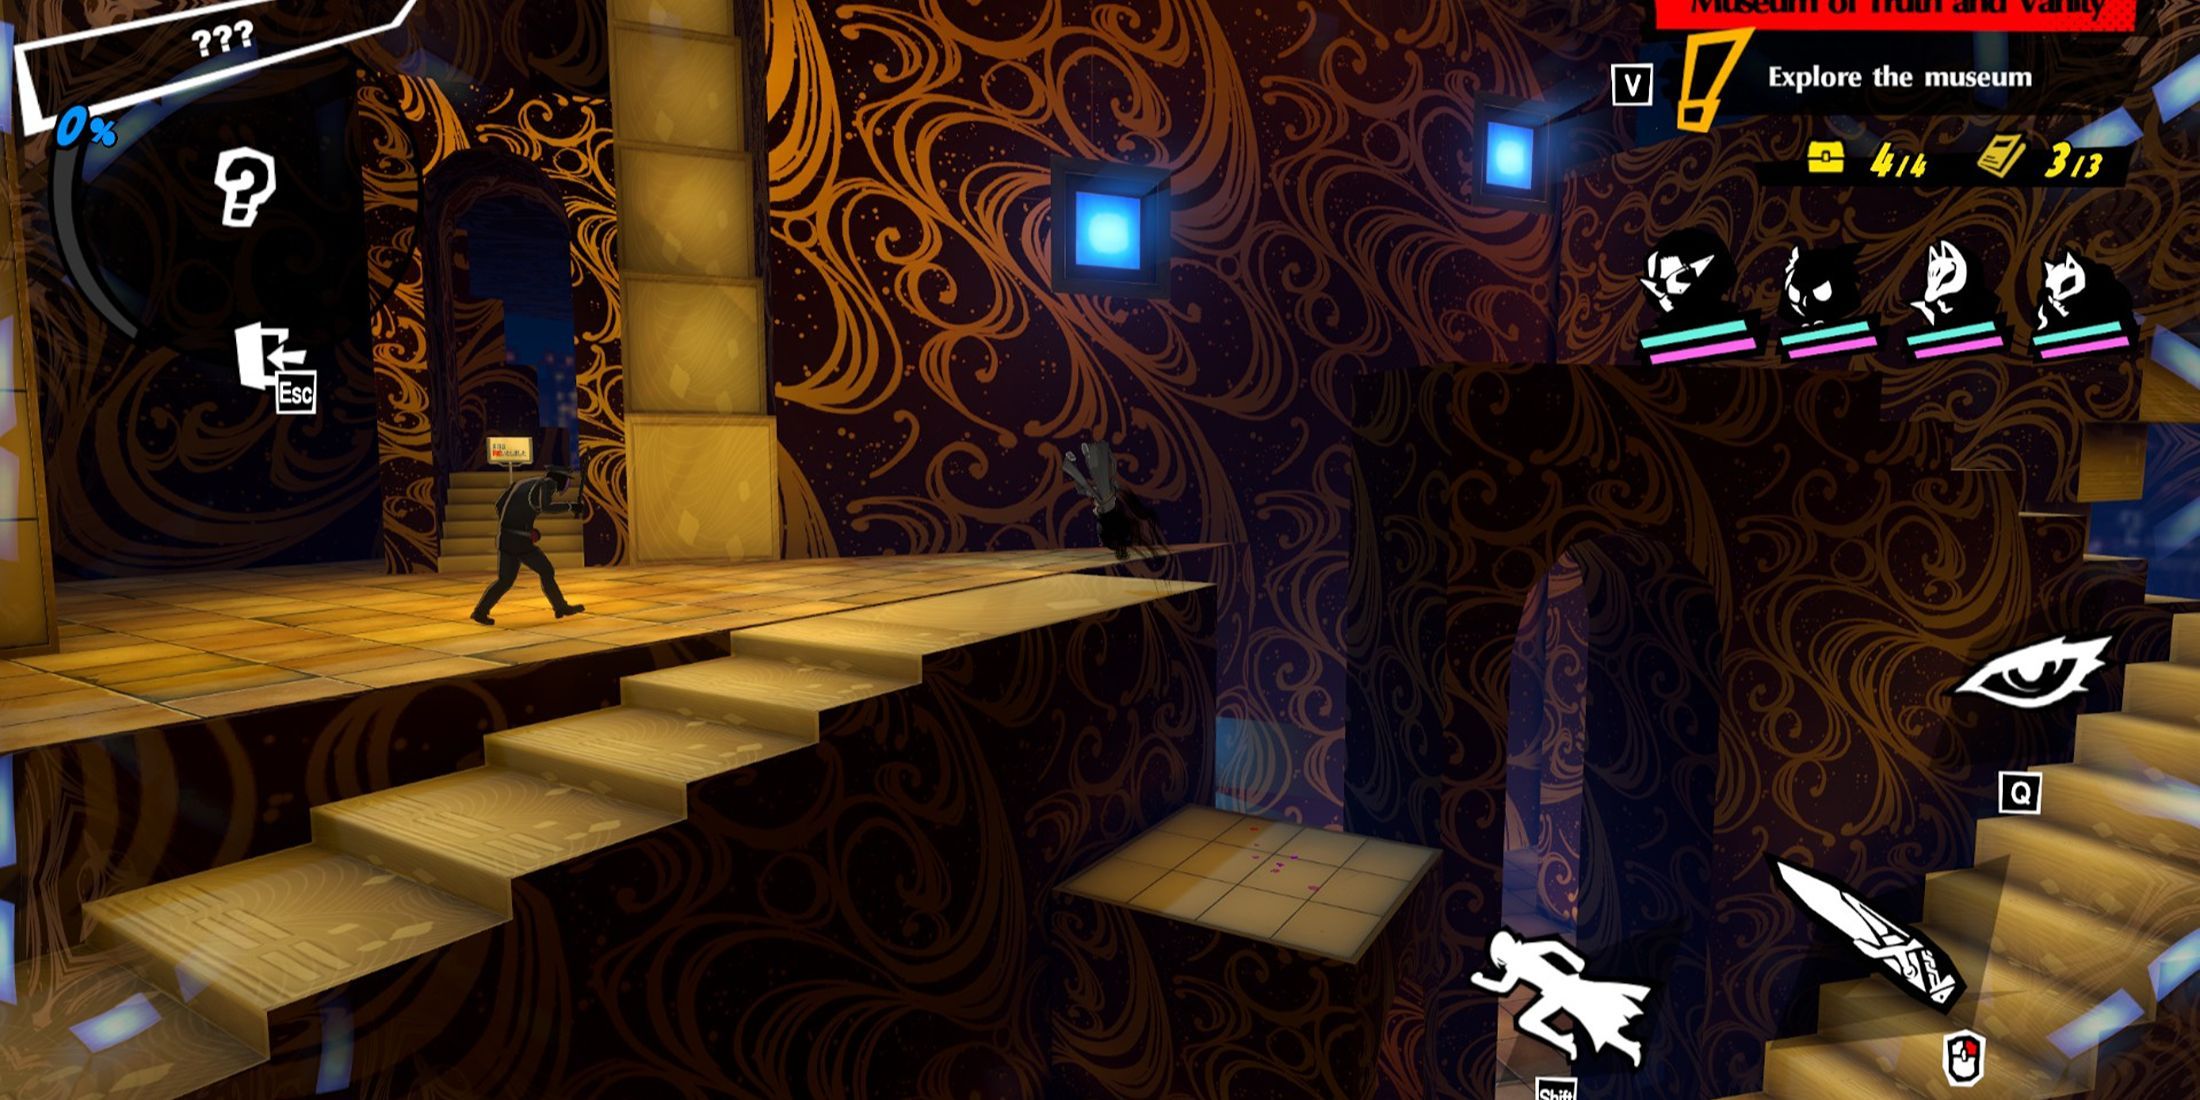
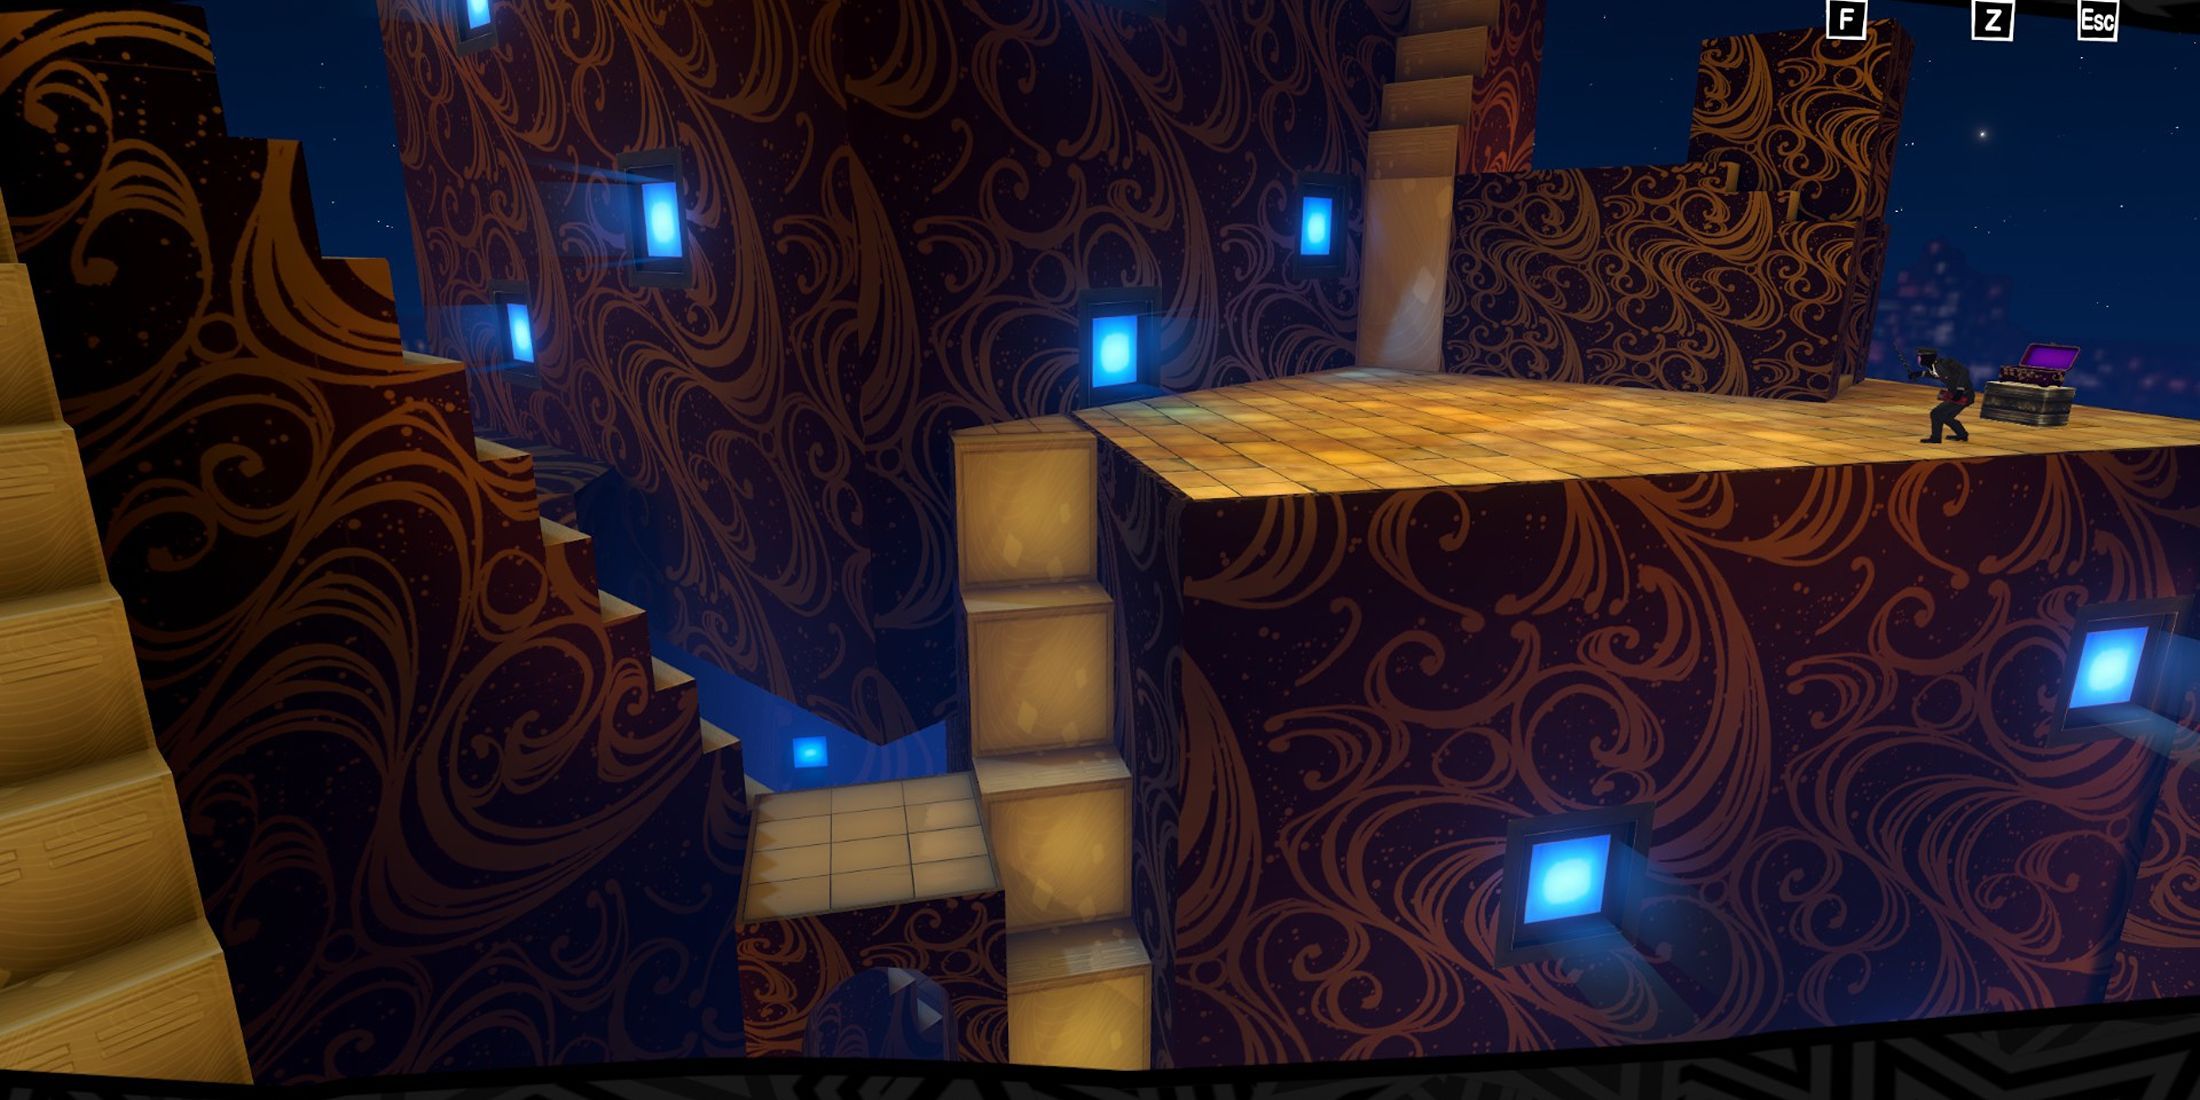
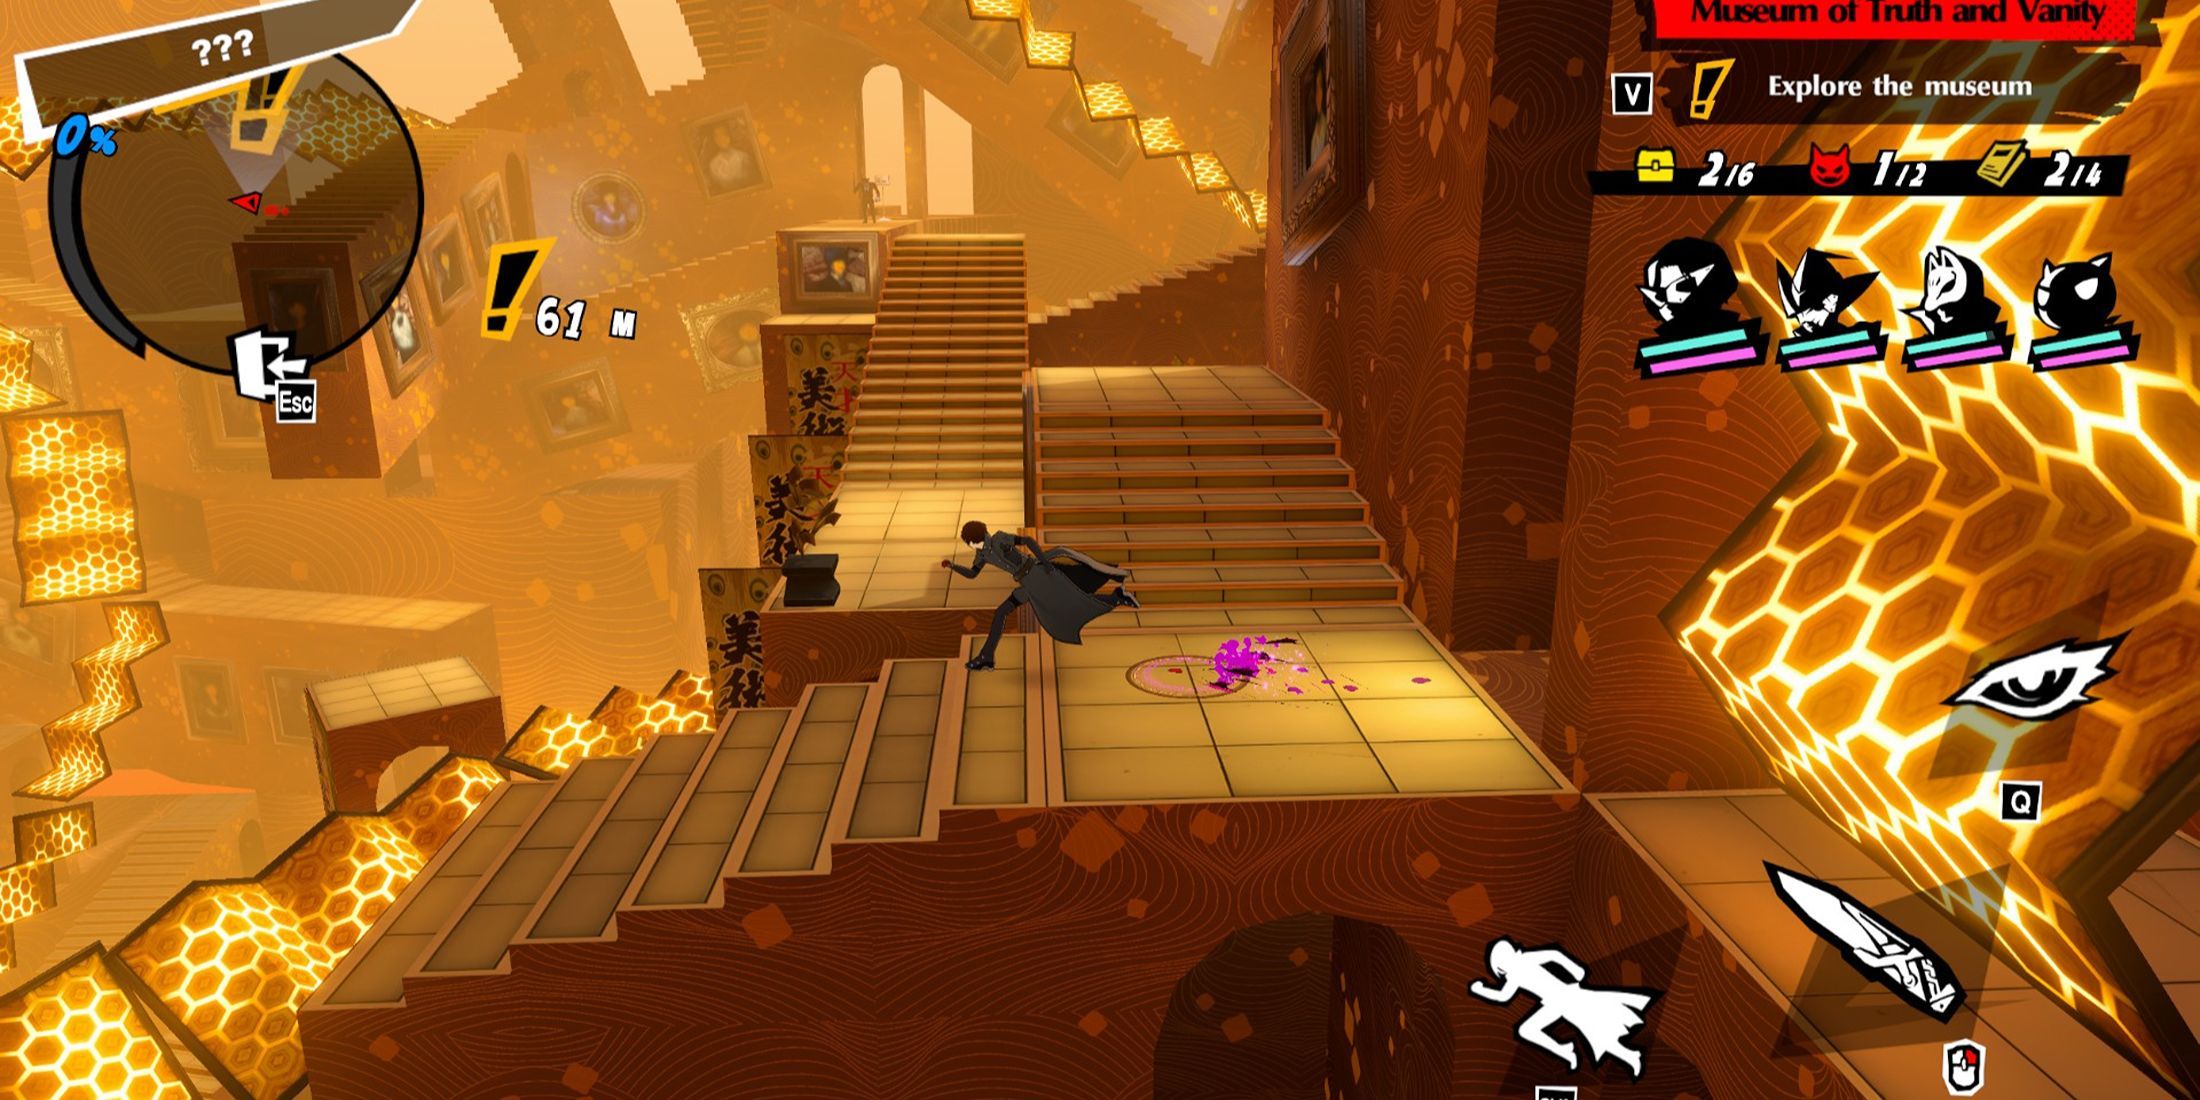
As you delve into a complex maze reminiscent of Palaces familiar to fans of Persona 5, you’ll ascend to advance, eventually reaching a platform that offers the final Museum Brochure for this episode hidden away. In the second level, there’s a treasure chest protected by a shadowy adversary. Defeating this foe allows players to achieve a full game completion. Follow the designated checkpoint to witness a scene, then engage in battle with the boss to seize the chest and bring this episode to a close.
Episode 2-6 Proceed Even Deeper
Episode 2-6 is quite a labyrinthine challenge, but the initial level is rather easy to navigate. On your right, you’ll find a Treasure Chest, one of six to collect. Turning in the opposite direction from where Wonder initially points, you’ll encounter a short diversion leading to a Museum Brochure and a room protected by a Strong Shadow. Defeat it, then press the switch to enter a small room and collect two Treasure Chests, one of which is locked with a key that can be found on top of one of the keyboards in the same room. Proceed back to the main hall, press the switch on the left wall, disable the laser, climb the ramp, handle another Shadow, and crawl through a vent to enter a new area.
As a gamer, here’s my adventure: I snagged the treasure chest hidden to the left, followed by pressing a switch. Next, I grabbed the second Museum Brochure from across the room and smashed a statue for some Konpaku Gems. Now, I directed Wonders’ gaze towards the camera to make a wall painting vanish. I moved along the ramp, took down another Shadow, and broke another Konpaku Gem Statue. After a cutscene, I battled the shadow to progress, discovering another hidden treasure chest tucked away in the corner. With a few more button presses, I deactivated the laser fences, grabbed the last Museum Brochure, entered the room to face off against a Boss Shadow, and finally, with a triumphant swing, I claimed the Golden Chest. Lastly, I snatched the final blue Treasure Chest, climbed the stairs, navigated through platforms, and grabbed the chest to wrap up this episode.
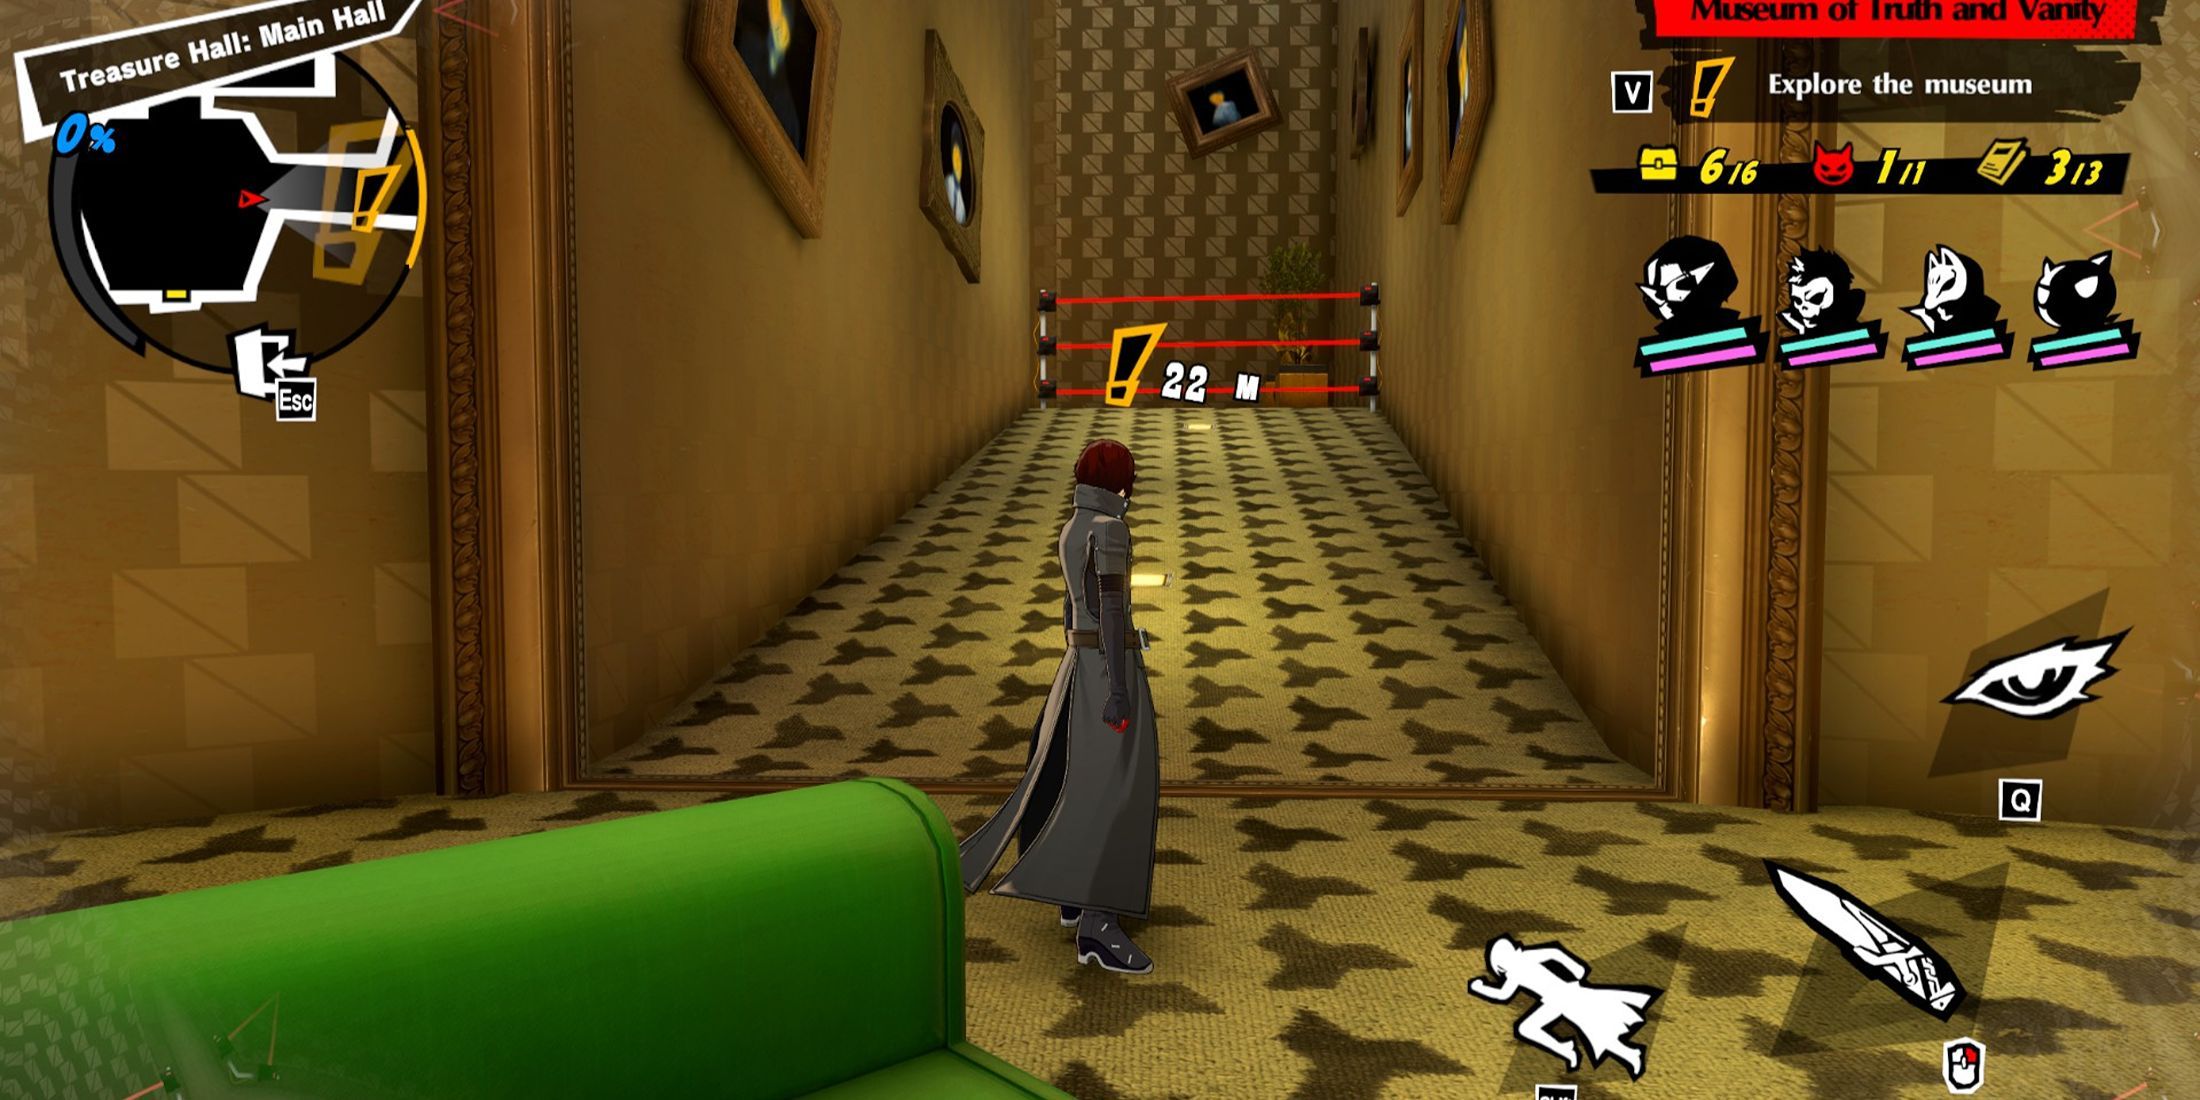
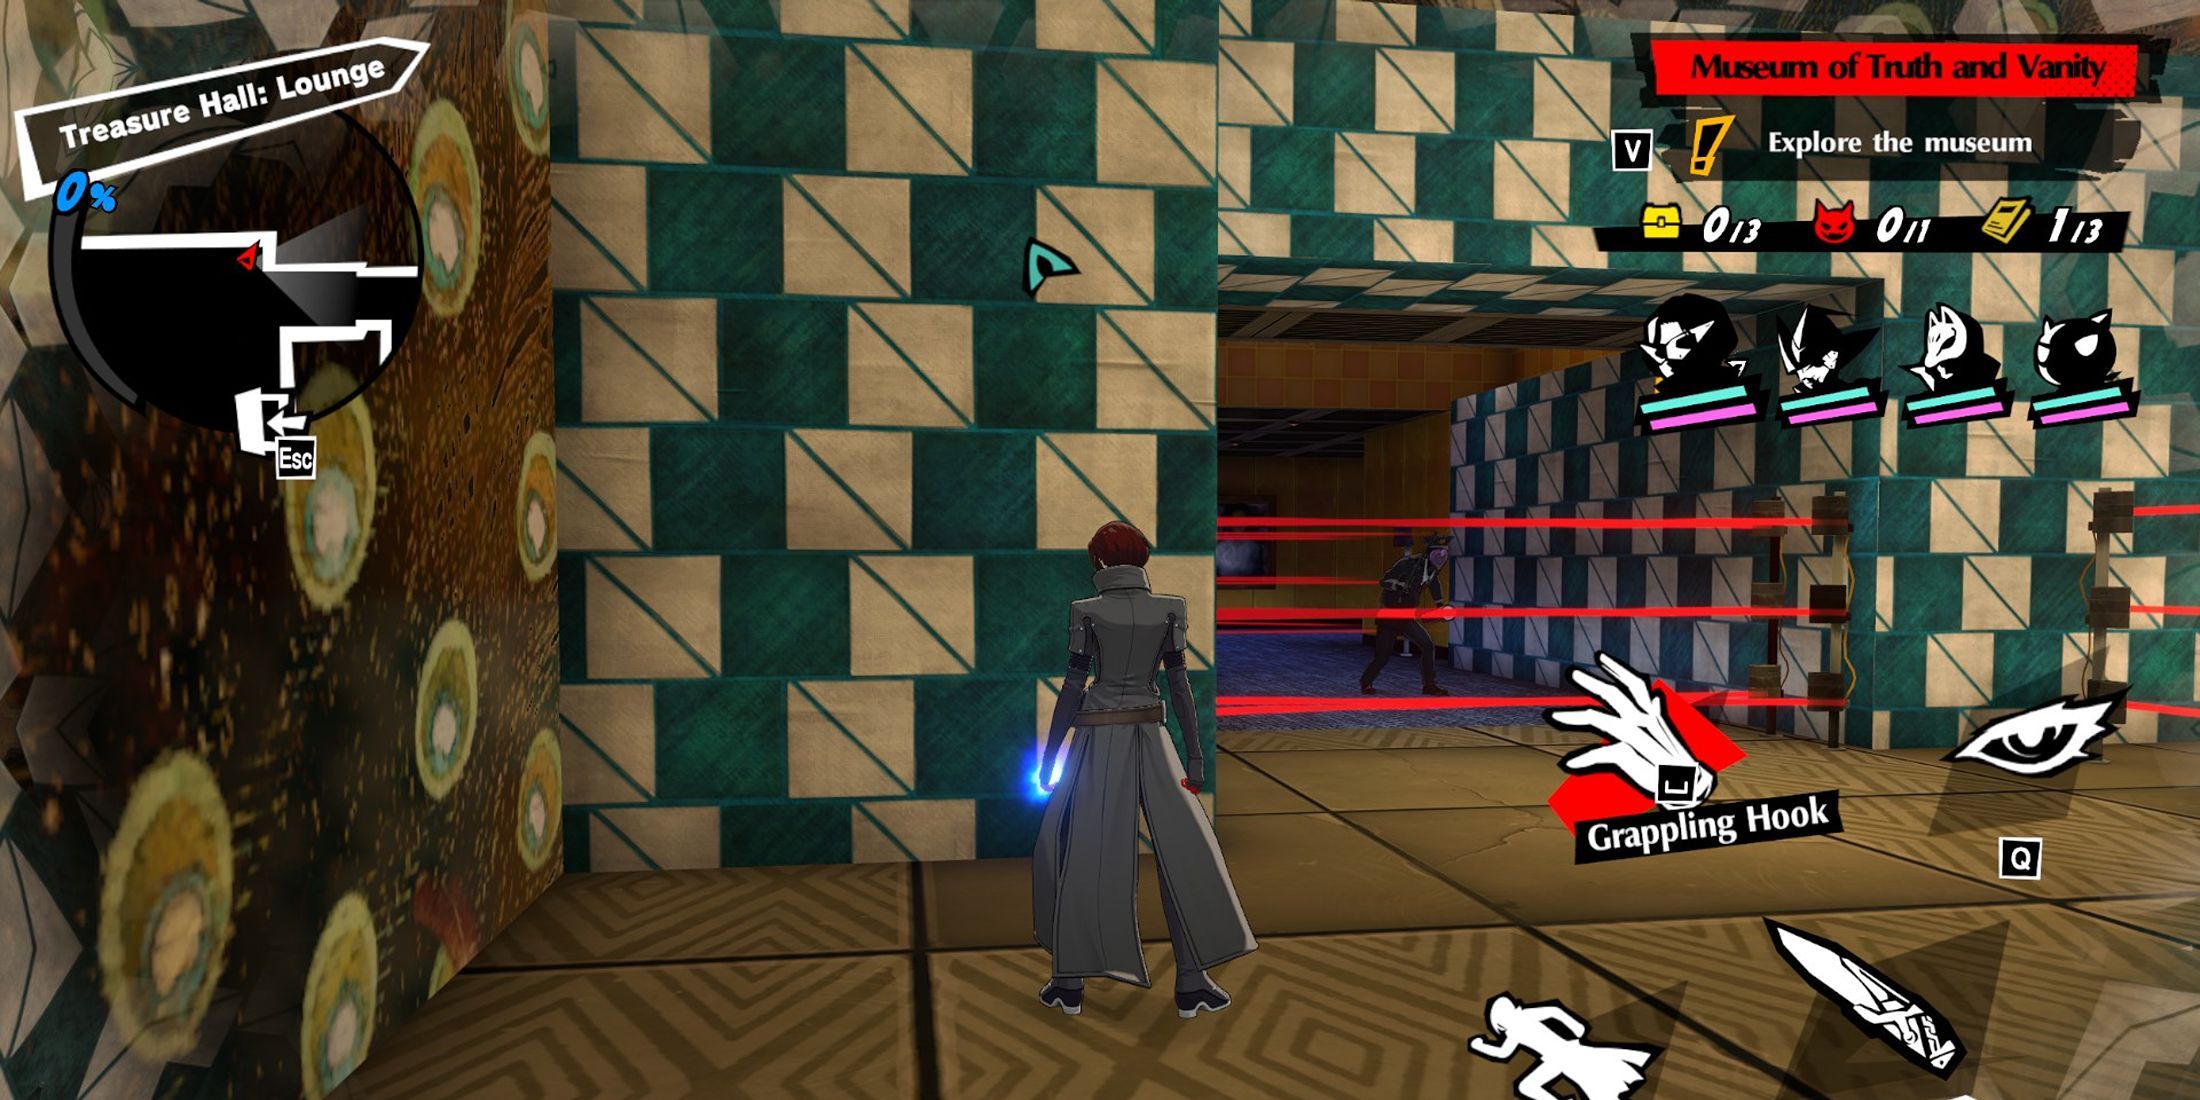
Episode 2-7 Catch Me if you Can
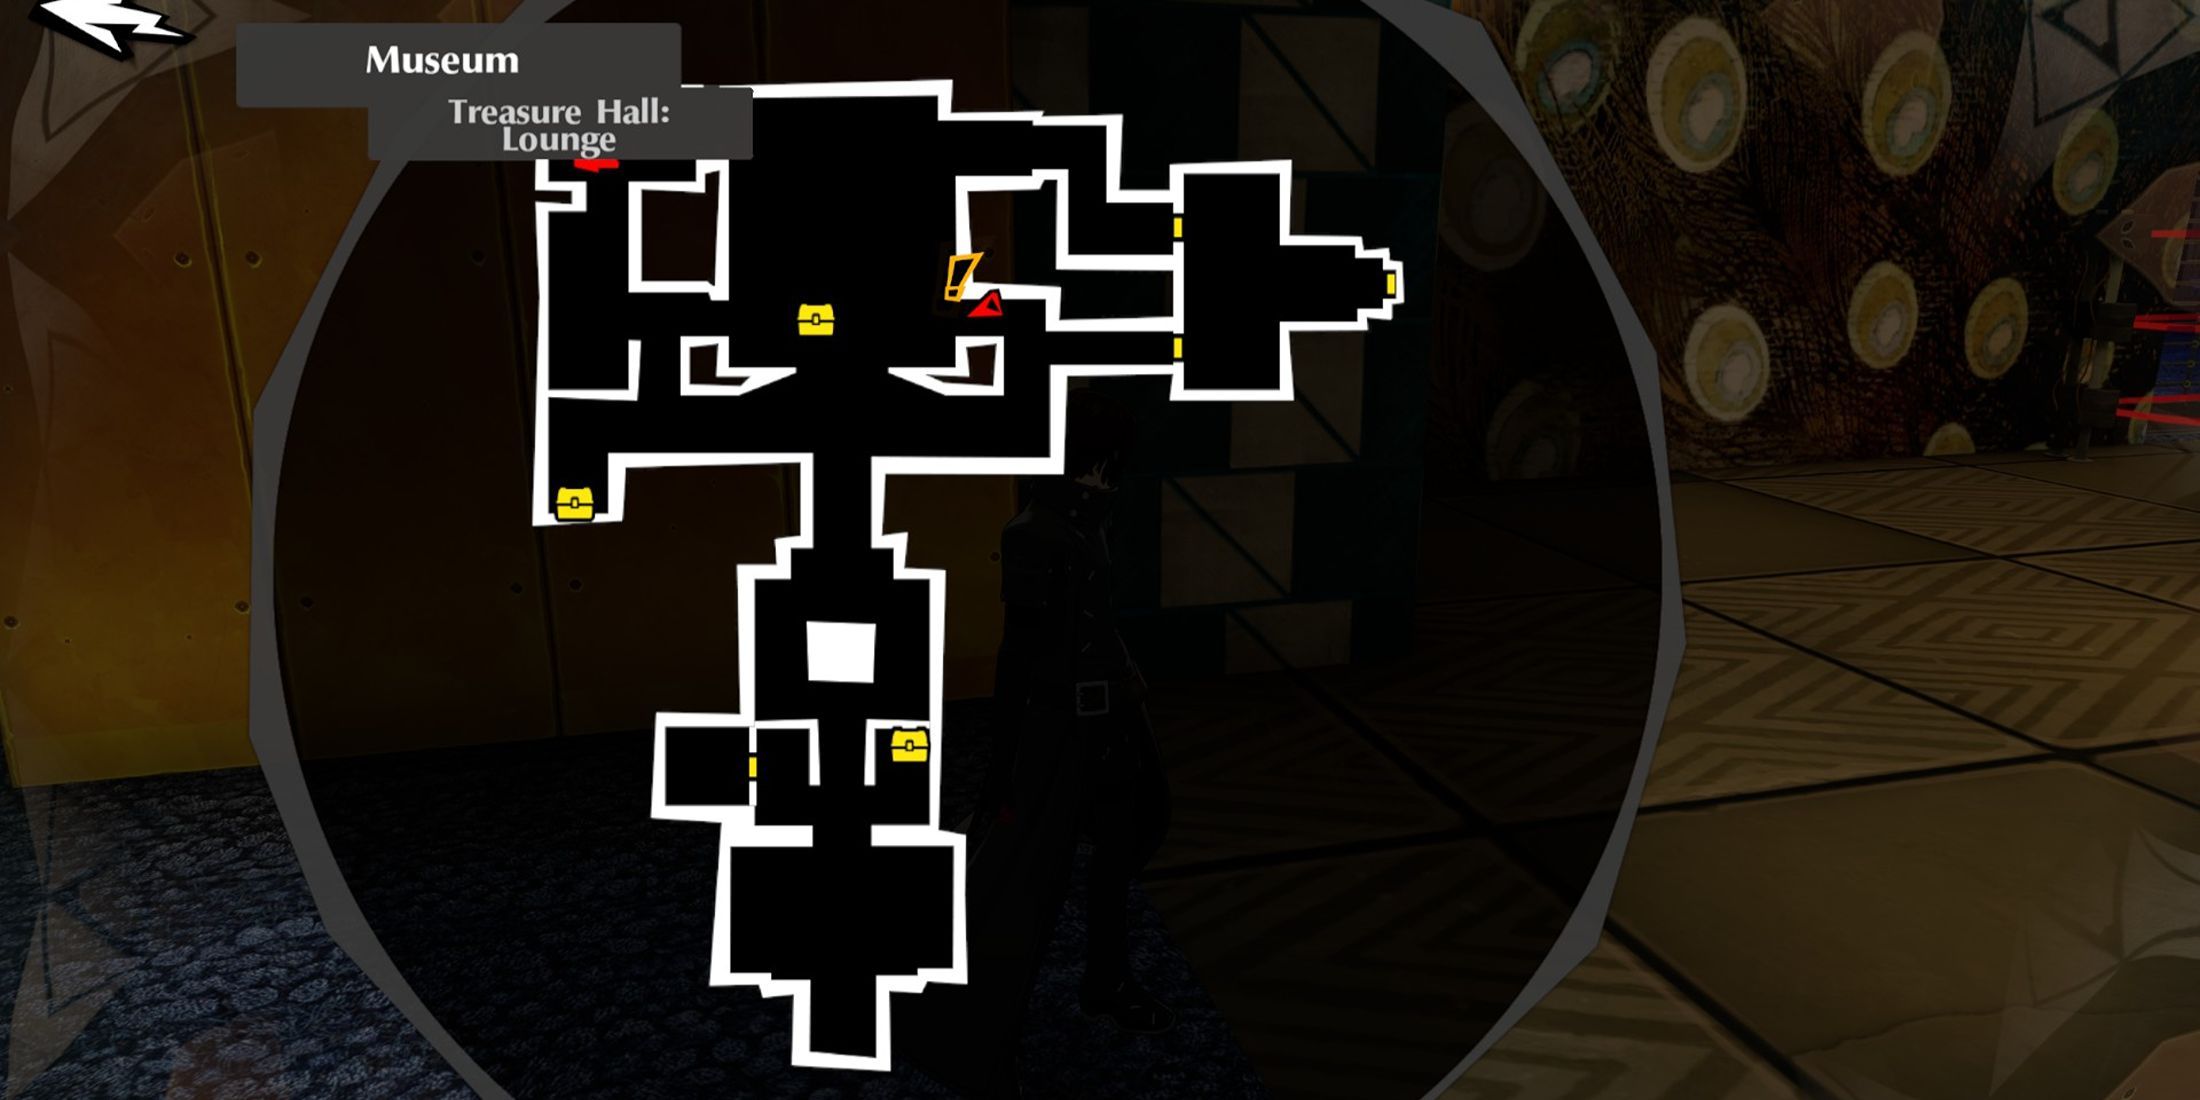
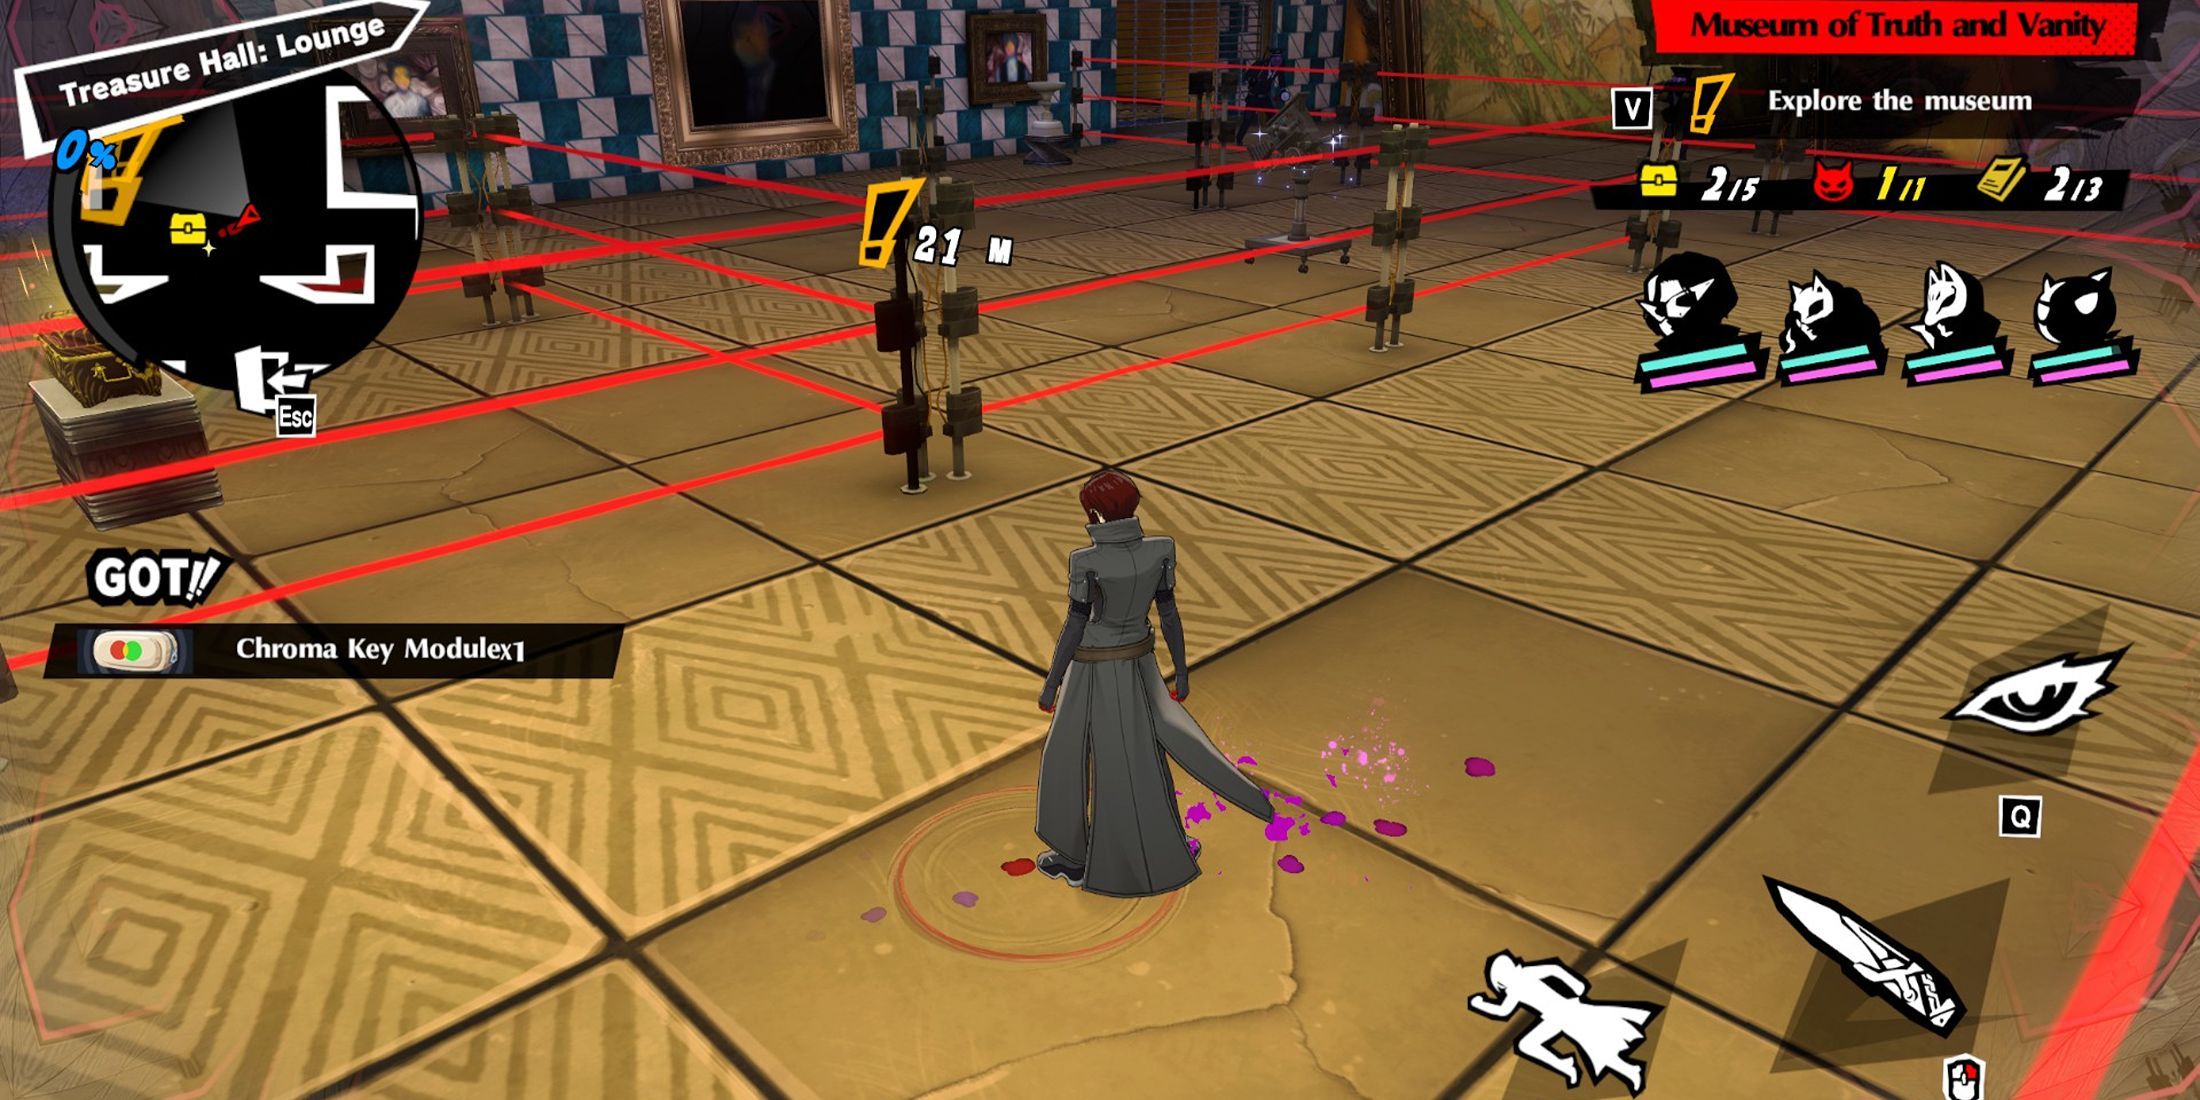
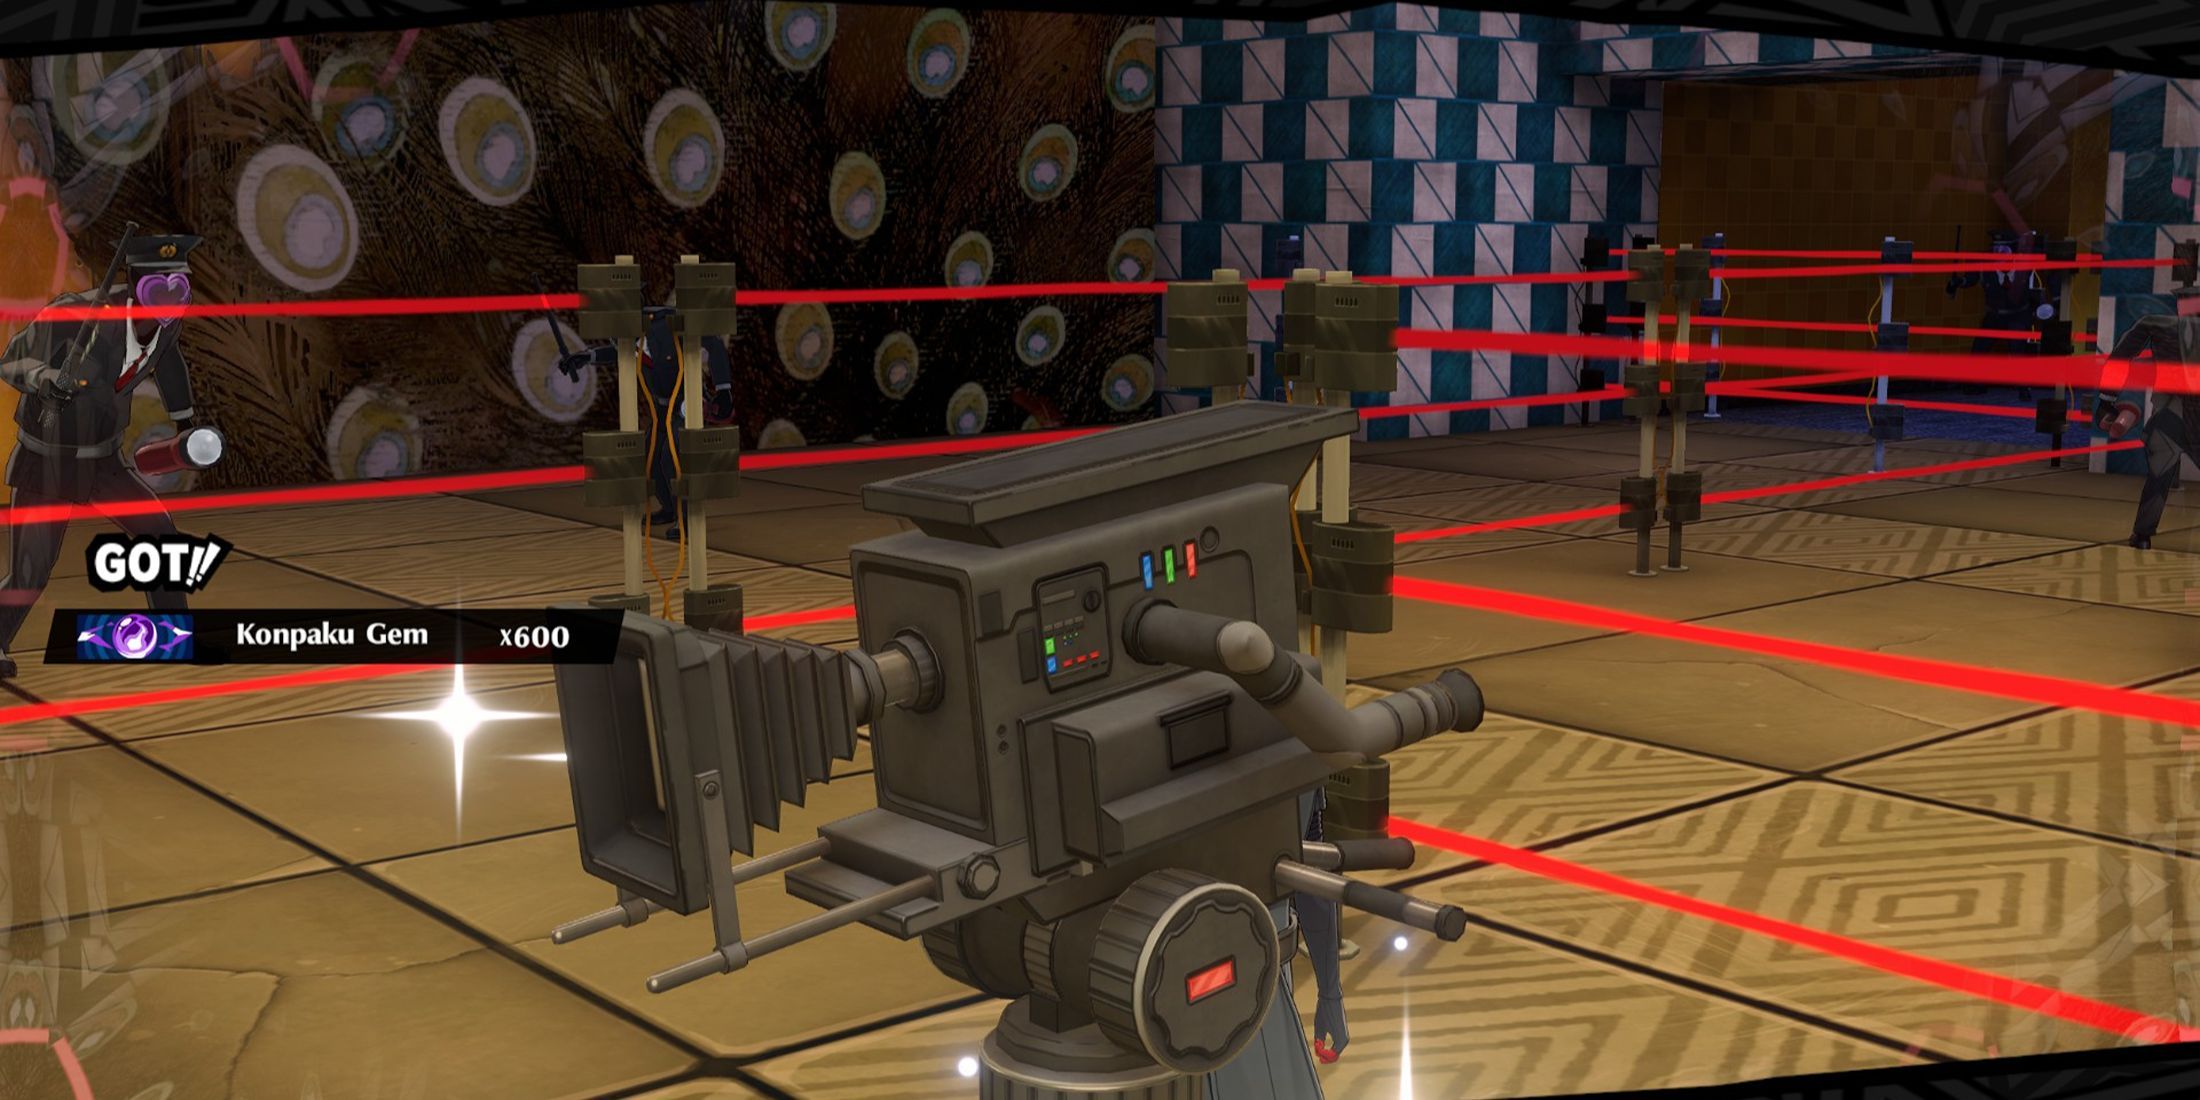
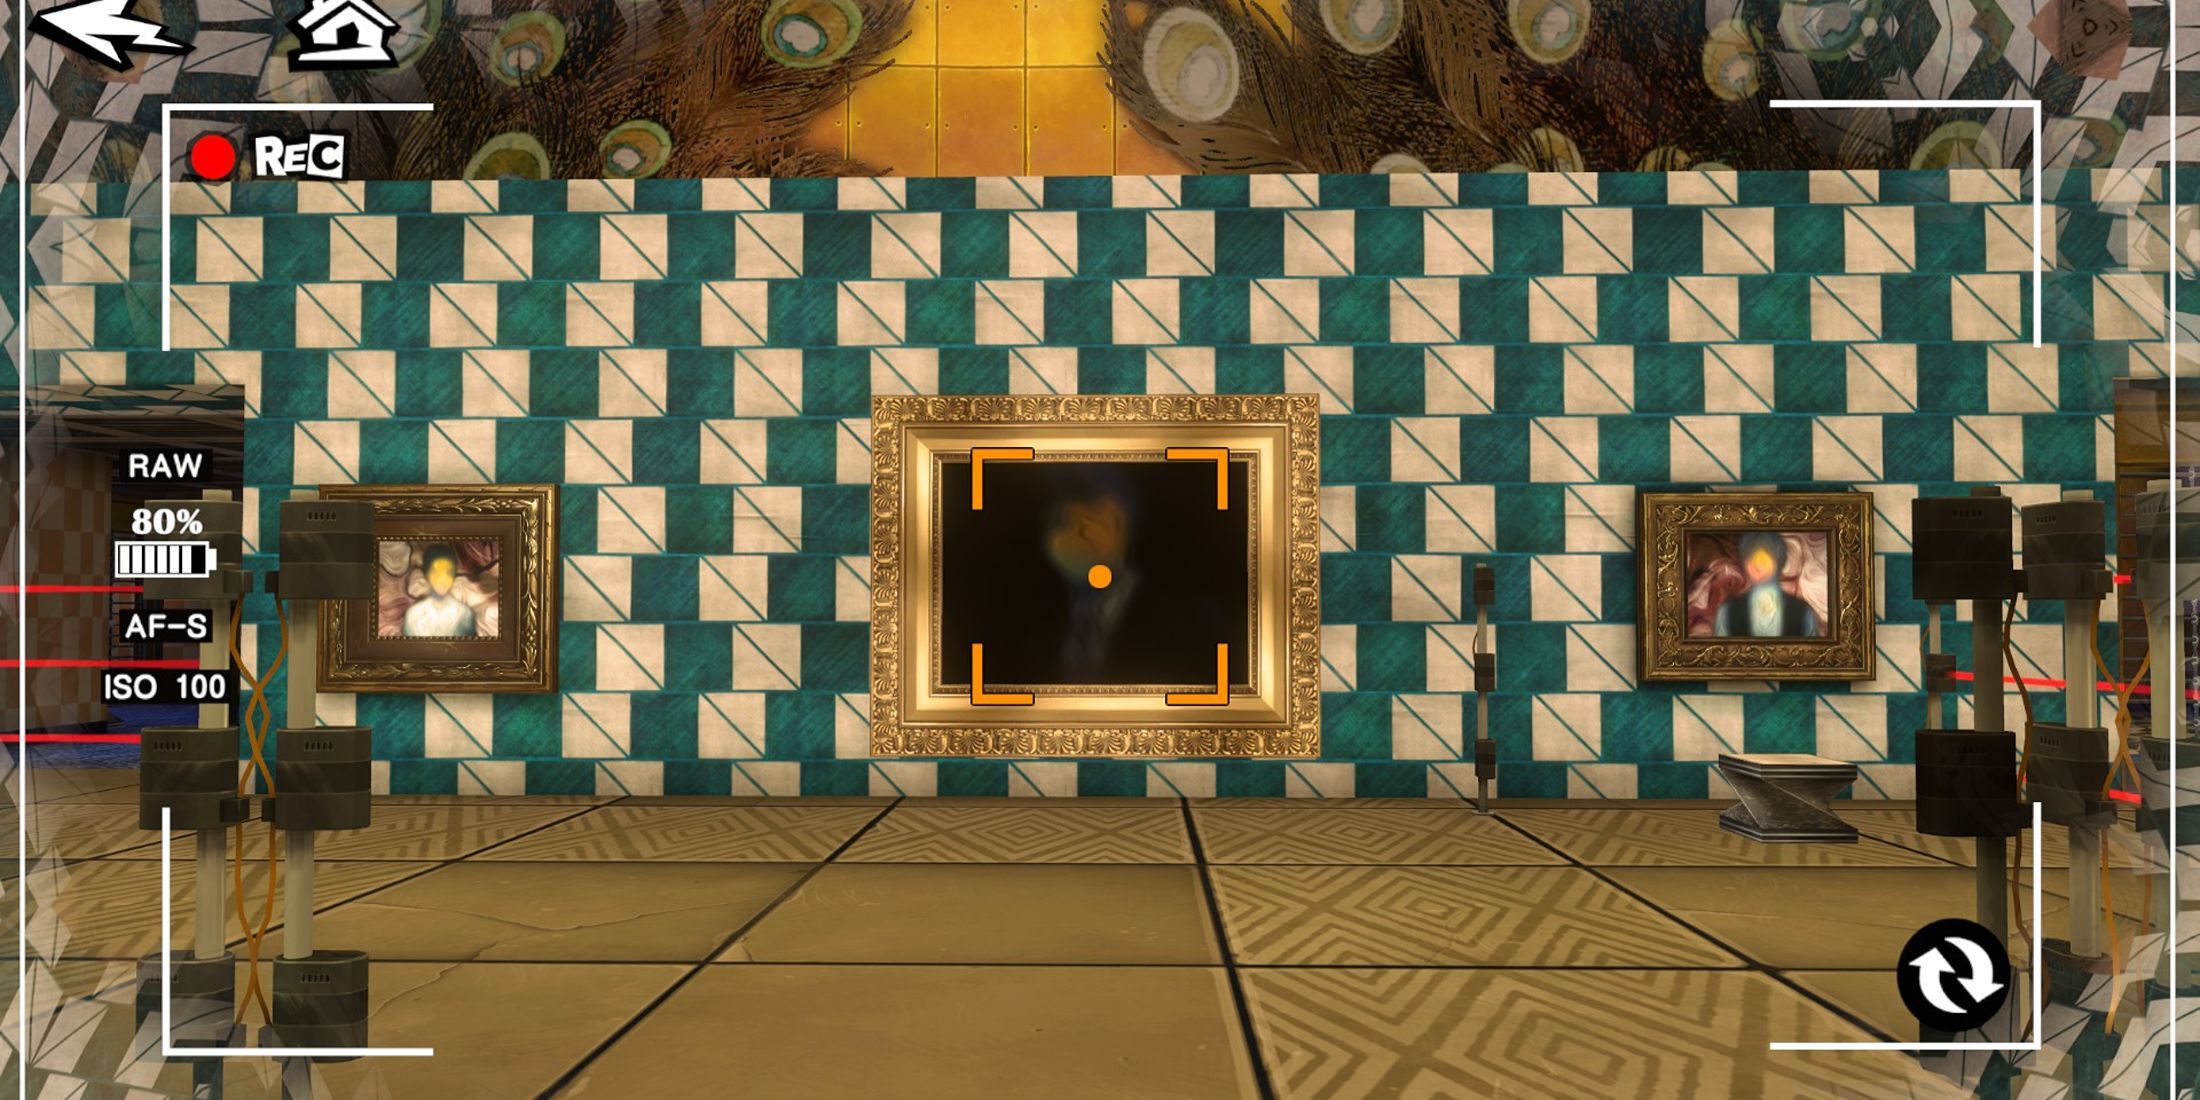
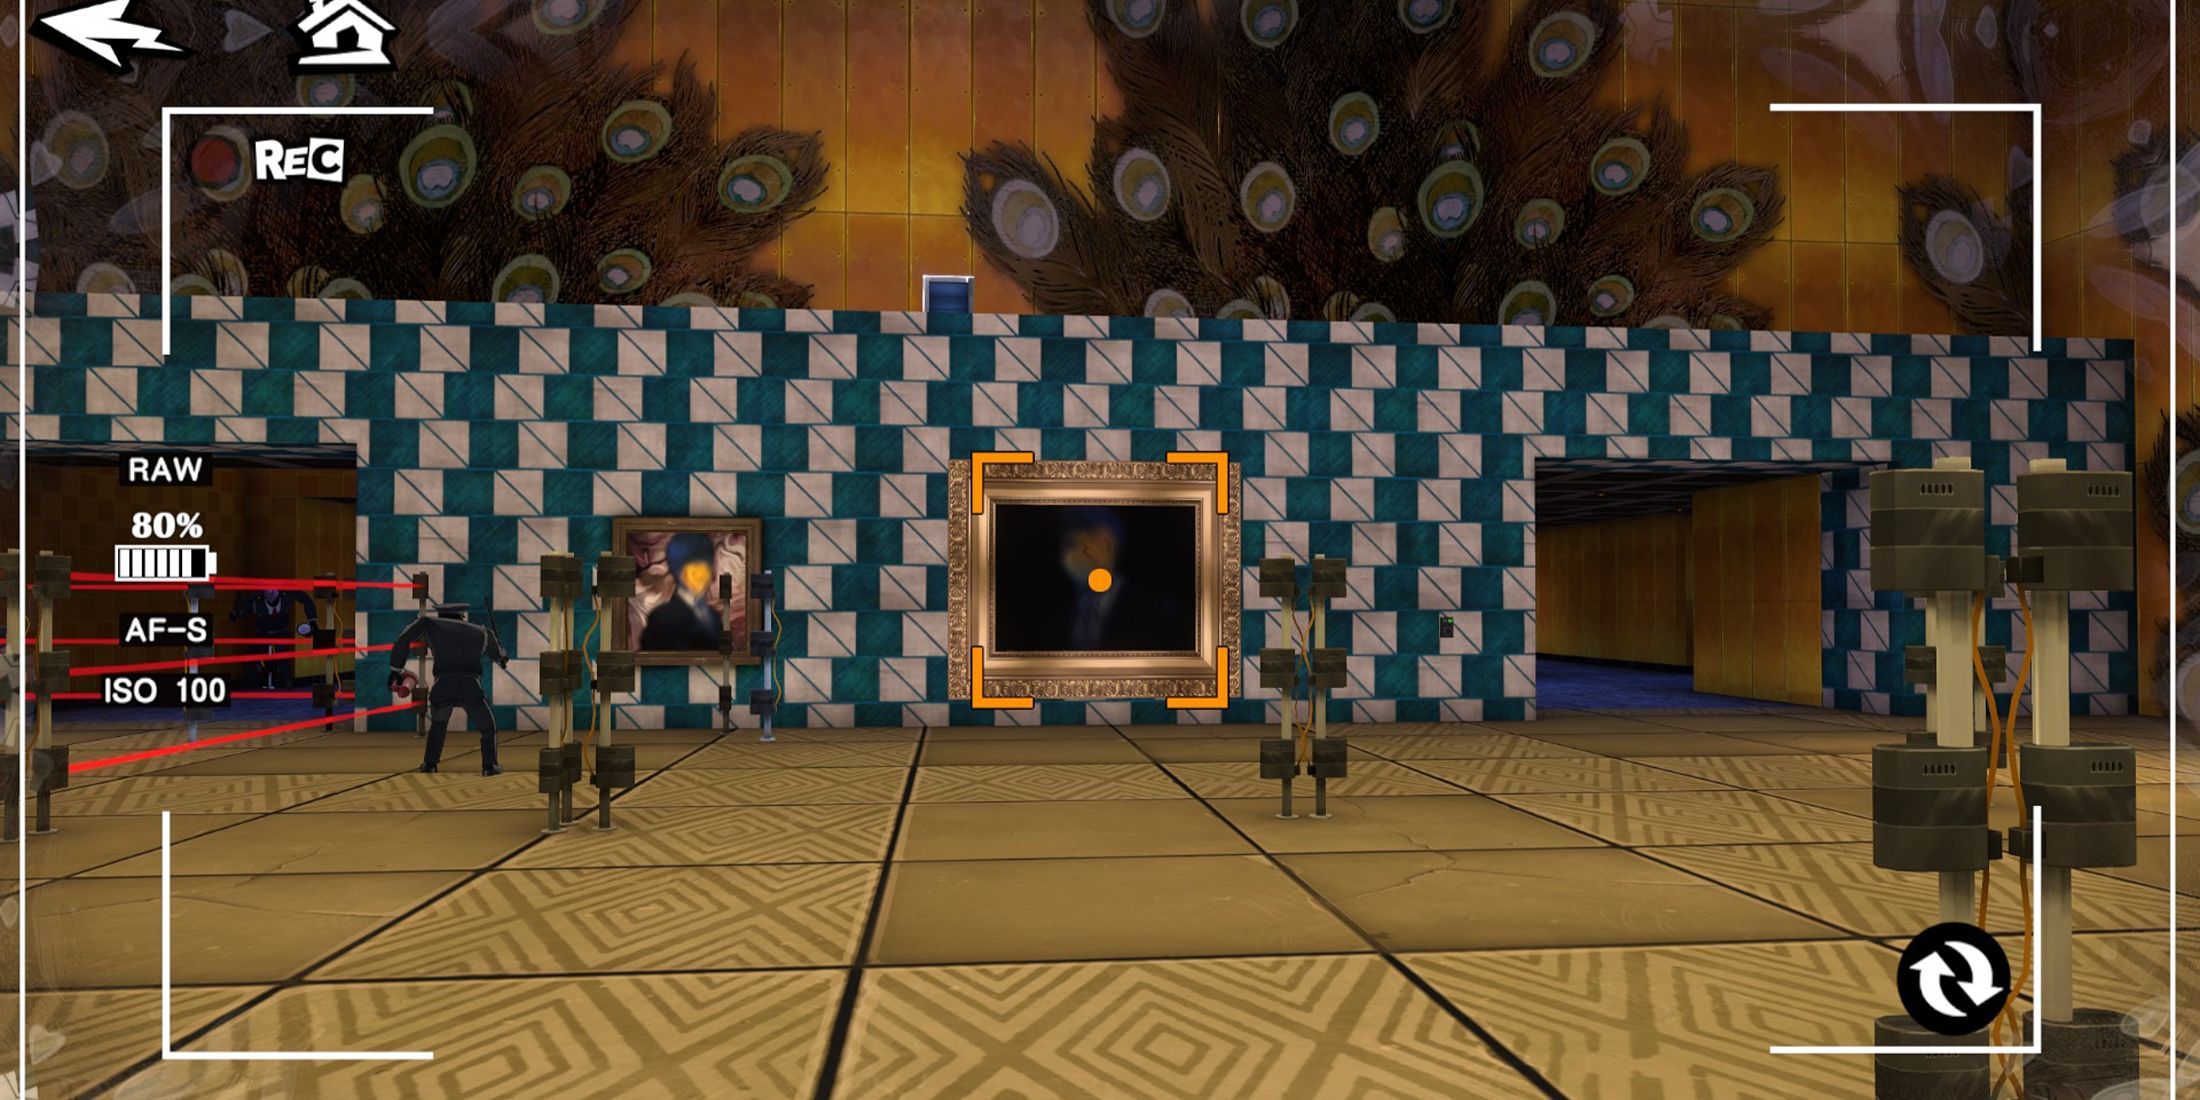
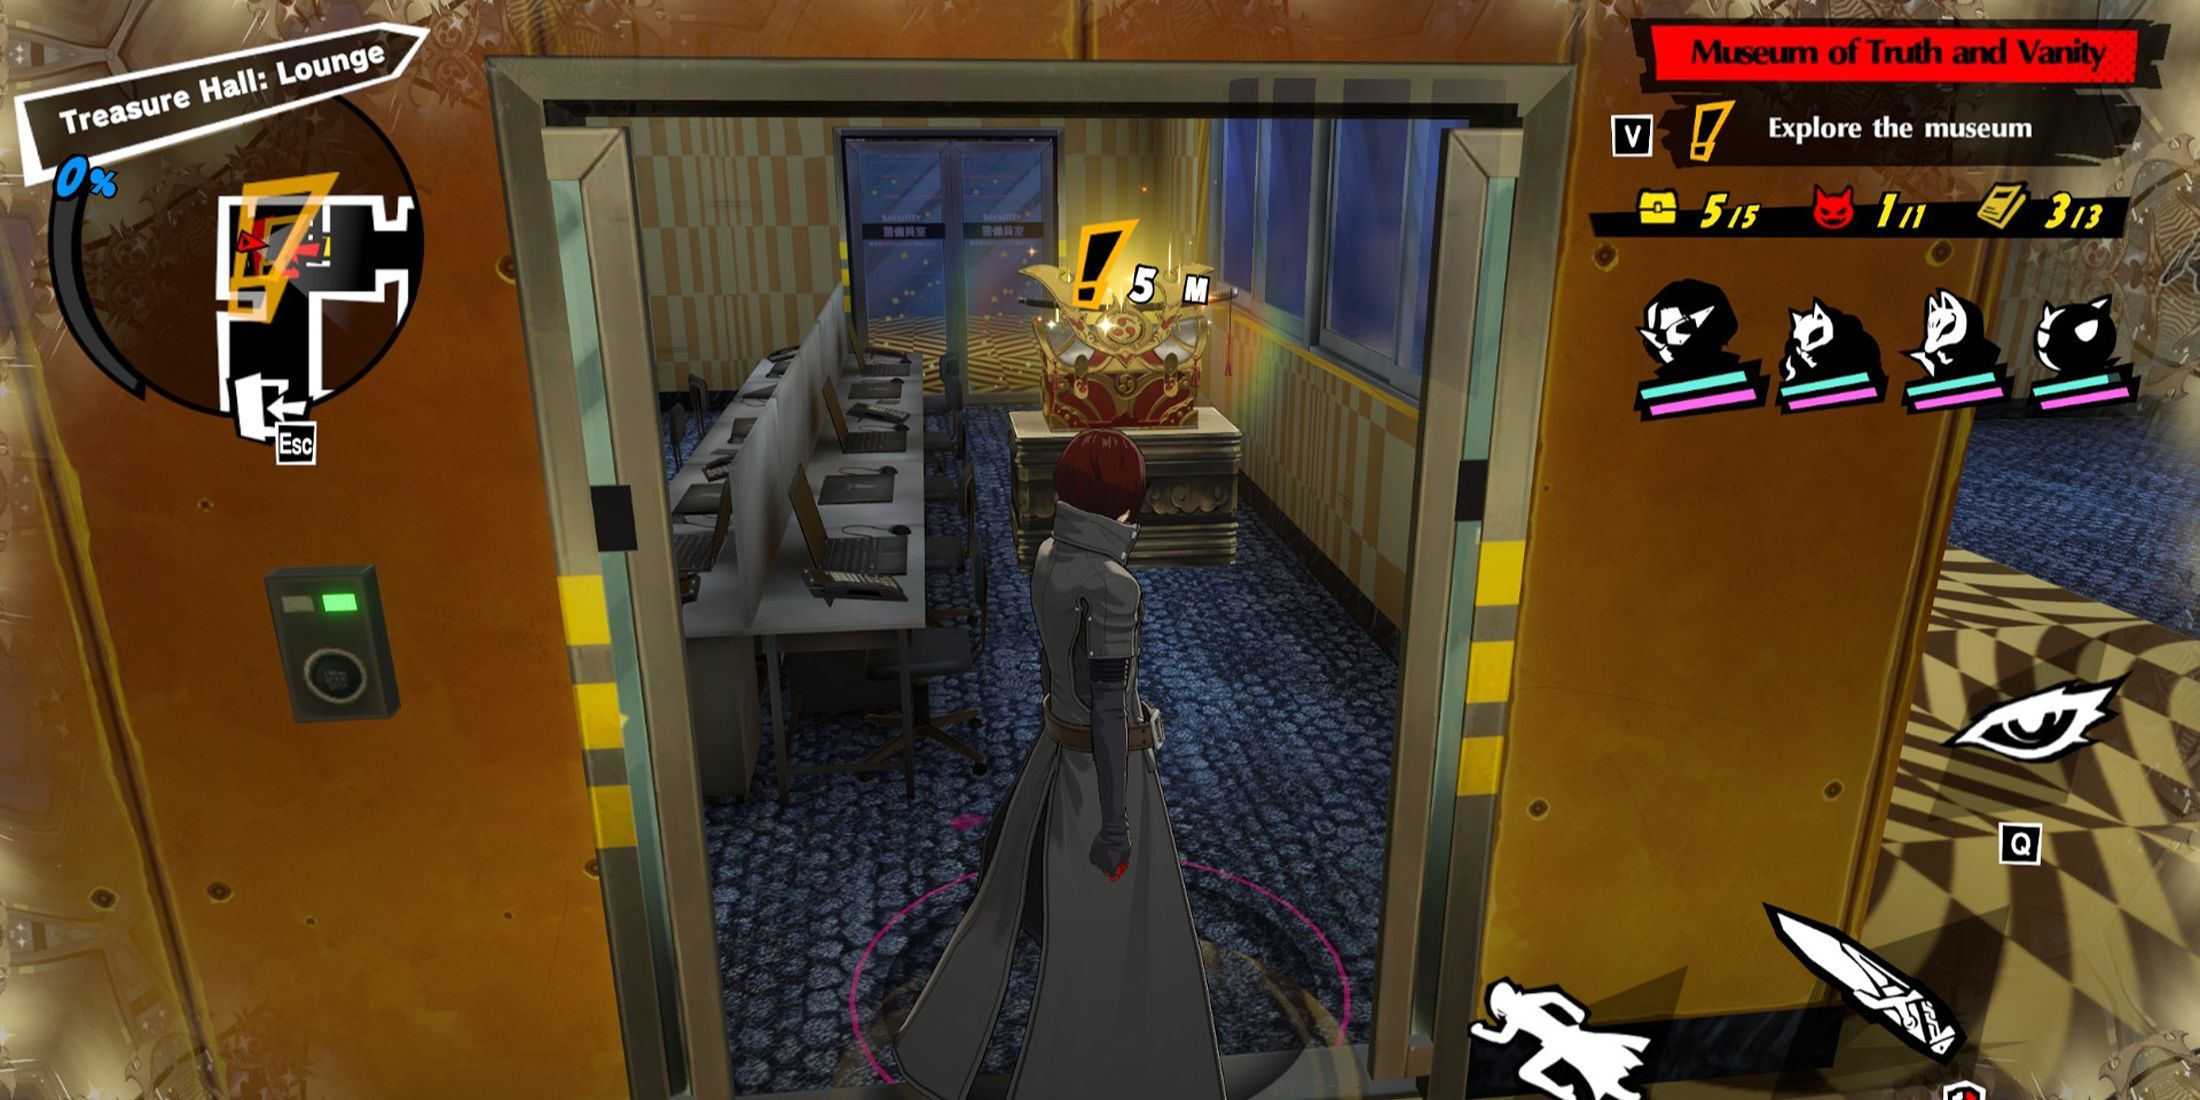

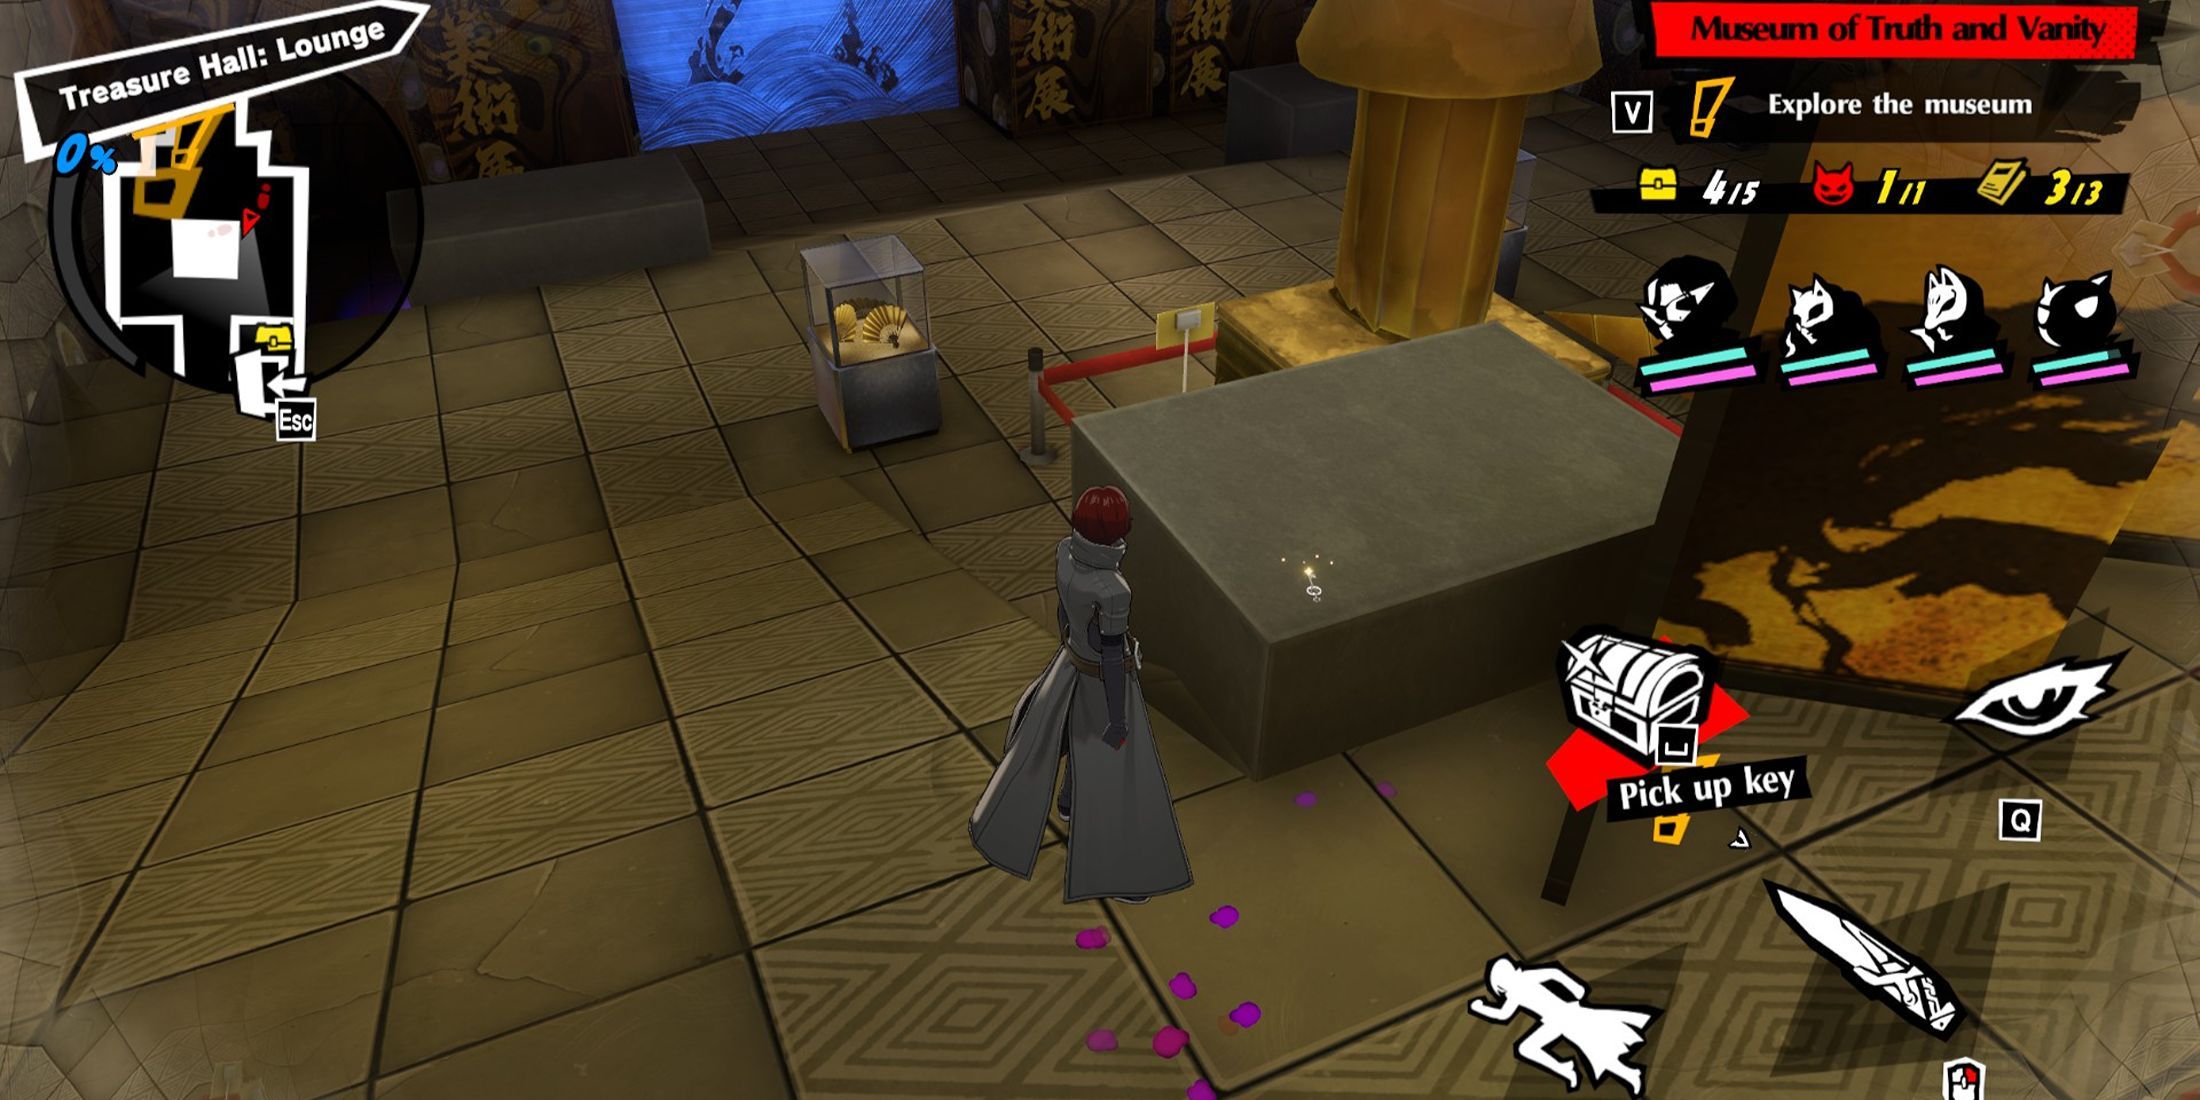
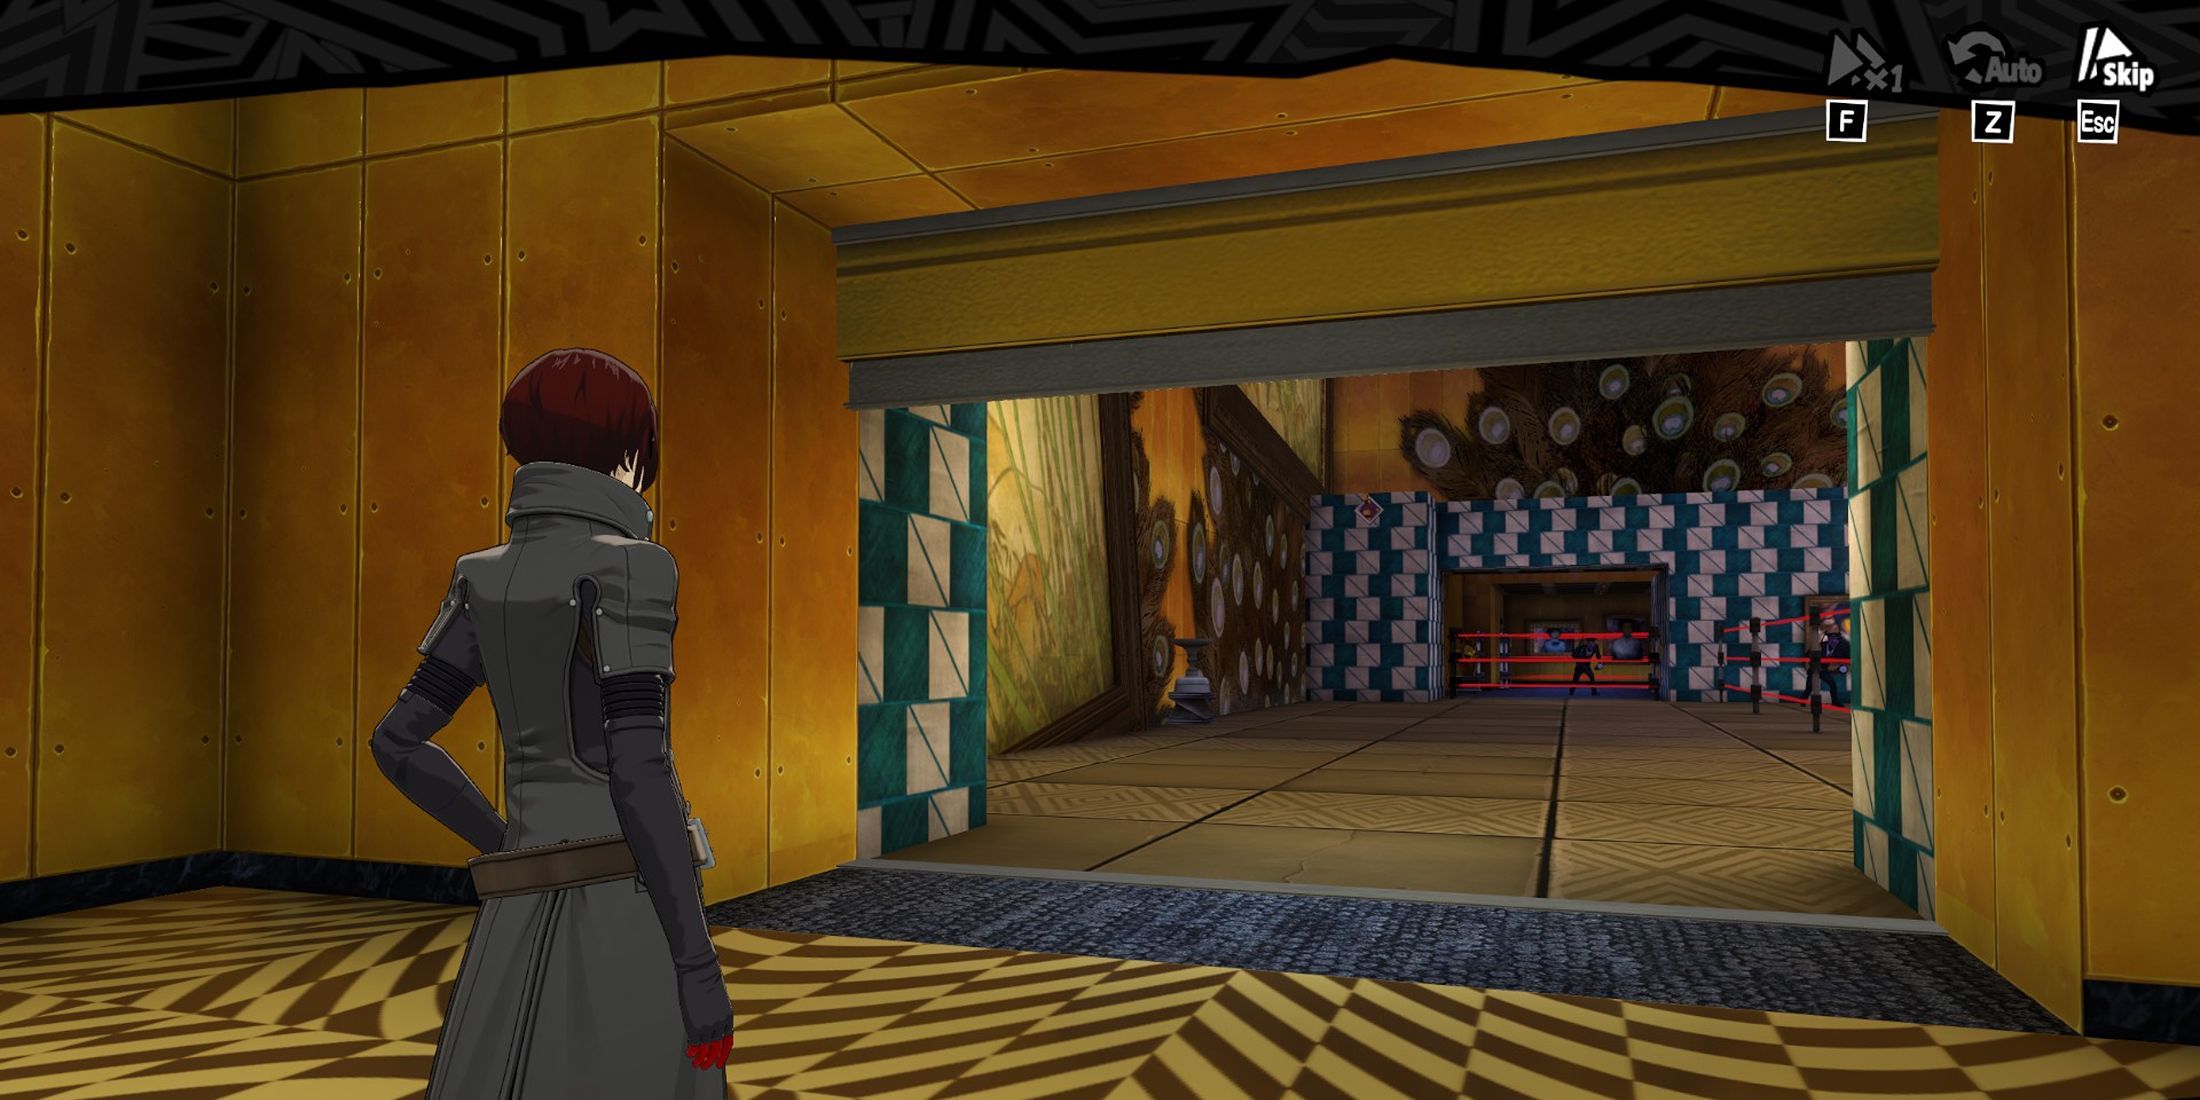
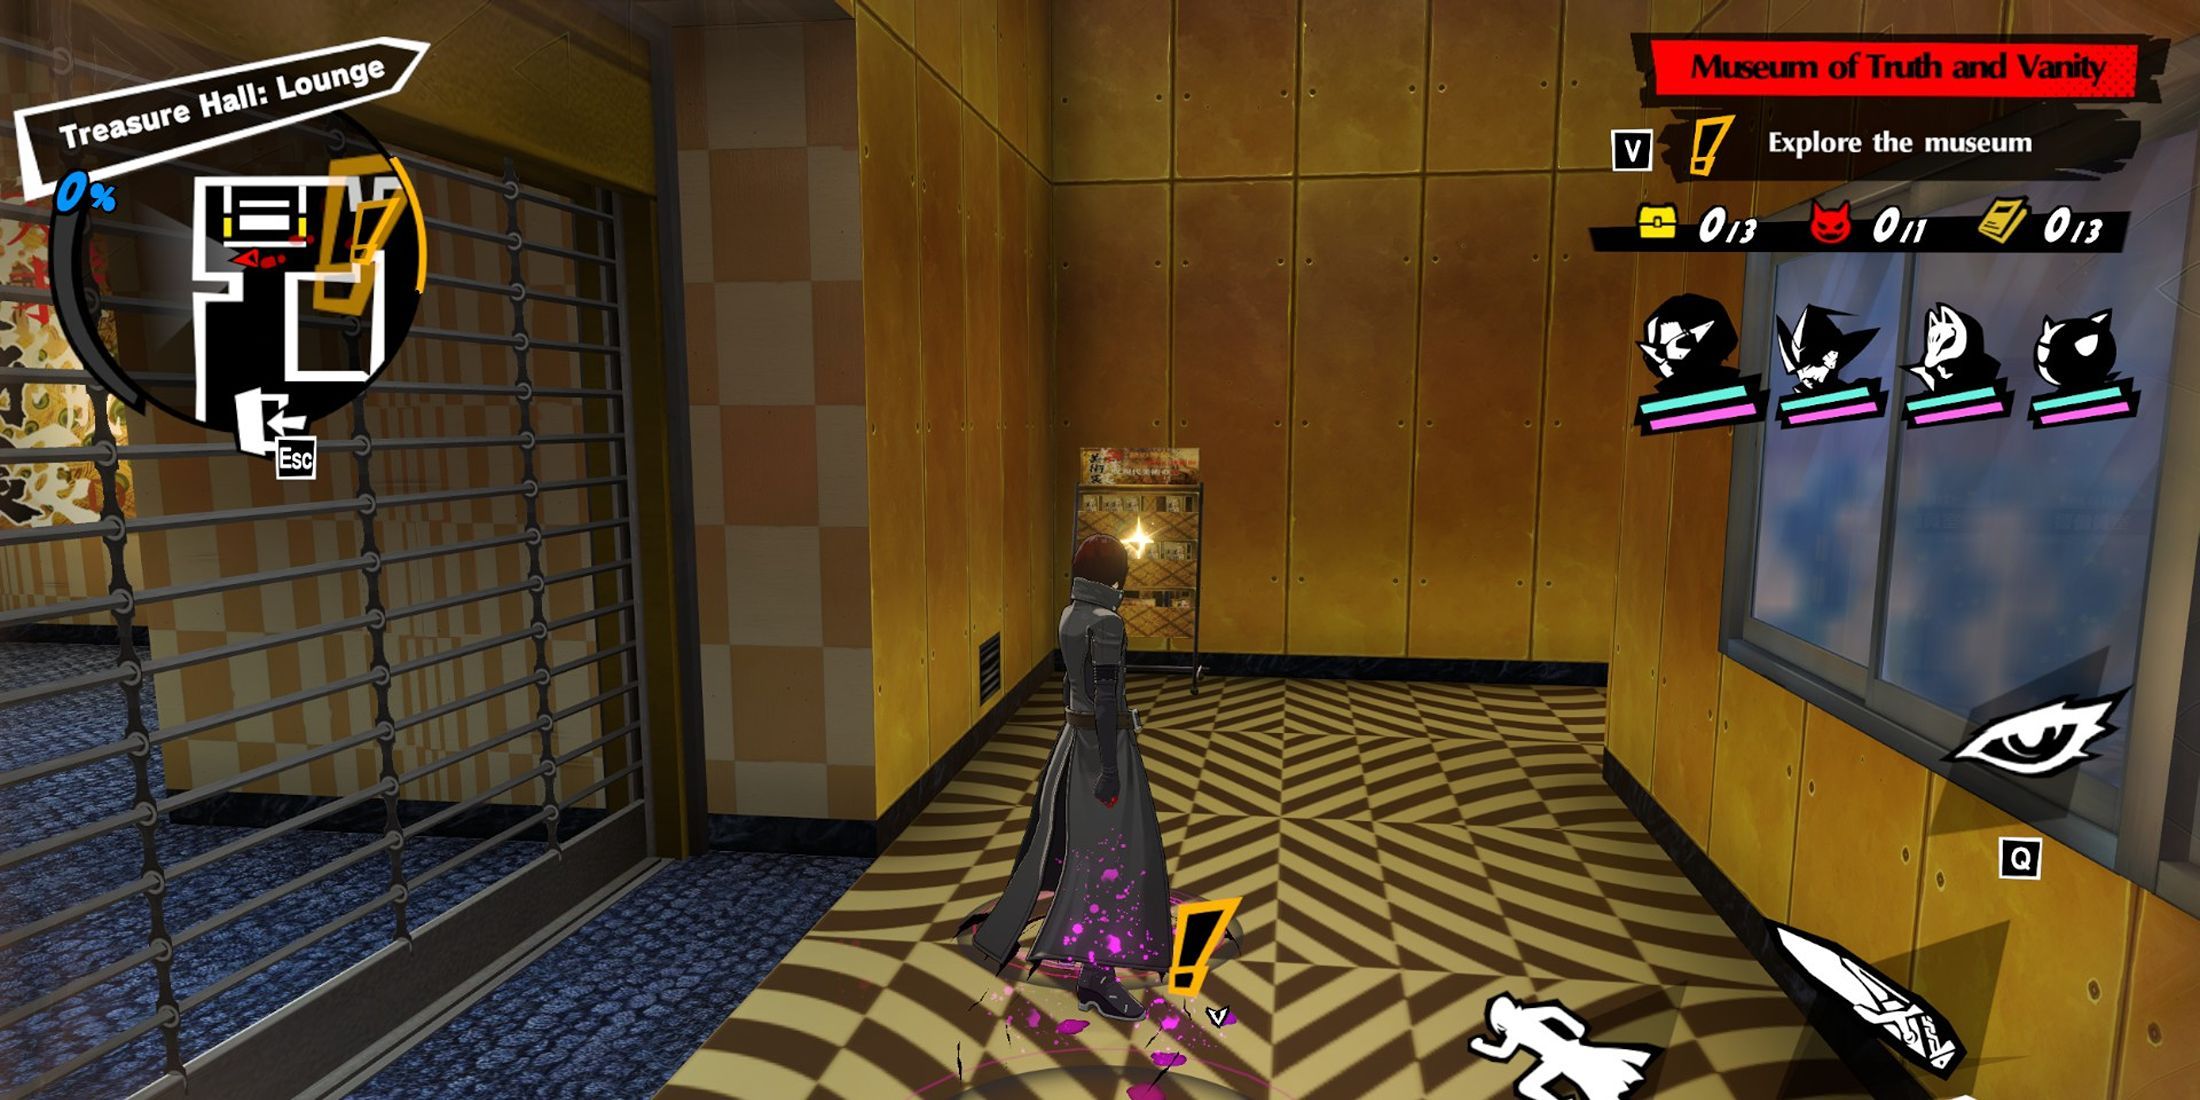
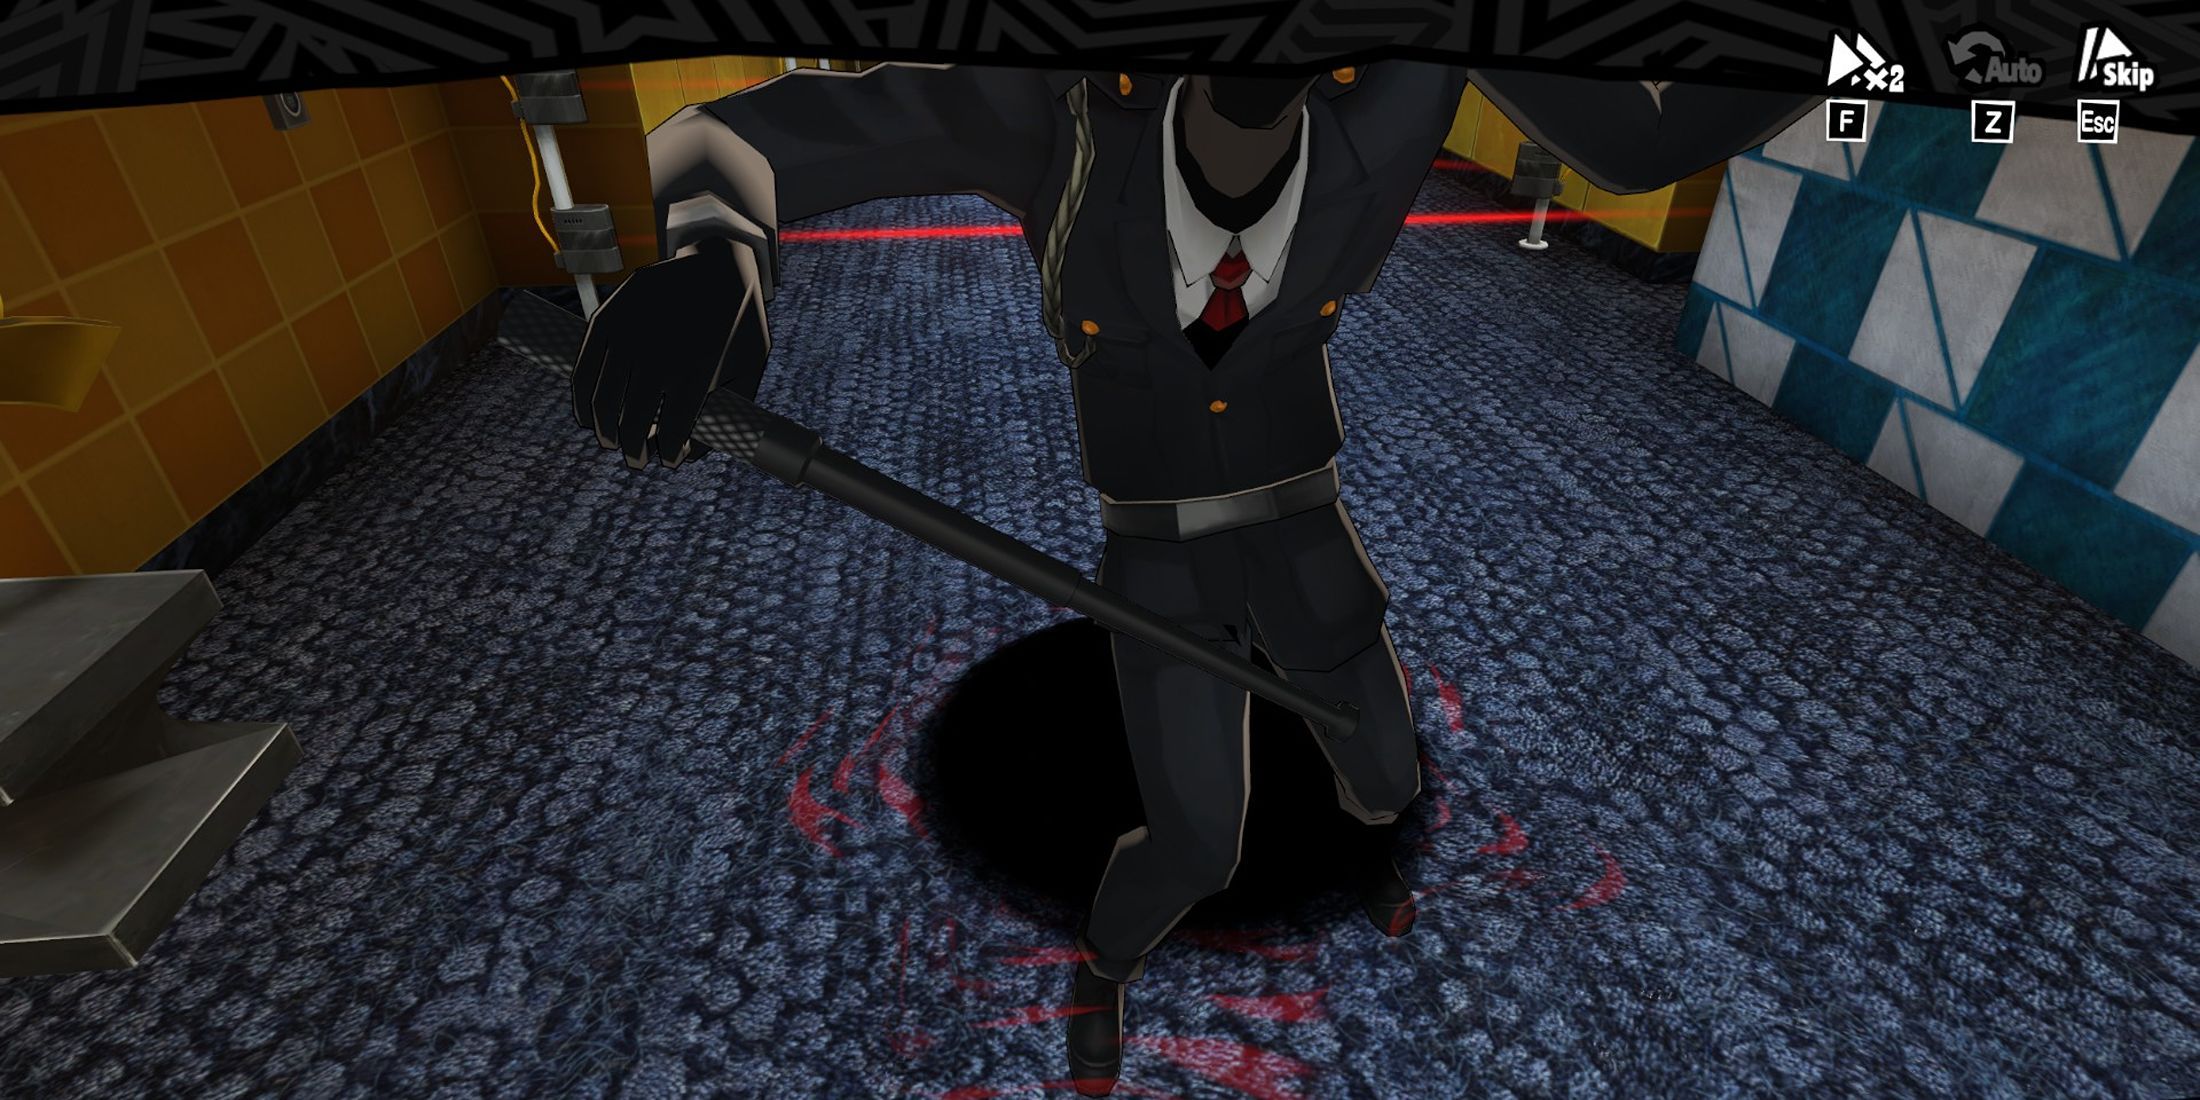
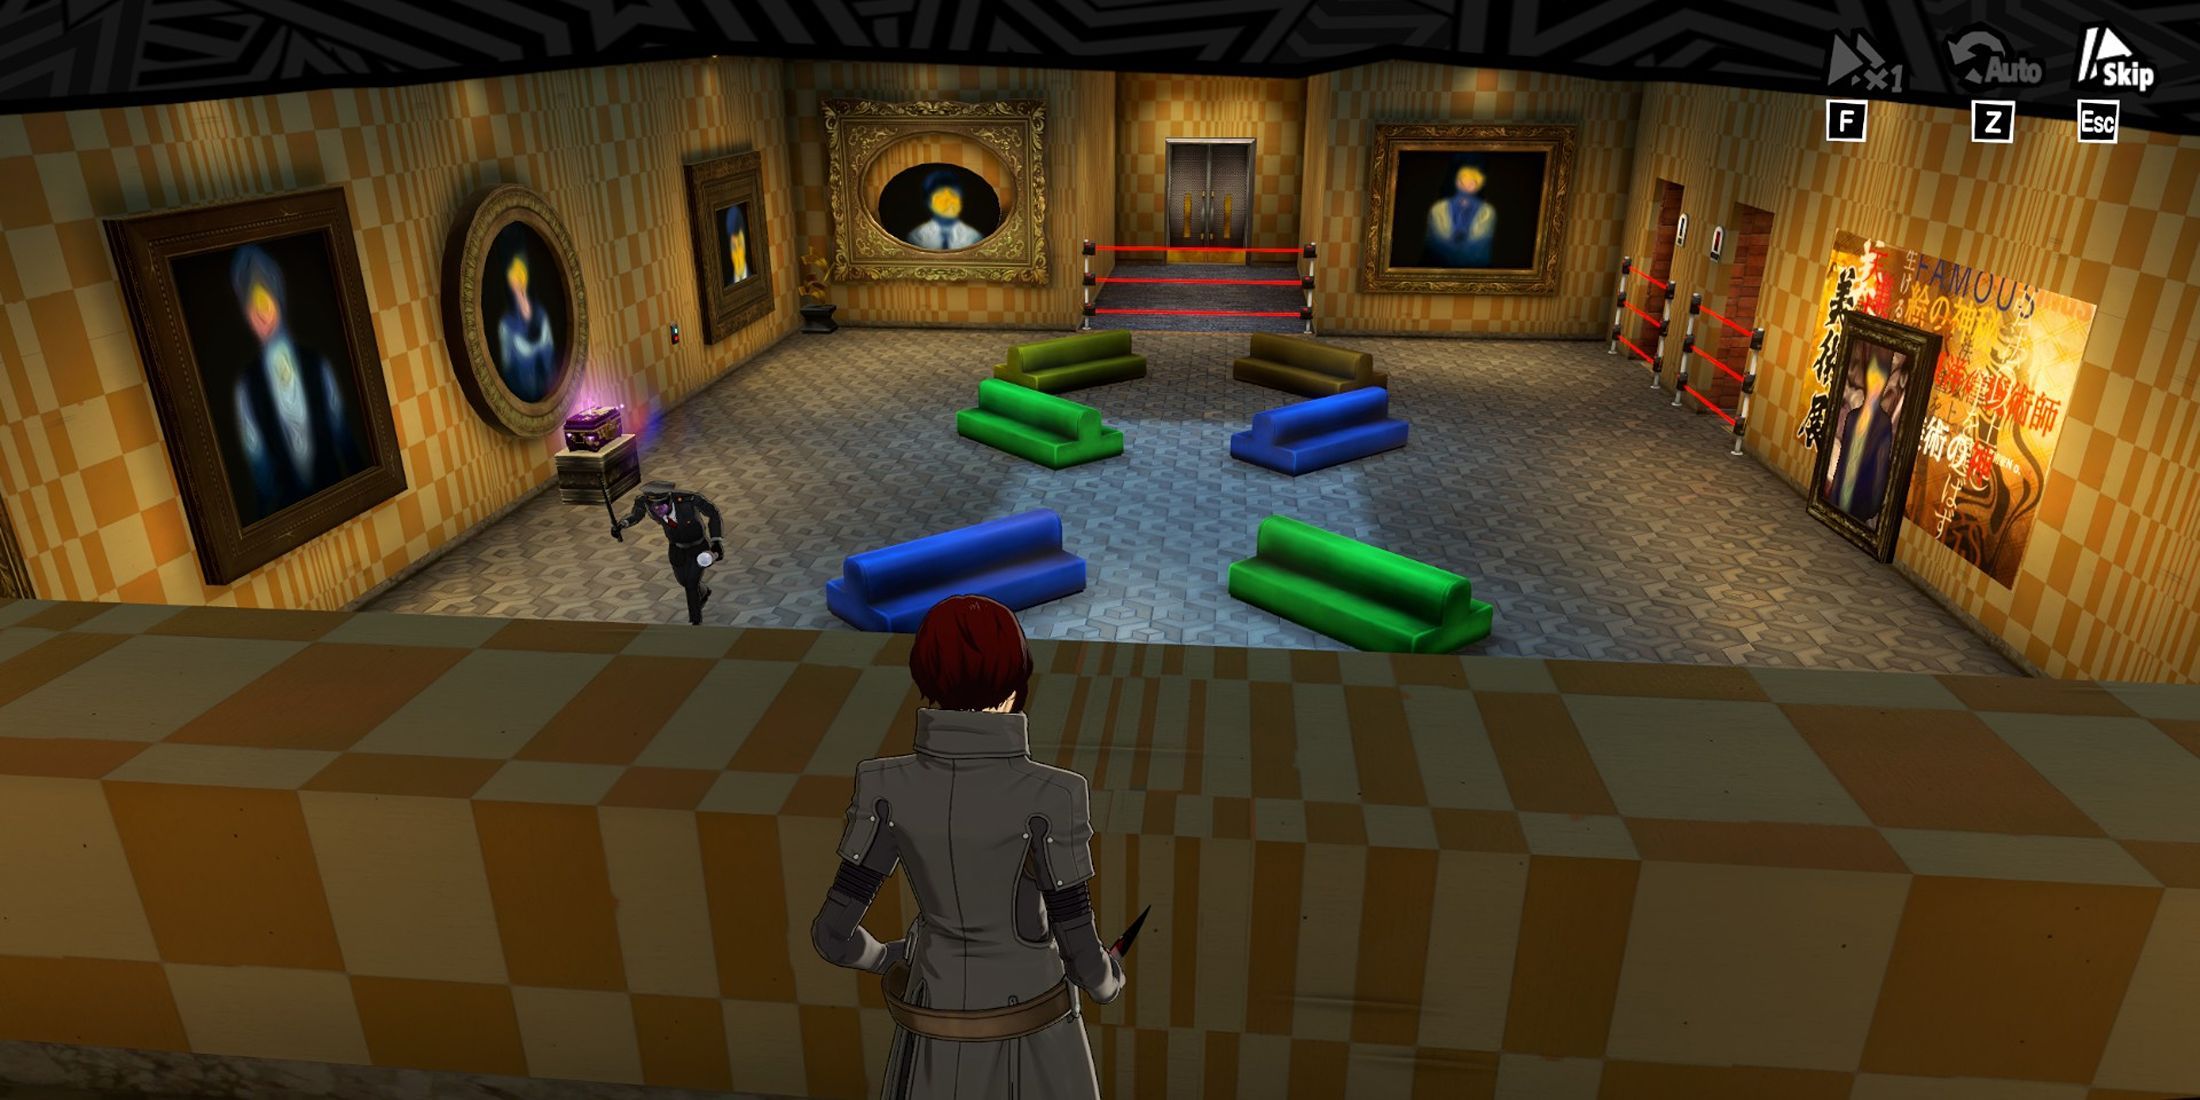
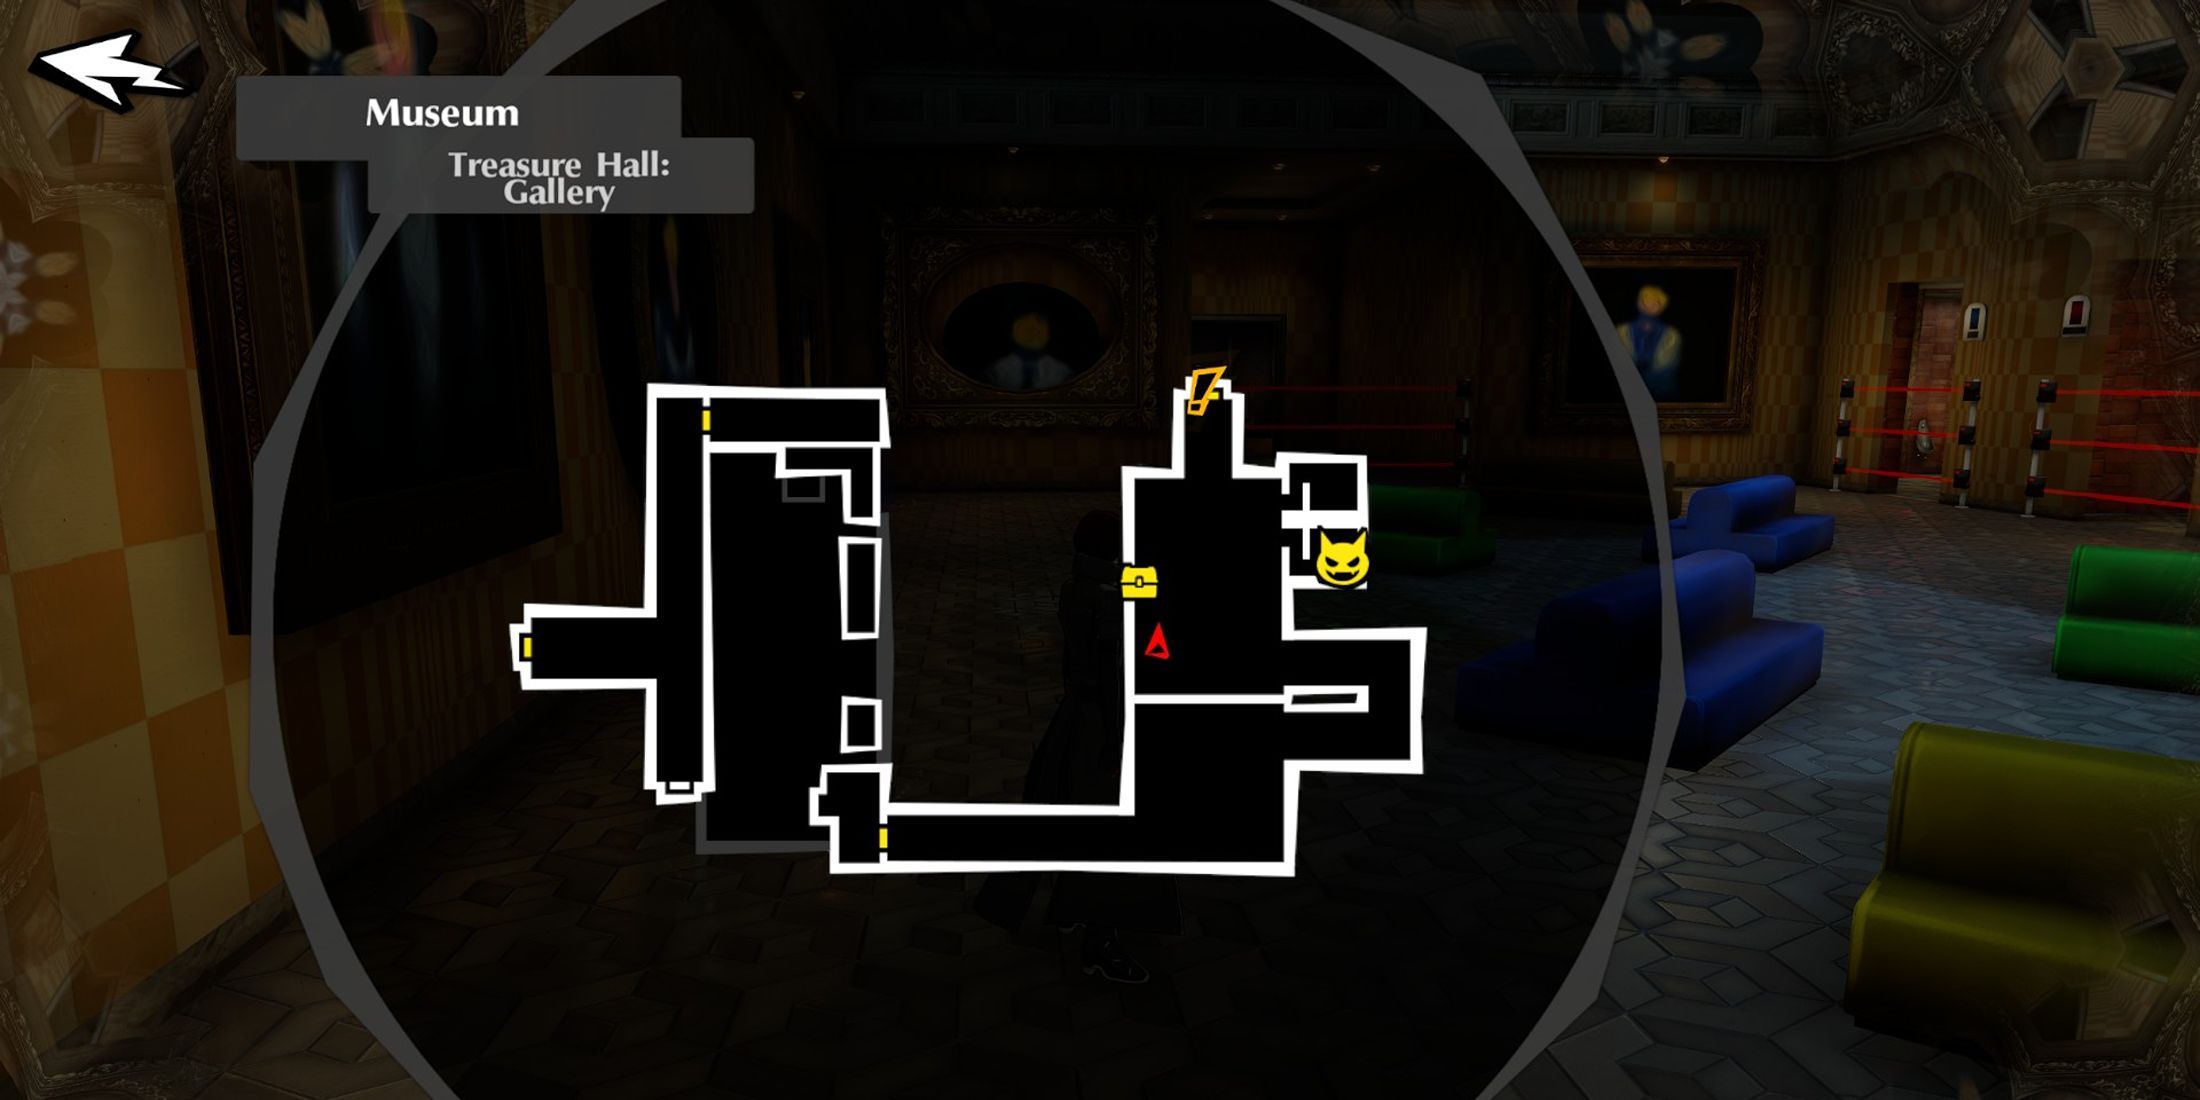
In Episode 2-7, the team enters the Treasure Hall Lounge first thing. Here, Wonder can progress and examine the screen panels to obtain a Museum Brochure on the left and 600 Konpaku Gems on the right. Interact with the camera to make the painting vanish, then proceed left to the control room to overcome a Powerful Shadow and secure a Gold Chest. Upon returning, the chest on the right is locked, so players must locate the Key, found by climbing the ramp on the right side, over the square concrete block. Grab the key, open the chest, advance, and turn to the left, defeat a Shadow to obtain another Brochure from the corner. Another locked chest is also visible; the key for this will be found later in the Episode, so let’s leave it for now. Be aware of the enemy levels here; Wonder should ideally be at level 60 or above to overcome them.
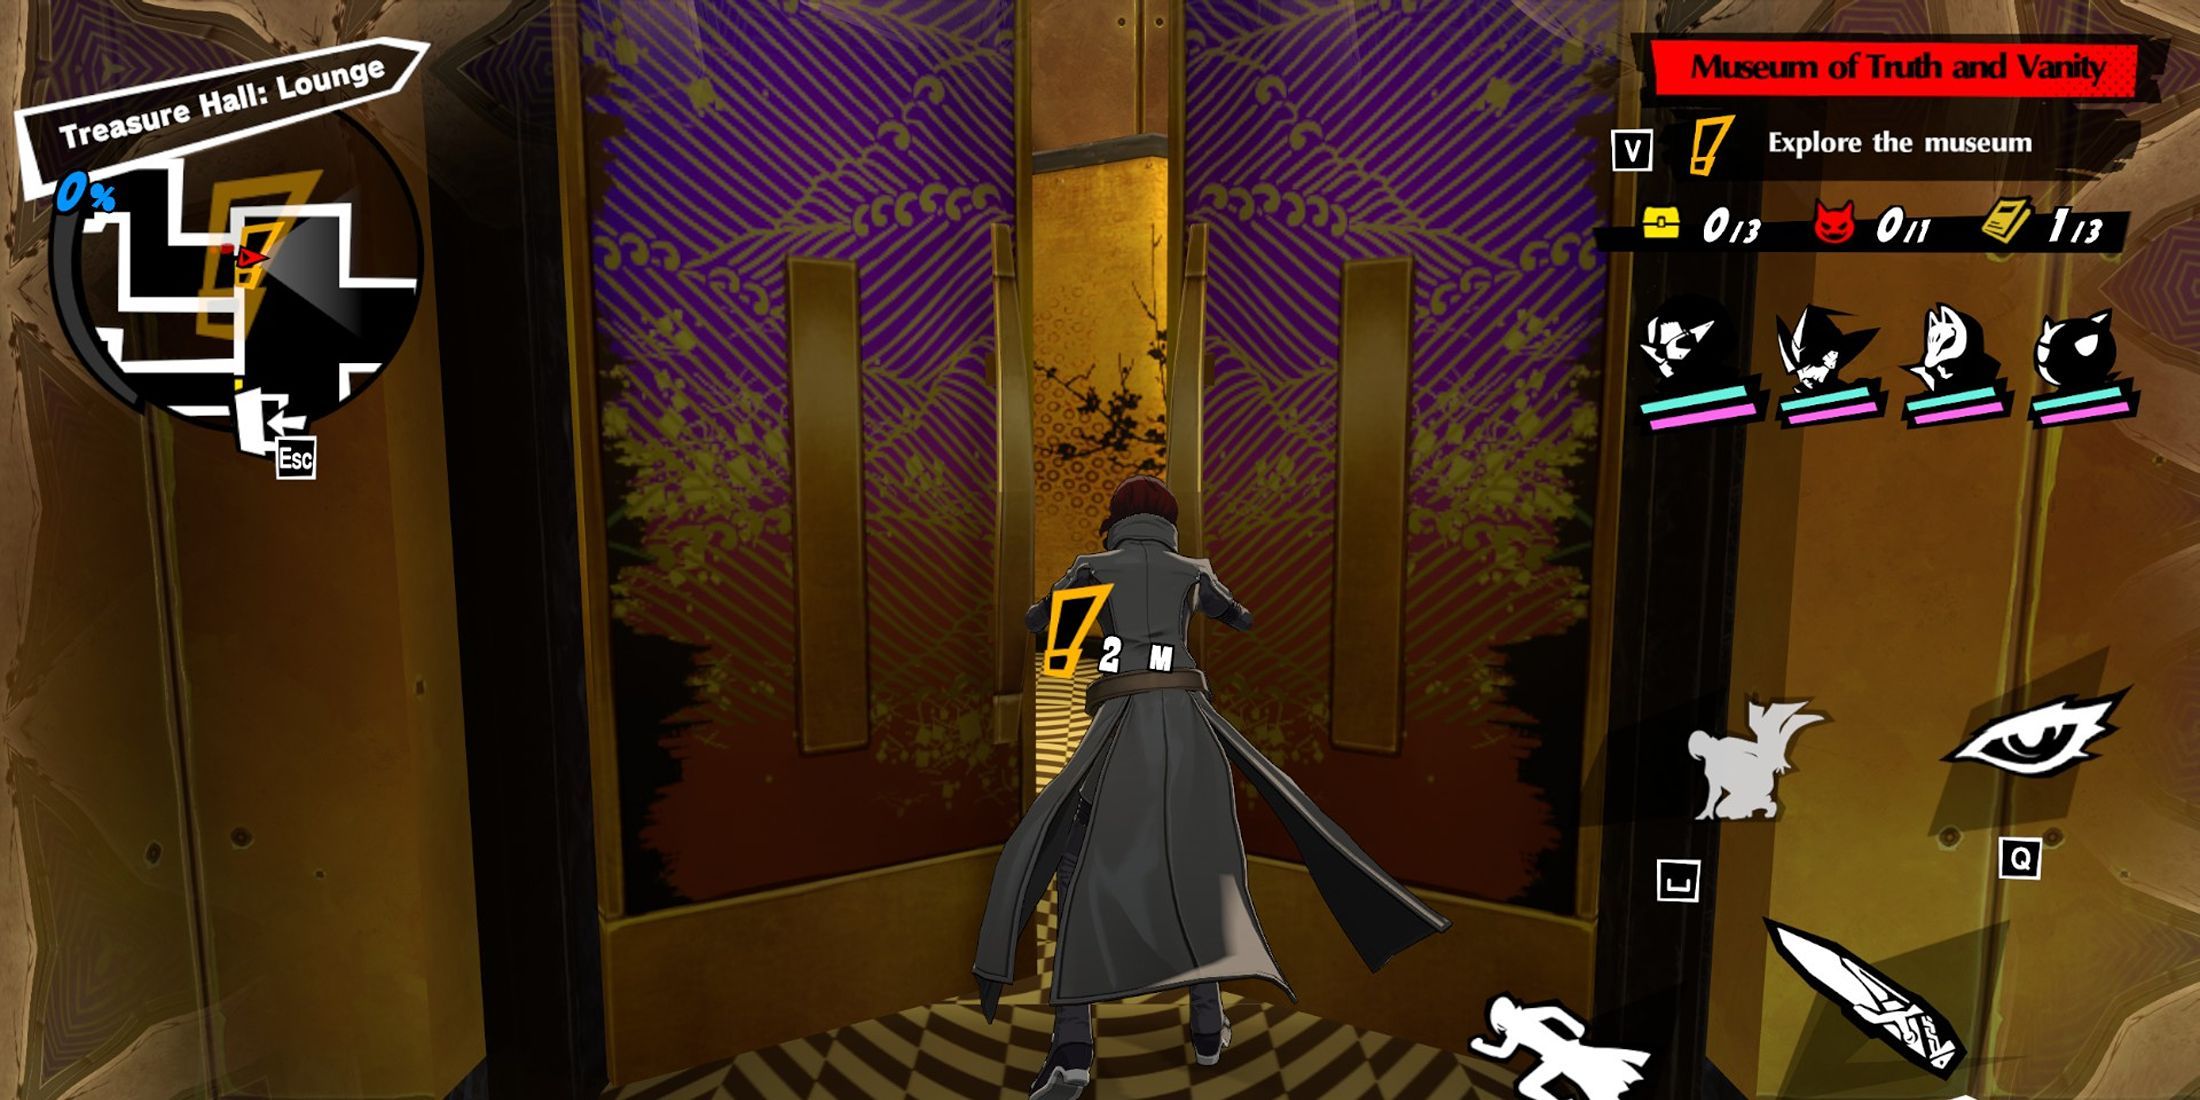
Progress ahead until you reach a location enclosed by laser barriers. To locate a lever there, turn around. Once found, pull it to unlock another portion of lasers. The objective is to get a Chroma Key Module from within these barriers and use it with your camera to make a painting vanish, exposing a hidden lever. Activate this second lever to unveil a new section of lasers. Rotate the camera 180 degrees to find another painting and a concealed lever again. Pressing this will provide access to the Golden Chest in the center of the room.
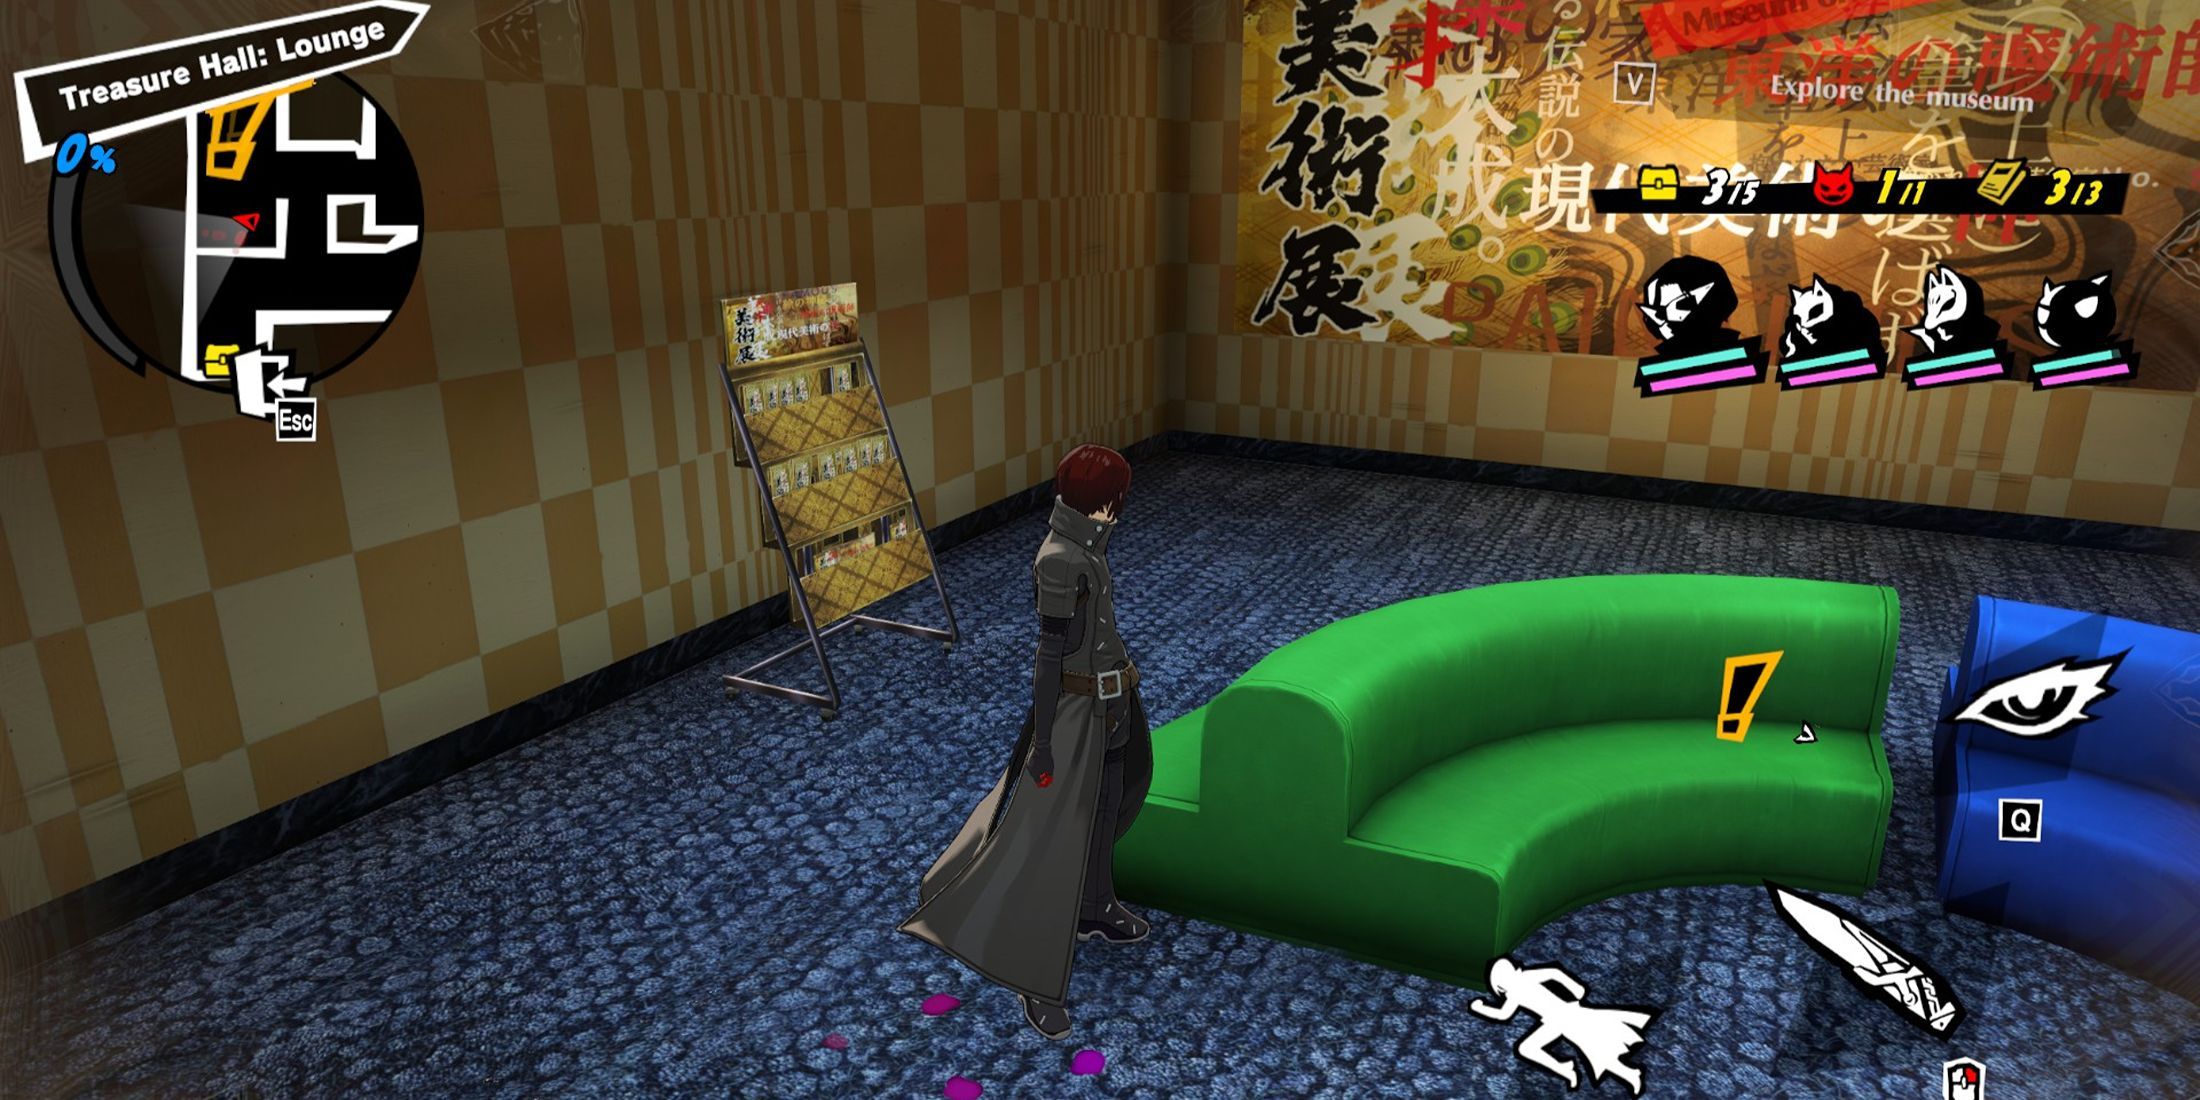
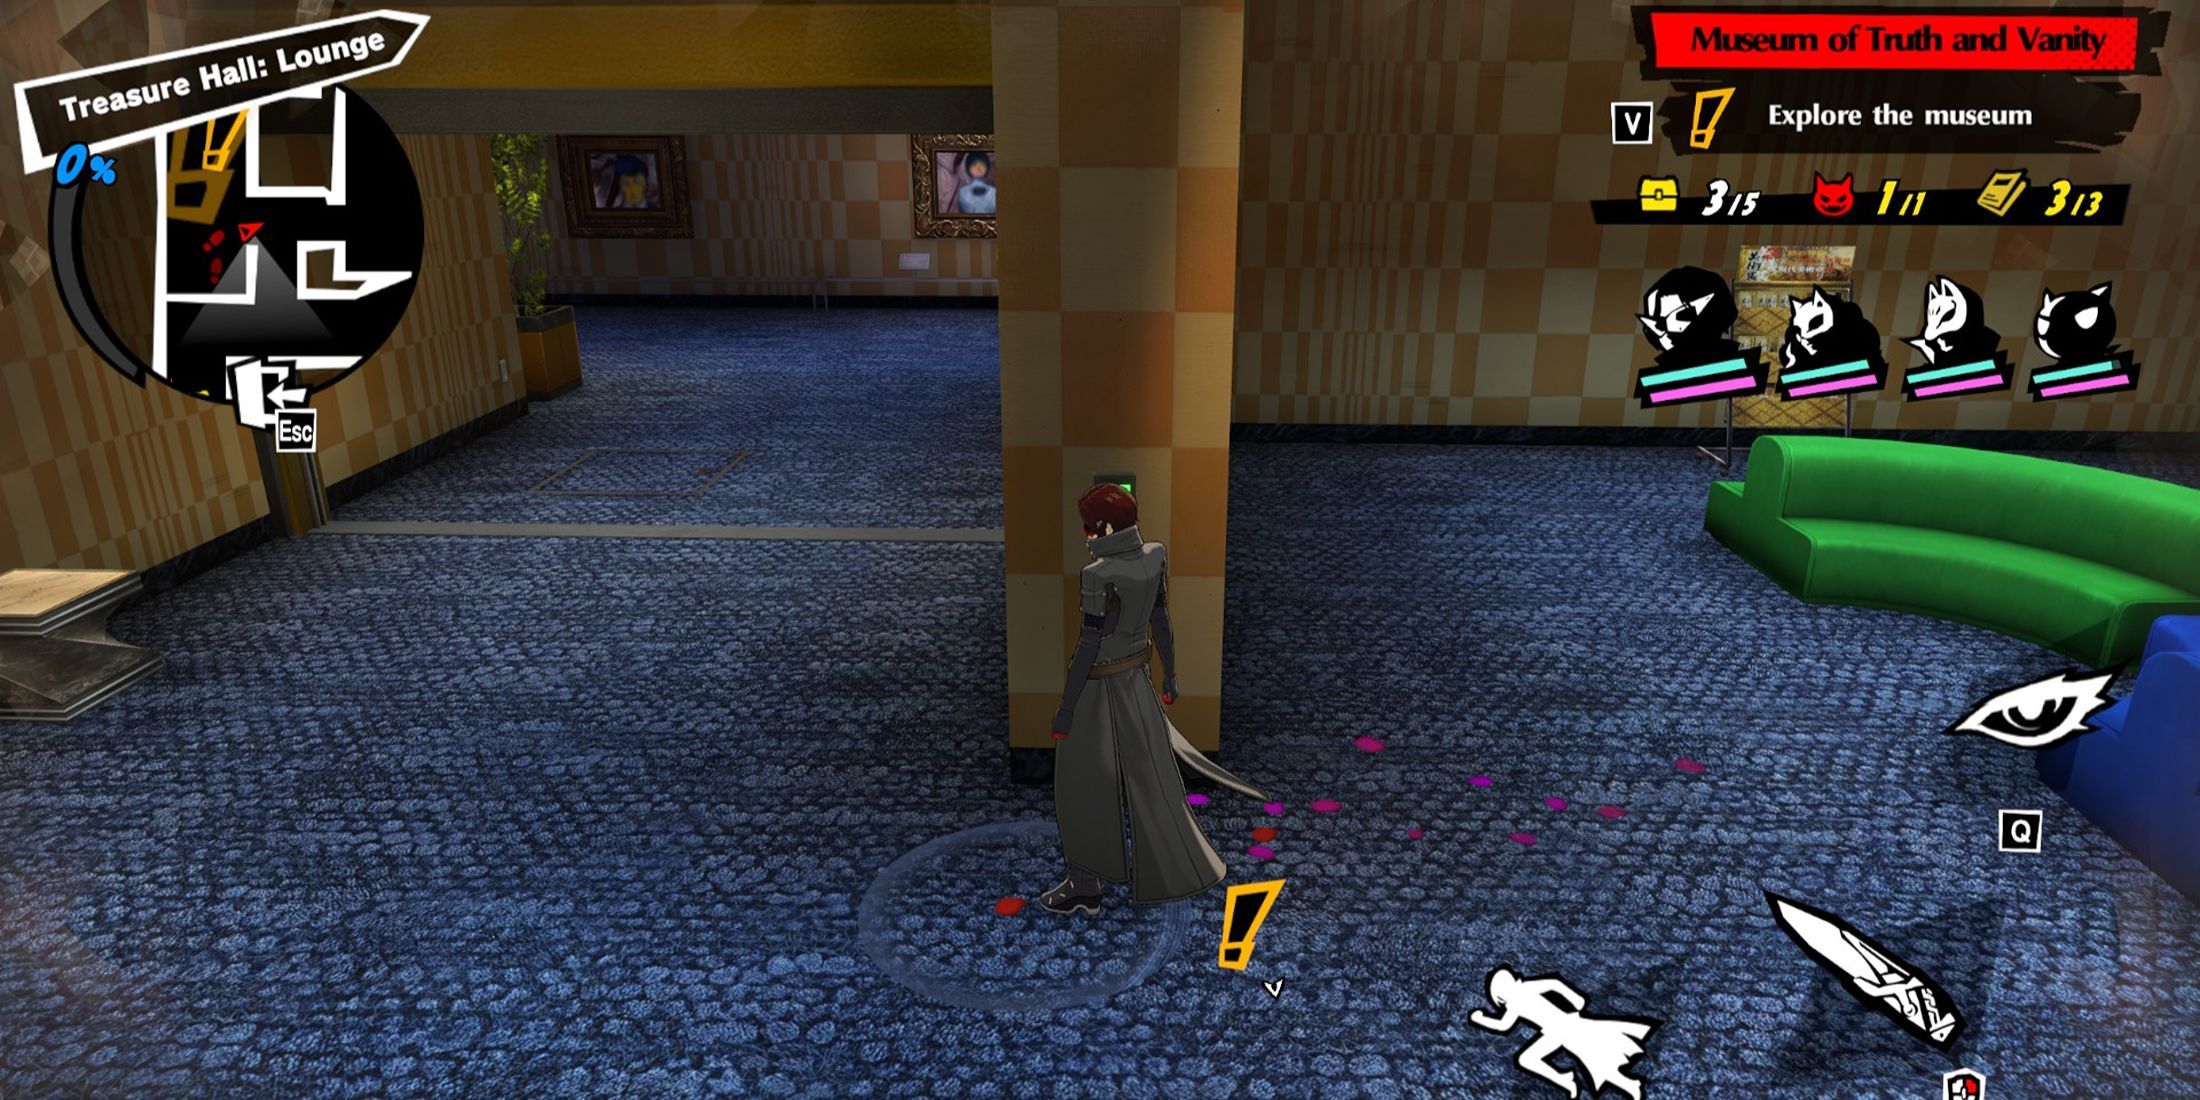
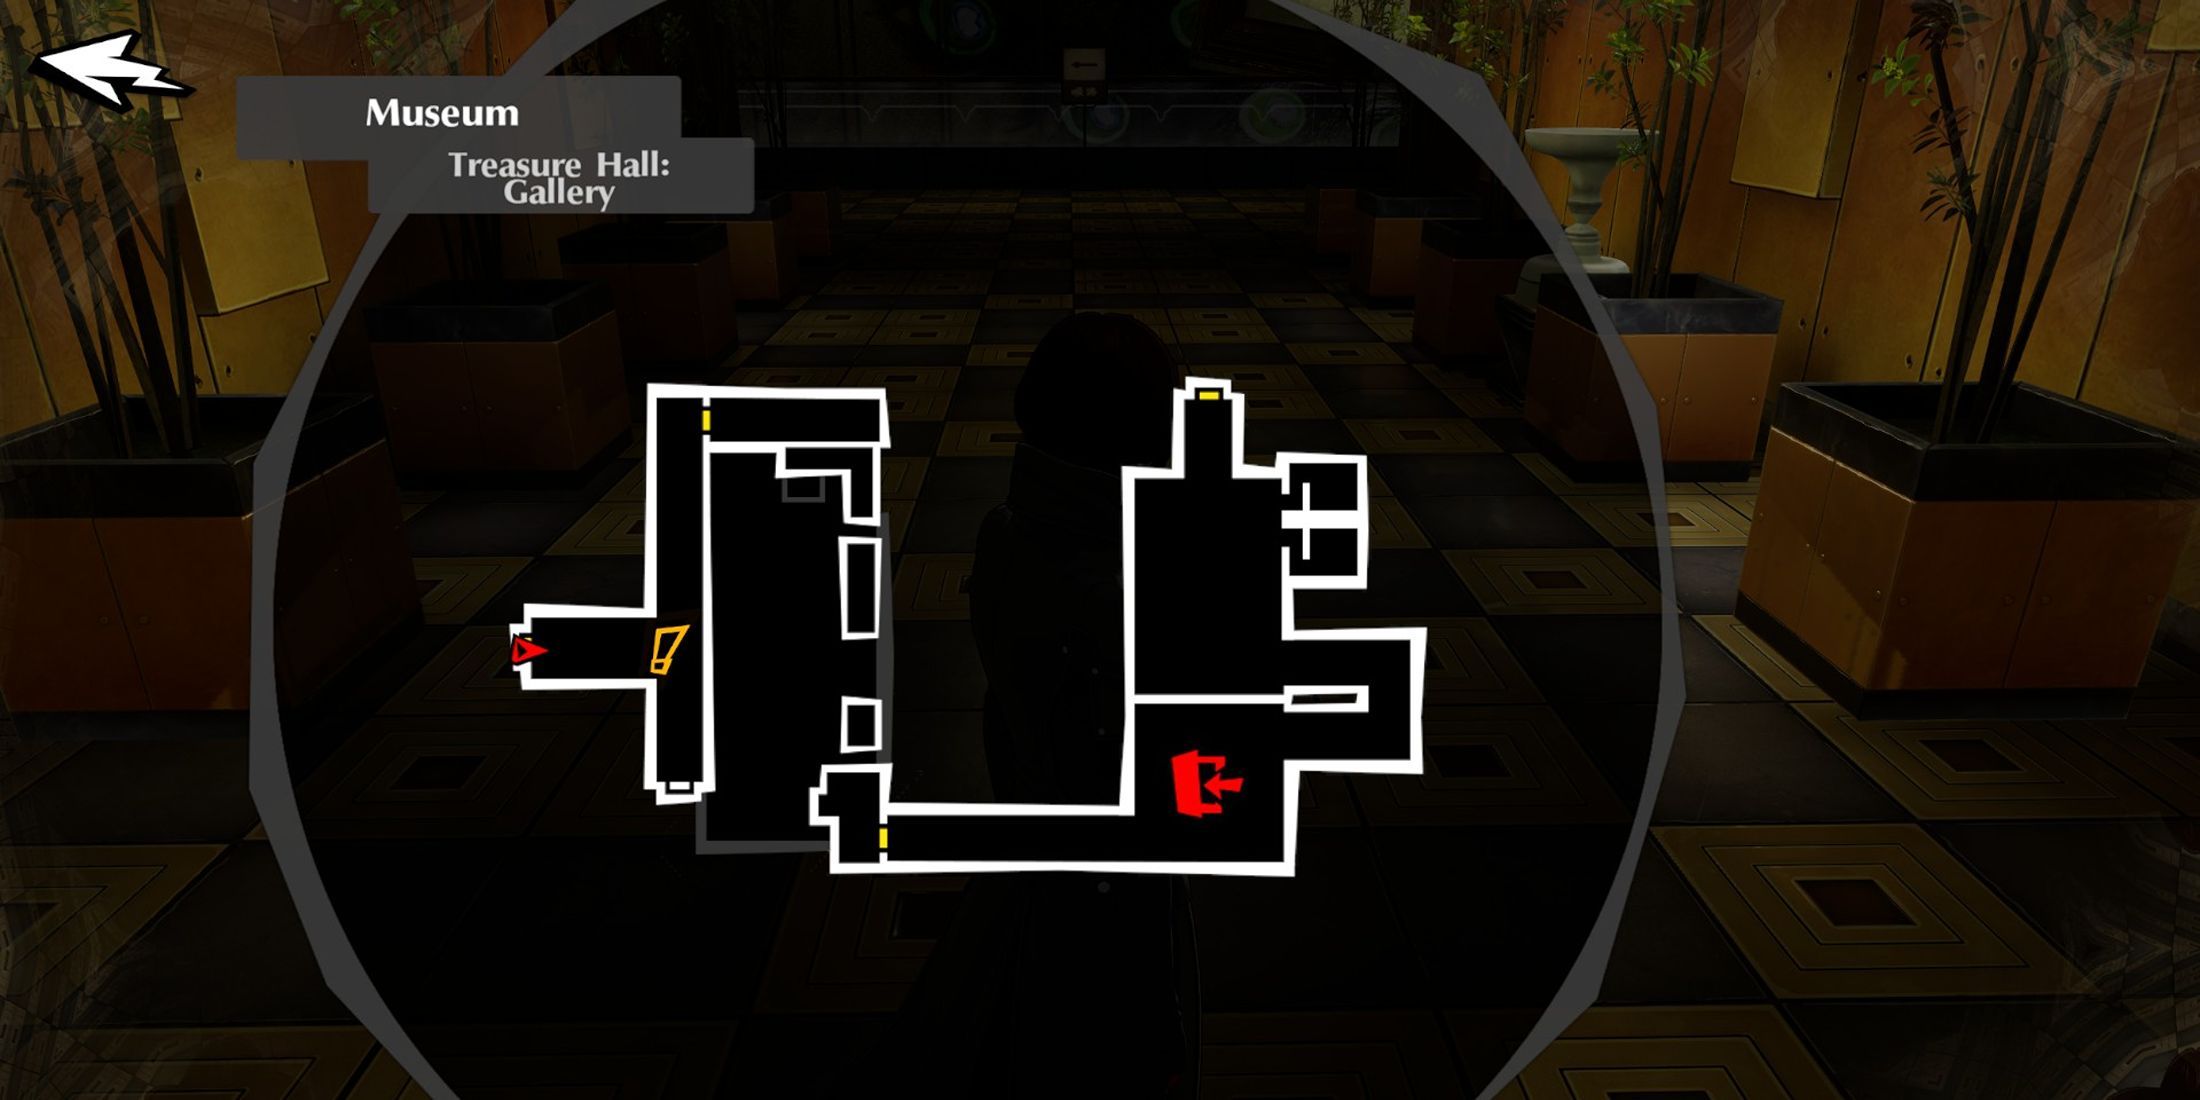
As you continue, press another lever to open a gate on the left side, creating a shortcut for players to collect the locked chests that were previously unreachable. Next to it, pick up the Brochure. Defeat the Shadow in the room and search the blue couch near the painting for the Key. Retrieve it, then return to the chest from the earlier section. With this, you’ll achieve 100% completion and can claim your rewards once the mission concludes.
Now head back to the waypoint, press the lever there, open the control room, pick up the Golden Chest, and finish the episode.
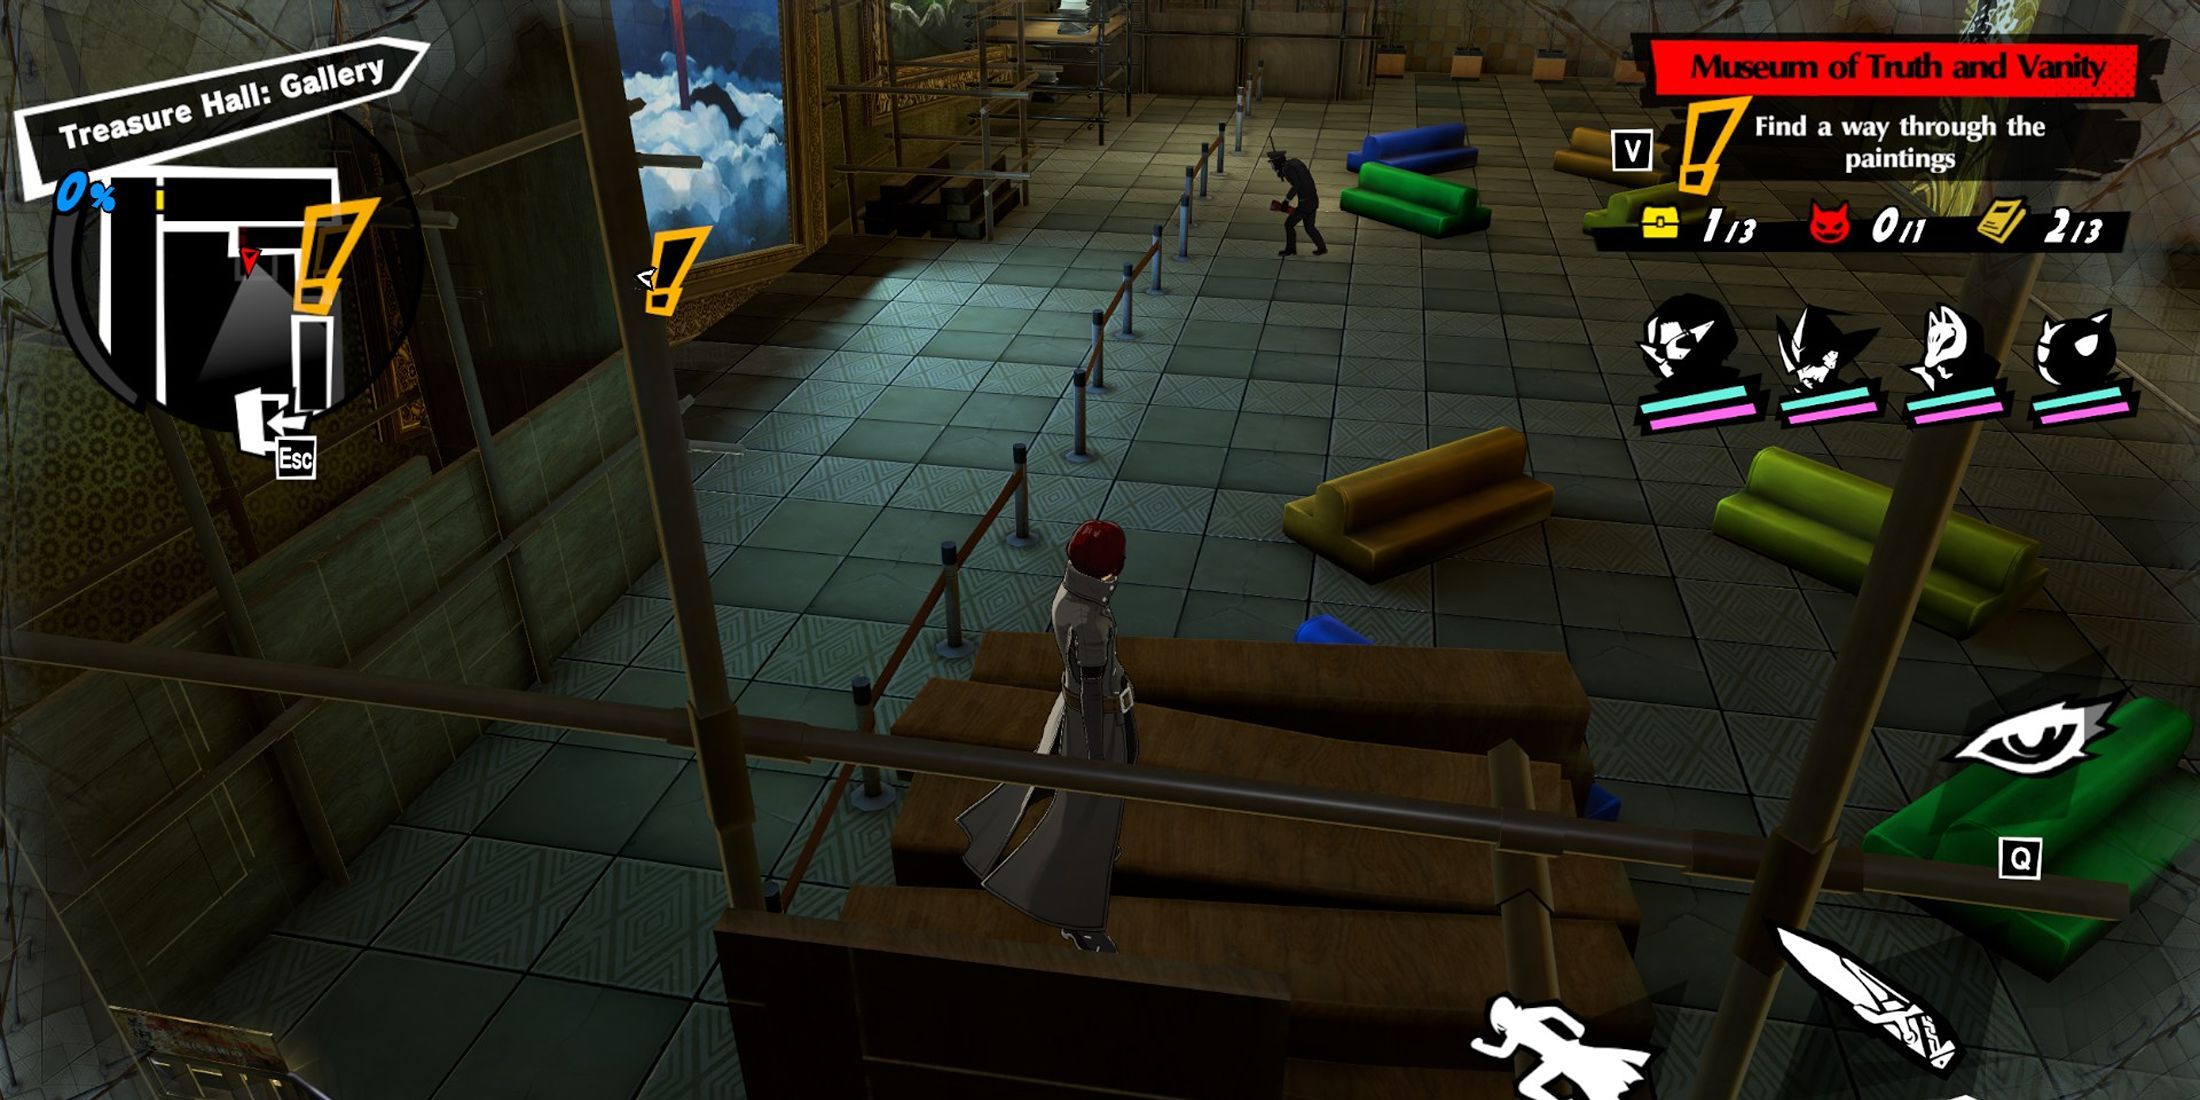
Episode 2-8 Beauty is Bizarre
When players commence Episode 2-8, they’ll witness a cutscene of a gate swinging open. Next, rotate 180 degrees and grab the Museum Brochure from the corner, and smash a sculpture for 600 Konpaku Gems. Return to the checkpoint (earn another 600 Konpaku Gems by breaking a vase) and use the grappling hook to scale the wall, progressing forward. Break another vase, then enter the ventilation system.After the cutscene and battle conclude, search for a fragile statue, and toggle it to disable the lasers. Open the door, pick up the Brochure and the Vase on the left side, and eliminate the patrolling Shadow to obtain a Blue Chest, along with another 600 Konpaku gems from the sculpture in the corner. Return to the checkpoint, handle the Shadow Guard, then proceed to the next section.
To your right lies a fragile vase, followed by a Shadow patrolling the area. Defeat it and advance. You’ll encounter another golden statue to shatter, which will open a door. Inside, you’ll find 600 Konpaku gems hidden near some wooden planks. Climb onto these planks to jump down onto the scaffolding. There, you’ll find another enemy patrolling. In this room, there’s another chest, a brochure, and a powerful Shadow guarding the third and final chest needed for 100% completion. Once that’s dealt with, climb back up onto the scaffolding and jump into the paintings.
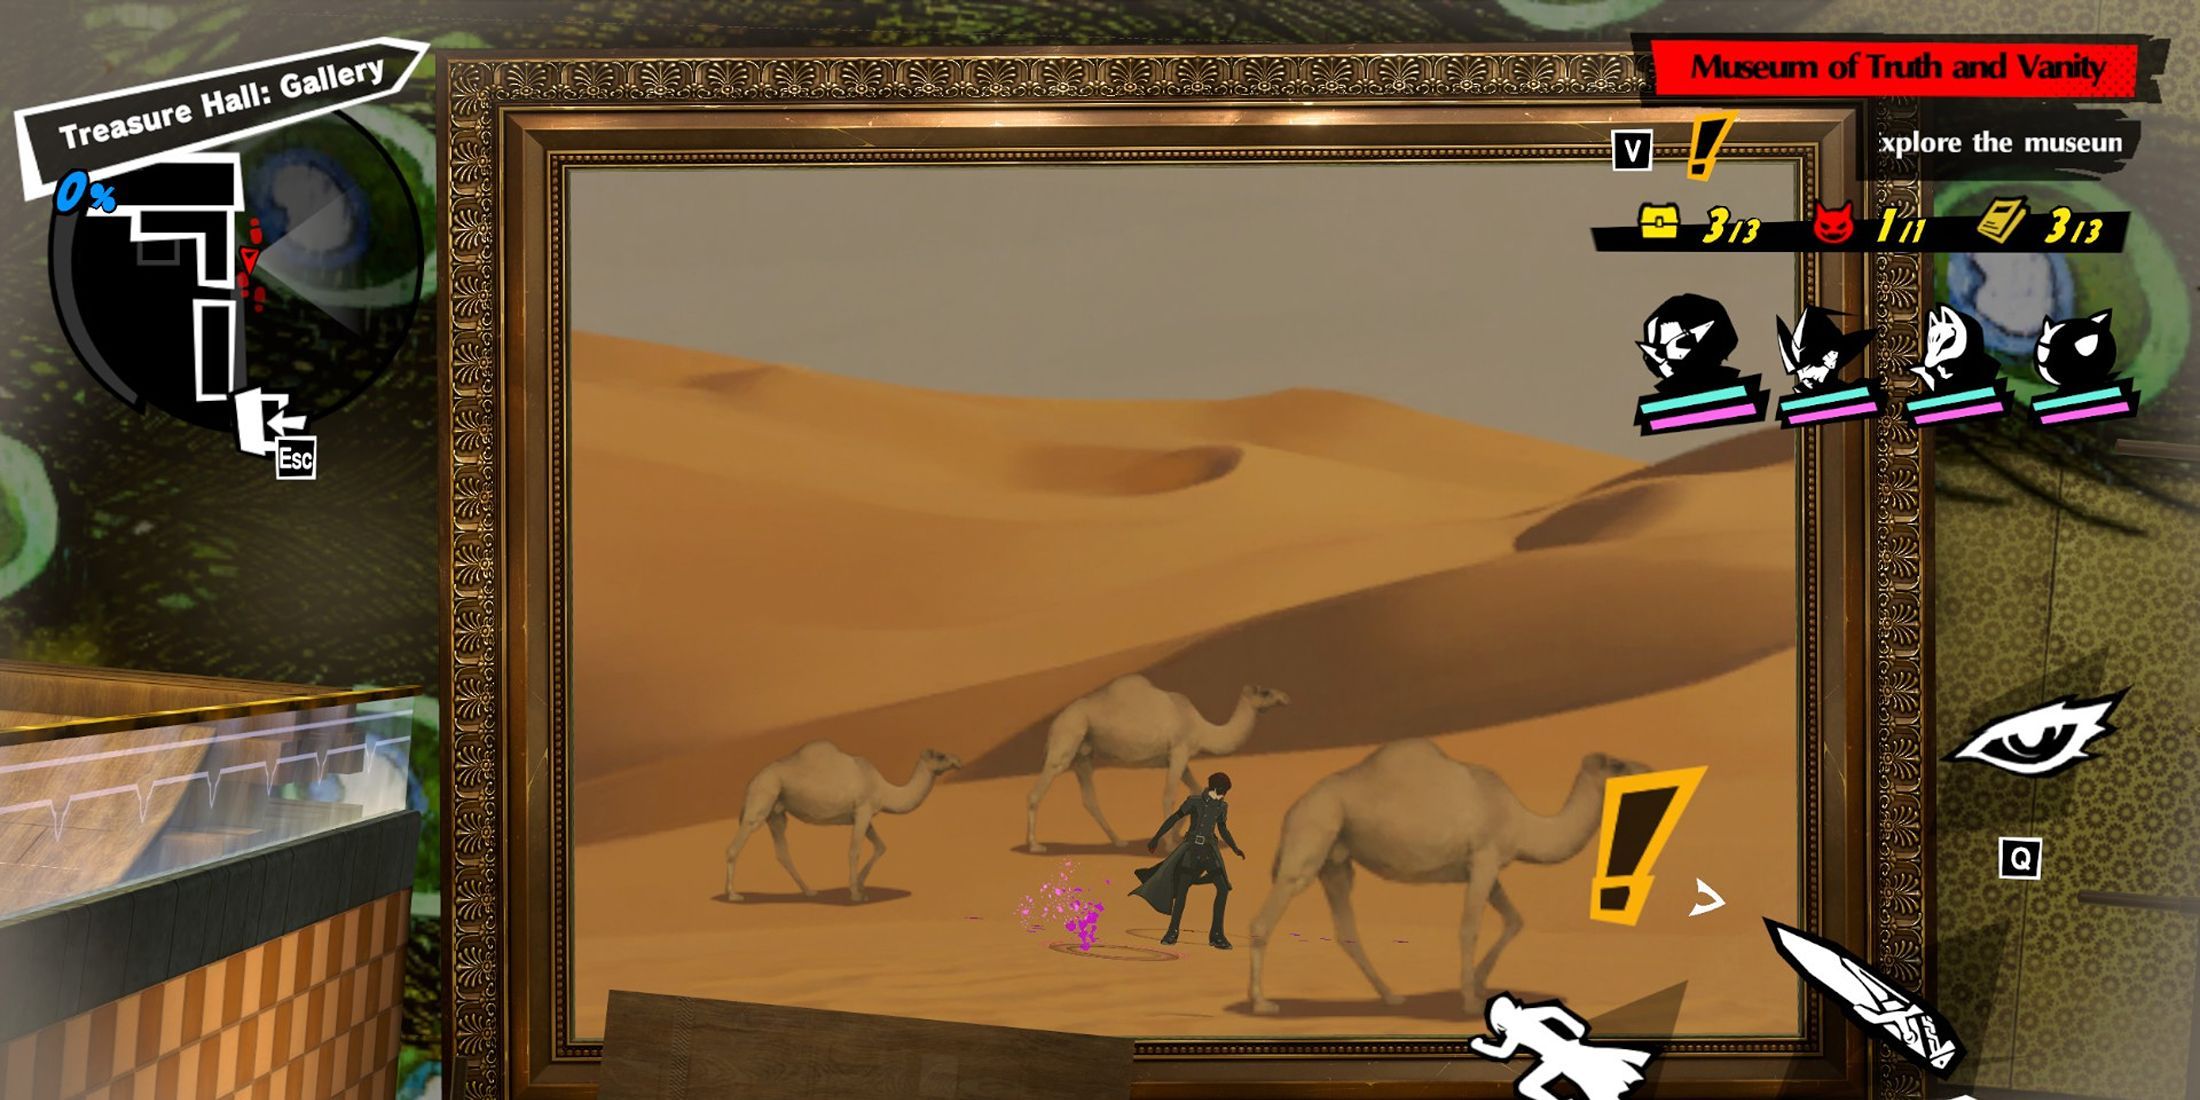
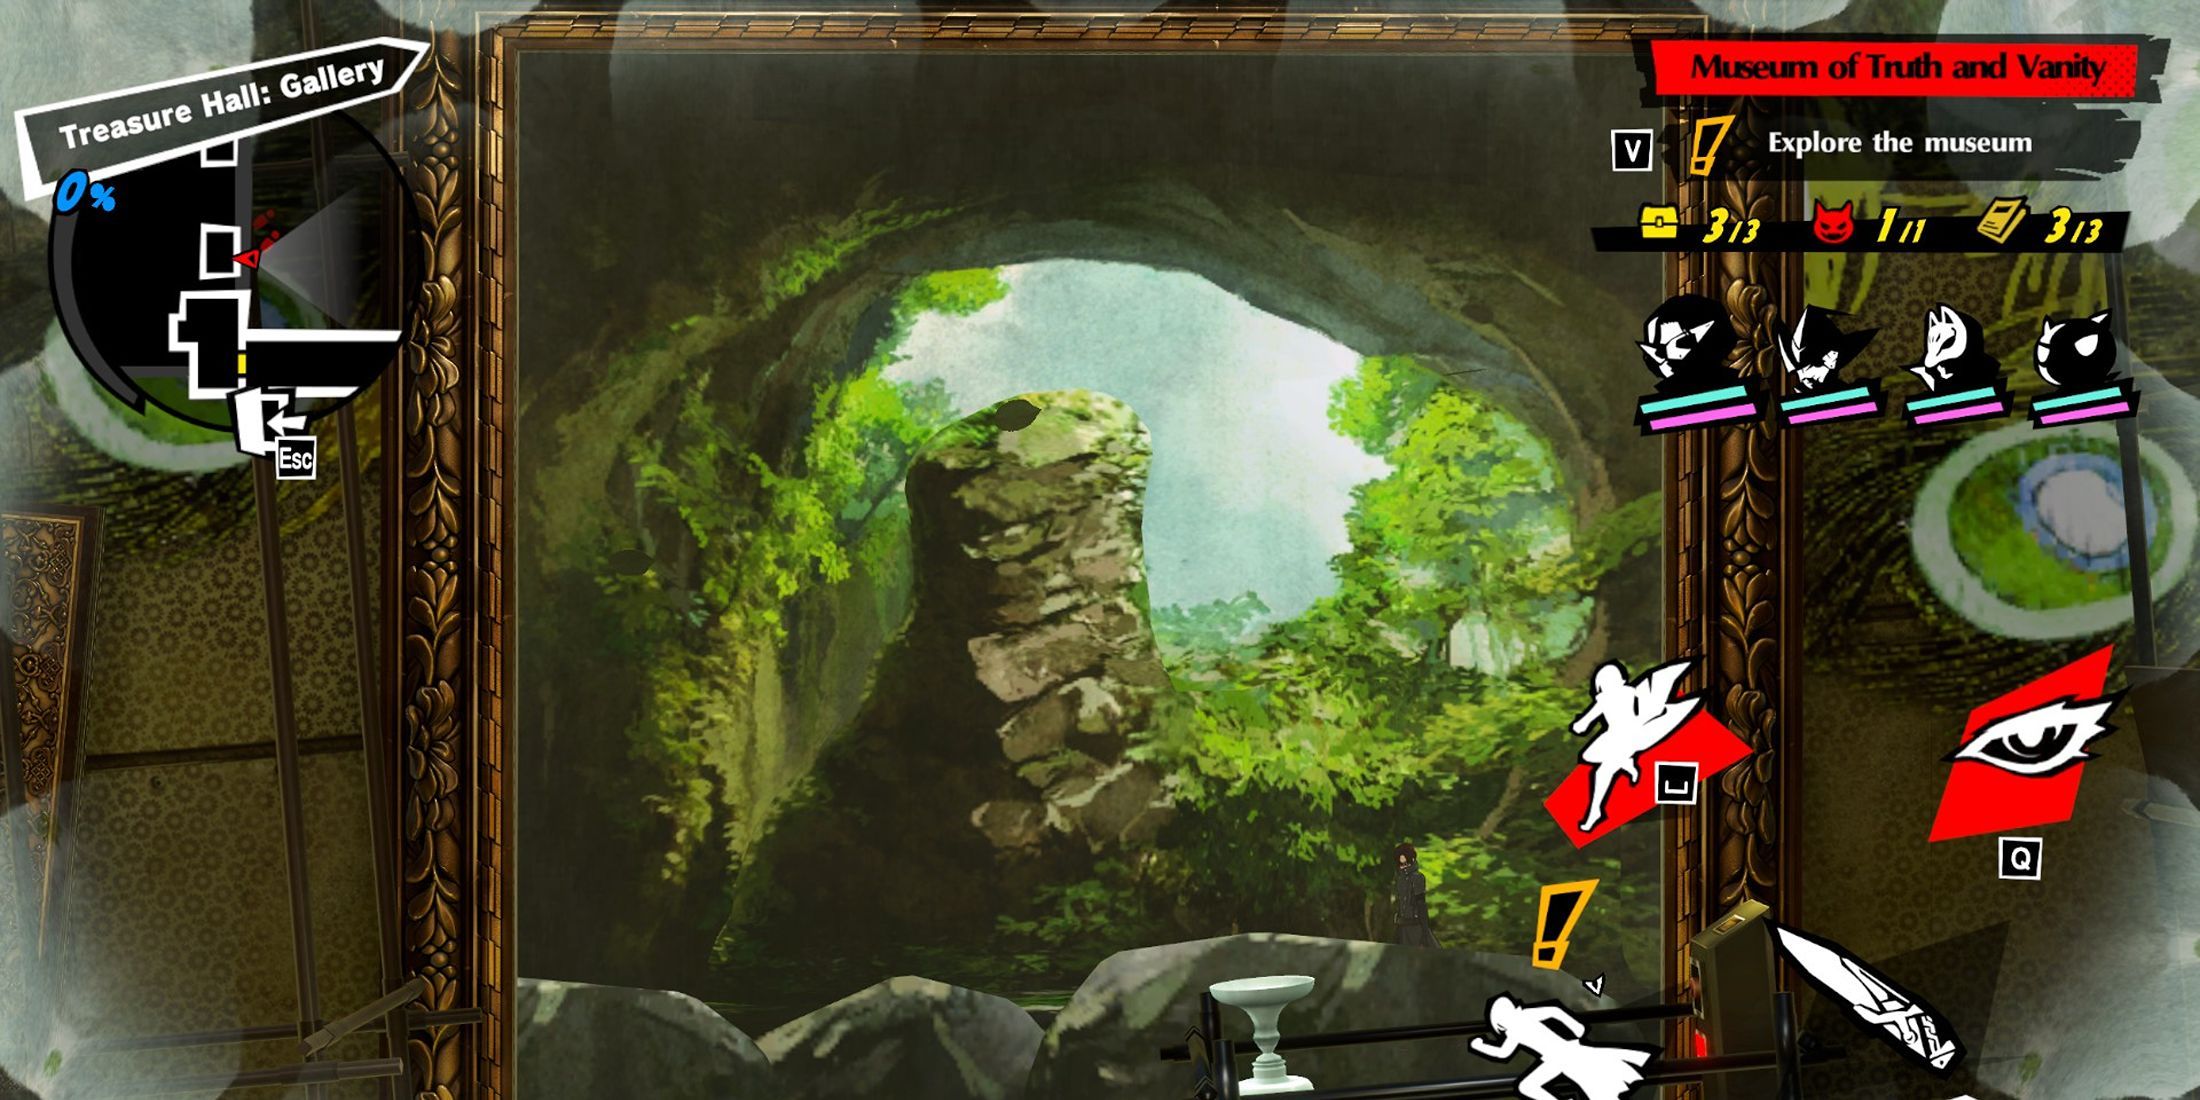
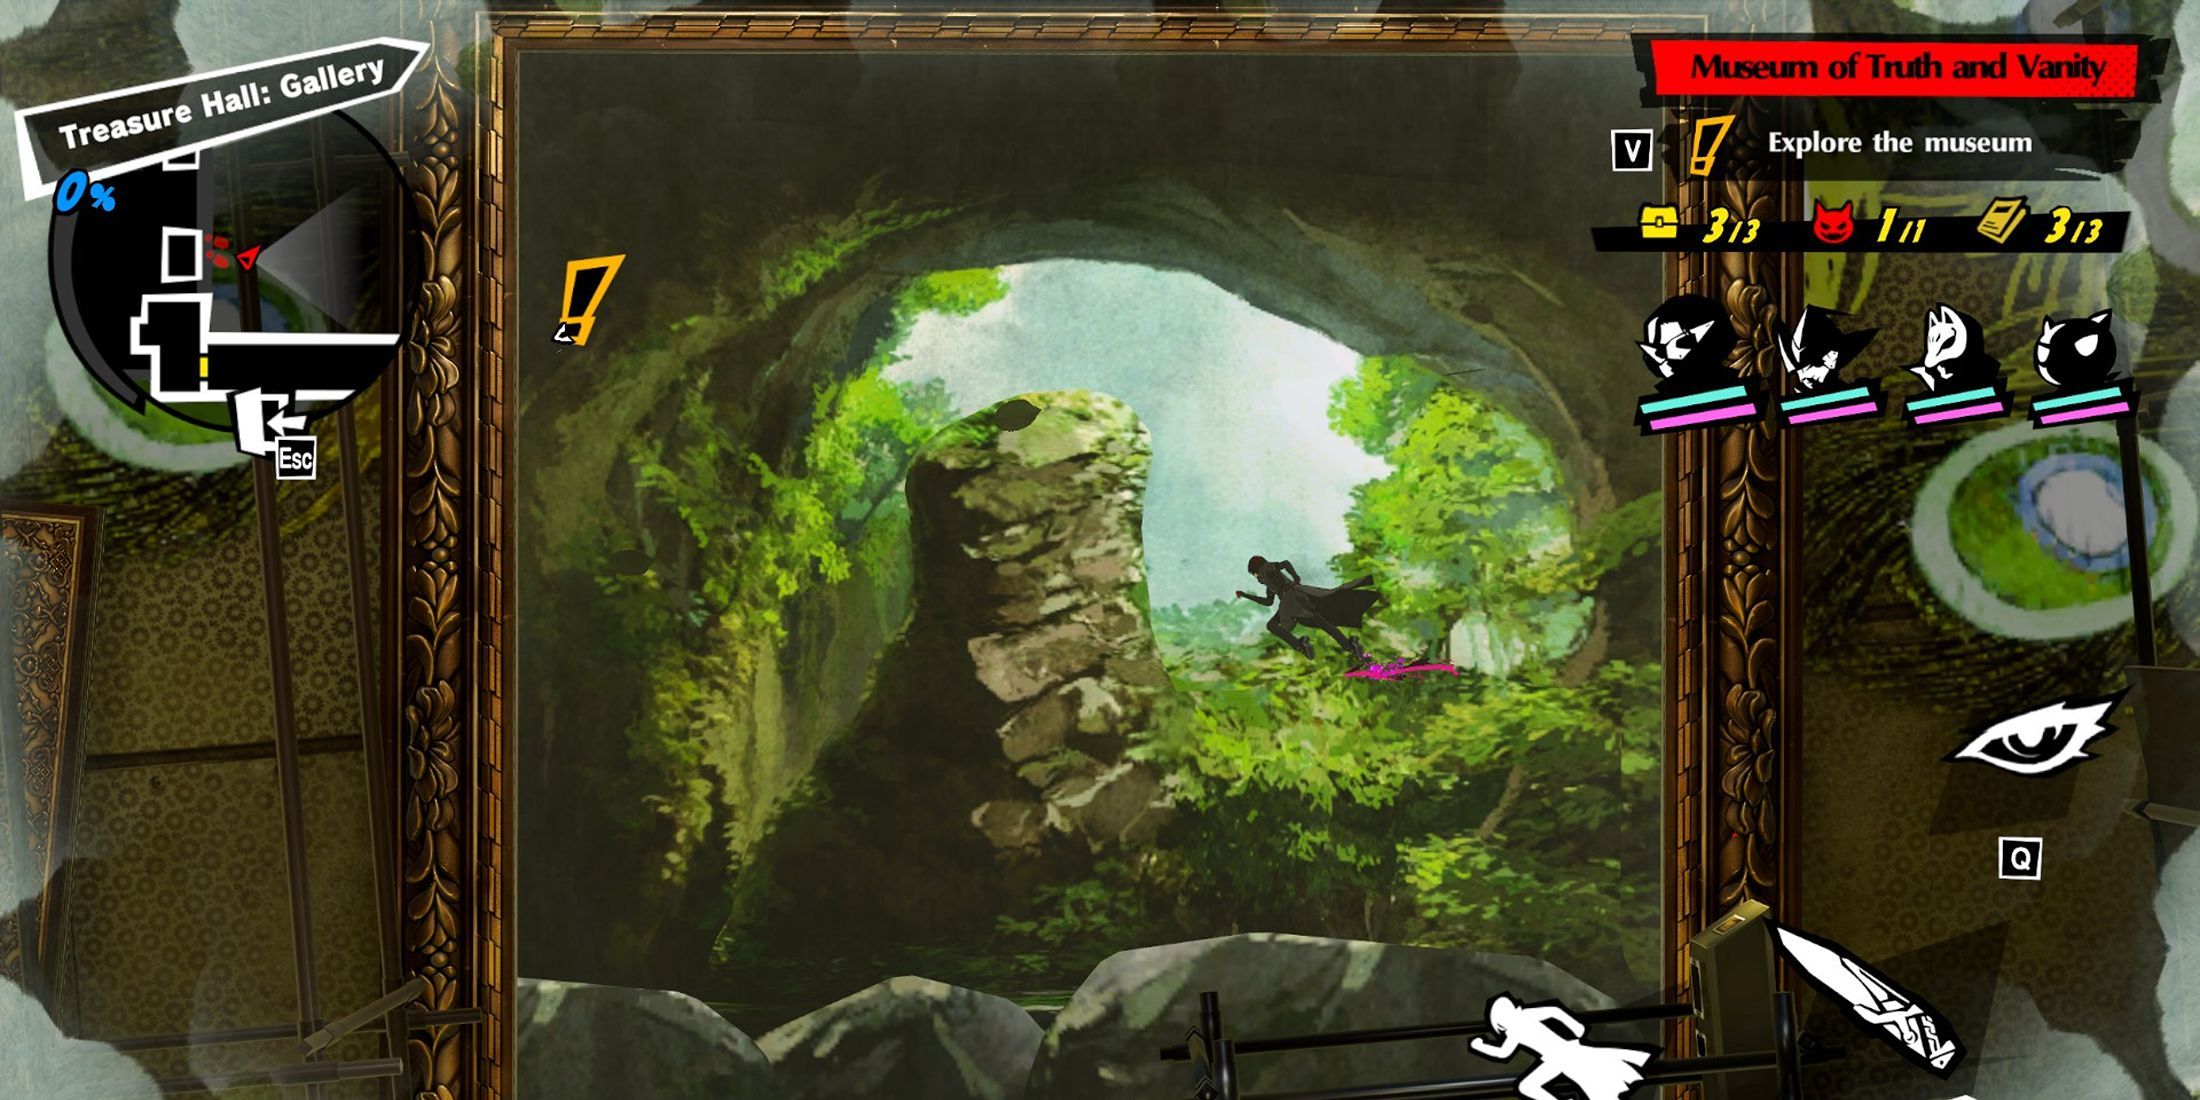
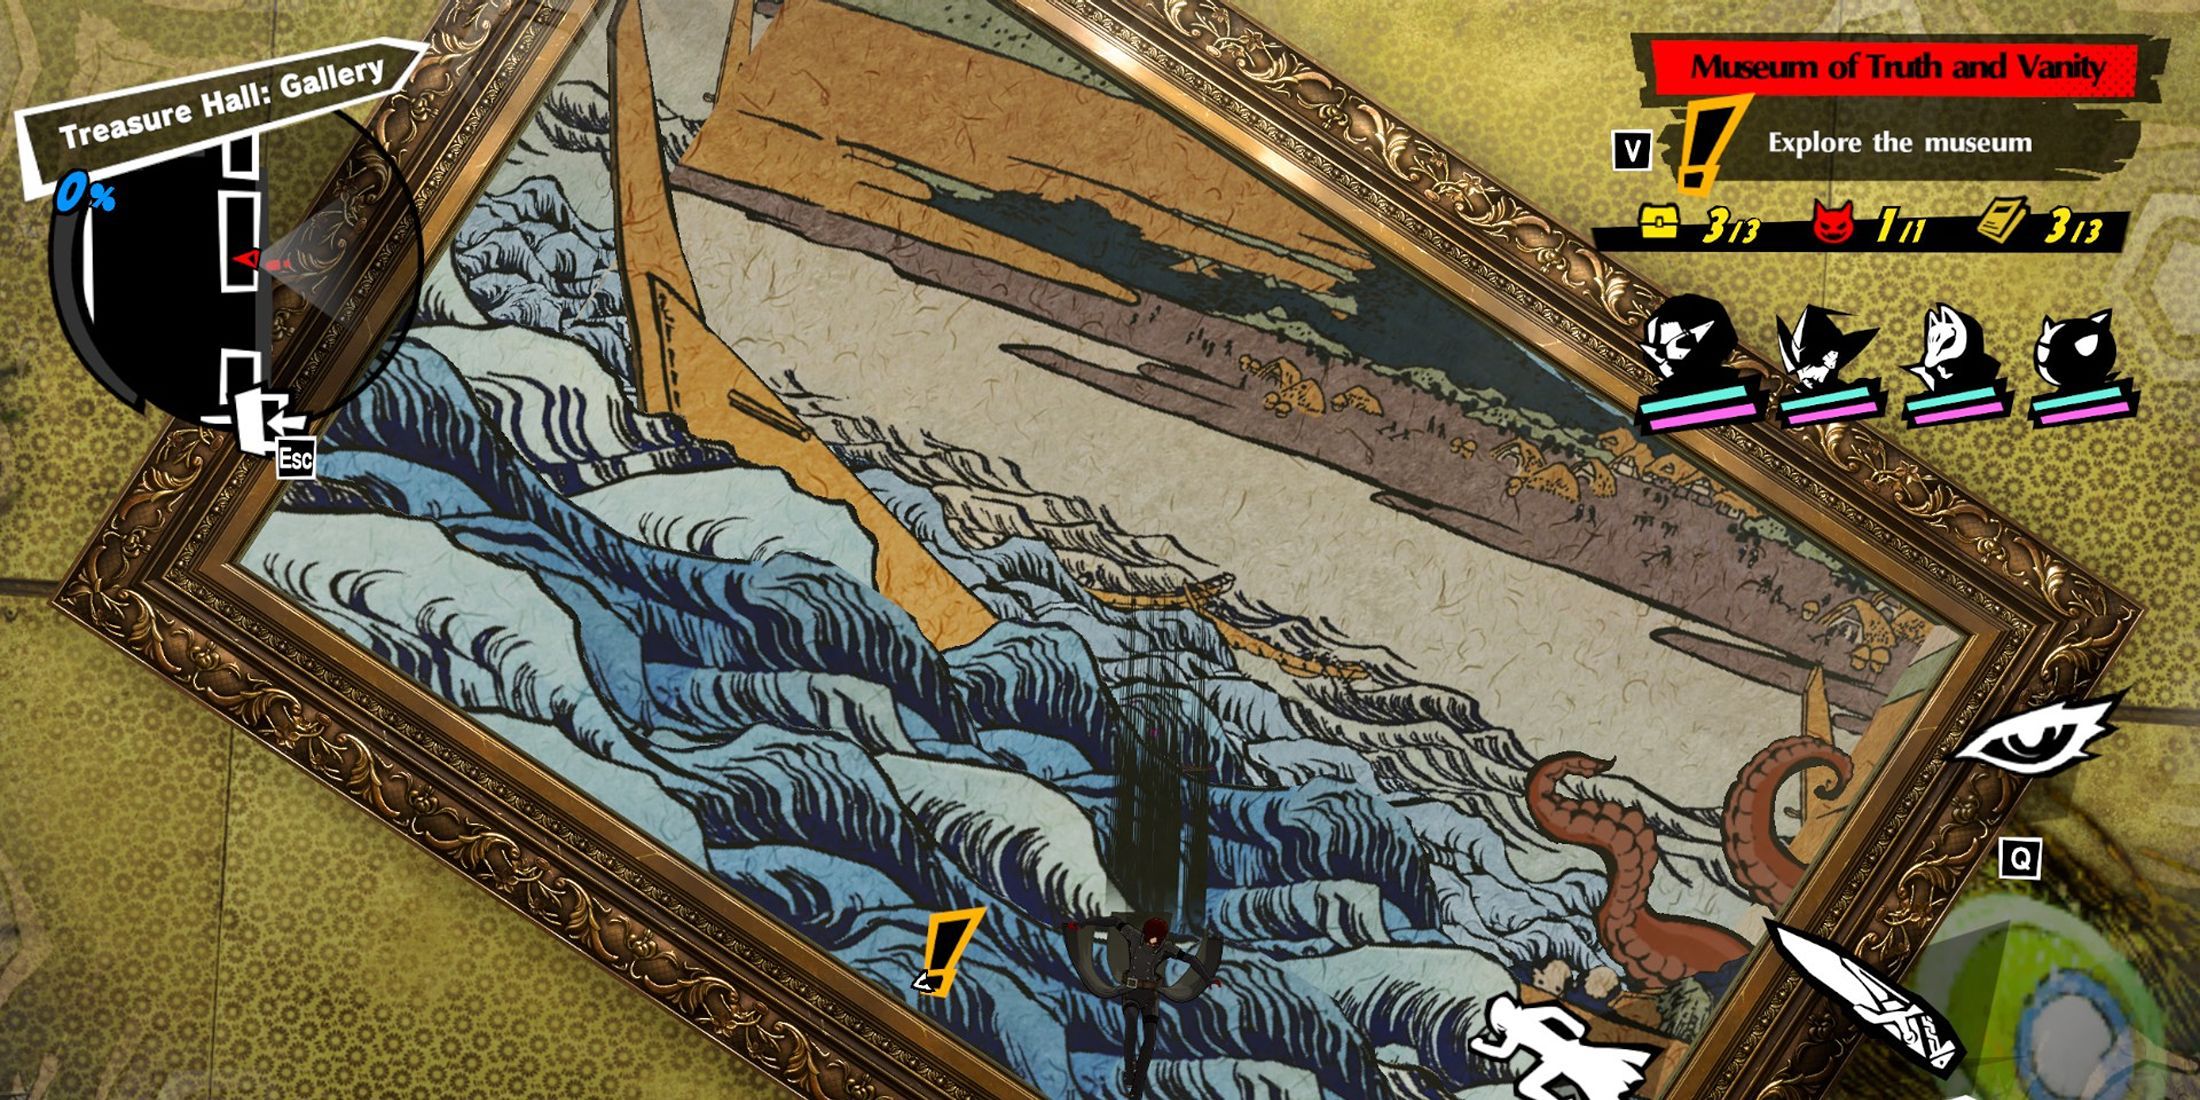
1. The initial scene features three camels; advance to the right to traverse it.
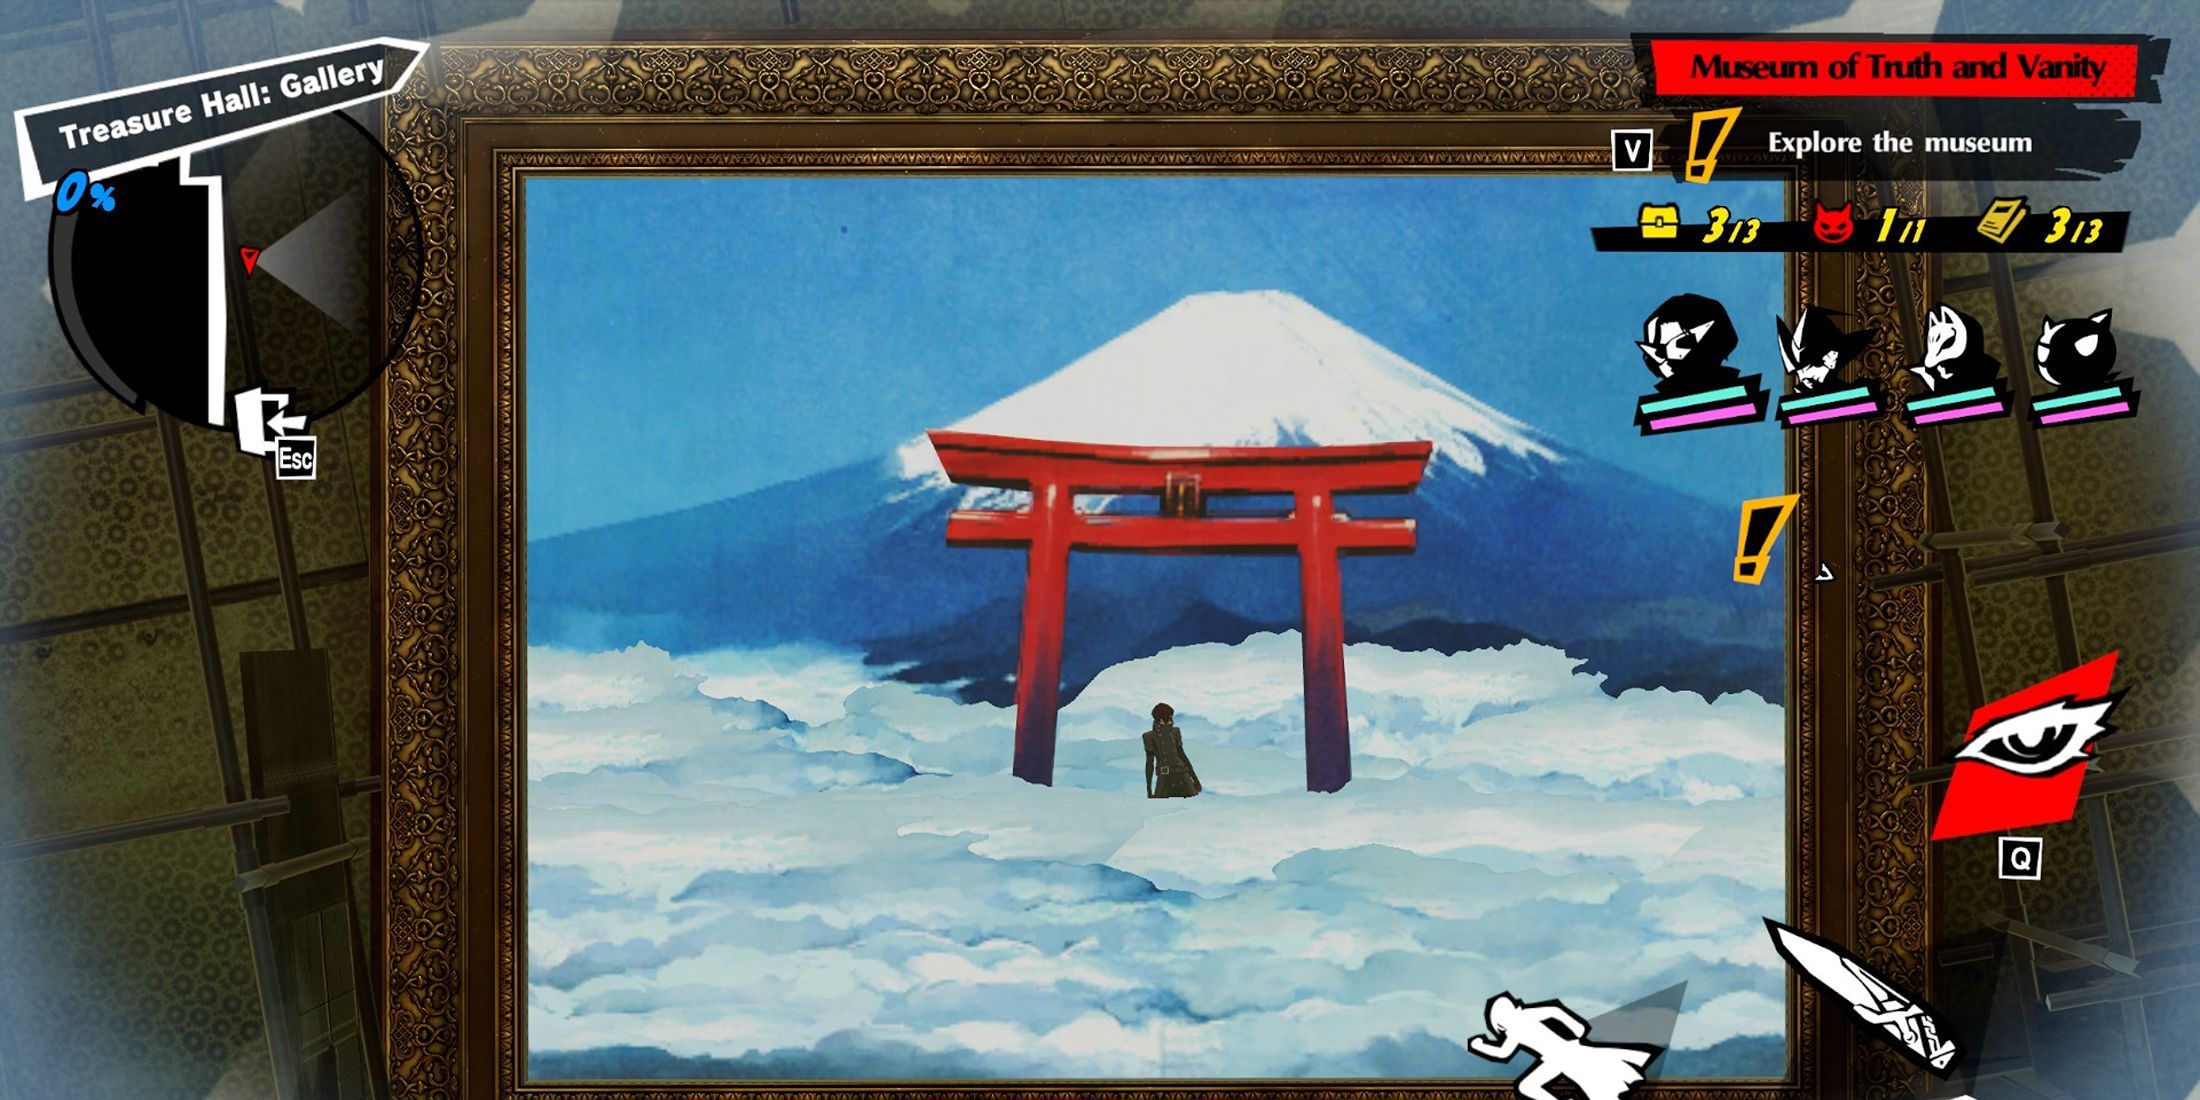
2. Moving on, you’ll encounter a Torii gate; enter by moving right and then pressing forward. Next, locate the rocky section within the jungle painting, move to its right corner, and leap out of the painting. You’ll land on a platform with another breakable vase and a switch. Press this switch, and a new puzzle will emerge.
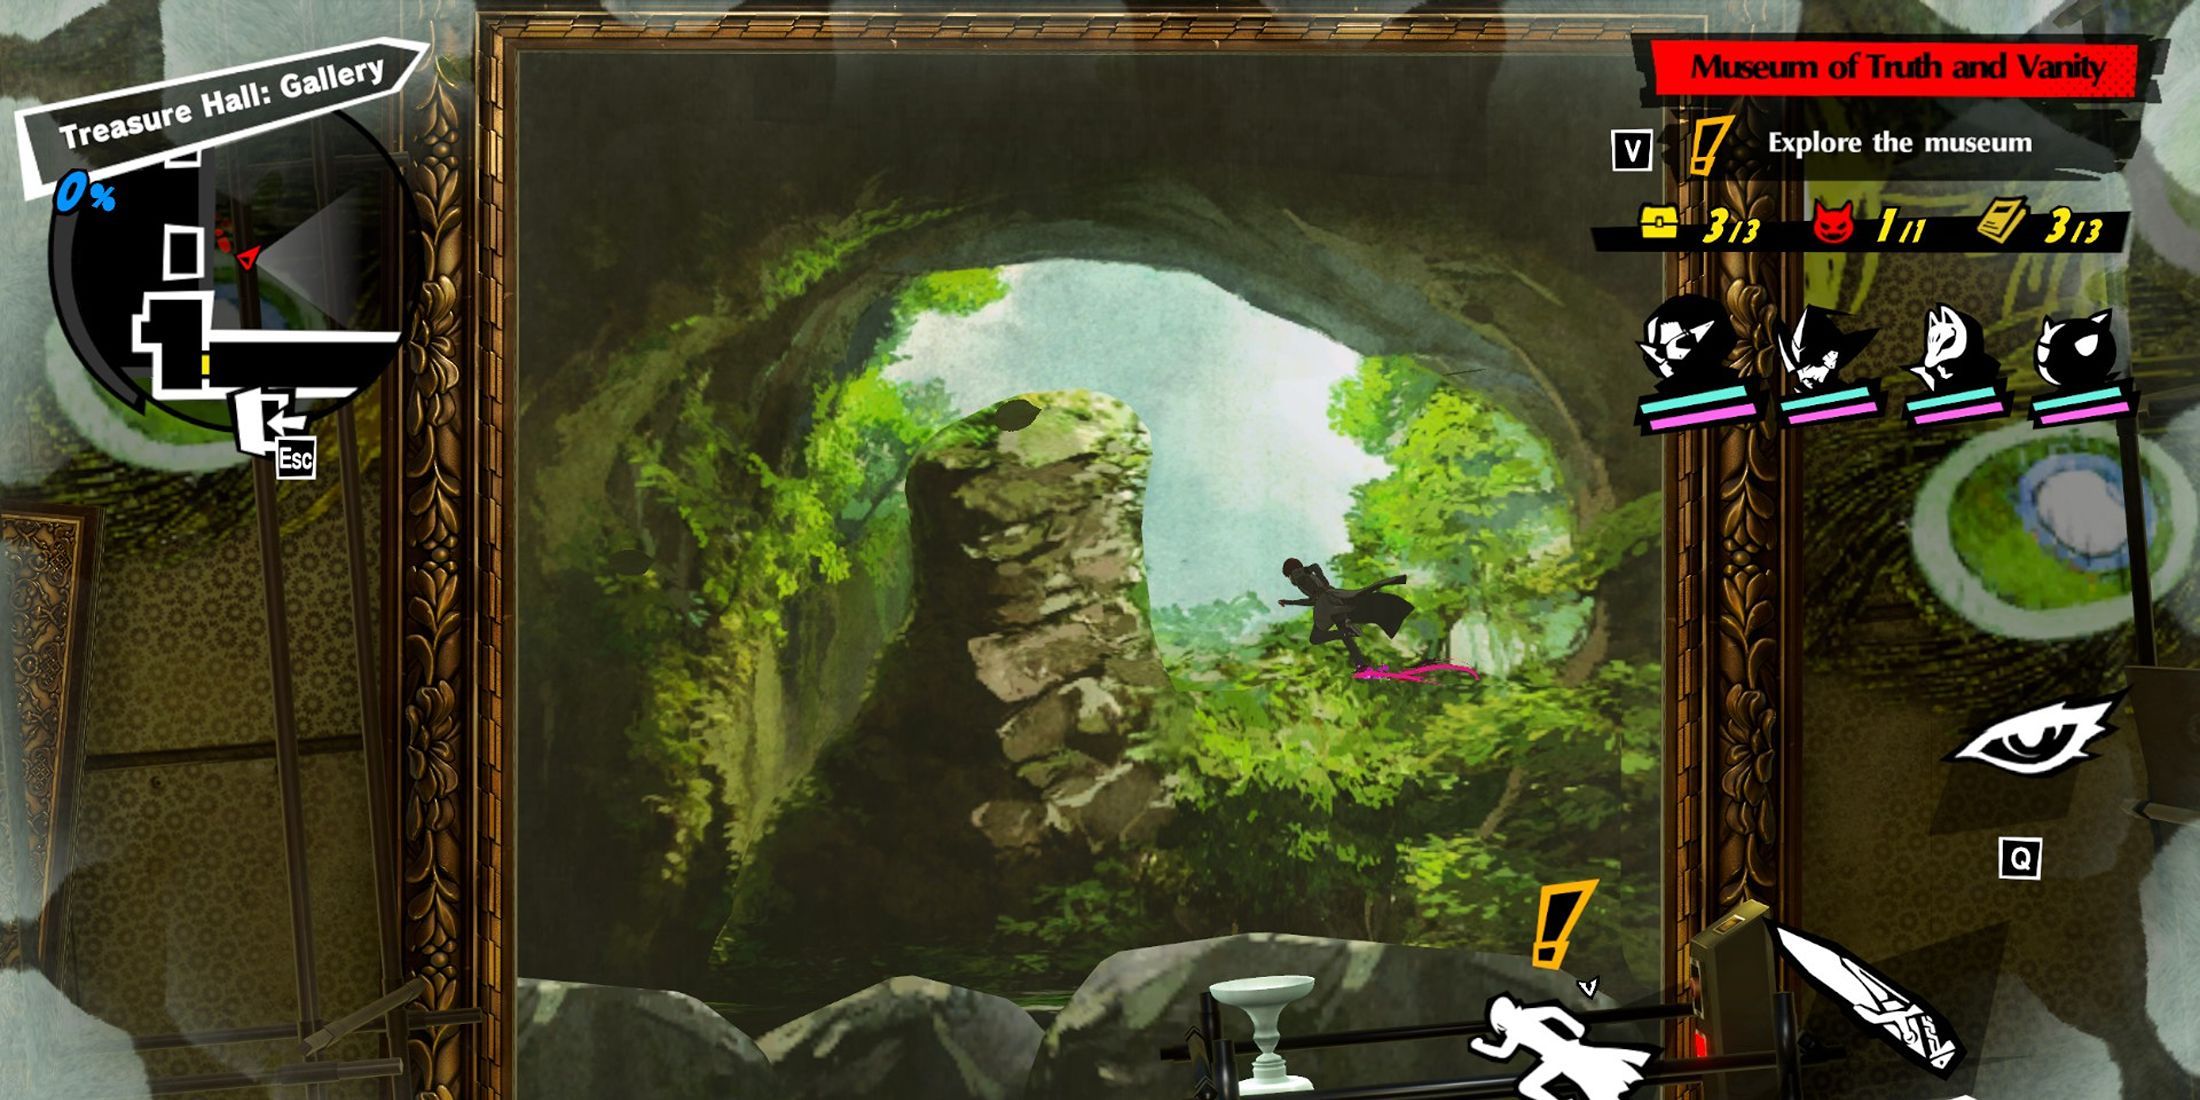
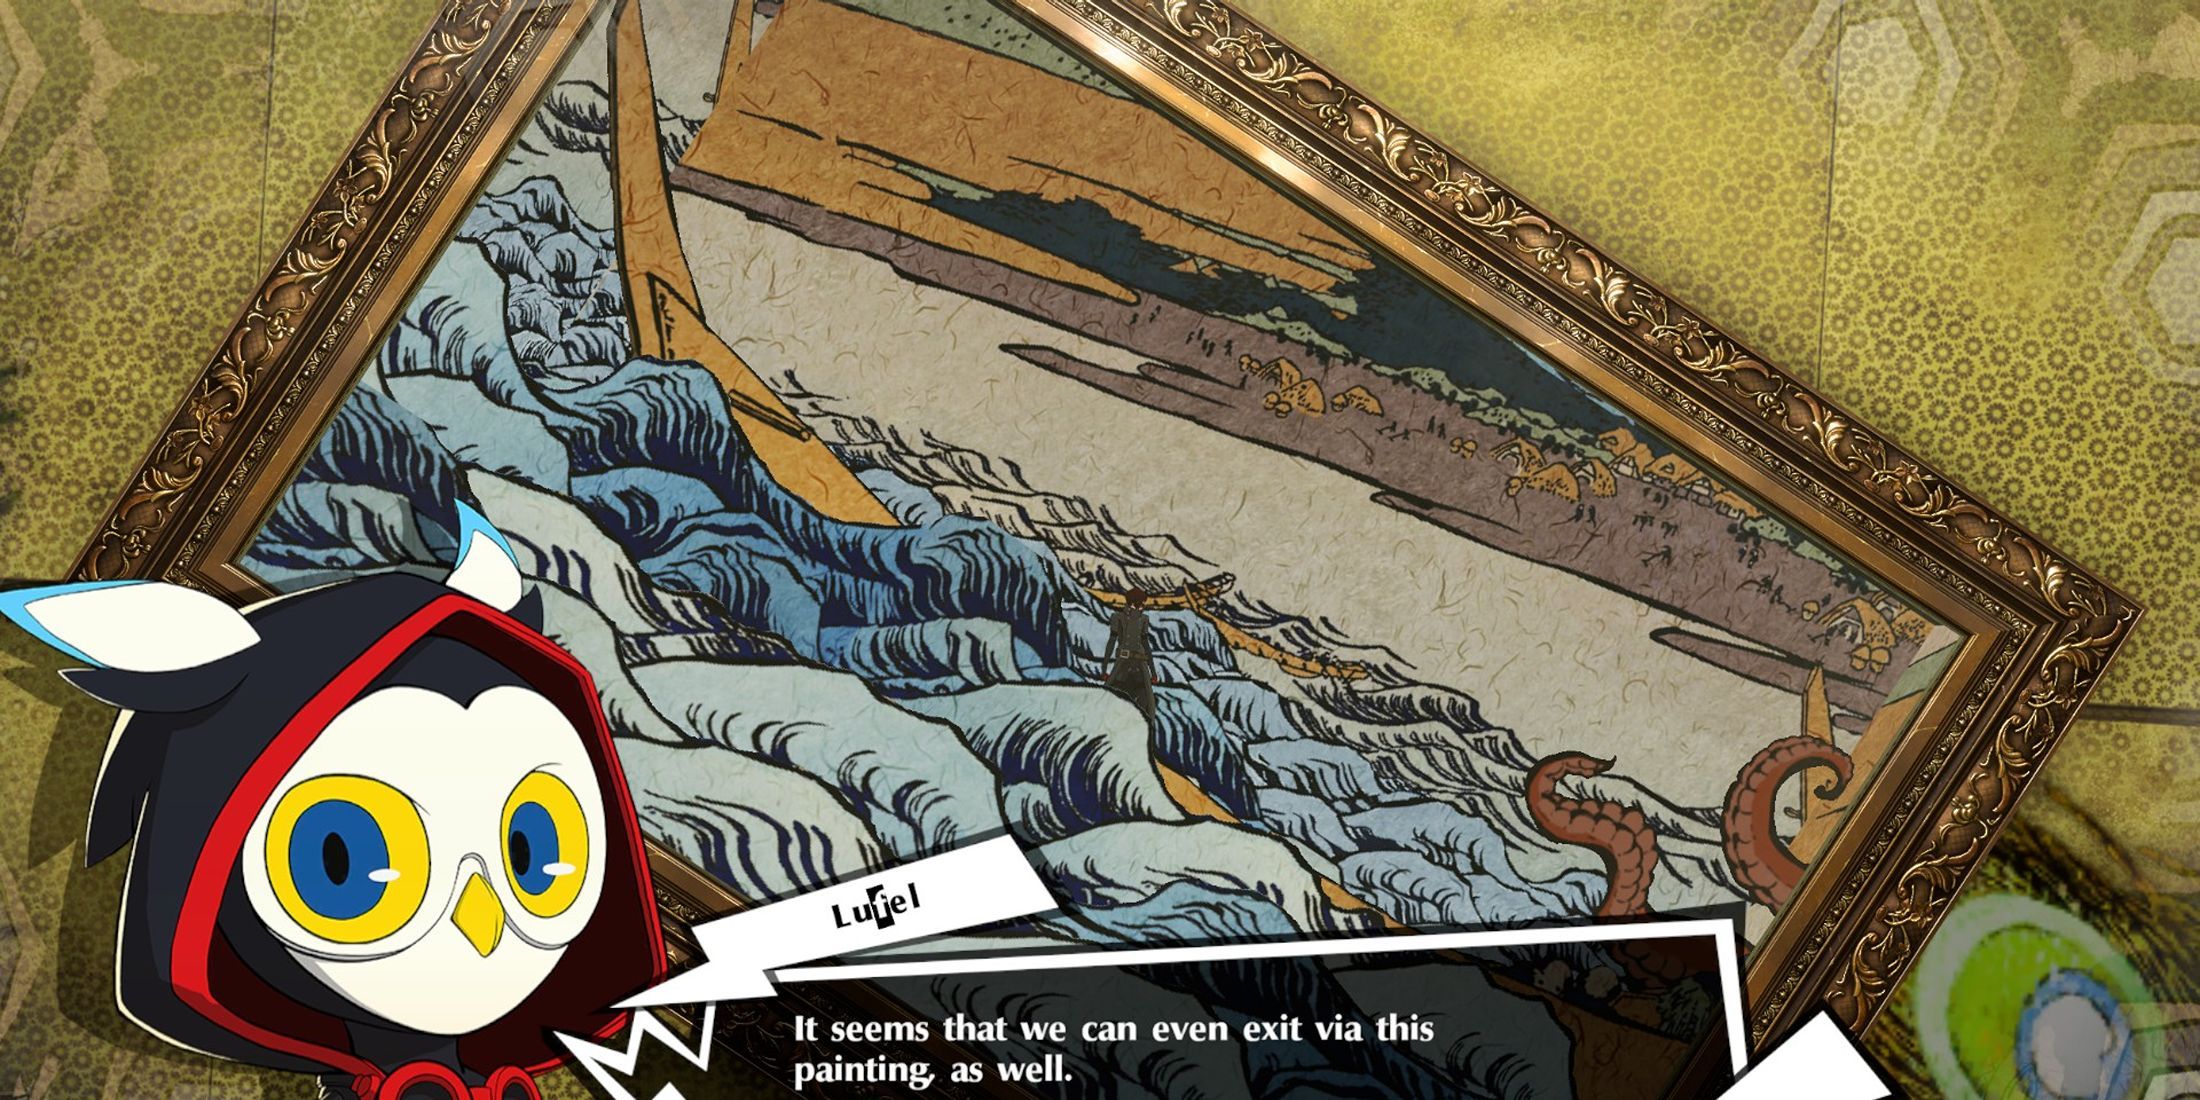
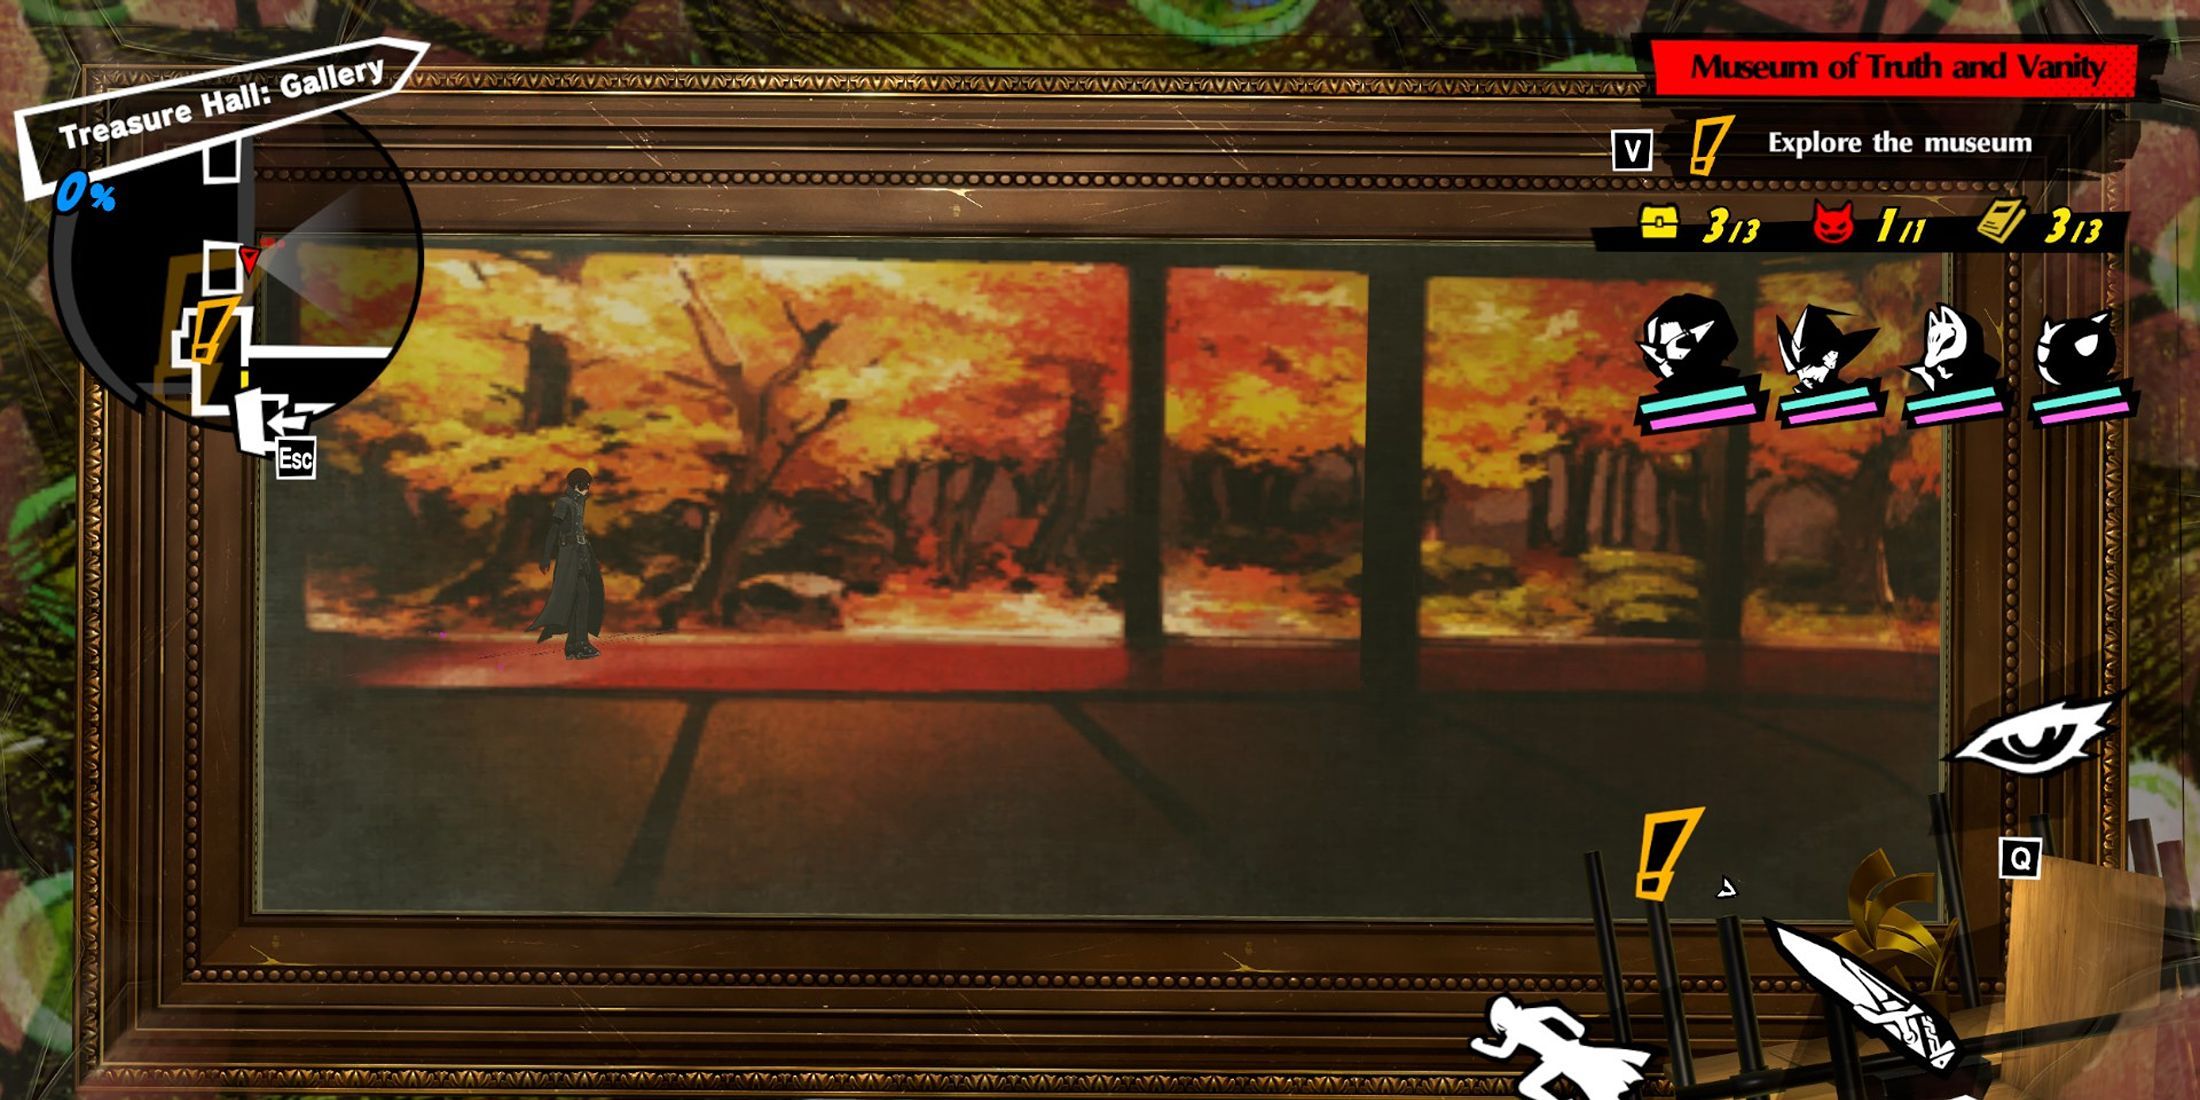
3. To solve this puzzle, scale the rocks in the jungle painting, transition to the camel painting, then proceed to the Torii gate and move all the way to the right. After that, jump into the sea painting, press another switch there, leap onto the scaffolding below, re-enter the camel painting, and follow the initial route: Camels, then the right corner, Torii gate, jungle (climb the rocks), and enter the autumn forest painting all the way to the right.
4. Leap out of the autumn forest painting onto the scaffolding, and continue forward to confront and defeat the boss, thereby completing the episode.
Episode 2-9 Run Through!

Once you begin Episode 2.9, turn around and grab the Key from one of the sofas. There are two fragile items nearby that can net you additional Konpaku Gems. Press the button on the wall, then make your way down the ramp to collect a Brochure. Dispatch the patrolling Shadows, then retrieve another Brochure, and open the Chest with the Key. Next to the chest, there’s a switch; press it, then search for a crooked painting on the opposite wall to uncover another switch. Press that switch to open a room containing a Powerful Shadow guarding another Chest. Gather the loot, then head to the other bathroom to pick up 600 Konpaku gems. Now proceed through the doors to advance to the next area.
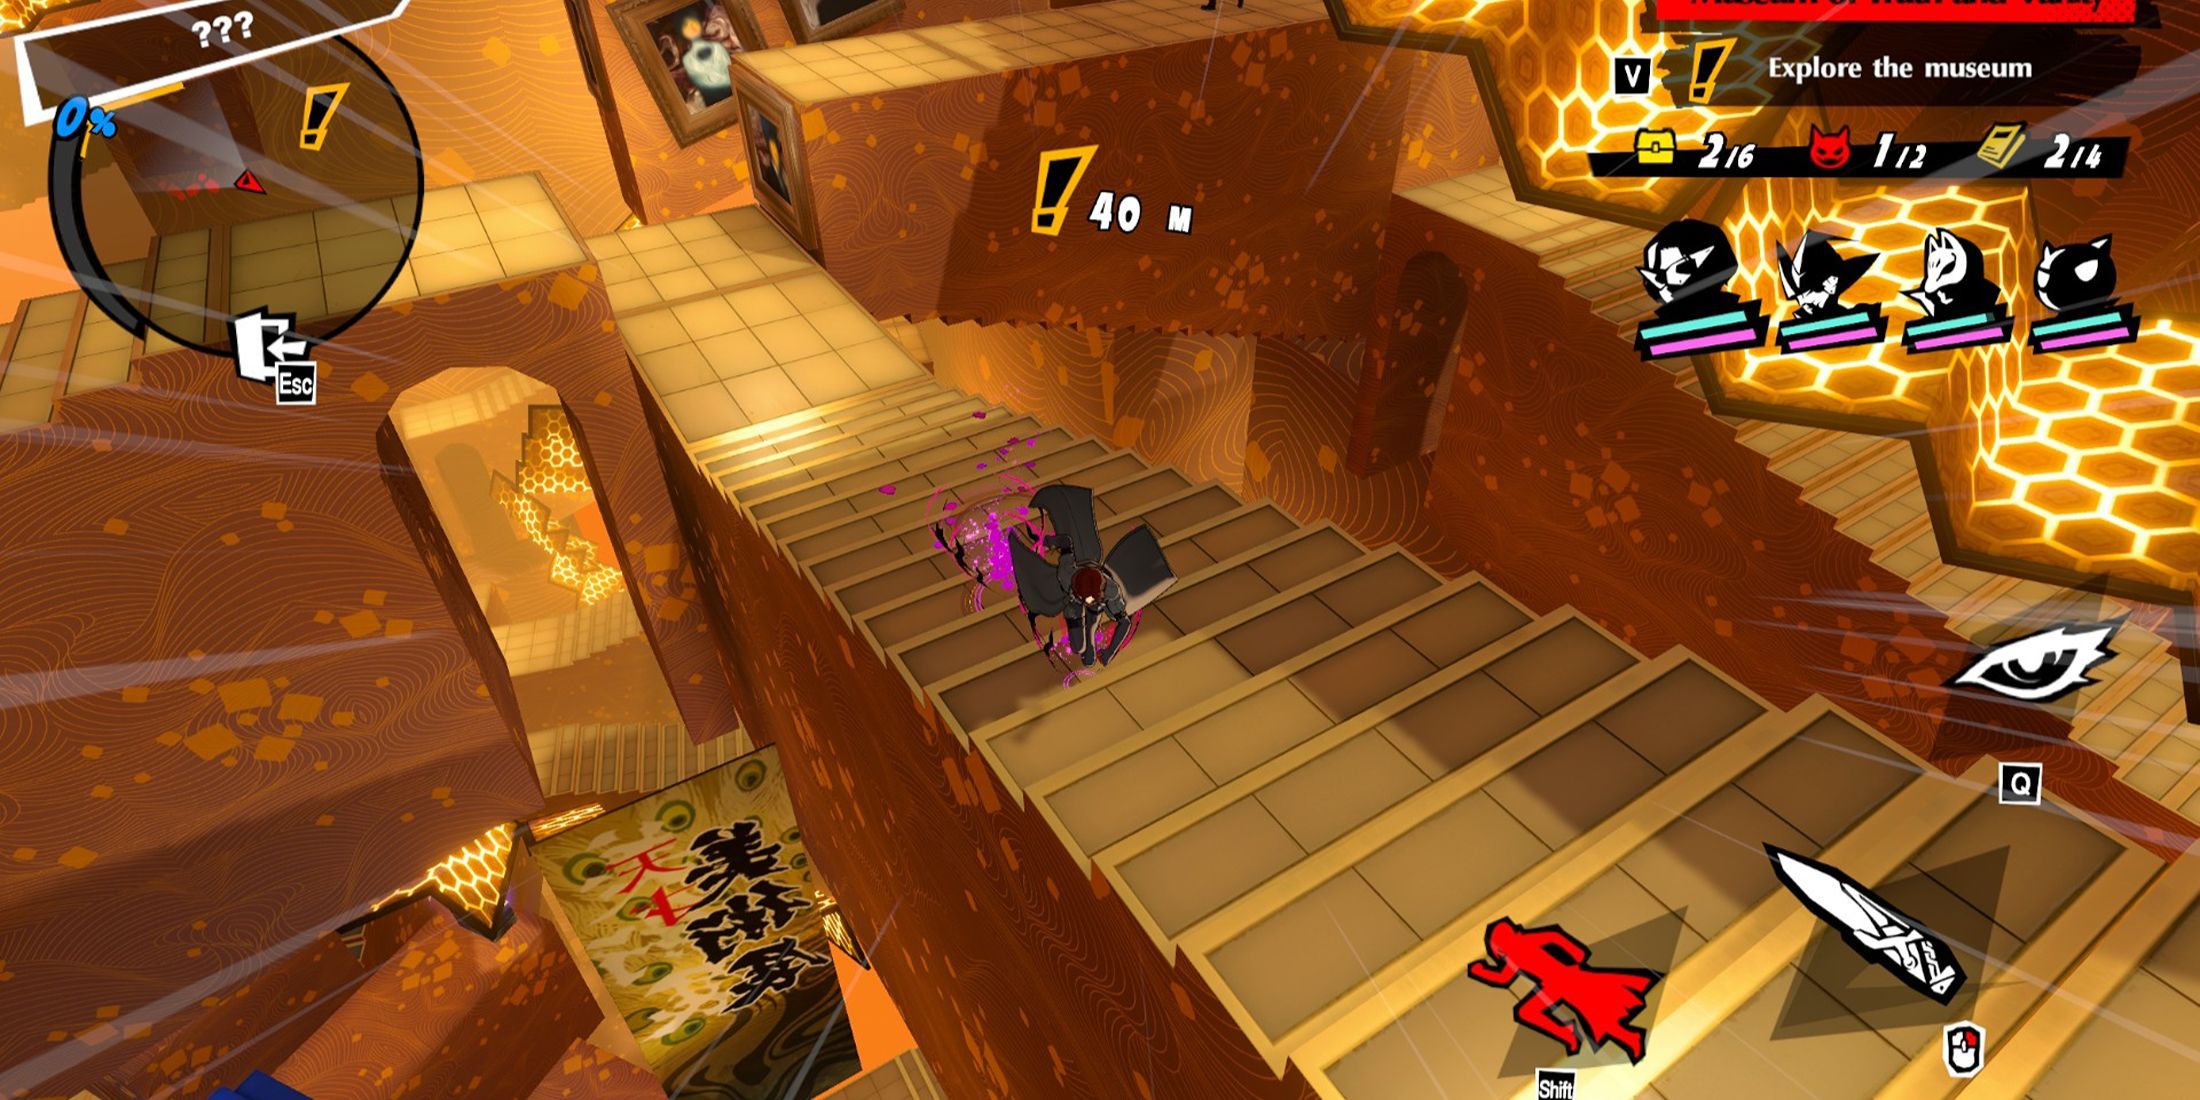


As an enthusiast, I’m ready to embark on another Penrose Stair Labyrinth adventure with Wonder. Along the way, there are several diverging paths. One leads to a Blue Locker, open it and retrace my steps to the main path, then veer off to the opposite side for a perspective change, and keep leaping about to get another Blue Locker. From this locker, descend the ramp to alter my viewpoint again and encounter a Strong Shade, vanquish it to seize a Museum Tour Guide and a Golden Lockbox. Now, retrace my steps following the markers, and keep leaping in the direction of the waypoint to claim a Purple Locker. Continue onwards and enter the next area, follow the path to obtain the last Tour Guide, and reach 100% completion. The following room houses an episode Sub Boss that’s relatively easy to conquer. After the cinematic sequence, destroy two fragile items to gather more Konpaku Gems for Wonder, and open the final Lockbox to wrap up the episode.
Episode 2-10 Which is Real?

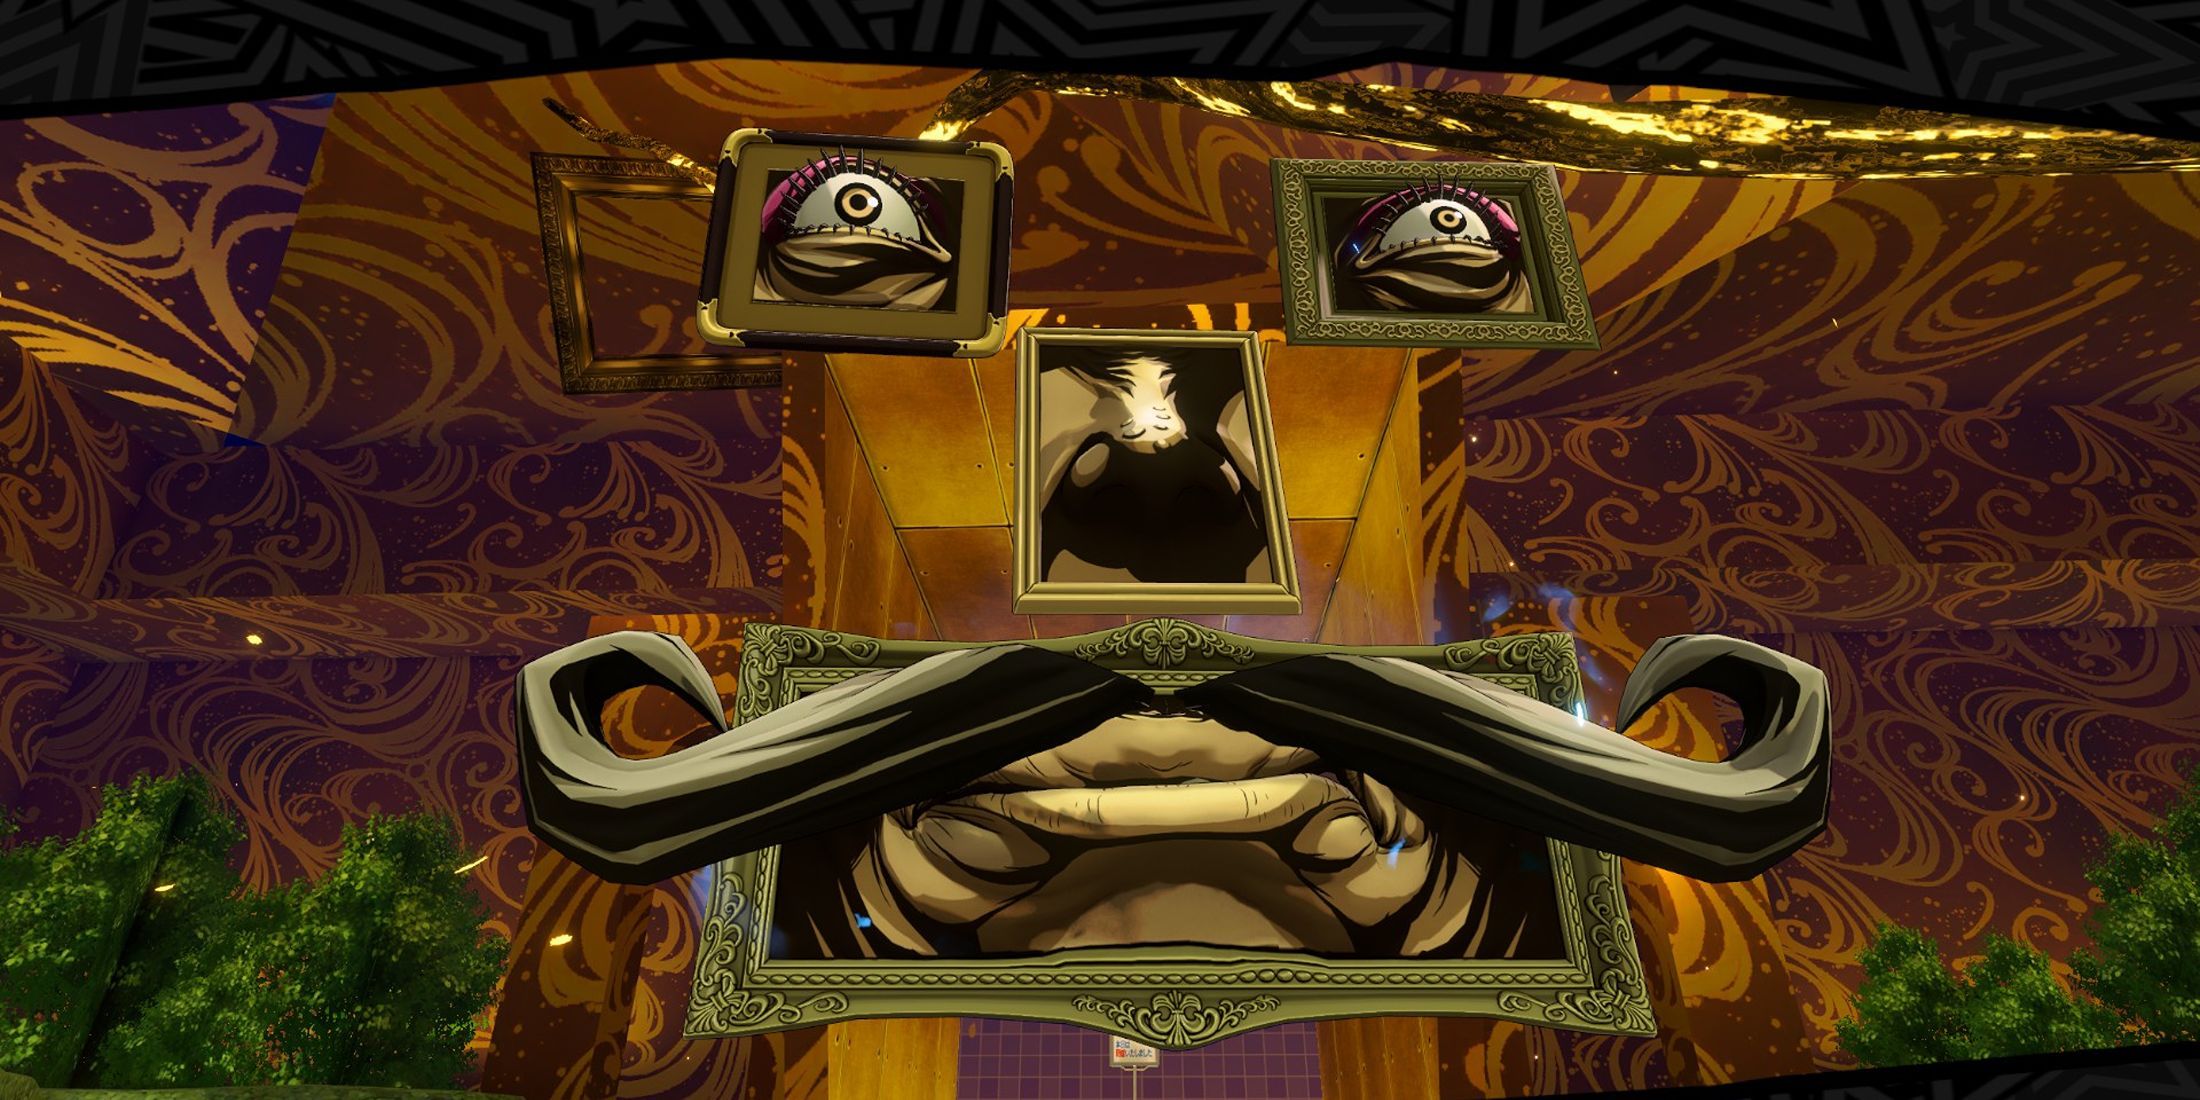
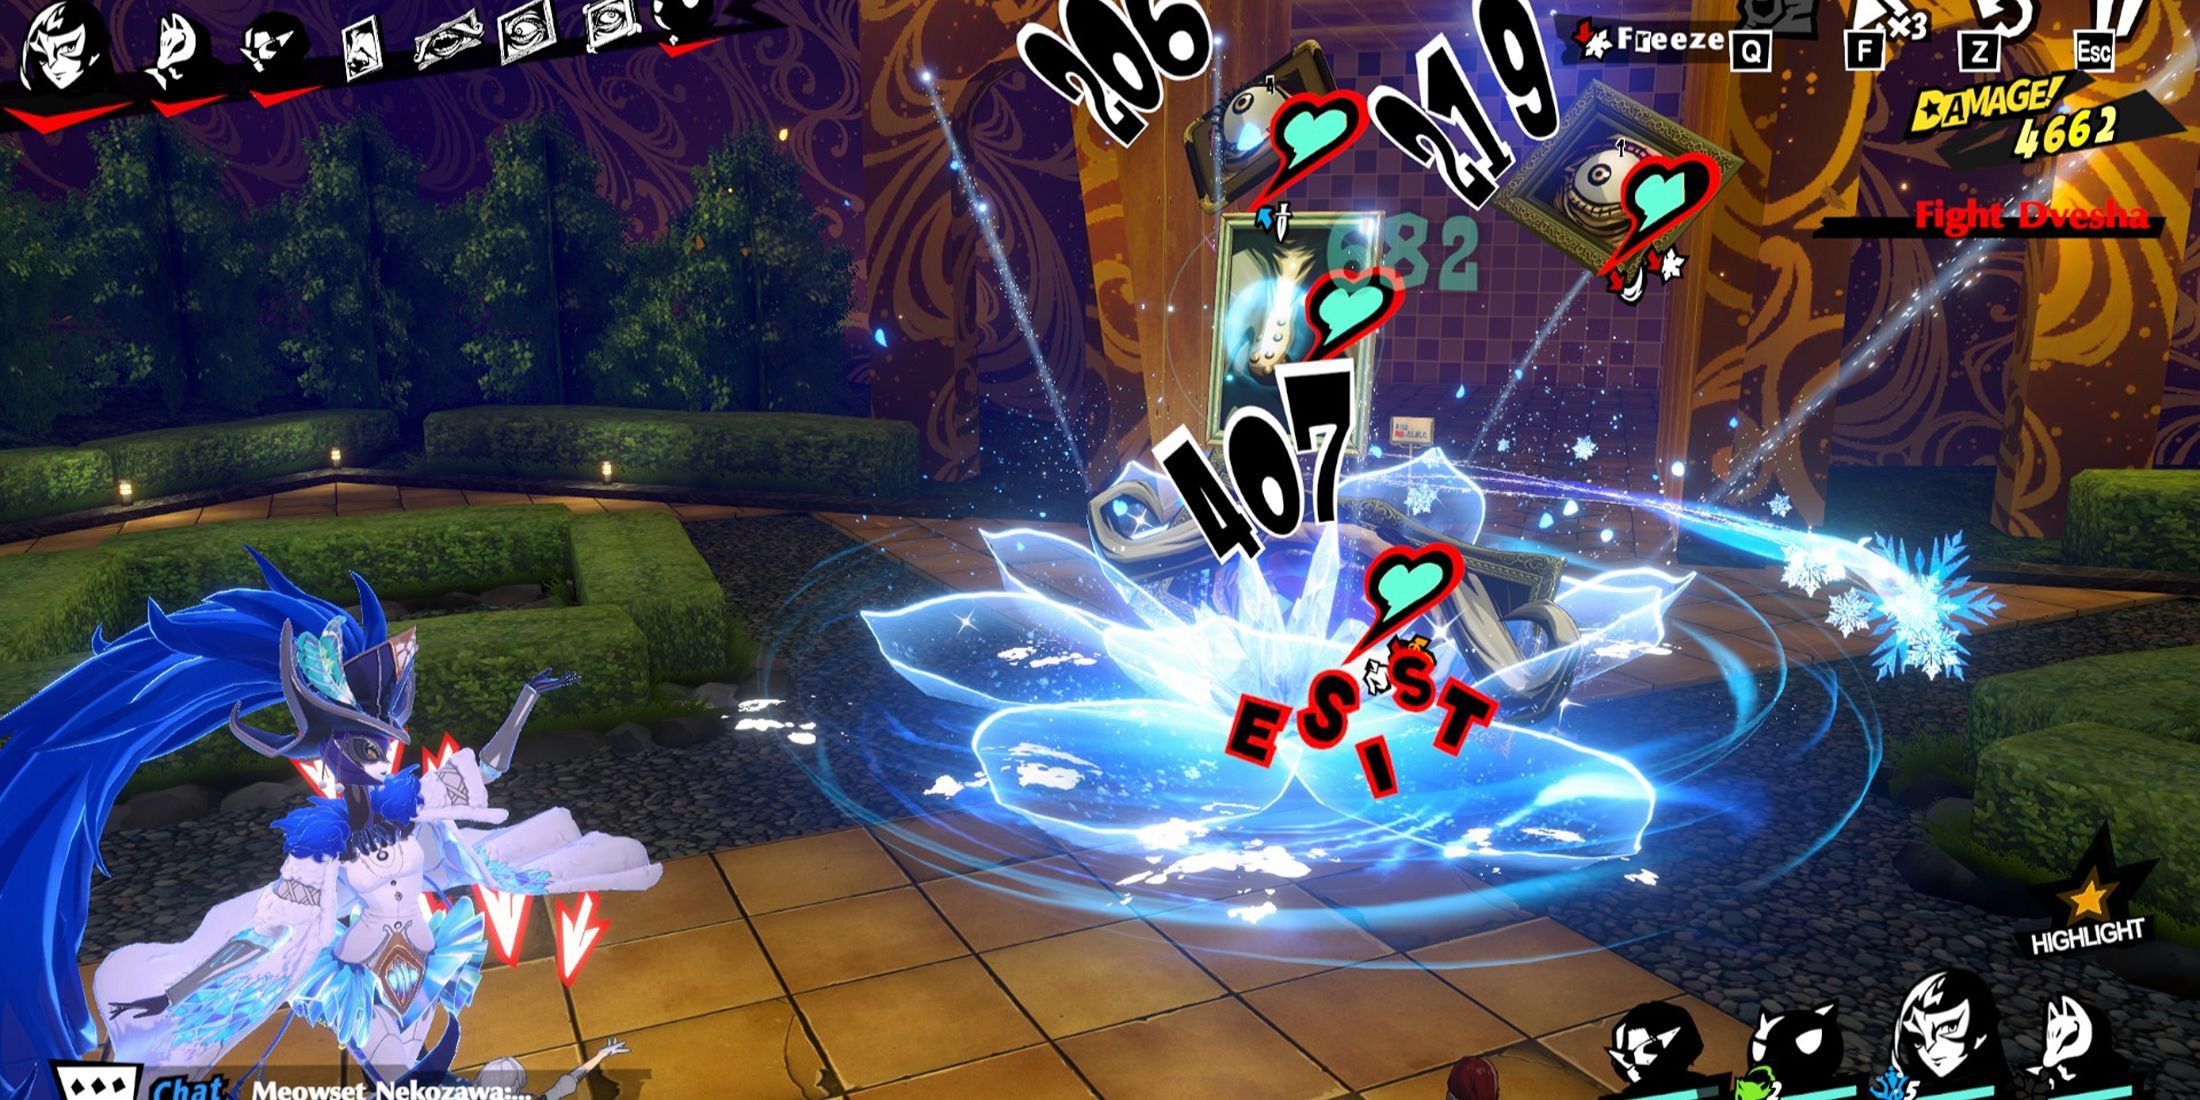
The concluding episode commences with a pre-battle sequence, seamlessly transitioning into a Boss Battle. The formidable adversary, named Dvesha, is composed of four distinct targets, or paintings: Right Eye, Left Eye, Nose, and Mouth. It’s crucial for players to focus their attacks on the Eyes initially to avoid Dvesha targeting their party members. Over time, Dvesha will unleash a potent attack, so it’s best to defeat the Eyes promptly.
In the upcoming phase of combat, focus on striking the boss’s Nose repeatedly to make it open its Mouth. Switch targets regularly, and watch for the message ‘Dvesha is focusing on Yasuke’ or any other party member as a sign to attack the Eyes with Single Target attacks, which will cause the boss to lose concentration. Since damaged areas tend to heal over time, aim for quick, powerful strikes that break its defenses and eliminate each part until it’s defeated, completing Episode 2-10 of Persona 5: The Phantom X. Well done! Now, head over to the Gallery Auction to claim your rewards.
Read More
- NTE Drift Guide (& Best Car Mods for Drifting)
- All Aswang Evidence & Weaknesses in Phasmophobia
- Diablo 4 Best Loot Filter Codes
- Conduit Crystal Location In Subnautica 2
- Where to Find Prescription in Where Winds Meet (Raw Leaf Porridge Quest)
- Boruto: Ikemoto Has Already Hinted At Sasuke’s New Eye After Return
- Best Burst & Full Auto Builds for the M16A4 in BF6
- Forza Horizon 6: Find the Ohtani Treasure Chest Location
- How to Unlock All Maps in Far Far West
- Deltarune Chapter 1 100% Walkthrough: Complete Guide to Secrets and Bosses
2025-07-25 23:05