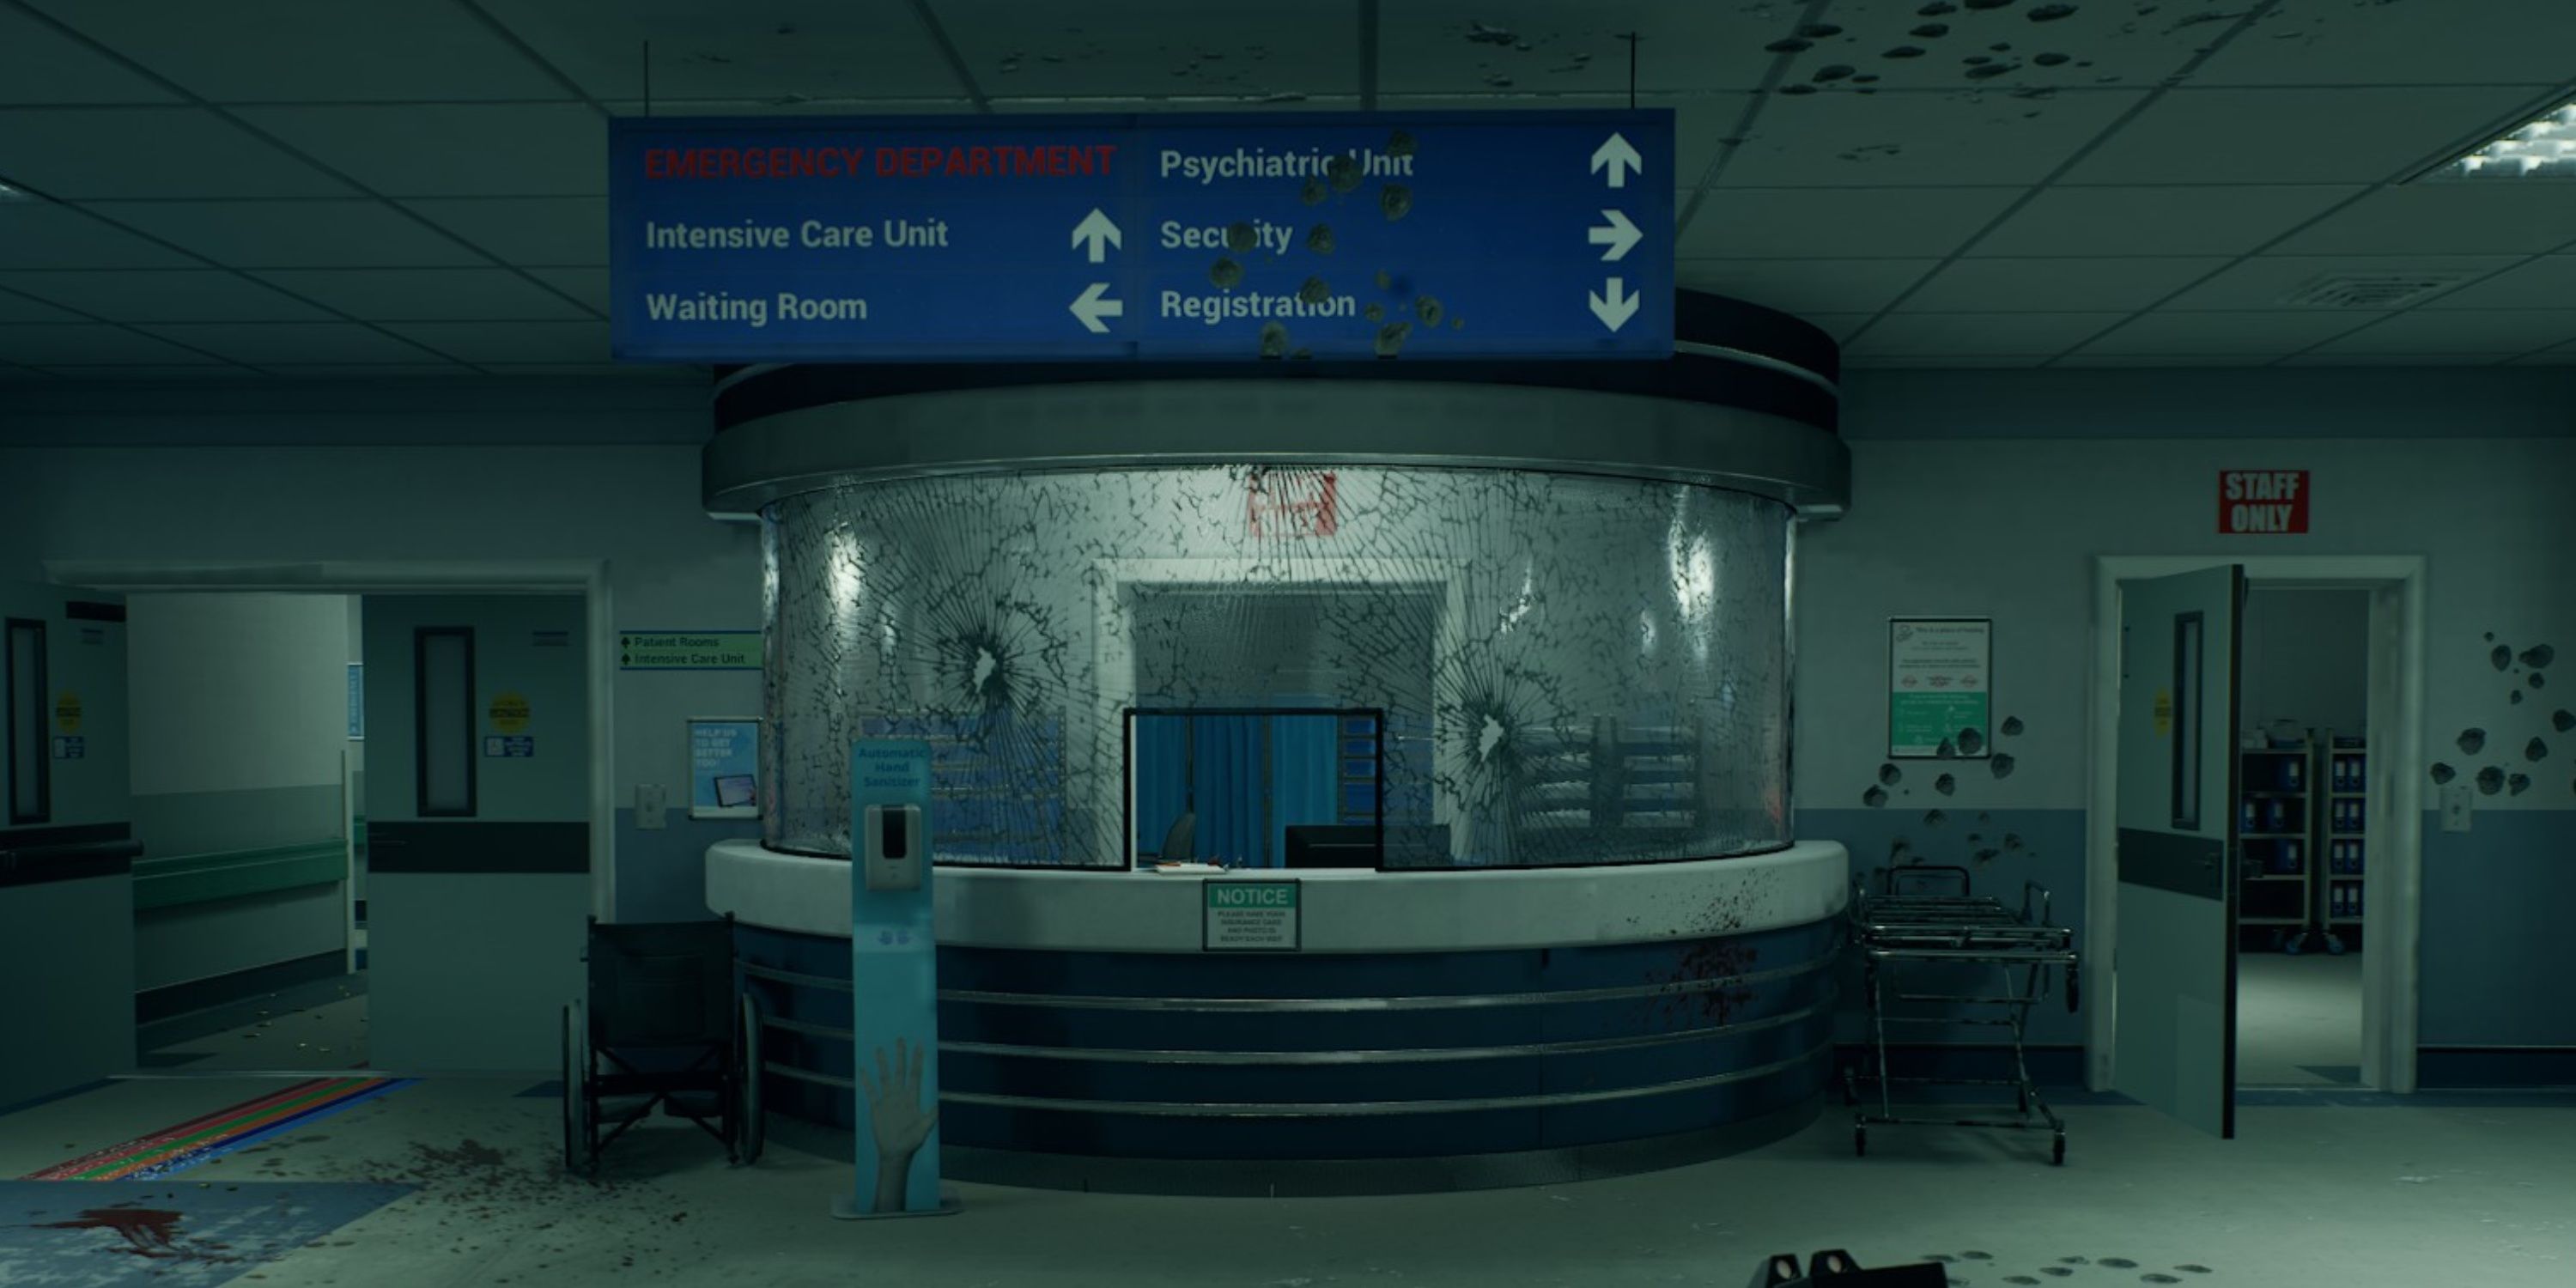
The second-to-last mission in the game “Ready or Not” transports players to a hospital seized by terrorists. Equipped with rifles, shotguns, and sidearms, these terrorists are ruthless and ready to fire upon the police officers trying to save the day. To secure the highest rank, you’ll need the optimal gear and should proceed to Coastal Grove Medical Center for the S-Rank in the mission “Relapse.” However, be aware of numerous civilians and potential bomb locations that could negatively impact your best possible rank in one of “Ready or Not“‘s most challenging missions.
All Objectives in Relapse
How to Get the S Rank in Relapse
The video above showcases a full S-Rank walkthrough of Relapse.
In the game Relapse, there aren’t any secondary goals. Instead, players aim to accomplish the primary objectives listed hereafter:
In Relapse, the focus is solely on completing the main objectives, with no additional side tasks. Below are the four key objectives for players to pursue:
| Objective | How to Complete |
|---|---|
| Bring Order to Chaos | Arrest the 16 suspects, alive |
| Rescue All of the Civilians | Rescue all 11 civilians |
| Arrest Zahir Asadullah | Zahir Asadullah is found in the MRI room |
| Defuse the Bomb Threats | There are 2 bombs to be found in Relapse within 30 minutes |
In the challenging mission known as Relapse, players should aim to be fully prepared for the dangers that lie ahead. Armor-wise, reinforced ceramic plates offer the greatest protection, effectively absorbing the maximum amount of damage, allowing players a few additional shots before they’re out of action. For weaponry, opt for the Beanbag Shotgun and some Flashbangs to swiftly clear rooms of adversaries. The Tactical Shield is indispensable in this setup, acting as a protective shield on your back, similar to a turtle shell. This shield will prove particularly useful when traversing the skybridge connecting the hospital wings, where it’s advisable to walk backward, enabling the shield to block any potential damage as you move from room to room. Ensure that your AI teammates carry the VPL 25 instead of the Beanbag Shotgun to avoid friendly fire incidents. To make this mission smoother, select Officer traits such as Nutritionist, Armorer, Intimidator, and Negotiator for better health during this extended encounter and easier compliance orders. While multiple attempts may be required, with the right equipment and skills, an S-Rank is within reach for this mission.
How to Bring Order to Chaos in Relapse
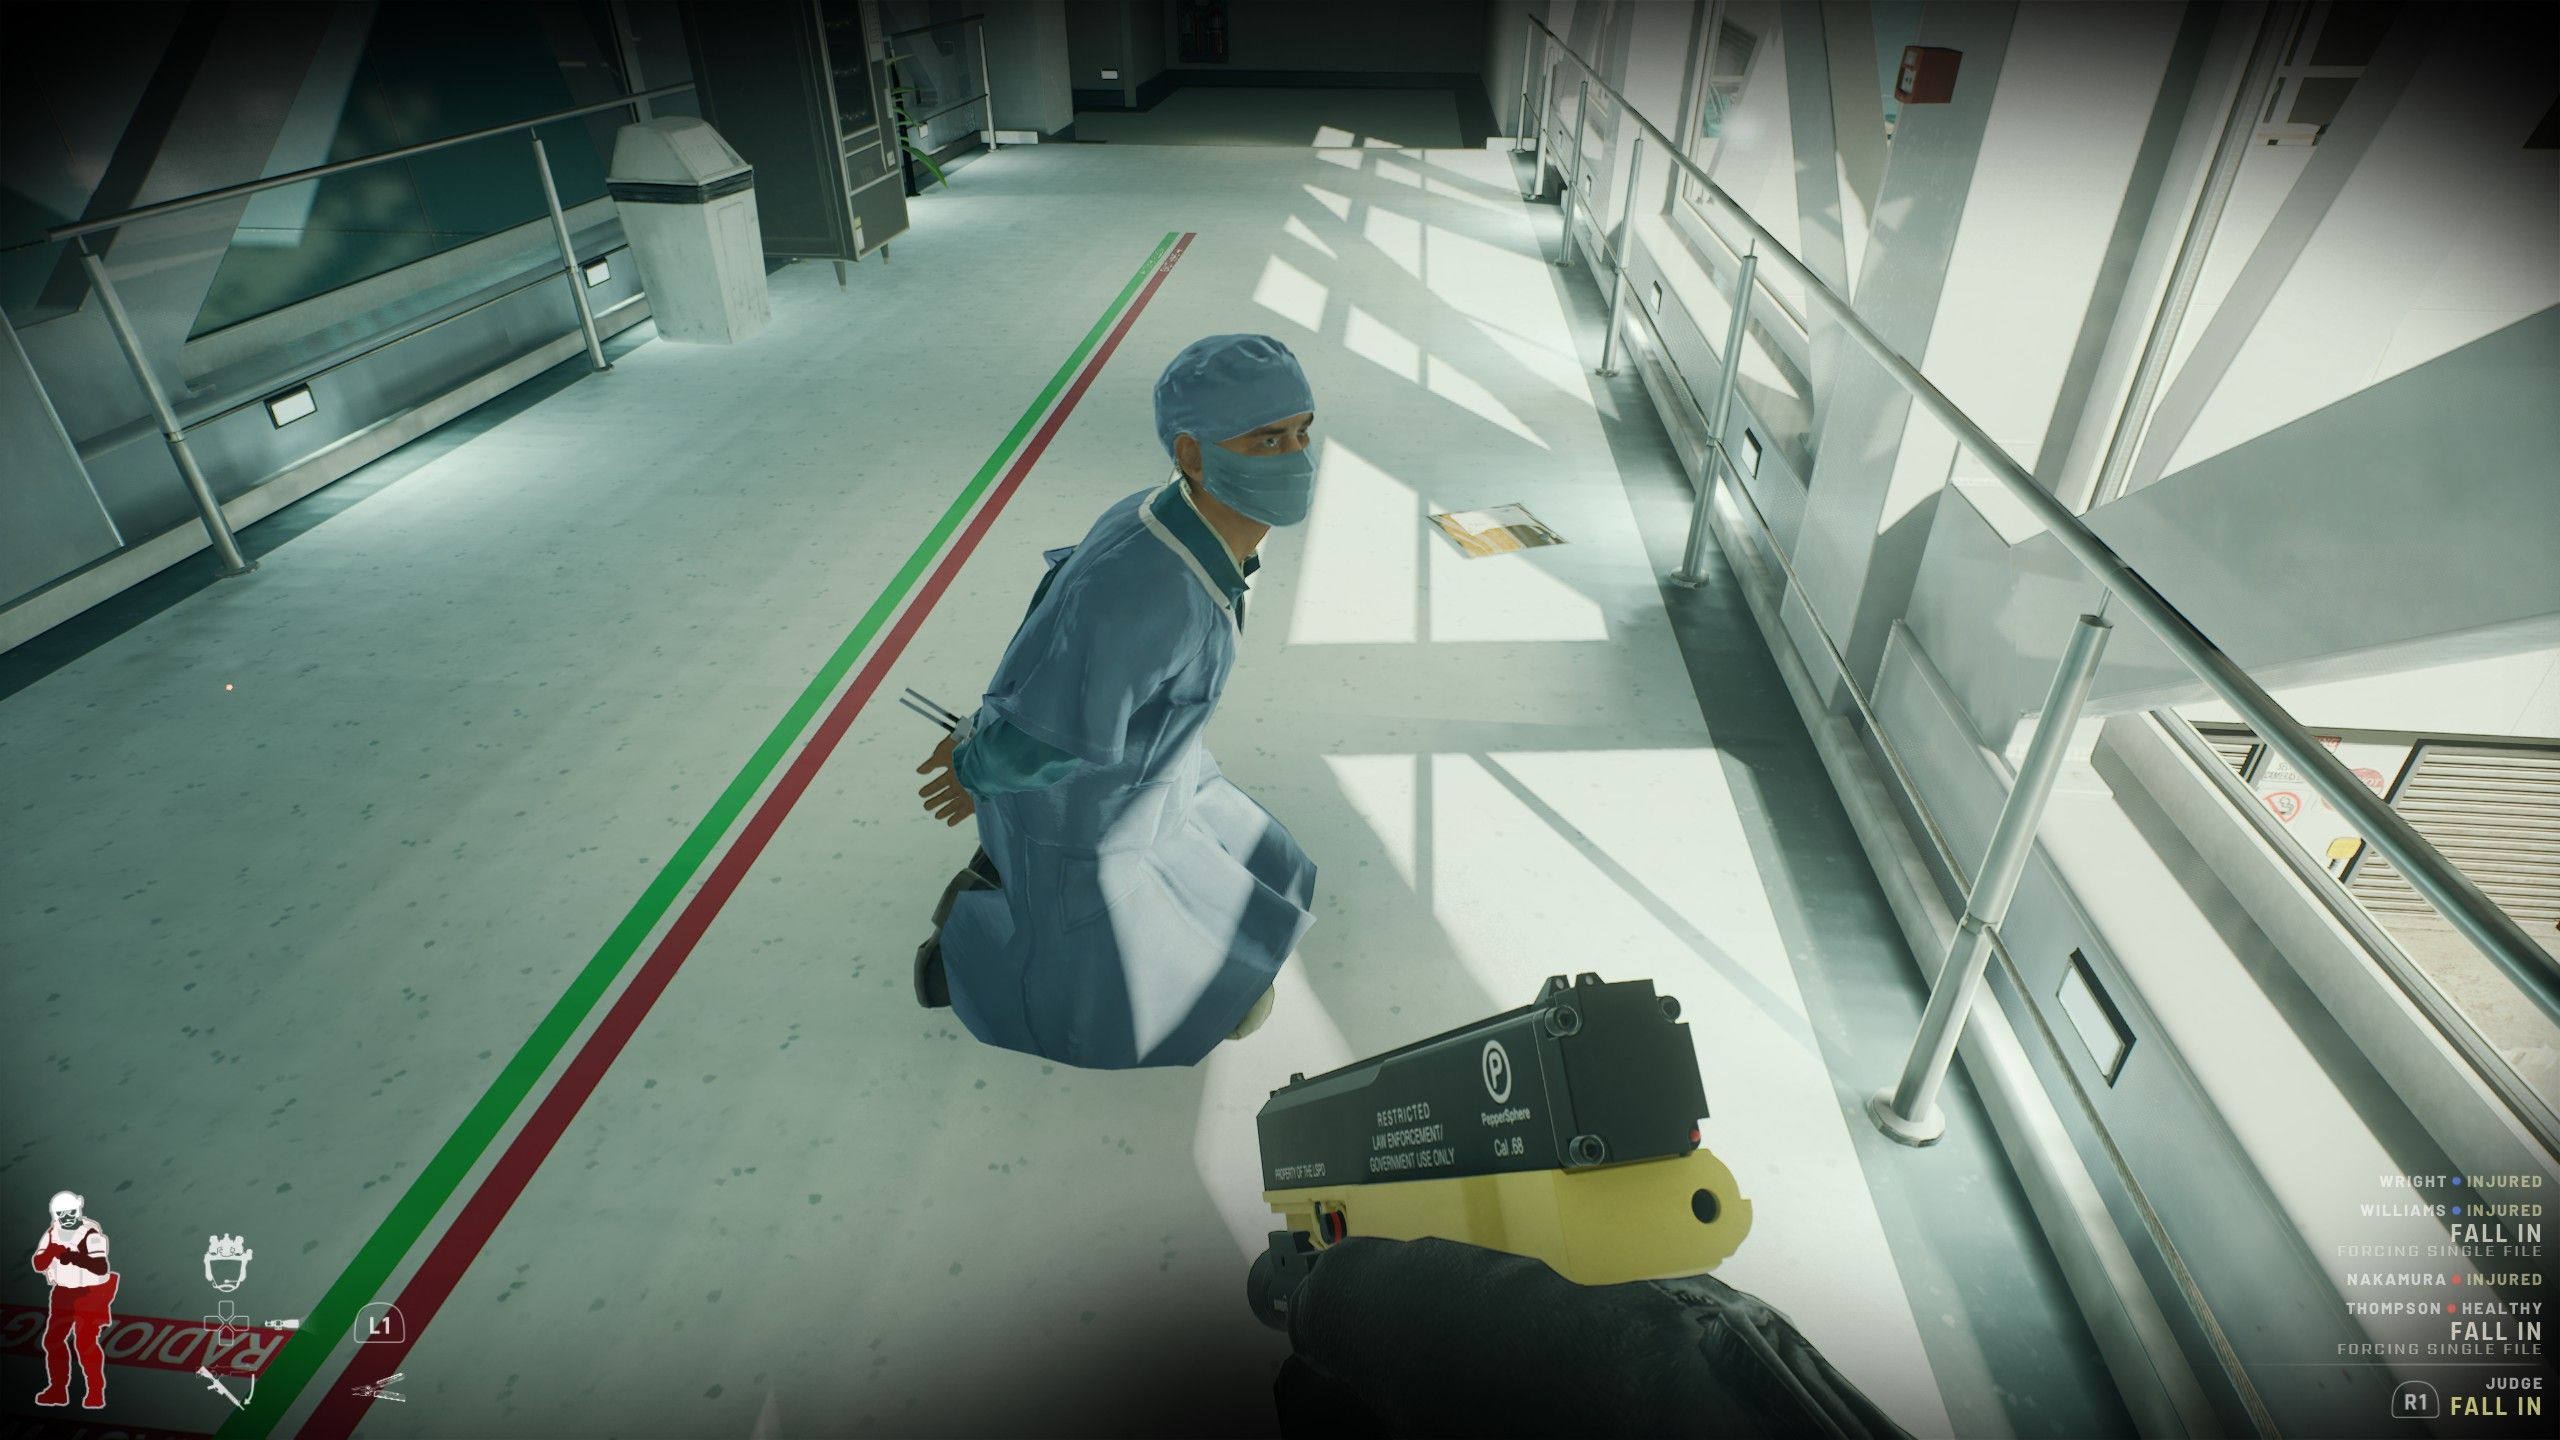
In the game Relapse, approximately 16 potentially dangerous suspects are present. To achieve the highest rank (S-Rank), players must ensure these suspects are captured alive. Given their lethal nature, a Beanbag Shotgun becomes an indispensable tool for subduing them without causing harm. Each of these suspects will drop a weapon and may also carry a sidearm, necessitating the collection of over 23 pieces of evidence. Additionally, be wary in Relapse that some hostile characters pose as medical personnel, such as doctors or nurses. These individuals could be disguised as people wearing scrubs uniforms and face masks, so it’s crucial to maintain vigilance when encountering anyone during gameplay.
Given the expansive nature of this mission location, it’s recommended to begin at the entrance of the Subterranean Car Park for a smooth start.
As a passionate cinephile, I methodically scoured the first floor of this hospital, room by room, ensuring each space was thoroughly inspected before moving on. Before venturing upstairs or exploring the East and West wings, I had to be vigilant due to the higher number of hostile elements compared to civilians. When navigating, I made a point to avoid long corridors, instead keeping my focus on corners and rooms where danger might lurk. A Flashbang grenade often proved useful before entering a room; it could disorient enemies and potentially force them to surrender without firing a shot.
How to Arrest Zahir Asadullah in Relapse
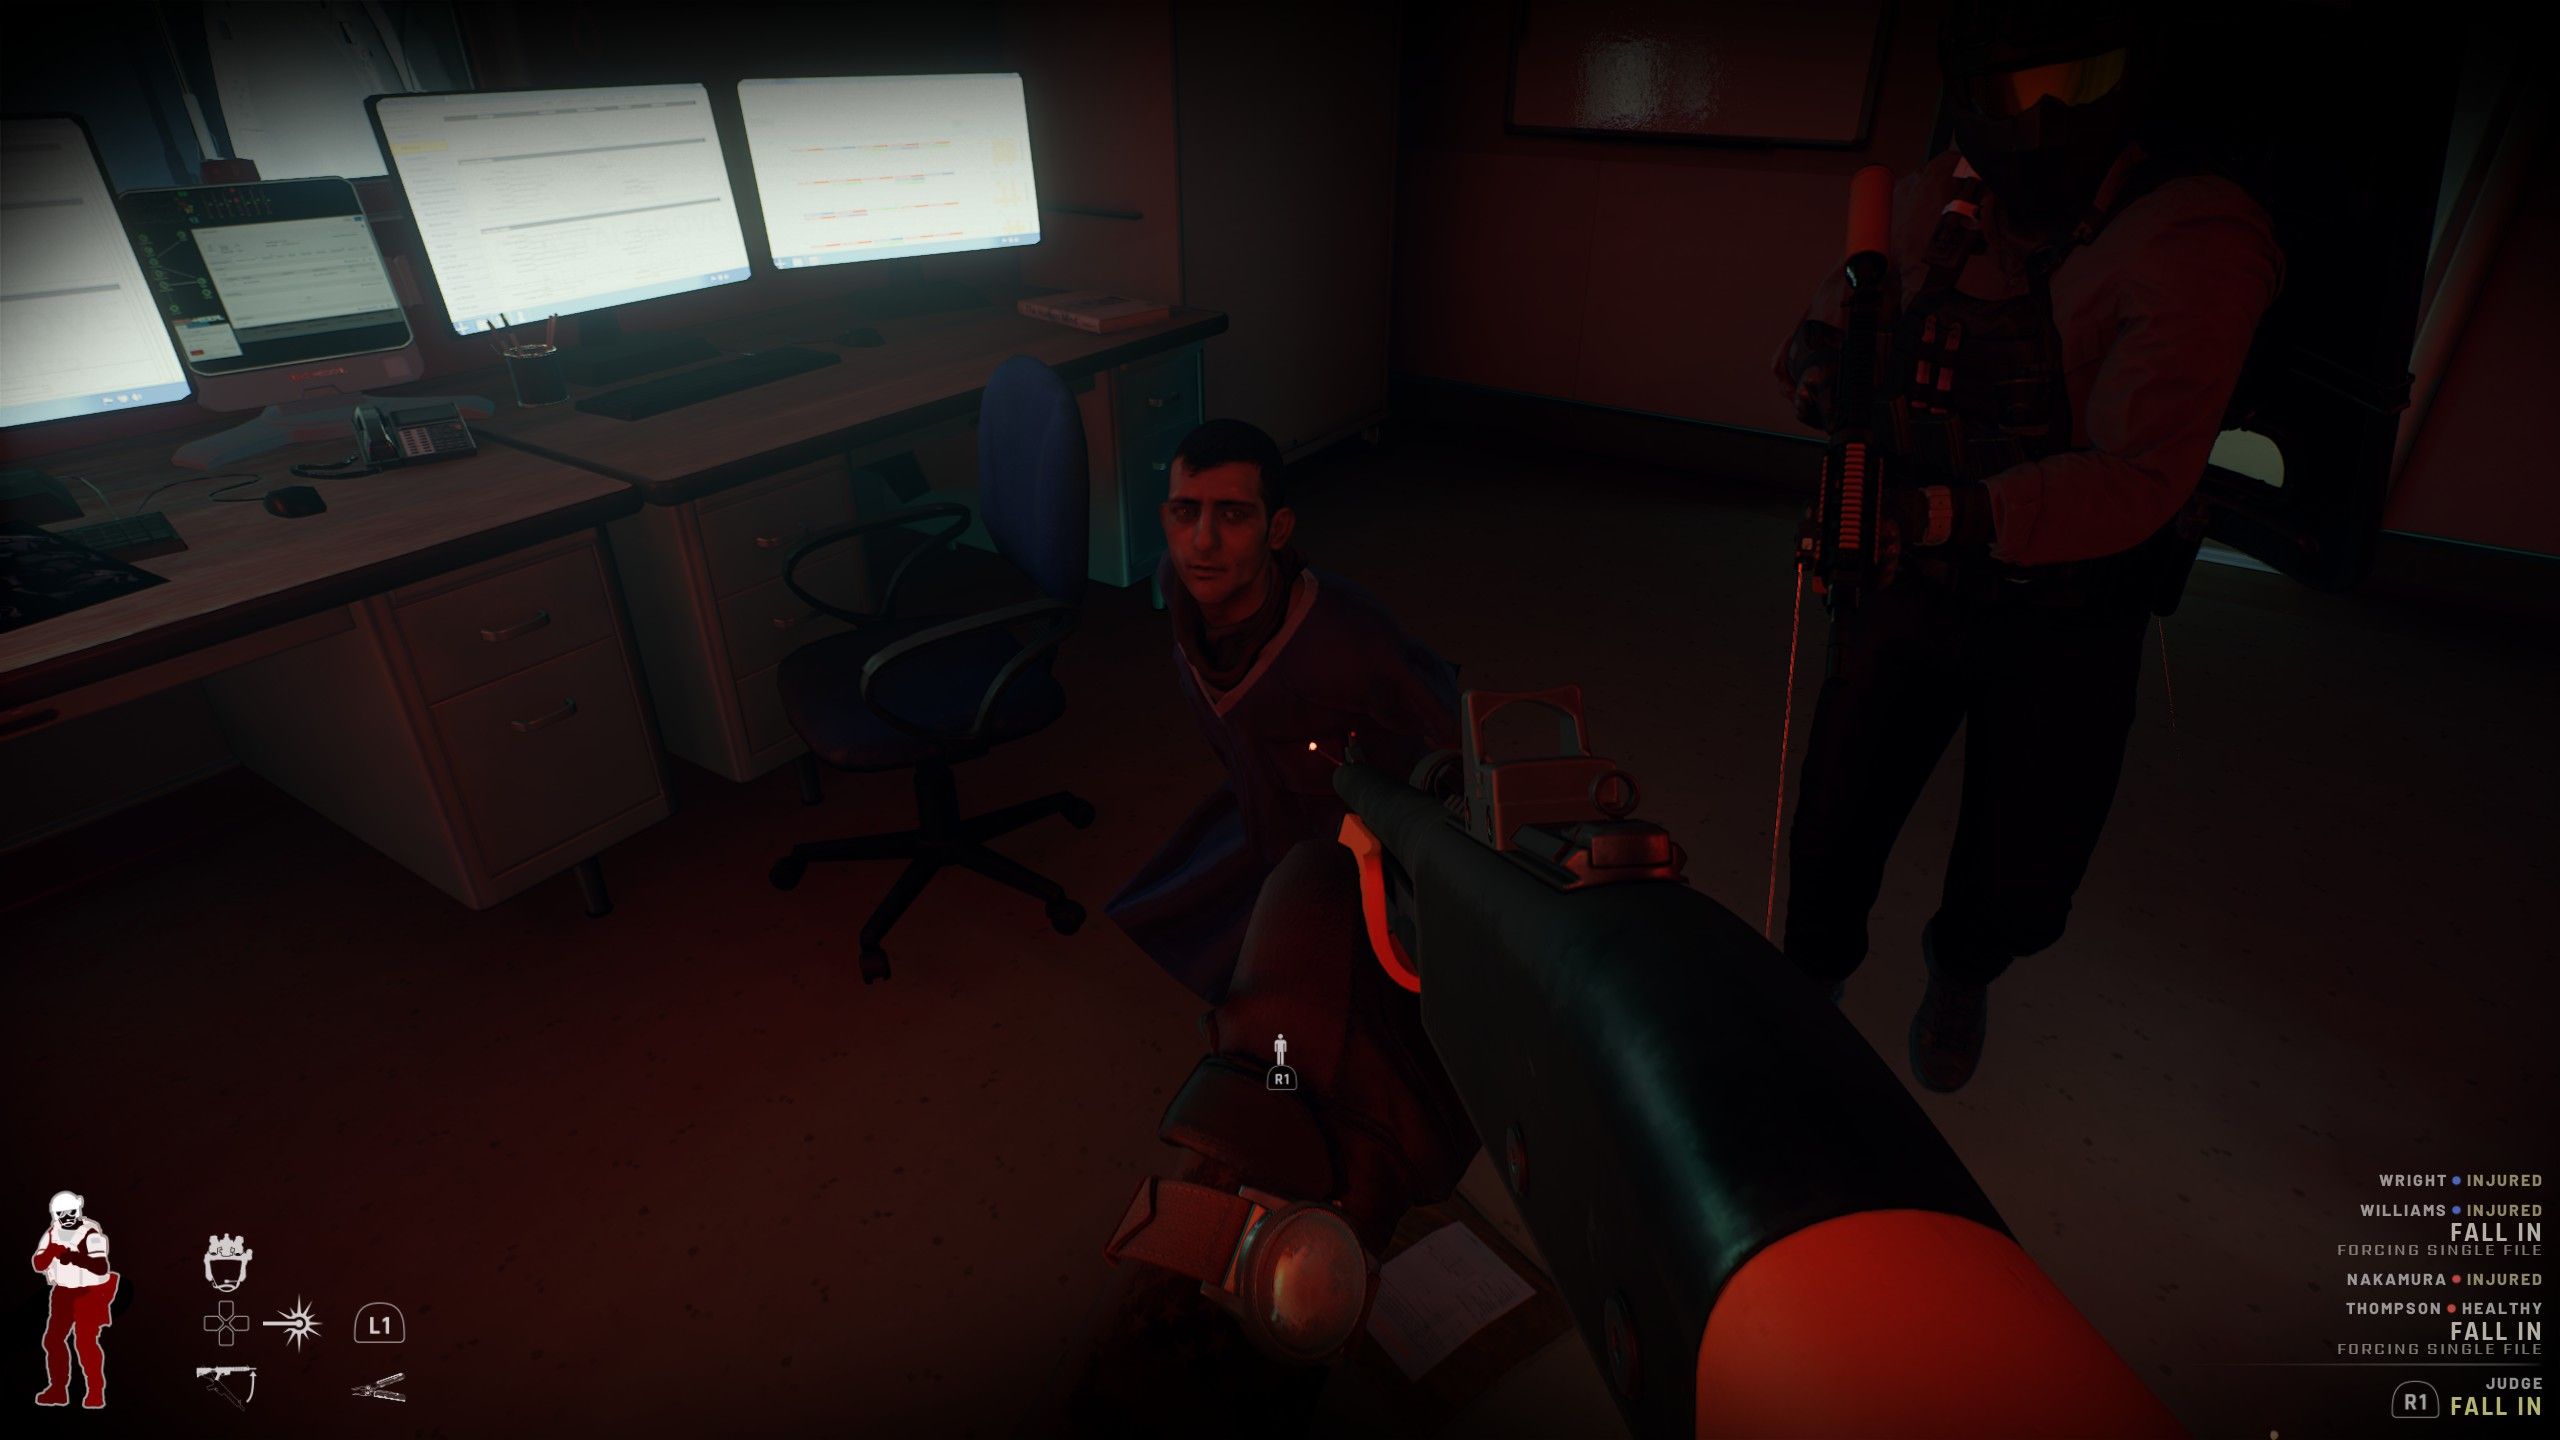
In the pursuit of an S-Rank case, it’s crucial that all suspects are apprehended alive. However, among them, Zahir Asadullah stands out as particularly significant. It’s essential that players manage to apprehend him under any circumstances. Zahir is typically armed with a pistol and can usually be found on the Second Floor in the MRI Room, which is accessible via the West Wing. Keep in mind that this suspect is hostile, so approach the room cautiously. If Zahir resists arrest, you have permission to use a Beanbag Shotgun to subdue him, aiming for his chest, ensuring both your safety and successful apprehension.
All Bomb Locations in Relapse
How to Defuse the Bomb Threats in Relapse
In the game Relapse, players may initially worry about the presence of bombs that need disarming. However, you can rest assured that these bombs should not cause undue stress. There are merely two bombs in the entire game, each equipped with a 30-minute timer. This more than ample time allows for the completion of objectives and the successful defusing of the bombs. What’s more, the locations of these bombs within Relapse remain consistent from one match to another, making them predictable and easier to navigate. The video above provides guidance on how to access both bombs in Relapse, and I will further elaborate below:
1. Bomb Location 1: [Description]
2. Bomb Location 2: [Description]
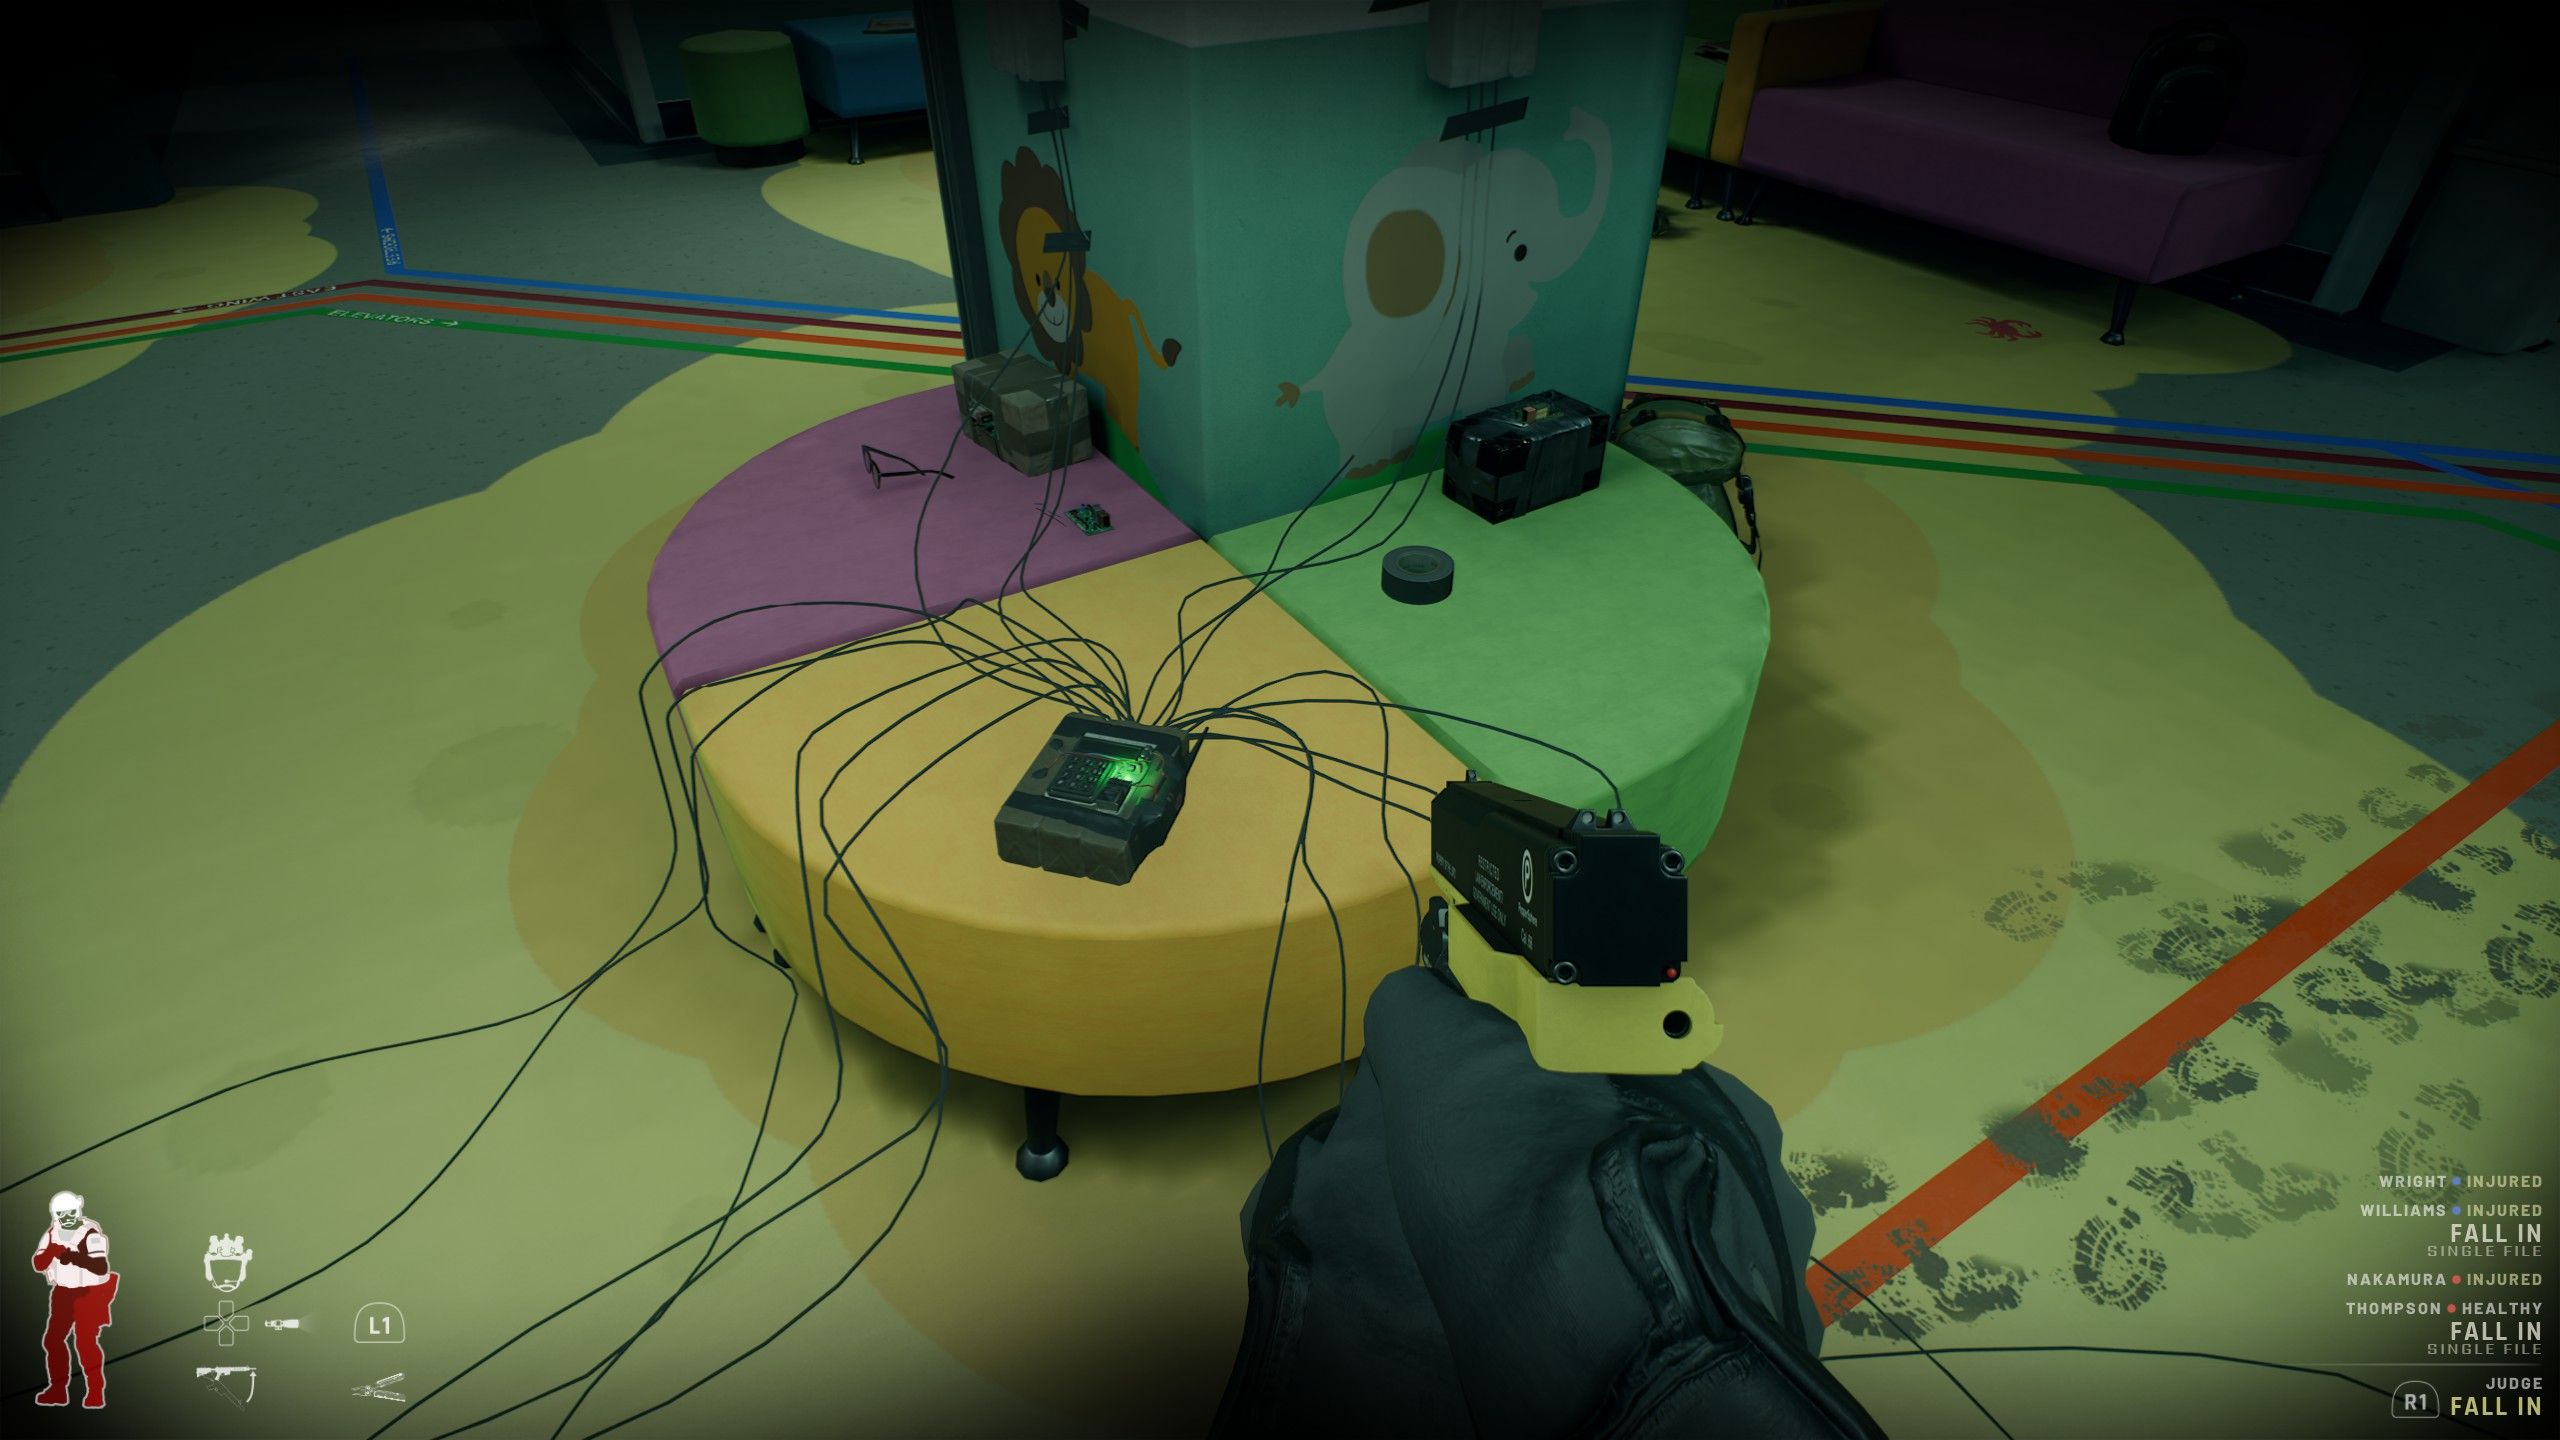
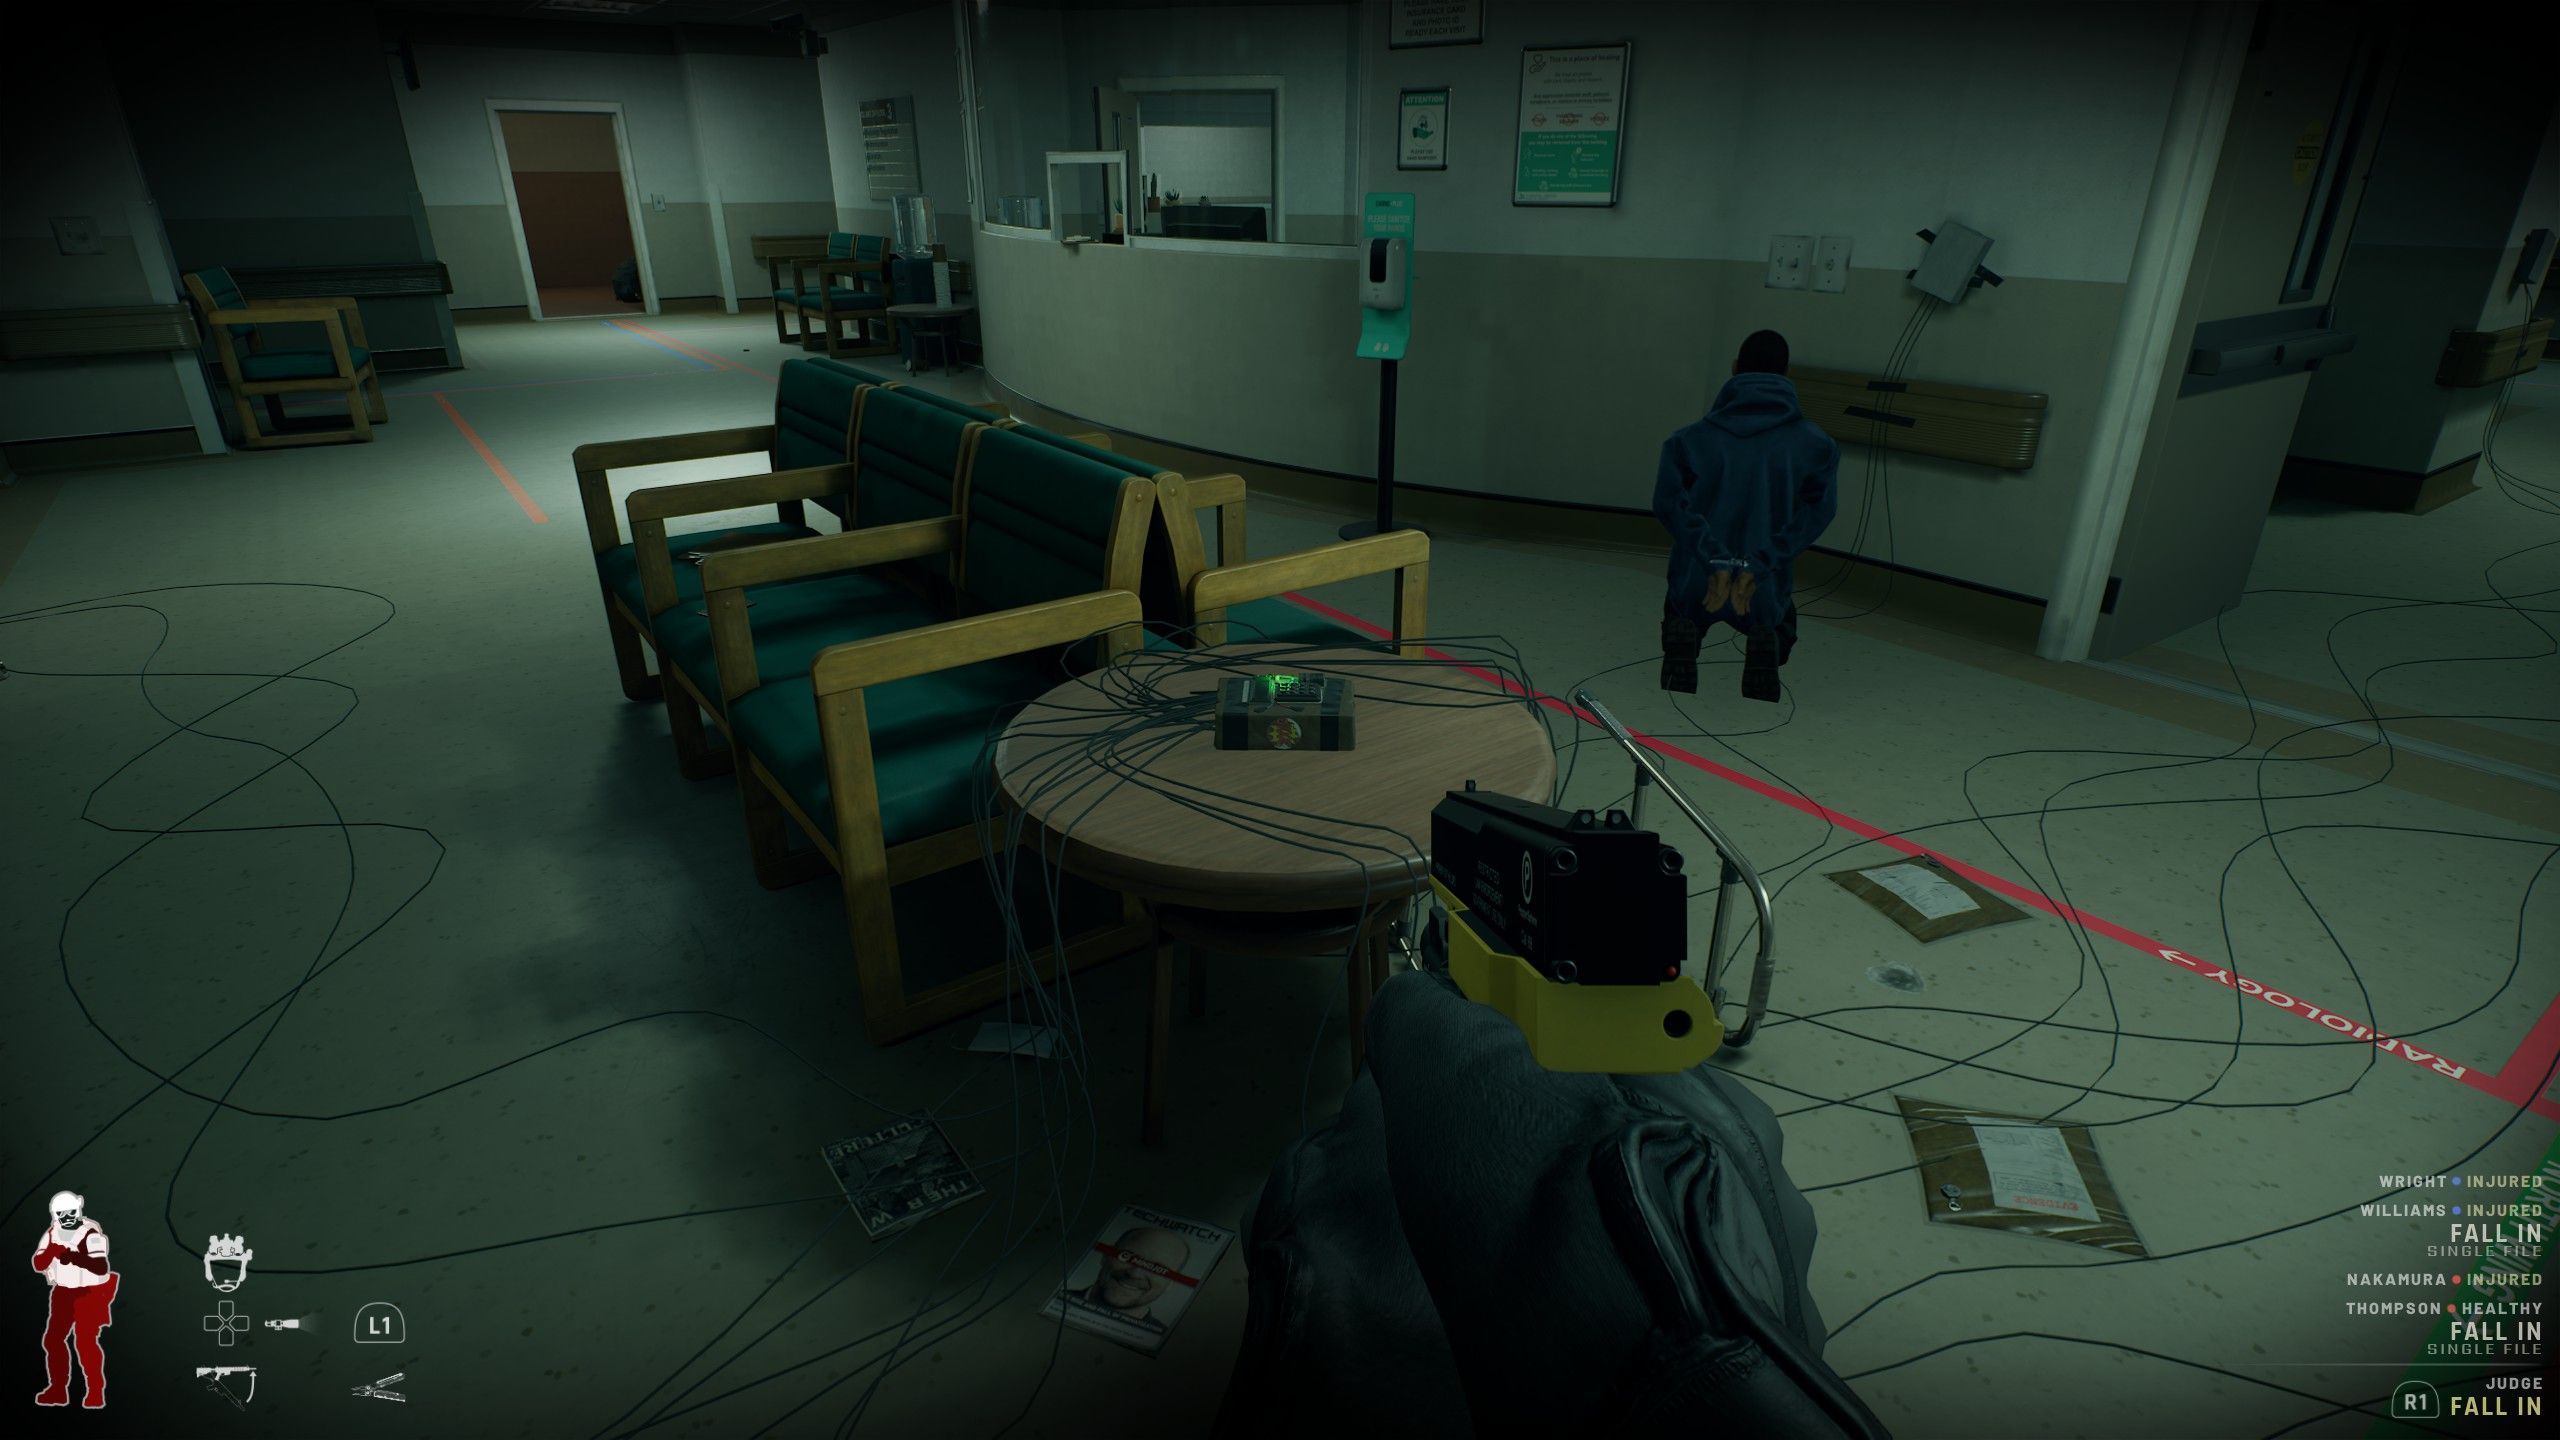
- Bomb Location #1 – From the Underground Parking Lot Entry, head into the lobby and follow the green line that will lead you upstairs to Floor 3. On Floor 3, take the first left, where inside the Pediatric Reception in the middle, is the bomb that can be defused with the wire tool.
- Bomb Location #2 – Leading directly from the Pediatric Reception, follow the red lines on the floor to exit via the skybridge, and then take the first left into the Radiology Registration room. Take the first right, and opposite the reception, will be the bomb that can be defused.
How to Rescue All of the Civilians in Relapse
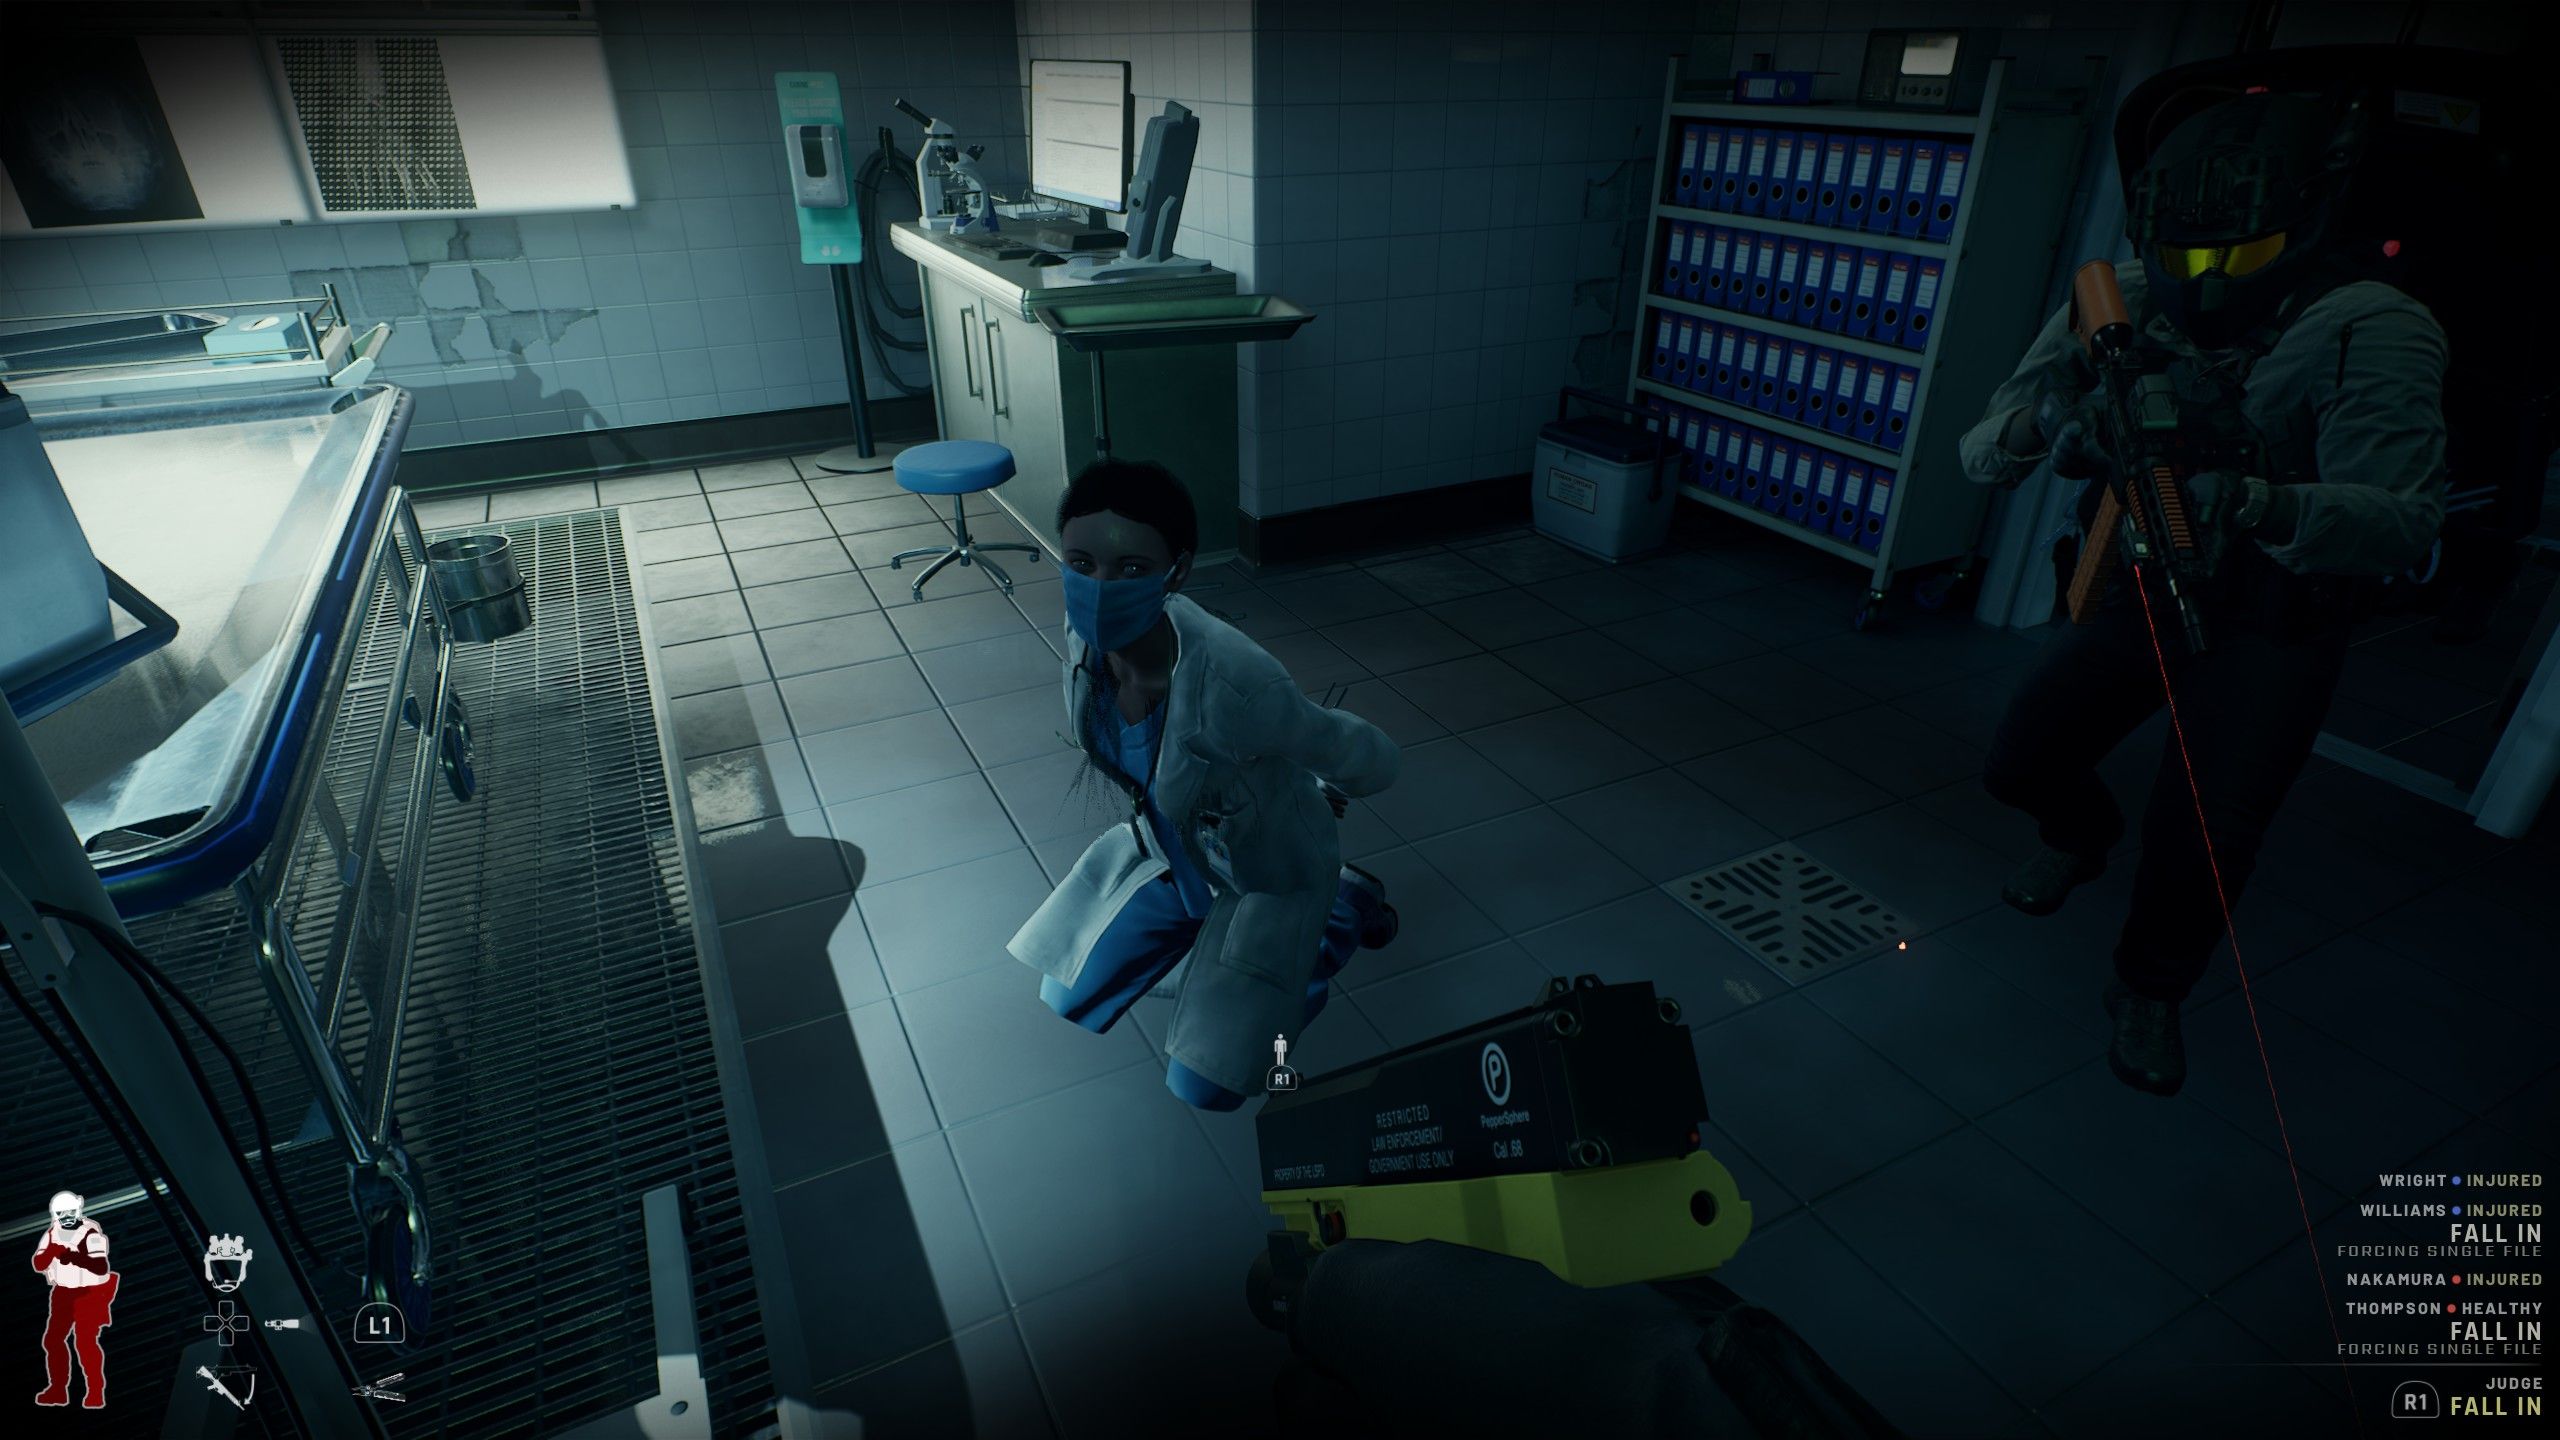
In the game Relapse, there are only eleven civilian characters. Although it may seem easier for players since there aren’t many hostages to worry about, the challenge lies in locating all these civilians due to the numerous rooms and different levels in this mission. To make things more manageable, it is recommended that you apprehend every civilian you encounter, but be cautious as some non-player characters dressed in scrubs could actually be disguised suspects, identified by the sidearm they carry on their hip. Ensure to thoroughly search each building before moving on to the next one and maintain a count of the civilians you’ve arrested to prevent confusion and unnecessary backtracking. Don’t forget to check hidden areas like bathrooms and corners since civilian characters can be unpredictable and may try to hide or escape danger. Lastly, completing this objective should be your last priority to avoid putting civilians in harm’s way during open combat zones, and use commands frequently to listen for any potential clues from them.
Read More
- All Skyblazer Armor Locations in Crimson Desert
- How to Get the Sunset Reed Armor Set and Hollow Visage Sword in Crimson Desert
- All Shadow Armor Locations in Crimson Desert
- Marni Laser Helm Location & Upgrade in Crimson Desert
- All Helfryn Armor Locations in Crimson Desert
- All Golden Greed Armor Locations in Crimson Desert
- All Icewing Armor Locations in Crimson Desert
- Best Bows in Crimson Desert
- How to Beat Stonewalker Antiquum at the Gate of Truth in Crimson Desert
- Legendary White Lion Necklace Location in Crimson Desert
2025-07-26 00:04