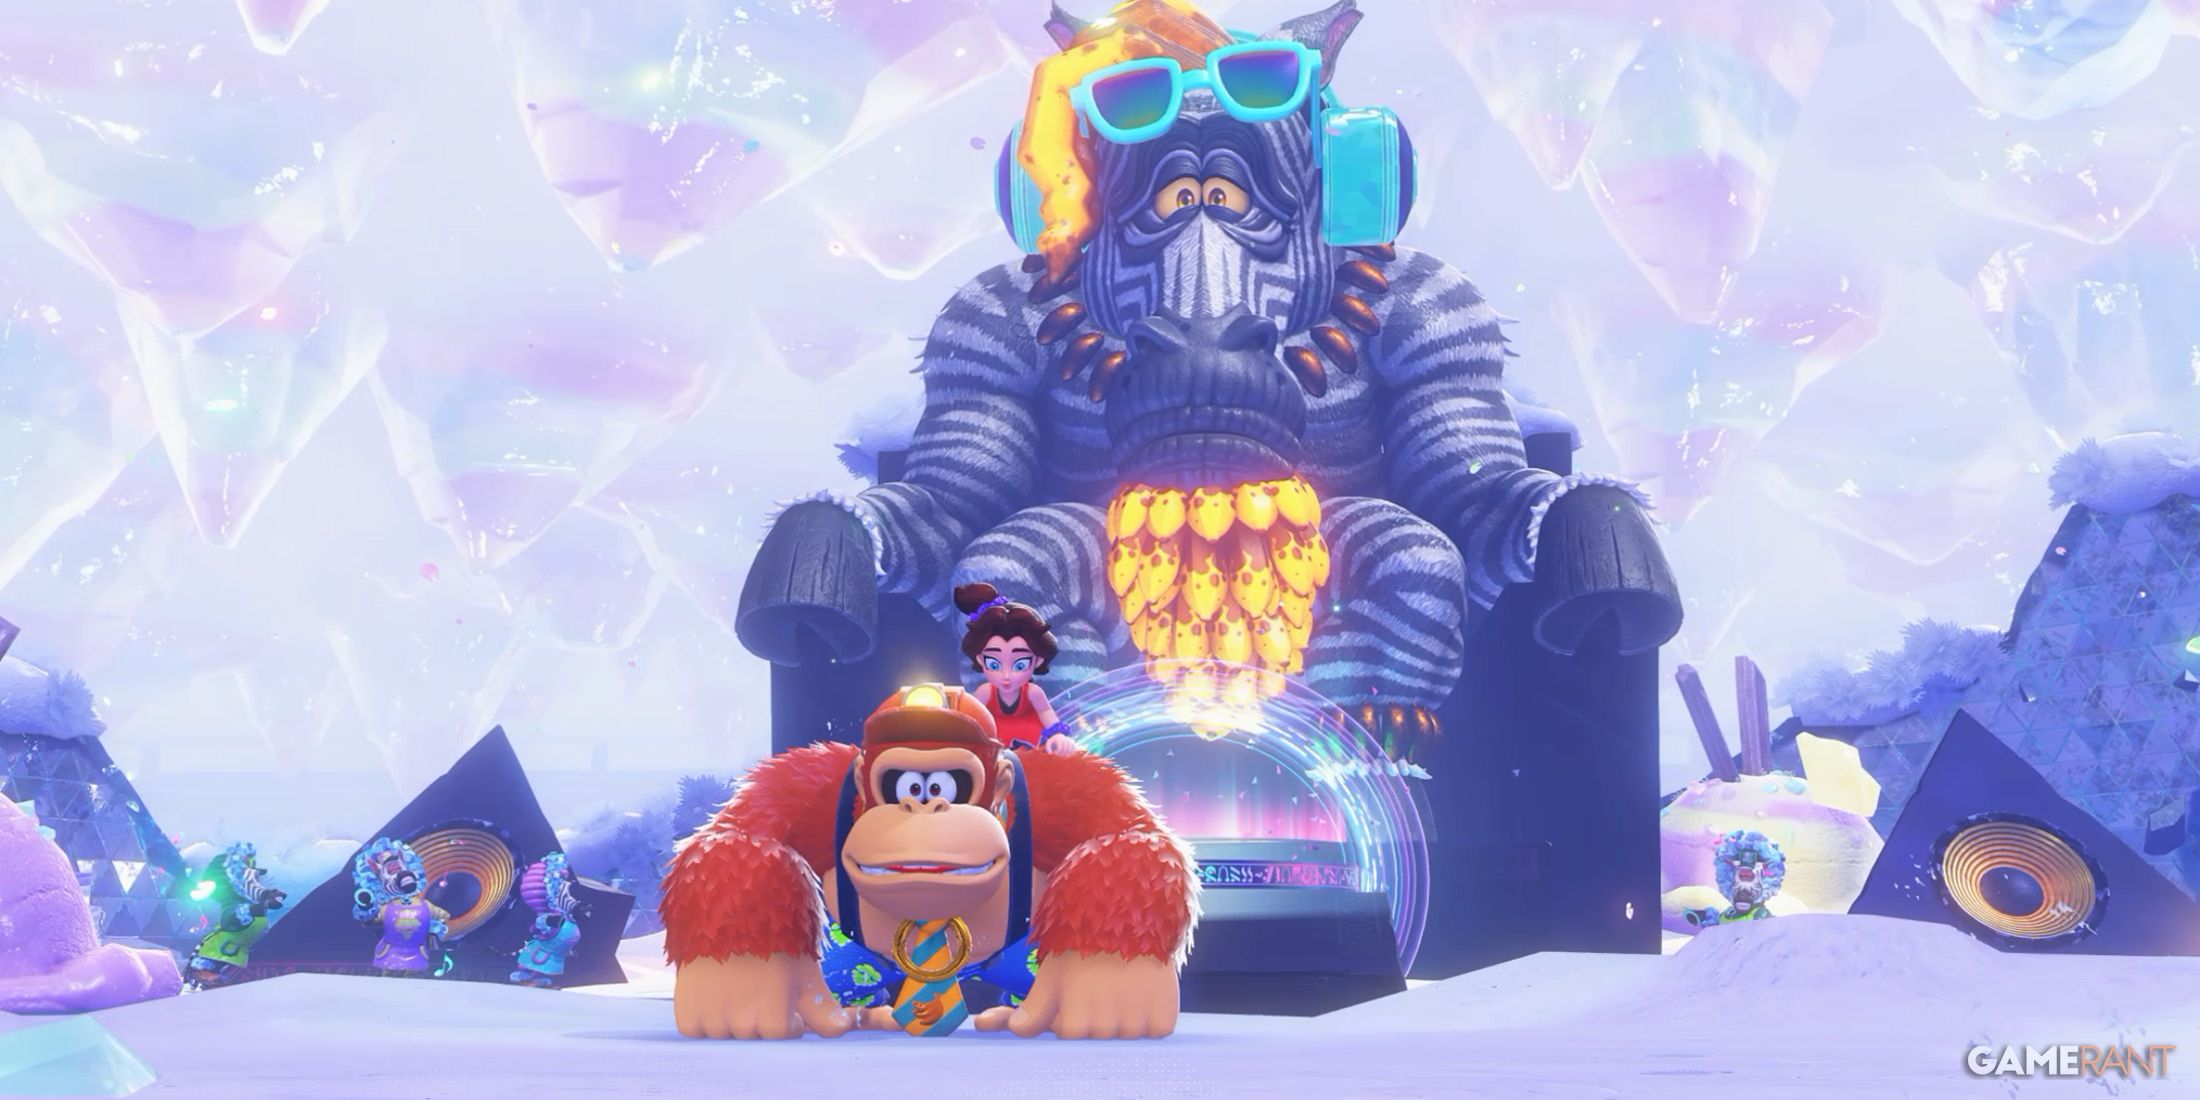
After wrapping up the primary adventure in Donkey Kong Bananza, players can go back to meet the Elders – Kong, Zebra, Ostrich, Elephant, and Snake – to take on tough tasks. By successfully completing these challenges, they’ll be rewarded with rare Banandium Gems and music discs.
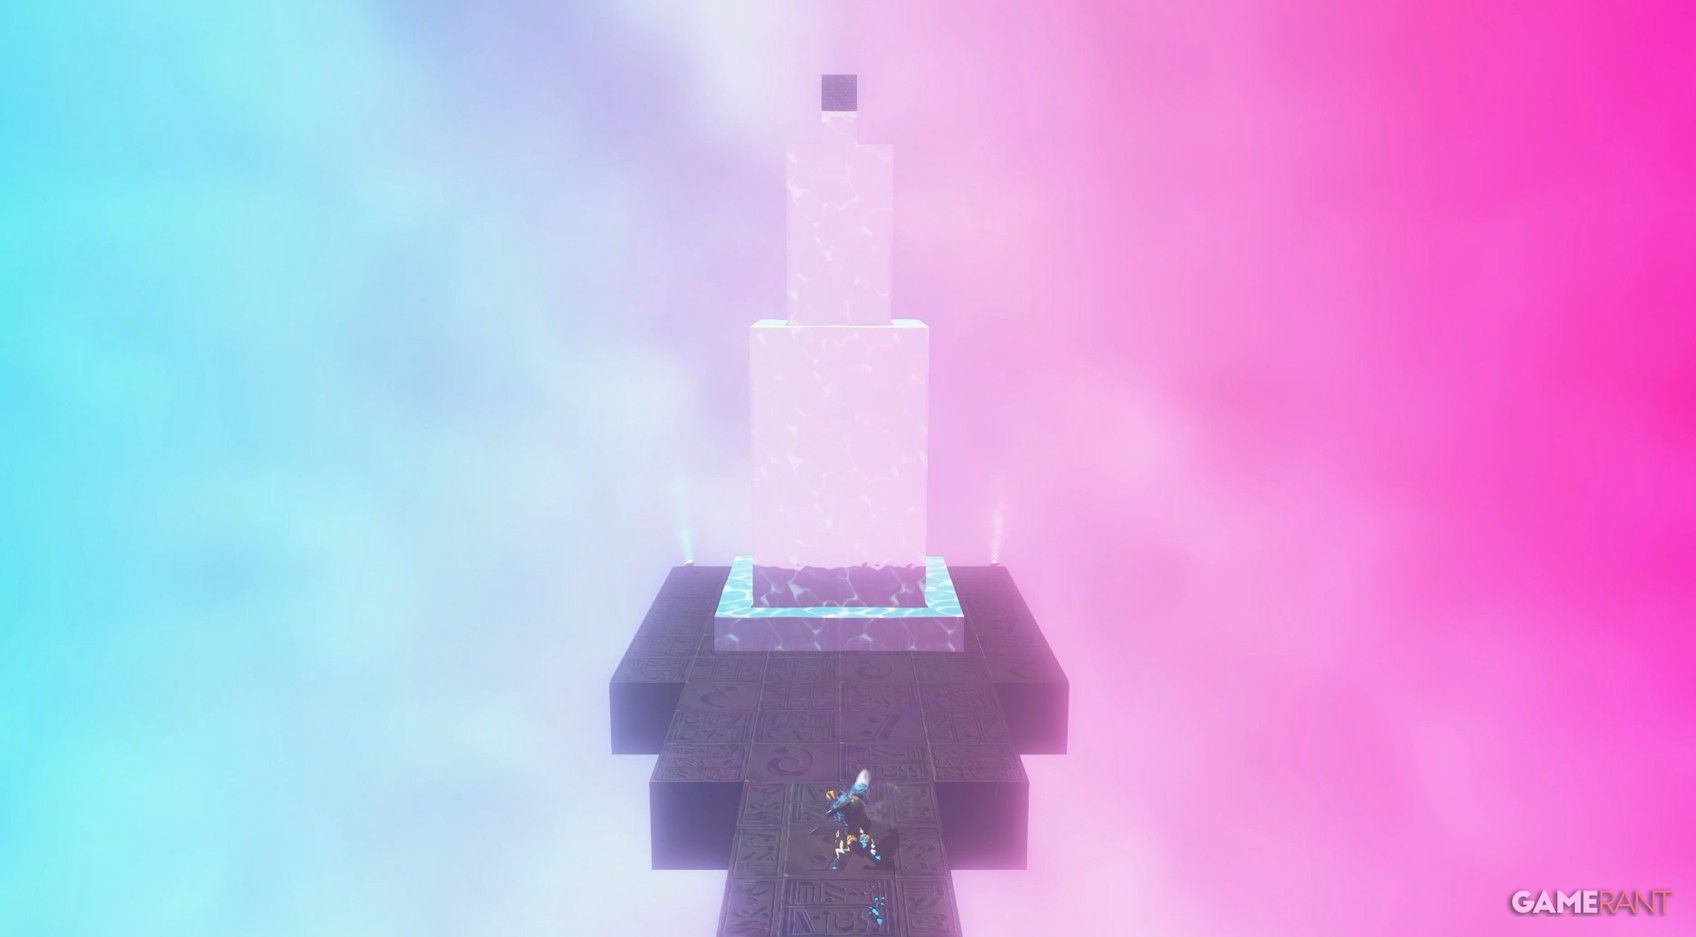
To engage with the Rehearsal Hall exercises set by the Zebra Elder in the Freezer Layer, it is necessary that you accumulate a minimum of 350 Banandium Gems first.
With this guide, we’ll walk you through the process of collecting all fourteen (yes, fourteen!) Banandium Gems in the Zebra Elder’s Rehearsal Hall. We’ll also help you locate the five balloons so you can earn an additional music track.
In this example, I used simpler language and rephrased “Using this guide” as “With this guide”, which is more natural and easy to read. Additionally, I replaced “show you” with “walk you through the process of” for a smoother flow. Lastly, I changed “yes:” to “yes,” and made “another music track” into “an additional music track”.
You can access the full interactive map page for the Freezer Layer by clicking here.
Zebra Elder’s Rehearsal Hall Balloons and Bananas in Donkey Kong Bananza
Balloon 1

As you journey along the rainbow trail, it will divide into two paths. When it splits for a second time, choose the path on your right. That’s where you’ll discover a balloon and some coins.
Banandium Gems 1, 2, and 3
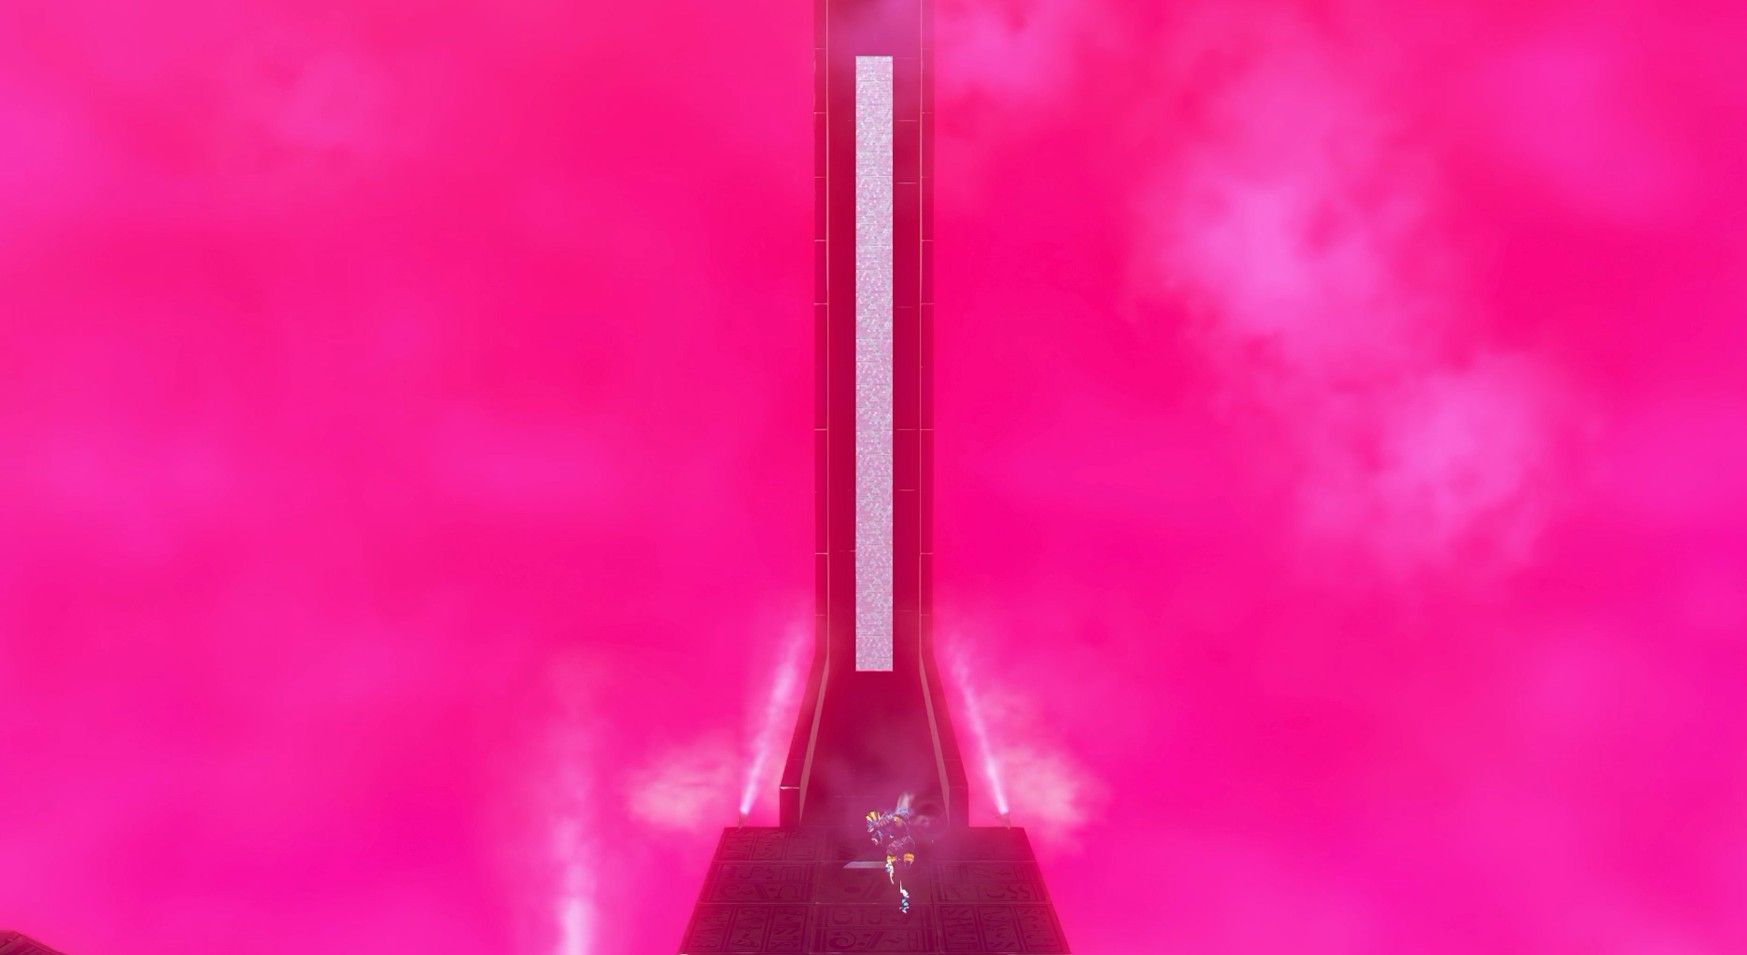
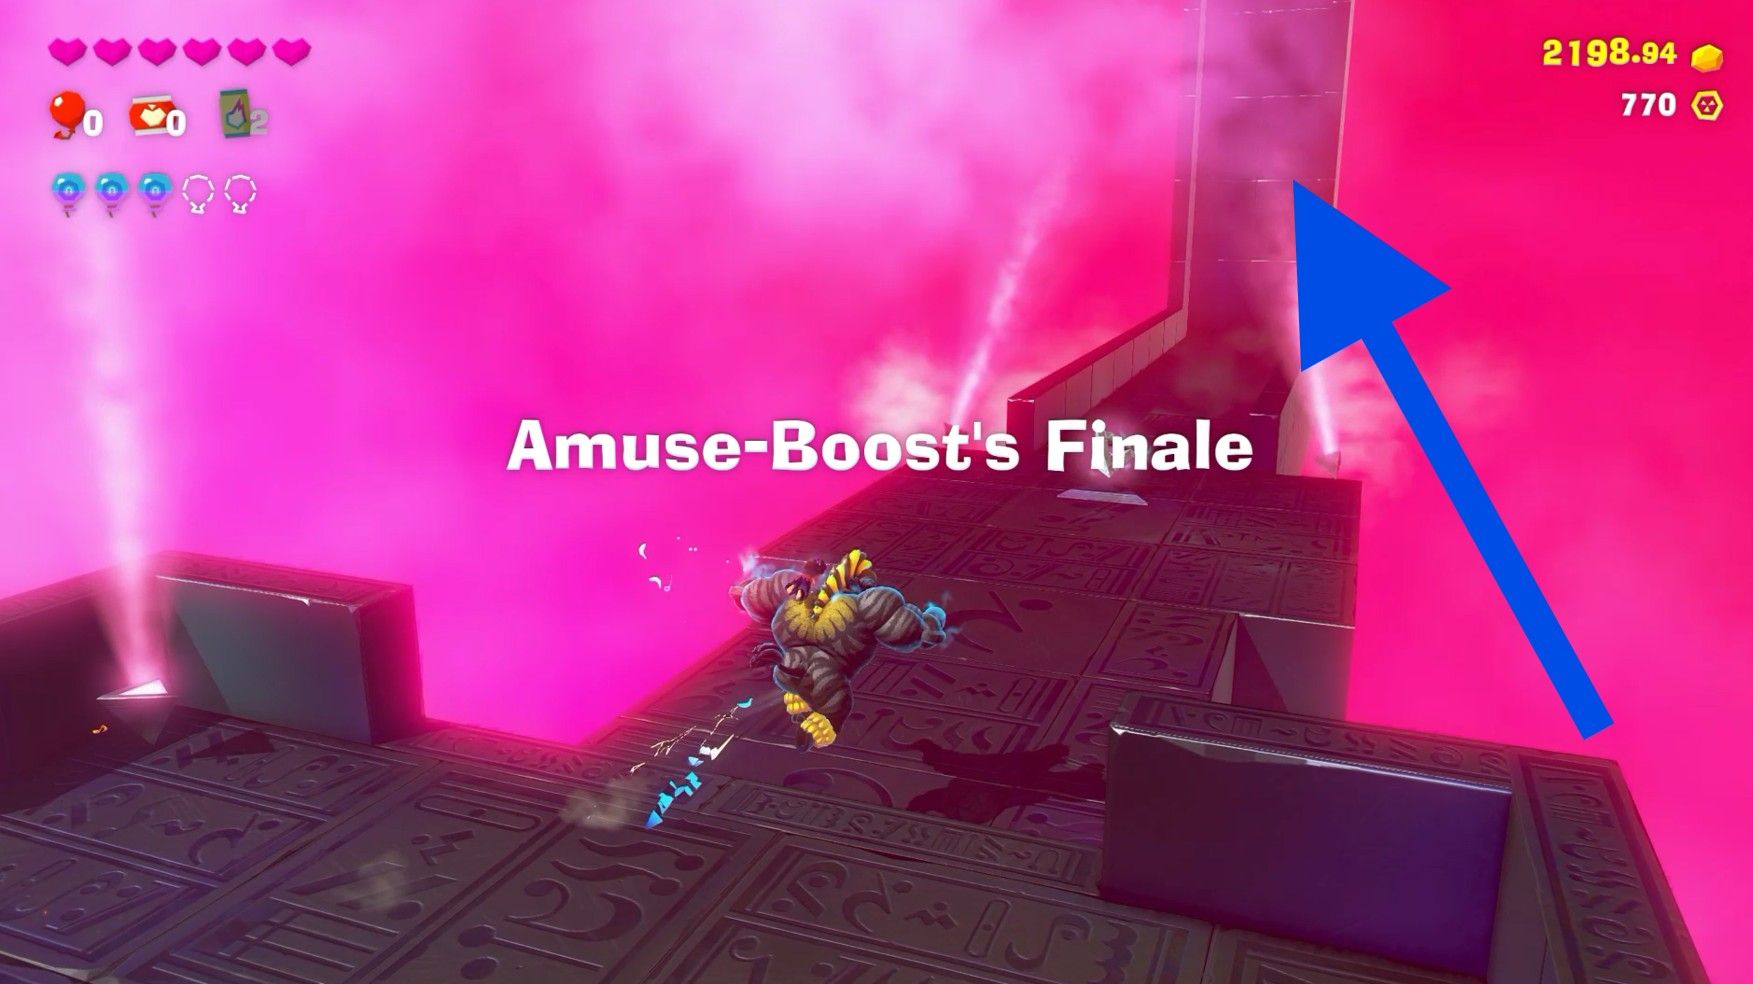
After successfully navigating the colorful trail (Amuse-Boost), a Banandium Gem is yours to keep. But should you manage to finish that part with more than 20 seconds on the clock, an additional gem will be added to your collection.
For the upcoming gem, veer right to discover a sparkling lever that you need to pull to initiate a mini game. Employing your speedy Zebra Bananza abilities, sprint along the route before the clock ticks down.
If you haven’t yet, improving your Charge Dash ability in the Zebra Bananza form (and finishing each section with over 20 seconds left) will significantly simplify this challenge. Since speed is crucial here, ensure to collect as many bananas as possible for additional Skill Points.
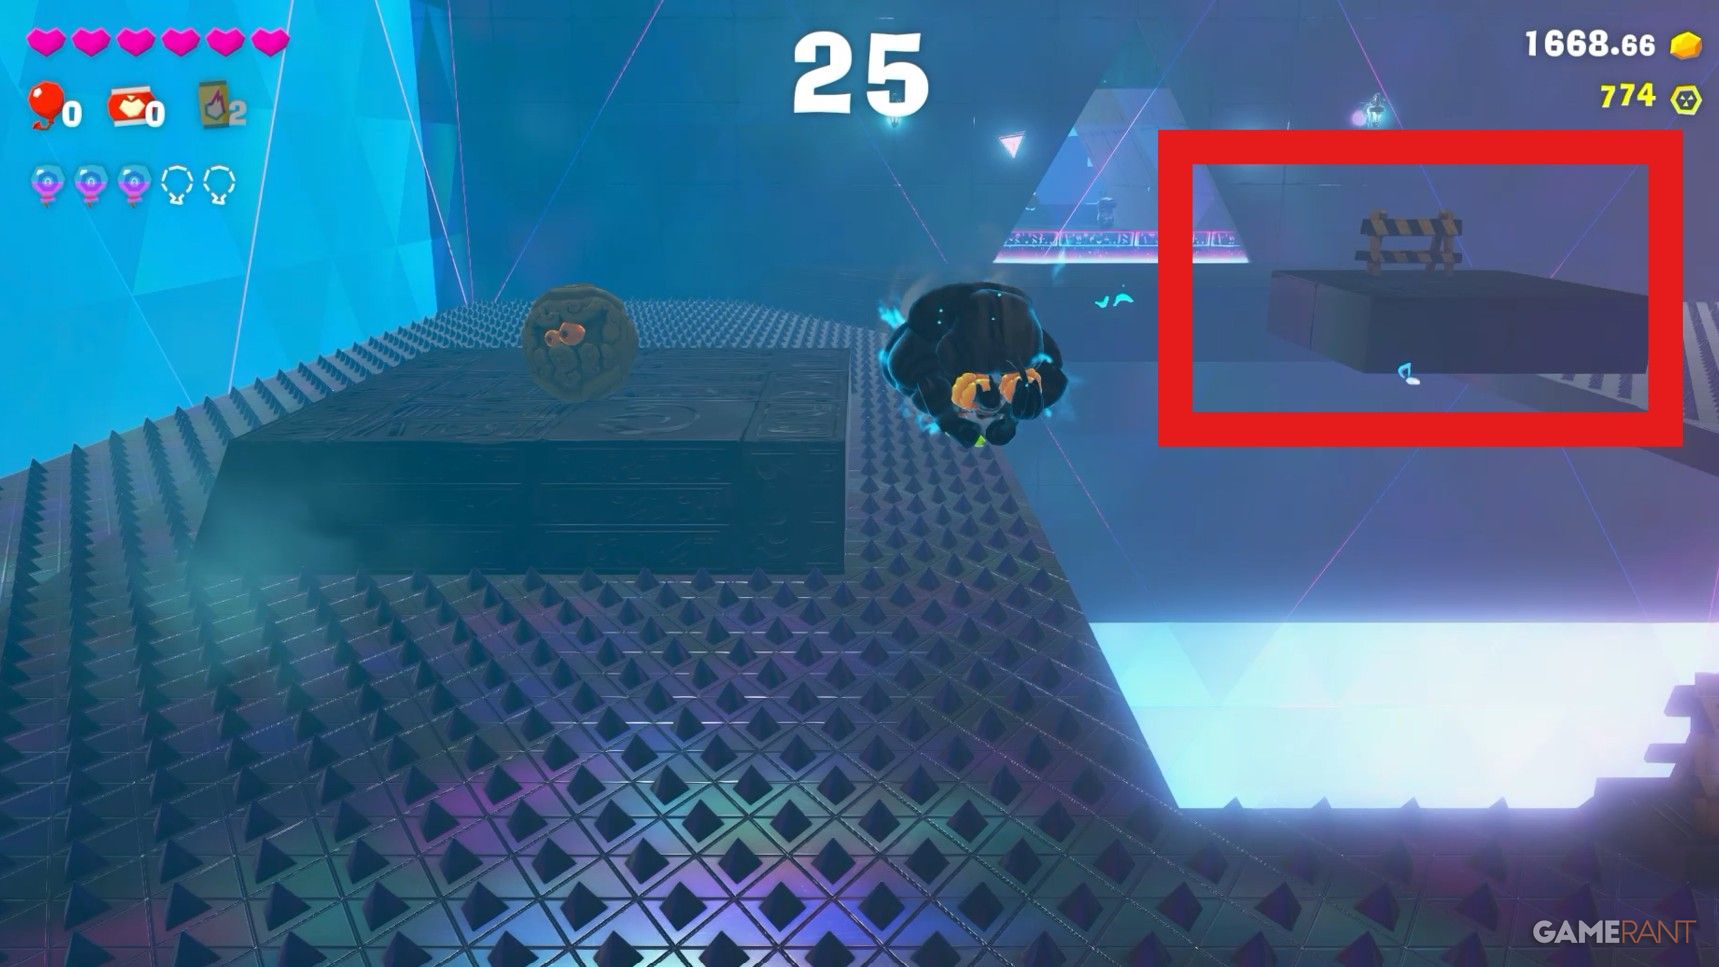
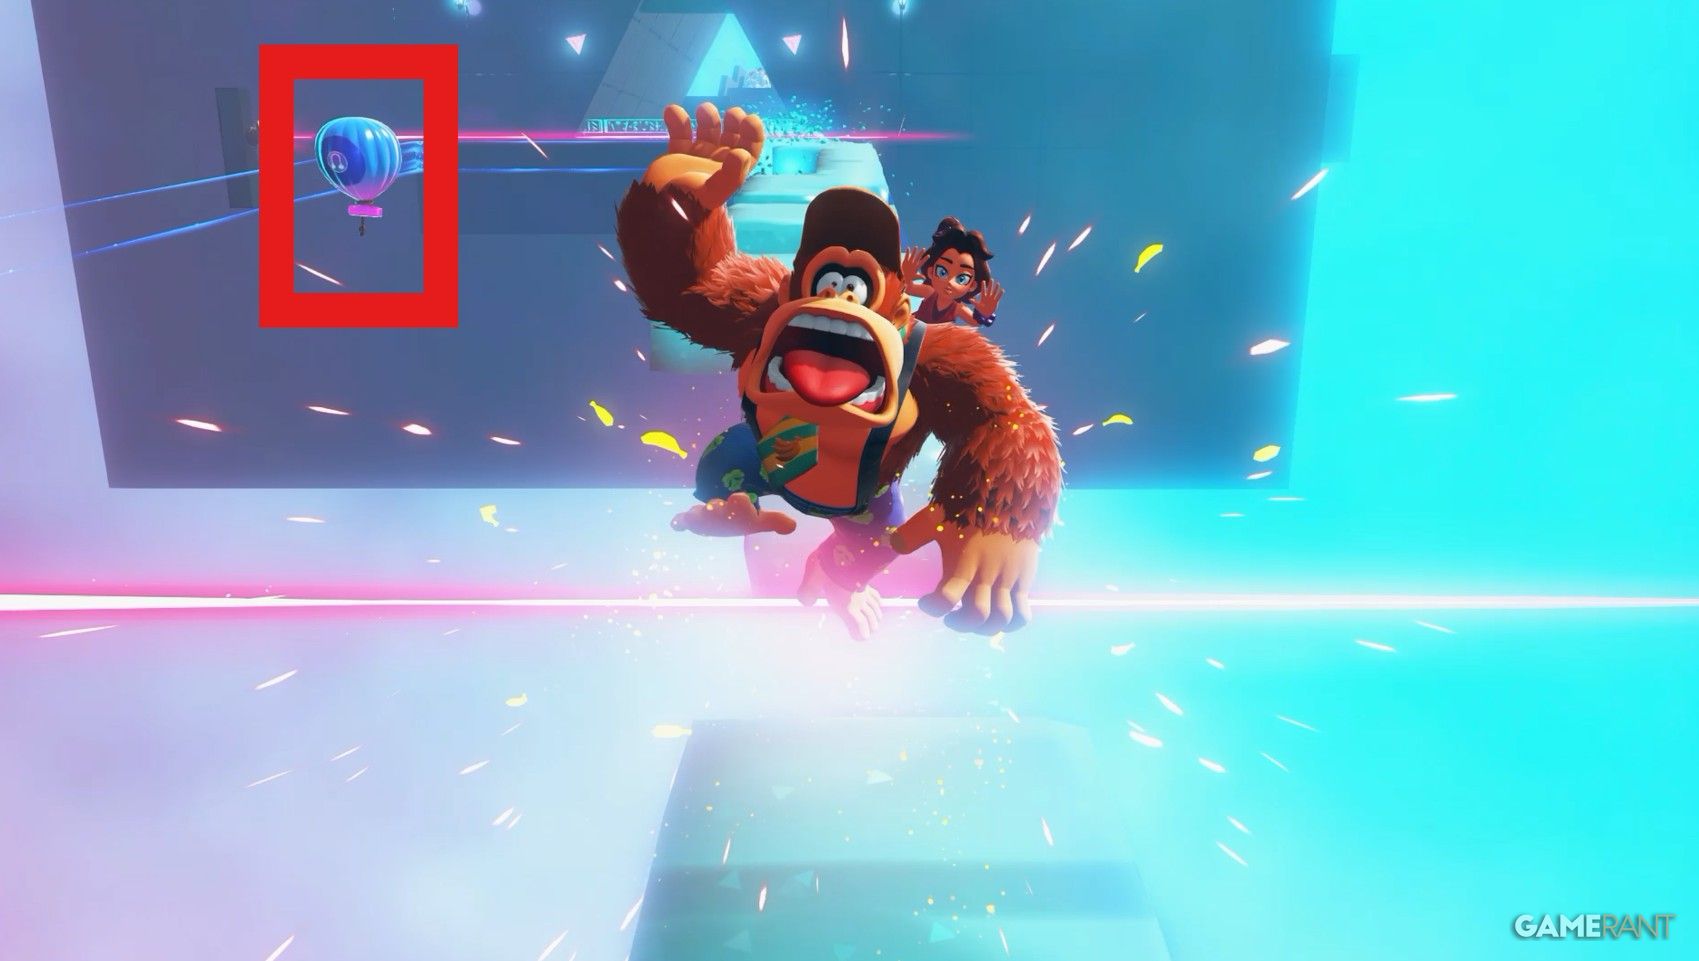
Balloon 2
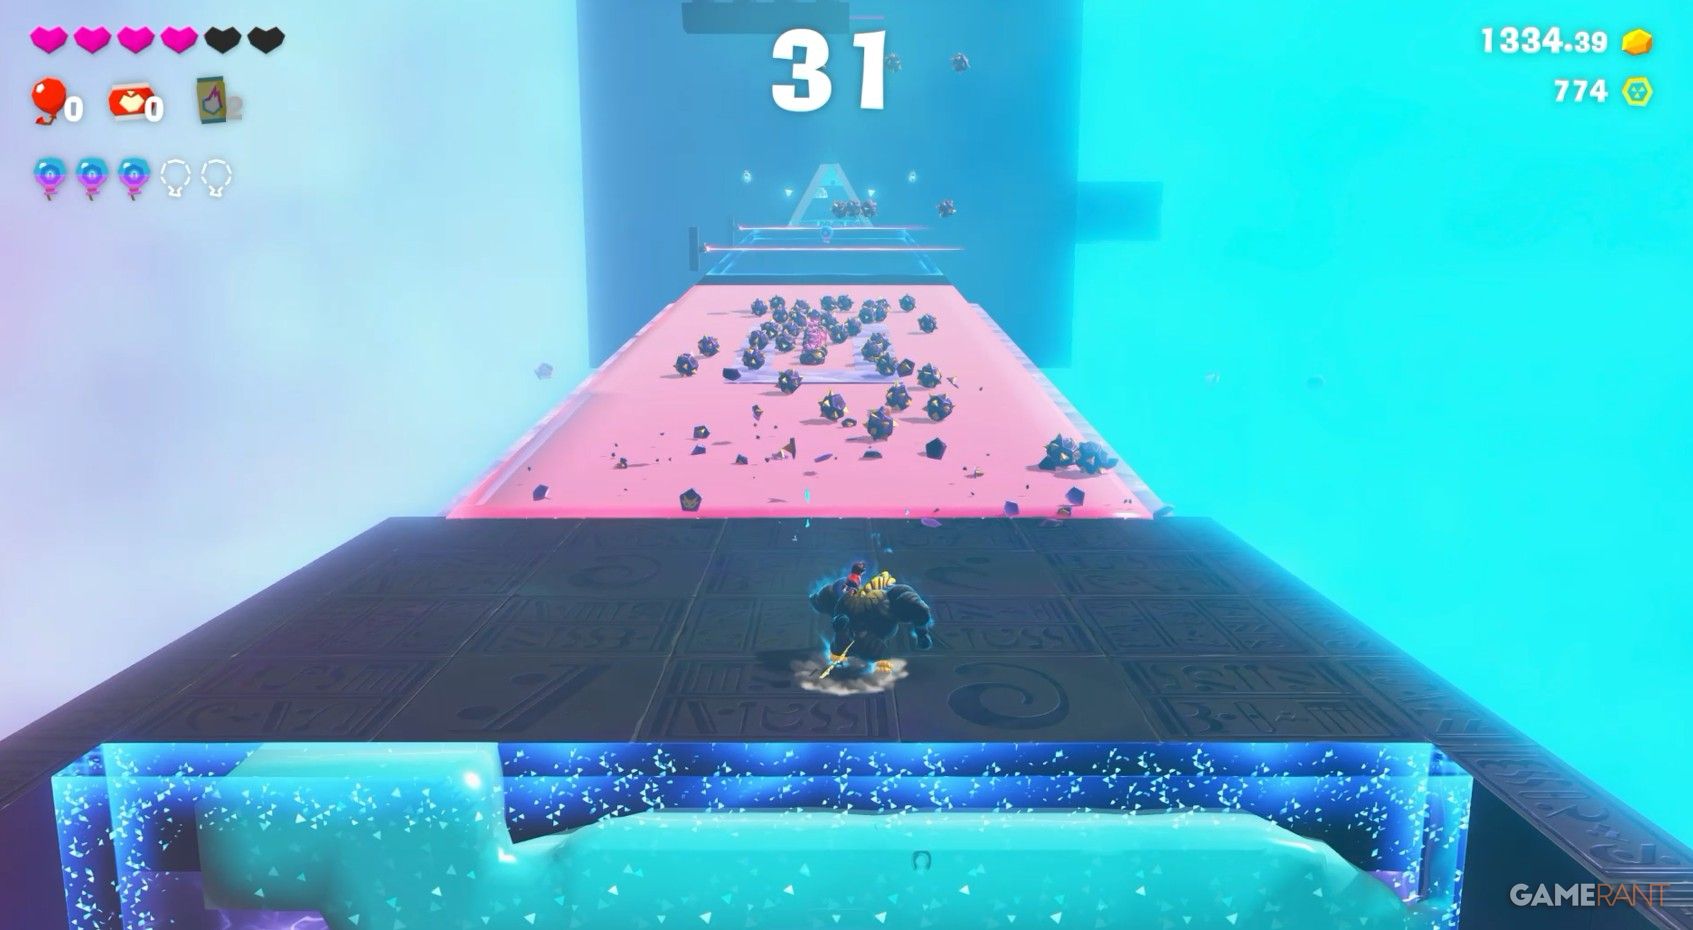
In the “Appetizer Zone”, your task is to swiftly create paths by clearing any obstacles in your path and reach the end with at least 20 seconds left on the timer. After you’ve progressed into the second half of the zone, search for the second balloon on top of the platform close to the goal inside Zebra Kong’s Practice Room.
Banandium Gems 4, 5, and 6
To finish the current area within 20 seconds, you’ll receive your next two Banandium Gems as a reward. Take the sidetrack and hit that peculiar item to initiate another mini-challenge.
In this instance, you’ll need to hurry and reach the platform across the way within a few moments. If you loiter, lasers will fire, creating trails of water that you can dash across.
As you traverse one of the water bodies, you’ll have to leap and ensure your safety until the third, more distant tower begins firing.
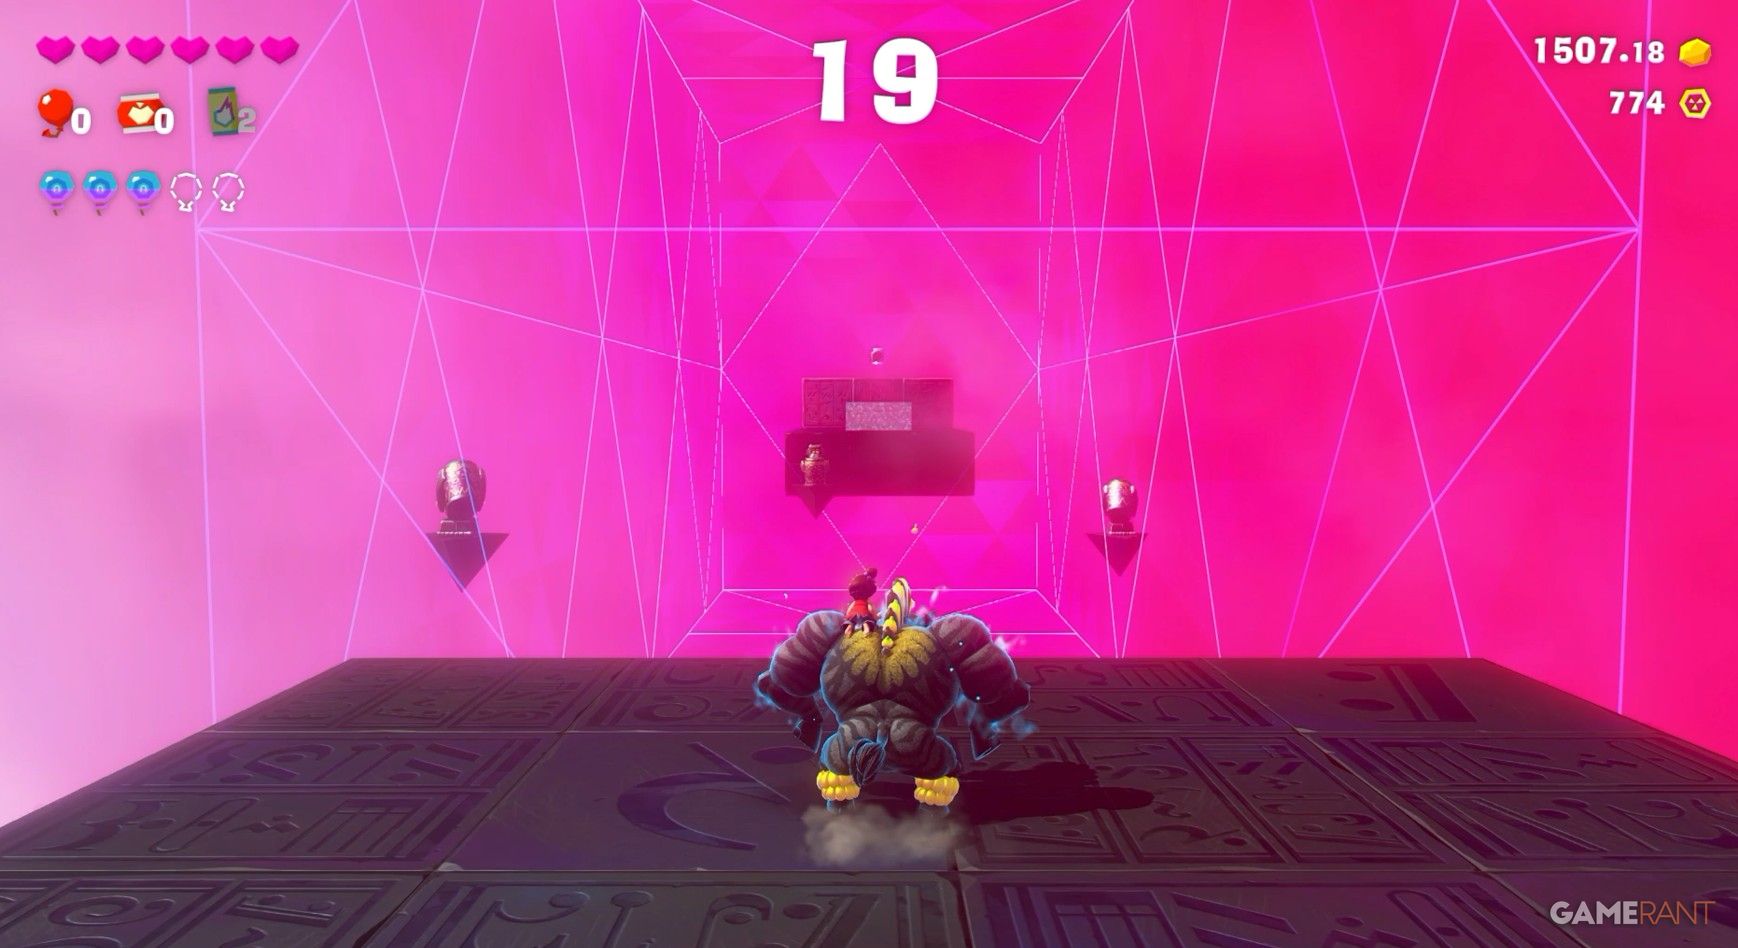
Balloon 3
After you finish the initial portion of the electric-related content, you’ll encounter a point where a large ice formation falls, creating a straight, downward passage for you to descend.
As a fan, I’d guide you: Continue moving to your right hereafter, and soon enough, you’ll spot a balloon hovering gracefully amidst the dynamic water streams.
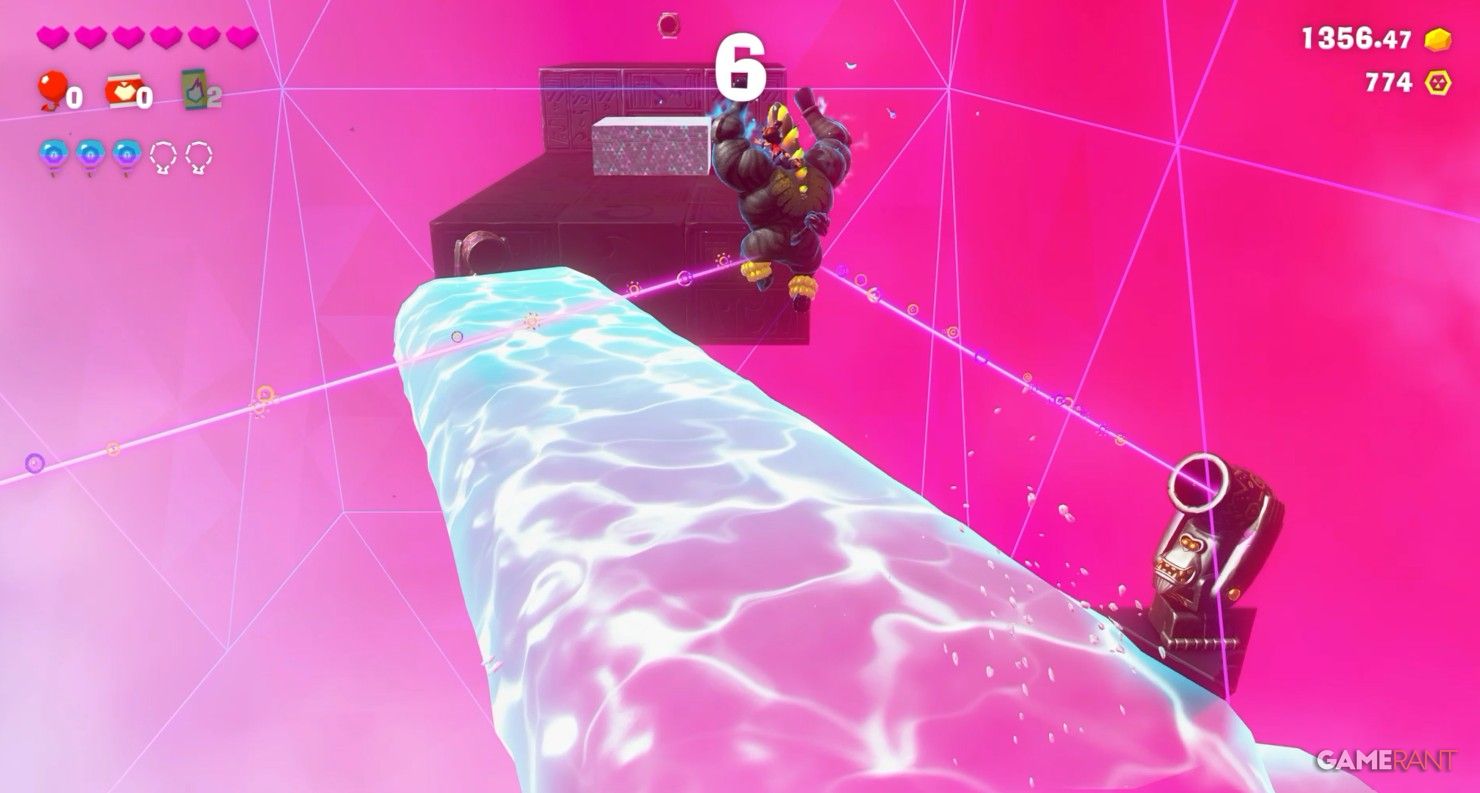
Banandium Gems 7, 8, and 9
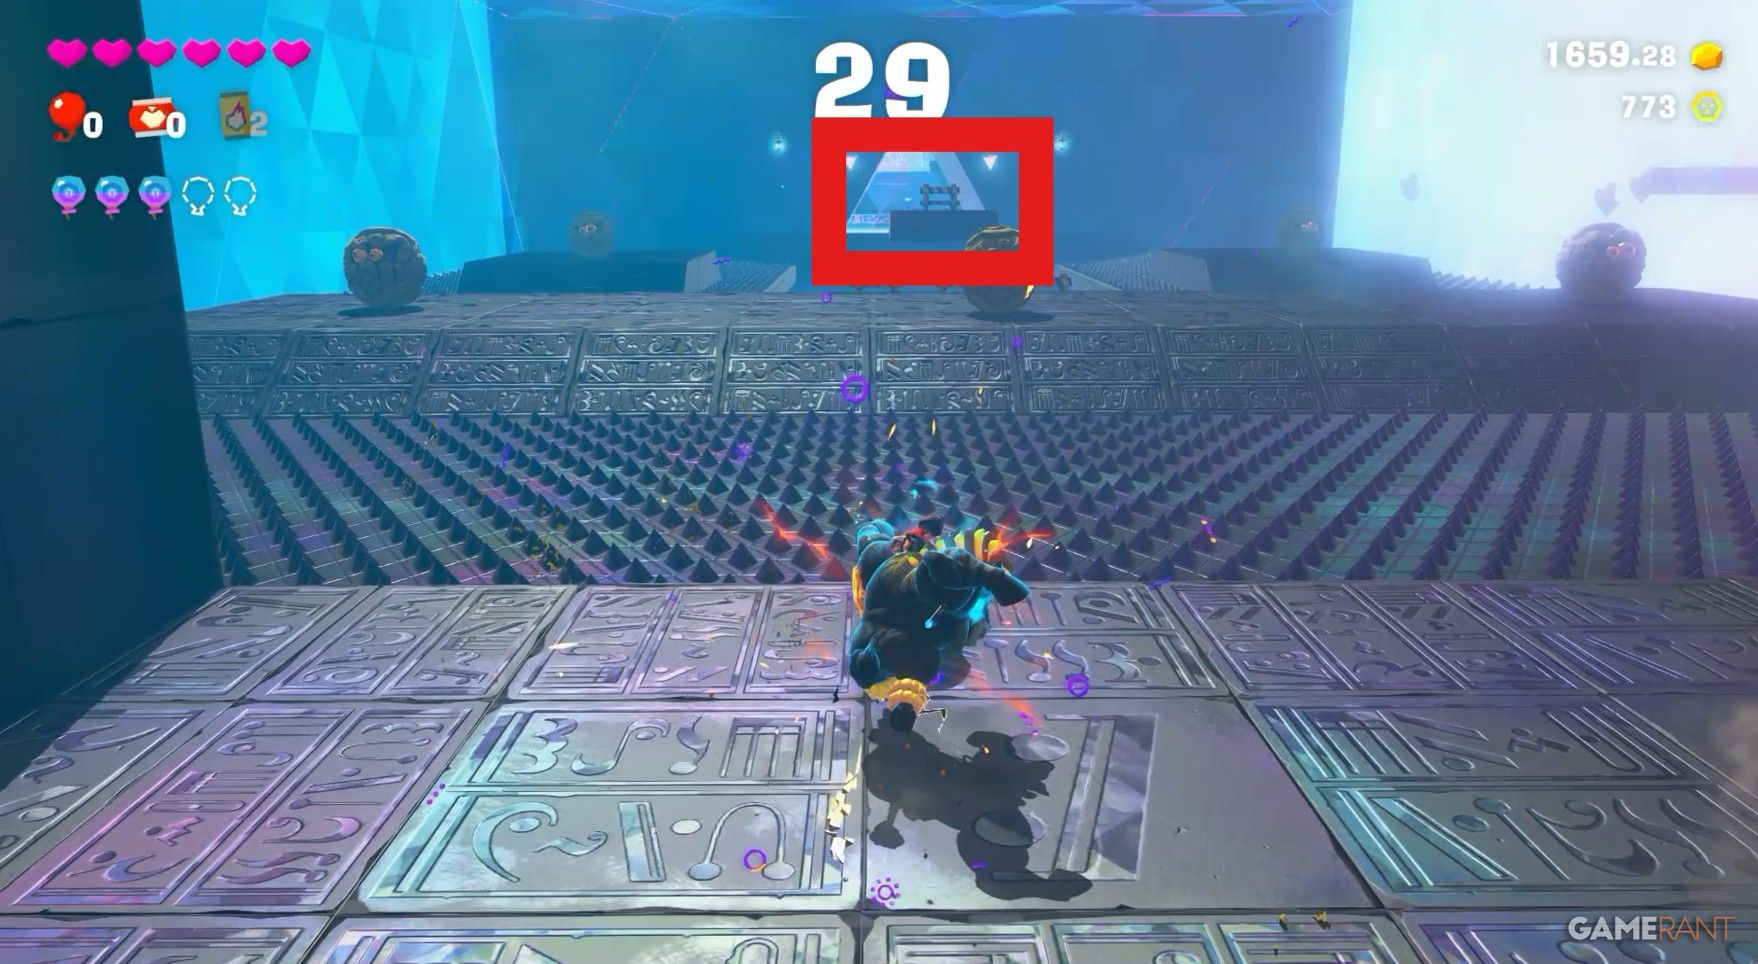
If you finish the Shocking Cioppino section with at least 20 seconds remaining on the clock, you’ll earn two Banandium Gems. Head towards the path on the right before reaching the barrel to discover another mini-challenge for an additional Banandium Gem.
In this instance, a column of water will materialize before you. Your task is simply to leap through it, continuing until you ascend to the summit and shatter the cube above.
Balloon 4
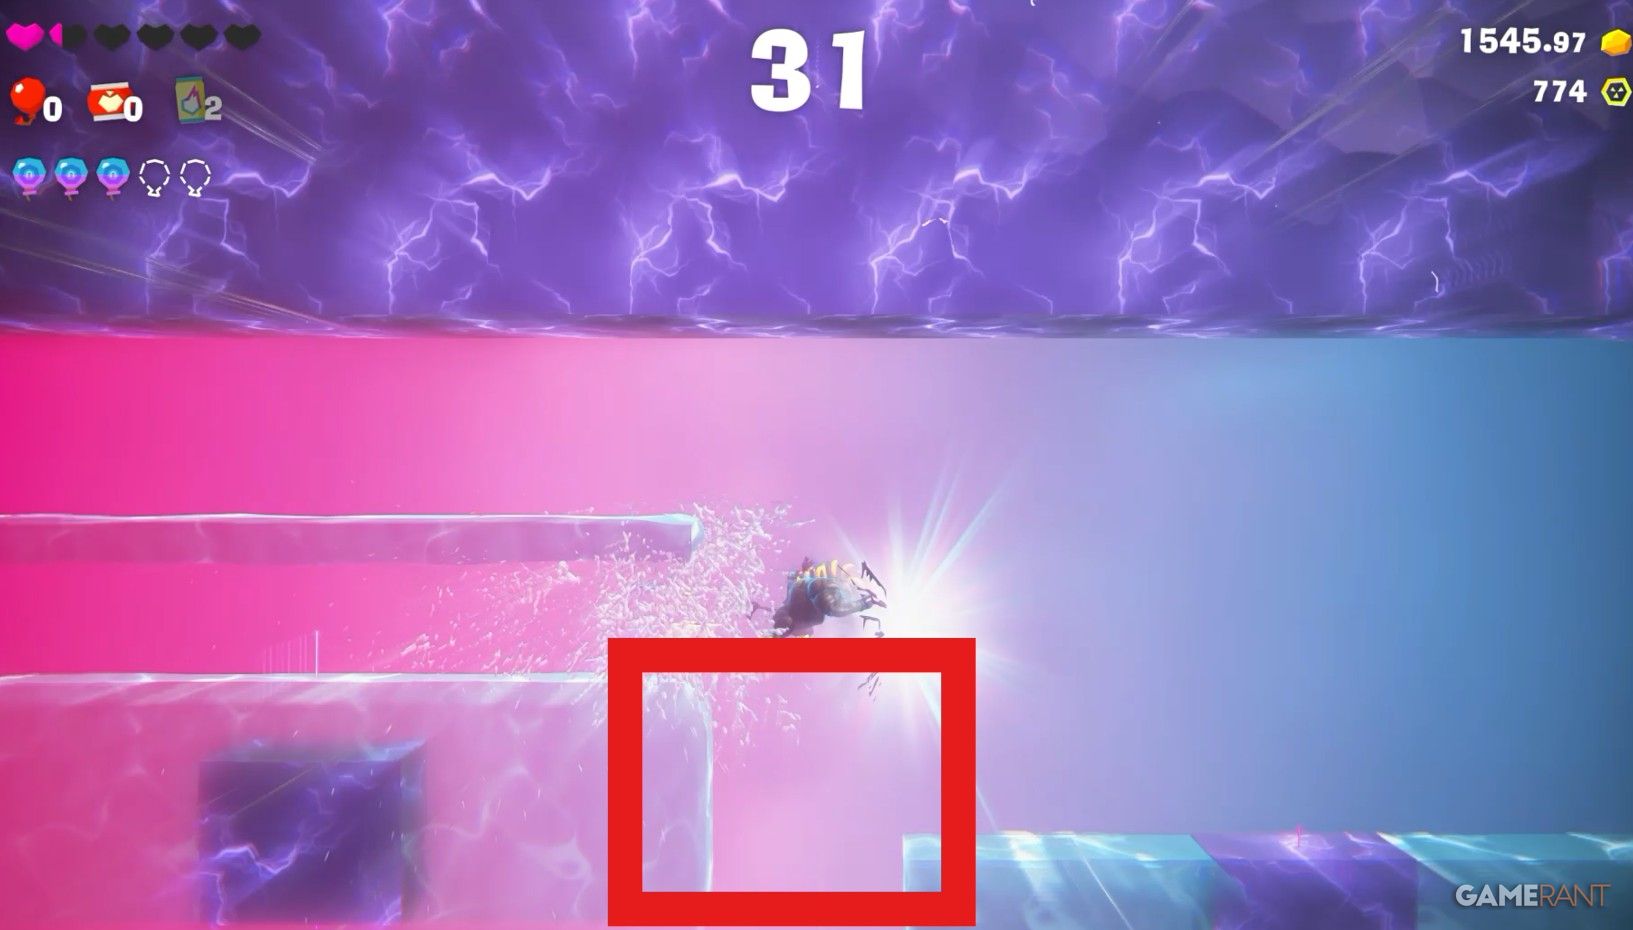
In the “Switcheroo Dish” segment, you’ll encounter pesky blue and red platforms that vanish or reappear depending on your position. When you reach the stage where spiked balls are hurtling towards you, look for the balloon located in the following area. It can be tricky to make the platforms appear directly under the balloon, but if you’re determined to get it, simply jump and aim for it. Even if you meet an untimely demise, you can always restart the section, and the collected balloon will still be yours.
Banandium Gems 10, 11, and 12

As a gamer, when I manage to conquer the Switcheroo Entree with over 20 seconds remaining on the clock, I’m rewarded with two shiny Banandium Gems! Venture off the usual path to discover another testing ground where the goal is to find a box and smash it within the tight 20-second time limit.
Balloon 5
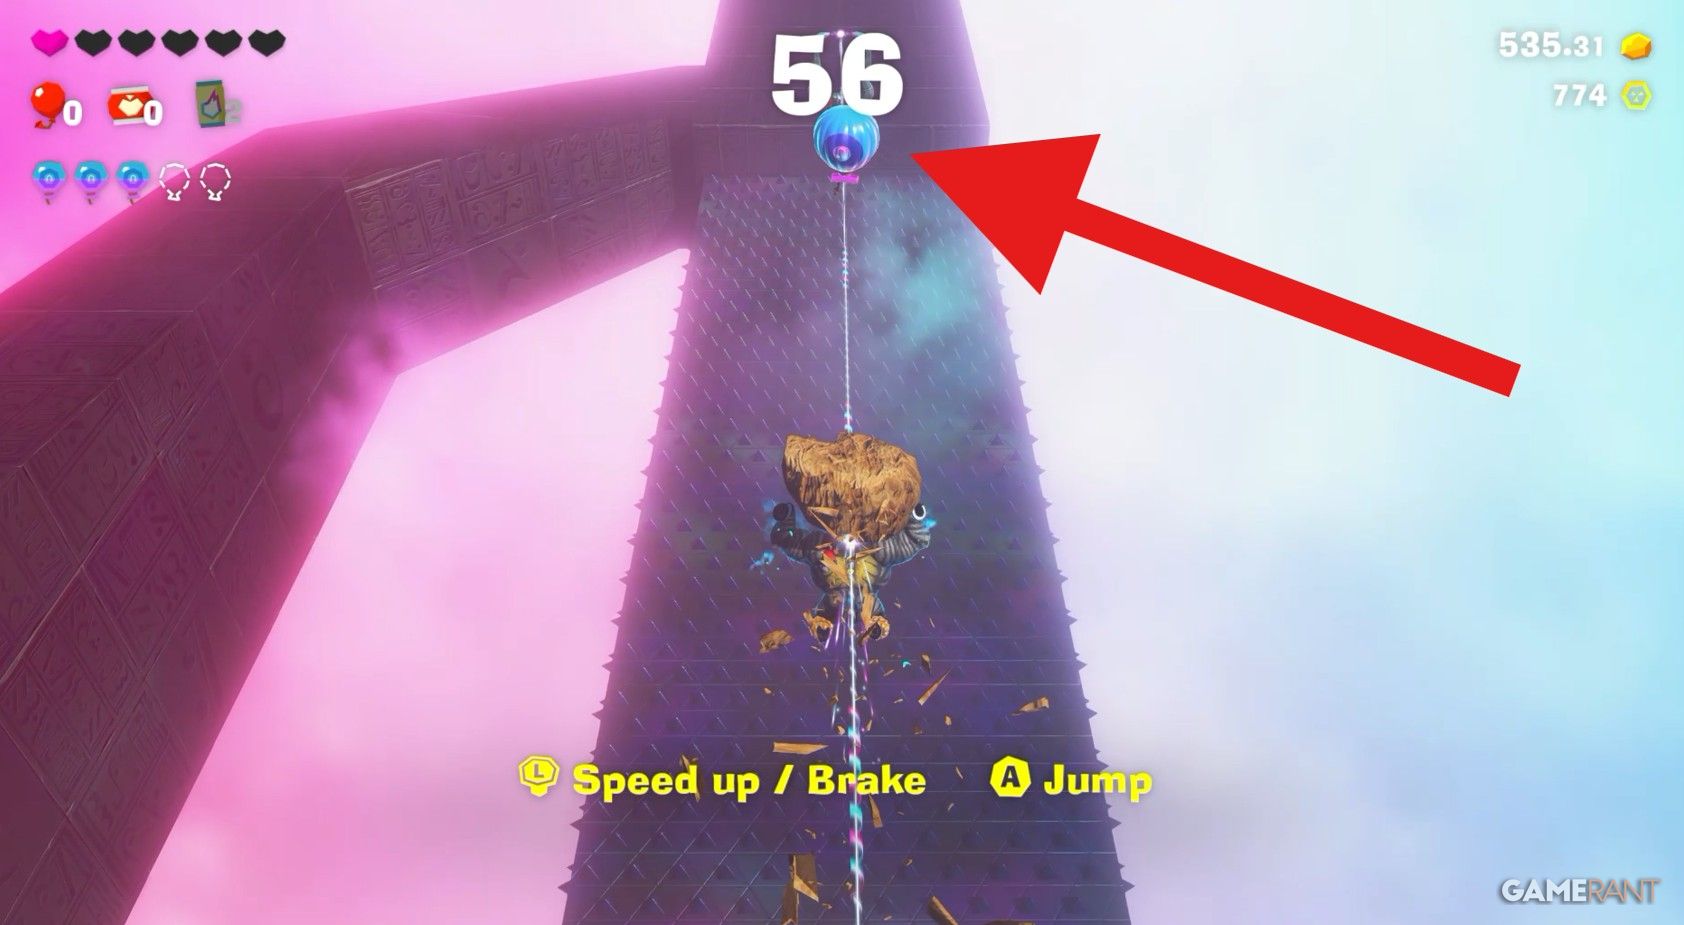
In the upcoming part of the game, you’ll need to navigate past numerous walls constructed from diverse materials. After overcoming a prickly red wall, a zip line will come into view. Gather some nearby wood and hop onto the zip line (don’t forget to jump while on it to catch the following balloon).
Banandium Gems 13 and 14
After completing the challenging Desert area, you will obtain the final pair of Banandium Gems. However, if you fail to complete it within 20 seconds remaining on the timer, you’ll only receive a single gem.
After completing an entire level, the Elder Zebra rewards you with a Golden Zebra Bananza Form Skill and a Duplicate Record. To unlock the super-secret Golden power, you must fully comprehend and master all Zebra form skills.
Read More
- Quantum Agents: Scaling Reinforcement Learning with Distributed Quantum Computing
- Boruto: Two Blue Vortex Chapter 33 Preview — The Final Battle Vs Mamushi Begins
- All Skyblazer Armor Locations in Crimson Desert
- Every Melee and Ranged Weapon in Windrose
- How to Get the Sunset Reed Armor Set and Hollow Visage Sword in Crimson Desert
- Zhuang Fangyi Build In Arknights Endfield
- One Piece Chapter 1180 Release Date And Where To Read
- All Shadow Armor Locations in Crimson Desert
- Windrose Glorious Hunters Quest Guide (Broken Musket)
- Top 10 Must-Watch Isekai Anime on Crunchyroll Revealed!
2025-08-04 23:36