
Experimenting with modifications (mods) has always been a thrilling aspect of life simulation games, and it’s no different for the game inZOI. Although the standard version offers countless ways to customize your gaming environment, mods provide an additional avenue for creativity, allowing you to fine-tune every detail. If you’re prepared to explore, this guide will provide all the essential information to begin modifying inZOI.
How to Install Mods in InZOI
To get started with adding mods, there are two crucial steps you need to complete first. Initially, sign up for an account on Nexus Mods, a widely used platform where the inZOI community shares and uploads their mods. If you haven’t done so already, go ahead and click “register” at the top right corner of the Nexus Mods website, then follow the on-screen instructions to set up your account.
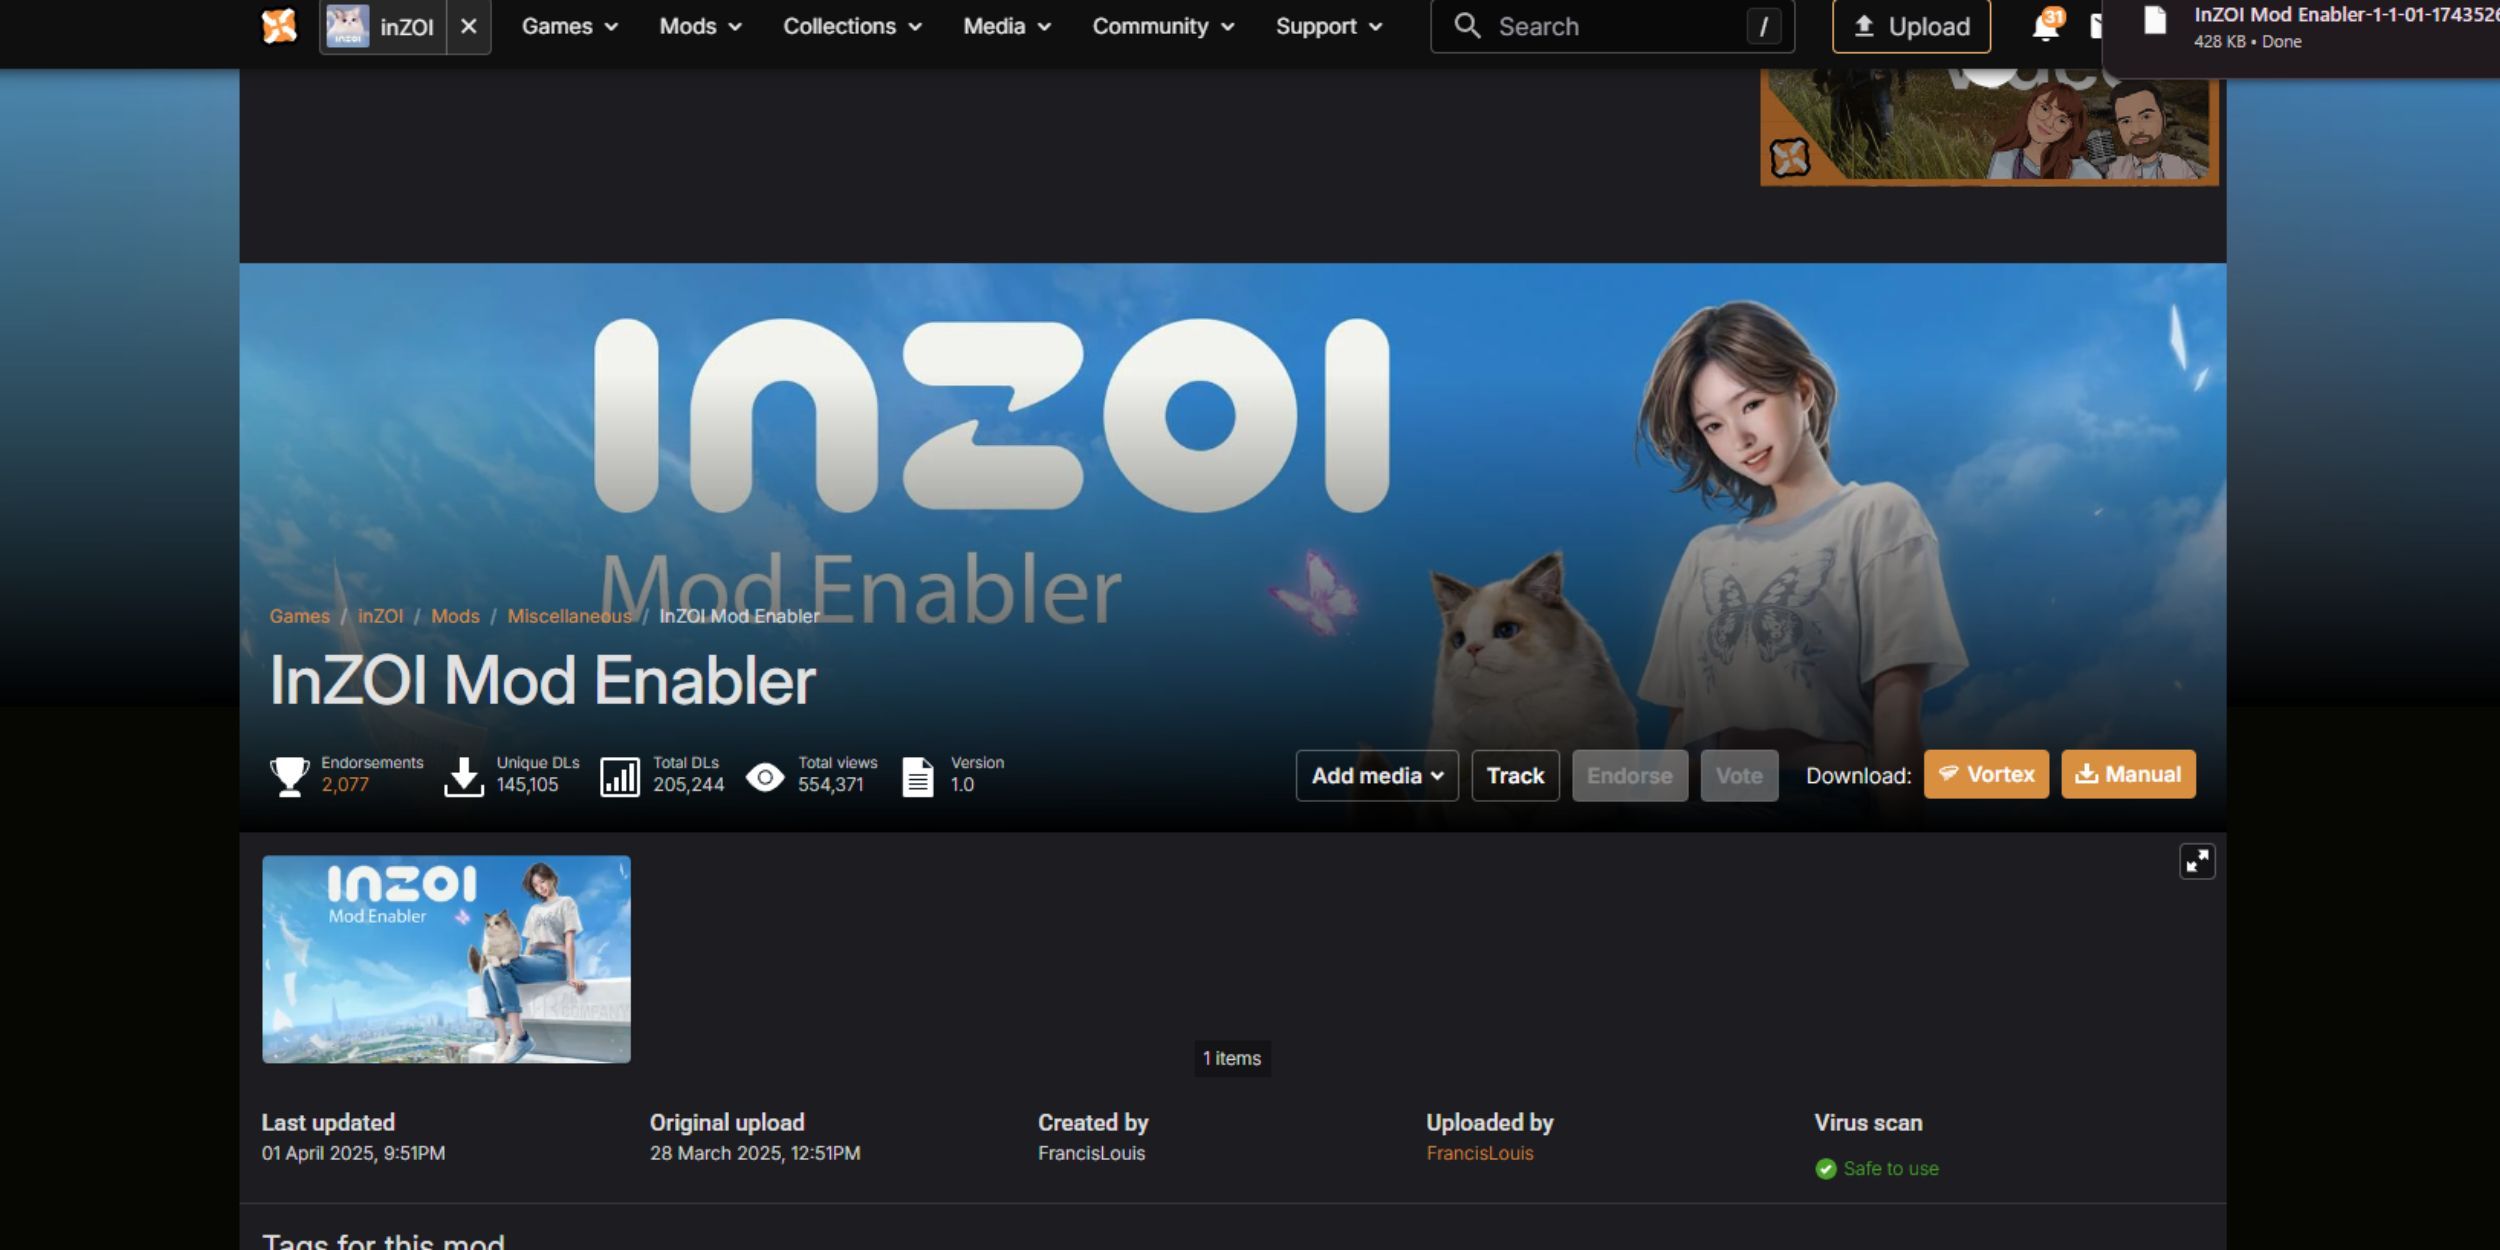
After that, you should proceed to obtain the InZOI Mod Enabler. As the name implies, this tool is essential for enabling modding within the game. On its download page, opt for the “manual download” option and then select “slow download,” unless you already have a Nexus premium account. This will provide you with the necessary files to kickstart your modding adventure.
Once the mod enabler is downloaded, follow the steps below:
- Go to your downloads folder and locate the file.
- Right-click it and select “extract files” using either 7-Zip or WinRAR, depending on which program you use to unpack compressed files.
- Inside the extracted folder, you’ll see a folder named BlueClient.
- Copy this entire folder and paste it into your inZOI installation directory, which is usually found in your Steam library folder. When prompted, choose to replace the files in the destination.
- Next, open the BlueClient folder within the game directory, navigate to Content, then Paks.
- Right-click inside the Paks folder, create a new folder, and name it “~mods”. This folder will be the home for most of your additional mods.
How to Download Mods in InZOI
Once everything is set up, feel free to grab additional mods from the Nexus Mods website. Just as before, select “manual download”, unzip the files, and verify the type of mod you’ve obtained. The location where you store these files will depend on the mod’s format.
If the mod includes another BlueClient folder:
- Drag and drop that BlueClient into your inZOI installation folder again.
- Choose Replace the files in the destination when asked.
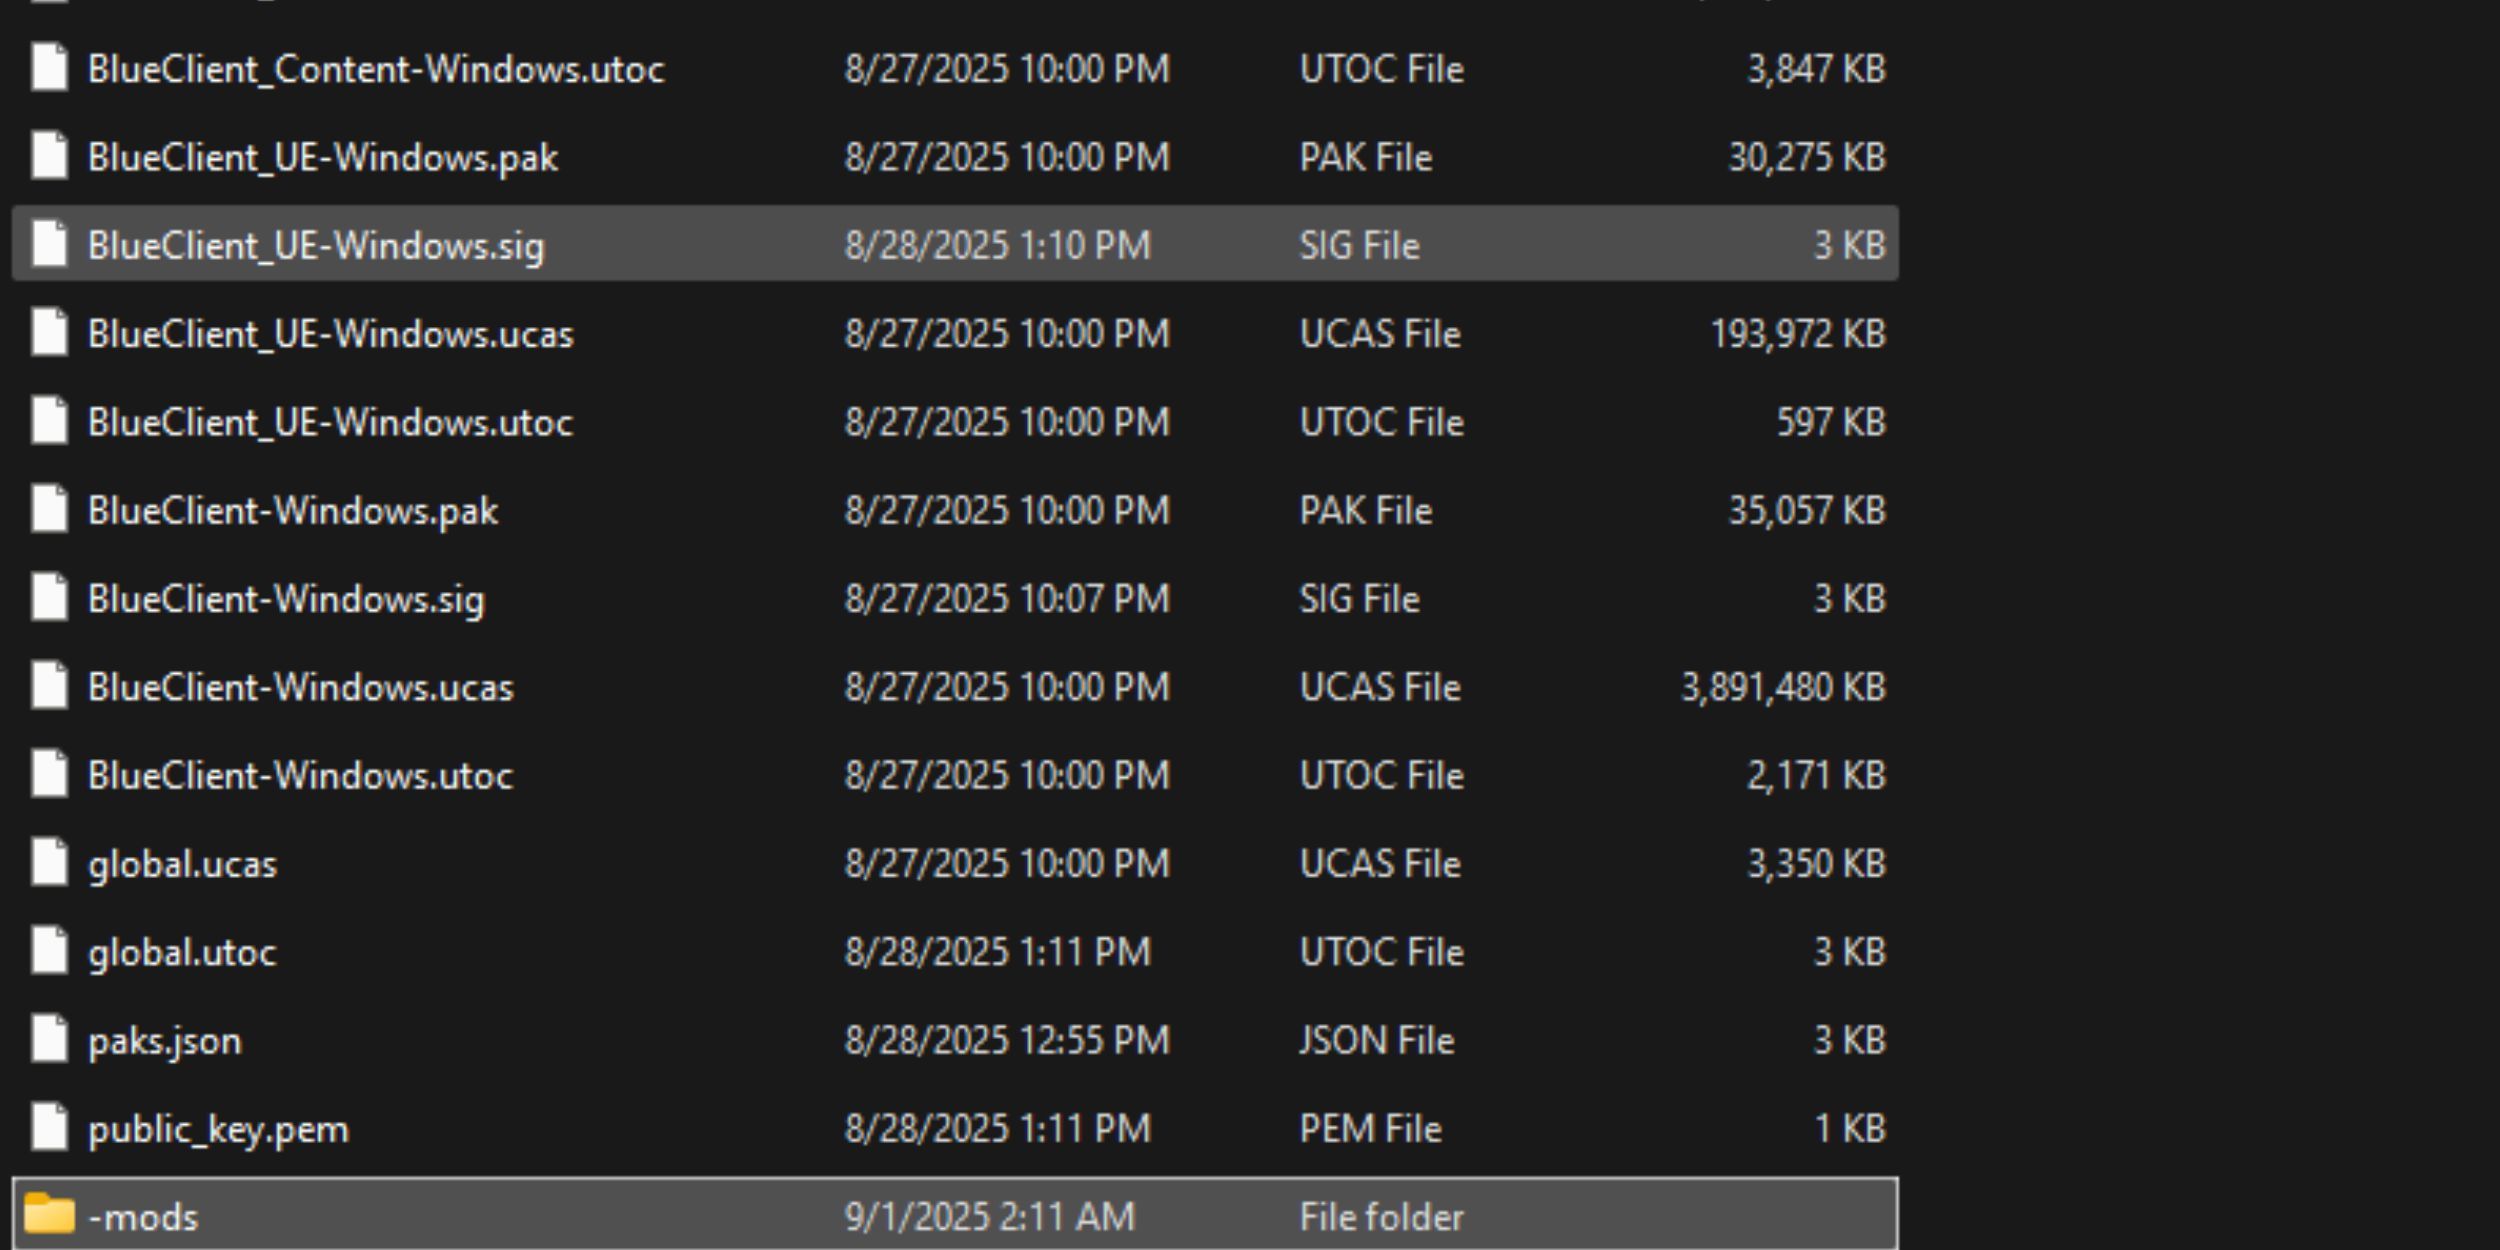
If the mod uses .pak files:
- Move all .pak files into the ~mods folder you created at BlueClient/Content/Paks/~mods.
If a mod appears as a mix of alphabets and numbers, it often signifies creative items such as textures or 3D-printable models.
- Drag and drop these into the appropriate user folders, such as My3DPrinter or Creations. You can find these folders at Users > Documents > inZOI. These folders are automatically created once you’ve used the Canvas feature at least once.
Read More
- Change Your Perspective Anomaly Commission Guide In NTE (Neverness to Everness)
- How to Get the Wunderbarrage in Totenreich (BO7 Zombies)
- All Nameless Hospital Endings Full Guide In NTE
- Beware! Phishing Emails Are Deceiving Robinhood Users in a Sneaky Plot!
- Robinhood’s $75M OpenAI Bet: Retail Access or Legal Minefield?
- NTE Banners (Current, Next, And Upcoming Banners)
- How to Beat Turbines in ARC Raiders
- NTE Drift Guide (& Best Car Mods for Drifting)
- All the Free Games You Can Claim in May 2026
- NTE Fan Shows Off Mint Cosplay
2025-09-01 05:41