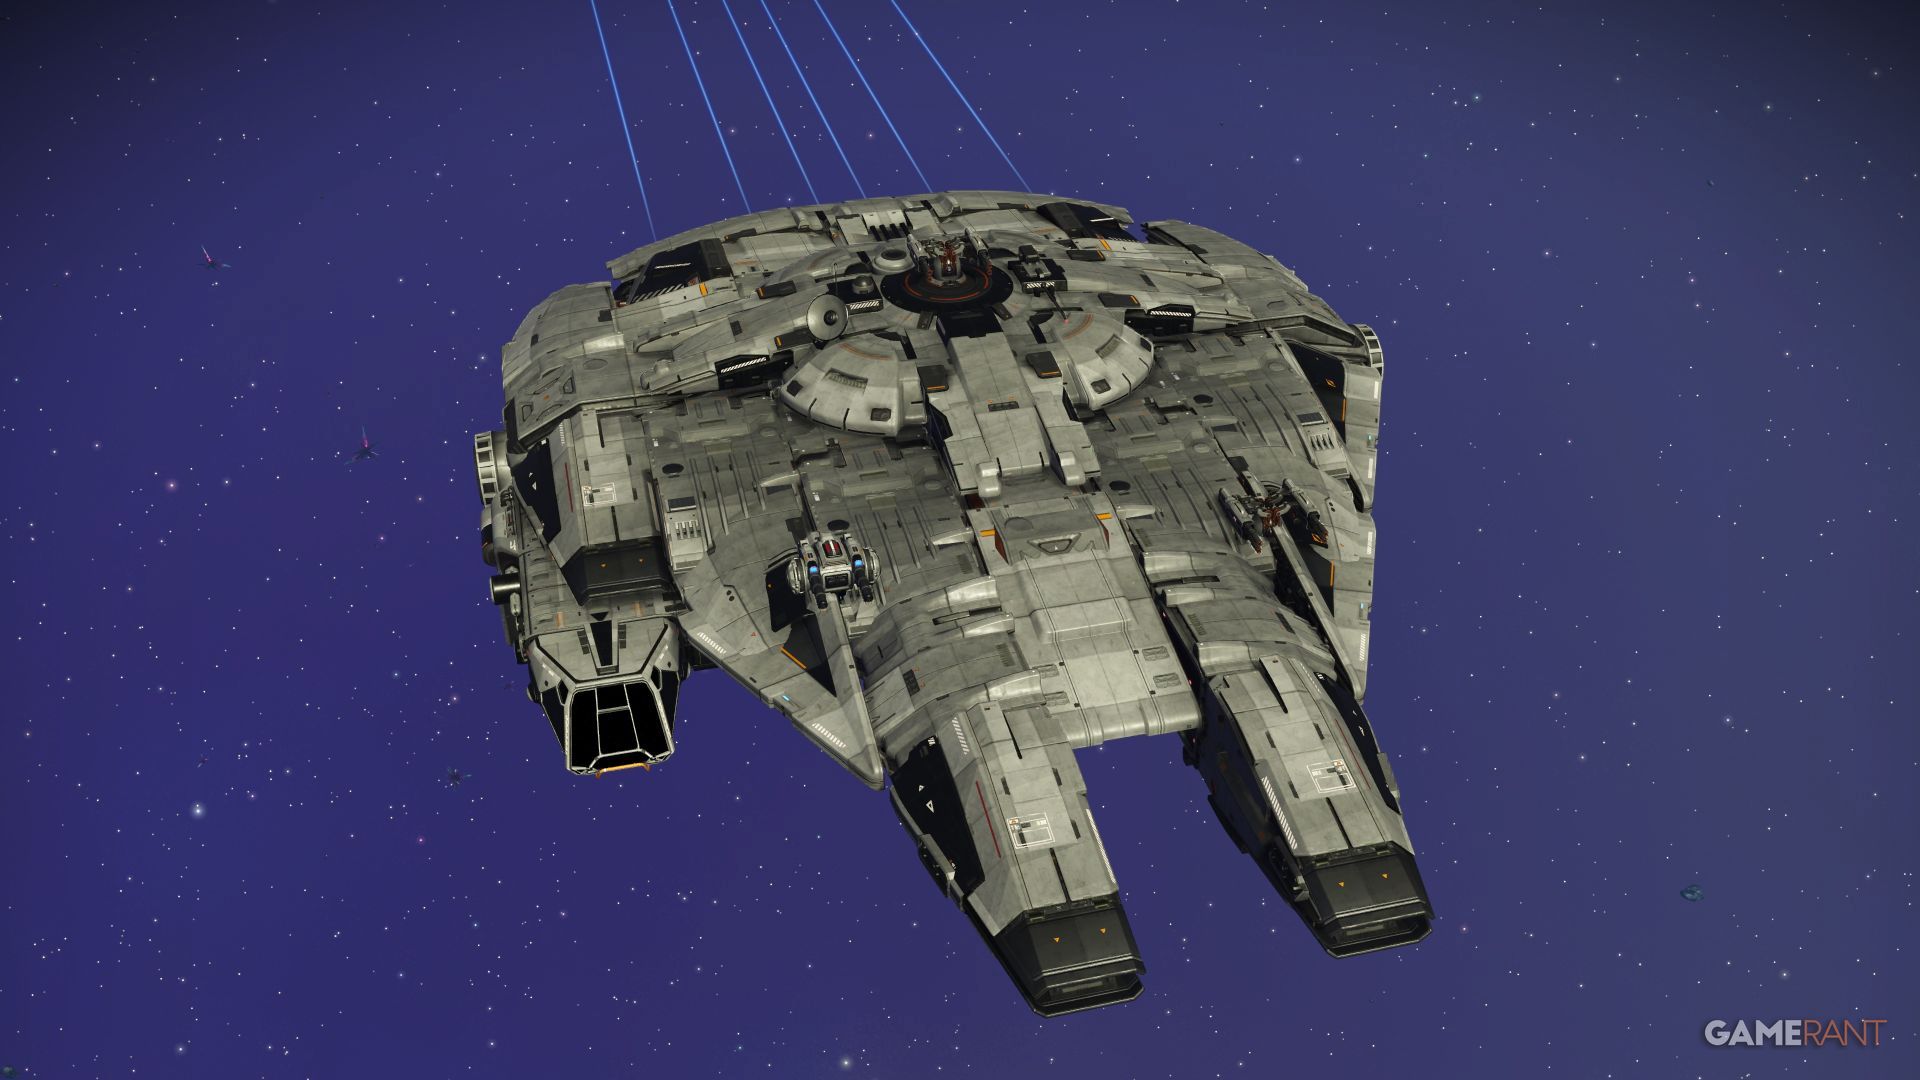
One of the fantastic features introduced in the game “No Man’s Sky” is the capability to craft personalized Corvettes. Players can even stroll around these ships, peek out from certain windows or cockpits, and do maintenance tasks on board due to interior facilities. With a multitude of customization possibilities for Corvettes and the game bearing resemblance to “Star Wars”, many gamers dream about building the Millennium Falcon in No Man’s Sky.
With the appropriate components assembled in the right sequence, fortunately, it can be accomplished. Here’s a detailed guide outlining the ship construction as designed by Ruzado.
Required Parts To Make The Millennium Falcon In No Man’s Sky
Before constructing the Millennium Falcon, players should first gather the necessary Corvette components. To obtain these, search for planets with Salvageable Scrap to discover any usable parts. If they fit the requirements, that’s excellent. However, if they don’t, these can be exchanged at the Corvette Workshop for the required modules instead.
In certain areas like the cockpit, living quarters, and landing zones, you have the freedom to choose any class design, even though the Ambassador Class is generally considered the best match for these spaces.
The parts for the Millennium Falcon are as follows:
- x3 Landing Gear
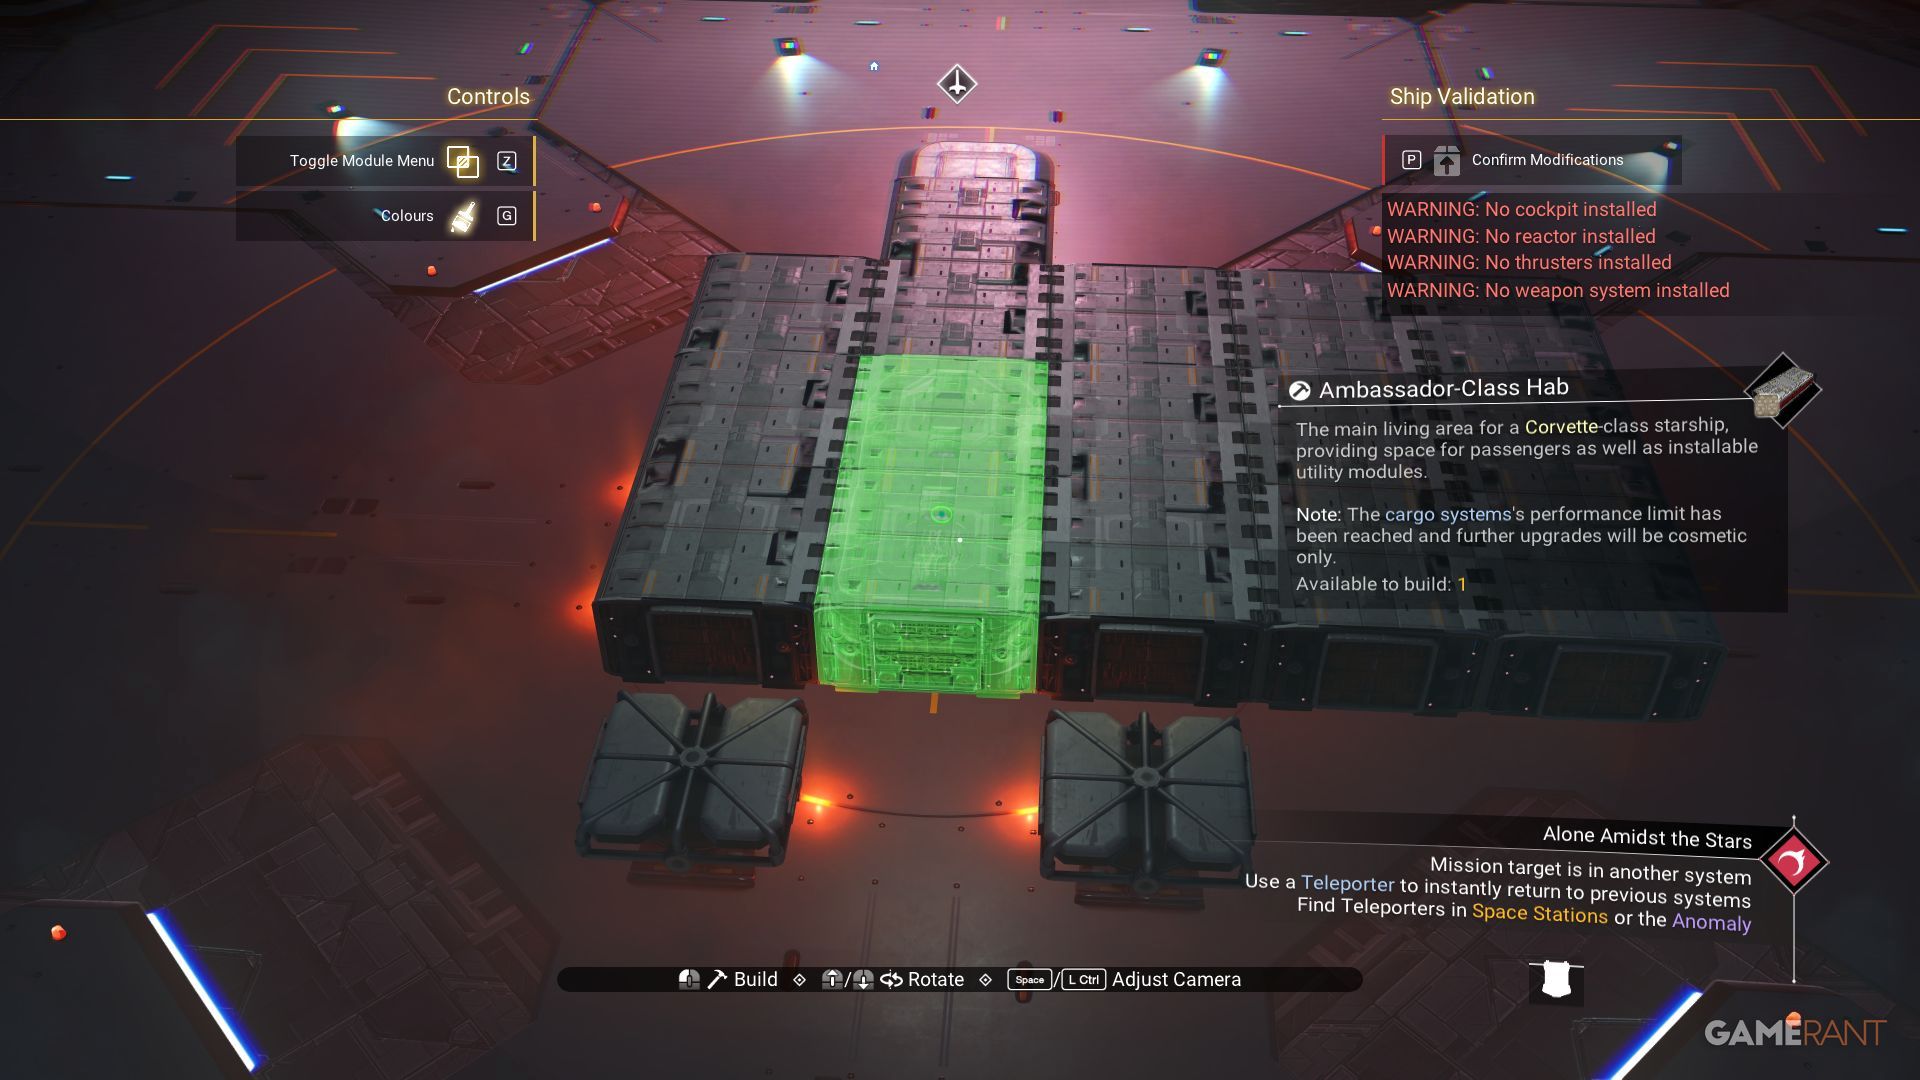
- x6 Habs (any class)
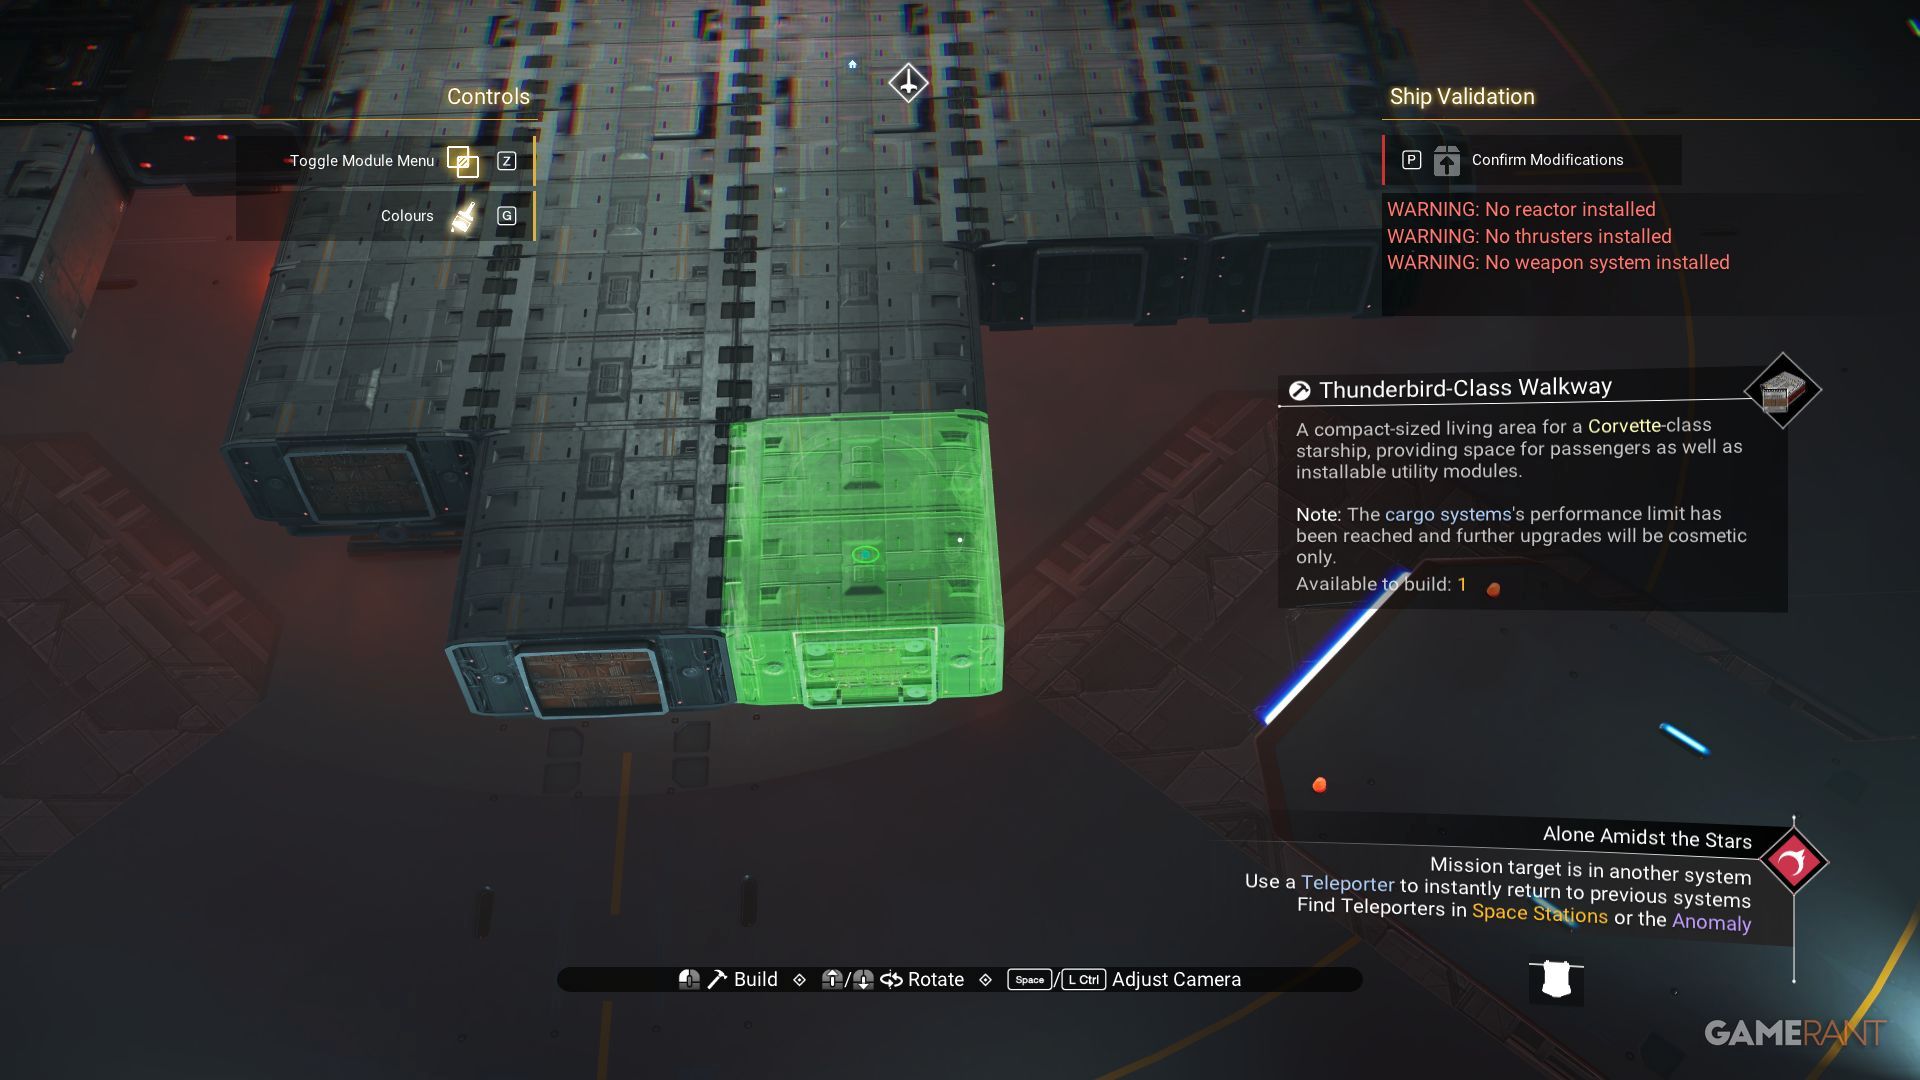
- x10 Walkways (any class)
- x1 Ambassador Landing Bay
- x1 Thunderbird-Class Cockpit (can be any class)
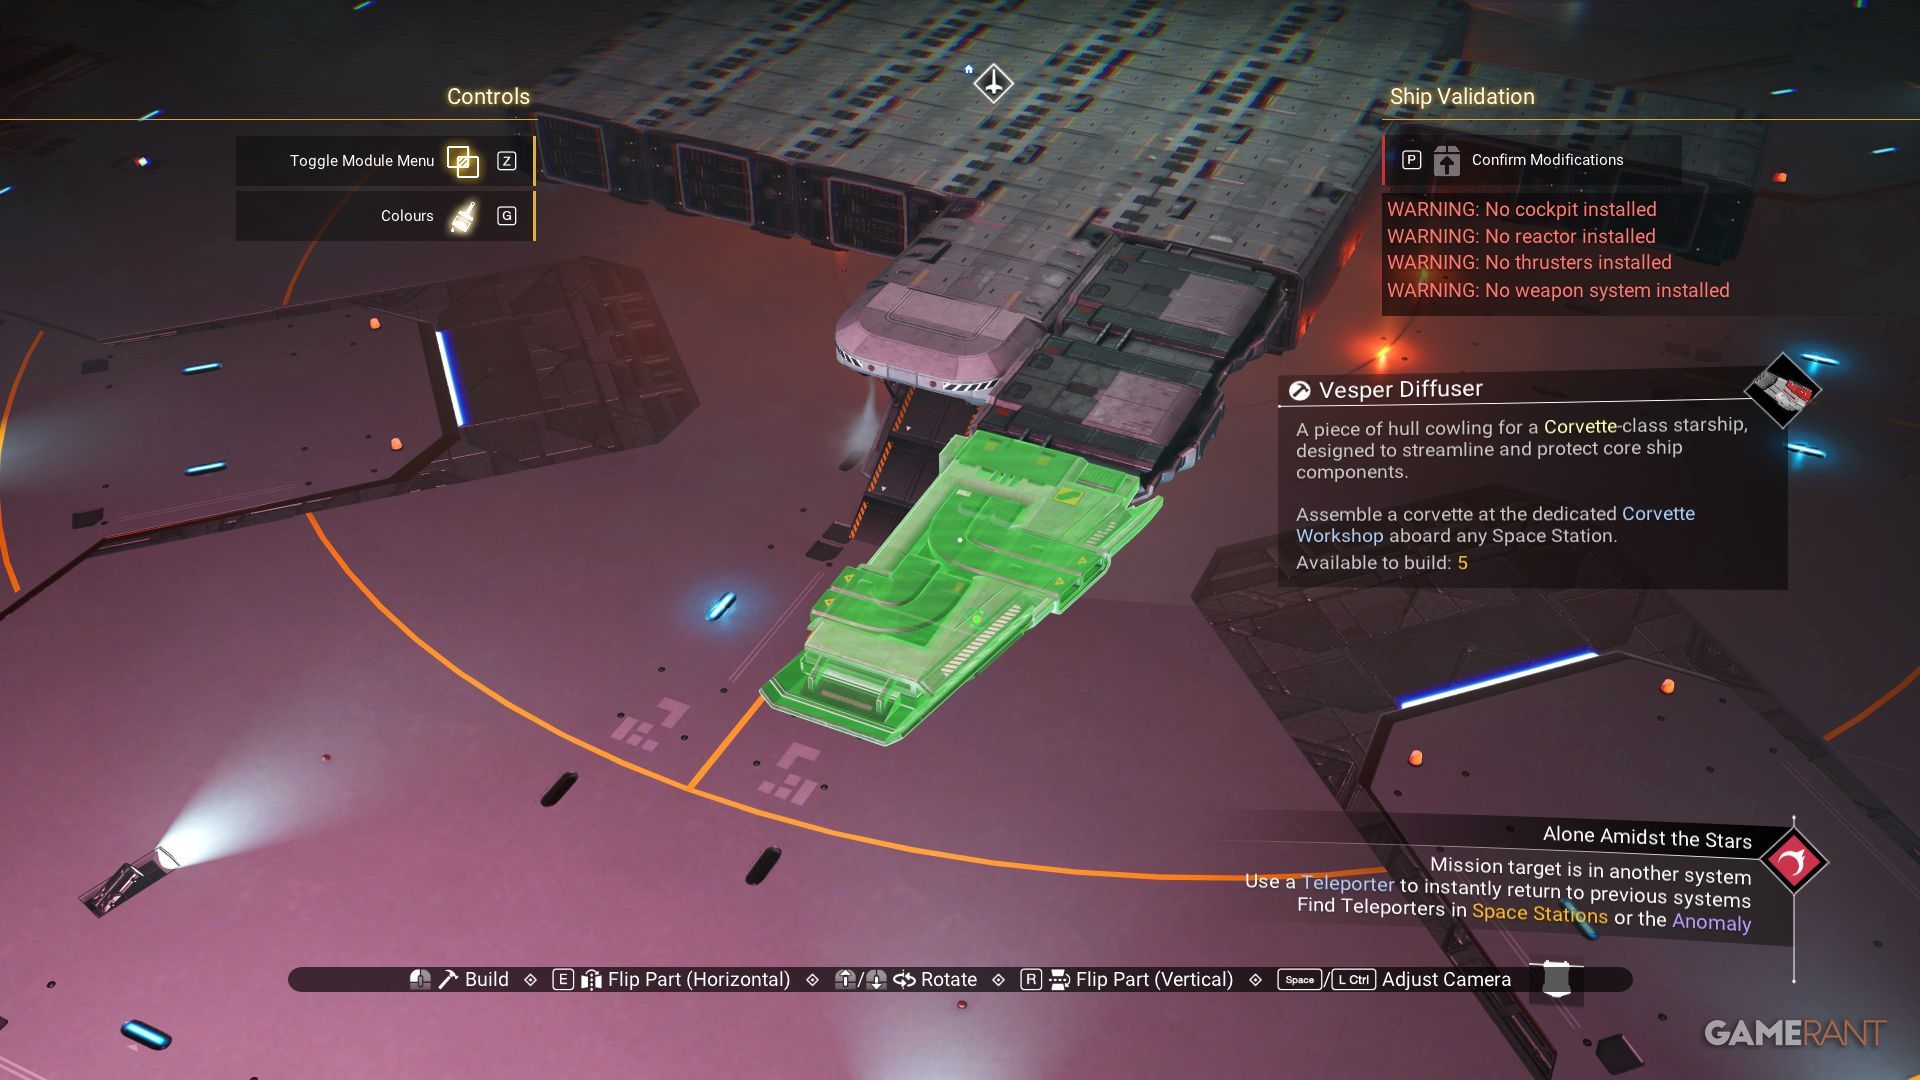
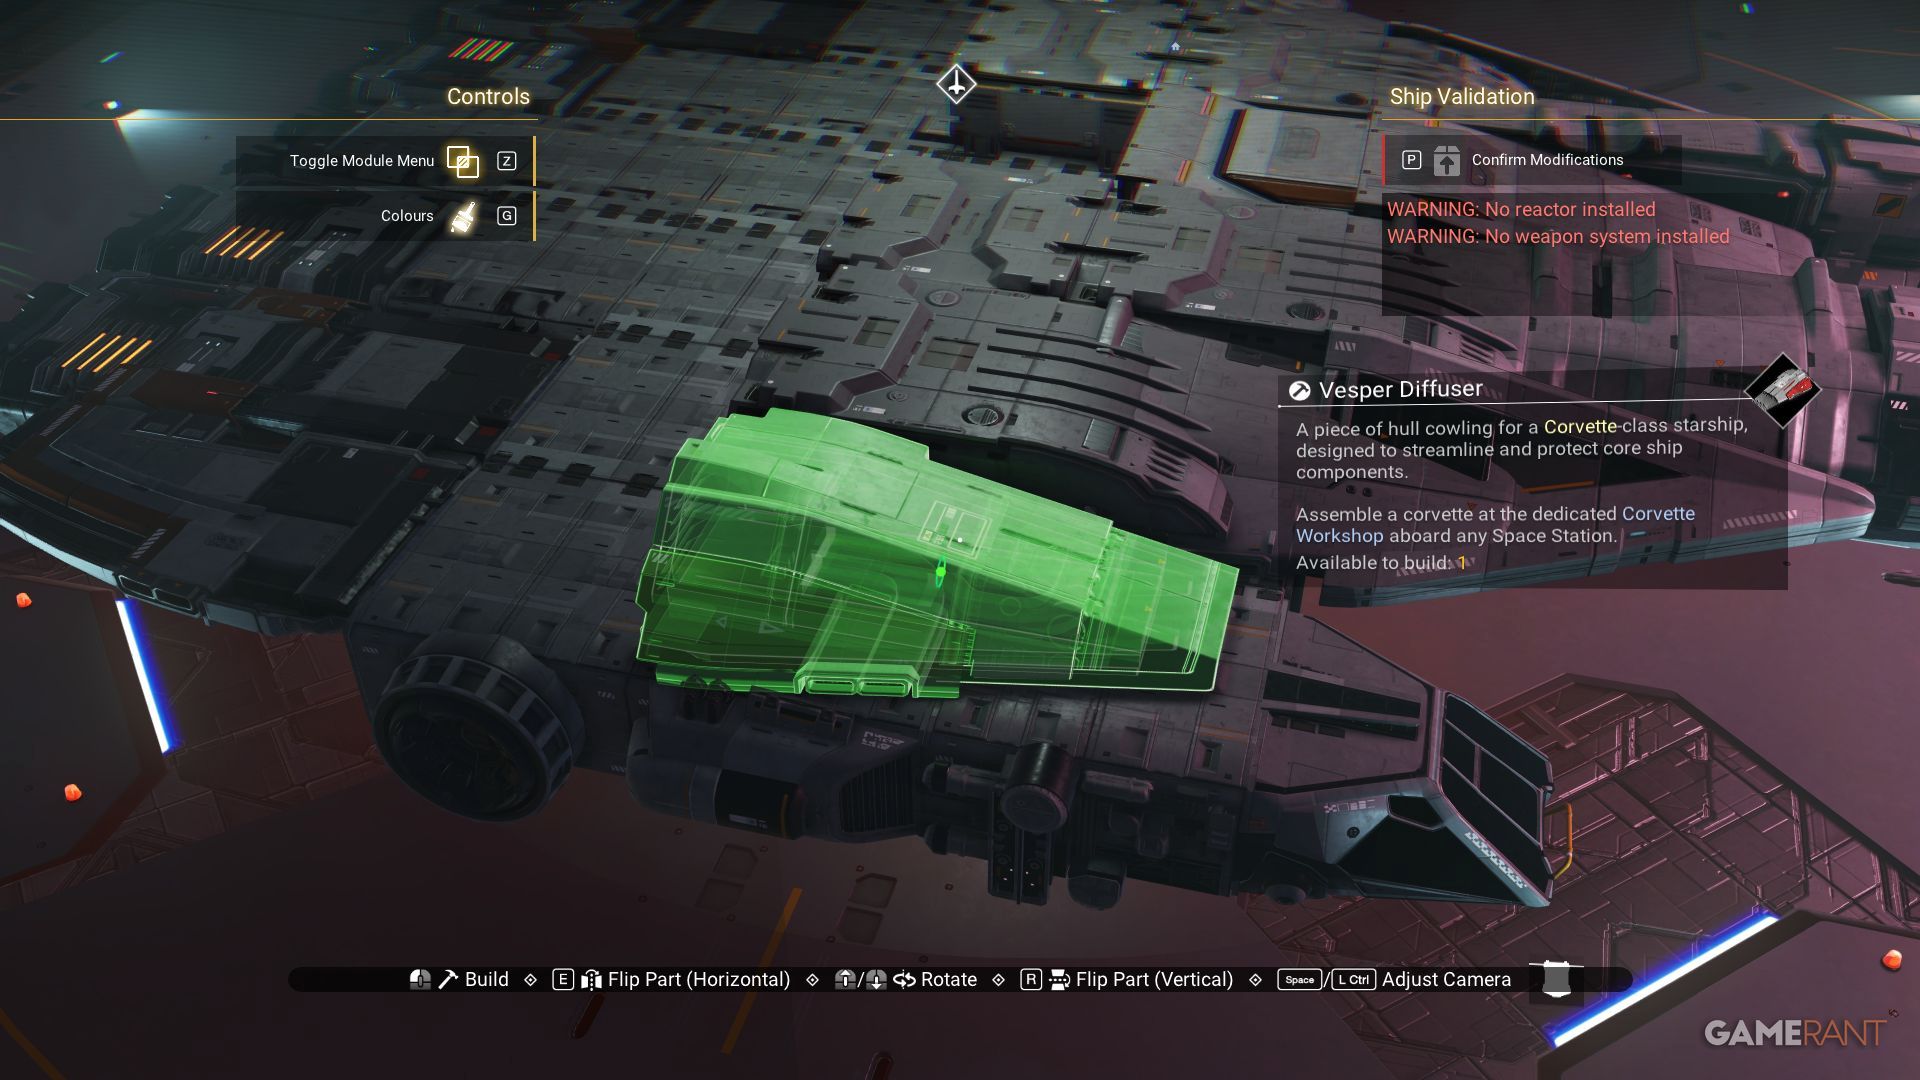
- x5 Vesper Diffuser (The larger, angled ones with red on them)
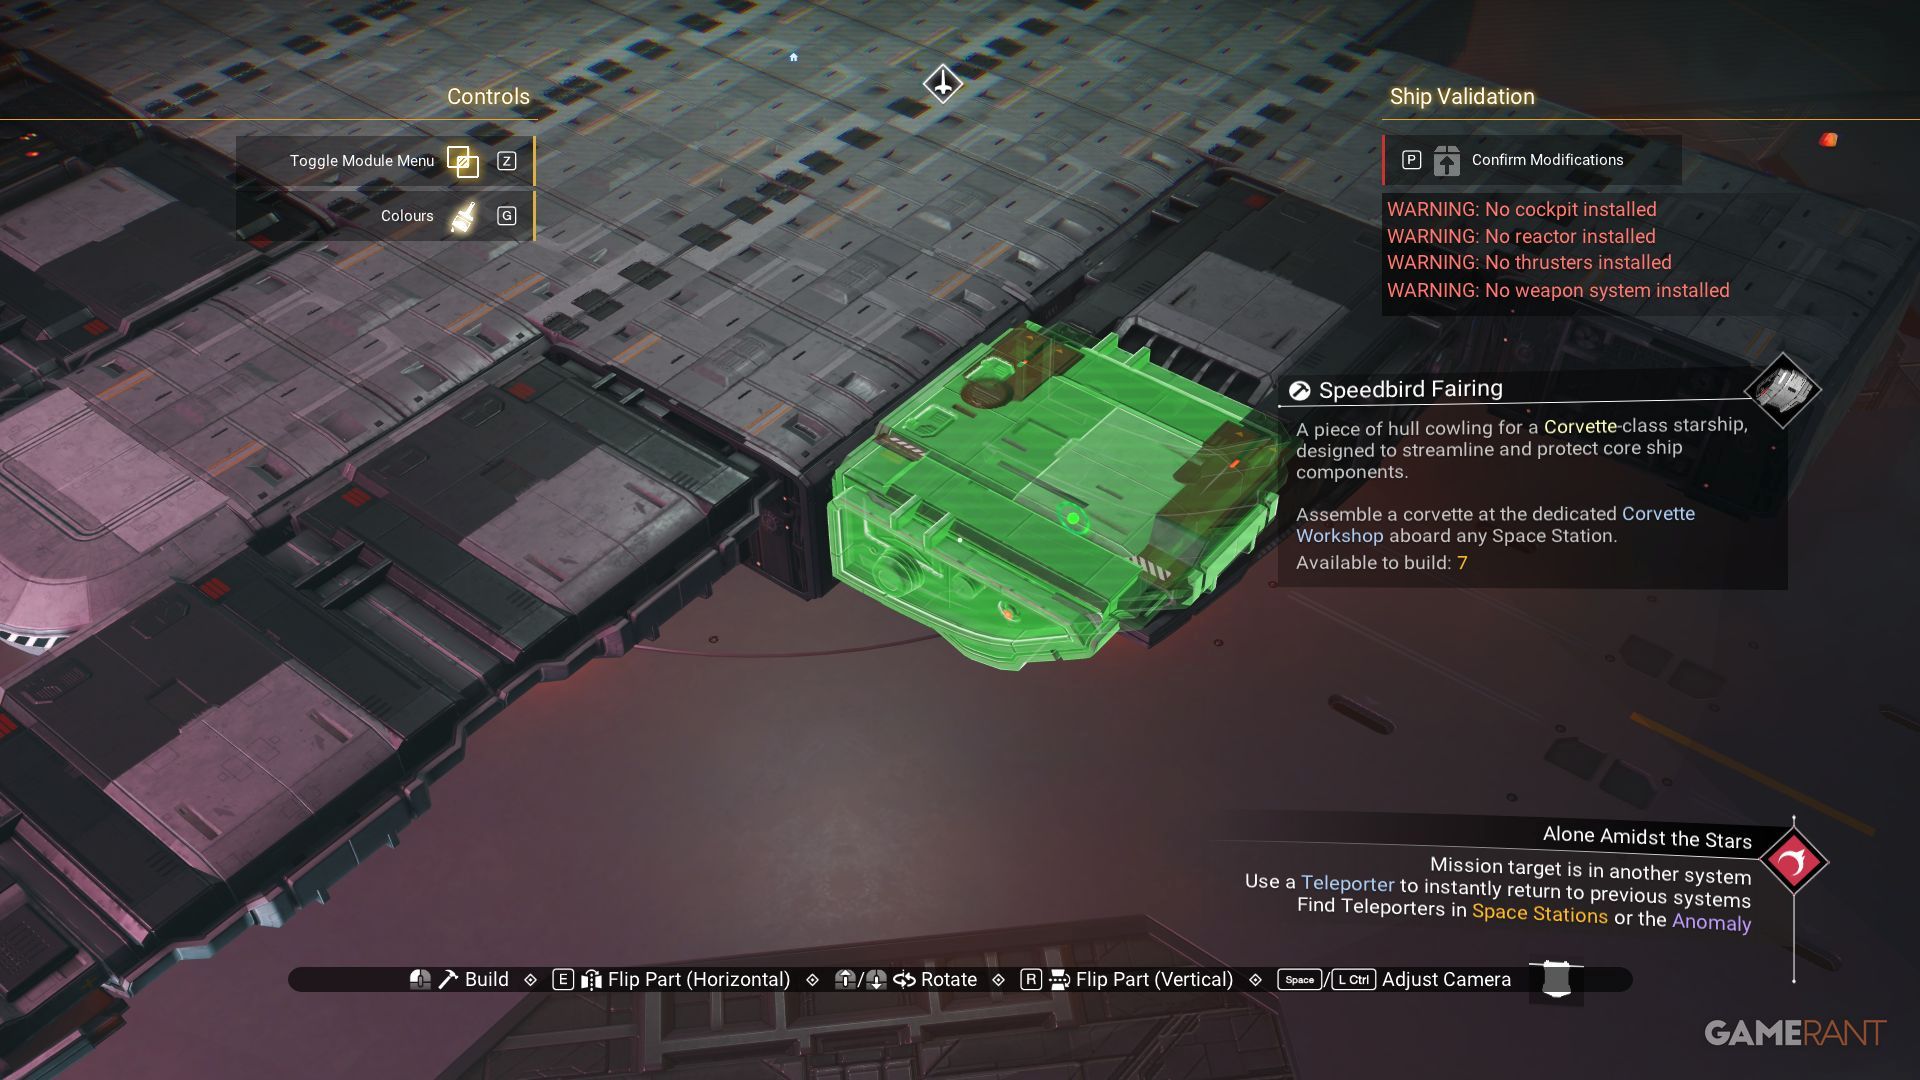
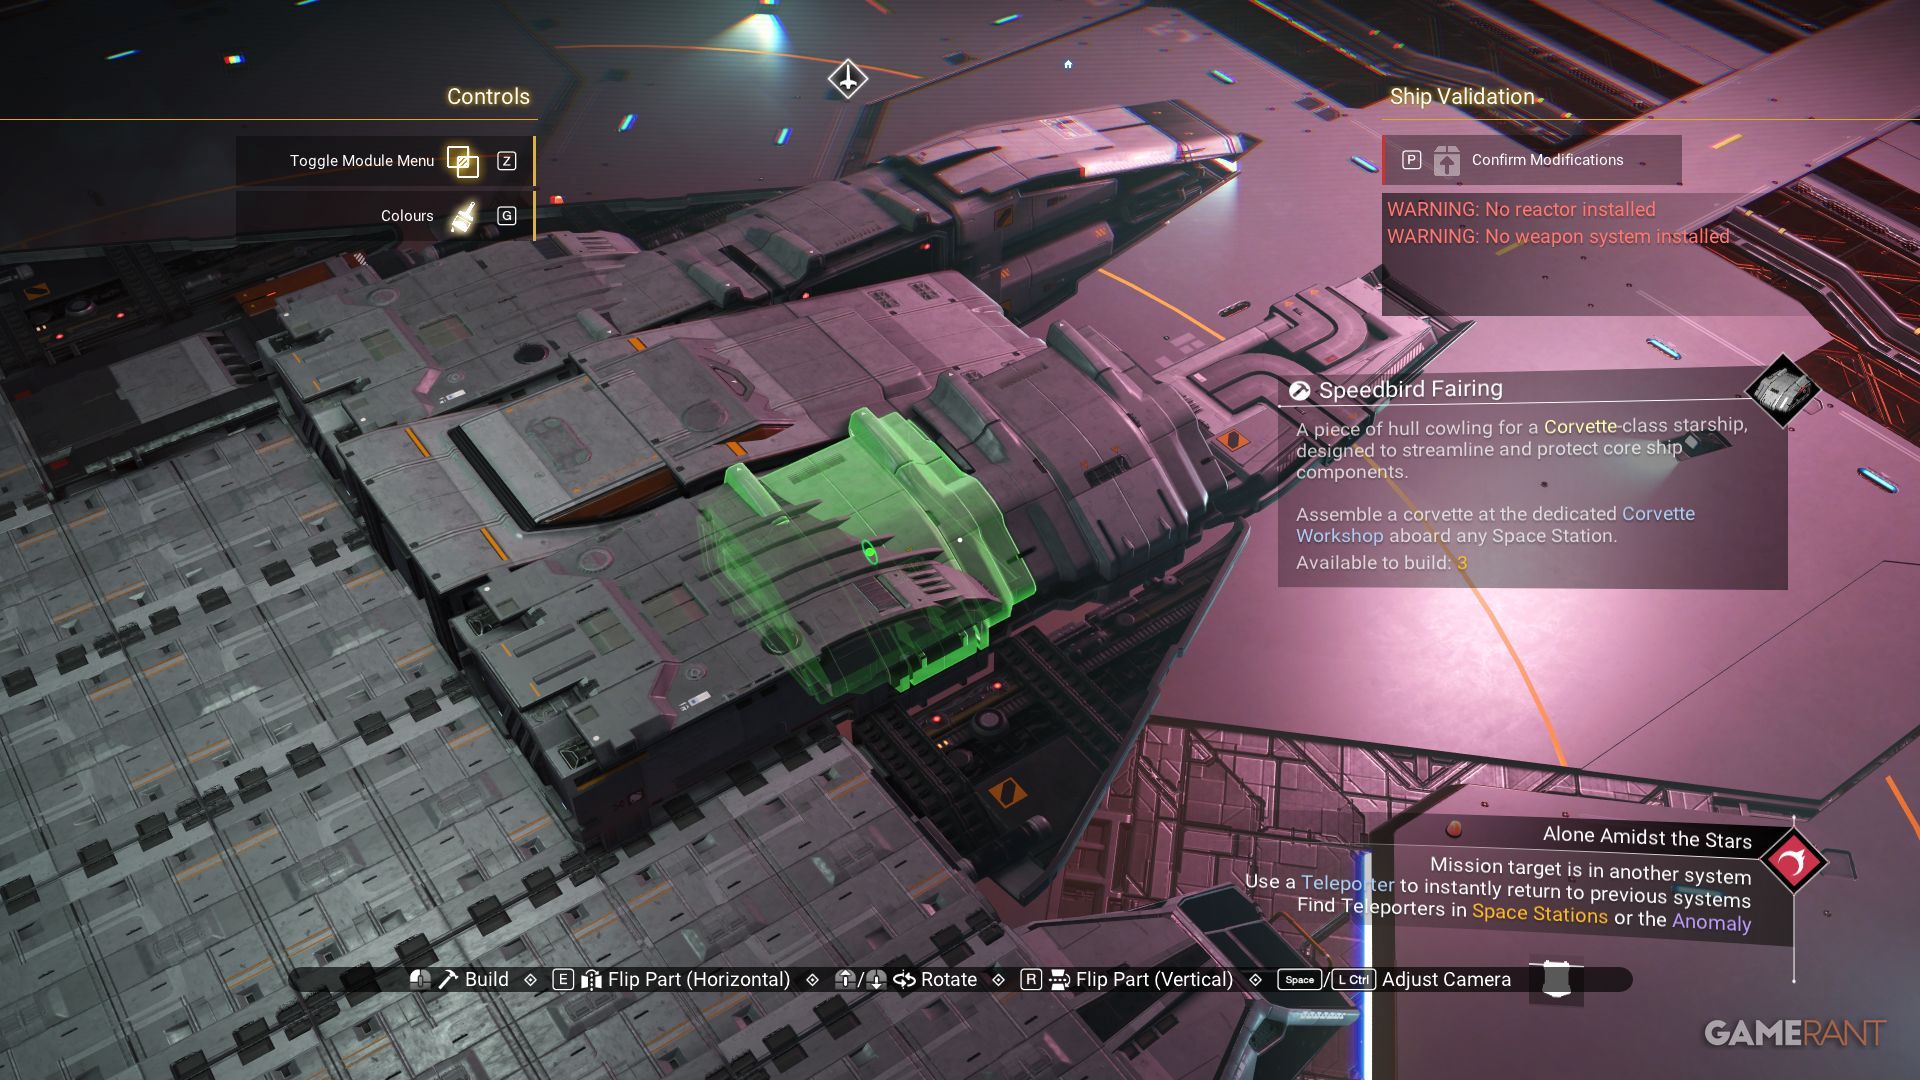
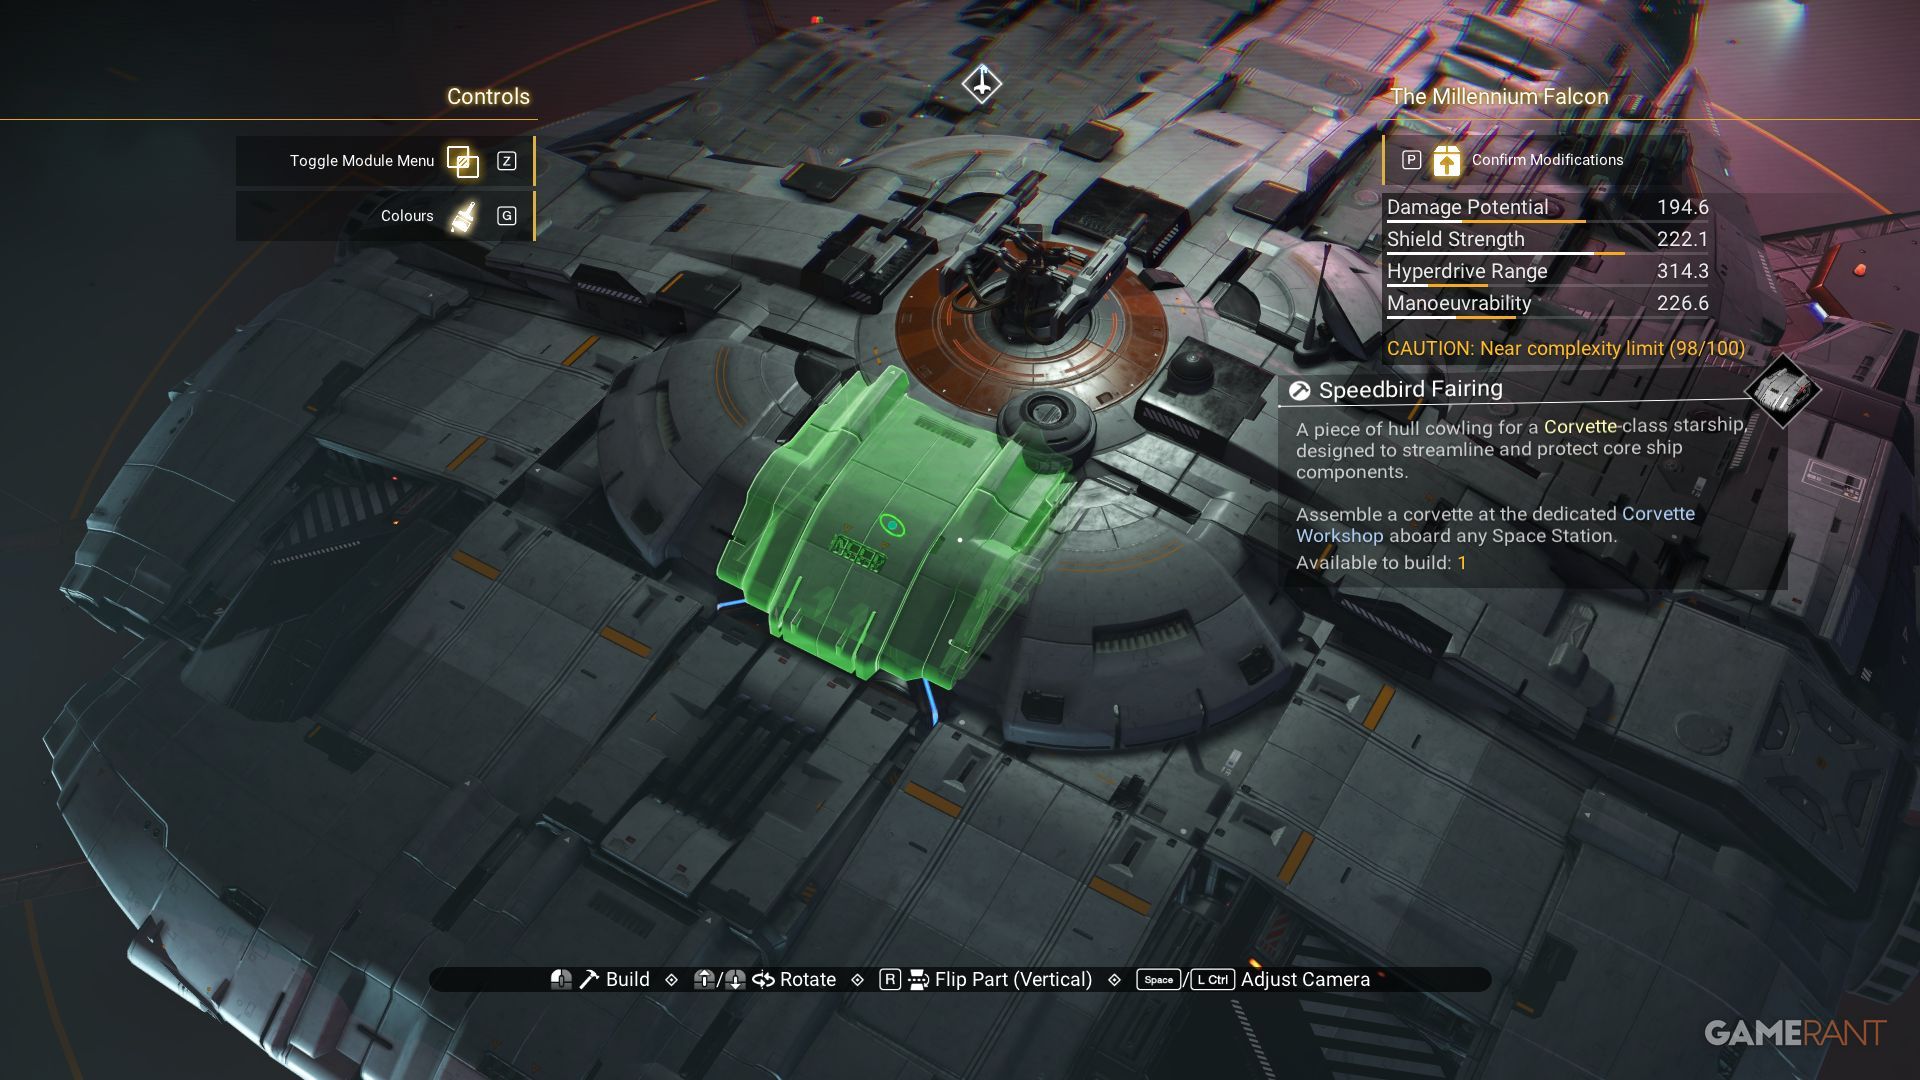
- x8 Speedbird Fairing
- x4 Firebox Fairing
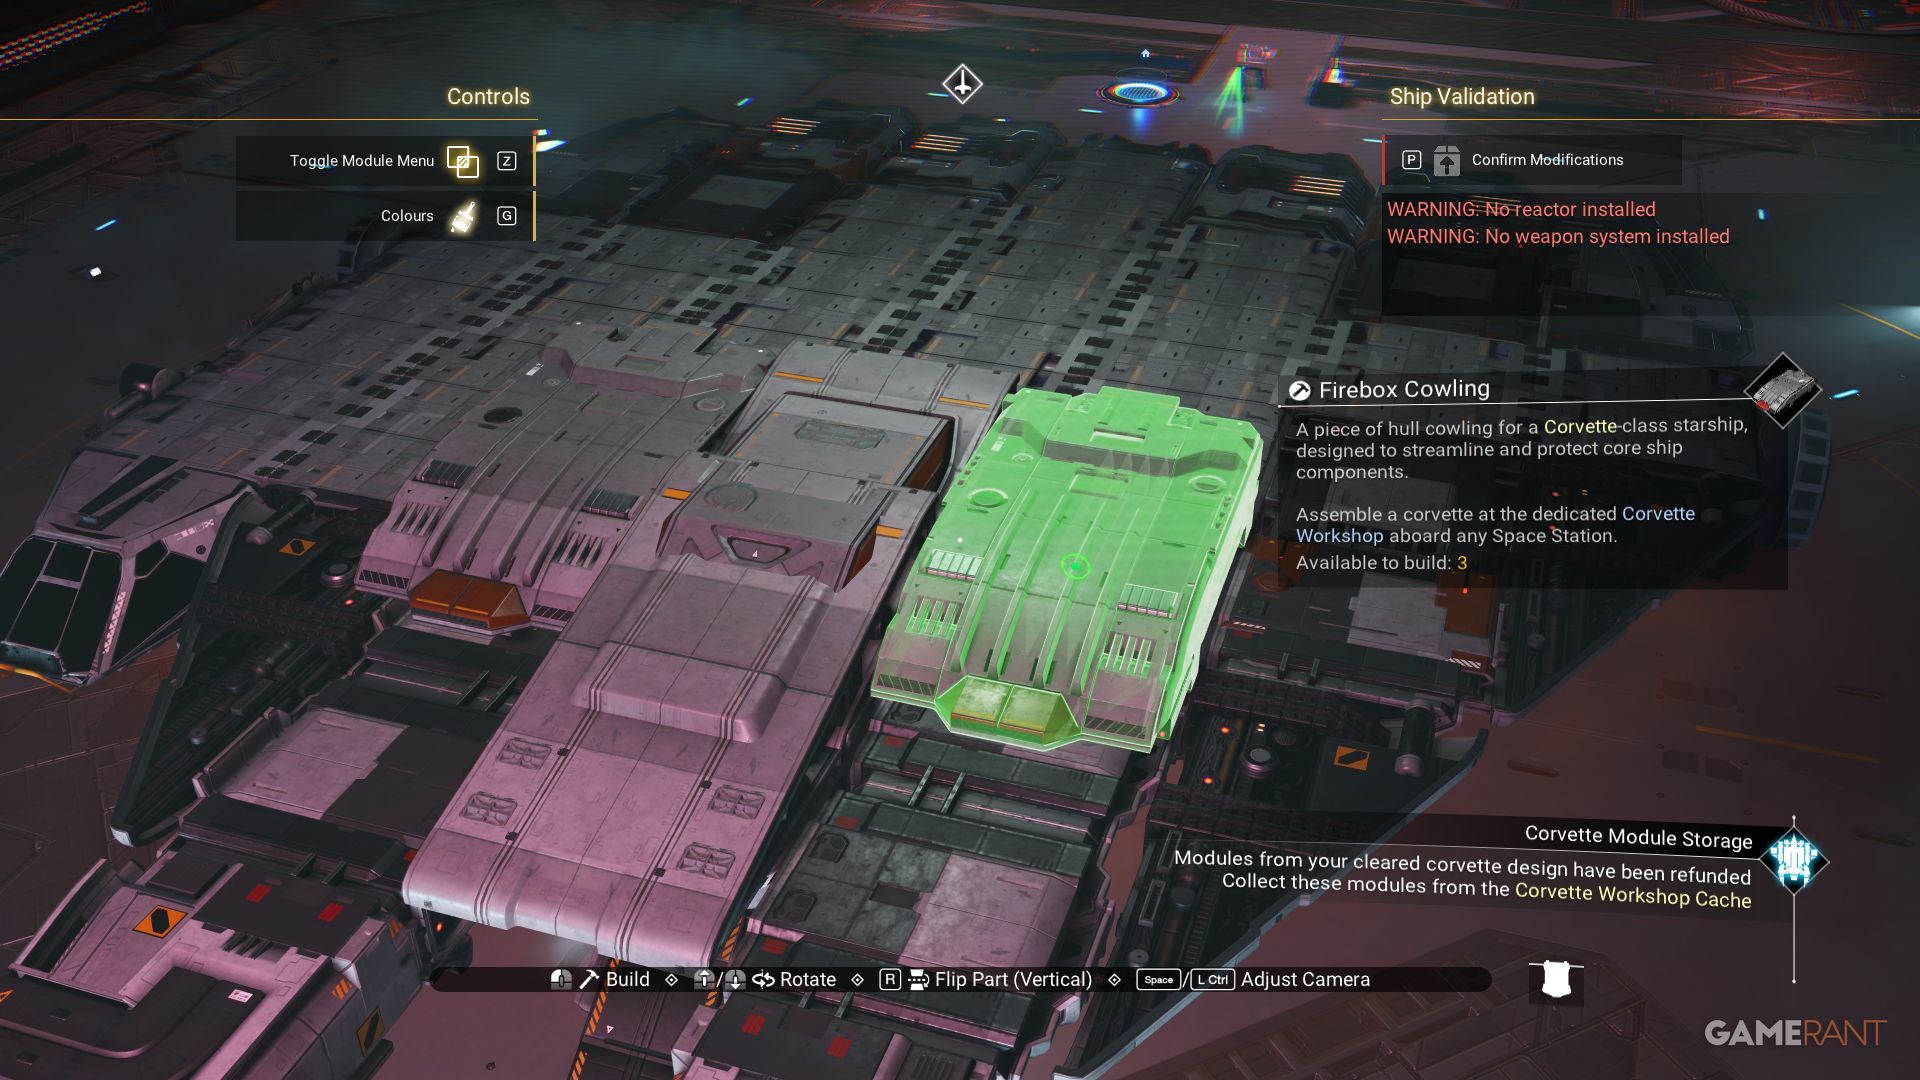
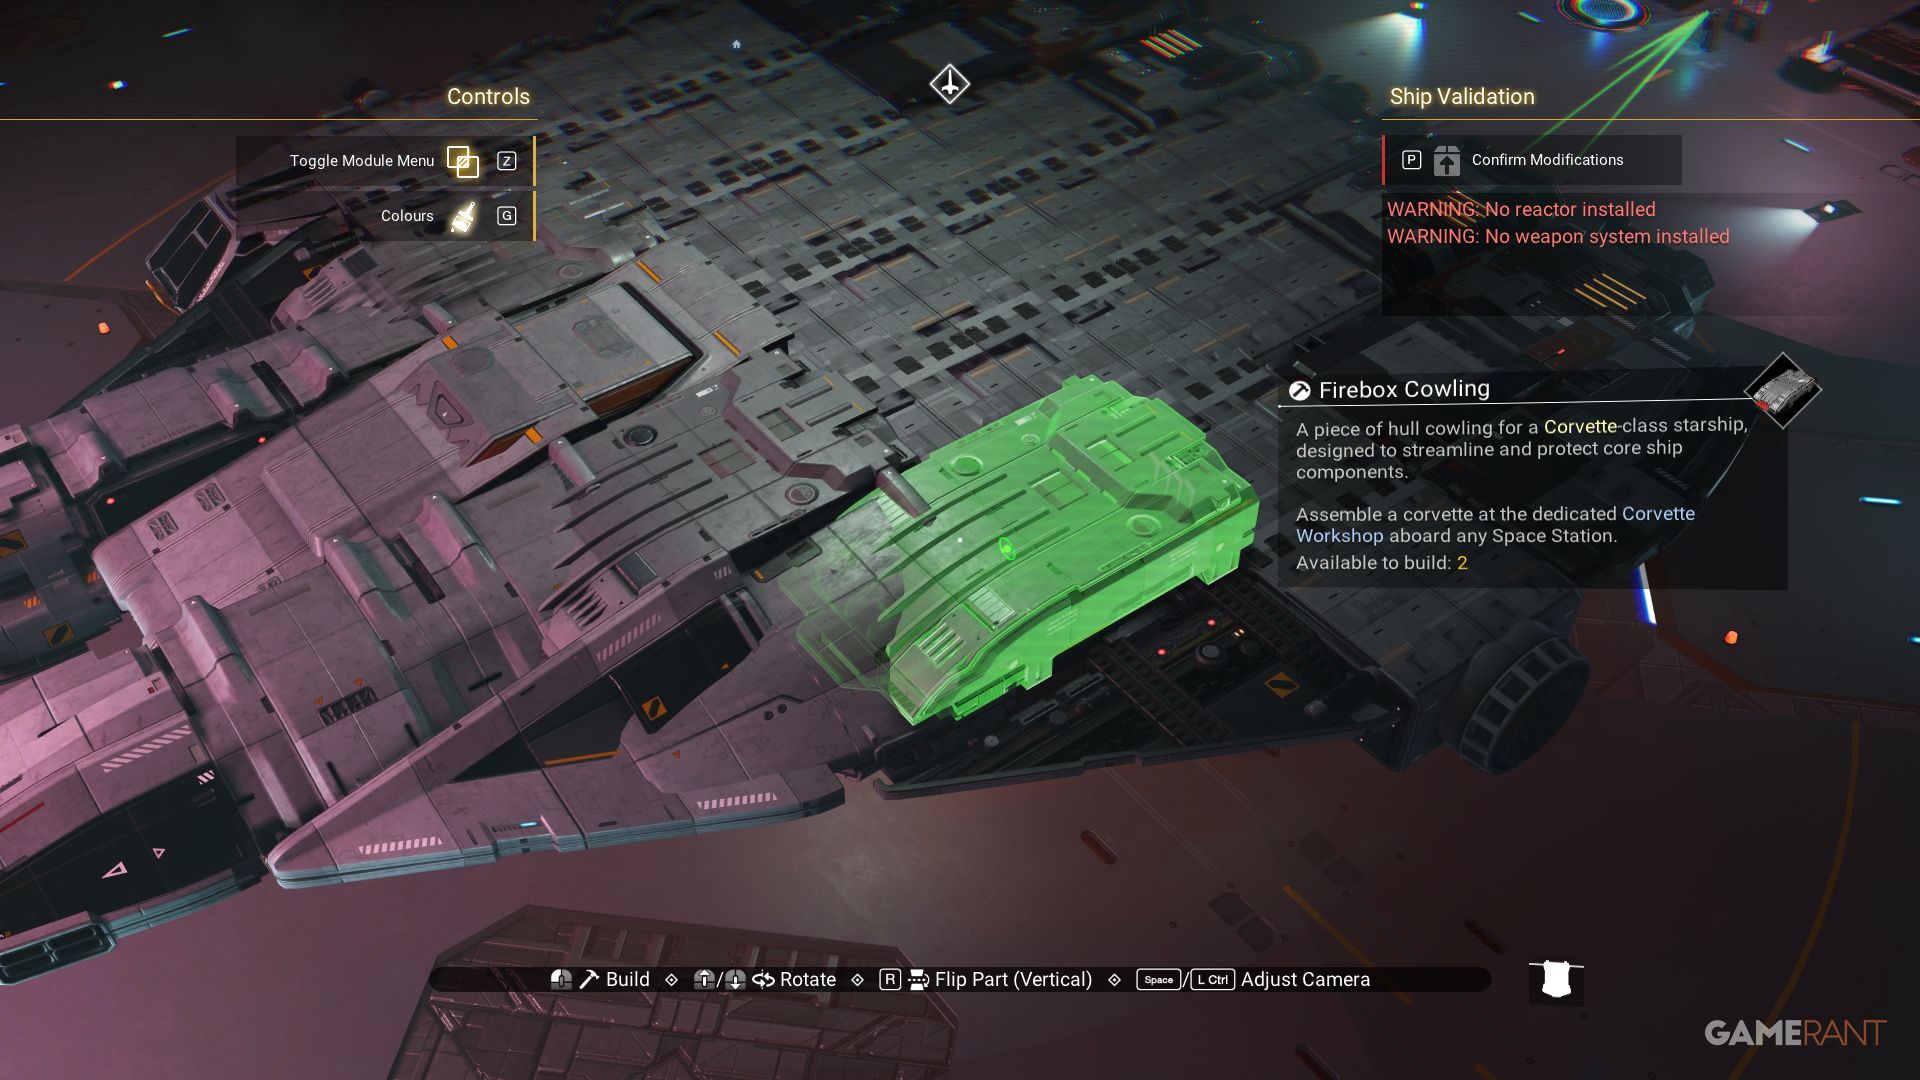
- x4 Firebox Cowling
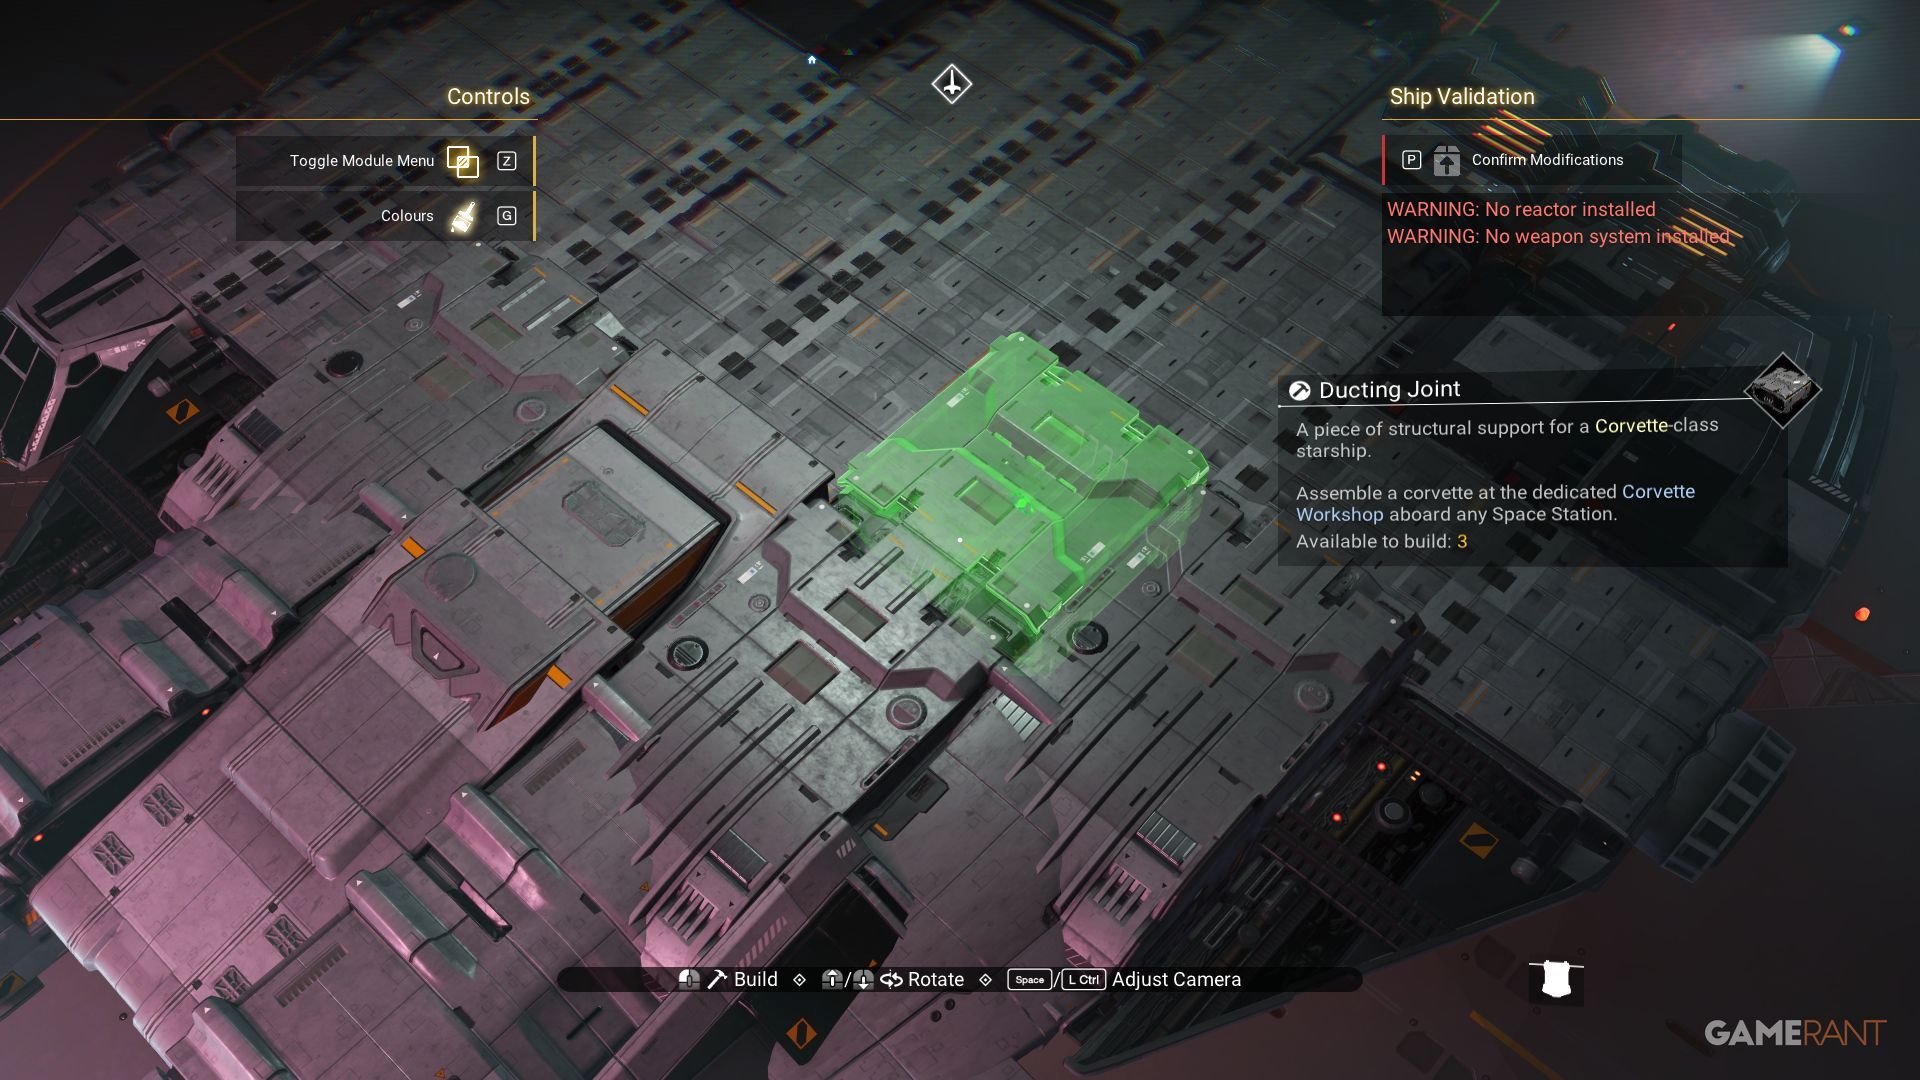
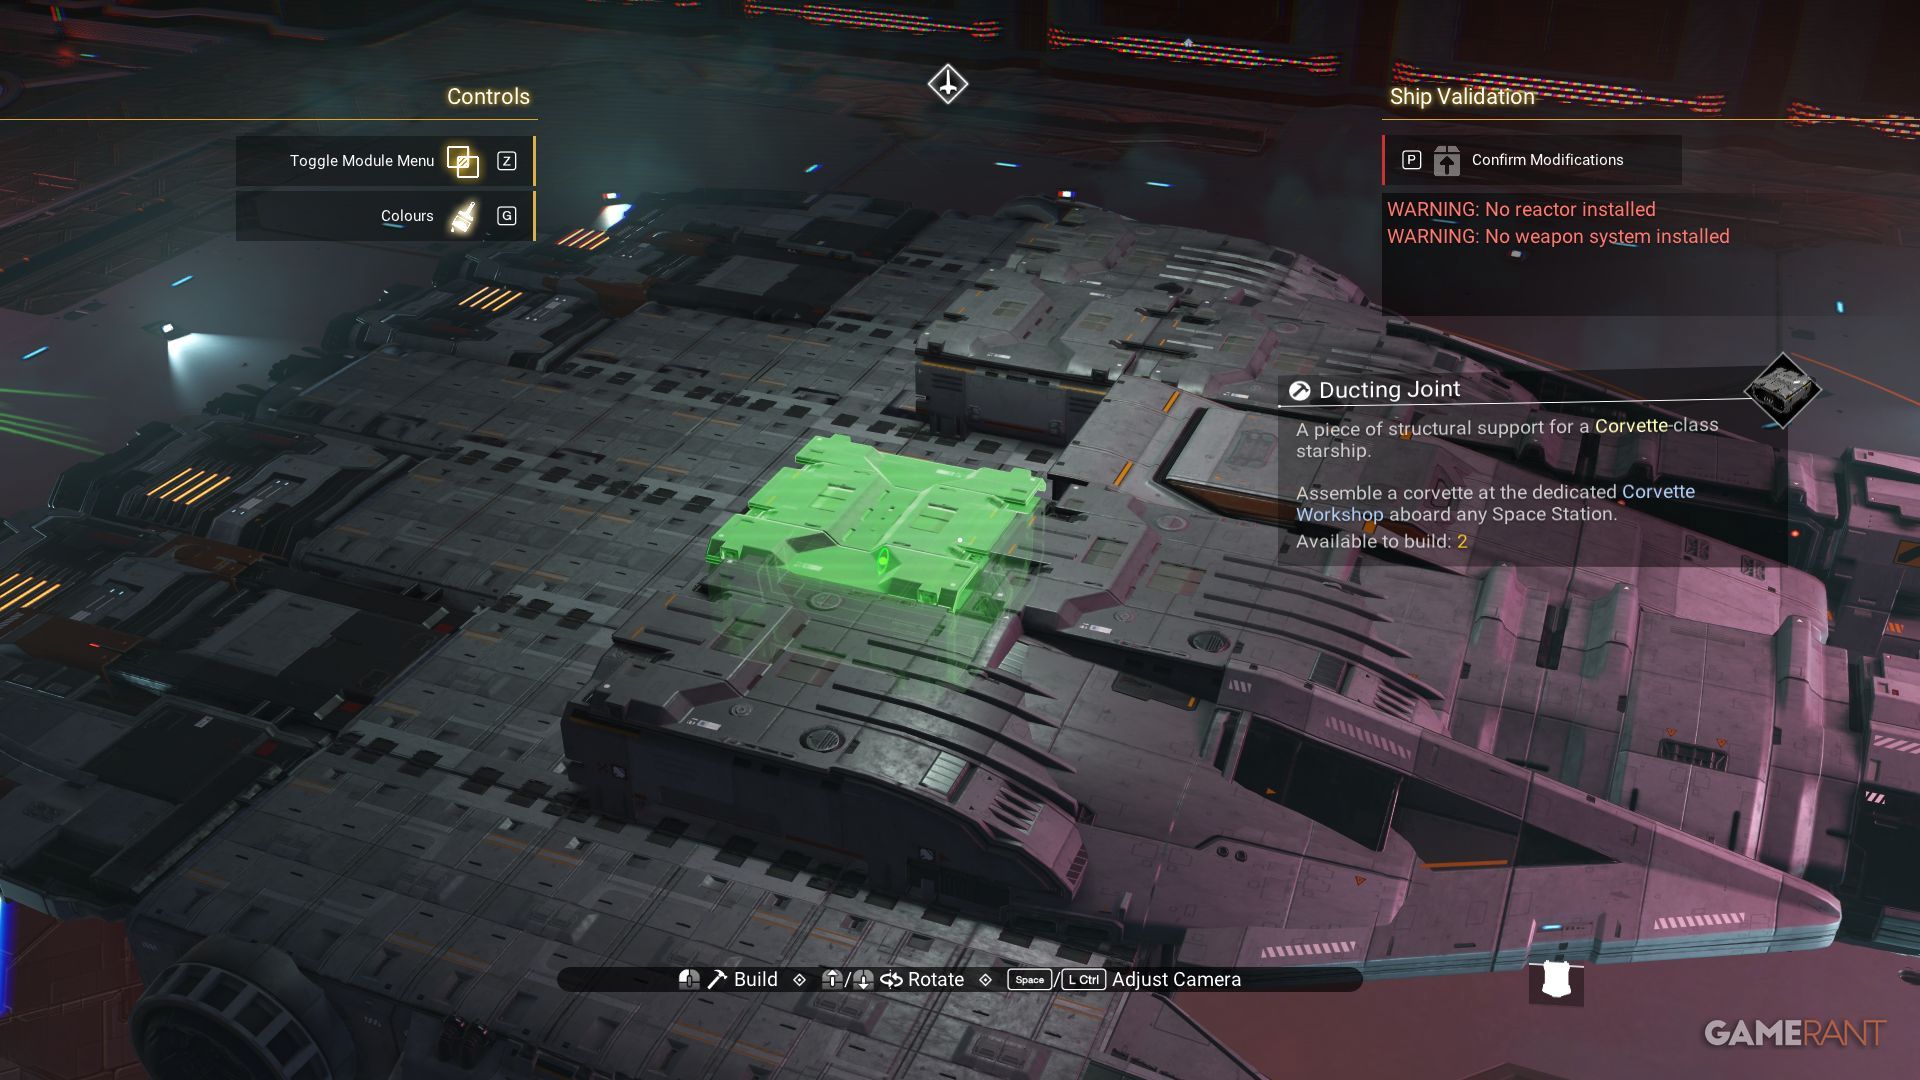
- x6 Ducting Joints
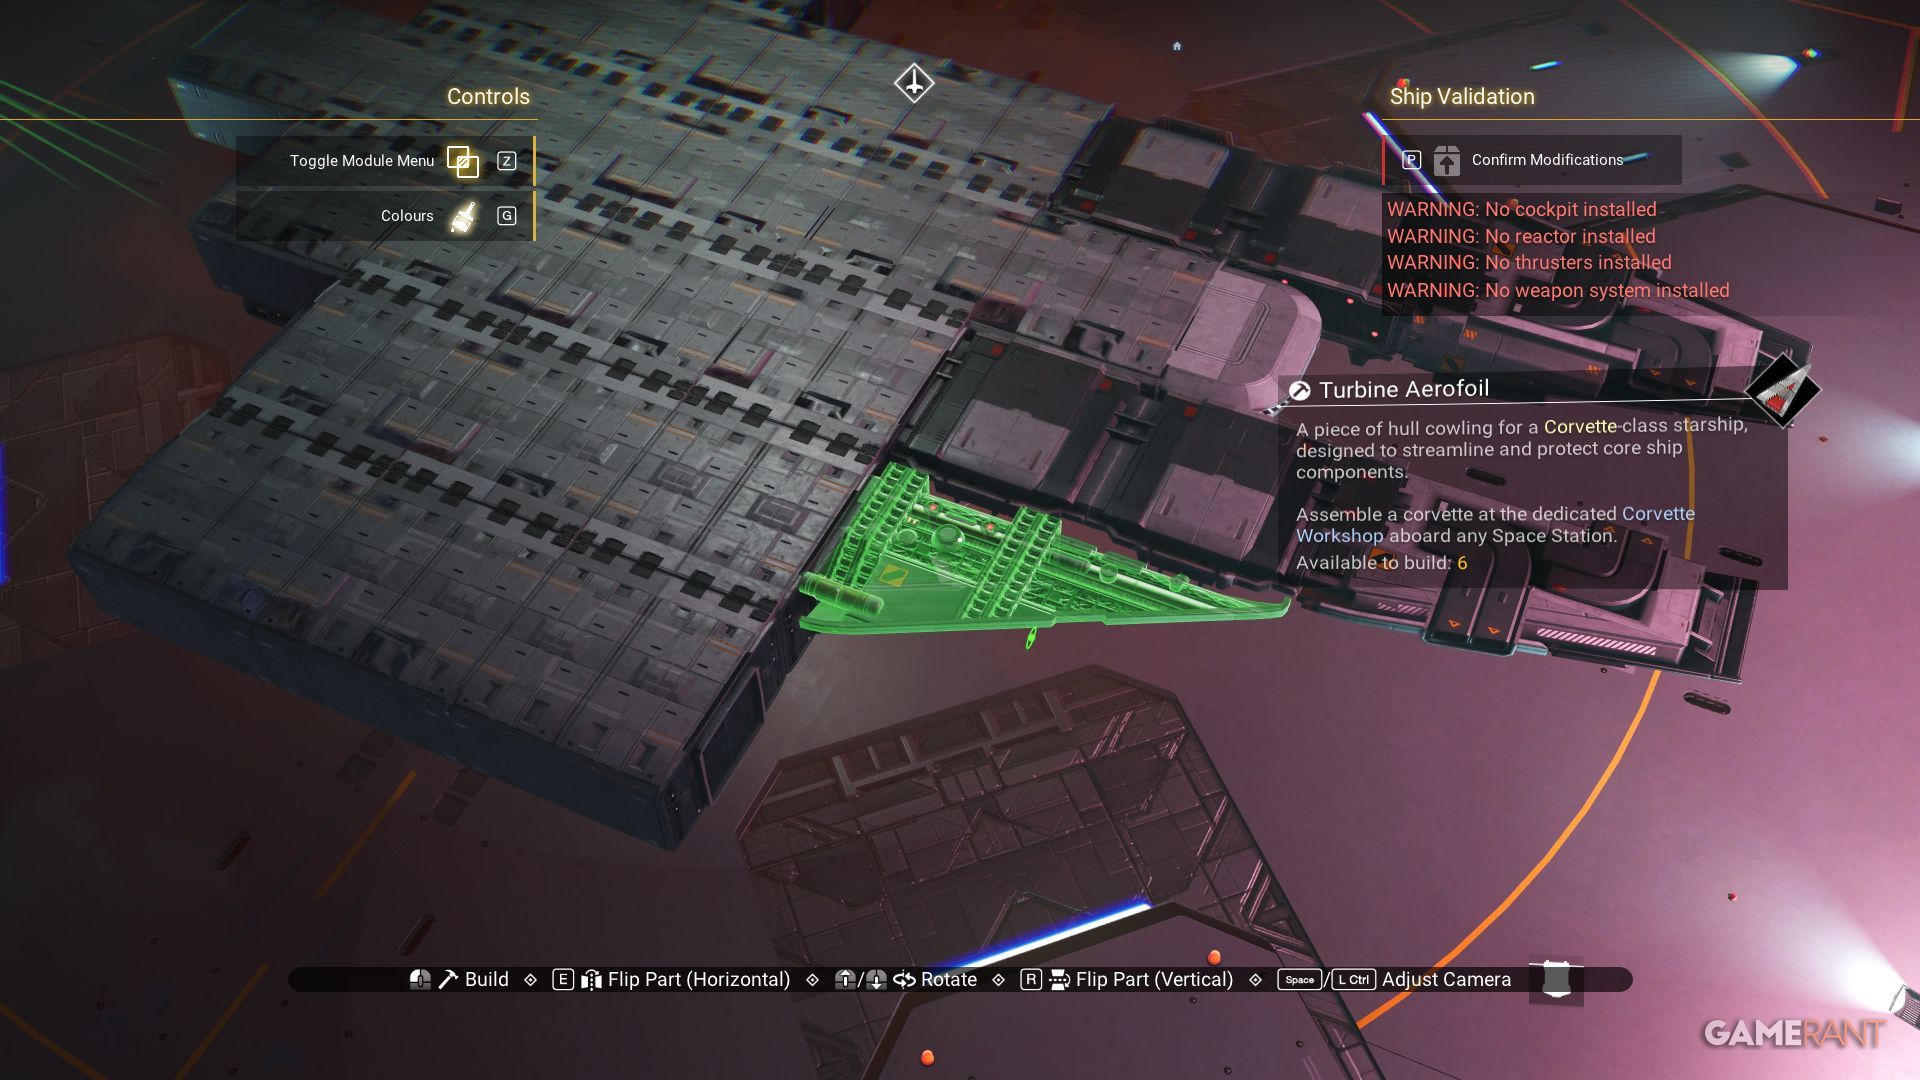
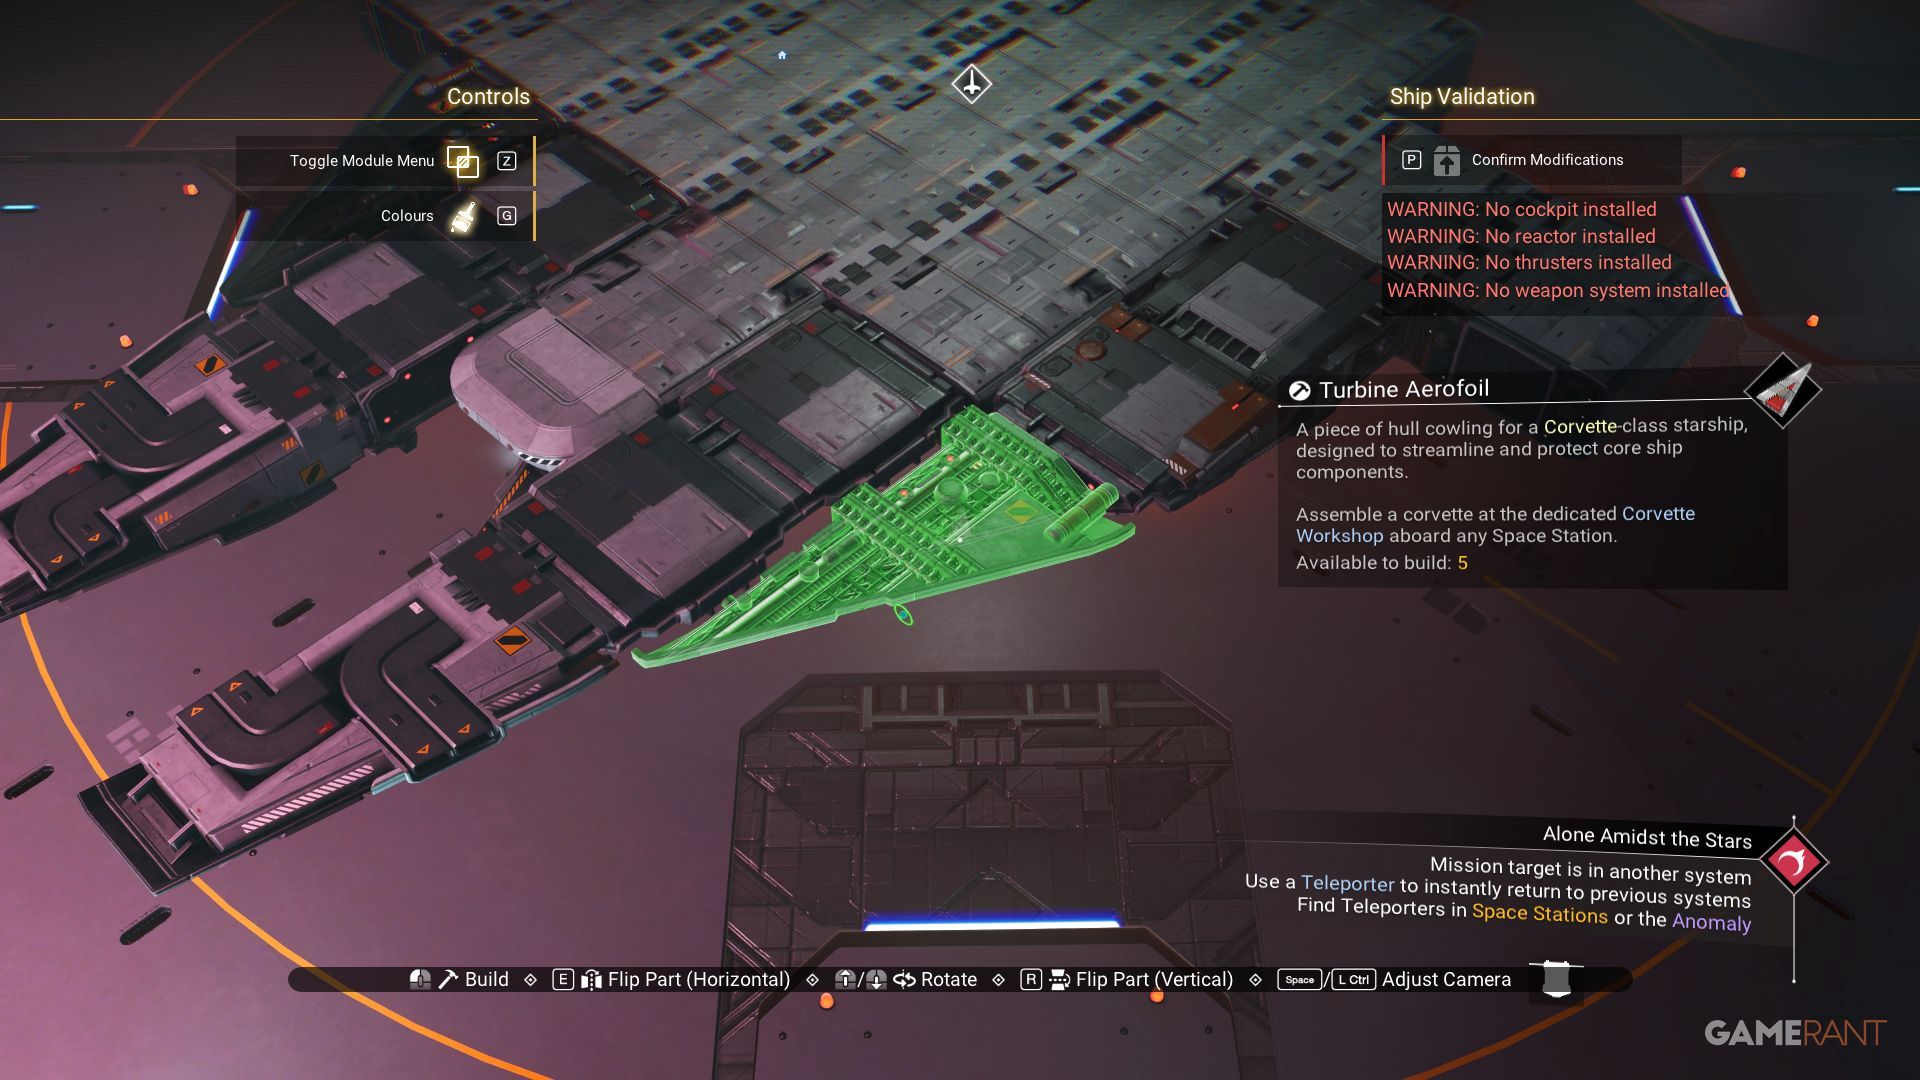
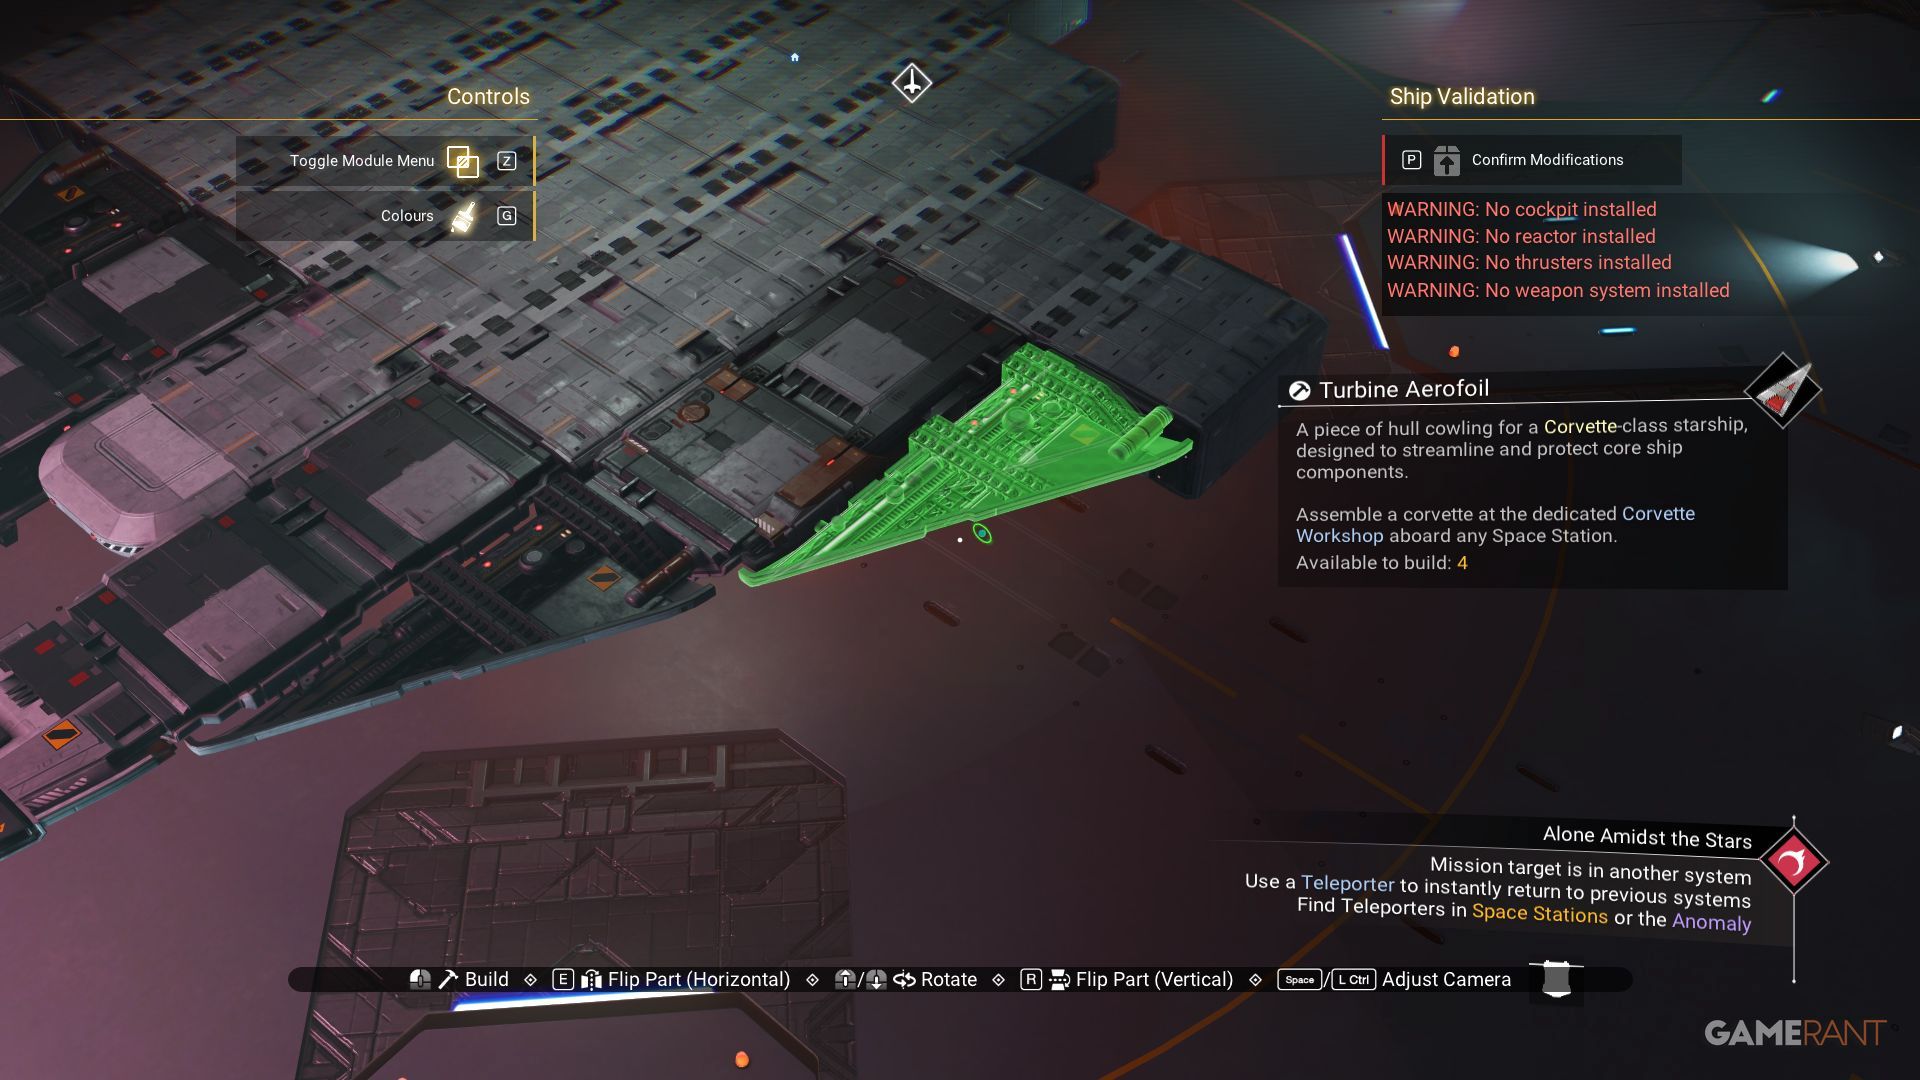
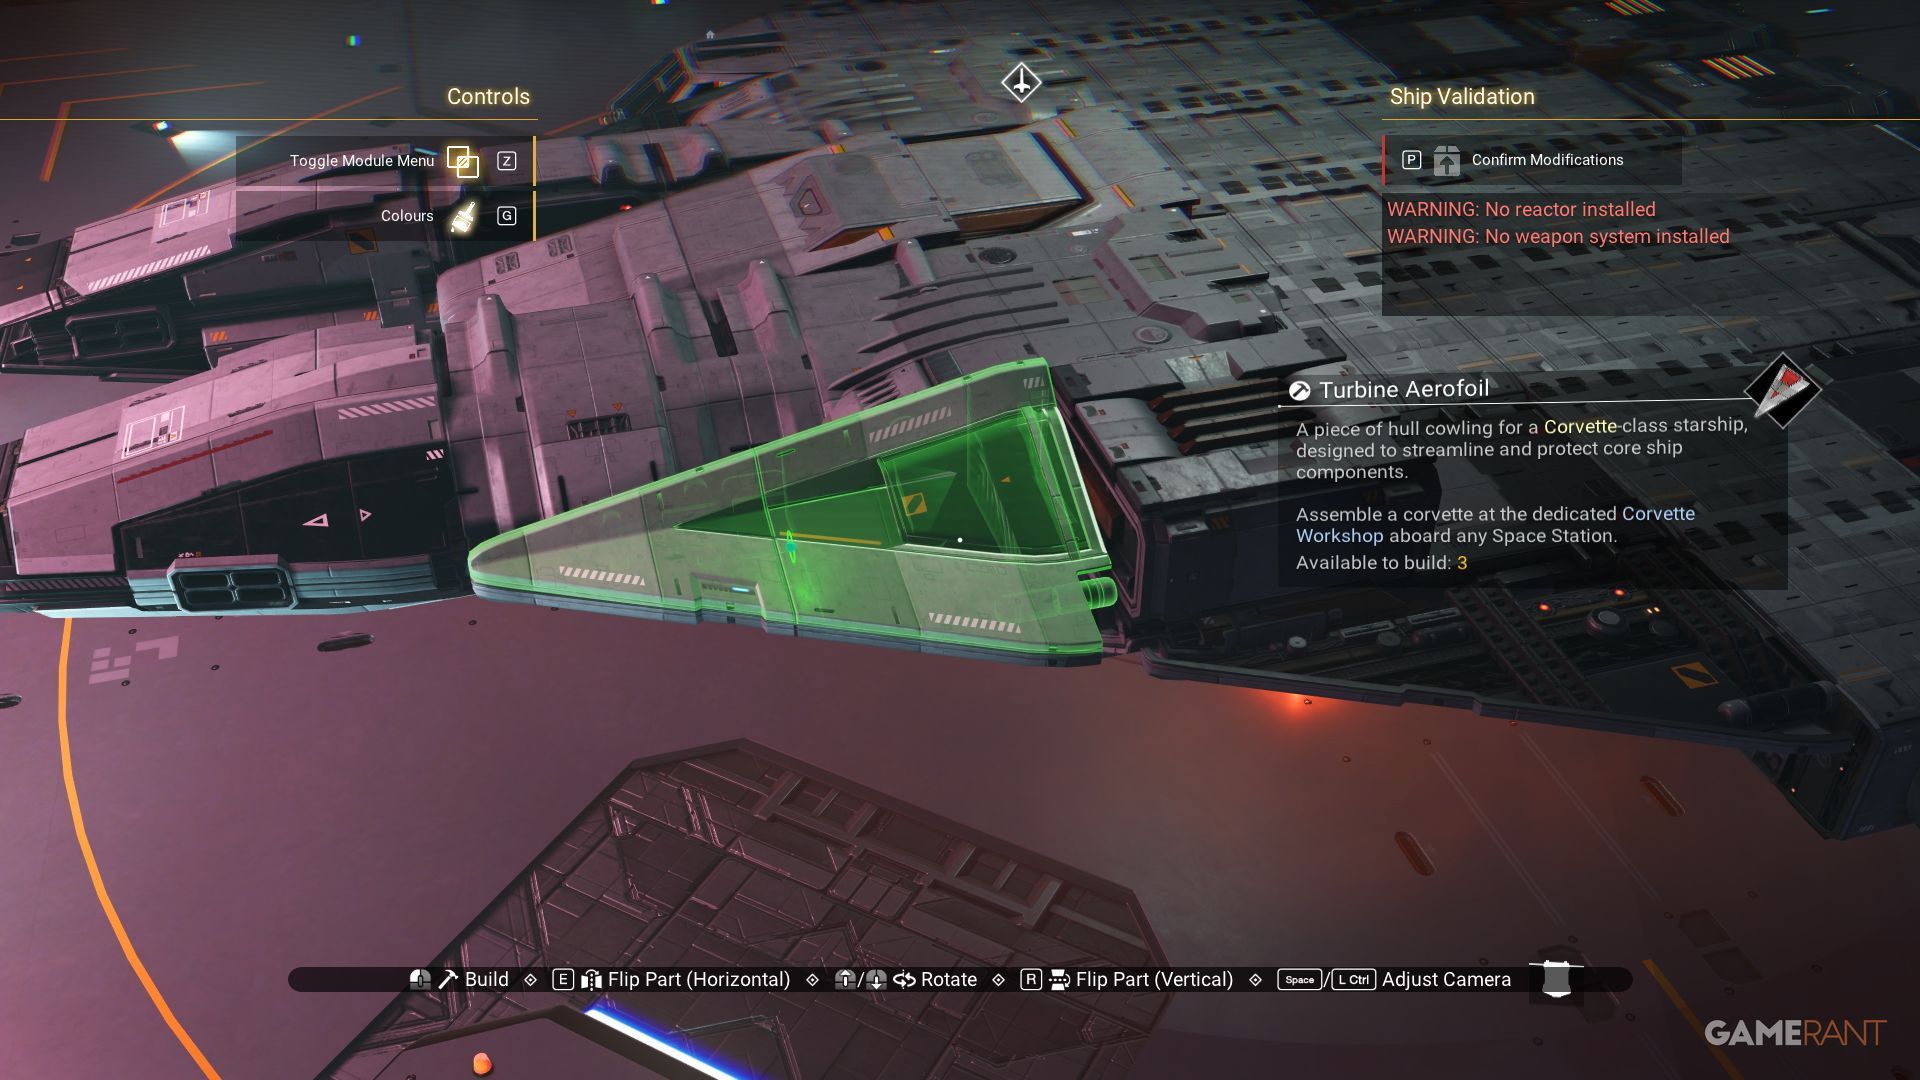
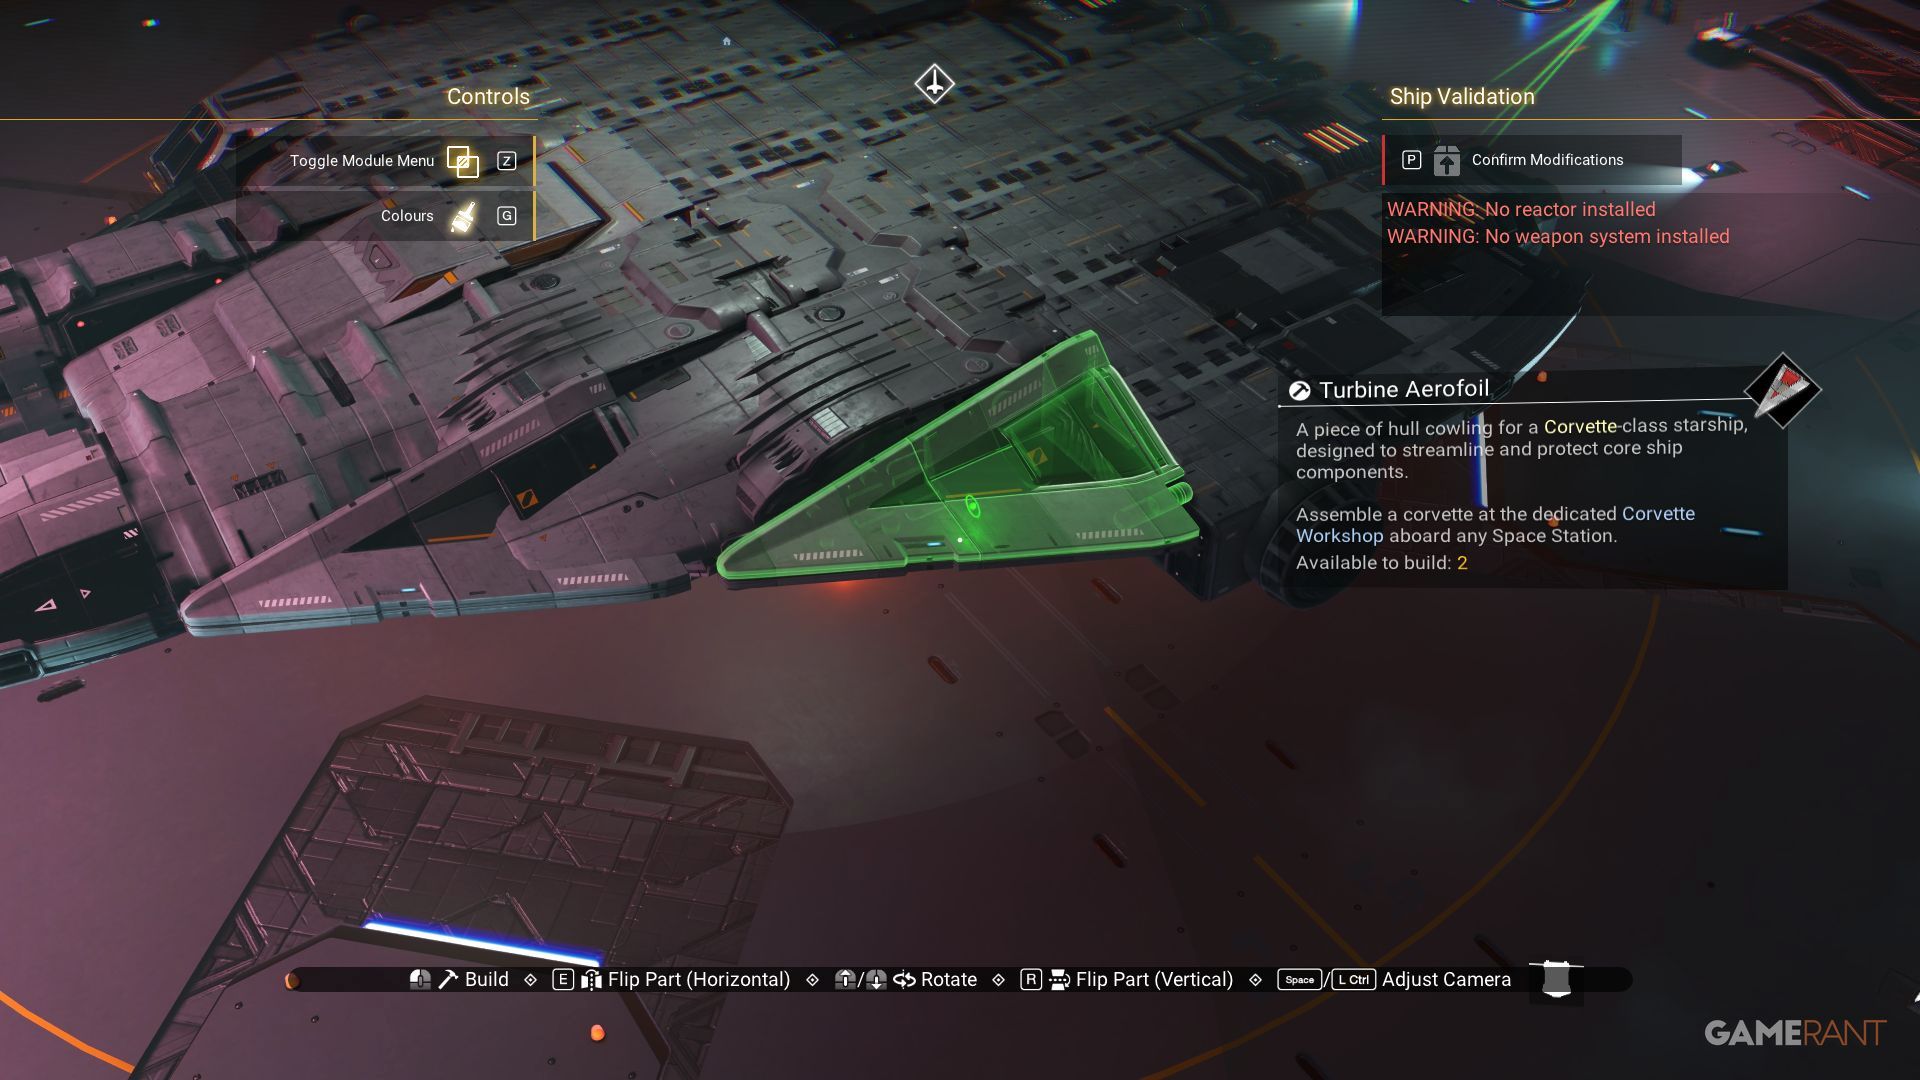
- x6 Turbine Aerofoil
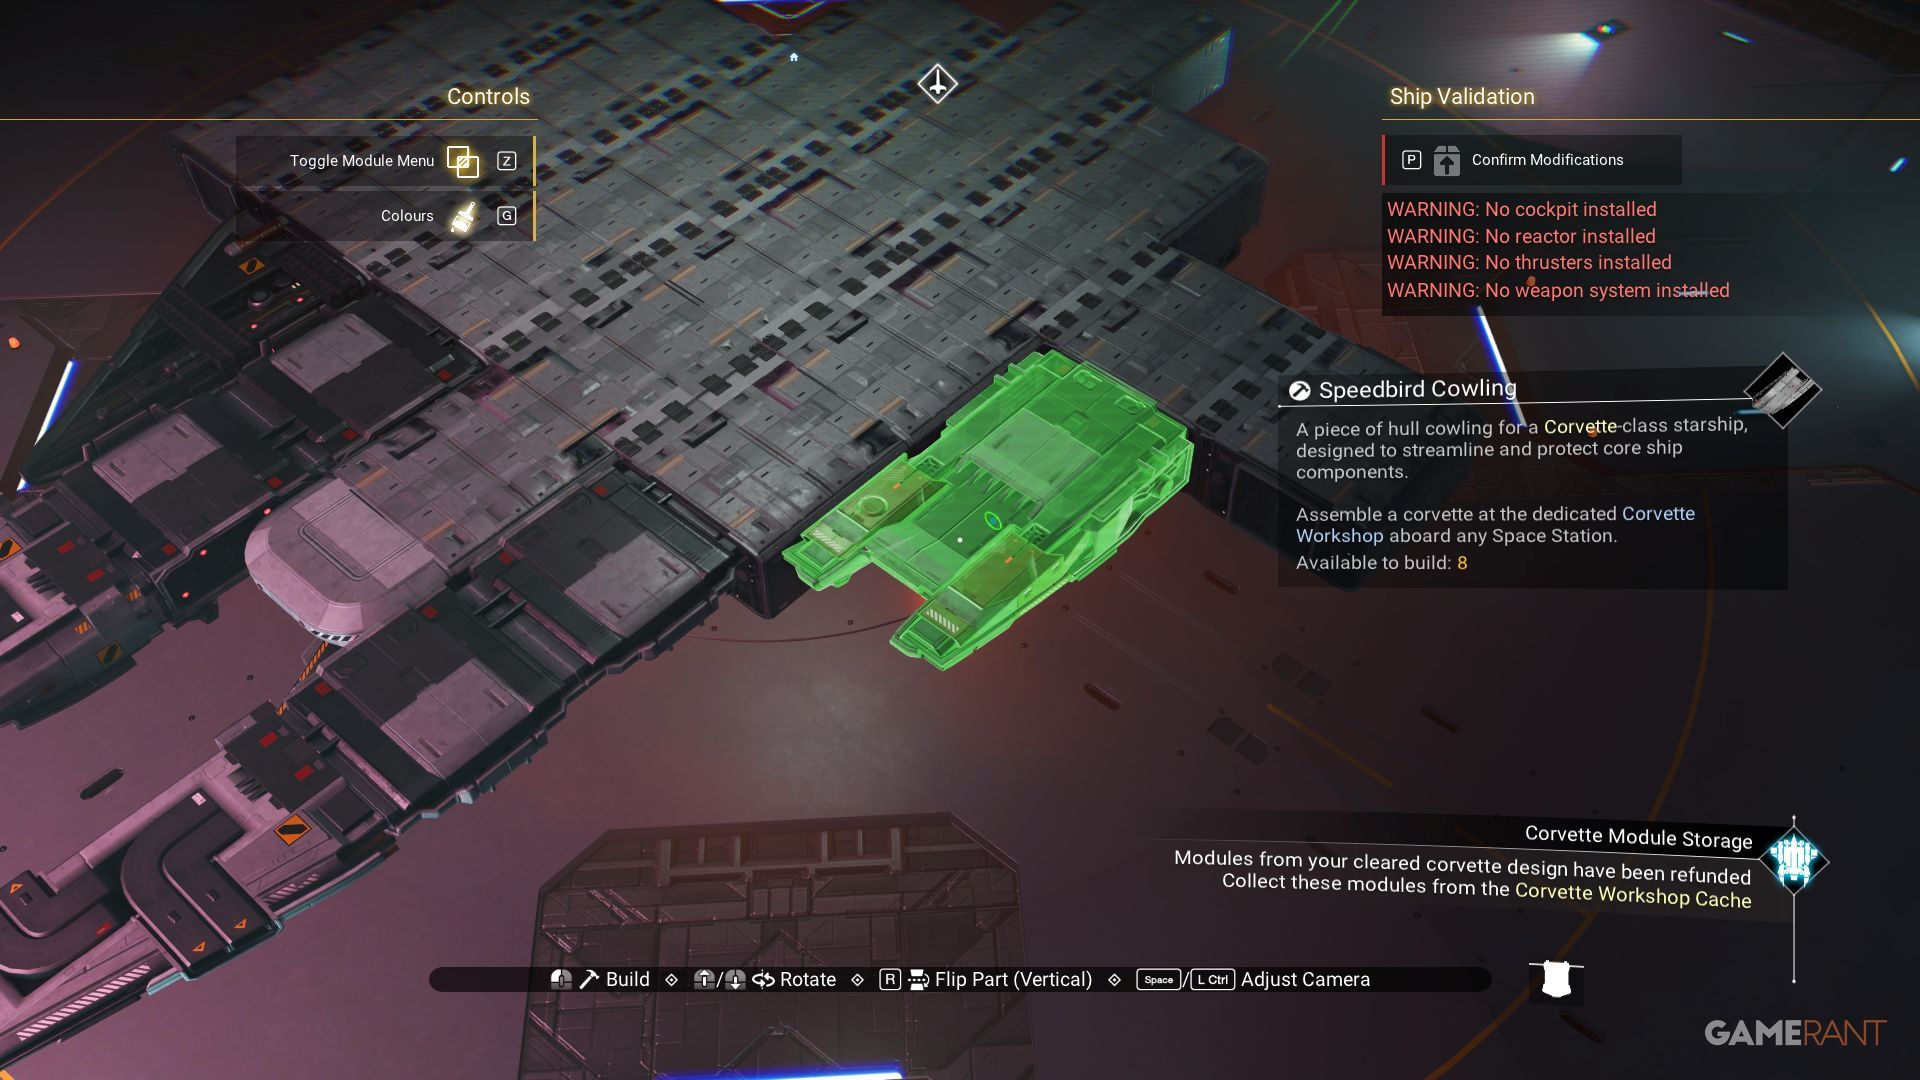
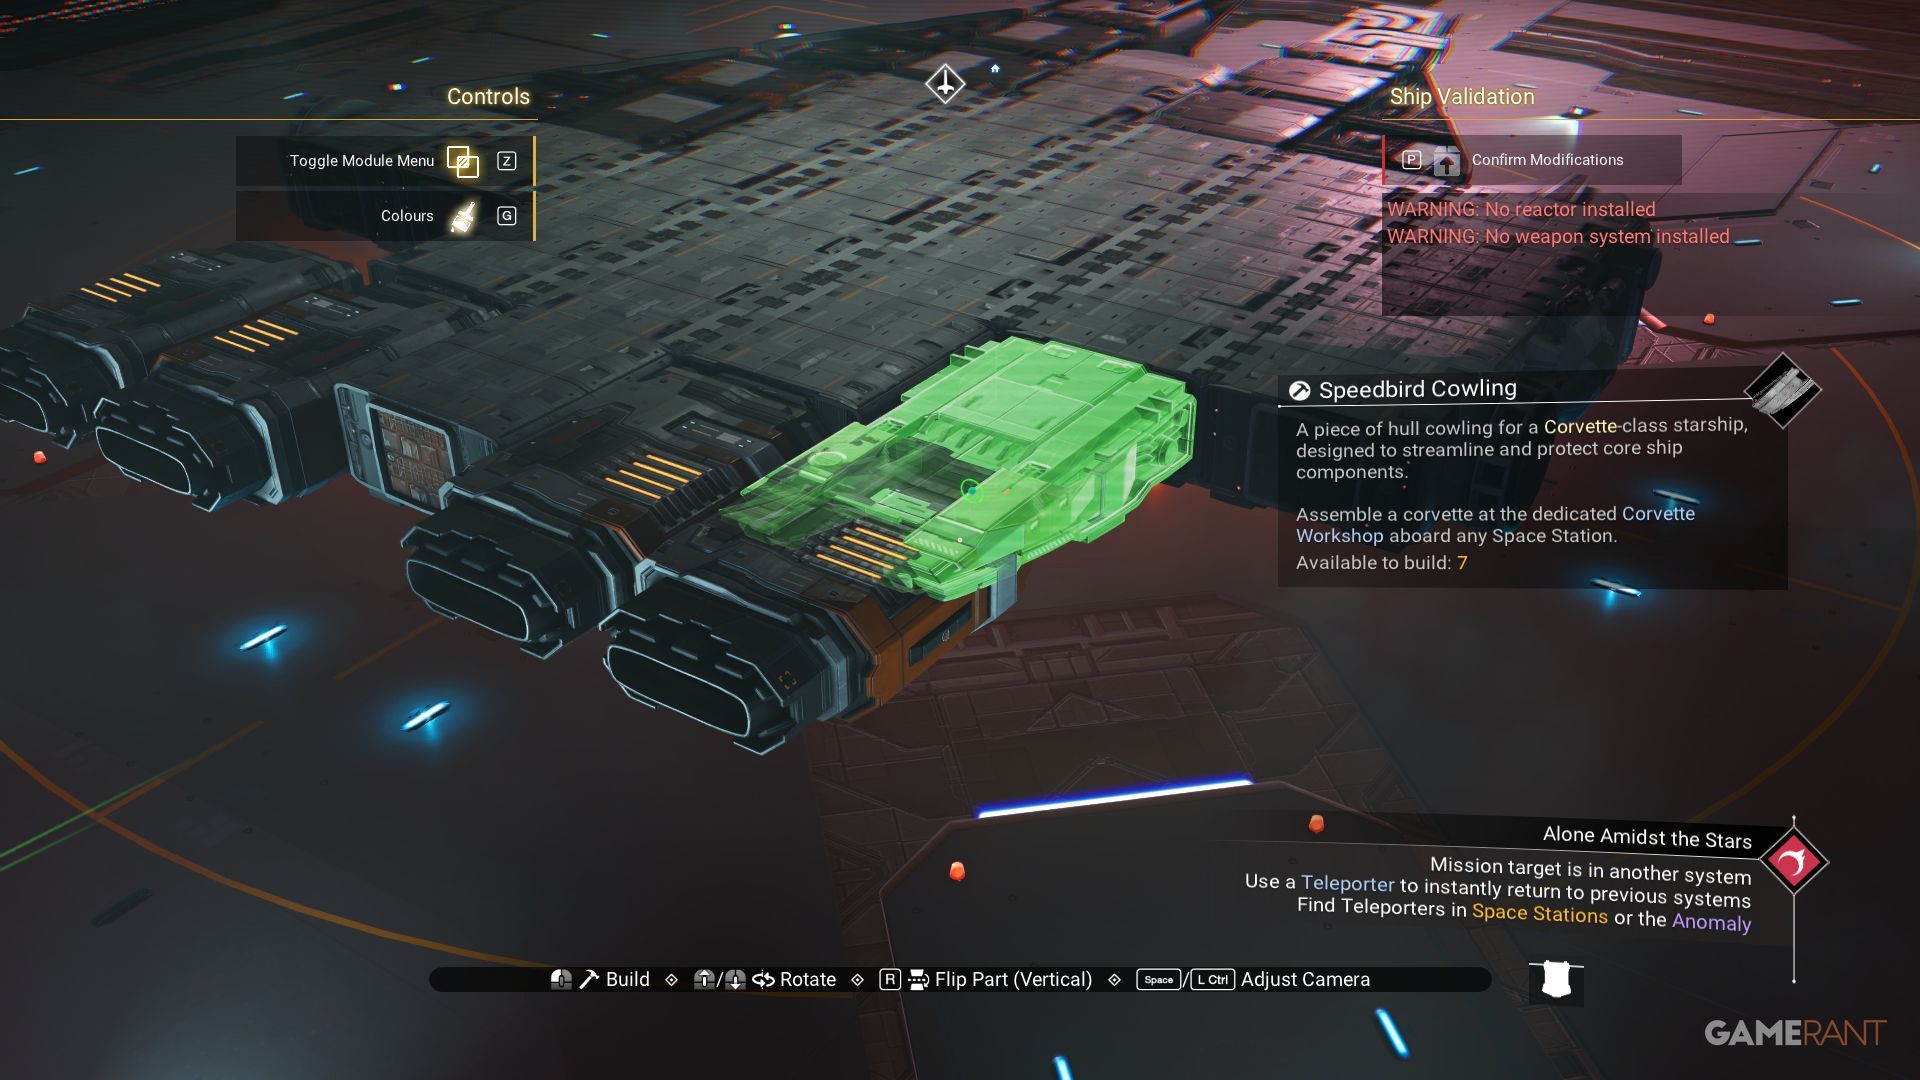
- x6 Speedbird Cowling
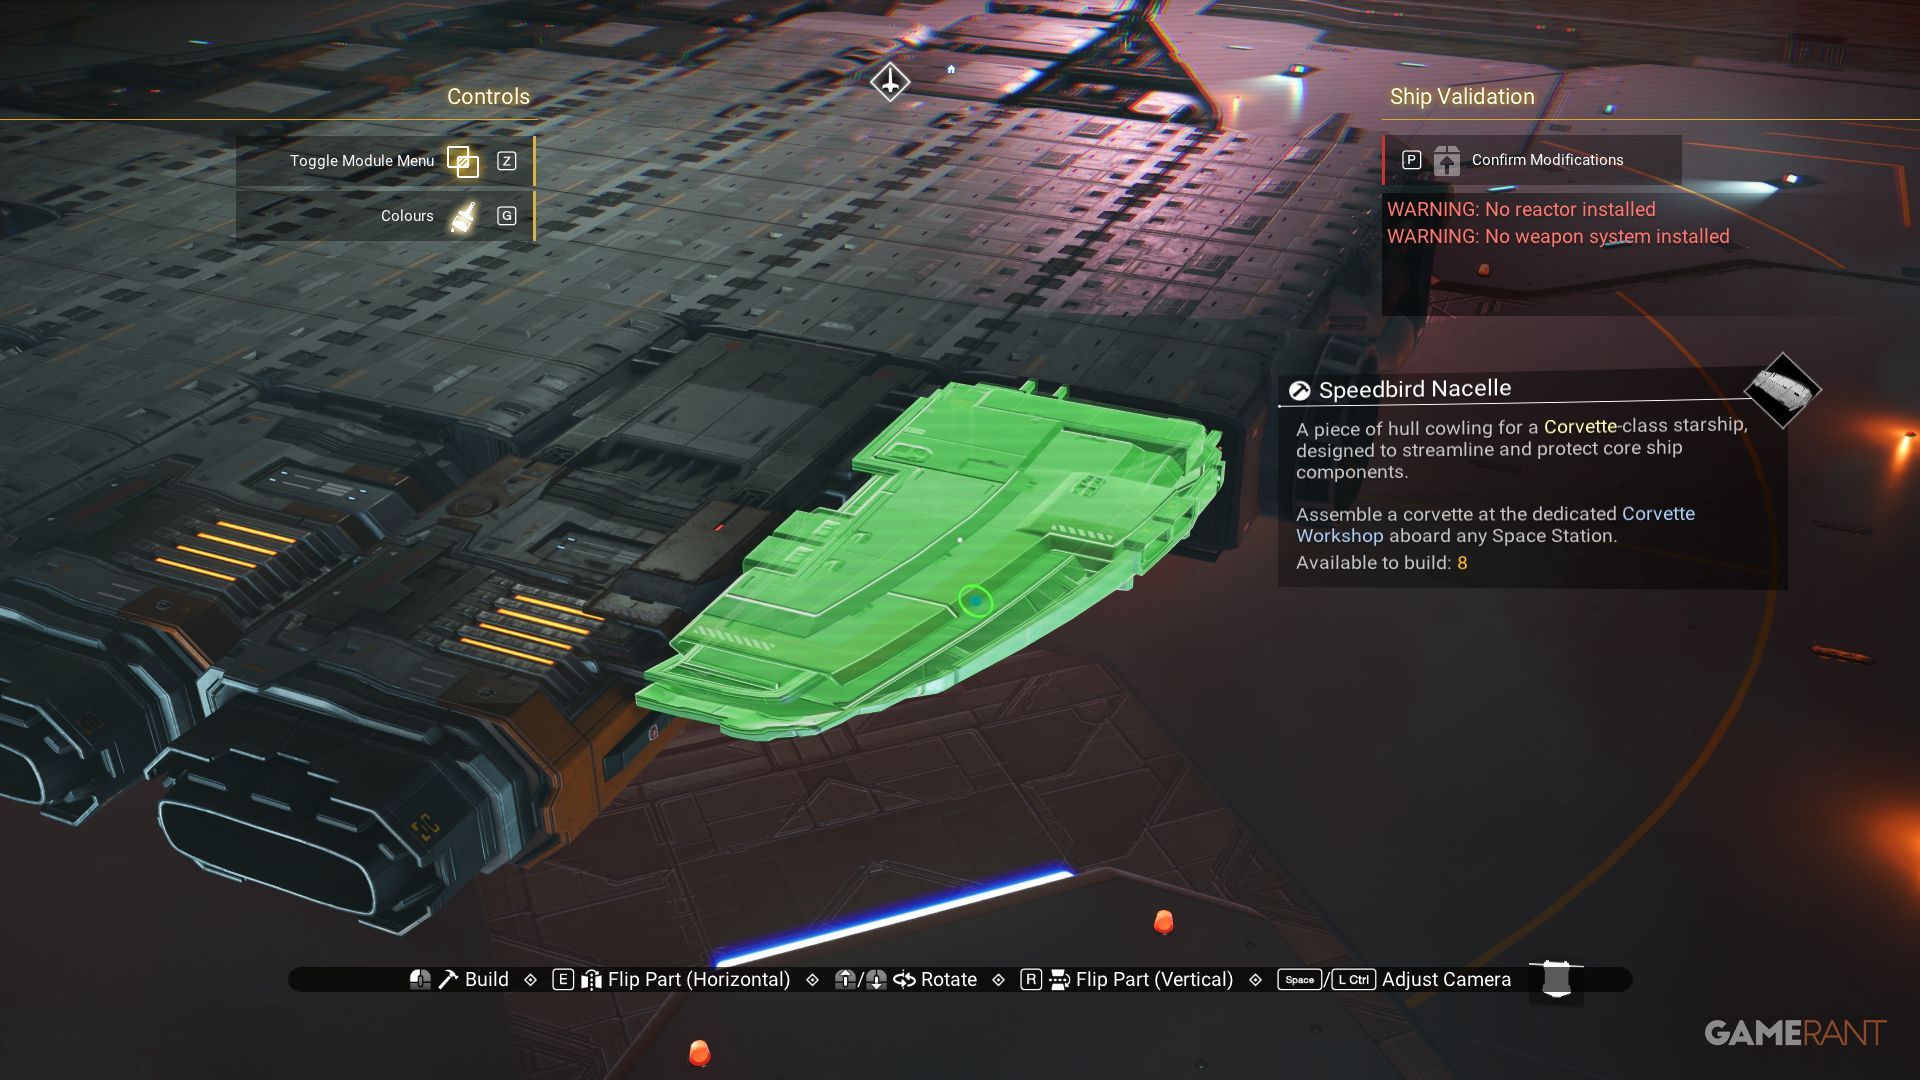
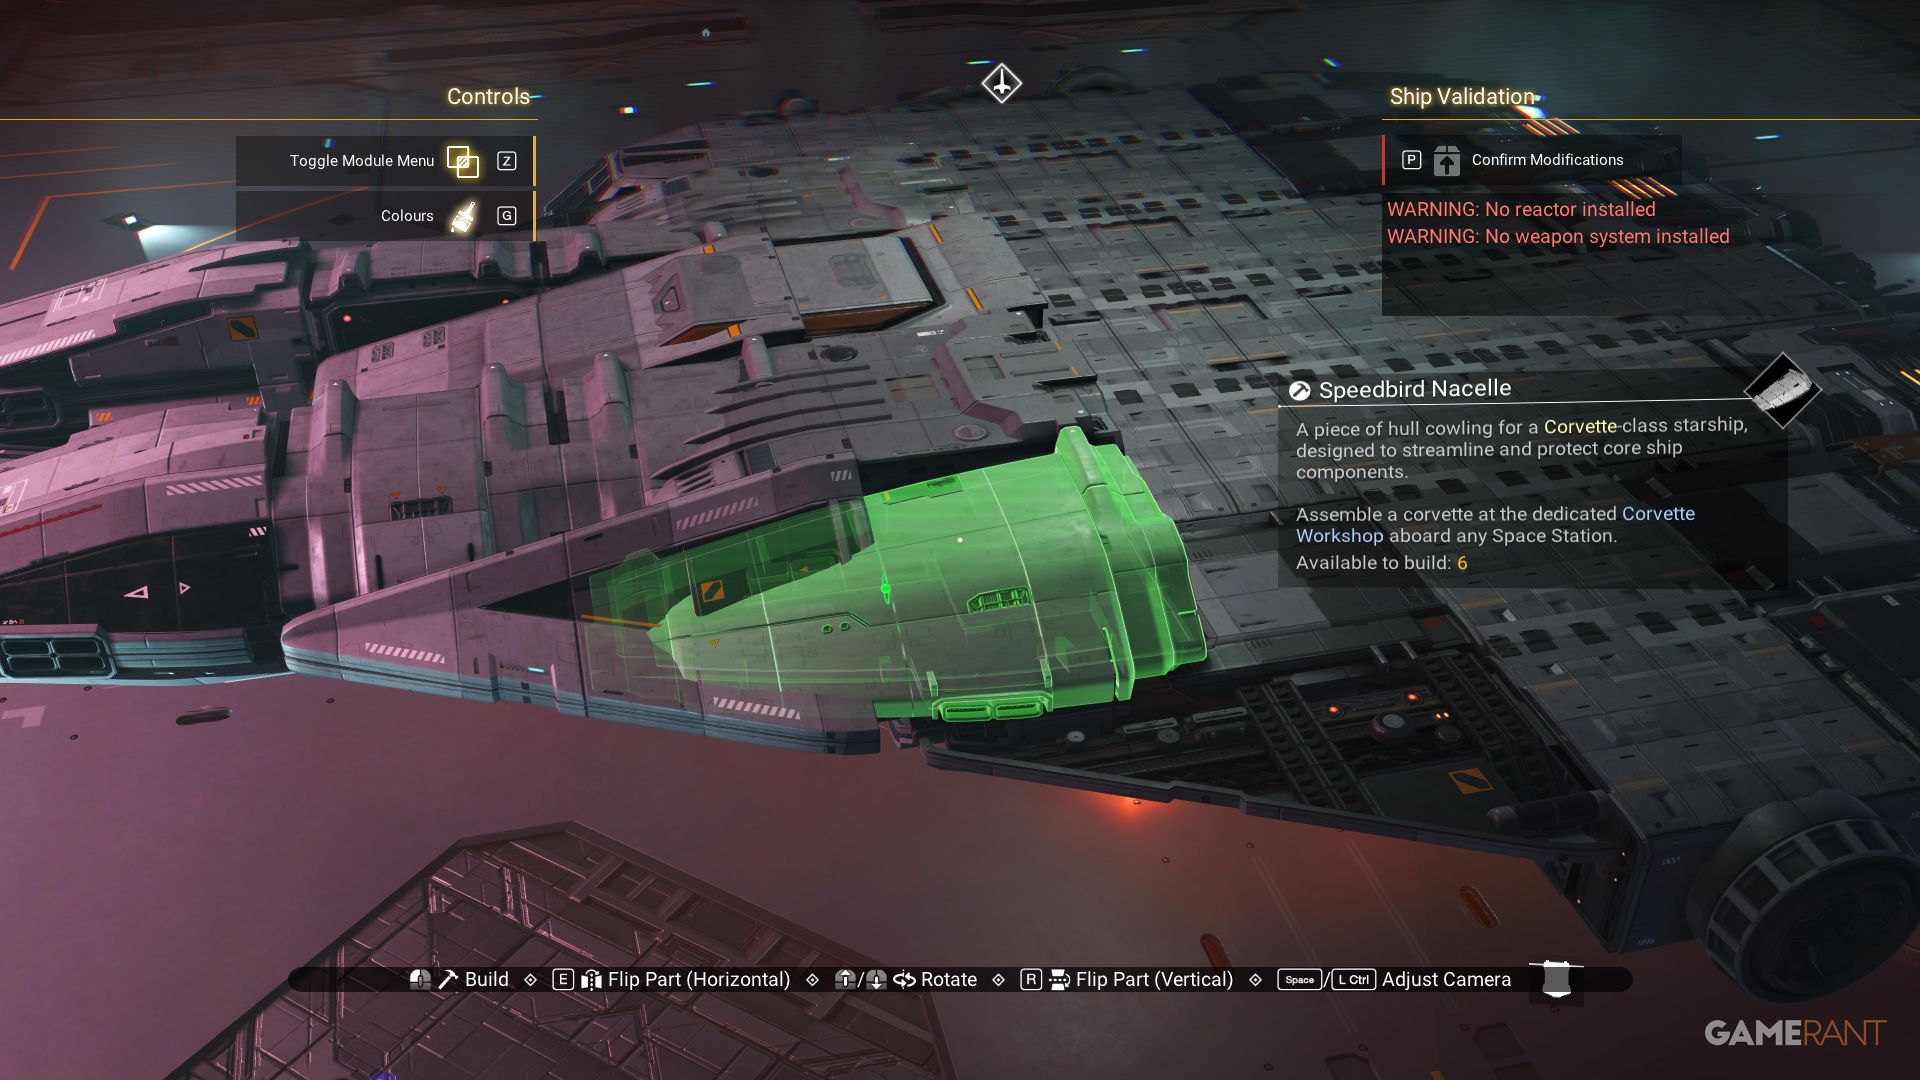
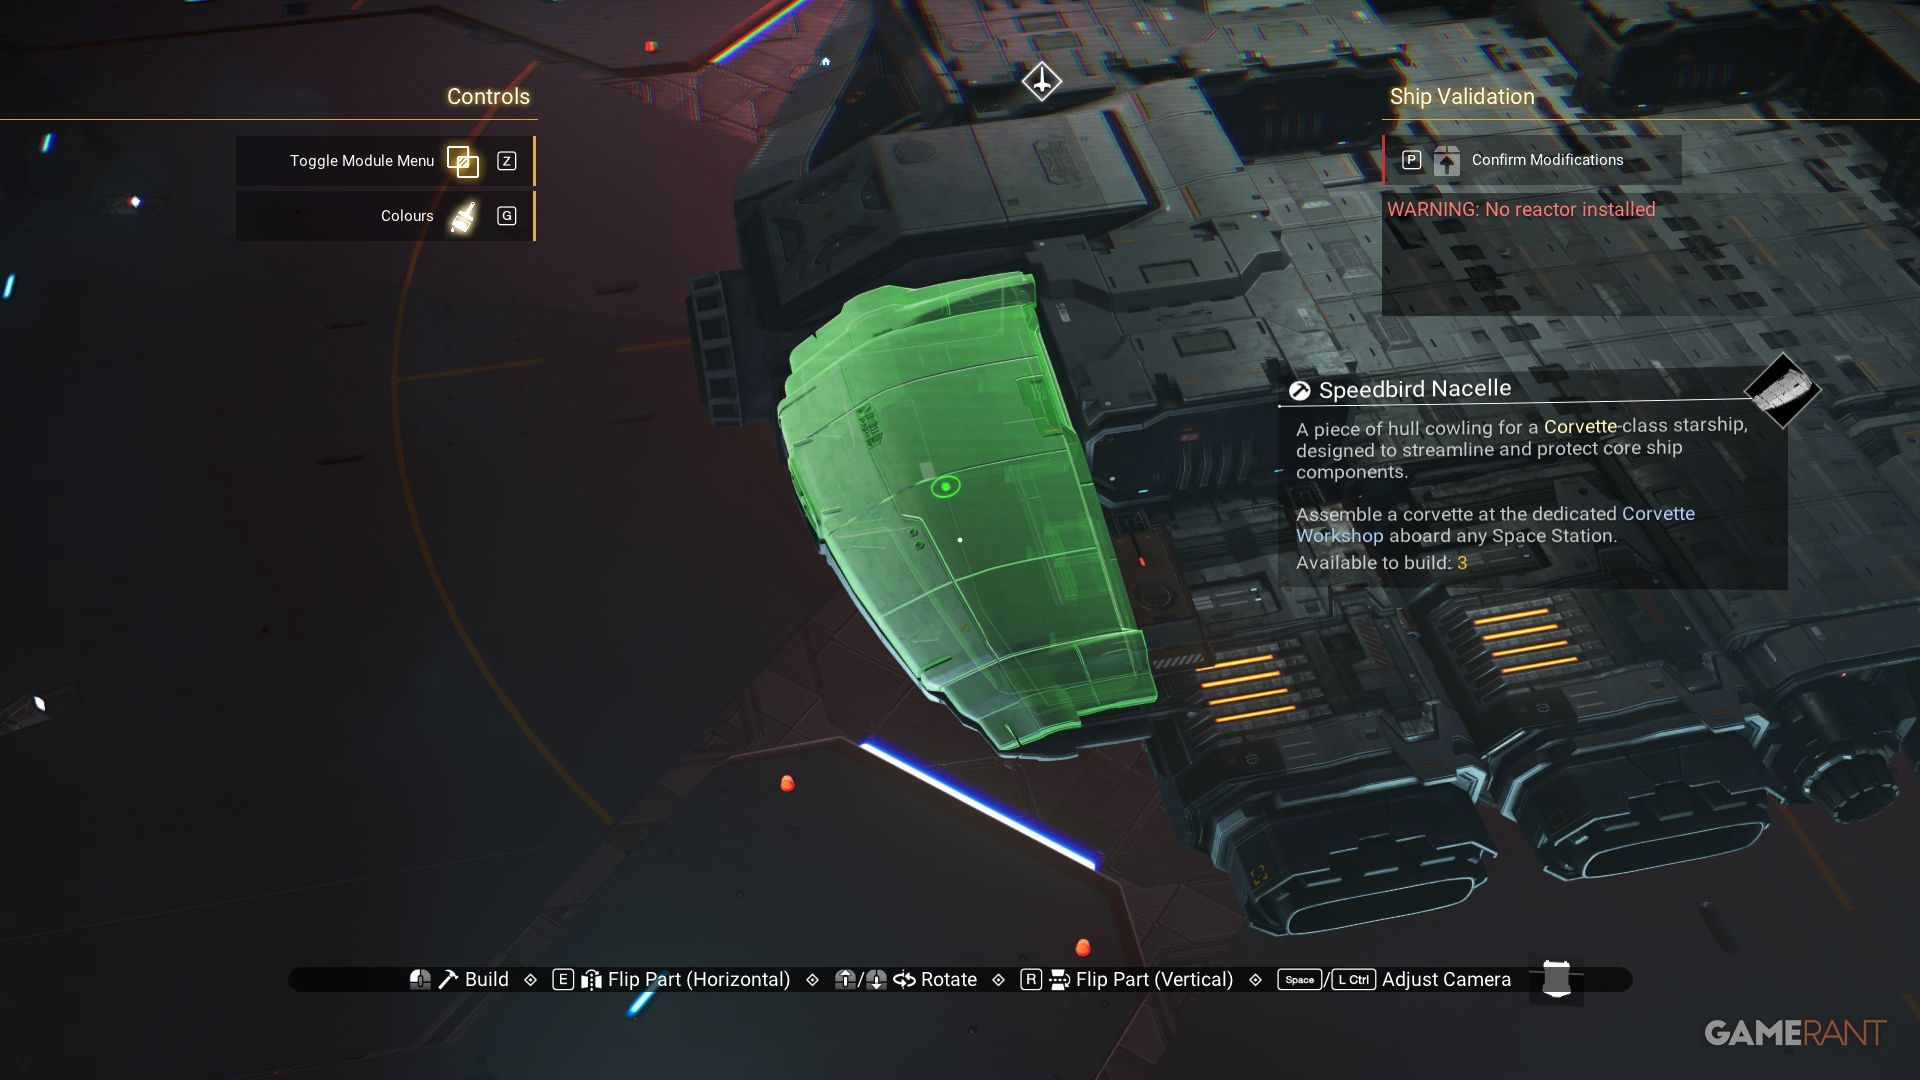
- x8 Speedbird Nacelle
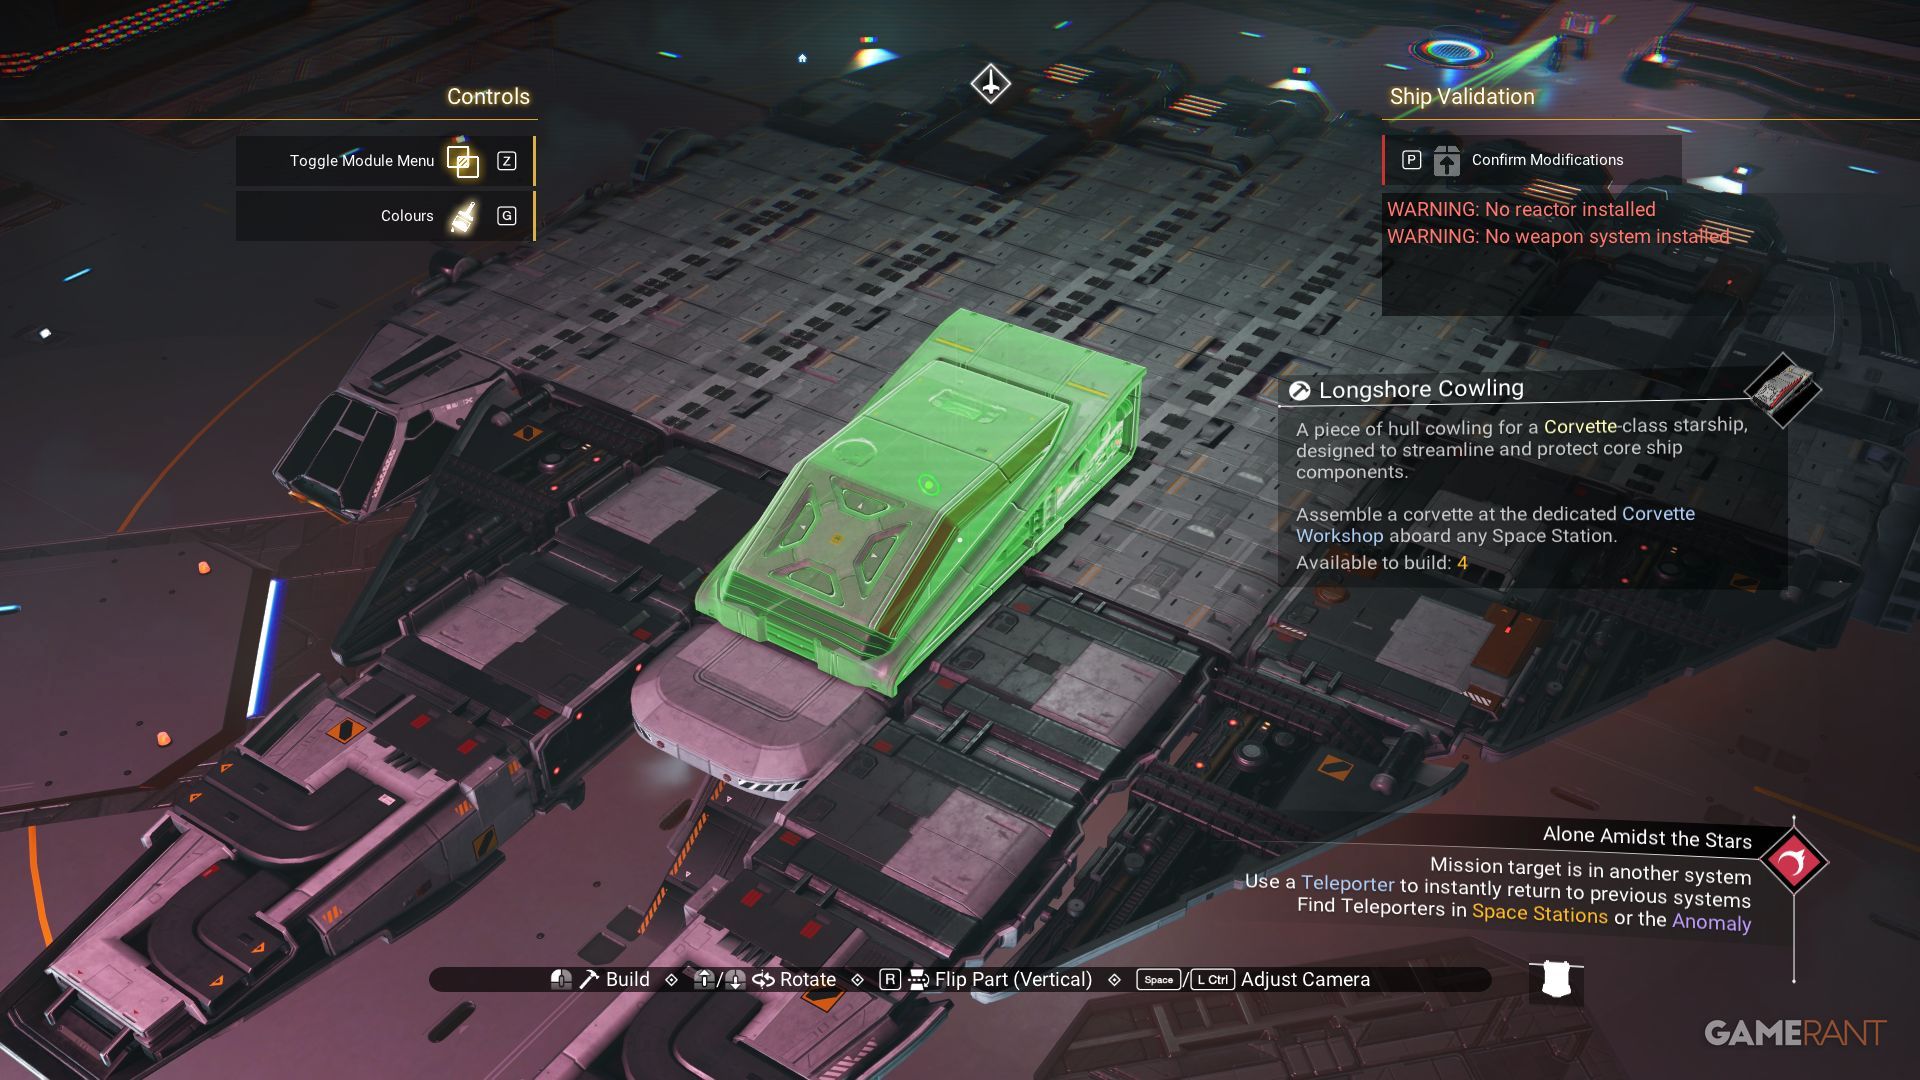
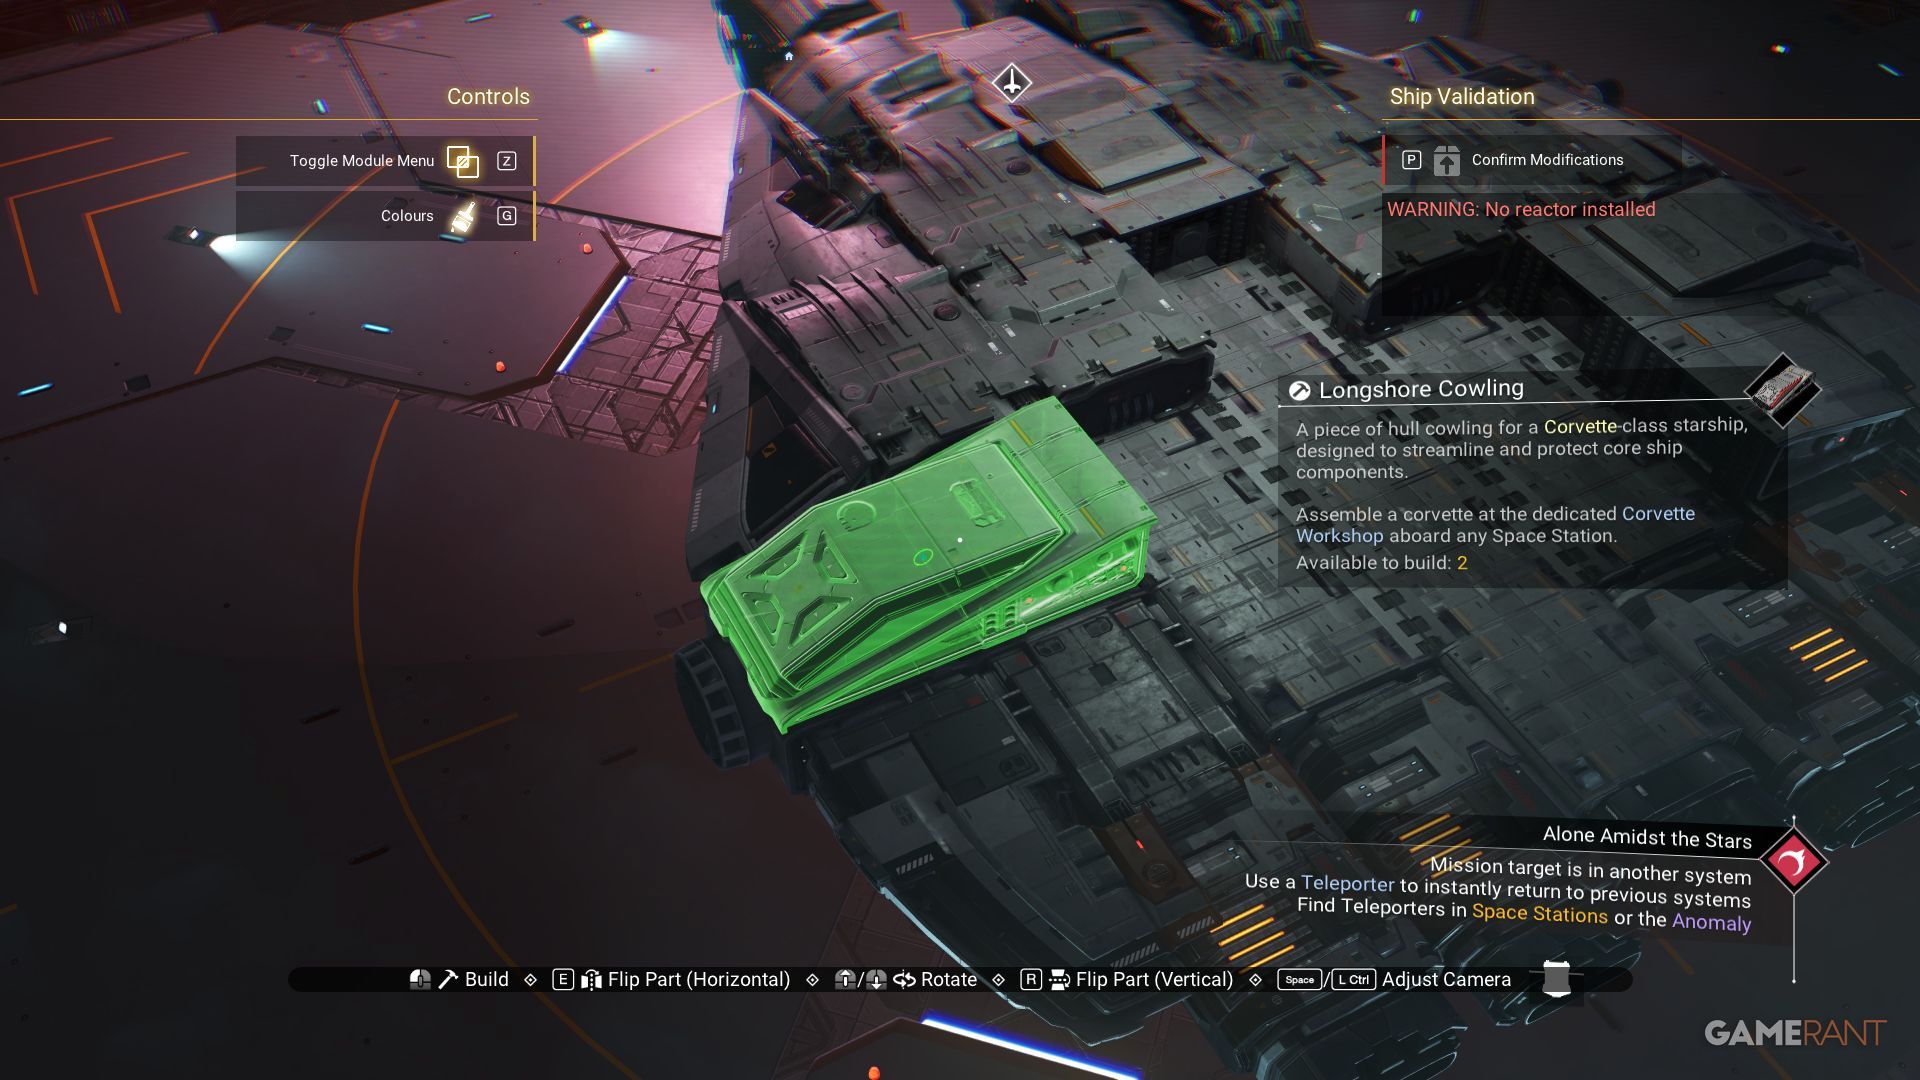
- x3 Longshore Cowling
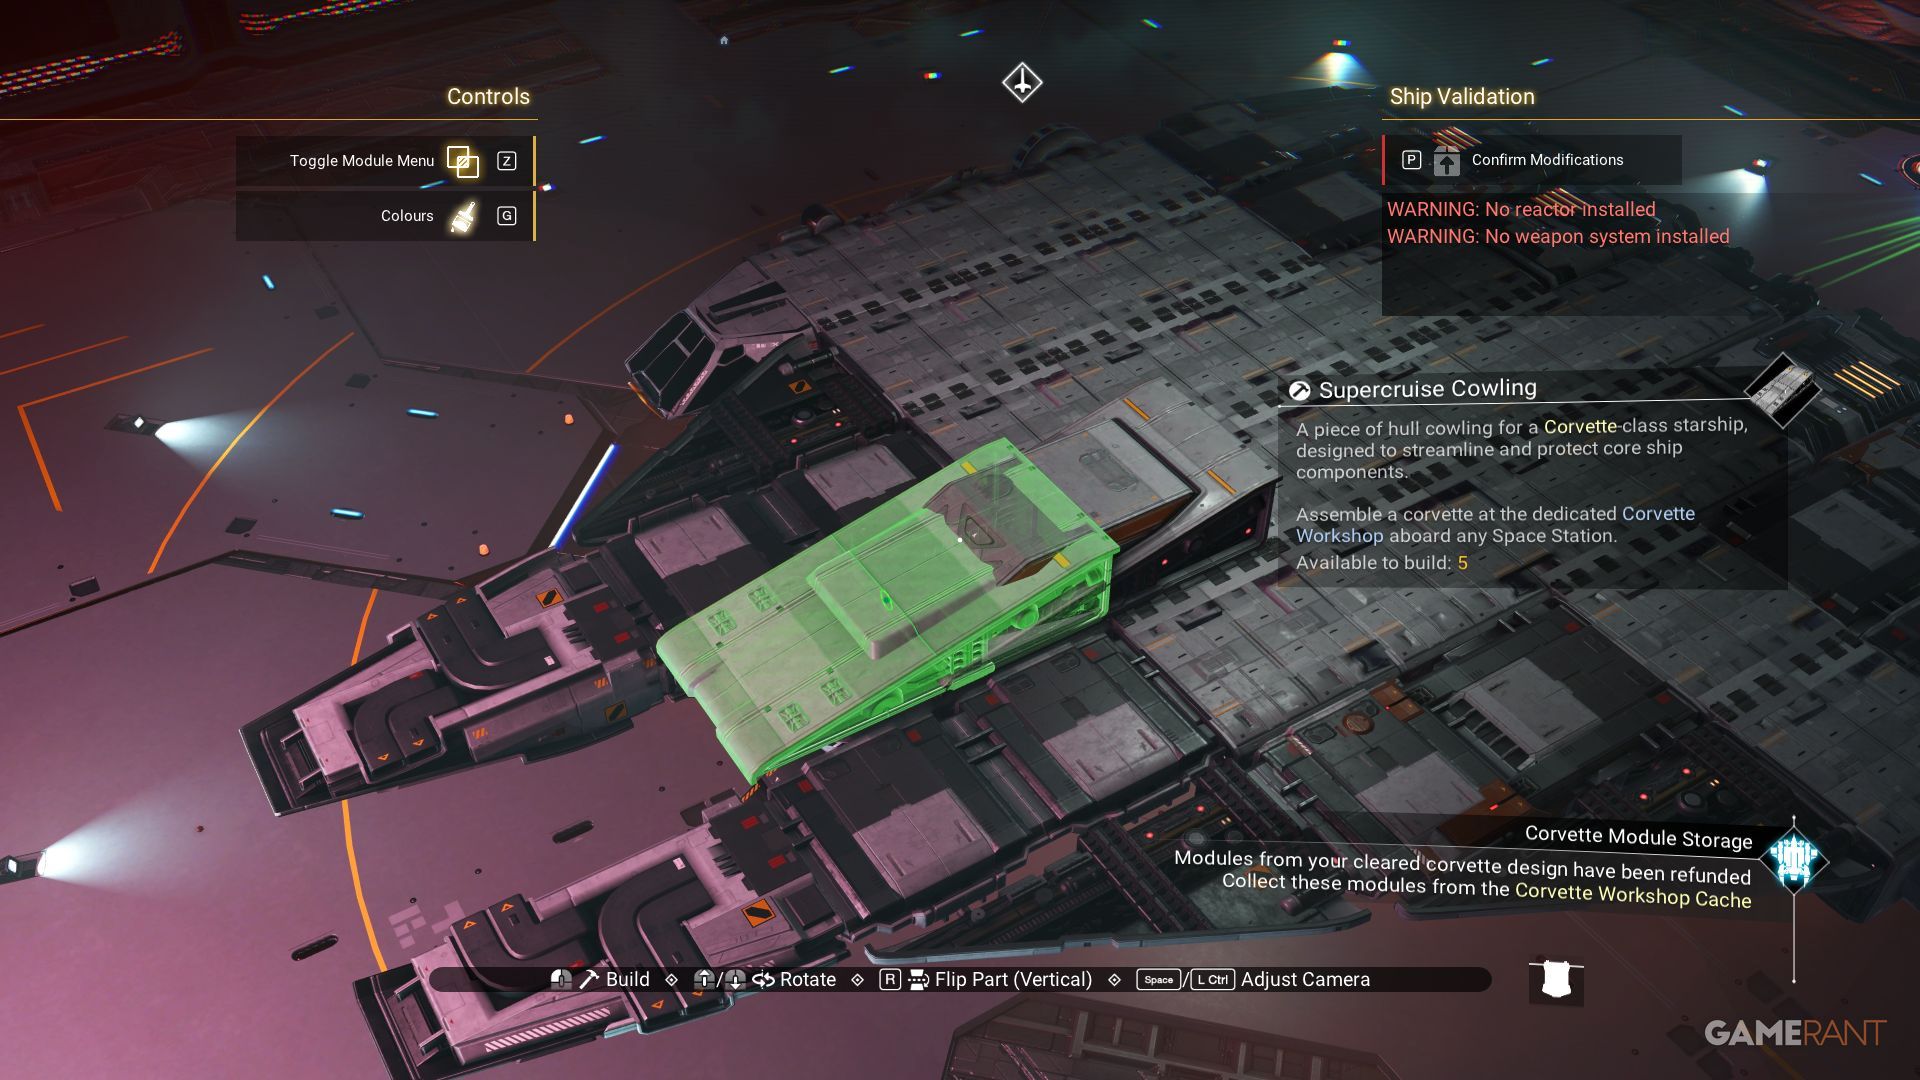
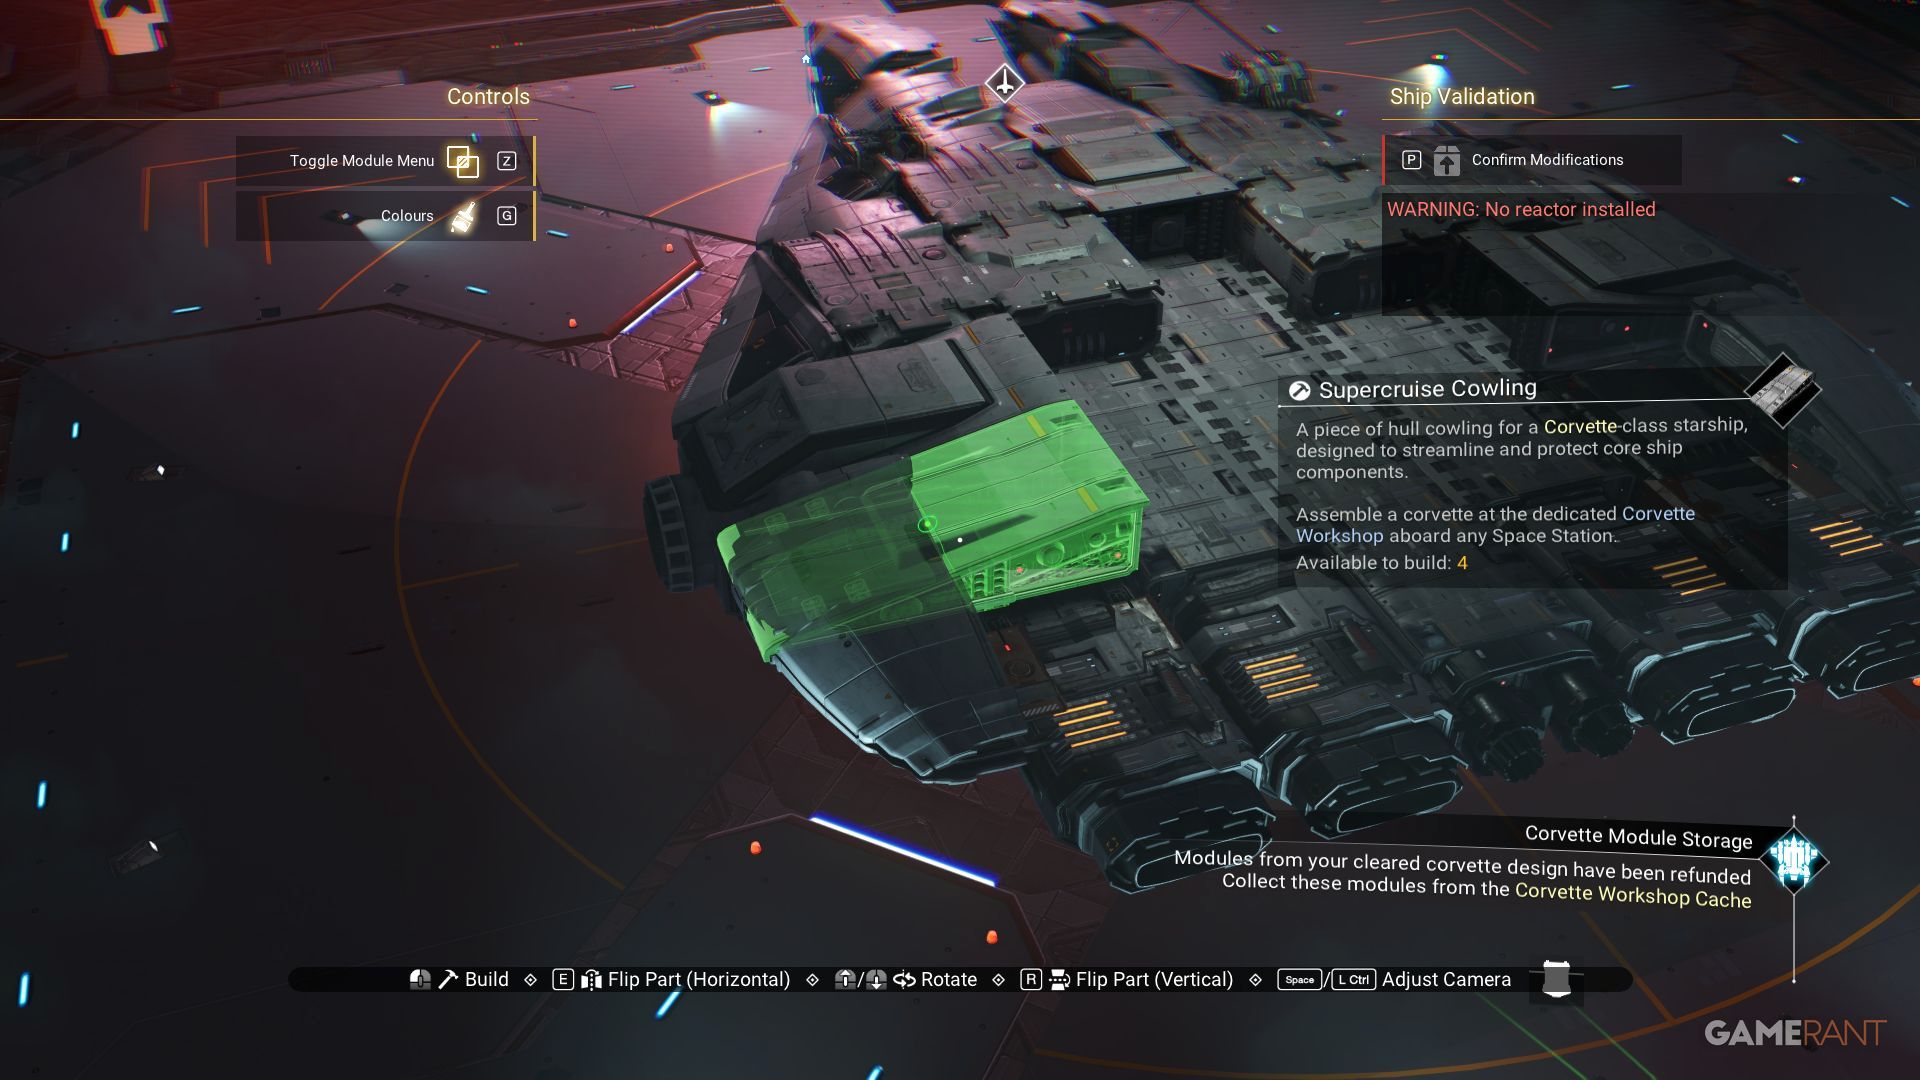
- x5 Supercruise Cowling
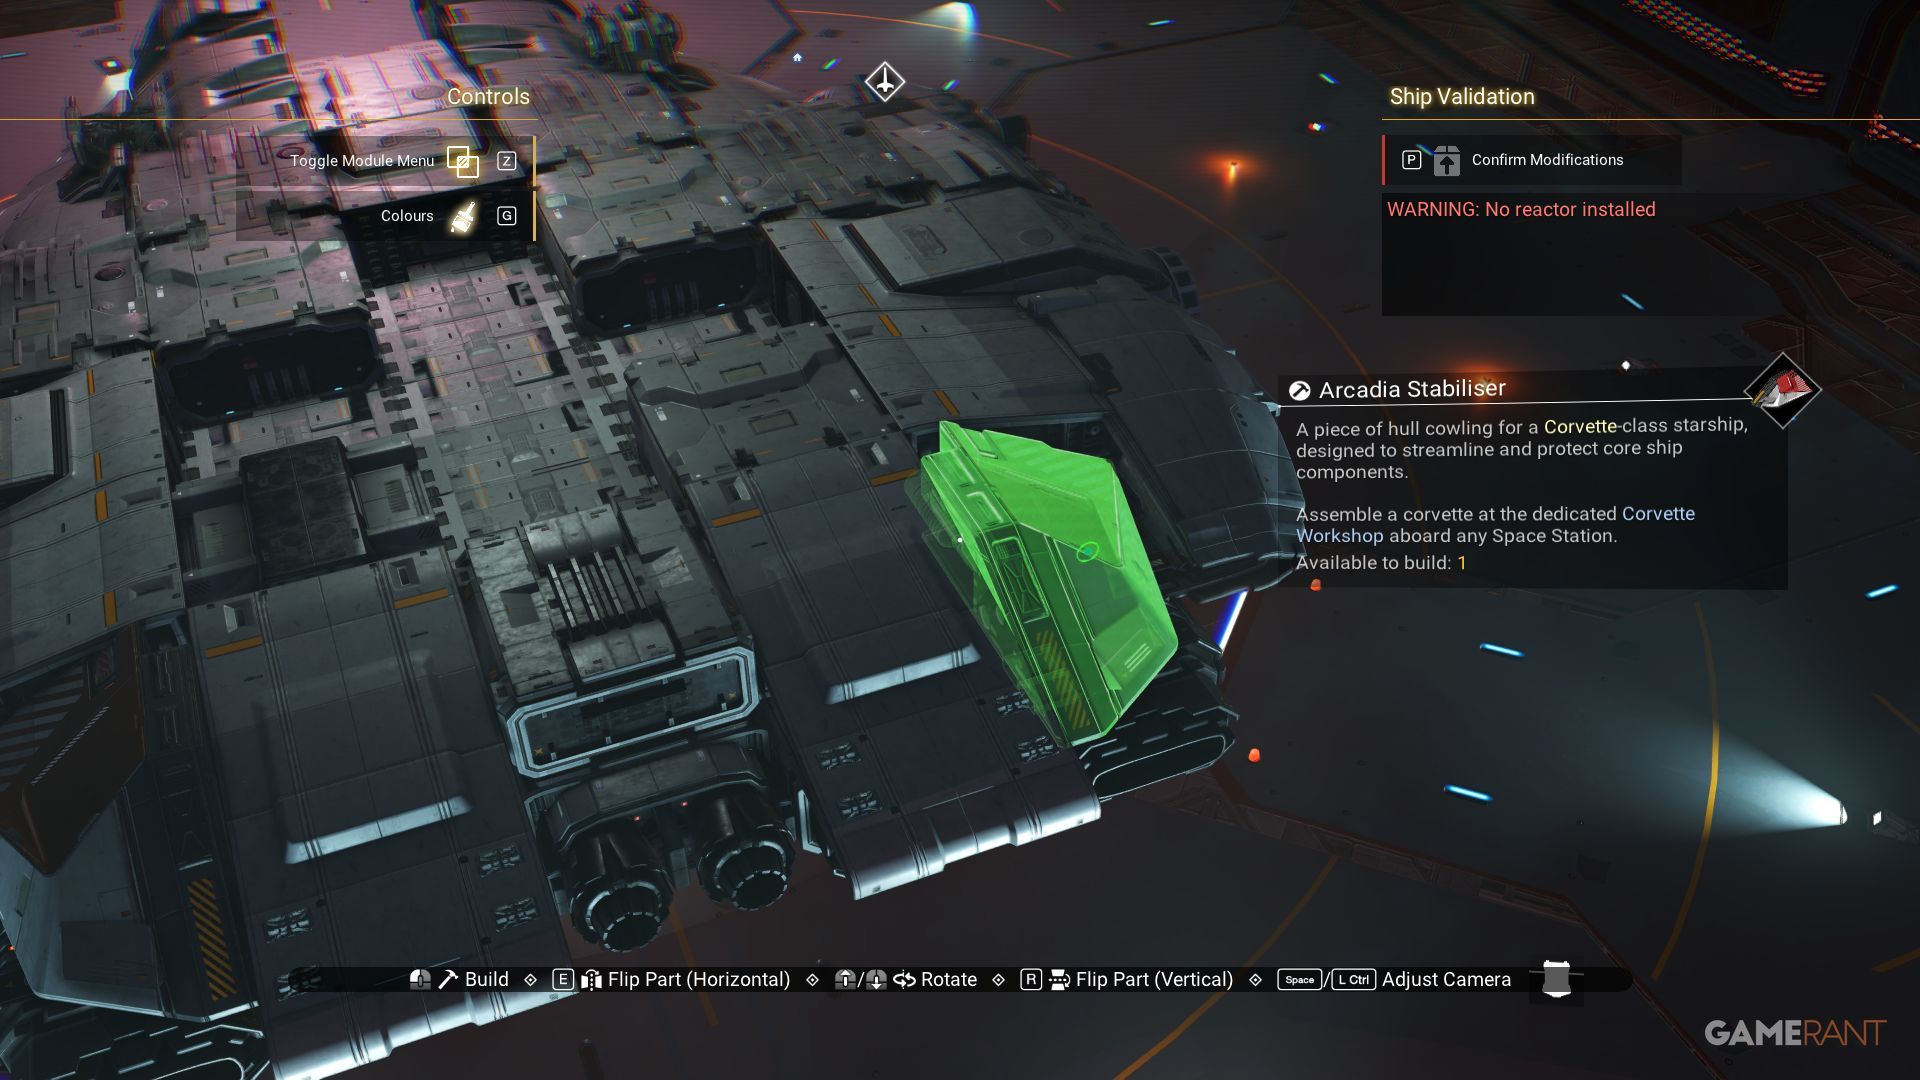
- x2 Arcadia Stabilizer
- x1 Medusa Reactor
- x1 Zenith Reactor
- x1 Azimuth Reactor
- x2 Ion Barrier
- x1 Radar Dome
- x4 Speedbird Dome
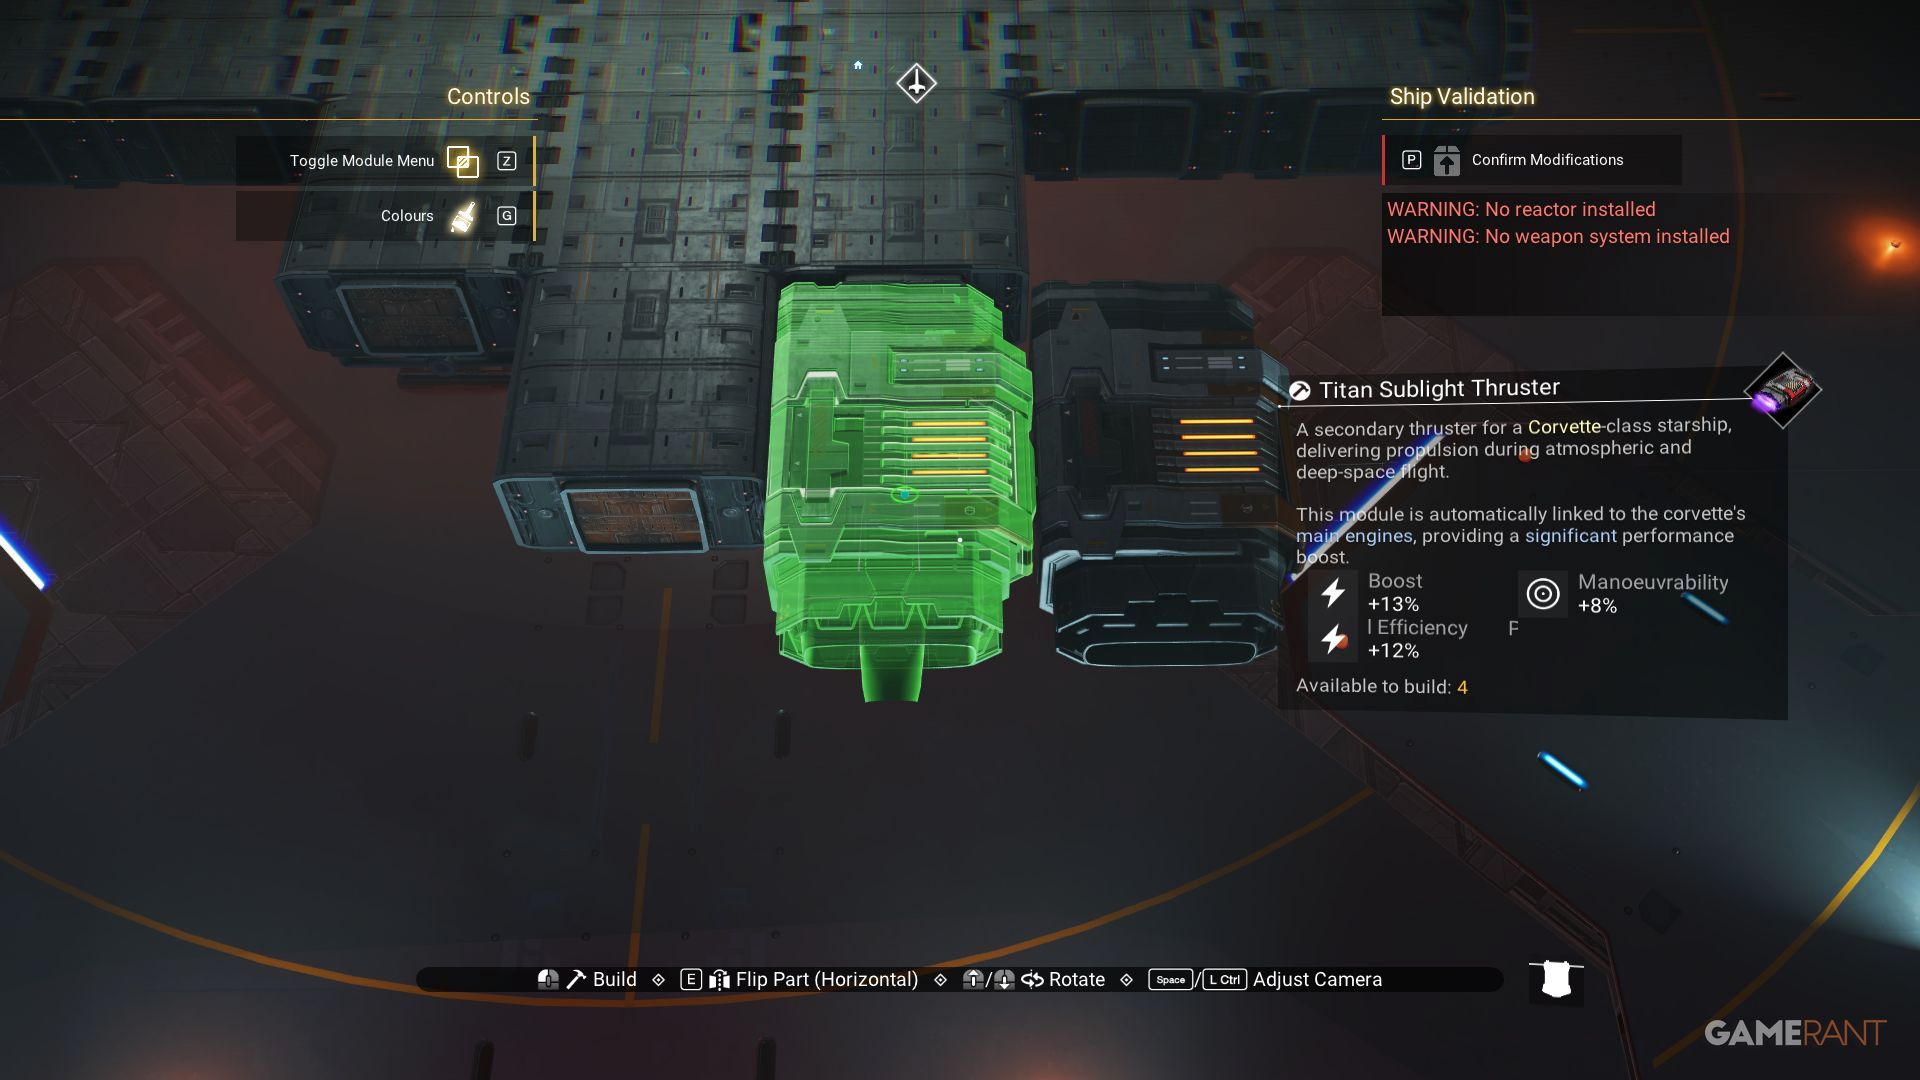
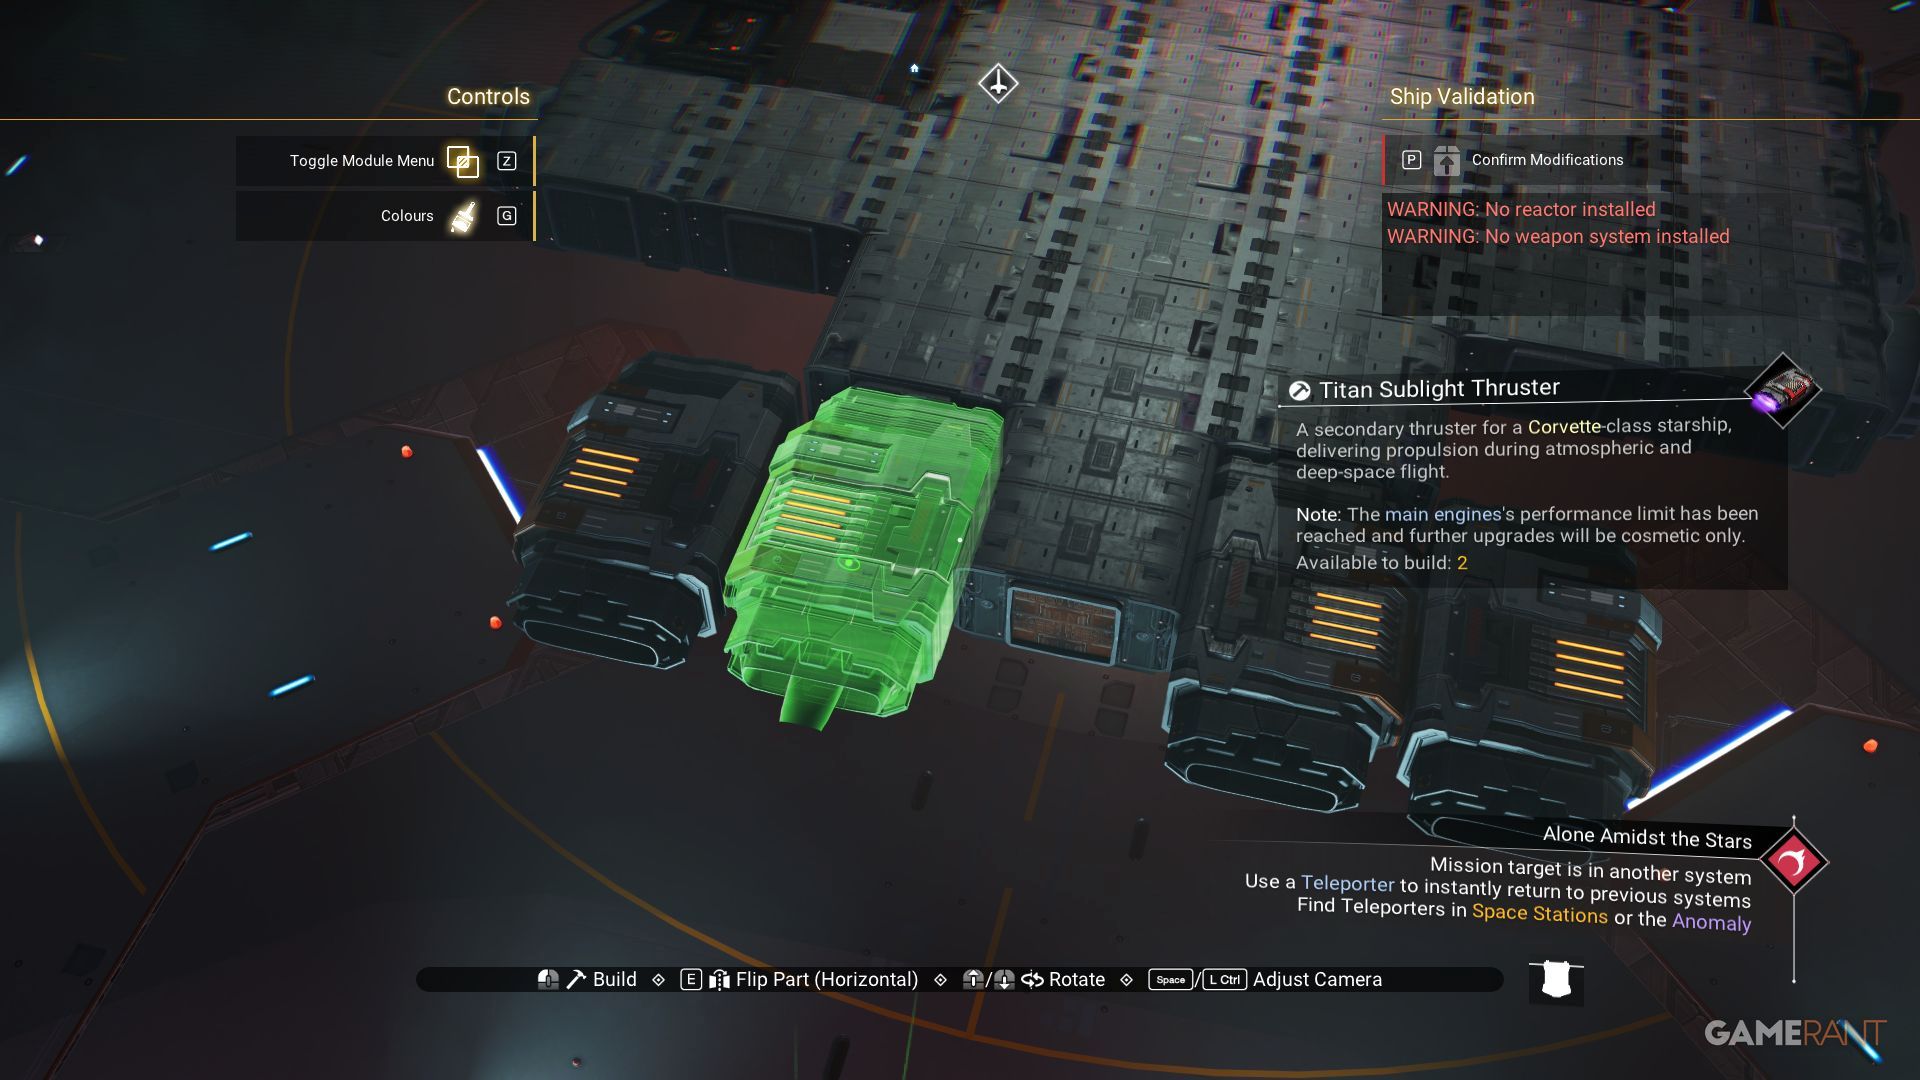
- x4 Titan Sublight Thrusters
- x1 Twin Echo Jets
- x1 Turrets
- x2 Cargo Link
Among the two Vesper Diffusers available, we need the ones that are larger, angled, and feature a red color.
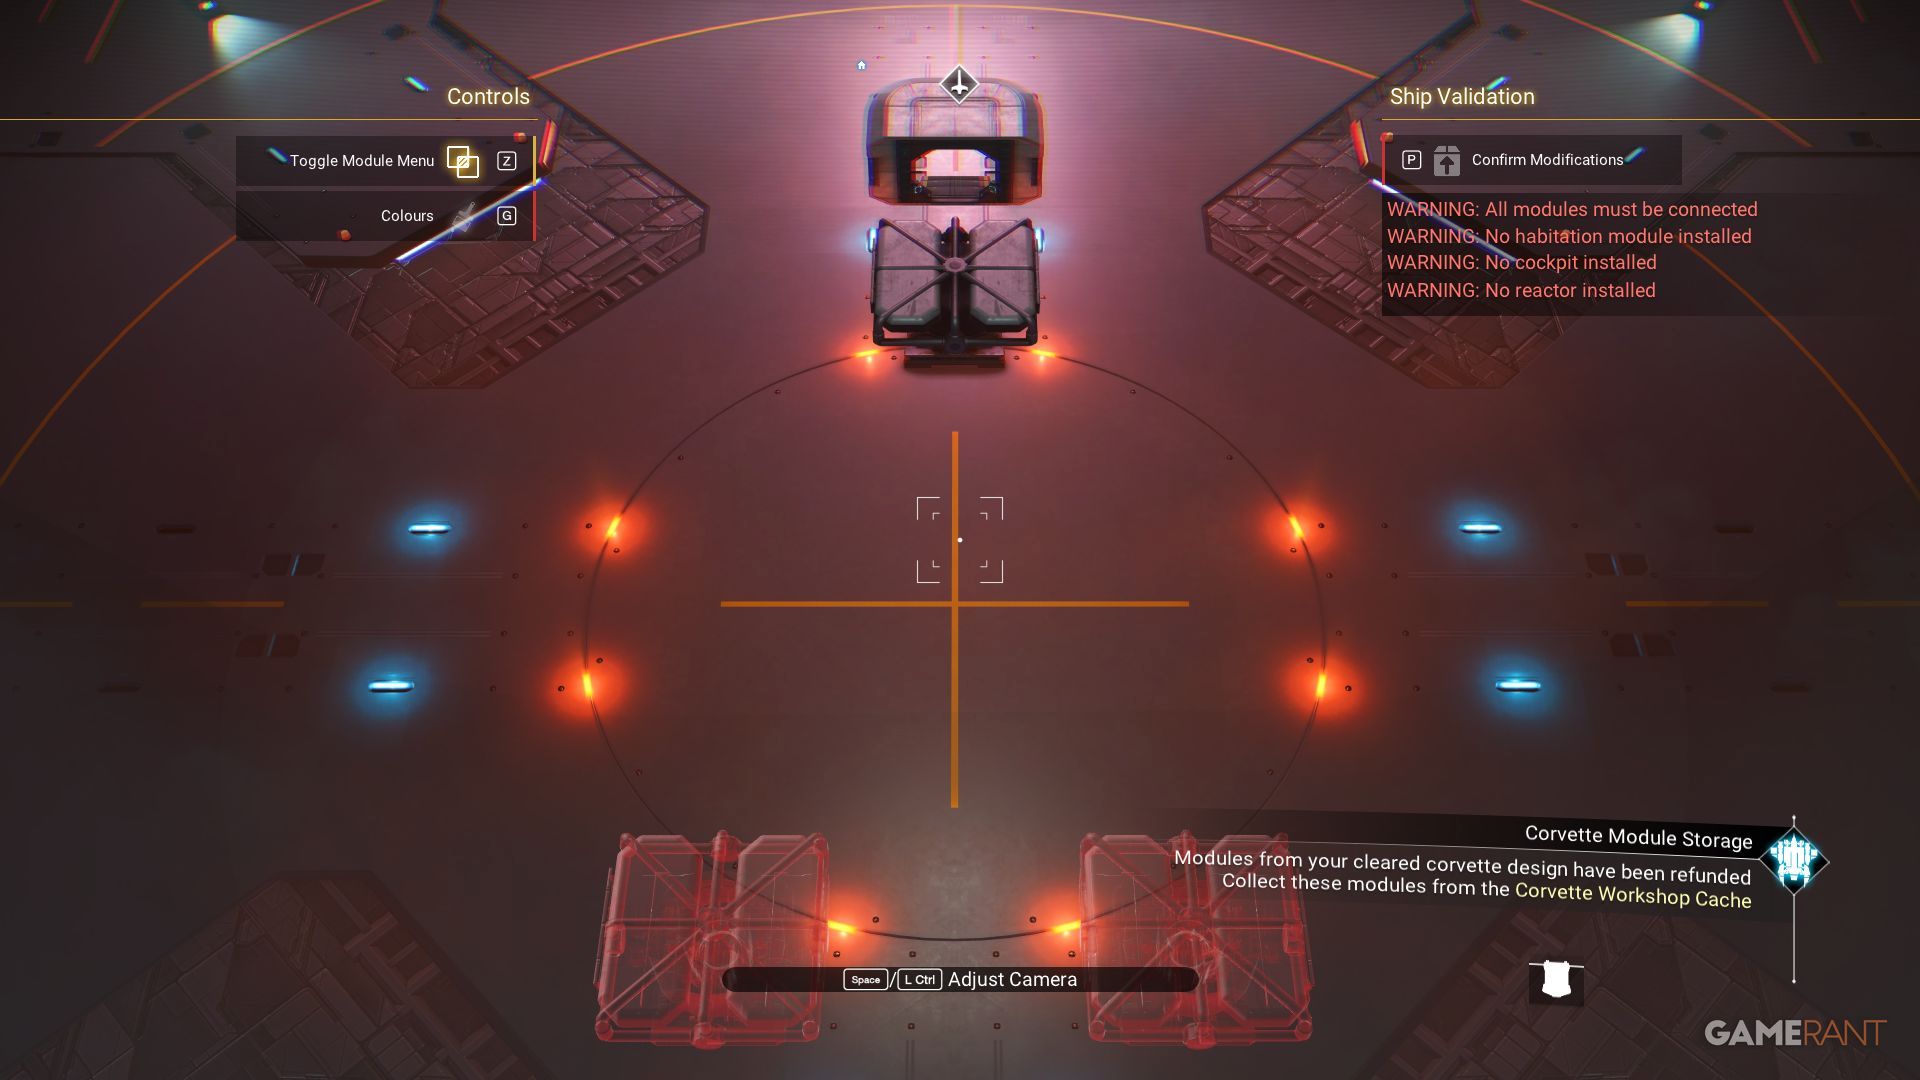
How To Make The Millennium Falcon In No Man’s Sky
In simpler terms, to construct the Millennium Falcon within No Man’s Sky, players should navigate towards the nearest spaceport. At this spaceport, they can locate a Corvette Workshop.
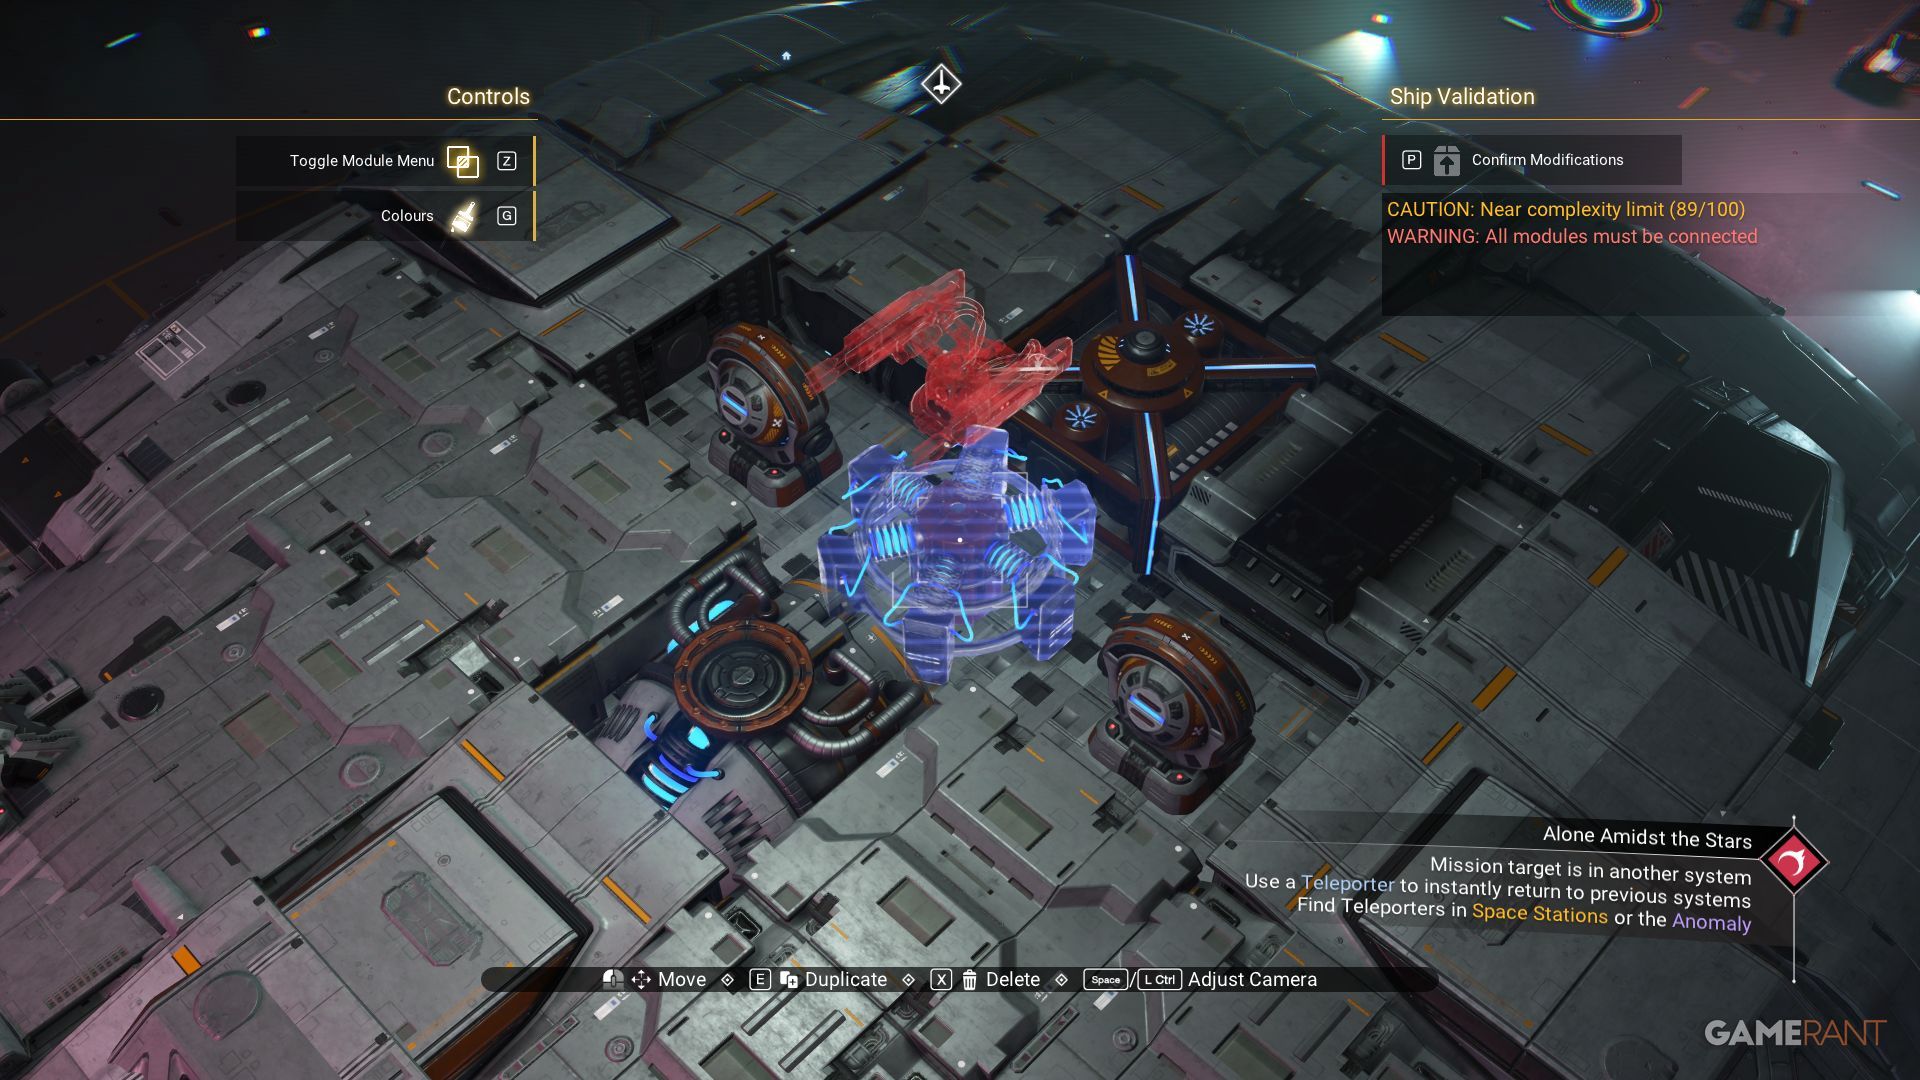
Often, during gameplay, it may become necessary for players to set down ‘temporarily usable building blocks’, which can then be used to position additional parts. These blocks generally have a shape similar to a square, in terms of both diameter and length. An example would be the Ducting Joints.
Landing Gear, Landing Bay, & Hab Layout
Initially, position one item labeled as “1 Landing Gear” at the far end, which is the entrance to the Space Station. This part is at the front of the spacecraft. Then, place the other two “Landing Gears” (labeled as “2”) equidistant on either side of this point, but move them back 4 spaces. Lastly, situate the “Landing Bay” at the very front of the spacecraft.
Afterward, link a Hab to the Landing Bay, and position one Walkway on the left rear side of the Hab, followed by arranging three Walkways on the right.
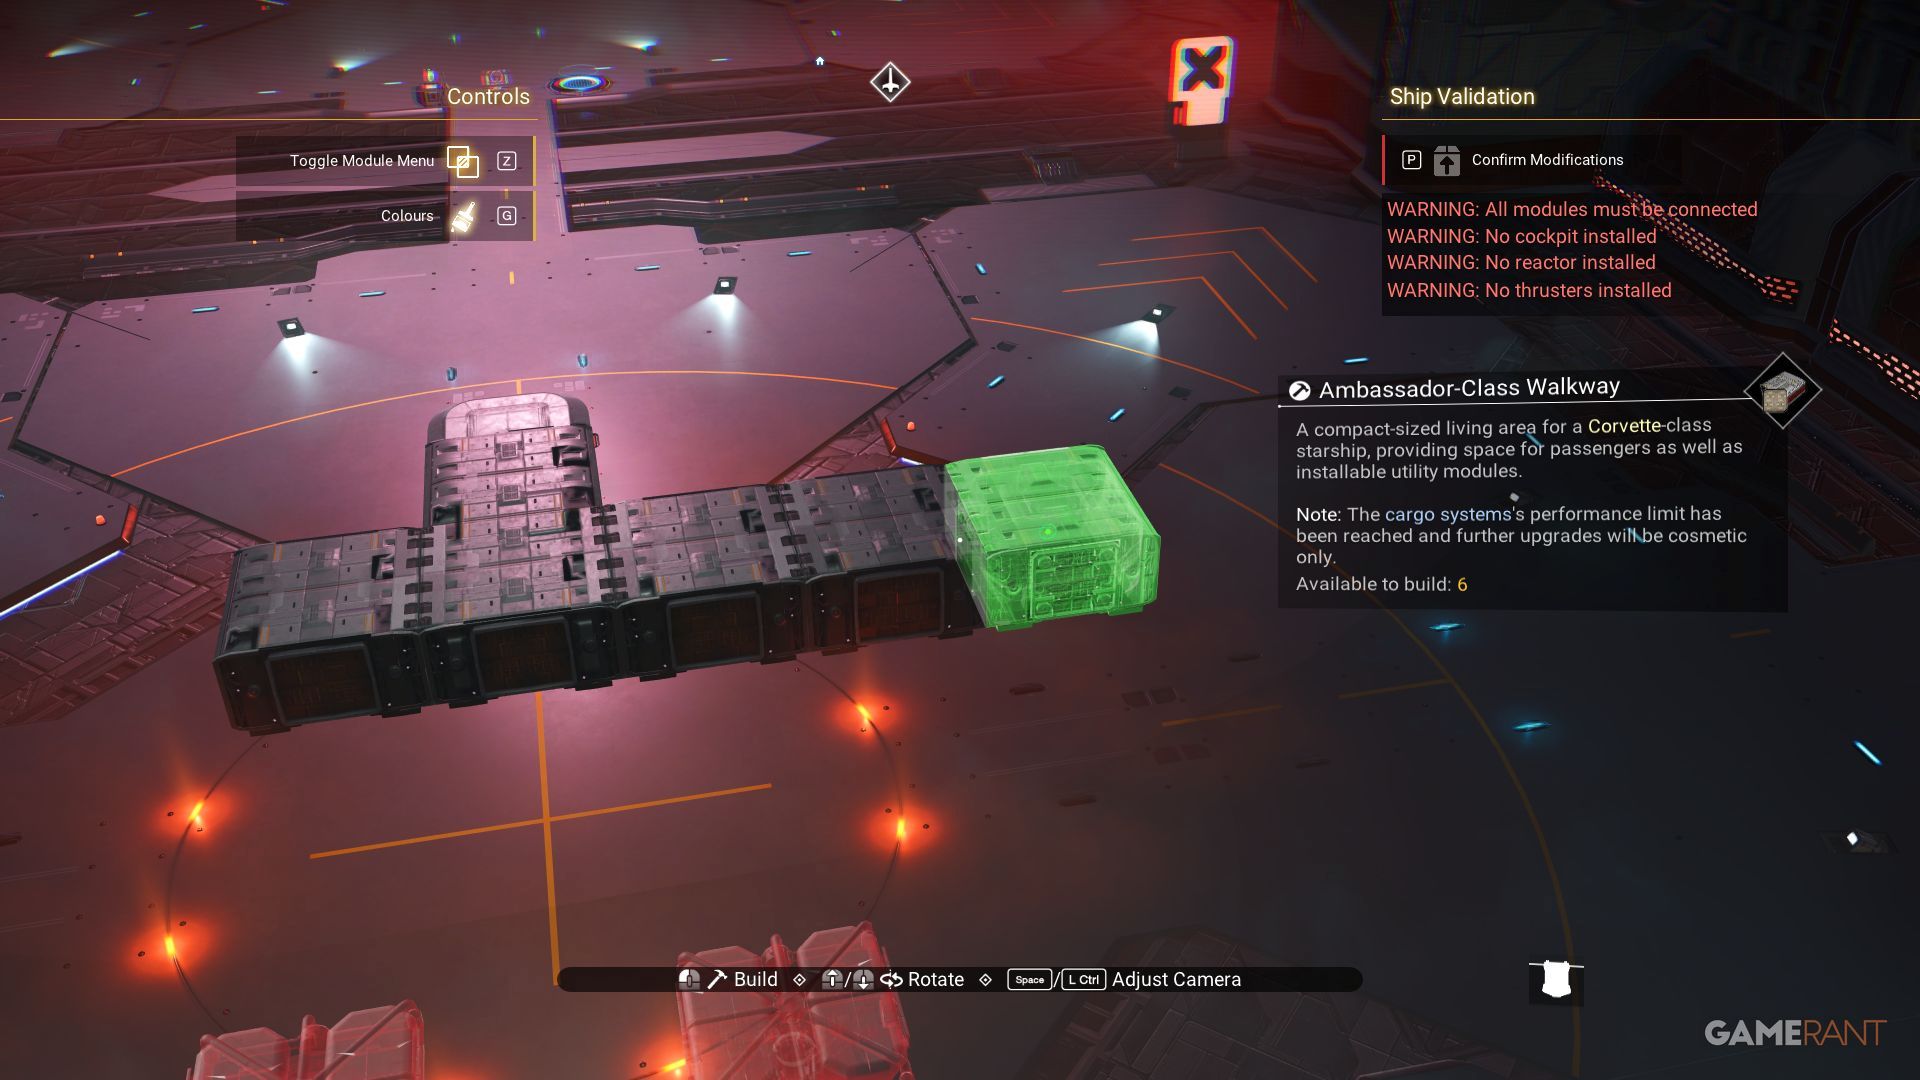
Then add 5 Habs, 1 on the back of each of the front row.
Position three walkways alongside the main walkway at the rear left of the ship. Another single walkway should be placed at the back of the ship, aligned with the Landing Bay. Lastly, add two more walkways parallelly on either side of the initial walkway at the rear left.
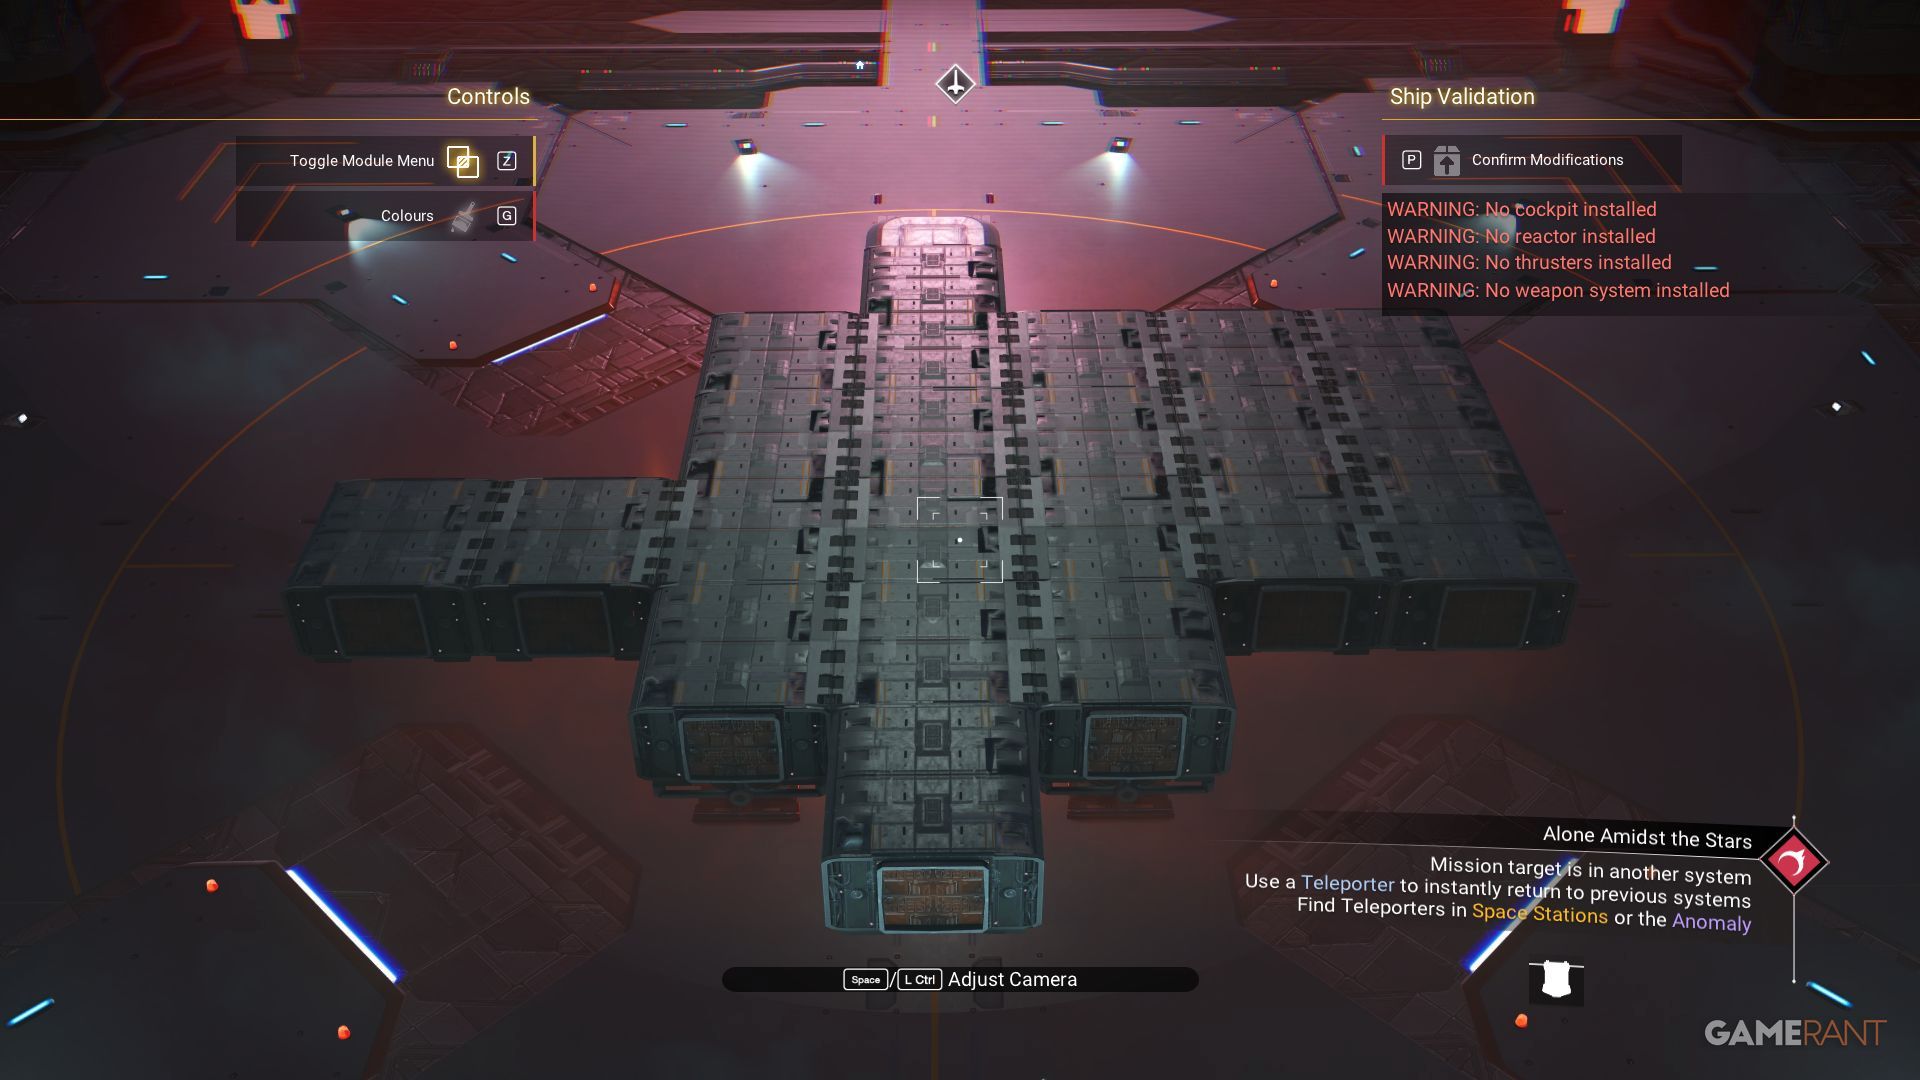
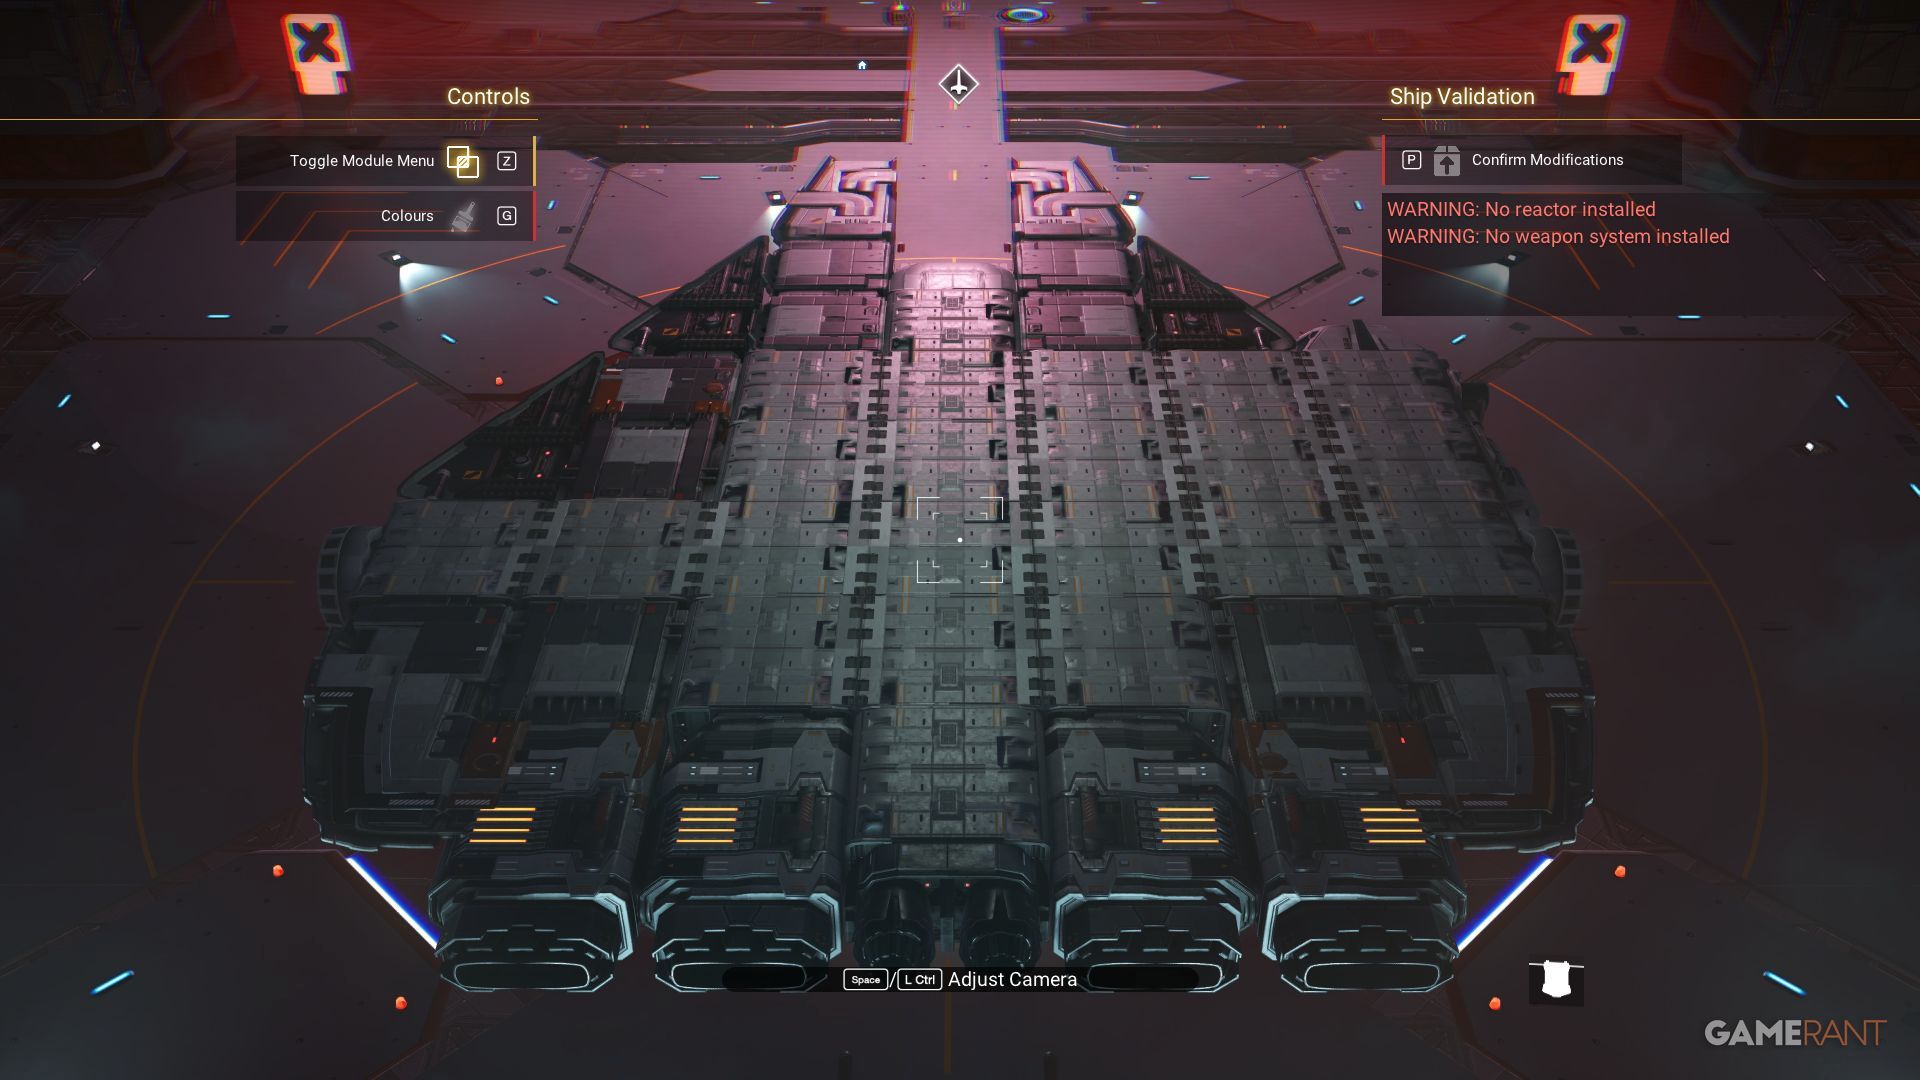
The base layout should look like this.
Creating The Front Of The Ship
On the side of the Landing Bay, place 2 Speedbird Fairings, vertically flipped.

Then, at the front, place 1 Vesper Diffuser, vertically flipped.
Repeat these steps on the other side of the Landing Bay.
On the right side, this can be finished off with a vertically flipped Turbine Aerofoil.
The Left Side
The left side has some gaps. Start with a vertically flipped Speedbird Cowling.
Then add a Speedbird Fairing in front of it.
Then add 2 Turbine Aerofoils, one in front and one to the side.
Cockpit & Decorate Sides
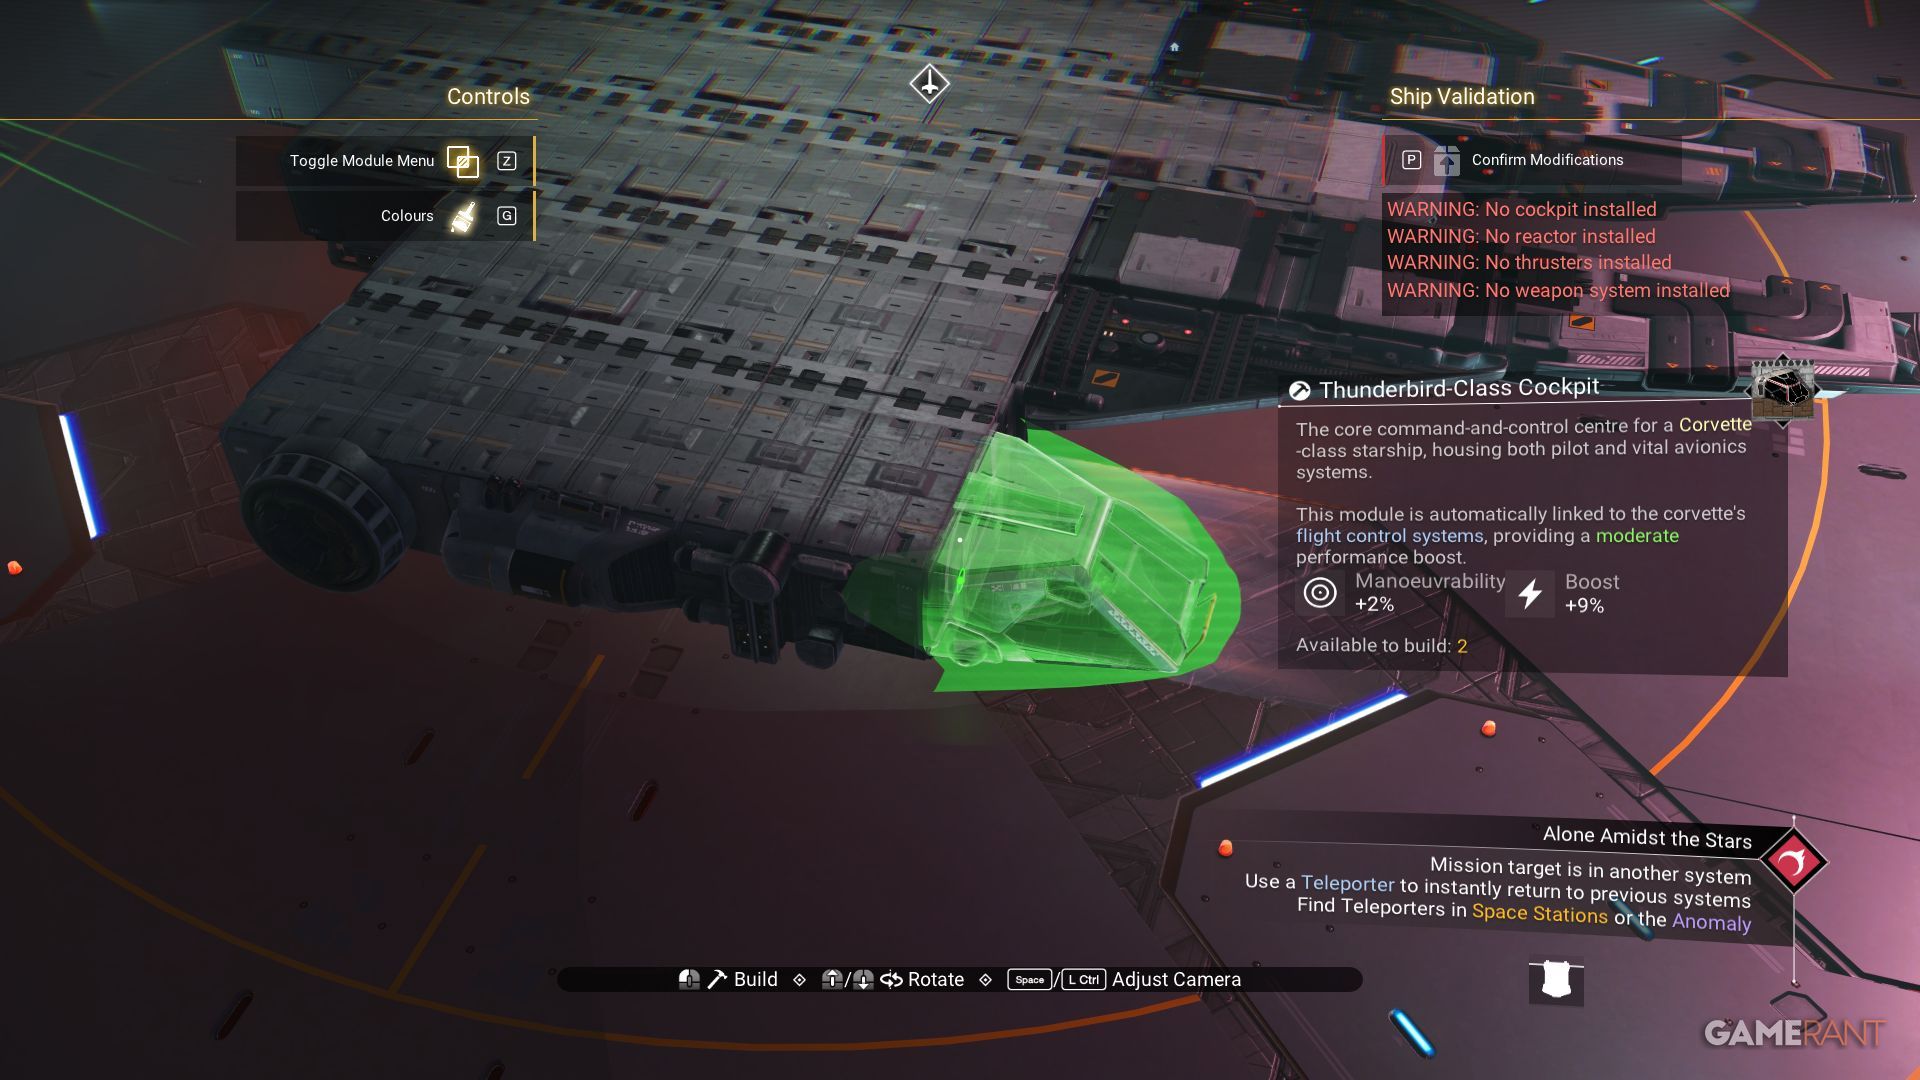
Position the area to your right as the cockpit, if feasible, and add decorations where appropriate. It would be appealing to install Cargo Links on both sides of the vessel. Given the additional space on the right side, consider setting up Air Purifiers there instead.
The Thrusters At The Back
You might find the thrusters a bit challenging because certain interim components must be employed initially. Obtain one of the Walkways and position it adjacent to the rearmost Walkway instead.
Placing the Titan Sublight Thruster on the side may be possible, but it might require rotating it horizontally for optimal function.
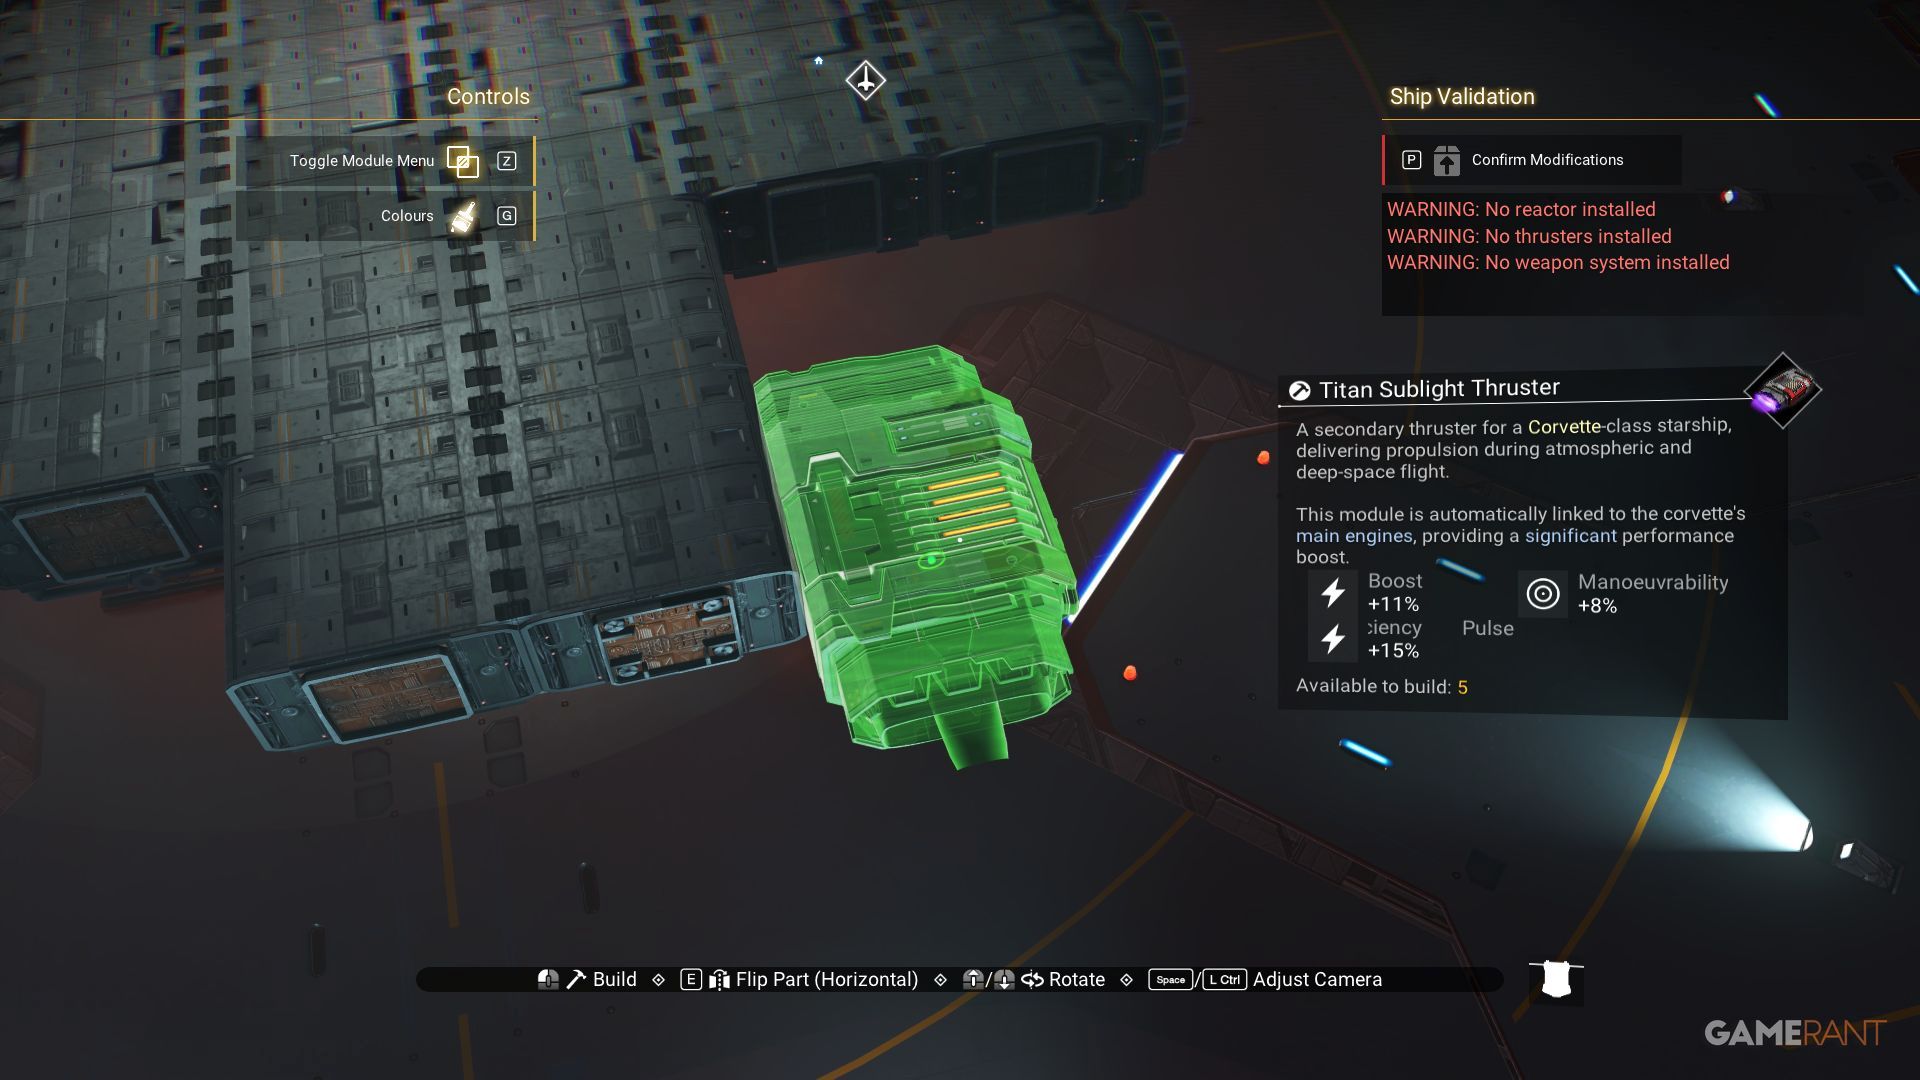
Then another Titan Sublight Thruster can replace the Walkway. Repeat this for the other side.
Finish The Back Of The Bottom Layer
In the back corners, place a vertically flipped Speedbird Cowling.
And then a vertically flipped Speedbird Nacelle.
Repeat on the other side. The bottom layer of the ship is now complete.
Start The Top Layer
To start the top layer, place a Longshore Cowling above but behind the Landing Bay.
In front of this, and somewhat joined, place a Supercruise Cowling.
Then place 2 Firebox Cowlings, one on either side of the Longshore Cowling.
The Front Pincers
At the forefront, you’ll find two claws, one on each side of the Landing Bay. Begin by replicating and flipping the “4 Speedbird Fairings” horizontally.
This will then allow the front 2 Vesper Diffusers to be copied and vertically flipped, too.

Complete The Front Left
Instead of being identical, the front-left part of the vessel differs slightly. To temporarily halt and invert the spin of the Turbofoil (Aerofoil) positioned at the front-left, a makeshift obstacle is required.
Replace the temporary block with a Speedbird Nacelle.
Then put a Firebox Cowling through this.
Put a Ducting Joint next to this Firebox and behind the one placed earlier.
Lastly, for this section, copy and vertically flip the Turbine Aerofoil.
Finish The Front Right
On the right side, please follow through with all the procedures for the front-left side, but skip the final step that involves adding the Turbine Aerofoil.
Instead, finish off the right front side with a Vesper Diffuser.
Complete The Back Sides
From a cinephile’s perspective, this scene offers a glimpse at the port side of our maritime spectacle. However, I must emphasize that every detail, every nuance you see here will be mirrored on the starboard side as well. Let’s embark on our journey starting with a distinctive feature – the Longshore Cowling, gracefully sloping away from the vessel’s side, echoing the symmetry of this grand ship.
Afterward, position a temporarily placed inverted “Speedbird Nacelle” block atop the lower part of the vessel.
Finally, replace the temporary block with a Supercruise Cowling sloping down.
Position a square-shaped piece, perhaps a “Crosspiece” or simply a “Square Connector”, at the rear of the Supercruise Cowling. Once work is completed on the opposite side, it will form an X or cross pattern in the center.
Remember to repeat for the other side of the ship.
Finish The Back Of The Ship
Surround the cross with something rectangular like a Fuel Cell, a Ducting Joint, or a Heavy Linkage, preferably at the rear. After that, add two Supercruise Cowlings, one on each side, which are the elongated, sloping parts. These pieces should ideally be positioned on either side of the cross.
Then place 2 Arcadia Stabilizers, one on either side of the Cowlings.
Place The Reactors, Ion Barriers, & Turret
As a movie reviewer, I’d rephrase that scenario as follows:
Nestled in the heart of our vessel, you’ll find a space begging for a cross-shaped arrangement. At the ship’s prow, a formidable Medusa Reactor takes center stage, while at the stern, a Zenith Reactor commands the rear. Flanking both sides are two robust Ion Barriers, serving as our primary defense.
At the very heart of this defensive formation, an Azimuth Reactor resides. Above it, another temporary reactor ascends, creating a perfect platform for a powerful Turret to take aim and protect us from any threats that may come our way.
When the temporary reactor is deleted, the Turret will turn red until the next step.
Put The Dome Together
Finally, position the Radar Dome below the turret. After that, attach one of the four Speedbird Dome Sections to each corner. Next, install a Speedbird Fairing at the rear, followed by three Speedbird Cowlings.
Complete the setup with the Satellite Receiver, position it close to the dome. Now, the primary construction is all done.
Color & Decorations
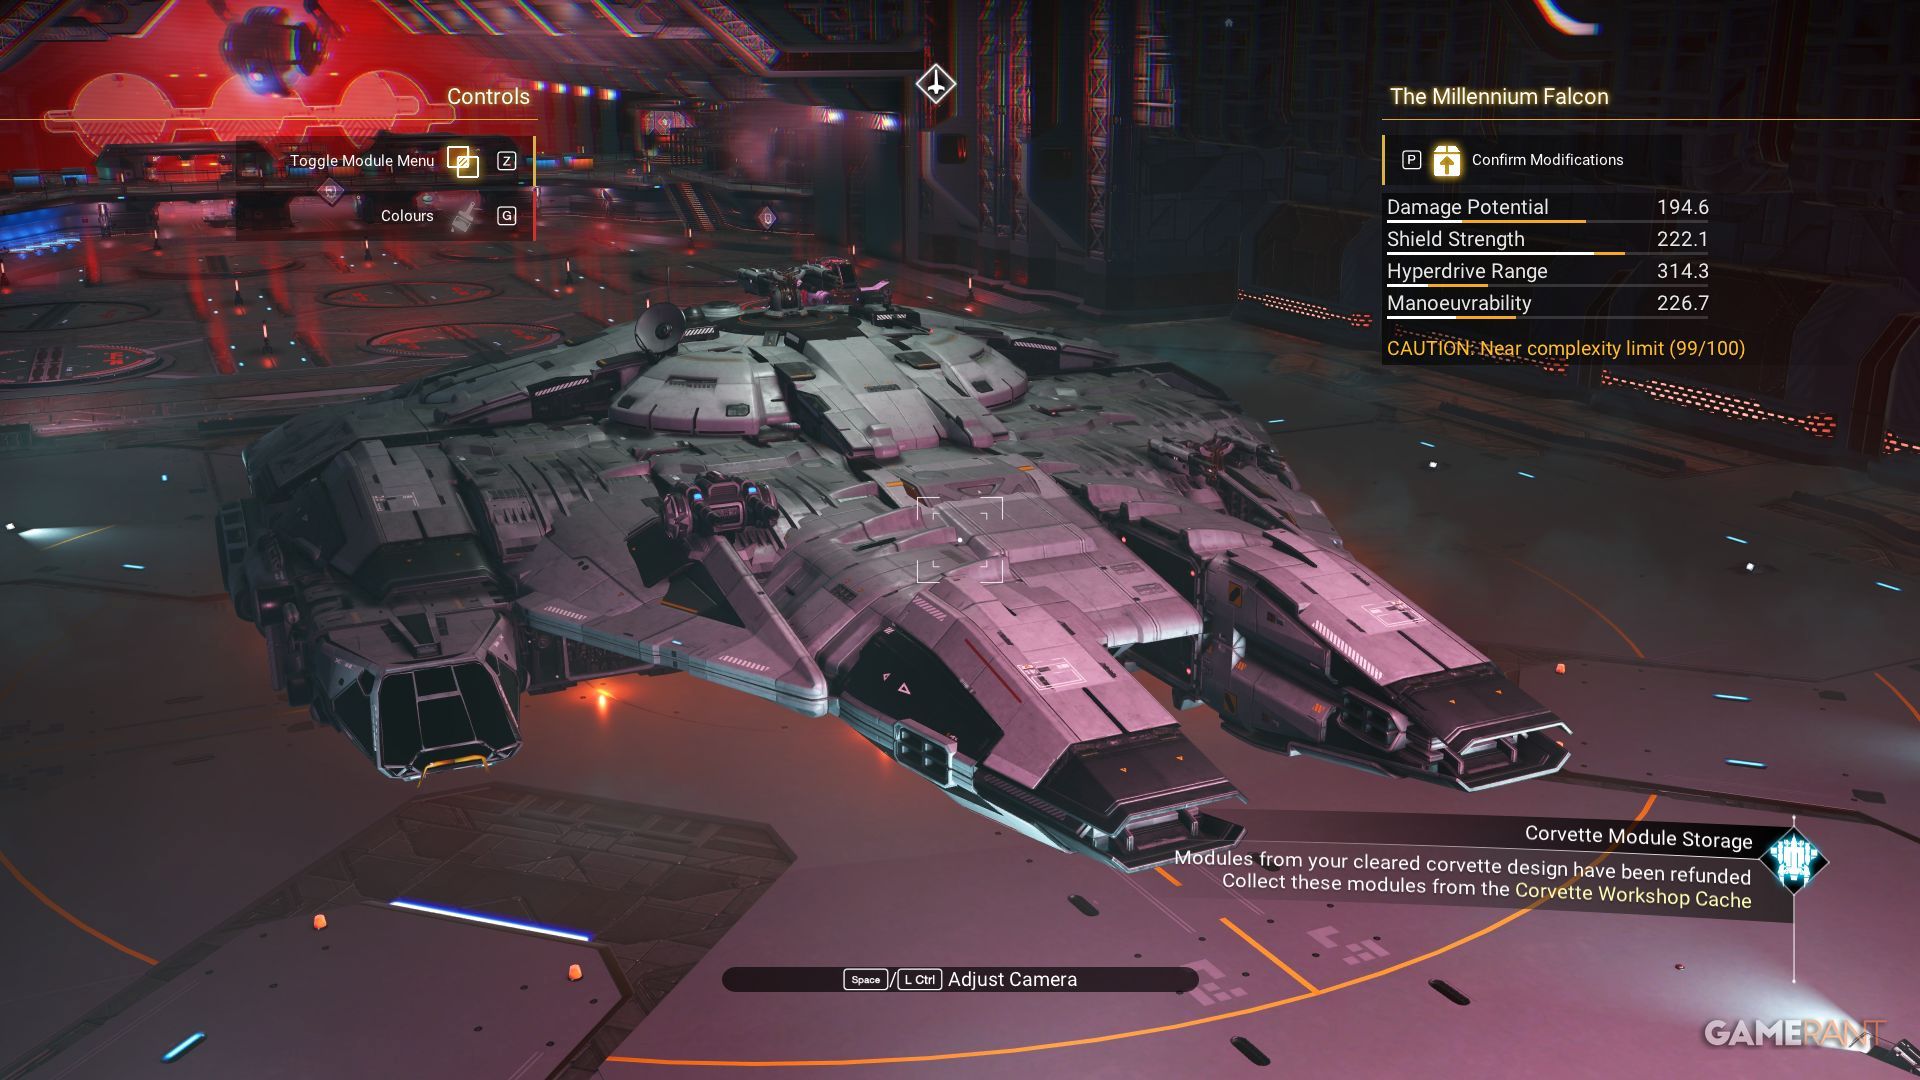
Once they’ve completed building the Millennium Falcon, players might still have a few spots available within the Building Limit to add more details like antennas or additional gun turrets. Additionally, they can customize each piece by changing its color according to their personal preferences.
While exploring the Corvette, there’s an option for interior customization using the standard building mode. This involves adding functional storage compartments, mission control panels, and other similar features to enhance its interior.
Read More
- Robinhood’s $75M OpenAI Bet: Retail Access or Legal Minefield?
- All Skyblazer Armor Locations in Crimson Desert
- All Hauntingham’s Letters & Hidden Page in New Super Lucky’s Tale
- Speedsters Sandbox Roblox Codes
- How to Get the Sunset Reed Armor Set and Hollow Visage Sword in Crimson Desert
- How to Catch All Itzaland Bugs in Infinity Nikki
- Madden NFL 26 Cover Star Revealed
- USD RUB PREDICTION
- Invincible: 10 Strongest Viltrumites in Season 4, Ranked
- Who Can You Romance In GreedFall 2: The Dying World?
2025-09-05 23:42