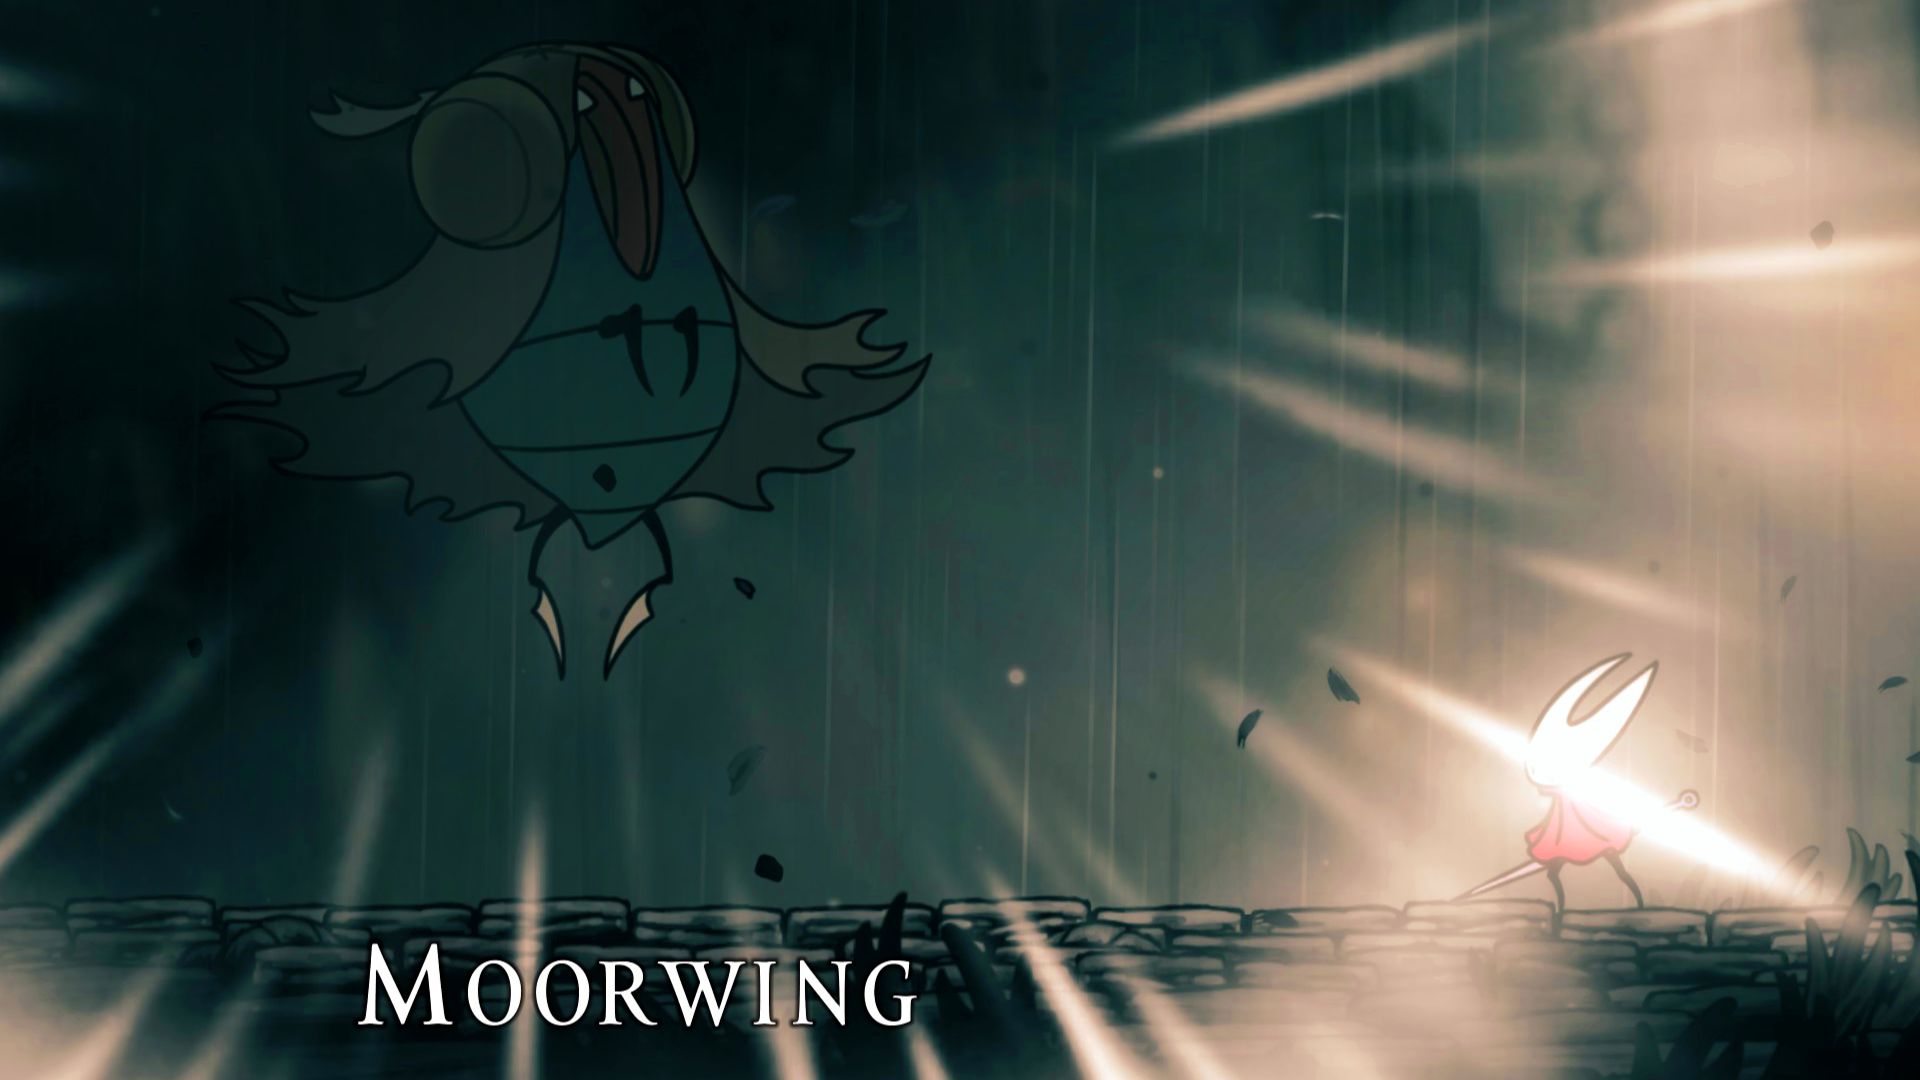
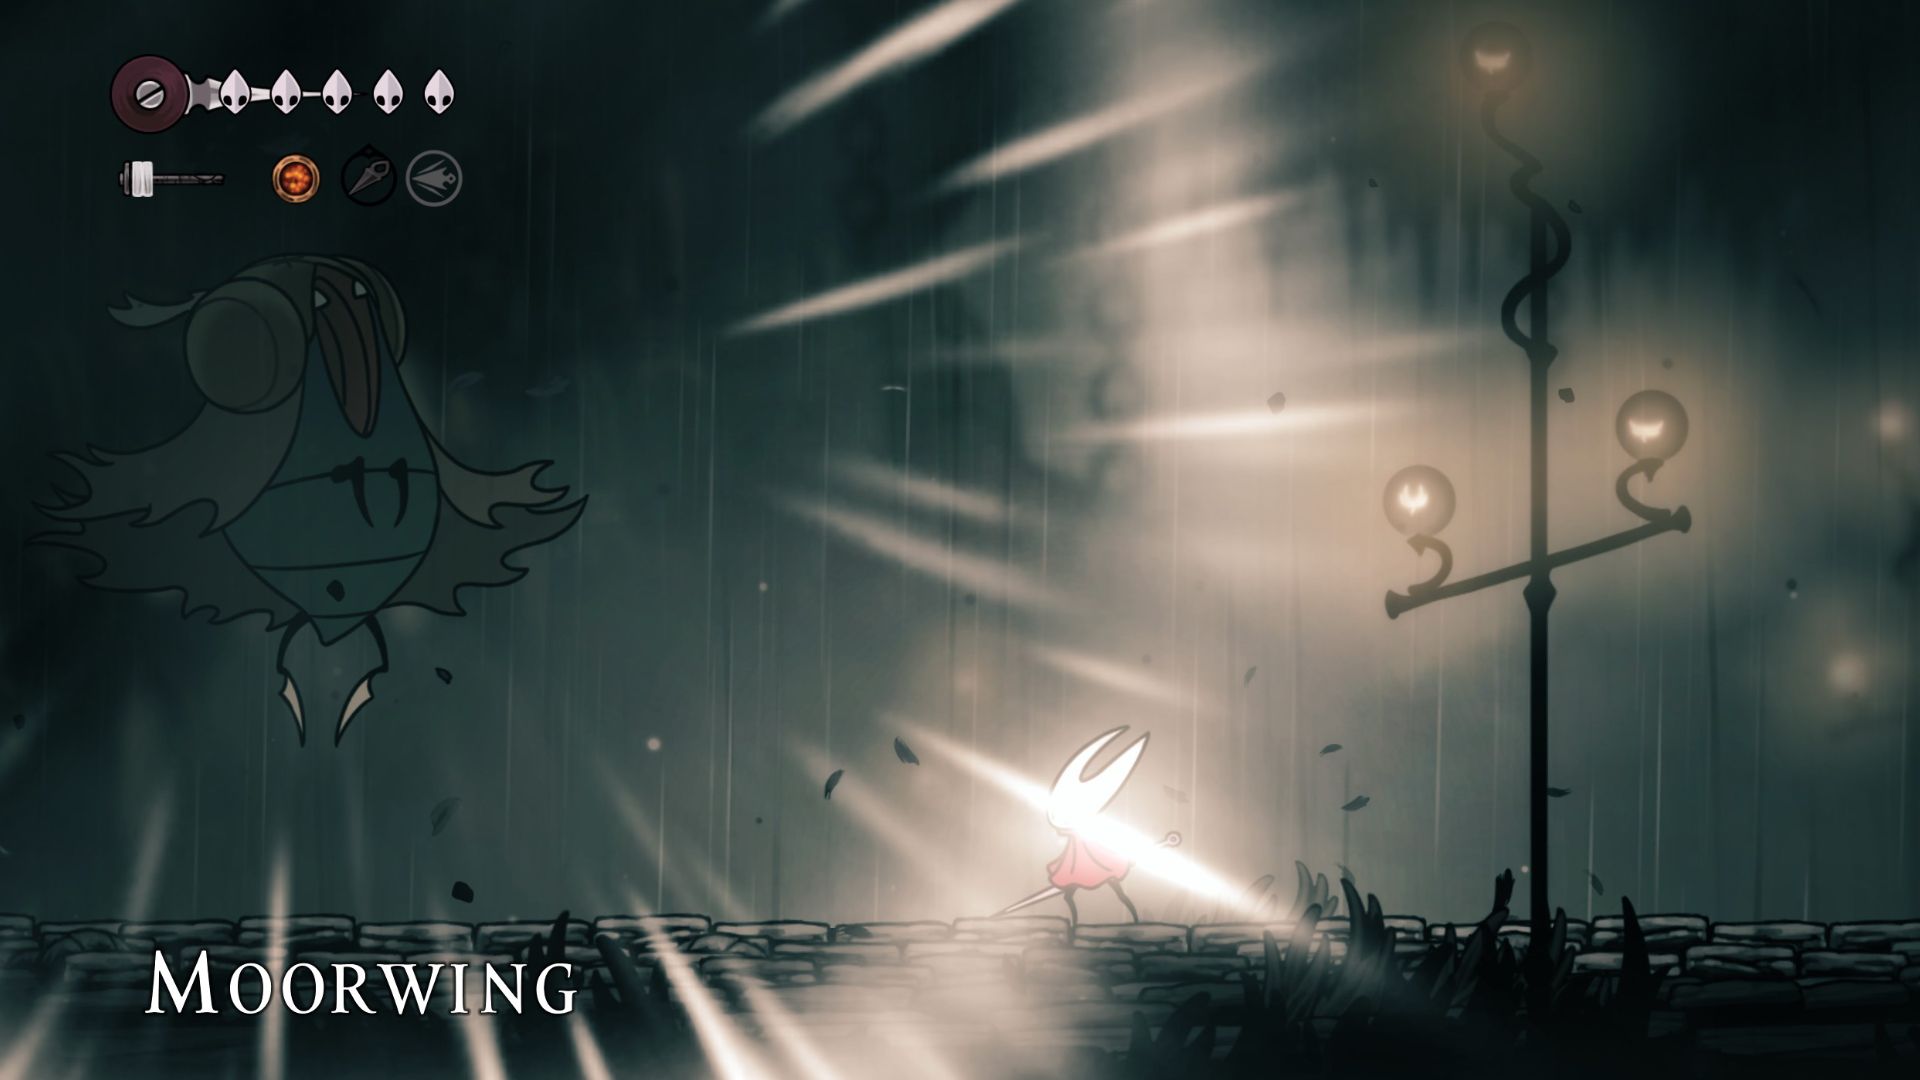
Upon arriving at Greymoor, the next significant battle in the game Silksong is against Moorwing. This massive, airborne insect boasts a tail razor-sharp enough to cause concern, making it one of the most challenging foes players have encountered due to its powerful attacks, swift movements, and somewhat intricate attack patterns.
As a dedicated fan, if you can master the visual signals for its attacks and seize every opportunity to strike back – remember, these chances are few and far between – you stand a good chance of overcoming Moorwing and advancing through Pharloom. This comprehensive guide on defeating Moorwing in Silksong will lead you to where this boss lurks, provide insights into countering its lethal moveset, and unveil the secrets hidden beyond the Moorwing boss arena.
Moorwing Location
Far Left Side of Greymoor, Beyond the Halfway Home
In the game “Silksong”, players should initially navigate their way to the area called Greymoor. To do this, they need to traverse a sequence of air vents that are located on the upper right side of the Far Fields. Upon exiting Pilgrim’s Rest from the top left exit, players should fly upwards while breaking open vents as needed. This will help them eventually penetrate through Greymoor and move closer to the Moorwing boss location.
Moorwing can be found on the far left side of Greymoor, so be prepared for a bit of a trek.
Closest Bench & Optimal Runback Route to Moorwing

Initially, make your way to the Halfway Home to locate a bench and a strategic revival spot. Once there, chat with Nuu to obtain the Hunter’s Journal. Afterward, proceed by moving to your left while passing through multiple inner rooms.
Descend into an area housing two Pilgrim foes, then proceed to the left until you find a descent that leads downward below a cage where a bug brandishing a pair of scissors is perched on top.
Afterward, proceed straight ahead until you reach a turn to the right. Continue in that direction, then head towards the watery chamber situated at the most left corner of Greymoor below. From there, follow the path left to discover solid ground and eventually arrive at Moorwing’s boss arena.
Moorwing Boss Walkthrough
How to Beat Moorwing in Silksong
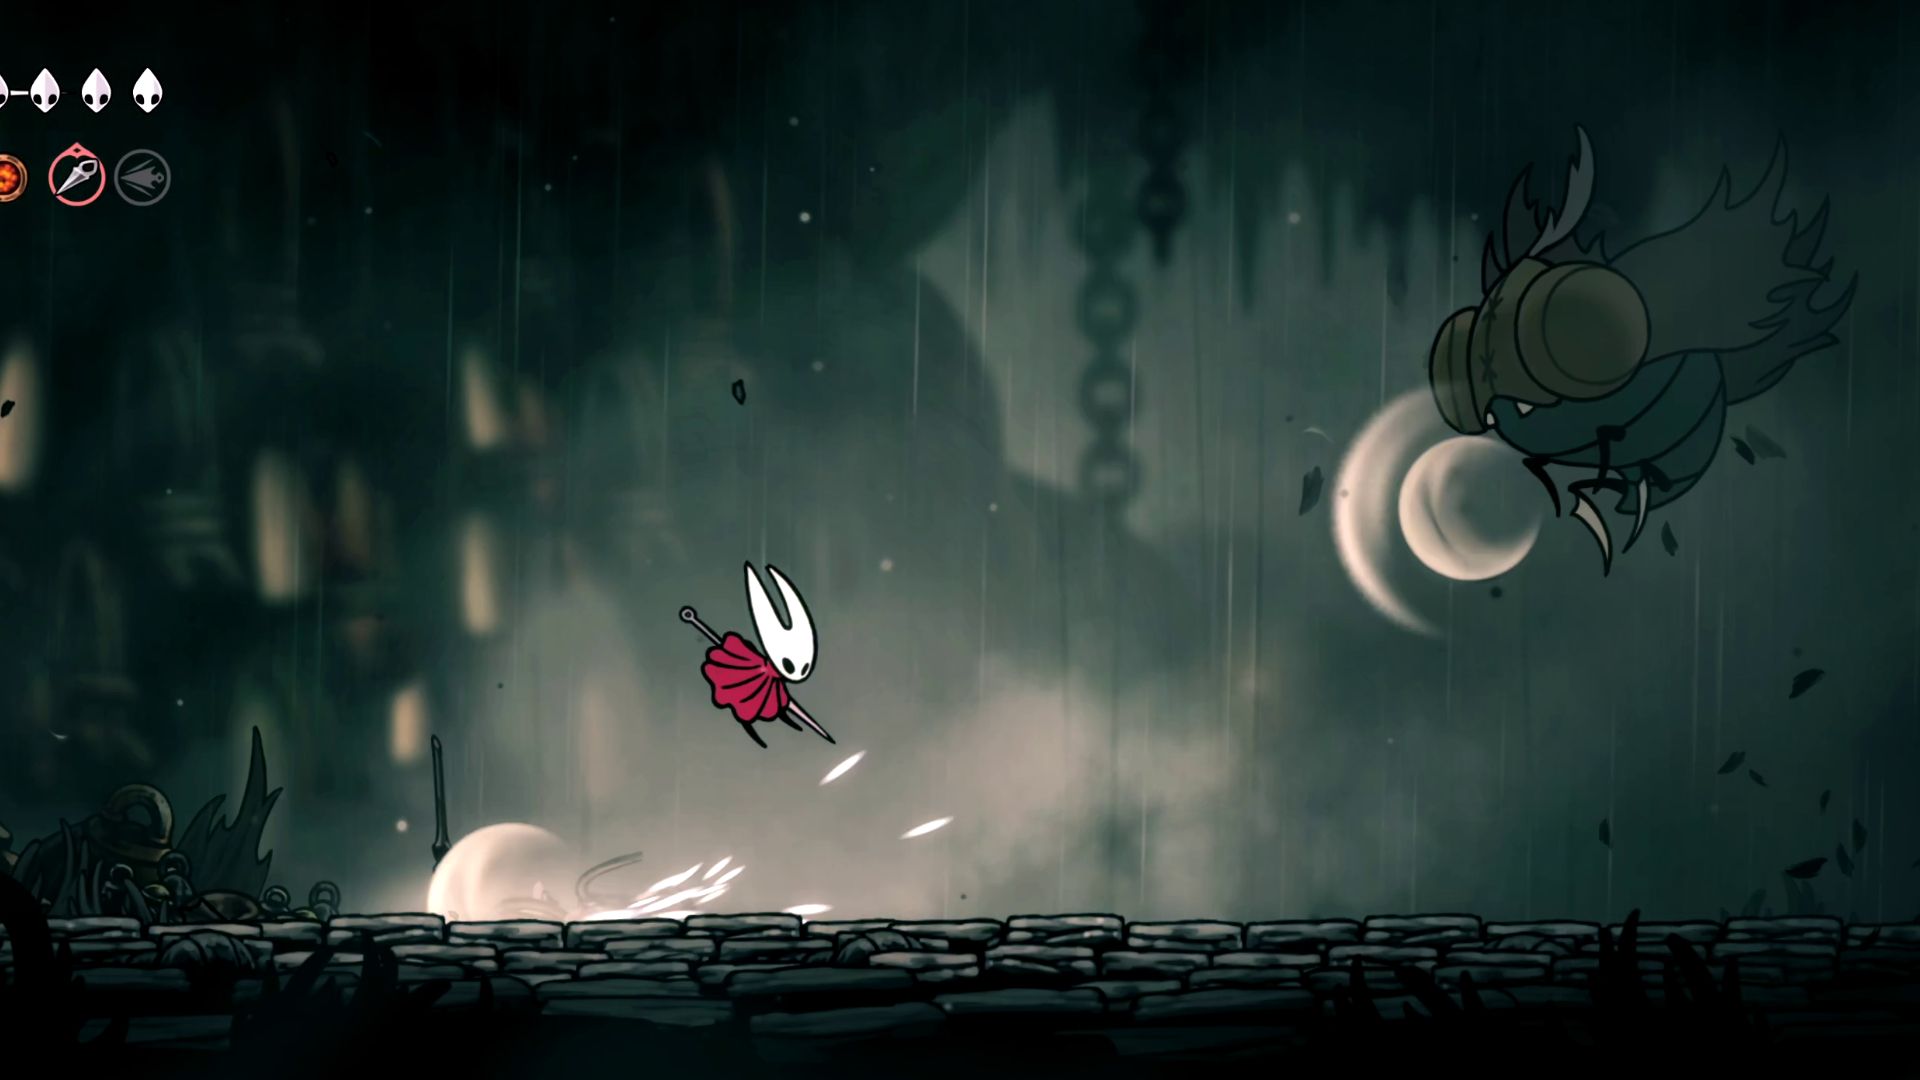
In the realm of Silksong, battling Moorwing is an exhilarating challenge for me due to its swift and unforeseeable attacks, colossal contact damage, and the double Mask damage it inflicts with each strike – a blow that can quickly deplete Hornet’s HP if she isn’t equipped with extra HP Masks.
The boss has two phases:
- In phase one, Moorwing will launch only one gust at a time and only perform its Low Charge and Double Downward Slashes attacks.
- After you deal enough damage, the boss will roar, signifying the start of phase two.
- In phase two, Moorwing will launch multiple gusts at a time, sometimes immediately after performing its slashing attack. It also gains the Looping Gust move.
- Some of these gusts will loop back onto the boss, too. Be careful with your jumps and positioning, and take advantage of every opportunity to attack to defeat Moorwing.
Moorwing Attacks, Moves, & Counters
| Attack Image | Move Name | Visual Cues | Counter |
|---|---|---|---|
 |
Single Gust | Rears back, summons a gust of wind in its clutch, then launches it along the ground. The gust curves upward after a couple of seconds. | Jump over the gust. |
 |
Low Charge | Flattens out, then flies along the ground with its mouth open, taking flight again on the other side of Hornet. If you get too far away from Moorwing, it will use this attack to catch up to your location. | Jump over the boss. With careful timing, you can get a downward hit in as it passes underneath. |
  |
Double Downward Slashes | Straightens out vertically with its mouth open, then rapidly charges towards Hornet’s location as it slashes its claws. Can hit Hornet twice if she gets caught in the attack early. | Swift Step in the opposite direction. If you are quick, you can get some hits in on Moorwing’s head as it finishes the animation. |
 |
Looping Gusts | Floats above Hornet’s location with its tail raised, then launches two gusts in either direction curve inward, hit each other, and bounce along the ground outward. | Avoid the initial attack on either side, and jump over the gusts as they travel under Hornet. Watch out for the bounceback. As it hovers over Hornet, you have a couple of seconds to attack the boss’s head. |
 |
Double Gust | Rears back, summon a gust of wind, then launches it along the ground. In phase two, Moorwing will always follow this up with a fast second gust, which travels a shorter distance, but loops back to the boss’ location. | Jump over the first gust with a short jump, then dodge over the second. Watch for the second gust to loop back to the boss and dodge to the side. |
 |
Triple Gust | Like the Multi-Gust attack, with a new gust in between the long and short range gusts that curves up after a medium distance. | Carefully try to jump over all three, and dodge quickly to the side when the third gust gets close to avoid being hit on its way up. |
Tips to Beat Moorwing in Silksong
- Though you can Bind and heal when Moorwing is staggered, because Hornet can Bind in mid-air, a better opportunity to heal is while jumping over the boss’s Low Charge attack.
- Just keep your finger on the Swift Step input and spam it as soon as the Bind animation is done, as the boss tends to follow up a Low Charge with a slashing attack.
- Use Swift Step like a dodge to quickly get away from Moorwing when it is about to slash at Hornet.
- If you dodge away the moment it begins to lunge, you can jump up and hit the boss on the head a few times while it is locked in this animation.
- The most important part of this fight is avoiding the gust attacks. Focus on timing your jumps and dodges during the multi-gust attacks instead of attacking, and you should have few issues having enough HP to make it through the fight.
- Equip the Warding Bell, a blue Tool that prevents Hornet from taking damage while using her Bind skill.
Reward for Beating Moorwing in Silksong

Following the conquest of Moorwing, players in Silksong will gain access to a route that ventures into a fresh town center and district situated to the left of Greymoor. Initially, this route on the left remains barred until after defeating the boss. However, it’s worth noting that during the encounter with Moorwing, there is an option to escape by heading right from the battlefield, but the route leading to the left will only become accessible post-victory.
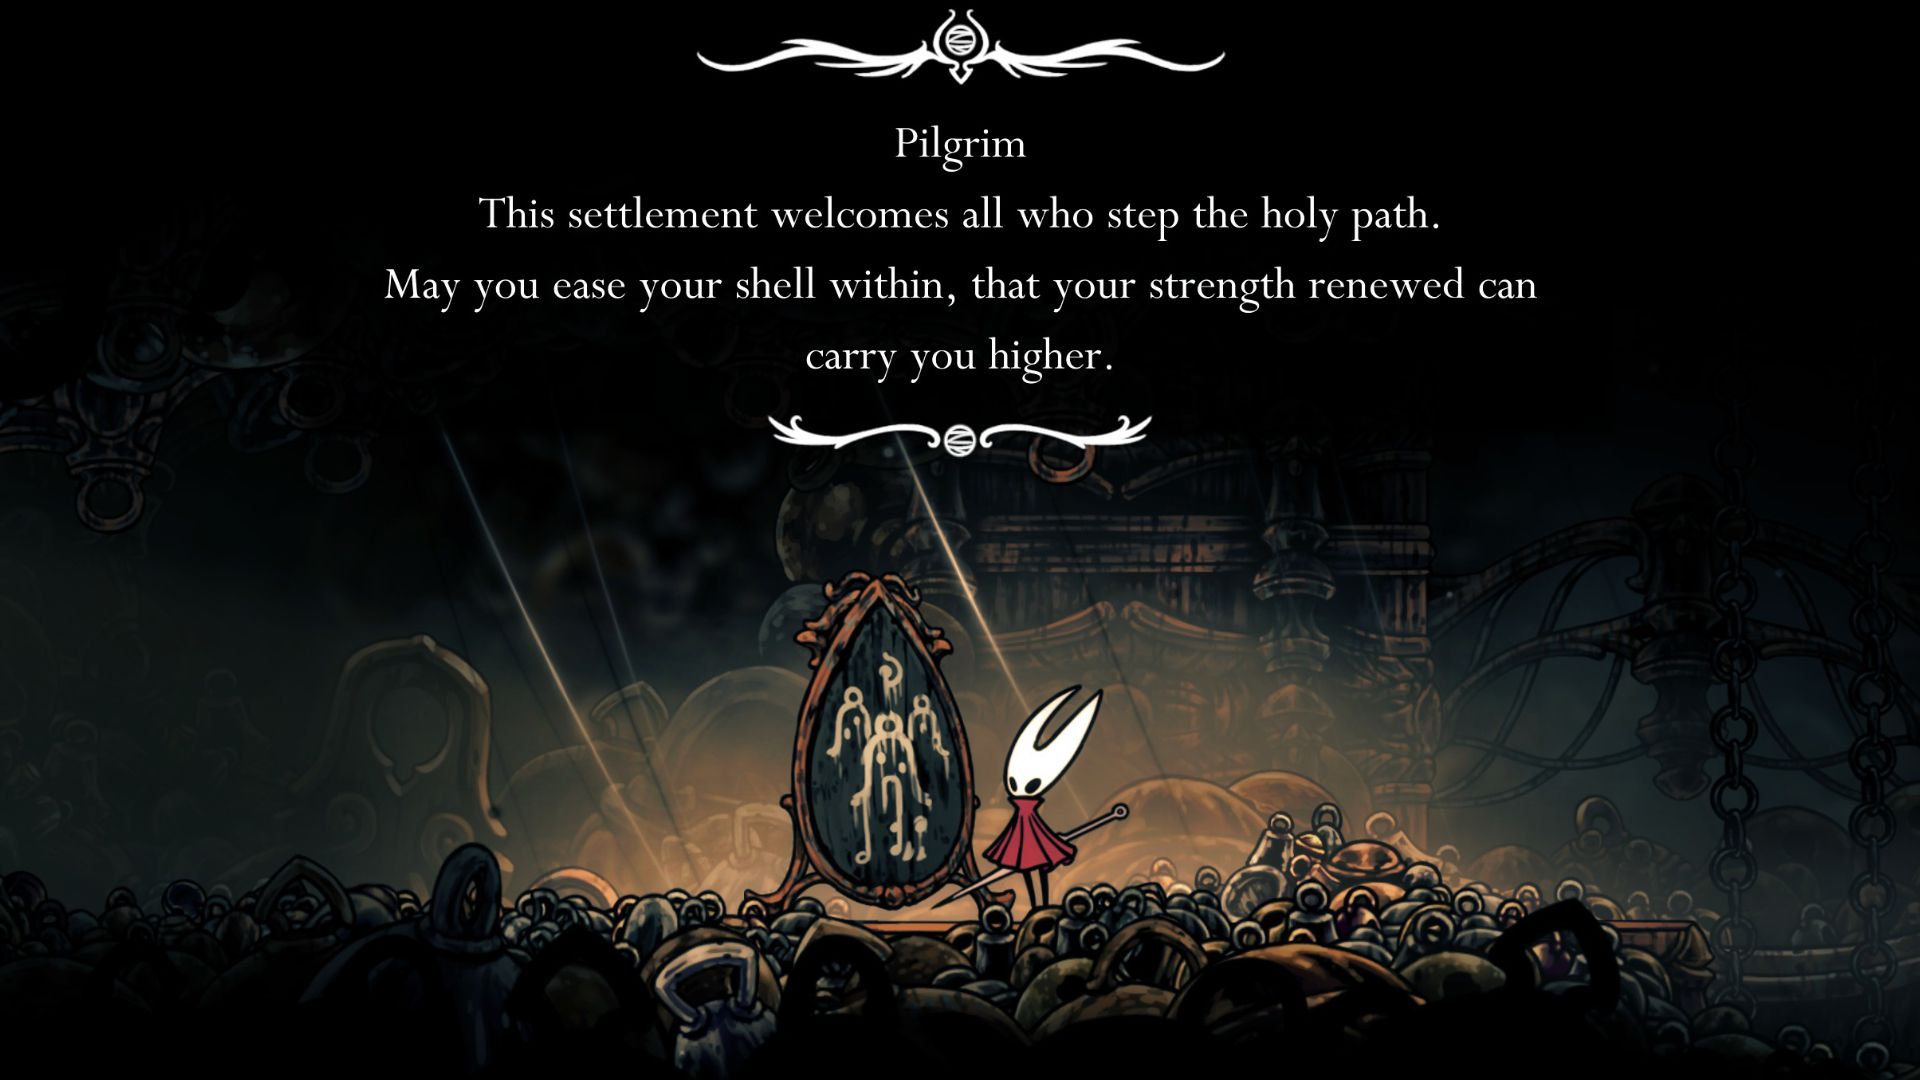
Instead of going right, head left and leap upward to reach a fresh section to the left of Greymoor. As you pass through Hornet’s chamber filled with bells, a scene unfolds displaying his response to the peculiar settlement that lies ahead.
At the conclusion of the cutscene, it becomes clear that Hornet has made her way into Haunted Bellhart, which serves as the secondary central hub in Silksong.
Read More
- All Skyblazer Armor Locations in Crimson Desert
- How to Get the Sunset Reed Armor Set and Hollow Visage Sword in Crimson Desert
- All Shadow Armor Locations in Crimson Desert
- Marni Laser Helm Location & Upgrade in Crimson Desert
- All Helfryn Armor Locations in Crimson Desert
- All Golden Greed Armor Locations in Crimson Desert
- All Icewing Armor Locations in Crimson Desert
- Best Bows in Crimson Desert
- How to Beat Stonewalker Antiquum at the Gate of Truth in Crimson Desert
- Legendary White Lion Necklace Location in Crimson Desert
2025-09-06 03:06