
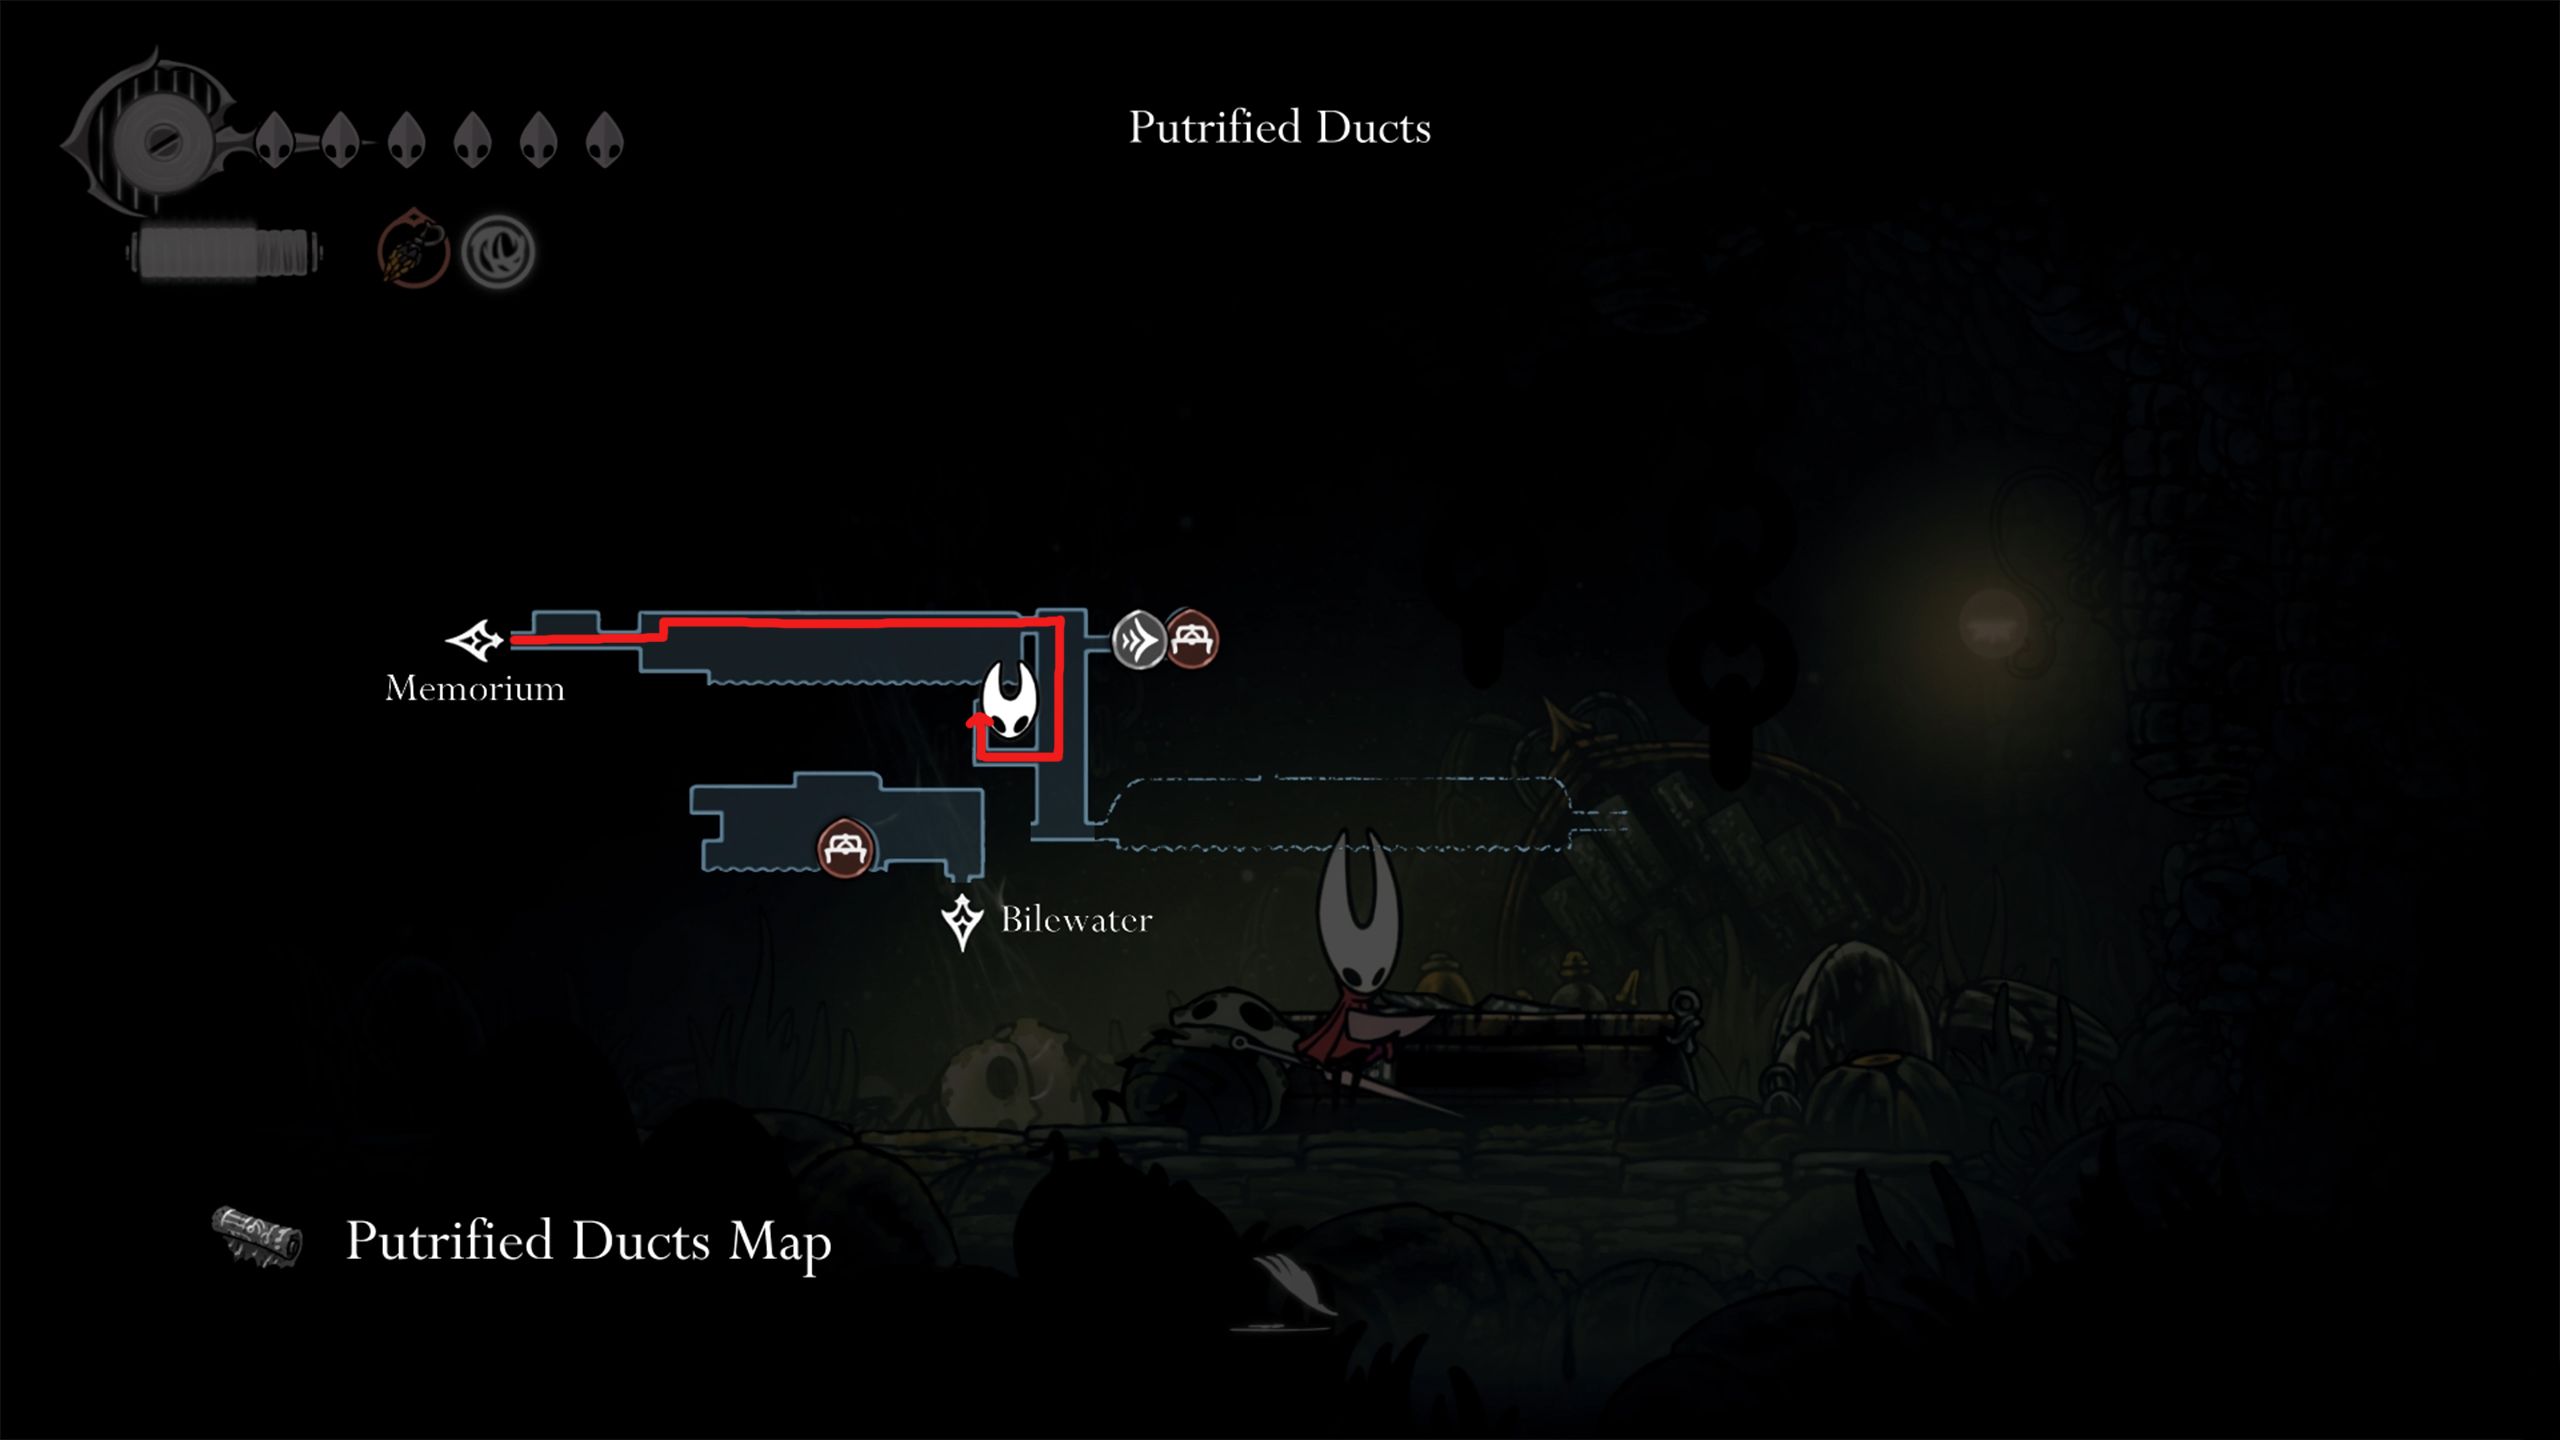
Navigating through Pharloom during your adventures in Hollow Knight: Silksong becomes significantly easier when you have a map to guide you. Many parts of this world can be quite intricate, containing hidden paths that are easy to miss. Prioritizing the search for a map and saving some Rosaries is crucial in unfamiliar territories. Interestingly, the Putrified Ducts map isn’t obtained through the typical method of payment with Rosaries; instead, you’ll find it conveniently placed on a table at no extra cost.
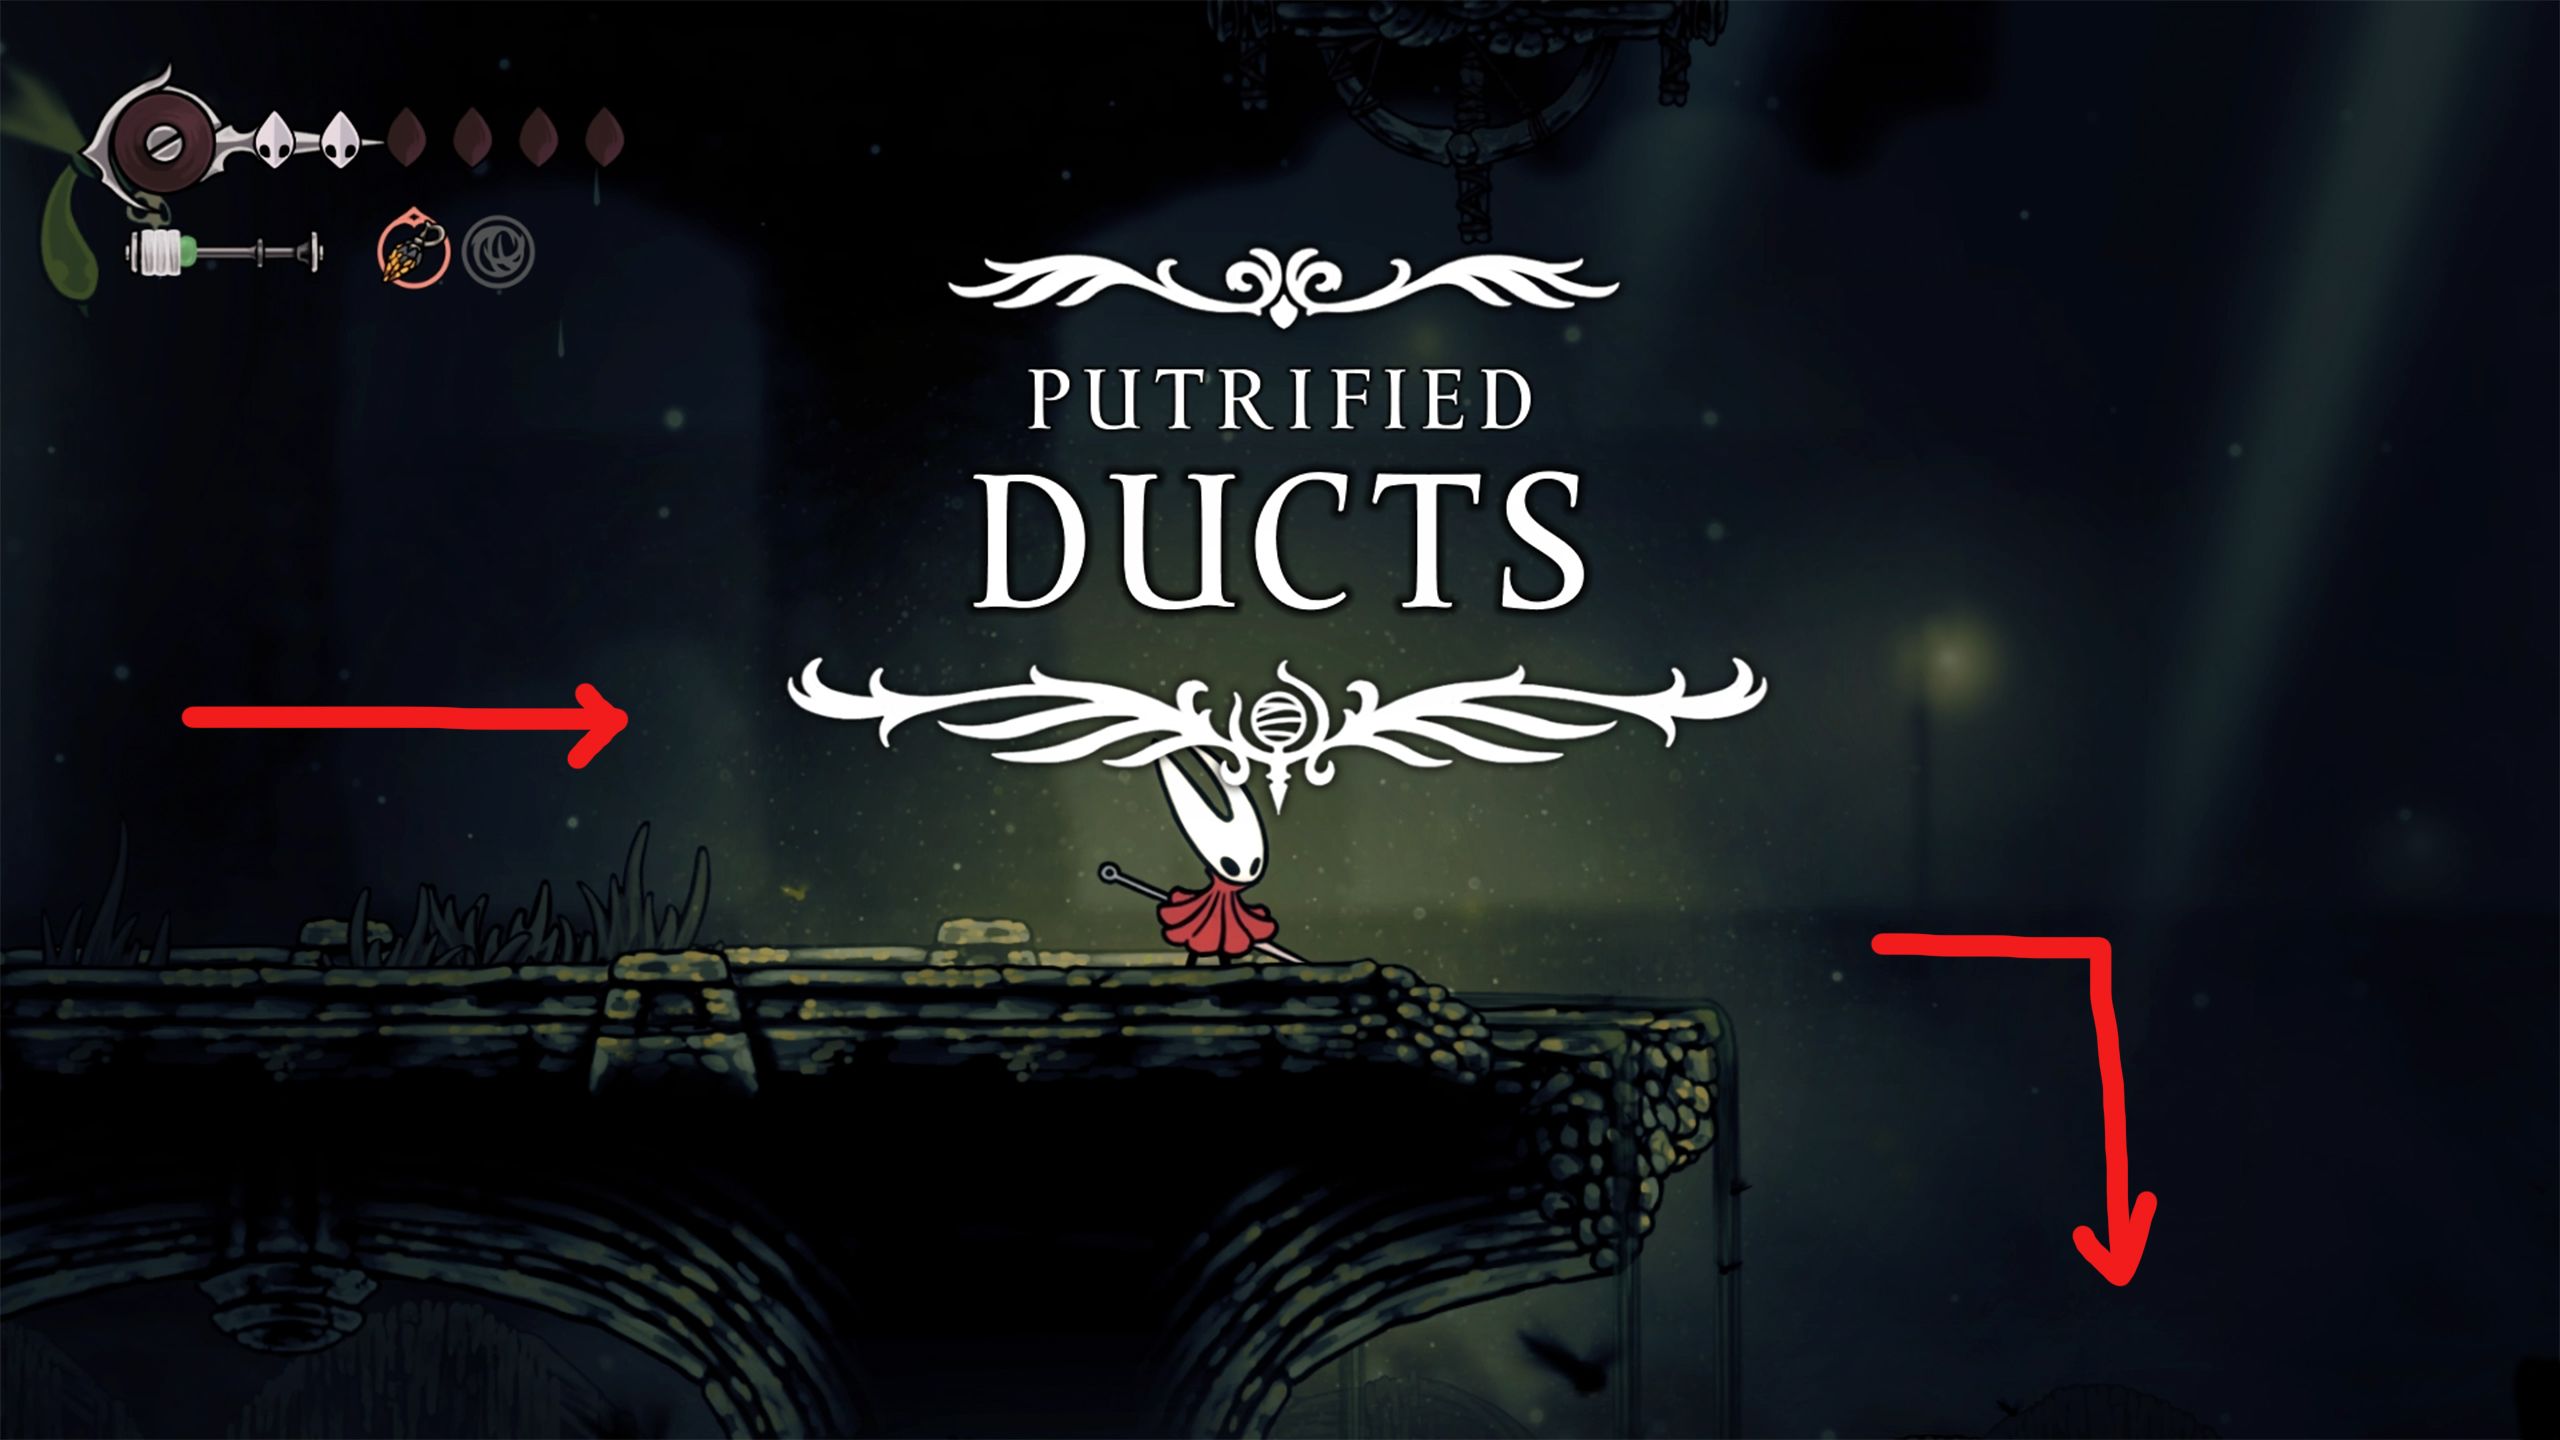
Where To Find Putrified Ducts Map In Silksong
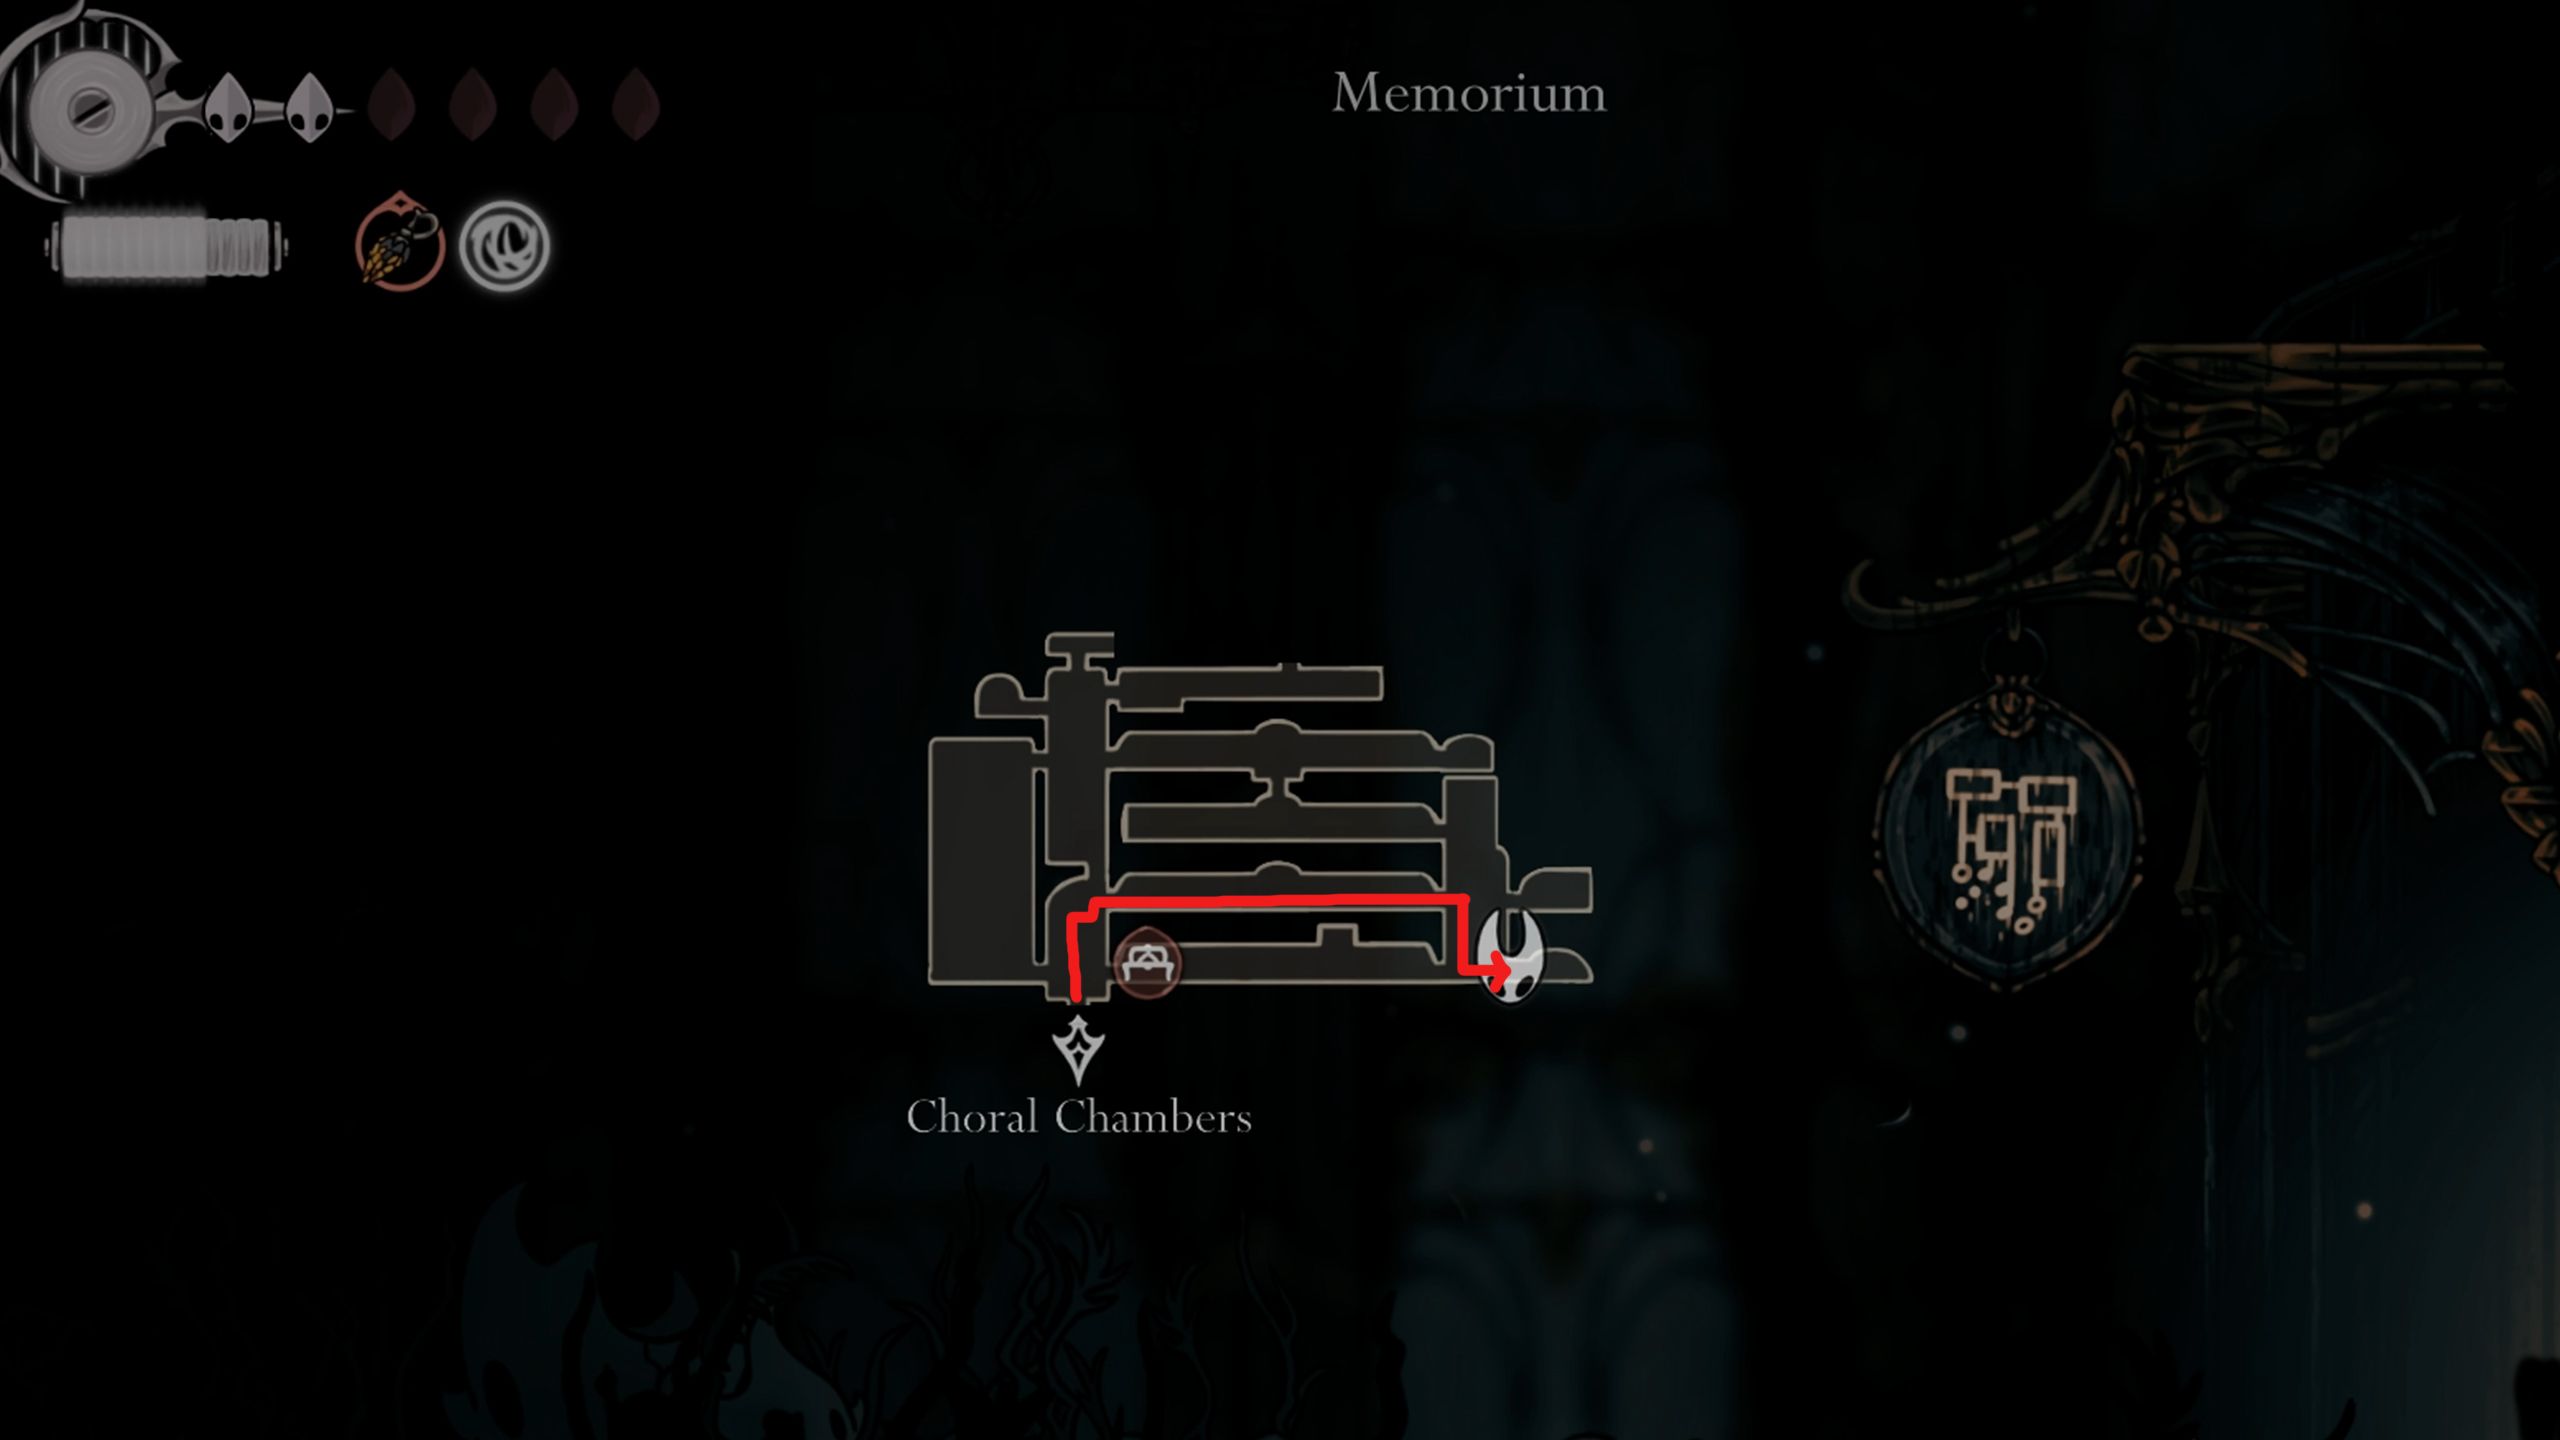
To locate the Putrified Ducts map, head south from the bench spot in Silksong. However, it’s essential to retrace your steps to the Memorium first, as that’s where you can access the hidden part of this area. Some players might have already discovered the Putrified Ducts while exploring Bilewater, but only the upper portion is accessible from the Memorium. To ensure you don’t miss anything, it’s best to obtain the map for a complete exploration of the region.
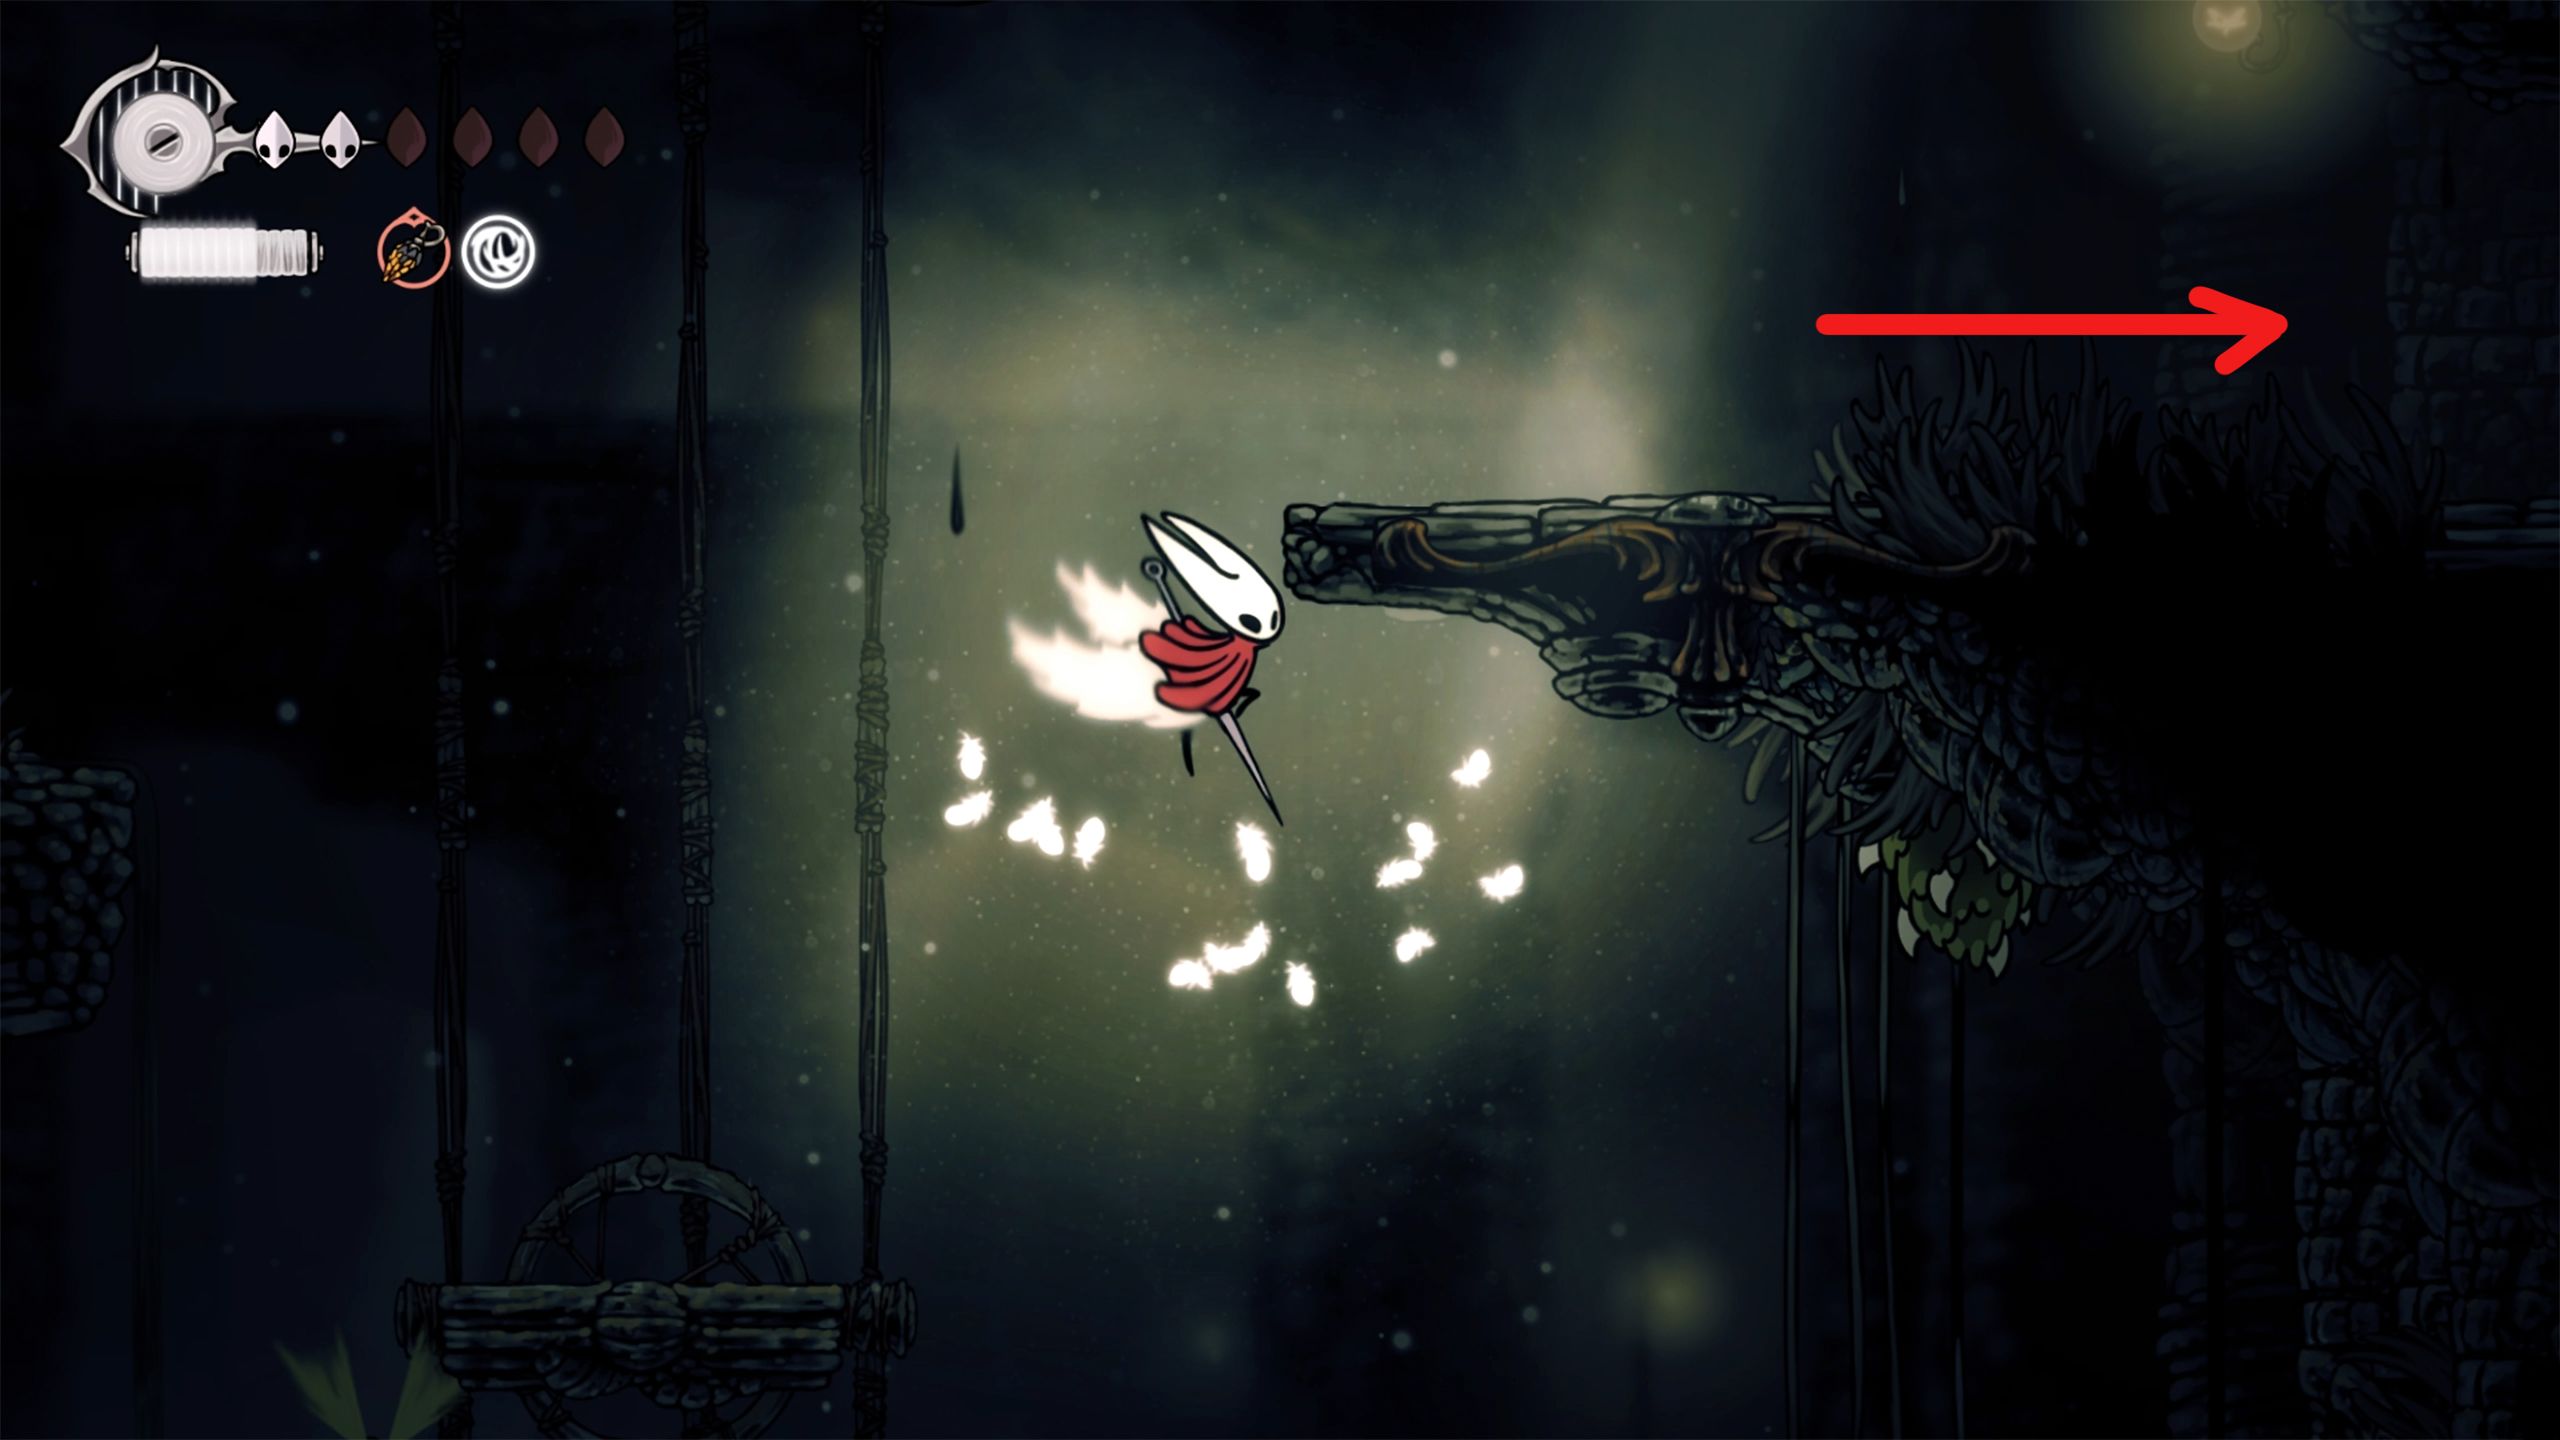
Begin at the Memorium’s main entrance and head towards the initial door on your right. Move straight ahead, navigating through the adversaries as you go, and then lower yourself close to the door bearing a sign. Access it and propel yourself twice vertically into a hidden pathway to reach a grand bridge.
This version tries to maintain the original’s clarity while making the instructions easier to read and understand for casual readers, using natural language and avoiding jargon when possible.

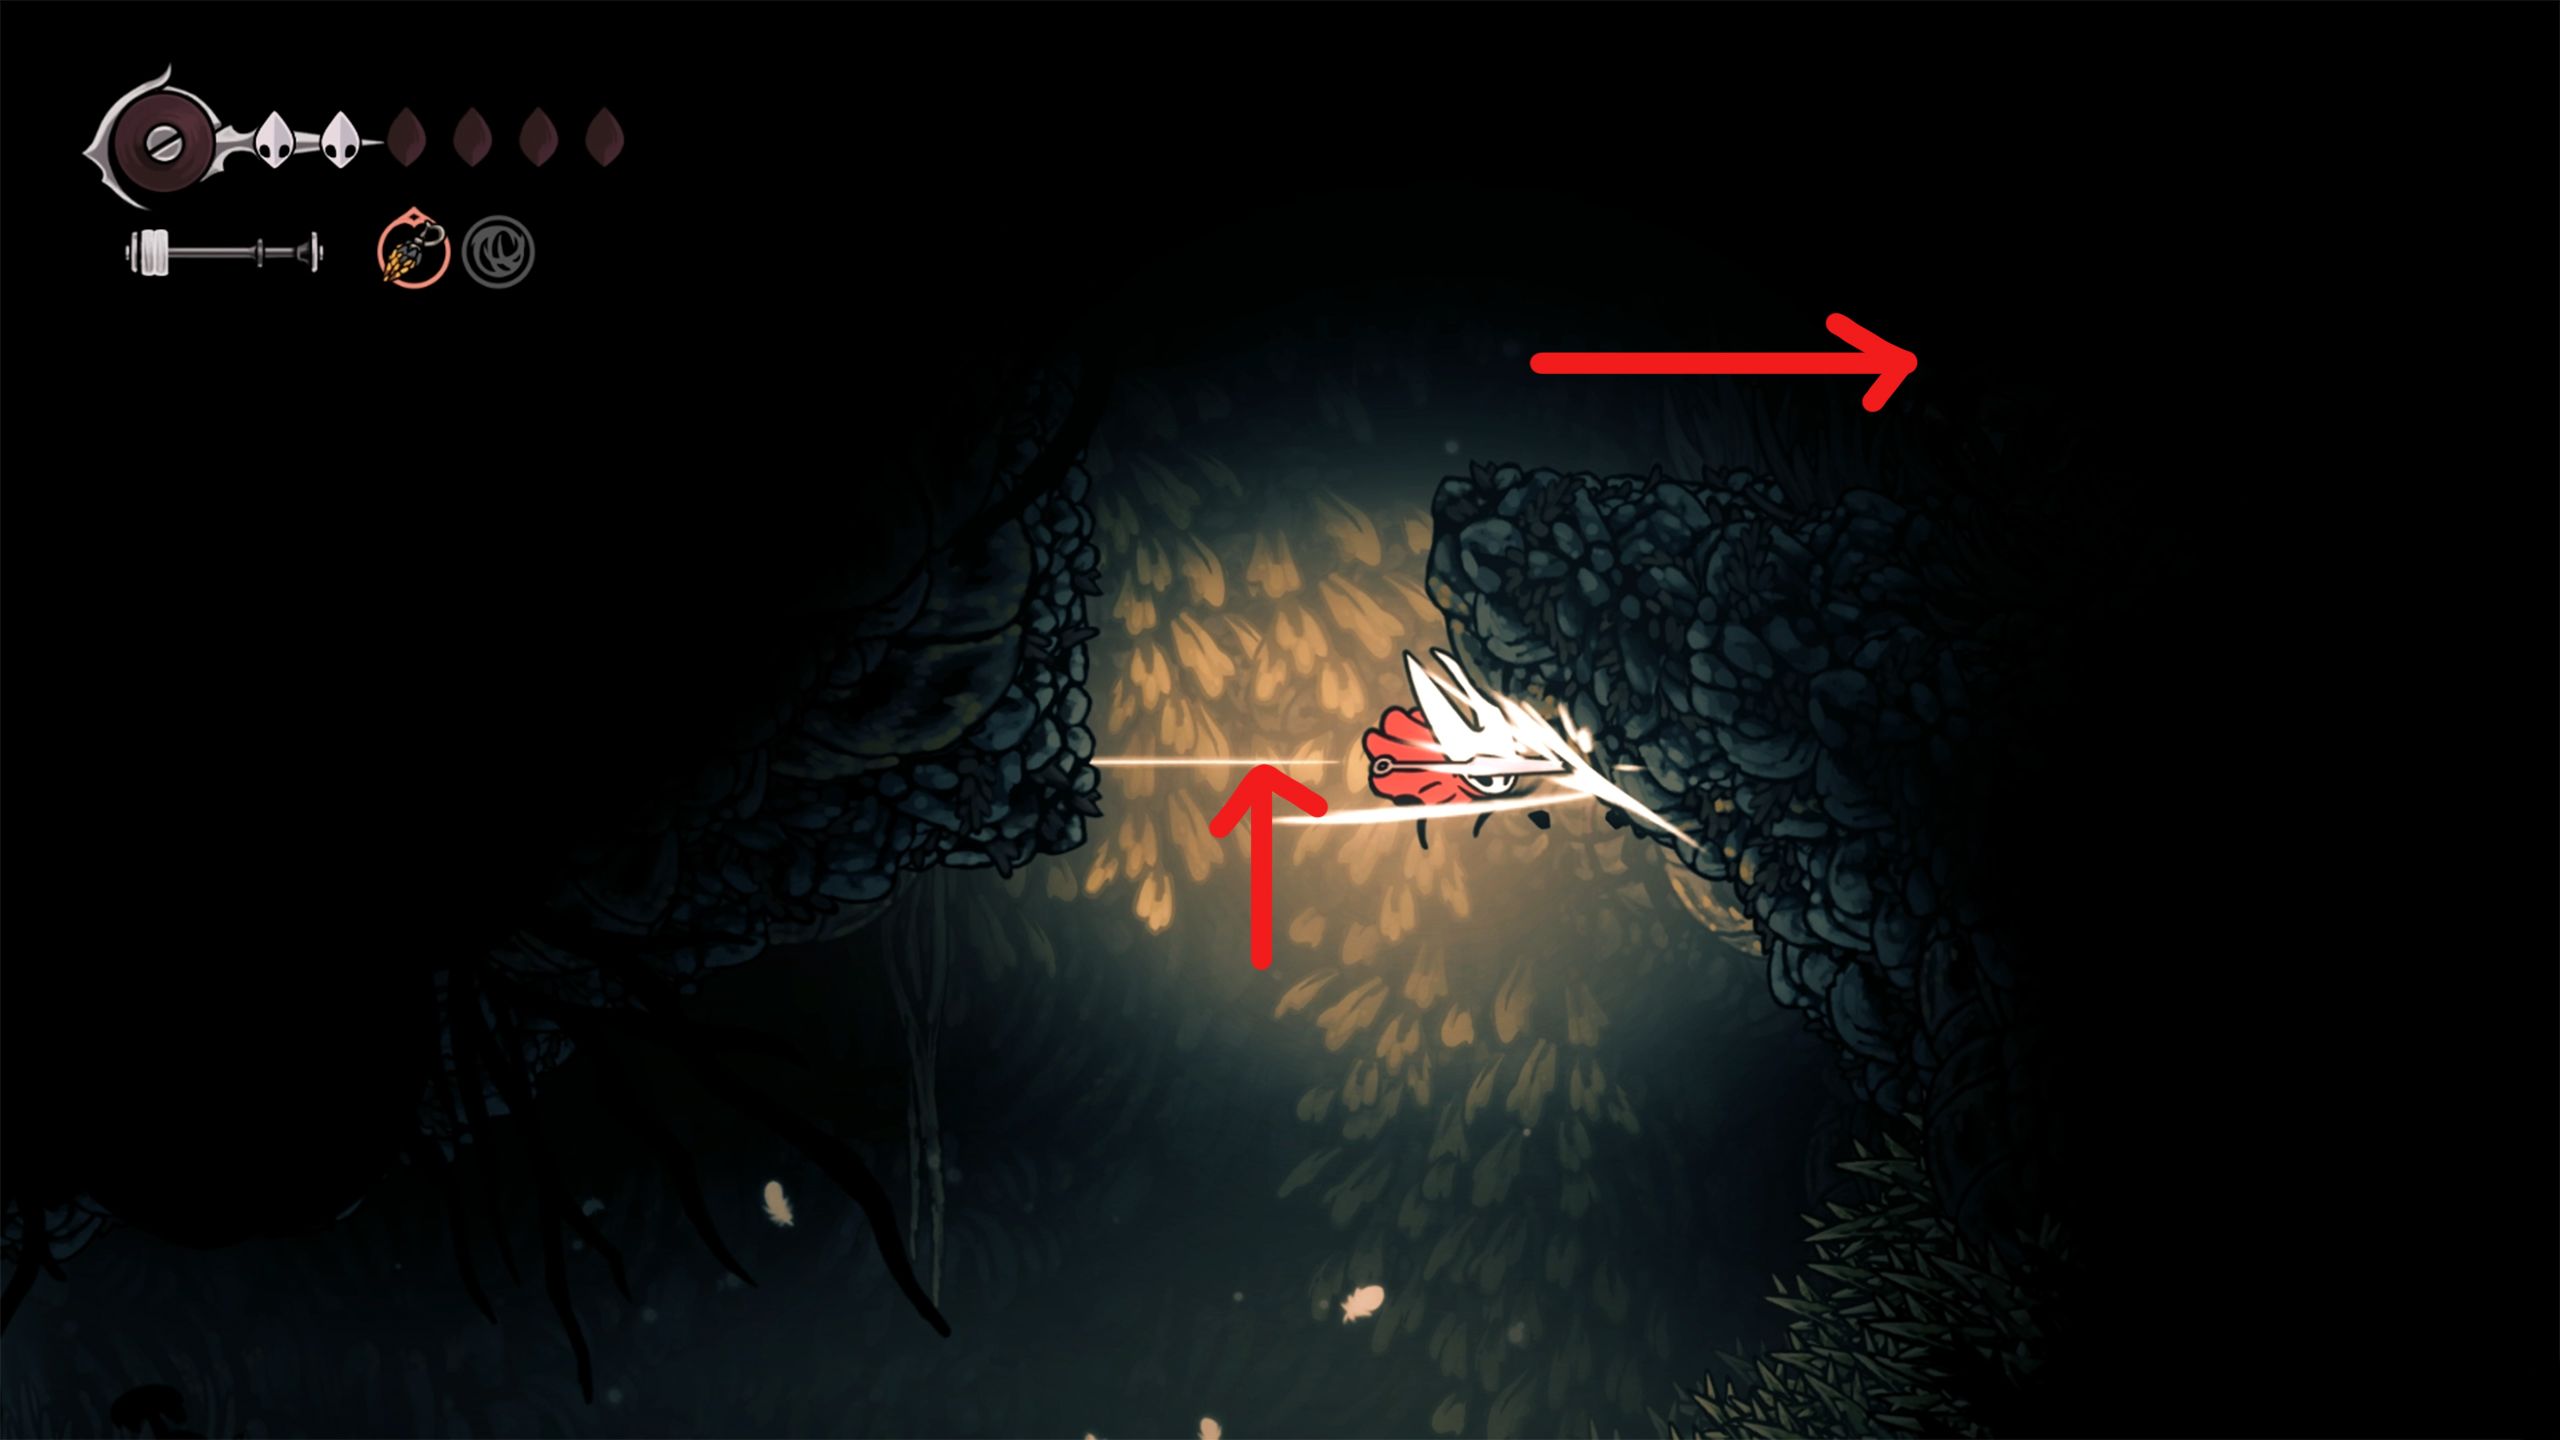
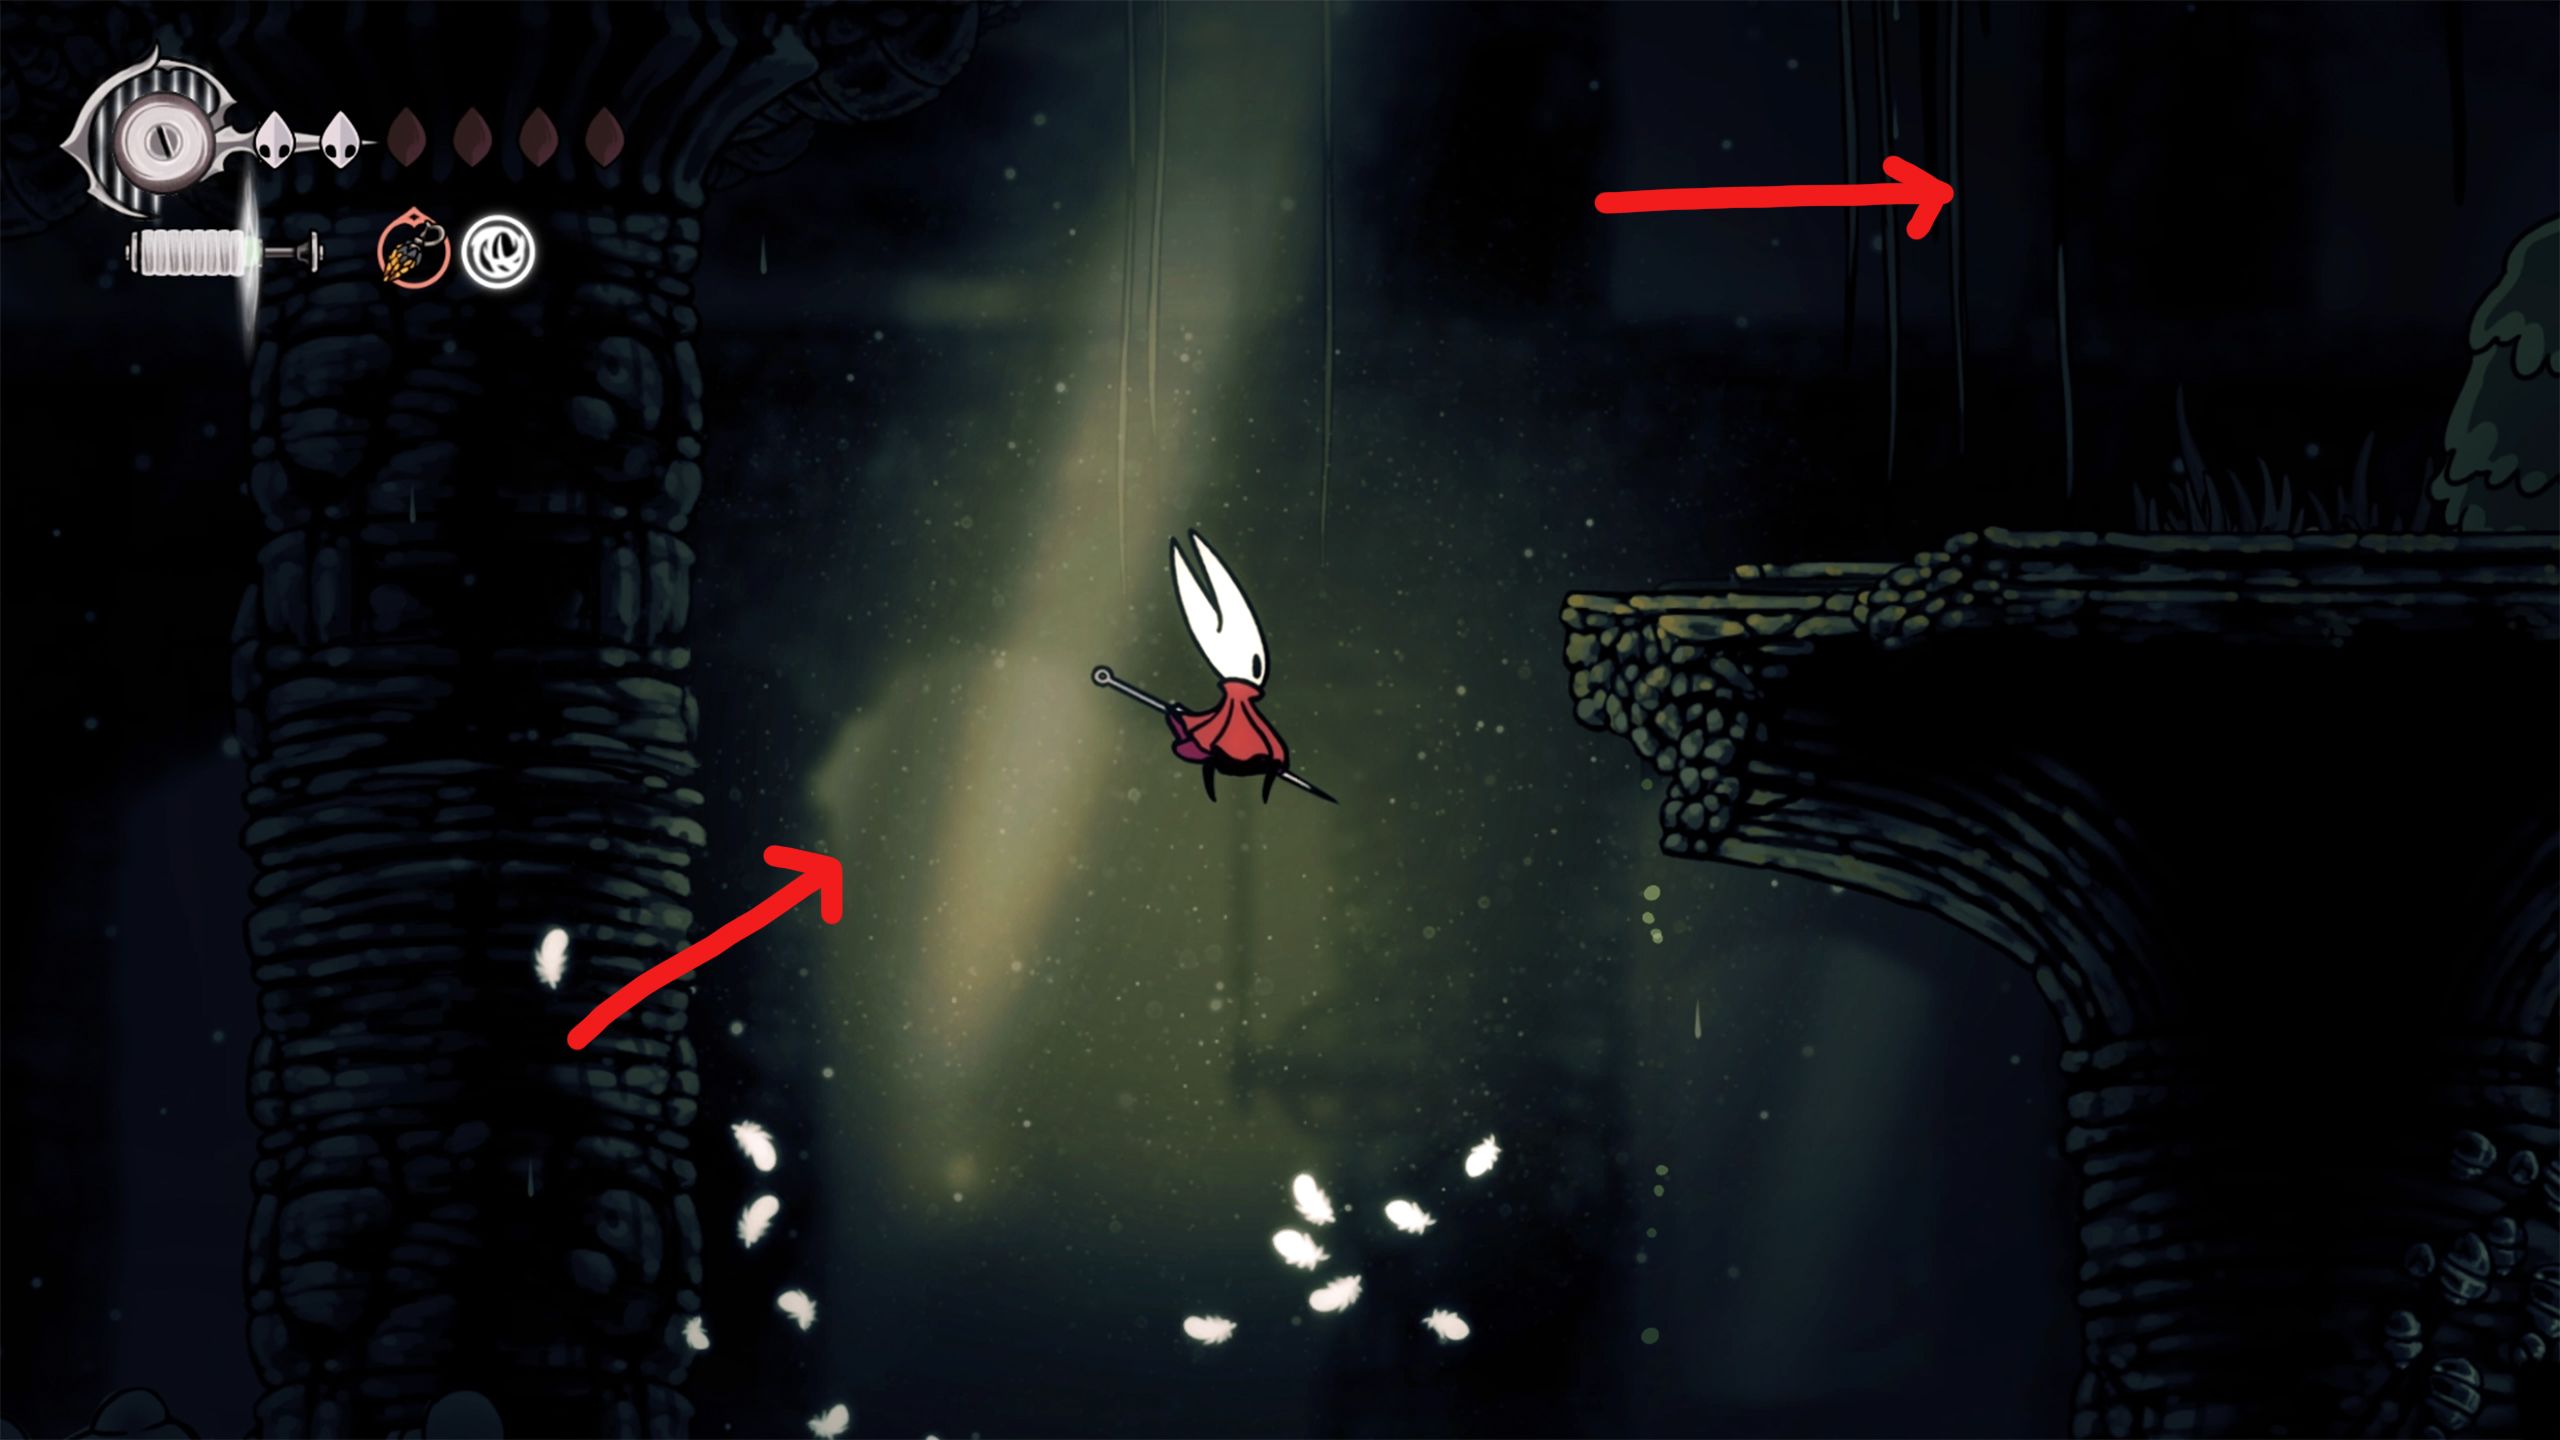
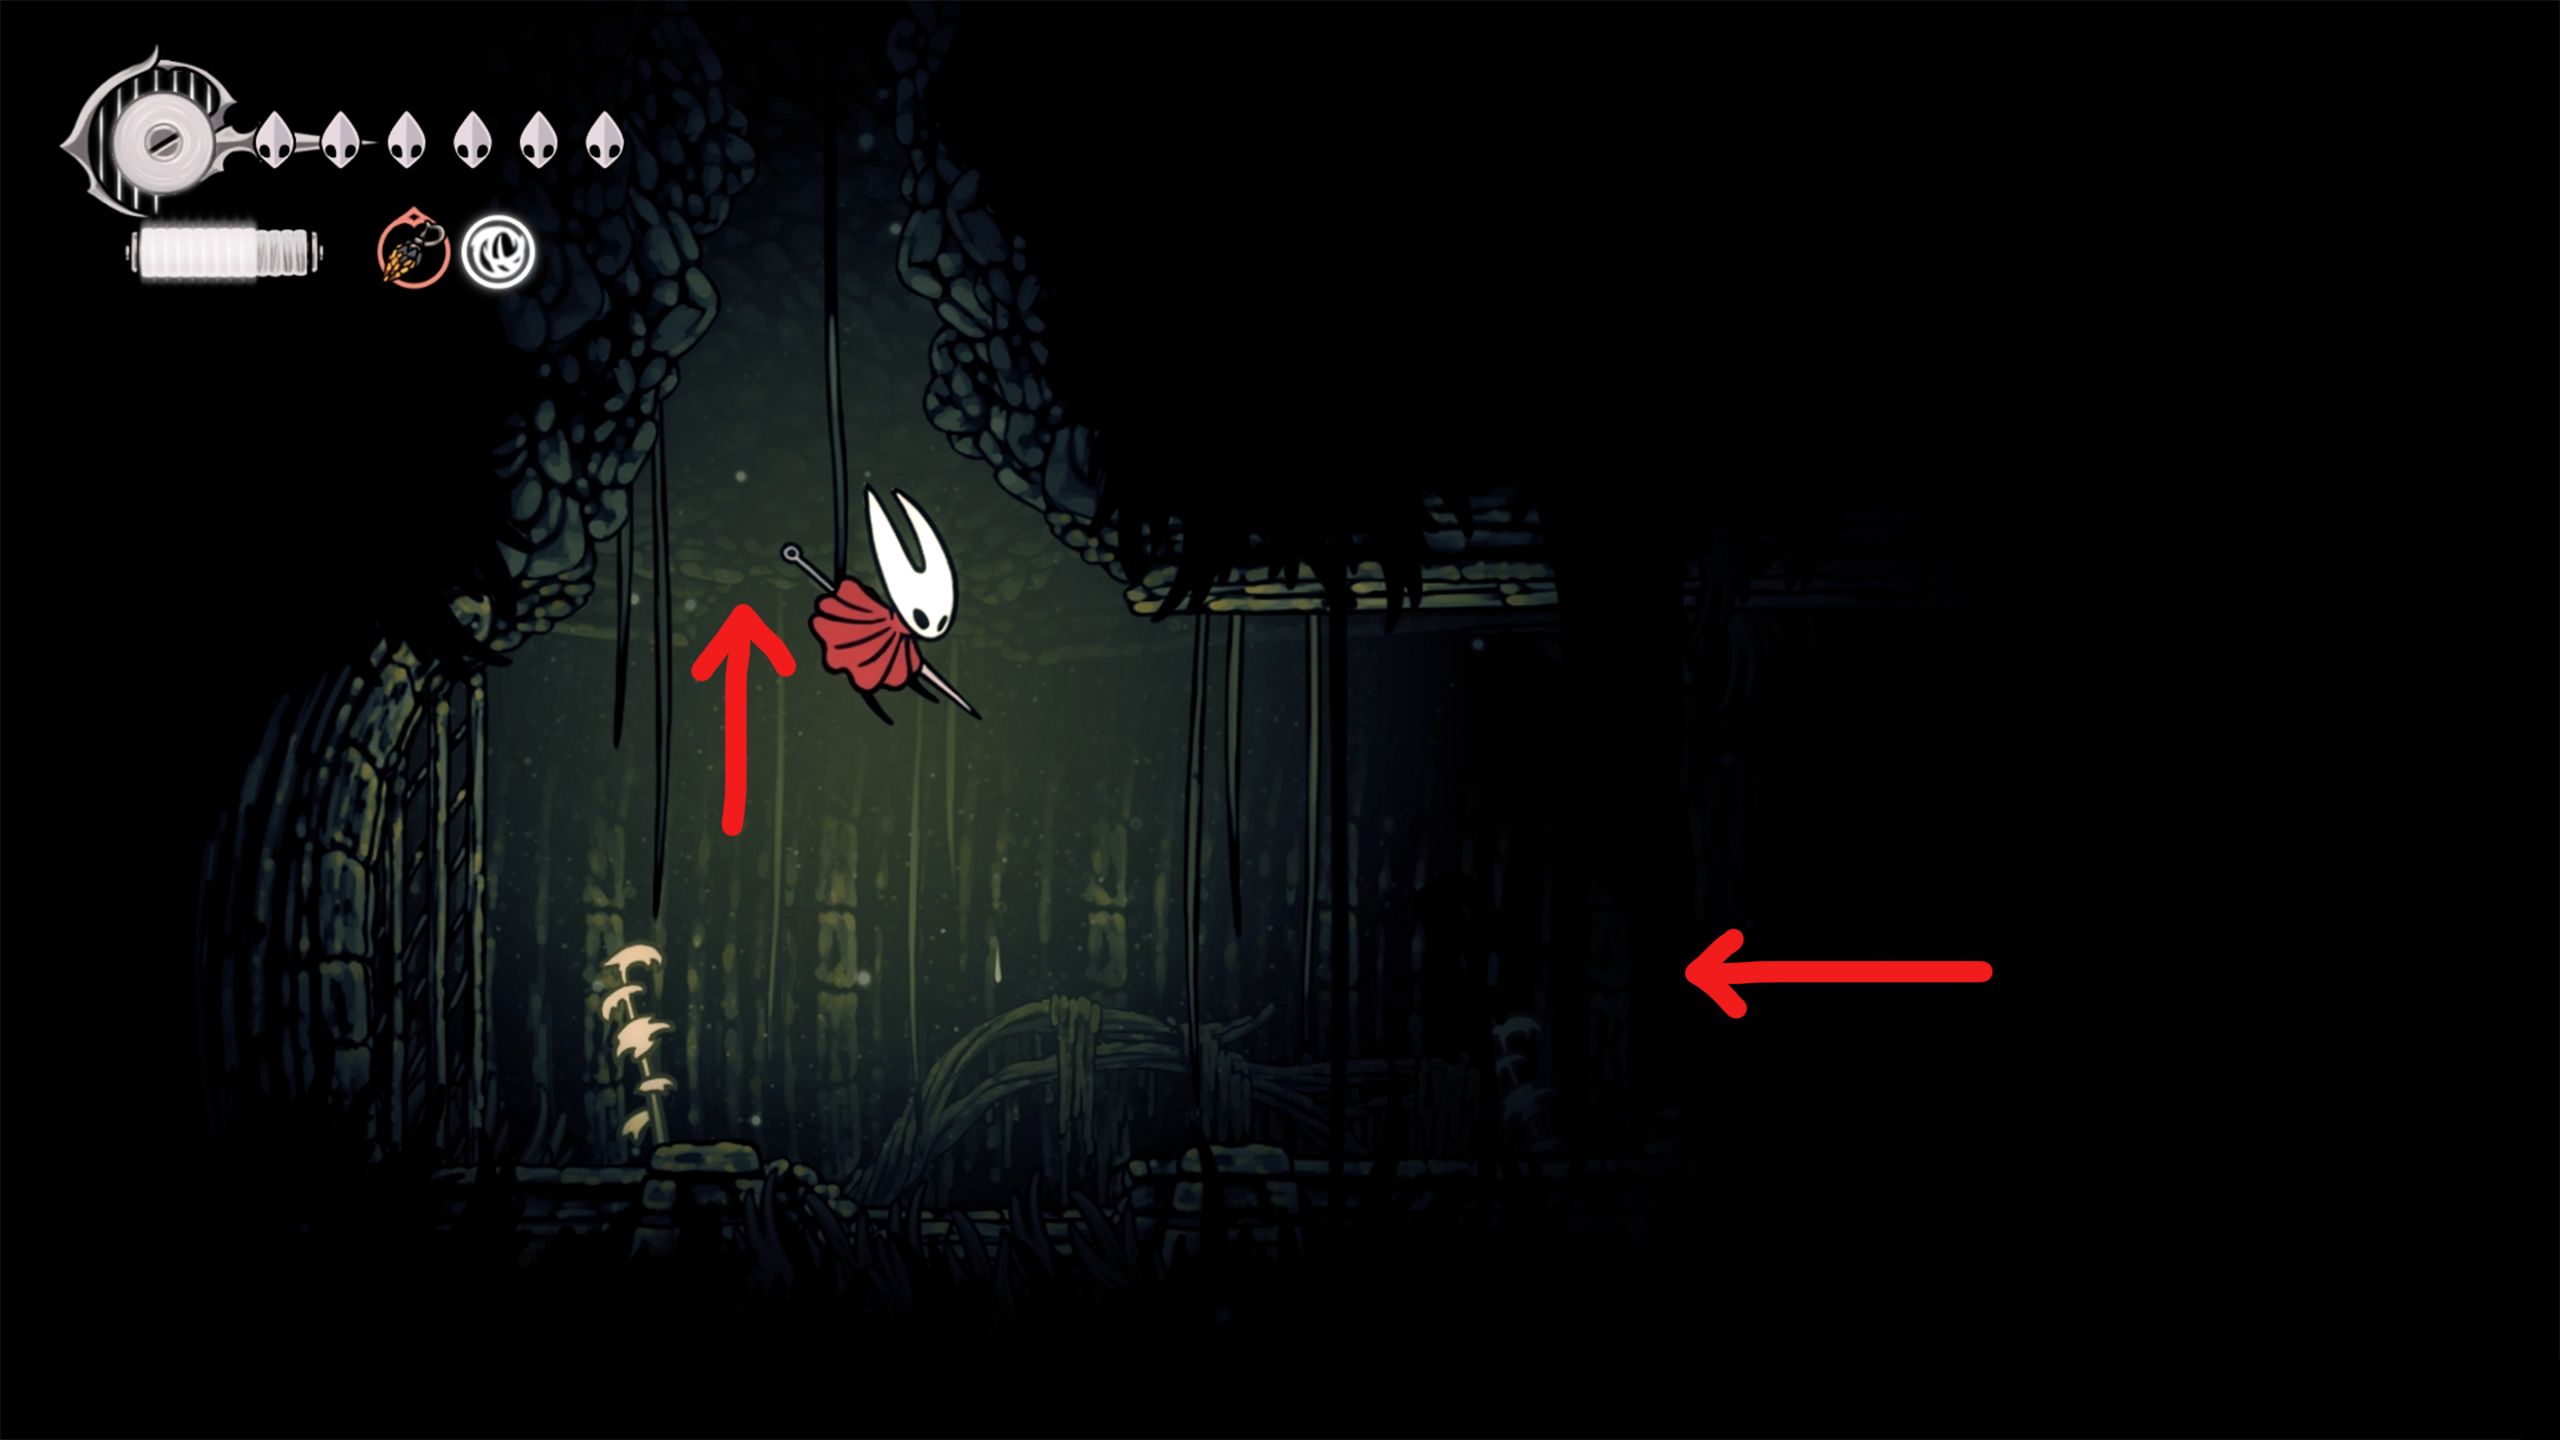
Utilize the Clawline on the left side, perform a double jump, then move to the Clawline on the right, and scale the wall to locate a breakable section. Break it open, be careful to dodge the spikes as you run to the right, and ultimately reach the Putrified Ducts.
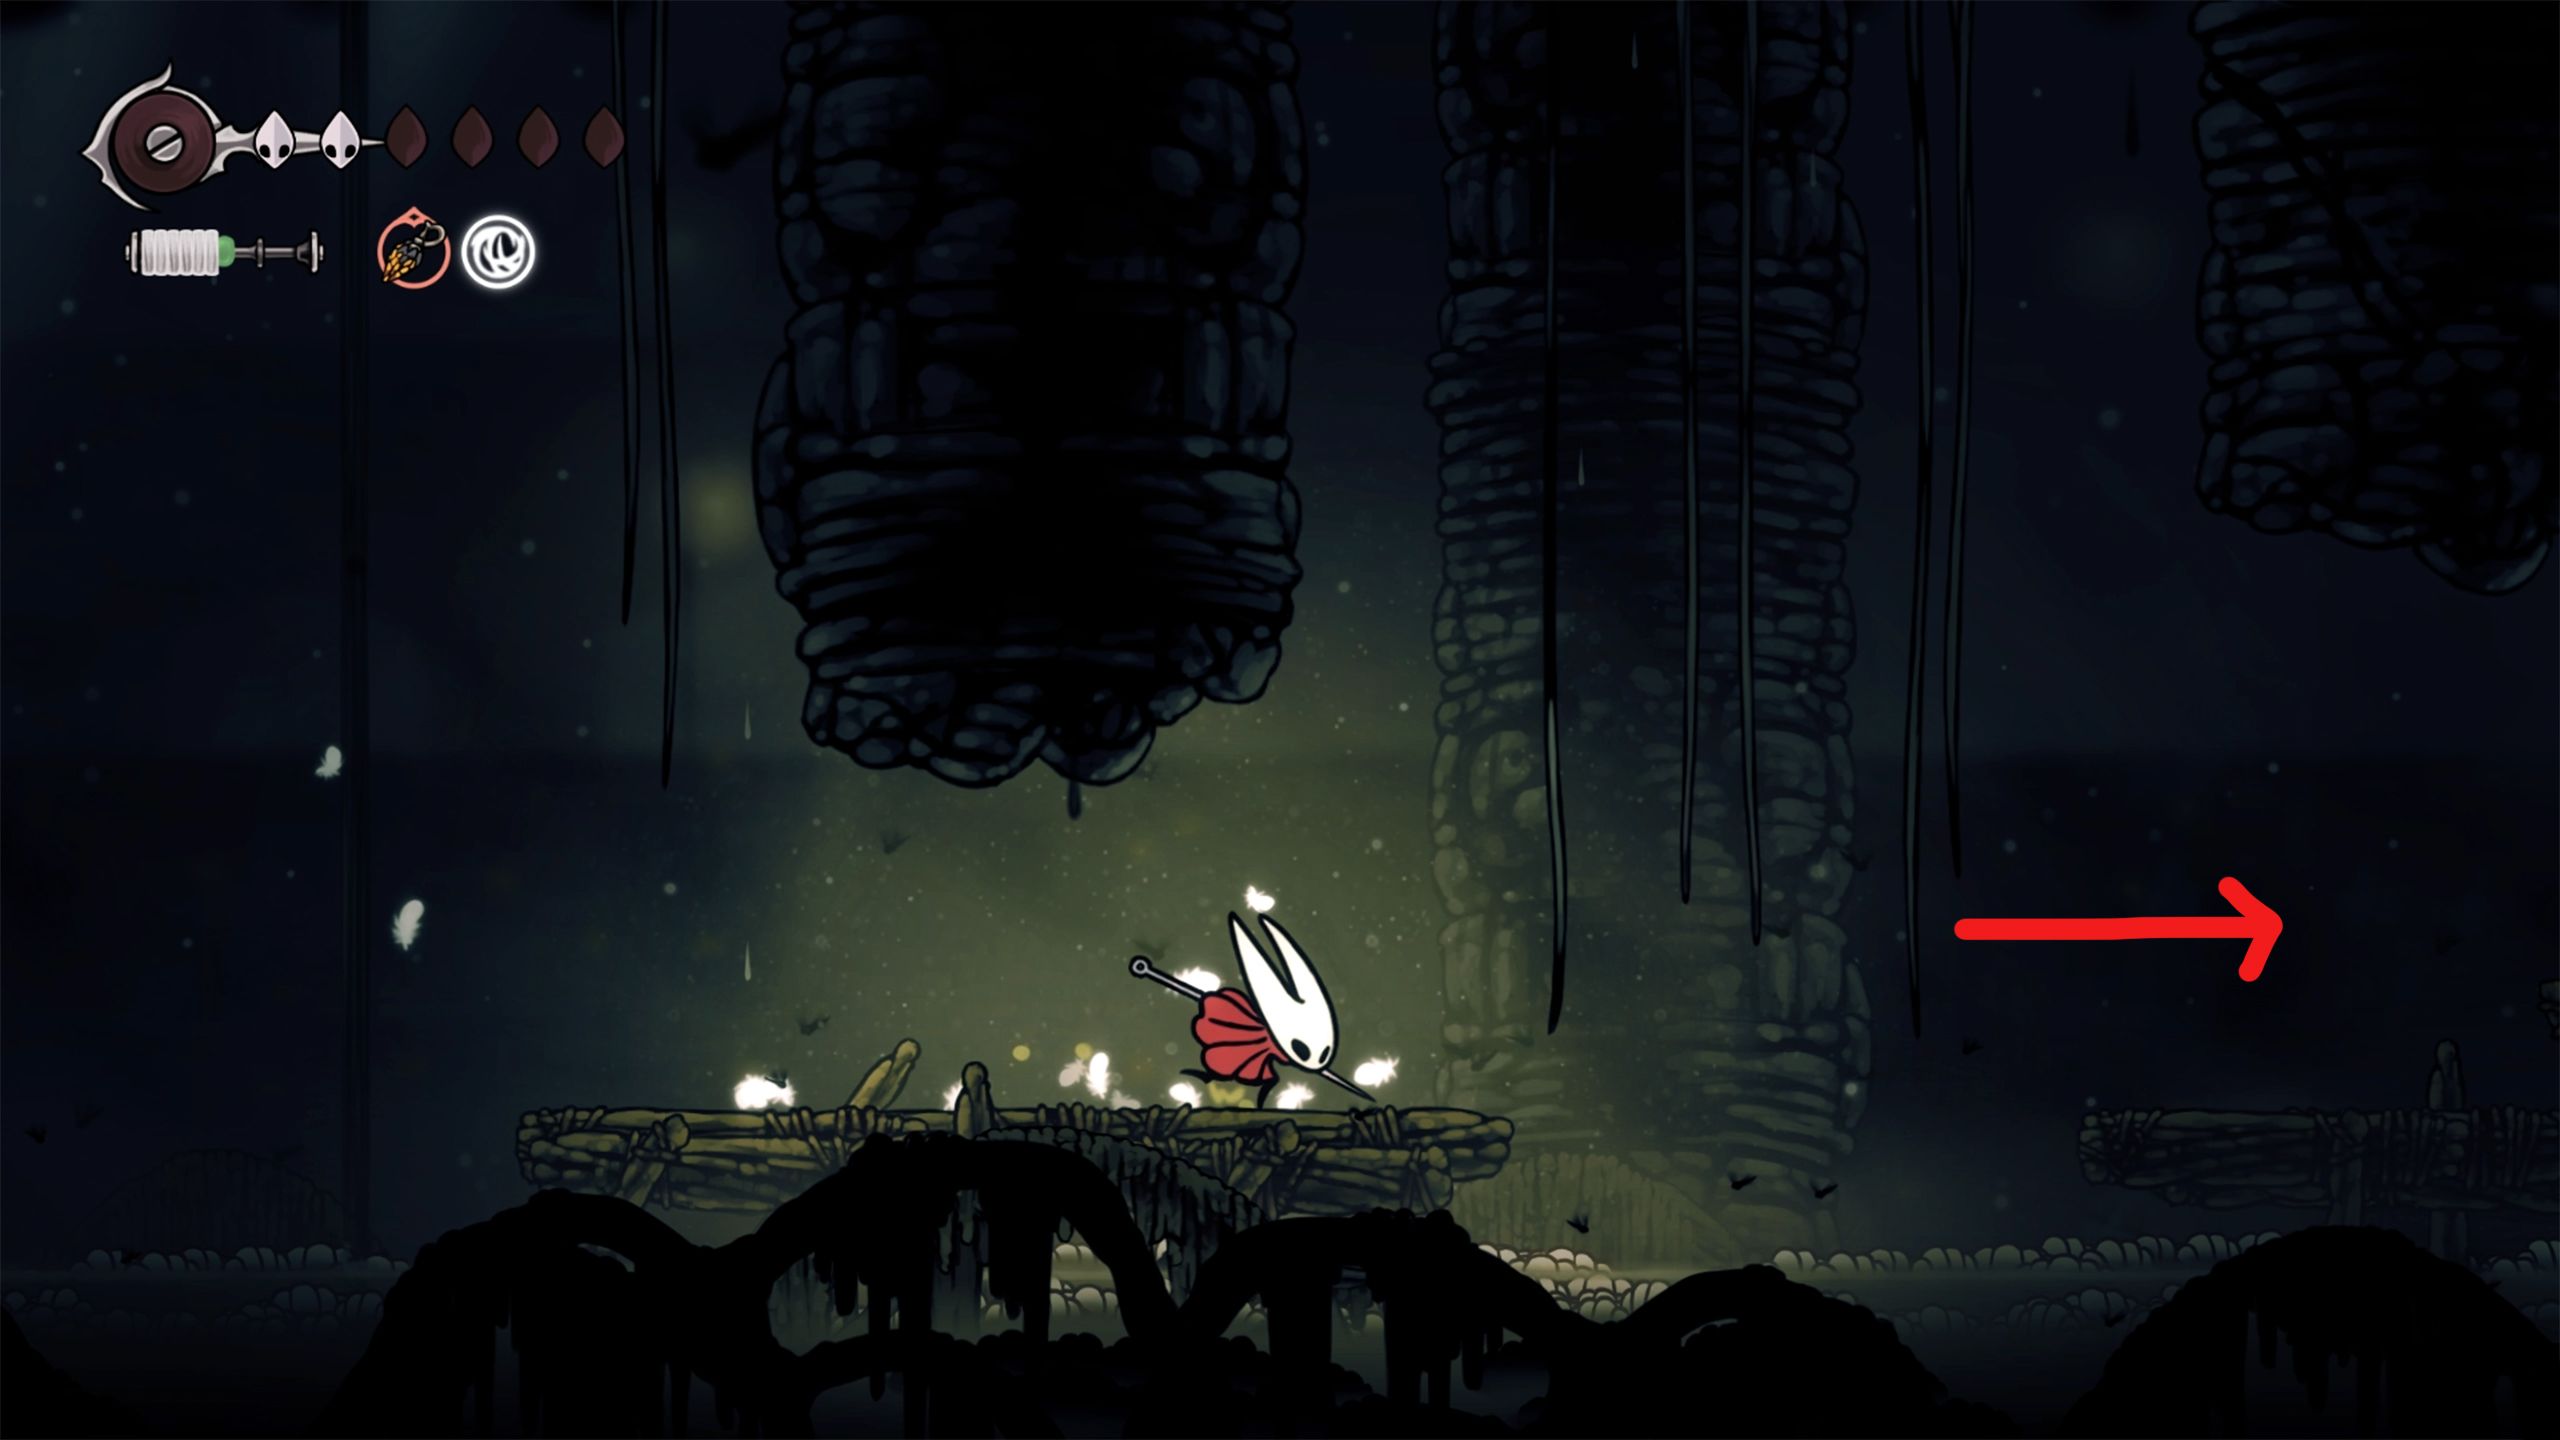
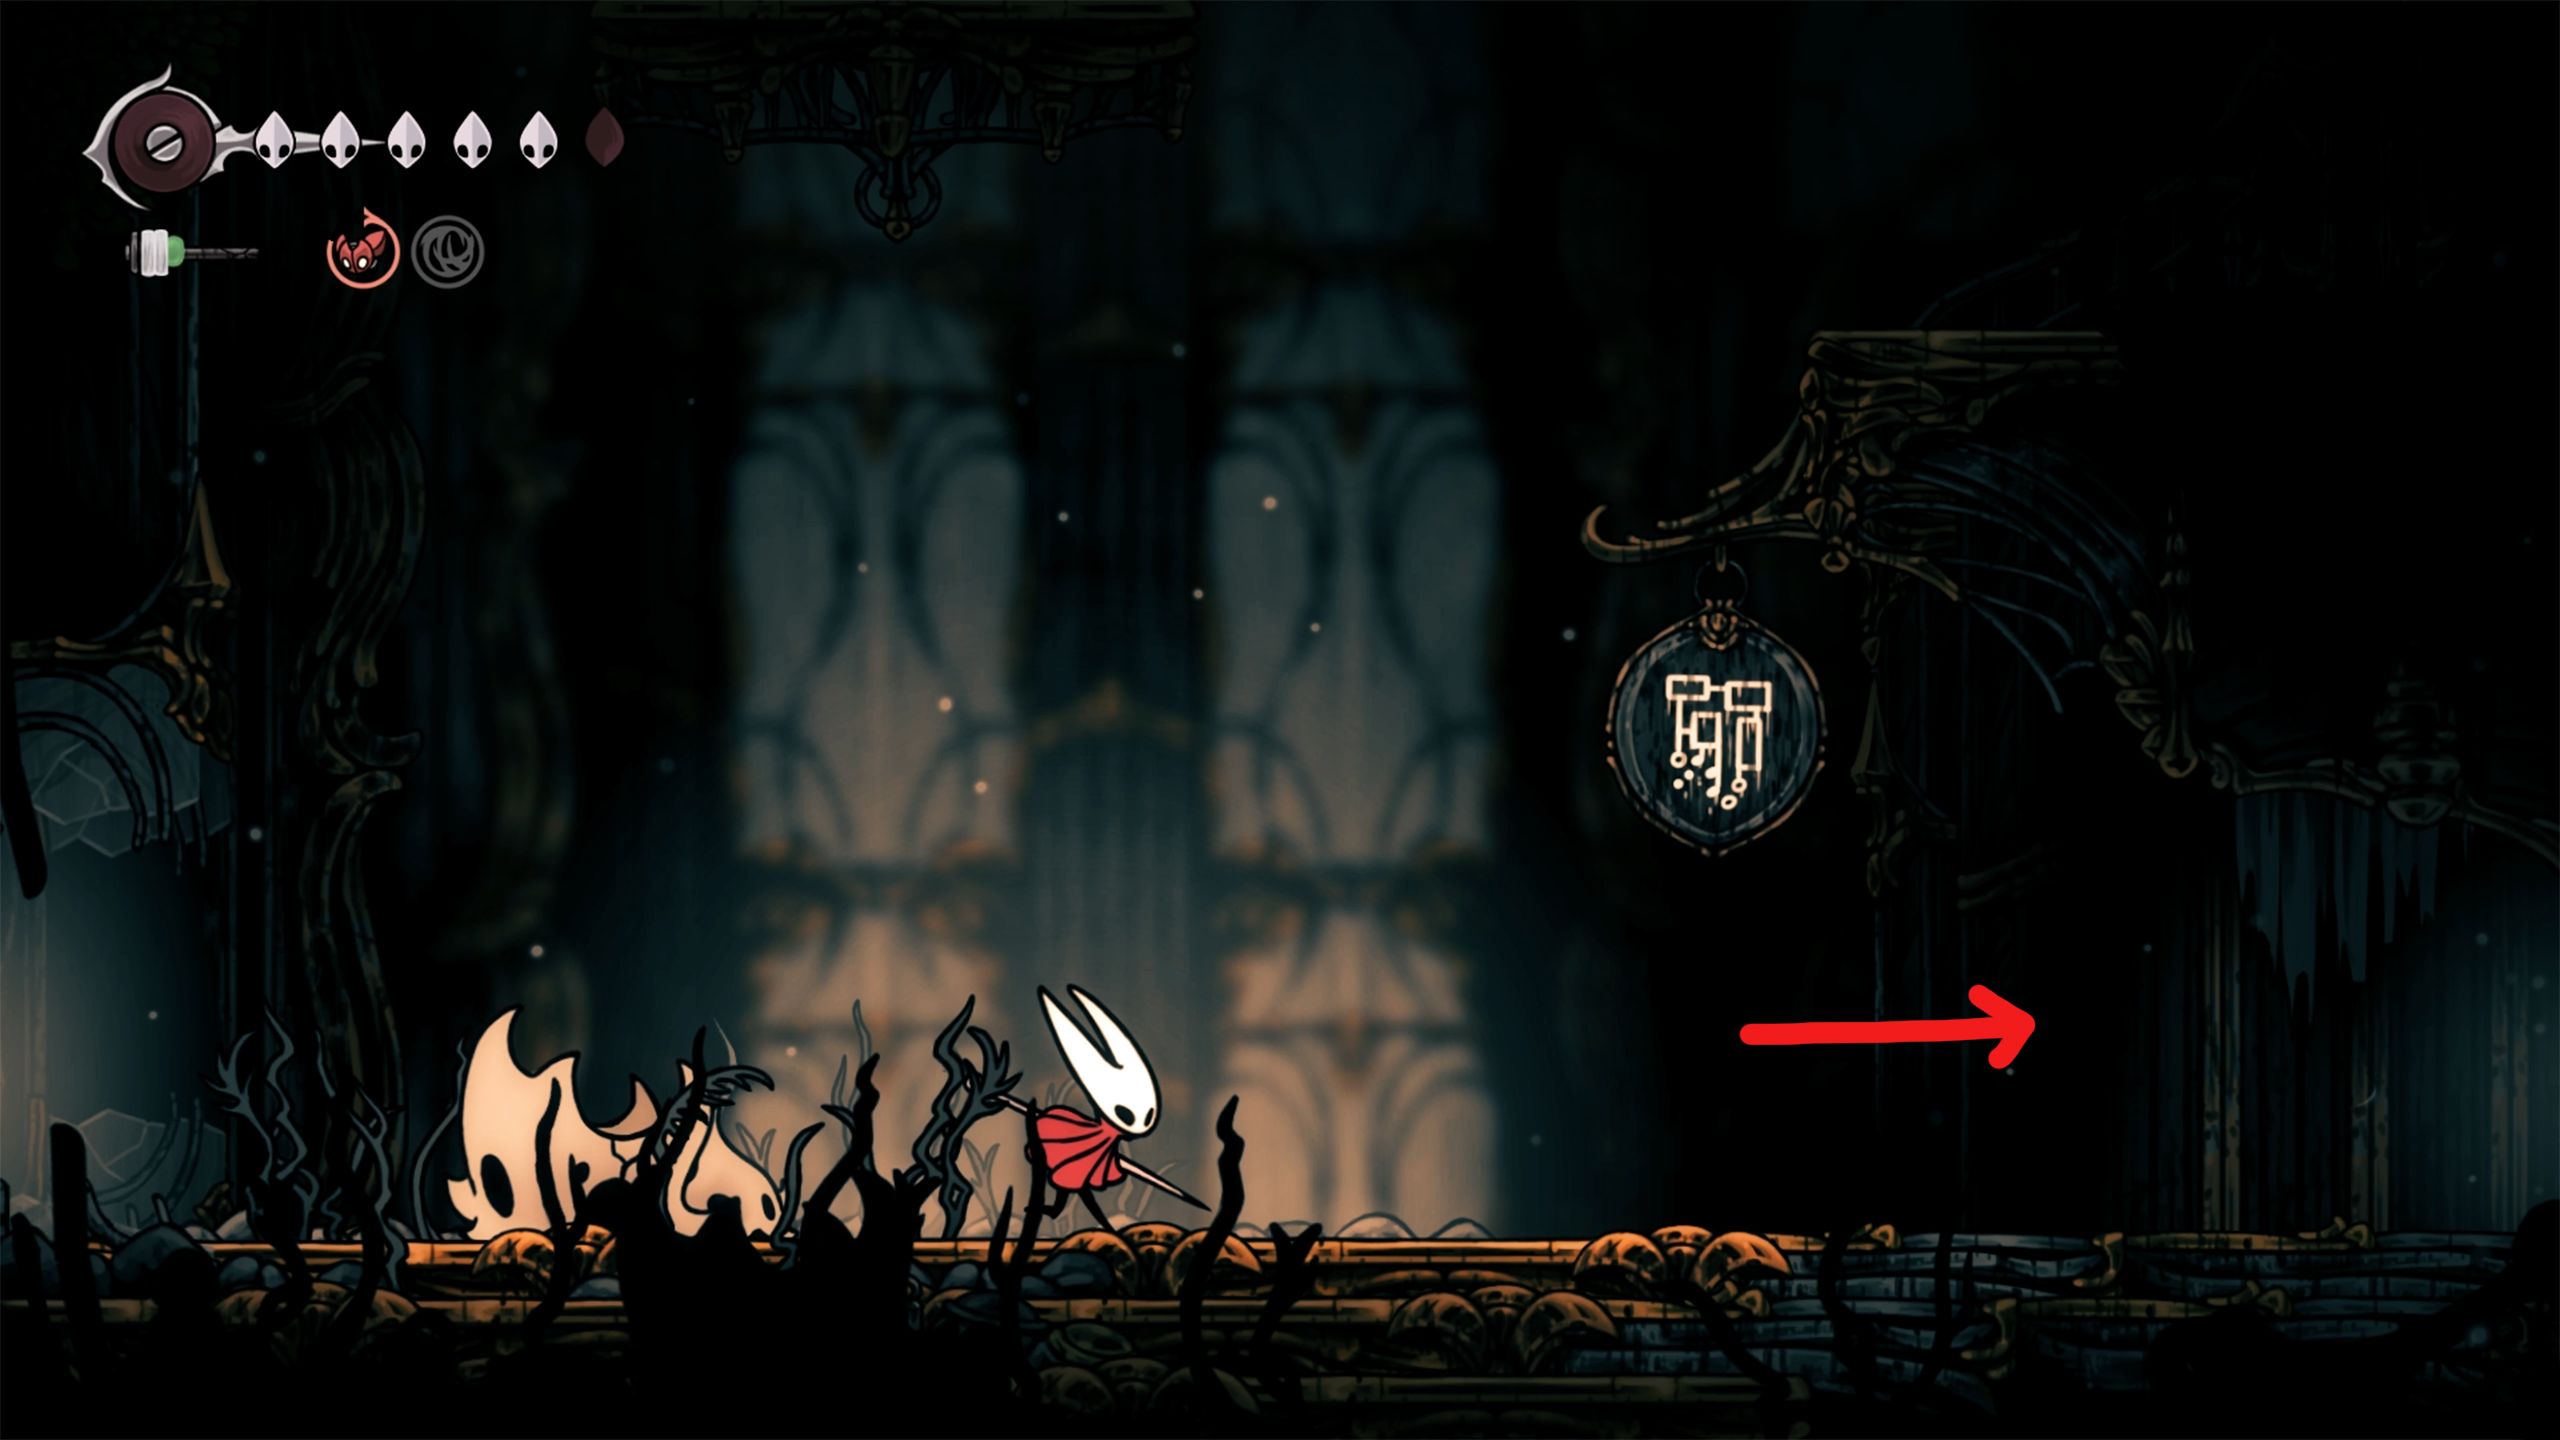
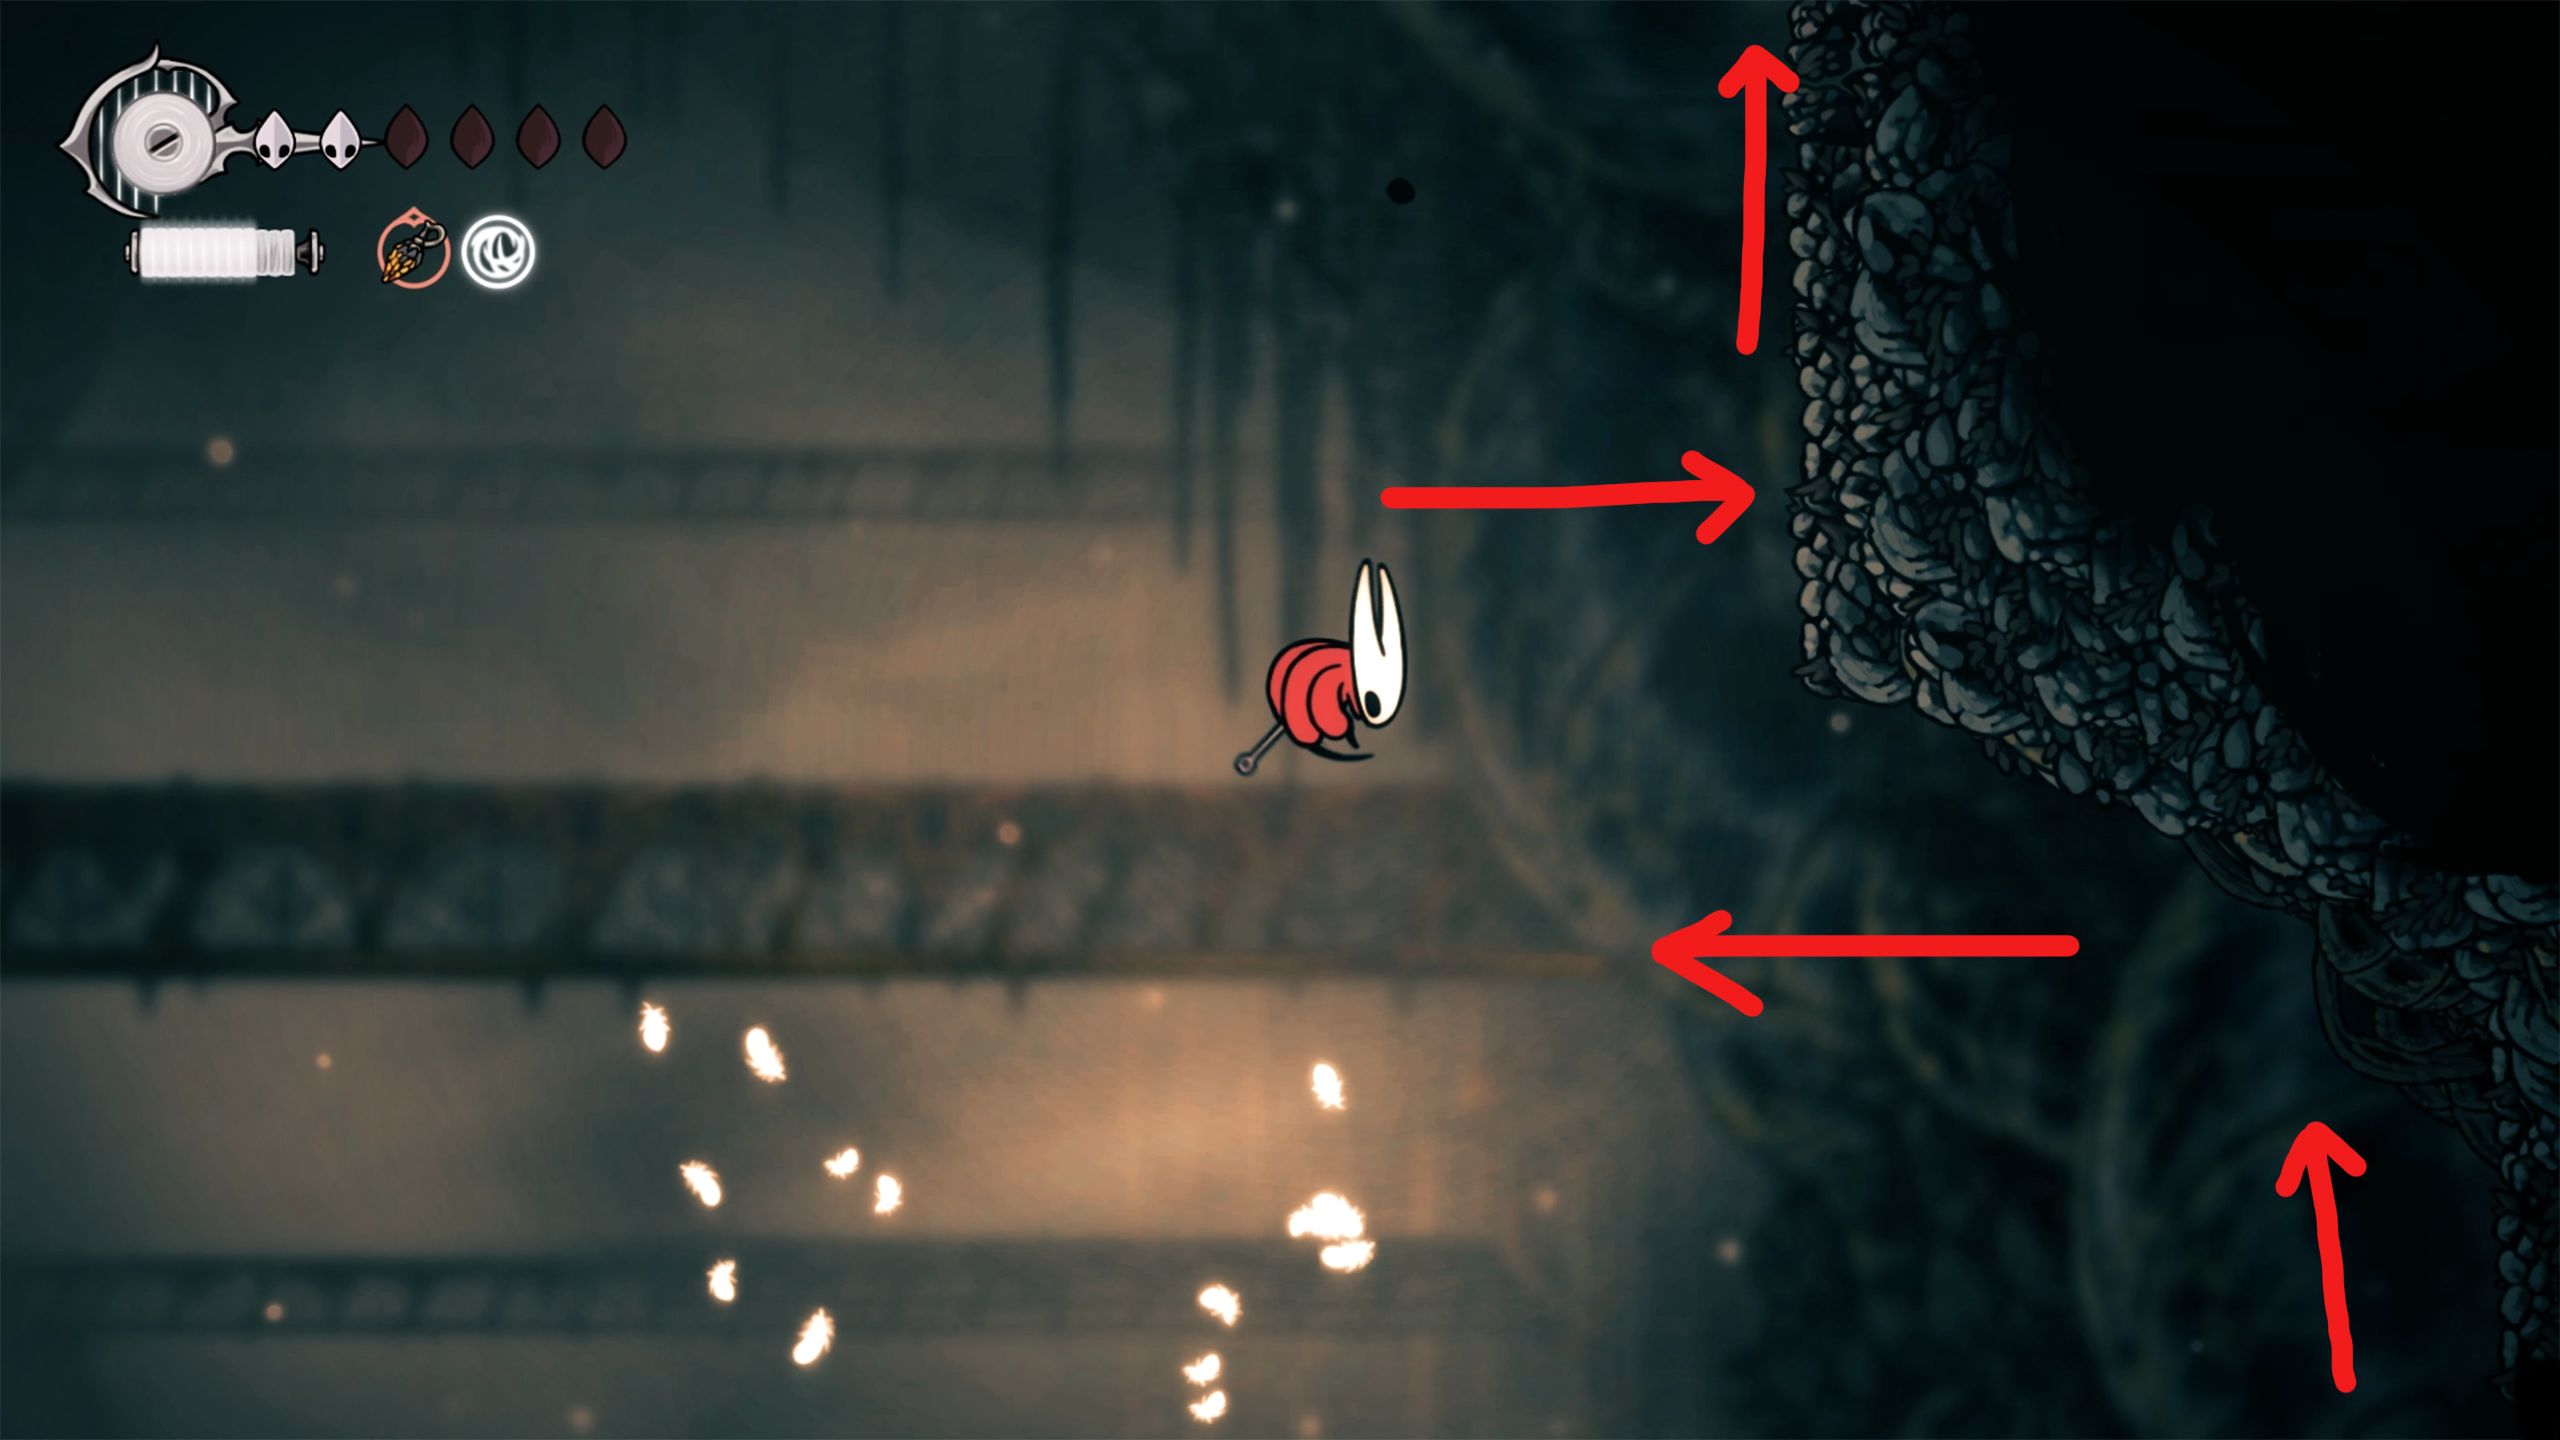
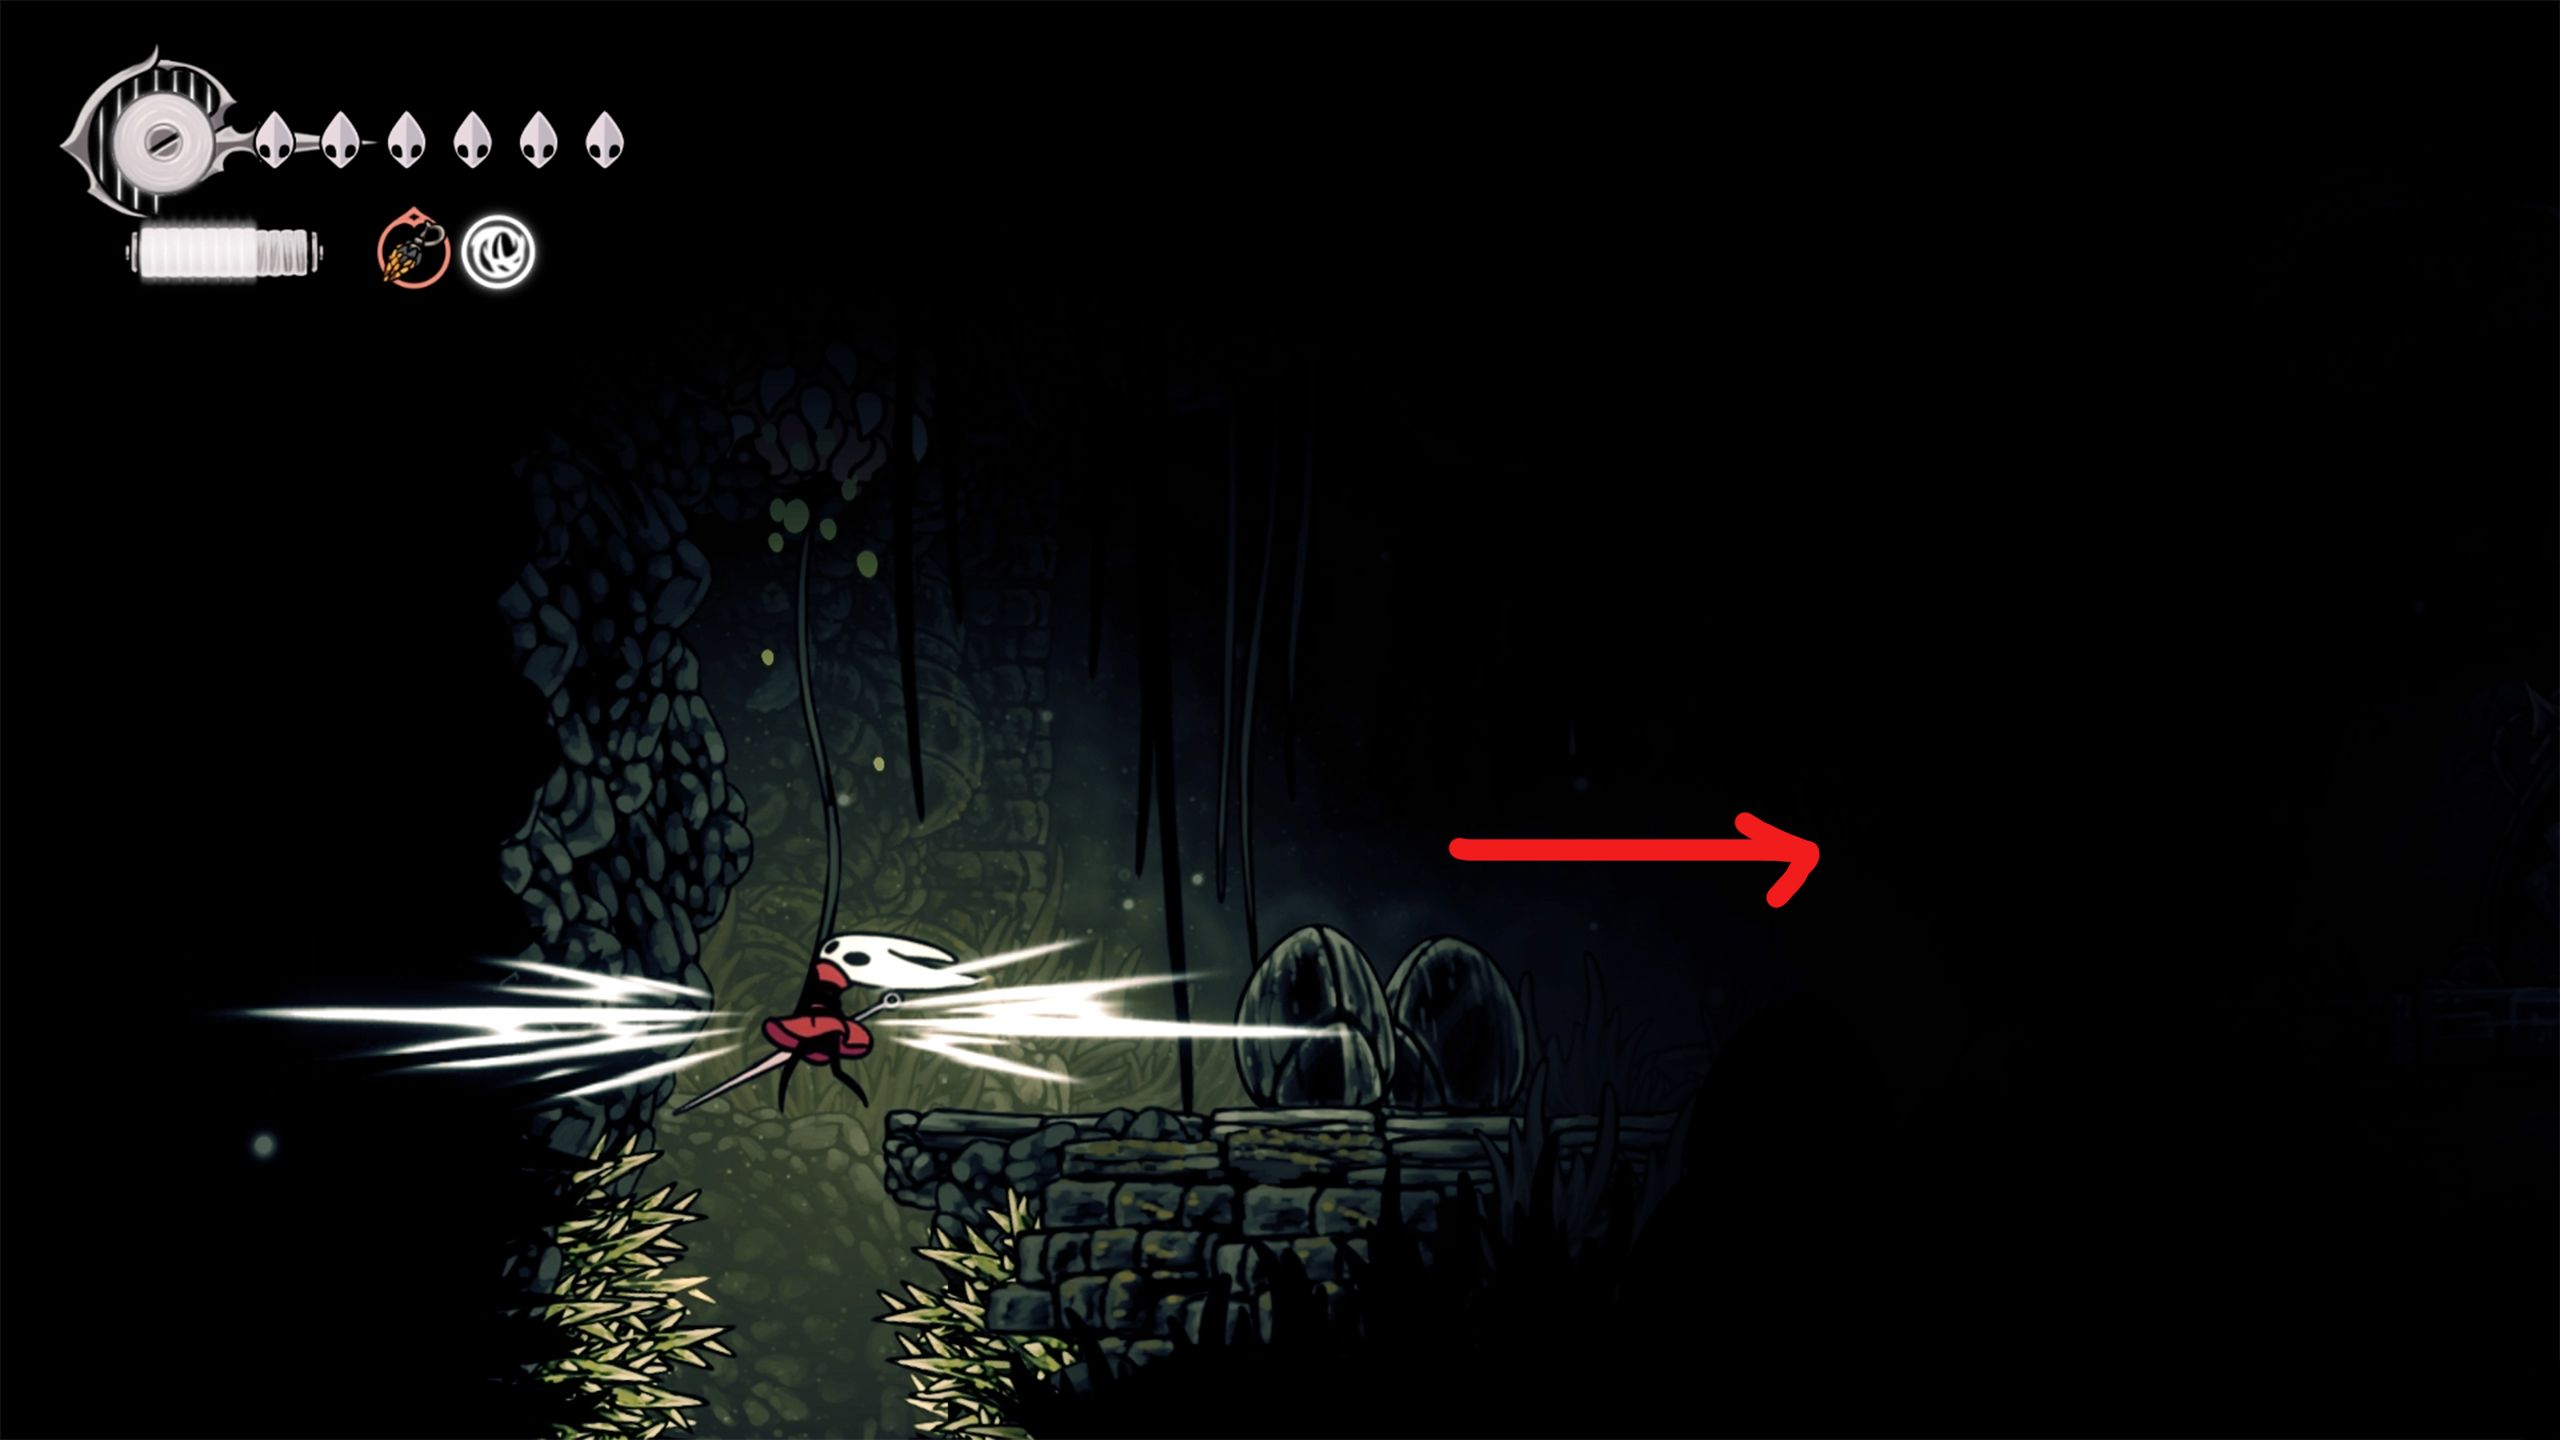
1) Descend carefully from the bridge, watch out for a swamp teeming with worms below. Move steadily along the platforms to your right, aiming to reach a higher platform when possible. Continue in this direction as you dodge or defeat adversaries, ultimately leading you to a door.
Hornet has two options to reach the door at the end: taking the lower path or the higher one. The upper route is usually safer, but the lower one is guarded by a large enemy and either flying pests with long-range attacks or traps that can ensnare players. It’s also situated near the swamp, so any slip-up could lead to Hornet losing valuable silk.
The higher path tends to be safer for Hornet, but the lower path is riskier due to enemies and hazards. Plus, it’s close to a swamp, making mistakes potentially costly.
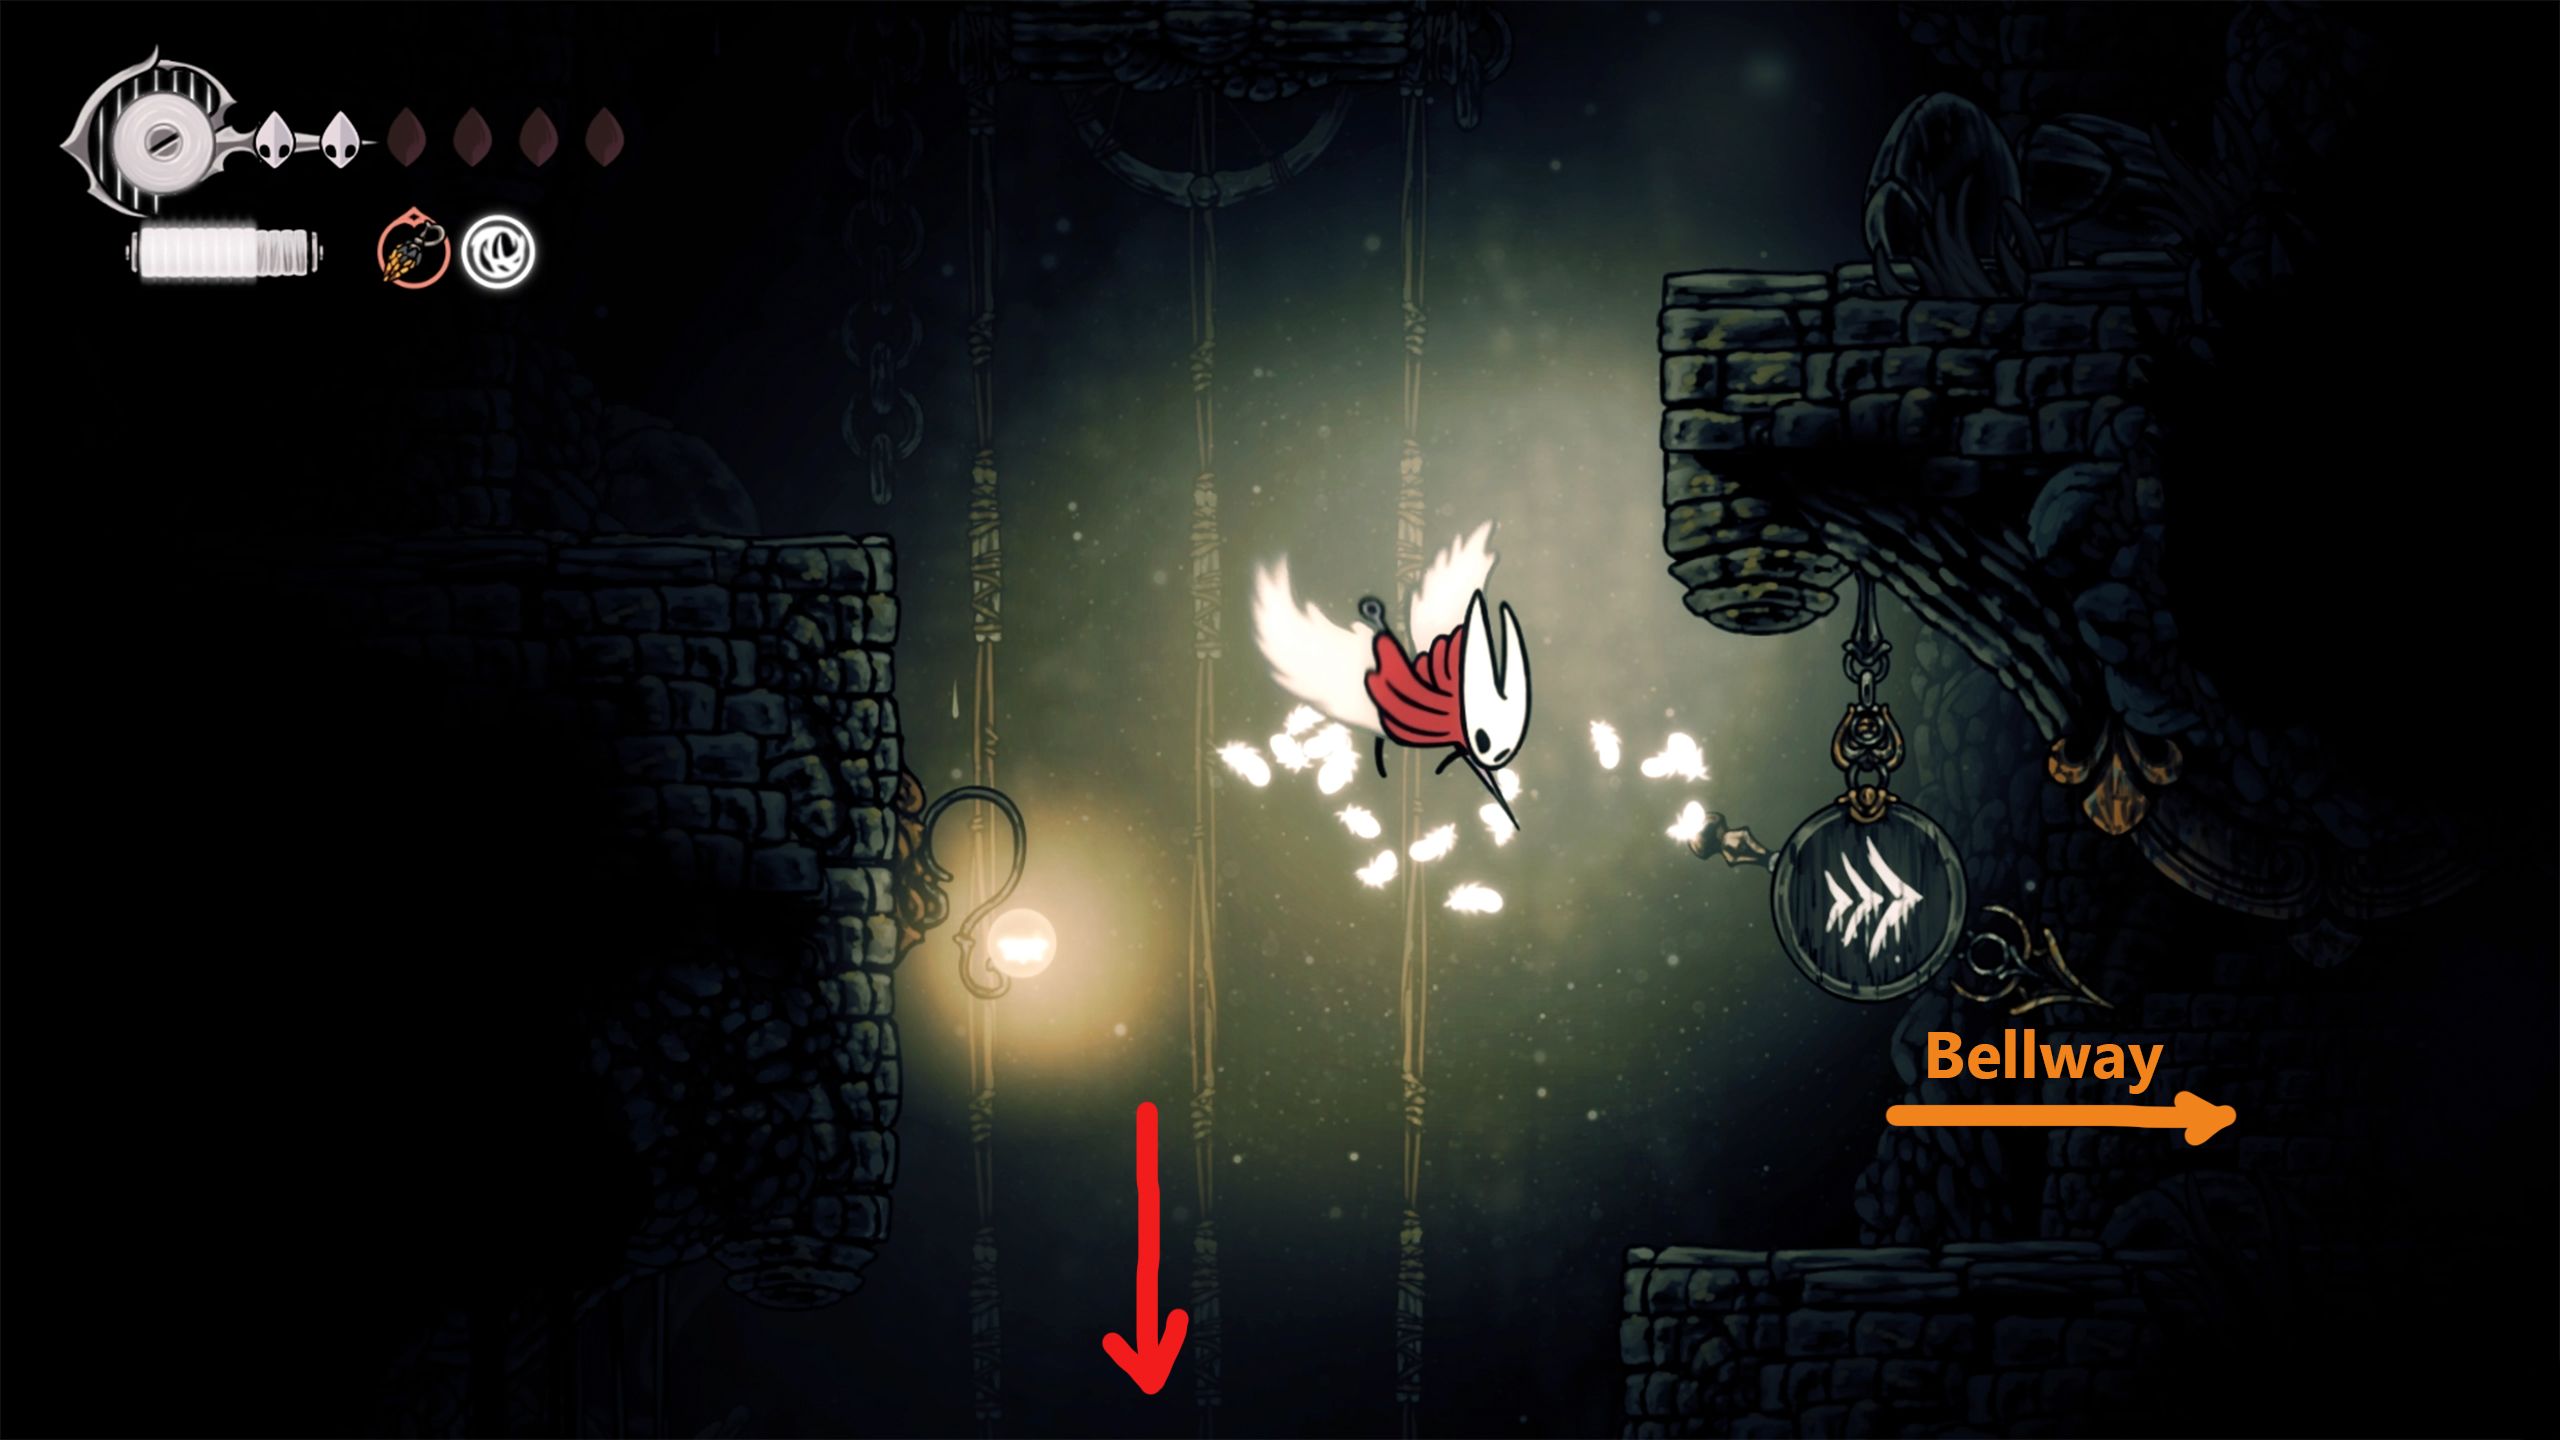
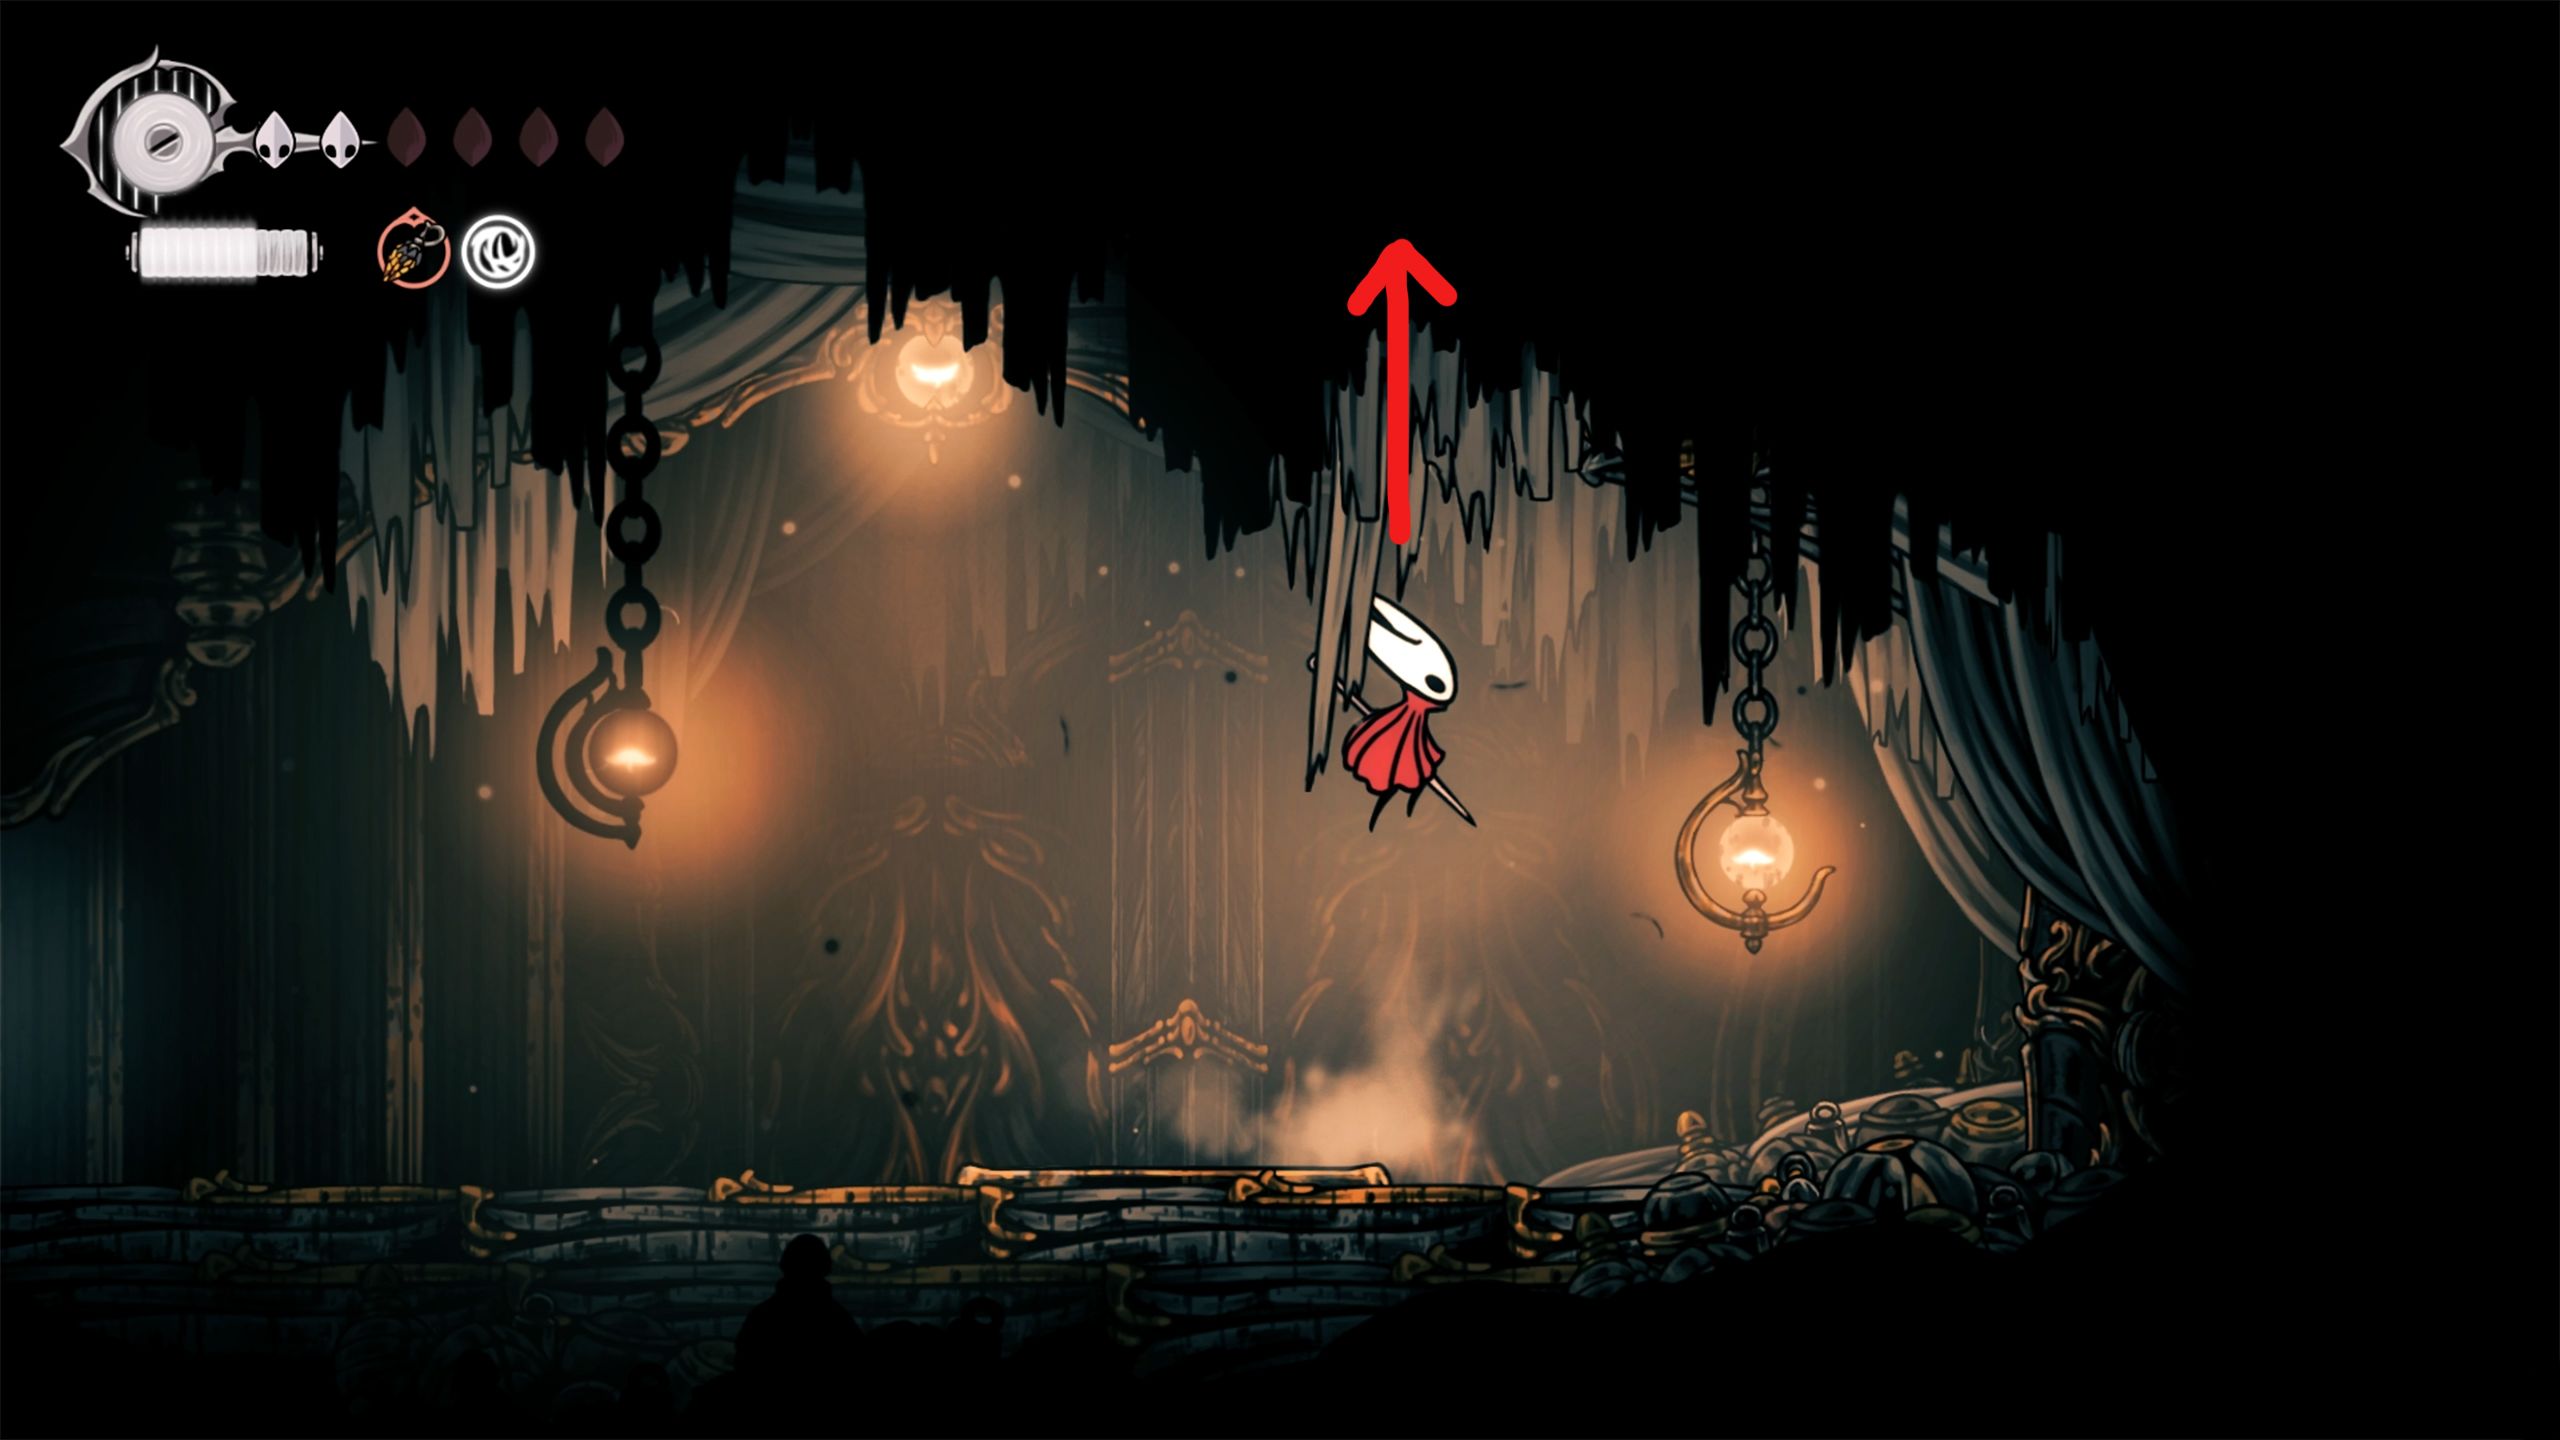
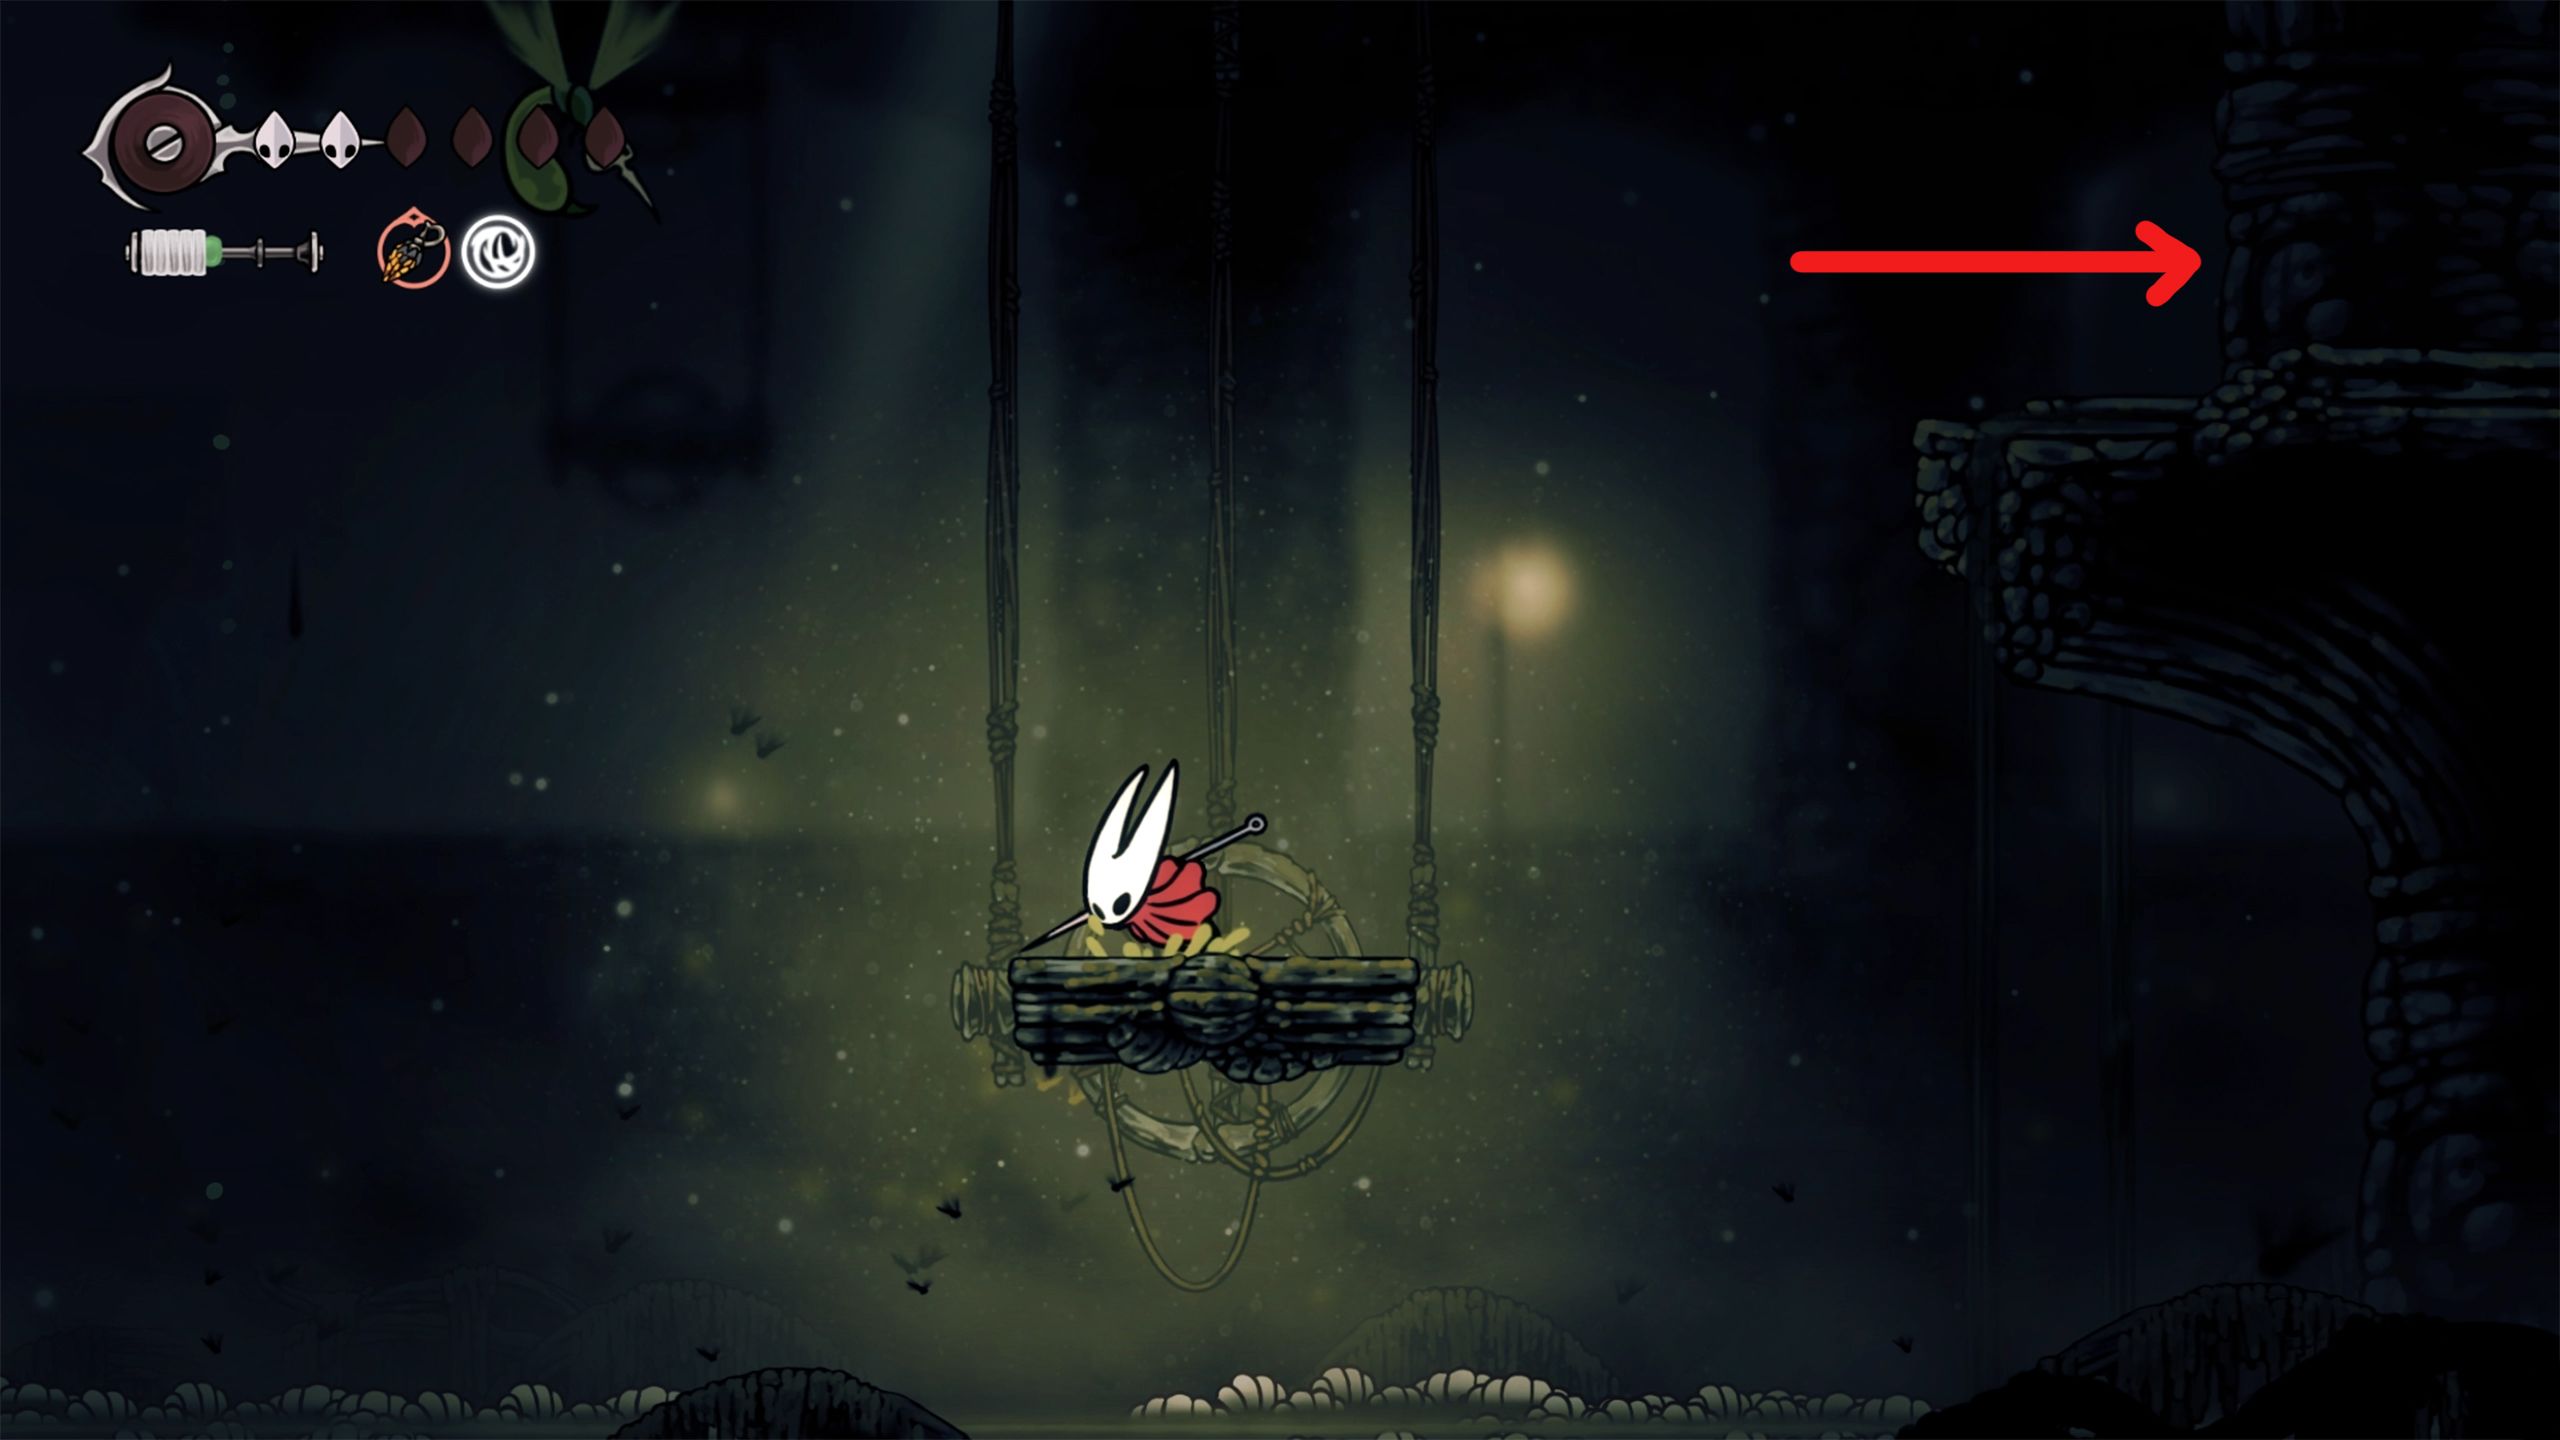
As you step into the following room, gently descend until you spot the Bellway sign. Go inside, spend some coins on Rosaries to enable quick travel and a place to sit. After you’ve finished, exit back outside and continue your descent to reach the bottom and enter the room on the left.
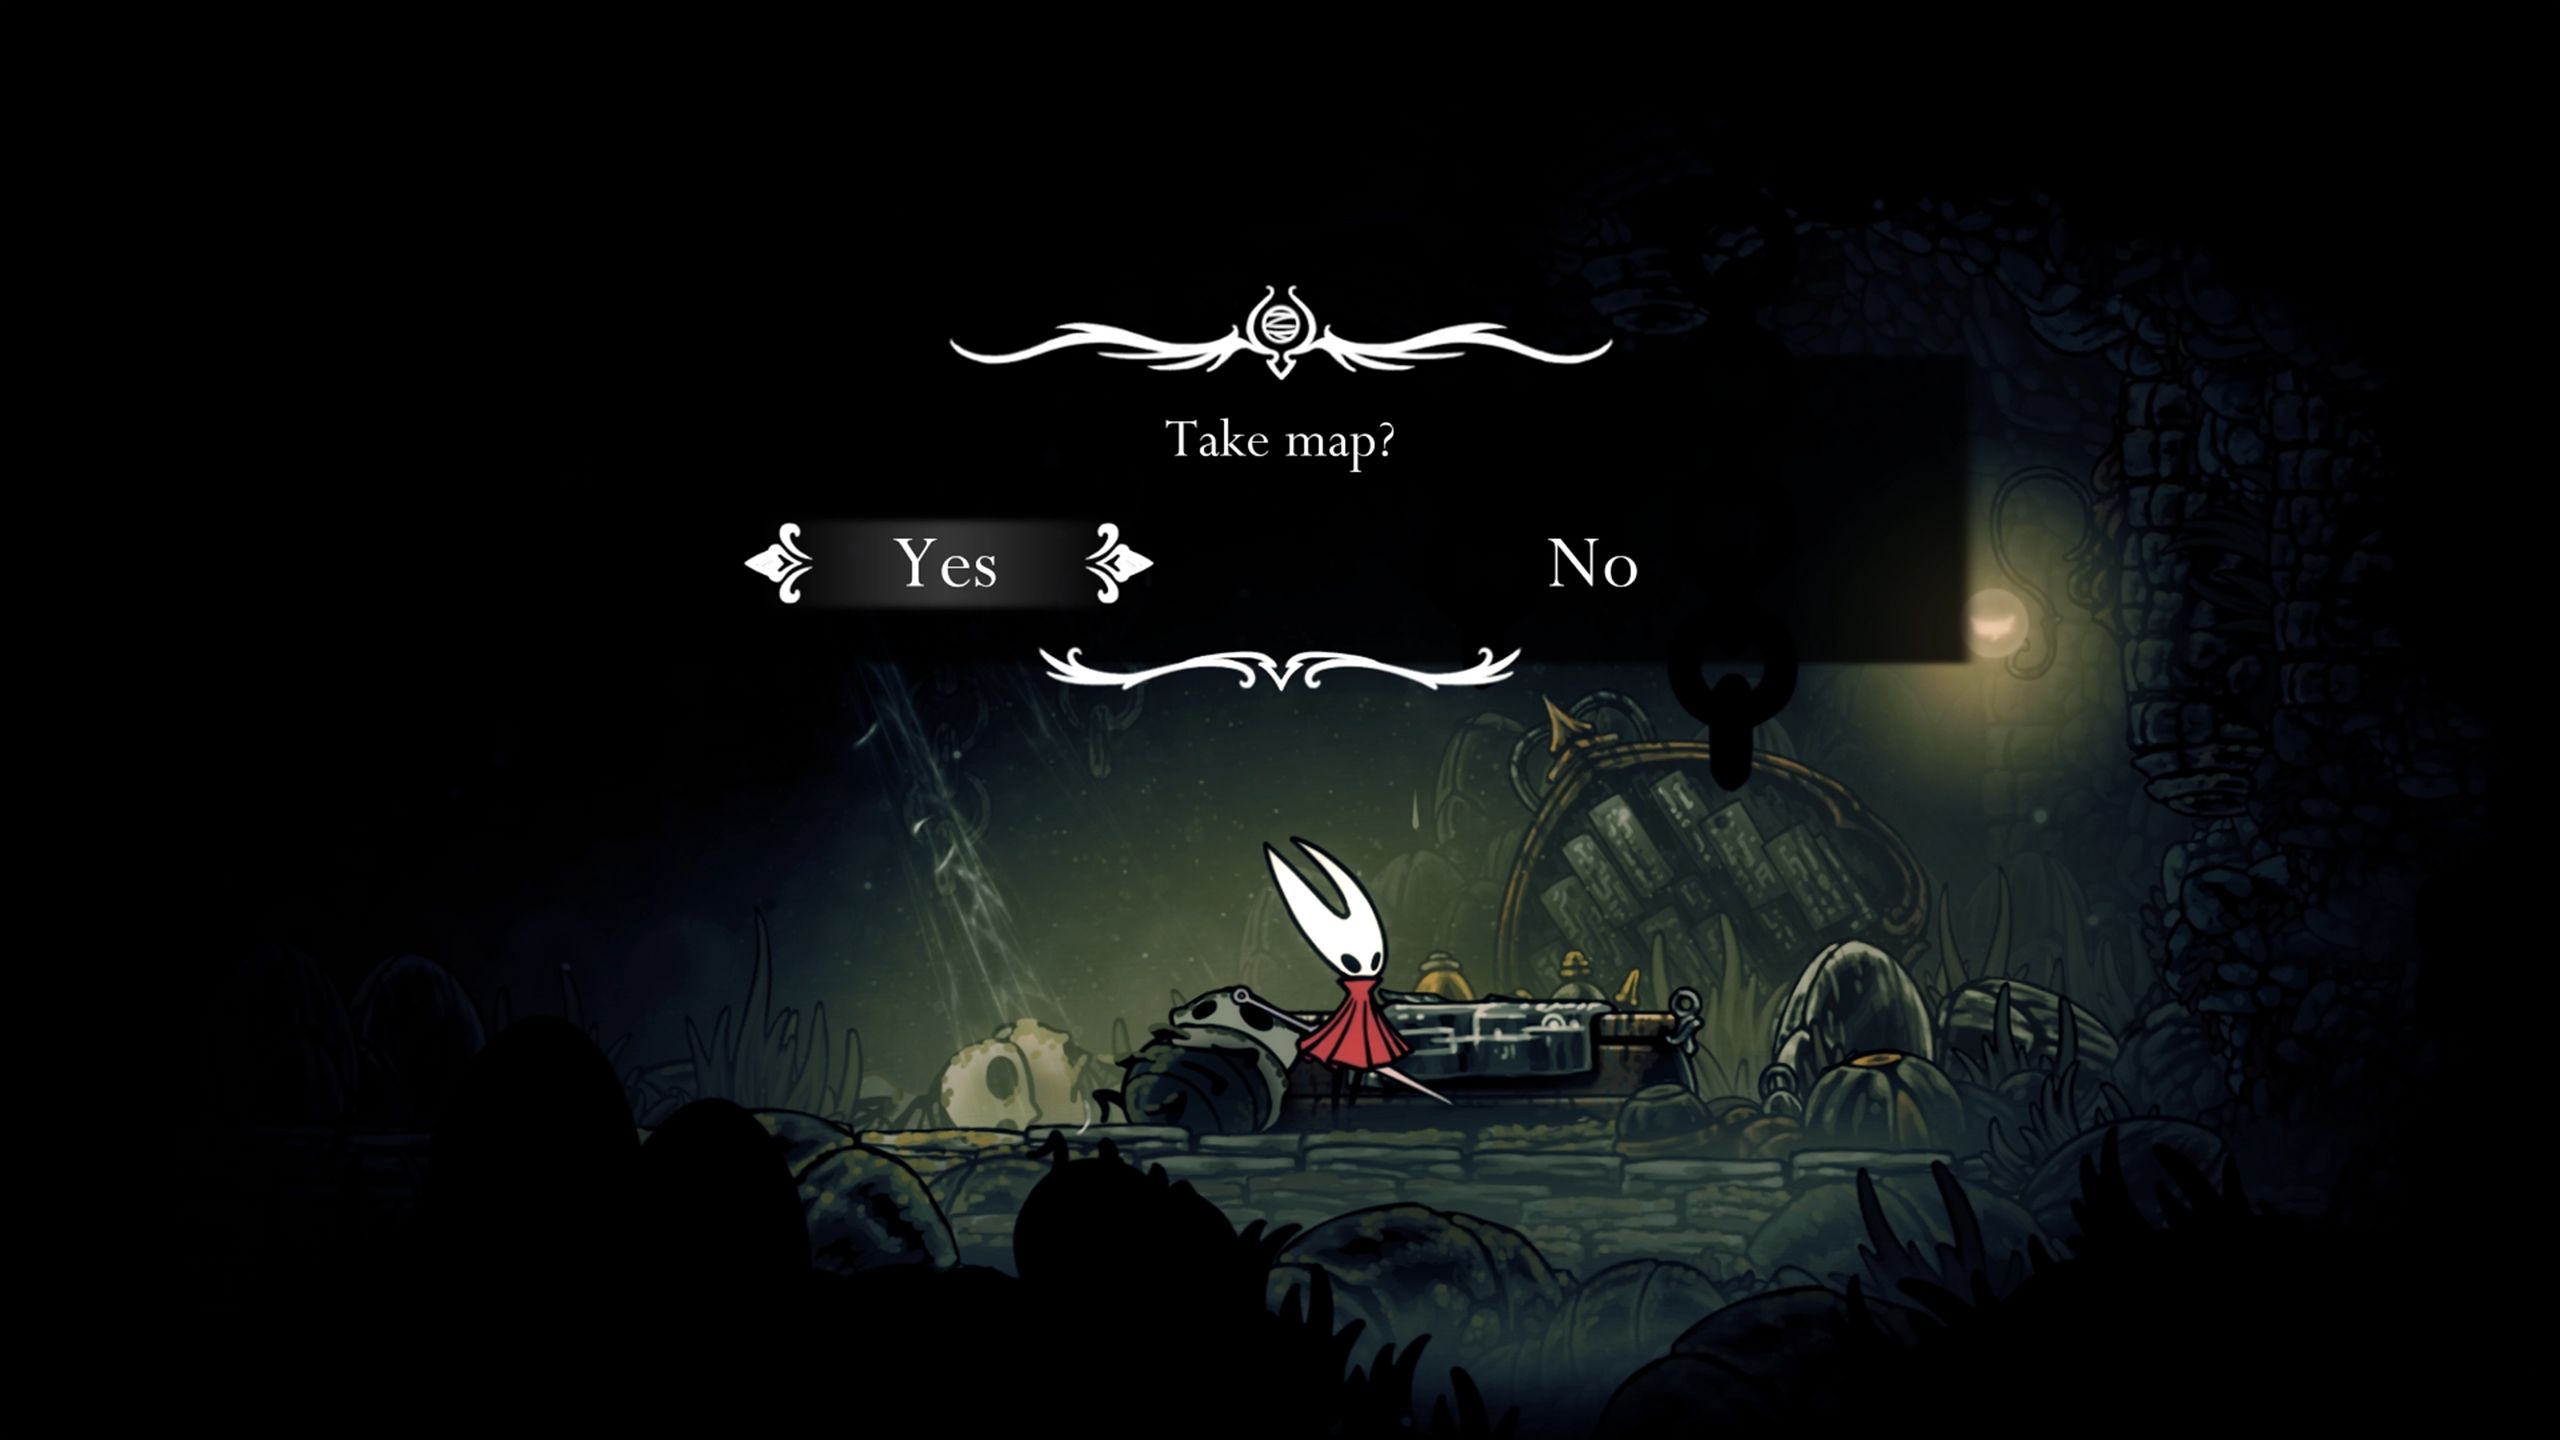
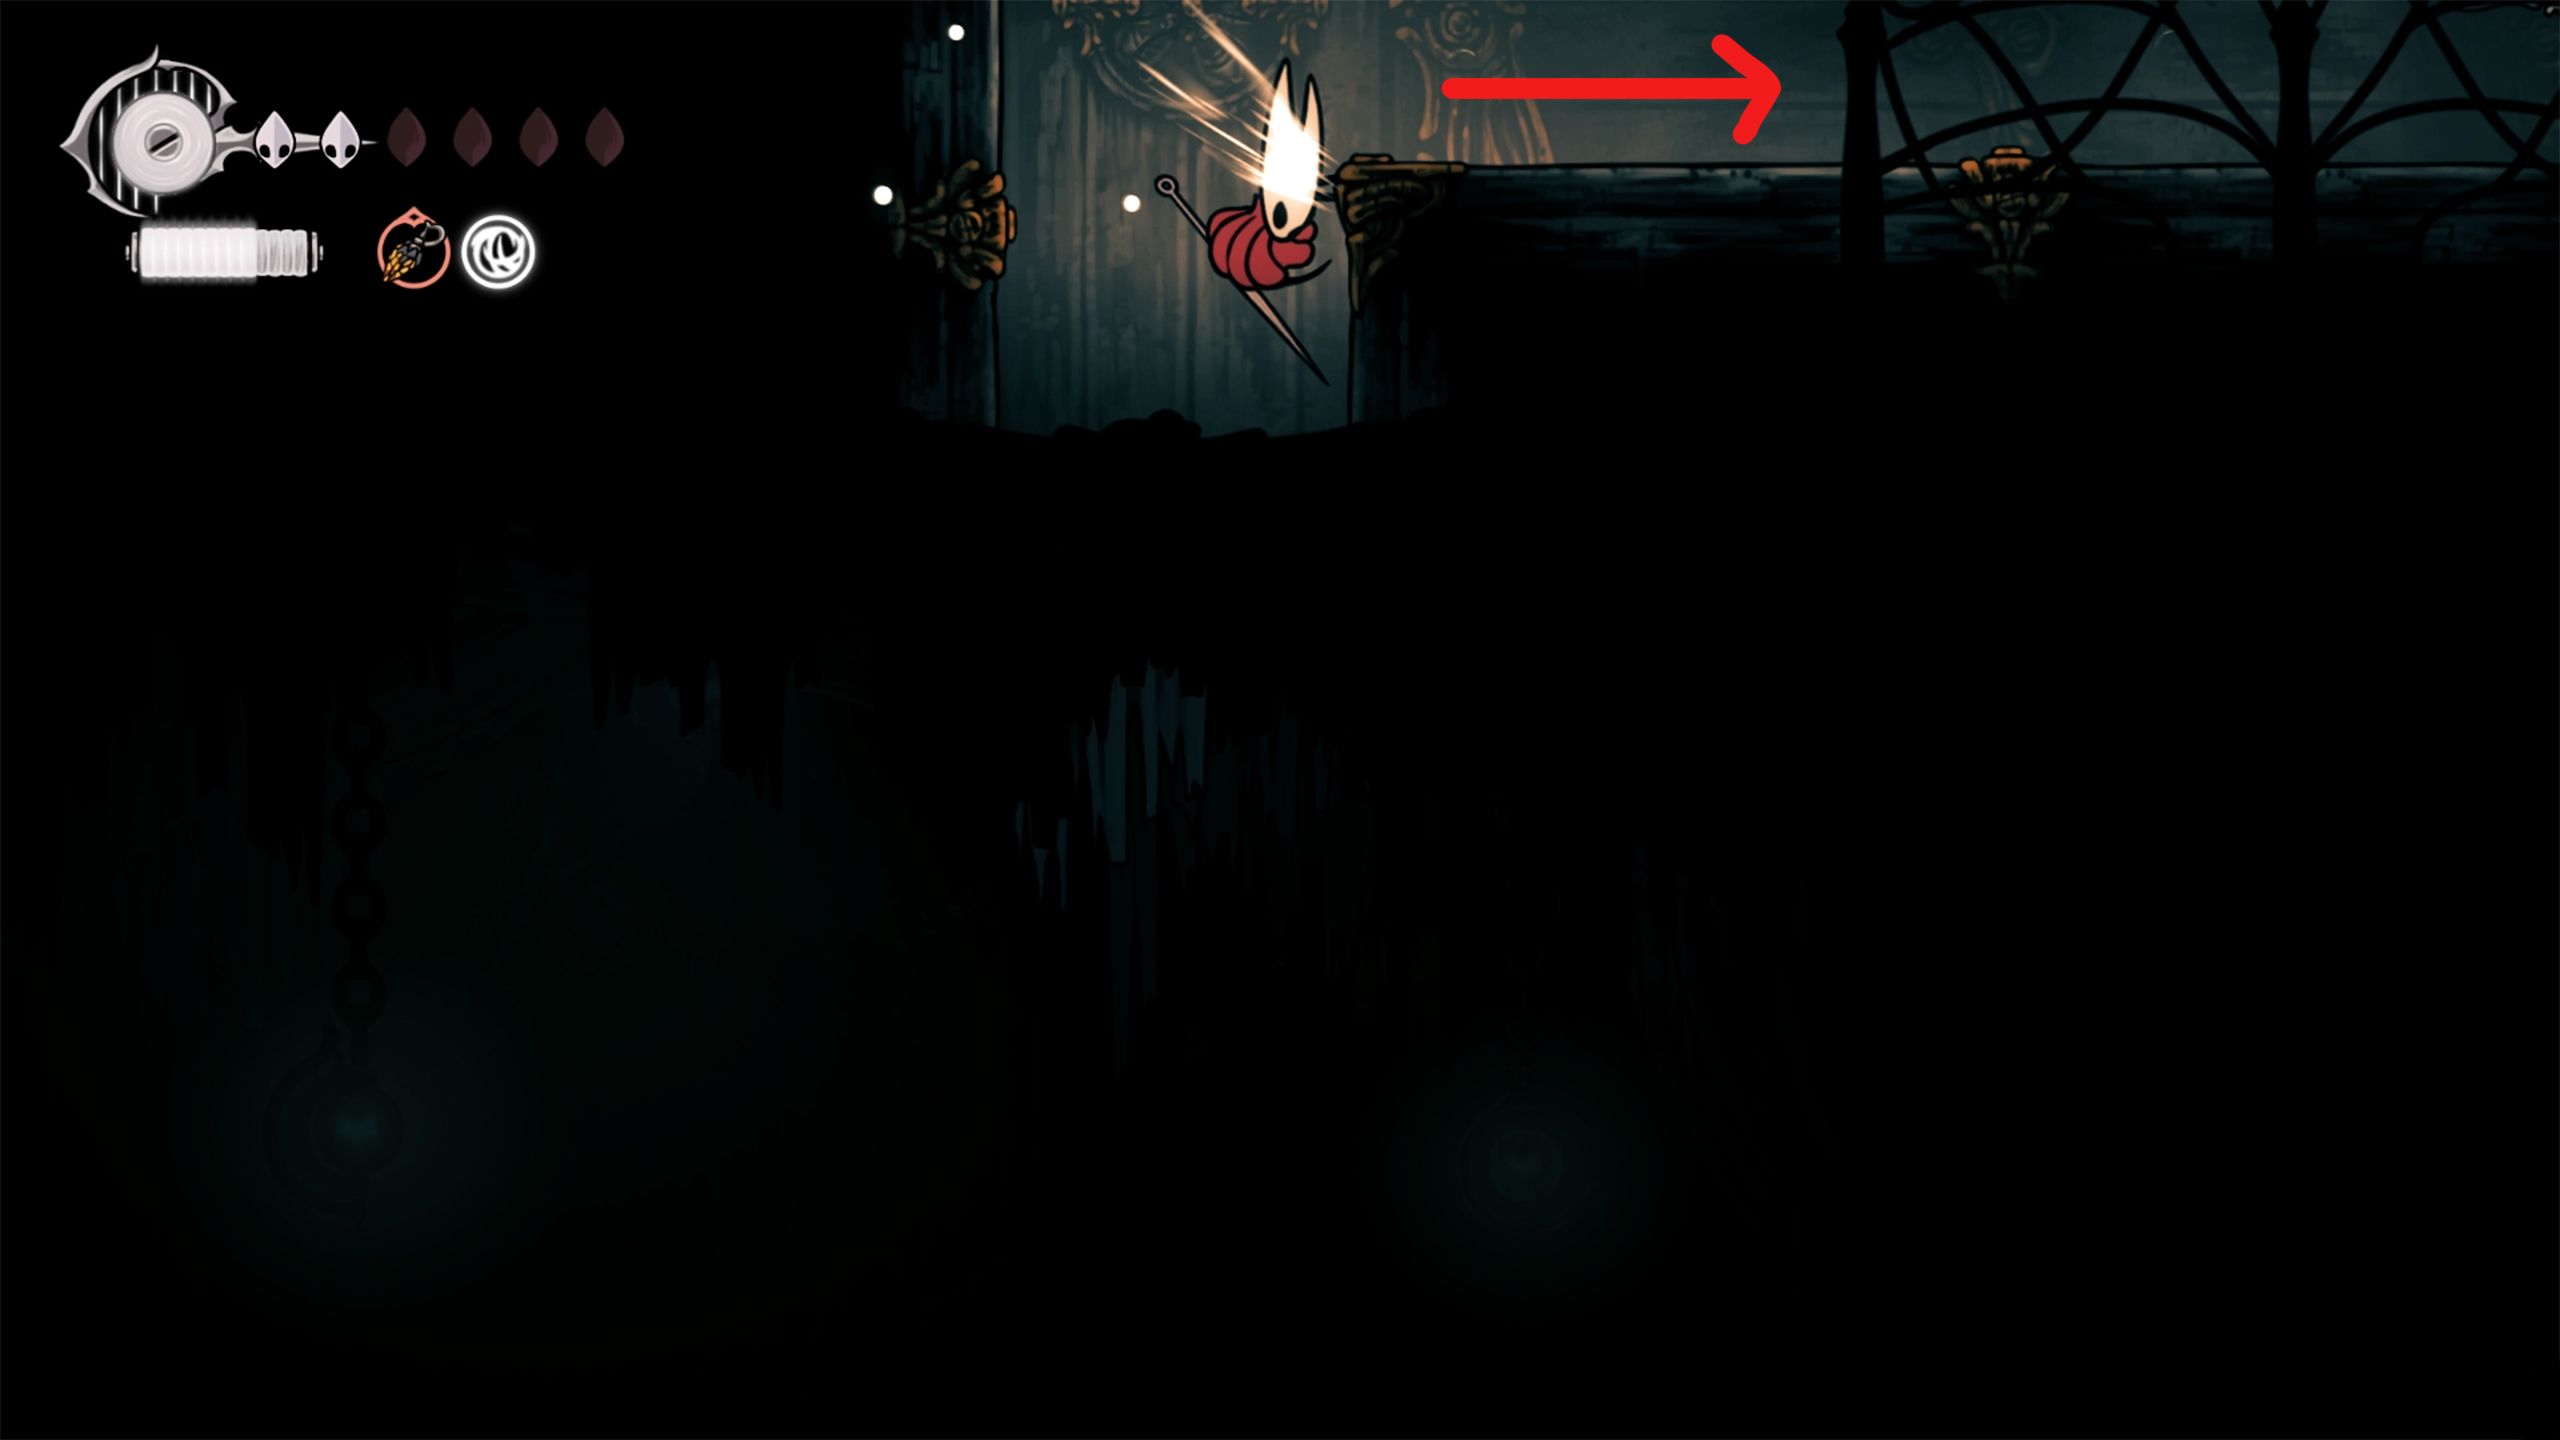
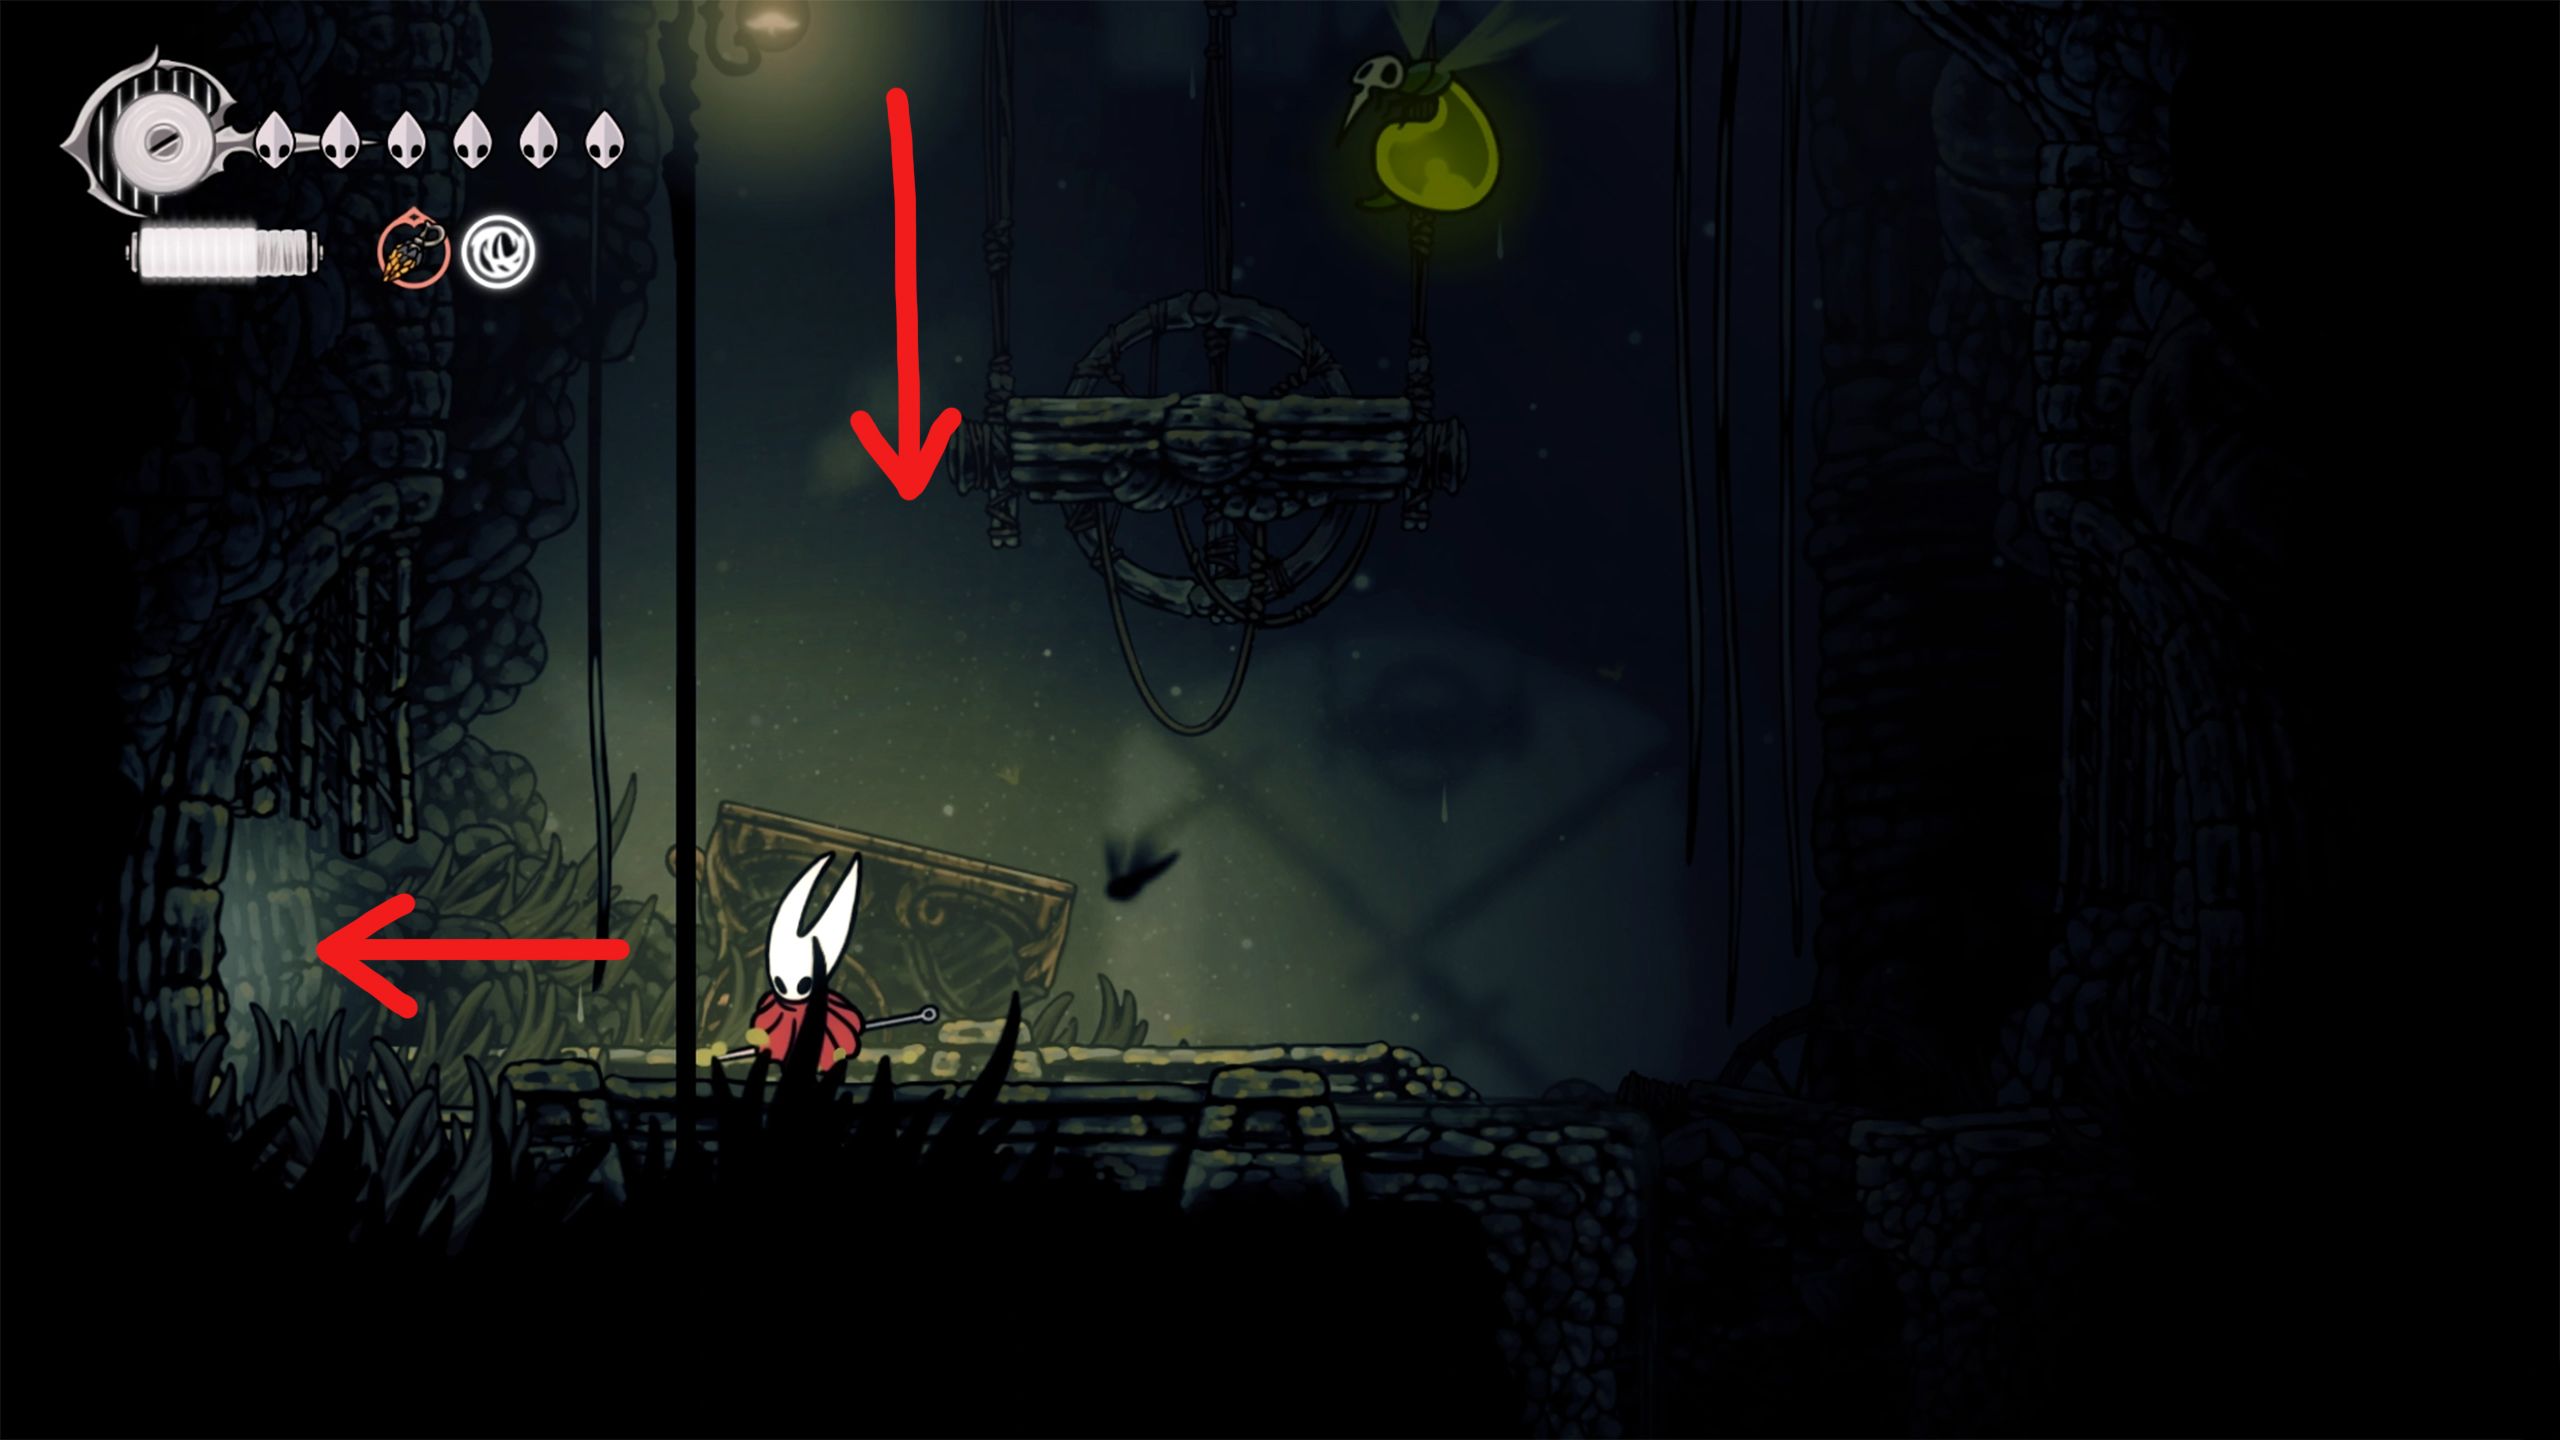
Keep walking until you reach the end, then leap up to lure the Hornet. This traps her and lifts her off the ground without causing any harm to you. Before the plant at the top absorbs her, press the attack button quickly to escape and land safely on the ground. Move towards the table located at the end and acquire the Putrified Ducts map for free without spending any Rosaries. Now, players have the freedom to roam around new areas or revisit previously missed locations.
Read More
- NTE Drift Guide (& Best Car Mods for Drifting)
- How to Get the Wunderbarrage in Totenreich (BO7 Zombies)
- All Aswang Evidence & Weaknesses in Phasmophobia
- How to Get Necrolei Cyst & Strong Acid in Subnautica 2
- Conduit Crystal Location In Subnautica 2
- Where to Find Prescription in Where Winds Meet (Raw Leaf Porridge Quest)
- Diablo 4 Best Loot Filter Codes
- Best Burst & Full Auto Builds for the M16A4 in BF6
- How to Craft Repair Tools in Subnautica 2
- Best Where Winds Meet Character Customization Codes
2025-09-10 03:39