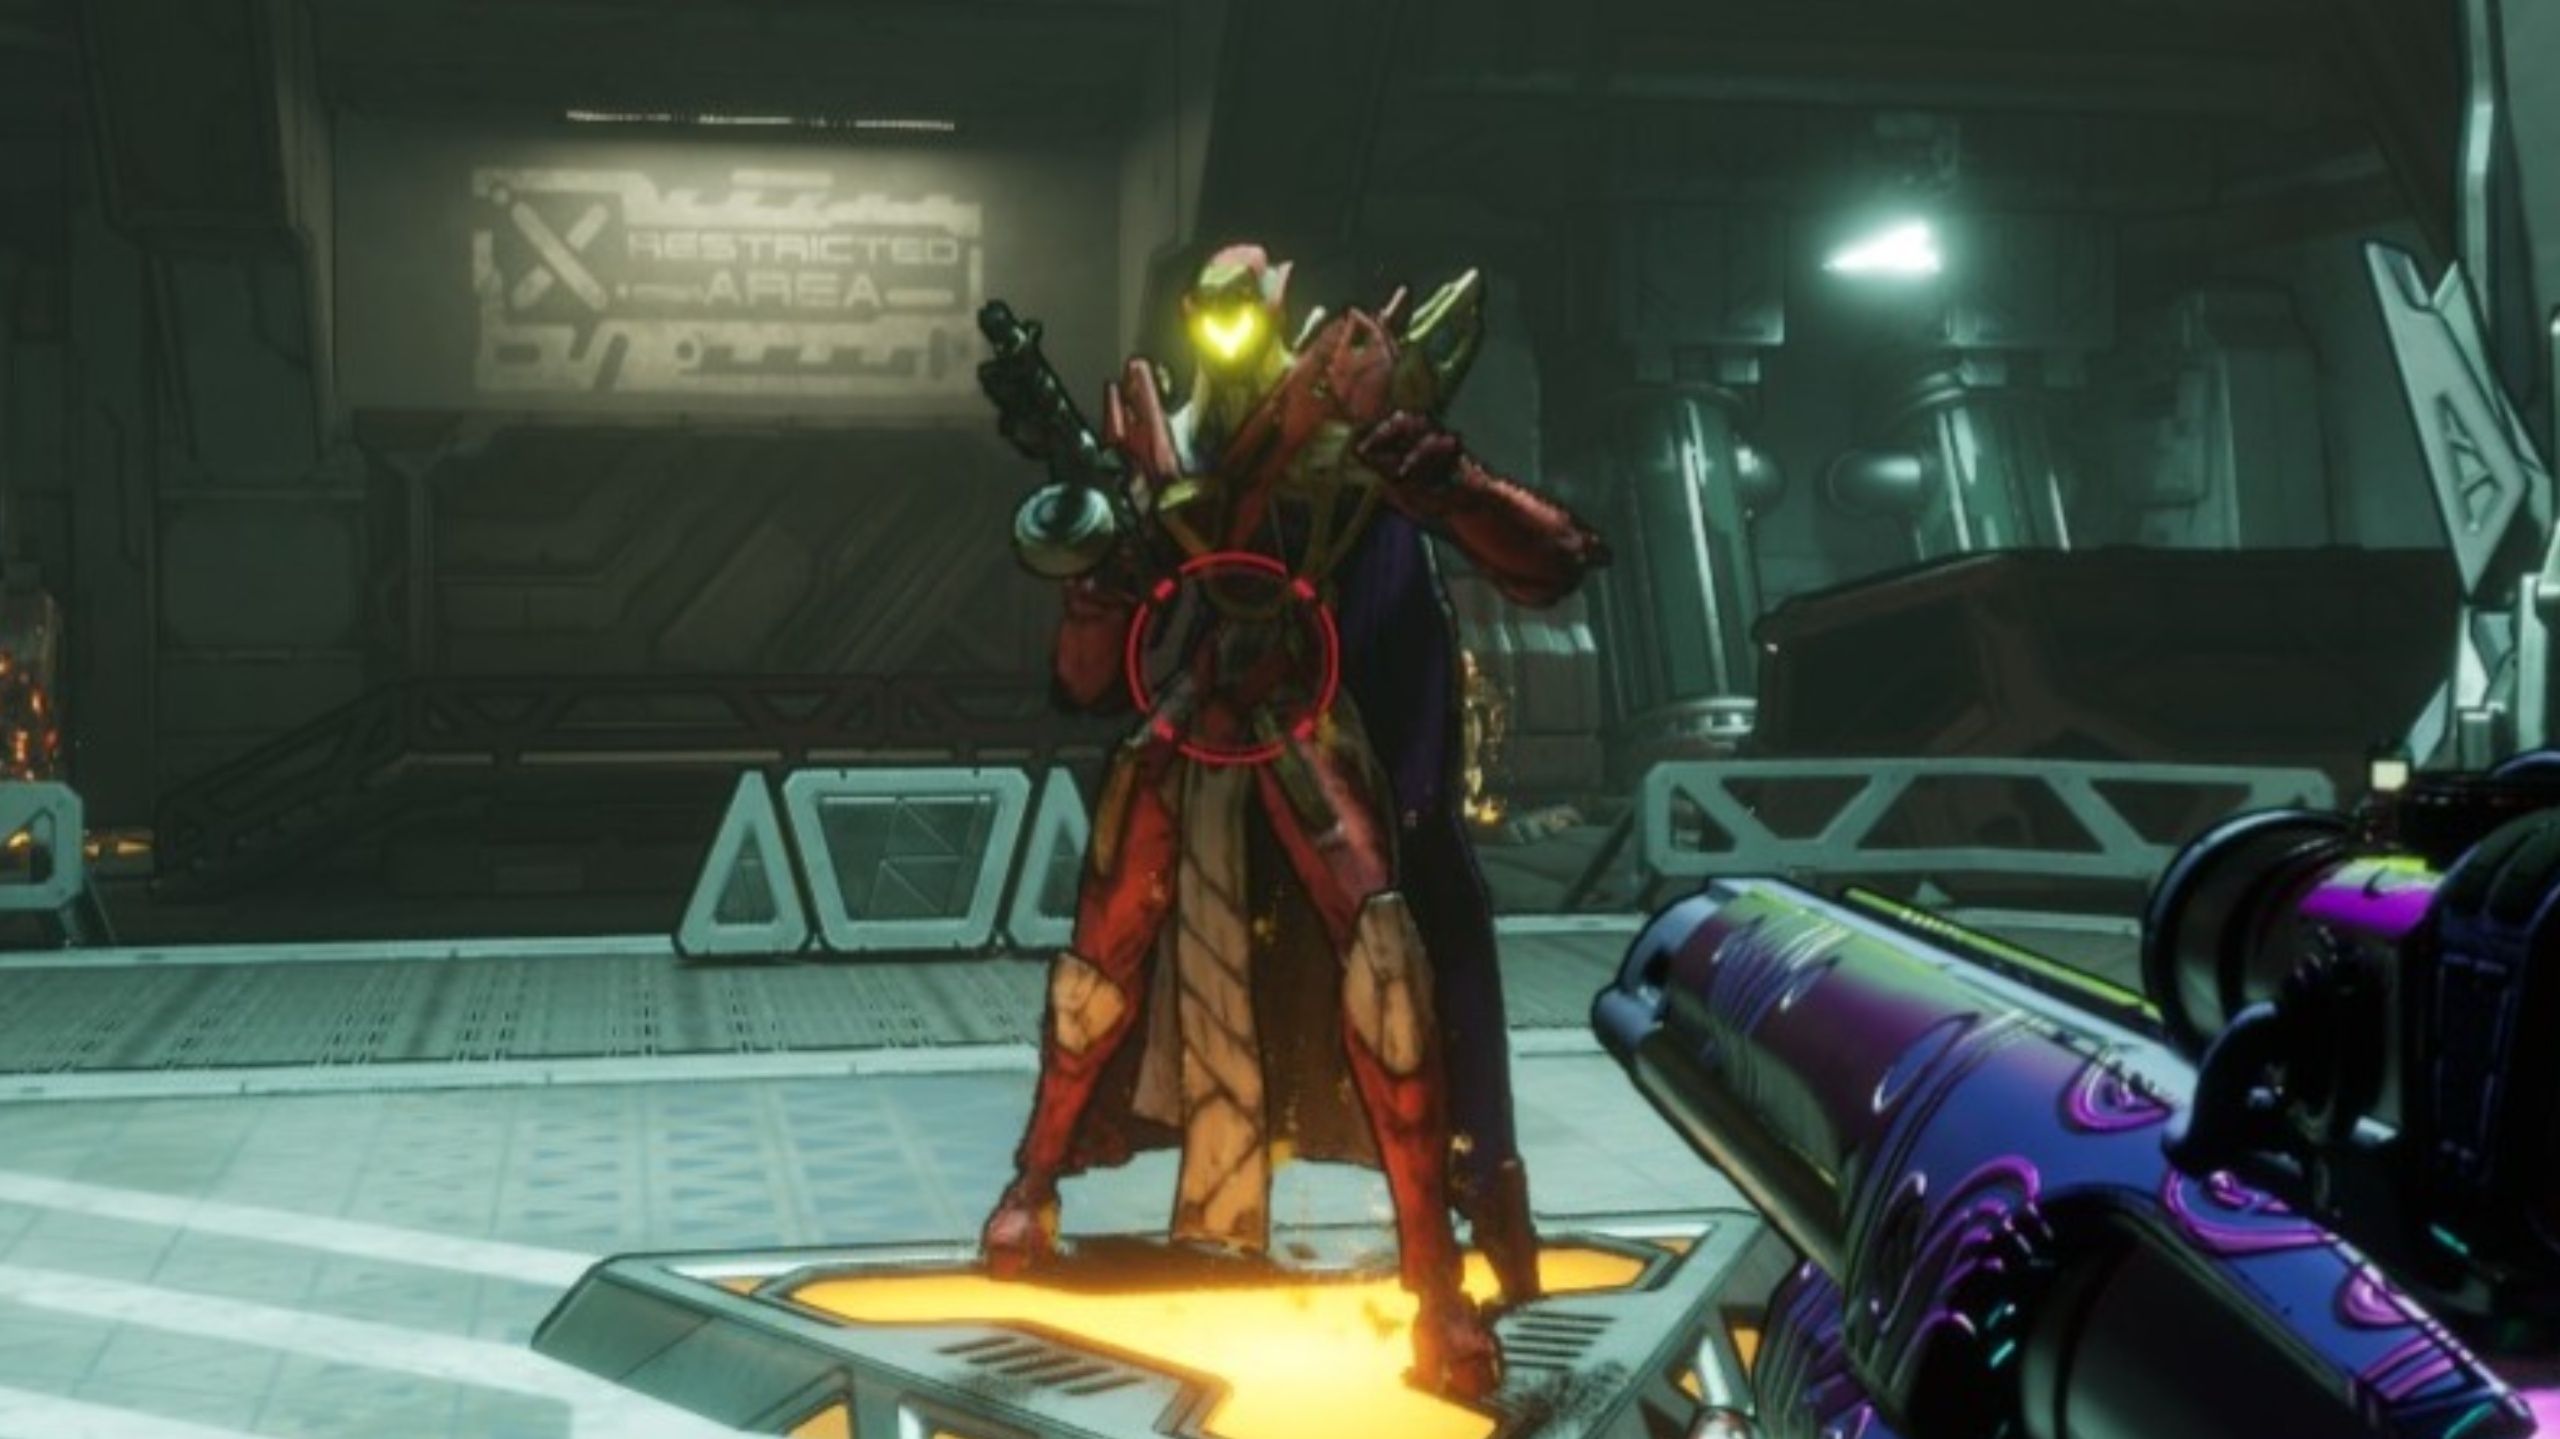
6 Order Bunkers are found in Borderlands 4, offering distinct boss battles and a wealth of potential Legendary items for players to acquire. These Order Bunkers serve as special activities where players must locate a Locust control station to open the main door. Here’s a guide on how to access each bunker and the unique challenges they present, including the boss fights and legendary loot available at these locations in Borderlands 4.
Order Bunkers are only accessible after players complete the Main Mission: One Fell Swoop.
If additional Legendary loot is found, this guide will be updated.
Blacklime Bunker
How to Enter Blacklime Bunker & Beat Core Observer
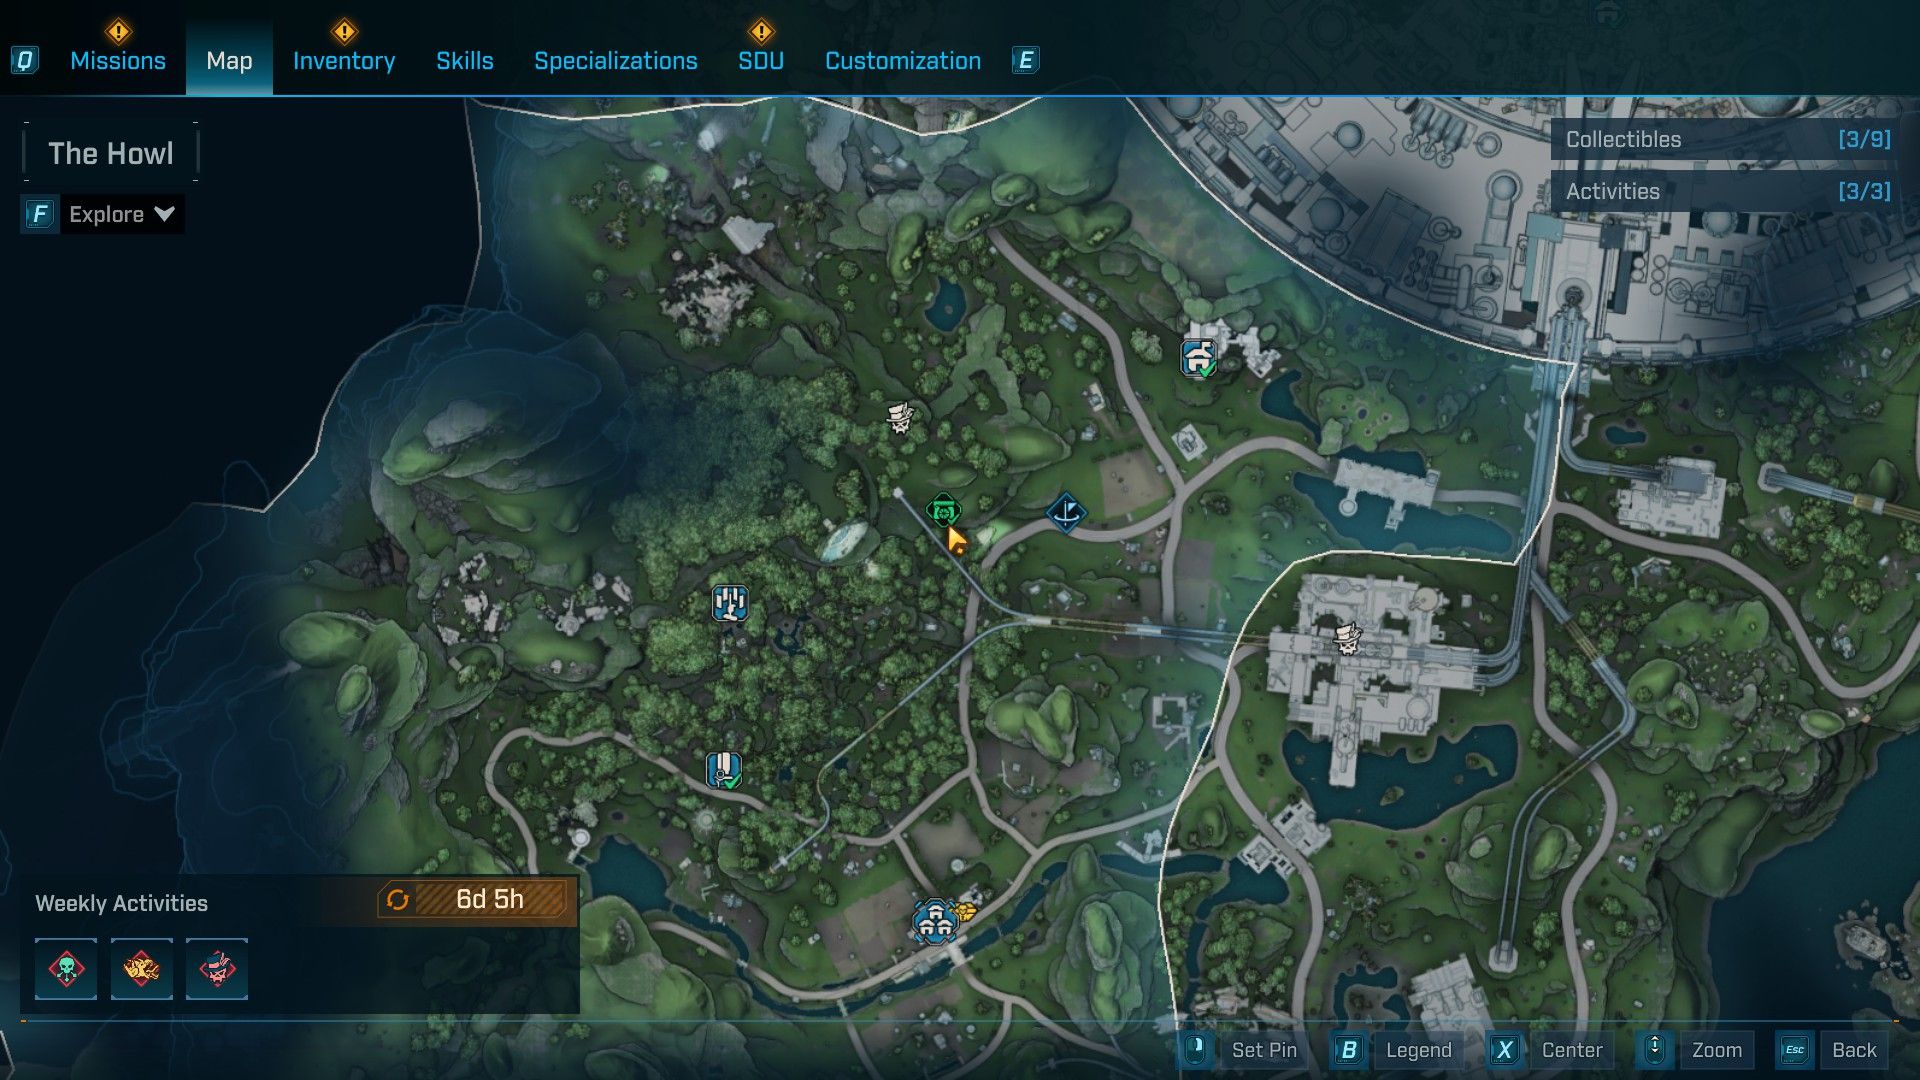
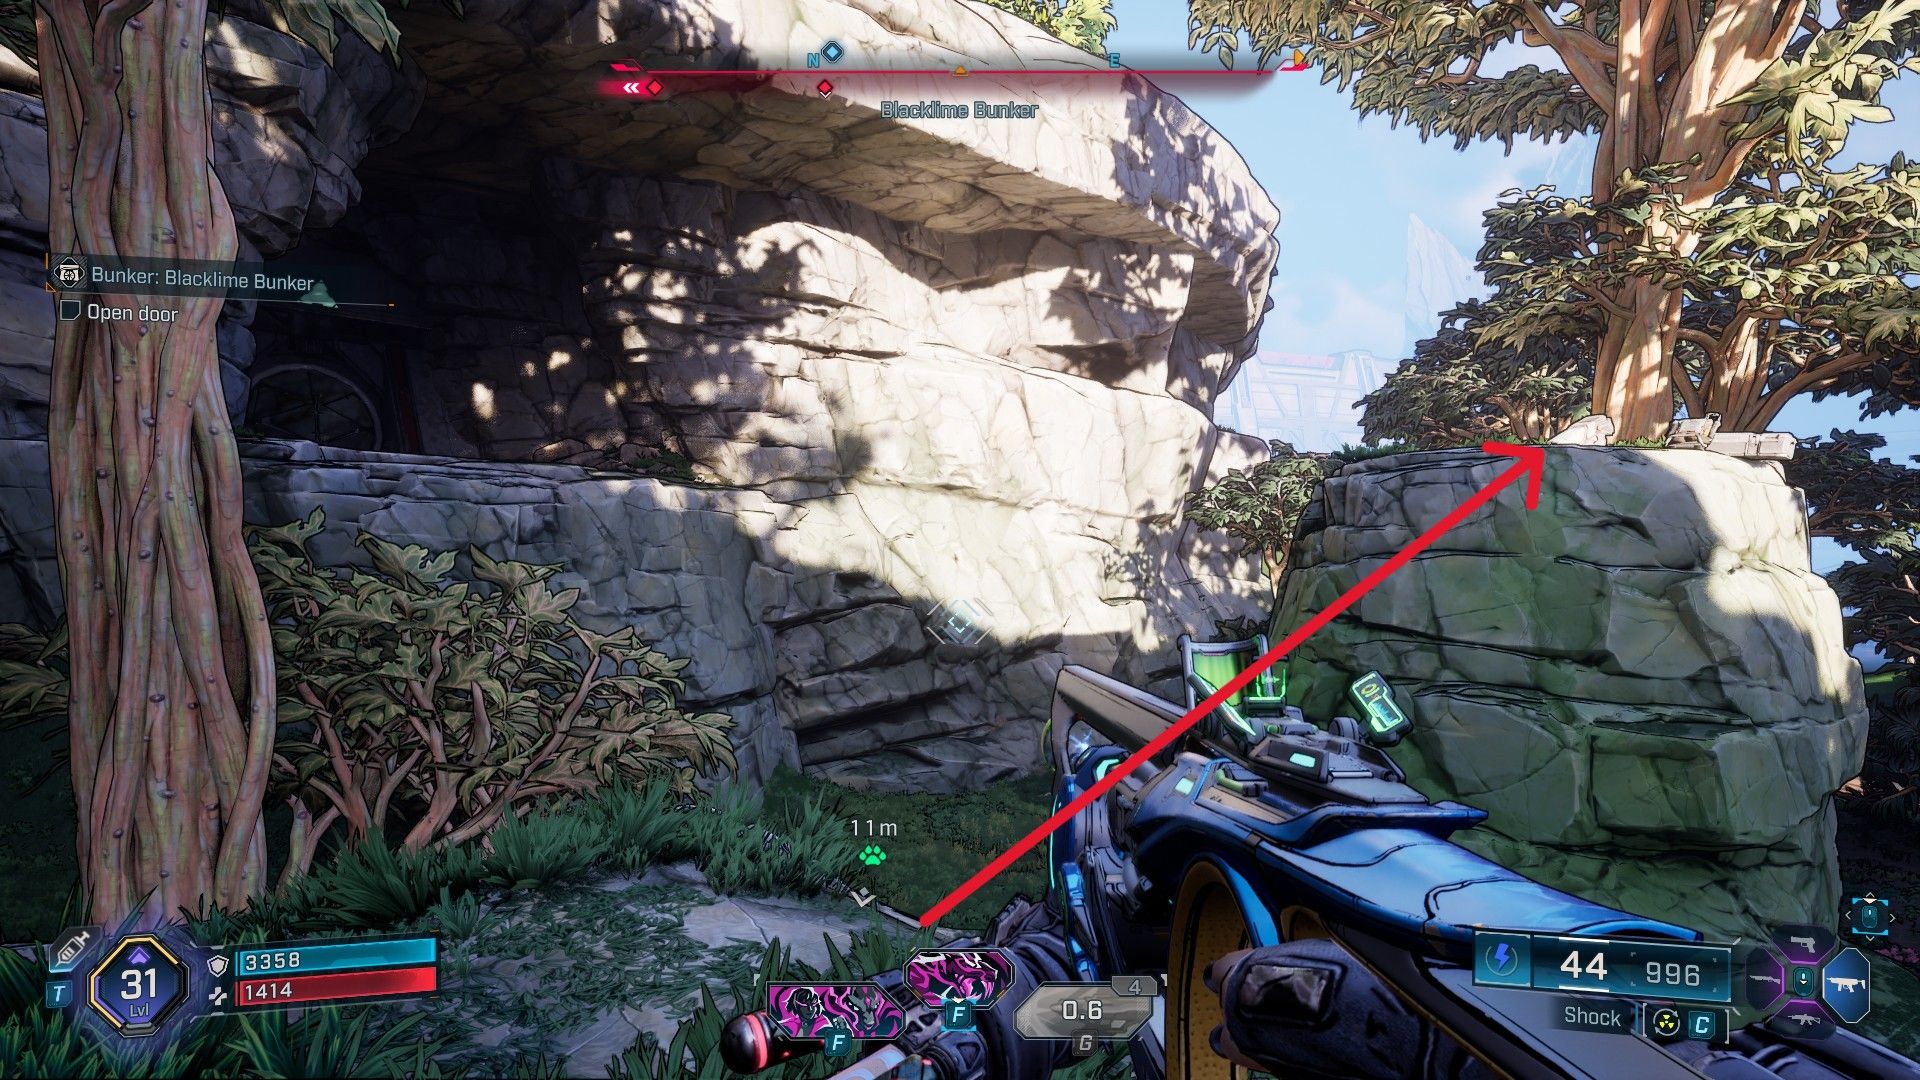
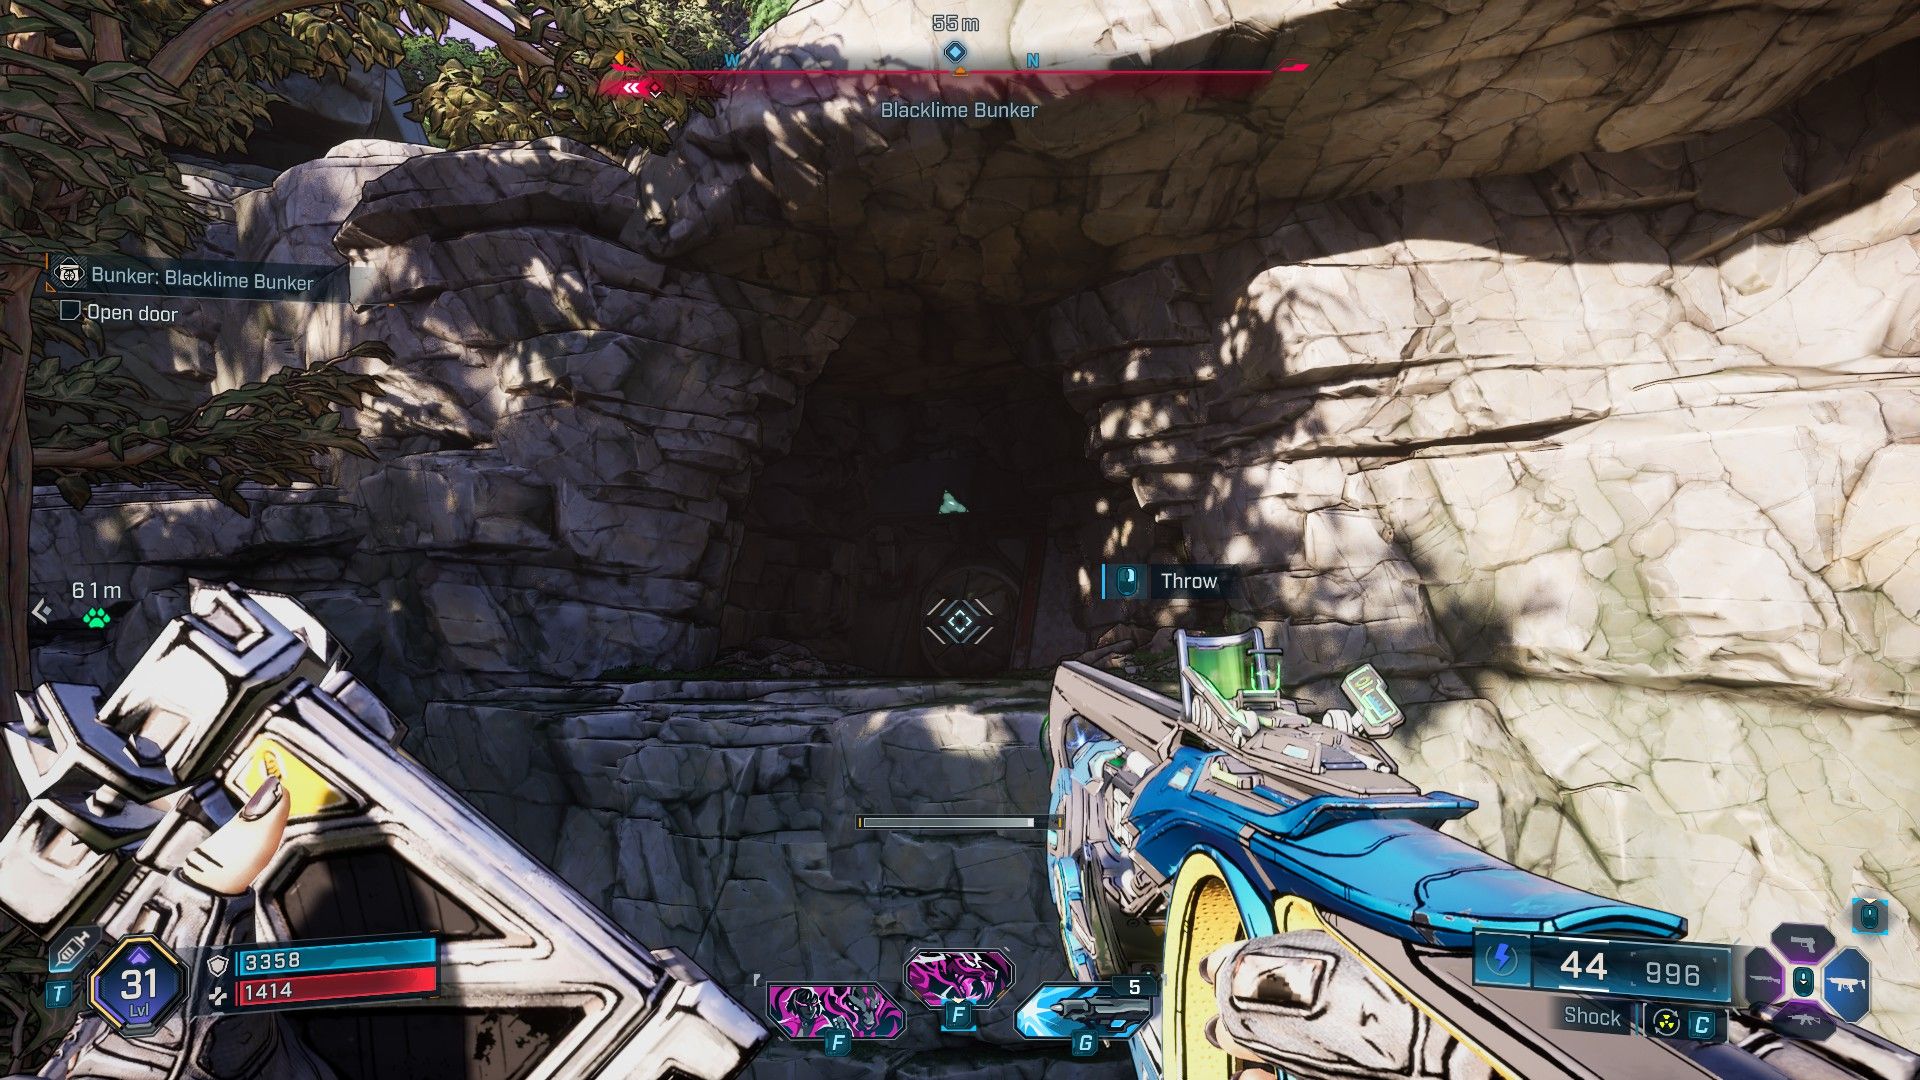
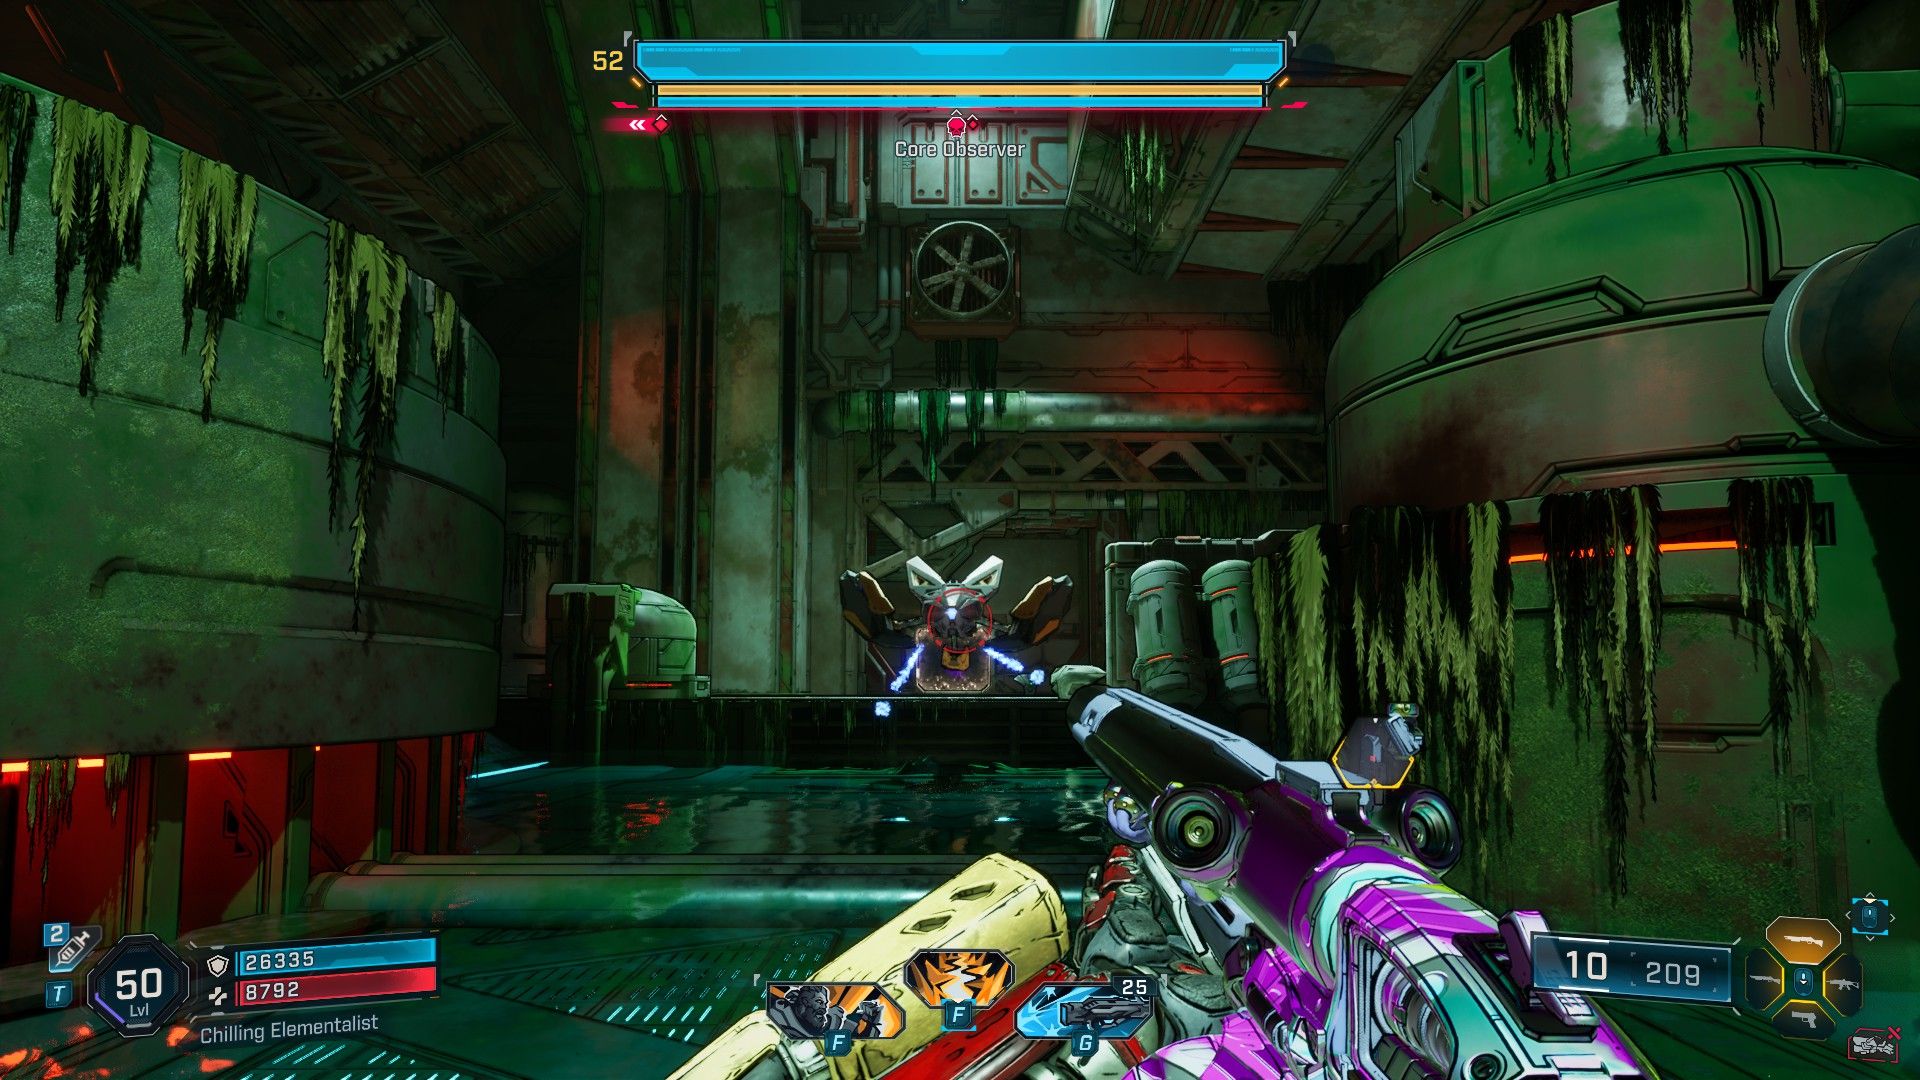
- Location: The Howl, the Fadefields
| Legendary |
|---|
| Bully |
| Defibrillator |
| Divided Focus |
At Blacklime Bunker situated in The Howl’s Fadefields, players must initially access the door. To unlock it, position yourself on the rocky platform that is nearest to a tree-standing rock, then leap over. Once on the lower platform, you can double jump and mantle to reach the next platform. On this new platform, there’s a Locust station that can be thrown towards the door for easy access. Then, glide across to the door and walk through it. Proceeding through the bunker will lead you to a space between the floor and a pipe where you can crouch to pass, eventually leading to a flooded room housing the Core Observer. This boss battle features a Shield, Armor, and another Shield, so utilizing Shock weapons and weapons infused with Corrosive or Cryo effects is recommended.
Tipping Point
How to Enter Tipping Point & Beat Mimicron
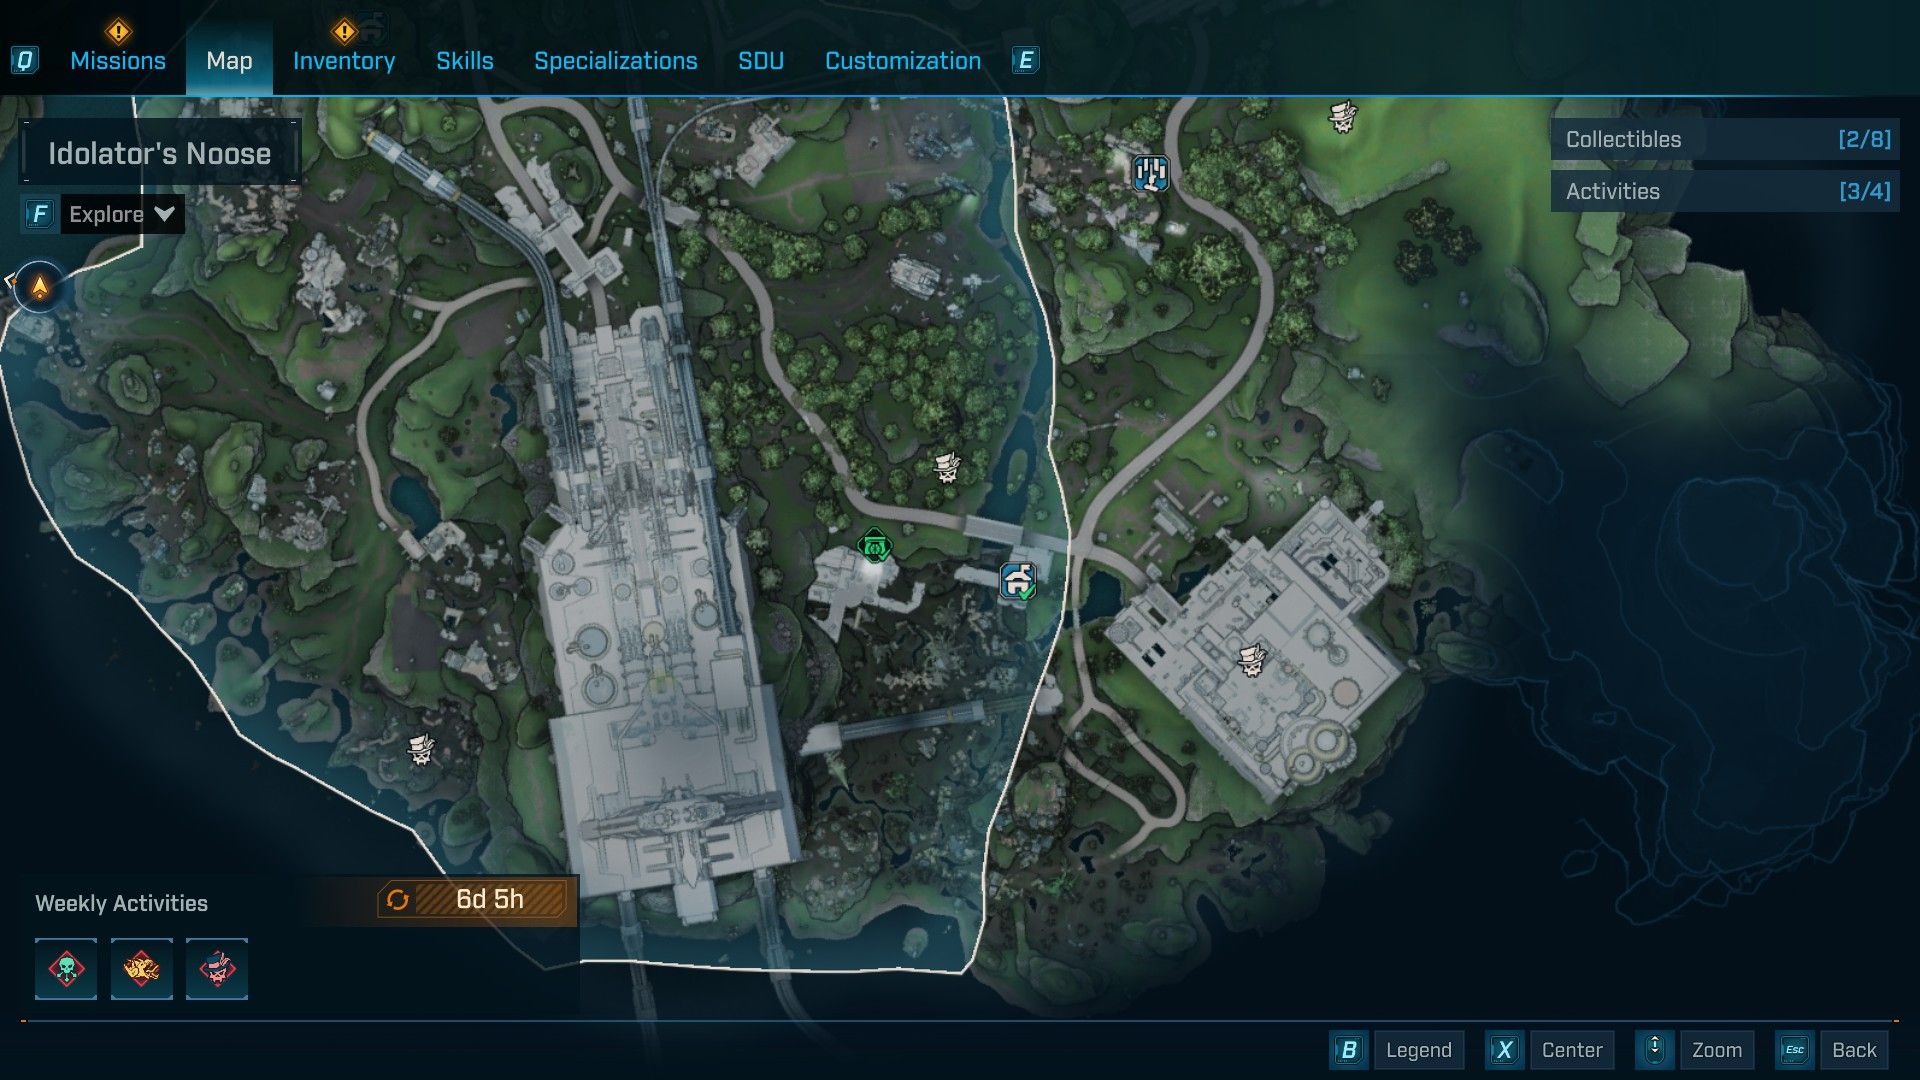
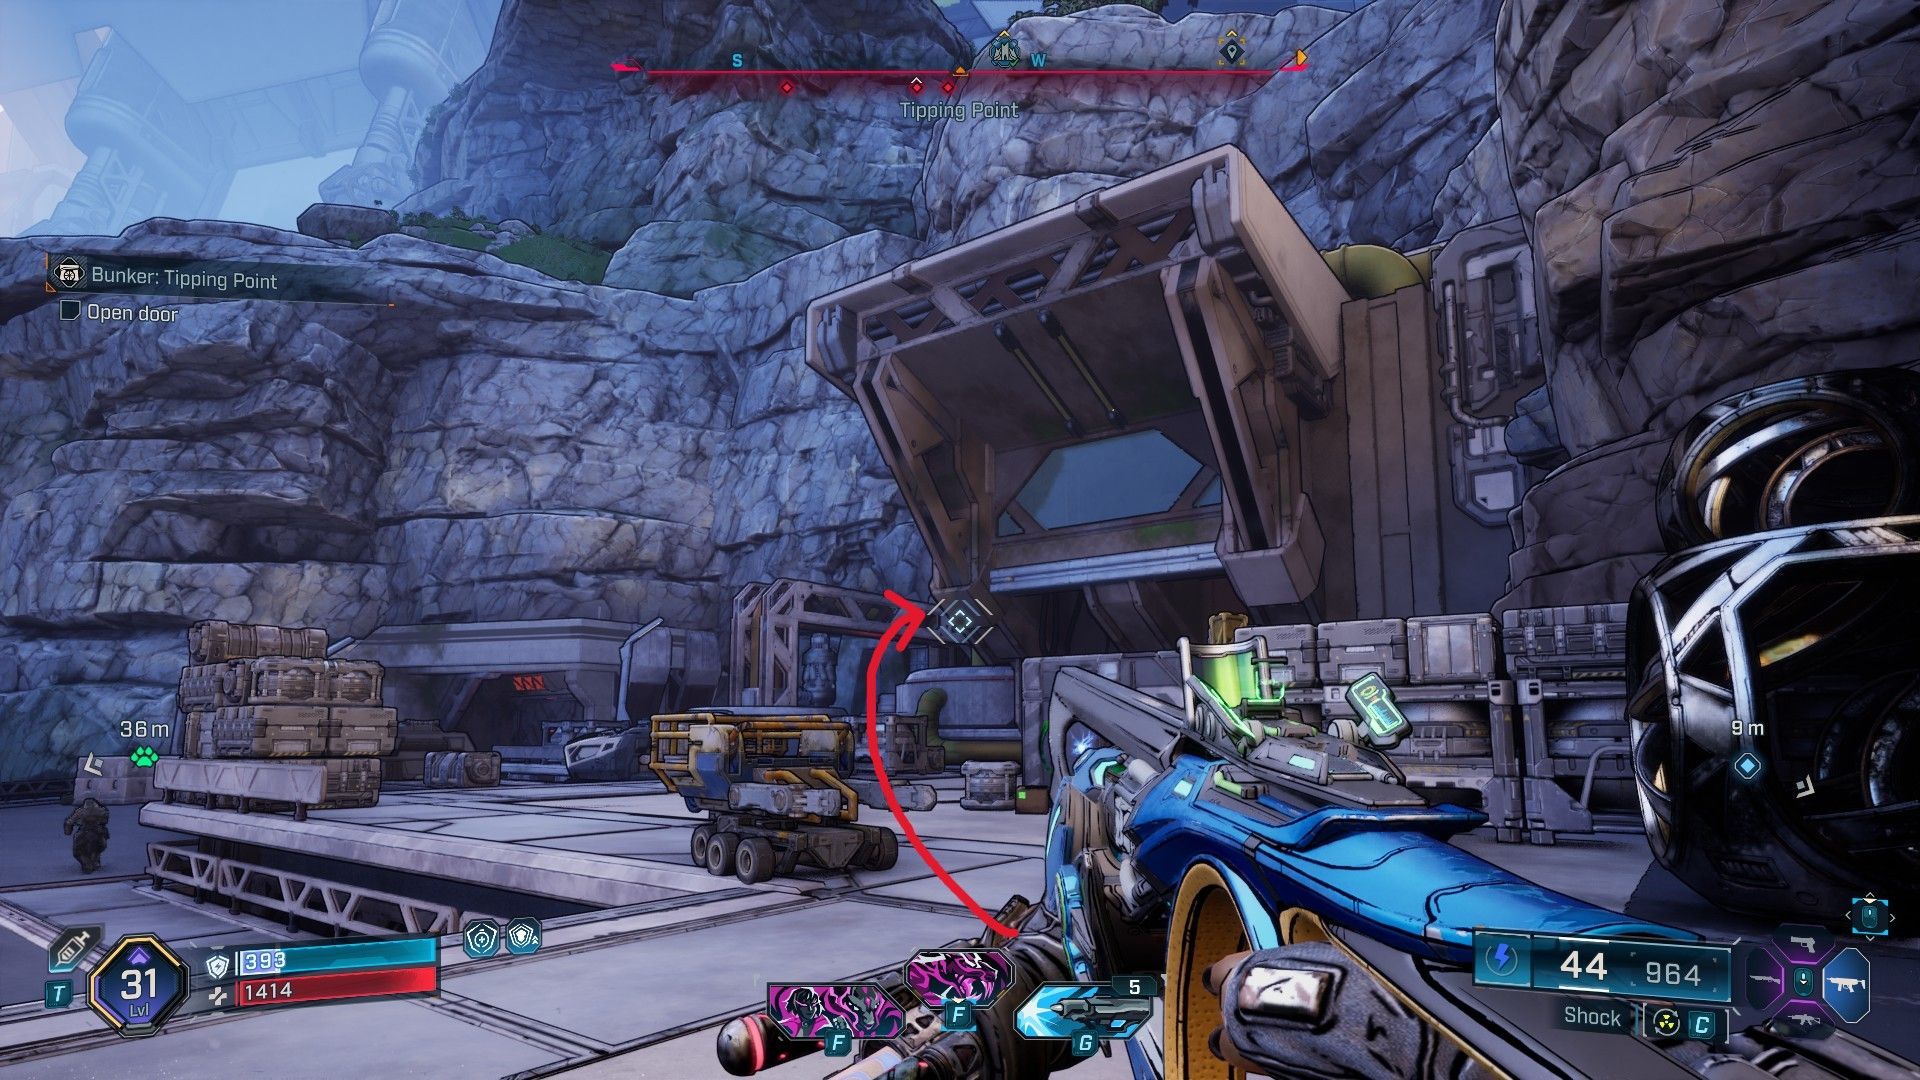
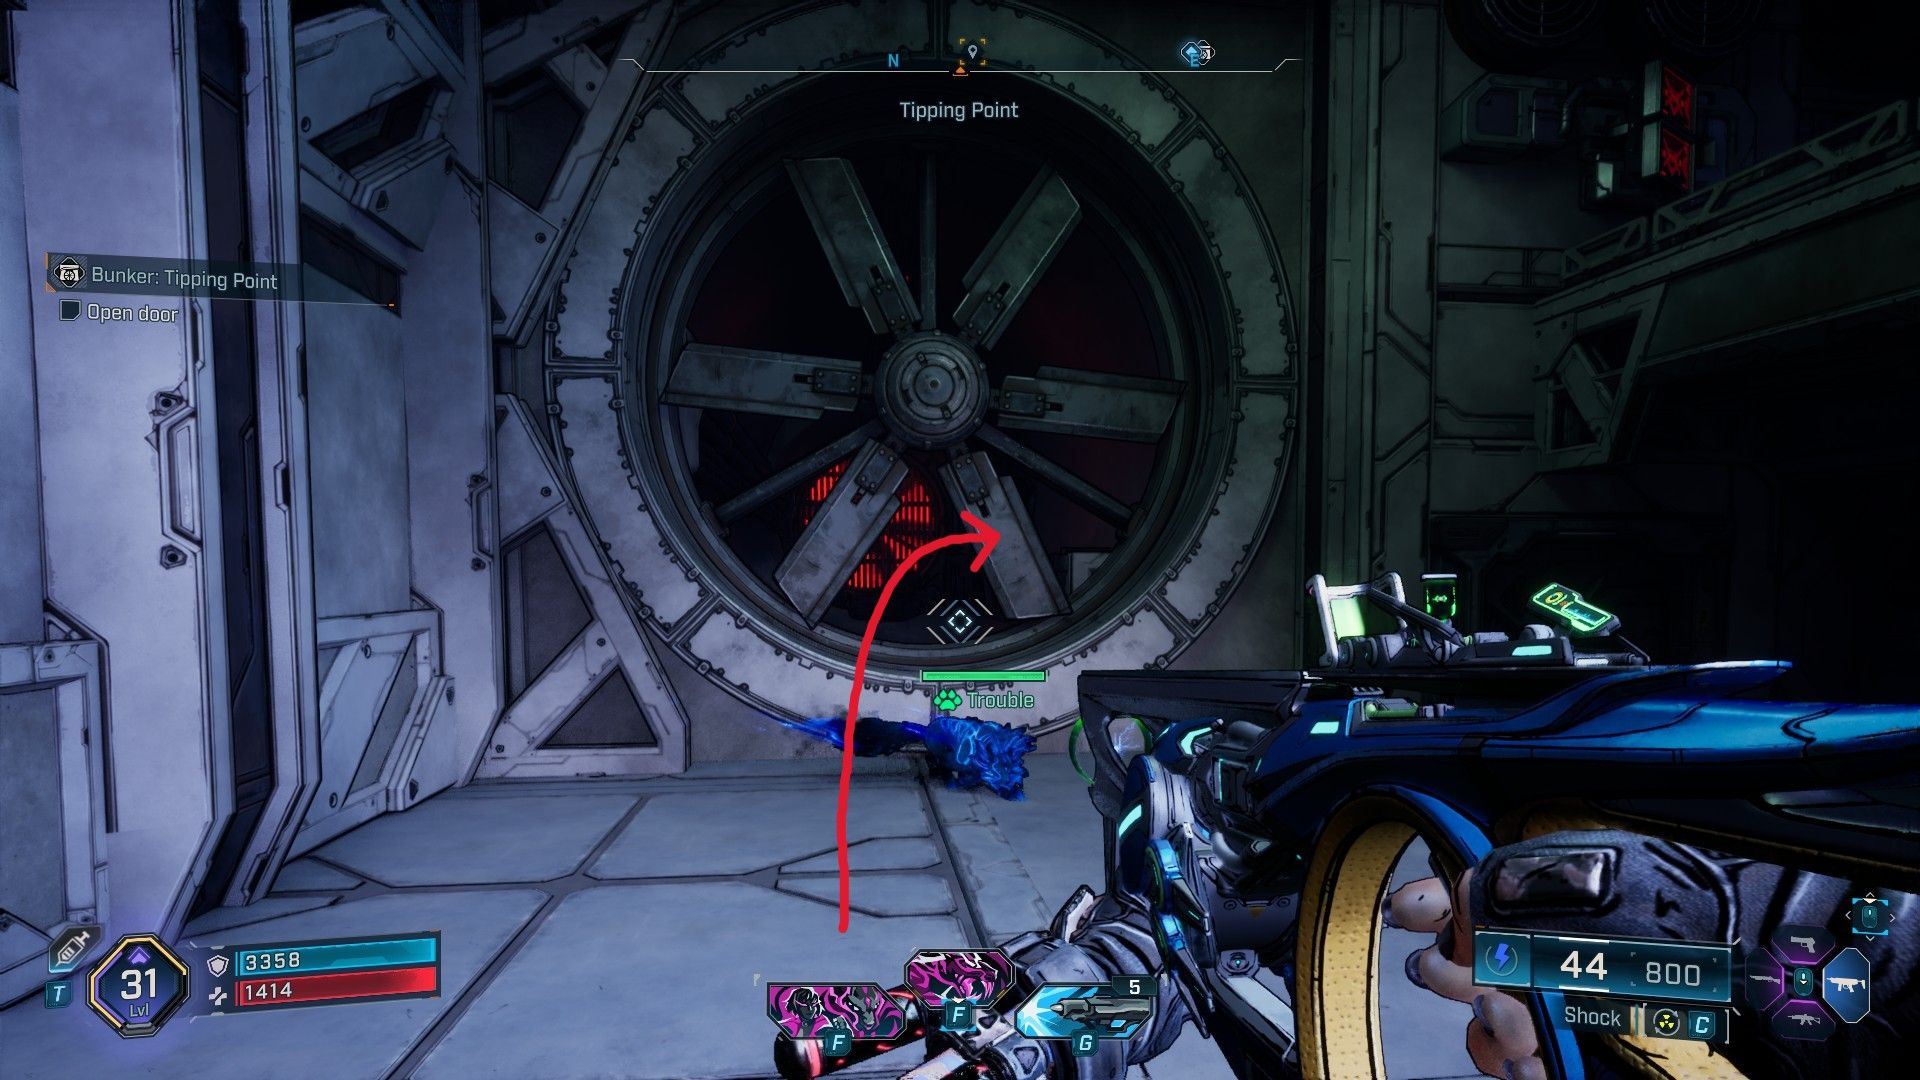
- Location: Idolator’s Noose, the Fadefields
| Legendary |
|---|
| Complex Root |
| Luty Madlad |
| UAV |
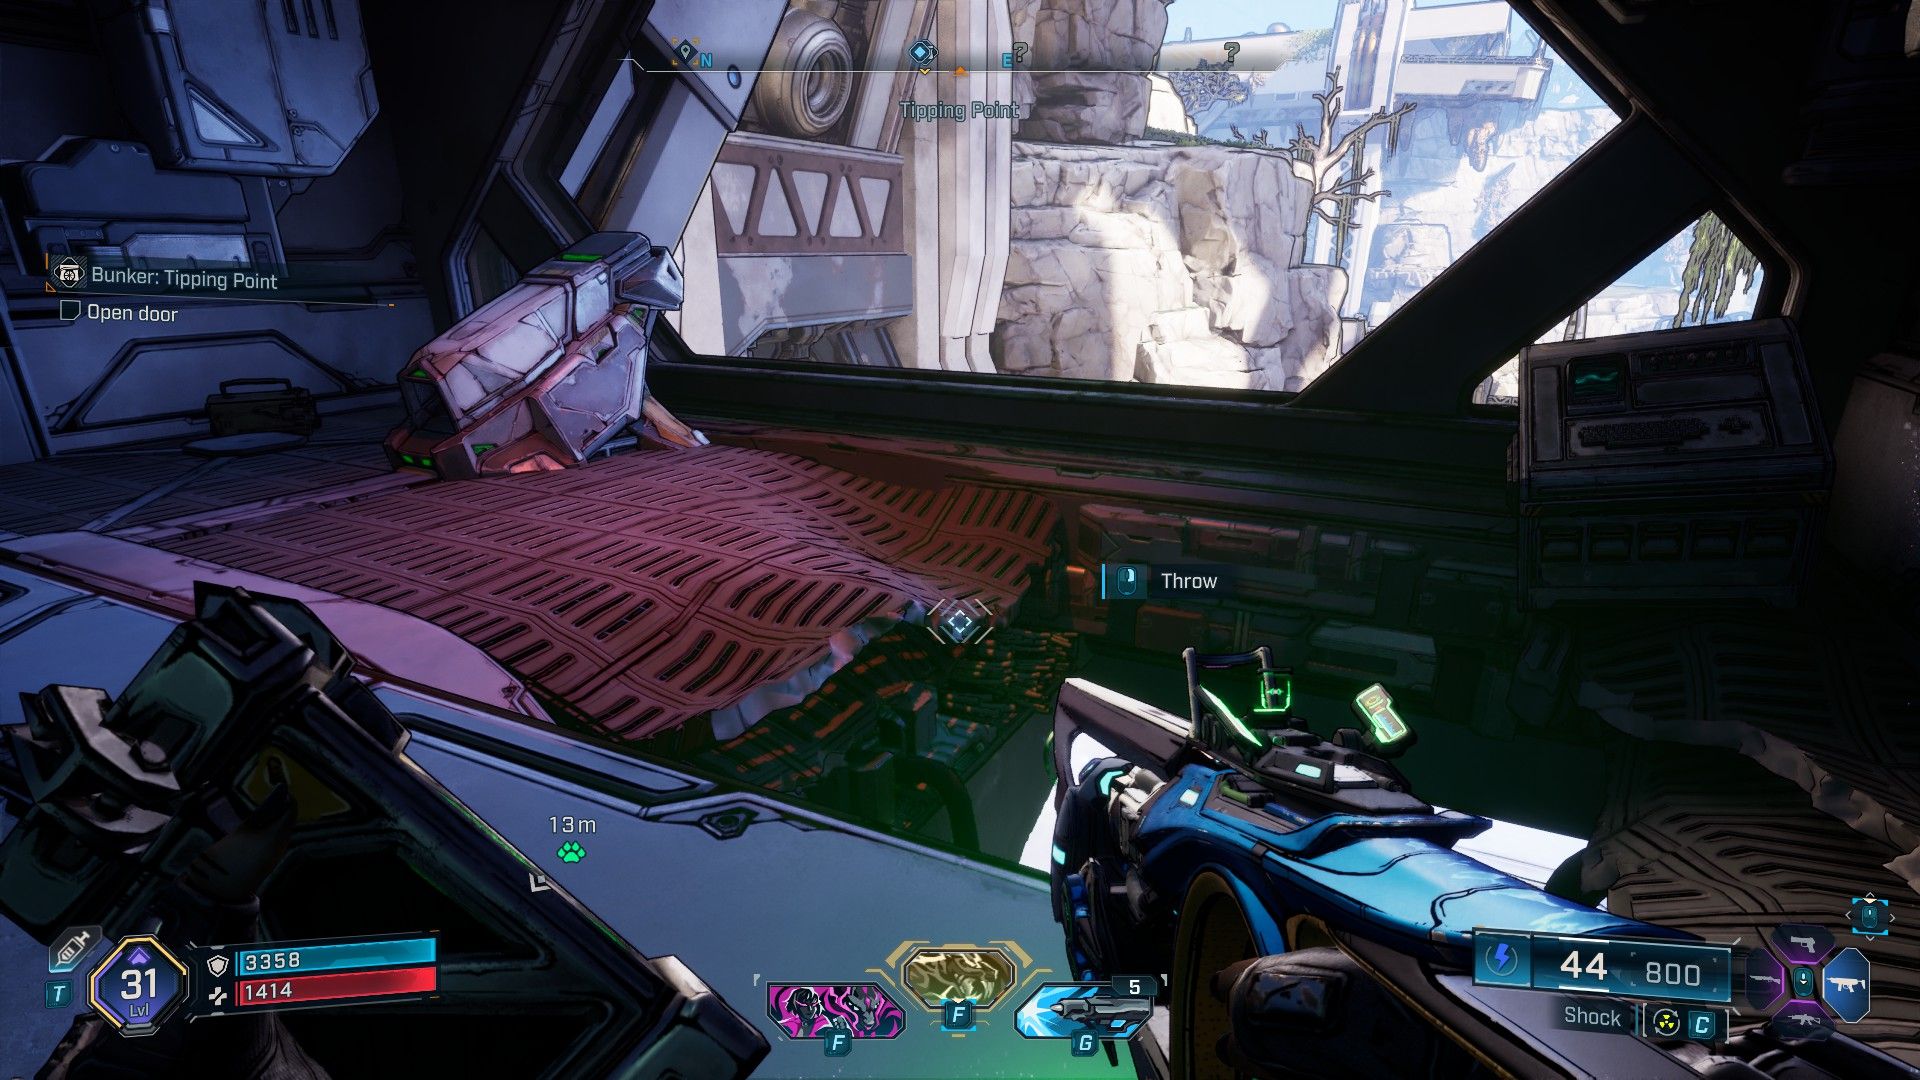
1. Navigating the Tipping Point bunker at Idolator’s Noose in Fadefields may perplex many players initially, but don’t be fooled; the method to unlock the door of Tipping Point is straightforward. With your back to the door, proceed rightward to find a colossal fan. Inside this fan, turn right again and ascend the ladder to discover a Locust station. Jump from the hole in the floor and hurl the Locust at the door.
2. Throughout the bunker, players will need to open more doors by searching for buttons and batteries, all of which can be found together in one room.
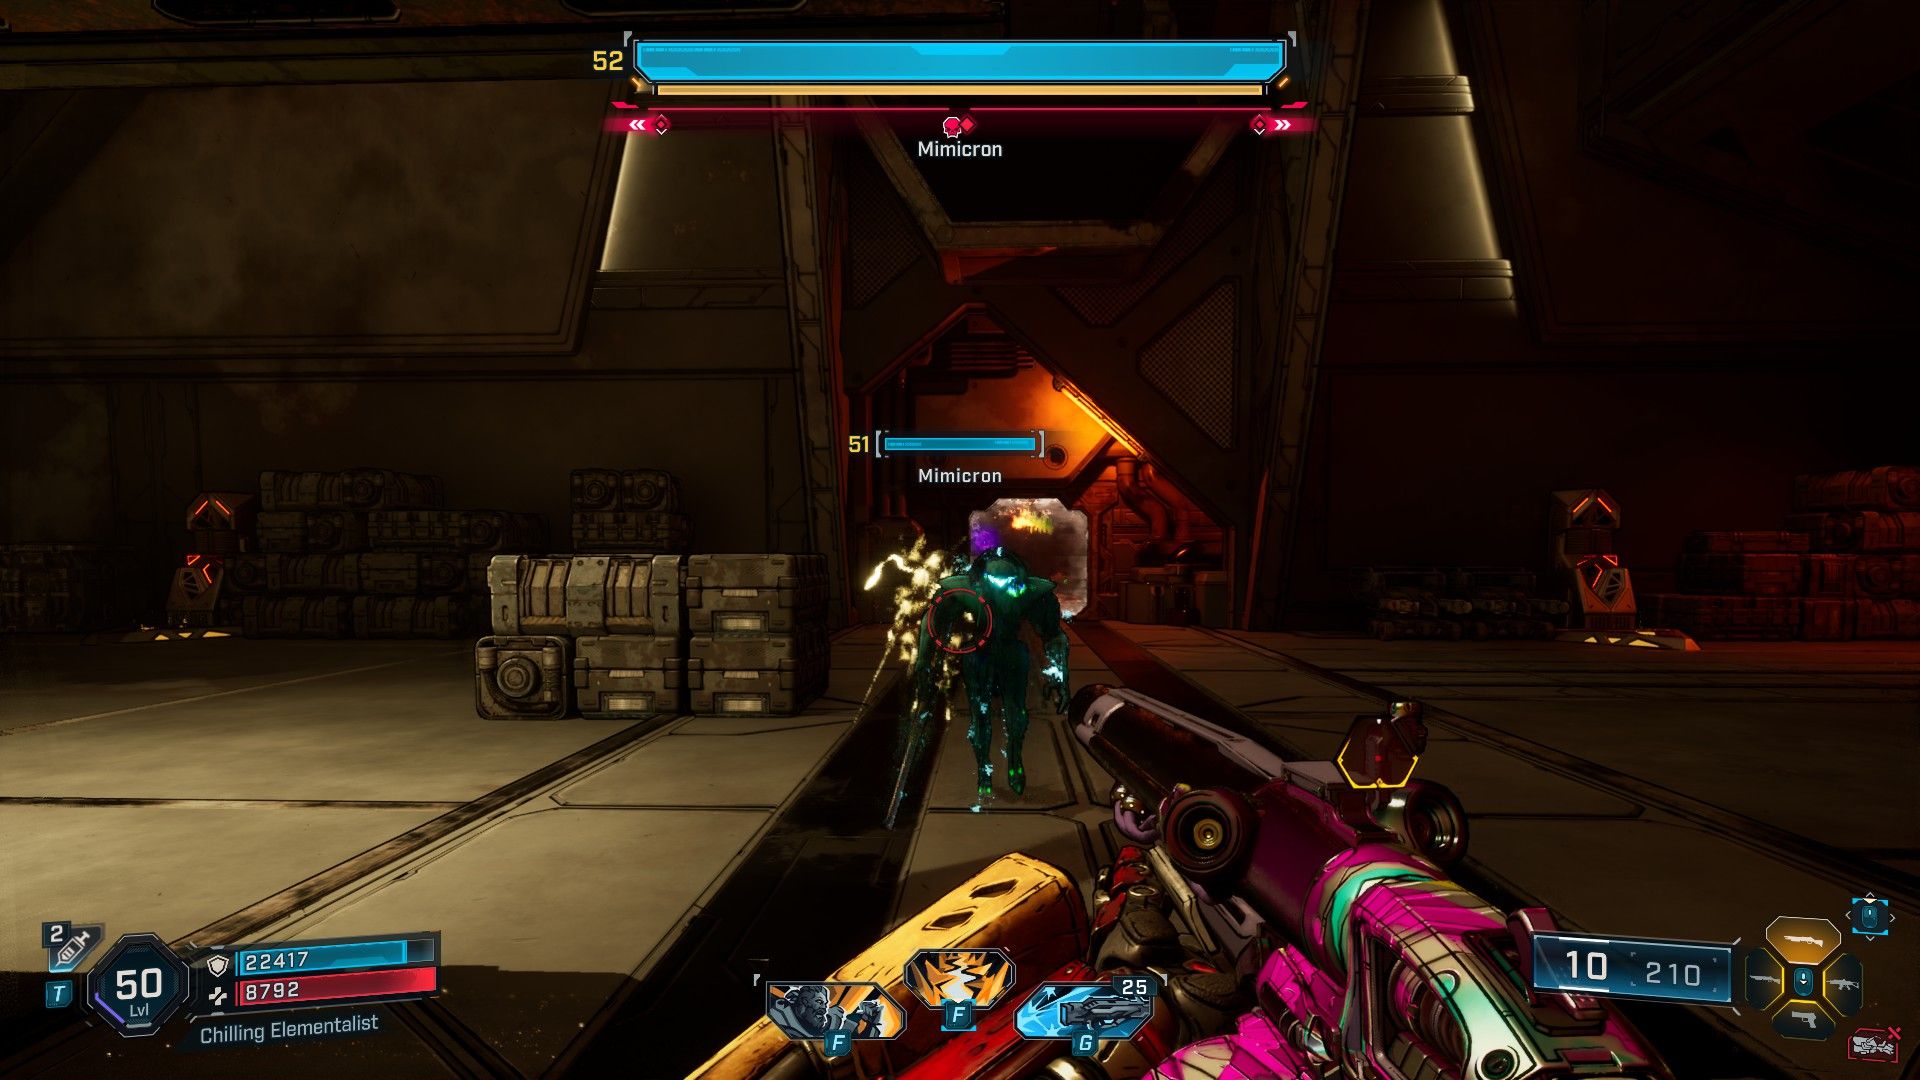
3. In the ensuing boss battle, combatants square off against Mimicron. This singular boss generates Shielded replicas of itself, so it’s advisable to use Shock or Corrosive/Cryo weapons during the confrontation since its main body has a Shield and Armor.
Craven’s Nook
How to Enter Craven’s Nook & Beat Callous Harbinger of Annihilating Death
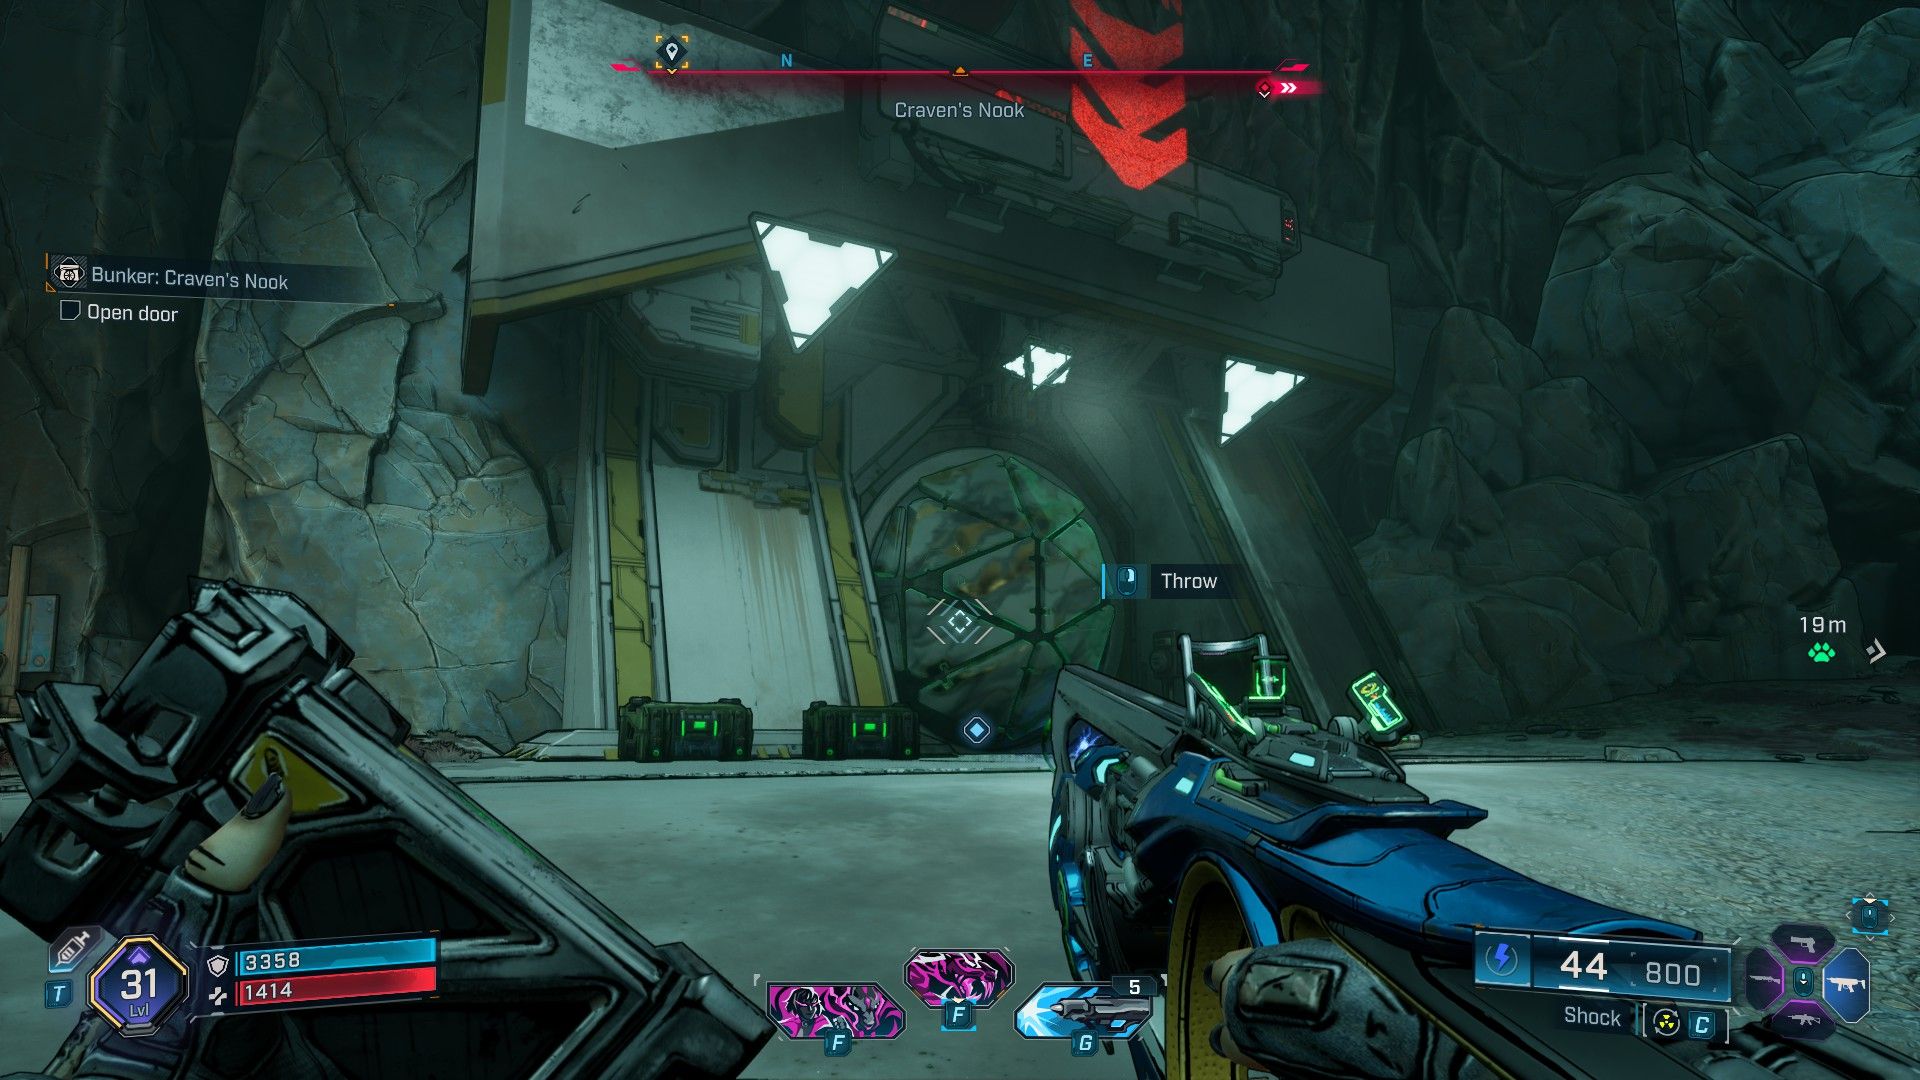
- Location: Heart of the Mountain, Terminus Range
| Legendary |
|---|
| Atling Gun |
| Kaleidosplode |
| Hot Slugger |
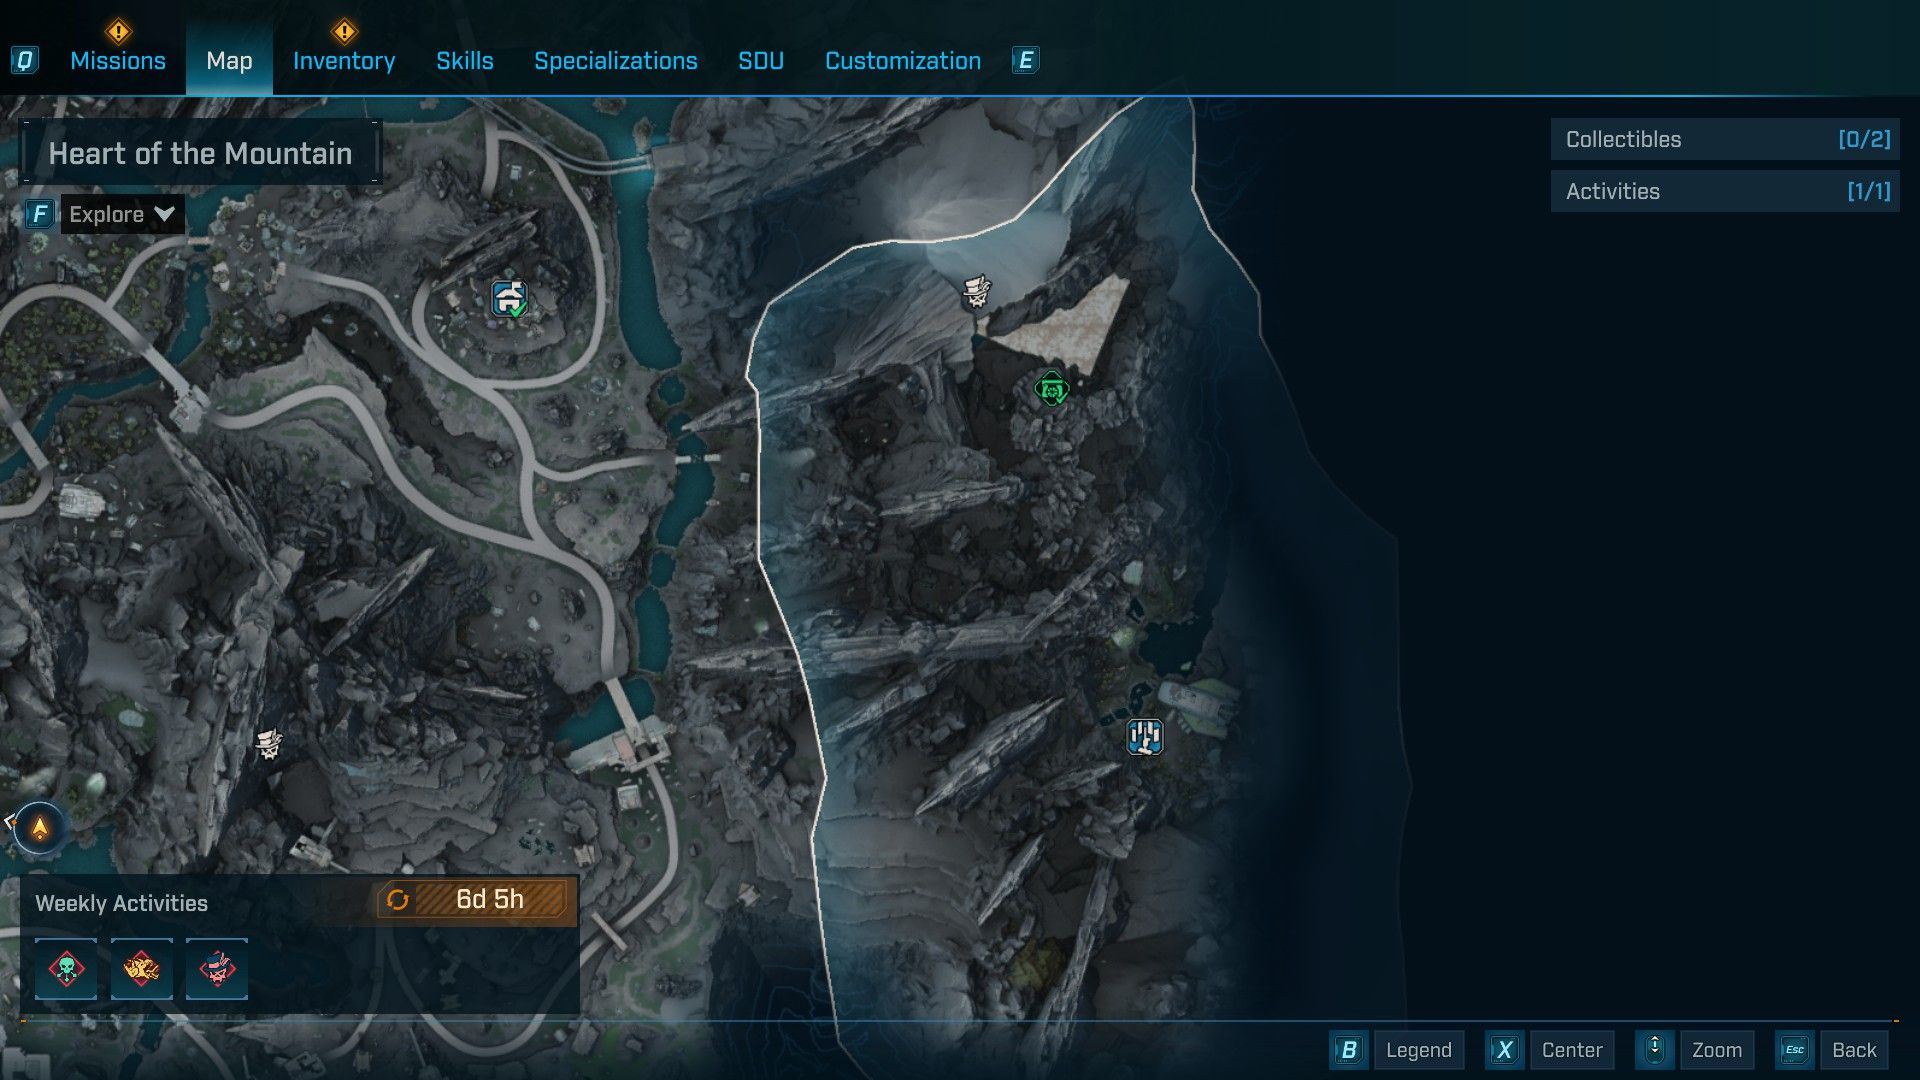
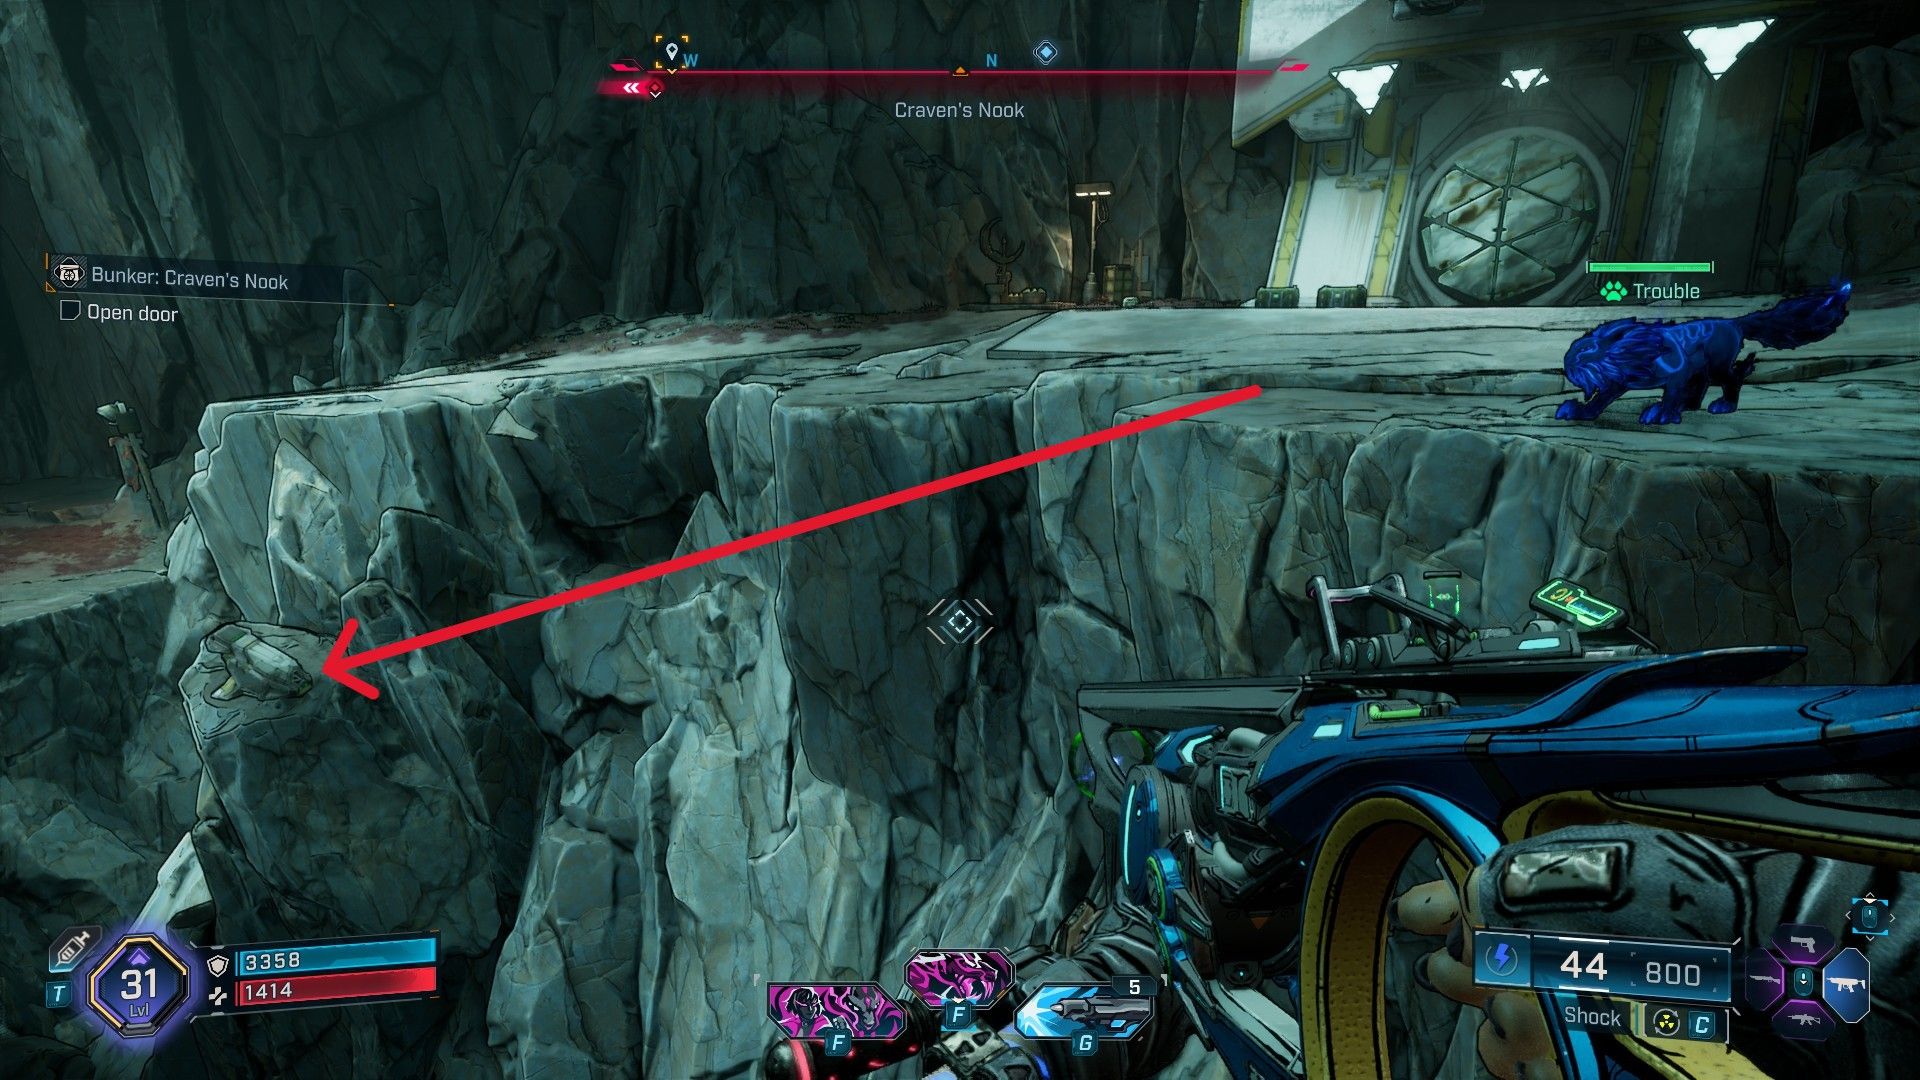
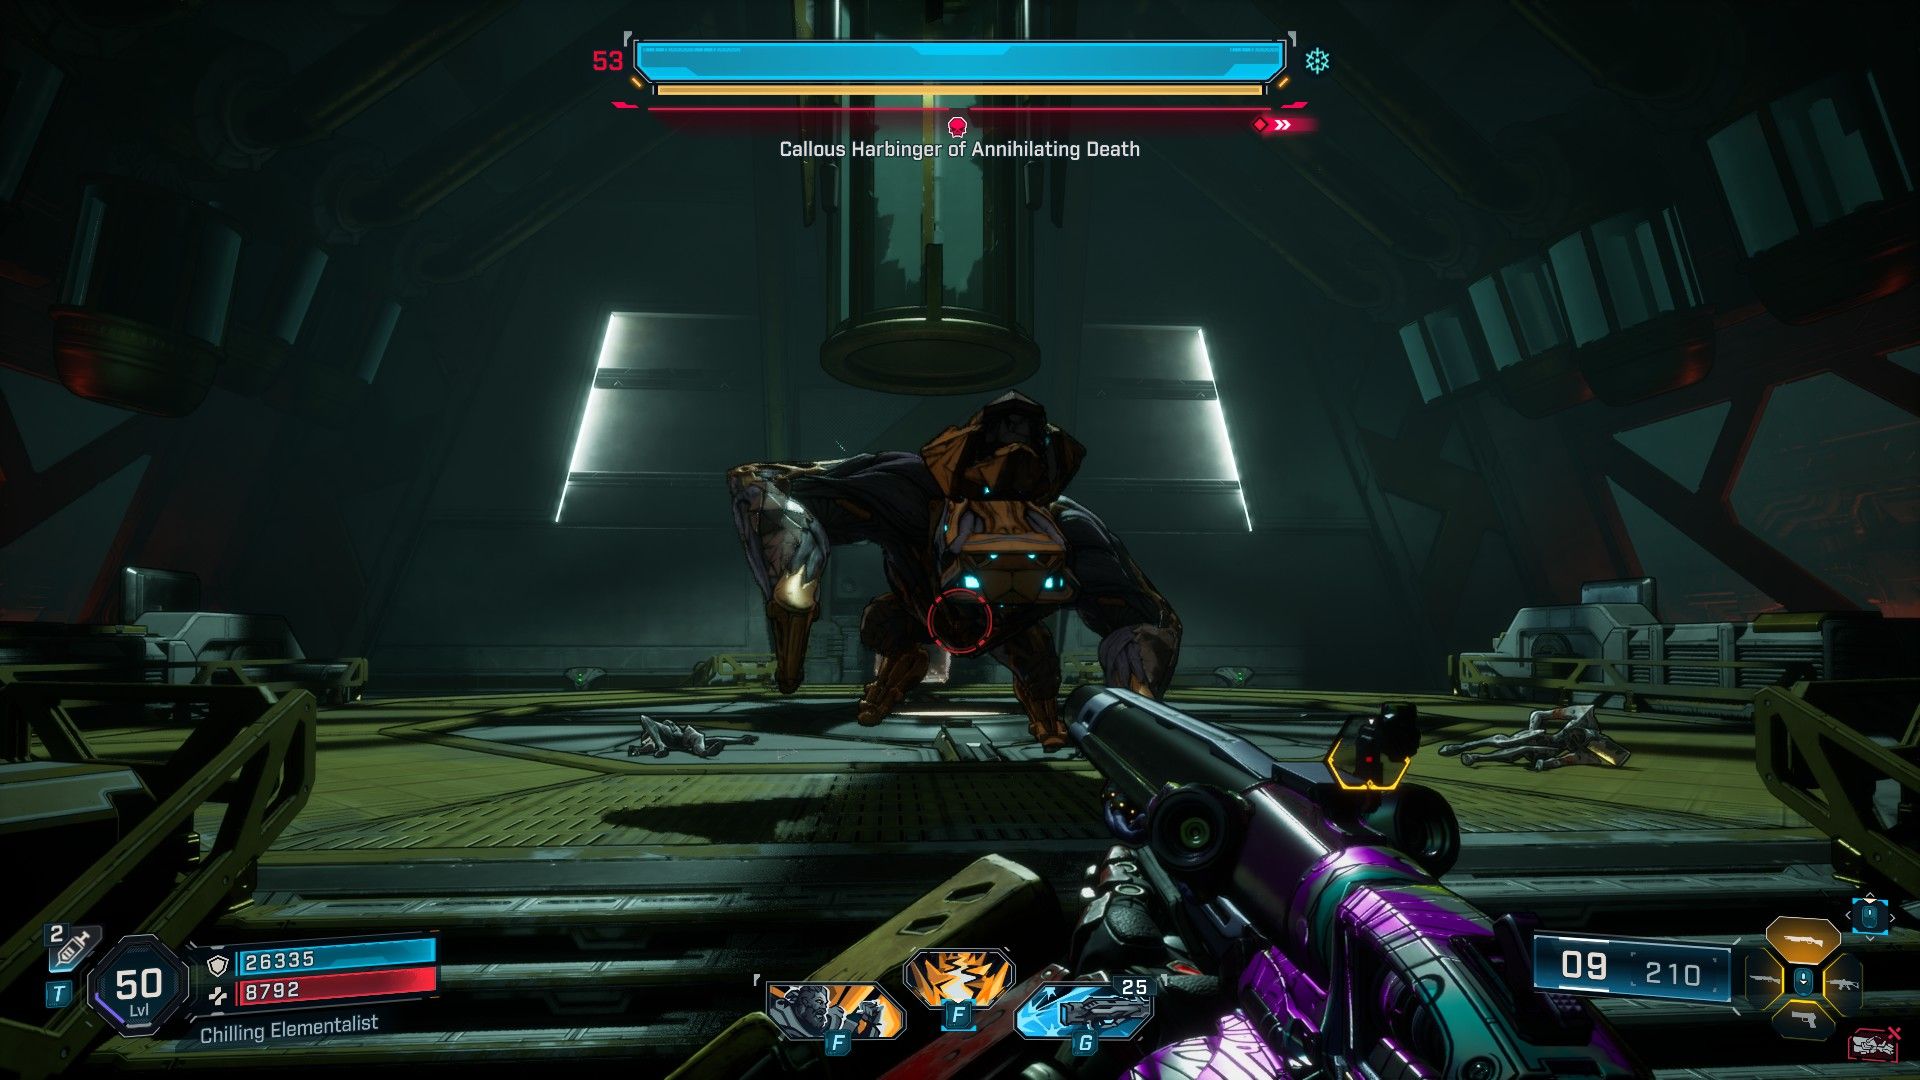
In Craven’s Nook, players are tasked with exploring the Heart of the Mountain within Terminus Range (as depicted). To locate this site, simply follow the cave’s path, but veer left as soon as you can reach a grapple-able platform. Maintain your course to the left and you’ll encounter a bunker door. To gain entry to Craven’s Nook, face the door and turn to the door’s left side, where a rock beneath the cliff houses the Locust station (also visible in the image). Inside the bunker, you’ll find a vent on the left wall that can be pulled open. Pass through it, then ascend an elevator shaft and grapple up the platform to confront the boss, Callous Harbinger of Annihilating Death, who boasts a substantial Shield and Armor bar. To defeat him effectively, make use of Shock and Corrosive/Cryo weapons.
The Wireworks
How to Enter Wireworks & Beat The Divisoner
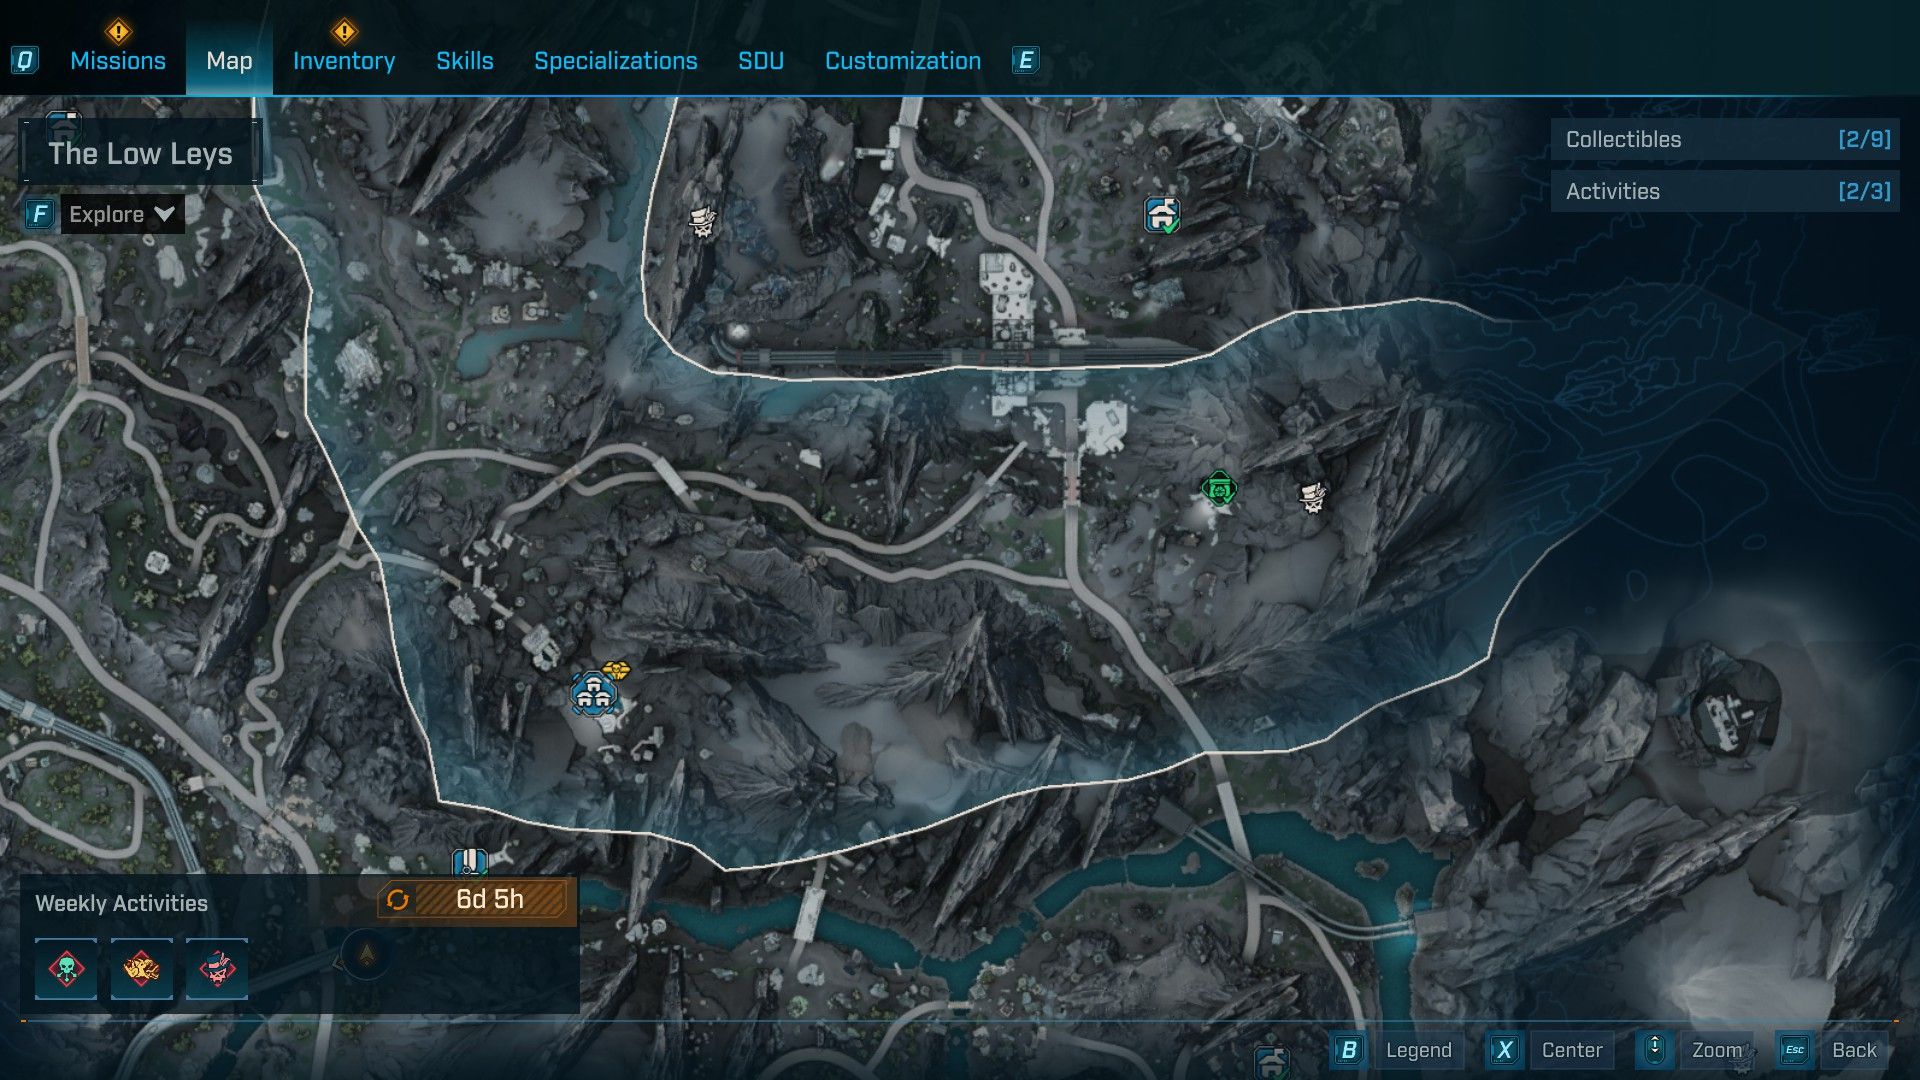
- Location: The Low Leys, Terminus Range
| Legendary |
|---|
| Inkling |
| Sideshow |
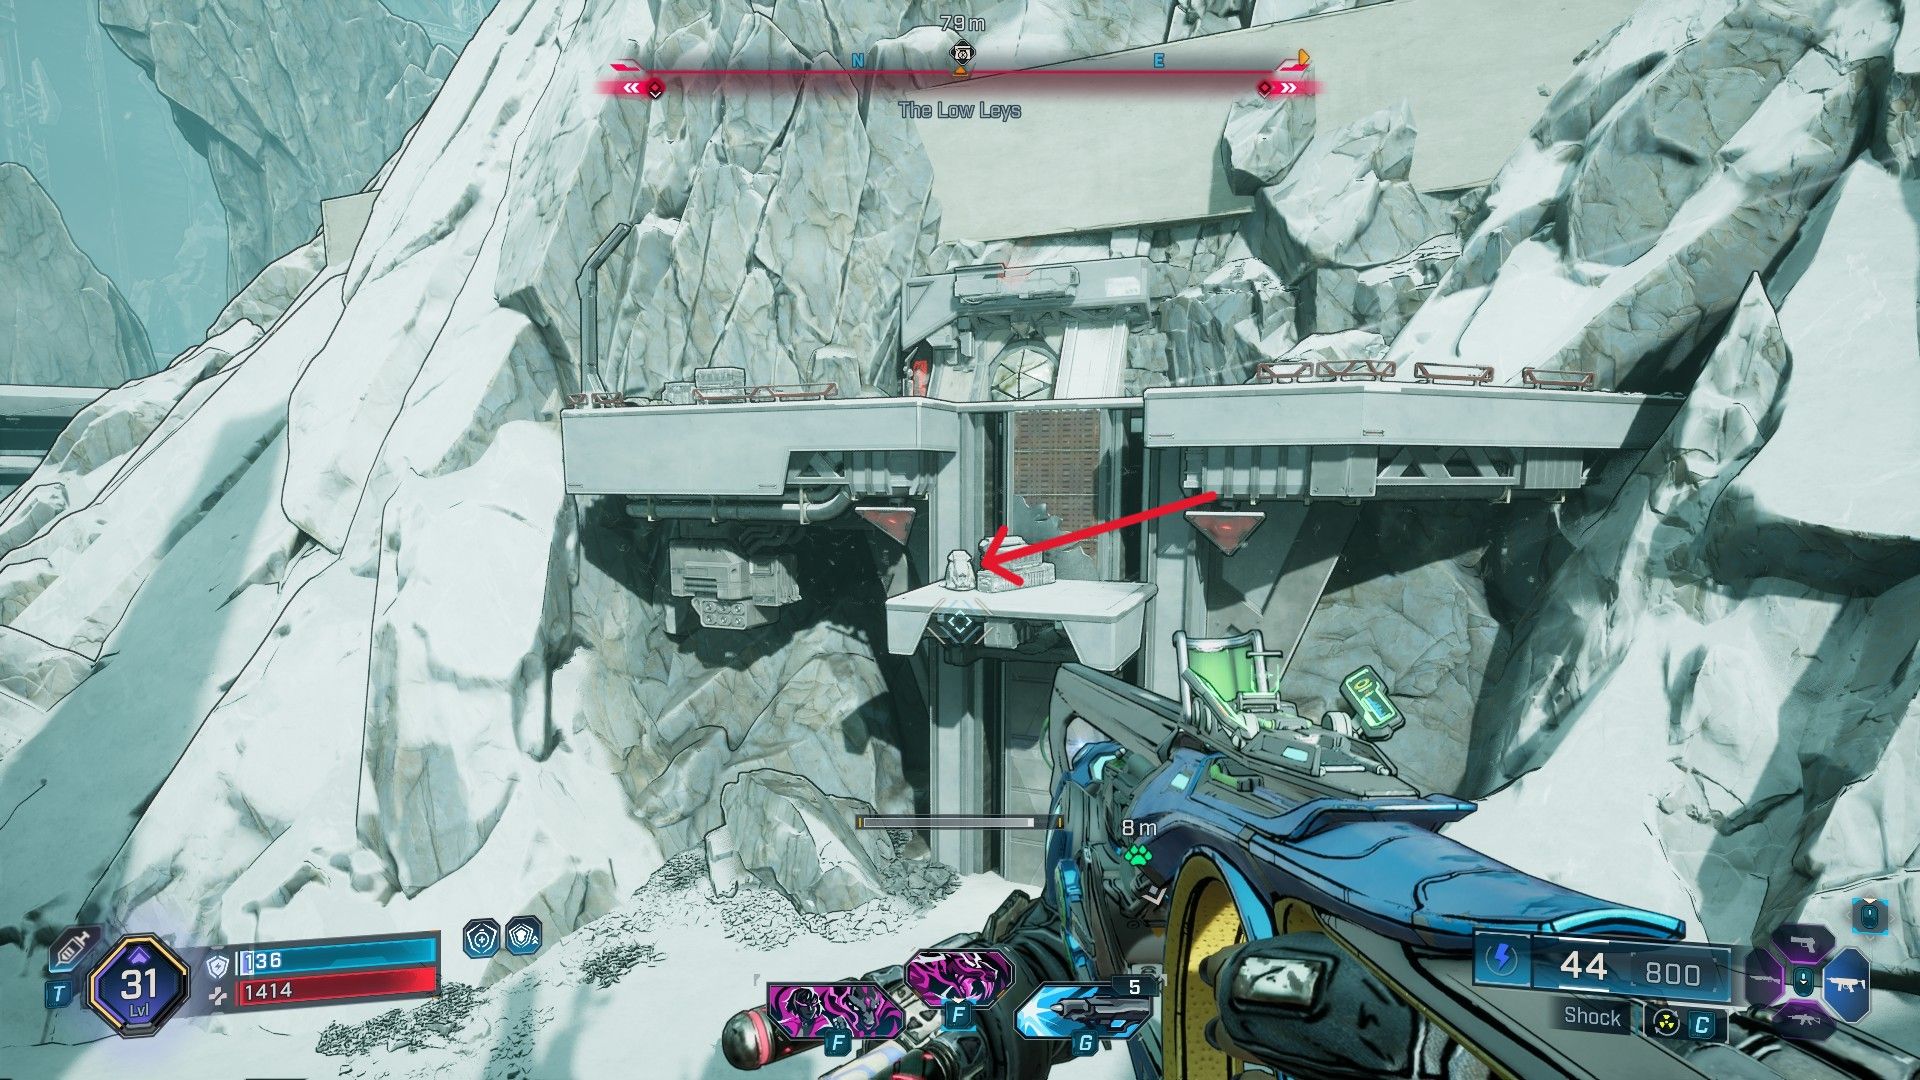
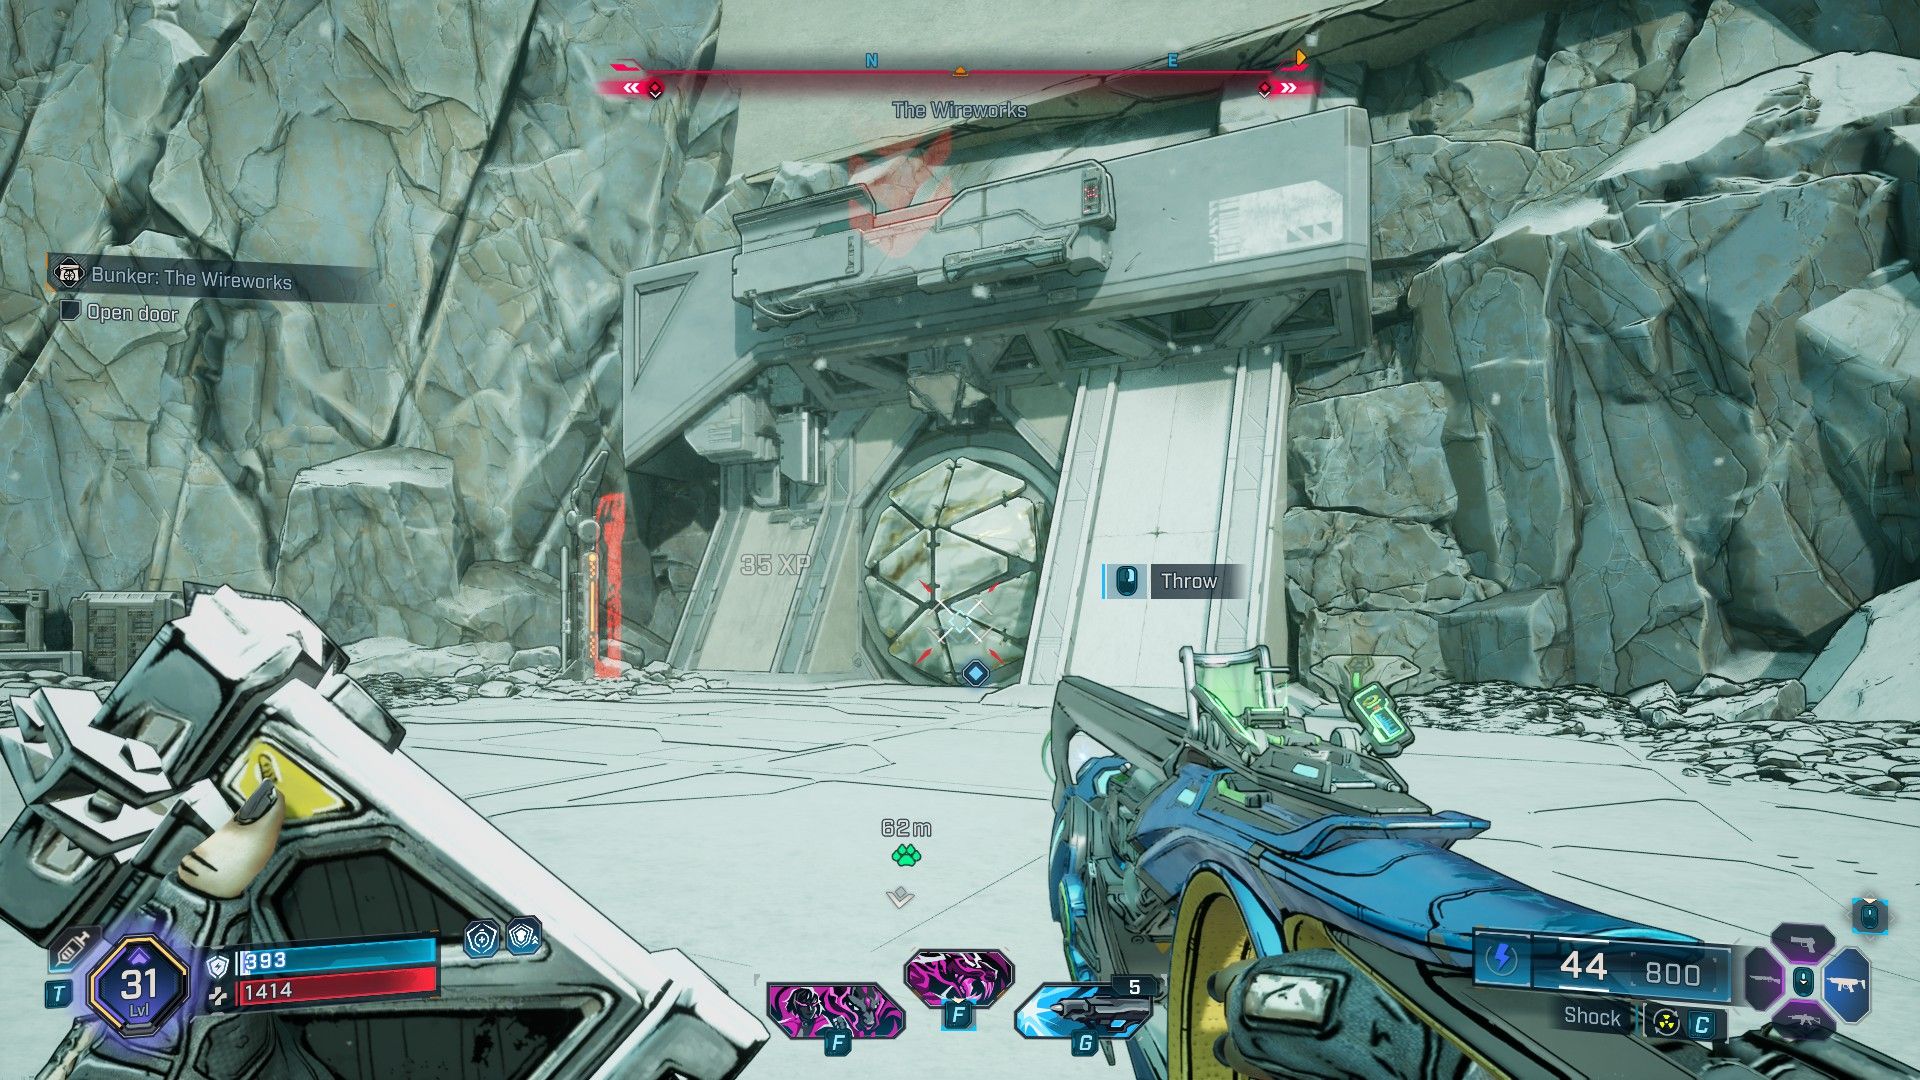
In the Low Leys district of Terminus Range lies The Wireworks. Reaching the entrance is surprisingly straightforward compared to most bunkers. Traverse a snowy path until you reach a cliffside, then glide towards the next rock that lets you continue gliding to the Bunker entry. Once there, players can scale the wall and look down at the one they just climbed for the Locust station. Grab it and hurl it at the door.
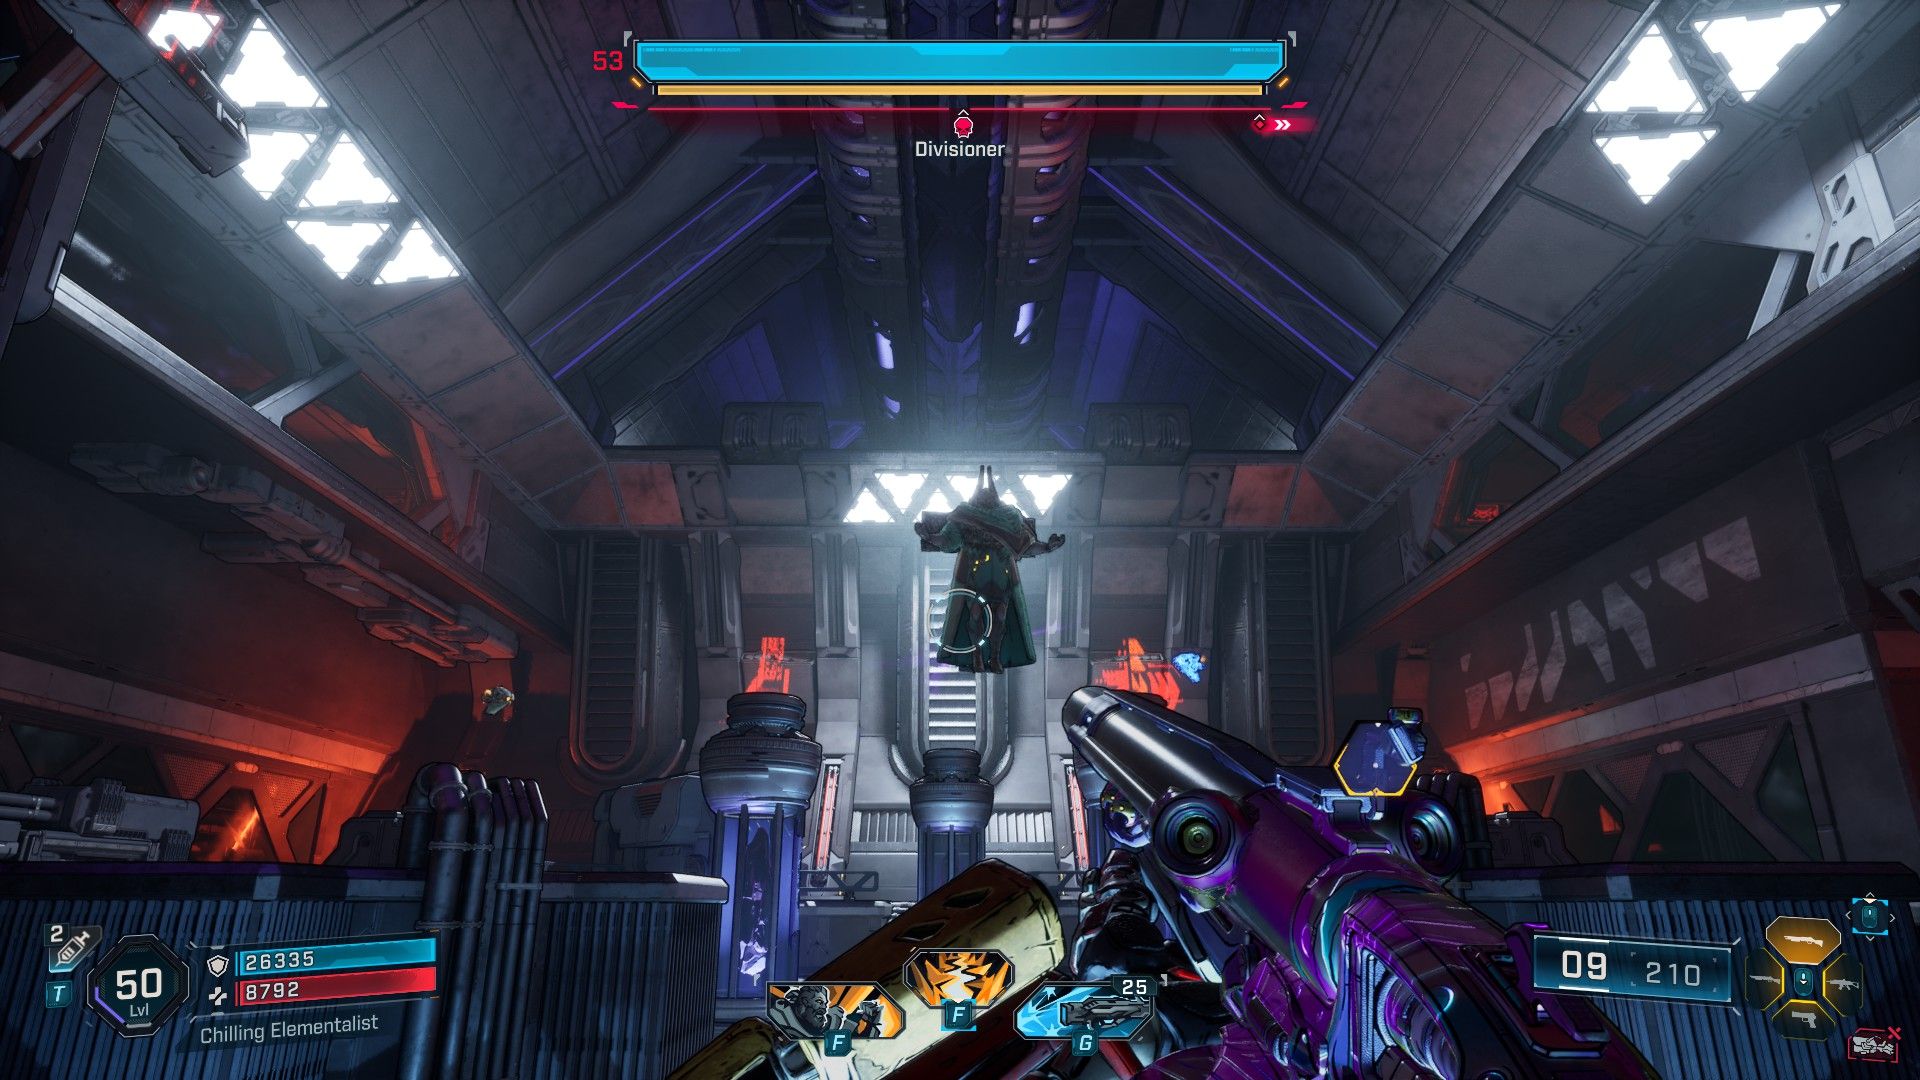
Inside, follow to the right until you locate a vent on the floor. Pull it open and jump down. To your left in the large room, you’ll find a button to press, which will lead you forward to encounter the Divisioner boss. This boss is guarded by a Shield, but beware, it’s a deception as destroying the shield causes smaller replicas called Renditions to appear. Focus on defeating the Renditions (which have their own health bars, so use Shock) to break down the Divisioner’s Armor health bar and kill it without summoning too many Renditions.
The Crawlcroft
How to Enter Crawlcroft & Beat Fractis
- Location: Grindstone of the Worthy, Carcadia Burn
| Legendary |
|---|
| Chuck |
| Protean Cell |
| UAV |
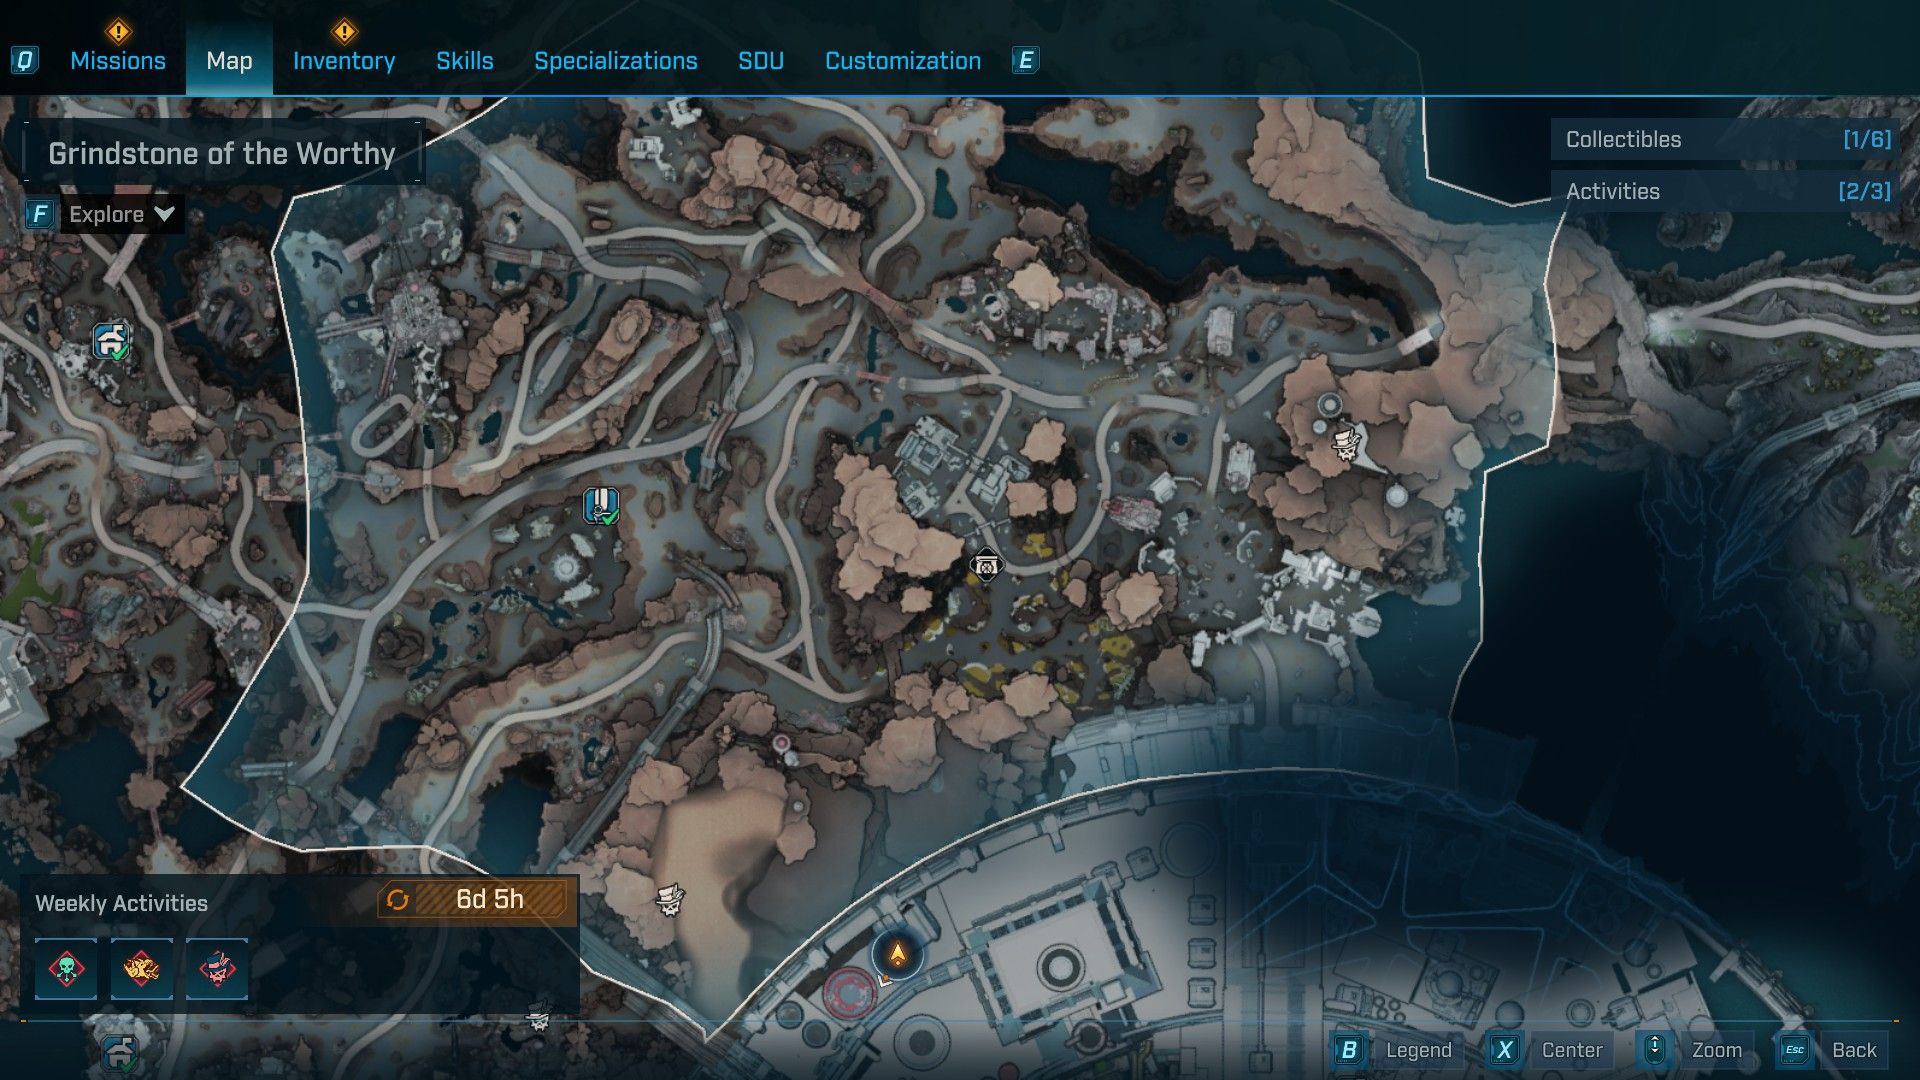
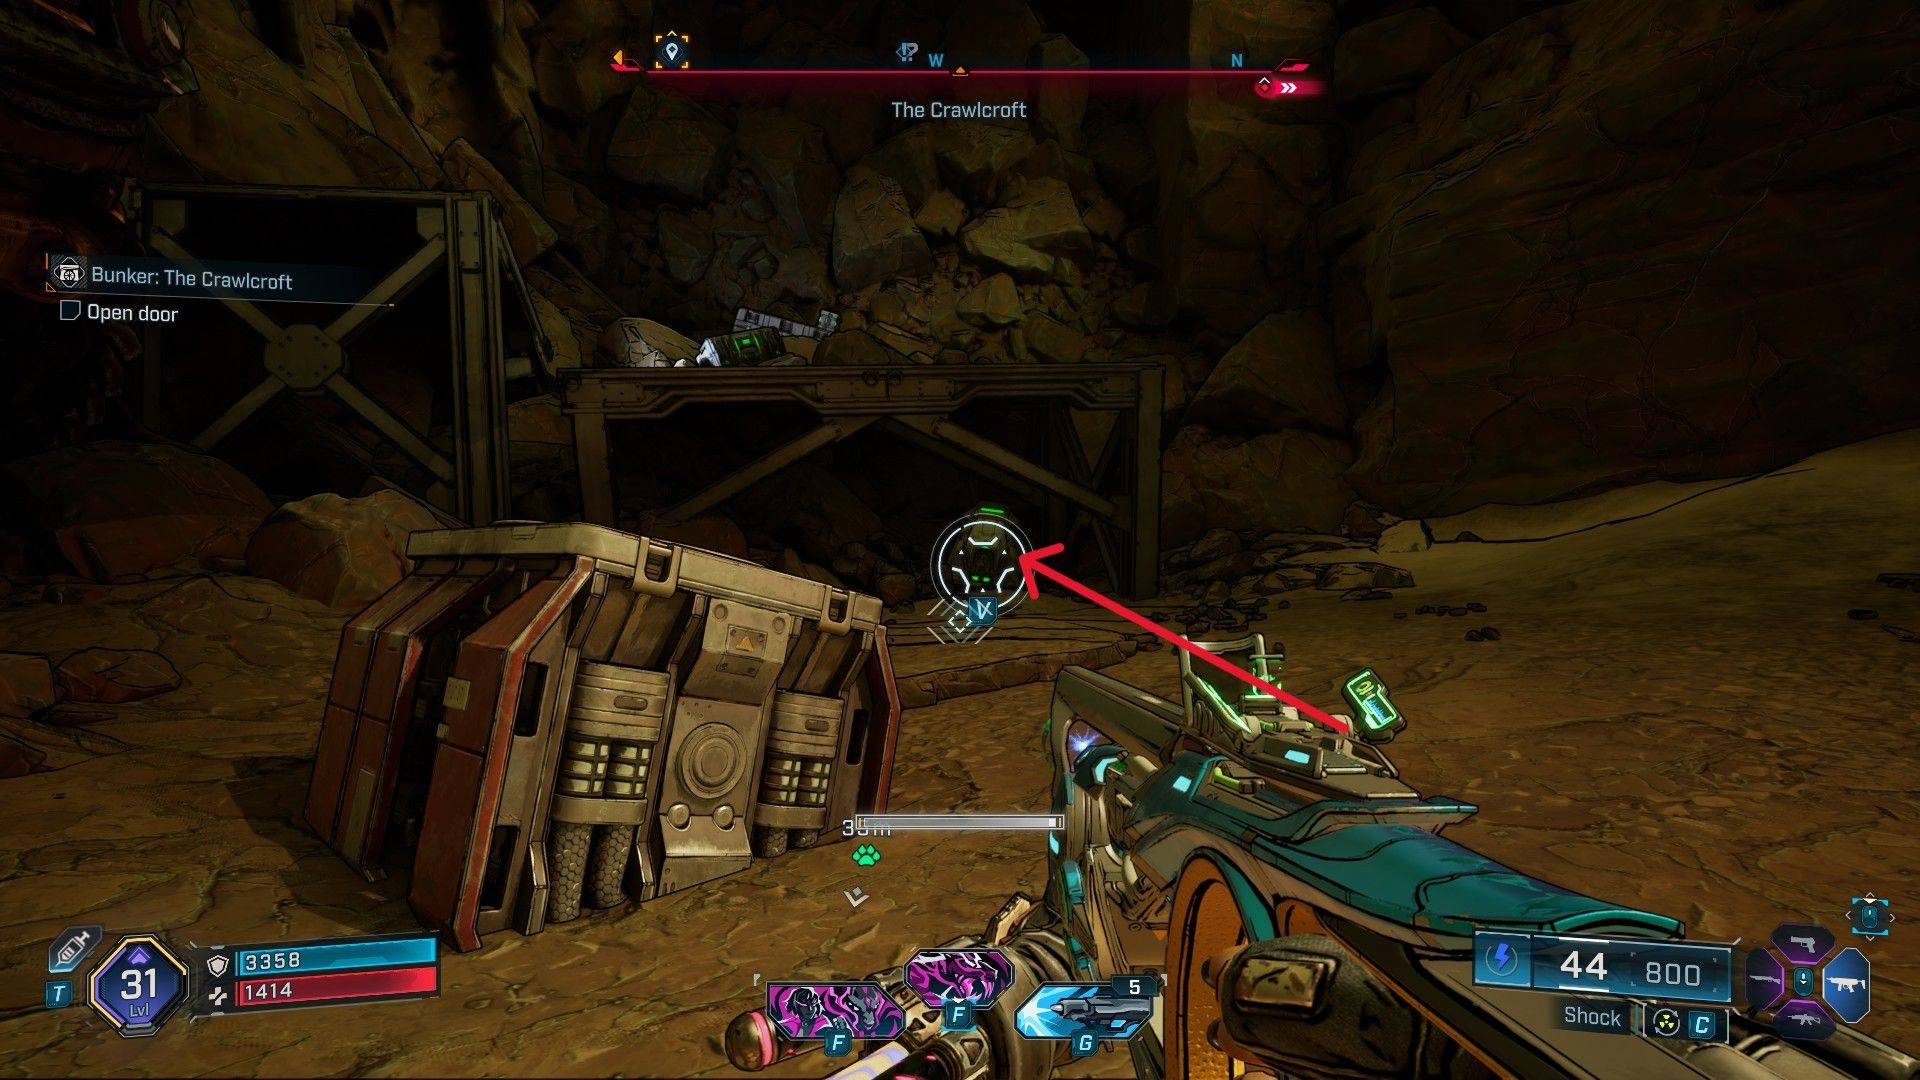
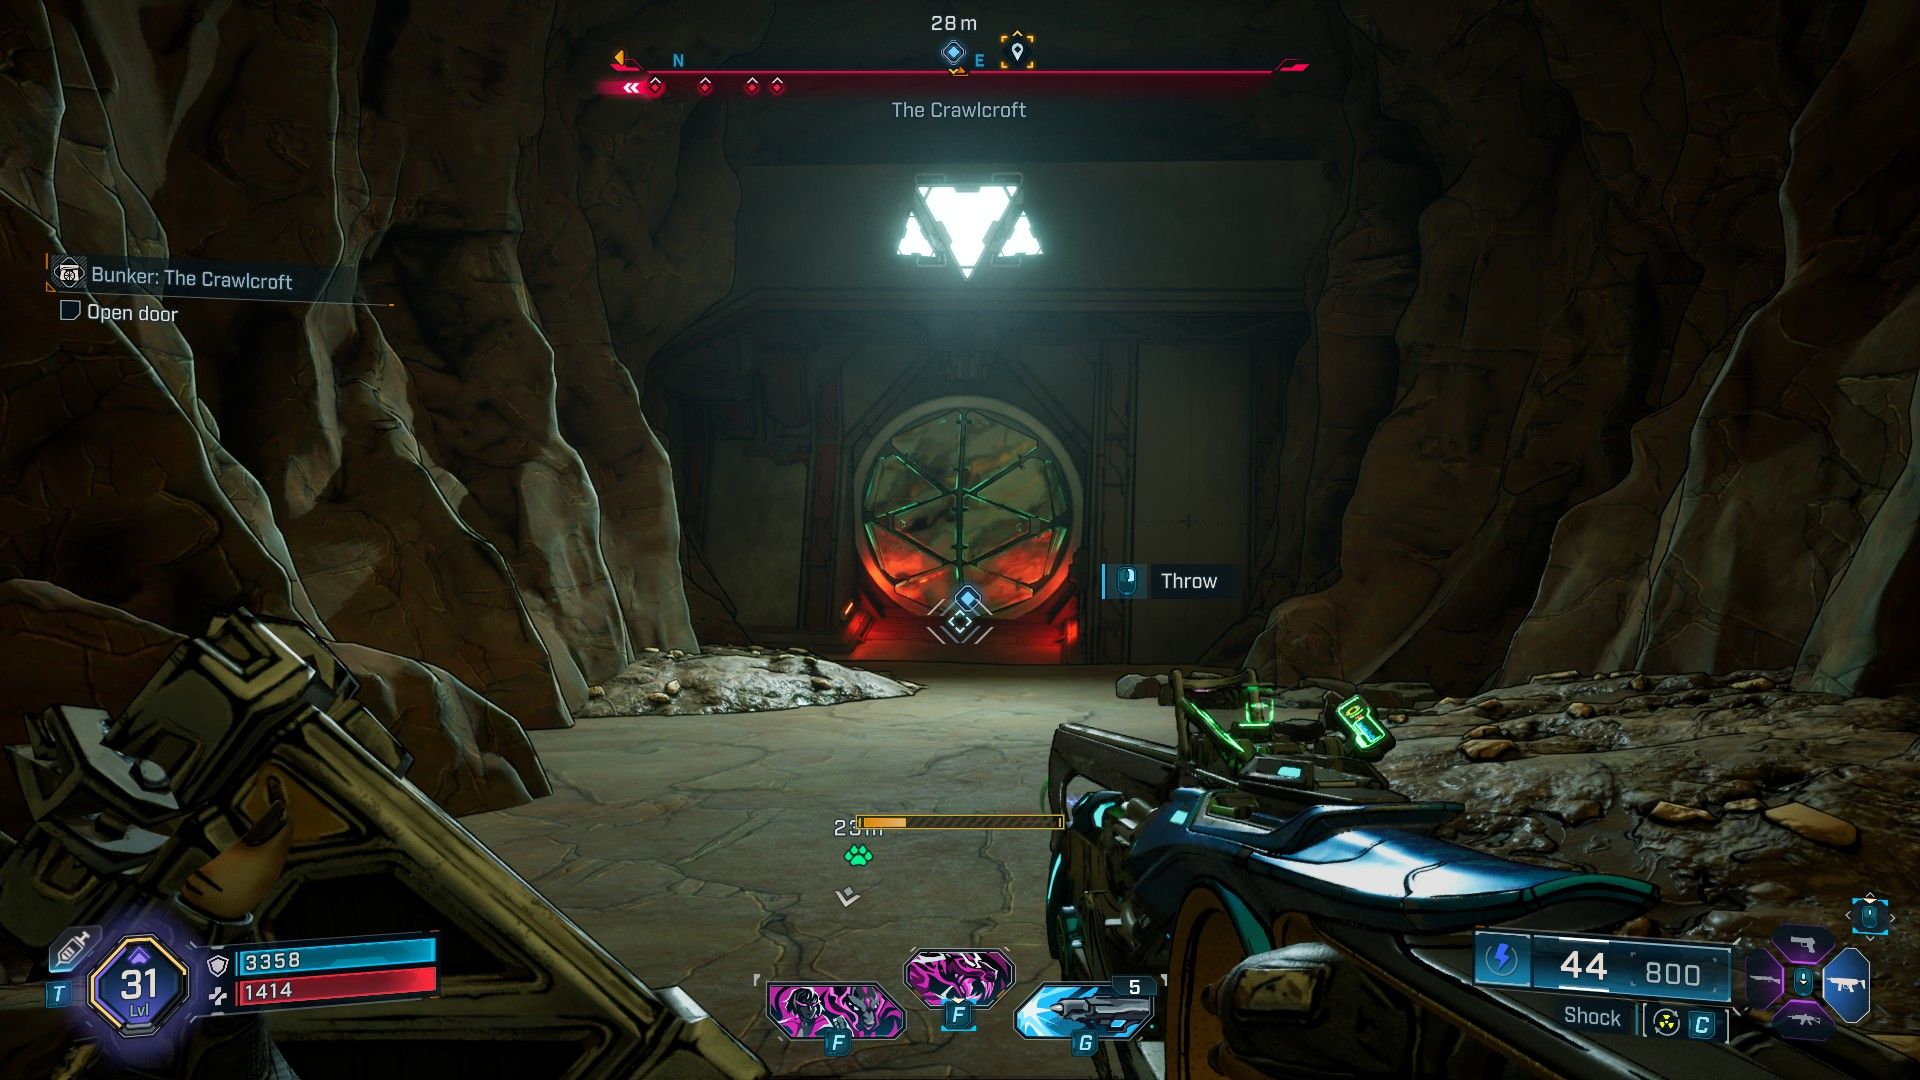
Located within Carcadia Burn, the Crawlcroft is hidden in the Grindstone of the Worthy. To find this bunker, players should consult the provided map and turn right towards an Order base. Inside the base, explore a cave that leads to an Order Bunker. The entrance to the Crawlcroft can be found opposite the main door, beneath some metal bars near a grapple platform. Grab the Locust station there, aim it at the door, and throw to proceed.
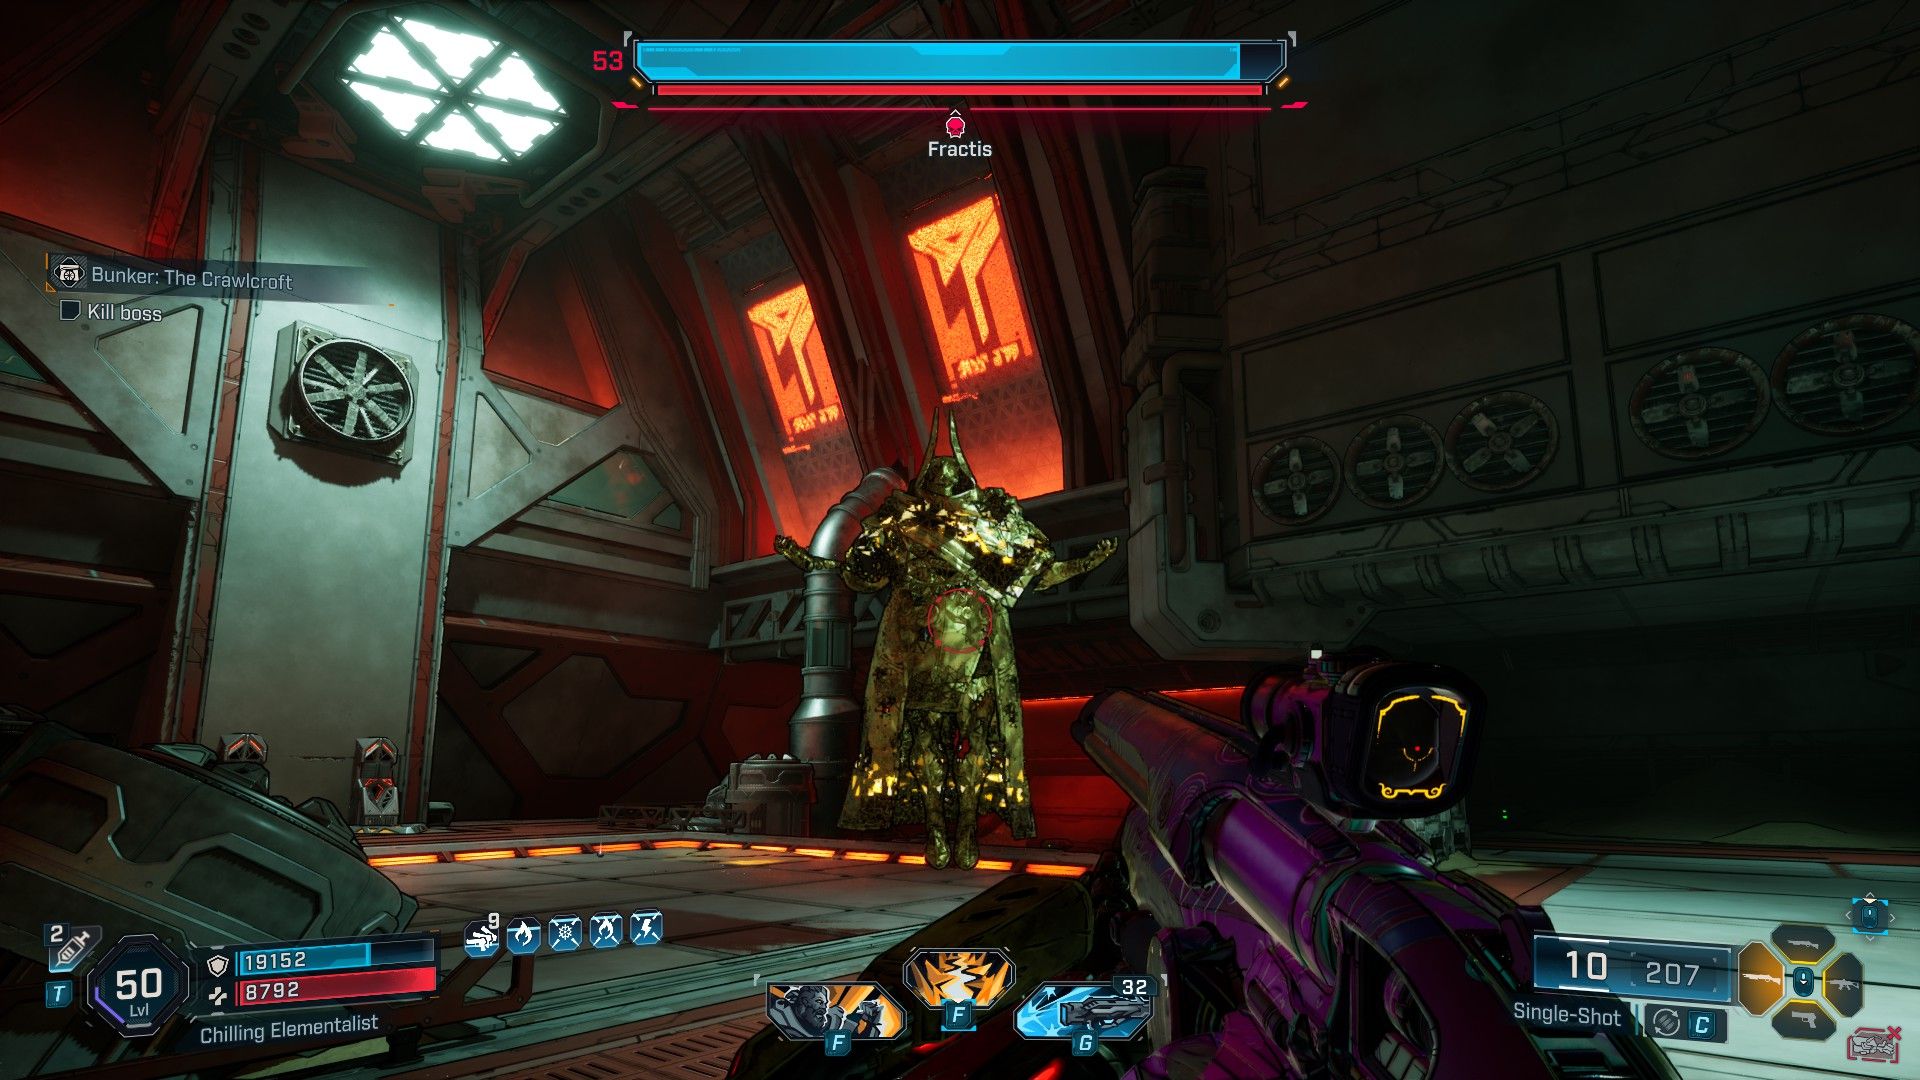
The Crawlcroft doesn’t have many control systems, so follow the partially open doors, duck through wall gaps, and continue moving to the left side until you reach Fractis. Although Fractis appears menacing, he summons a golden copy of himself with a shield. Defeat the shield using Shock abilities, then attack his weak Incendiary flesh bar to defeat him.
Ironwall Resolve
How to Enter Ironwall Resolve & Beat Directive-O
- Location: Terminus District, Dominion
| Legendary |
|---|
| Bonnie and Clyde |
| Whiskey Foxtrot |
| Rowan’s Charge |
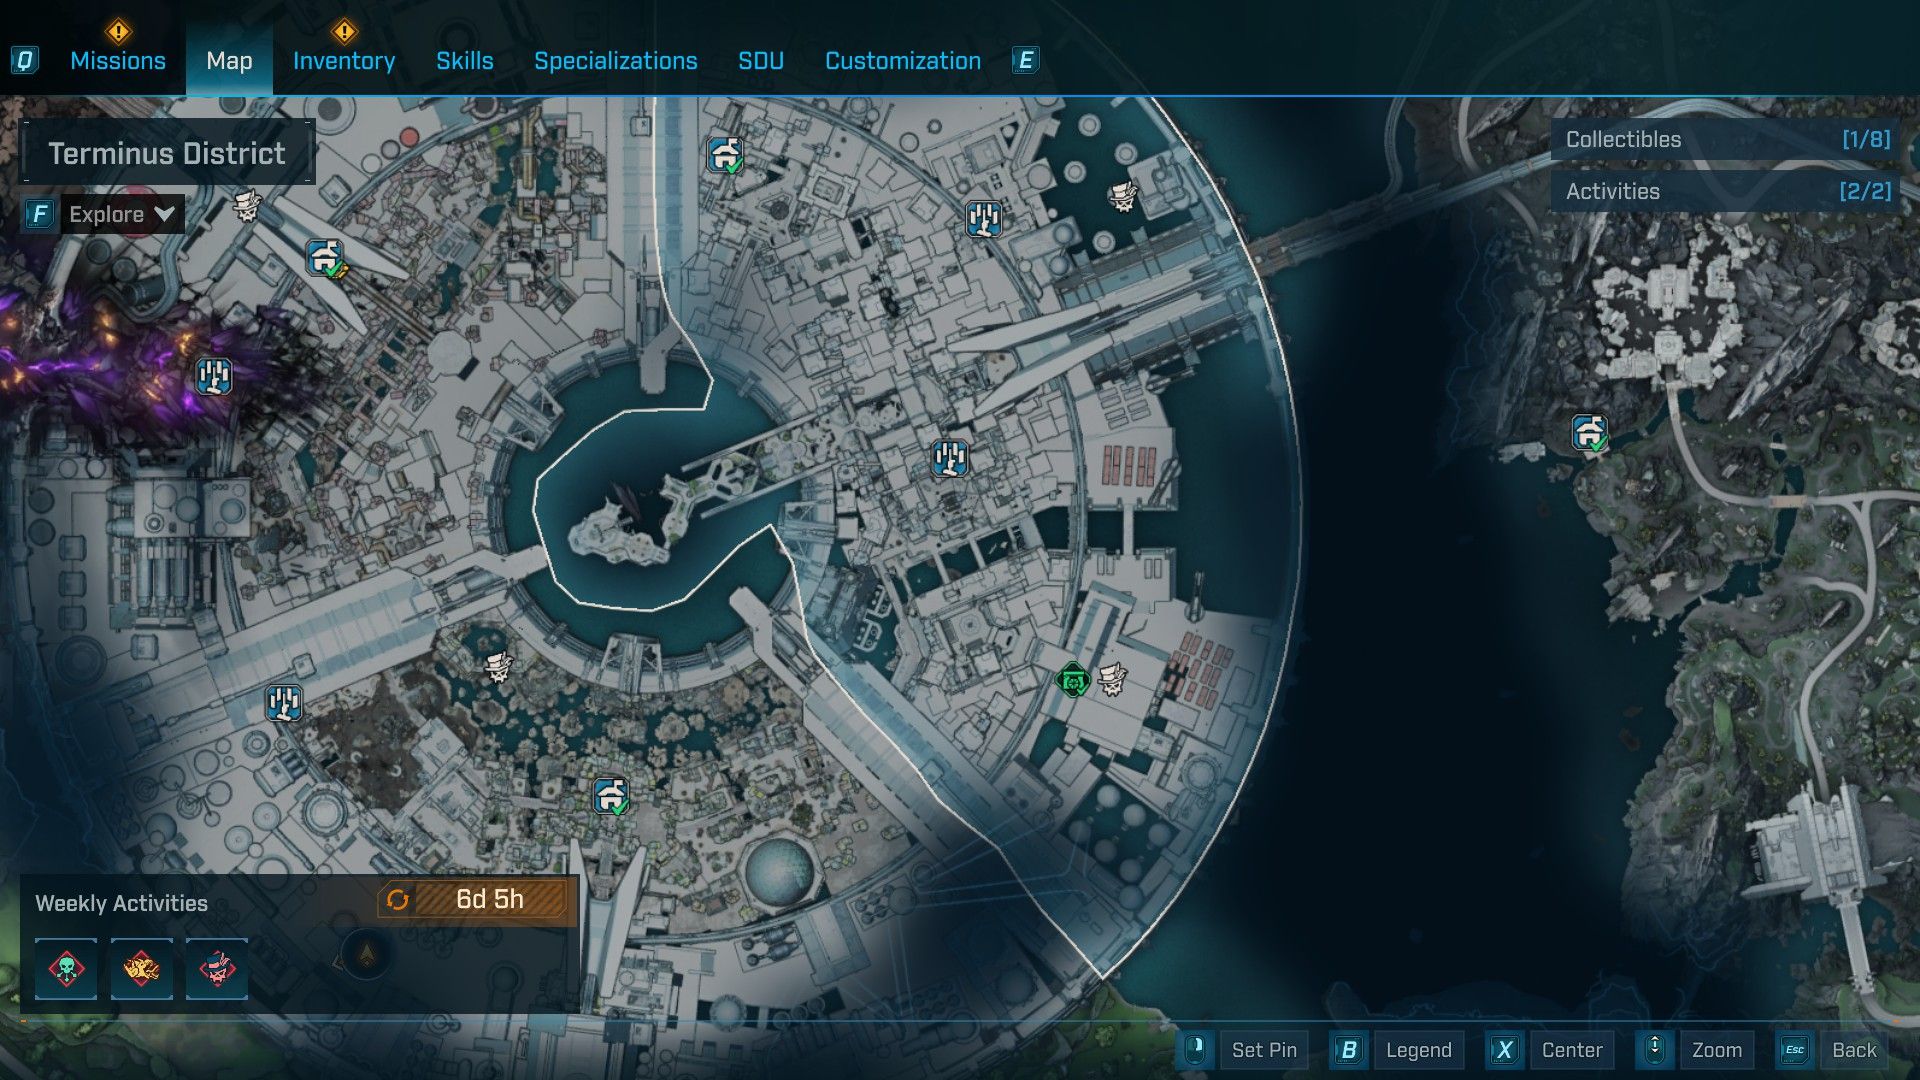
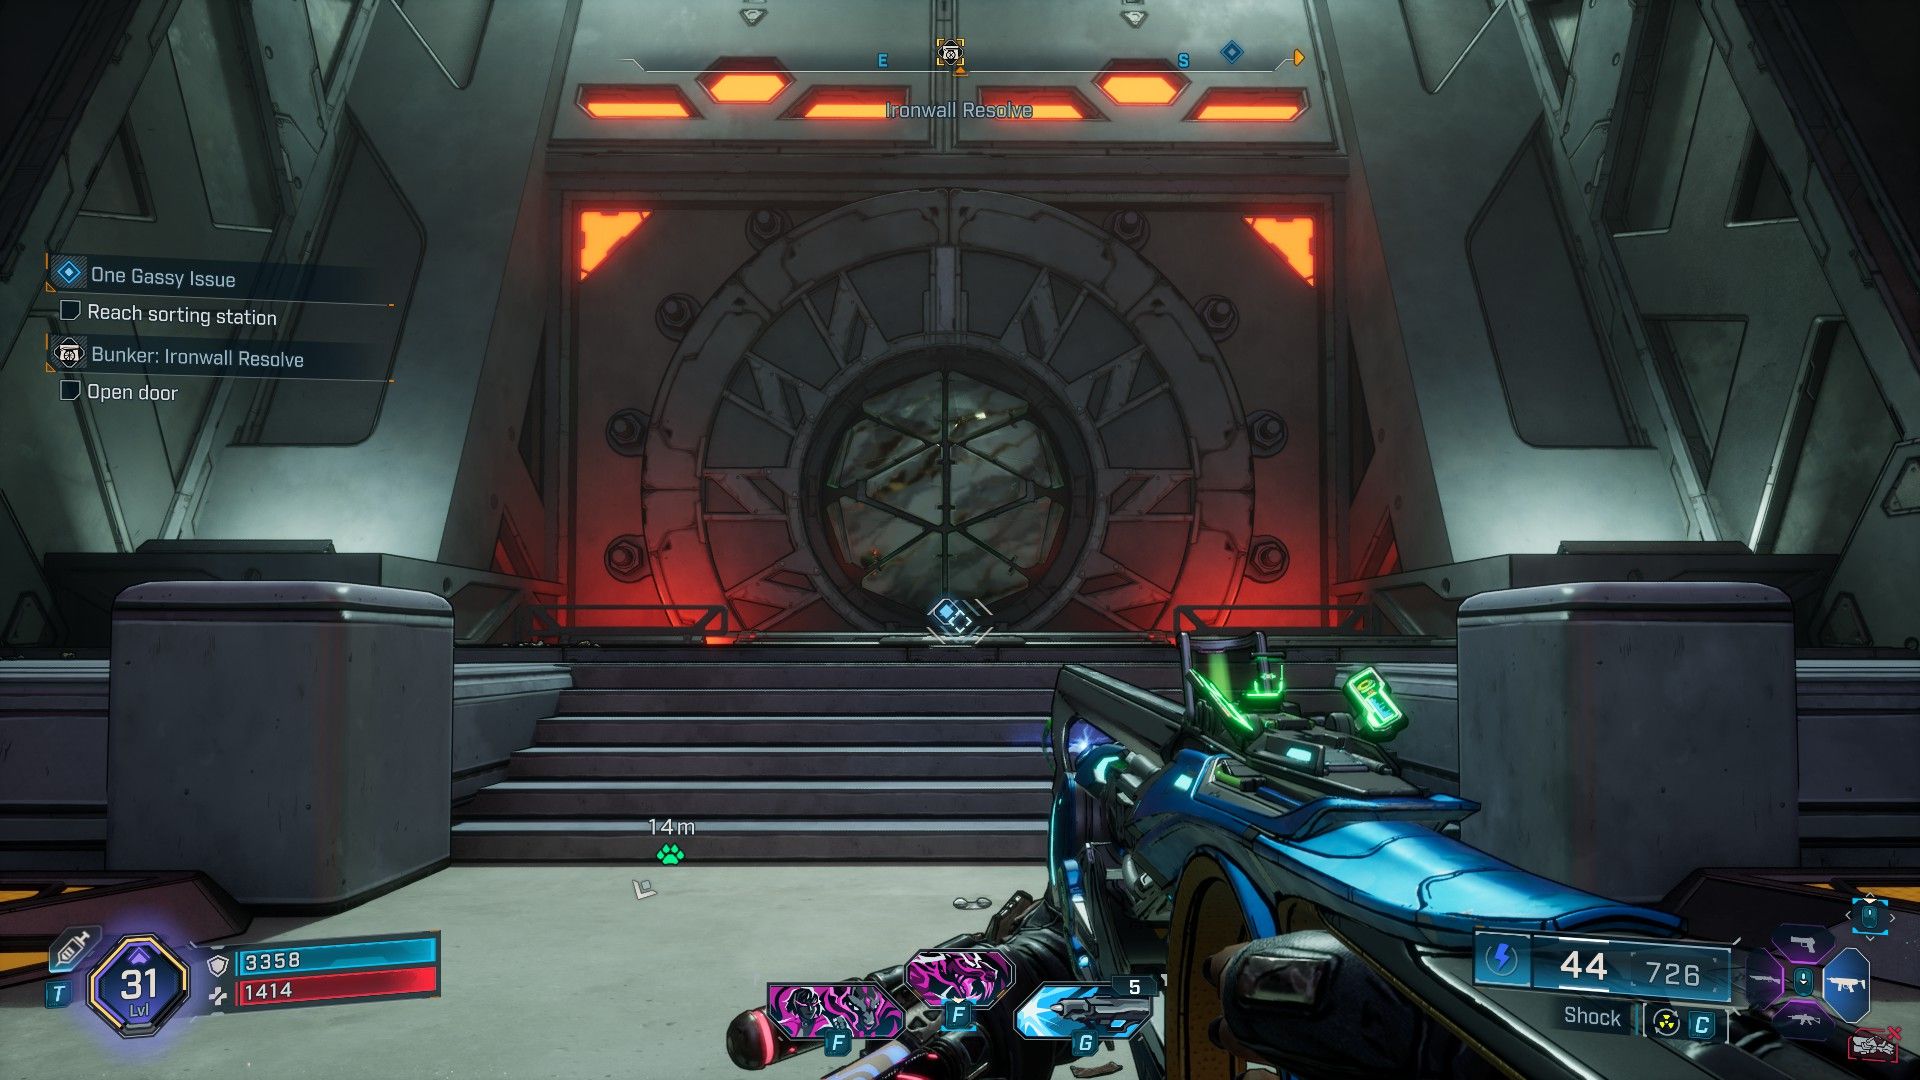
To play Ironwall Resolve, players need to access Dominion first. Upon gaining access, players should navigate to Beth at Lakeside Properties in Fades District of Dominion. Complete her side mission “One Gassy Issue” first. After completing this quest, head towards the Terminus District of Dominion and find Ironwall Resolve in Praetor’s Lecture.
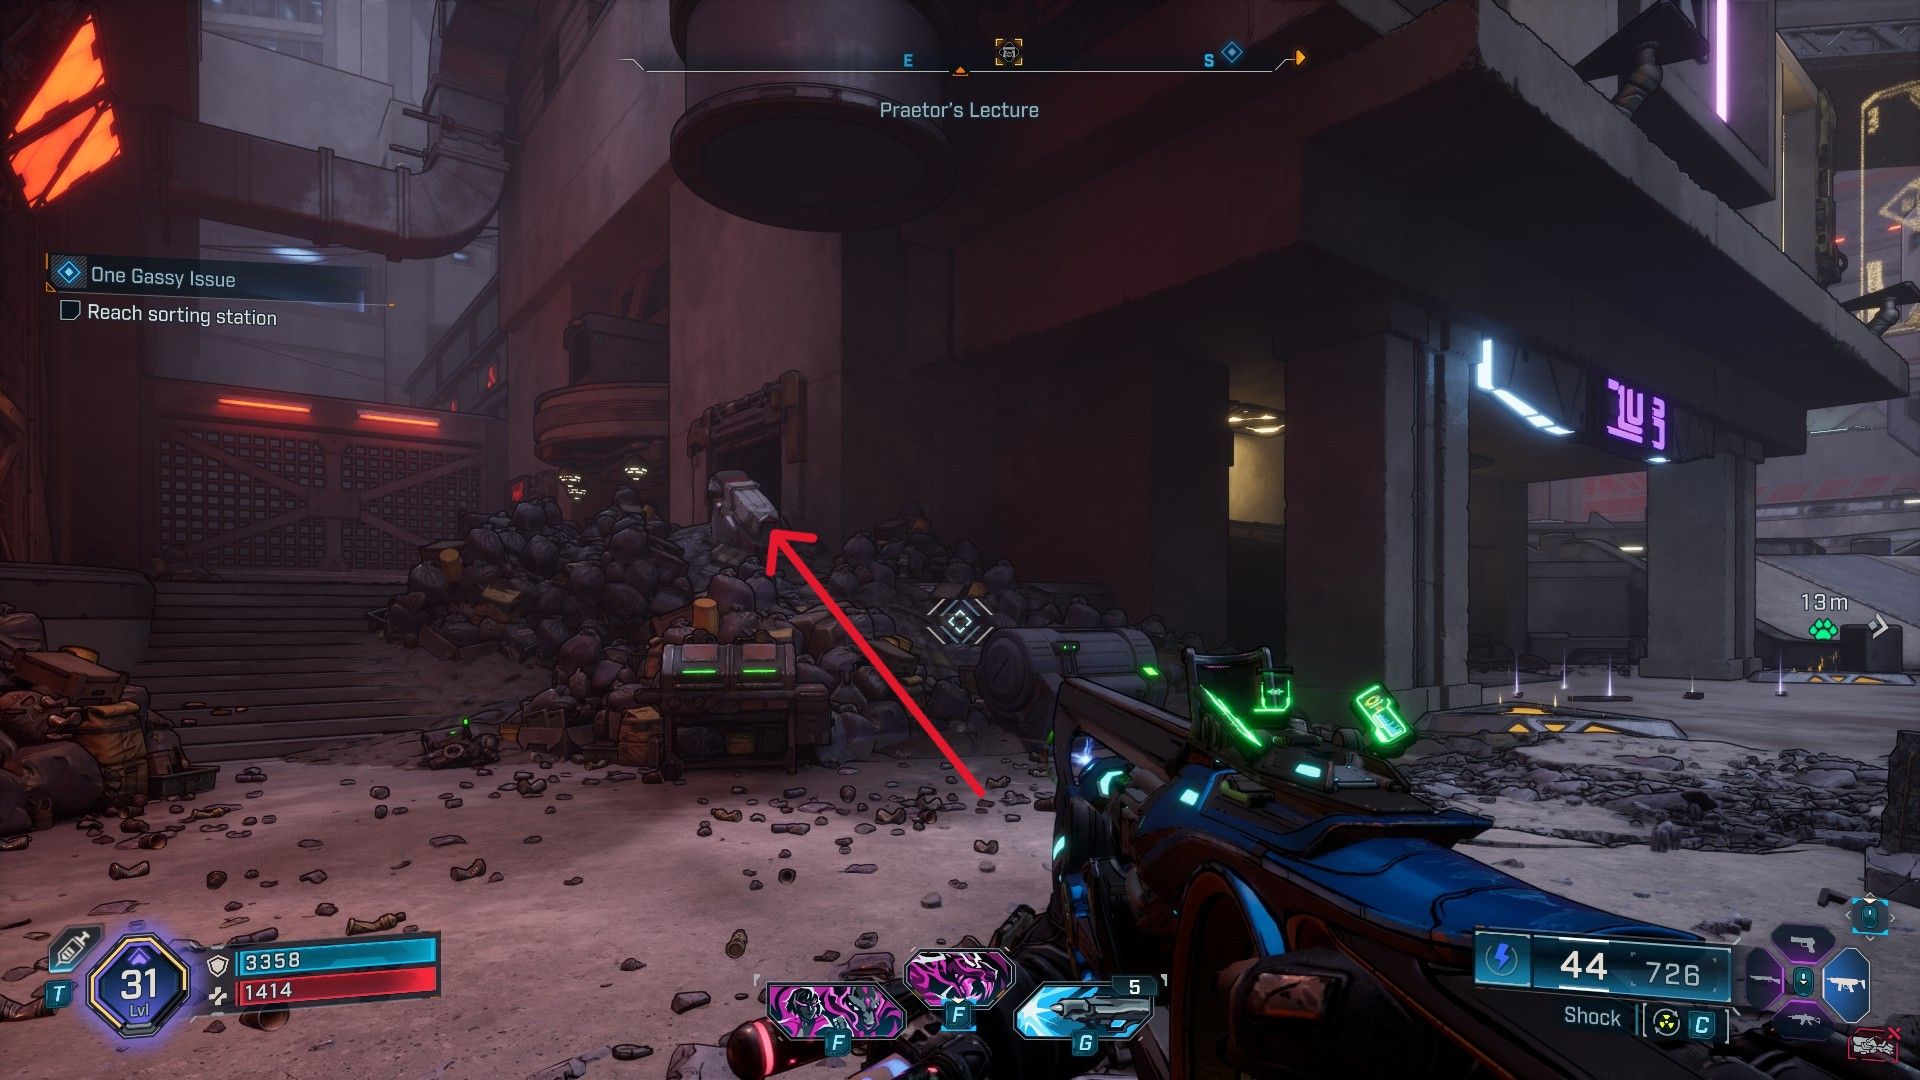
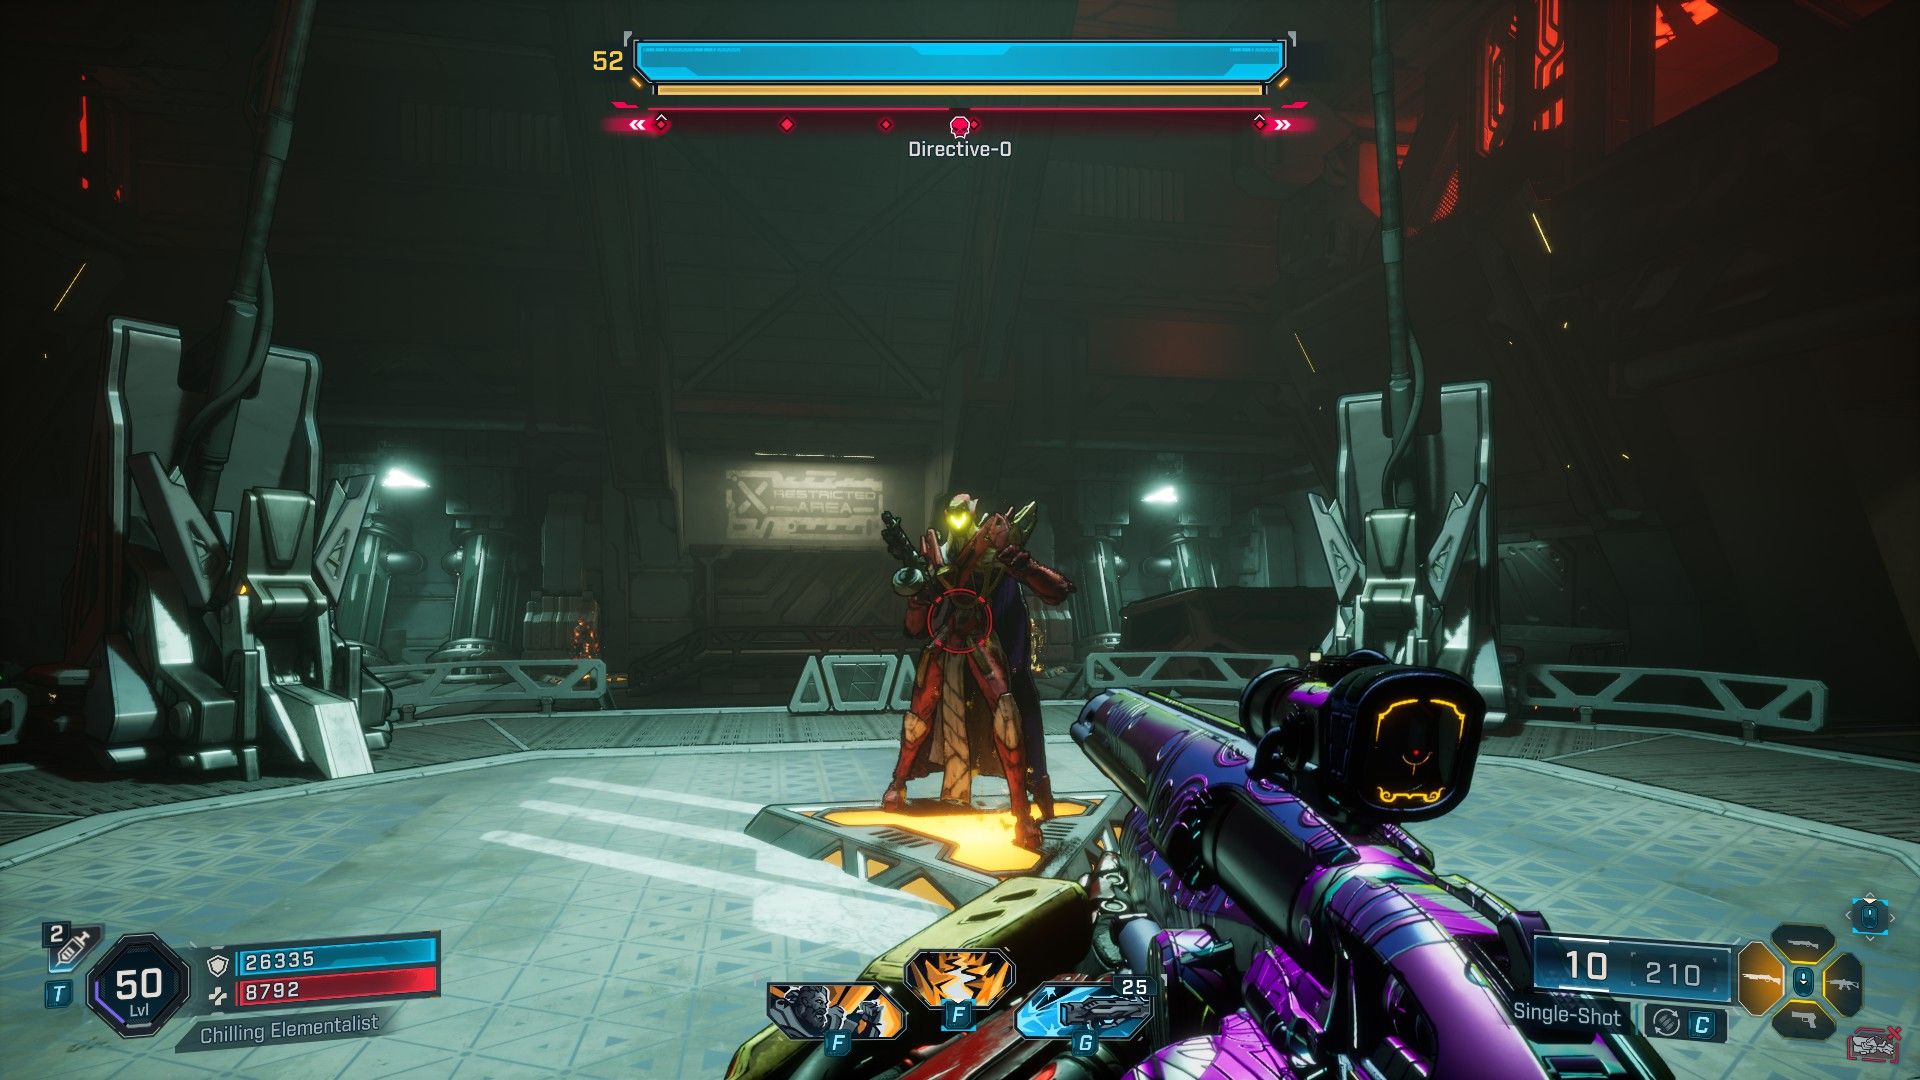
Before reaching the Ironwall Resolve door, locate a Locust station among some debris on the left. Carry it upstairs and toss it at the door. The area might be tricky due to its intricate layout, but simply traverse open rooms and jump across platforms to deactivate the forcefield in both rooms to unlock the boss room for Directive-O.
This boss isn’t particularly formidable, so use Shock to destroy the Shield bar and either Corrosive or Cyro to eliminate the Armor bar.
Read More
- The Limits of Thought: Can We Compress Reasoning in AI?
- Console Gamers Can’t Escape Their Love For Sports Games
- ARC Raiders Boss Defends Controversial AI Usage
- Top 8 UFC 5 Perks Every Fighter Should Use
- Top 10 Must-Watch Isekai Anime on Crunchyroll Revealed!
- How to Unlock the Mines in Cookie Run: Kingdom
- Top 10 Scream-Inducing Forest Horror Games
- Best Open World Games With Romance
- Games That Will Make You A Metroidvania Fan
- Best PSP Spin-Off Games, Ranked
2025-09-13 03:38