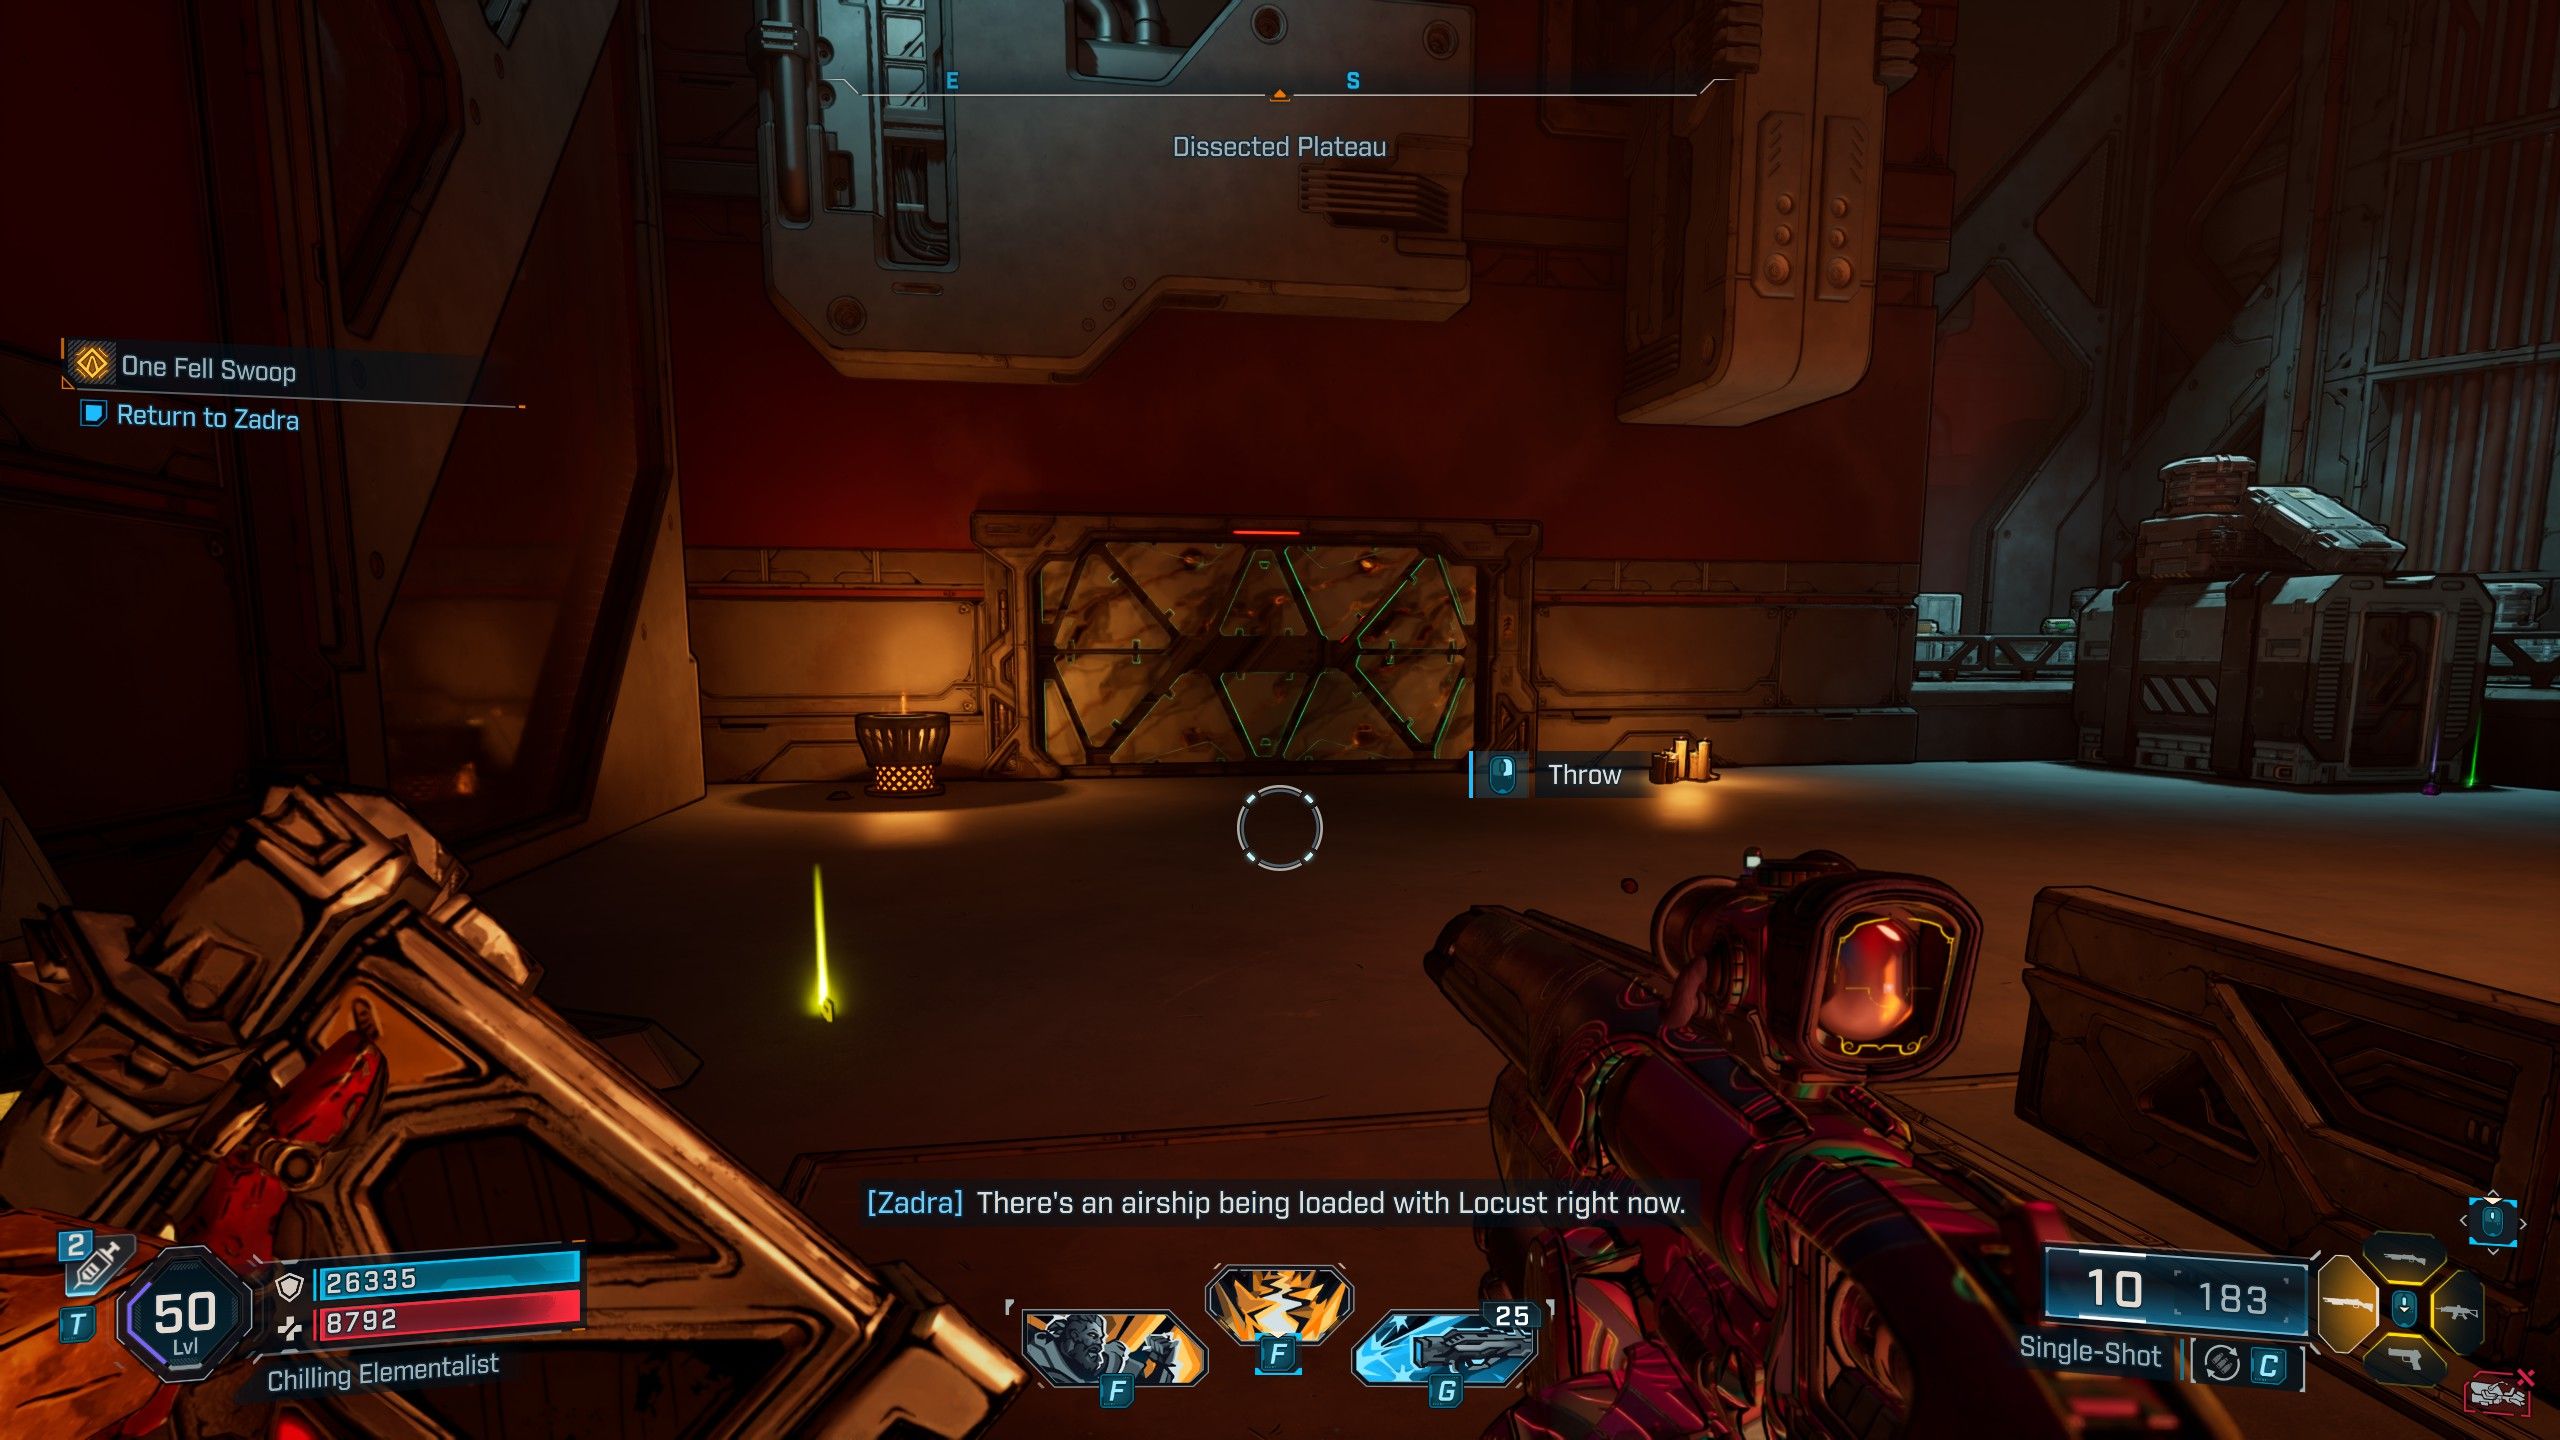
Once they finish “A Lot to Process”, players can move on to their next mission in “The Fadefields” titled “One Fell Swoop“. This key mission within Borderlands 4 involves conversing with Zadra. However, some gamers might come across an issue where this step in the mission gets stuck. If you find yourself in the predicament of the “Talk to Zadra” glitch in Borderlands 4, here’s a helpful solution. Alternatively, keep reading for a comprehensive walkthrough of “One Fell Swoop”.
Talk to Zadra Bug Fix
How to Get Past the Talk to Zadra Glitch
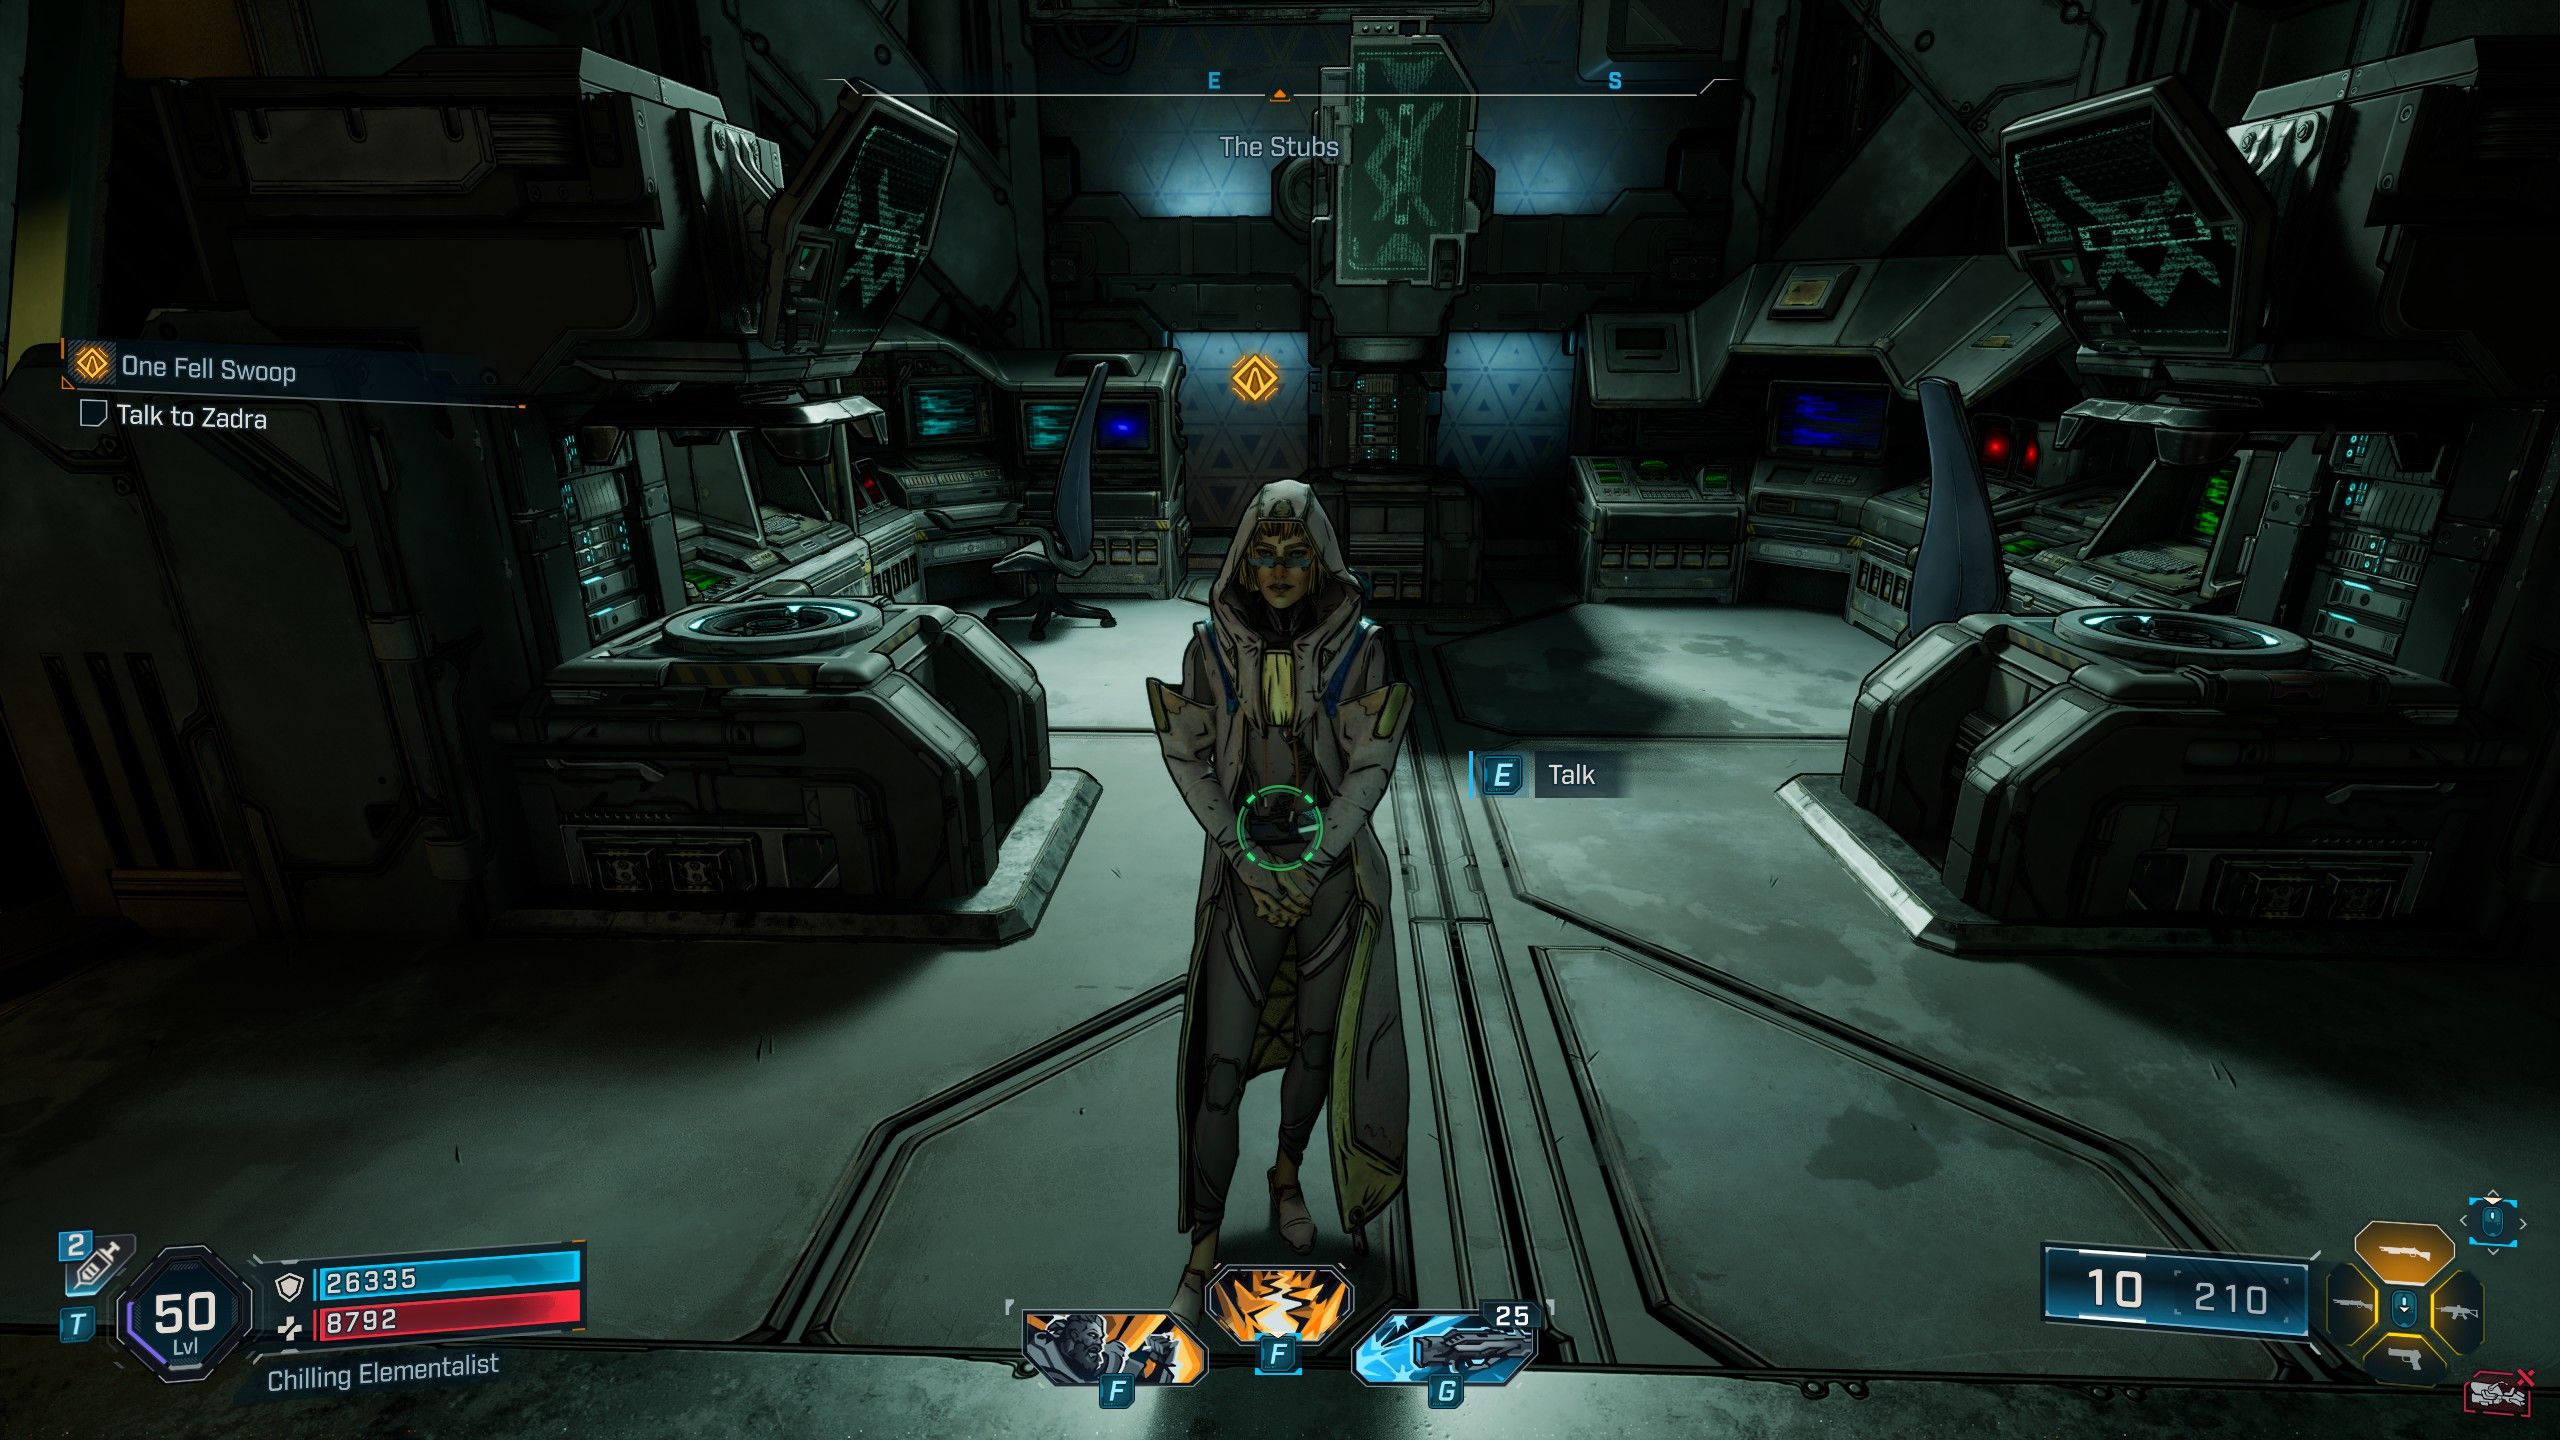
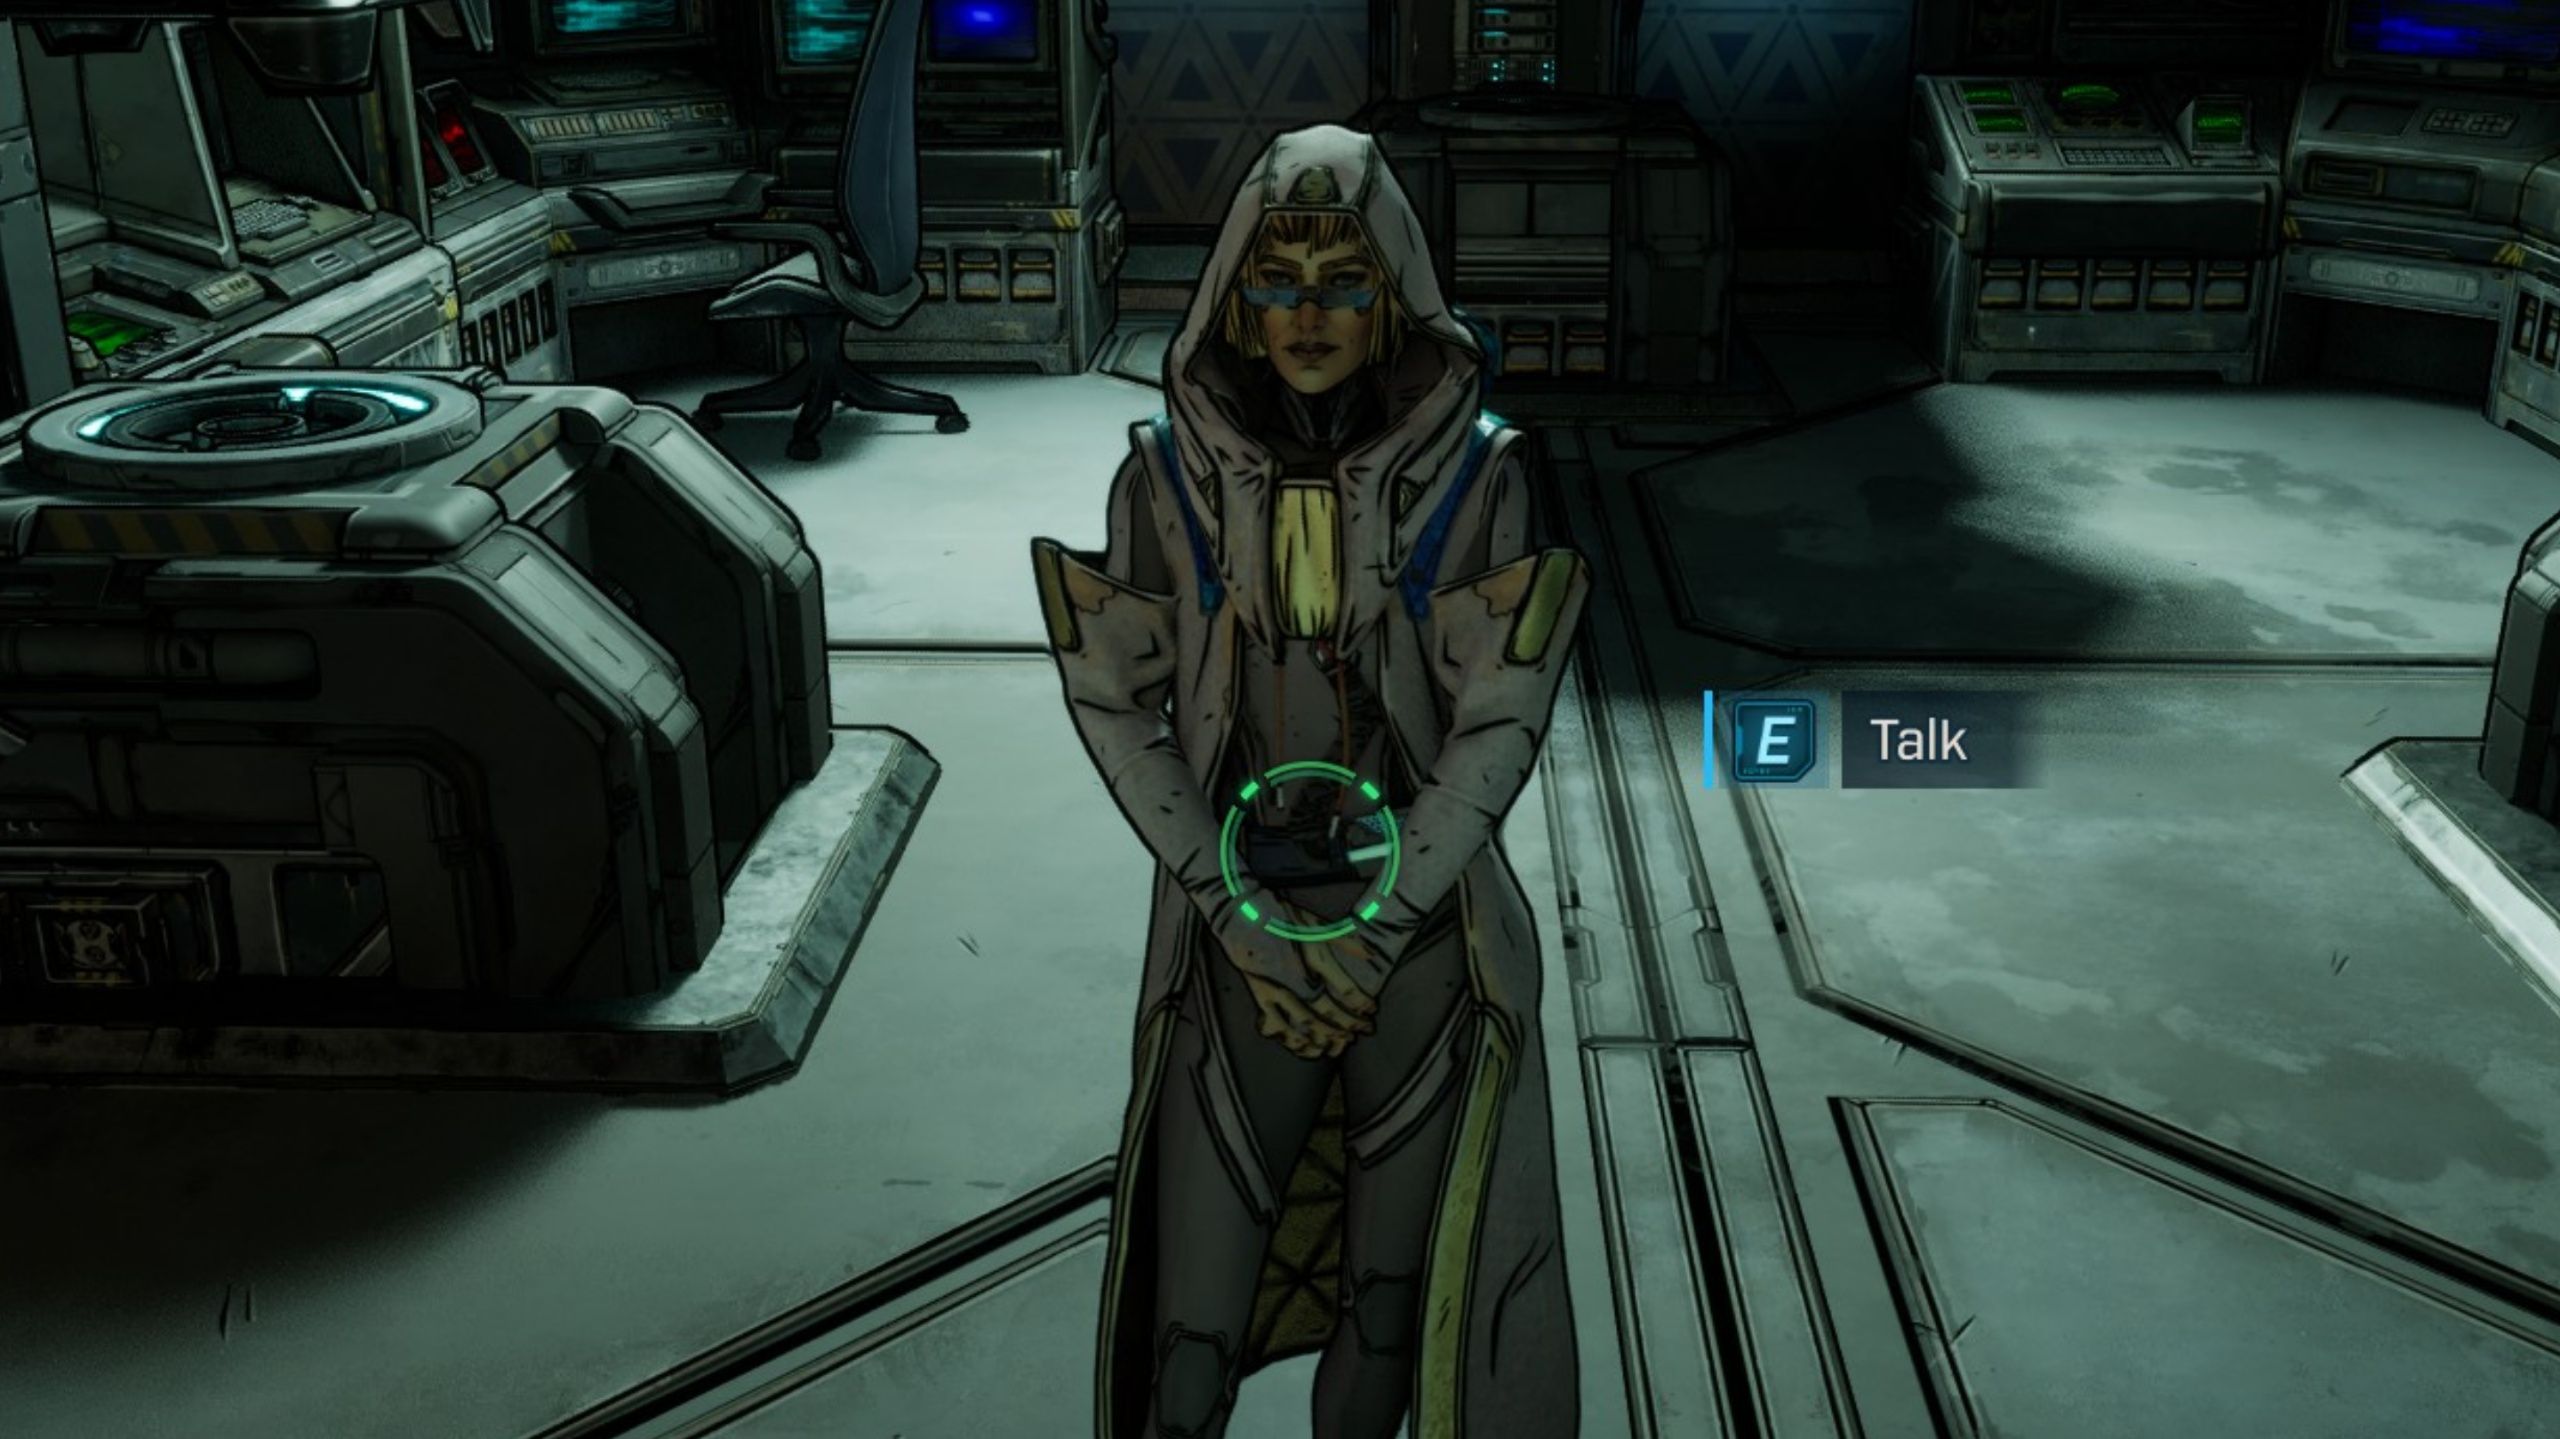
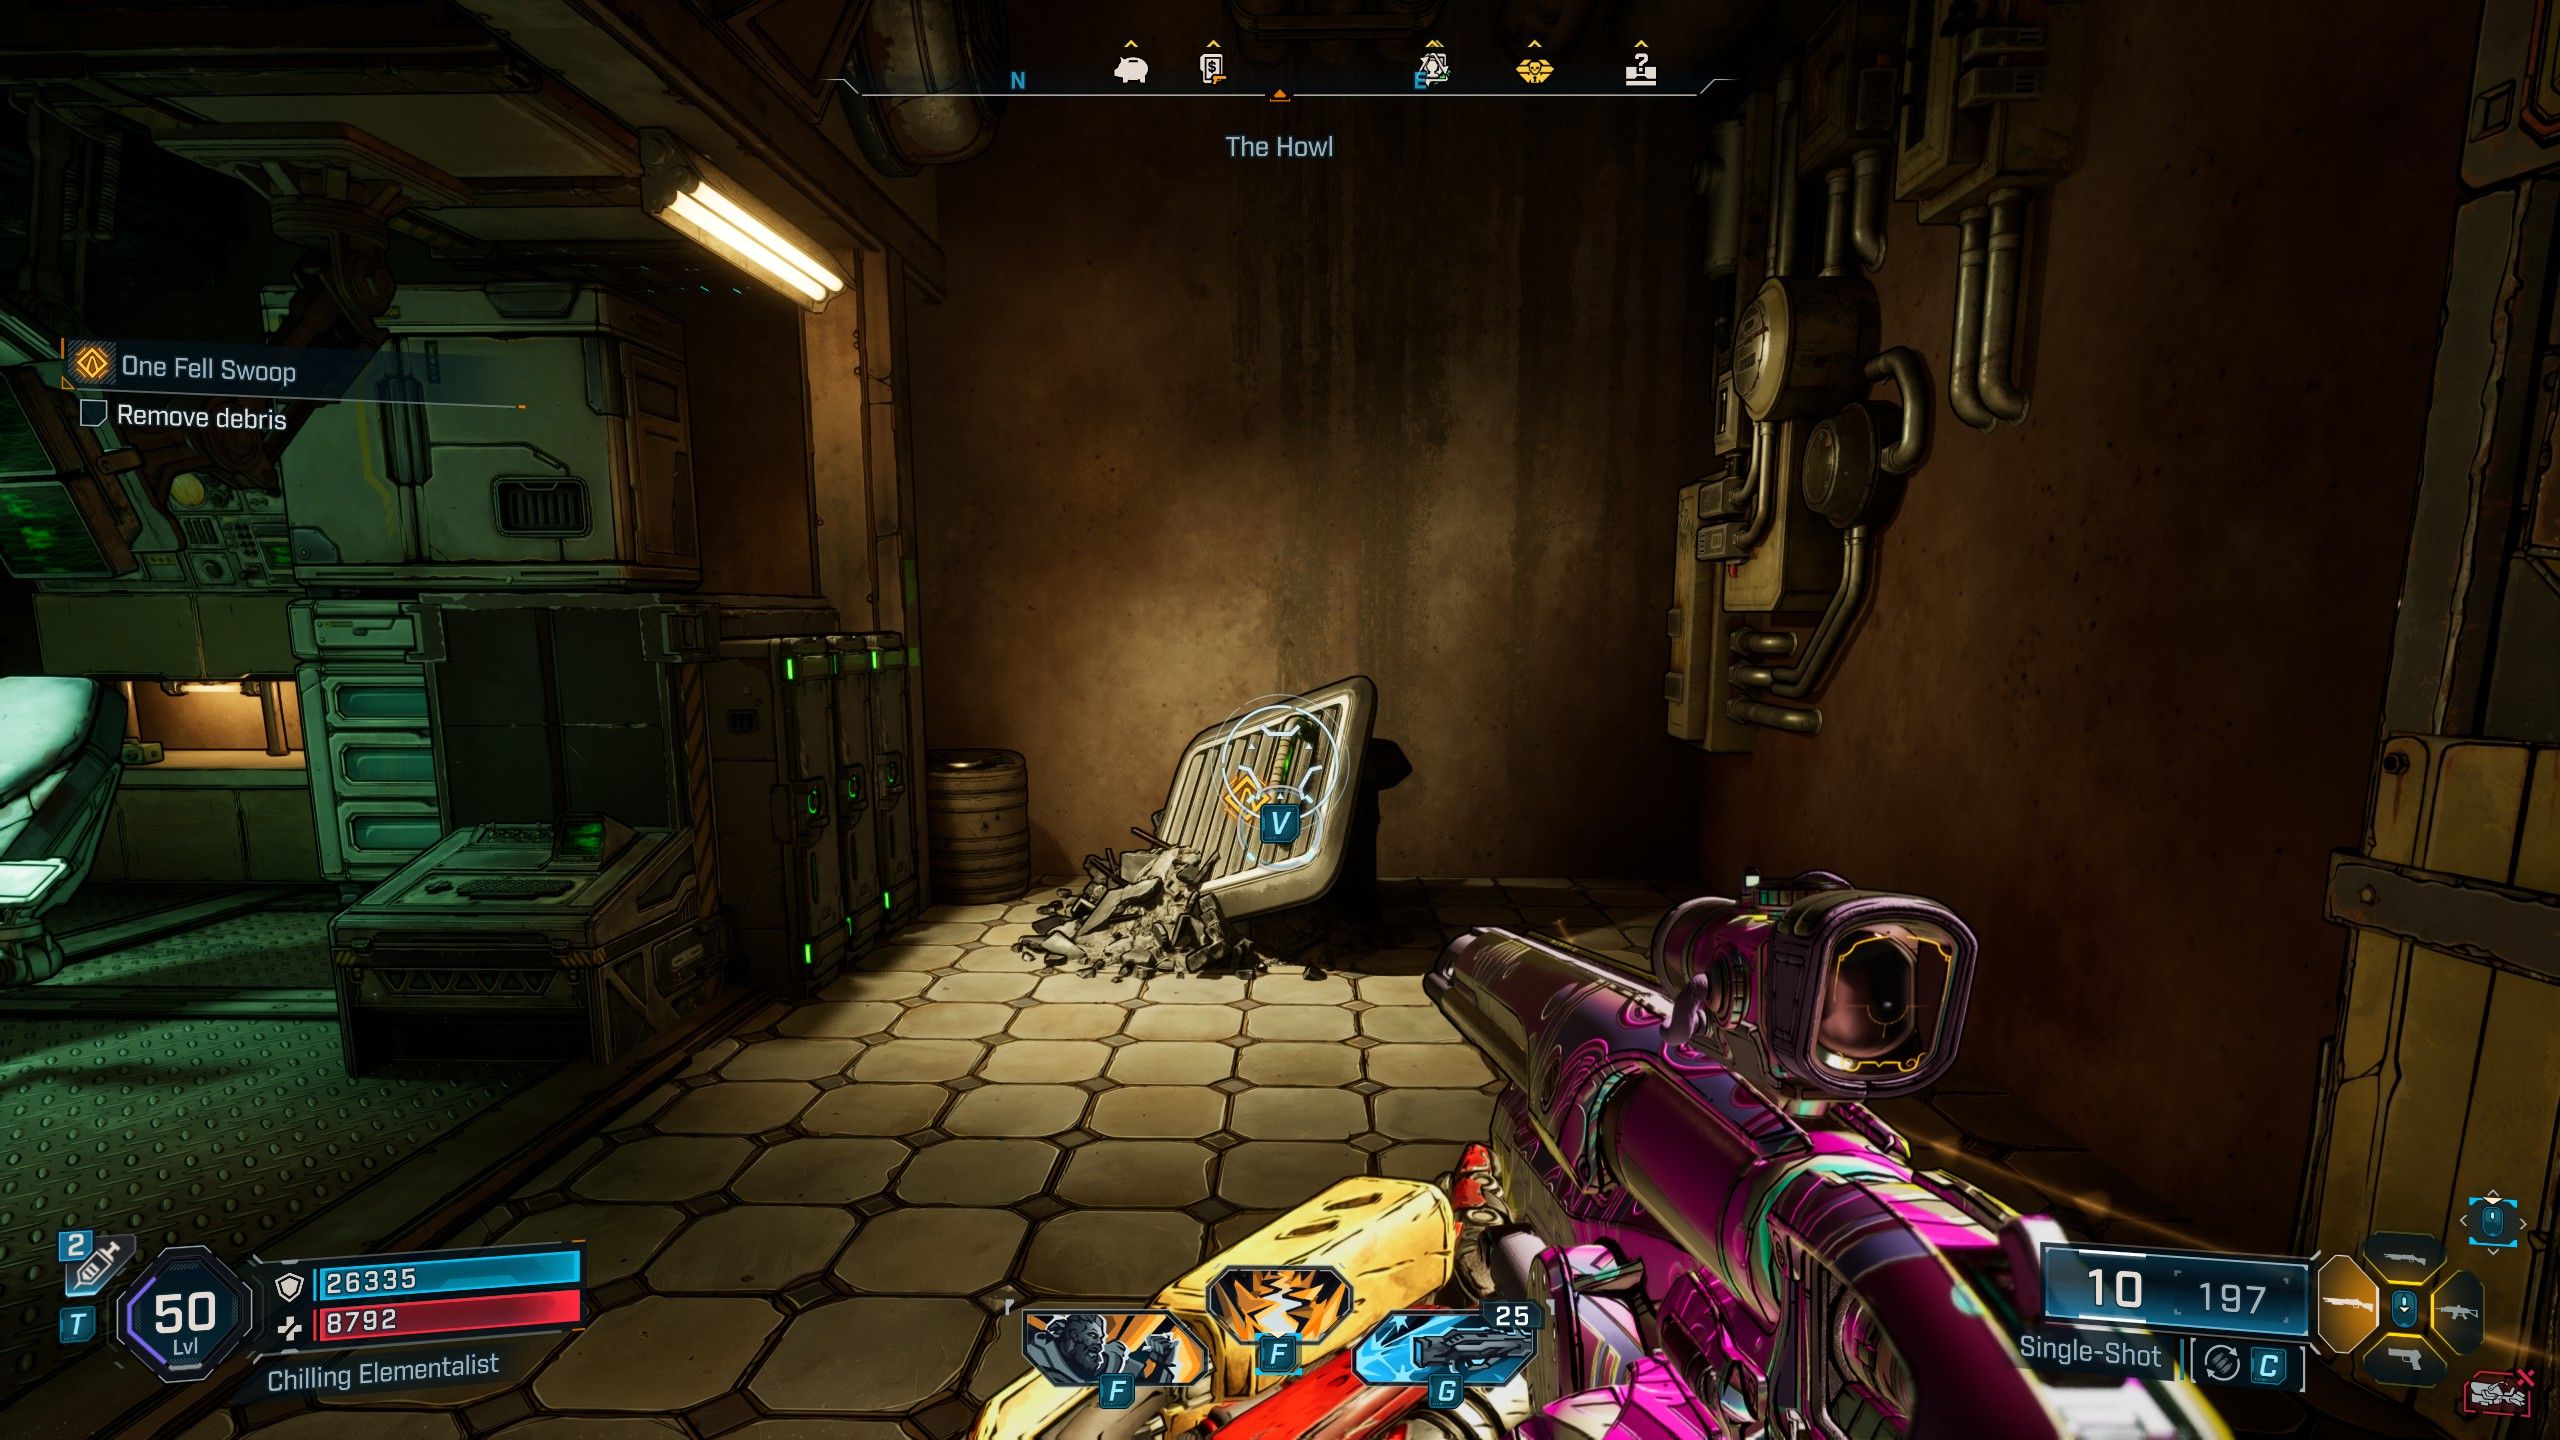
In the initial stage of the One Fell Swoop mission, players should interact with Zadra. Initially, she may be stuck in a repetitive animation, so let her continue working on her computer screen until she eventually walks down the stairs and positions herself between two containers labeled ‘Rippers’. If this doesn’t advance the mission step, there’s another solution available. Here’s what you should try instead:
1. Talk to Zadra initially when starting the One Fell Swoop mission.
2. If she appears stuck in a loop, let her continue working on her computer.
3. Observe as she eventually moves down the stairs and stands between the two containers labeled ‘Rippers’.
4. If this doesn’t resolve the issue with the mission step, try the following solution:
5. Approach Zadra again when she’s between the Rippers containers.
6. Engage in conversation with her to progress further in the mission.
- Start a New Vault Hunter save file and skip the Prologue
- Load into the new Vault Hunter and quit to the Main Menu
- Return to your original Vault Hunter and talk to Zadra
If it hasn’t helped yet, give it another go a few times. The team at Gearbox has identified the issue, so they’re working on a fix that should be rolled out soon. To prevent the problem from recurring, remember to chat with Zadra right after completing the last quest named “A Lot to Process.
Sabotage Sol’s Production Facility
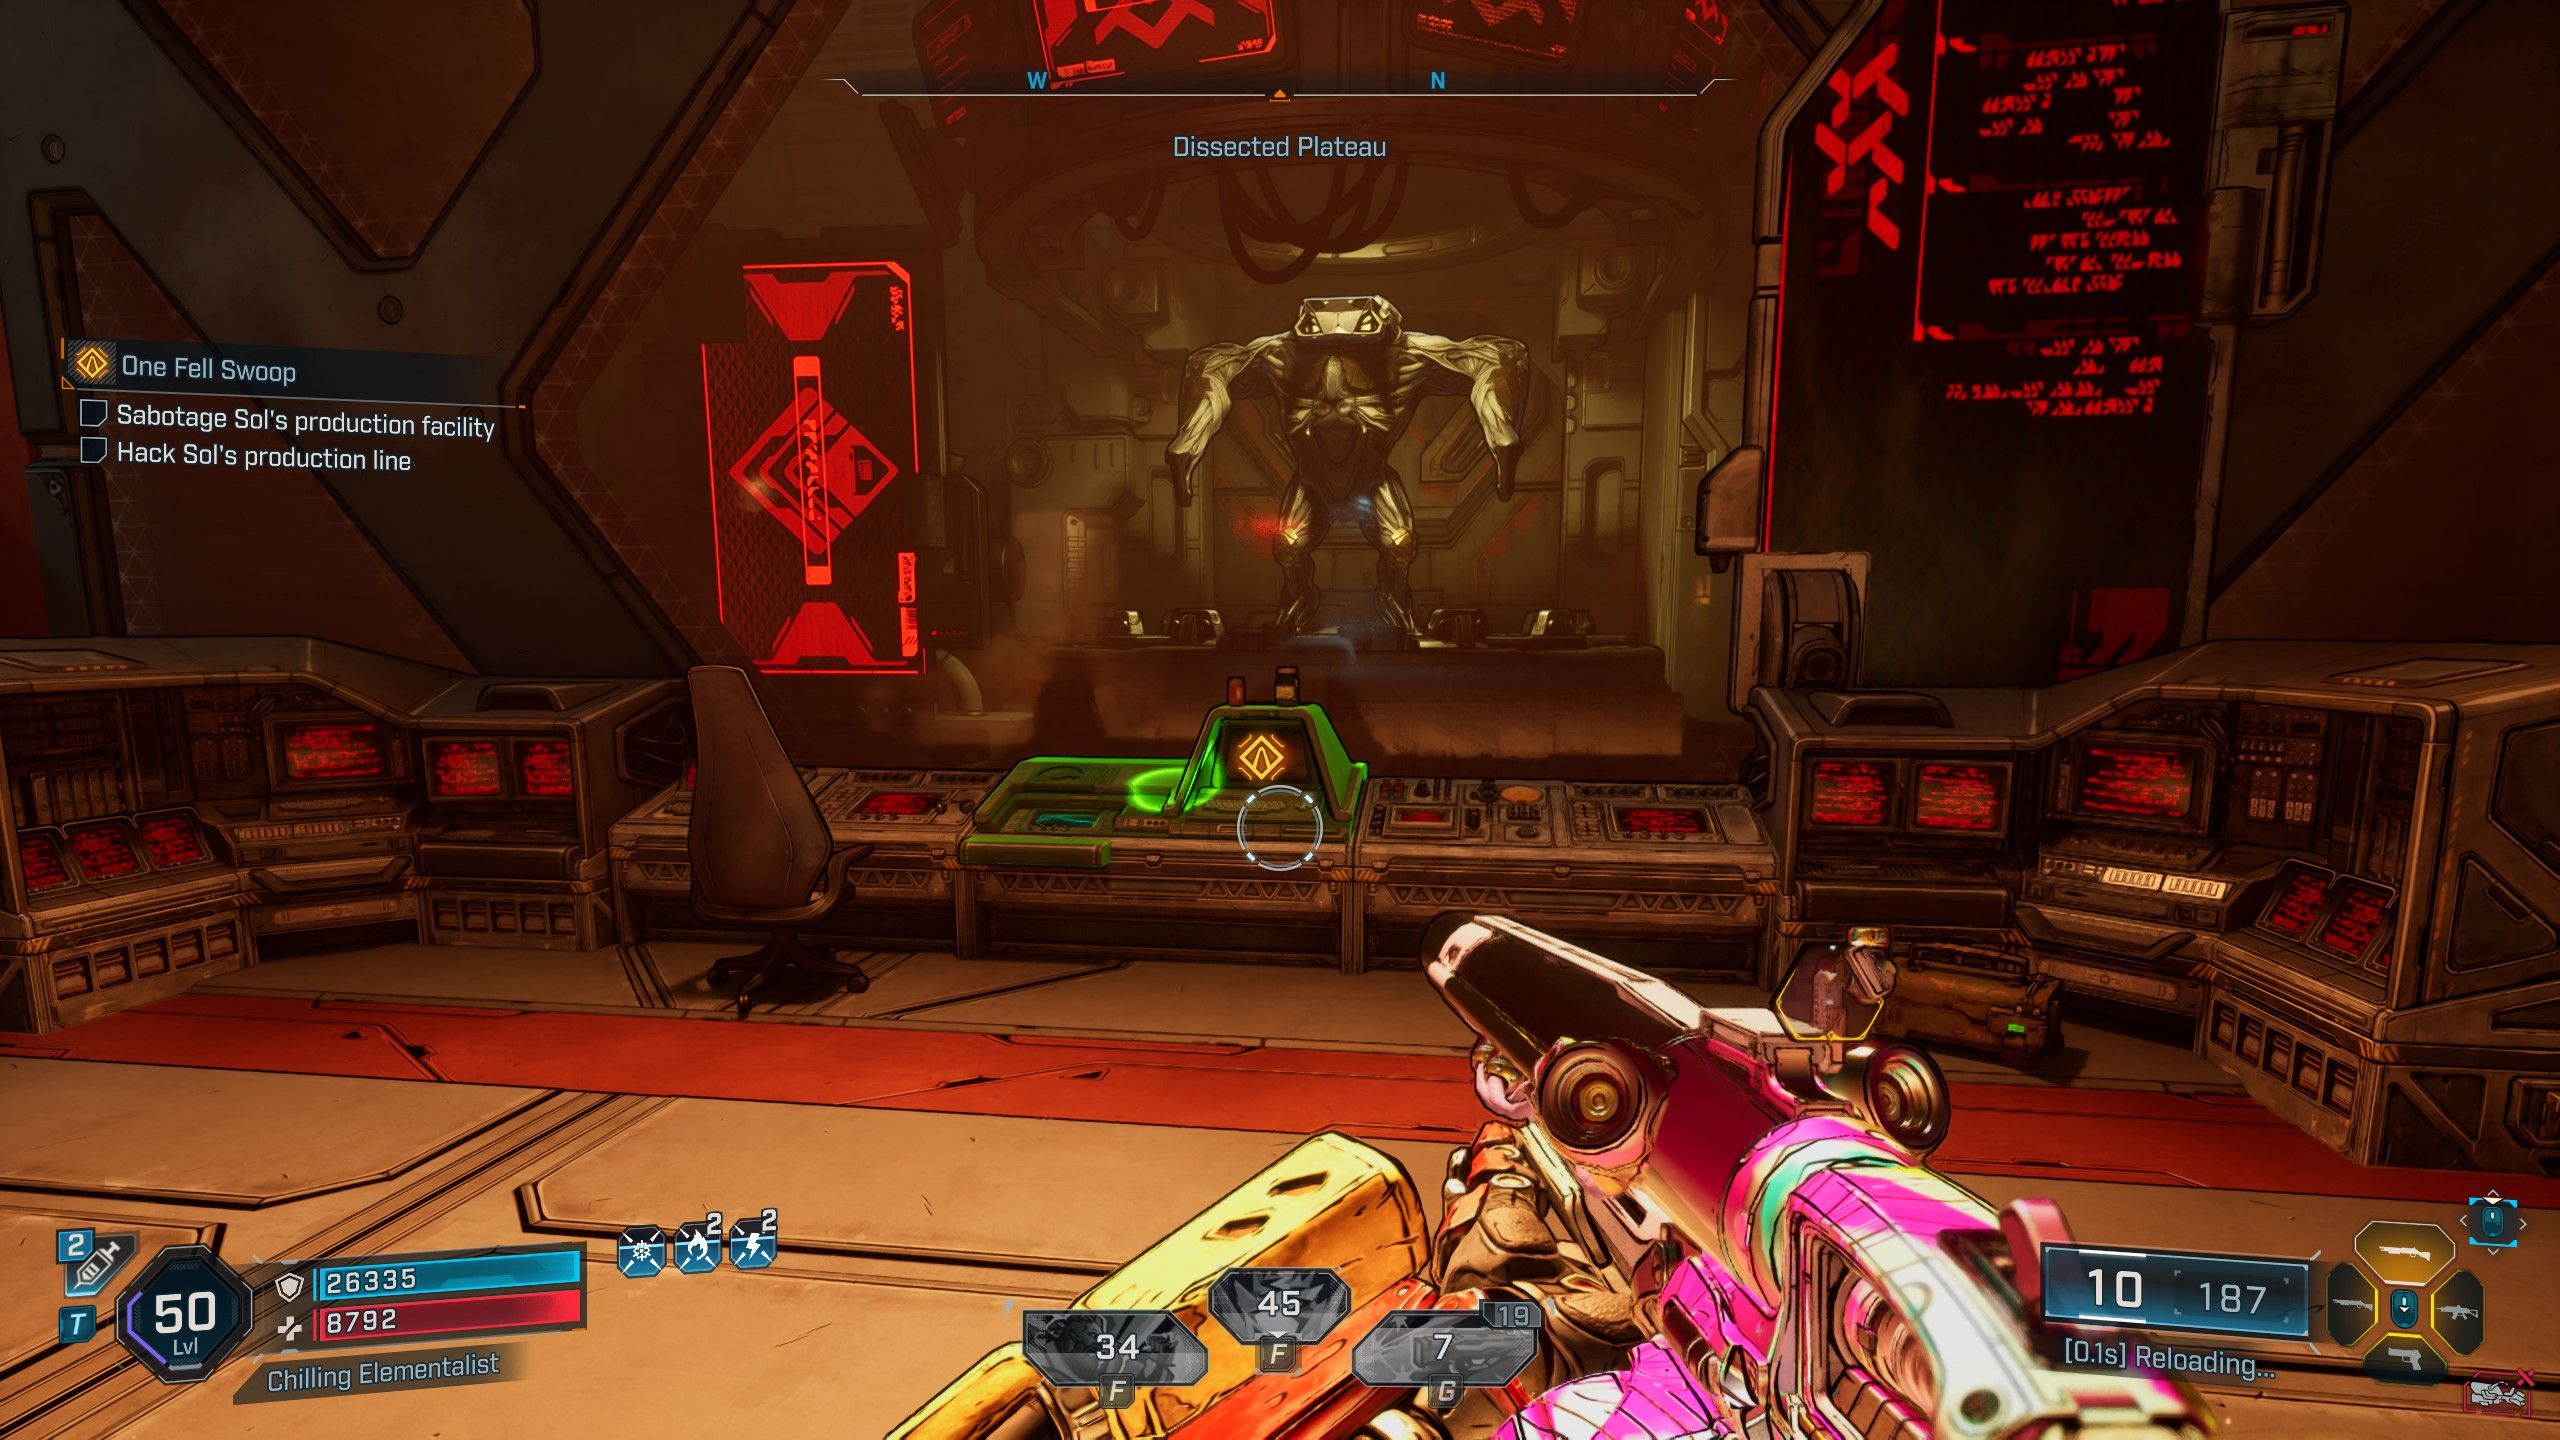
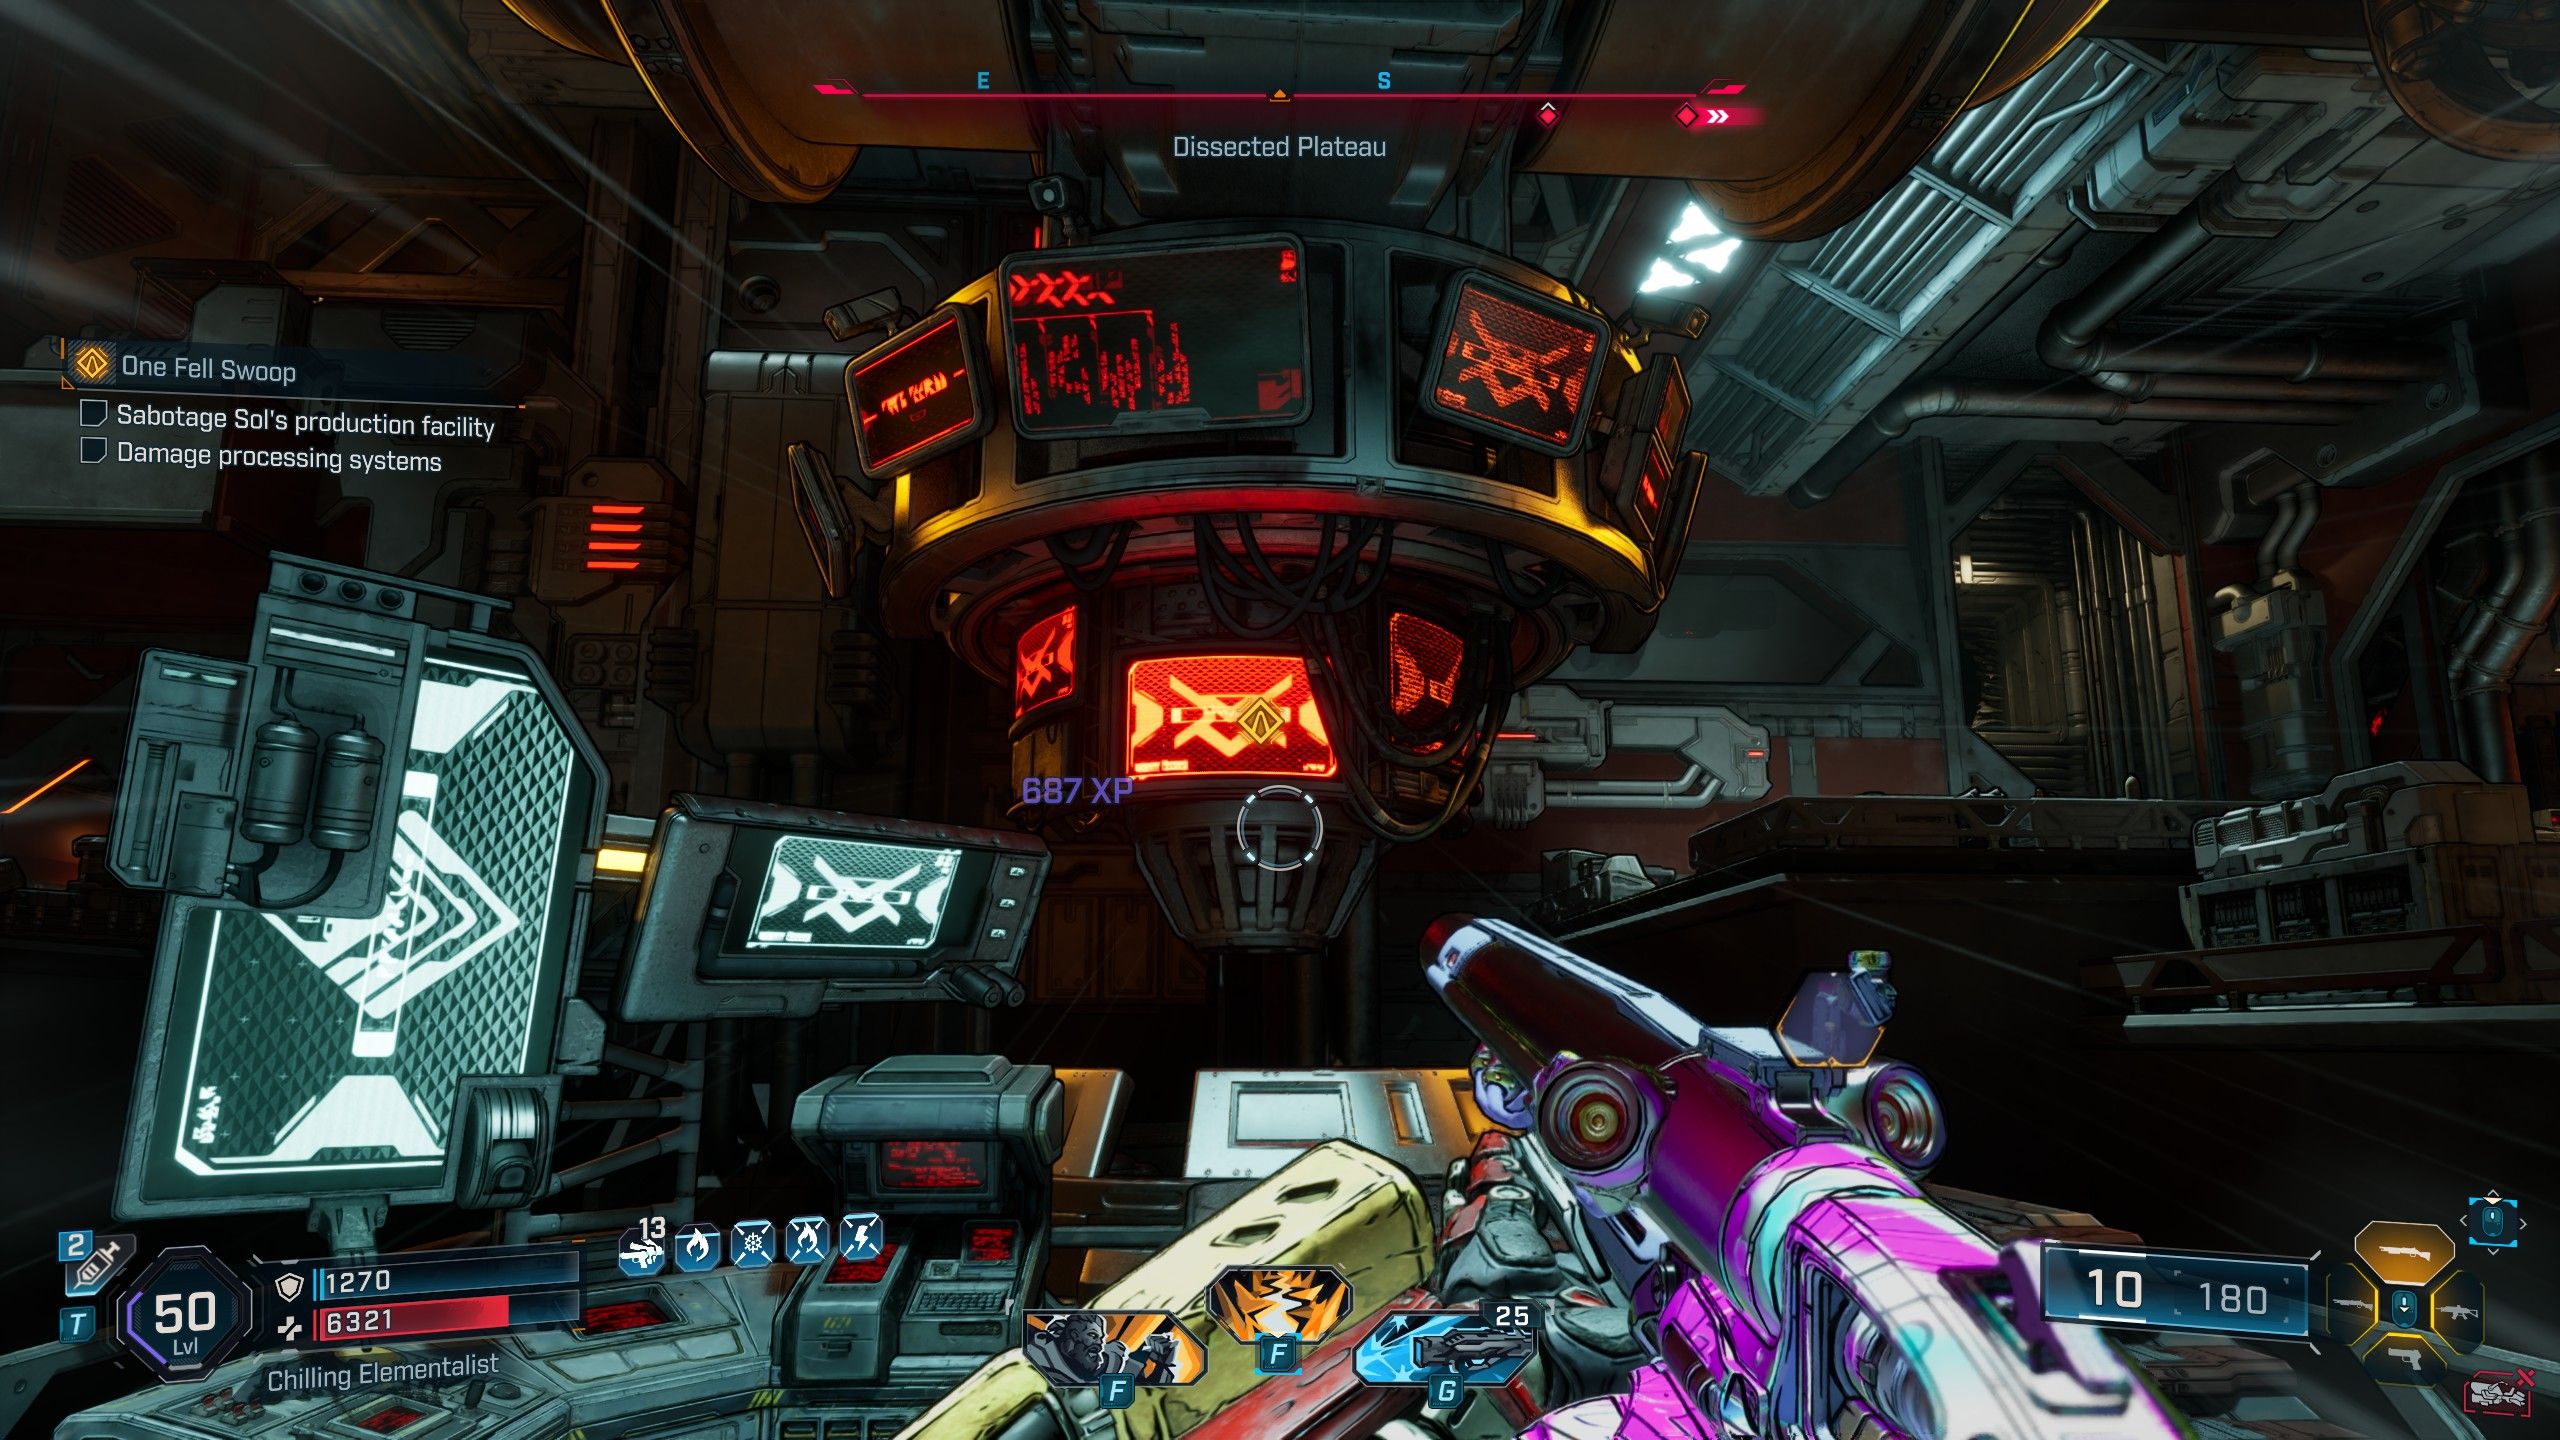
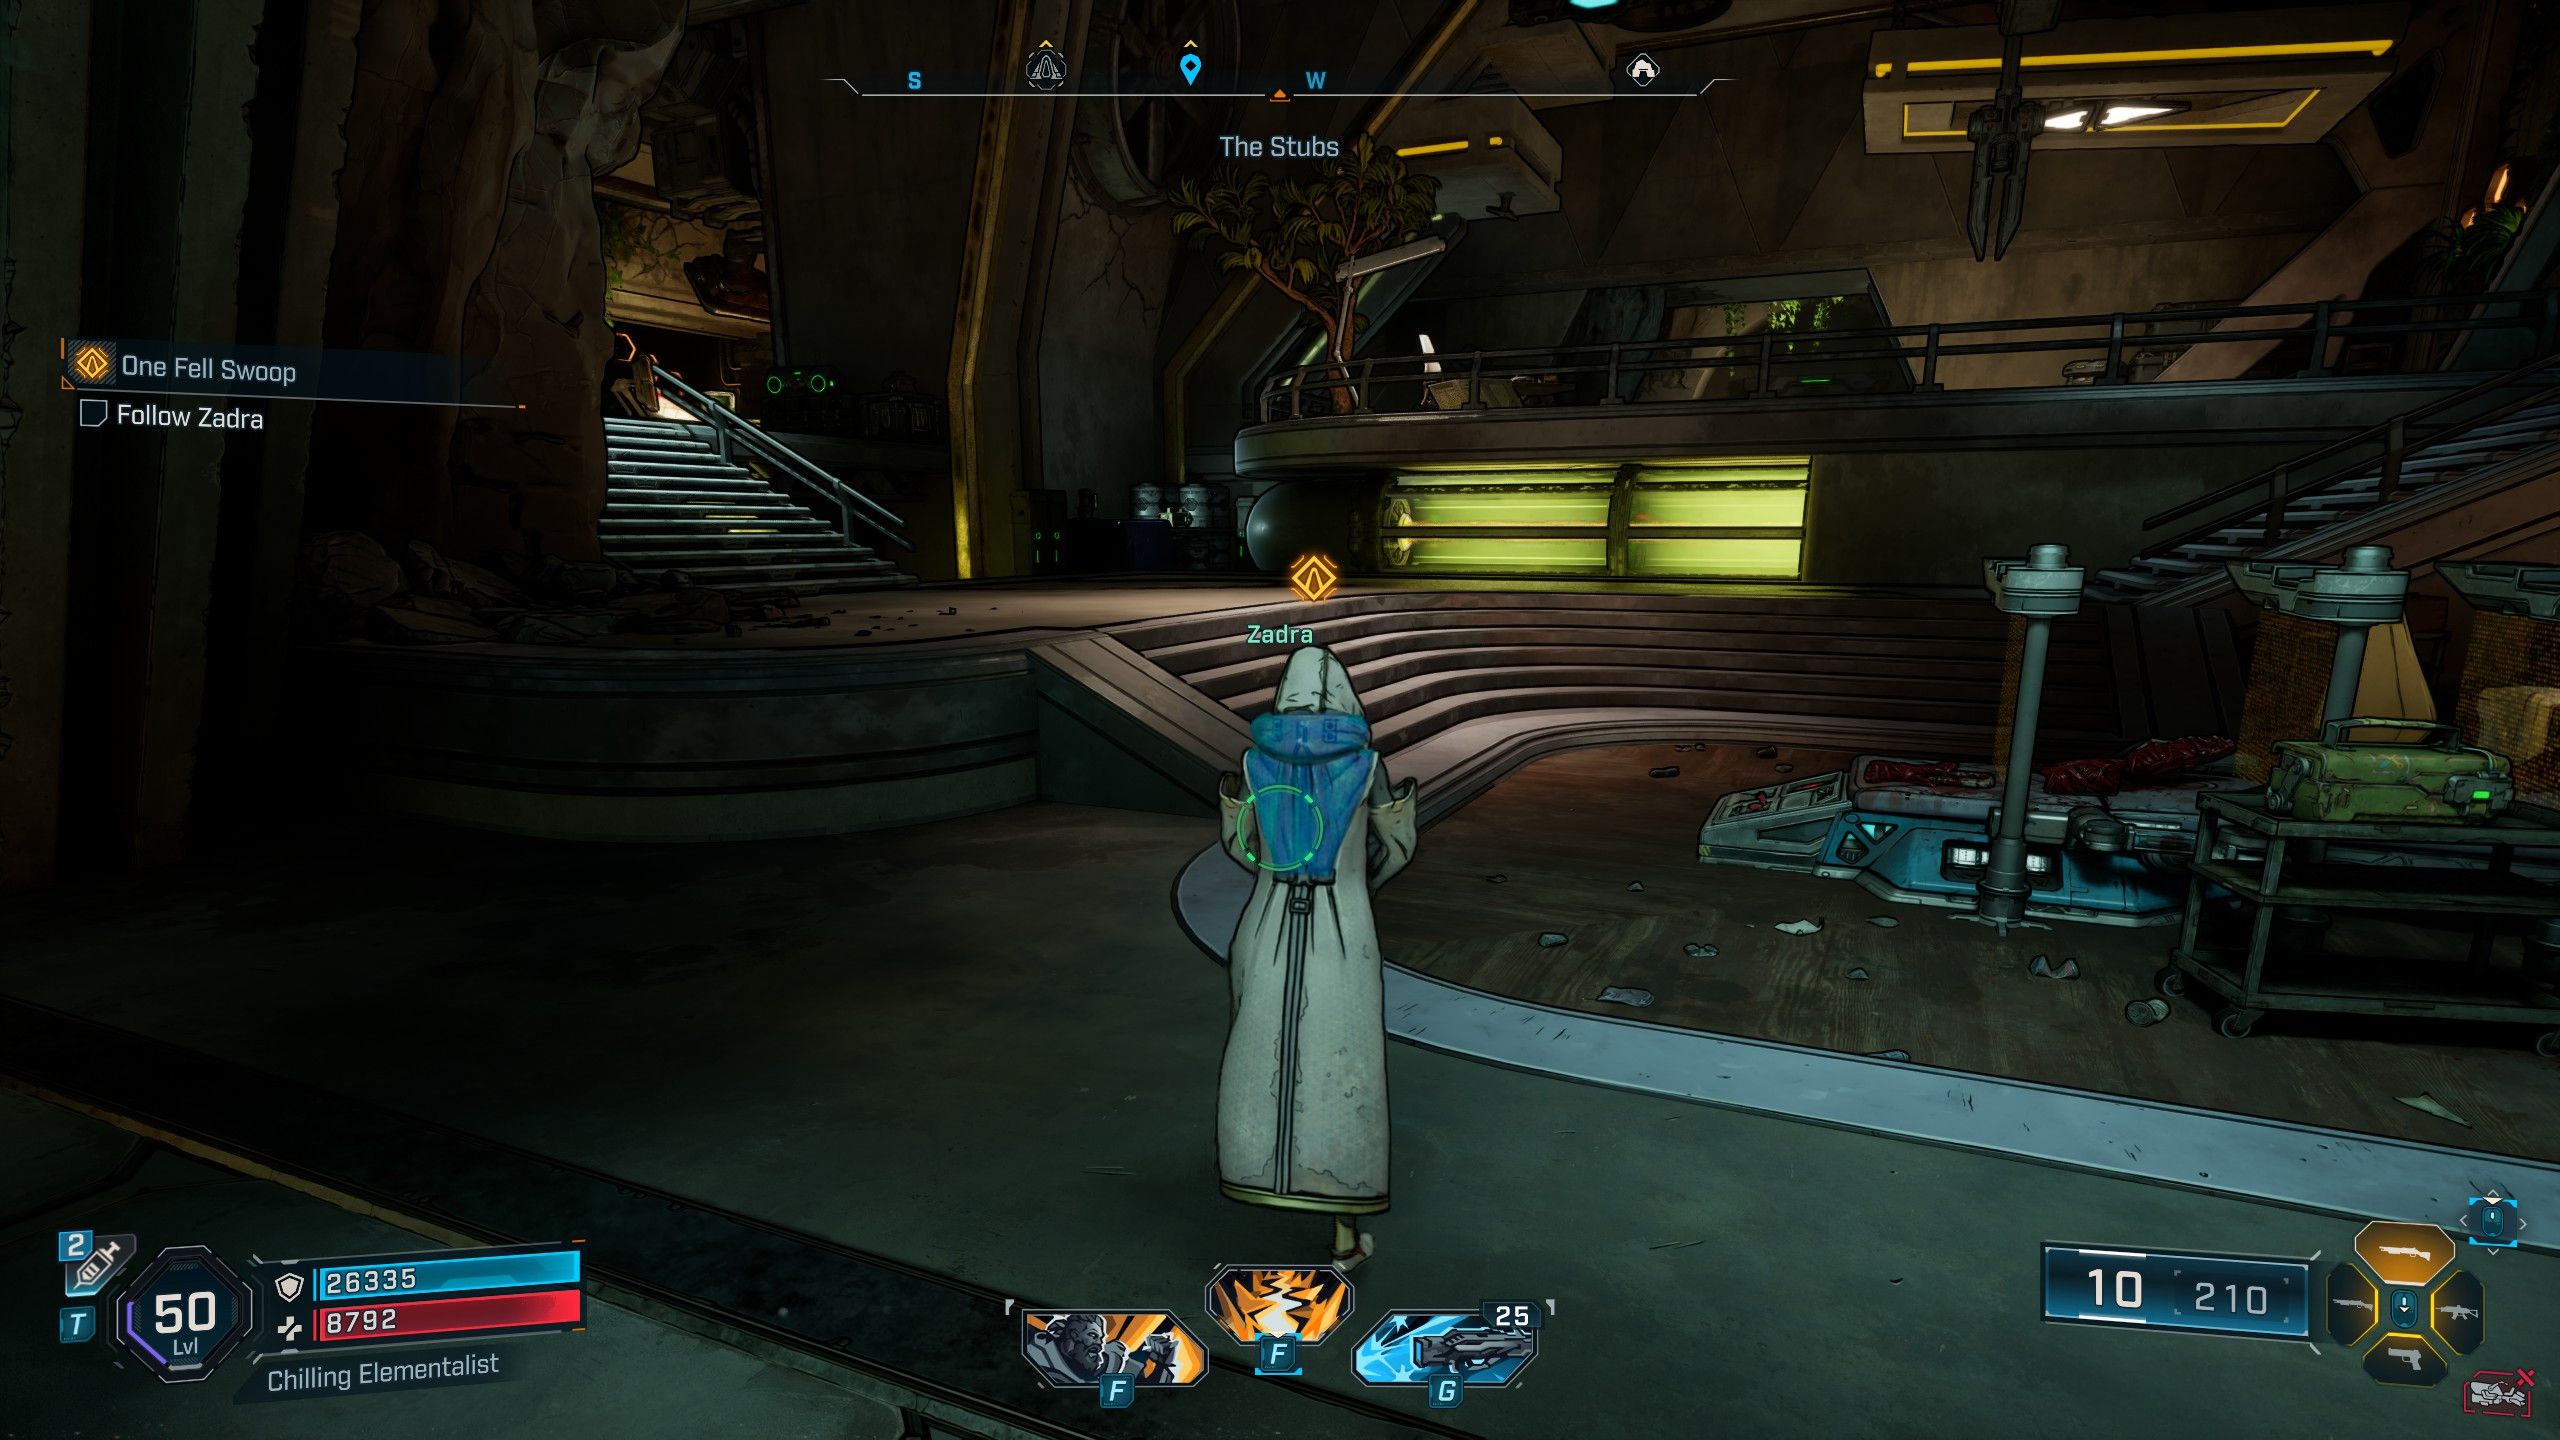
Following a conversation with Zadra, players will be motivated to accompany her out of her hidden lair. Upon exiting, they are assigned a mission to navigate towards Sol’s Manufacturing Hub, situated northward from the current base, nestled within the Split Paltaeu of the Fadefields. Once there, take the right-hand door and eliminate all Order assembly line guards. Subsequently, engage with a computer terminal positioned at the northwest corner of the room. Continue progressing through the facility, locate a chamber, open its synth processor valve, and fire it to dismantle it. The subsequent action is merely re-entering the facility’s main entrance to reunite with Zadra, who will activate an elevator.
Activate Locust and Fight the Bio-Bulkhead
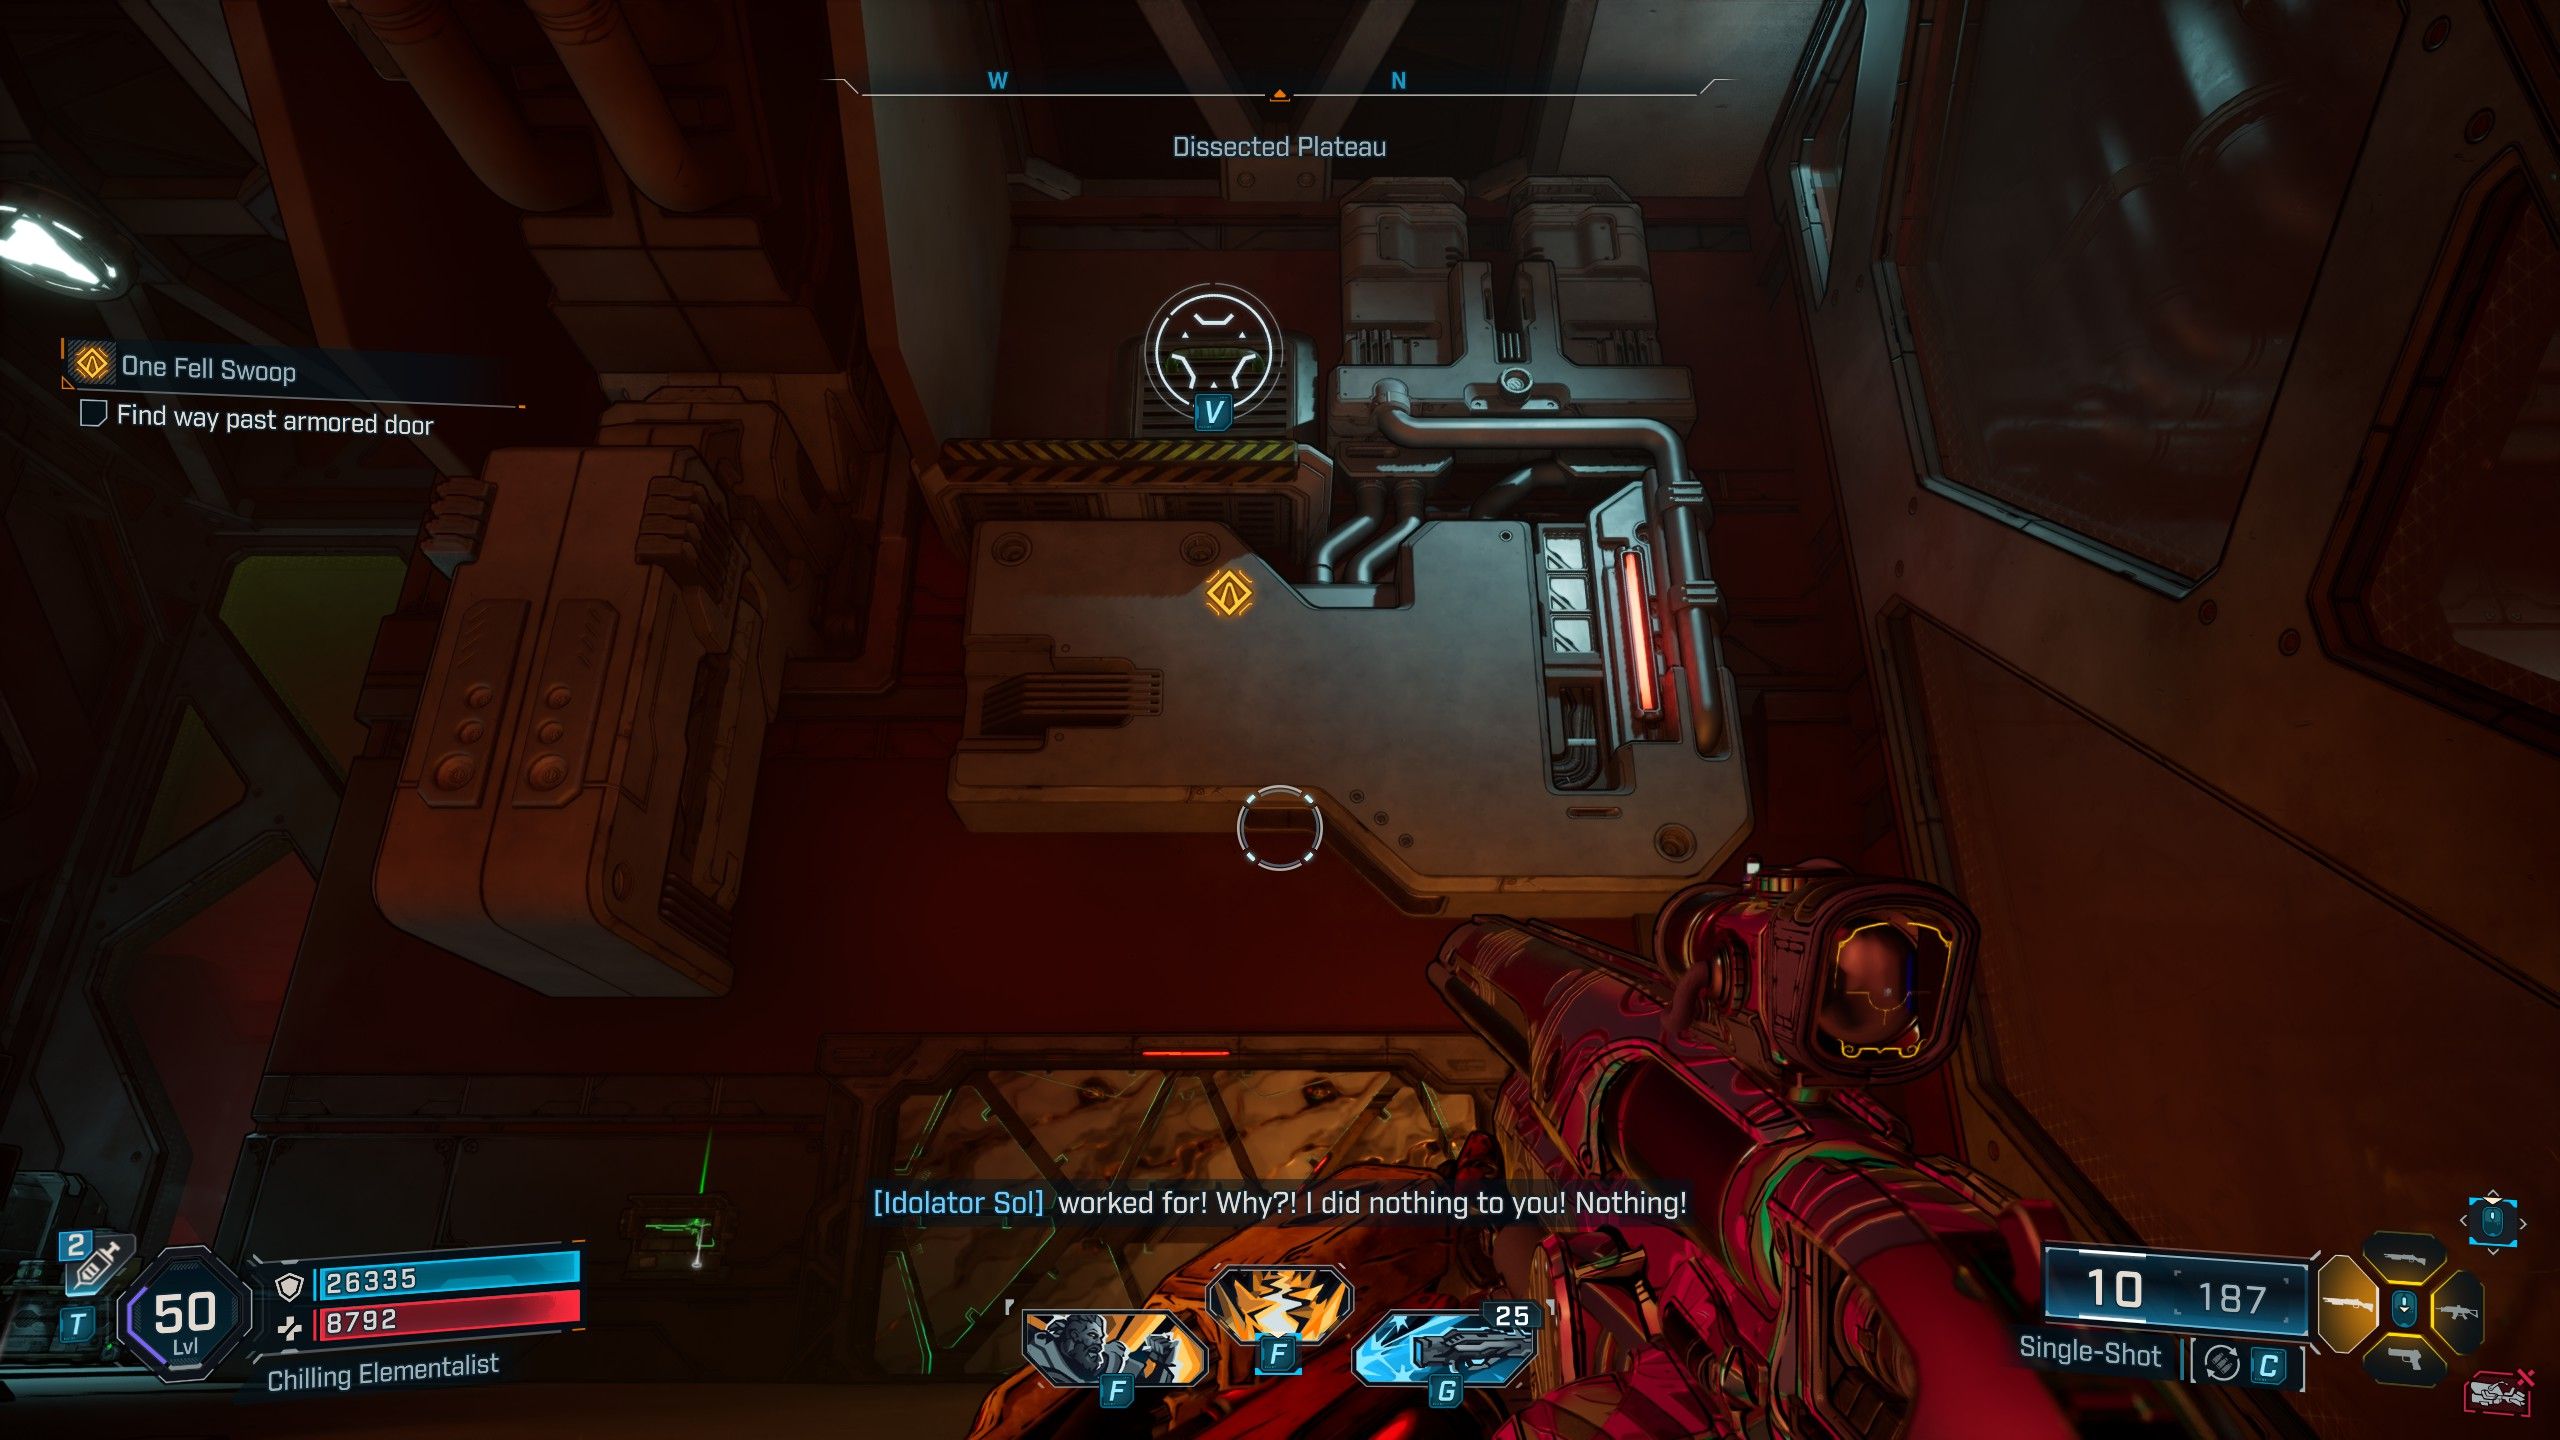
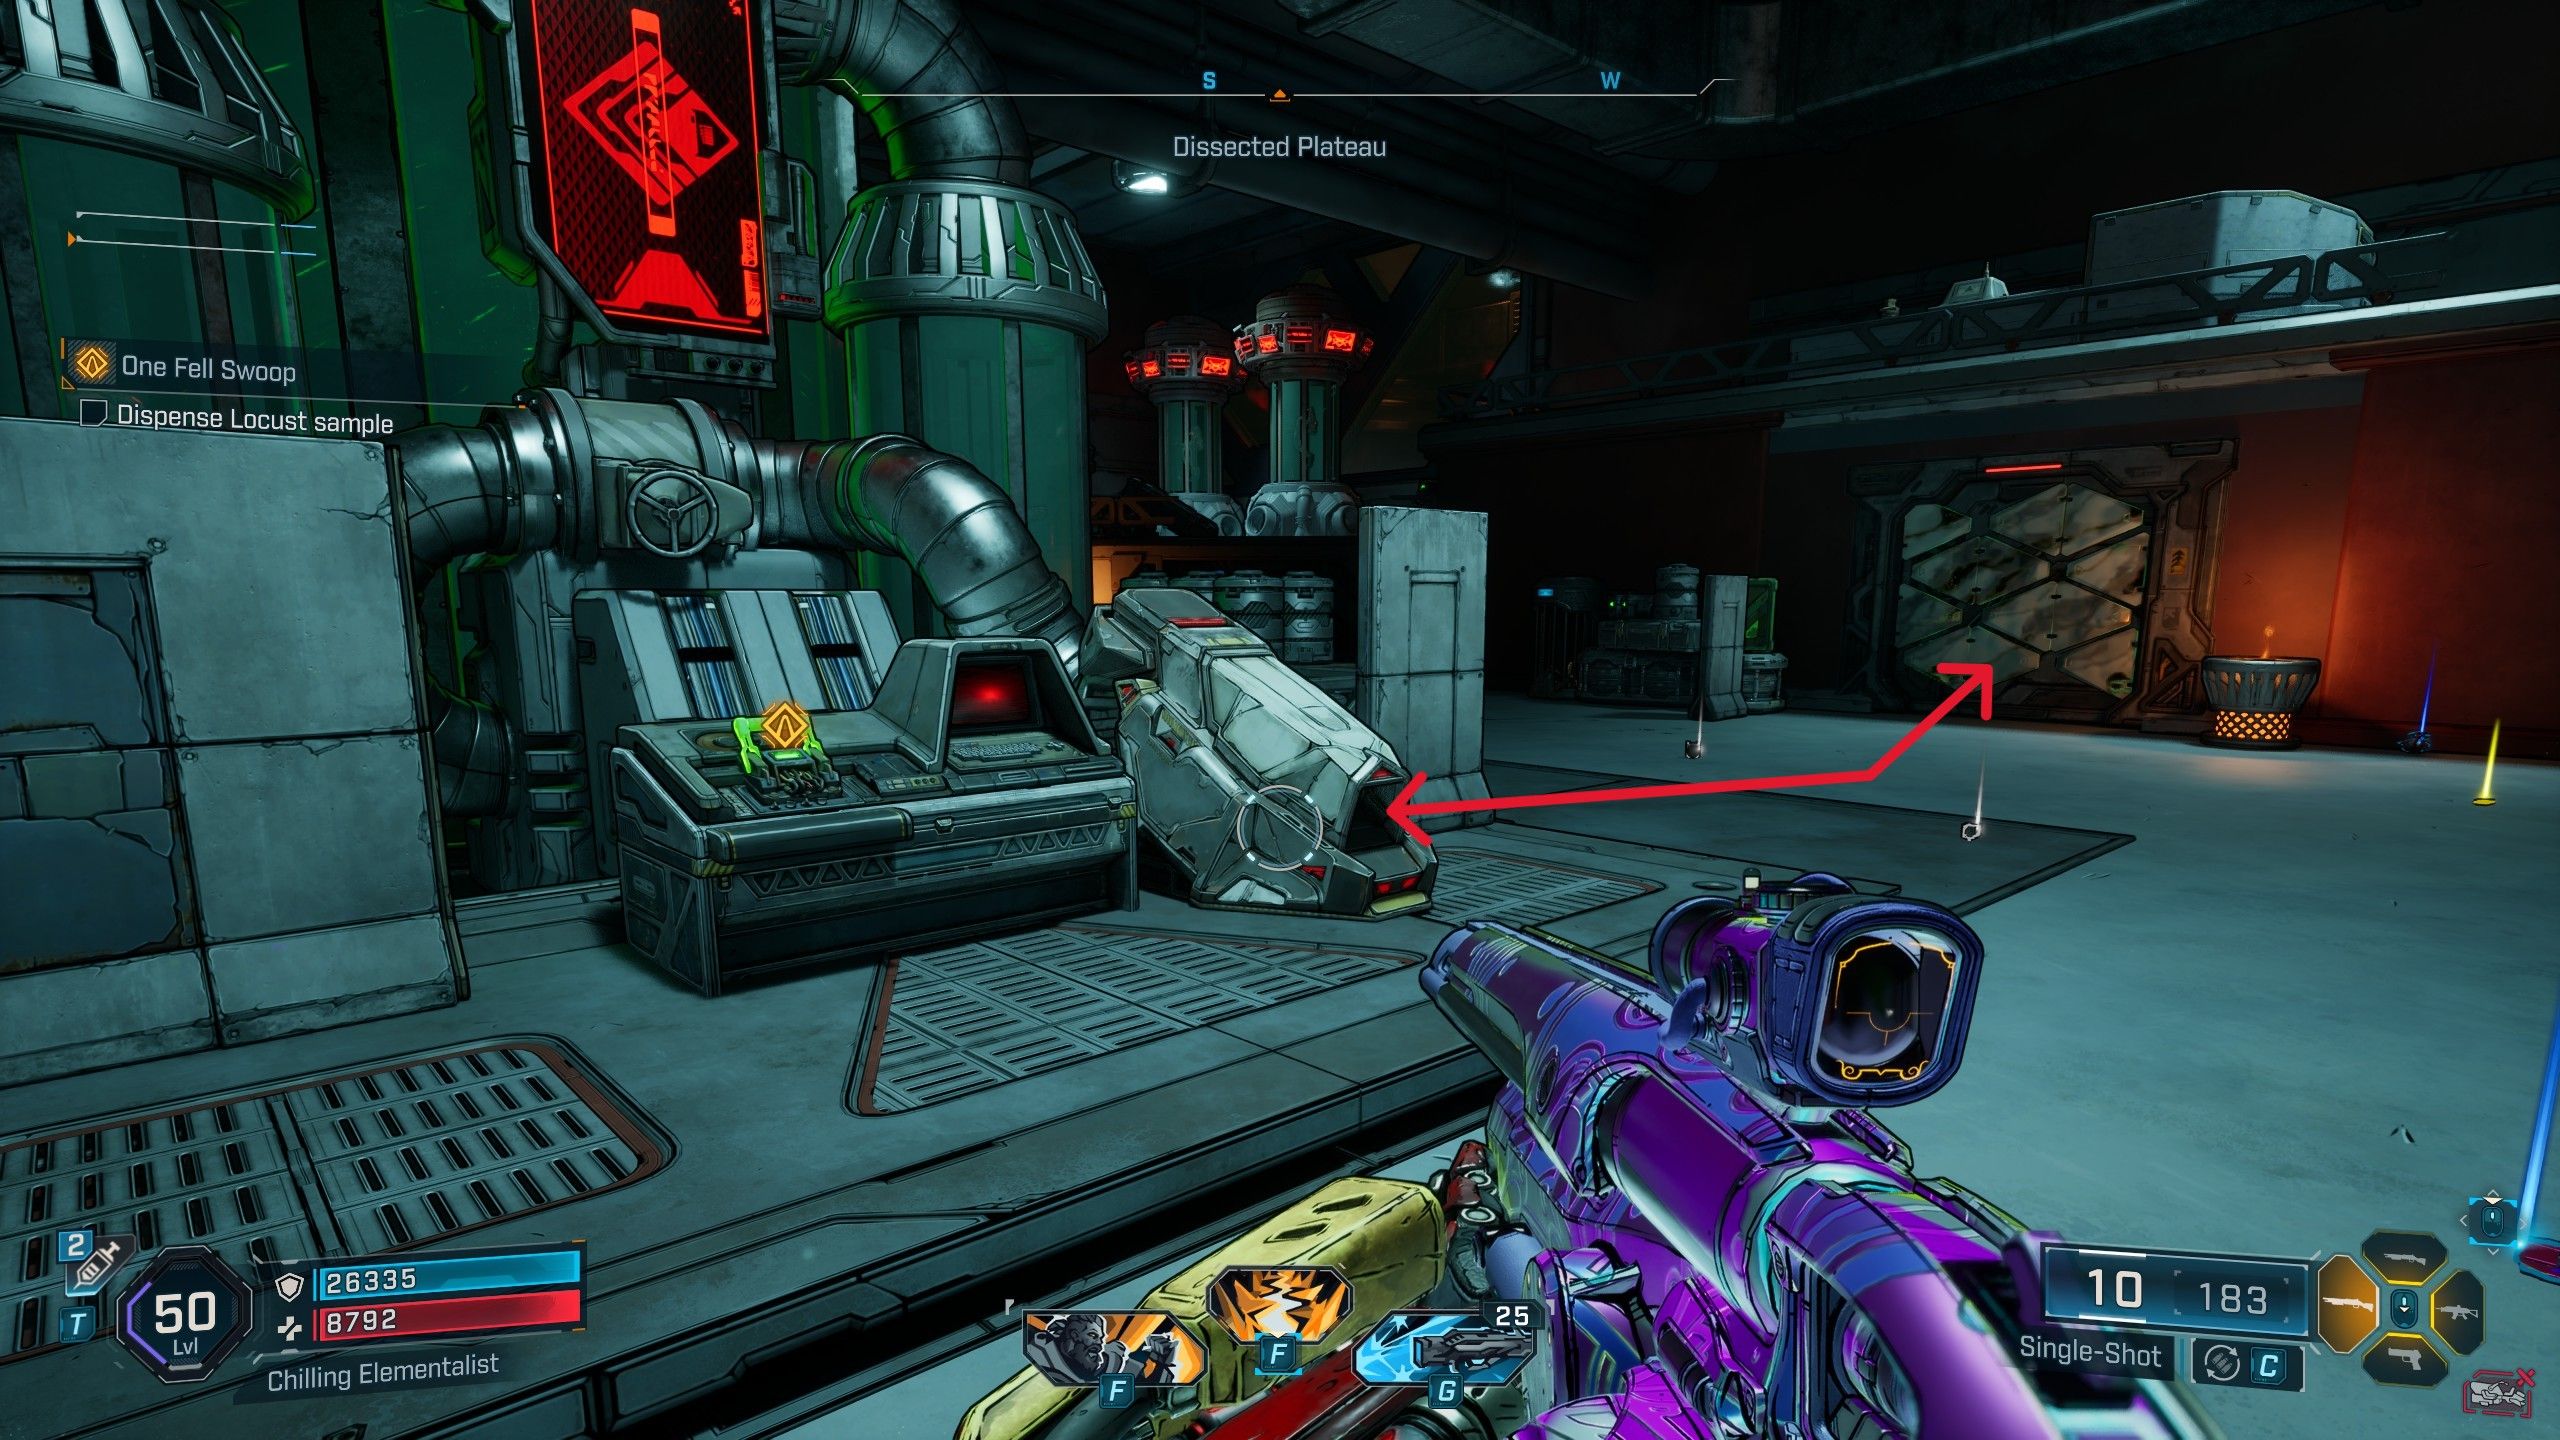
As a die-hard fan, I’ve stumbled upon an indestructible armored door in this game, fortified against both bullets and fists. If you look upwards above this door, you’ll spot a vent that can be opened with a trusty grapple hook. Once you’re through the vent, you’ll find yourself inside a lab. After taking out the enemies lurking within, head to the south wall to activate the Locust containers with a switch.
These containers are perfect for dealing with those invulnerable white doors. Just grab one with your grapple hook and chuck it at the door – it’ll magically swing open. Don’t forget to toss another container at the southeast door in the same room as Zadra to continue on your adventure!
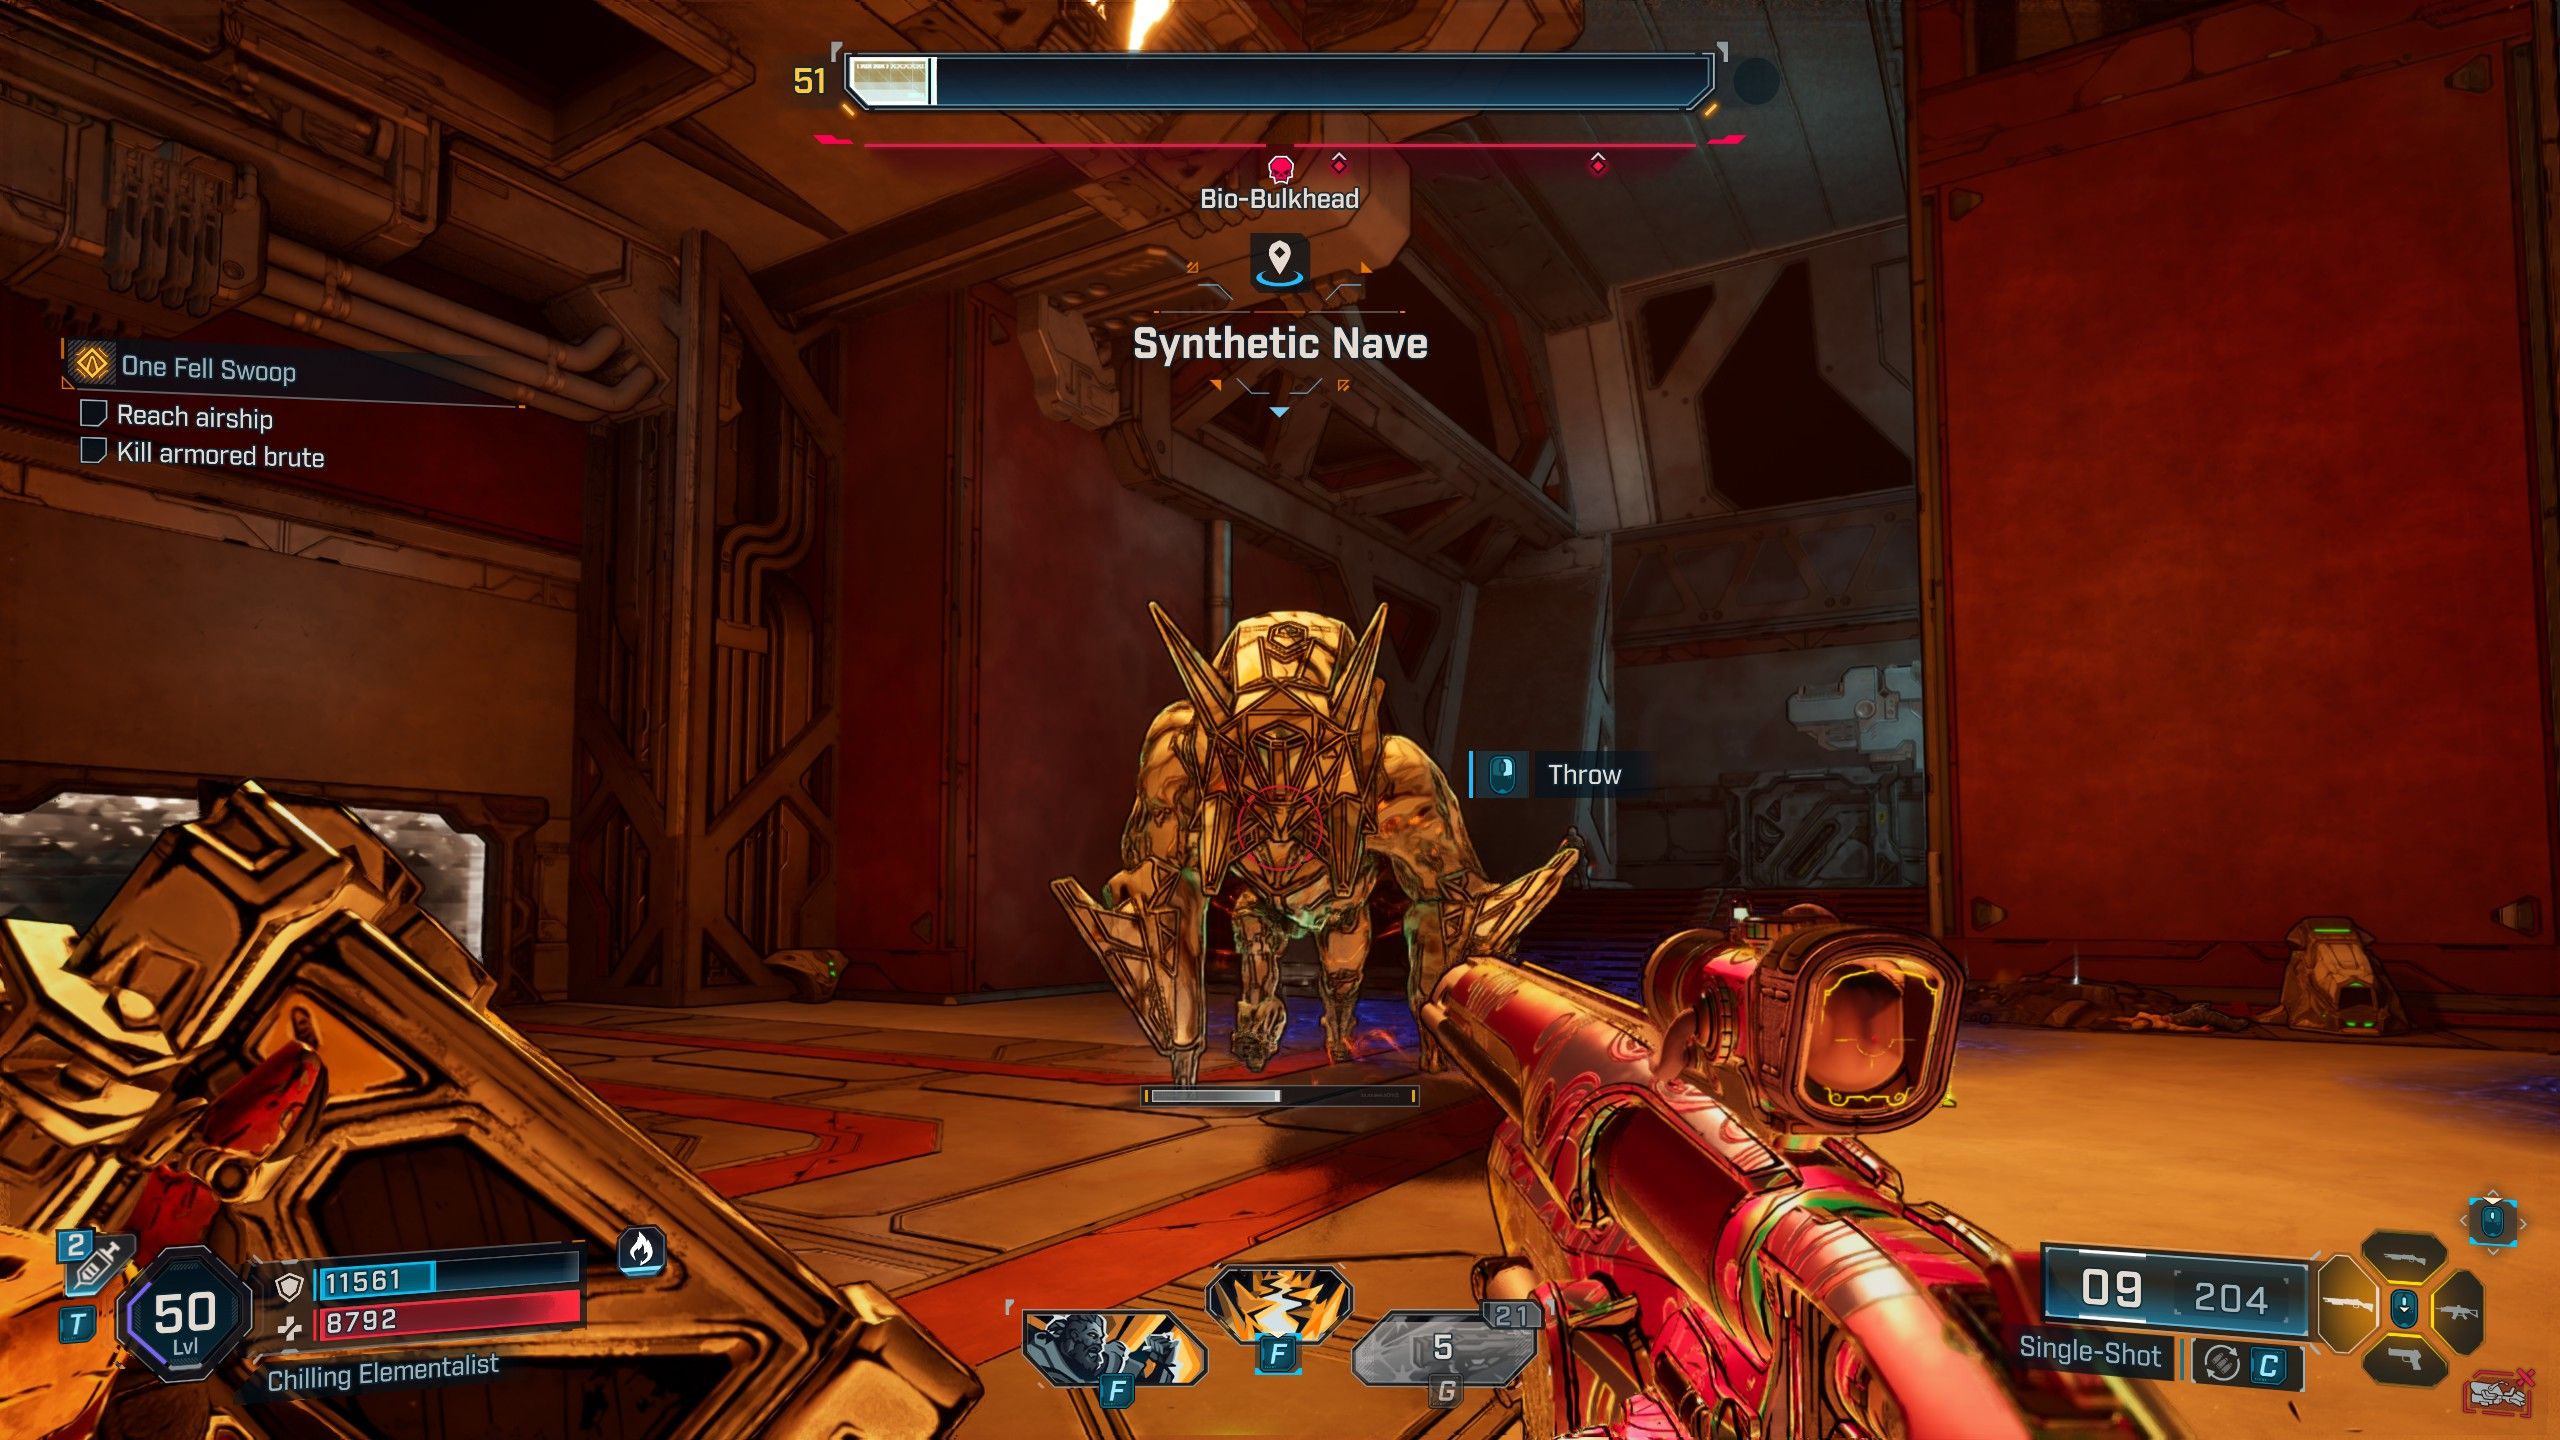
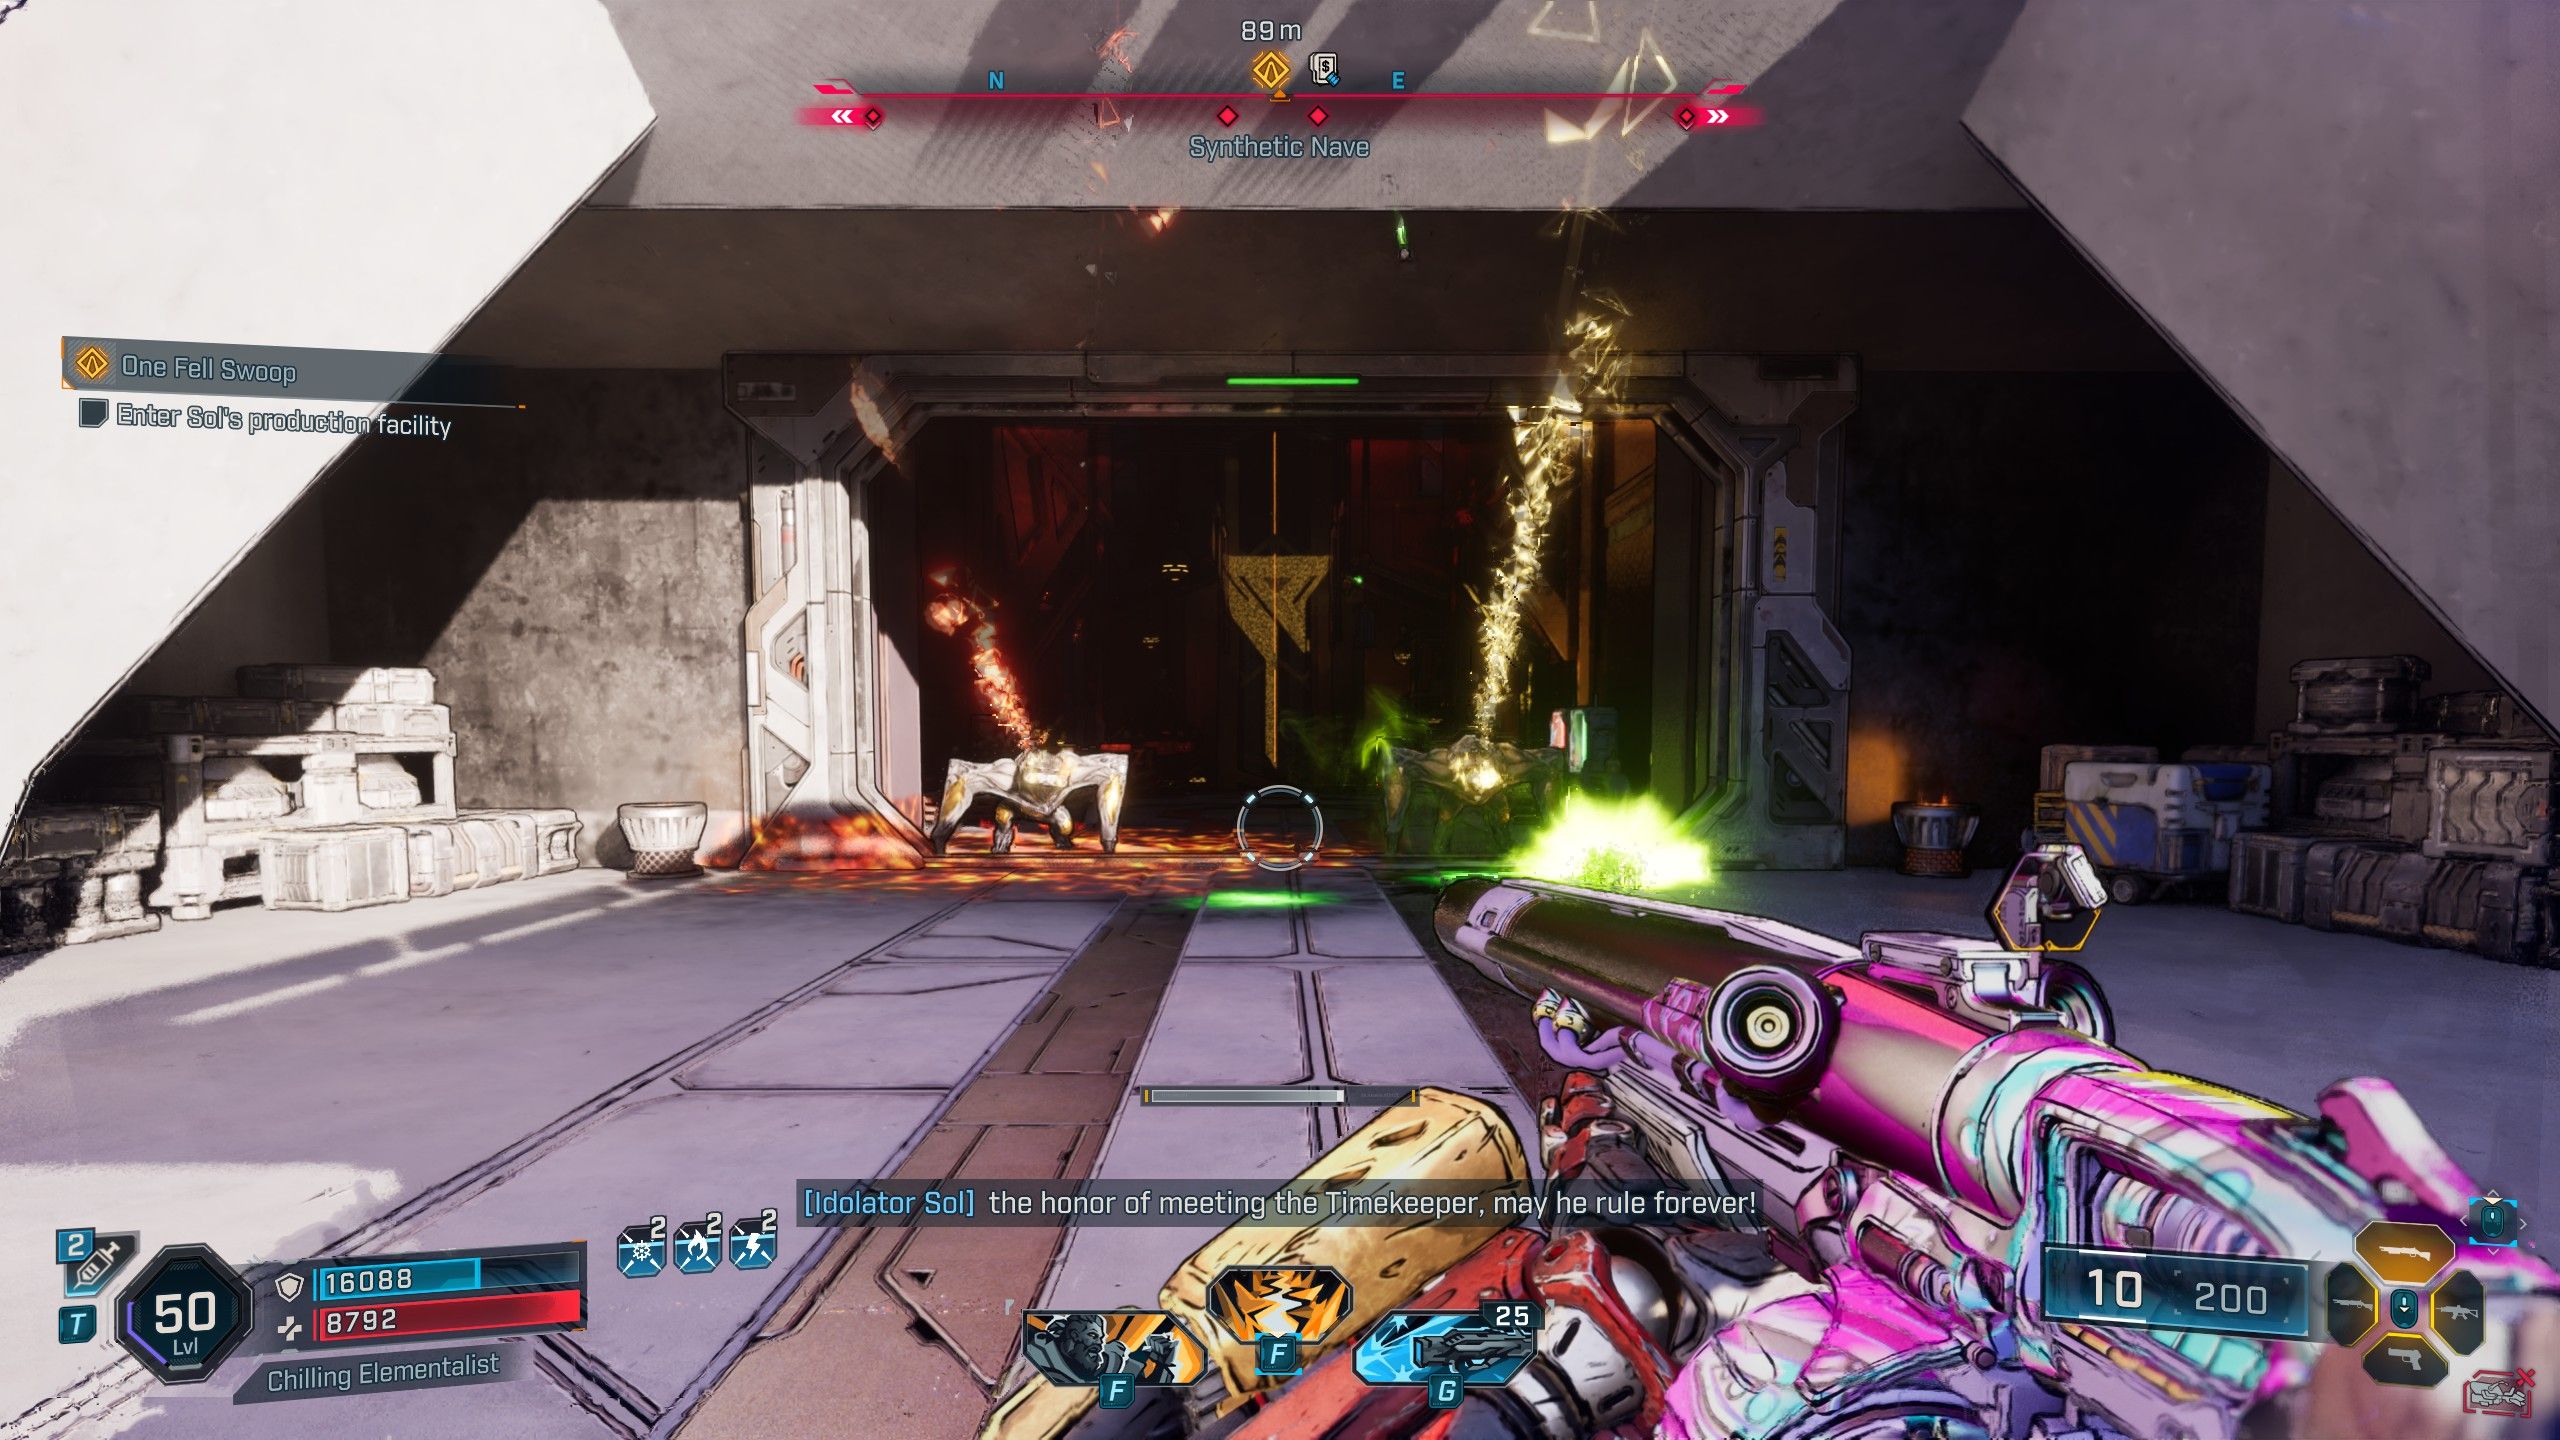
As they exit past the vending machines, players will encounter a boss battle with the Bio-Bulkhead. Although he may appear formidable, understanding his mechanics is crucial. To deal damage to him, search for Locust canisters positioned at the room’s central corners and throw them at him. Once his armor is removed, the health bar, which is yellow, becomes vulnerable to both Corrosive and Cryo attacks. This means these elements will be highly effective against him during the fight.
Help Rush and the Outbounders Destroy the Airship
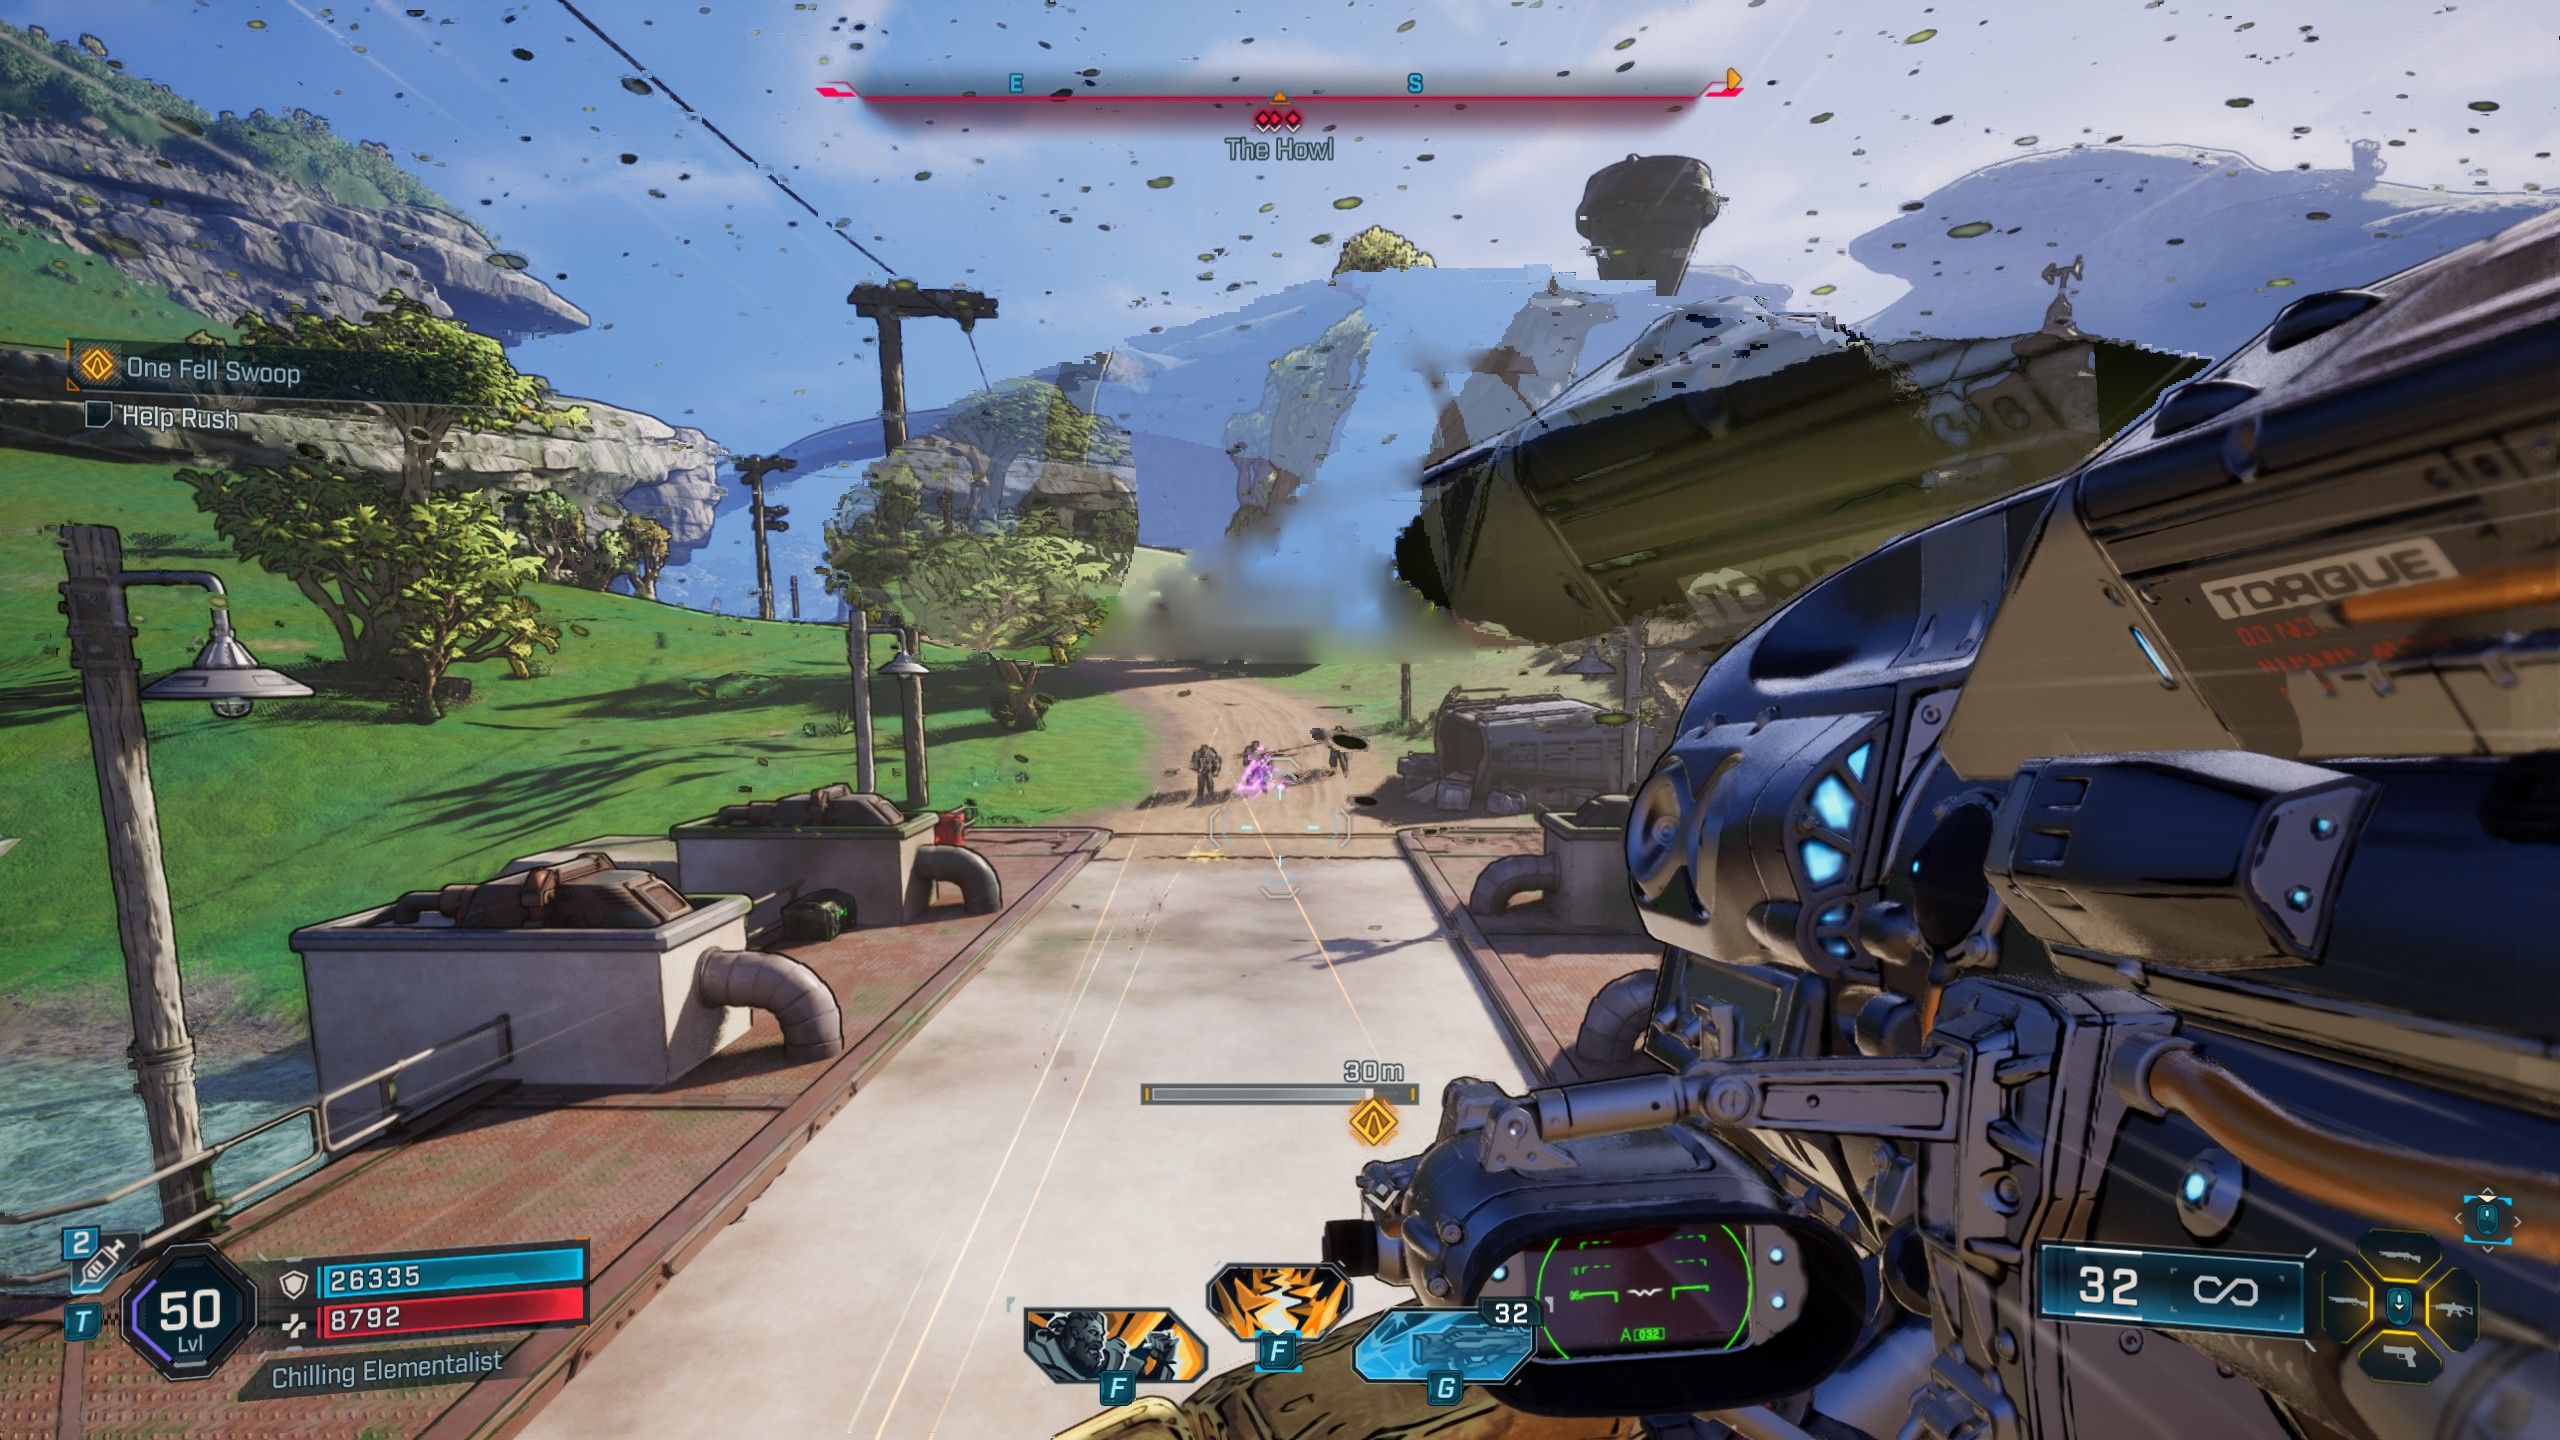
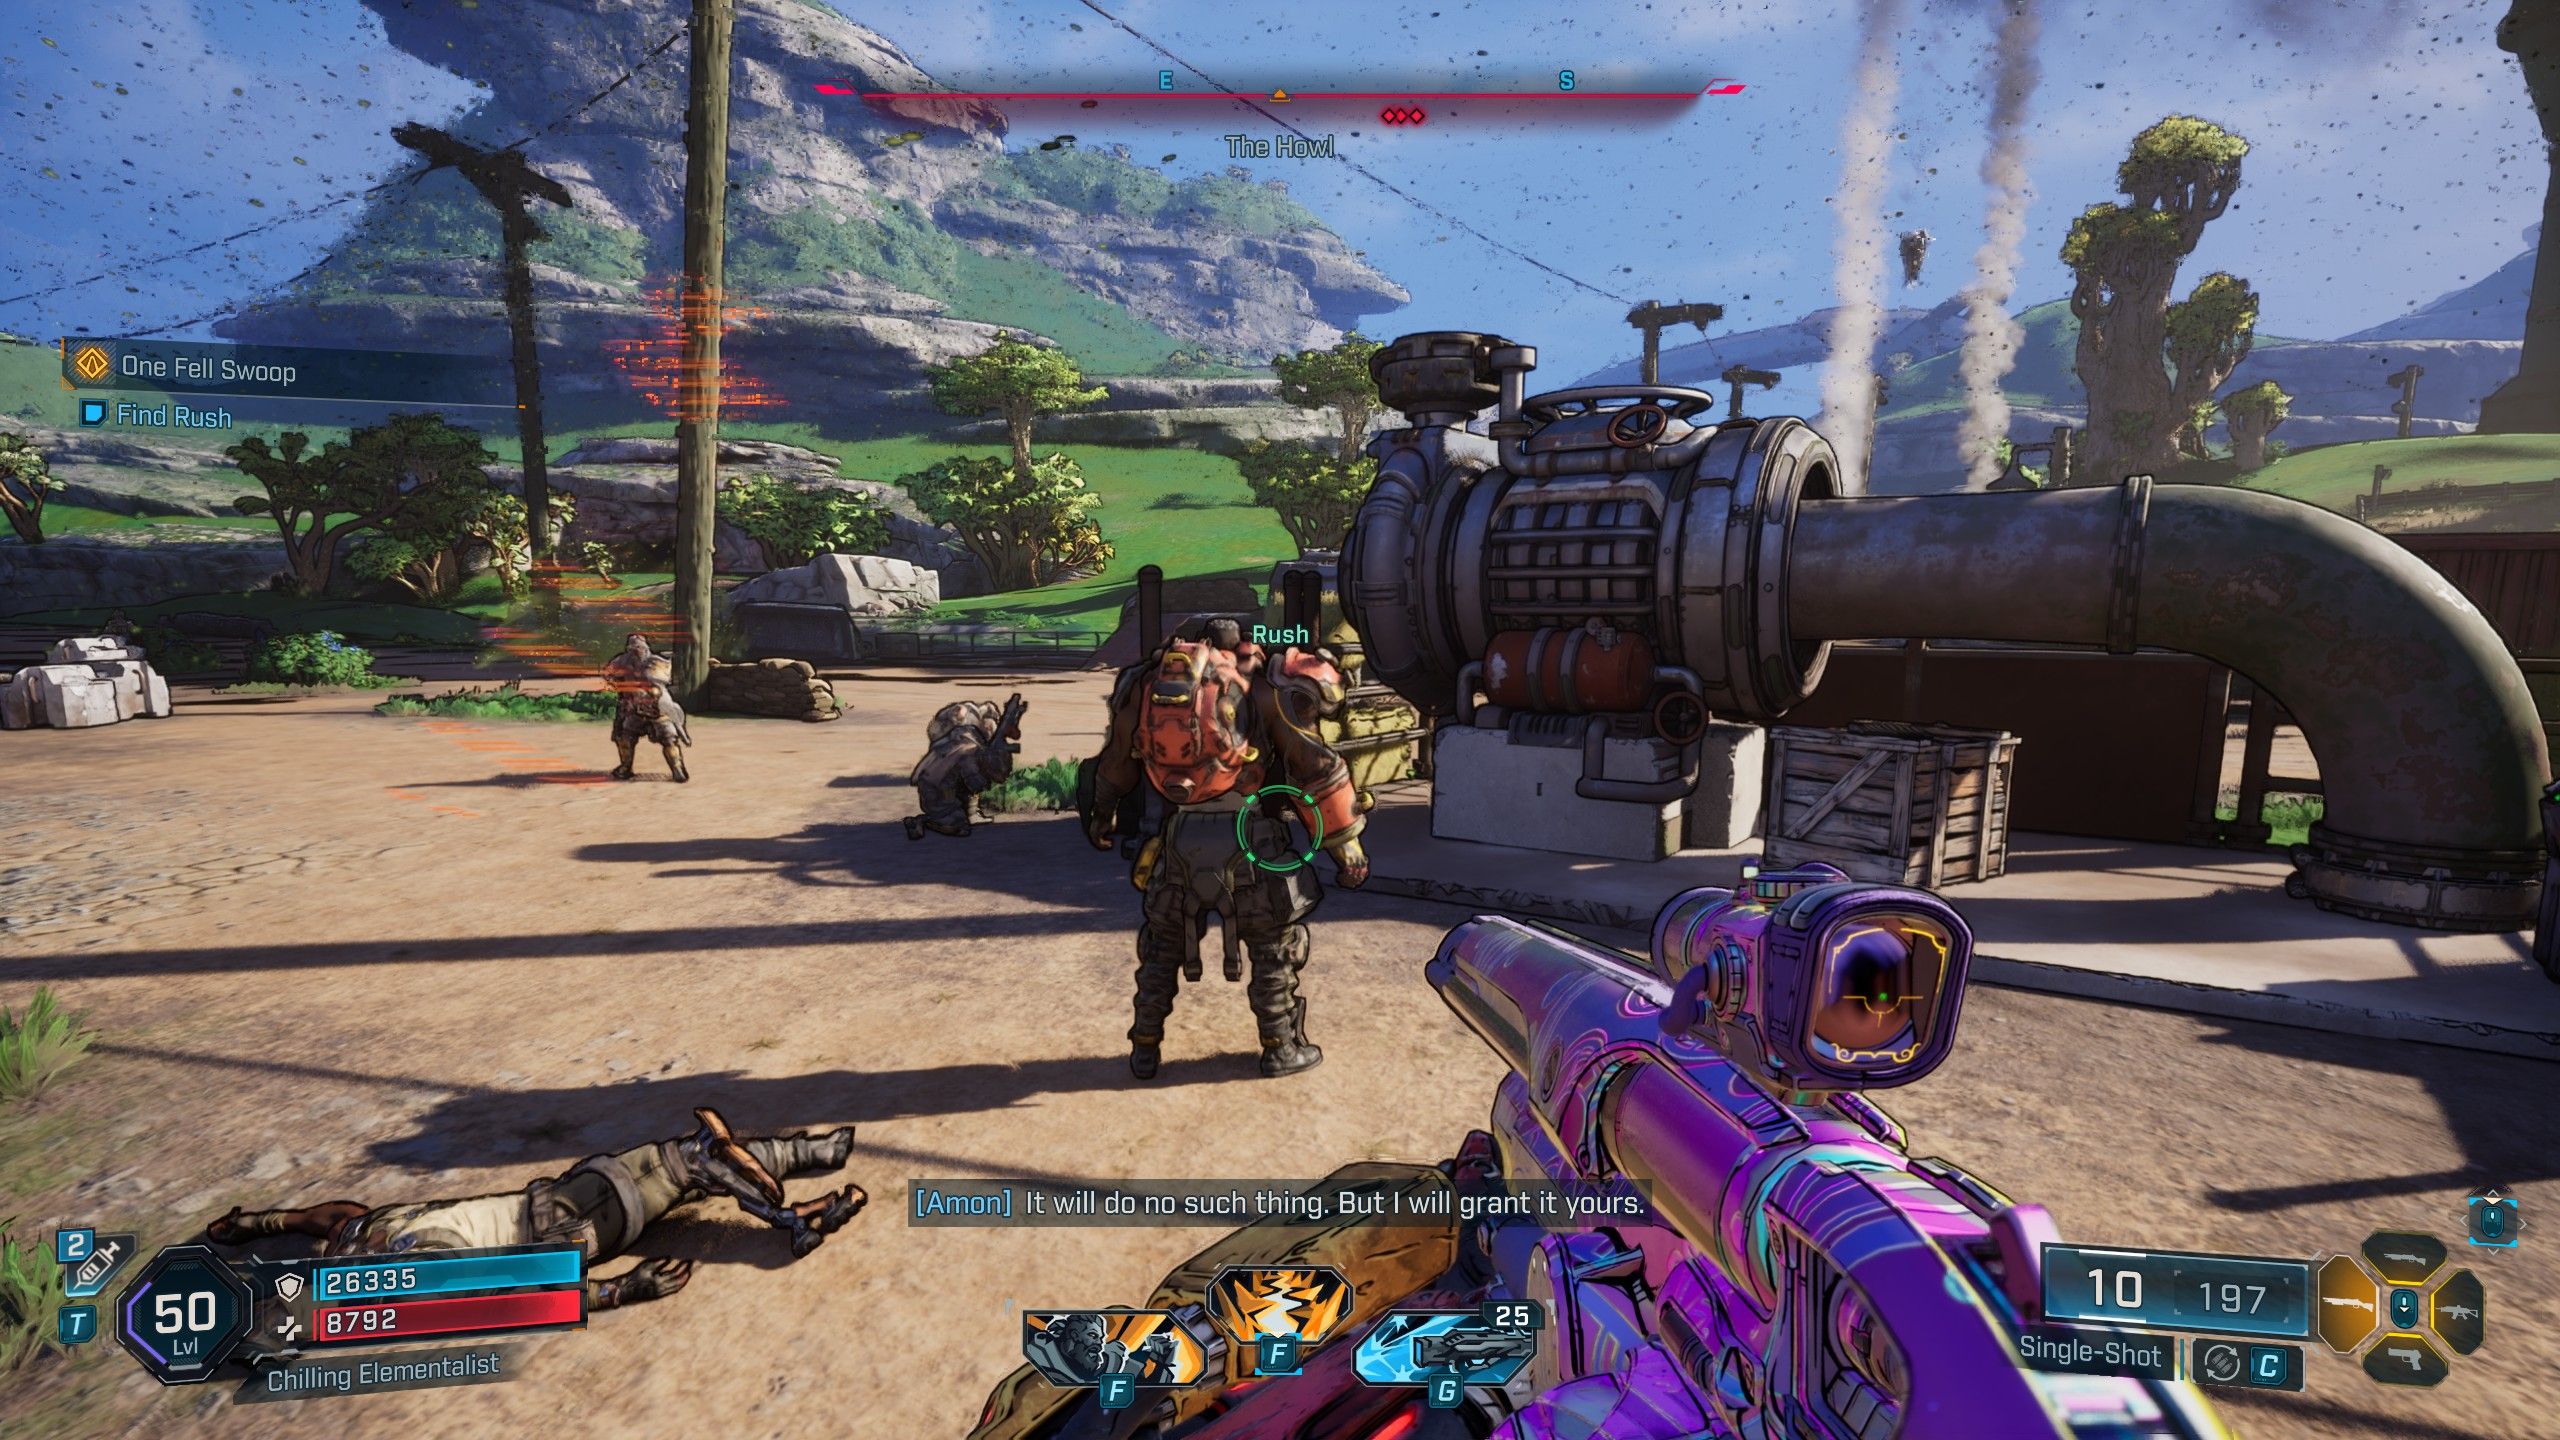
After conquering the Bio-Bulkhead, proceed through the facility, utilizing the grapple points for a speedy journey towards the airship. Upon arrival, note that it will depart, but don’t worry about the unachieved goal since it’s part of the mission and you can’t catch up to it in time. Instead, make your way back to Outbounders HQ at the Launchpad, and help Rush defeat the Order soldiers who have arrived. Be prepared for Rush to fall during this battle, so when that happens, move closer and revive him to ensure he stays in the fight.

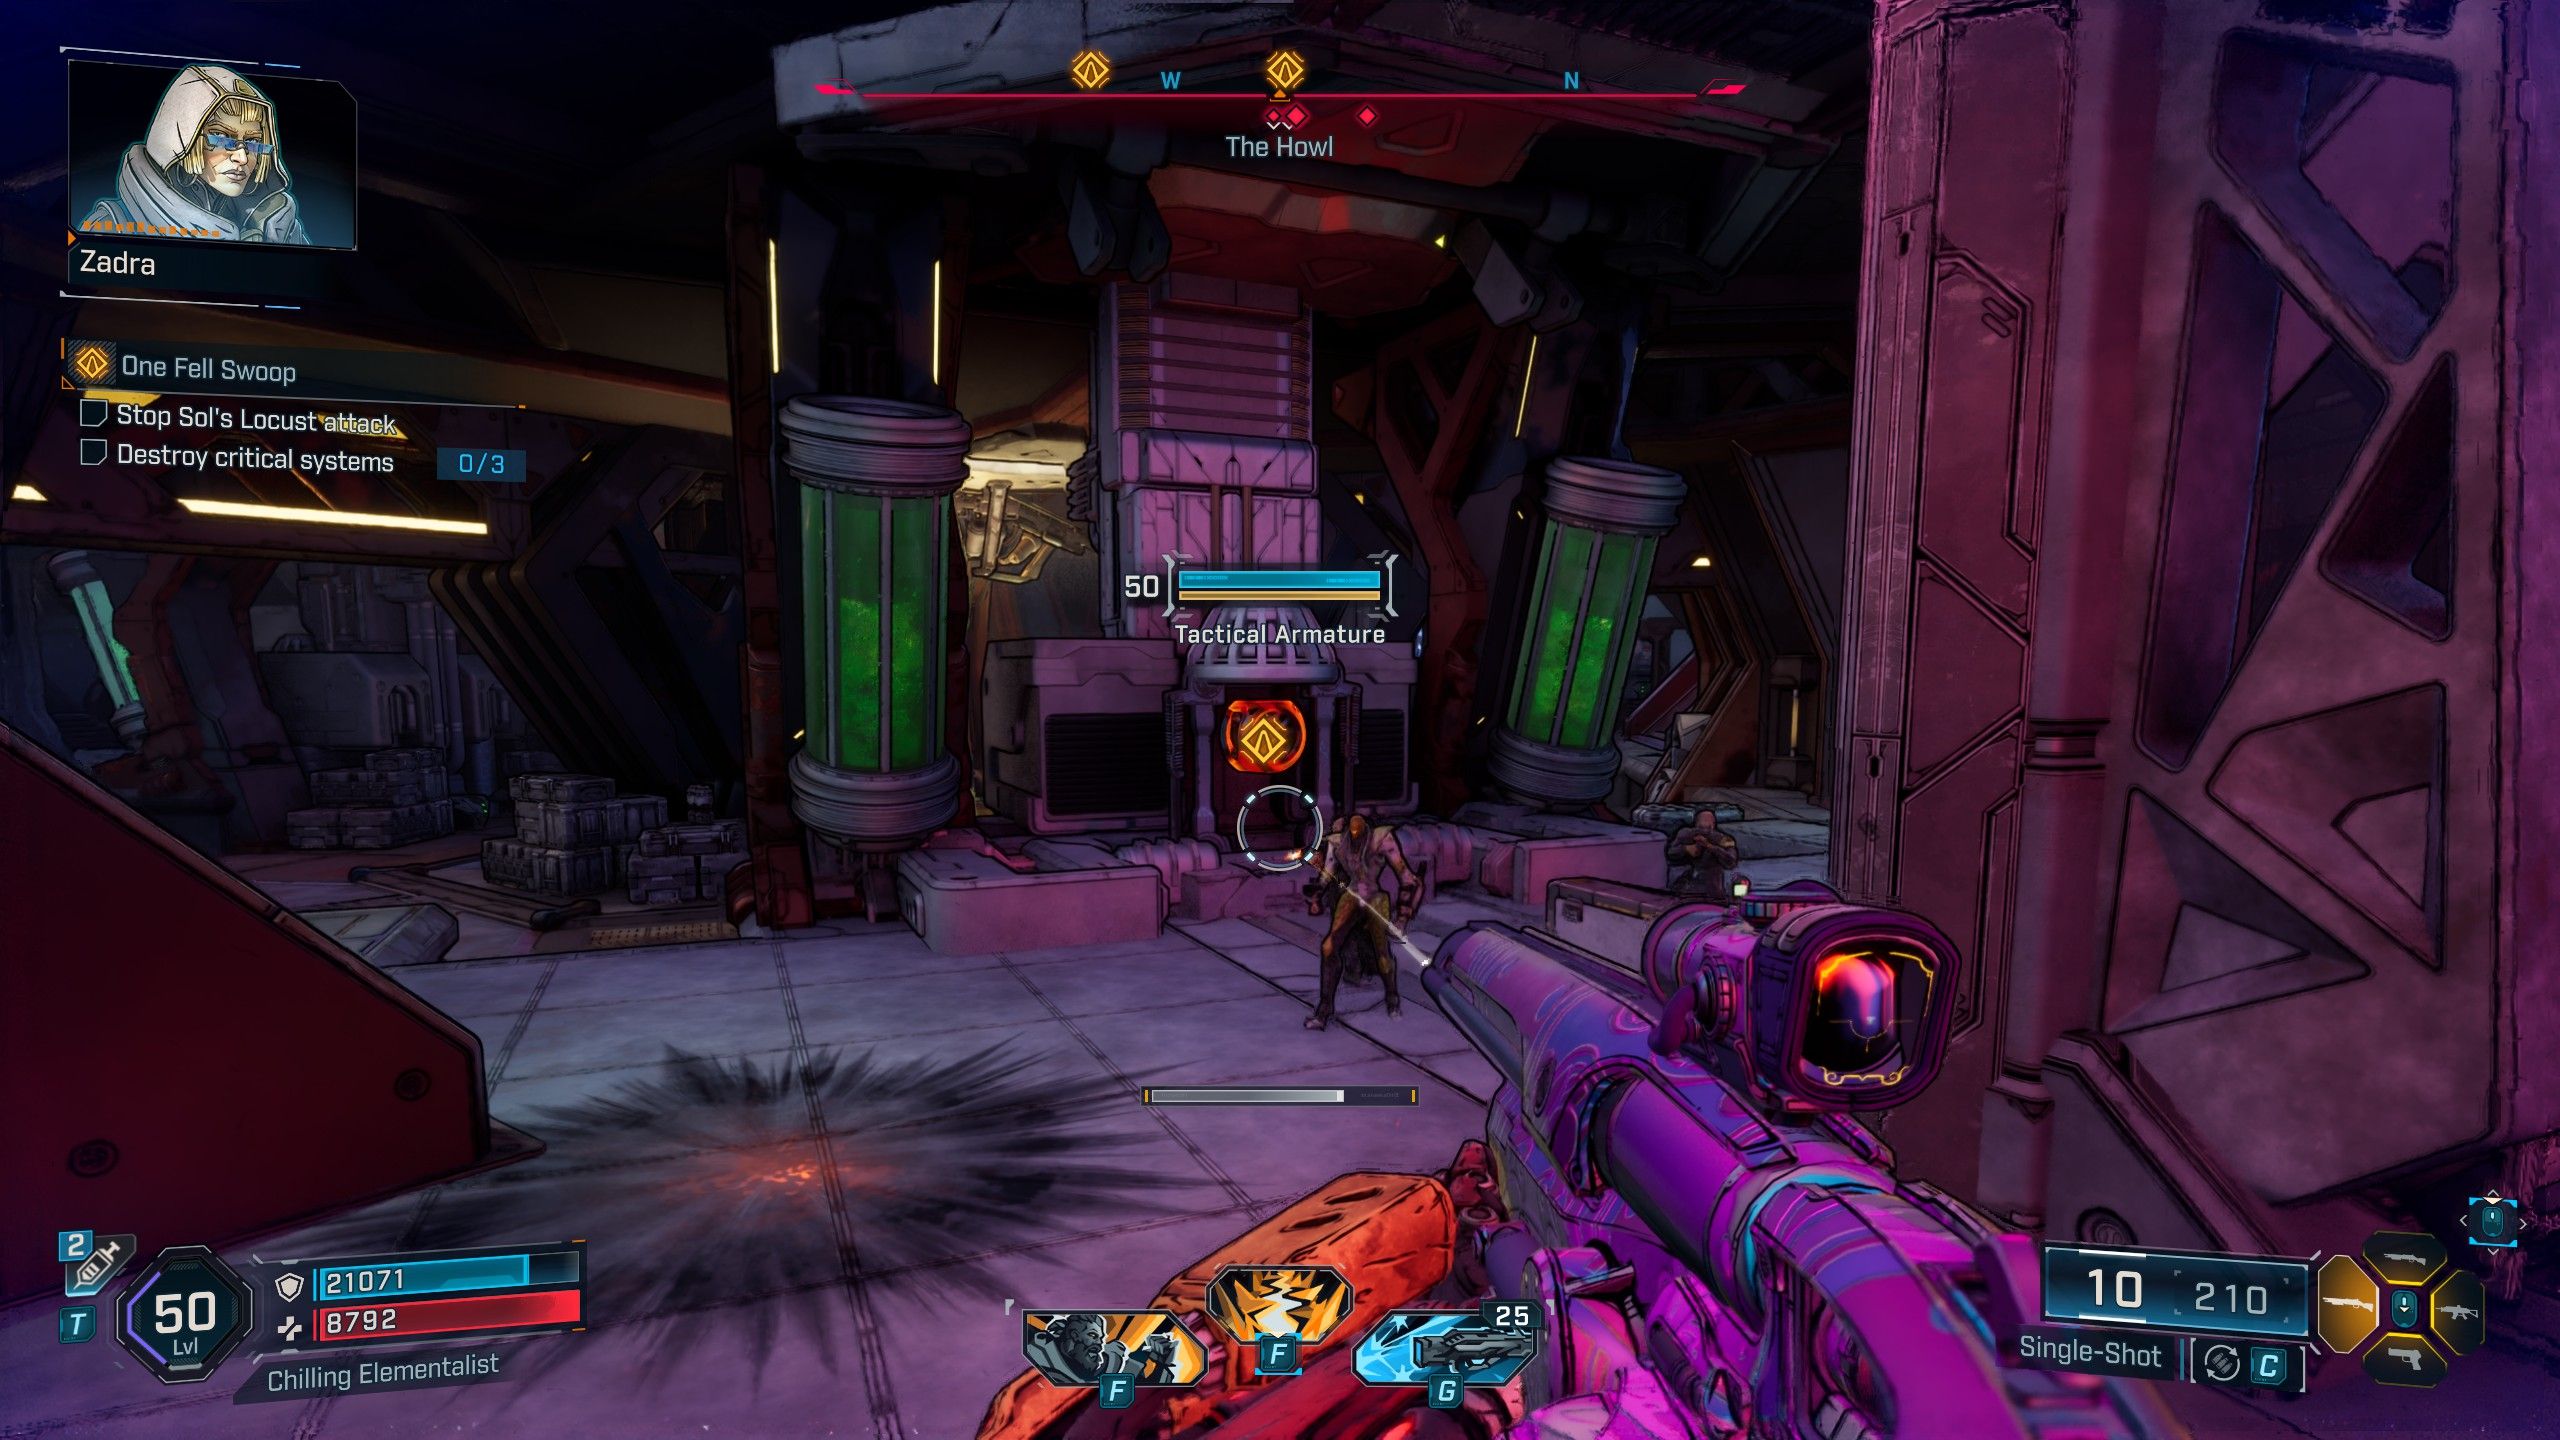
1. Secure the Launchpad first.
2. Head back to the bunker, then attach a grappling hook to the vent and any obstructions preventing access to the Fast Travel station.
3. After that, return to the surface and enter the airship via the orange portal located at the southeastern side of the Launchpad.
4. Inside the airship, locate the button that will unveil essential systems for you to shoot.
5. Shoot all 3 critical systems until they are destroyed.
6. Exit the ship by leaping down from the central chamber upon completion of the quest.
Completing this mission will allow you to open Order Bunkers scattered around Kairos!
Read More
- Robinhood’s $75M OpenAI Bet: Retail Access or Legal Minefield?
- Lonely Player Anomaly Commission Guide In NTE (Wandering Puppet Locations)
- All Nameless Hospital Endings Full Guide In NTE
- Change Your Perspective Anomaly Commission Guide In NTE (Neverness to Everness)
- All Skyblazer Armor Locations in Crimson Desert
- How to Complete Funny Blocks Game in Infinity Nikki
- All Hauntingham’s Letters & Hidden Page in New Super Lucky’s Tale
- Riven Tides Classified Records Keycard Door Location in ARC Raiders
- Jujutsu Kaisen Modulo Gets An Official Anime Trailer By Studio MAPPA
- Midas Tower ReroRero Phone Booth Location in NTE
2025-09-13 19:36