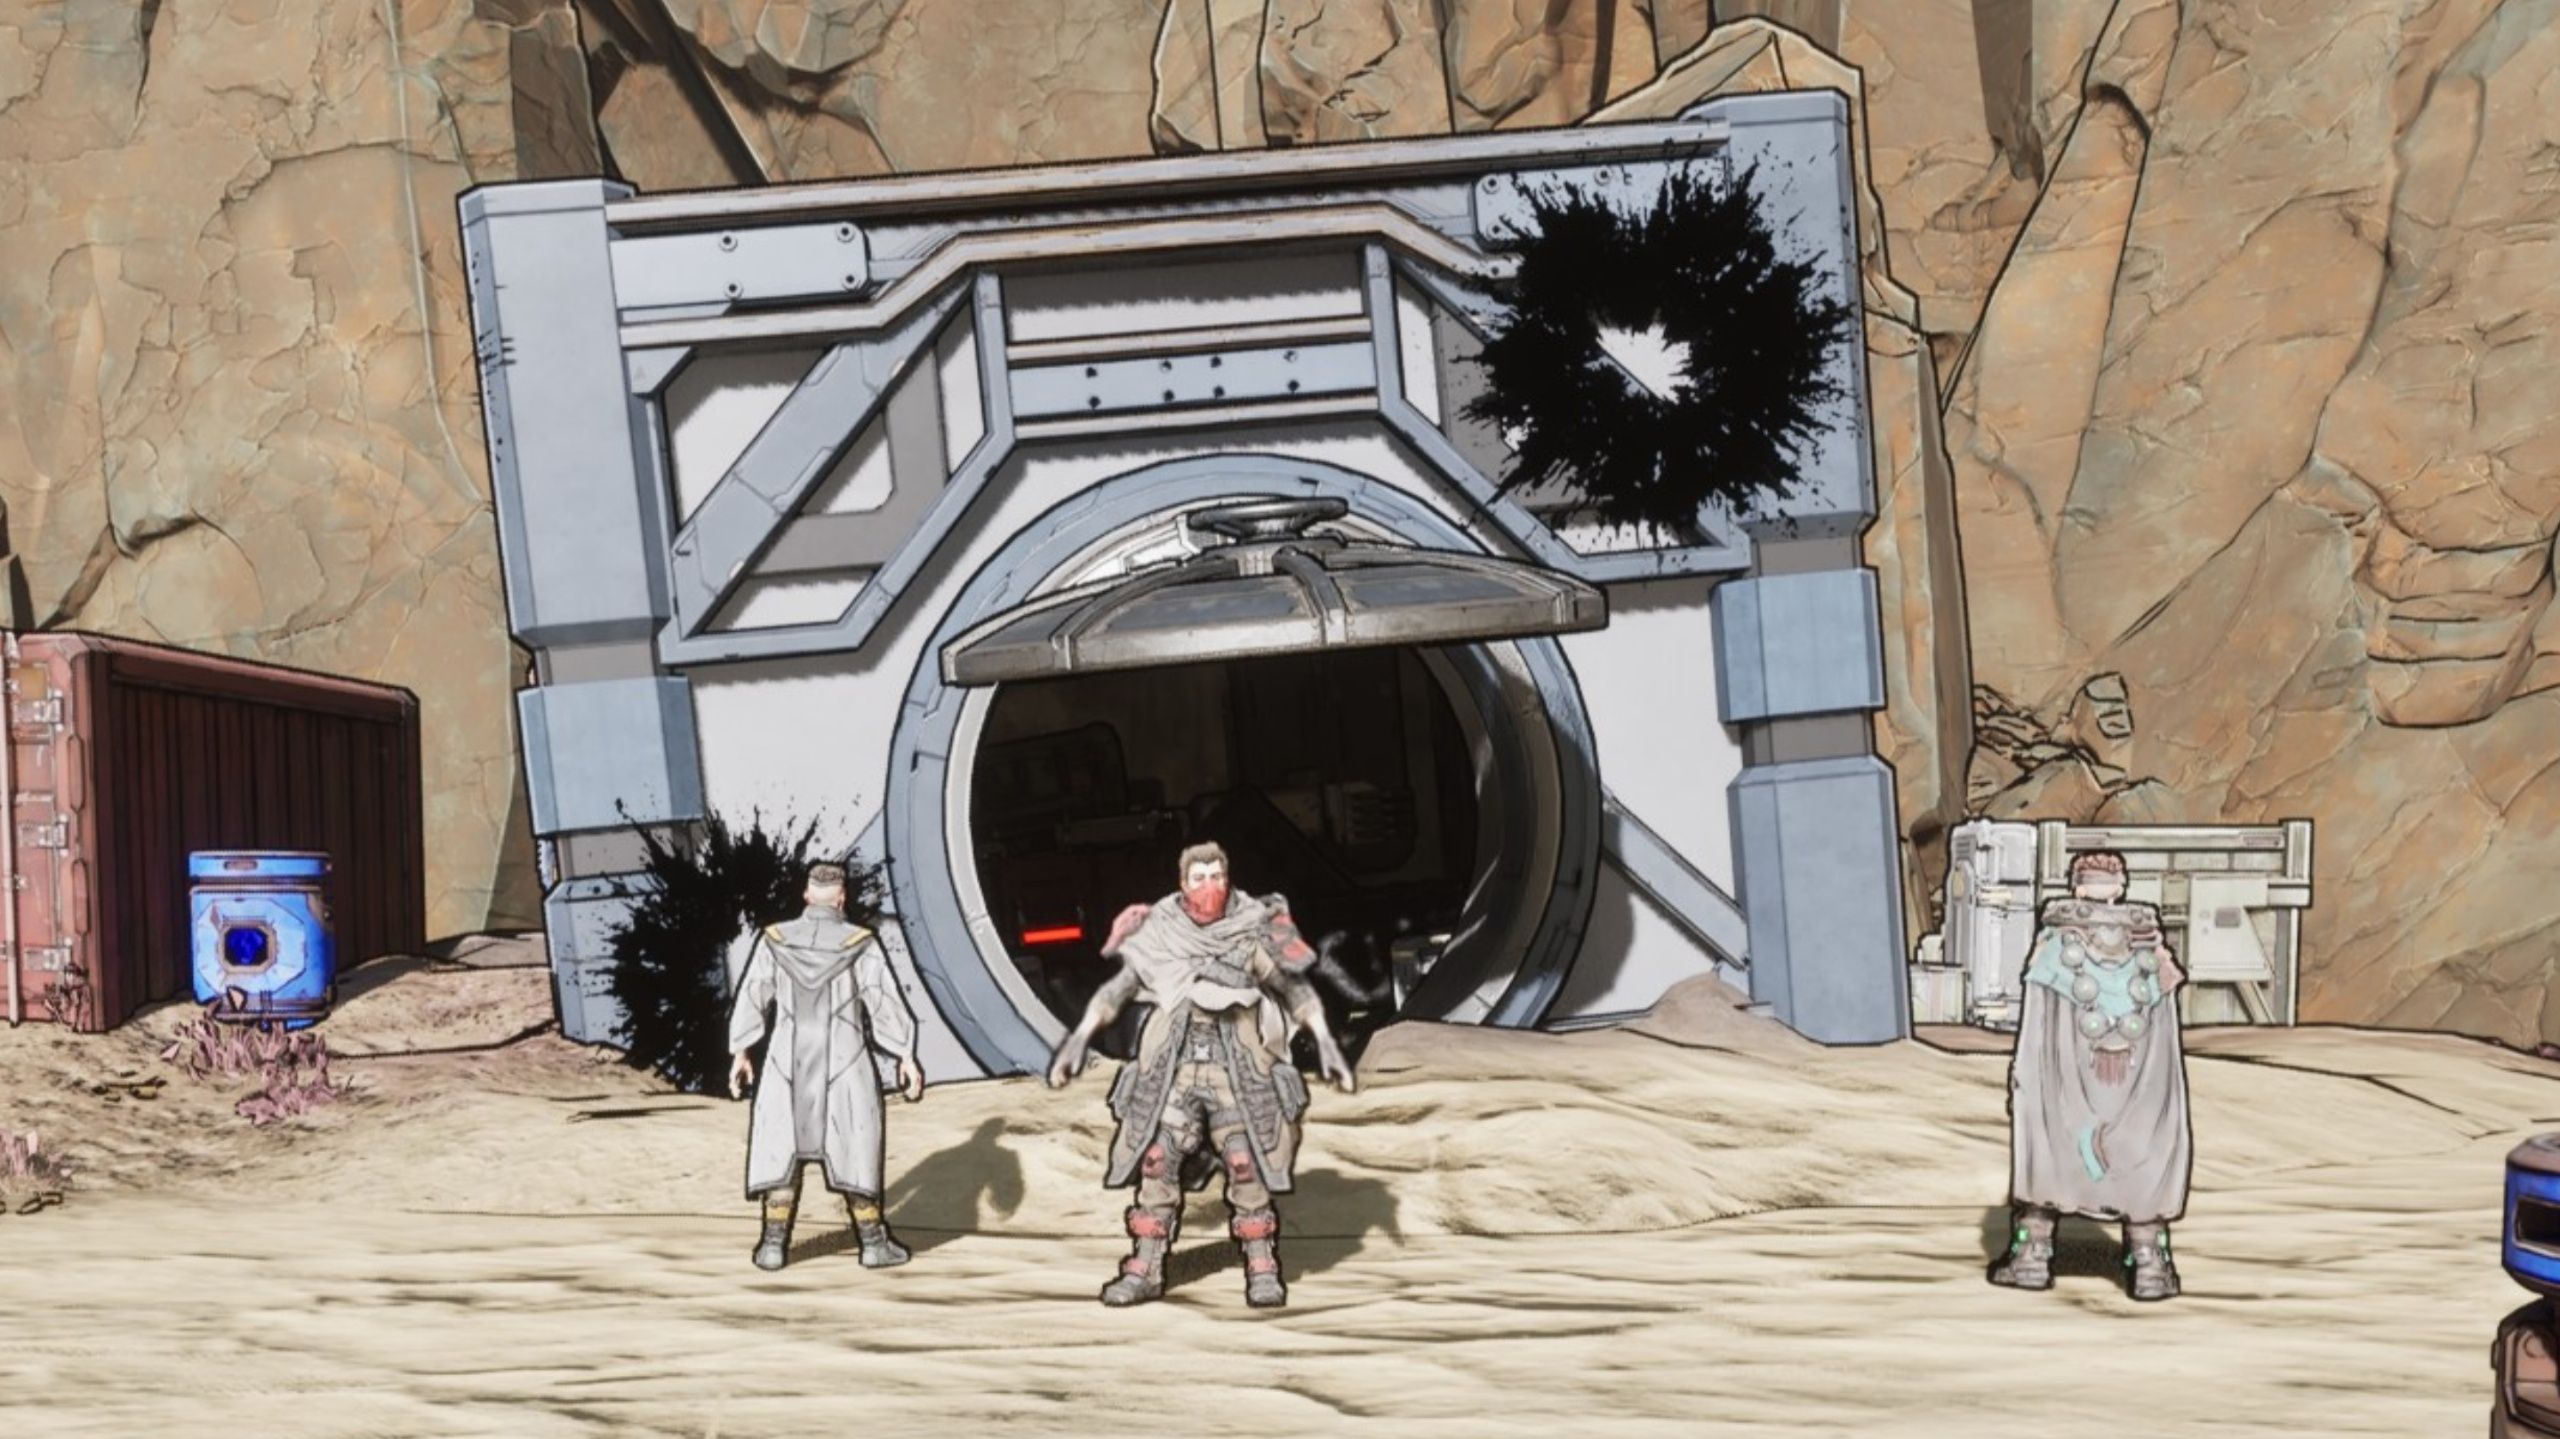
In Borderlands 4, players can start “The Kairos Job,” a side mission found at the Launchpad in the Fadefields. This mission tasks you with pulling off a heist, and you’ll need to gather a crew led by Shim. This guide provides a complete, step-by-step walkthrough to help you recruit the team, solve the puzzles to open the safe, and successfully complete the job – it won’t be easy, but this guide will help you through it!
How to Recruit Kilo in The Kairos Job
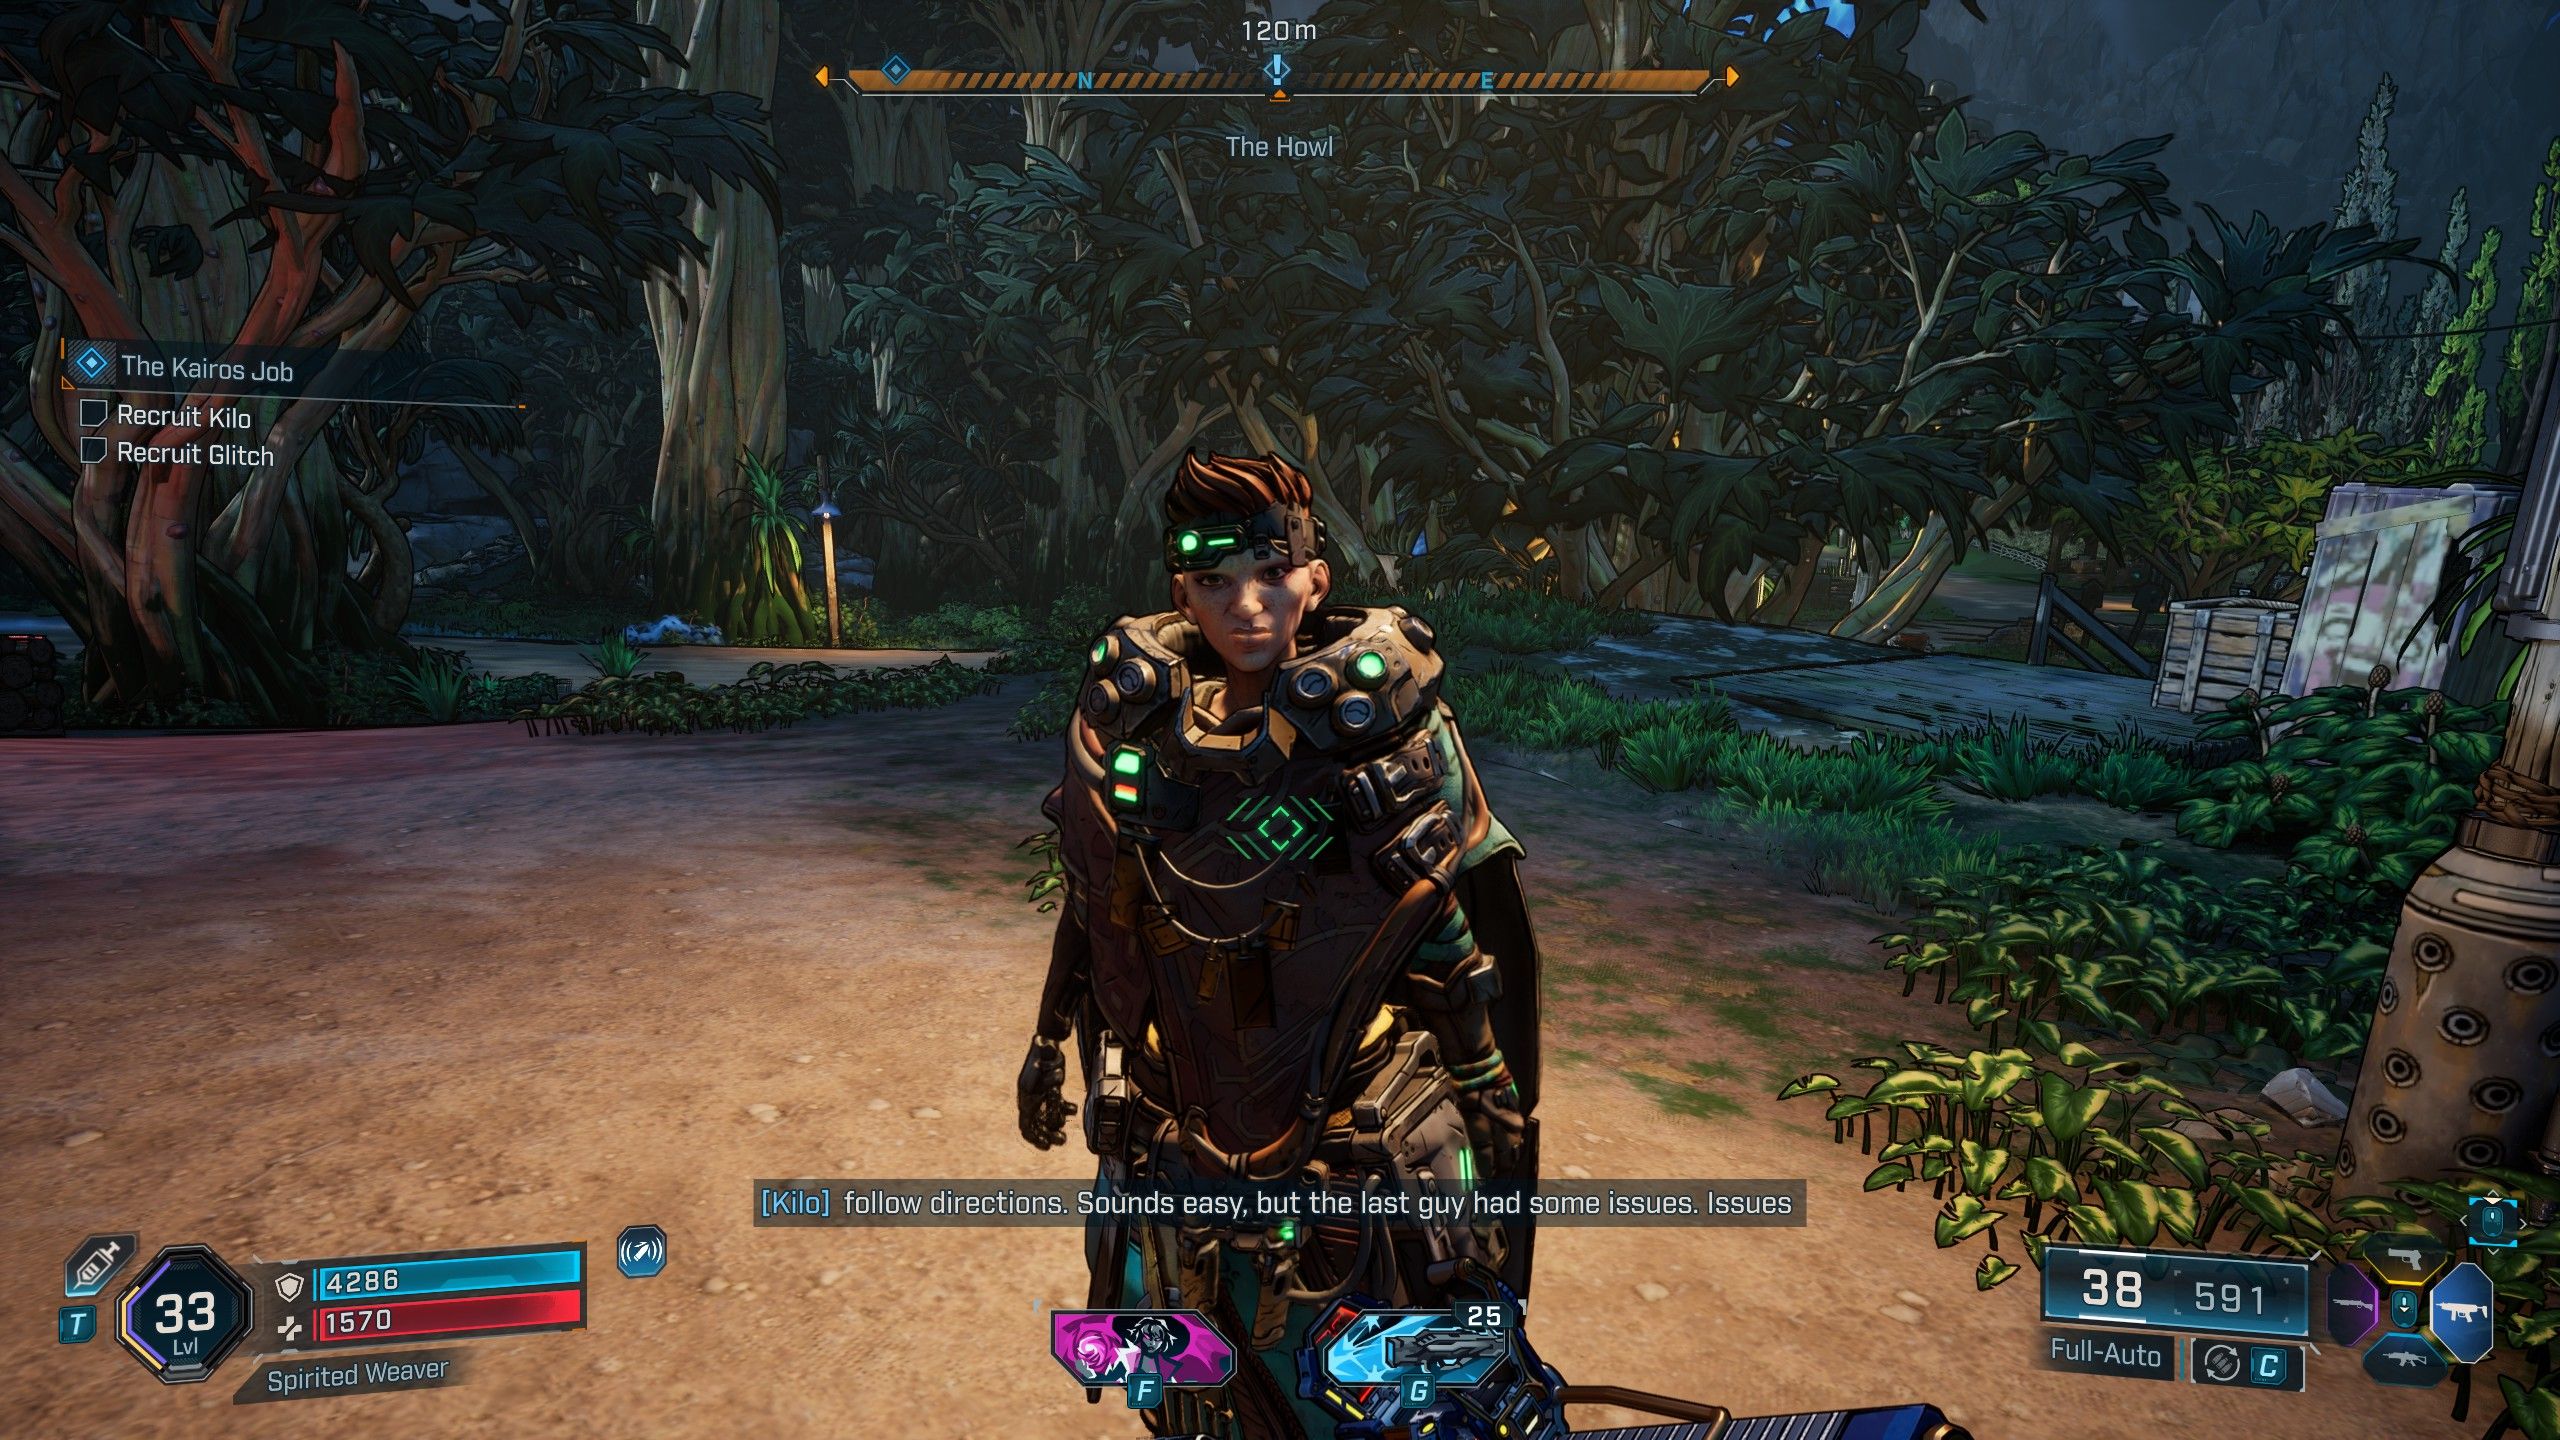
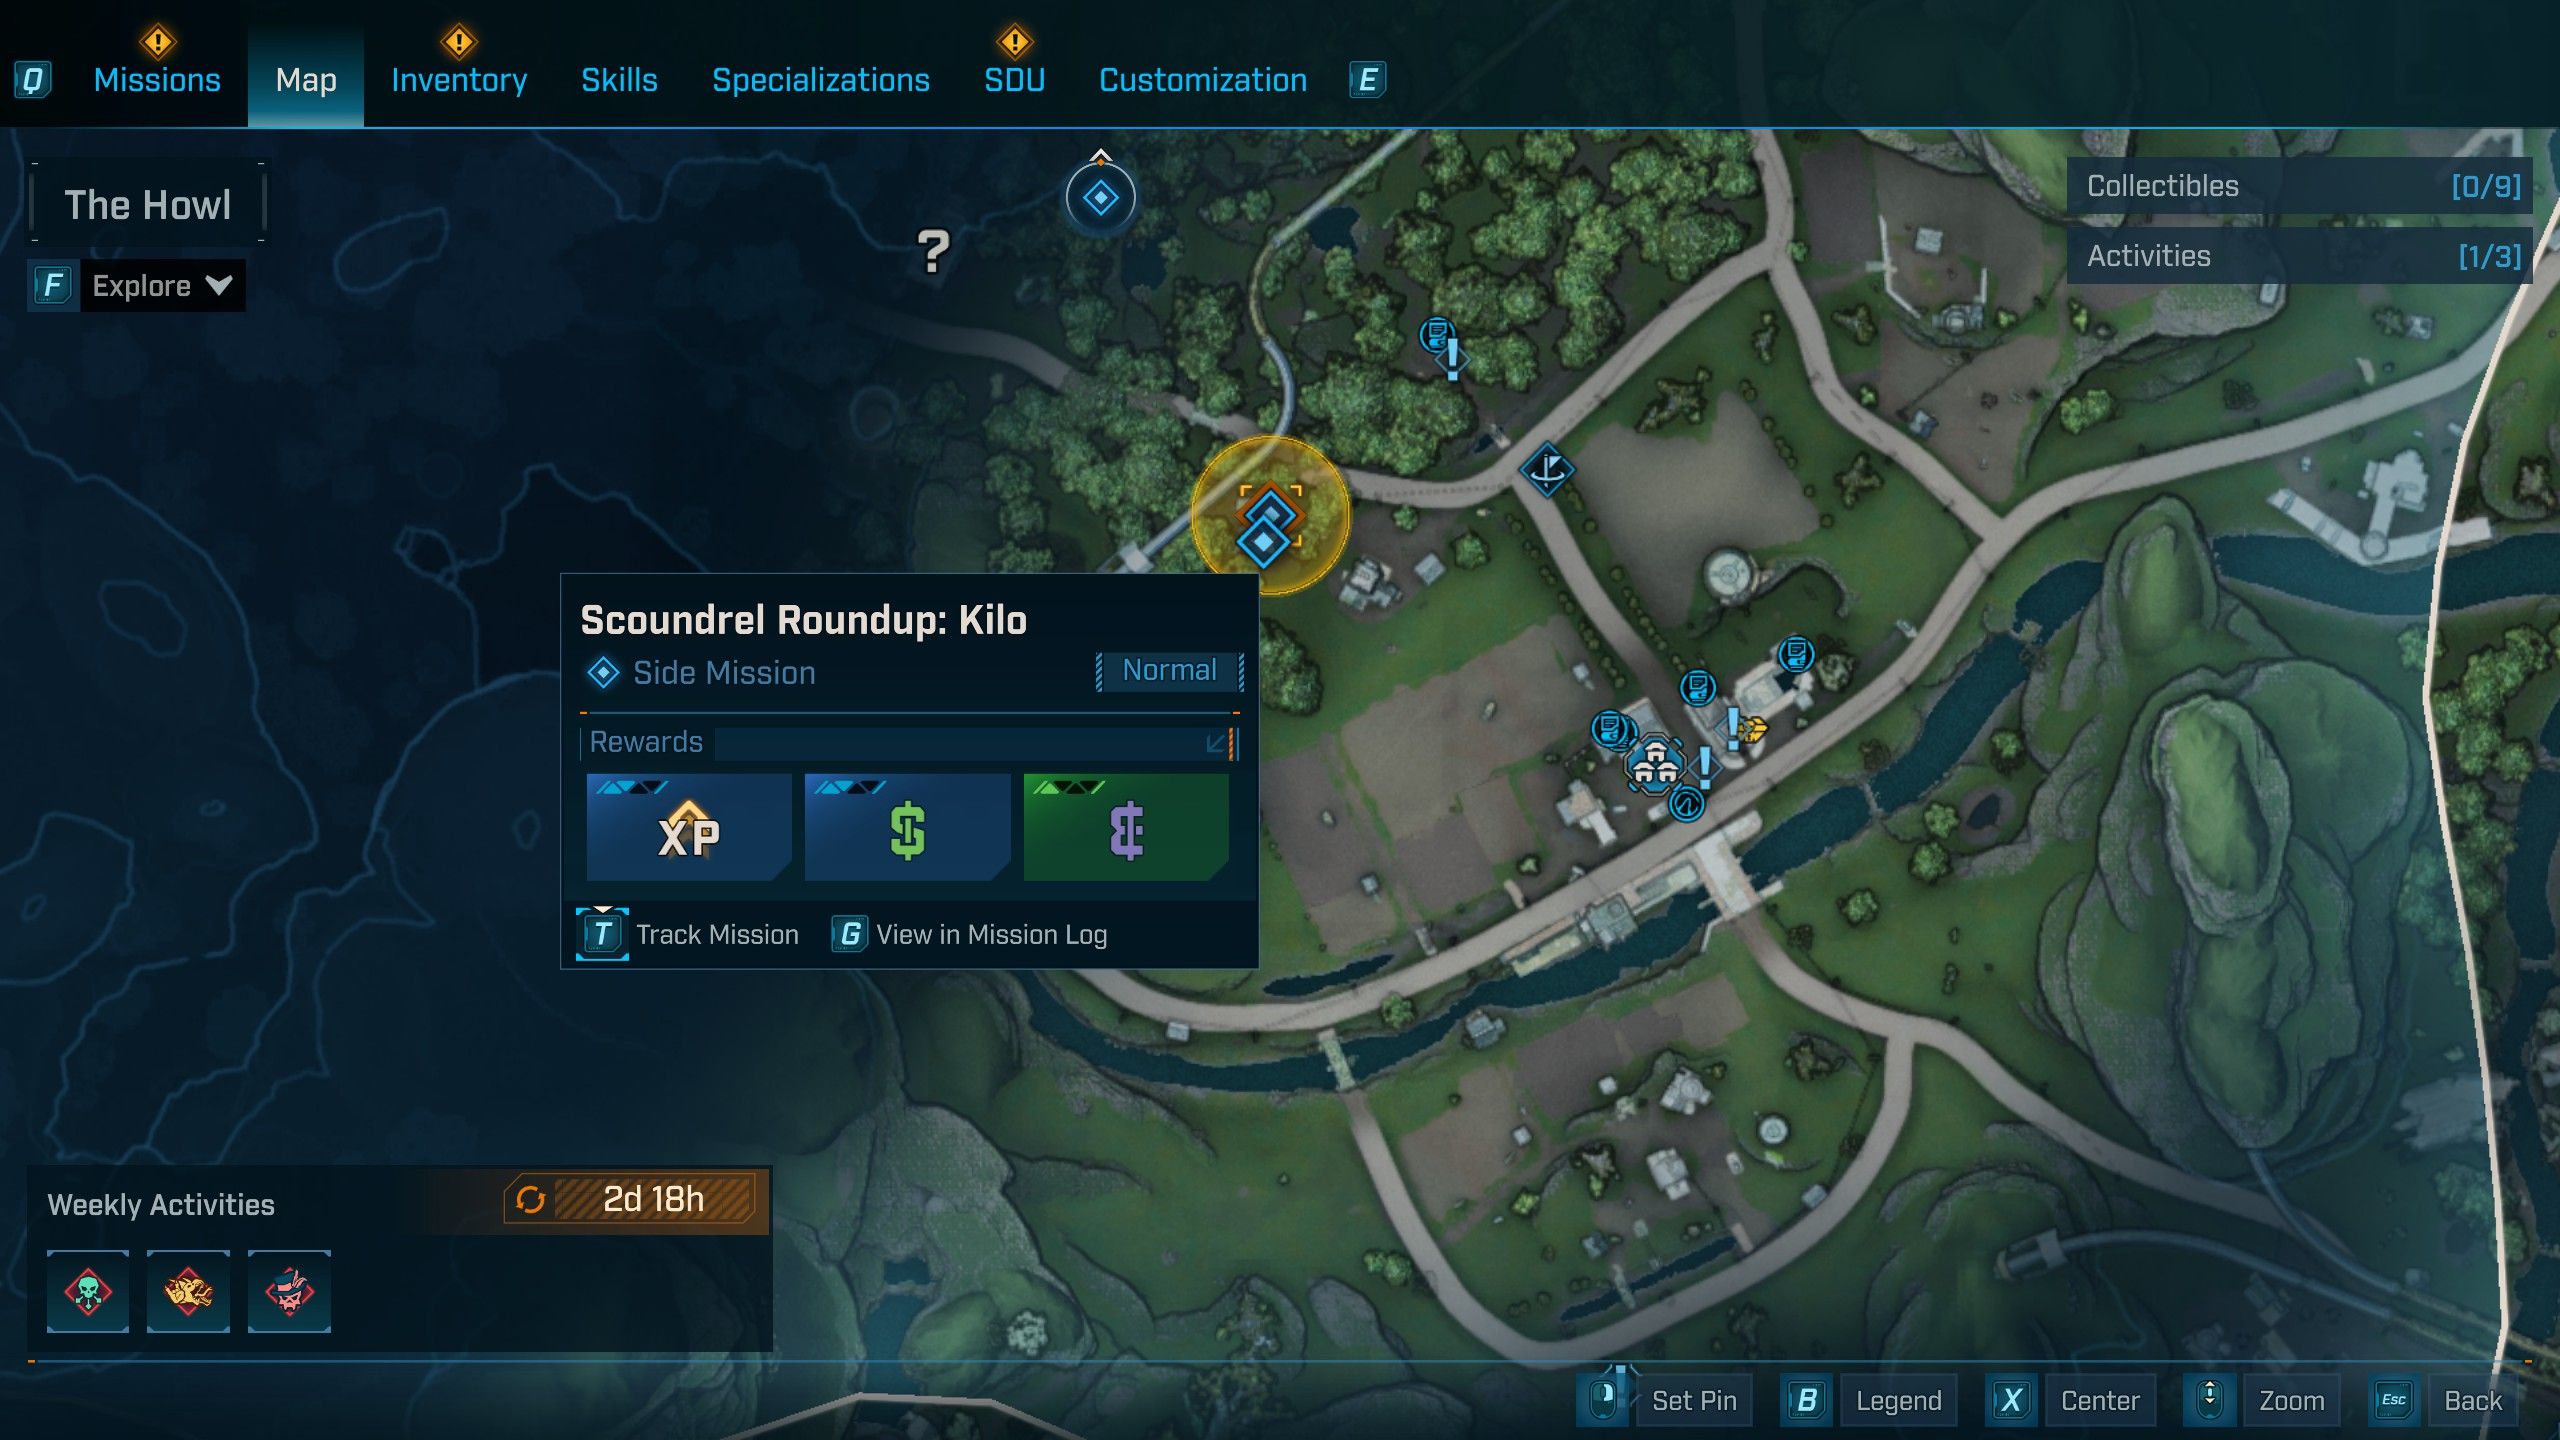
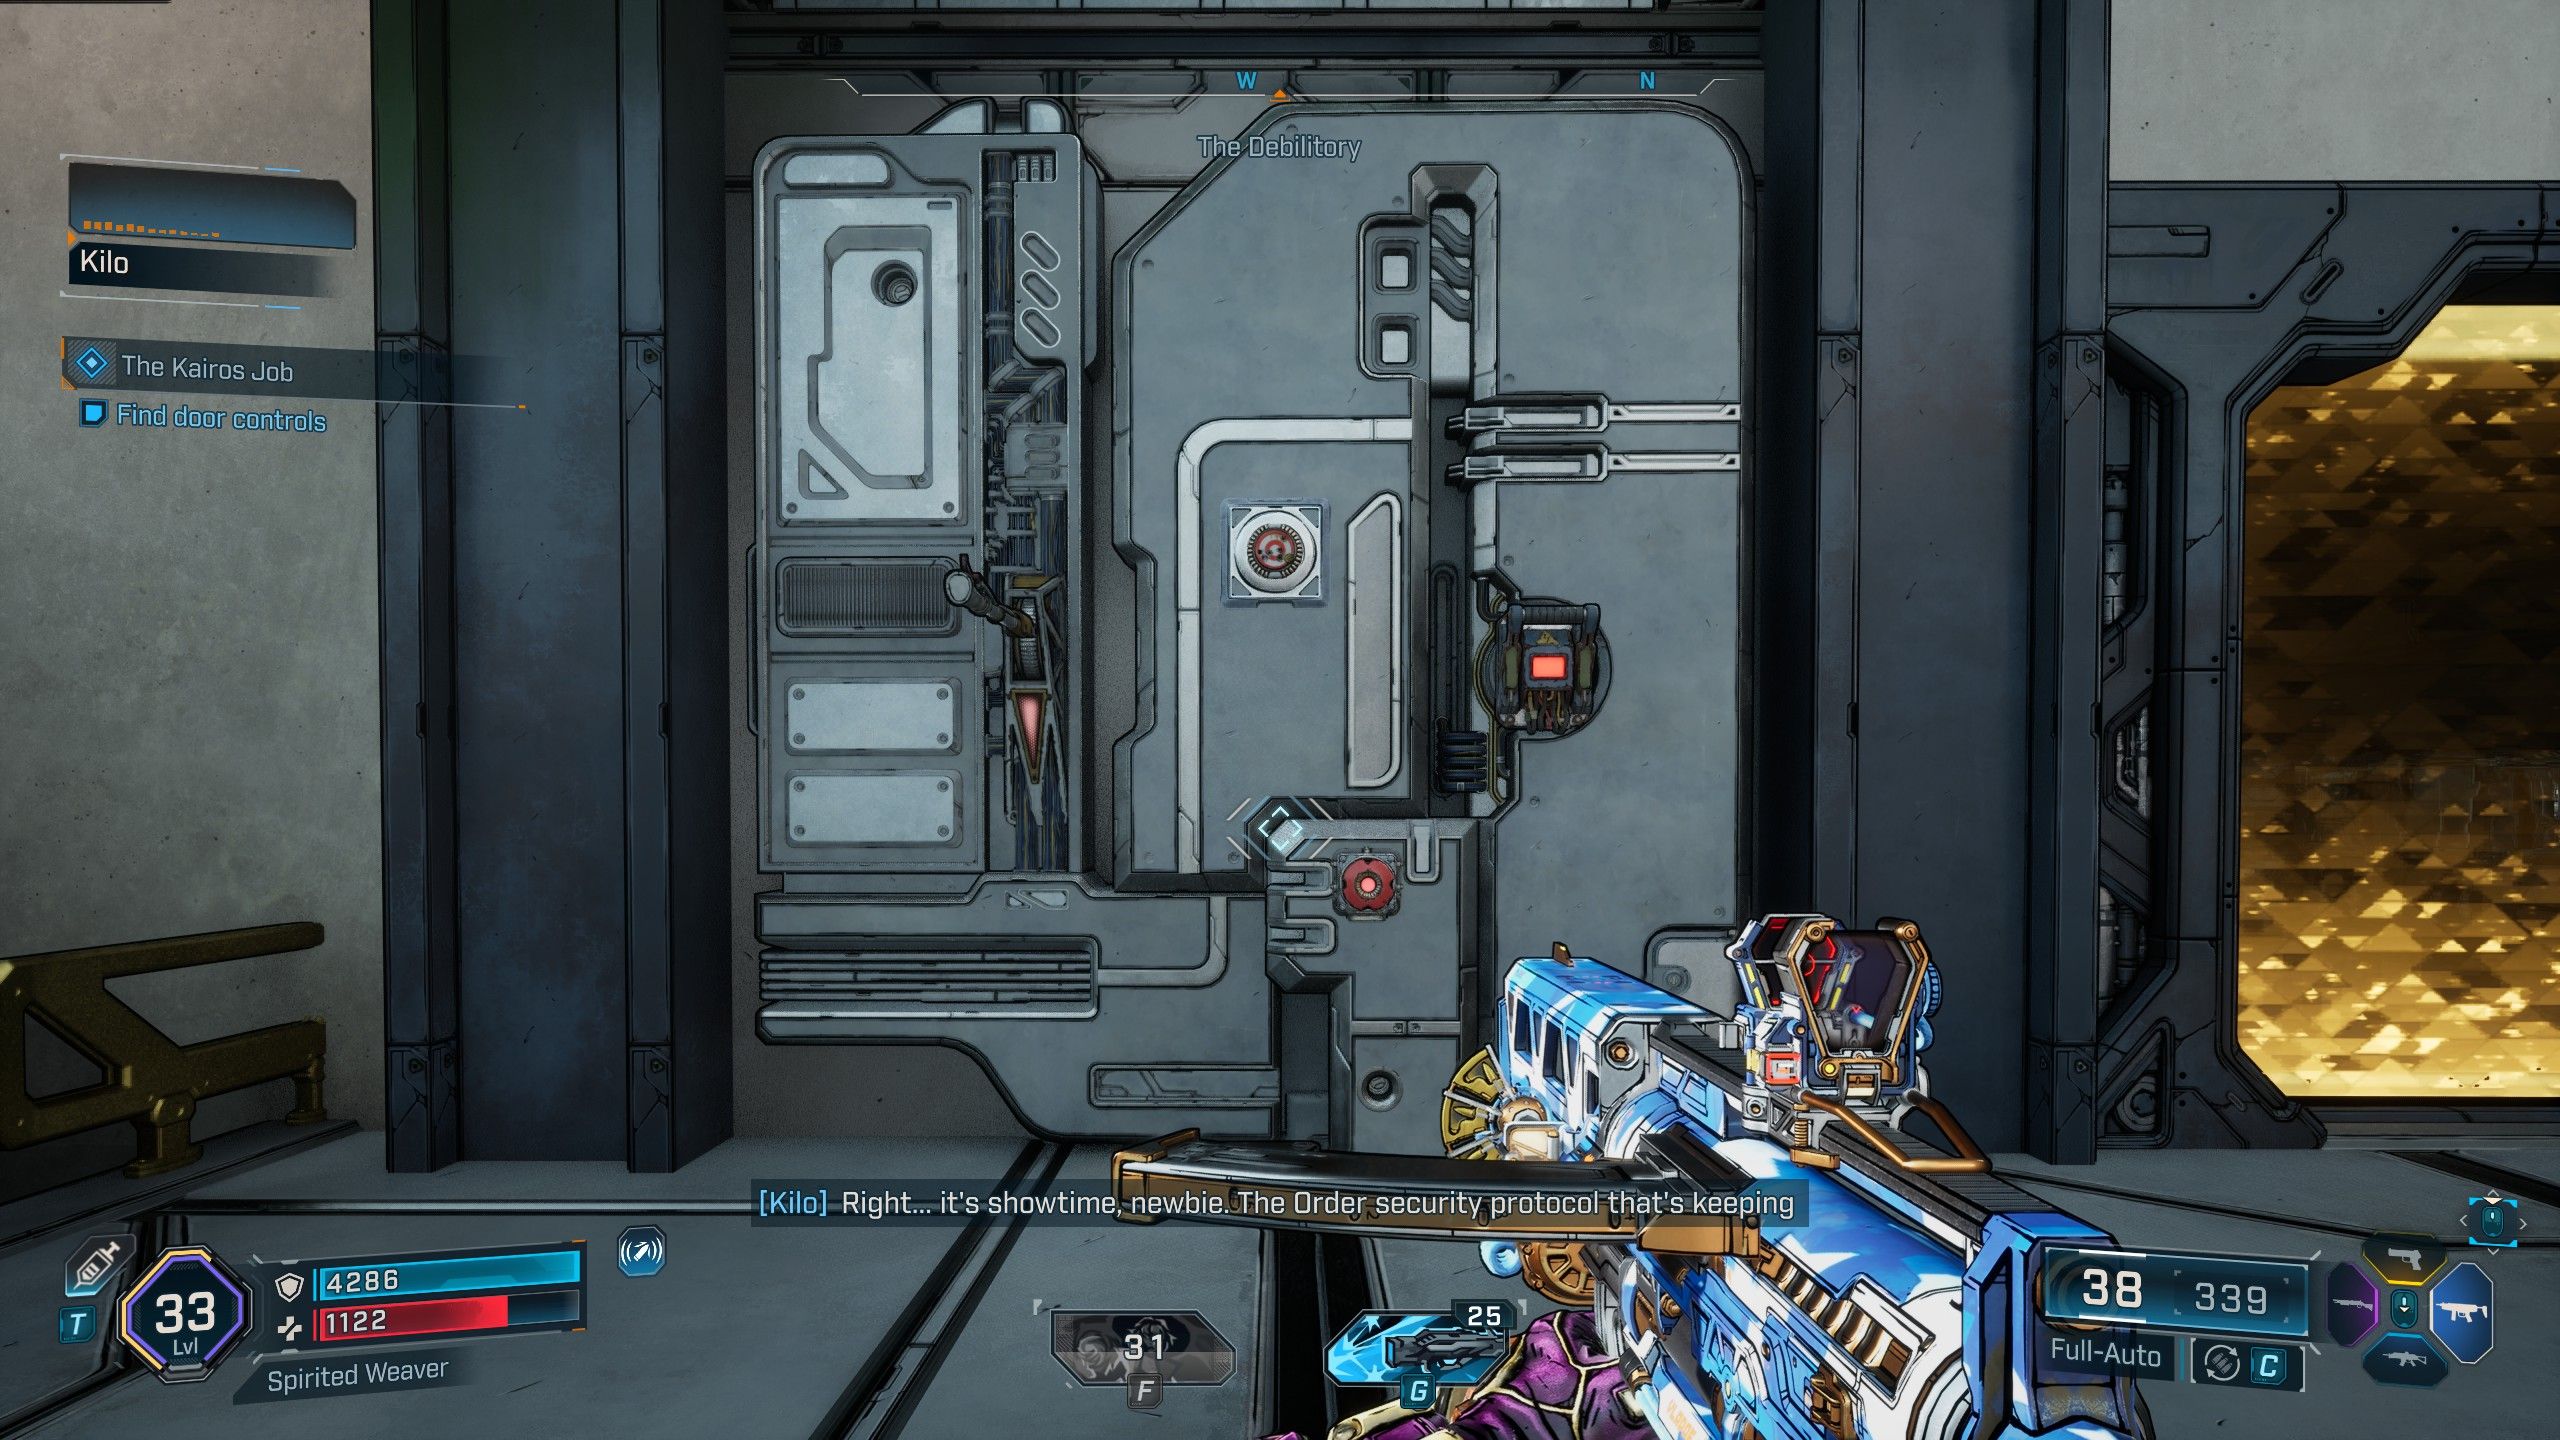
How to Solve the Safe Cracking Puzzle #1
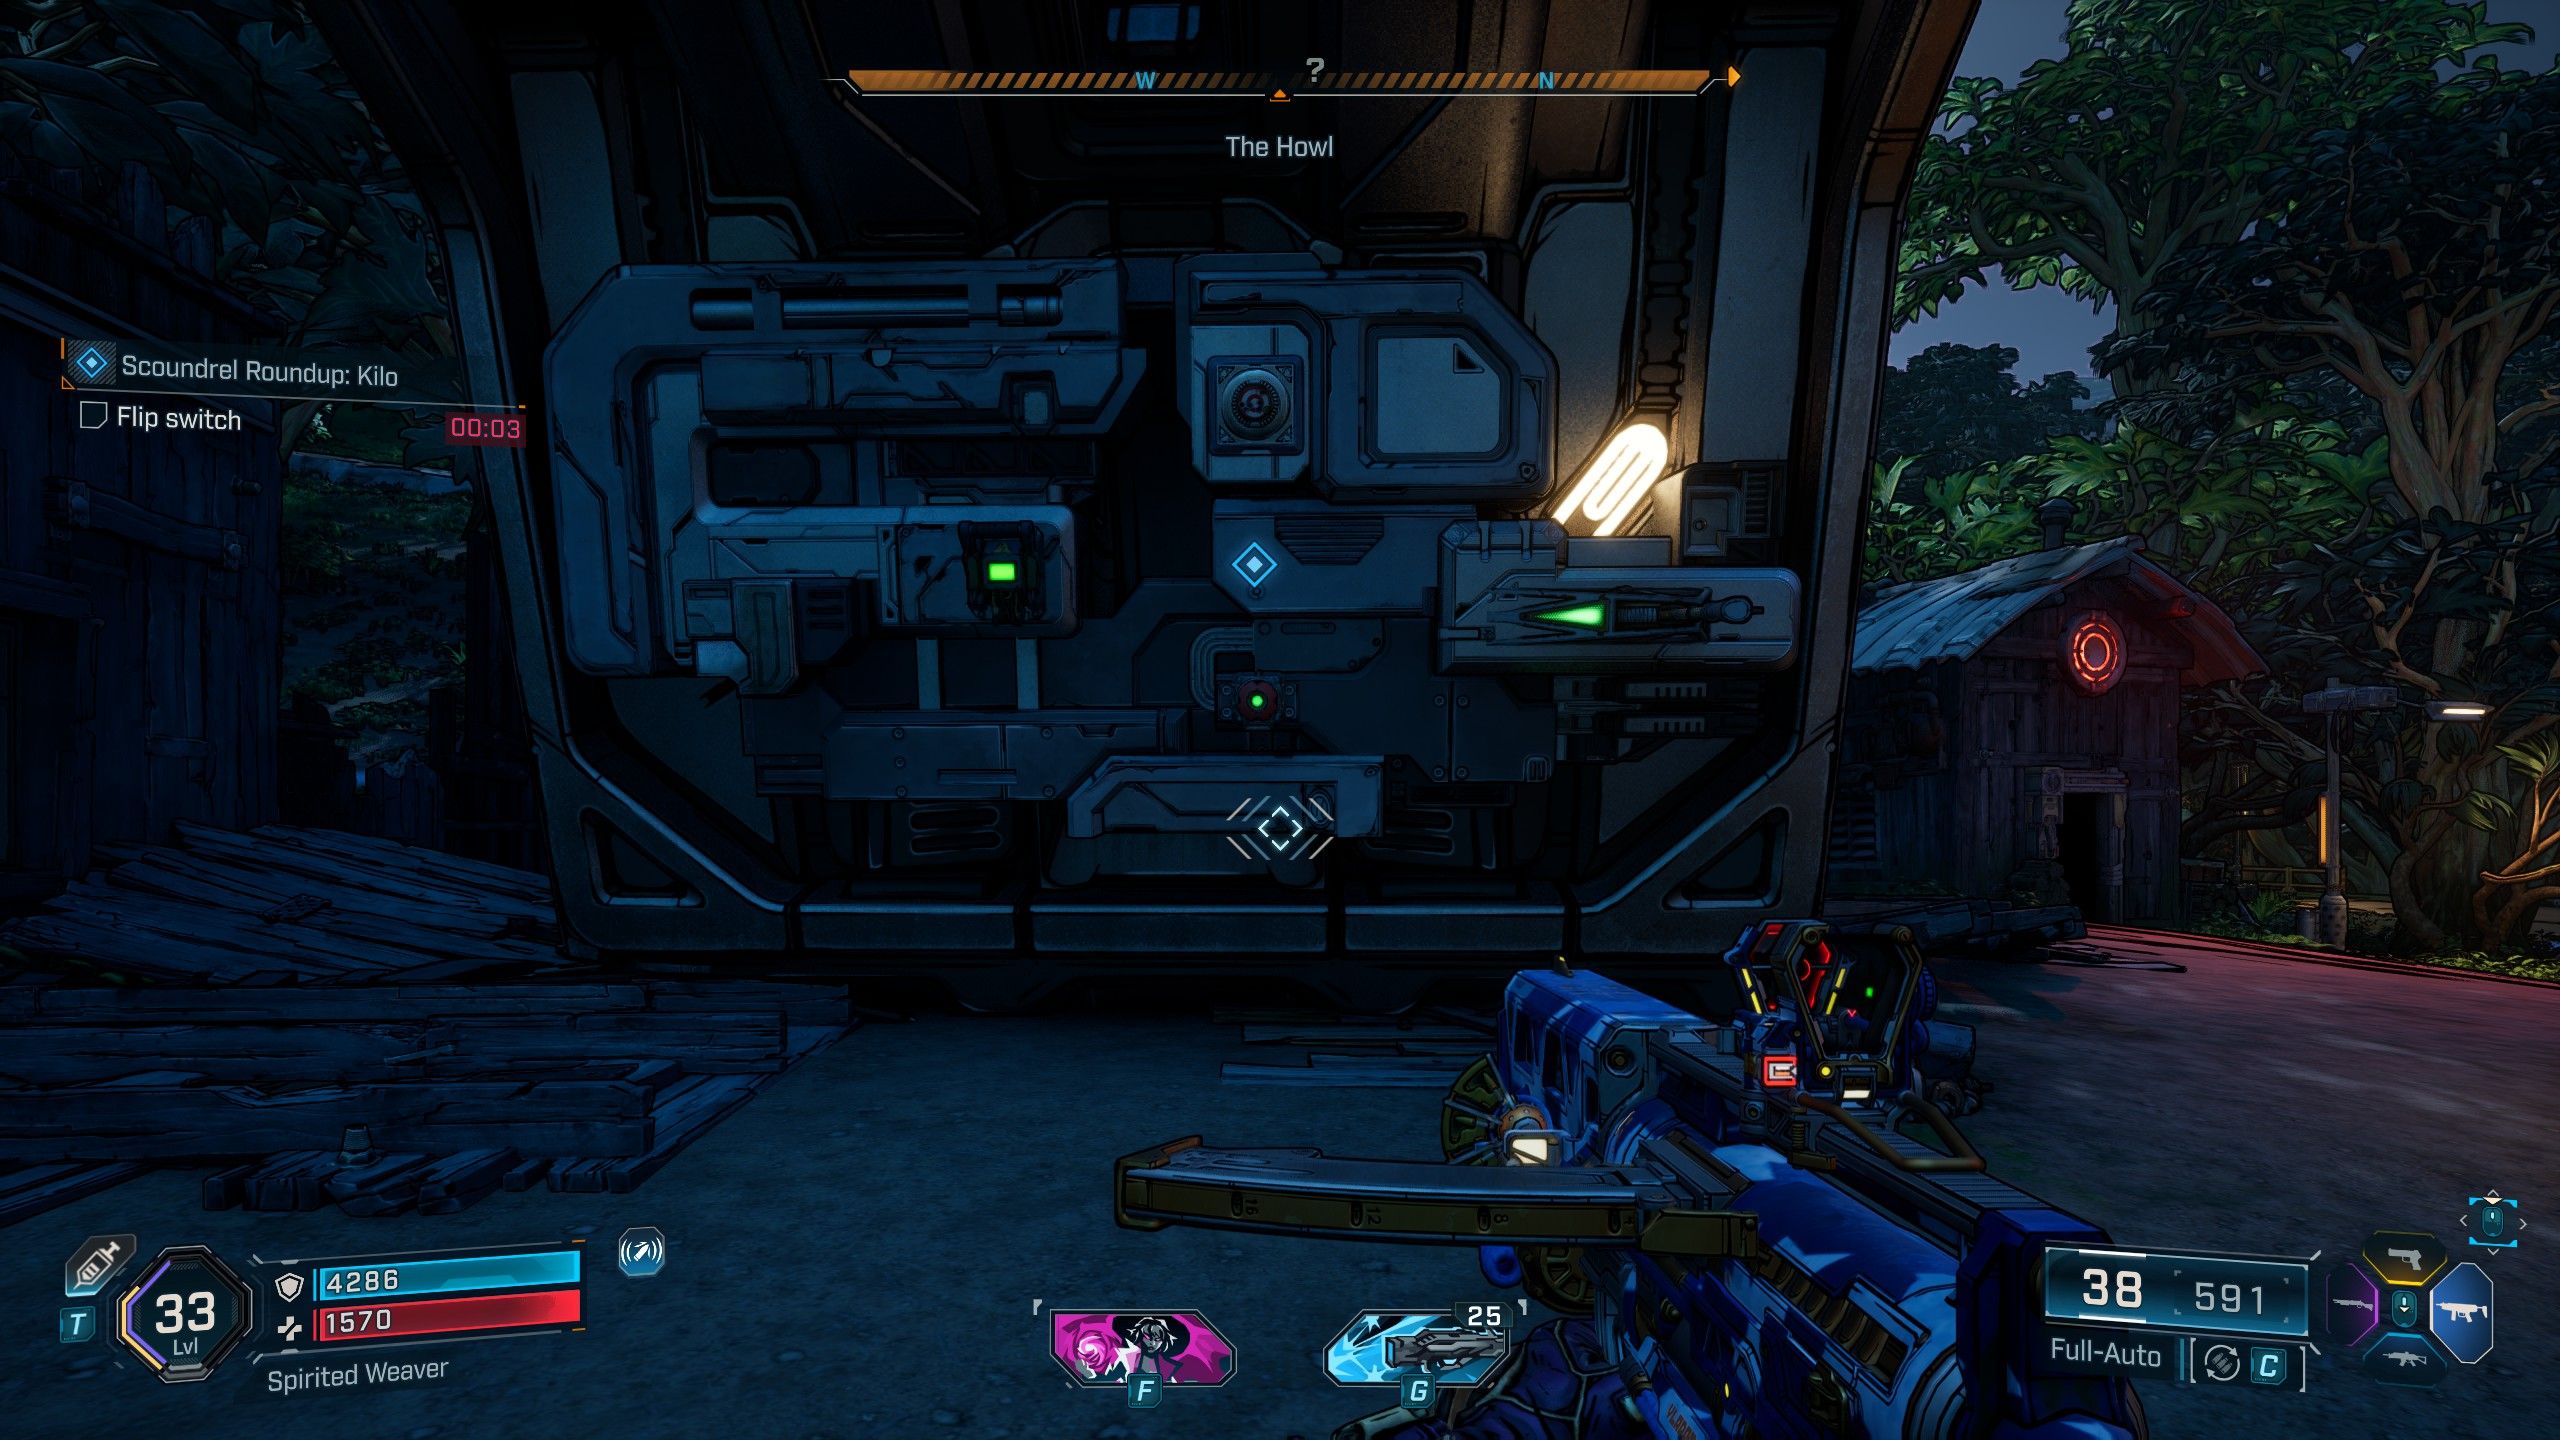
To begin the ‘Scoundrel Roundup: Kilo’ side mission, find Shim in the Fadefields’ Faction Town. He’ll give you this mission, which starts by locating Kilo south of the Launchpad in the Howl. Kilo needs you to prove your reflexes by cracking a safe. This safe has a lever, a switch, a button, and a target. To start the puzzle, hit the button with a melee attack. Kilo will then give you instructions, and you’ll have about 5 seconds to complete each step. The sequence for the first safe is as follows:
- Flip the switch (left)
- Shoot the panel (up)
- Pull the lever (right)
- Shoot the panel (up)
- Flip the switch (left)
- Melee the button (down)
- Pull the lever (right)
- Melee the button (down)
- Flip the switch (left)
Once Kilo finishes the puzzles and teams up with Shim, all we need to do is get Glitch on board.
How to Recruit Glitch in The Kairos Job
How to Turn Off the Power Relays
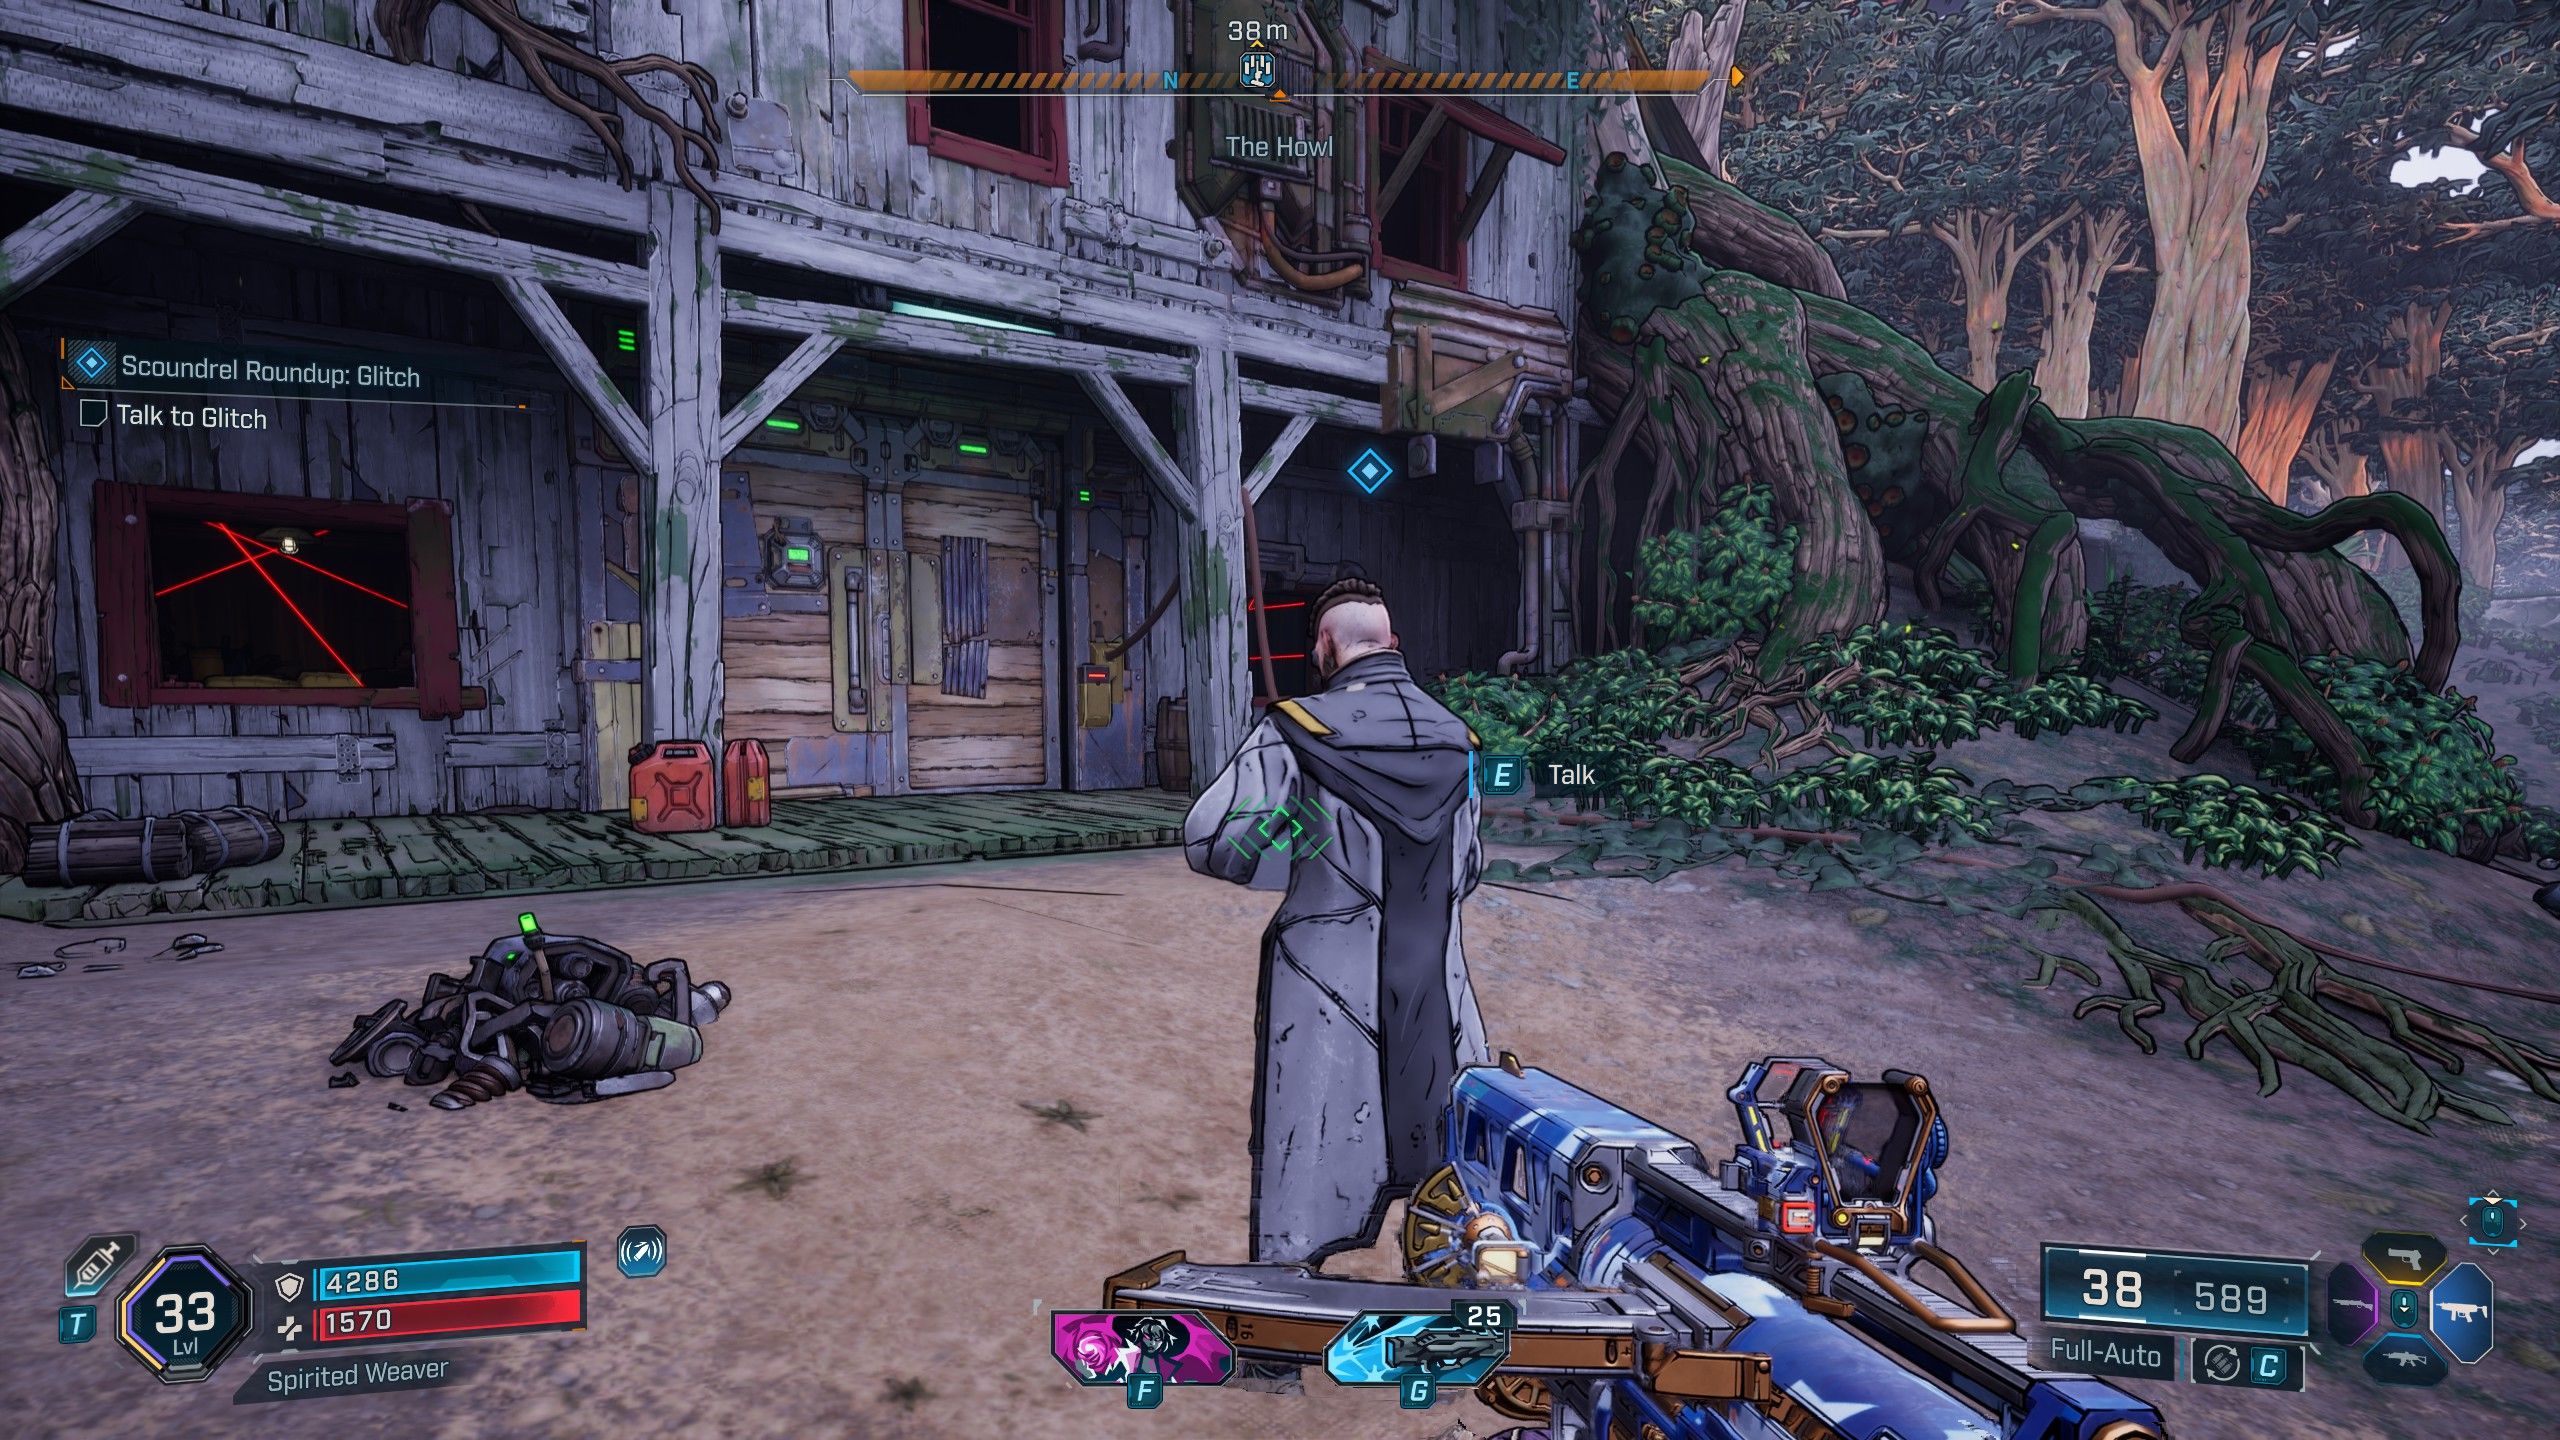
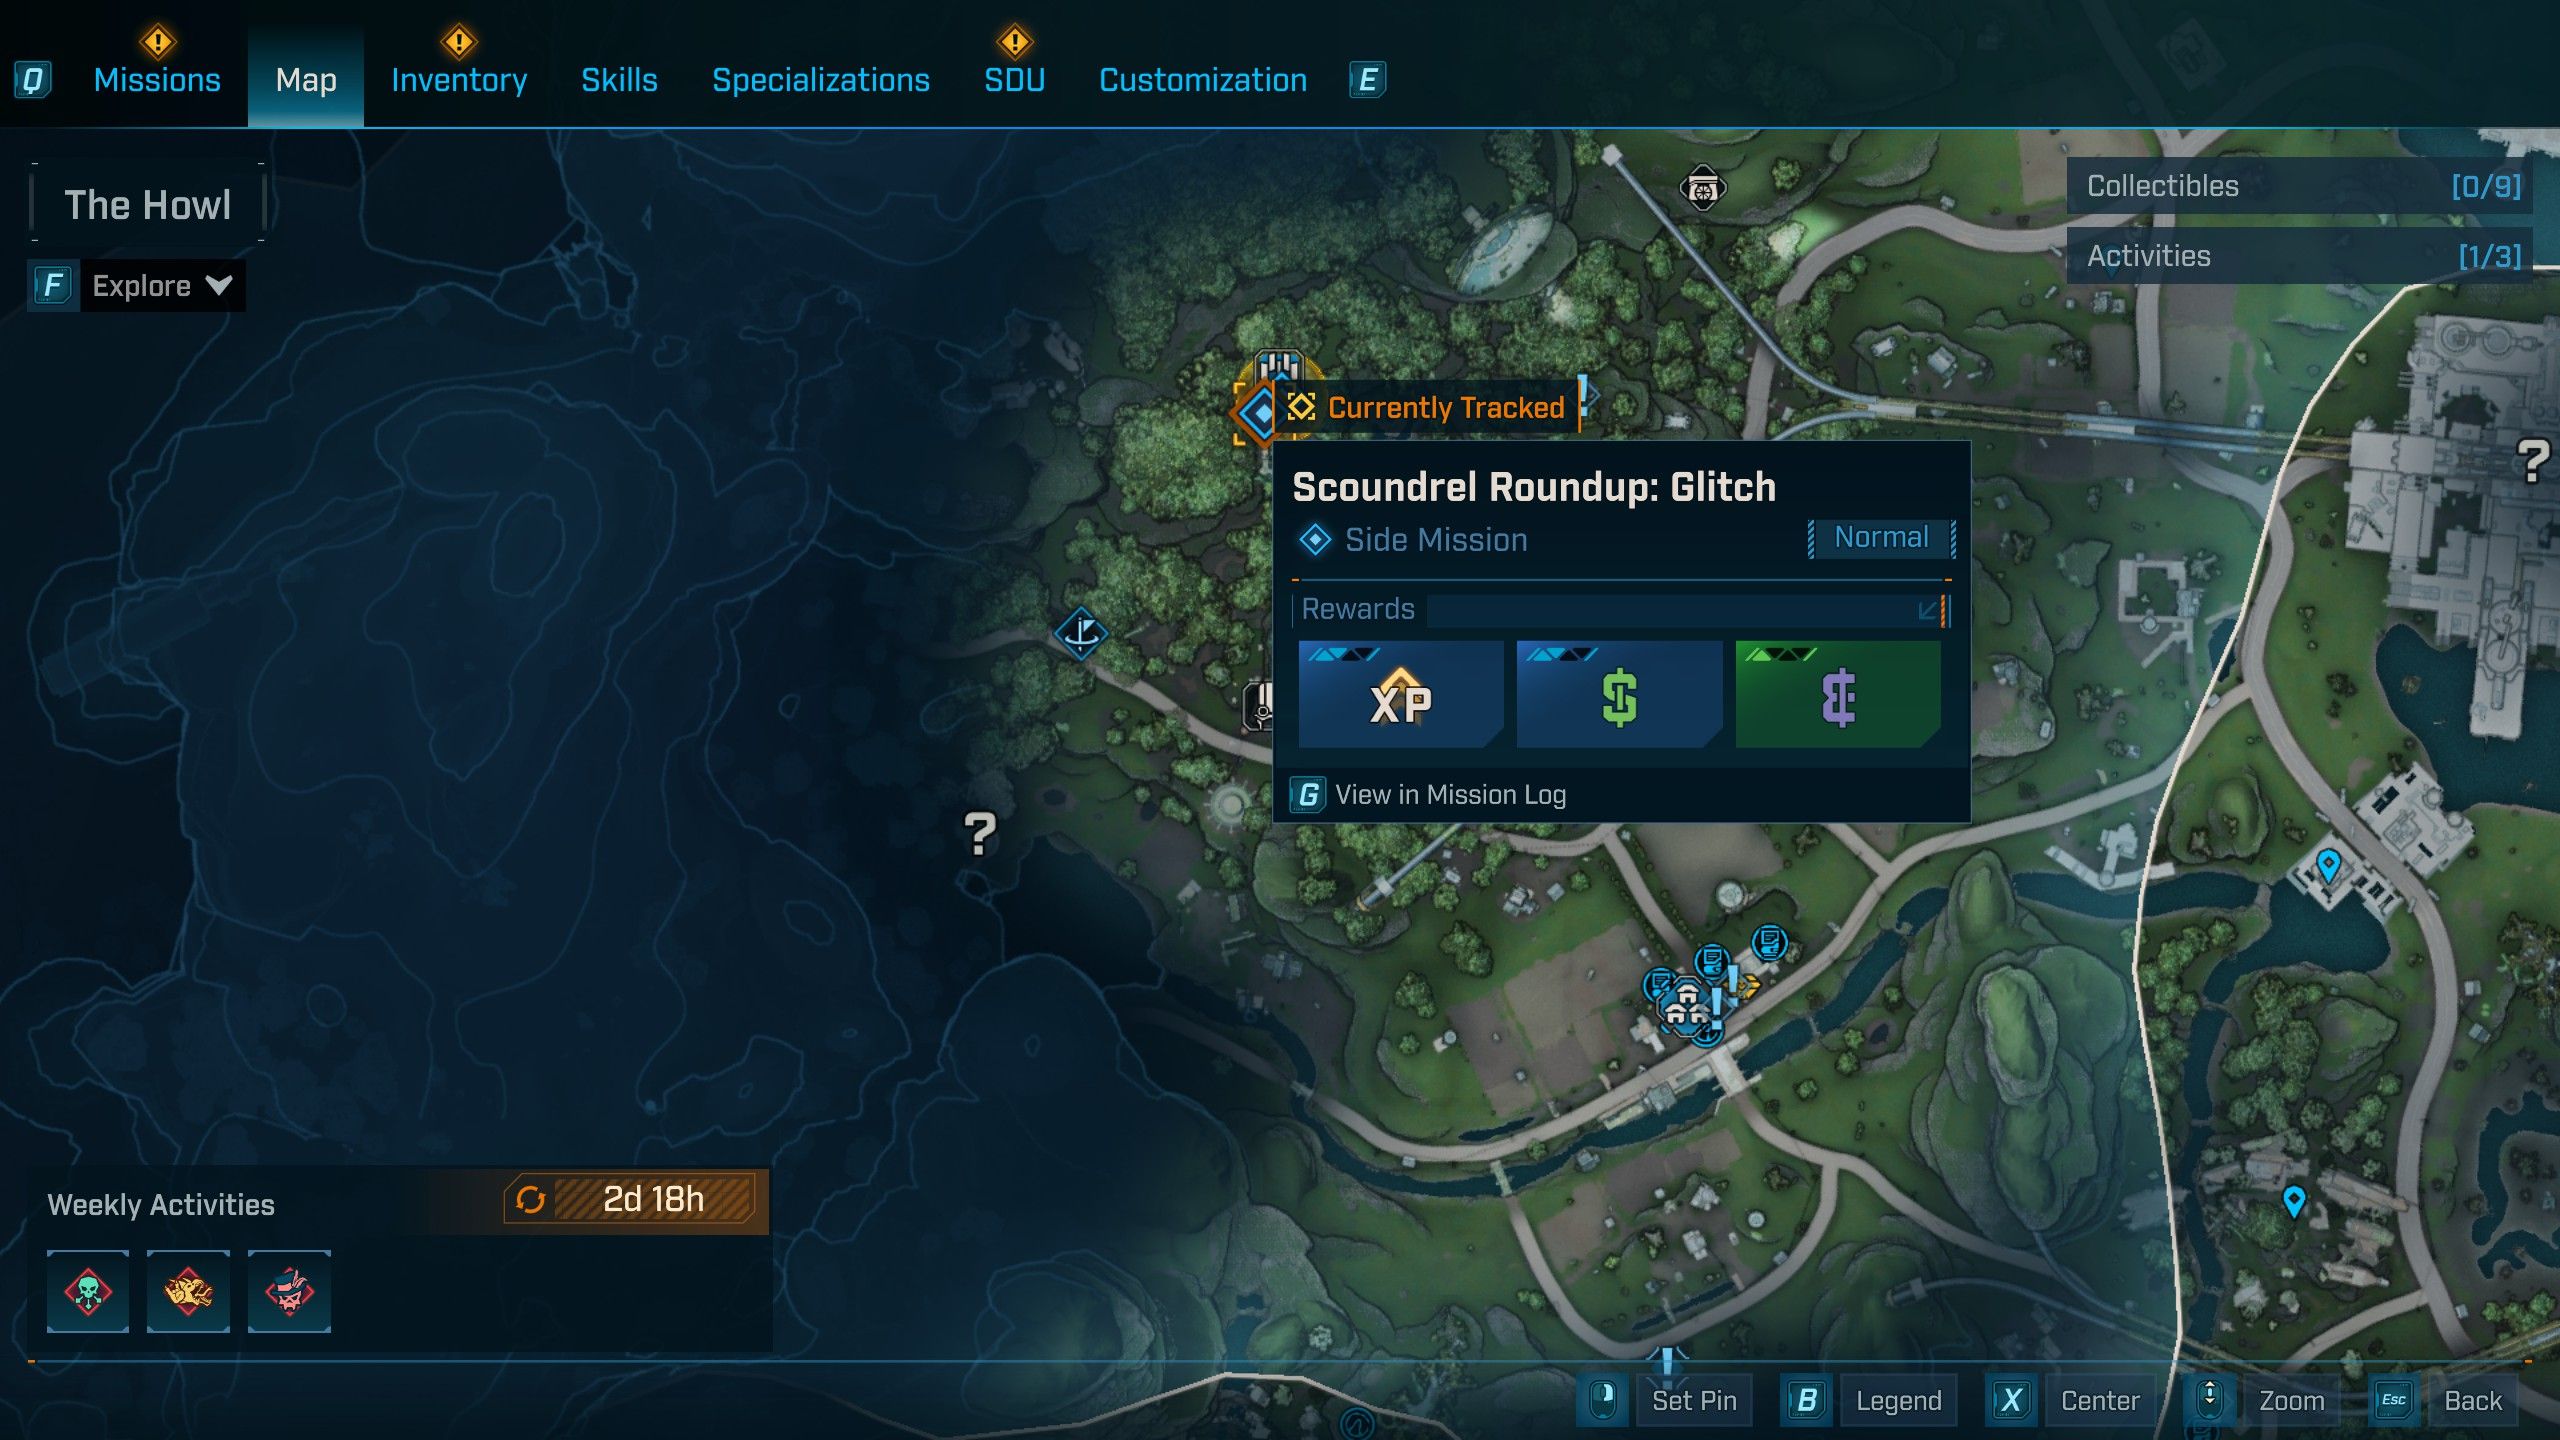
You can achieve this goal by accepting the “Scoundrel Roundup: Glitch” quest from Shim at the Outbounder’s HQ. Head south from where you found Kilo, and you’ll reach Zadra’s hideout – the same location you explored during the “A Lot to Process” mission. This quest challenges you to move through a house filled with laser beams and pull three levers without triggering them. The video below demonstrates the solution.
With the three power relays installed, you can now go back to Glitch and add him to your crew. Then, return to Shim at The Kairos Job to start the next part of the mission, where the team will finalize the plan and meet up in a different location.
How to Get on the Warehouse Roof and Place Electro Charges on Arrays
![]()
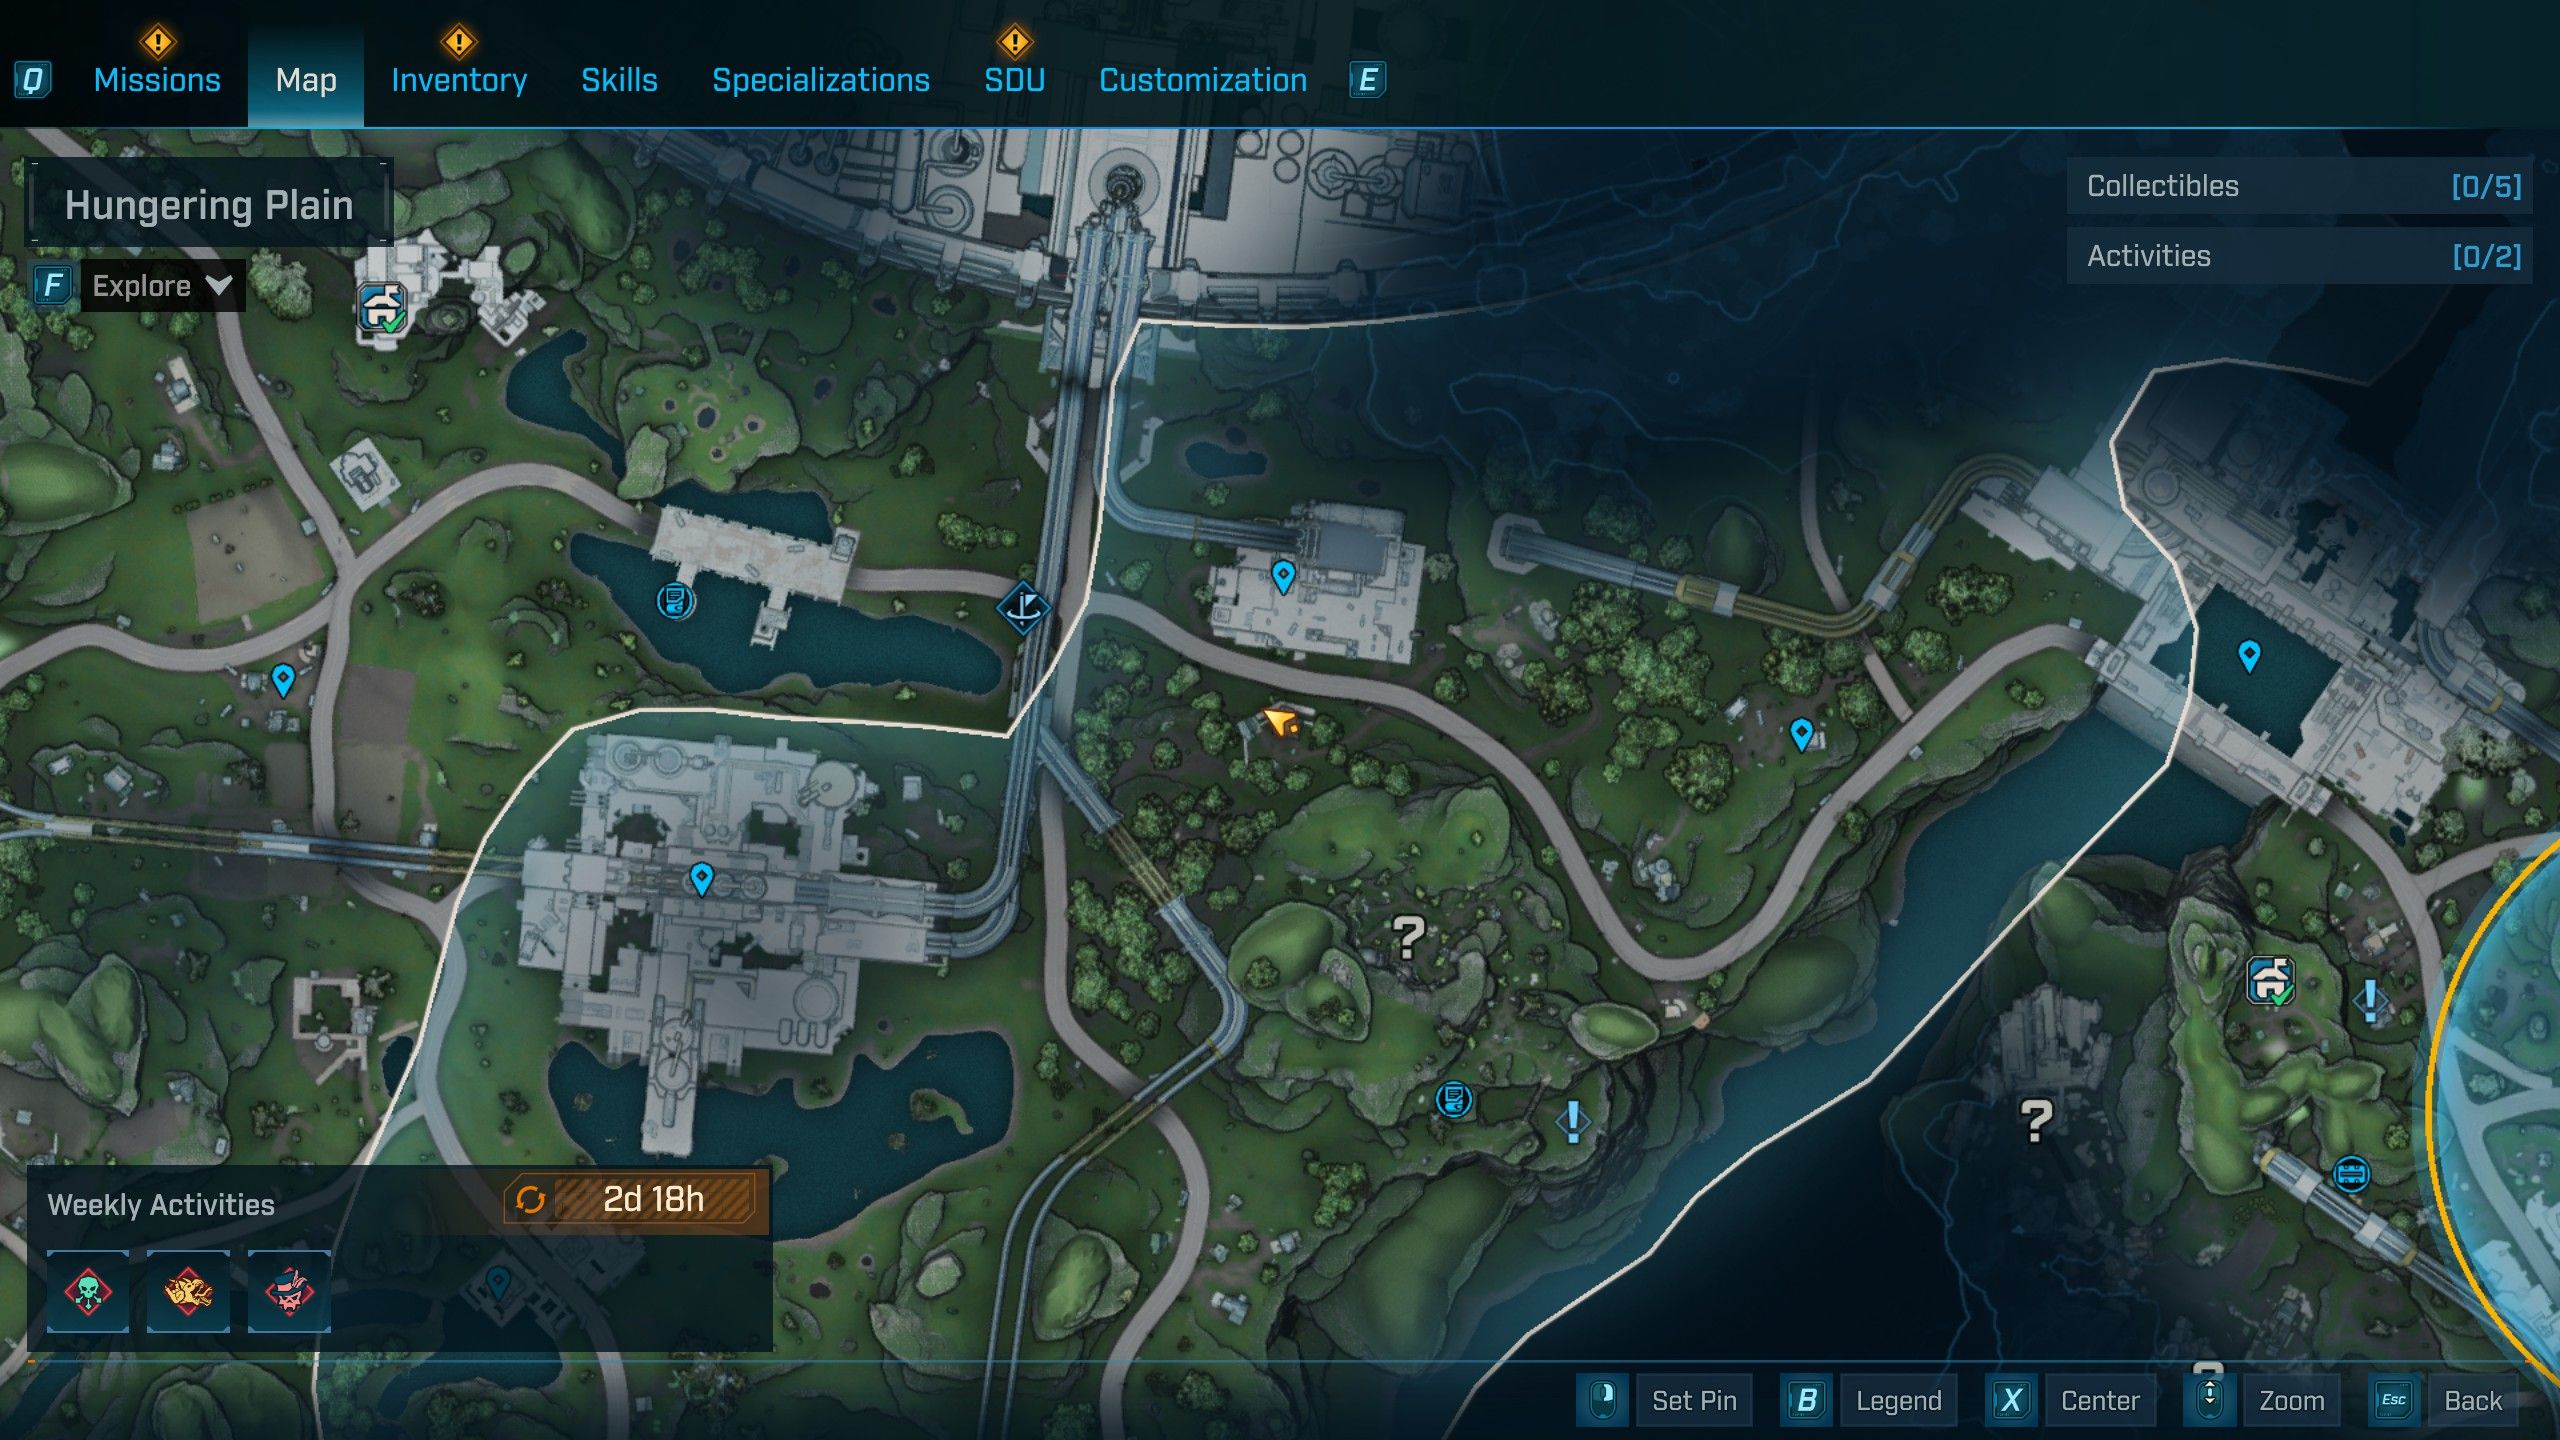
When you reach The Debilitory in the Hungering Plain, go upstairs to find the crew. Glitch will give you some Electro Charges, and after that, you can head to the roof. To get there, go east and then loop around to the left, driving up the cliff to launch your vehicle. Finally, you’ll need to locate and place four arrays with the Electro Charges – we show you how to do both of these things in the video below.
Players can jump onto the rooftop where they first encountered the crew and then use their jetpack to glide to the facility. This will trigger some special conversation with Shim, though it doesn’t lead to much beyond that.
How to Solve the Safe Cracking Puzzle #2
Okay, so we took care of those Electro Charges and beat the Order guys – awesome! Now we need to head back to the west wall because there’s another safe to crack. This one’s pretty straightforward: just hit the button with a melee weapon and copy the pattern they give you. Let’s do this!
- Pull the lever (left)
- Flip the switch (right)
- Pull the lever (left)
- Shoot the target (up)
- Melee the button (down)
- Shoot the target (up)
- Melee the button (down)
- Pull the lever (left)
- Melee the button (down)
- Flip the switch (right)
- Pull the lever (left)
- Shoot the target (up)
- Flip the switch (right)
Okay, so after I cracked the safe, I still had to take out a bunch more Order soldiers. Then, thankfully, my crew had already planted some explosives on the floor, so all I had to do was shoot them to blow open the entrance to the facility. It was a relief!
How to Turn Off Power Relays to Avoid Triggering the Lasers
Players who have entered the facility now need to complete the mission by shutting down the power relays, all while avoiding the lasers. If a laser is triggered, enemies will appear, and players will miss out on an extra reward chest. A video above shows the best path to navigate the lasers and reach all three power relays. Here are written directions for the route:
- Take the grapple point at the north wall and jump through the left, then the right, then the left again, and then finally the right. Use the jetpack to gain just enough height without hitting the laser, and then pull the lever.
- Venture to the east side of the room and enter underneath the lasers with a crouch, then jump over the next two lasers to find and pull the lever.
- Venture to the south wall to find a broken laser panel downstairs that allows you to walk through. Jump over the lasers on the floor, or use the jetpack to glide over them to pull the final lever, which deactivates the lasers.
- At the north wall, there’s a chest that players can now open. If players failed this step, the chest will forever be hidden, but it’s only a common chest that drops Greens and Blues, so it’s nothing special.
How to Find the Right Spot to Cut and Open the Safe
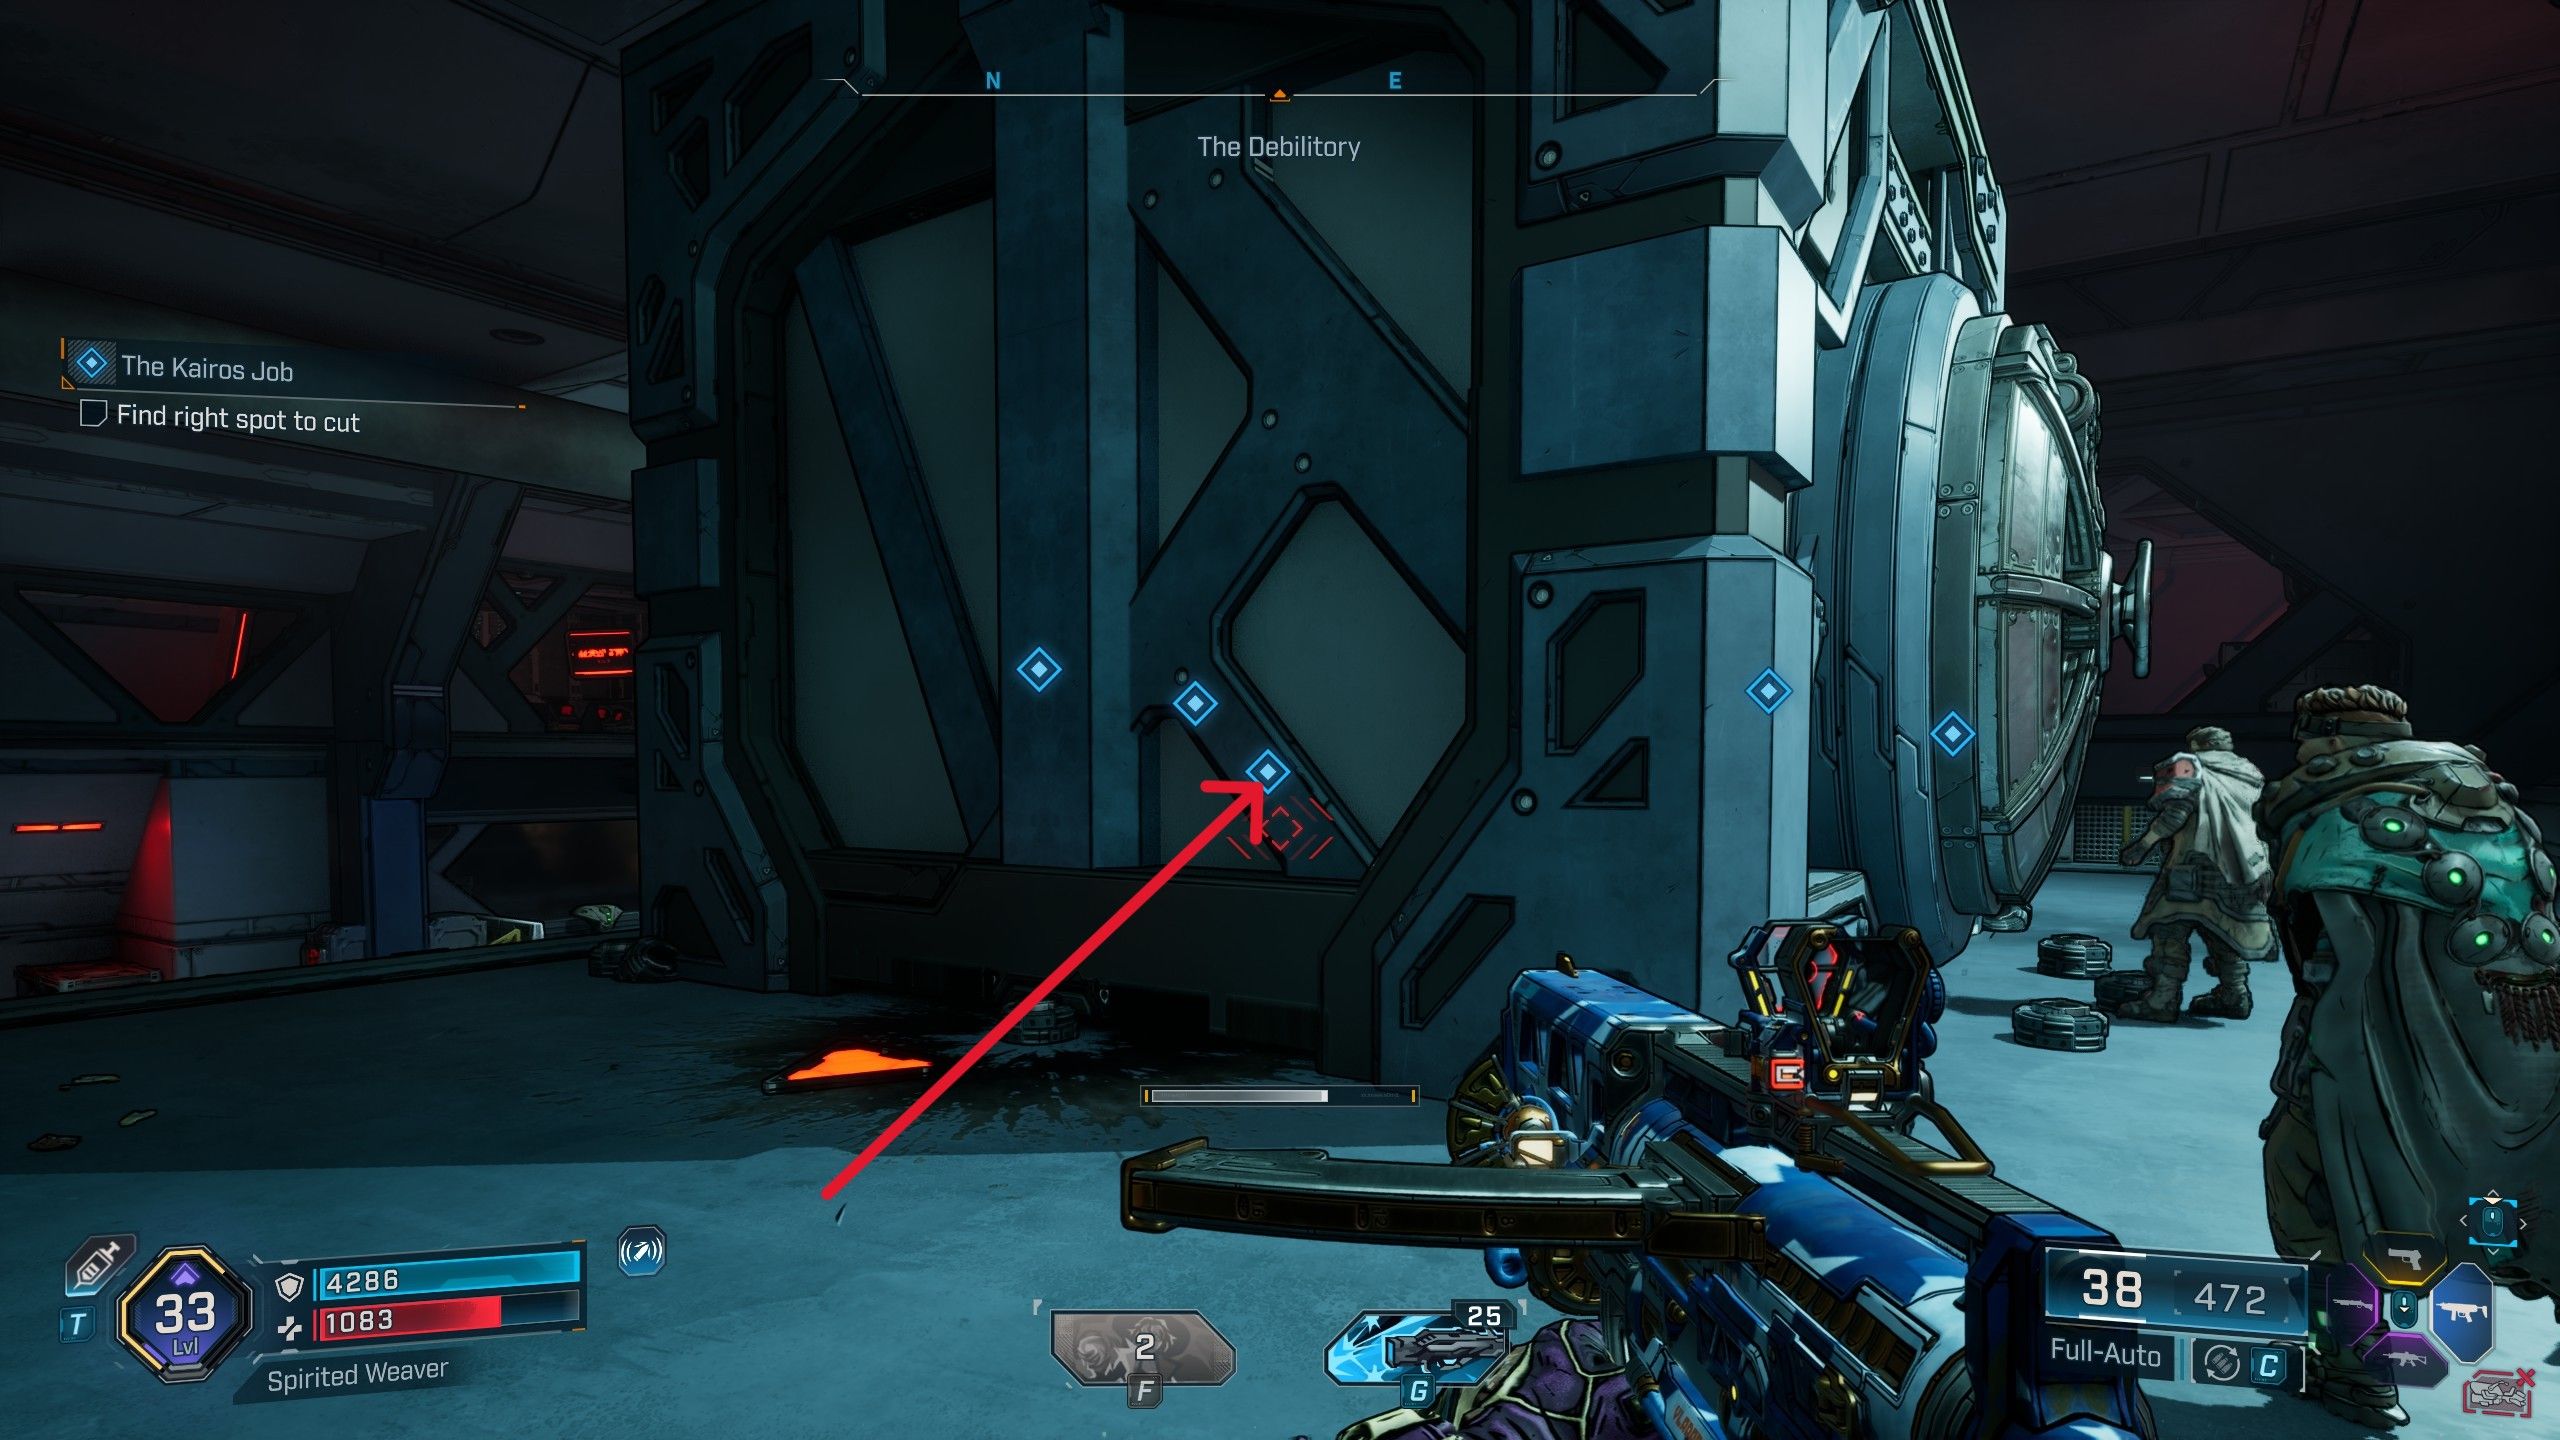
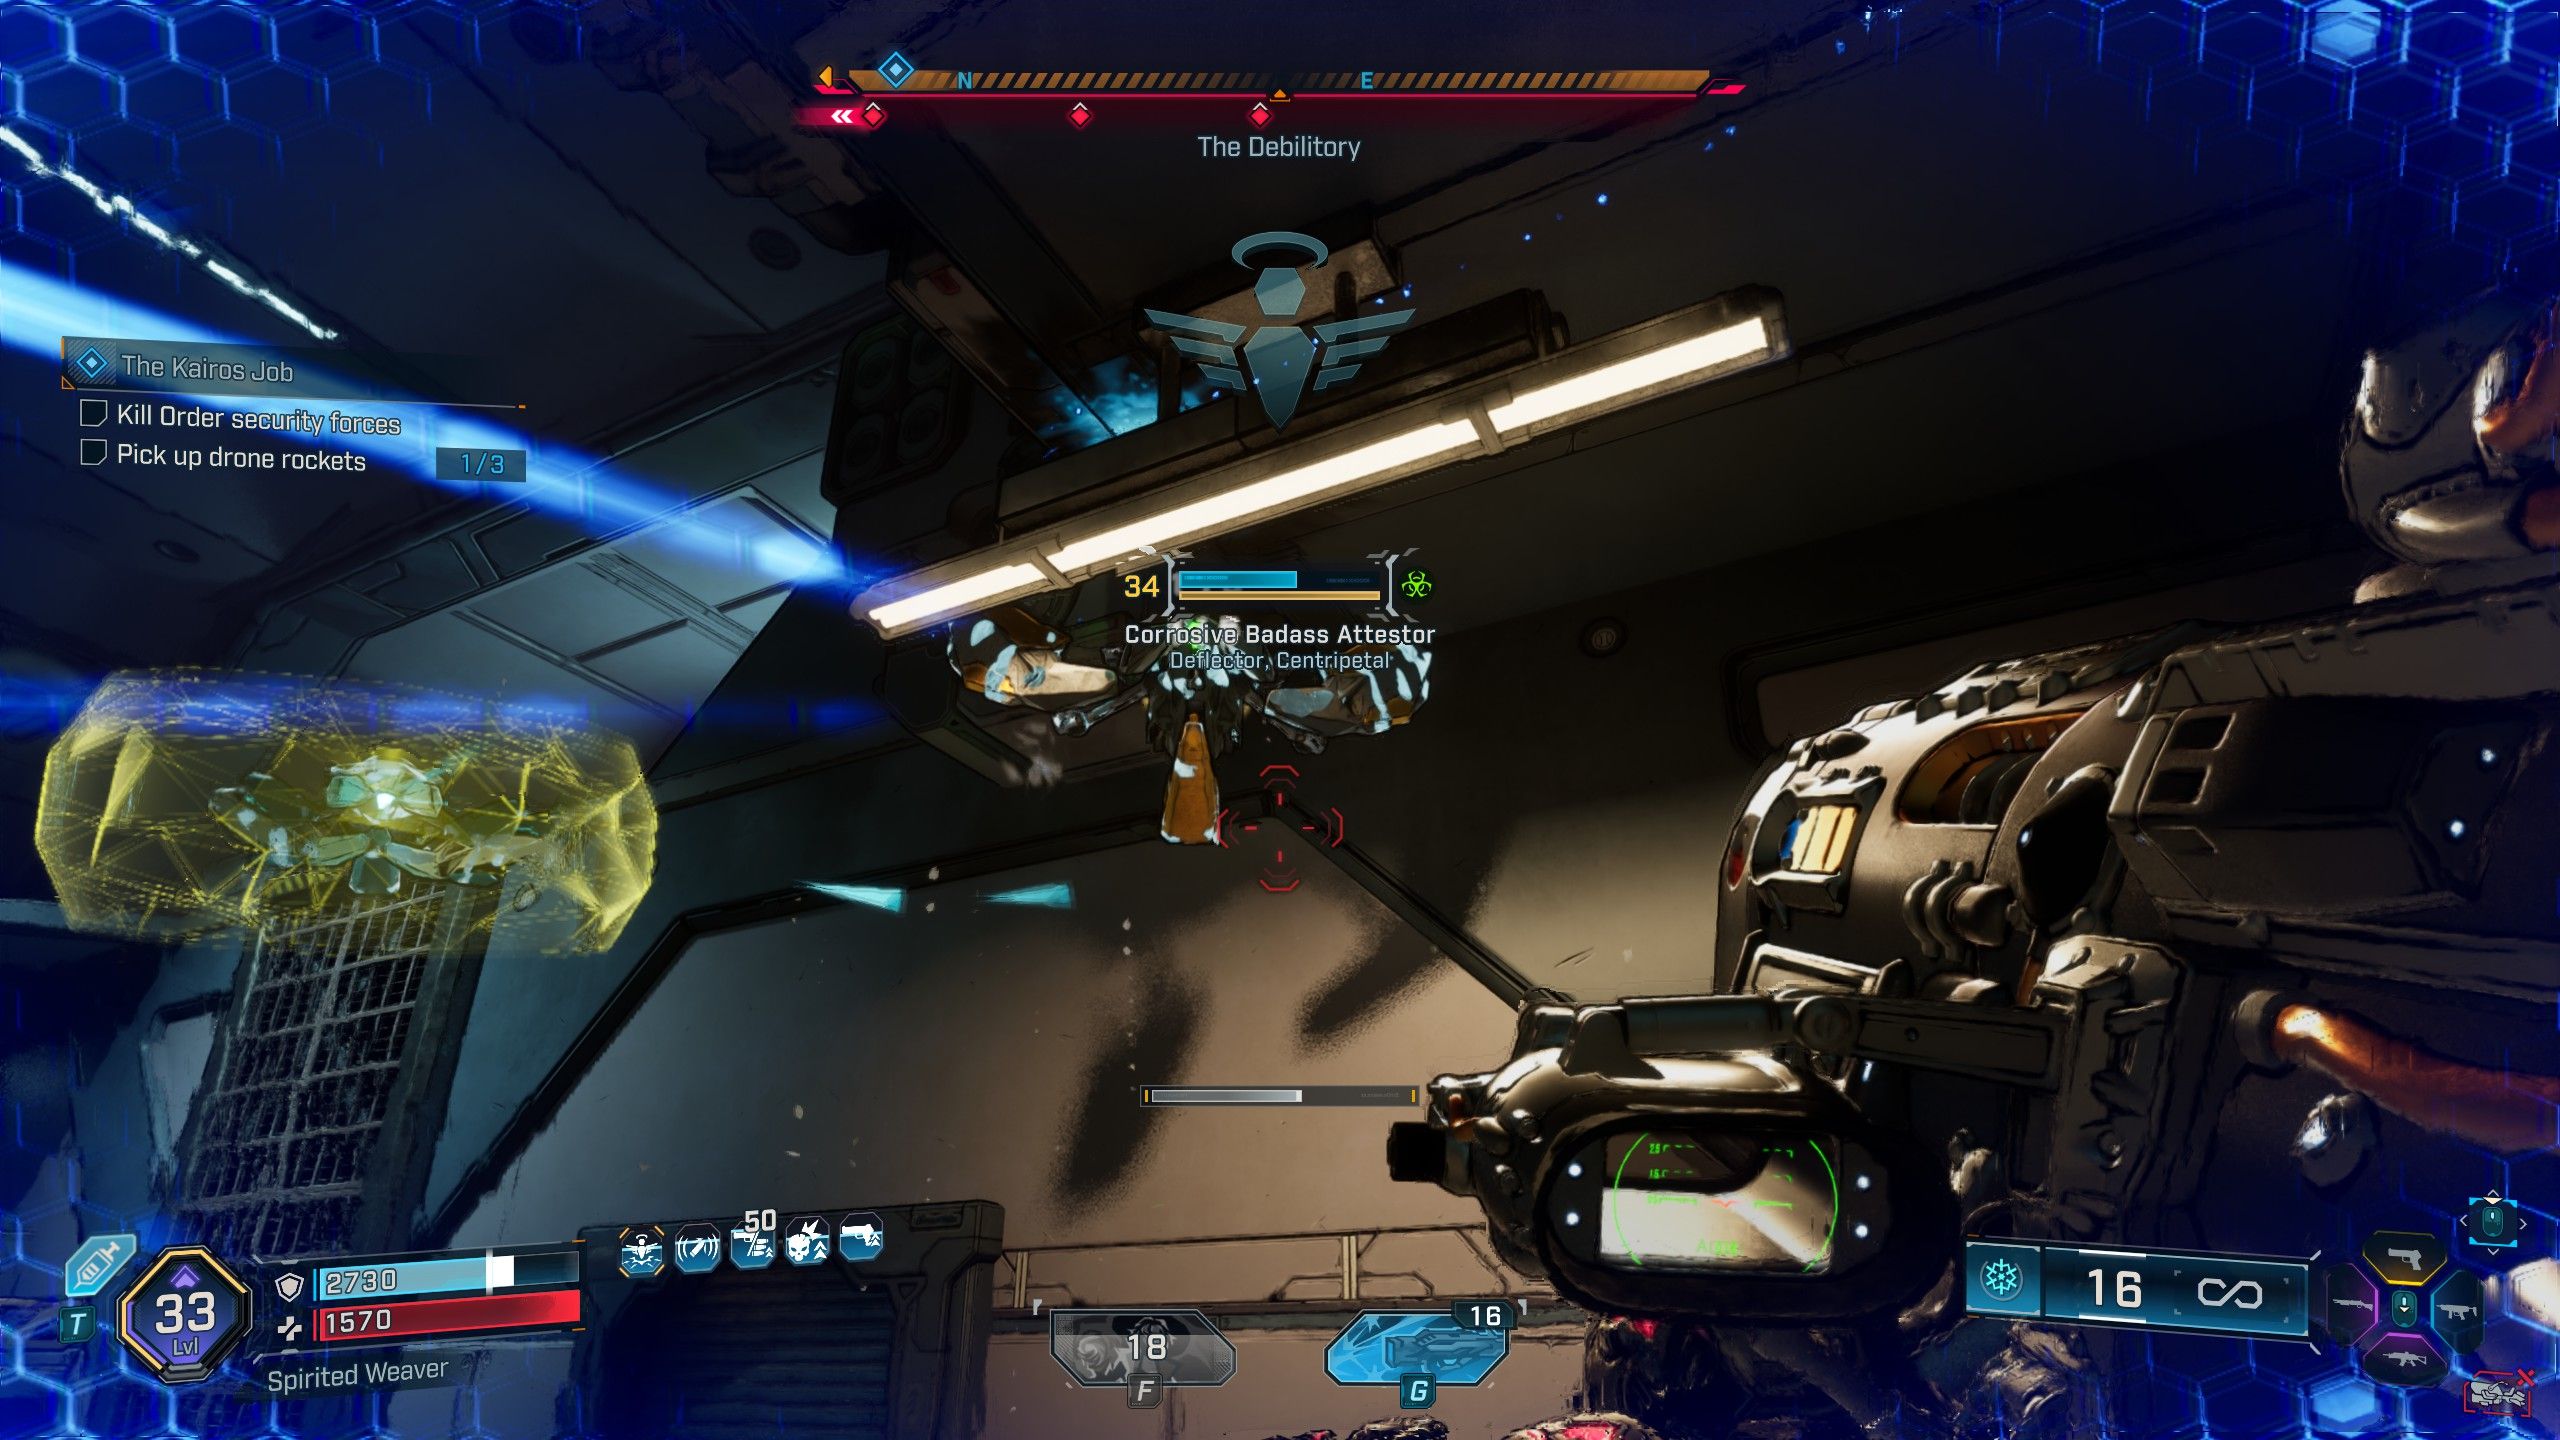
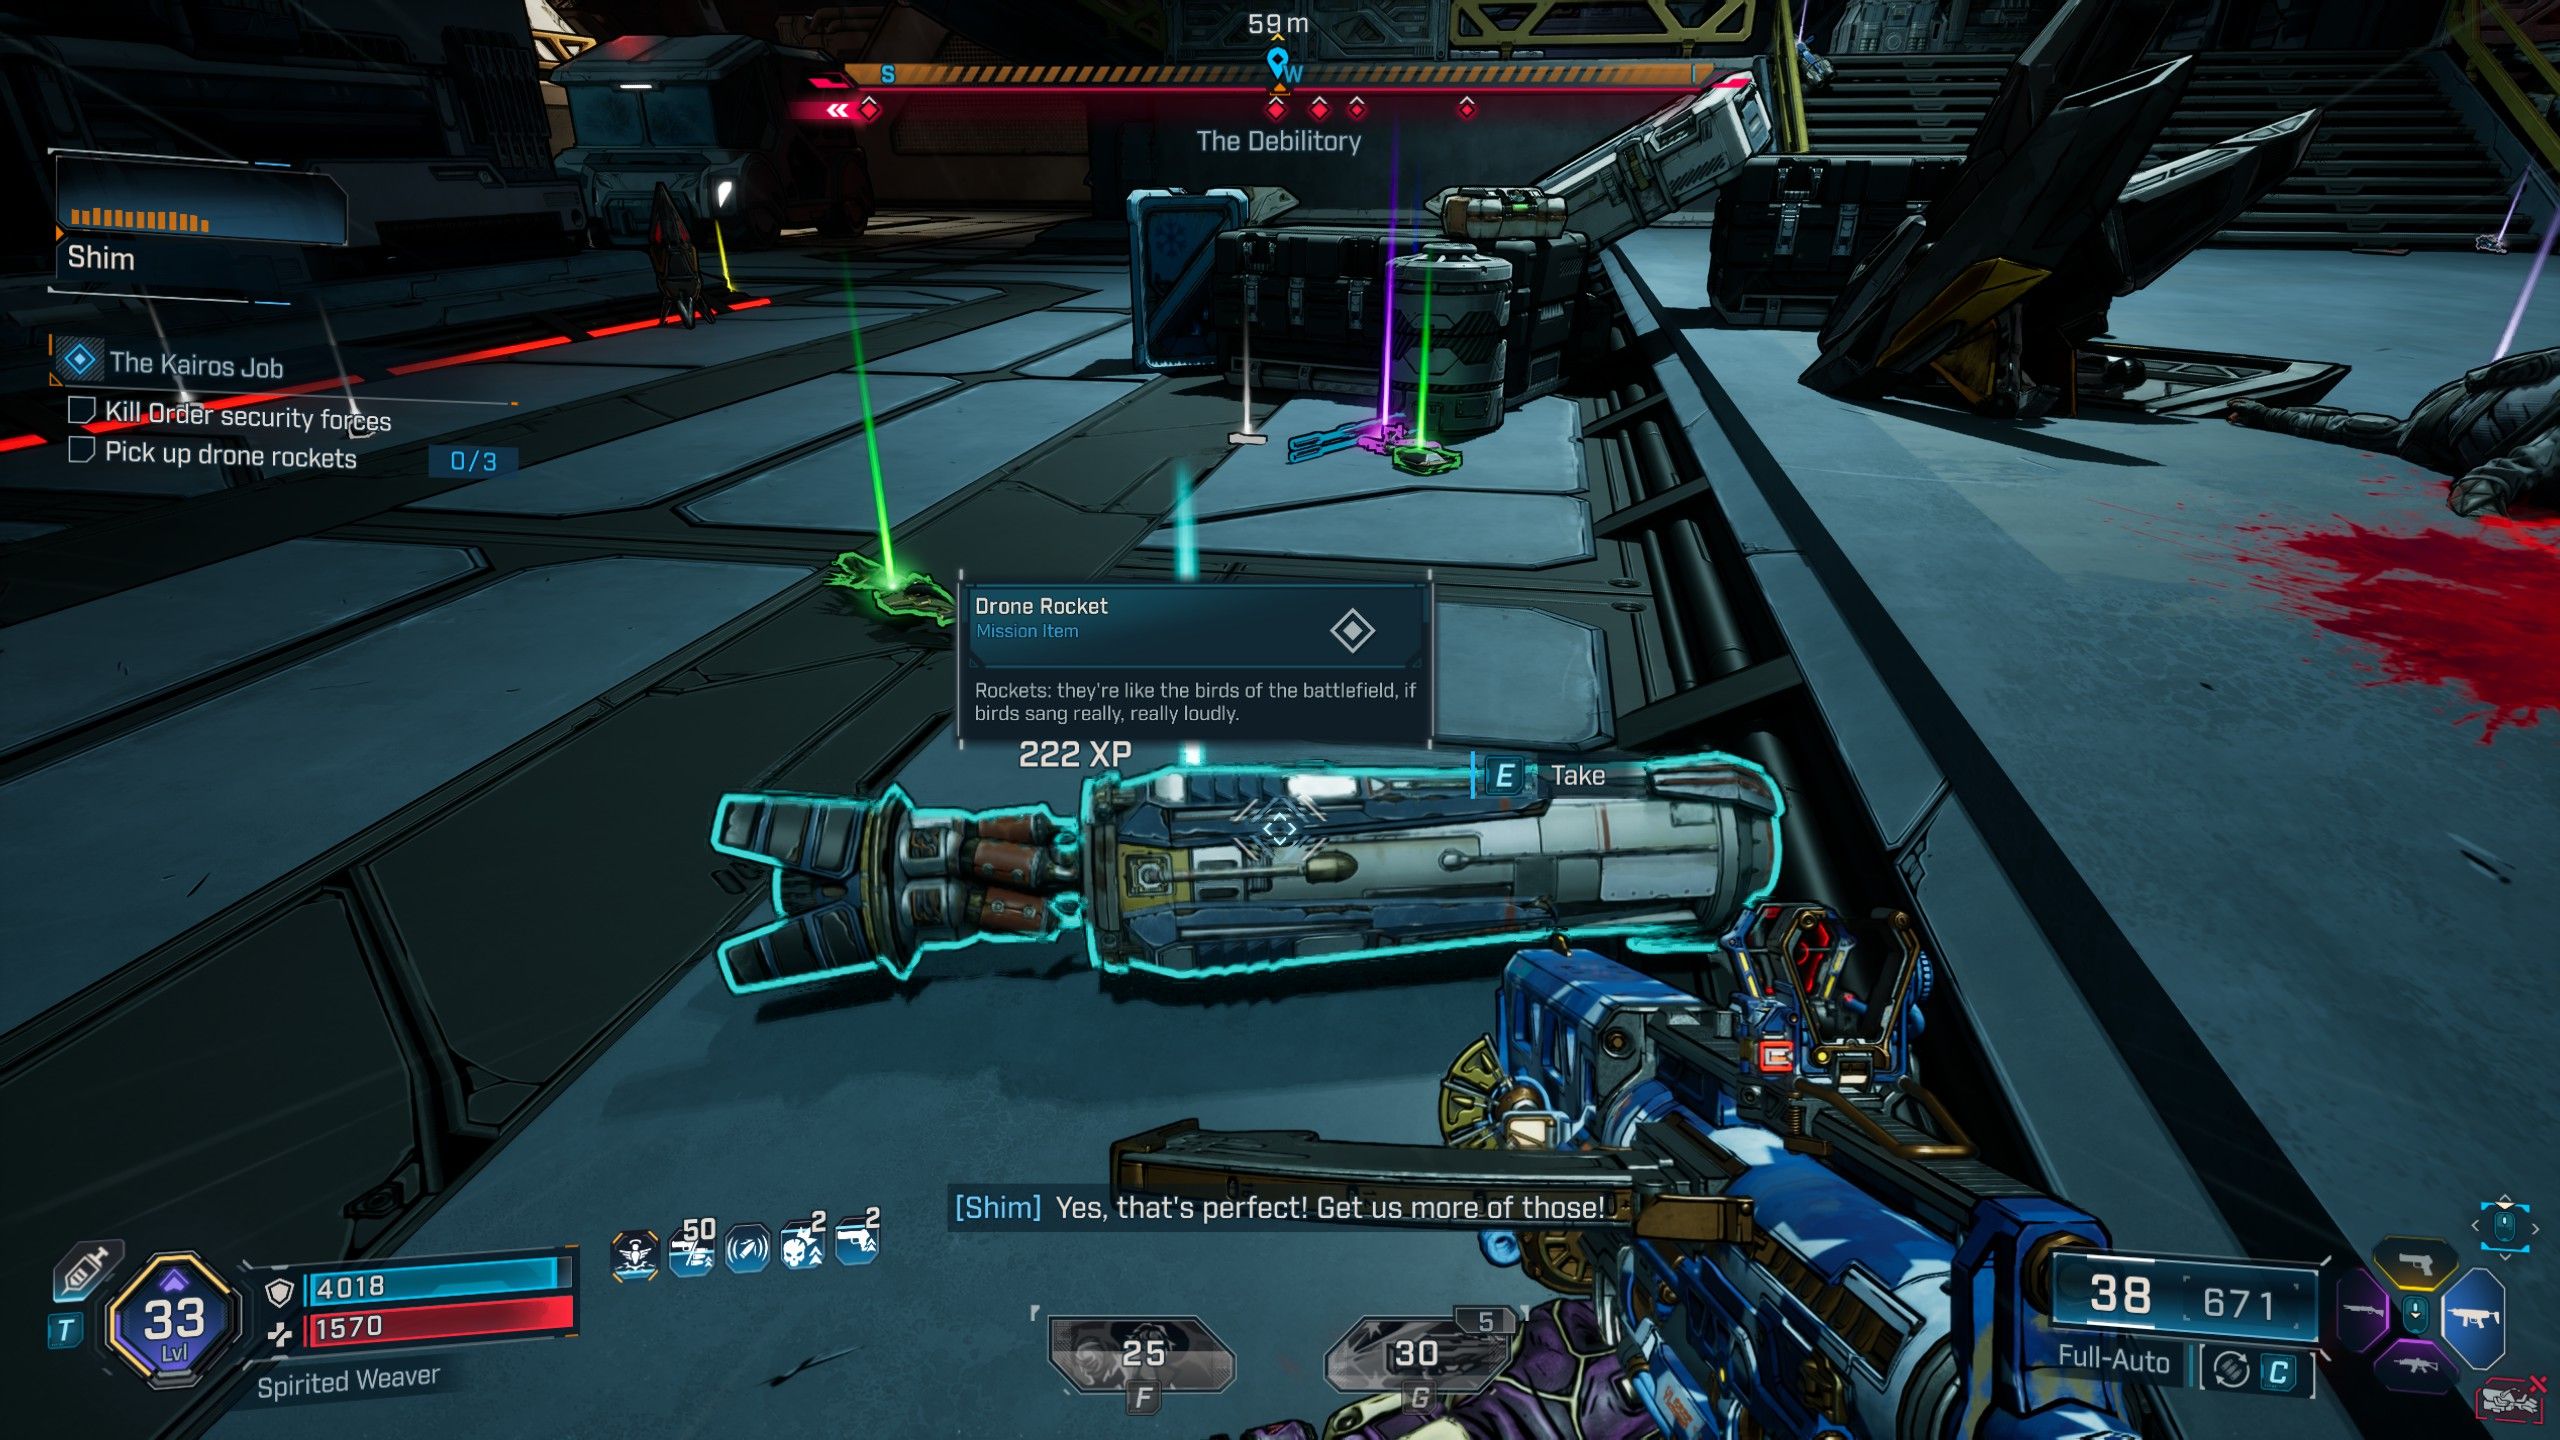
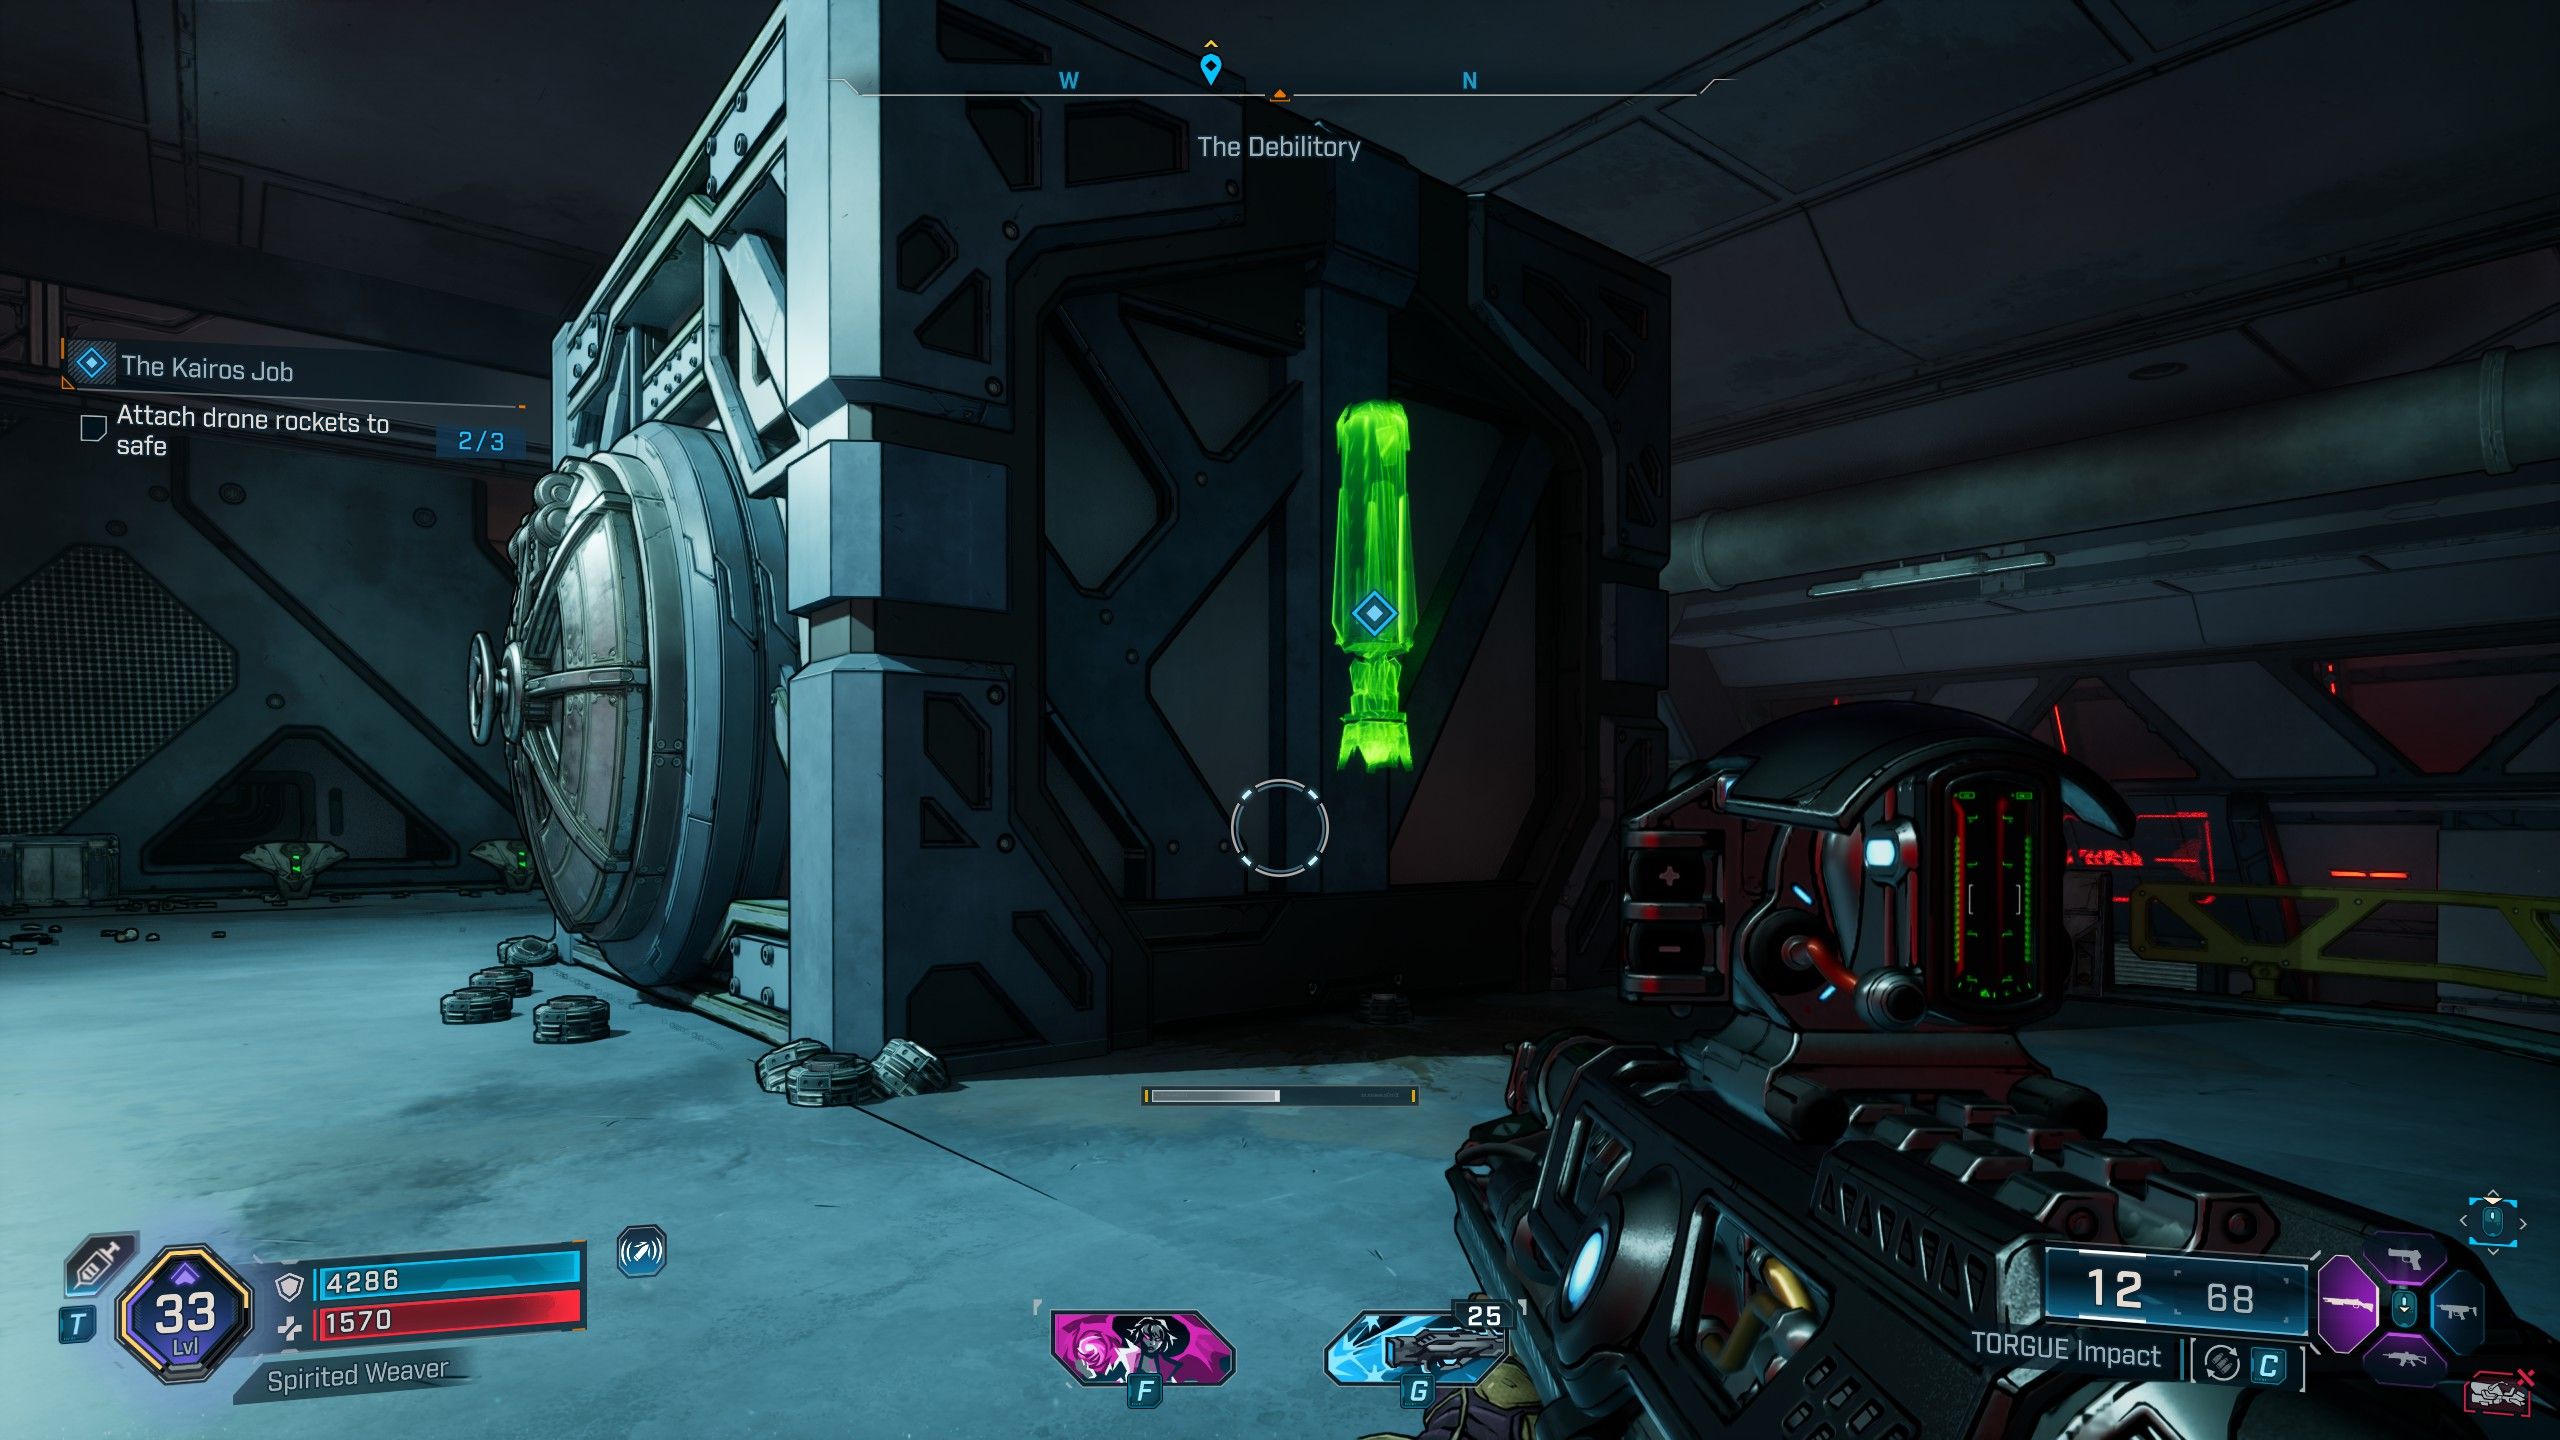
Next, you’ll need to open the large safe. Start by hitting it with a melee attack in a specific location – this will signal Kilo to begin cutting it open. The correct spot to cut is on the left side of the safe. Be ready for a fight, as Order troops will quickly arrive. You’ll need to defeat the Badass Attestor (Watcher) enemies that appear; they drop Drone Rockets. Collect three of these rockets, then return to the safe and attach one to each side. Finally, locate where the safe actually landed to complete this step.
How to Find the Safe and Open it for Good
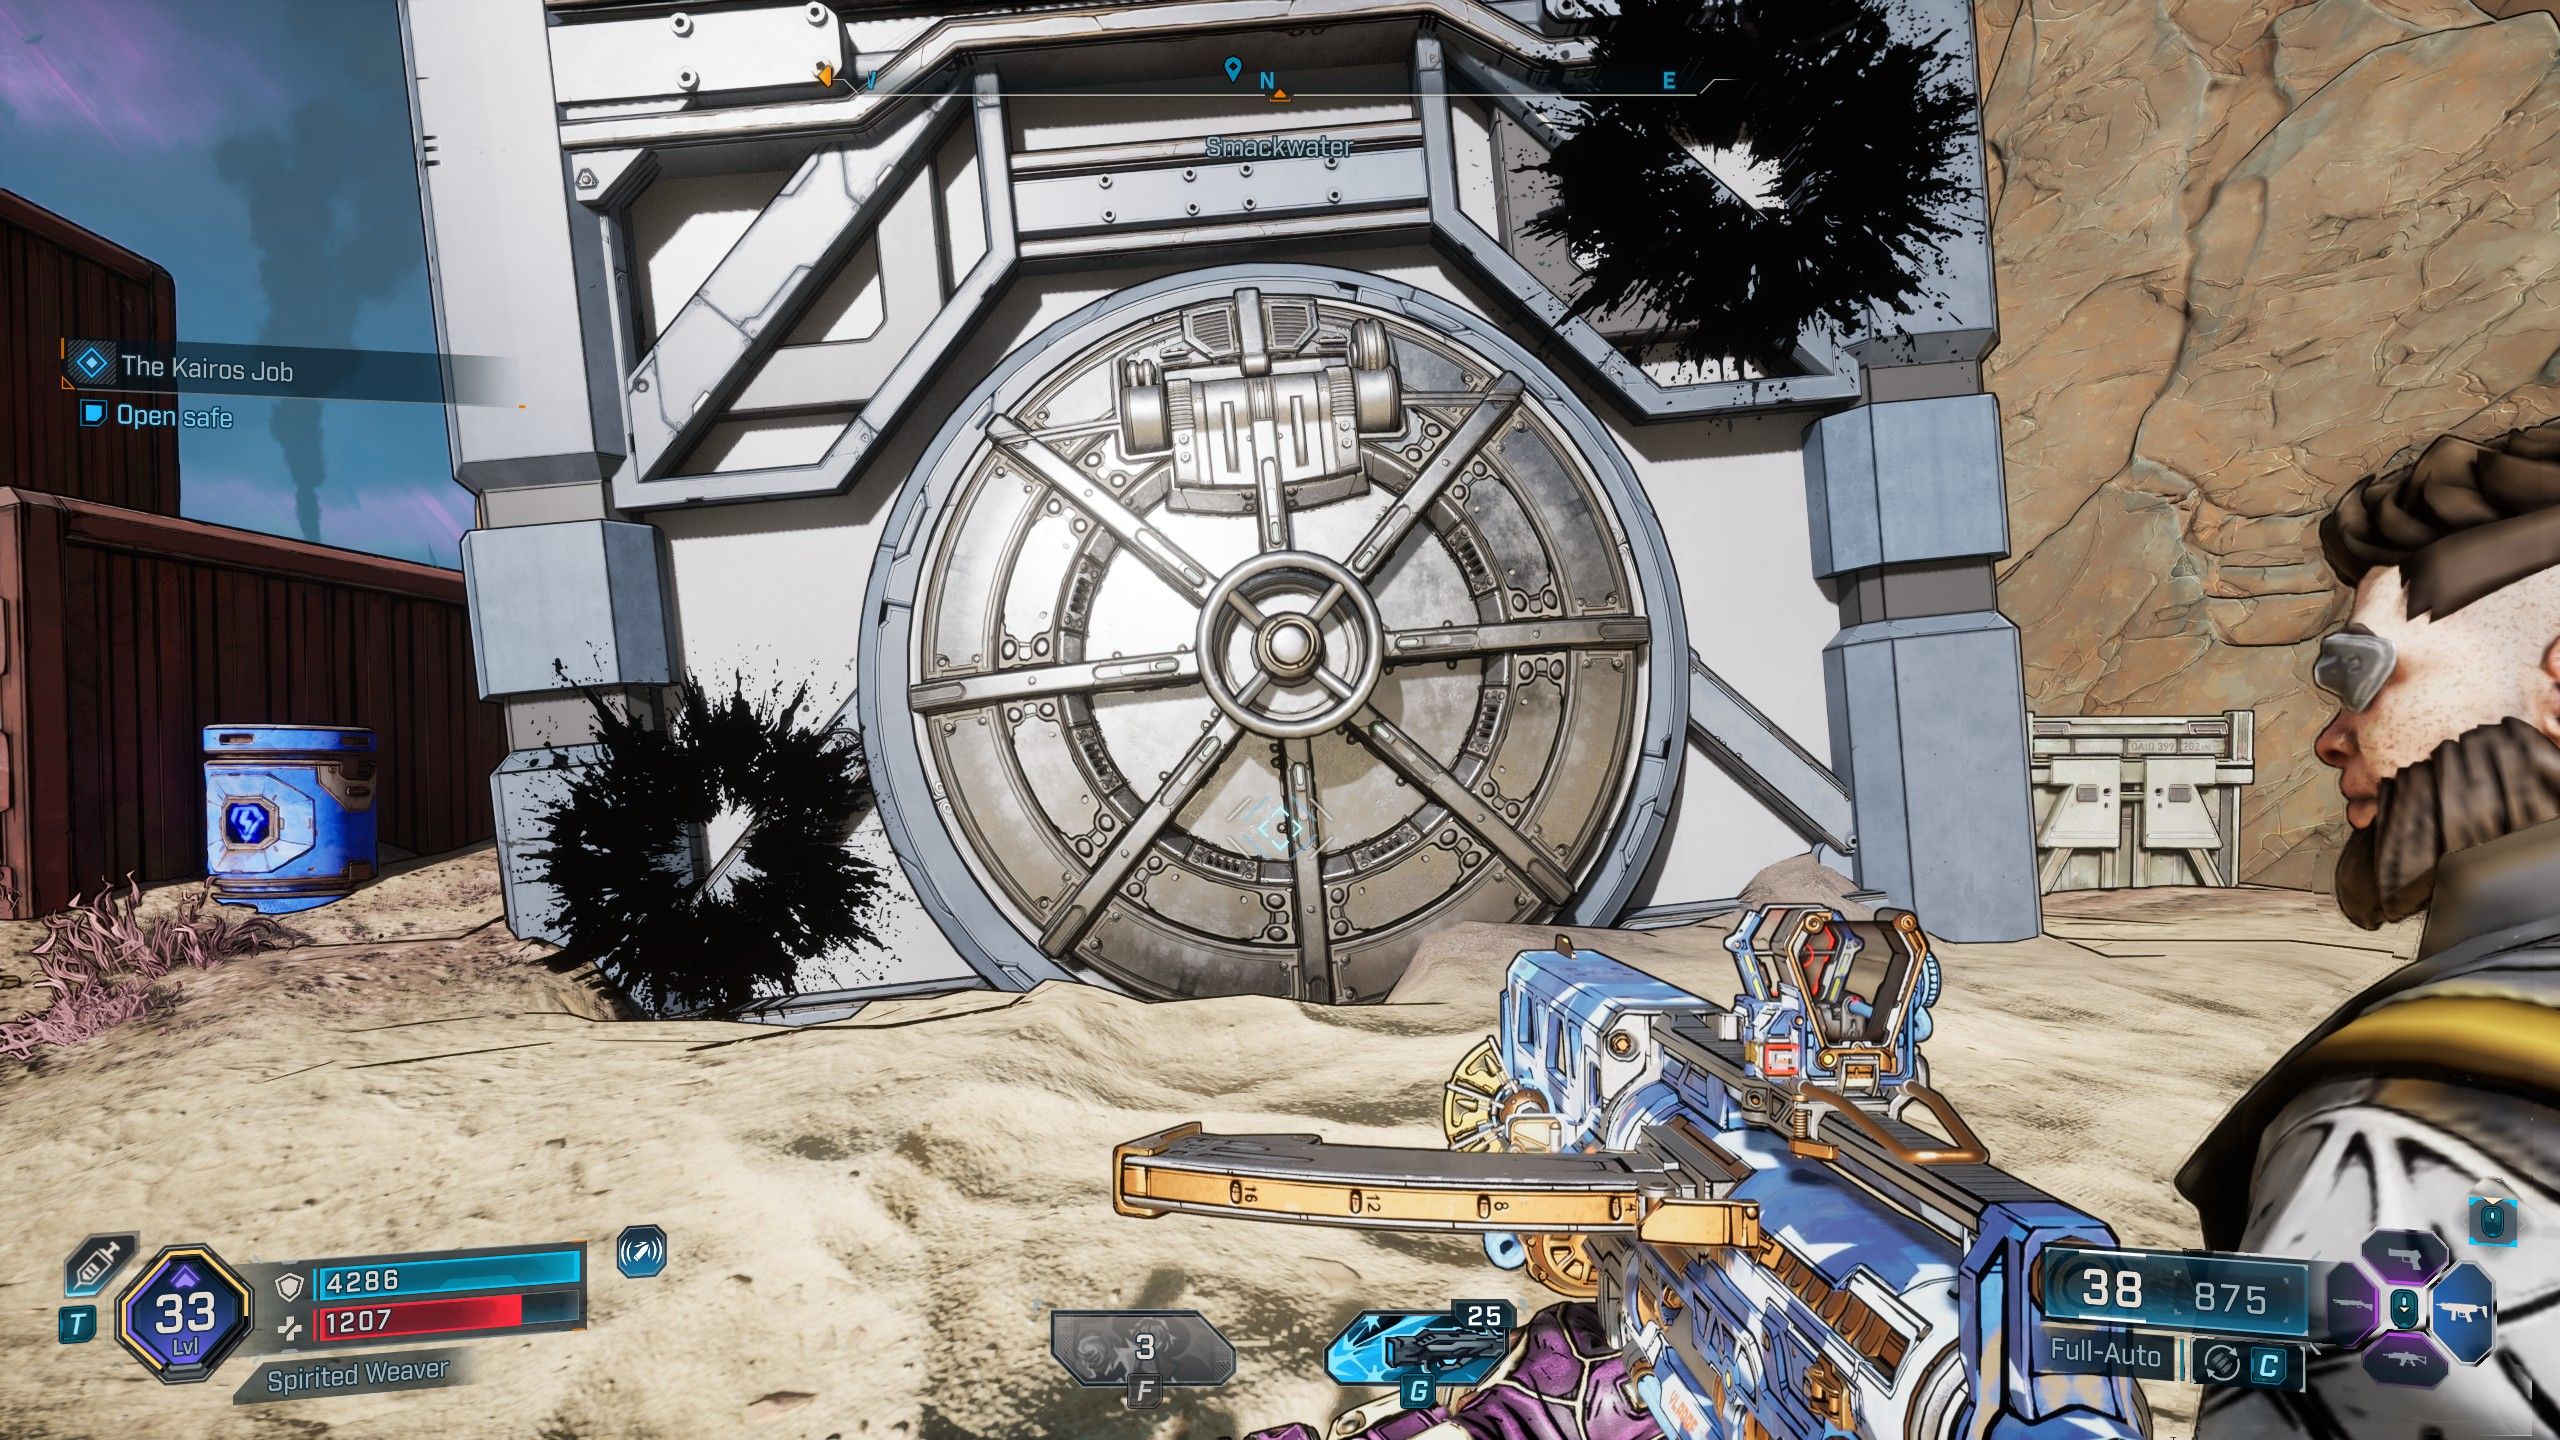
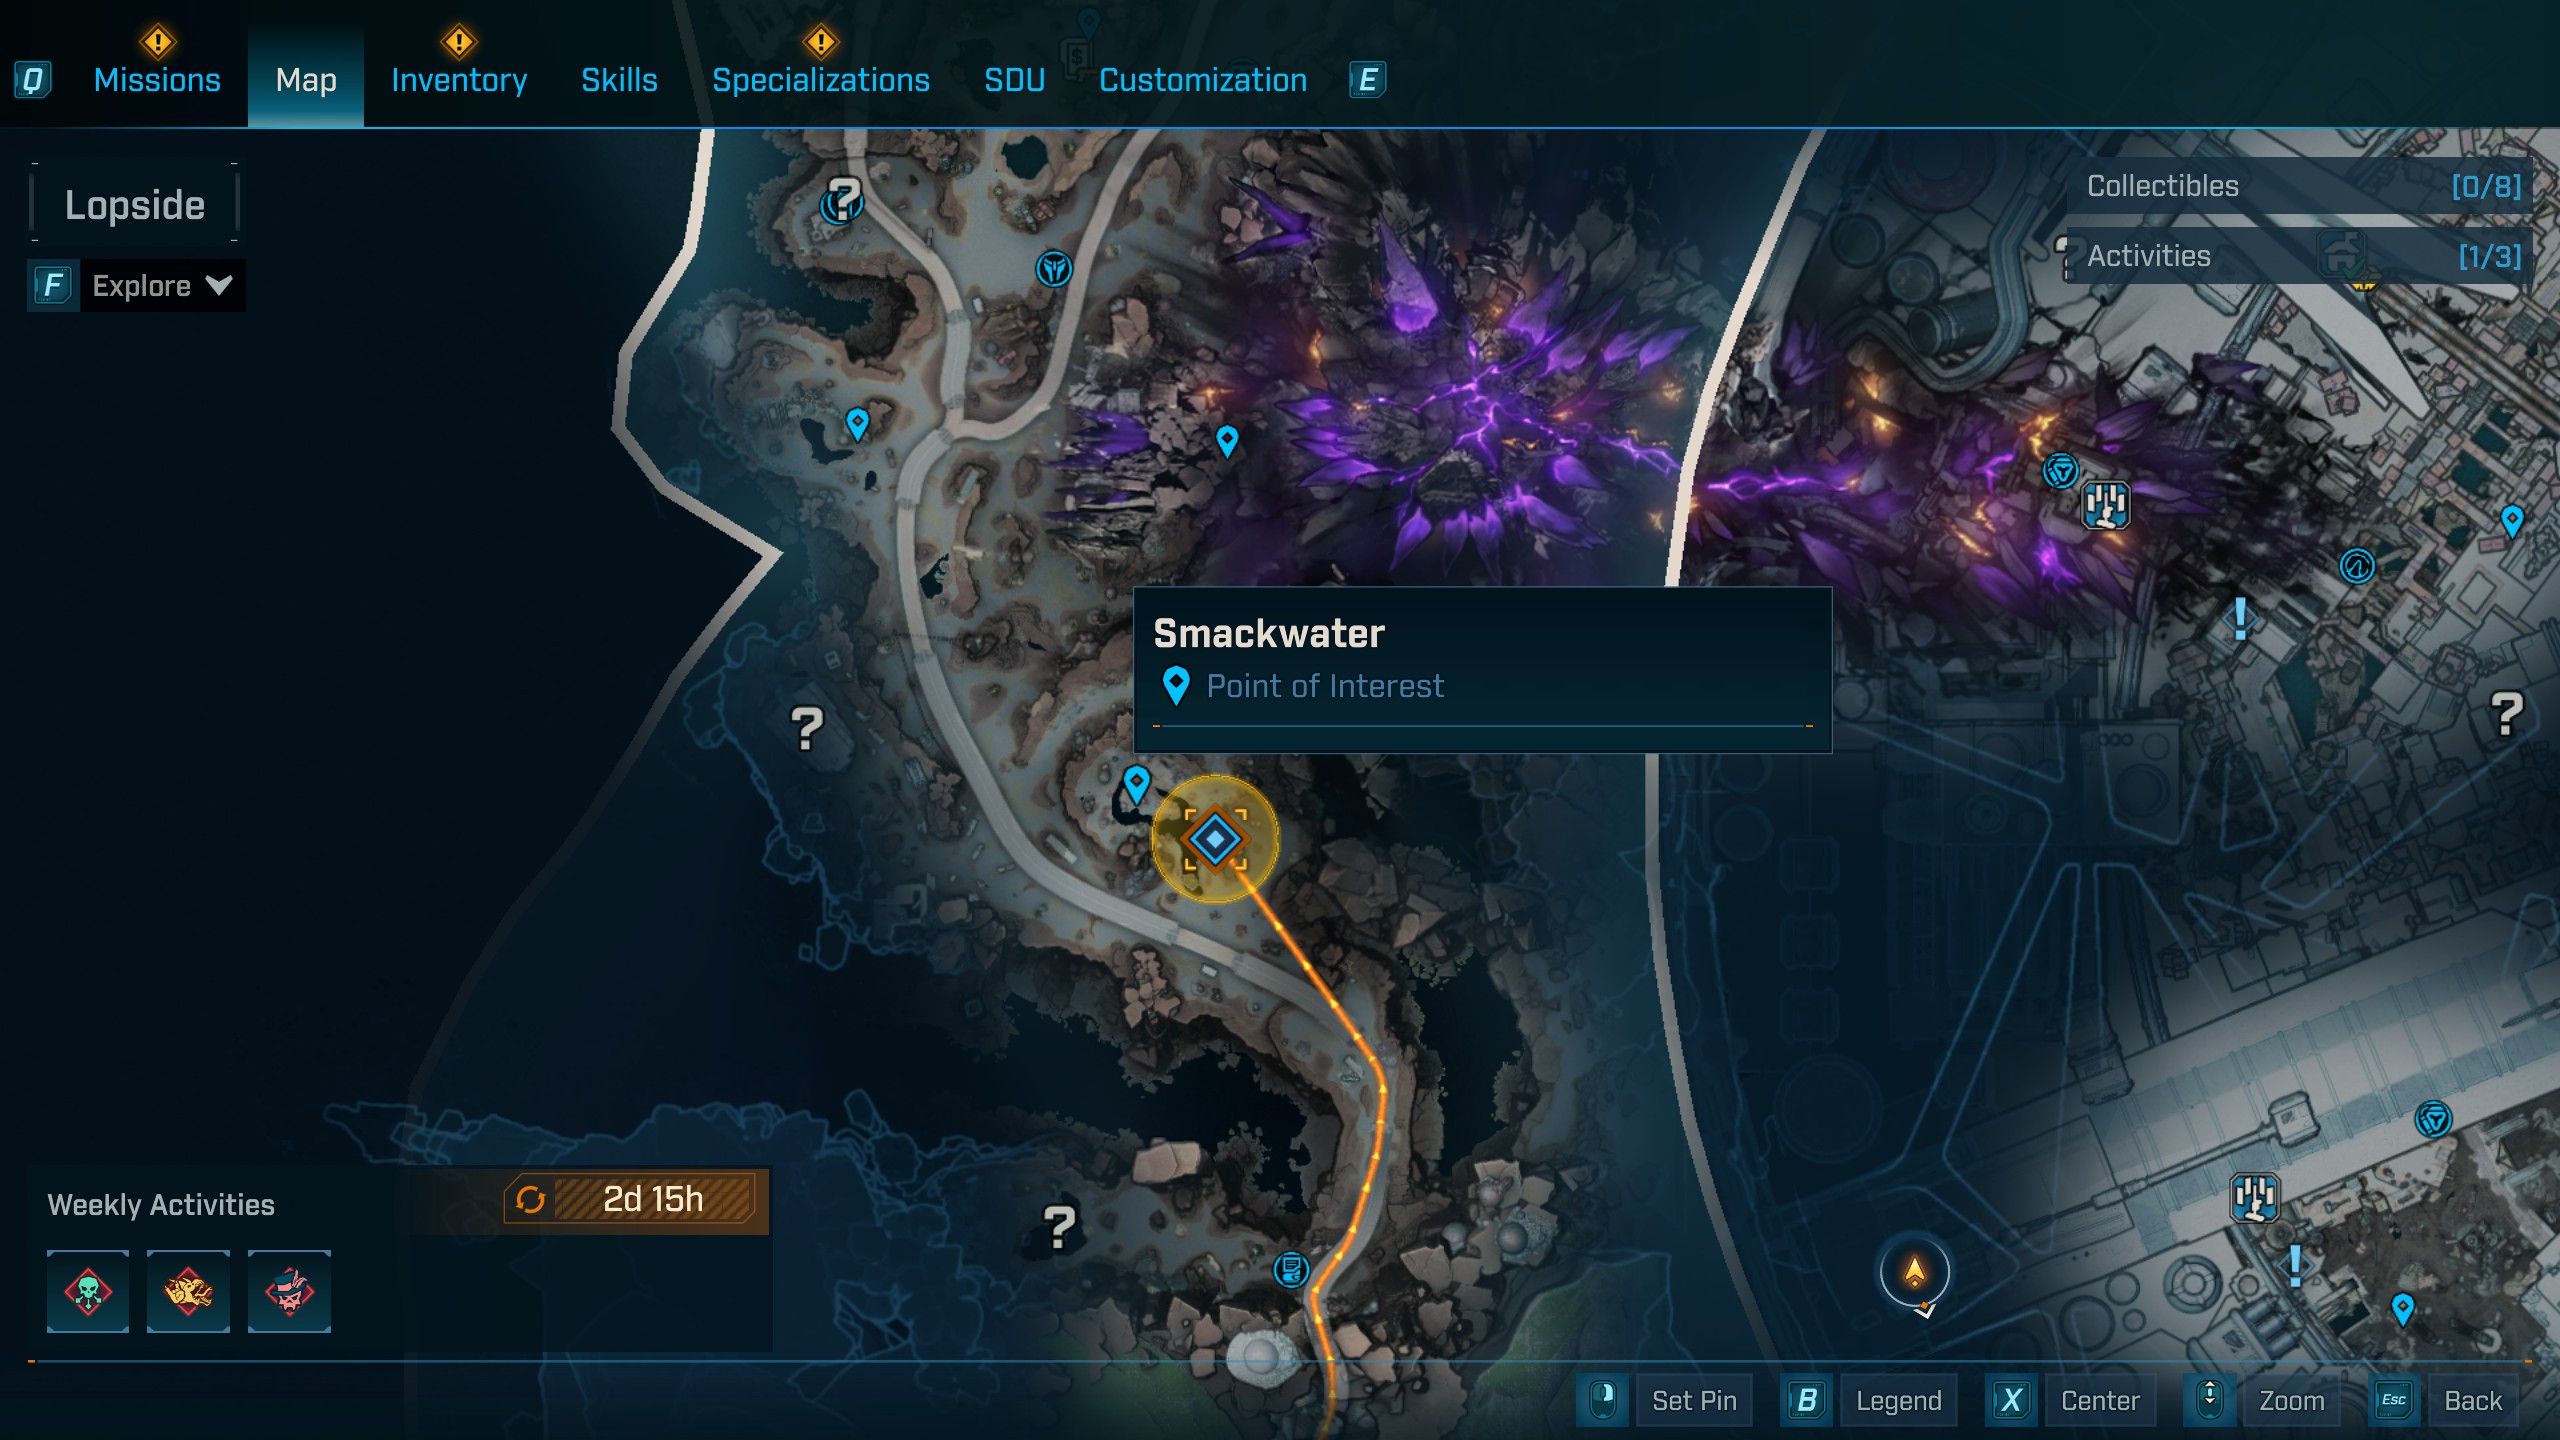
Okay, so once I took down those Order guys inside, I got out of the facility using either fast travel or the stairs – the same ones I used after jumping from that exploded roof. From there, I headed north through Carcadia Burn towards Smackwater in Lopside. That’s where the safe landed, and unfortunately, more Order soldiers were waiting for me. I had to clear them all out before I could even get to the safe. And honestly? When I finally opened it, the reward was… pretty disappointing. Unless you *really* need hair products, don’t expect much!
Read More
- Robinhood’s $75M OpenAI Bet: Retail Access or Legal Minefield?
- All Skyblazer Armor Locations in Crimson Desert
- All Hauntingham’s Letters & Hidden Page in New Super Lucky’s Tale
- Speedsters Sandbox Roblox Codes
- How to Get the Sunset Reed Armor Set and Hollow Visage Sword in Crimson Desert
- How to Catch All Itzaland Bugs in Infinity Nikki
- Madden NFL 26 Cover Star Revealed
- Who Can You Romance In GreedFall 2: The Dying World?
- USD RUB PREDICTION
- Invincible: 10 Strongest Viltrumites in Season 4, Ranked
2025-09-16 17:19