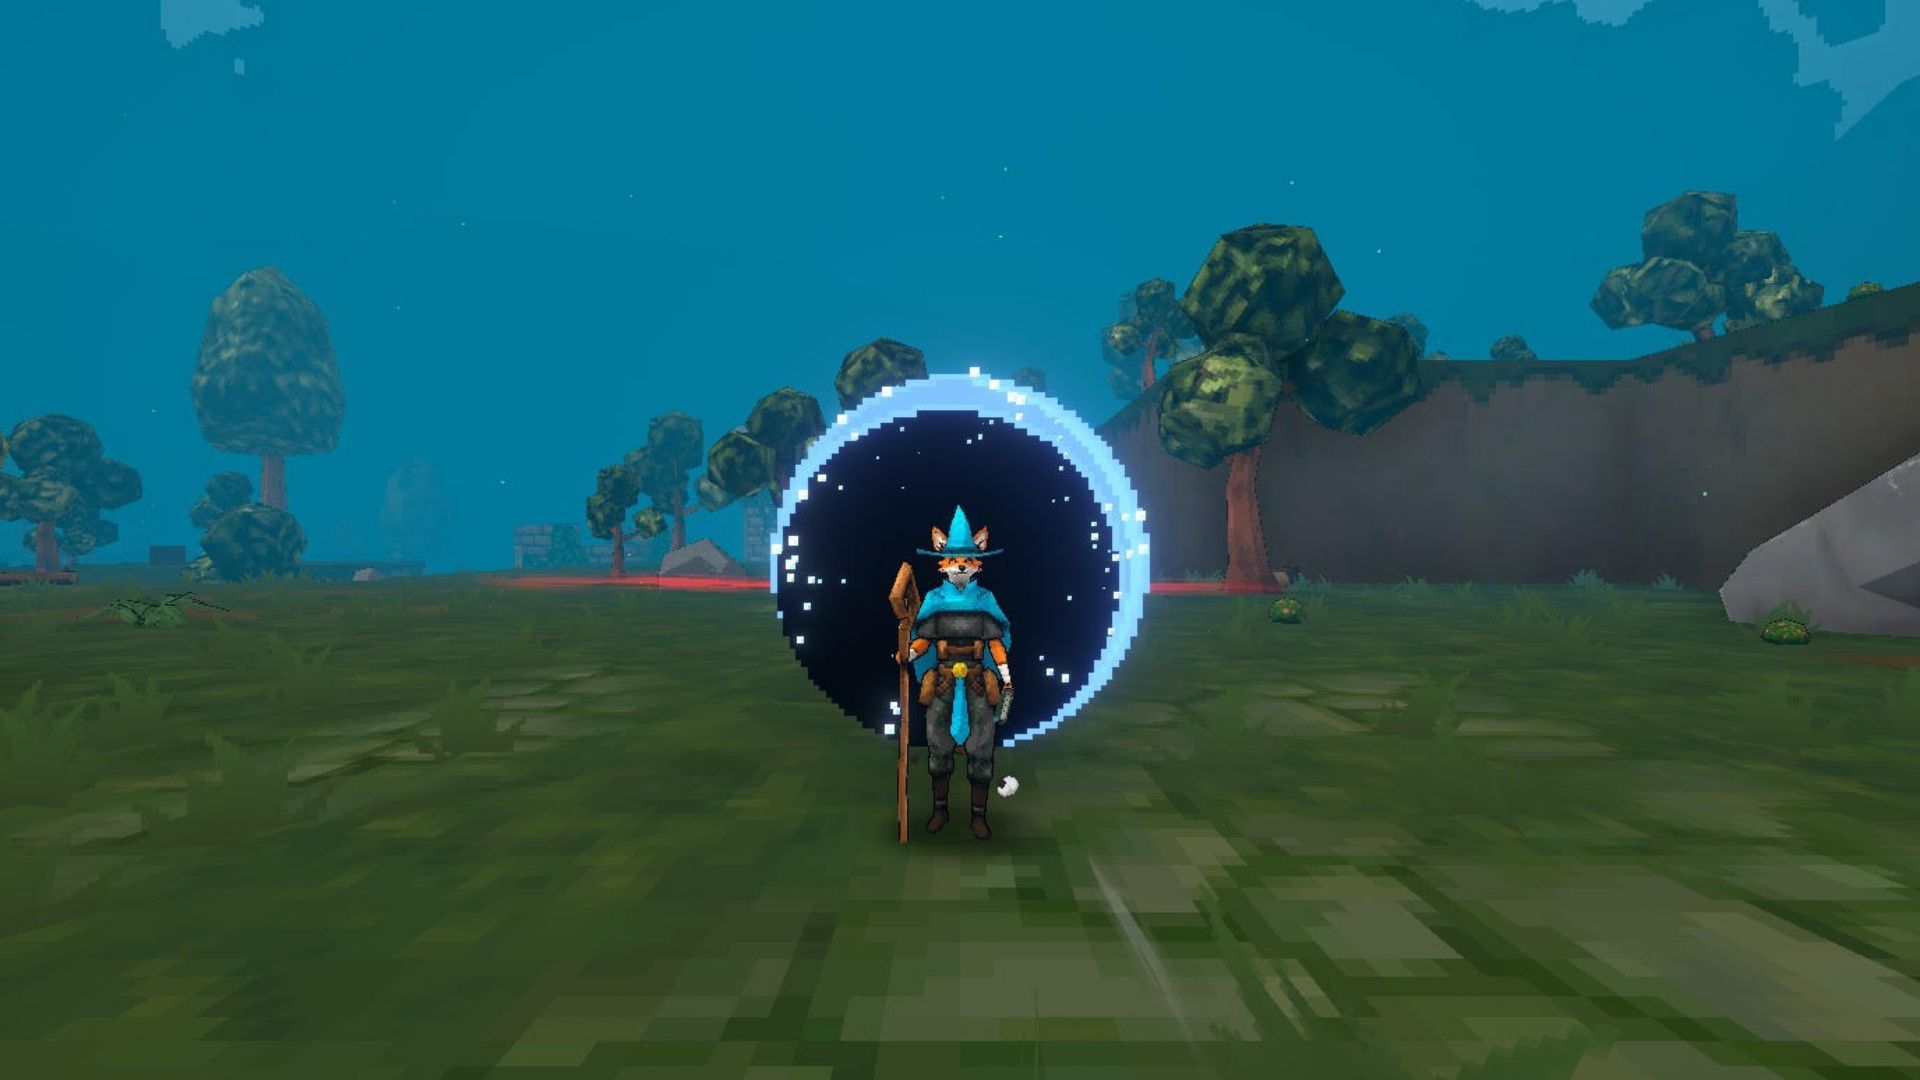
Megabonk is an easy-to-understand game where players explore a map, searching for a boss portal. As they play, they earn experience points by defeating enemies and improving their character’s abilities and equipment. But to truly succeed-completing all quests, challenges, and defeating all the bosses-players need to fully understand the game and become skilled at it.
This guide offers useful tips and tricks to help players progress through the Forest and the Desert in Megabonk. Using these suggestions during a playthrough can make players more efficient and improve their survival rate.
Increase Difficulty and Elite Spawns
Don’t Be Afraid to Crank Up the Heat
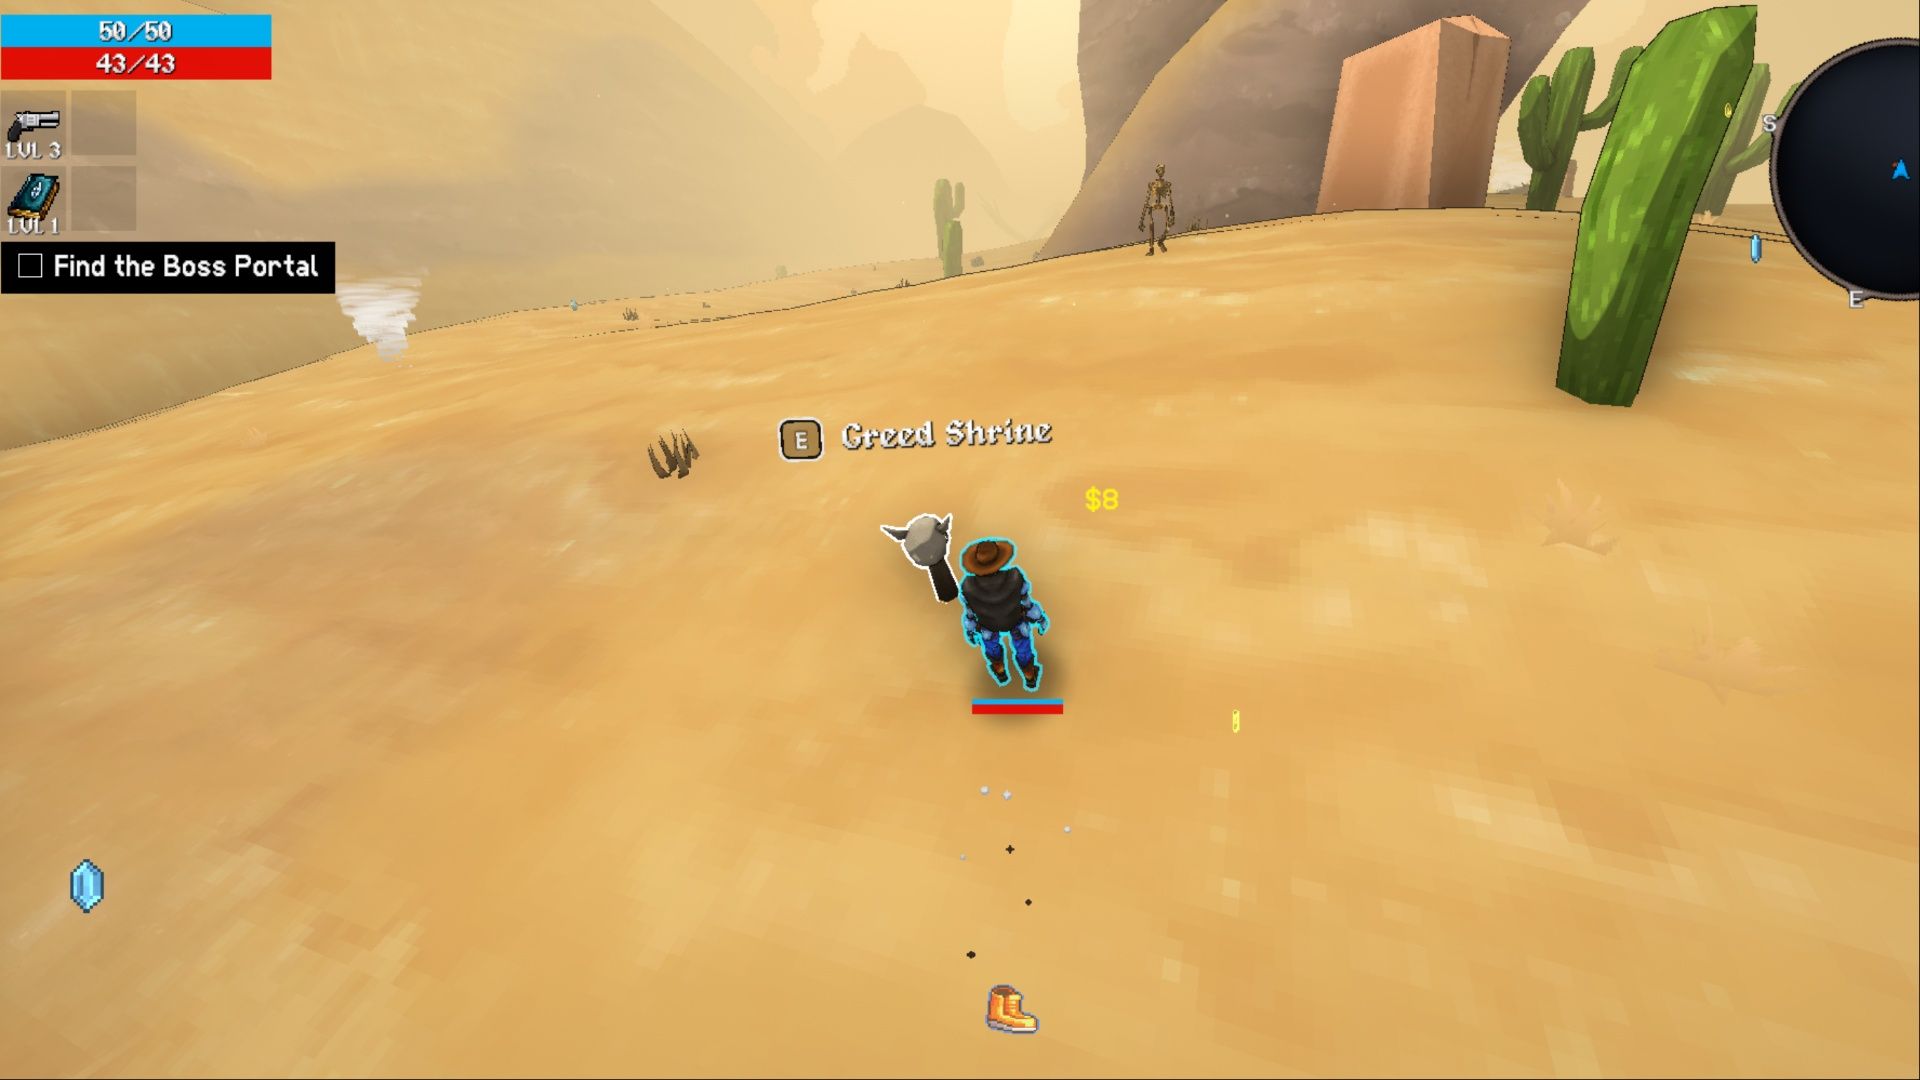
Though it might not seem ideal initially, making the game harder is essential in Megabonk. Players can increase the challenge in several ways, such as finding Greed Shrines, raising the Difficulty level, activating Elite Spawns at Charge Shrines, or using the Curse Statue. There are various ways to increase difficulty in Megabonk.
While levels with a higher Difficulty can be tougher to finish, they offer more enemies and Elites. This is a fantastic way to earn more XP, level up faster, or receive free chests by defeating Elites.
Farm Silver and Complete Quests First
Gain Access to More and Better Weapons, Characters, and Tomes
When I first started playing Megabonk, I noticed I didn’t have a ton of options right away – there weren’t many weapons, characters, items, or tomes available. To get more of everything and really open up the gameplay, you have to complete quests and earn Silver. That’s the currency you use to unlock all the extras and expand your choices, so it’s definitely worth the effort! It’s a fun grind, honestly.
As a fan, I’m really excited about this! It’s going to let players banish, skip, and refresh their tomes and weapons – which sounds awesome. Plus, it’ll give us so many more options when we’re playing, making the game way more replayable, and it’ll really let us experiment with all kinds of different character builds. I can’t wait to see what everyone comes up with!
Invest in Silver Gains
Buy Silver Upgrades in the Shop
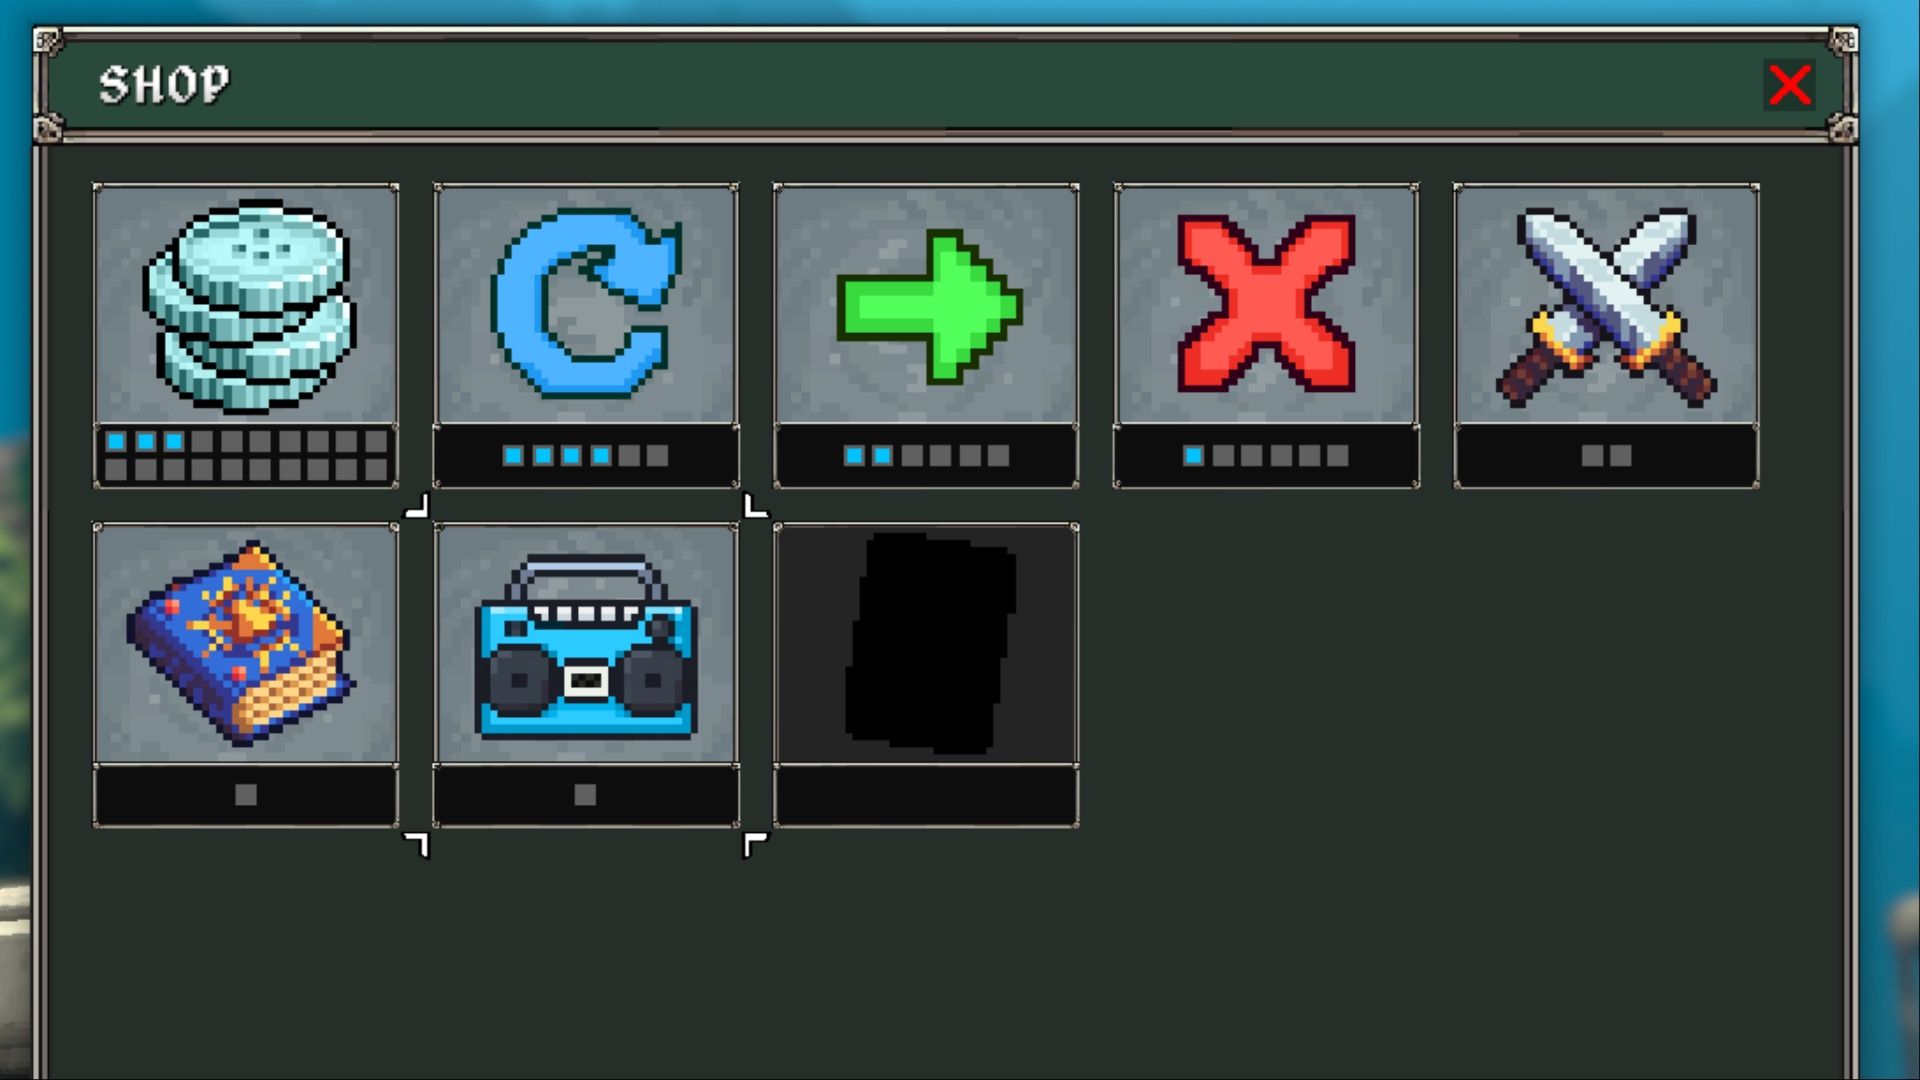
The first upgrade available to players in the shop is Silver. Although it’s not a particularly thrilling upgrade – it simply boosts the amount of Silver earned per run – it’s necessary to buy all the other upgrades.
Players need to use Silver to earn more Silver. While it might seem like a setback, delaying the purchase of other improvements or unlocks actually benefits them in the long term. Each subsequent attempt will be more rewarding, making progress easier.
Kill Now, Collect Later
Be Efficient in the Early Game

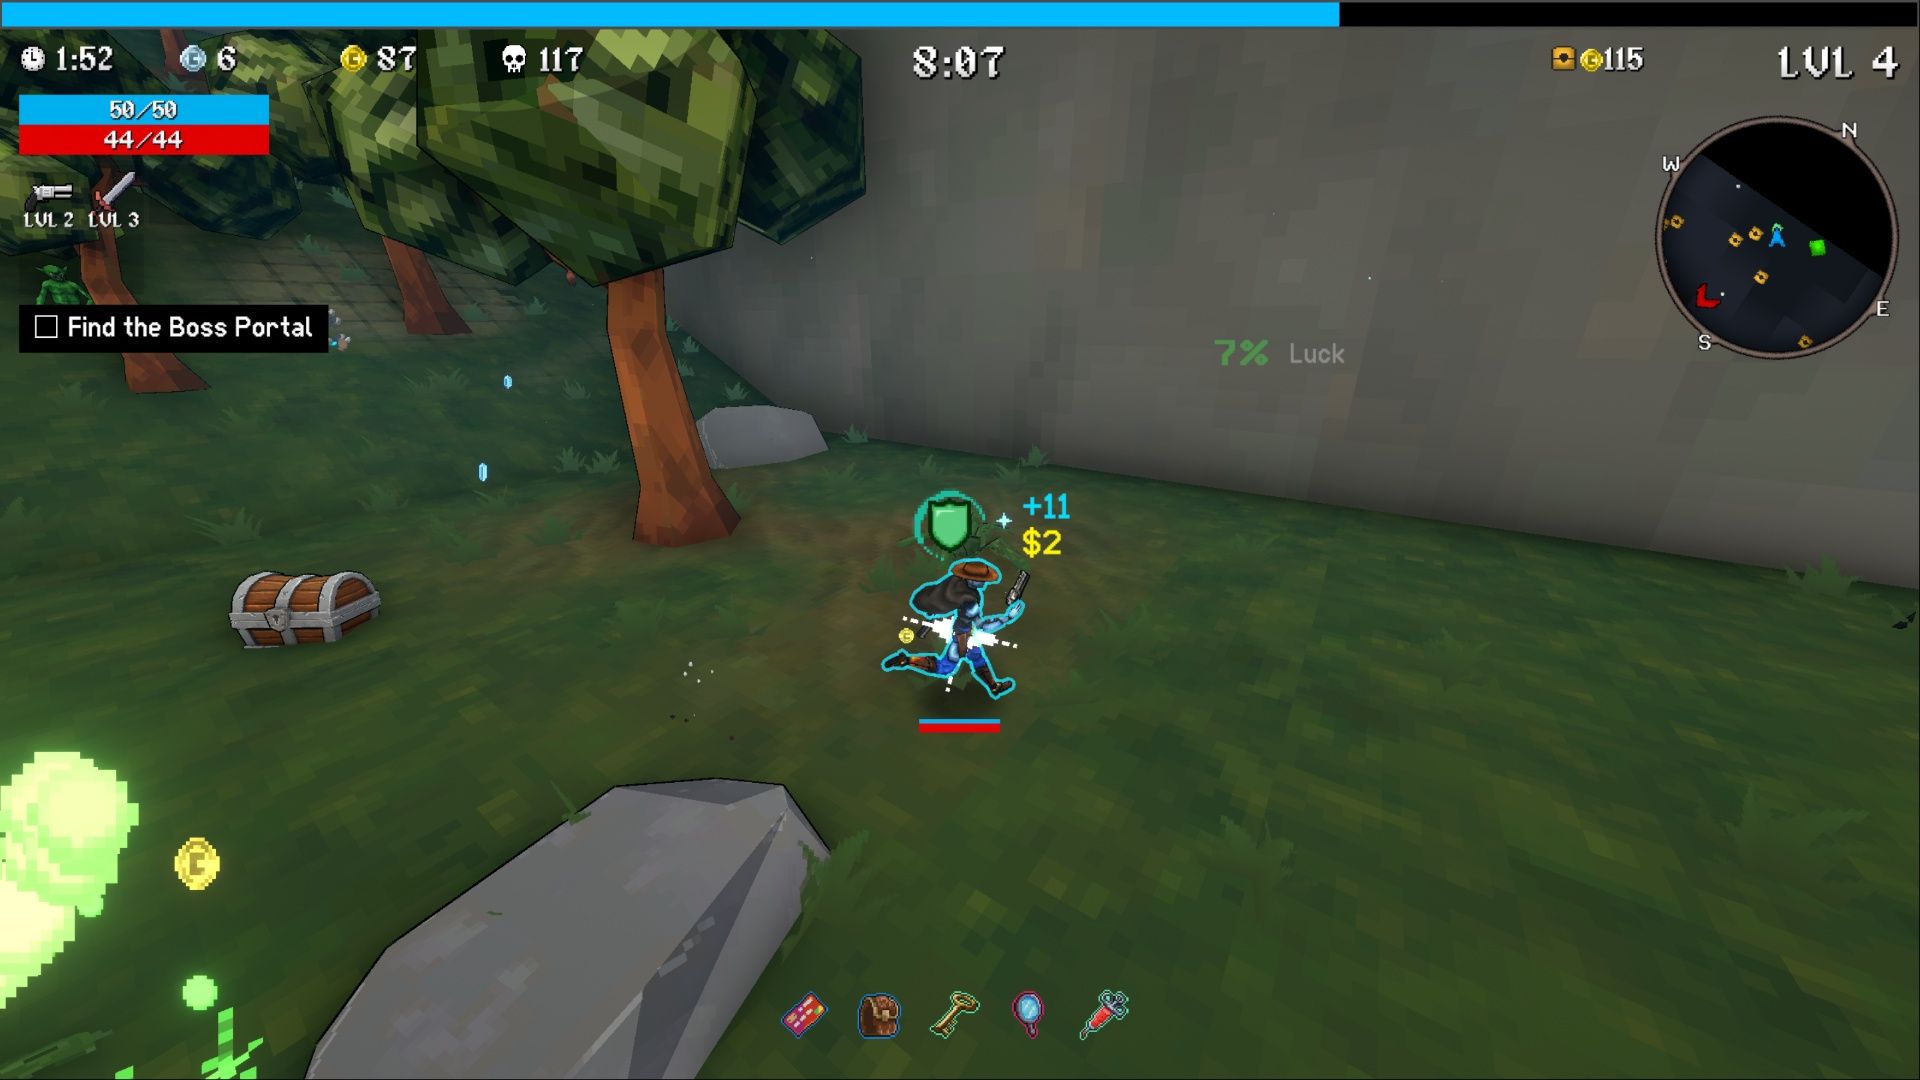
The beginning of a run is the most straightforward part, and it sets the stage for whether players will survive until they reach the boss. While defeating enemies and gaining experience are important, players should prioritize exploration. By doing so, they can find and activate Greed Shrines and Charge Shrines, interact with Moai Shrines, and break any pots they come across, all of which help them quickly strengthen their character and equipment.
Eventually, you’re bound to stumble across a Shrine of Succ or a magnet item, and that’s awesome because it lets you pick up any XP you might have accidentally left behind. This is especially important if you go for the XP Tome; the more you level that up, the better the XP drops will be later on. Seriously, it makes a big difference! You’ll be finding tons of extra experience!
Time Your Powerups
You Might Not Want to Grab Them Right Away
As I was saying before, it’s really important that players time their use of powerups and shrines well to get the most out of them – and that goes for everything, not just the magnet! So, I wanted to break down what each powerup does and when you should use it:
- Health – Restores health. Best used when below 50 percent health.
- Agility – Increases movement speed momentarily. Quickly explore the map to find the boss portal or to gather nearby XP shards.
- Rage – Increases attack speed momentarily. Helps take down enemies. Best used when more enemies have spawned on the map.
- Coin – Increases gold gain per kill. Helps farm gold. Best used when more enemies have spawned on the map.
- Protect – Provides protection against enemy attacks. Best used to activate shrines or activate the campfire when overwhelmed by a swarm.
- Magnet – Grabs all XP Shards left on the map. Best used after exploring a great area of the map while taking down enemies.
- Nuke – Kills enemies in the surrounding area. Deals great damage to bosses. Best used to farm XP shards a few moments after a swarm spawns.
- Clock – Stops enemies in time momentarily. Helps get kills and clear an area.
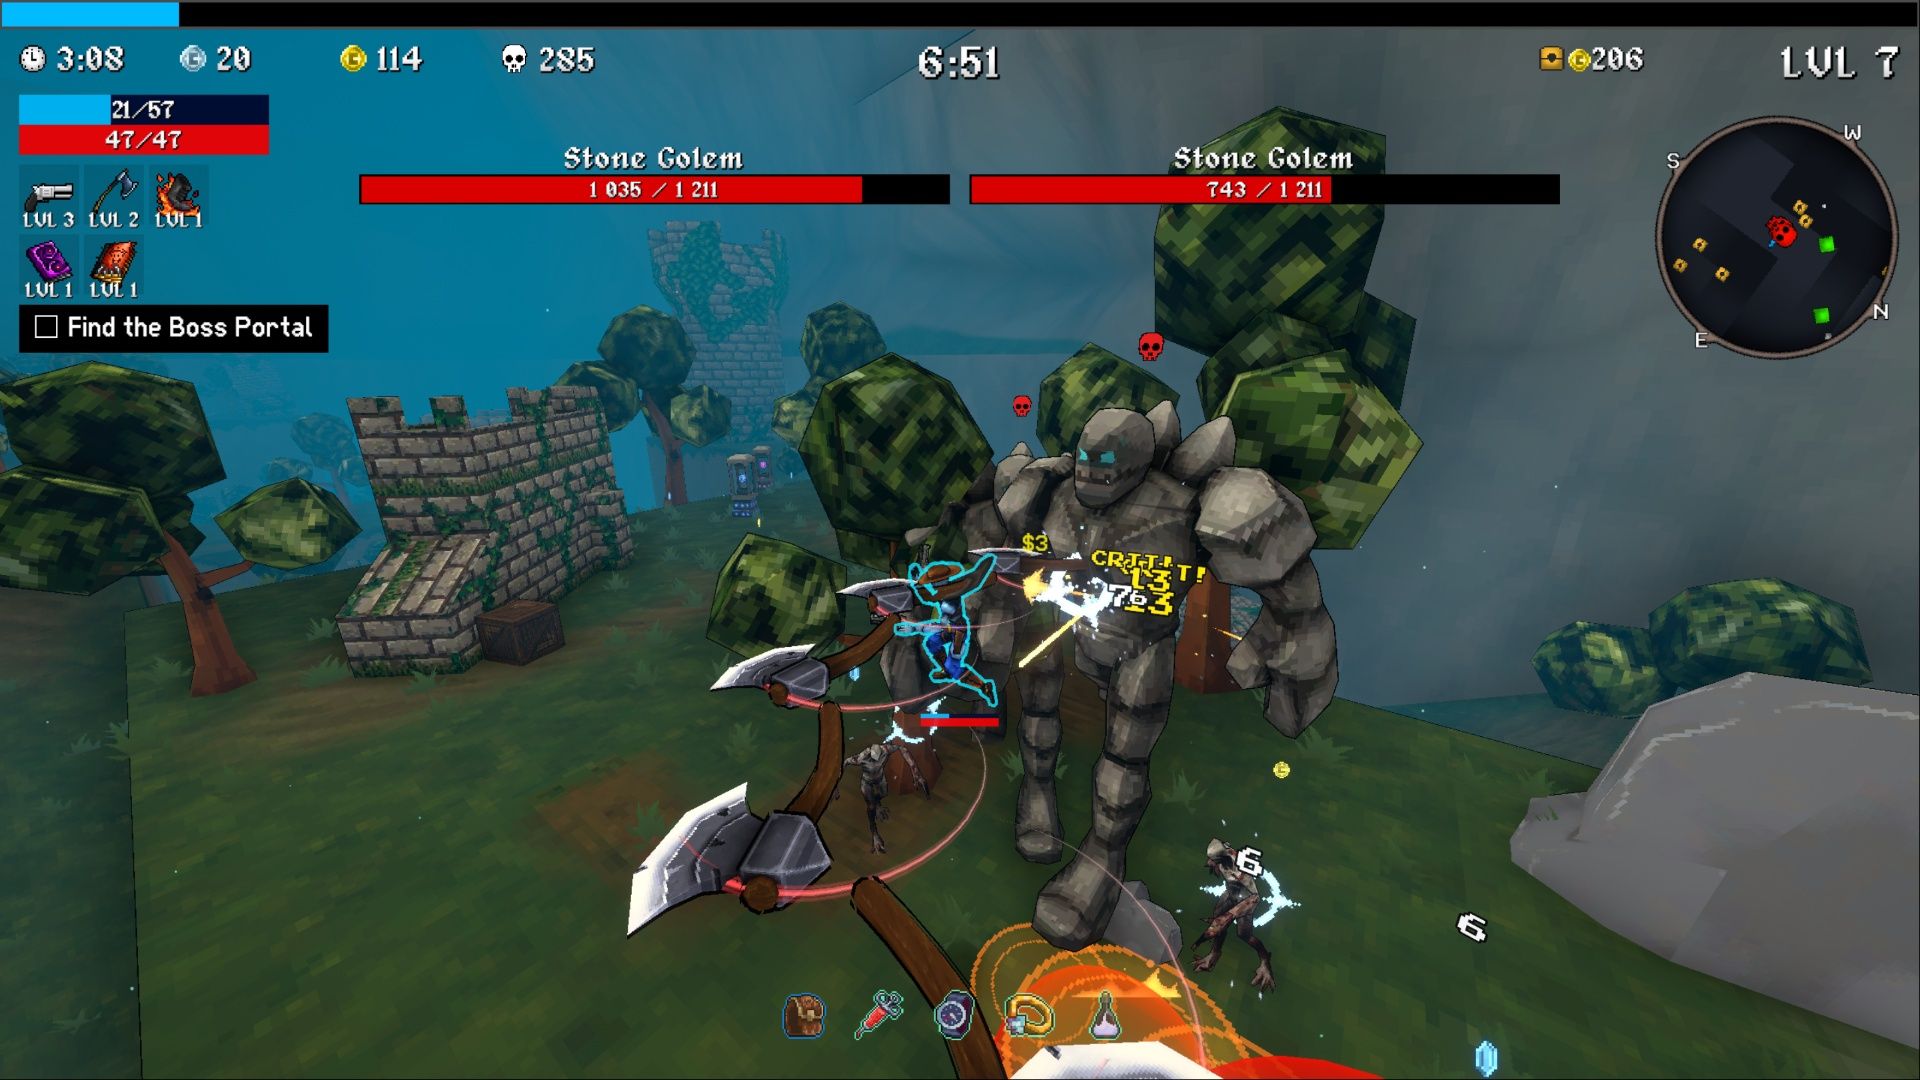
Keep An Eye on the Mini-Map
Head Straight To Your Priorities
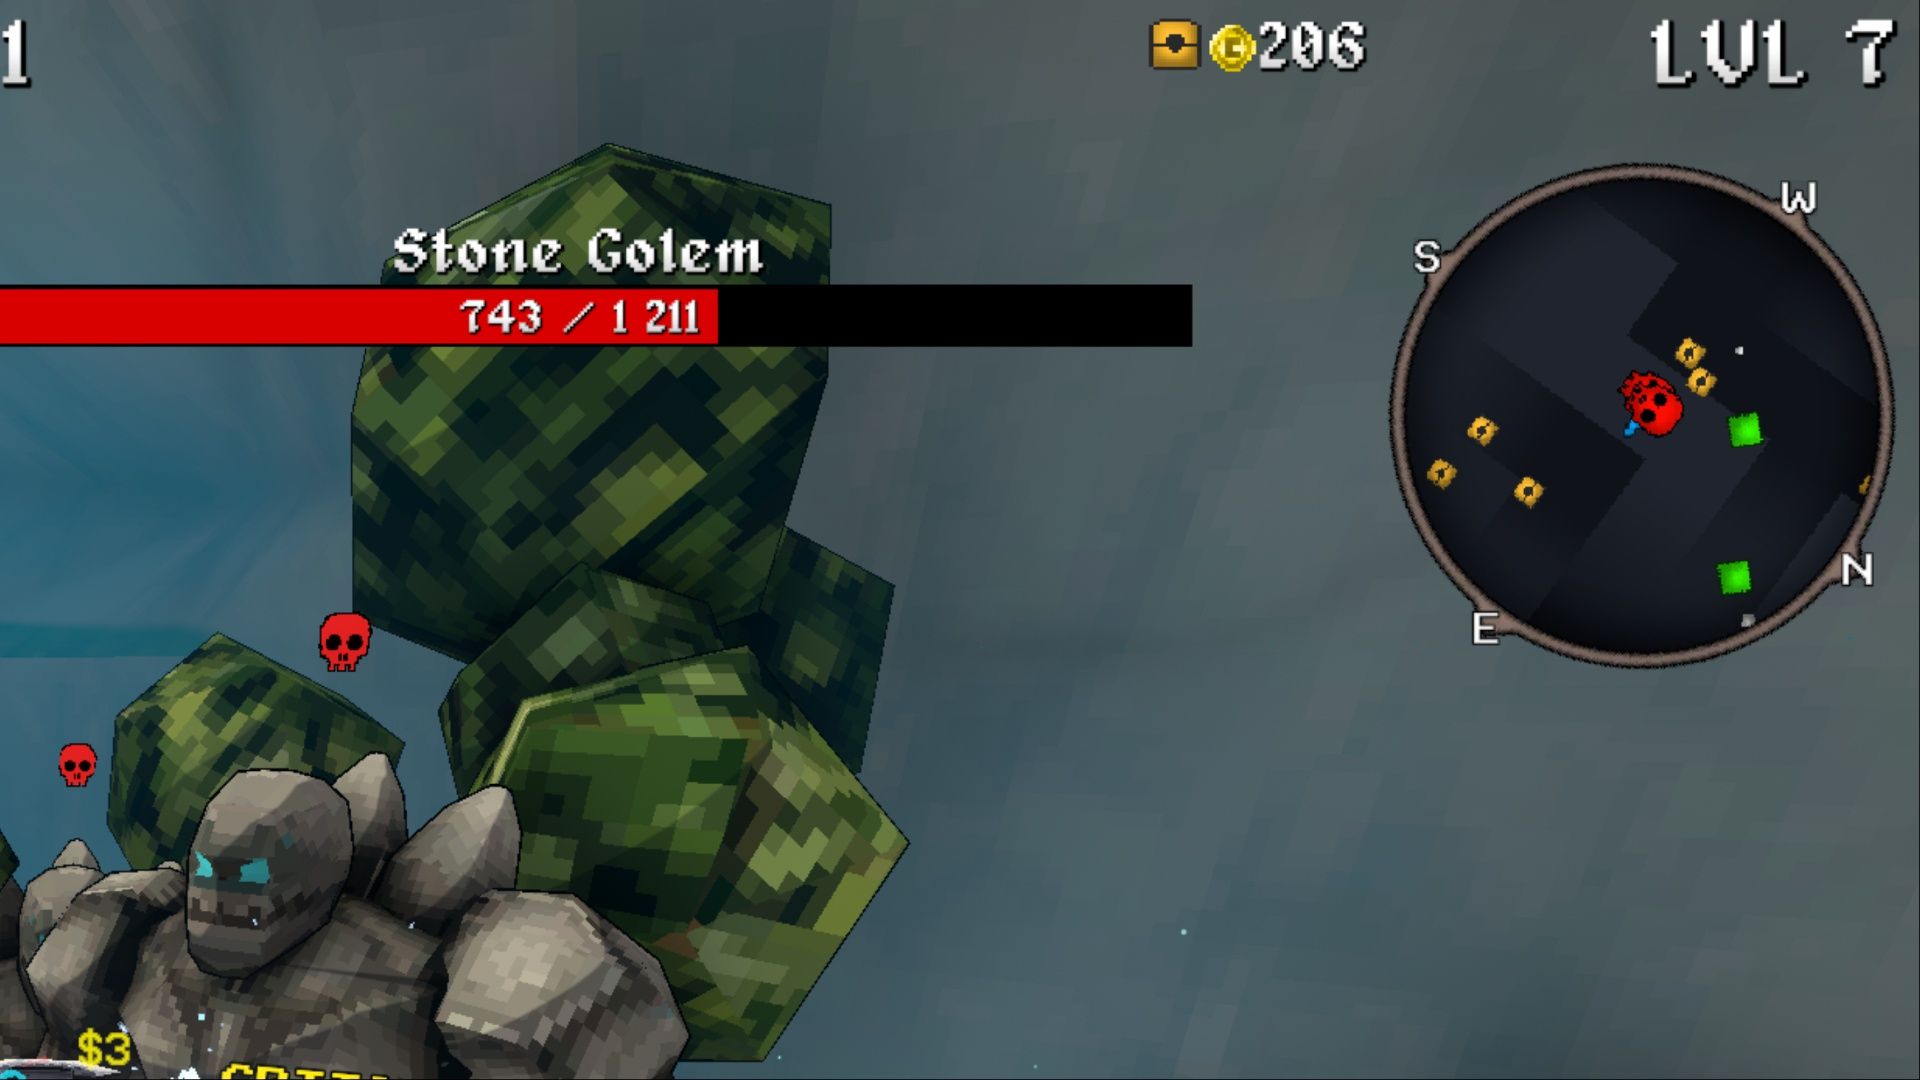
The mini-map in Megabonk is very simple in its design. However, it provides a lot of useful information. This helps players find their way around areas like the Forest and Desert, and also guides them to where they need to go based on what they’re currently trying to achieve. Here’s a breakdown of what each symbol on the mini-map represents:
- Green square – Succ, Charge, or Moai Shrines or Shady Guy NPC
- White dot – Pots
- Yellow square – Chests
- Faded red square – Greed Shrine
- Red arrow – Direction of the boss portal
- Red skull – Boss
Also, power-ups will show up on the mini-map. This means that if players are surrounded by enemies and can’t spot a dropped power-up, they can look at their map and go towards it.
Set An Objective Before Starting a Run
Focus On an End Goal
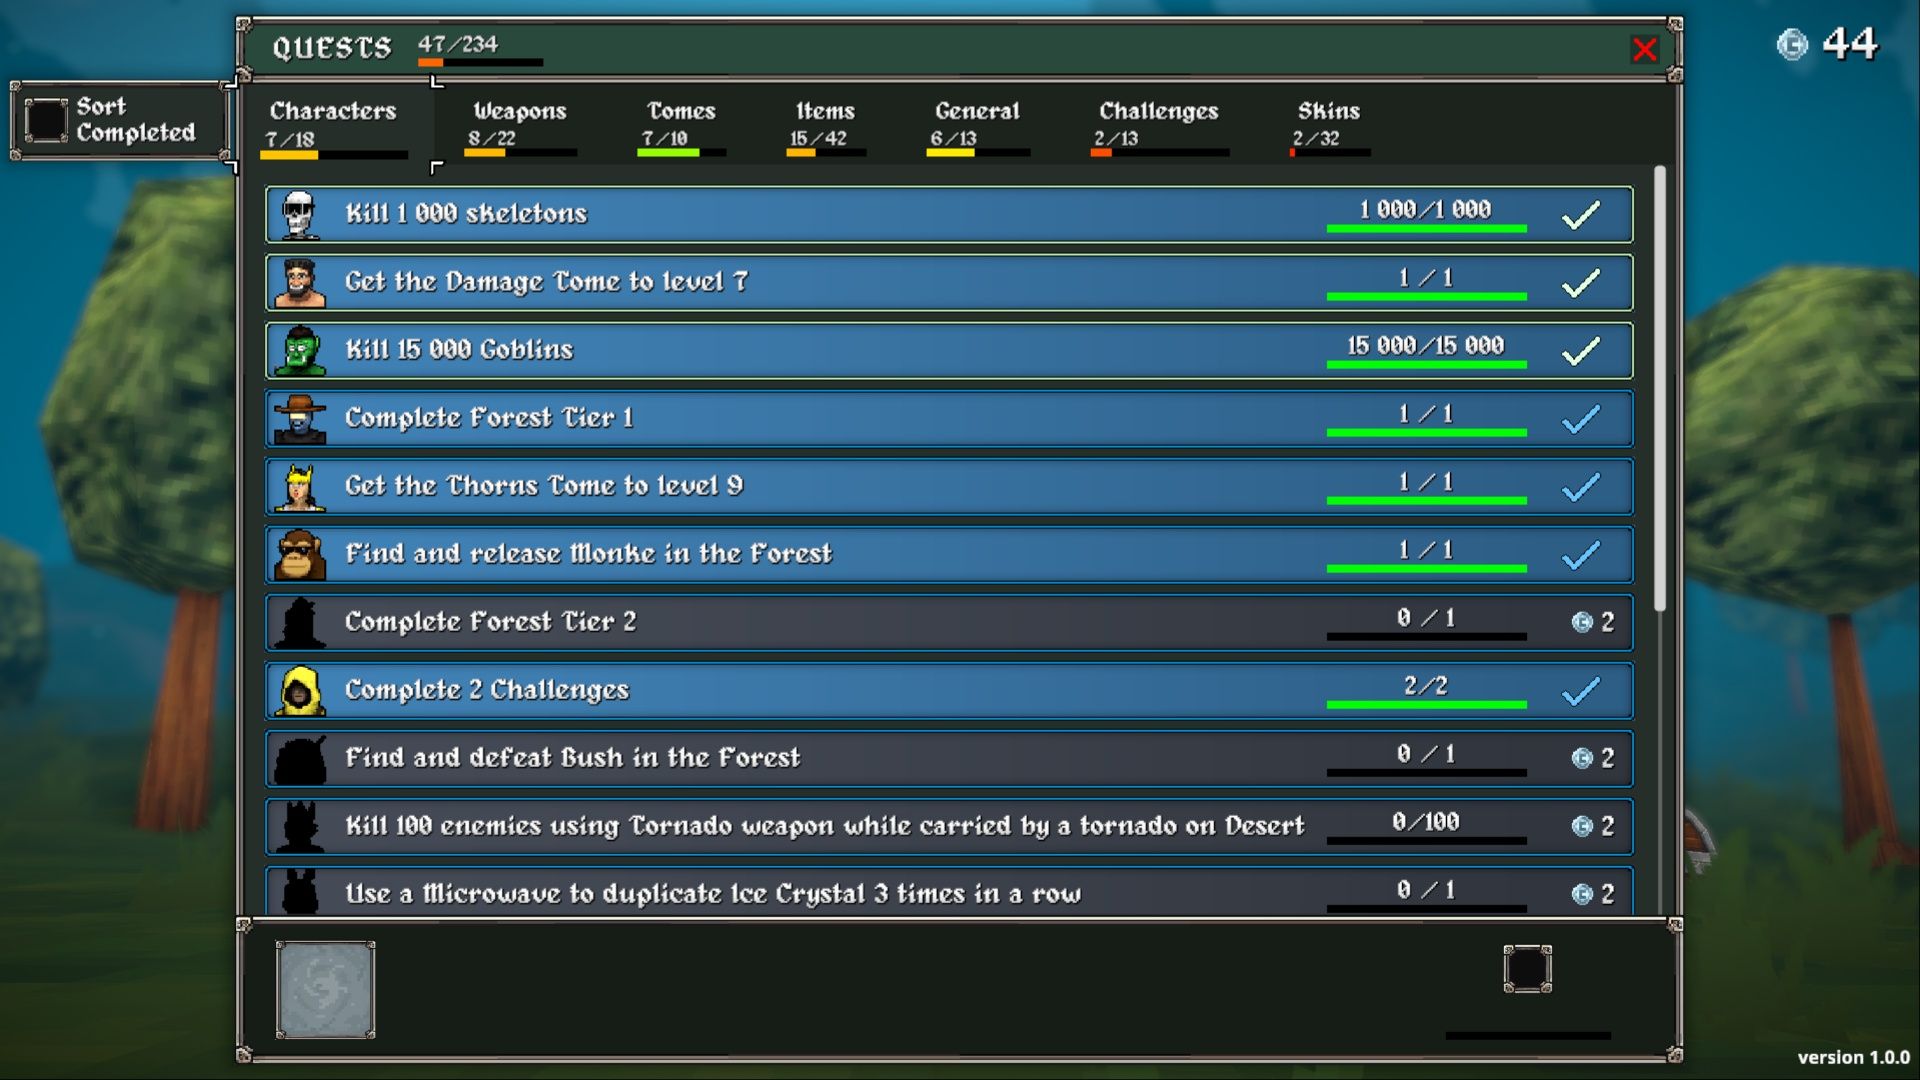
In Megabonk, players can improve by repeatedly attempting runs and slowly making more progress. This process can be streamlined if they first define an objective and then choose a character, weapon, and tomes that help them achieve it.
For instance, if players are determined to unlock the Sniper Rifle and doing so requires upgrading the Precision Tome to Level 10, they’ll likely focus on that tome and invest a lot of XP into it. It’s perfectly fine to play casually for enjoyment, but players aiming to unlock everything quickly will be more efficient if they set specific goals and concentrate their runs on achieving them.
Analyze Your Stats at the End of a Run
Make Note of What Works and What Doesn’t
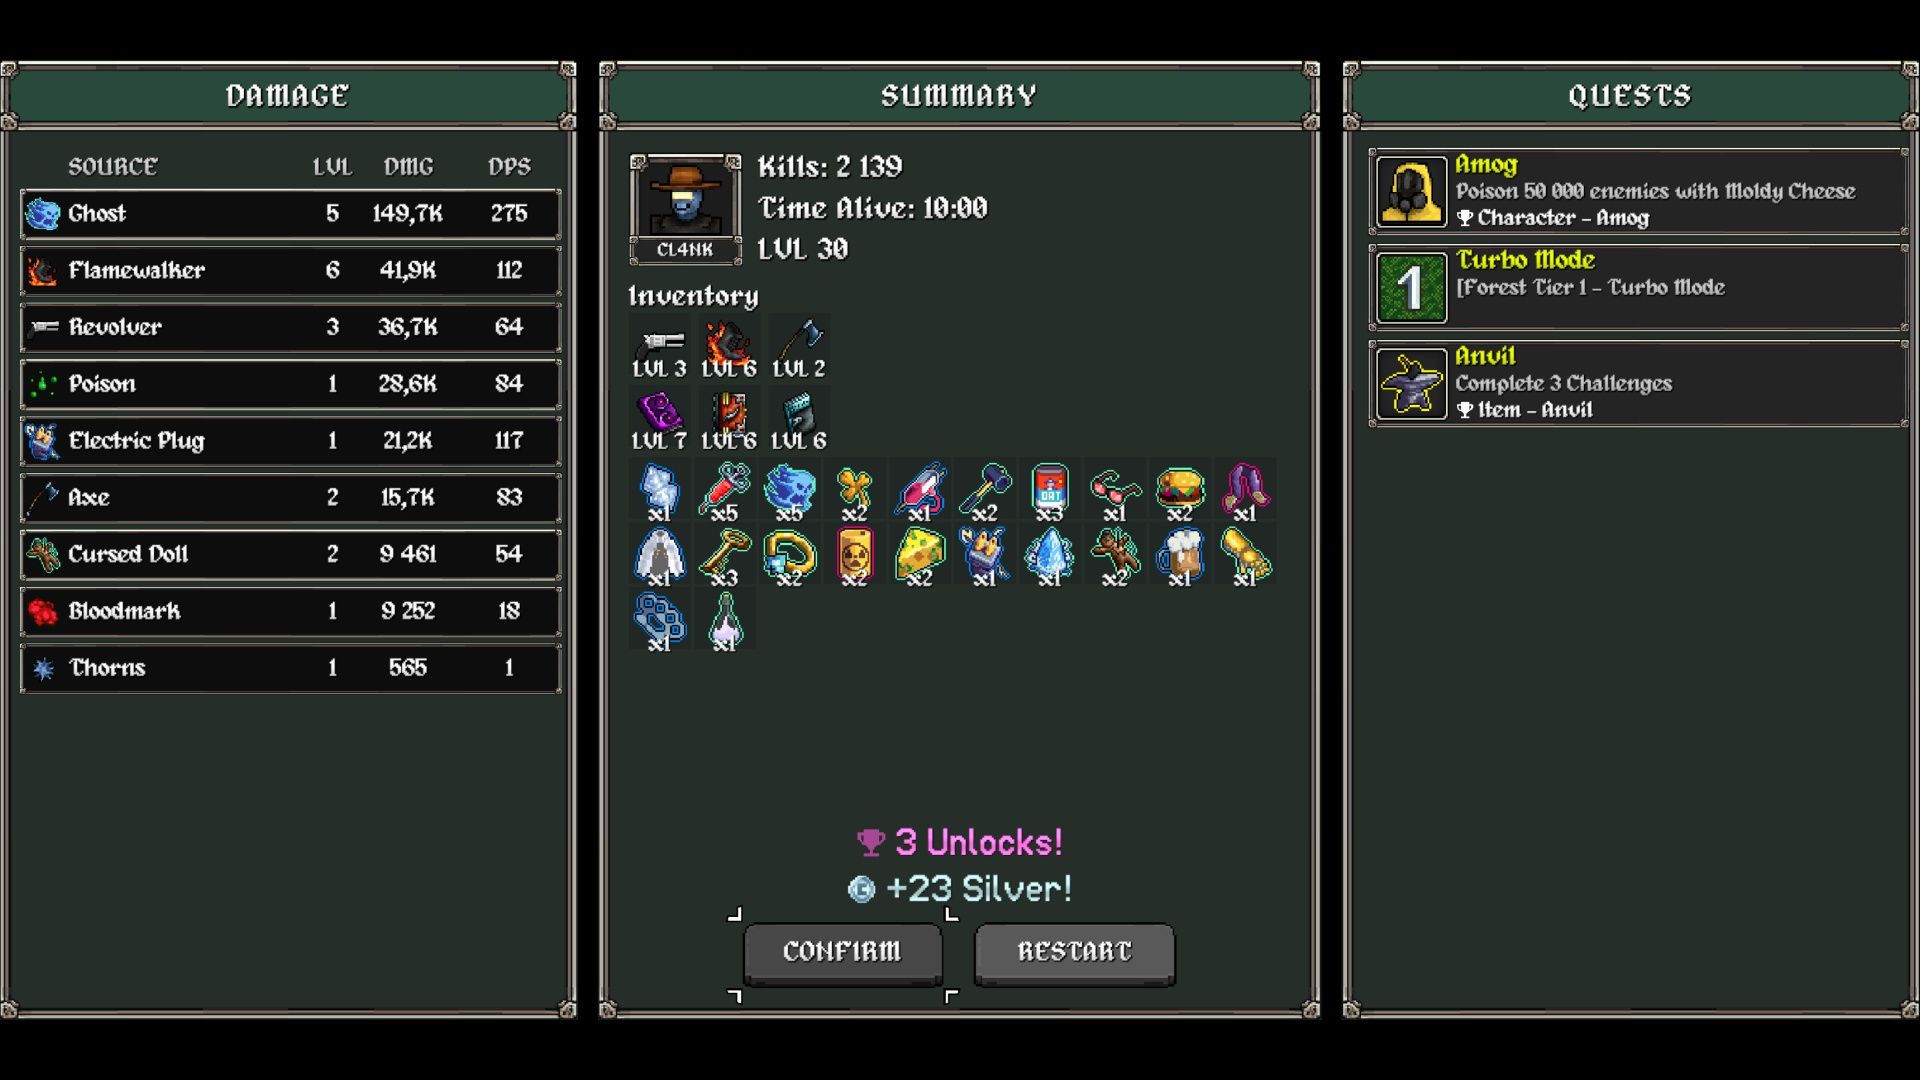
After each run, players will get a summary screen. This screen shows helpful stats worth reviewing. In the middle, players can see their survival time, character level, and the contents of their inventory – including weapons, tomes, and items. Completed quests are displayed on the right side. On the left, players can find detailed information about each weapon, item, and tome, such as its level, damage, and damage per second.
I always love looking at stats, and in this game, they’re actually really helpful! As a player, I can see what choices worked best during my run, and that helps me figure out what combinations I should try next time. Hopefully, eventually I’ll be able to create my own perfect build for each of my favorite characters in Megabonk.
Read More
- Forza Horizon 6: Find the Ohtani Treasure Chest Location
- LEGO Batman Legacy of the Dark Knight Batcave Minikits & WayneTech Caches
- Diablo 4 Best Loot Filter Codes
- NTE Drift Guide (& Best Car Mods for Drifting)
- Boruto: Ikemoto Has Already Hinted At Sasuke’s New Eye After Return
- USD RUB PREDICTION
- Cookie Run Kingdom Timeline of Fate Update Guide
- Top 10 Must-Watch Isekai Anime on Crunchyroll Revealed!
- Starsand Island’s Rarest Achievements and How to Earn Them
- Deltarune Chapter 1 100% Walkthrough: Complete Guide to Secrets and Bosses
2025-10-02 01:23