Okay, so in Megabonk, once I finish a level, new challenges pop up right there. These are awesome because they let me do quests and unlock cool stuff like new characters and perks. But honestly, even if I’m not trying to progress, they’re a great way to switch things up from just playing through and beating the boss every time. They add some extra spice to the gameplay!
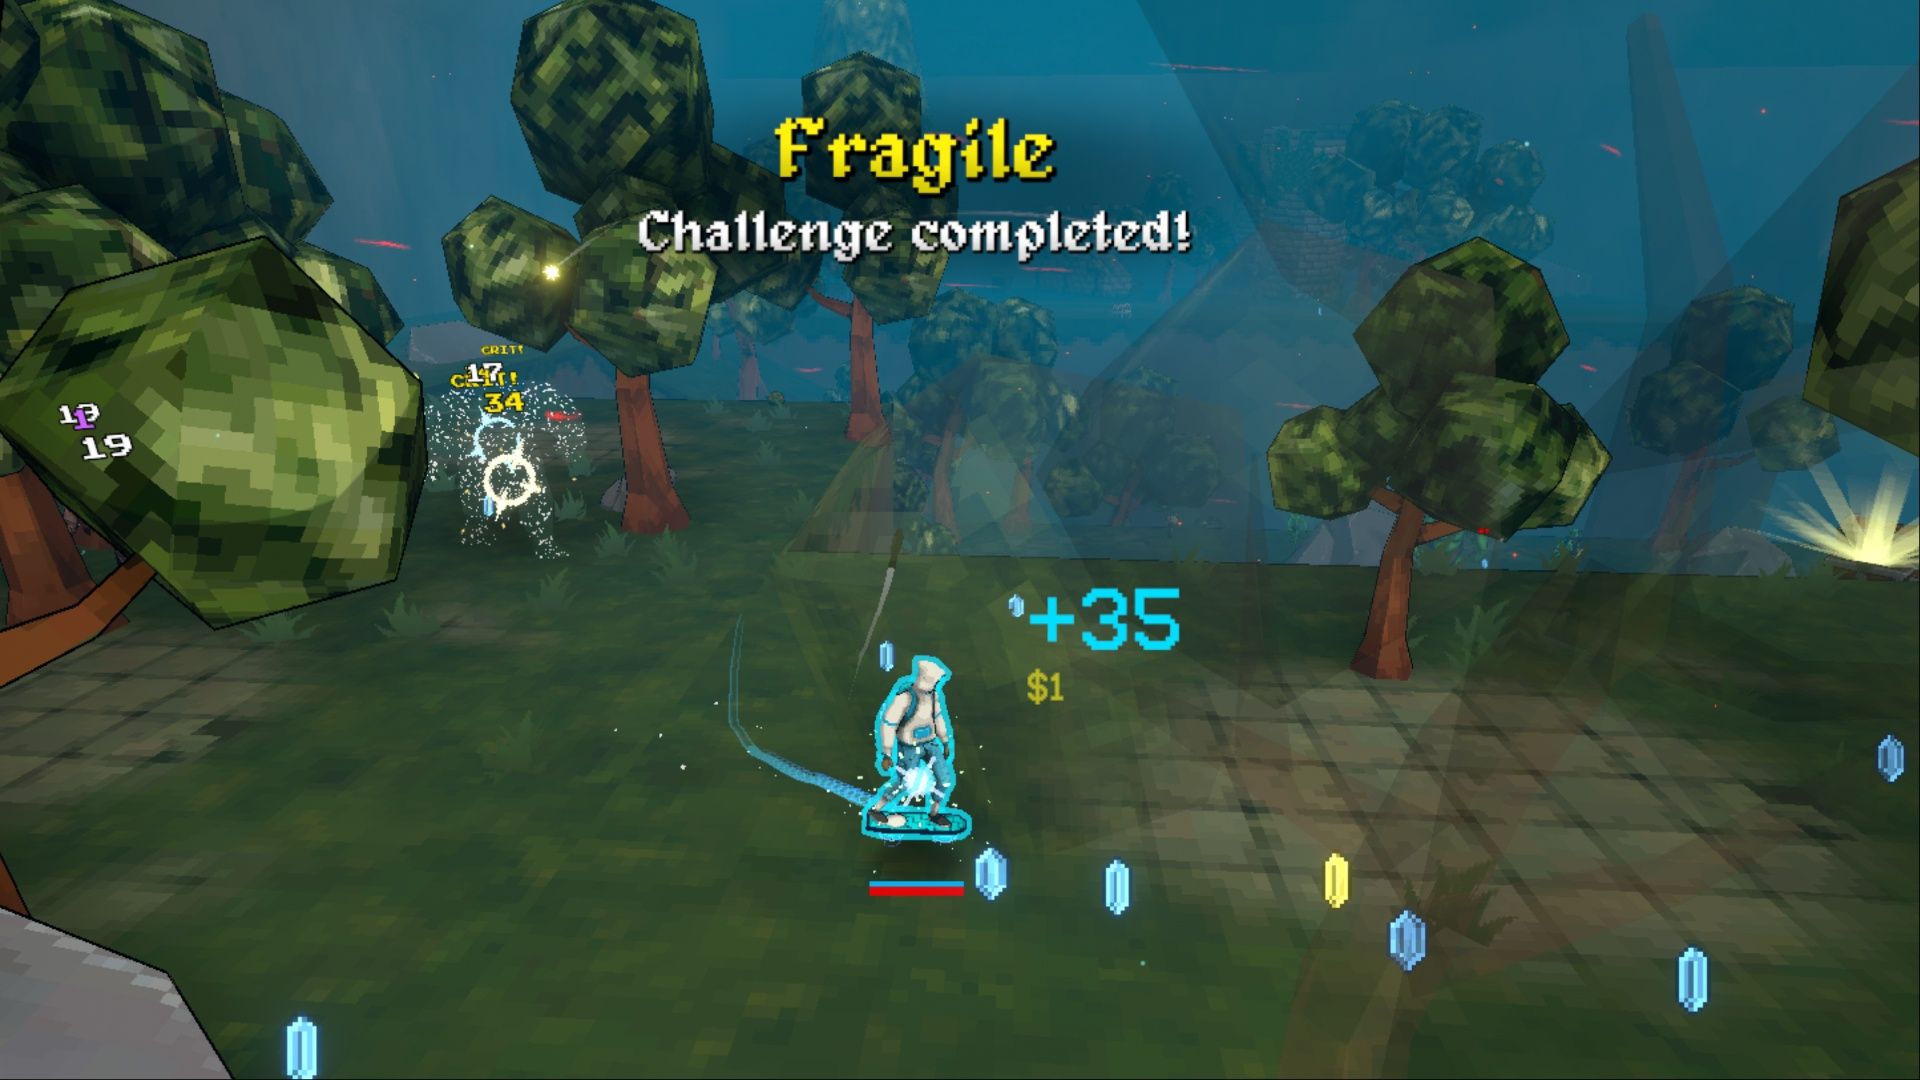
Okay, so once you beat the first area in the Forest map in *Megabonk*, you unlock the Fragile Challenge, and let me tell you, it’s tough! Basically, you have to defeat the Stage Boss without getting hit *at all* – not even brushing against a regular enemy. I’ve been trying to figure it out, and this guide is full of tips that are really helping me get through this tricky challenge. Hopefully, they’ll help you too!
How to Complete the Fragile Challenge in Megabonk
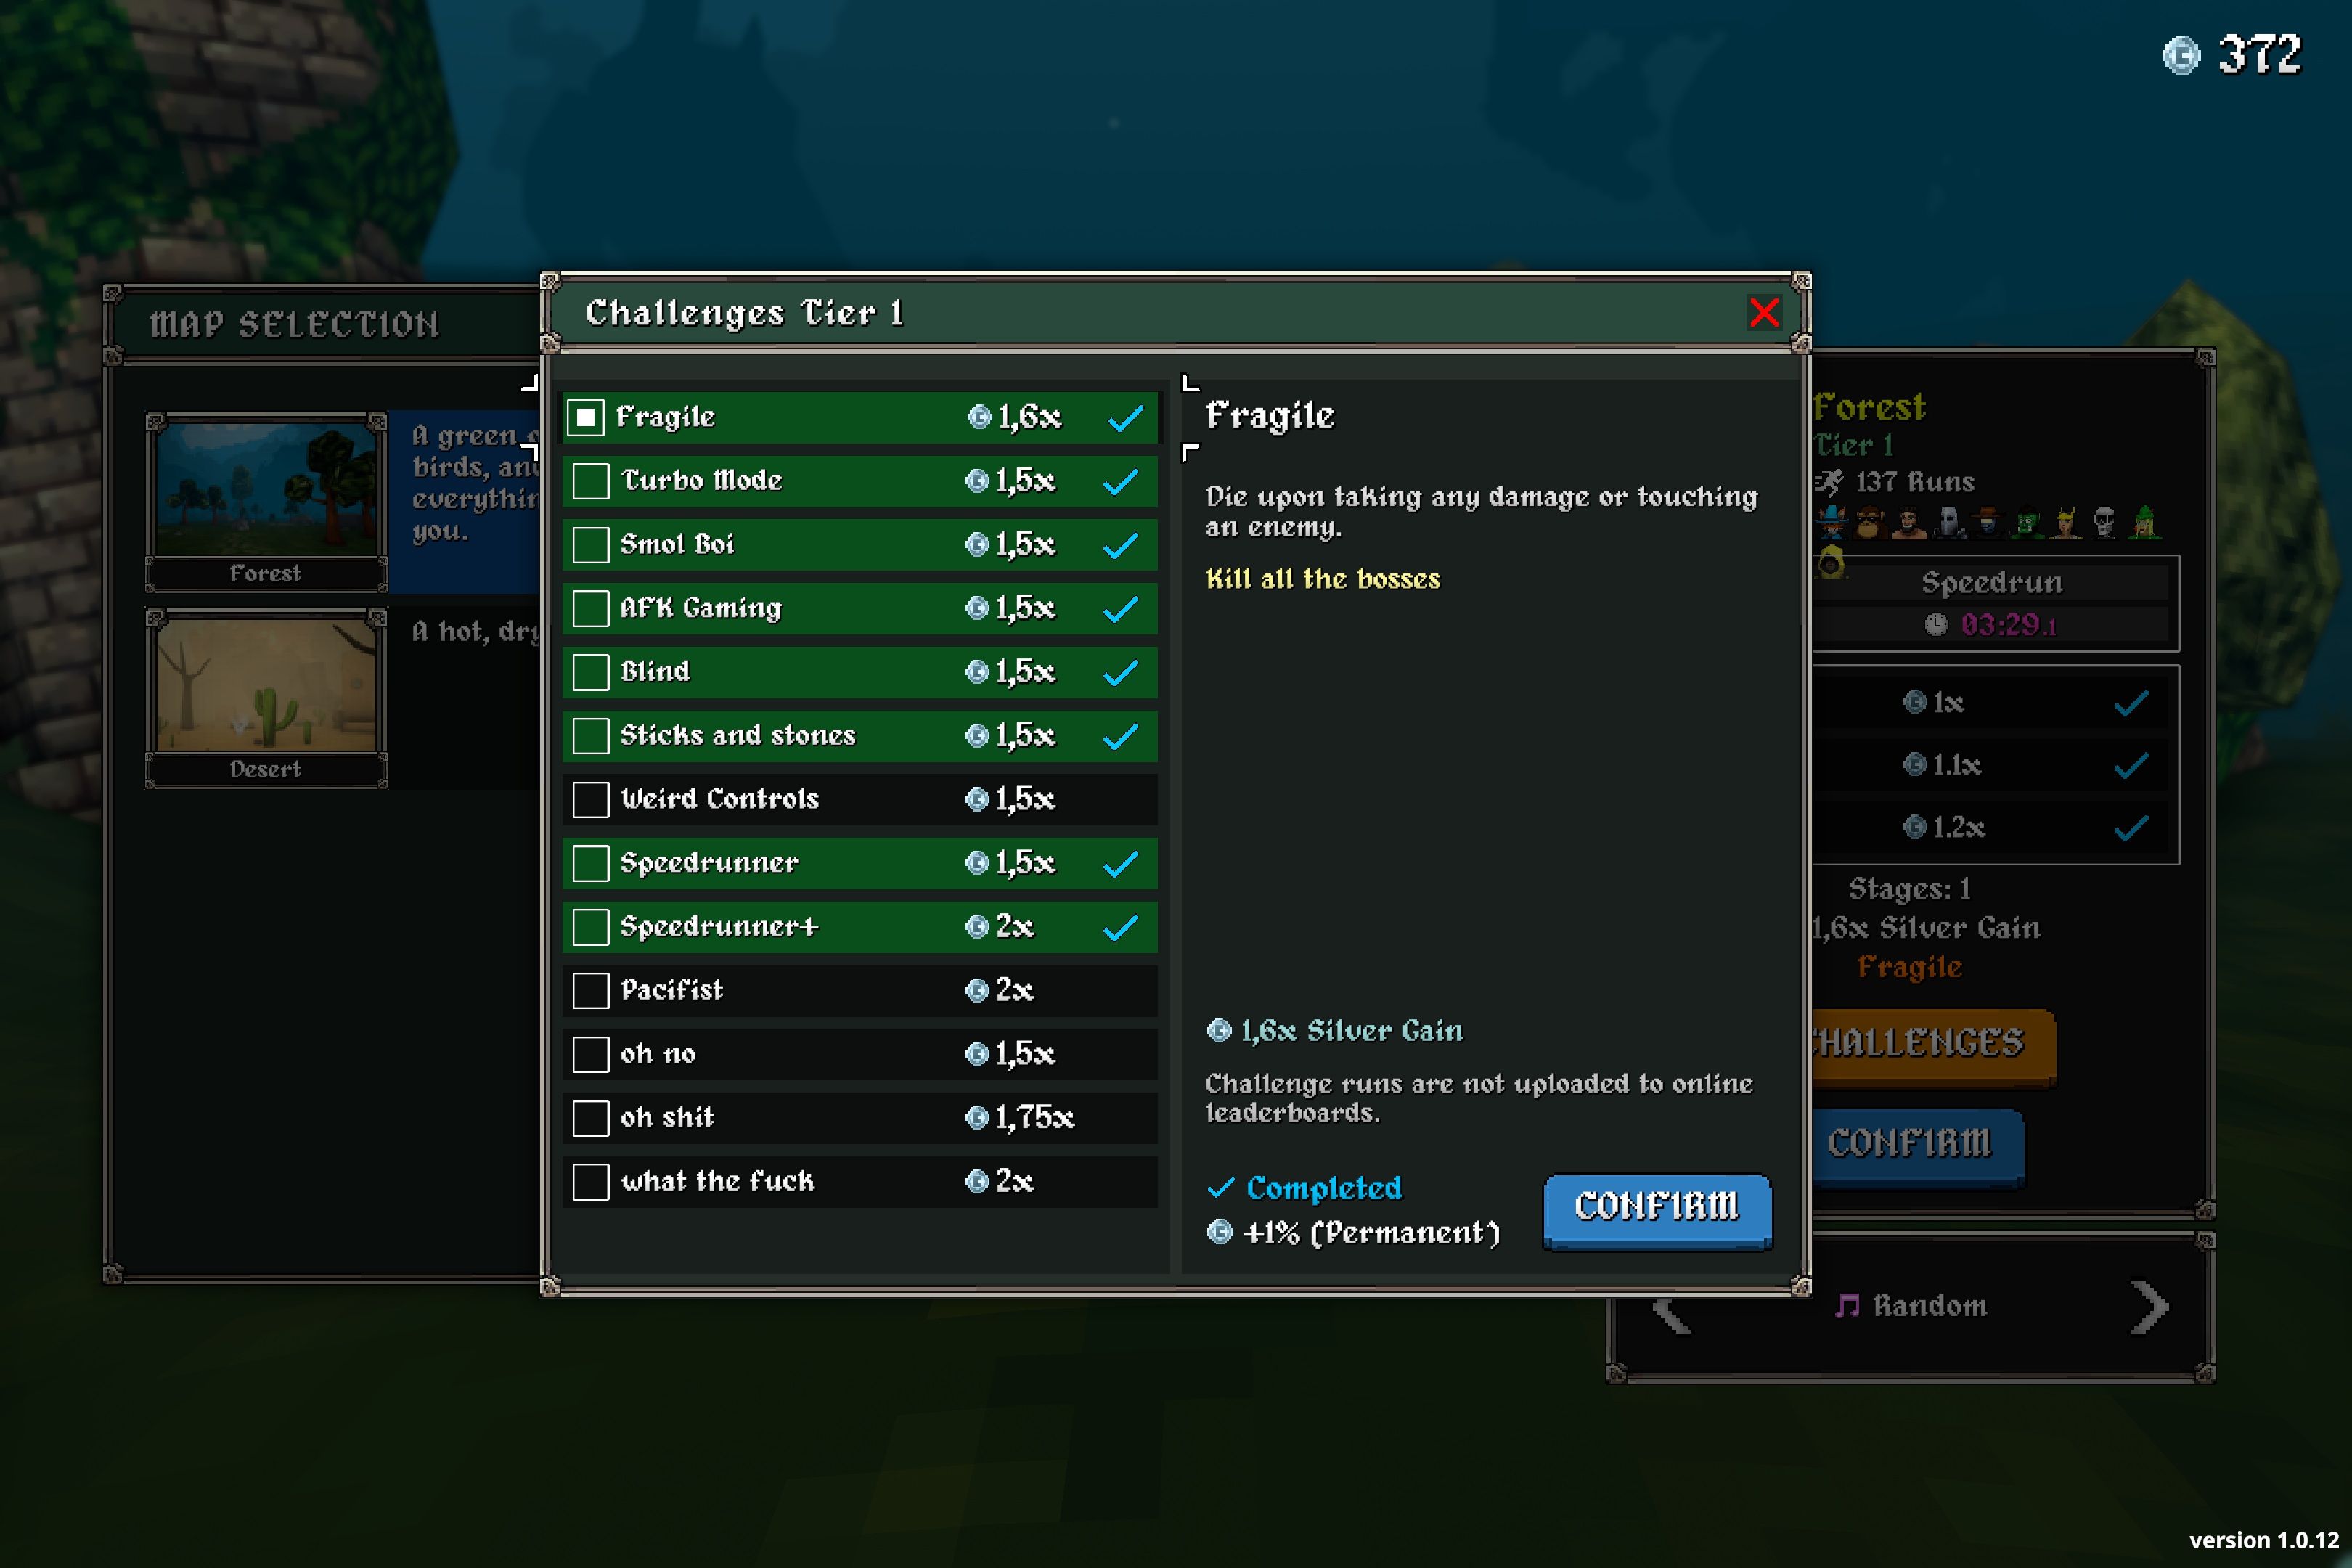
Okay, so before I jump into the Fragile Challenge, I really want to get the rules straight. Knowing what instantly makes me fail is super important! Basically, here’s what I need to avoid in Megabonk to actually complete it:
- Lose HP
- Lose shield
- Touch an enemy
- Lose health due to fall damage
- Evade a hit
- Reflect a hit
- Use Megachad’s flex ability
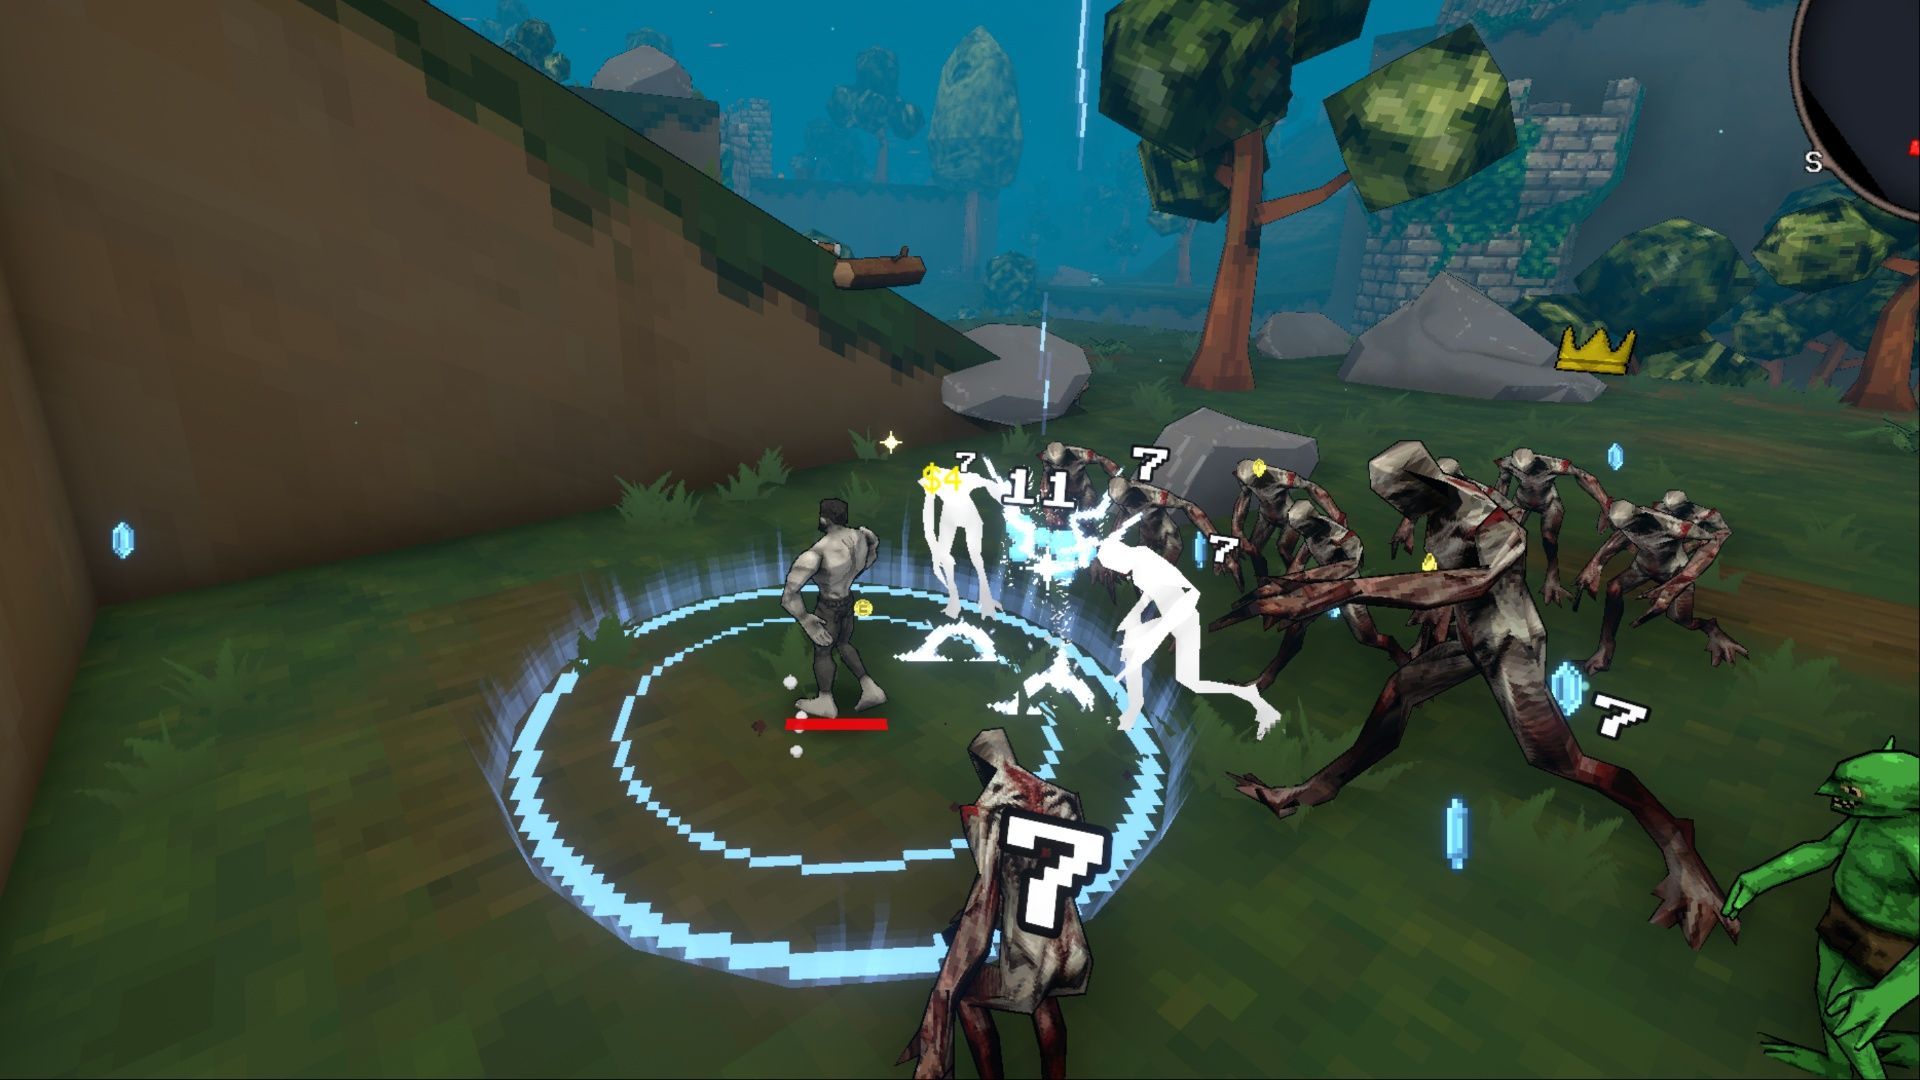
Because this challenge takes place on the Forest map, the main threat comes from getting hit by enemies. Most of them only attack at close range, but they can be numerous and difficult to avoid, particularly the fast-moving creatures that charge or attack in large groups.
Players need to be cautious of all bosses – both the mini-bosses and the Stage Boss – because they all attack from a distance. Watch out for enemies that explode too, but these are generally easier to avoid; they only detonate and cause damage if you get right next to them.
Here are some helpful tips for completing the Fragile Challenge in *Megabonk*. Each area of the Forest map has its own Fragile Challenge, and while you won’t face any new enemies, you’ll need to use these tips repeatedly as you progress through each area.
Purchase Toggle
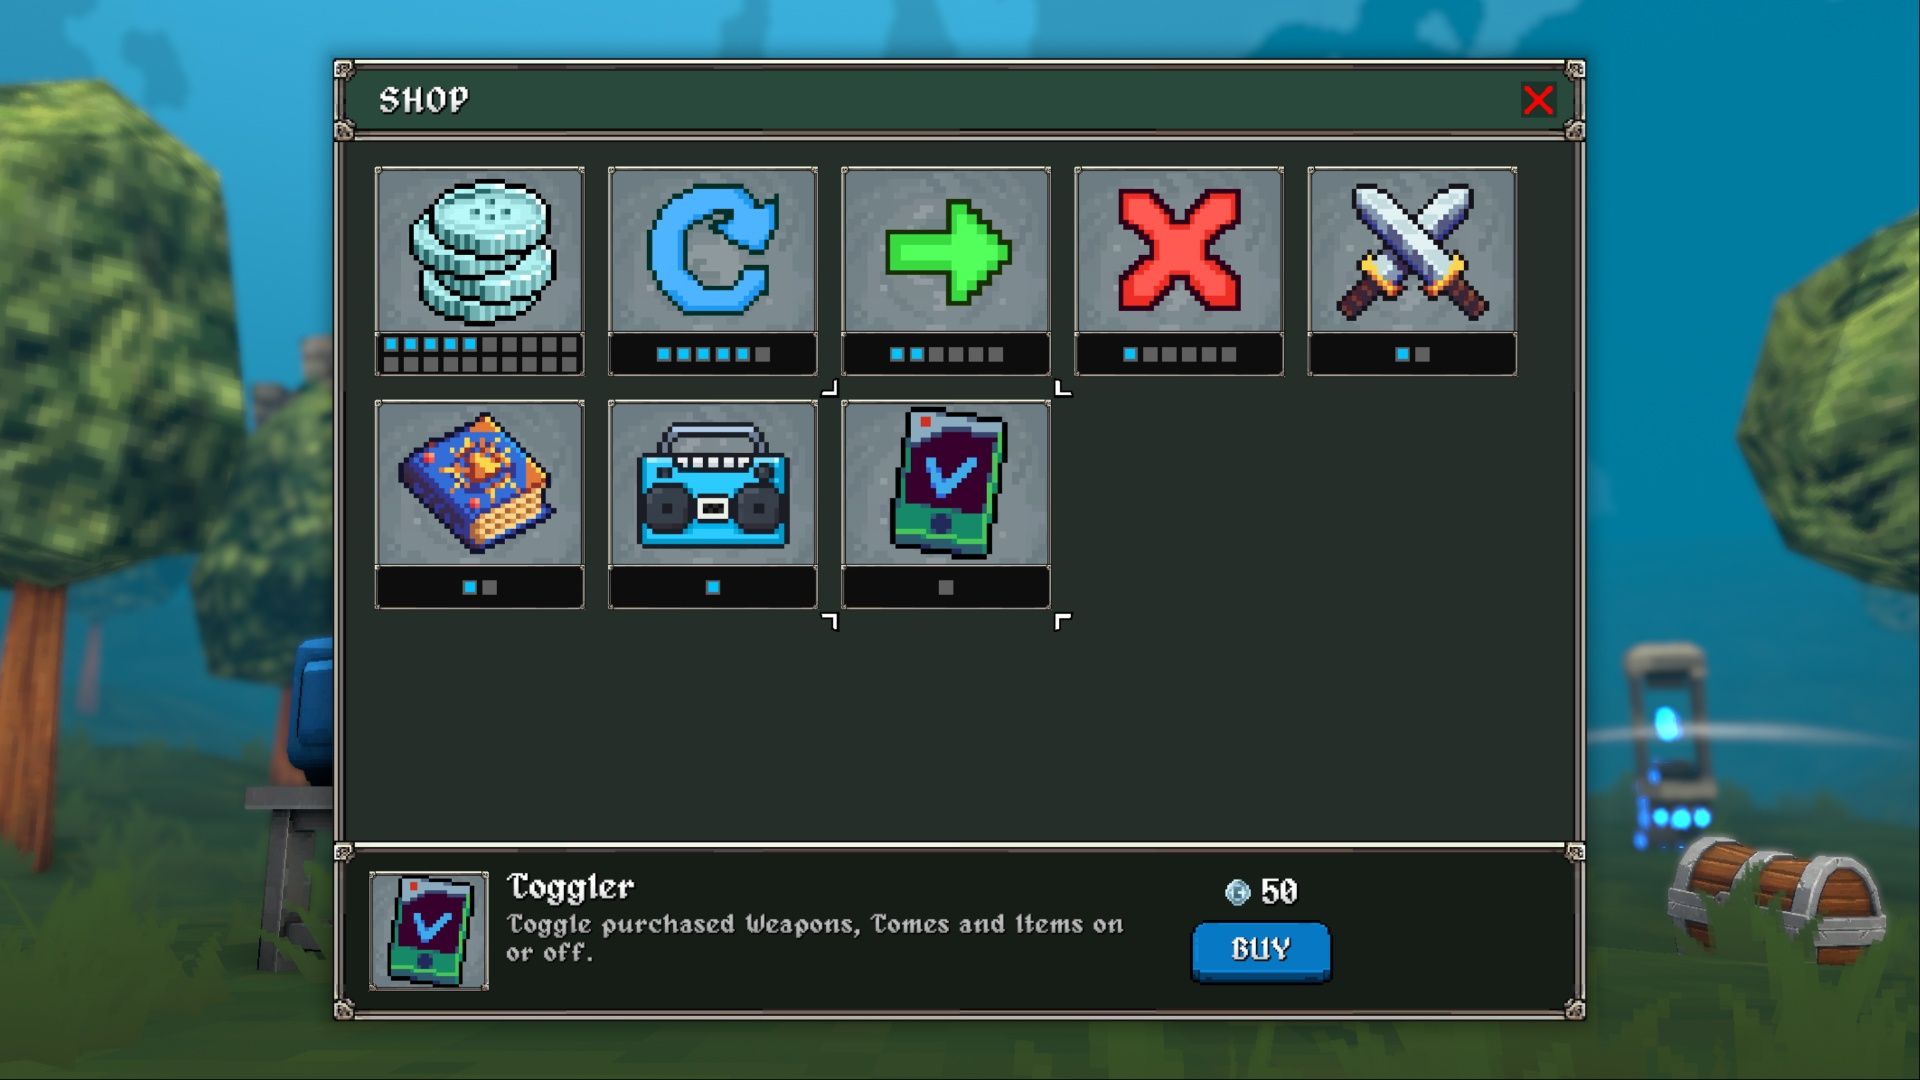
In *Megabonk*, the Toggle ability is crucial for success in challenges. It lets players temporarily disable items and tomes they’ve already unlocked. This ensures they still see those options when upgrading, but it also increases their chances of finding even better items during a run.
Players will be able to customize their experience by easily turning off weapons, books, and items they don’t want, like those that don’t fit their strategy or aren’t useful. This allows them to focus on what matters most.
Disable HP/Shield Tomes and Items
So, I just found out about this new Toggle thing in the shop, and it’s pretty cool. Basically, after you buy it, you can turn off upgrades you’ve already purchased. Since you can’t actually *lose* health in this game, things like shields, health boosts, or healing items are kinda useless. I’m thinking I’ll disable those to hopefully get better items to drop – stuff that’ll *really* help me beat the challenges. It’s all about maximizing what I find!
-
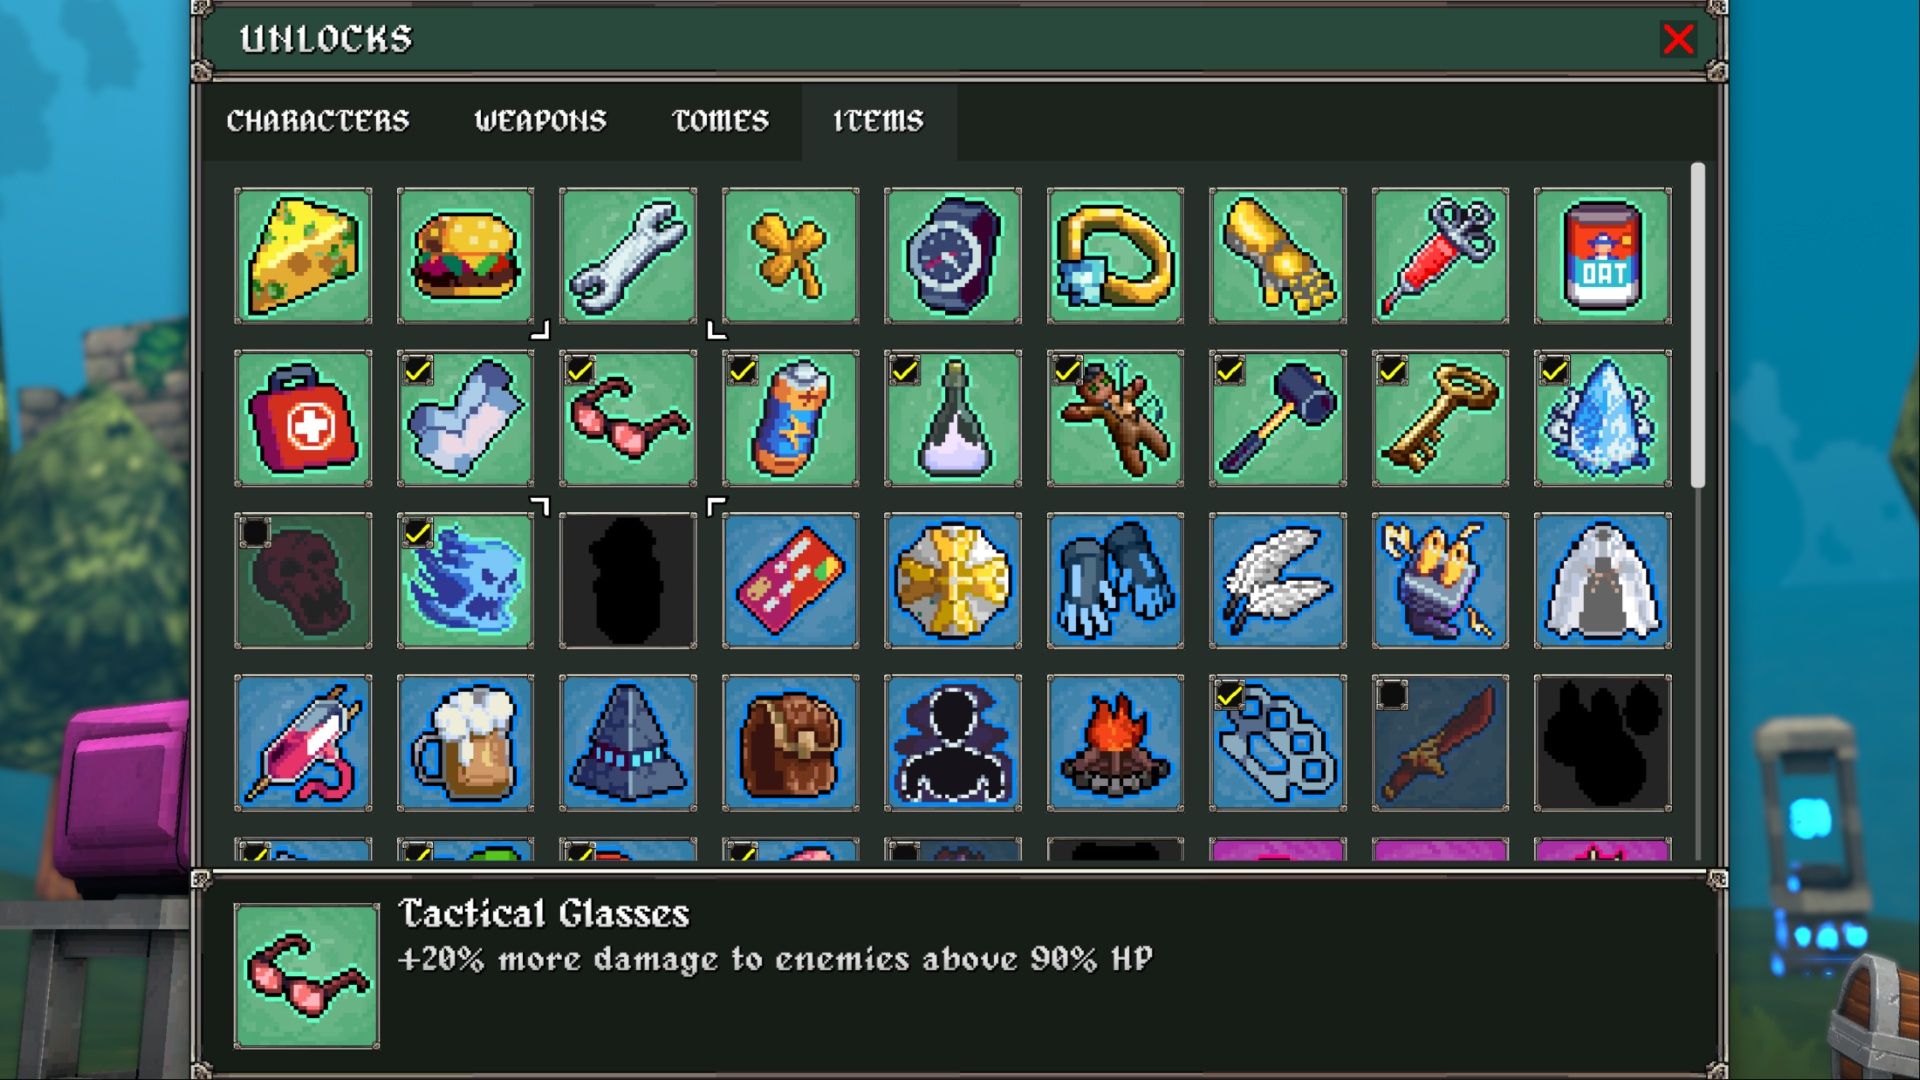
Before trying the Fragile Challenge in *Megabonk*, here’s a list of powerful items and abilities you should turn off to make it fair.
Tomes
- Thorns
- Bloody
- Armor
Items
- Cactus
- Demonic Blade
- Demonic Blood
- Leeching Crystal
- Kevin
- Quin’s Mask
- Toxic Barrel
- Gamer Goggles
- Chonkplate
- Speed Boi
-
Here are items and tomes that cannot be disabled but should be ignored for this run:
Tomes
- Regen
- Shield
- HP
Items
- Borgar
- Slippery Ring
- Oats
- Medkit
- Golden Shield
- Electric Plug
- Coward’s Cloak
- Phantom Shroud
- Campfire
- Spiky Shield
- Mirror
- Za Warudo
These items either give players ways to heal or avoid damage, or they force players to take damage. Because of this, they aren’t helpful in most situations and only become relevant when players are already struggling.
Pick a Strategy that Suits Your Playstyle
Megabonk features a diverse cast of characters, ensuring every player can find one that matches how they like to play. For the Fragile Challenge, you can choose between quick, evasive characters who dodge enemy attacks, or powerful characters who can defeat enemies before they get too close.
To win, players should pick a character they enjoy and are good with. This could be a quick but weak character like Calcium and Tony McZoom, or a slower, more powerful one like Megachad or Ogre.
Invest in Some Agility
While upgrading weapons and tomes is tempting, boosting your character’s agility is a good idea. It helps you dodge attacks more easily, which becomes especially useful when facing Lil’ Bark.
The Stage Boss attacks with a powerful, long-range blast that covers a large area. This attack is the most difficult to avoid, and slower characters are almost guaranteed to be hit if they can’t move quickly enough, causing them to fail. While agile characters like Calcium don’t need to focus on speed, slower characters like Megachad, Sir Oofie, and CL4NK will greatly improve their chances of success by investing in agility.
Be careful! Enemies can appear anywhere around you – even behind your back. If you rush, you might accidentally run right into one and lose the game.
Ranged Weapons Are the Way to Go

Okay, so the Fragile Challenge in *Megabonk* is seriously tough, especially when you’re trying to get in close! That’s why I’ve found it *so* much easier to use ranged weapons – it just makes things way more manageable and keeps you from taking as much damage.
Weapons like the Wireless Dagger and Slutty Rocket can hit enemies from afar, which is much safer than using swords or other weapons that require you to get up close. If you’re struggling to dodge enemy attacks or are facing large groups, it’s best to avoid weapons that put you in danger, like the Sword or Aura.
Memorize Boss Attacks

Bosses in the game will track players as they move. If a player gets too far ahead, the boss will instantly reappear closer by. This means players need to understand each boss’s behavior. Every boss in the Forest area has unique attacks, and learning those attacks is crucial for dodging them and surviving. Here’s a breakdown of what to expect from each boss’s attacks in the Forest:
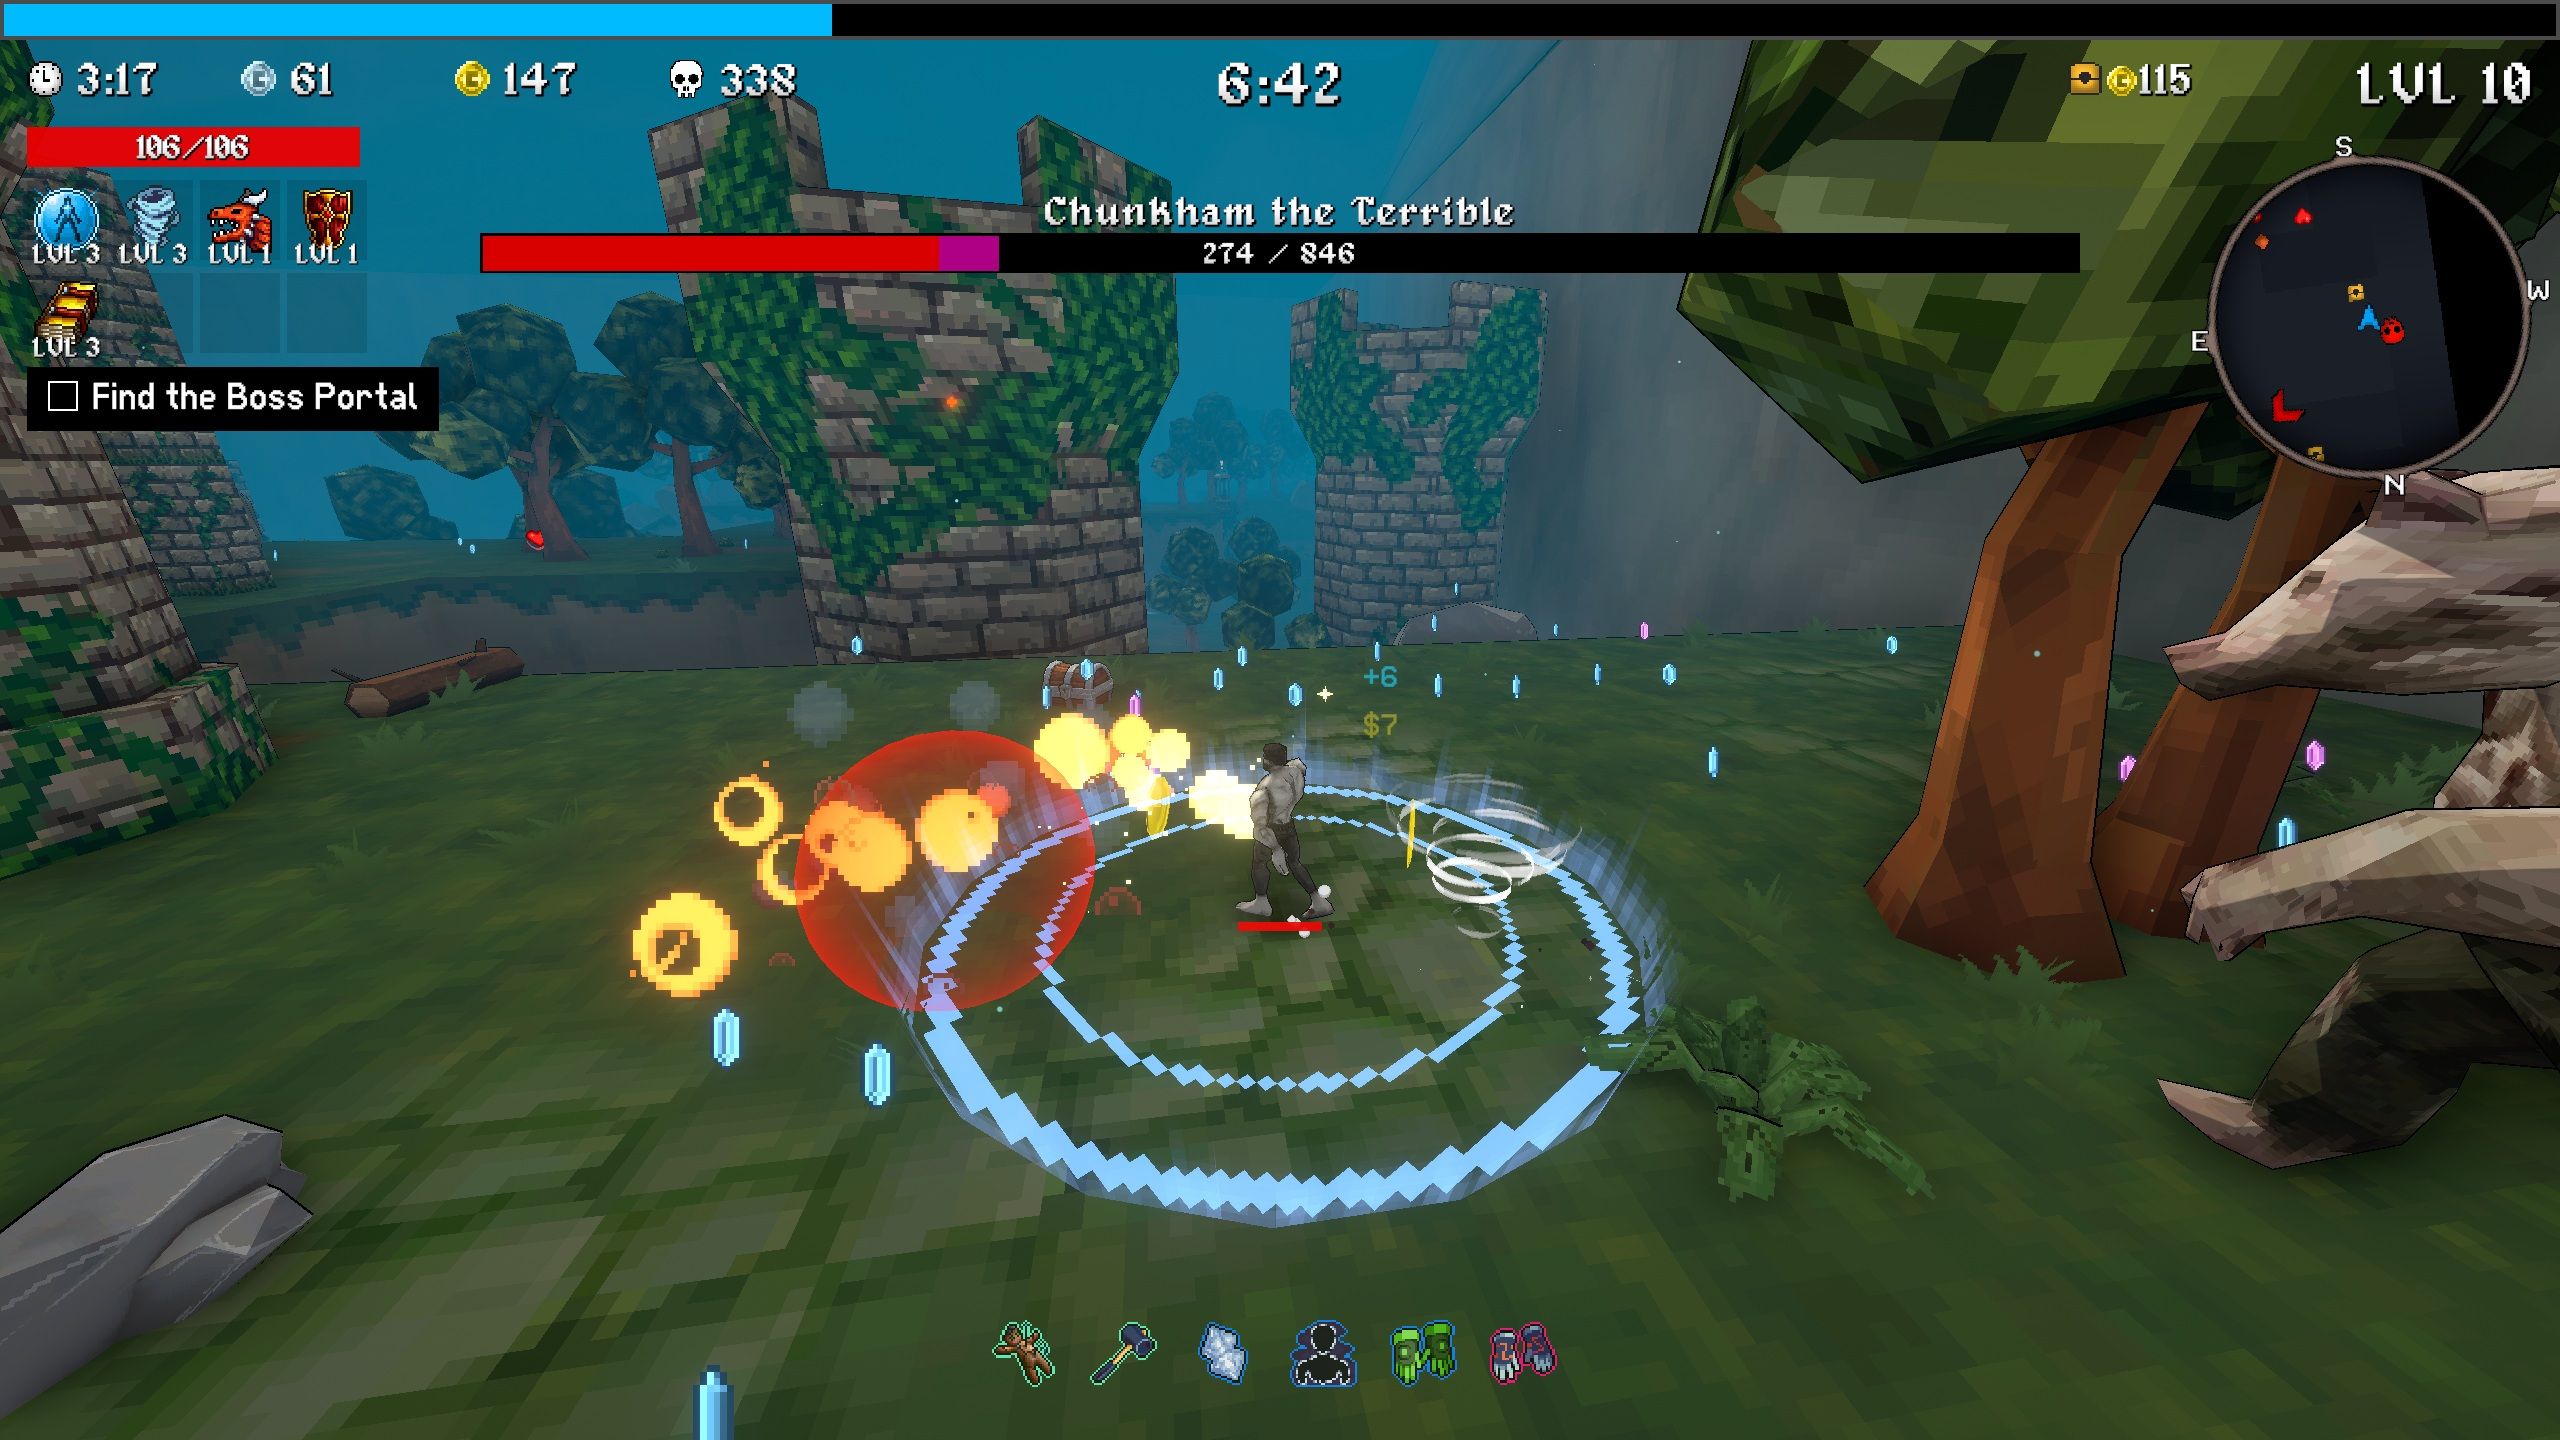
- Chunkham the Terrible – Has a ranged attack that creates a bubble of mud that bursts, damaging and slowing down the player
- Stone Golem – Has a ranged attack that causes stones to rise from the ground, following and damaging the player
- Lil Bark – Has a ranged attack that causes branches to rise from the ground, either one or several across a larger area
Read More
- Robinhood’s $75M OpenAI Bet: Retail Access or Legal Minefield?
- All Skyblazer Armor Locations in Crimson Desert
- How to Get the Sunset Reed Armor Set and Hollow Visage Sword in Crimson Desert
- How to Catch All Itzaland Bugs in Infinity Nikki
- All Hauntingham’s Letters & Hidden Page in New Super Lucky’s Tale
- Speedsters Sandbox Roblox Codes
- Who Can You Romance In GreedFall 2: The Dying World?
- Invincible: 10 Strongest Viltrumites in Season 4, Ranked
- Black Sun Shield Location In Crimson Desert (Buried Treasure Quest)
- Top 10 Must-Watch Isekai Anime on Crunchyroll Revealed!
2025-10-14 02:59