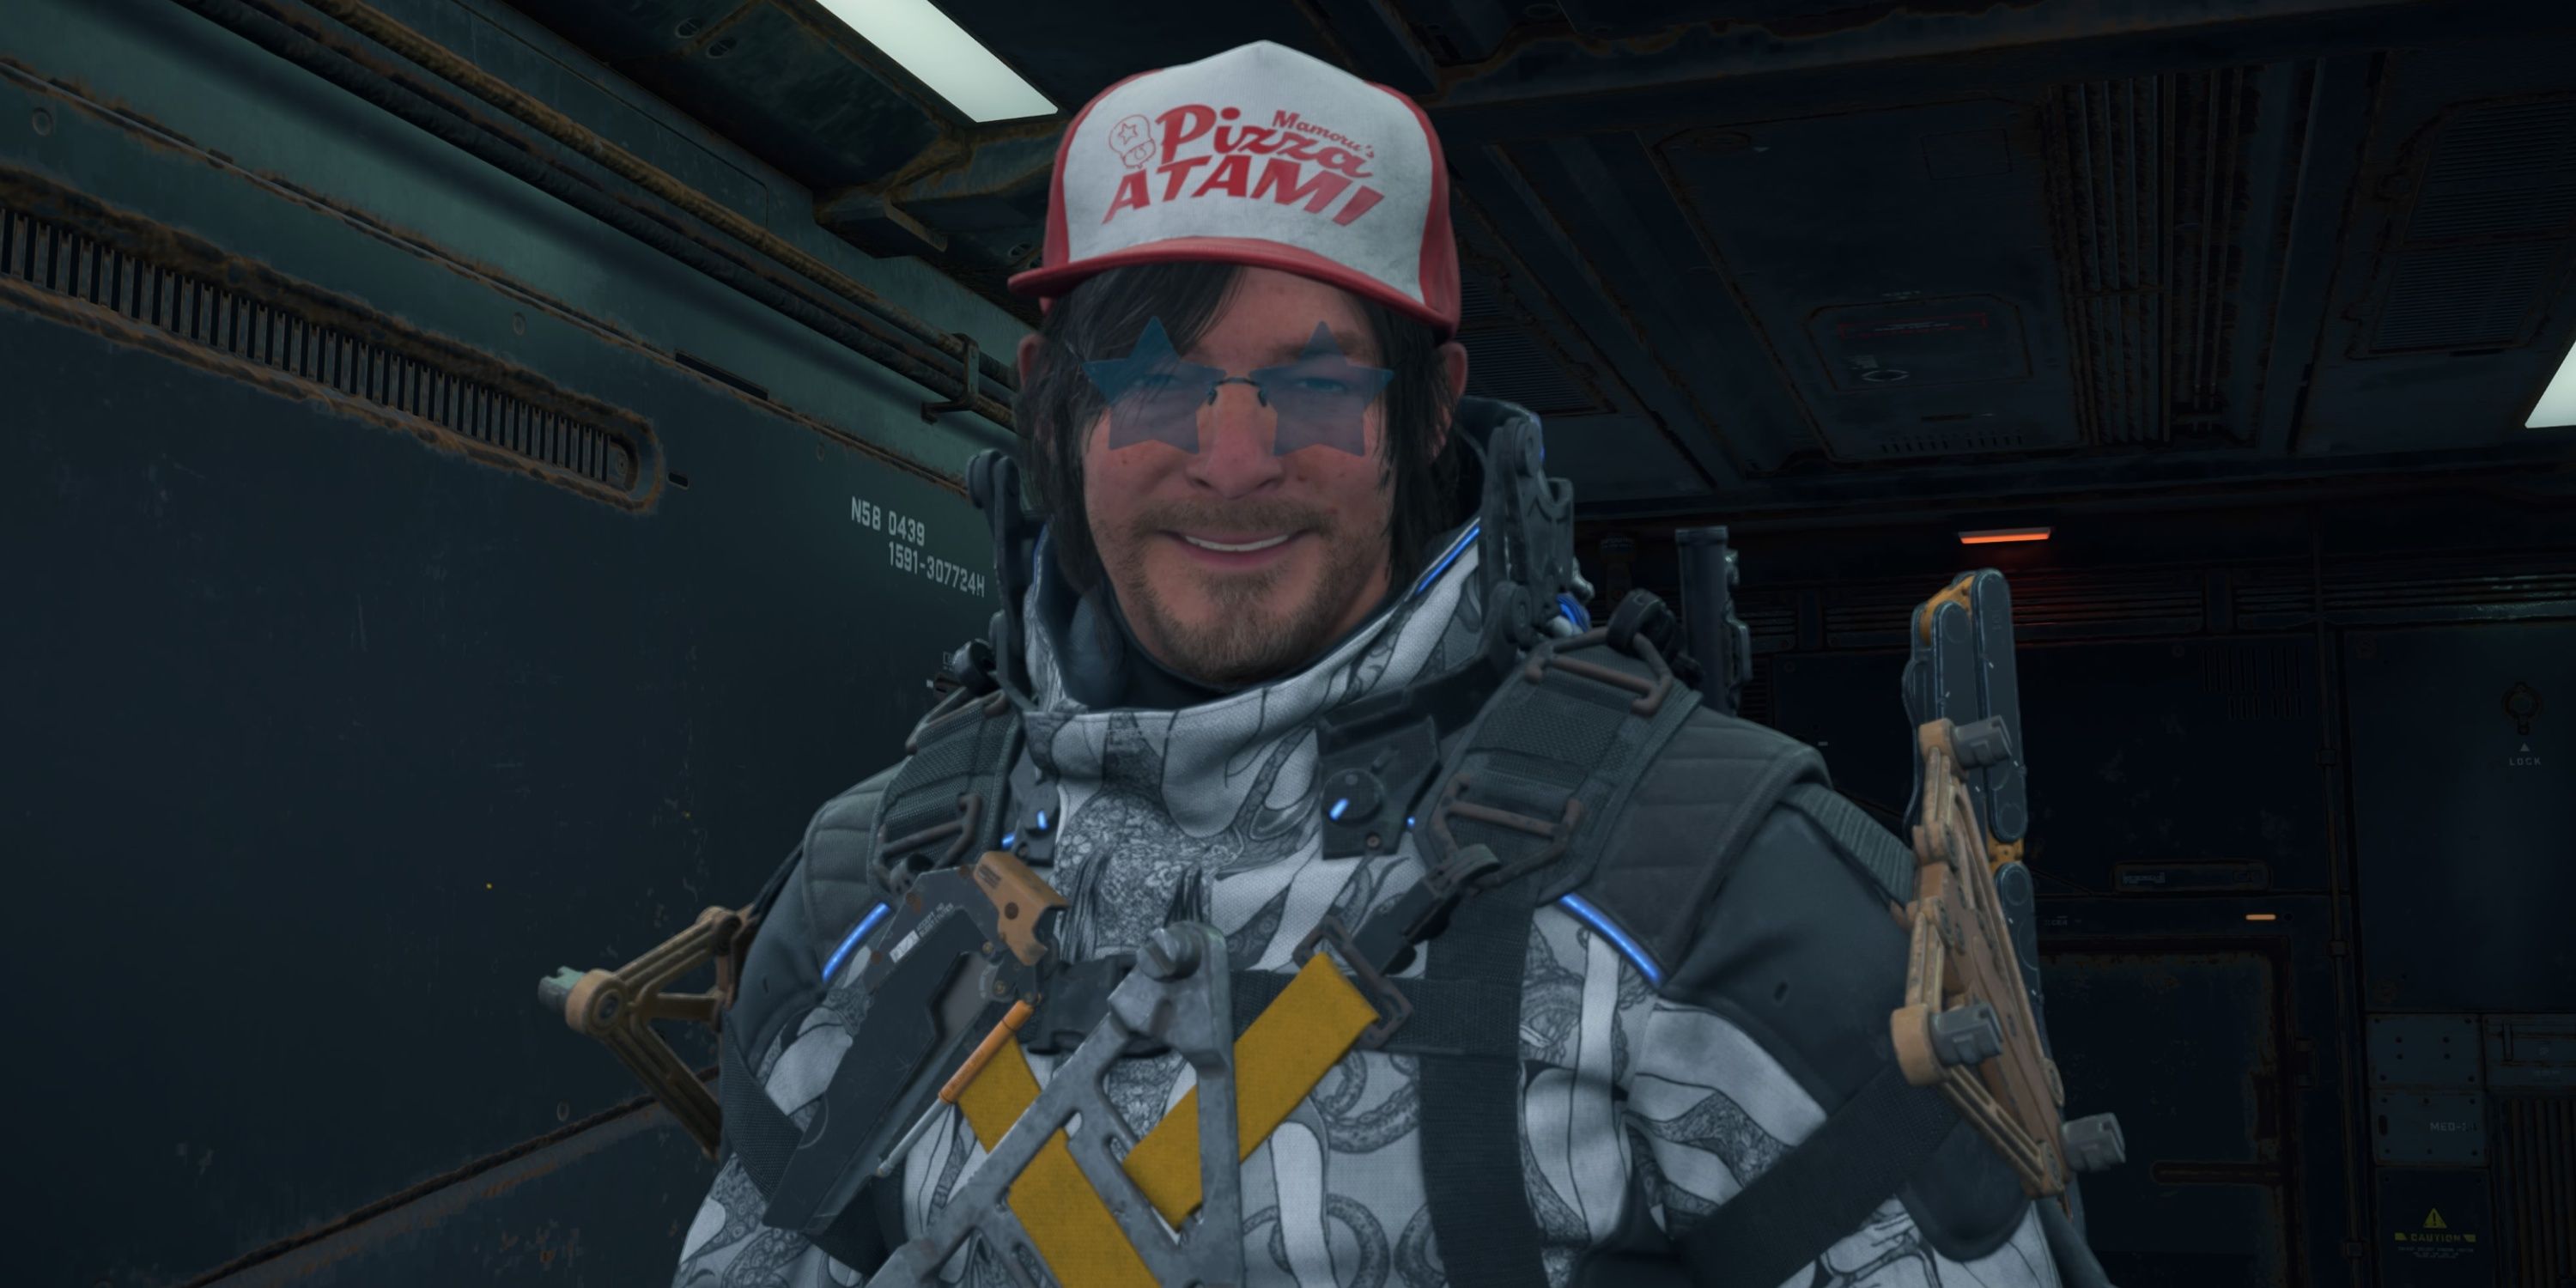
Death Stranding 2 Fan Finds Potential Real-Life Inspiration for Key Scene
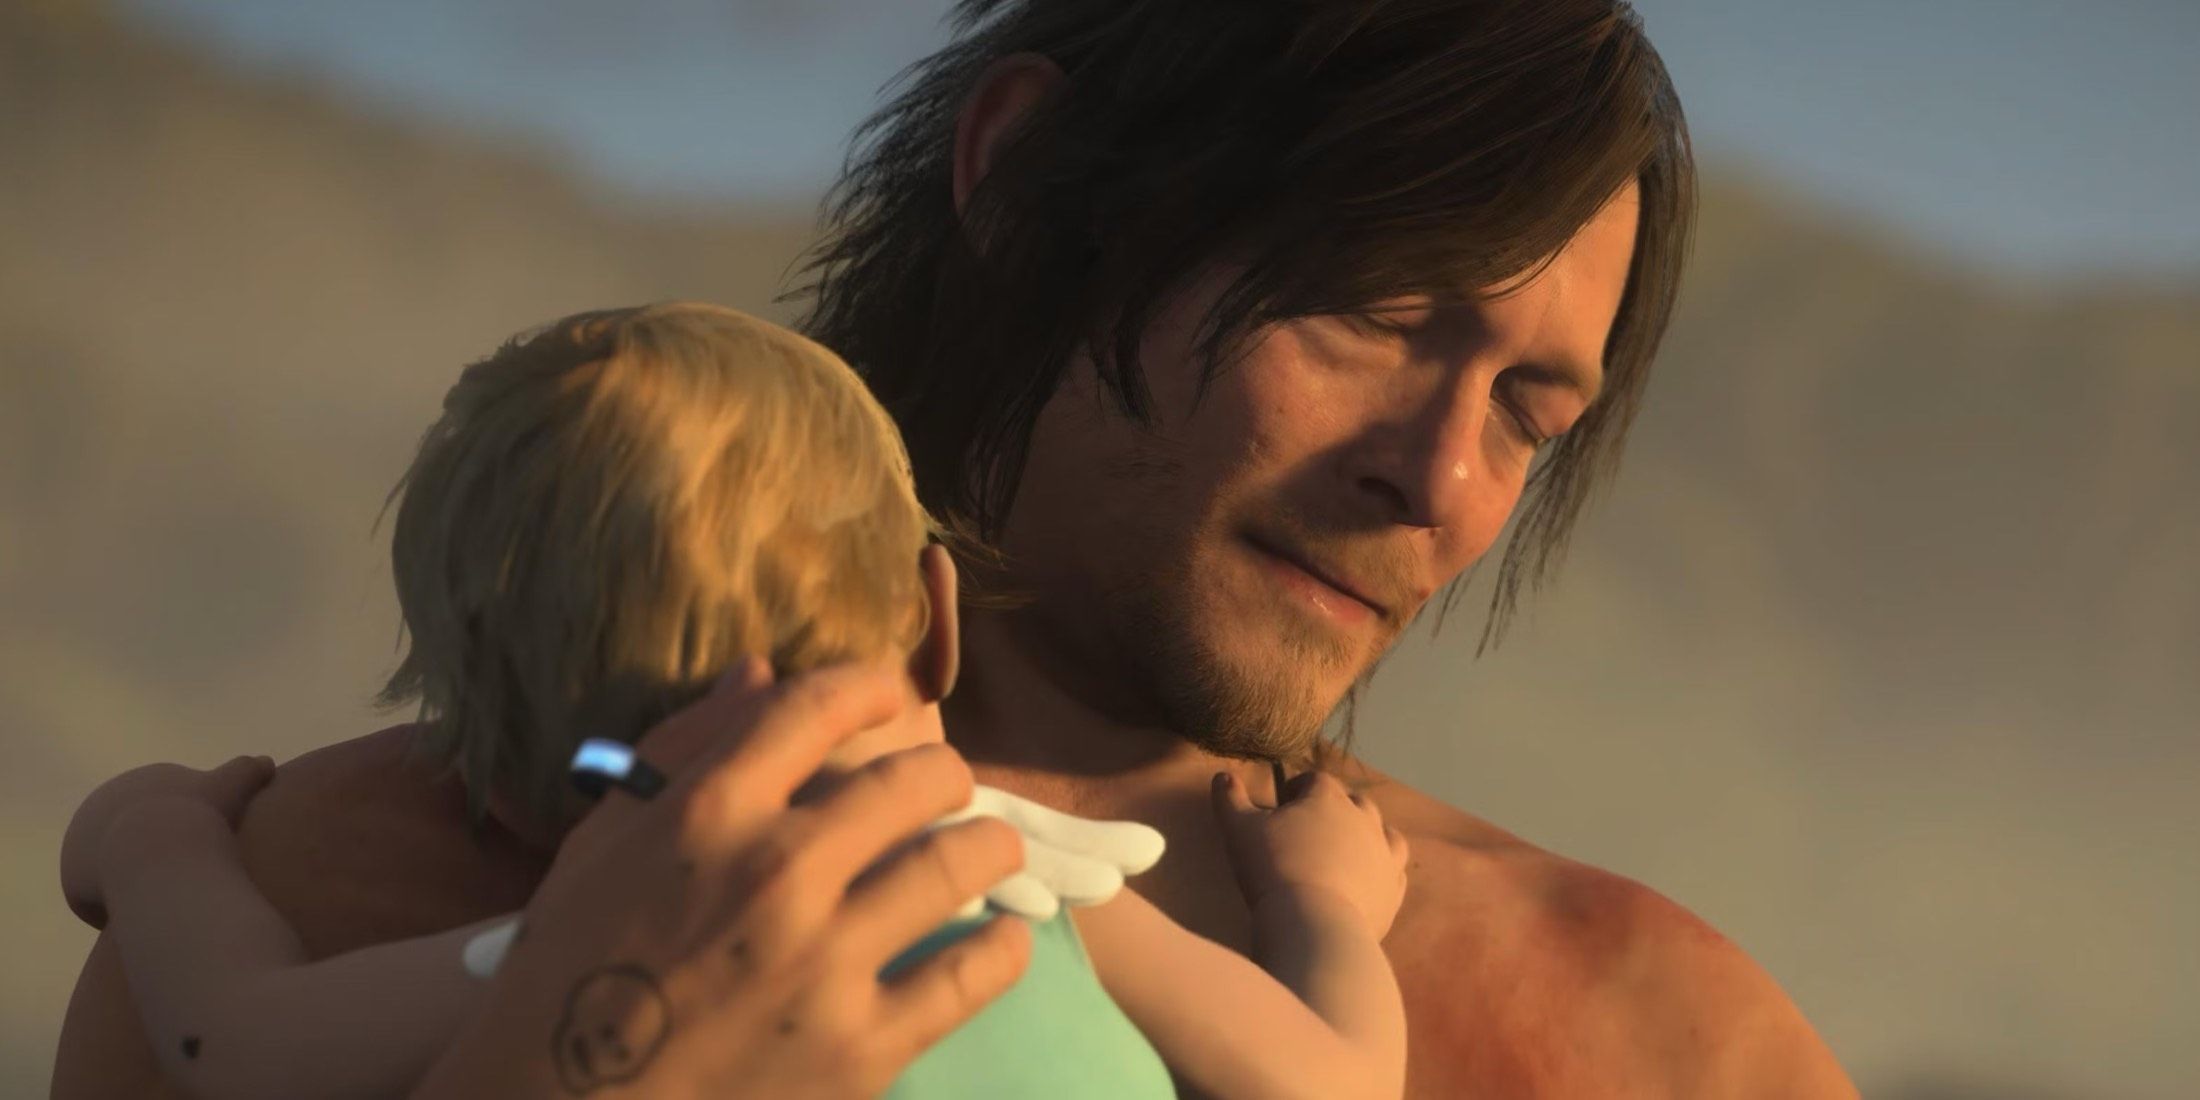
The sequel to “Death Stranding,” titled “Death Stranding 2,” is already generating significant acclaim across the review circuit, making it one of the most highly praised games of 2025 thus far. This game builds upon and extends the vision of “Death Stranding,” showcasing the unique creative leanings of its creators. It is richly layered with cinematic sequences, thought-provoking philosophical themes, and innovative gameplay mechanics that seamlessly blend experimental elements with the high-quality production standards expected from a top-tier triple-A game. Eleven months after the original storyline, “Death Stranding 2” continues the narrative of the character Sam, as its early chapters see him journeying south from his home in what used to be the United States, into Mexico.