The “Ashes of the Damned” easter egg in Black Ops 7 Zombies can be tricky, particularly when you encounter the random puzzle sections. Launching the rocket at the Cosmodrome is a key part of the main quest, but it can be difficult if you don’t know what to do. We’ve decoded the symbols and solved the puzzle for you, so you can launch the rocket quickly and easily, and get back to fighting zombies and finishing the easter egg without getting stuck.
Looking for a full step-by-step guide on the Ashes of the Damned easter egg? Click here!
How to Prep the Rocket for Launch in Ashes of the Damned
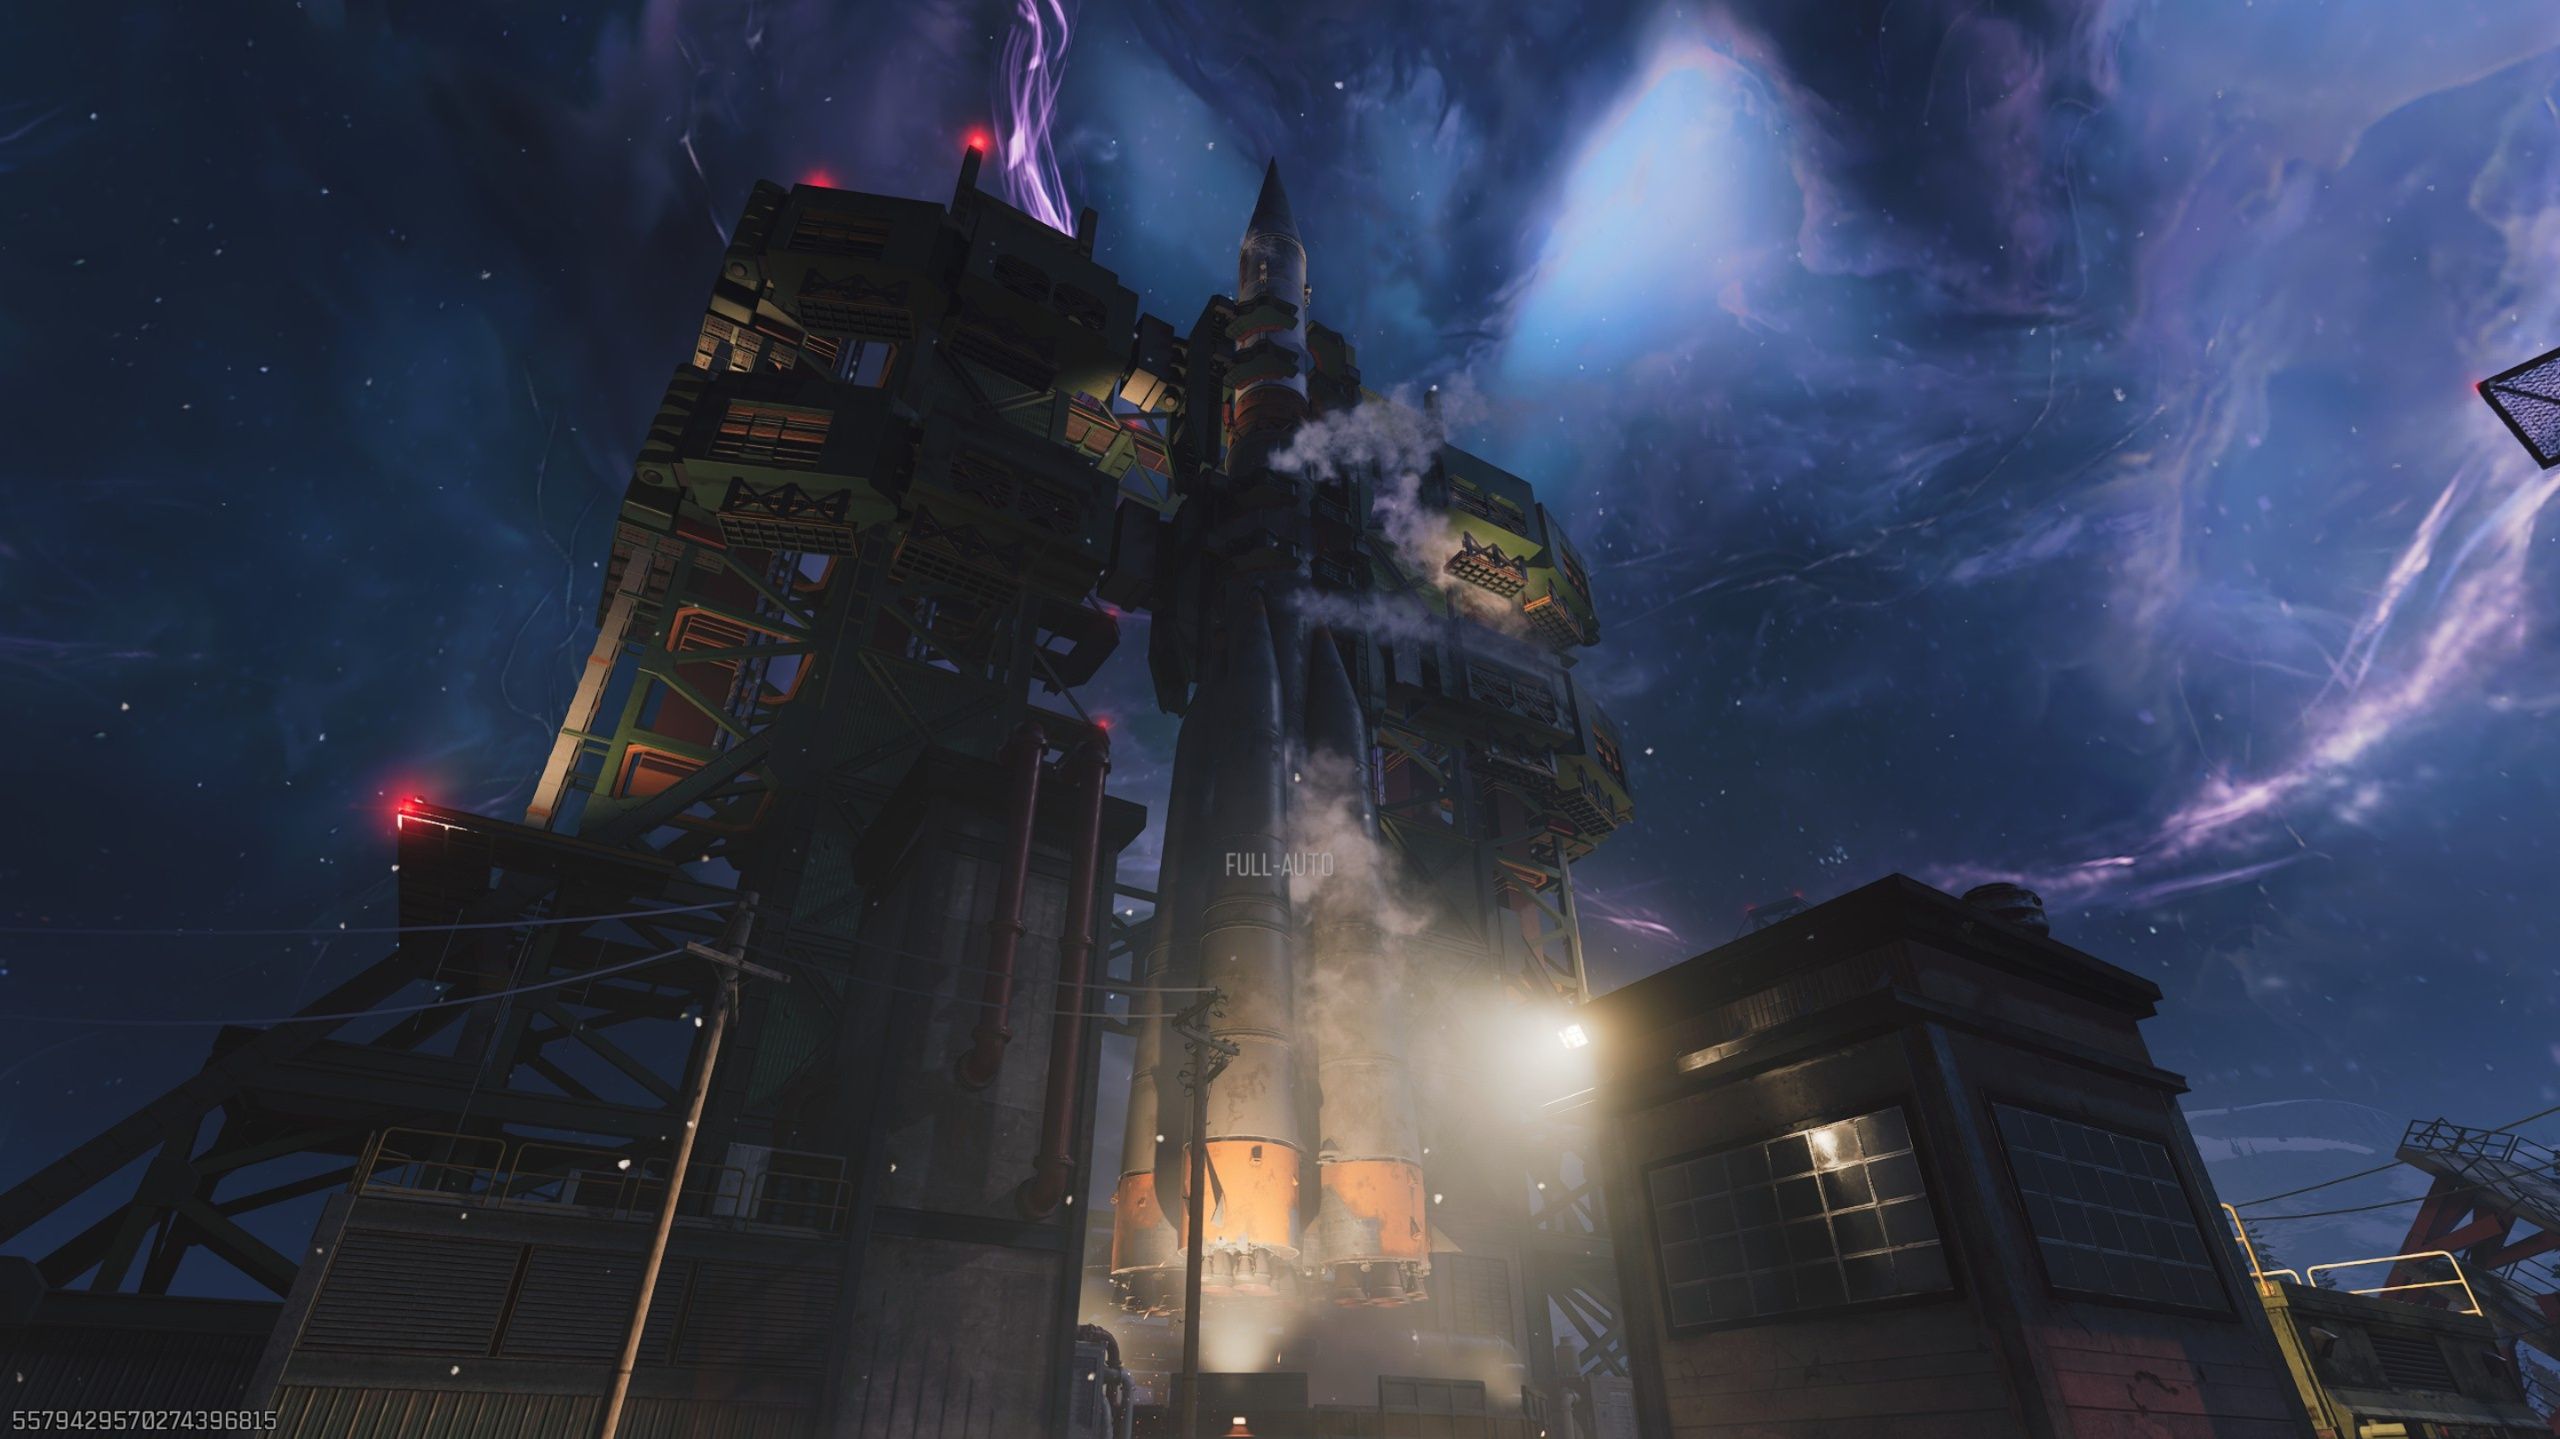
First, you’ll need to get the DG-2 Turret Barrel for Ol’ Tessie by starting the main easter egg quest. This involves a few steps: getting the Necrofluid Gauntlet (you can find instructions here), collecting the Serum ingredients and solving the Serum puzzle (instructions here), and then finding 3 keys (instructions here). Once you have the DG-2 Turret Barrel, attach it to Ol’ Tessie and use it to shoot the floating clock tower in Ashwood. When you hit it, the tower will light up. Then, shoot the tower again with your Necrofluid Gauntlet and reload your weapon. If done correctly, your gauntlet will turn spectral and purple. Finally, head to the Zarya Cosmodrome to find the rocket.
You can reach this location by heading southeast from Ol’ Tessie, or by taking the Jump Pad upstairs near Double Tap Root Beer for a quicker trip.
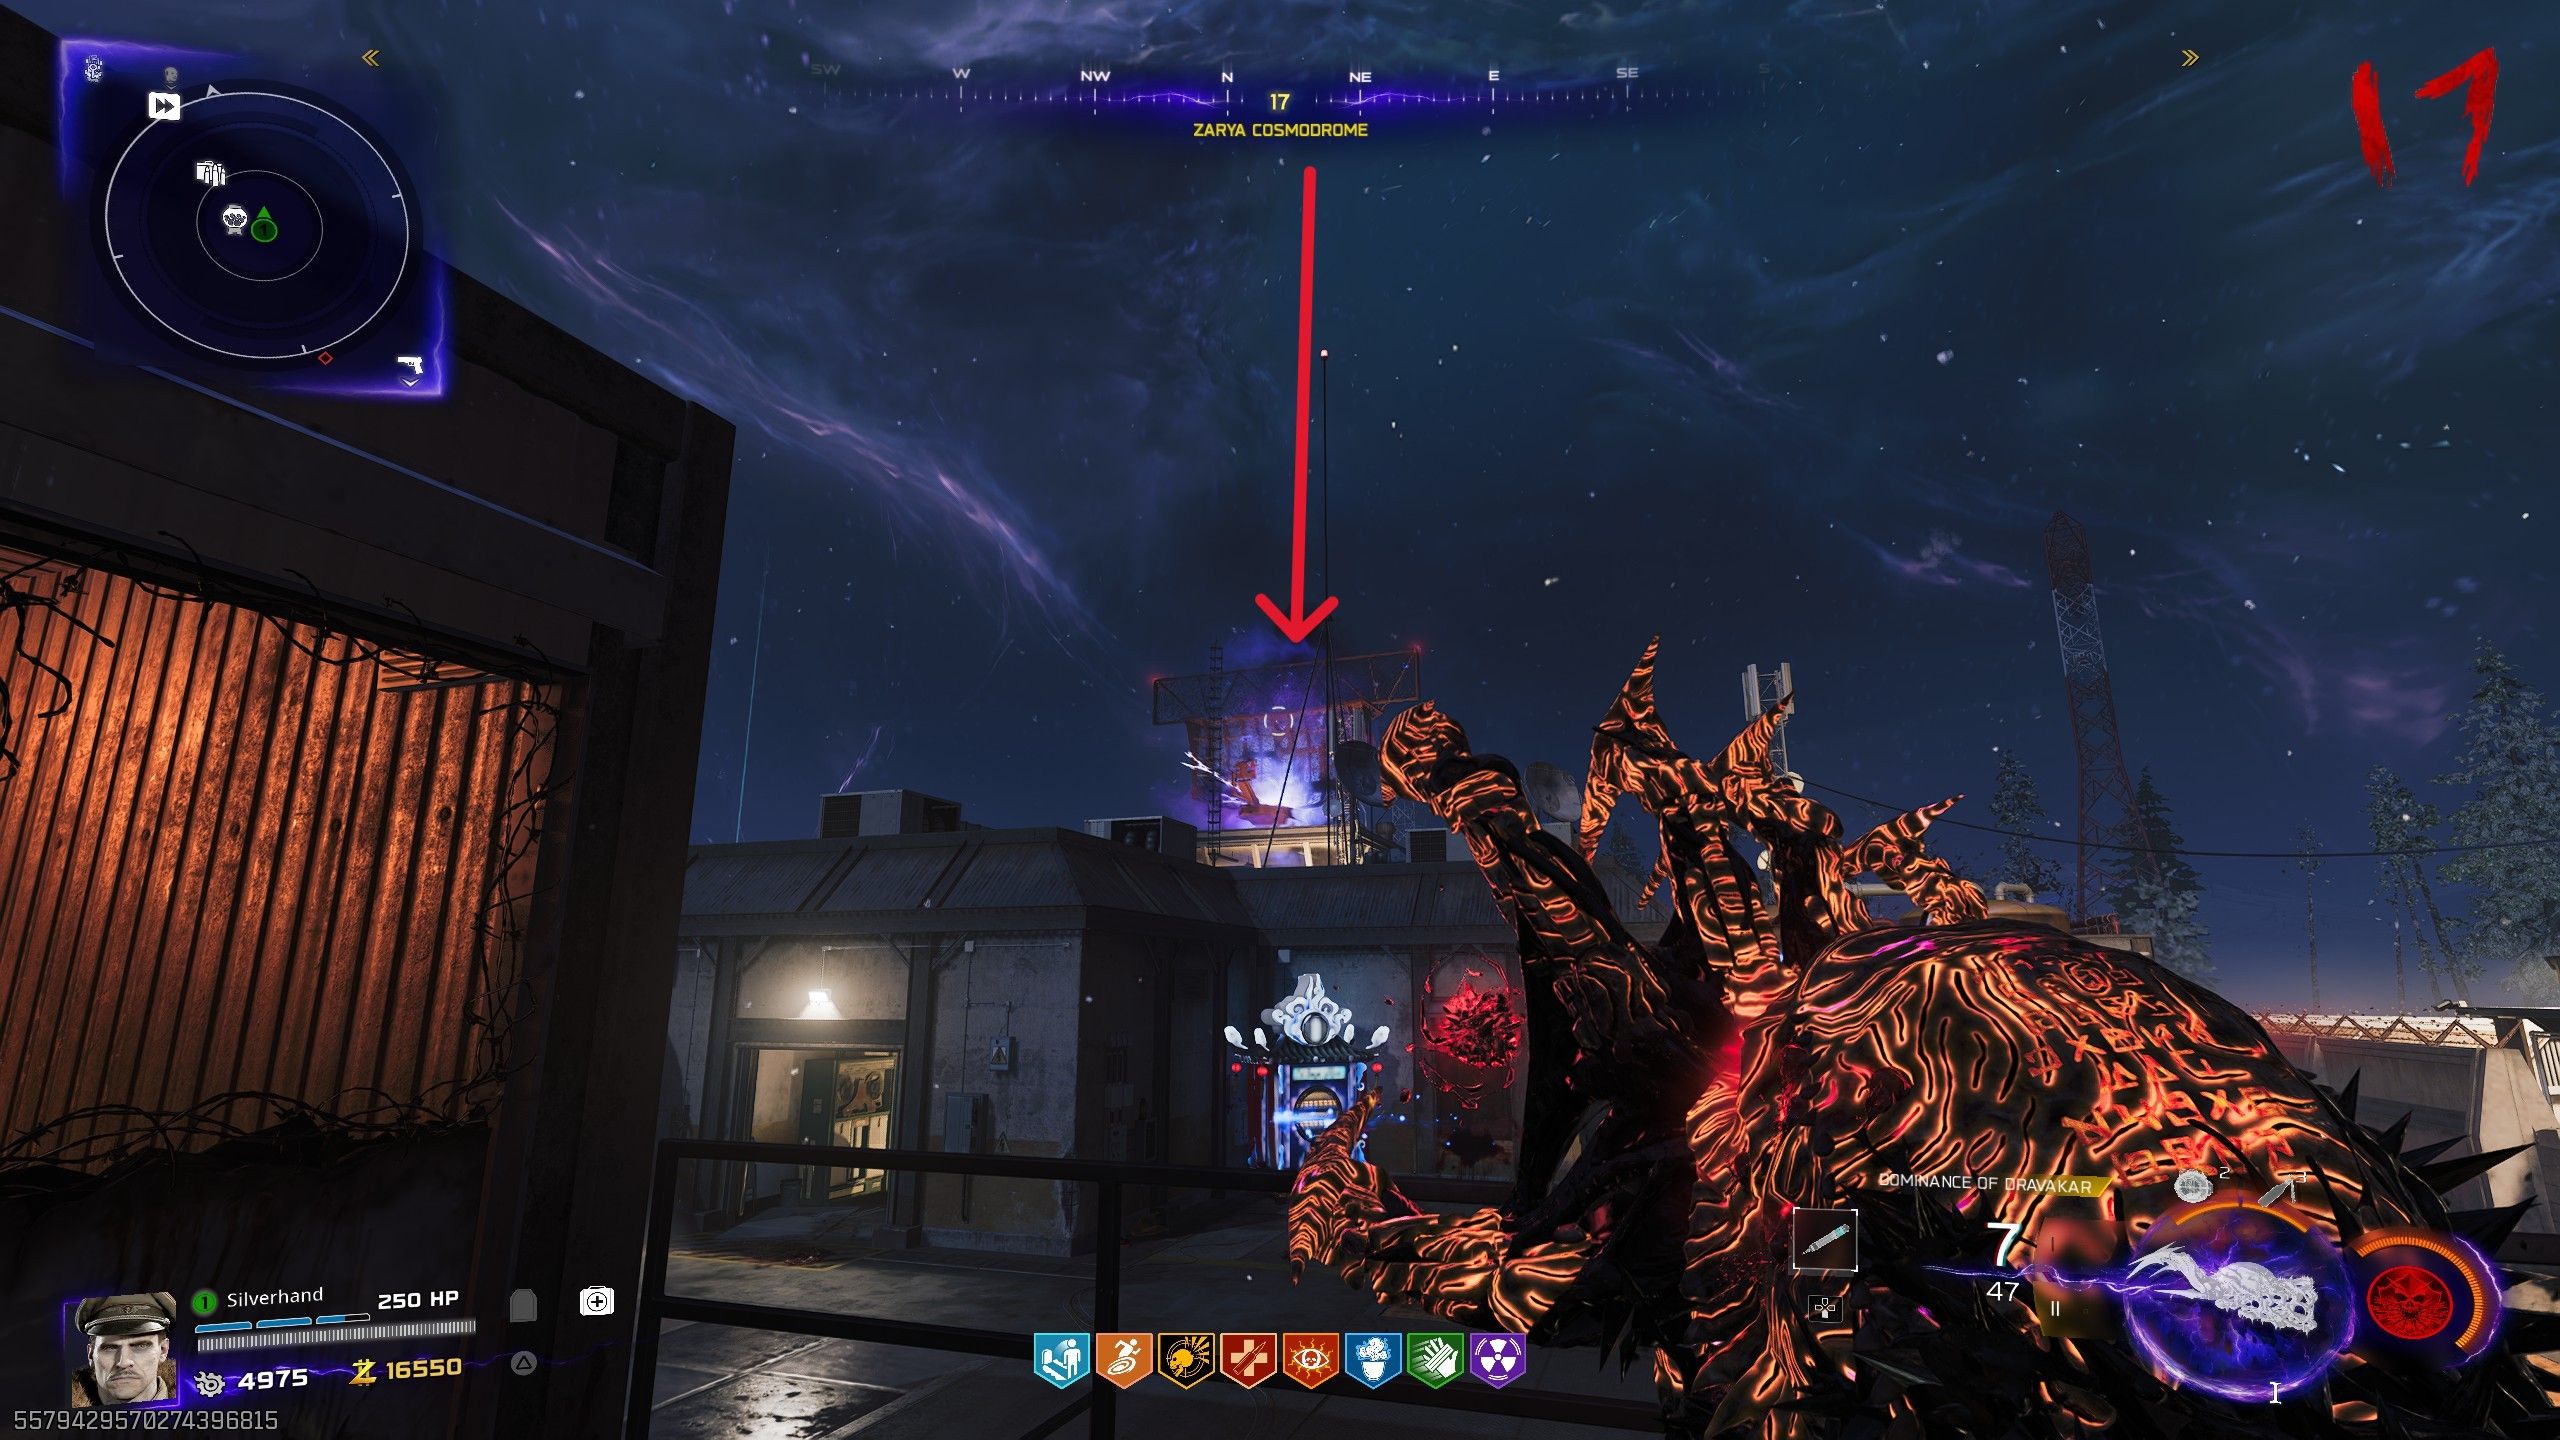
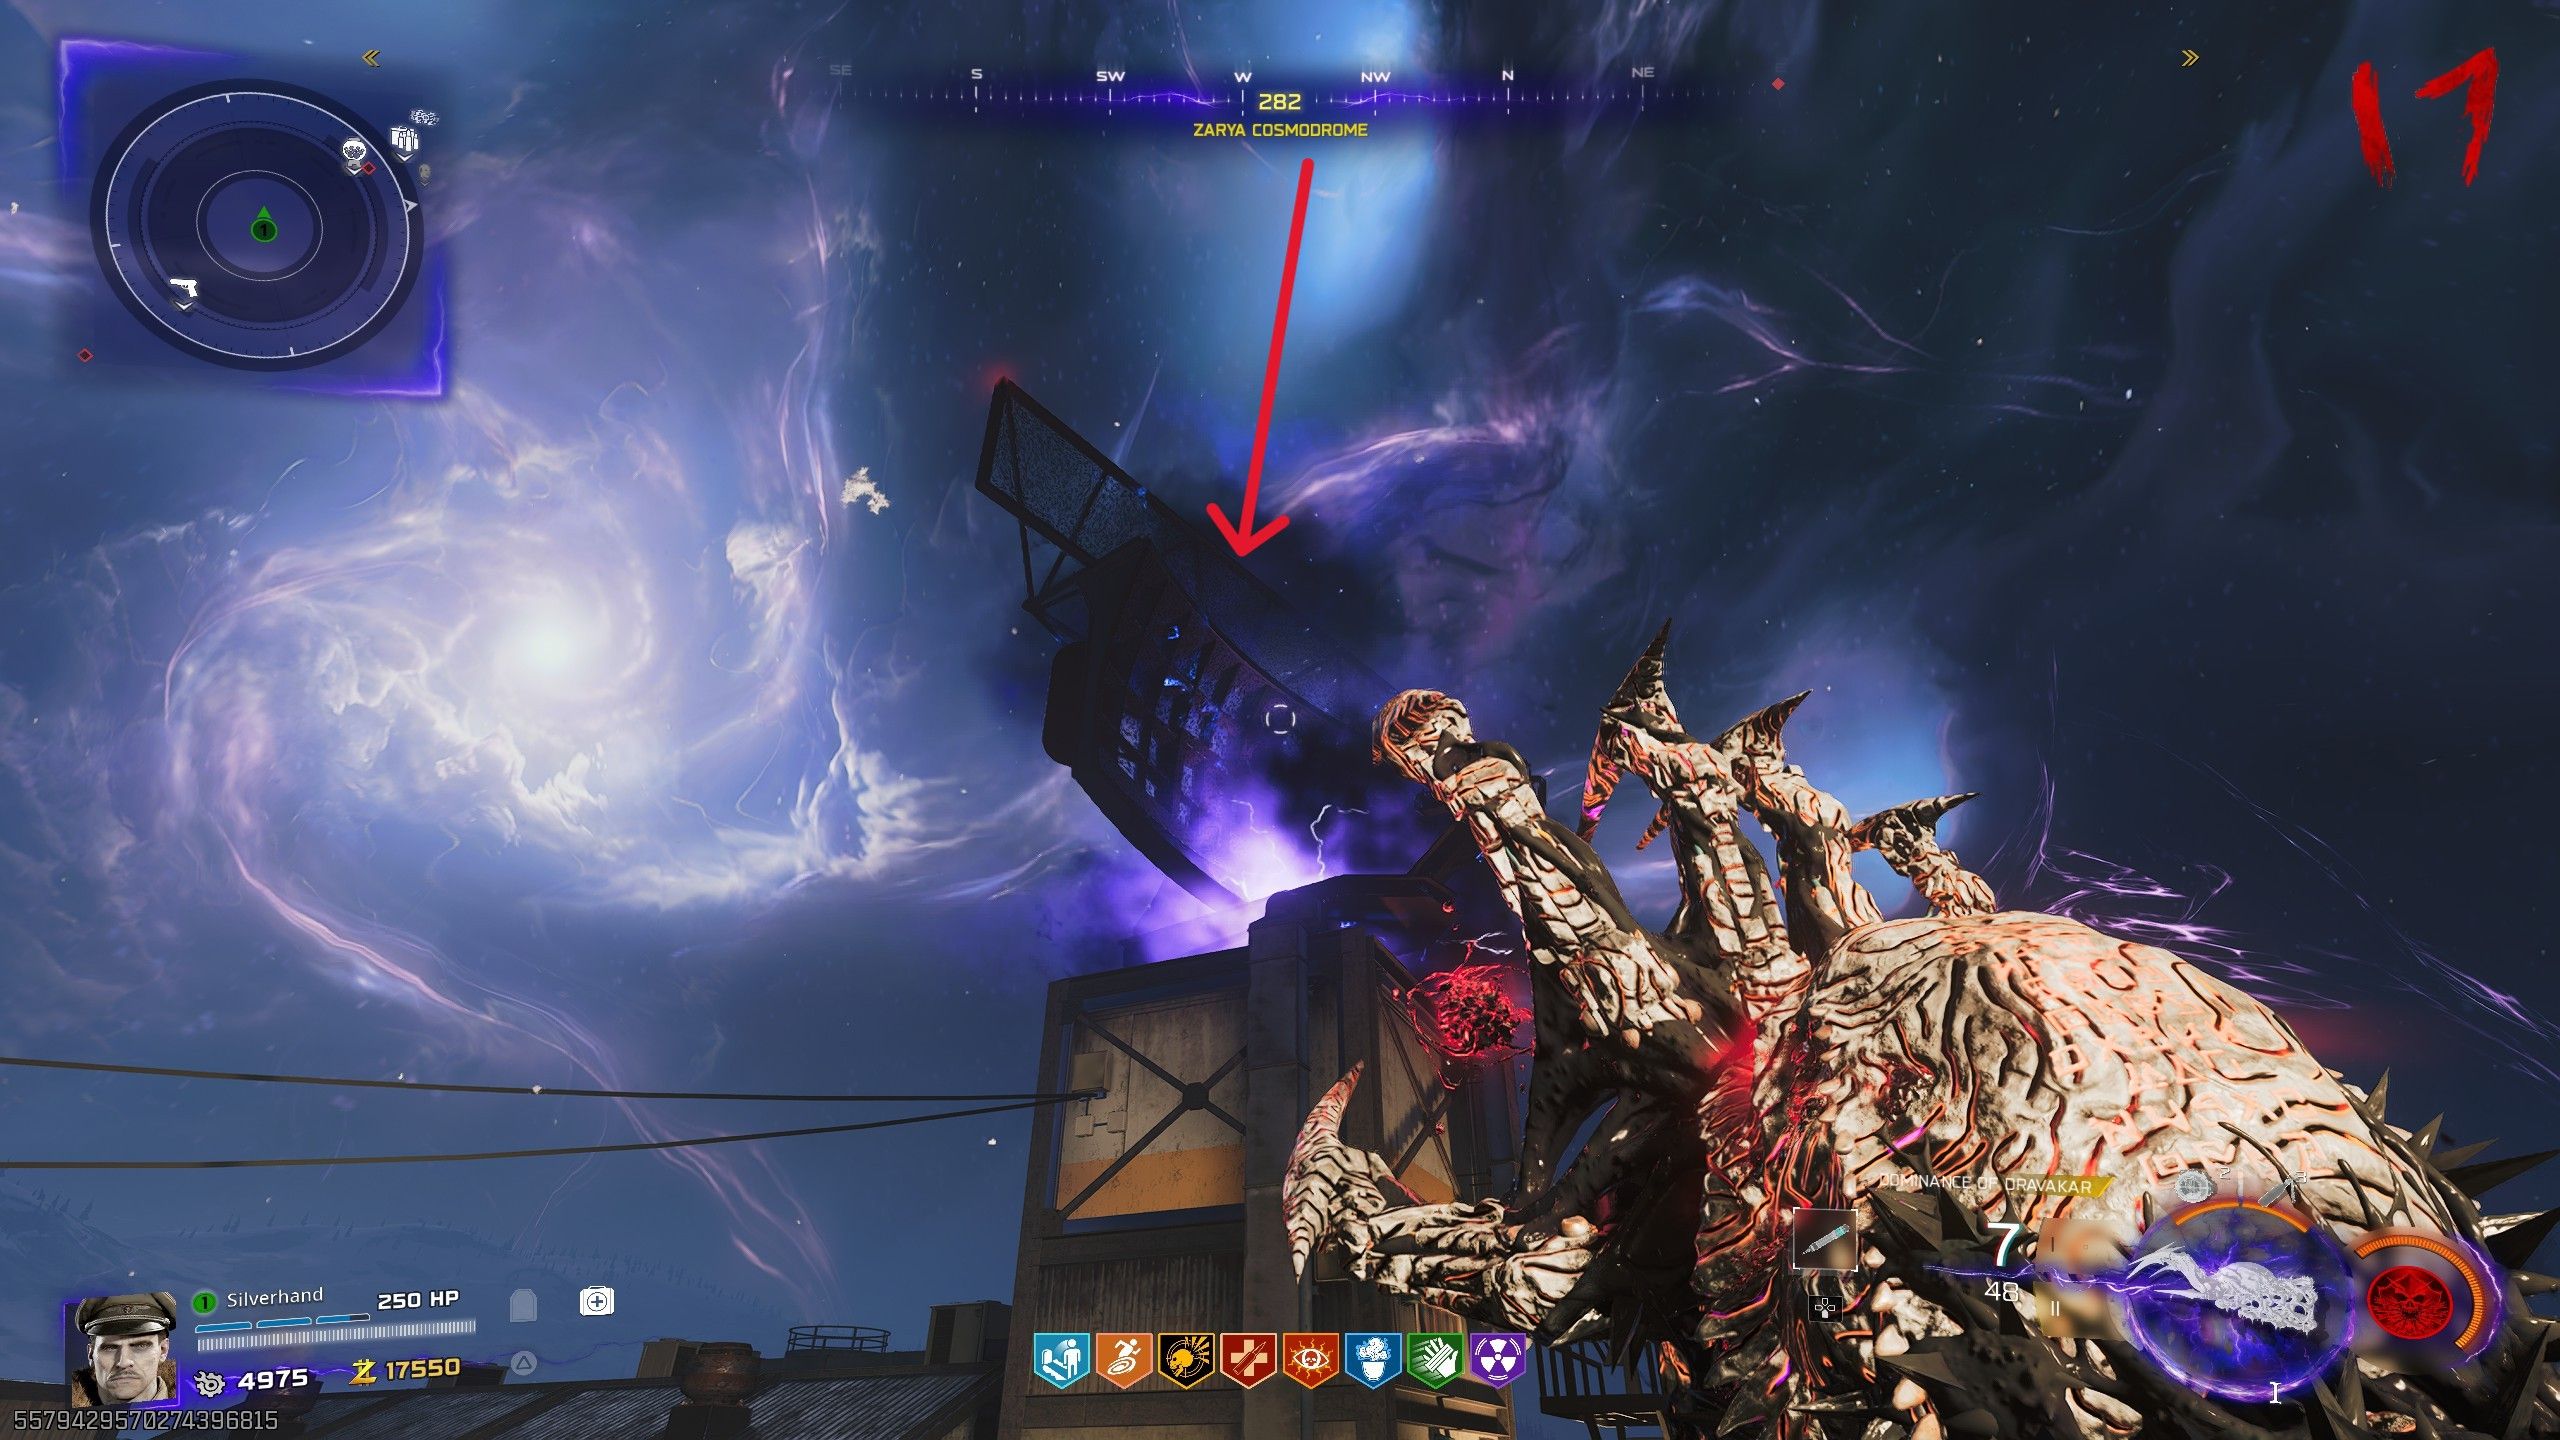
Now that you’ve reached Zarya Cosmodrome, find the two array towers to the northwest and northeast. Use the Necrofluid Gauntlet’s charged shot on them. These towers spin quickly, but firing at one while the Gauntlet is powered up by the clock tower will slow it down. After hitting the first tower, go back to Ashwood to recharge the Gauntlet at the clock tower, then shoot the second tower.
How to Solve the Rocket Launch Puzzle in Ashes of the Damned
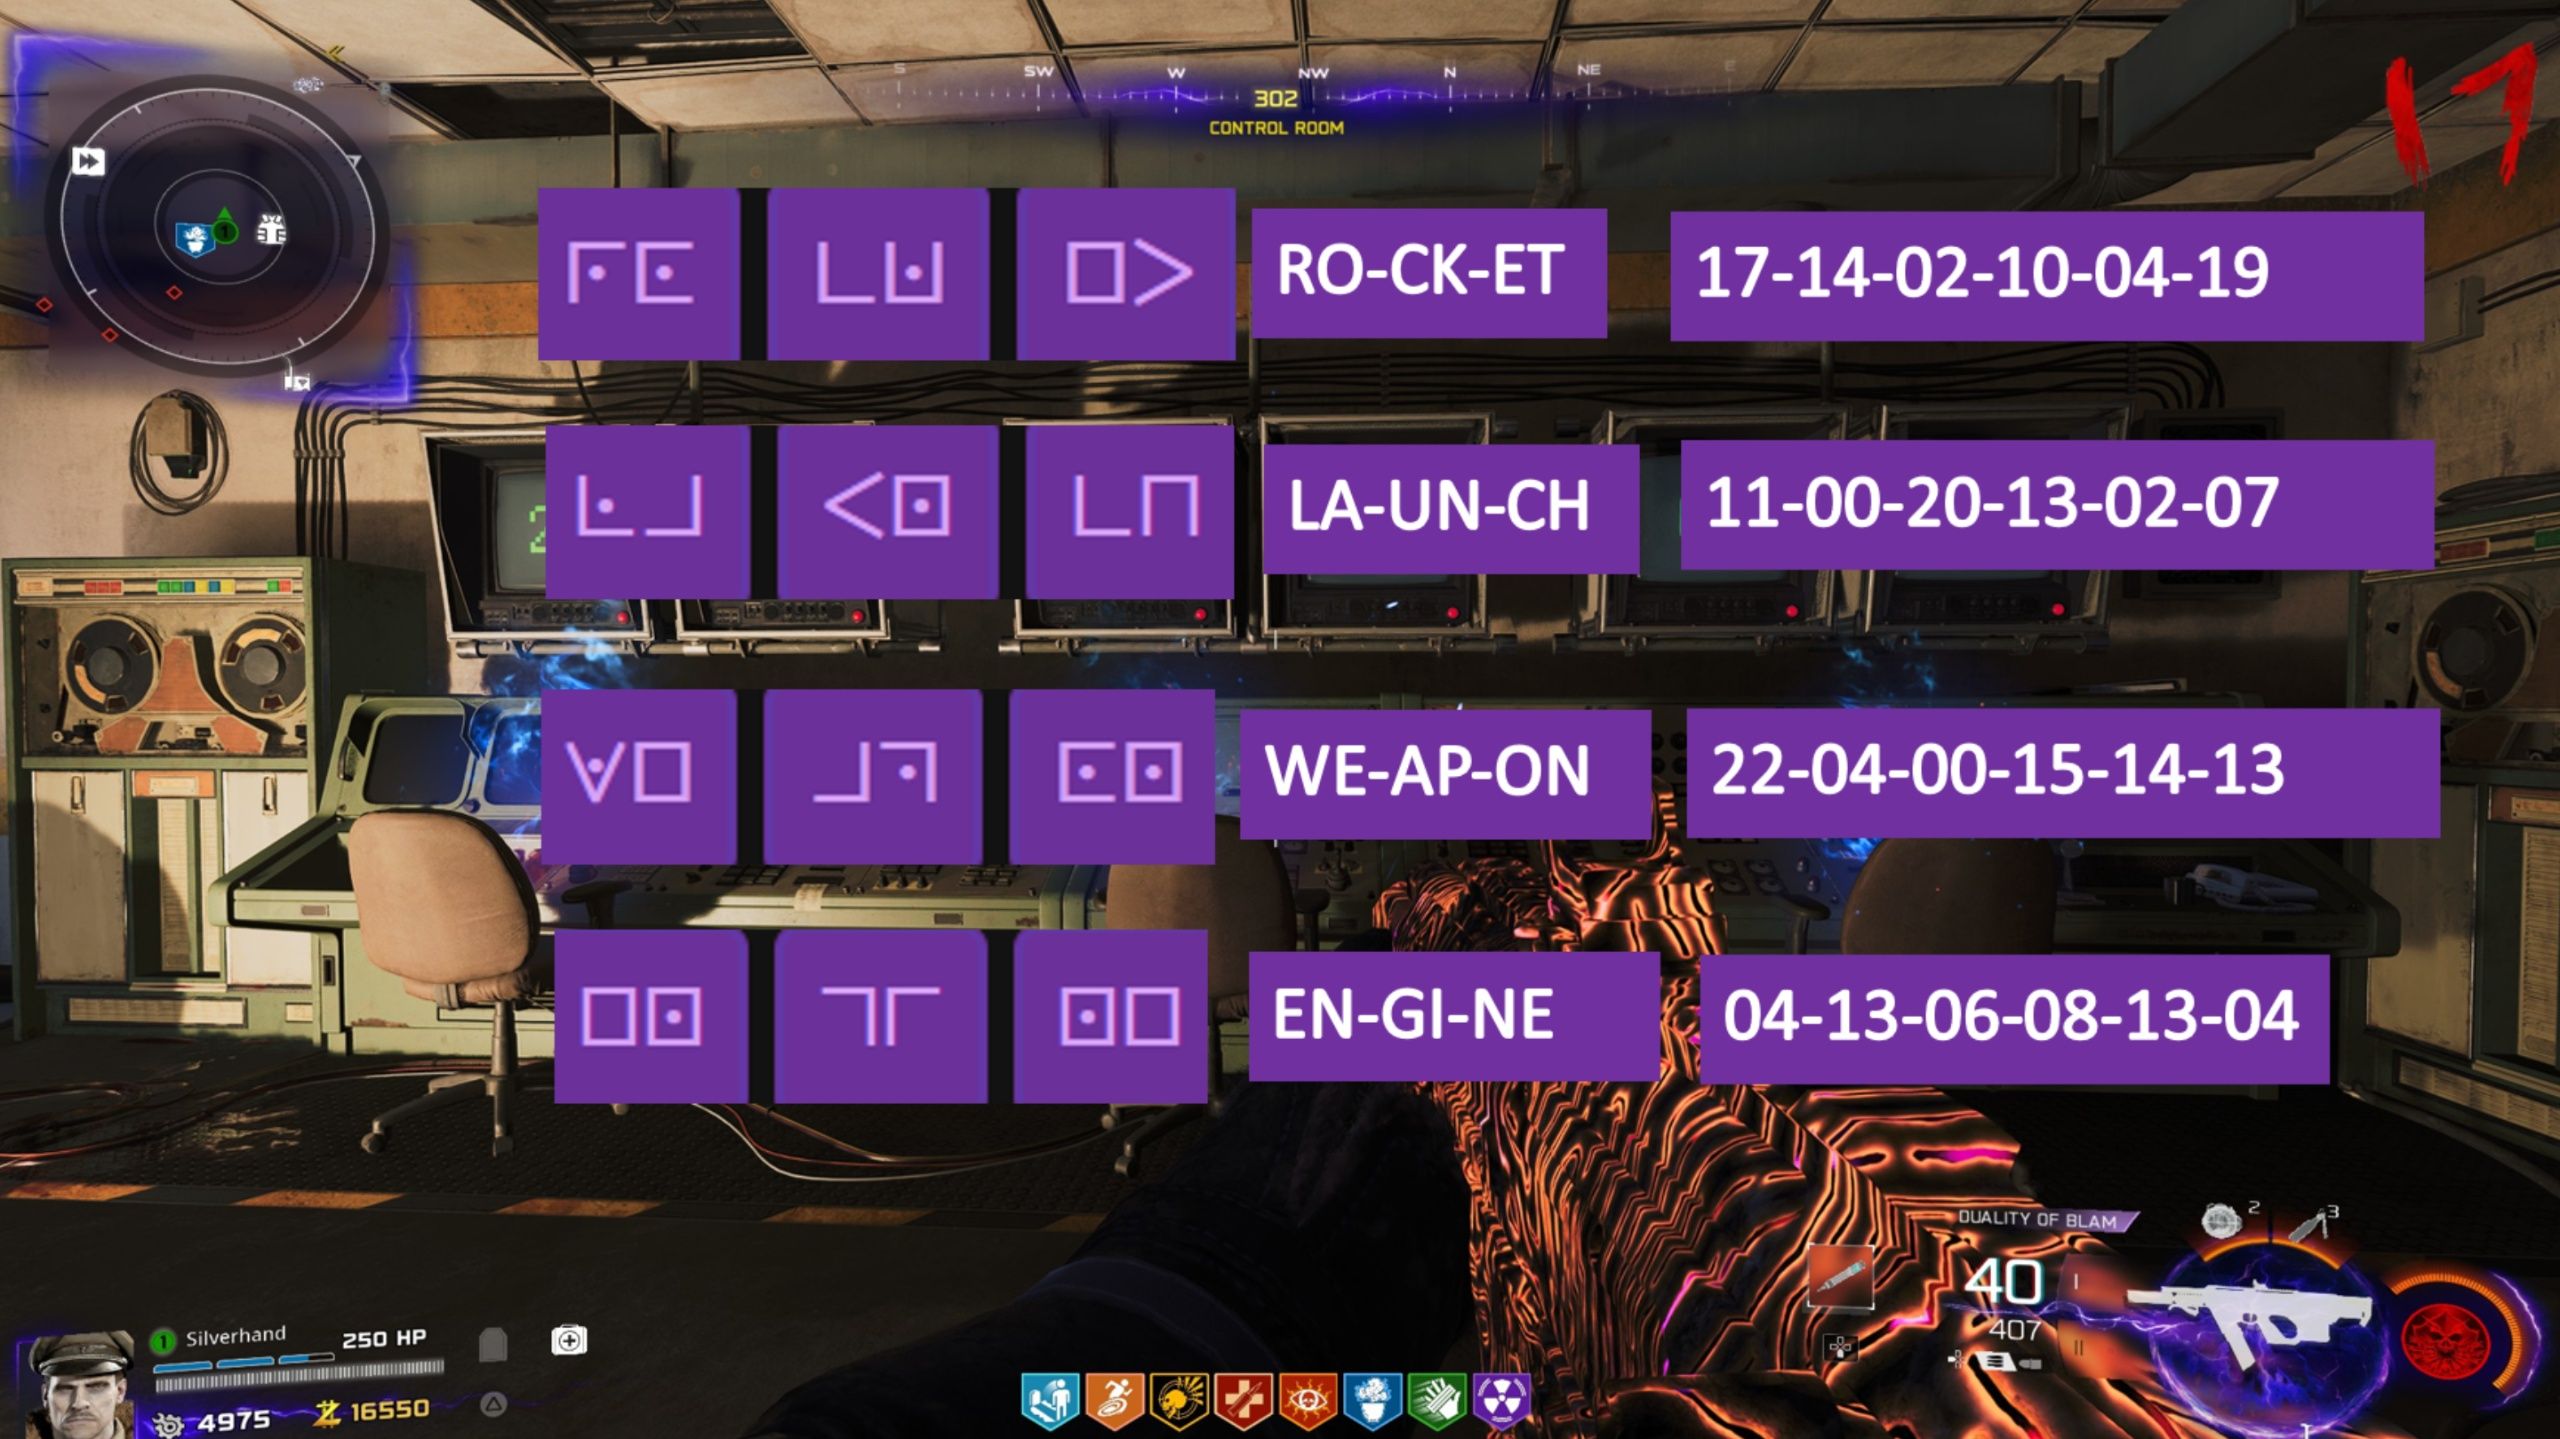
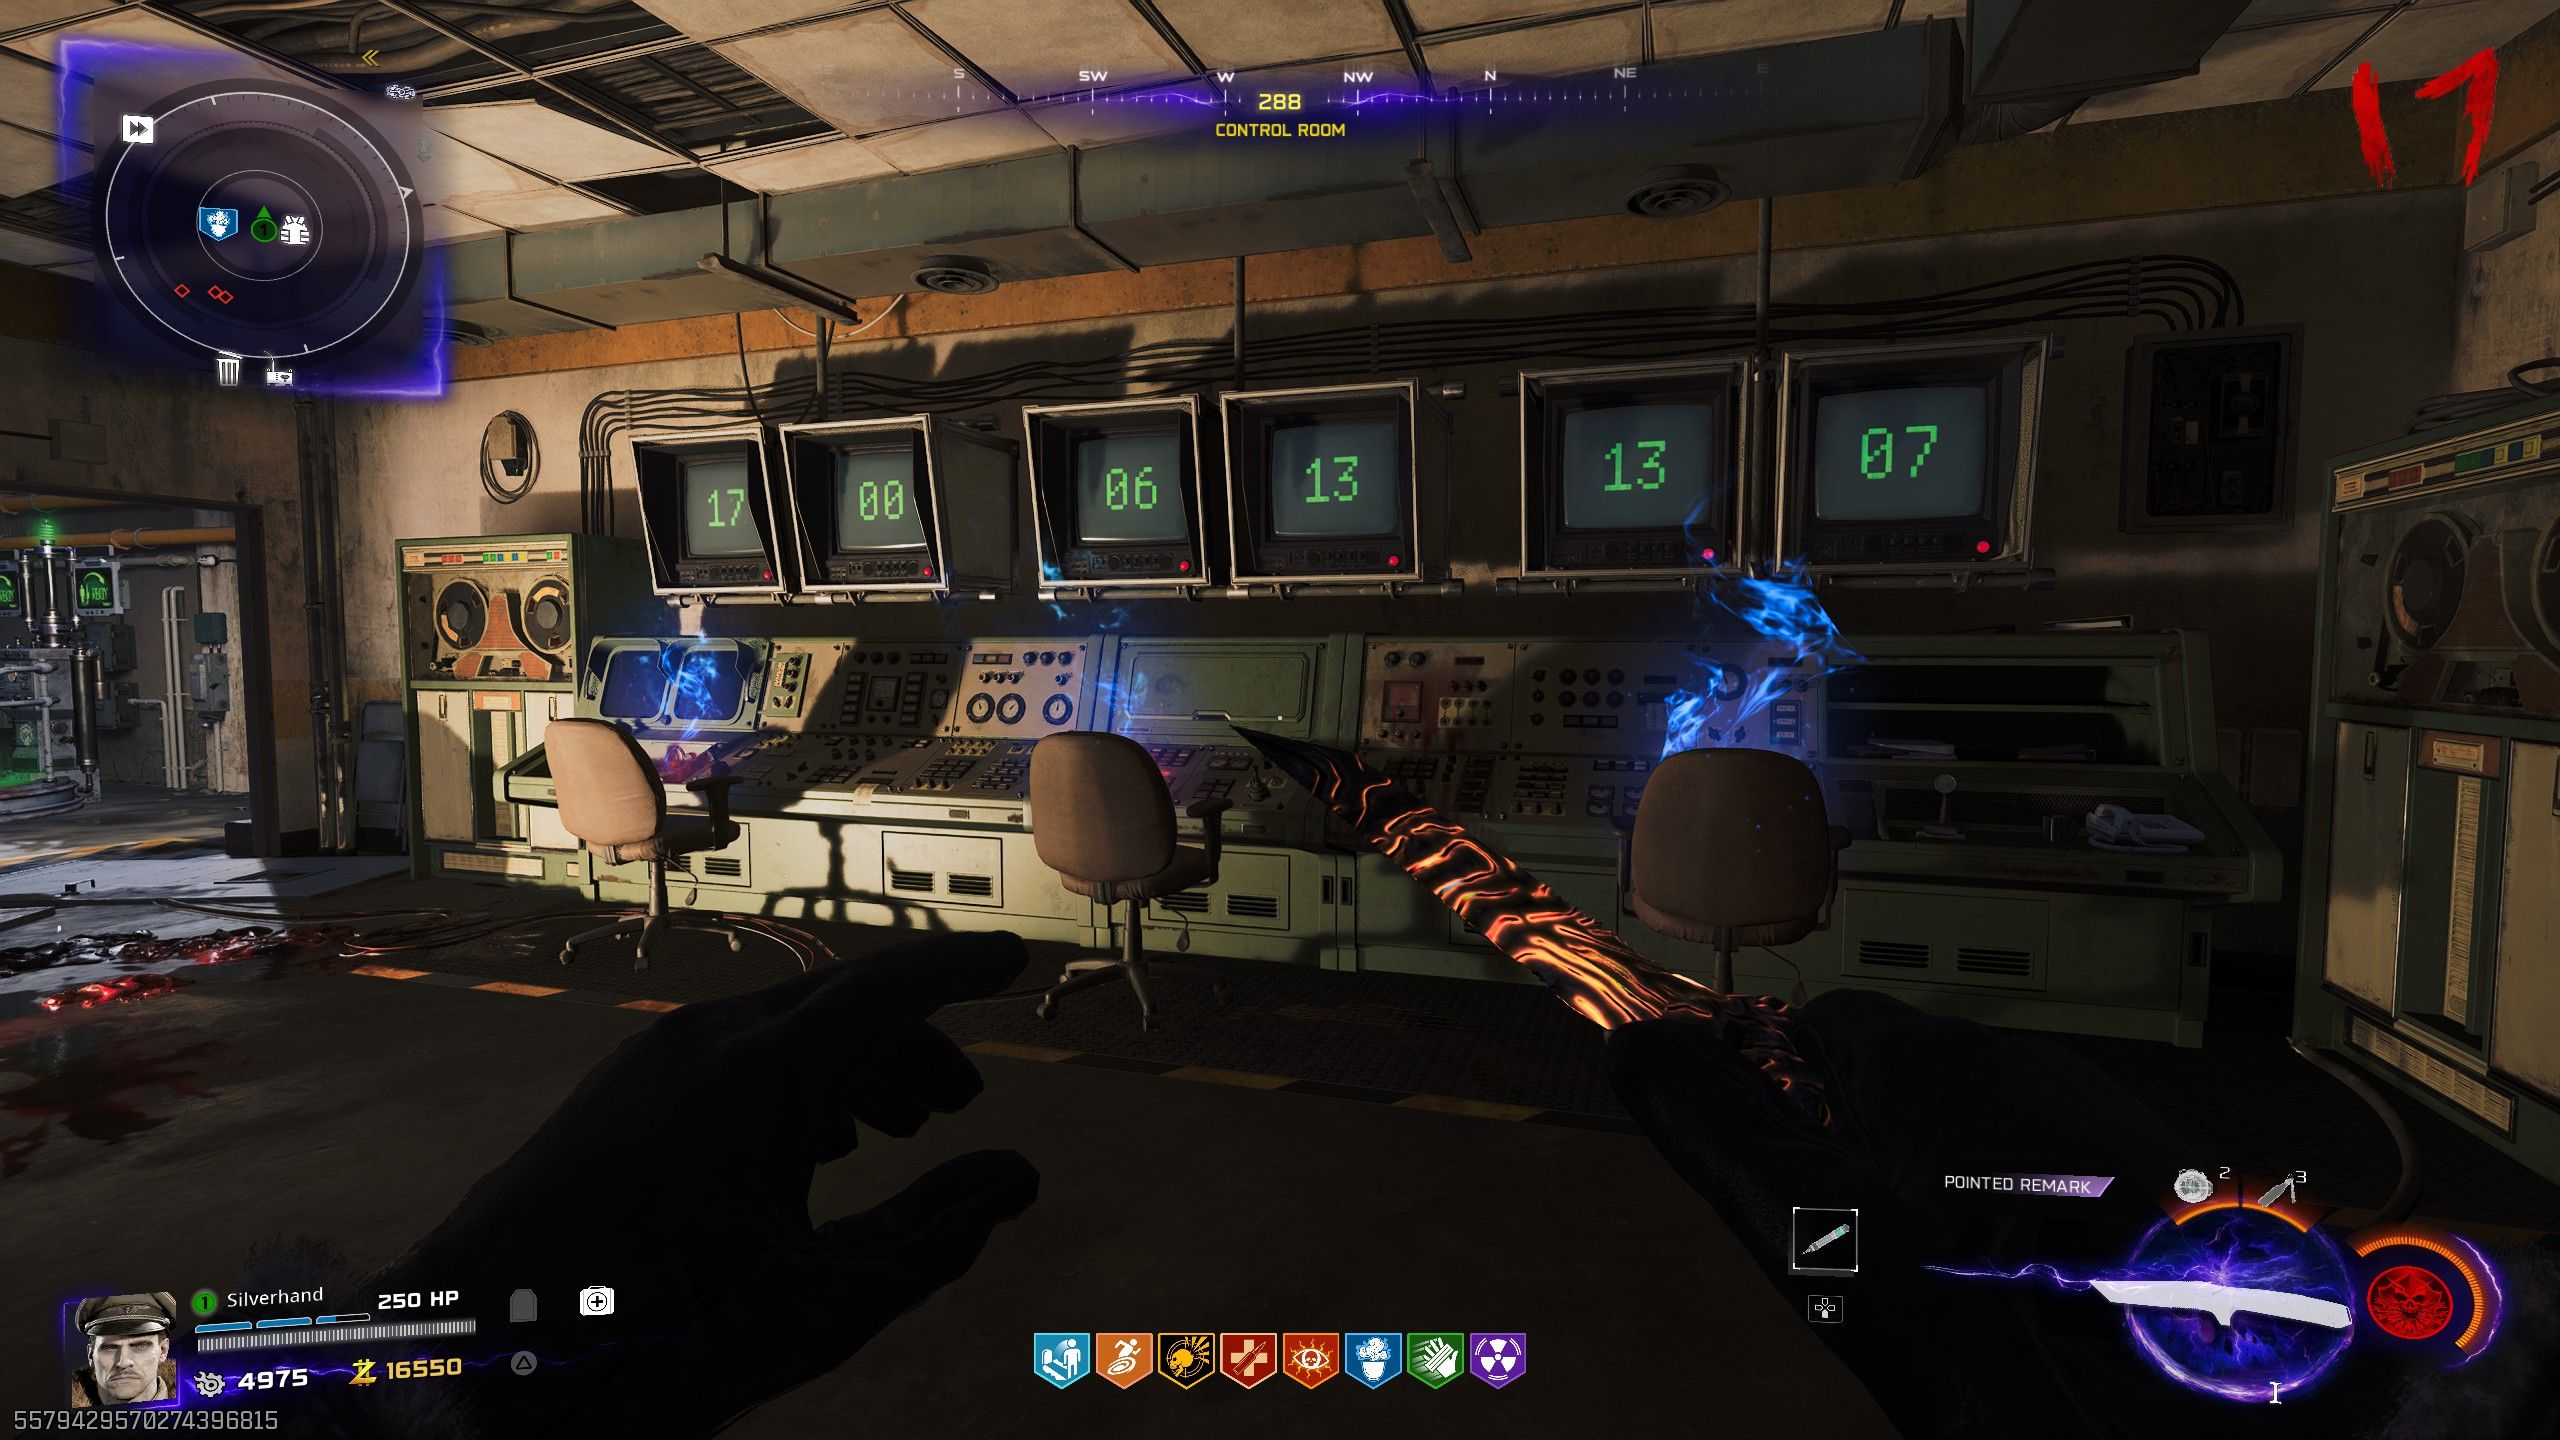
Once you’ve disabled both array towers, you can access the Control Room in Zarya Cosmodrome to find Wisp Tea. On the north wall, you’ll see two screens displaying six different symbols. These symbols combine to form one of four possible words. To solve the puzzle, you need to decode the symbols using the Pigpen cipher, then convert each letter of the decoded word into a number – A equals 00, B equals 01, and so on, up to Z which equals 25. To help, we’ve provided a list of all possible words, their symbol translations, and the corresponding numbers in the image and text below.
- FE-LU-□>: ROCKET: 17-14-02-10-10-04-19
- LJ-□-LN: LAUNCH: 11-00-20-13-02-07
- Y□-J|-CO: WEAPON: 22-04-00-15-14-14
- □□-”||”-□□: ENGINE: 04-13-06-08-13-04
First, check the terminal to see which symbols correspond to Rocket, Launch, Weapon, or Engine. Then, locate the six computer terminals on the northwest side of the Control Room – they’ll have flashing numbers. To spell out your word, you need to stop the numbers on each terminal at the correct value by shooting the red button. For example, if your word is ROCKET, and your symbols start with FE, you’d shoot the leftmost terminal when the number reaches 17 (since ‘R’ is the 18th letter, starting the alphabet with A as 00, it equates to 17). Continue this process for each letter, moving from left to right, to create a number sequence. For ROCKET, that sequence would be 17-14-02-10-10-04-19. We’ve already explained what each symbol set means, so you can easily determine your word and the corresponding numbers.
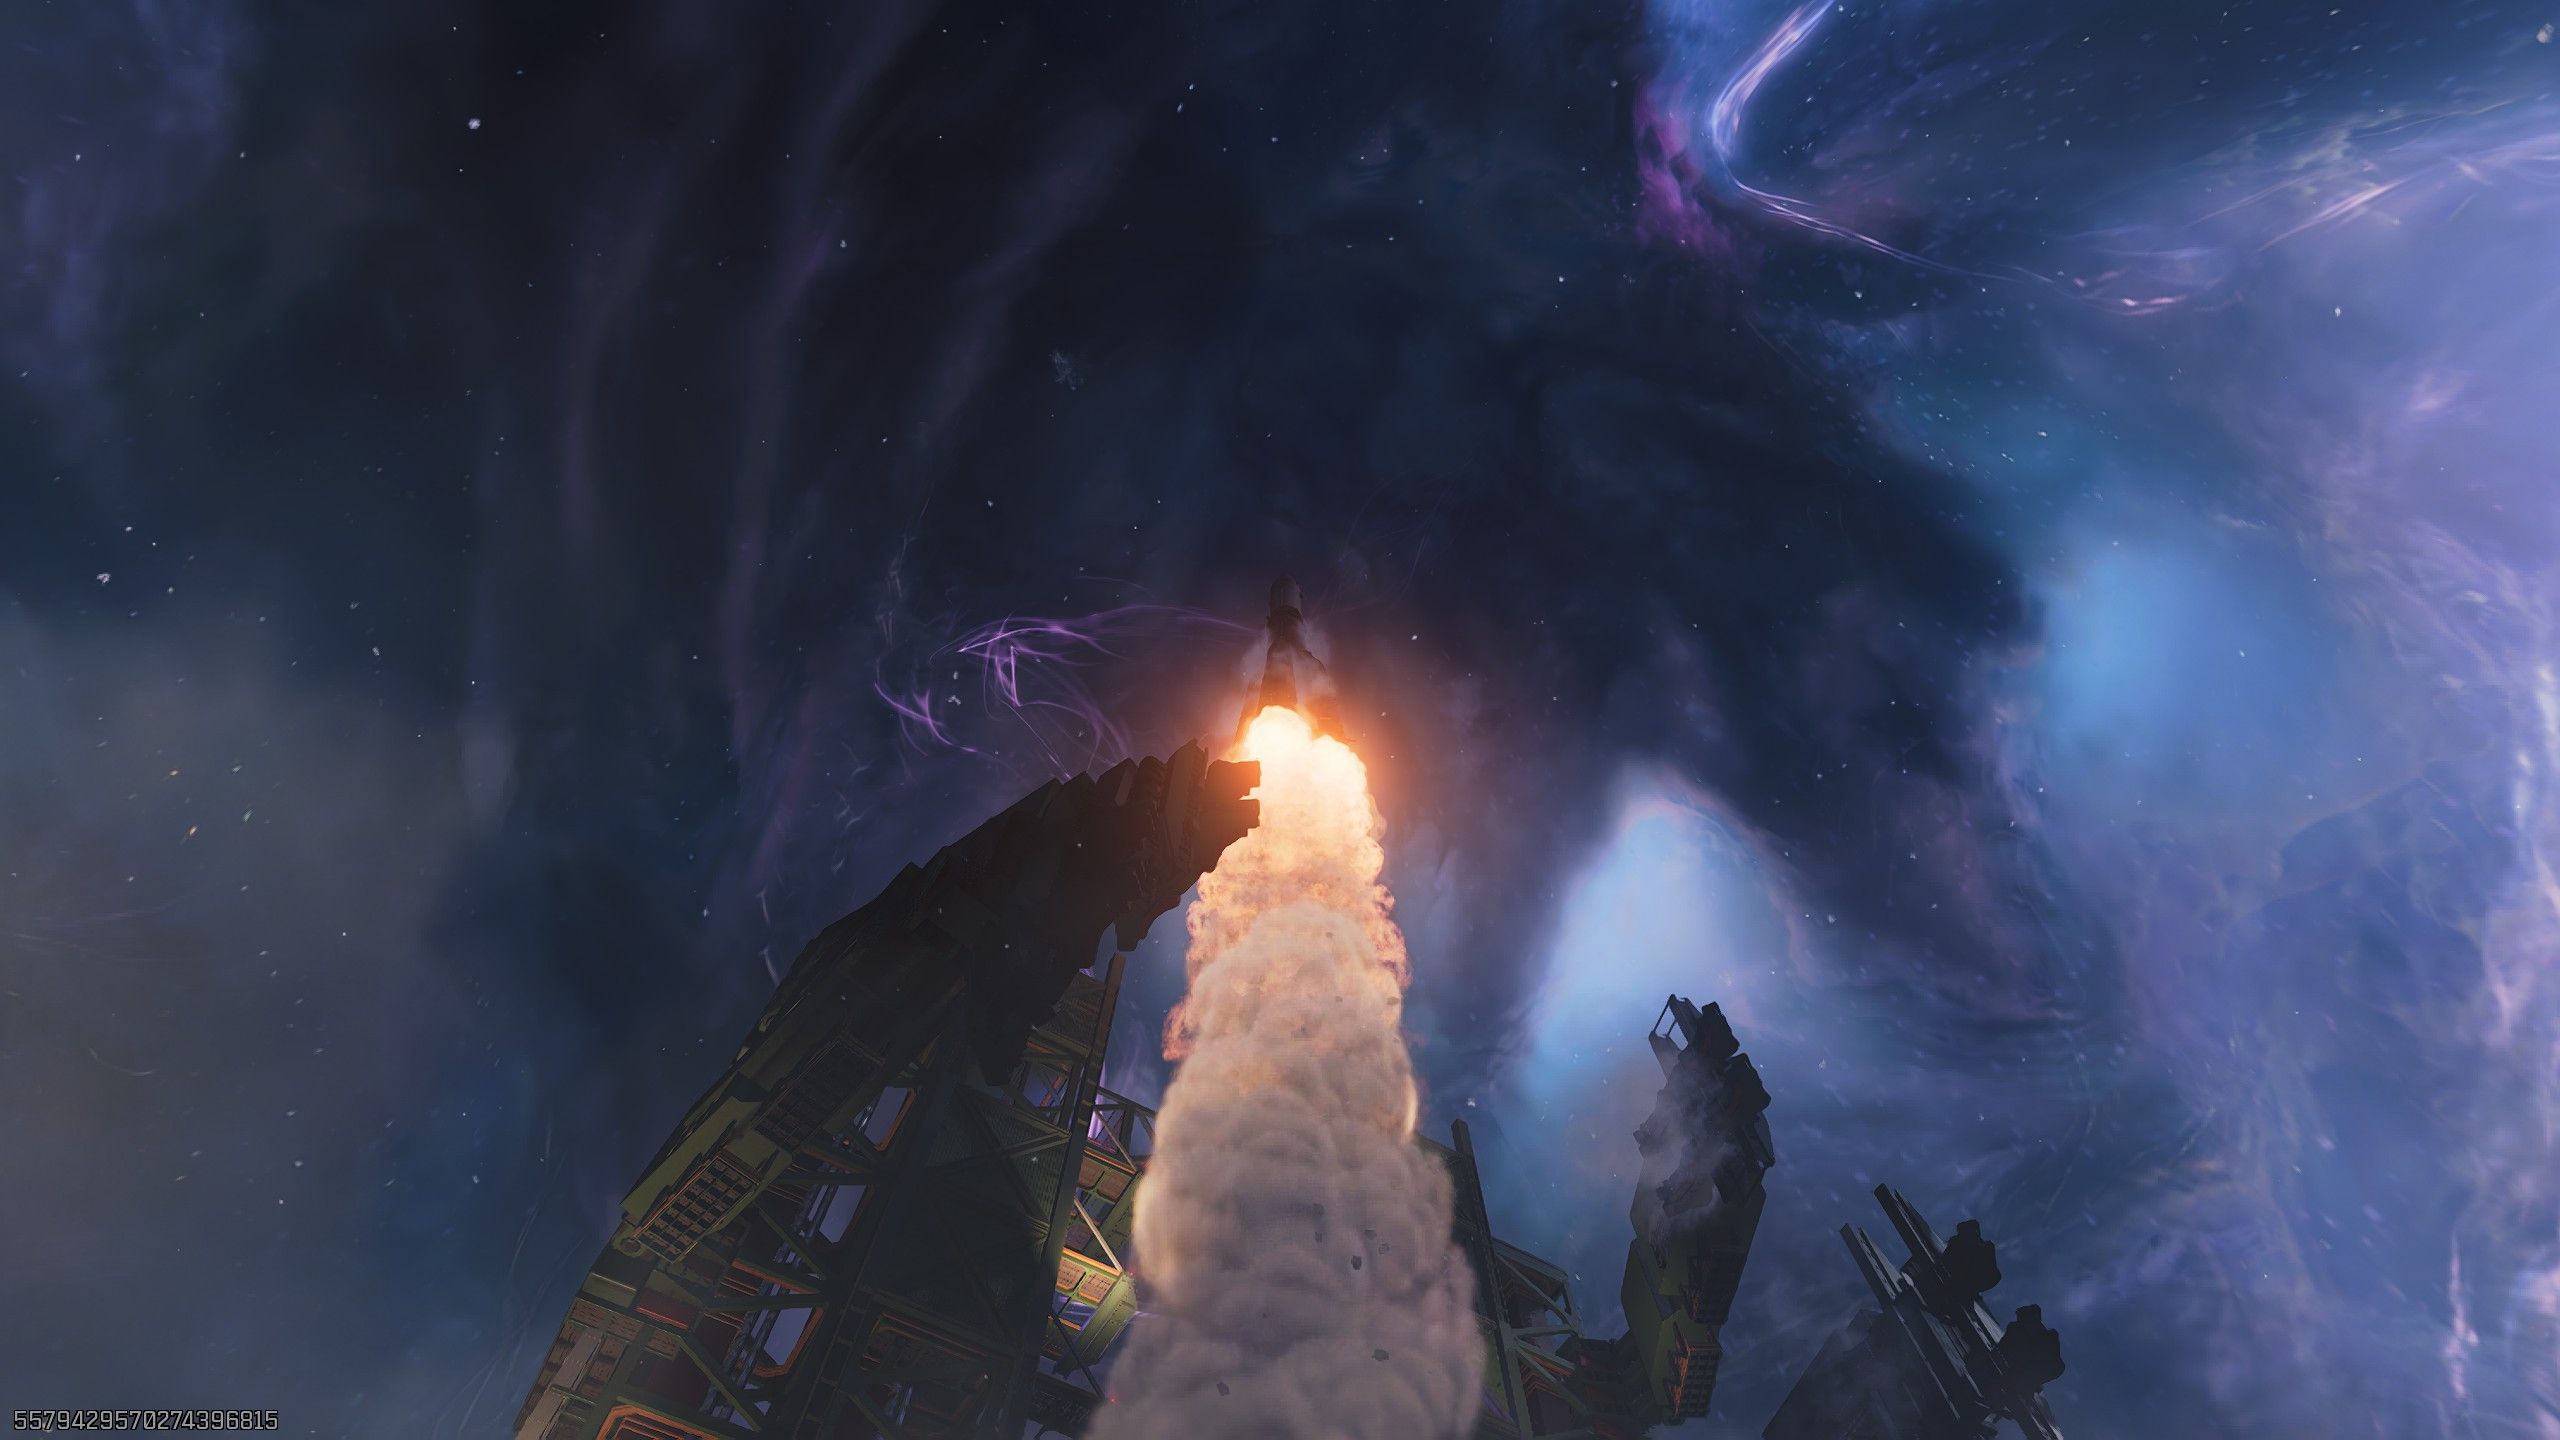
If you enter the incorrect code, you’ll have to start the launch sequence over in the next round, including destroying the towers. Entering the correct code completes the sequence, causing the zombies to disappear and the rocket to launch.
Read More
- NTE Drift Guide (& Best Car Mods for Drifting)
- All Aswang Evidence & Weaknesses in Phasmophobia
- Conduit Crystal Location In Subnautica 2
- Where to Find Prescription in Where Winds Meet (Raw Leaf Porridge Quest)
- Diablo 4 Best Loot Filter Codes
- Boruto: Ikemoto Has Already Hinted At Sasuke’s New Eye After Return
- Best Burst & Full Auto Builds for the M16A4 in BF6
- USD RUB PREDICTION
- Deltarune Chapter 1 100% Walkthrough: Complete Guide to Secrets and Bosses
- Brent Oil Forecast
2025-11-17 19:08