Minecraft Player Creates Awesome Real-Life Version of the Game’s Lantern
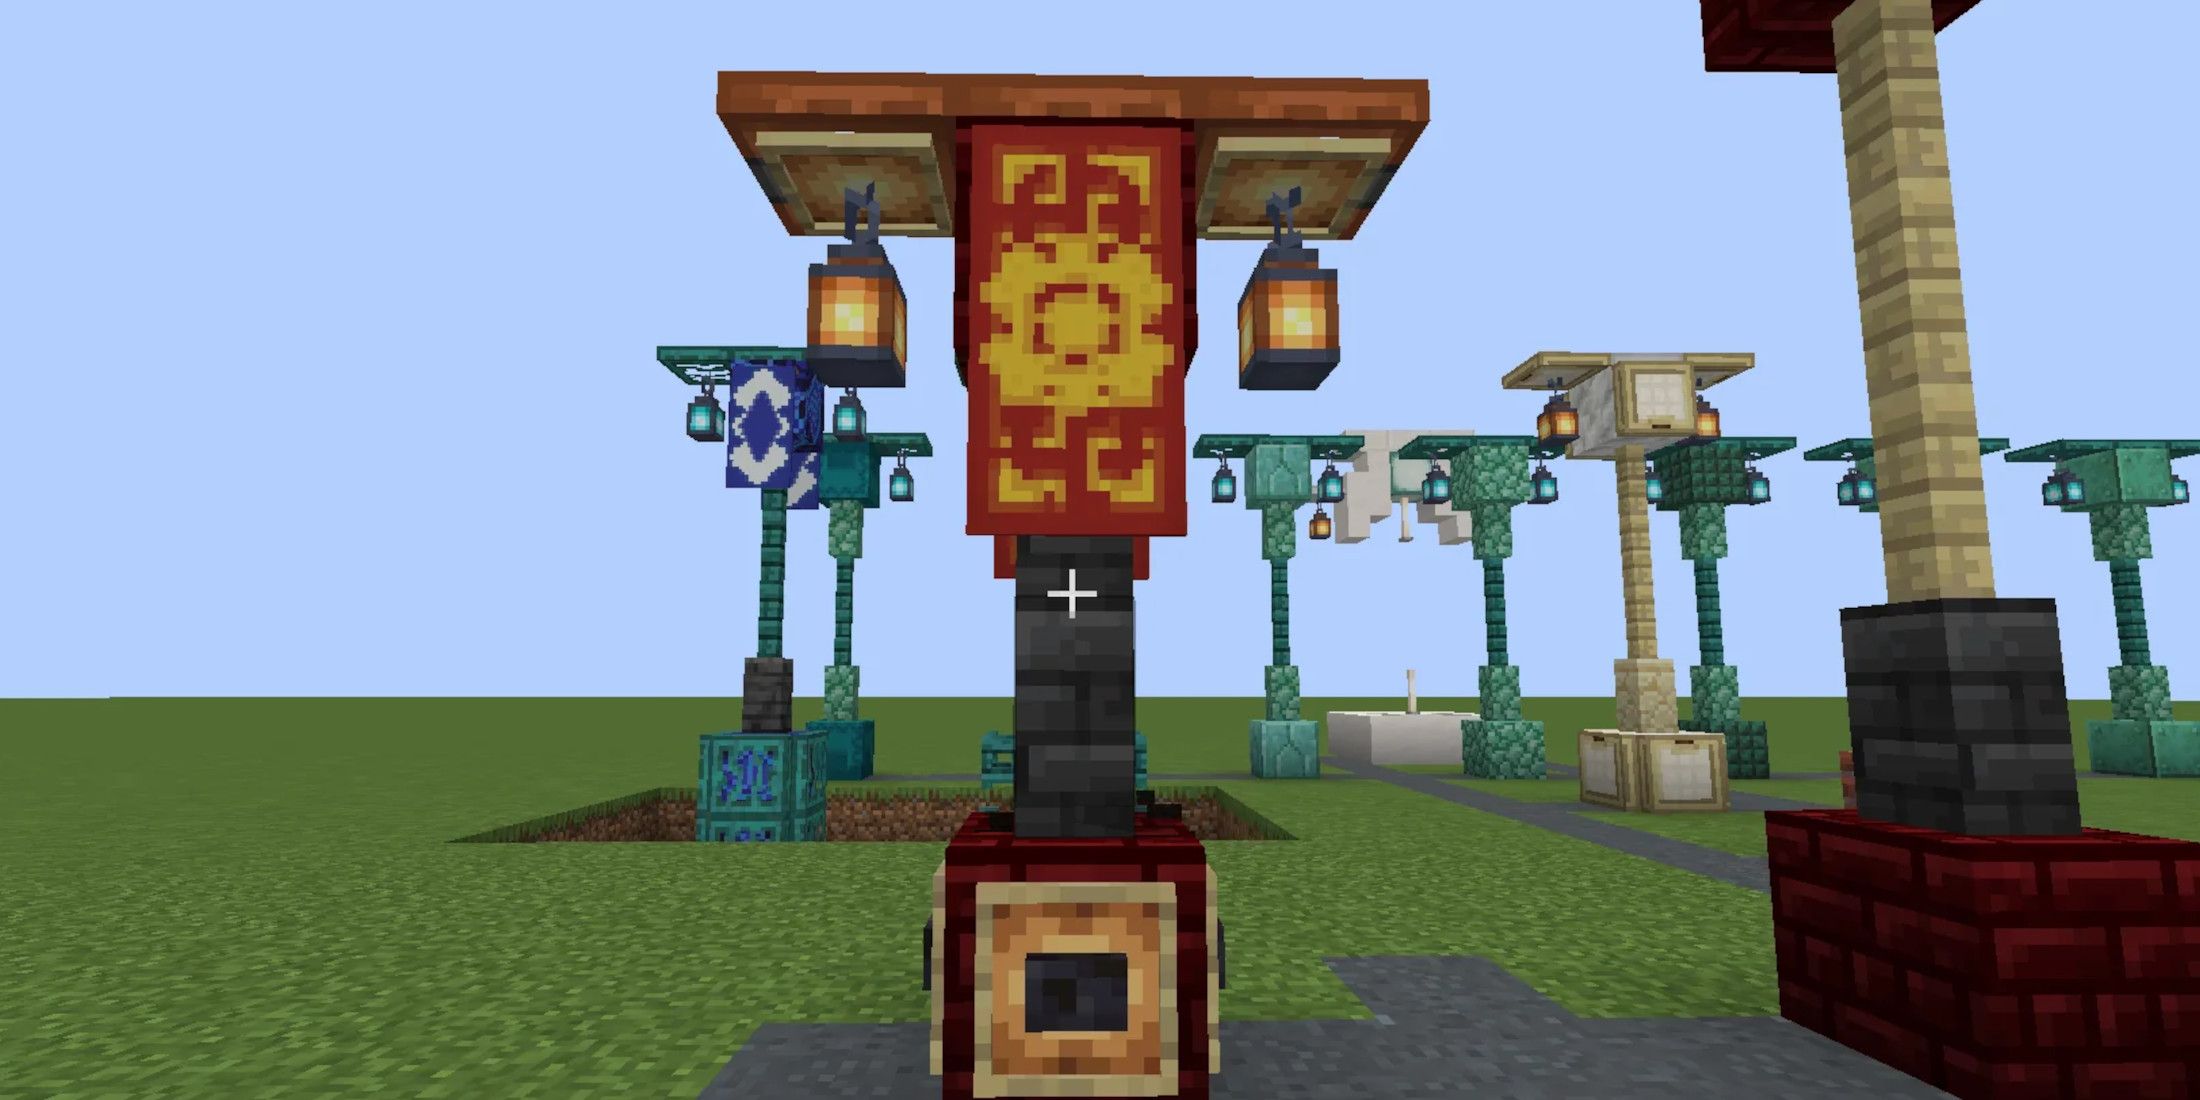
In Minecraft, lanterns offer players various advantages beyond just illumination. They also deter unwanted mobs from appearing and can serve as decorative elements. If you’re drawn to the aesthetics of lanterns, they could be a more appealing choice compared to the widely recognized and beloved torch, which has even been turned into an official Minecraft product in reality.