
The story in Where Winds Meet is captivating and heartfelt, but the side quests are almost even better. Each one feels like a complete story on its own, and they also add rich detail and depth to the game’s world.
The Promised Light Jianghu Legacy is the last one available in Qinghe, and it’s a bit more involved than the others. This extra effort is worth it, though, because the final boss is incredibly challenging – one of the toughest in the whole game. Getting to the boss is a hurdle in itself, of course.
Where To Find The Buddha’s Light Jade

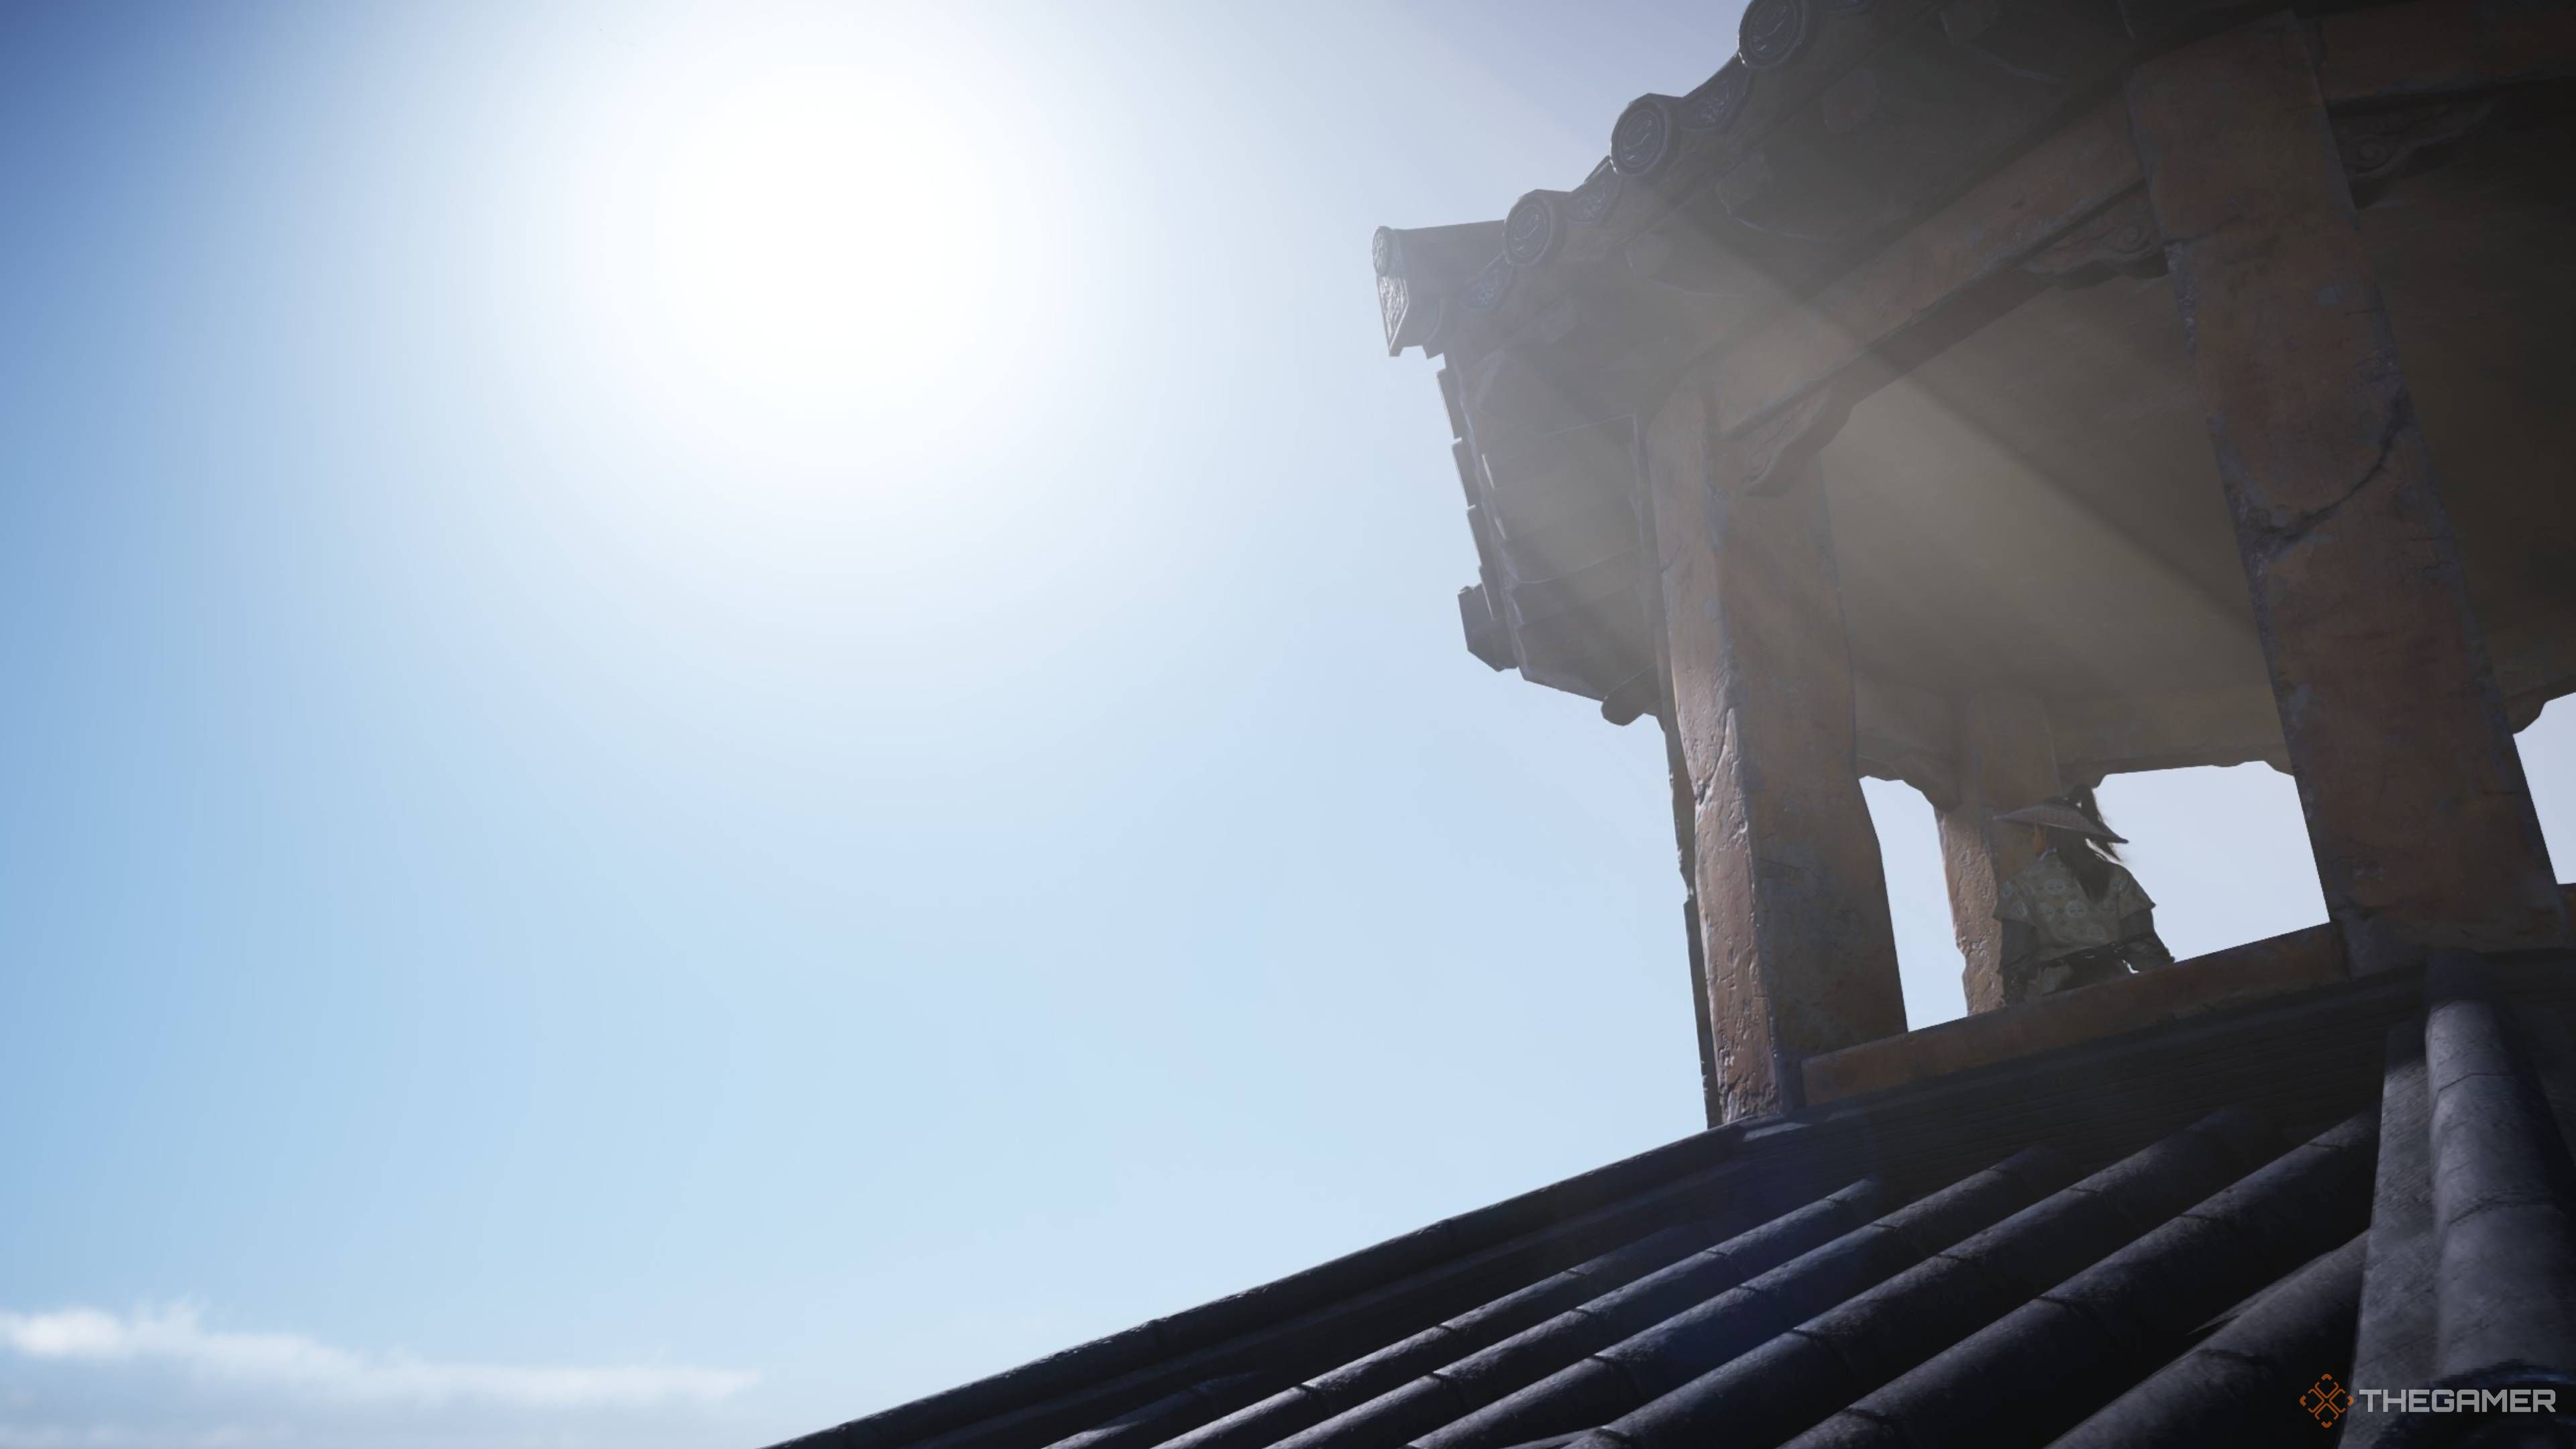
Halo Peak, a tall tower in the Moonveil Mountains, is a popular spot. While most people visit to use the Incense Burner and locate hidden antiques in Qinghe, there’s also a special feature at the very top of the tower.
Okay, so you need to get up to this higher area – it involves some careful jumping, but it’s doable! Once you’re up there, look for a little hidden alcove you can go inside. There’s a small dip in the floor in there. When you interact with it, it’ll ask you to set the time to the ‘Wu hour’ – basically, around 12pm. It’s a bit of a quirky puzzle, but you’ll get it!
Once you’ve done that, you can place both halves of the Buddha’s Light Jade. If you’re missing either piece, the game will point you in the right direction, but we’ll tell you exactly where to find them.
You can collect these items in any order, and you don’t even need to reach Halo Peak to get them.
Buddha’s Light Jade – Yin
Let’s start by looking for the Yin piece of the Buddha’s Light Jade. You can find it in Bodhi Sea, which is north of the Qinghe region. It’s a reward for completing the Bodhi Sea campaign, but it’s not shown with the other rewards – you’ll receive it only after finishing the entire campaign.
There’s a detailed guide available, but here’s the gist: you need to locate and strike three drums near Bodhi Sea. Once you do that, you’ll move on to a battle with Ye Wanshan. Defeating him finishes the campaign and rewards you with the Buddha’s Light Jade – Yin.
Buddha’s Light Jade – Yang
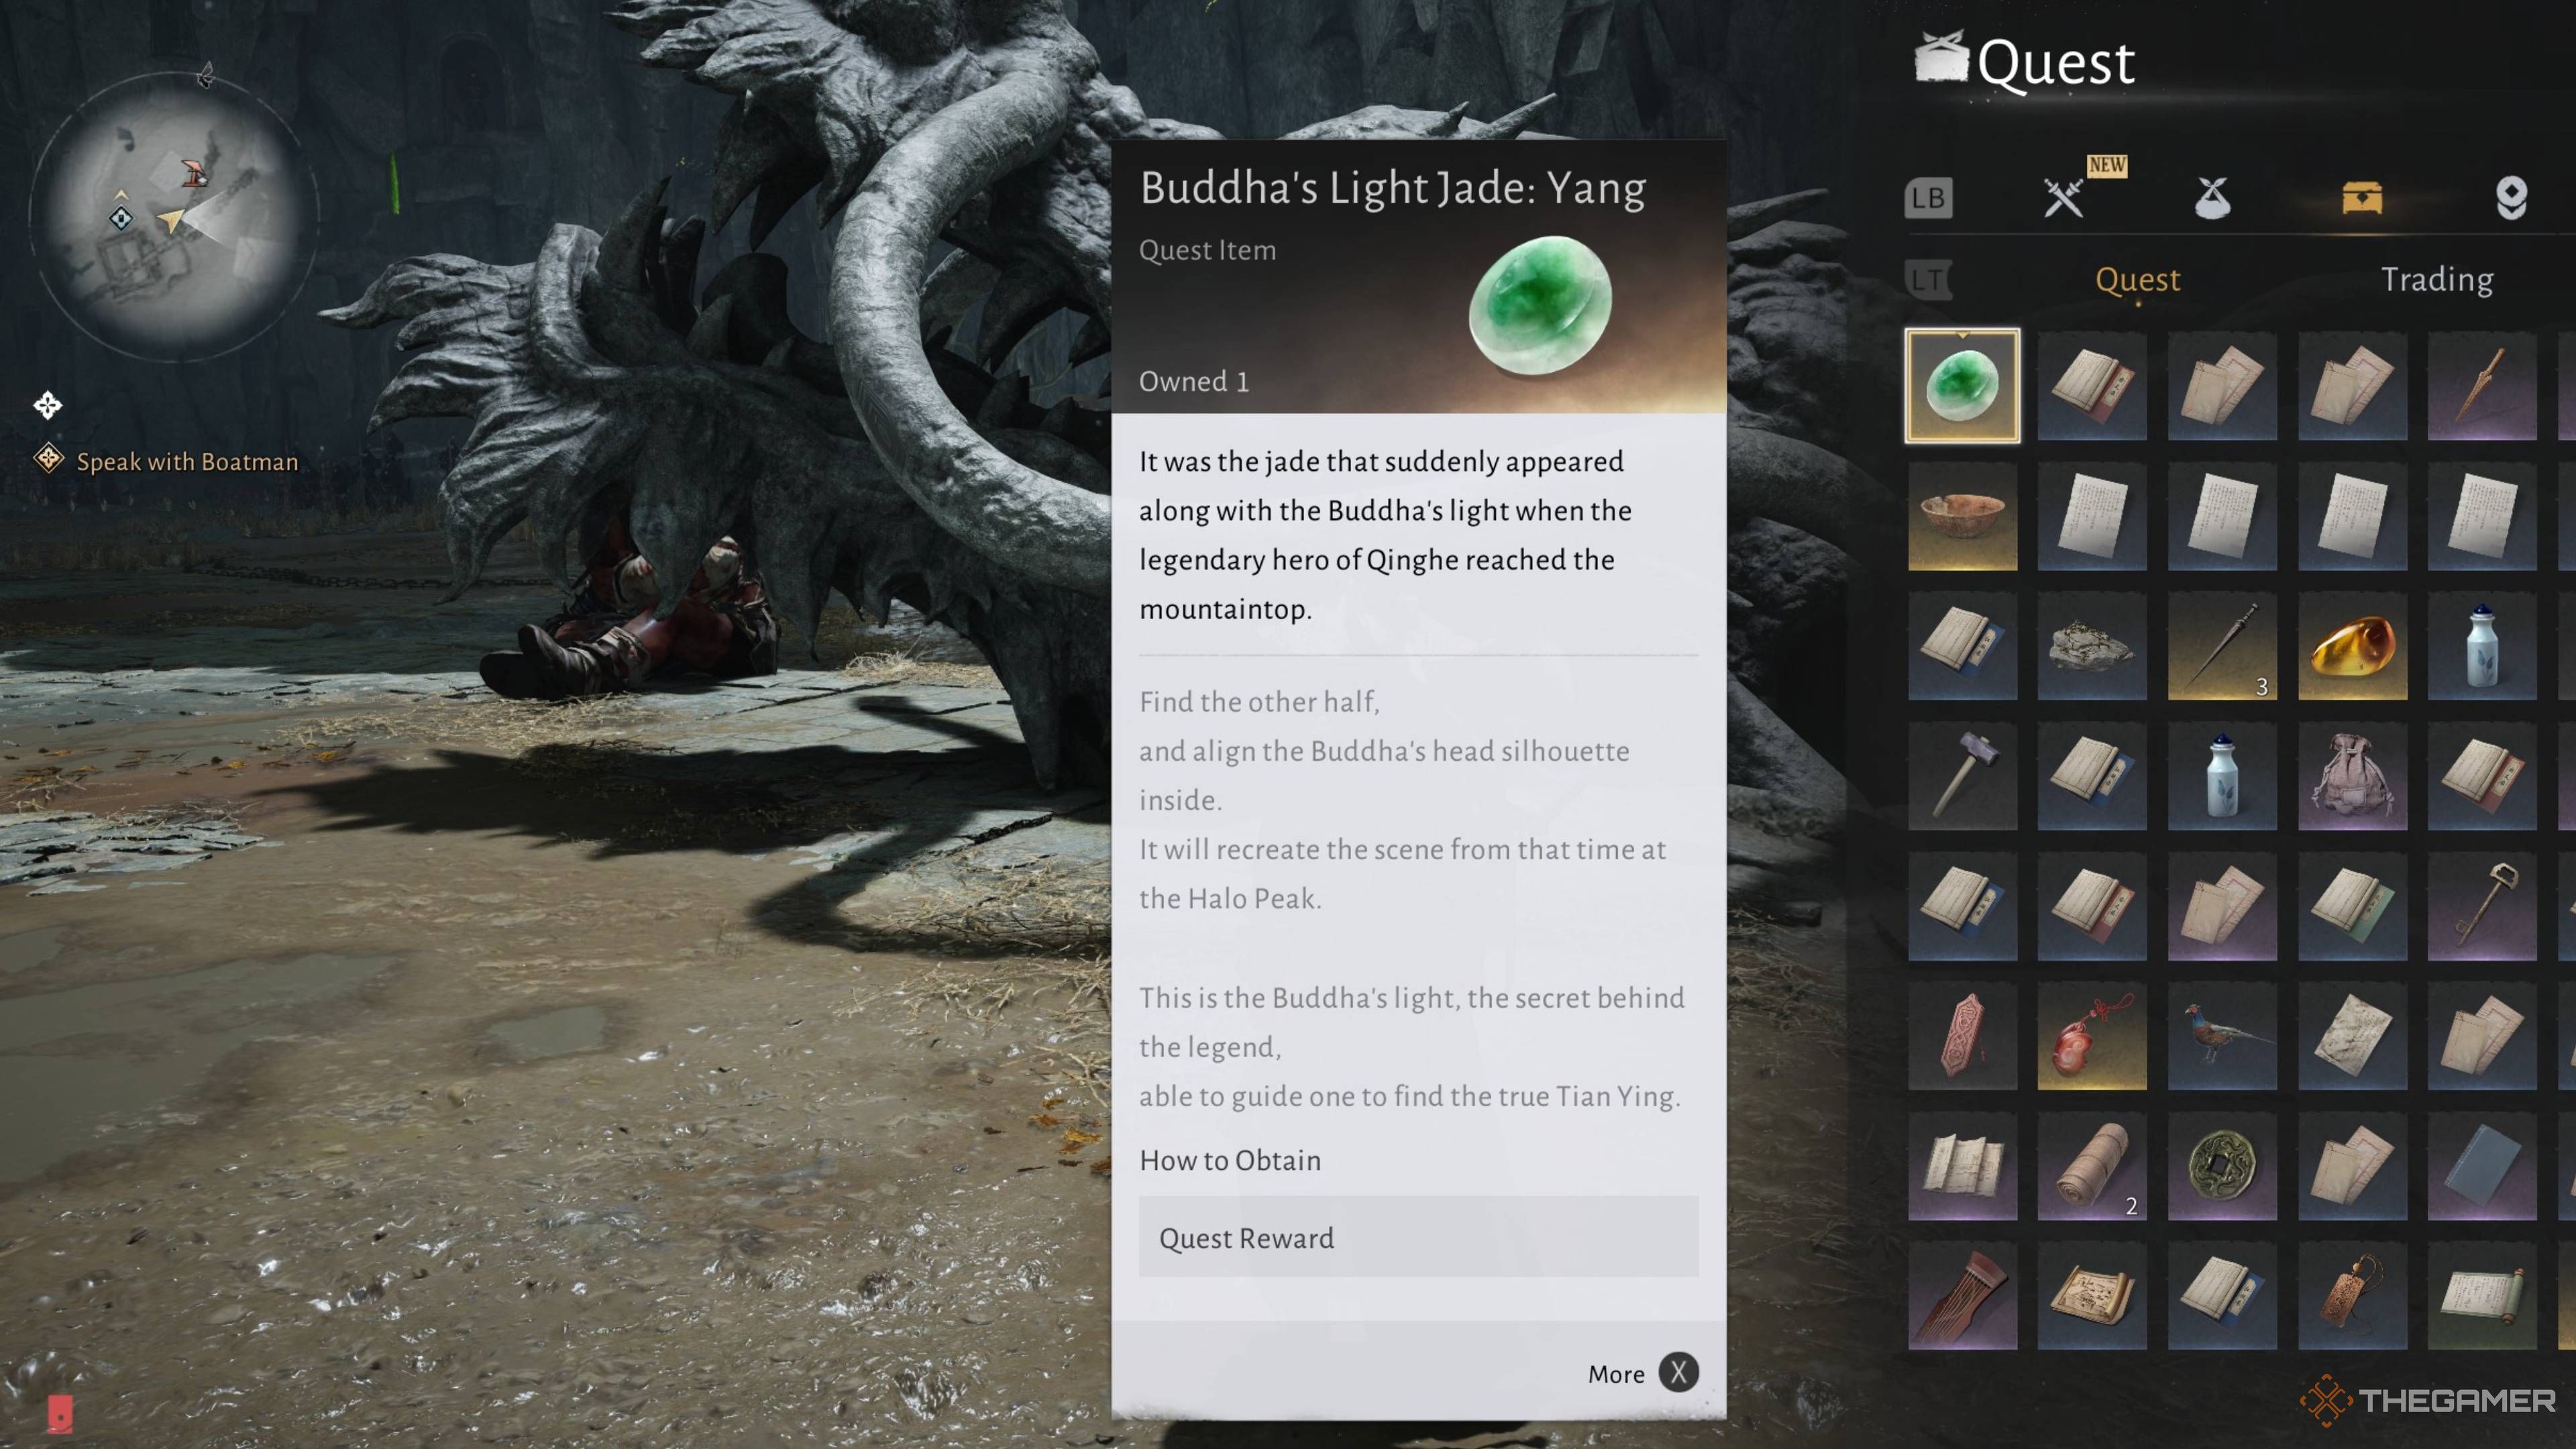
The next Buddha’s Light Jade you’ll obtain is the Yang piece. Similar to the Yin piece, you’ll get it by completing the Palace of Annals campaign, which is located further south in the Qinghe region. Keep in mind that this reward isn’t explicitly listed among the campaign prizes.
This quest is straightforward: make your way through the Palace of Annals to the main building. While there are tough enemies and cannons, you can easily bypass them by using a Grand Lightness Skill to quickly travel to the center.
You will eventually battle Lucky Seventeen. Once you defeat them, you can claim the Buddha’s Light Jade – Yang from the dragon statue’s mouth.
Placing The Buddha’s Light Jade
Once you have both jade pieces, go back to the top of the Halo Peak tower. Set the time to the Wu hour, then place both pieces of the Buddha’s Light Jade into the designated indent.
Okay, so once you do this thing, it kicks off a cutscene. A shadowy figure shows up and unlocks the door at the bottom of Halo Peak. You follow them in, and boom – a bright beam of light is shooting straight down the middle of the tower, into this big hole. Jump down that hole, and that’s how you officially start both the Halo Peak campaign and the Jianghu Legacy, ‘The Promised Light.’ It’s pretty cool!
This hole transitions into a new area, so don’t worry about using Mighty Drop to break your fall.
How To Solve The Light Puzzles
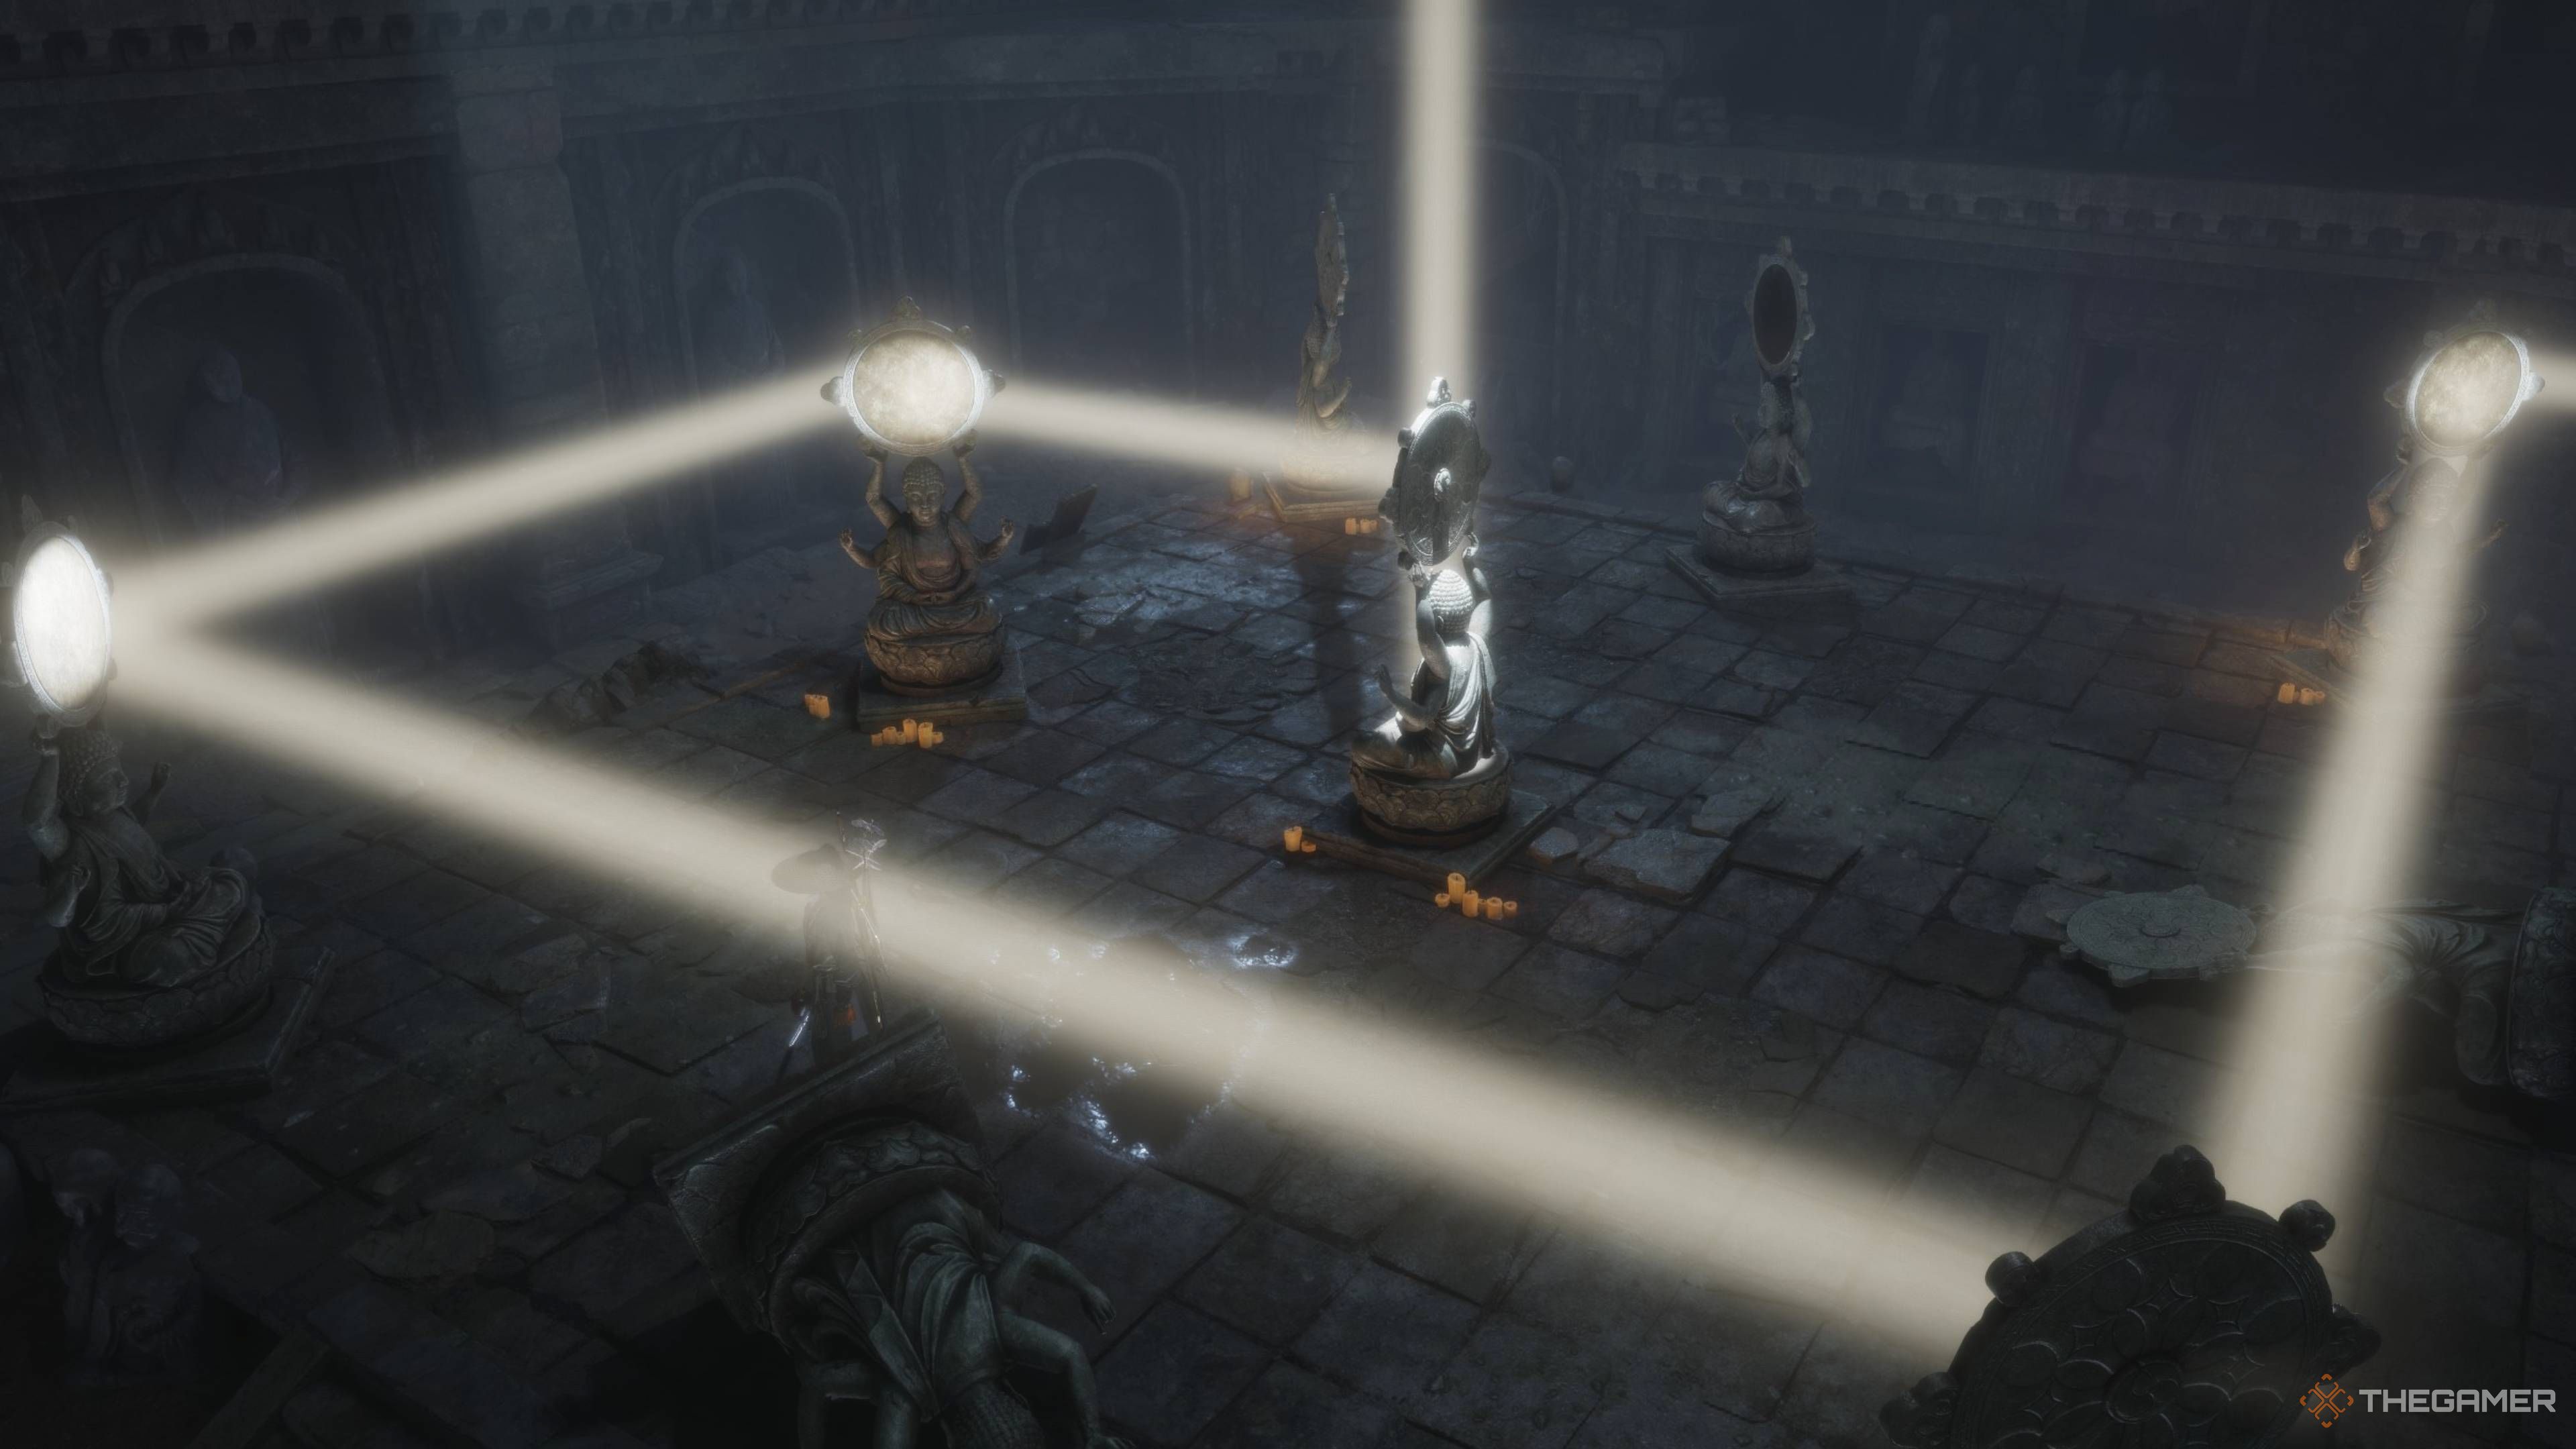
After you land, you’ll find yourself in a room with a statue brightly lit by a spotlight. The light reflects off a mirror onto the wall. To open the locked door, you need to direct that light onto both the door itself and the symbol above it.
You can’t turn the statue directly, although your character notices what appear to be acupuncture points on its surface. This is a clue, but it could also be just a detail added to make the world feel more realistic.
You’ll need to use the Meridian Touch Mystic Skill to solve this. It lets you rotate the statue in either direction – clockwise or counterclockwise – giving you full control over its position. For this first puzzle, all you need to do is turn the statue to face the door.
The puzzle in the next room is also straightforward. You need to bounce light off several statues, but there’s only one correct arrangement to solve it. Let’s move on.
This last light puzzle is a little trickier. The light currently shines on the main statue. You need to redirect the light by turning each statue: first point it north, then west, then south, and finally east. This will aim the light at the last statue. Simply turn that final statue south to shine the light on the symbol above it, opening the path forward.
Battling The Mechanical Puppets
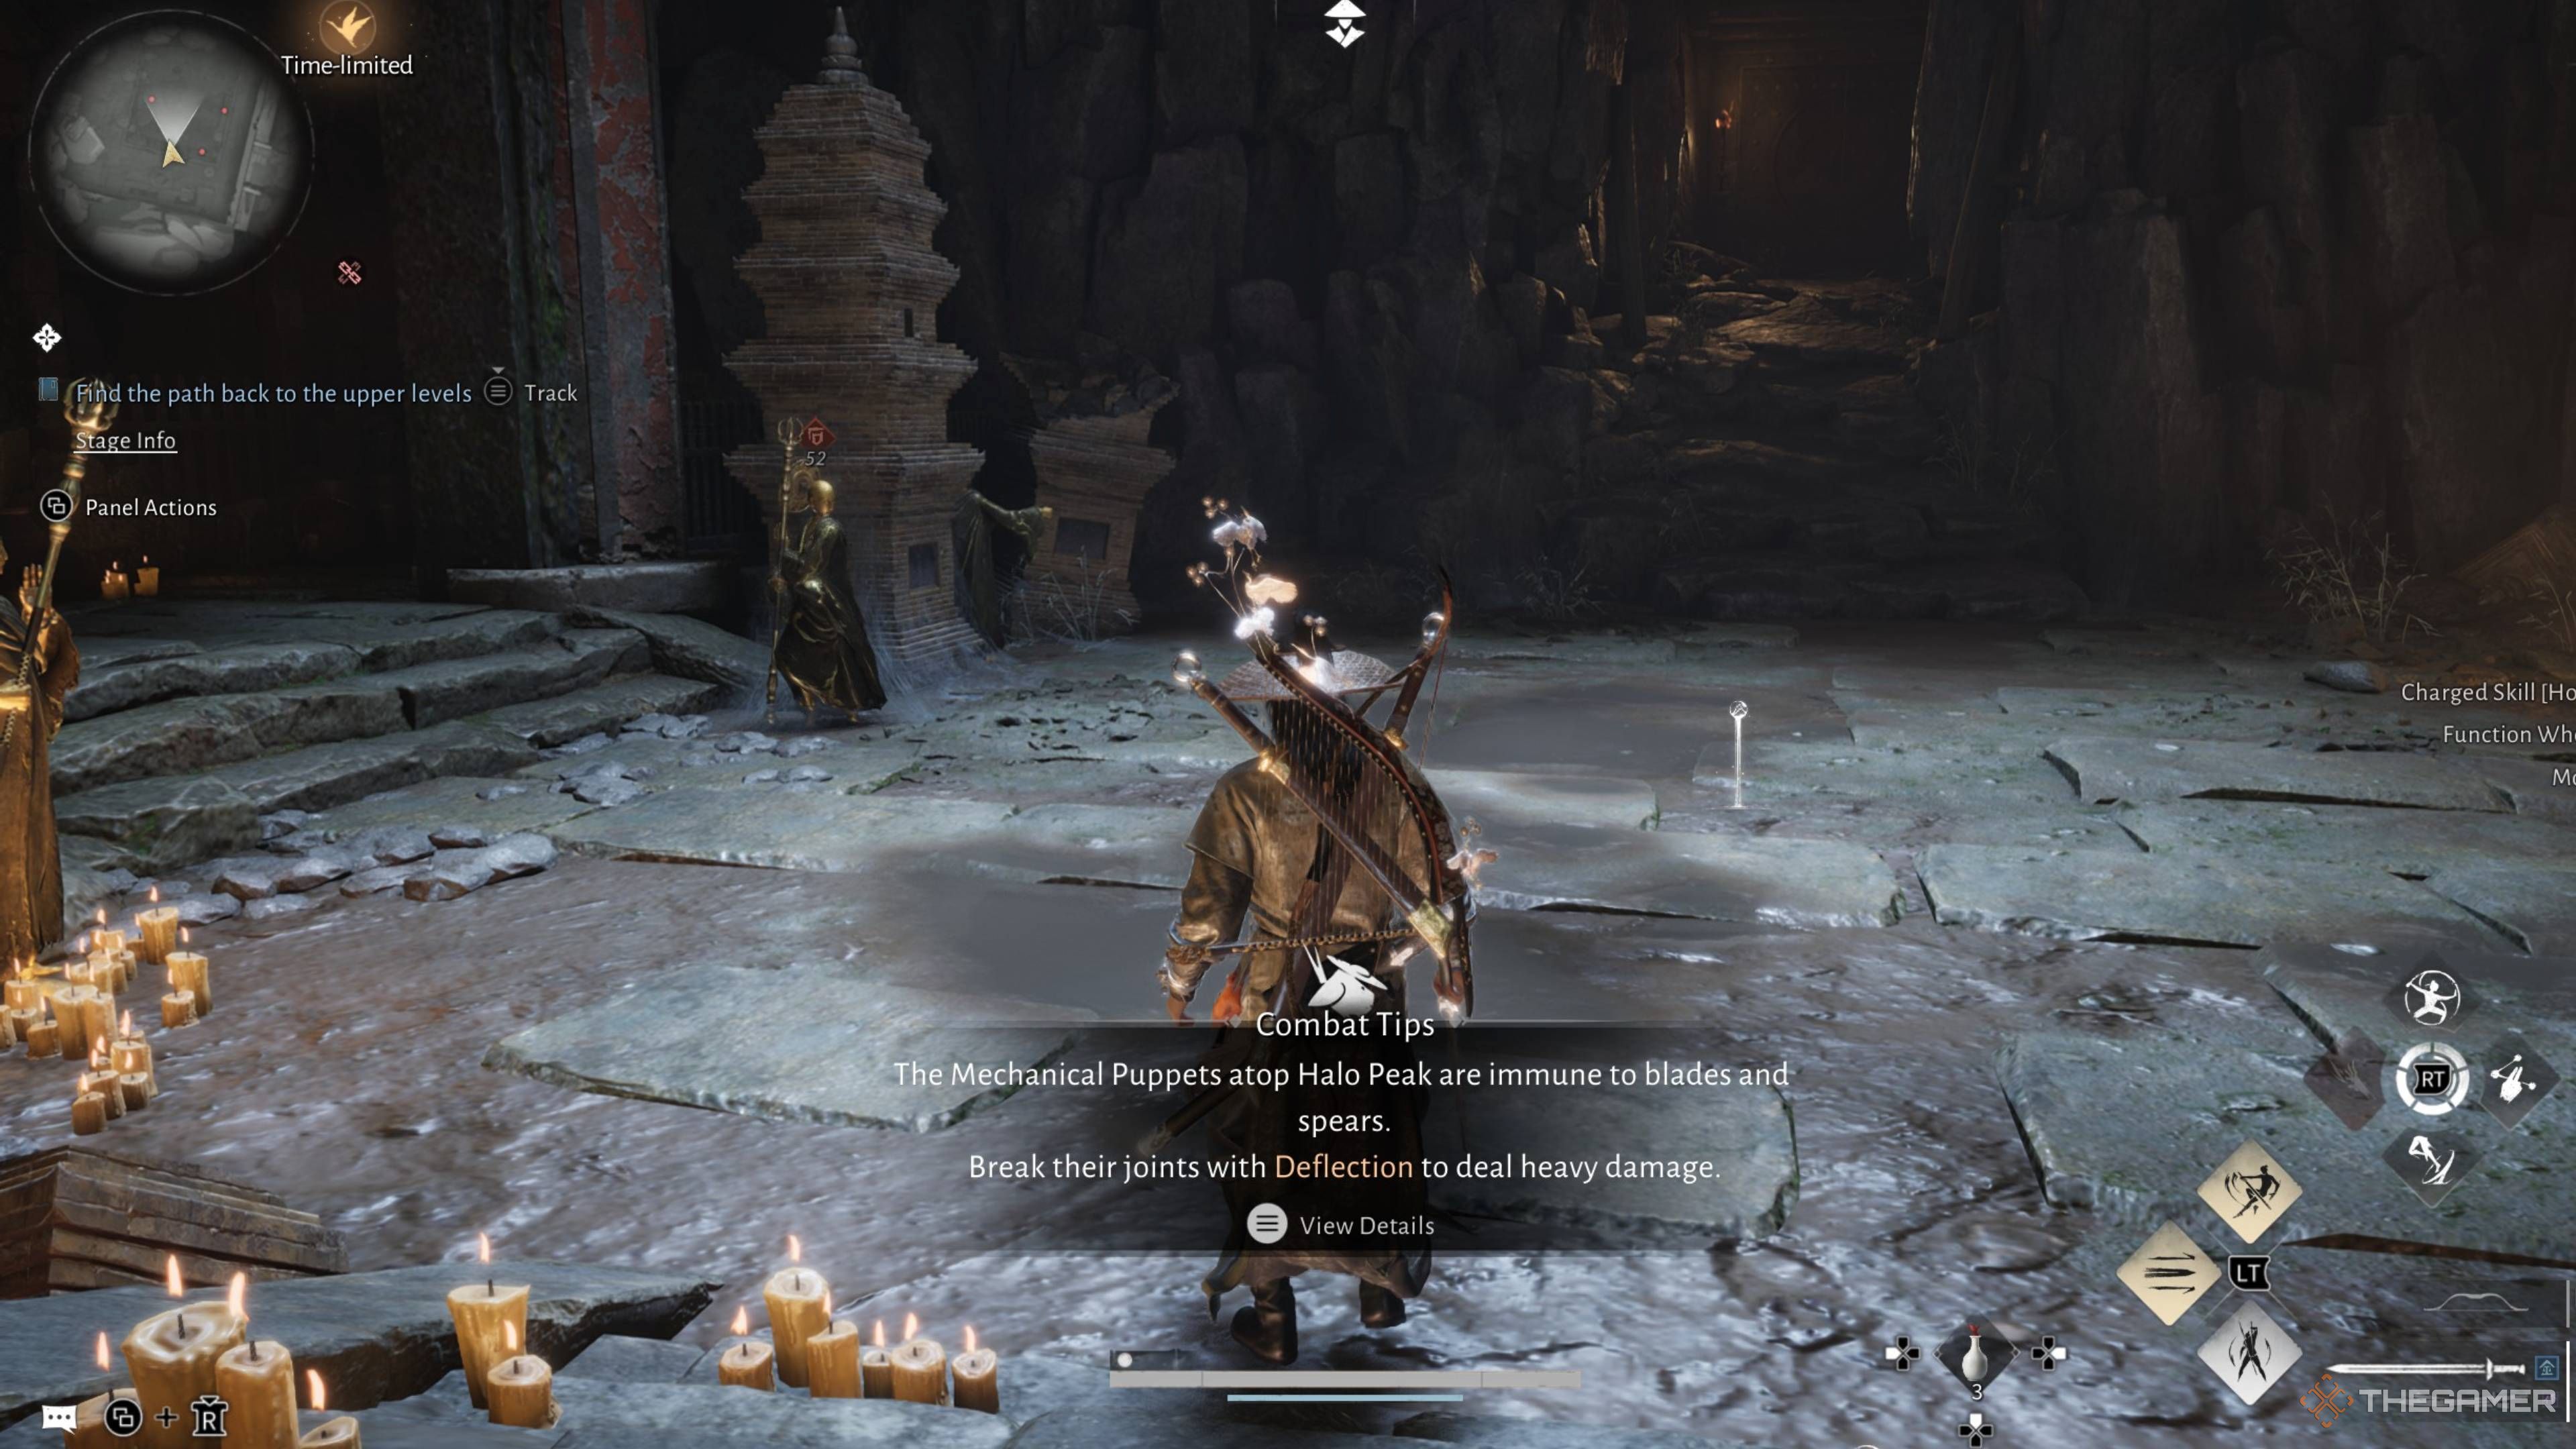
Okay, so I just ran through this tunnel, and the floor totally gave way! Now I’m swarmed by these Mechanical Puppets. The game helpfully told me that normal attacks don’t work on them – you actually have to deflect their attacks to take them down. It’s a bit of a tricky fight, but deflecting is the key!
You can defeat them with regular attacks, but they’re very resistant to damage.
These enemies are very vulnerable to being deflected – they take significant damage each time. They also attack rapidly, allowing you to defeat them quickly. However, failing to deflect their attacks can easily leave you stunned. Fortunately, you’ll only encounter them in two rooms, so the challenge doesn’t last long.
Fighting Tian Ying
Navigating The Chasm
Once you return to the main chamber, you’ll enter a huge, open room that slopes downward. You need to get to the bottom, but don’t just jump or fall – that will be fatal! Carefully follow the winding path as it descends.
Descend carefully between the wooden platforms and rocks. You’ll need to walk across a few tightropes along the way. Since you can’t jump or run, focus on making accurate movements. The tightropes have a bit of grip, so you should be able to stay balanced as long as you land relatively close to them.
As you descend further, parts of the room will begin to fall, and you’ll need to run ahead of the collapsing sections. This part is largely predetermined, but you’ll have to restart if you stumble. Once you make it through, you can finally reach the bottom.
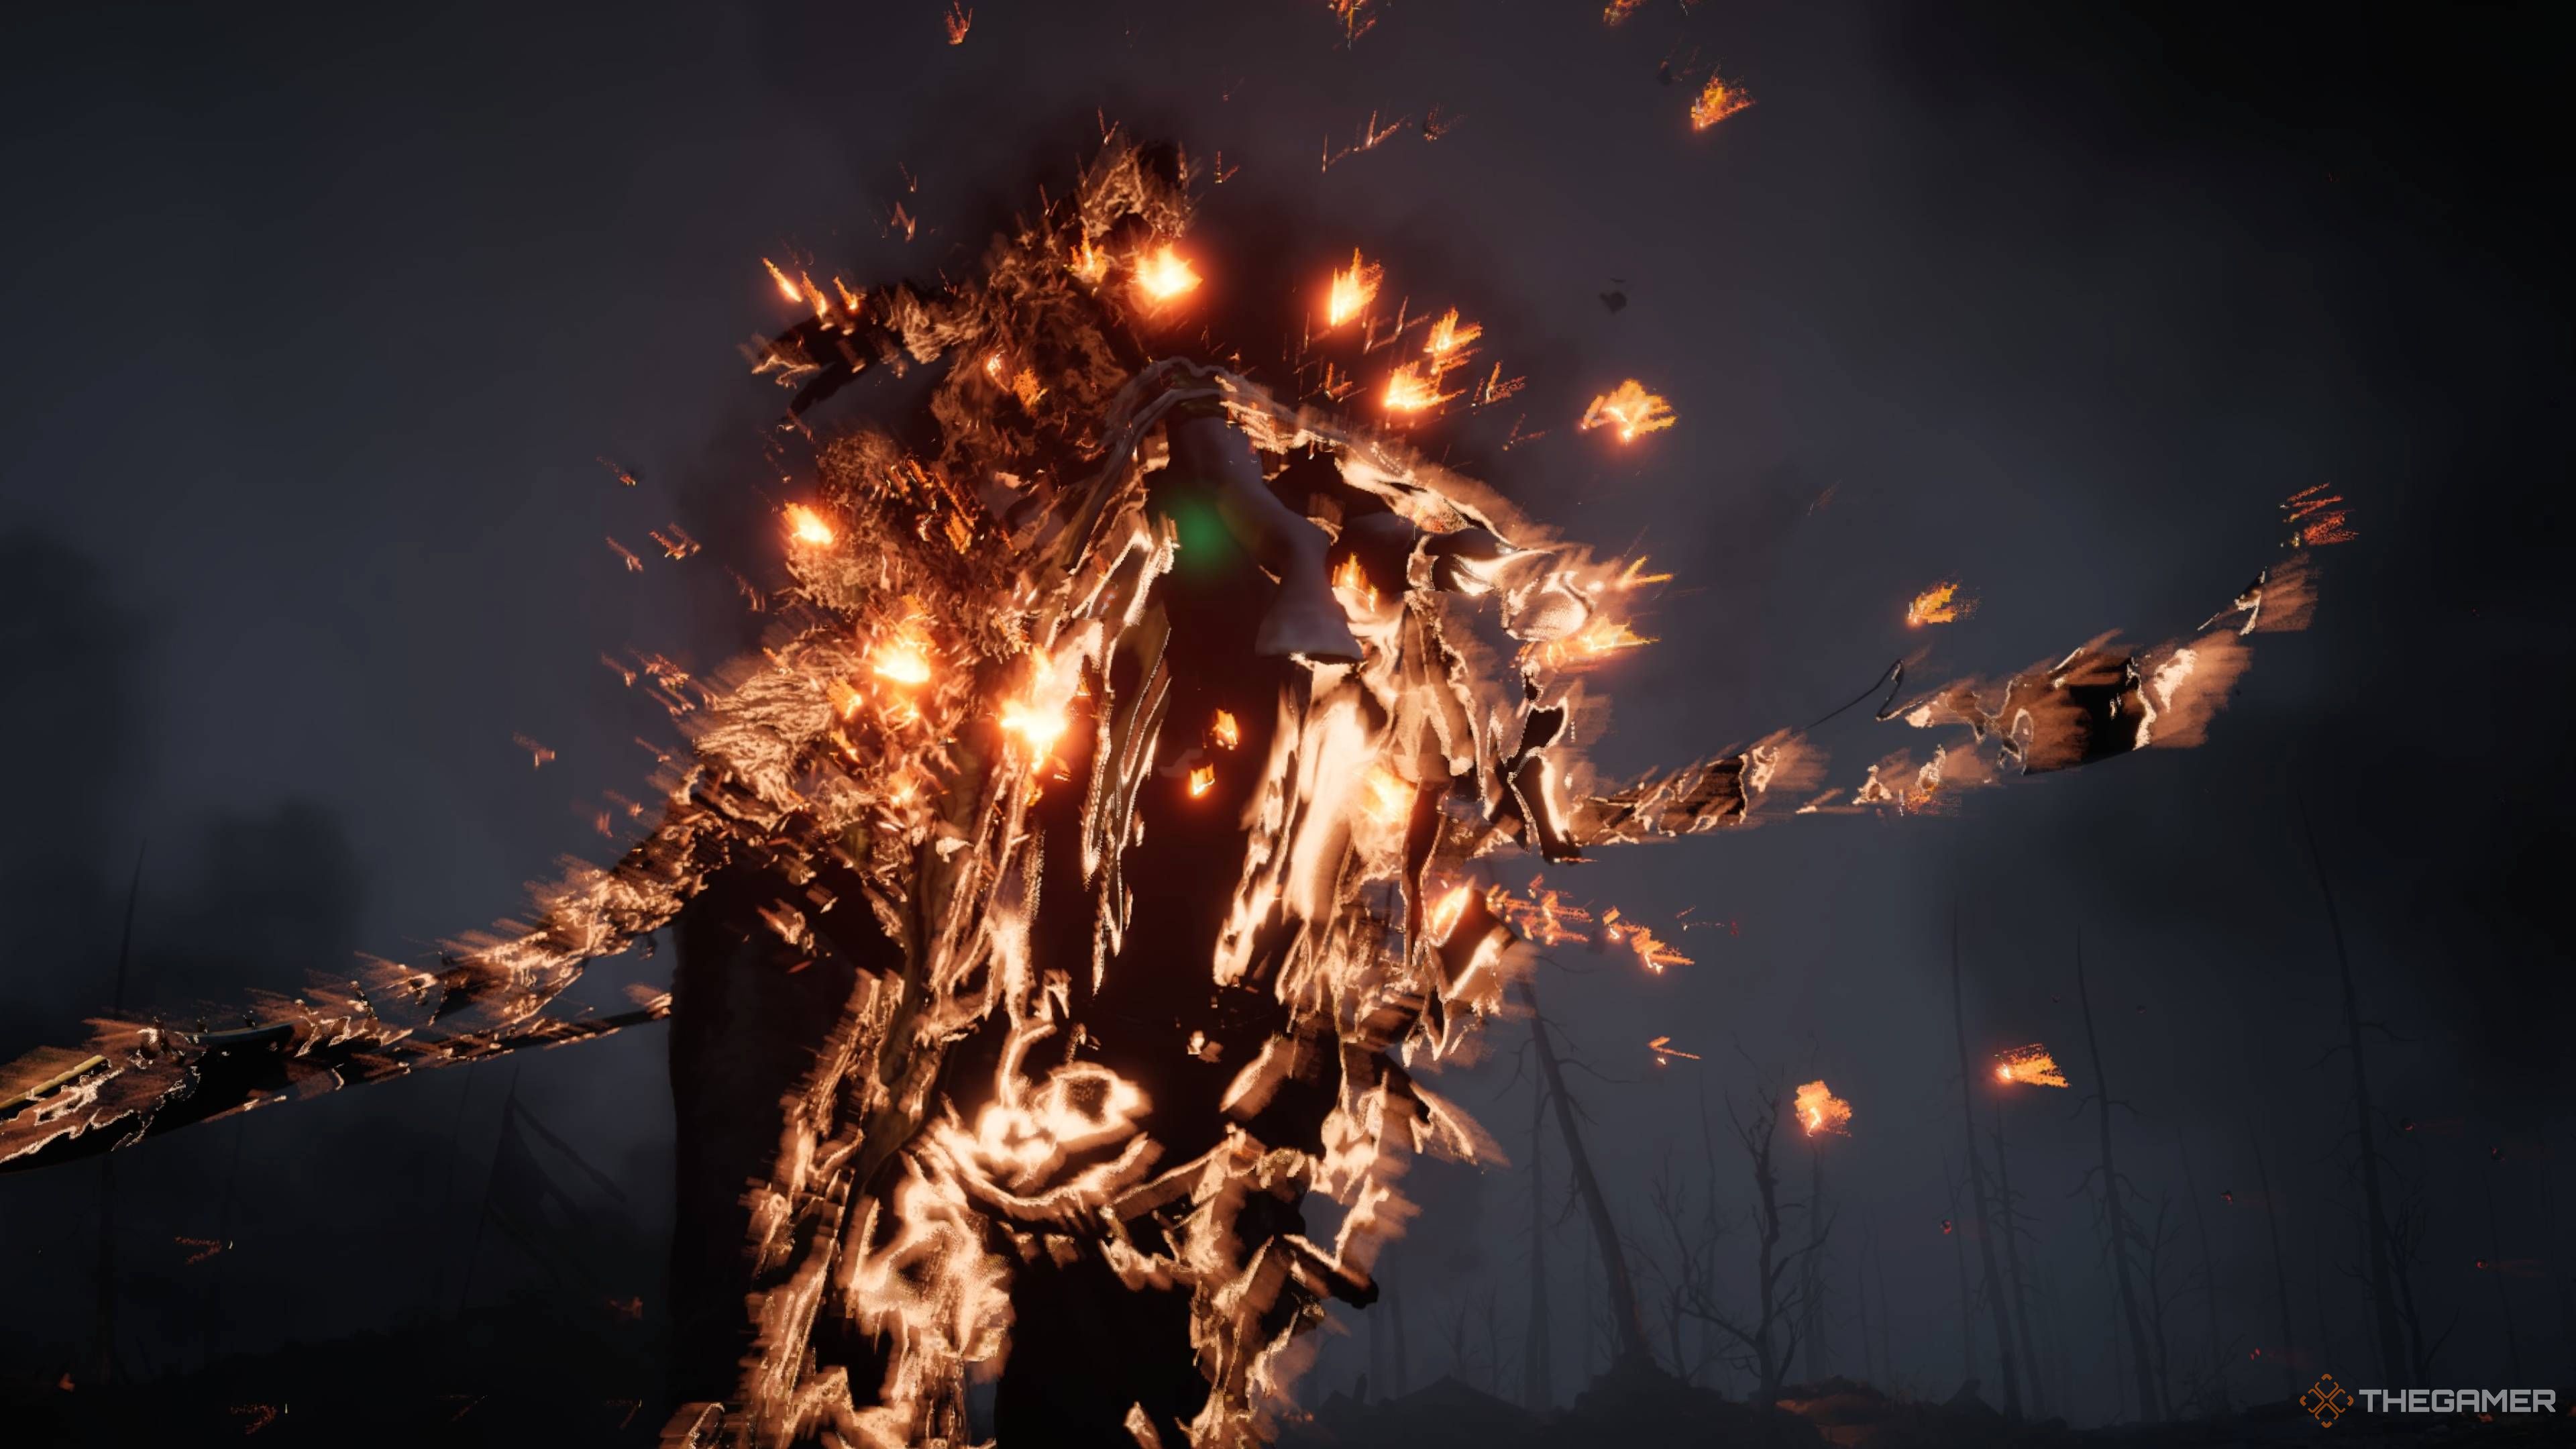
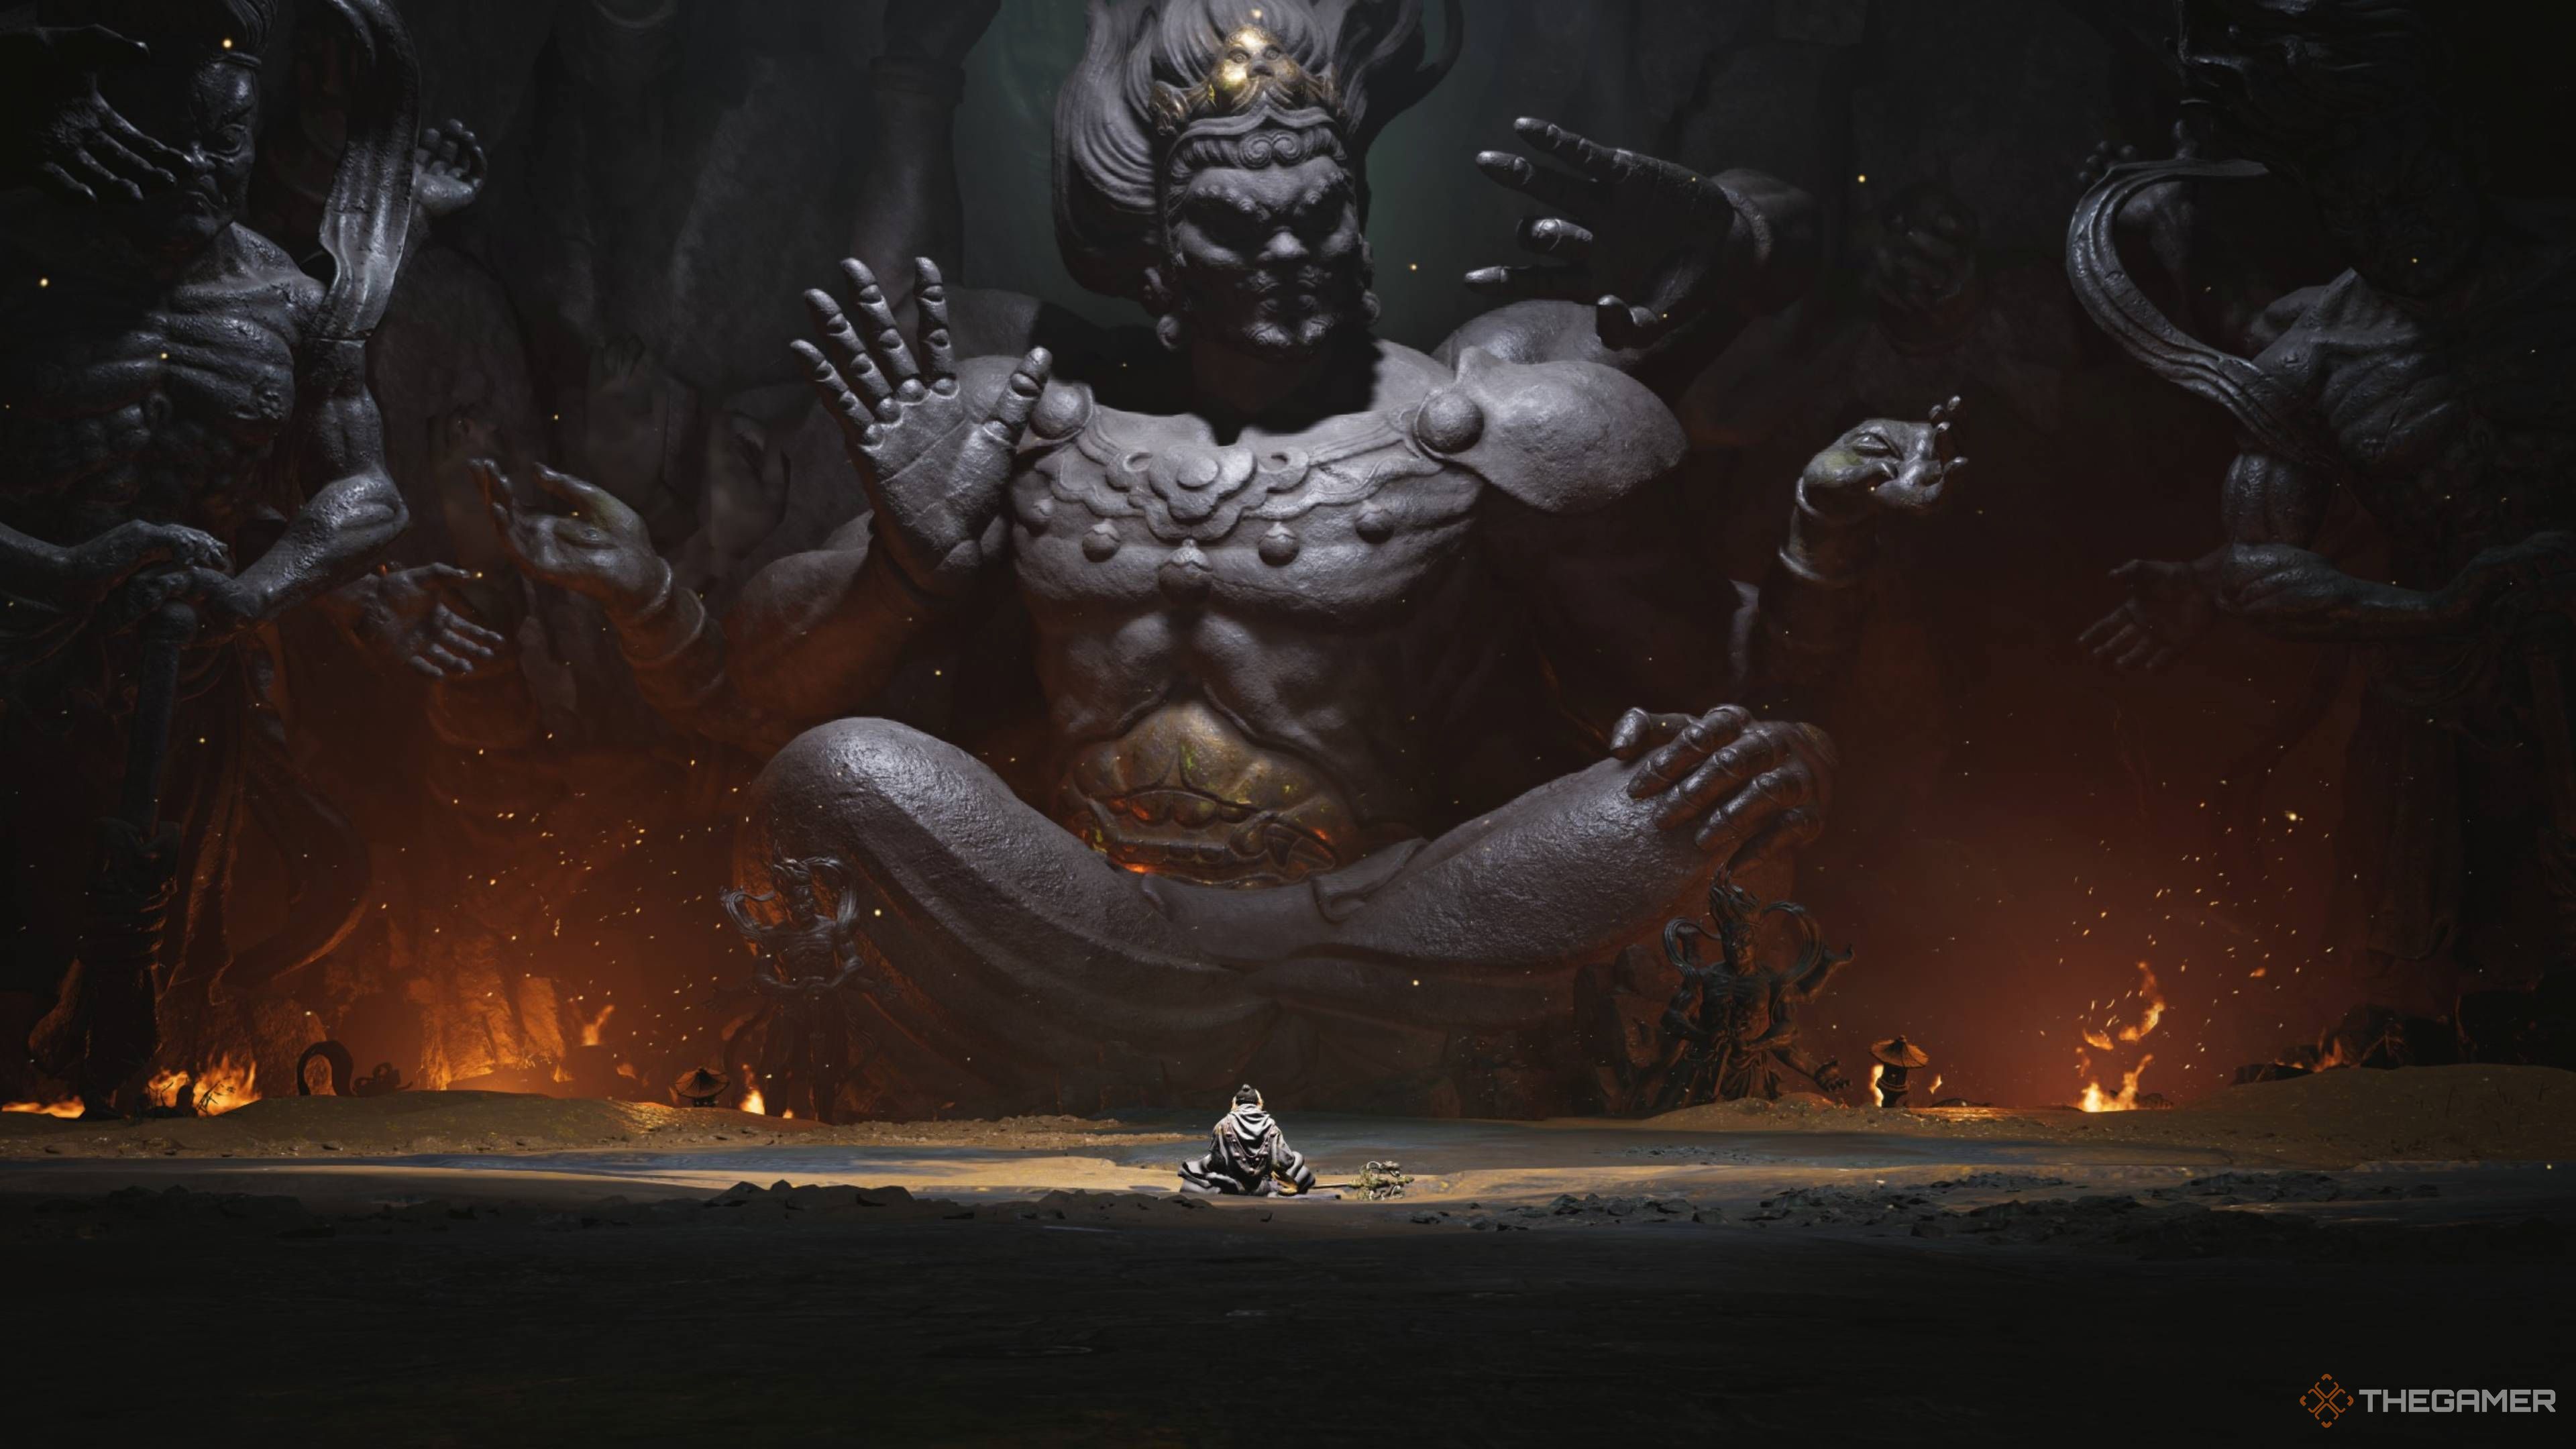
Battling Tian Ying
You’ll discover a Hero’s Tomb and helpful guides in this area. Ahead of you is Tian Ying, a very challenging boss. He’s difficult not only because of his powerful attacks, but also because the fight has three distinct phases.
And if you fail at any of them, you have to start all over.
I’ve been studying this boss a lot, and it’s really interesting how he changes. It’s not just that he gets tougher as the fight goes on, but he completely switches up how he attacks! In the first phase, he mostly uses his staff, throwing in a punch here and there. It’s actually pretty doable if you can deflect everything. And there’s this cool thing – watch for a button prompt! It lets you interrupt one of his attacks with Meridian Touch, which is a lifesaver.
During the second stage of the fight, Tian Ying attacks with quick punches and combos. He can also call upon the statues behind him to join the assault. While you can block everything, it’s easy to slip up and get hit, which will result in a lot of damage.
During the last stage of the fight, Tian Ying switches to a dagger and becomes briefly invisible and reappears. The best way to hurt him is to disrupt his energy. He’ll create copies of himself, but don’t waste your time attacking those. Instead, focus on deflecting the real Tian Ying – each successful deflection will destroy one of the clones.
After defeating him, simply swim out of the cave to claim your rewards, such as the powerful Yaksha Rush Mystic Art.
Read More
- All Skyblazer Armor Locations in Crimson Desert
- All Shadow Armor Locations in Crimson Desert
- How to Get the Sunset Reed Armor Set and Hollow Visage Sword in Crimson Desert
- Marni Laser Helm Location & Upgrade in Crimson Desert
- Best Bows in Crimson Desert
- All Helfryn Armor Locations in Crimson Desert
- All Golden Greed Armor Locations in Crimson Desert
- How to Craft the Elegant Carmine Armor in Crimson Desert
- Keeping Large AI Models Connected Through Network Chaos
- One Piece Chapter 1179 Preview: The Real Imu Arrives in Elbaf
2025-12-03 00:37