Top gainers and losers
Most profitable crypto: Nobody Sausage (NOBODY), Hosico Cat (HOSICO), Hashflow (HFT), SkyAI (SKYAI), Banana For Scale (BANANAS31), Pudgy Penguins (PENGU), Useless Coin (USELESS), Swarms (SWARMS), Prom (PROM), Bedrock (BR).
Most profitable crypto: Nobody Sausage (NOBODY), Hosico Cat (HOSICO), Hashflow (HFT), SkyAI (SKYAI), Banana For Scale (BANANAS31), Pudgy Penguins (PENGU), Useless Coin (USELESS), Swarms (SWARMS), Prom (PROM), Bedrock (BR).
Cryptocurrencies that are trading close to all time high values Fasttoken (FTN/USDT) Fasttoken rate has changed by -0.09% in the last 7 days. The difference for the last day was 0.03%. Cryptocurrency Fasttoken ranks the 57 place in the rating by capitalization. The price of FTN/USD has declined by 0.90% from the peak value on … Read more
Sorry, KAIA/USD forecast is not available at the moment. Please try again later. Forecasts that will be relevant tomorrow:
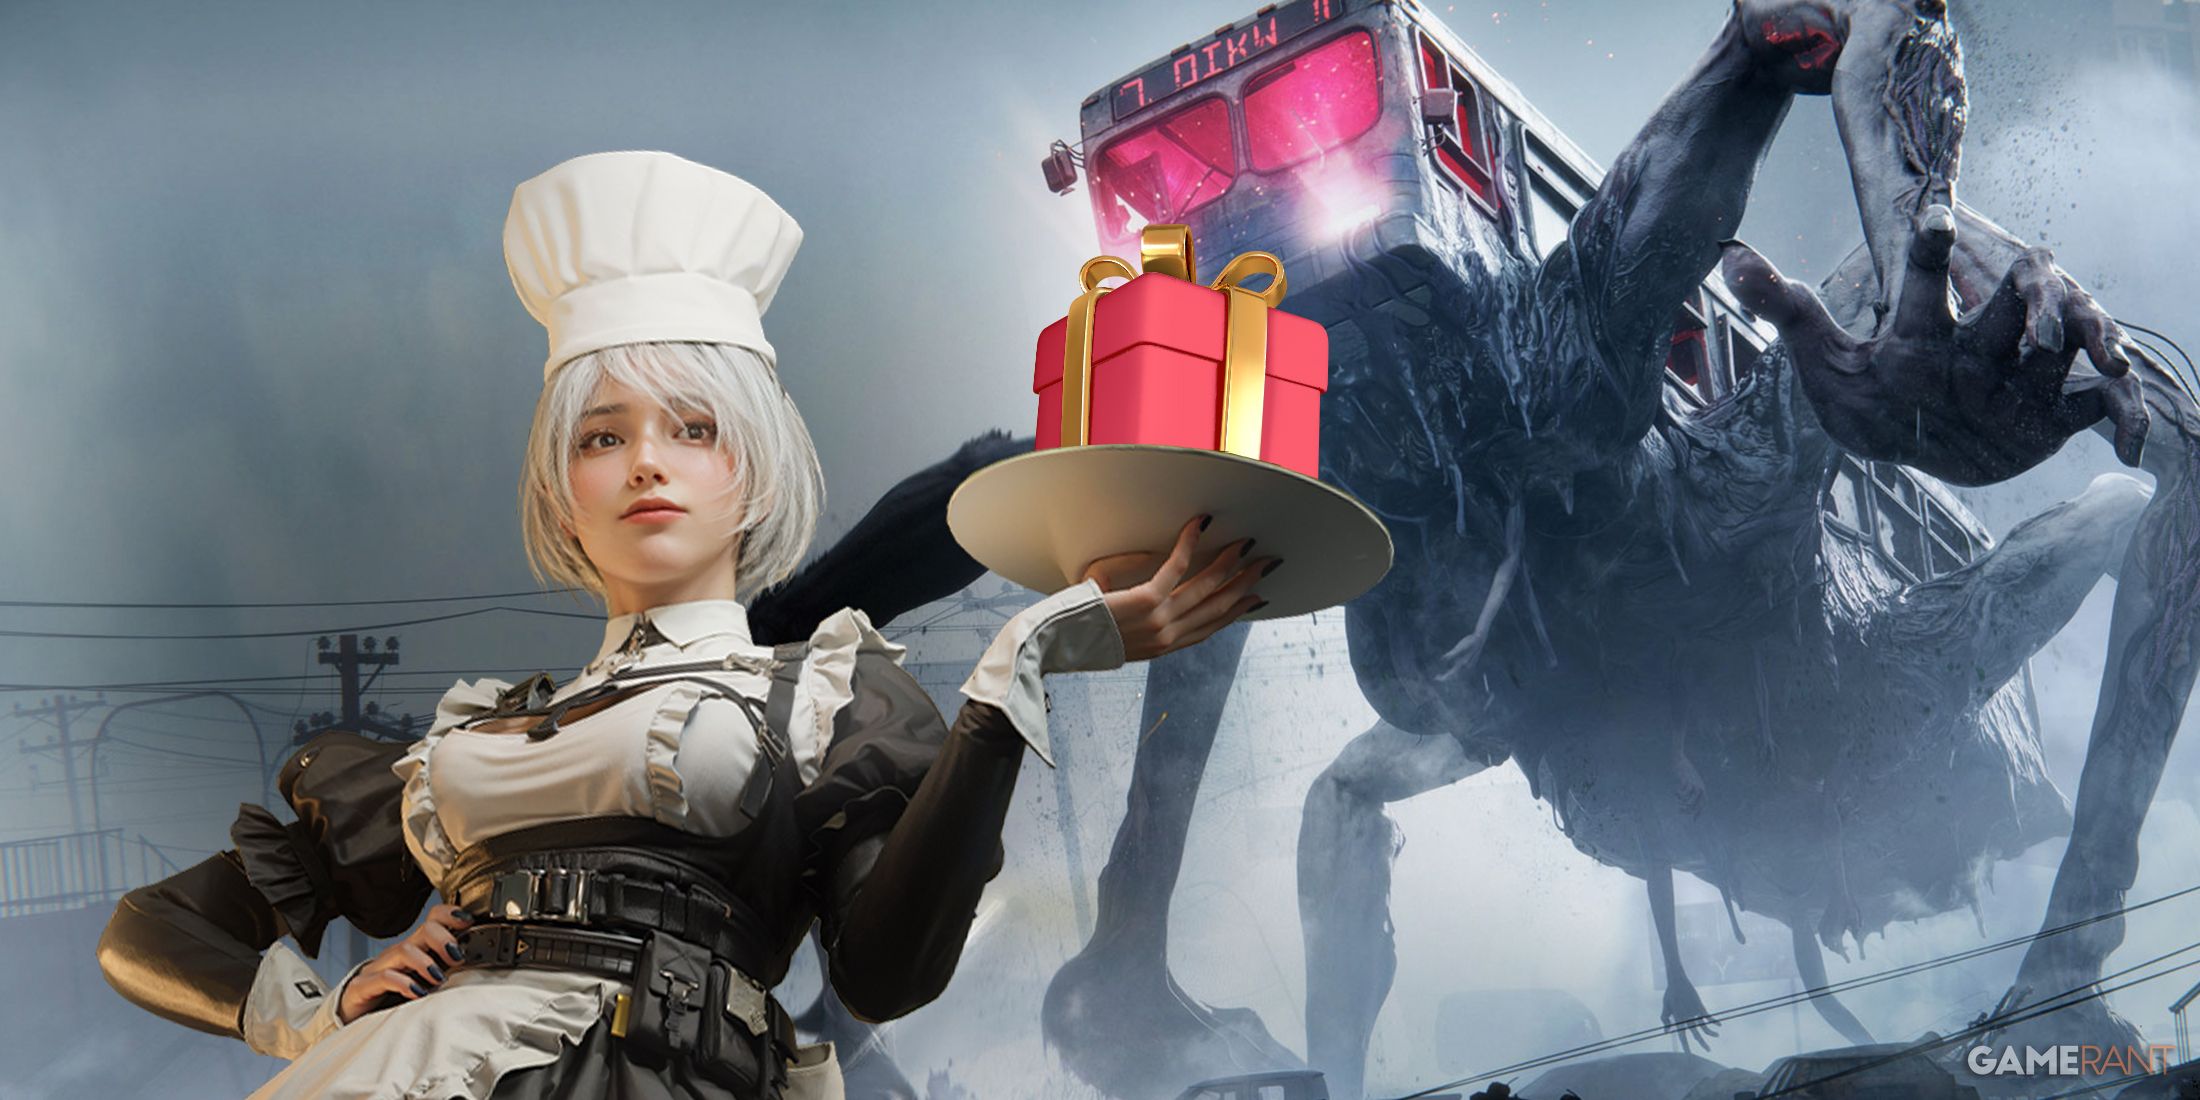
In July 2024, the game “Once Human” made its debut on PC storefronts and quickly became a notable title on the platform, boasting over 230K concurrent players at launch on Steam. This puts it among NetEase’s other prominent online games like “Marvel Rivals”, “Naraka: Bladepoint”, and “FragPunk”. Since its initial release, regular updates for “Once Human” have helped maintain a substantial player base, with the multiplayer game still attracting around 30K concurrent players on Steam daily. With console ports now seemingly finalized, it’s expected that engagement with this game will significantly increase in the near future.
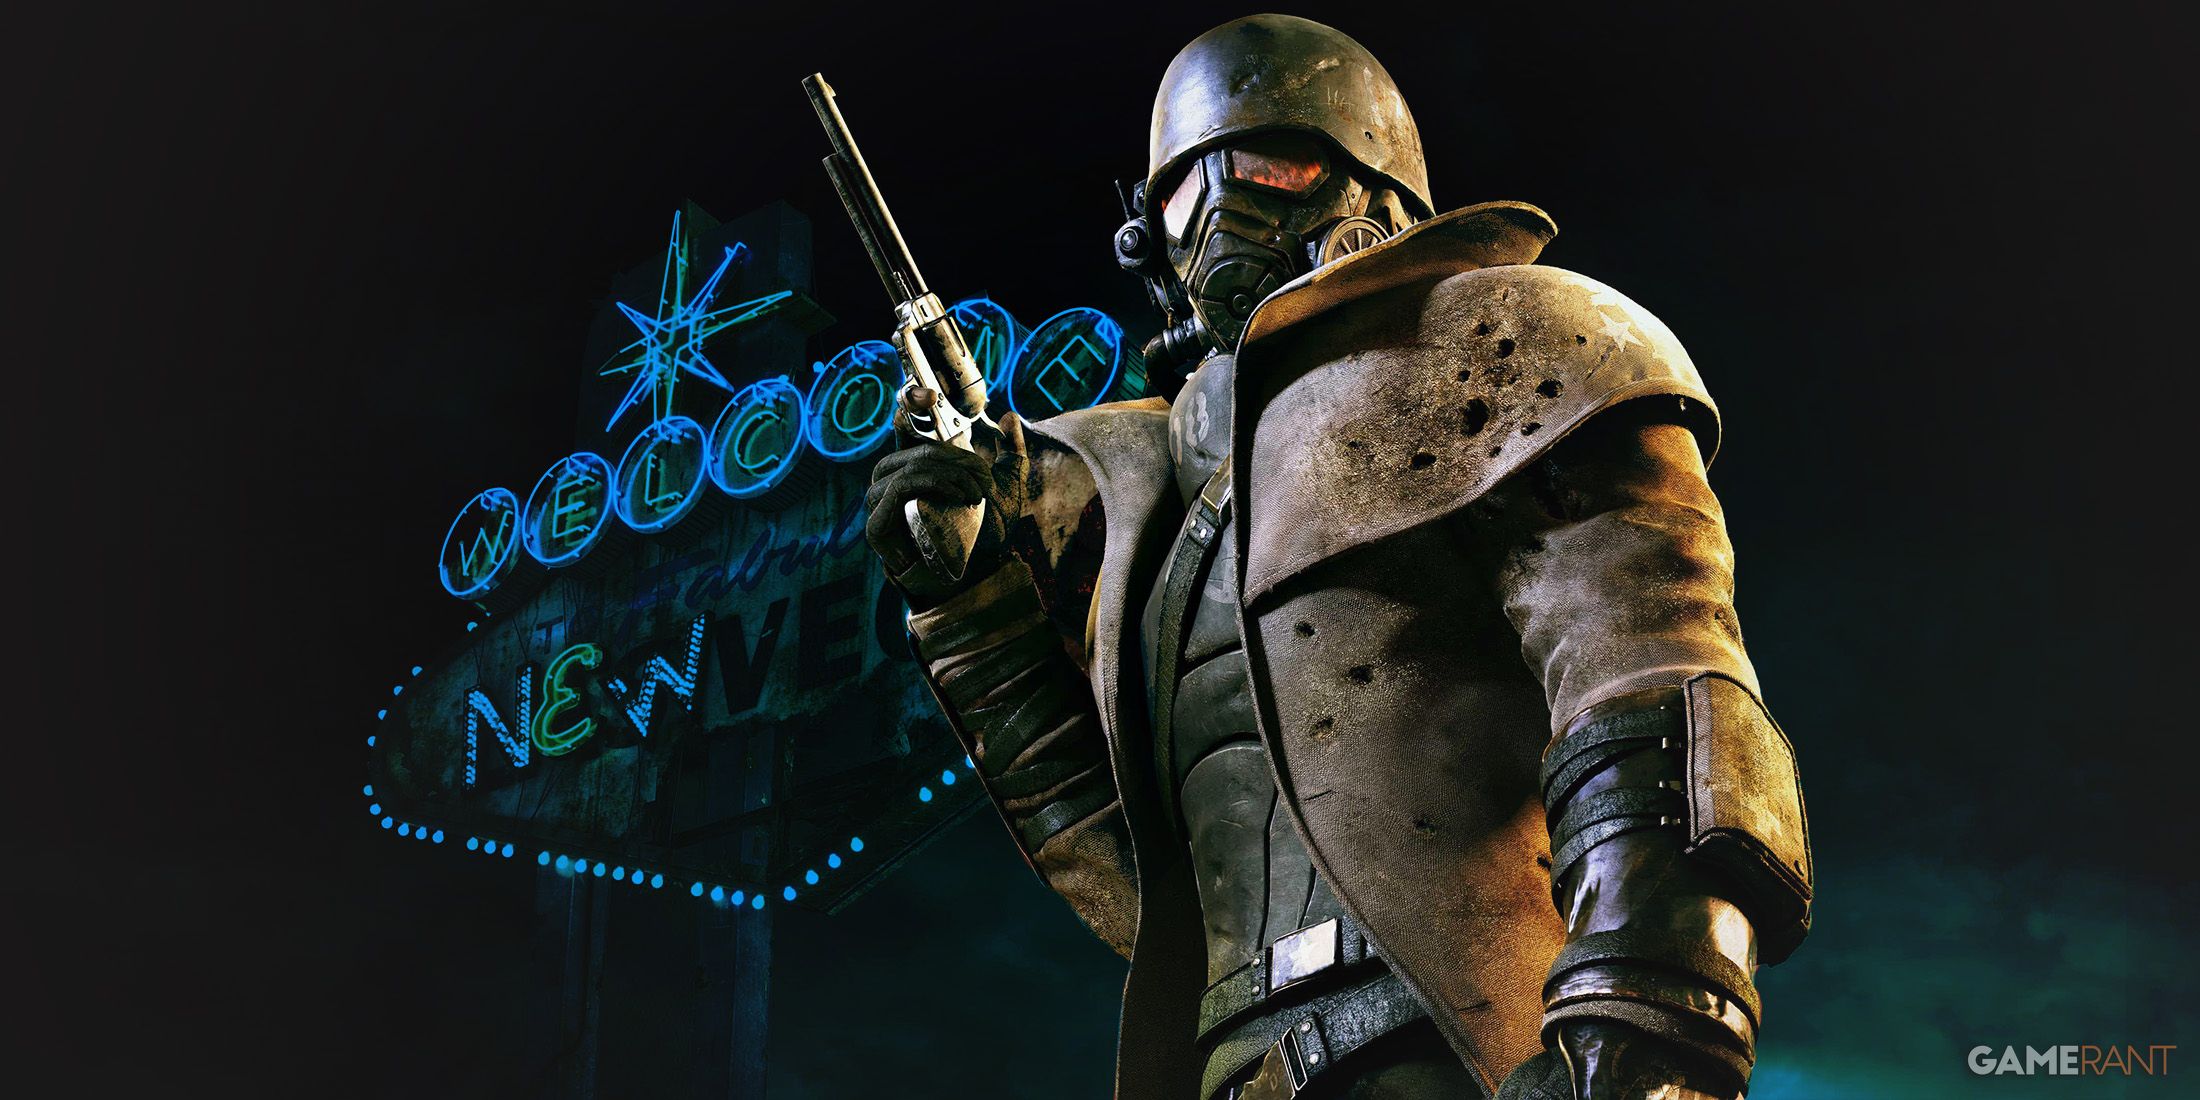
In these Role-Playing Games (RPGs), the universes can differ based on experience, but some excel at constructing a dynamic, lively, and romantic environment that pushes players to their limits. Hidden perils, extreme weather scenarios, and wandering bosses contribute to tough yet engaging gameplay. A world void of risk equates to a dull journey; Here are RPGs where exploration feels perilous.
Not only were there layoffs, but we also saw studio shutdowns and game cancellations as well.

Instead of merely appreciating it as one of the most breathtakingly beautiful genres of fiction, it’s also worth noting the profound societal insights and glimpses into our future that these works subtly convey. Let’s explore the top-notch animated sci-fi movies that offer a captivating visual experience.
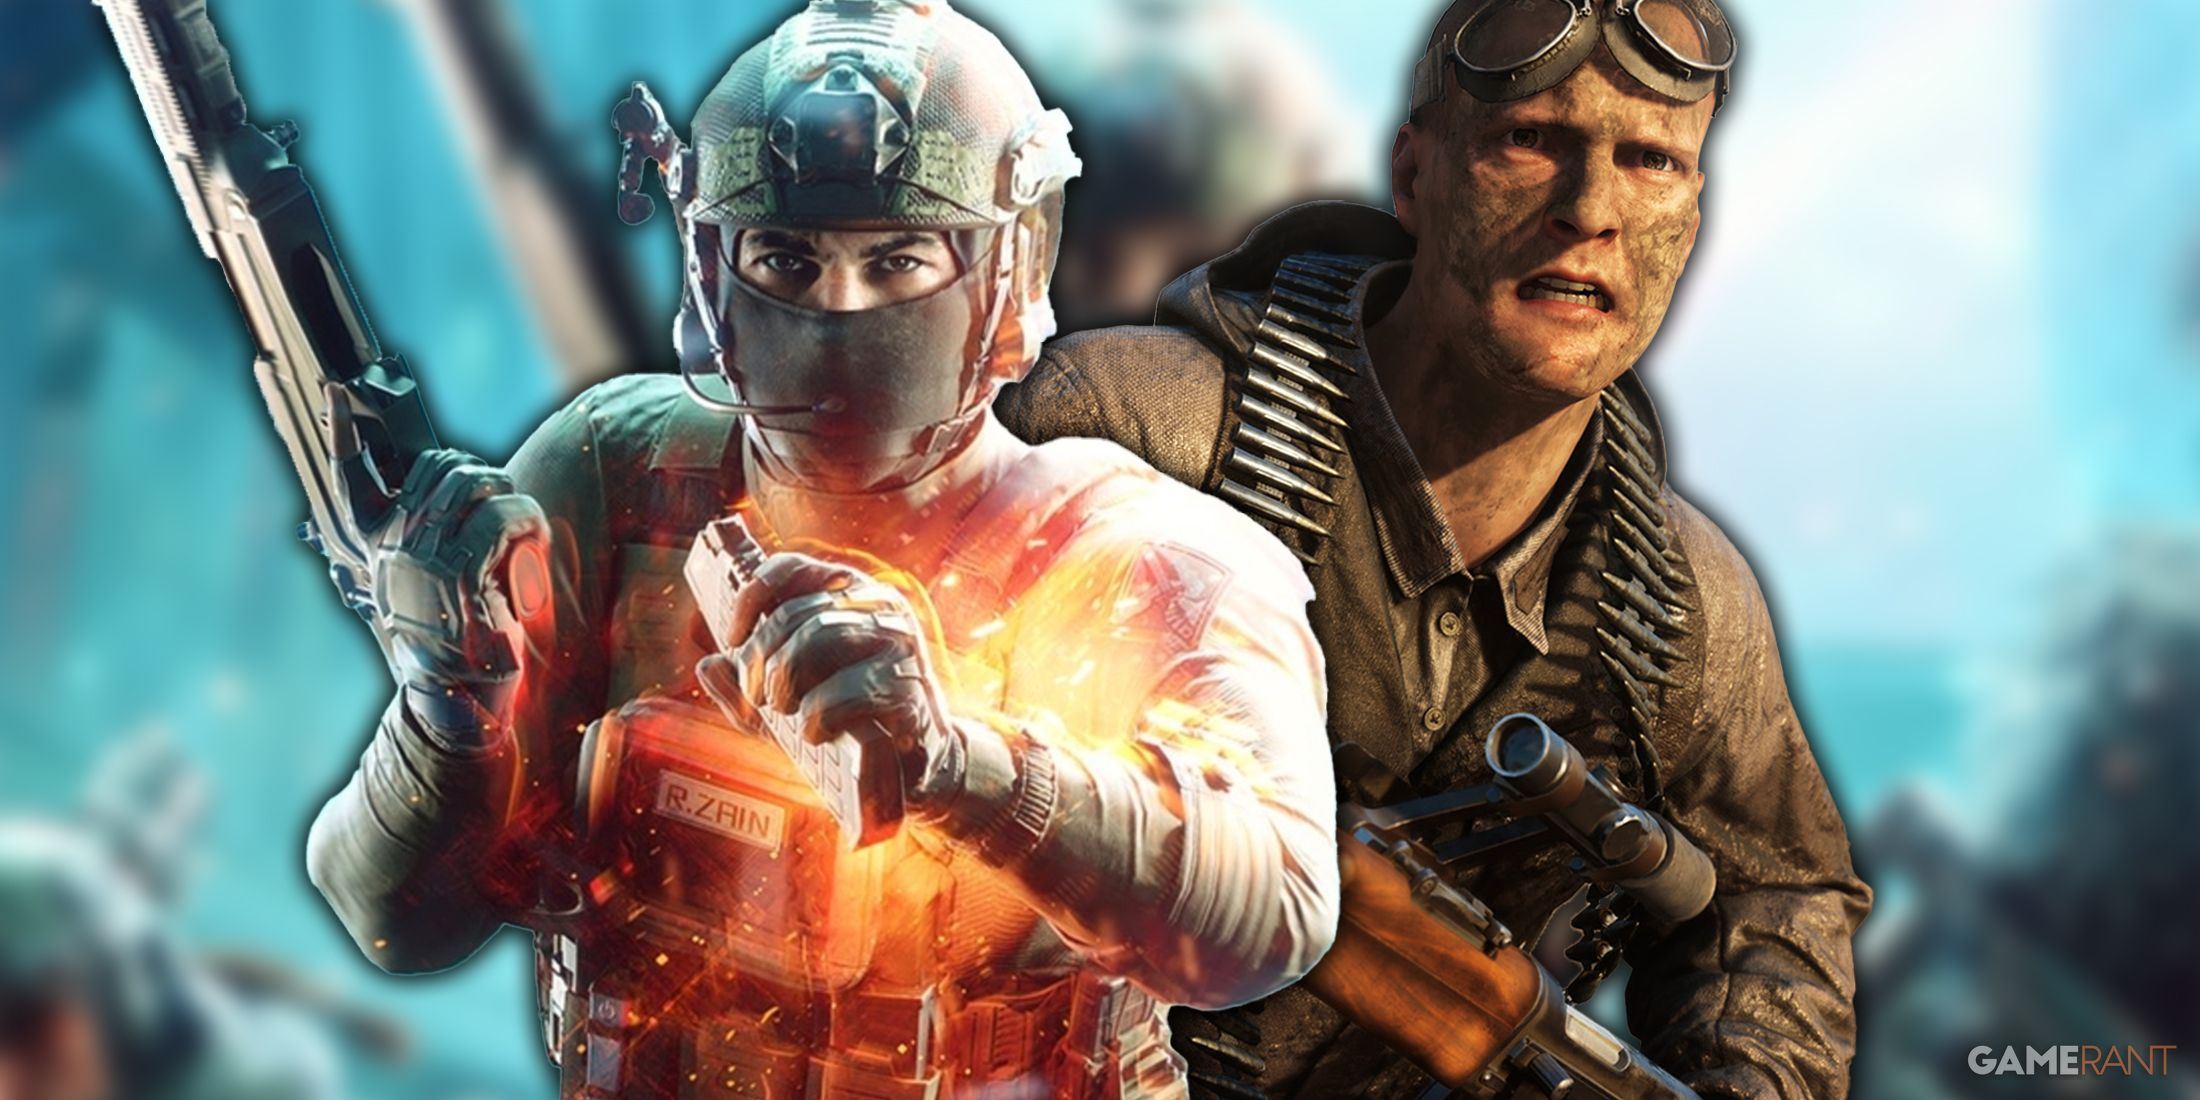
The source of this leak is the same one who initially uncovered the hints of a Battle Royale mode in Battlefield 6, and the evidence seems quite convincing. Based on the data previously discovered by this leaker, it appears that the upcoming Battlefield Battle Royale mode will resemble its competitors but will also introduce intriguing new features that could potentially distinguish it from other games available.
Fans of Stardew Valley are well aware that the game has a large and growing fanbase, as both longtime players and newcomers continue to enjoy it. The game’s appealing graphics, captivating storyline, and flexible gameplay make it a comfortable choice for many fans. However, it’s quite surprising that Stardew Valley managed to overtake Portal 2 to claim the number one spot among all games available on Steam.

As the game is just beginning, you’ll find a variety of banners available, each offering unique chances for players. These distinct banners correspond to various characters with fluctuating odds, whereas others present an opportunity to obtain enhanced weapons tailored for particular thieves.