As a huge Elden Ring fan, I’m so excited about the new ‘Nightreign’ expansion, The Forsaken Hollows! It’s adding a whole new area to explore, and they’re even bringing back some bosses from other games in the series. Plus, you get to play as one of two brand new characters, which is awesome!
The Undertaker is a powerful character specializing in Faith and Strength, built around maximizing damage output. To unlock her full potential, complete her Remembrance quest – it grants unique items that specifically boost her abilities. Here’s a guide to finishing the quest and claiming those rewards.
Undertaker Remembrance Walkthrough
Chapters 1–2
Okay, so when I first started, I quickly learned that the best way to get going is to hunt down Memory Fragments for the Undertaker. You do that by defeating Nightlords, and honestly, it doesn’t really matter which Nightlord you go after first. If I wanted to finish this part quickly, I’d suggest starting with the easier ones – Gaping Jaw, Tricephalos, or Augur are all good choices.
You only have to defeat one Nightlord to unlock Chapter 3, so don’t forget to check your Journal after each attempt to see if you’ve made progress with the Undertaker’s Remembrance.
Chapter 3
This is where your Remembrance journey truly begins. First, you’ll need to speak with the Iron Menial. Be warned: he’ll immediately see you as a threat and try to attack! Luckily, he’s very weak, so you should be able to defeat him easily. As he’s dying, he’ll summon the other Nightfarers to come after you.
Next, you’ll face a few enemies, starting with the Executioner who’s just to the left of the Small Jar Bazaar. Remember that both you and the Nightfarers don’t have much health, so be careful! When the fight begins, try to interrupt the Executioner’s attacks by staggering him. He’s relatively easy to defeat – except when he’s blocking – as his attacks leave him vulnerable for a quick counterattack.
Once you’ve defeated the Executioner, head to the Round Table to find Revenant and Guardian. If your Ultimate Art is ready, use it on Revenant immediately. This should defeat her instantly, allowing you to easily finish off Guardian.
It’s possible to defeat both Revenant and Guardian with a single Ultimate Art! Simply fly past Guardian while aiming your attack at Revenant.
Okay, so once you’ve taken care of those enemies, head back to the Small Jar Bazaar – Wylder should be there waiting. This fight isn’t too bad, honestly. After you beat him, you can go into the church. It looks like it’s just going to be me versus Raider at first, but Ironeye is being a total chicken and hiding in the corner, so watch out for that!
In this battle, I recommend taking down Ironeye first. His long reach and poison can be really annoying when fighting Raider. If you quickly attack Ironeye, he won’t have much chance to get away before you defeat him. When facing Raider, the main attack to be careful of is his jump; otherwise, his slow moves are easy to counter.
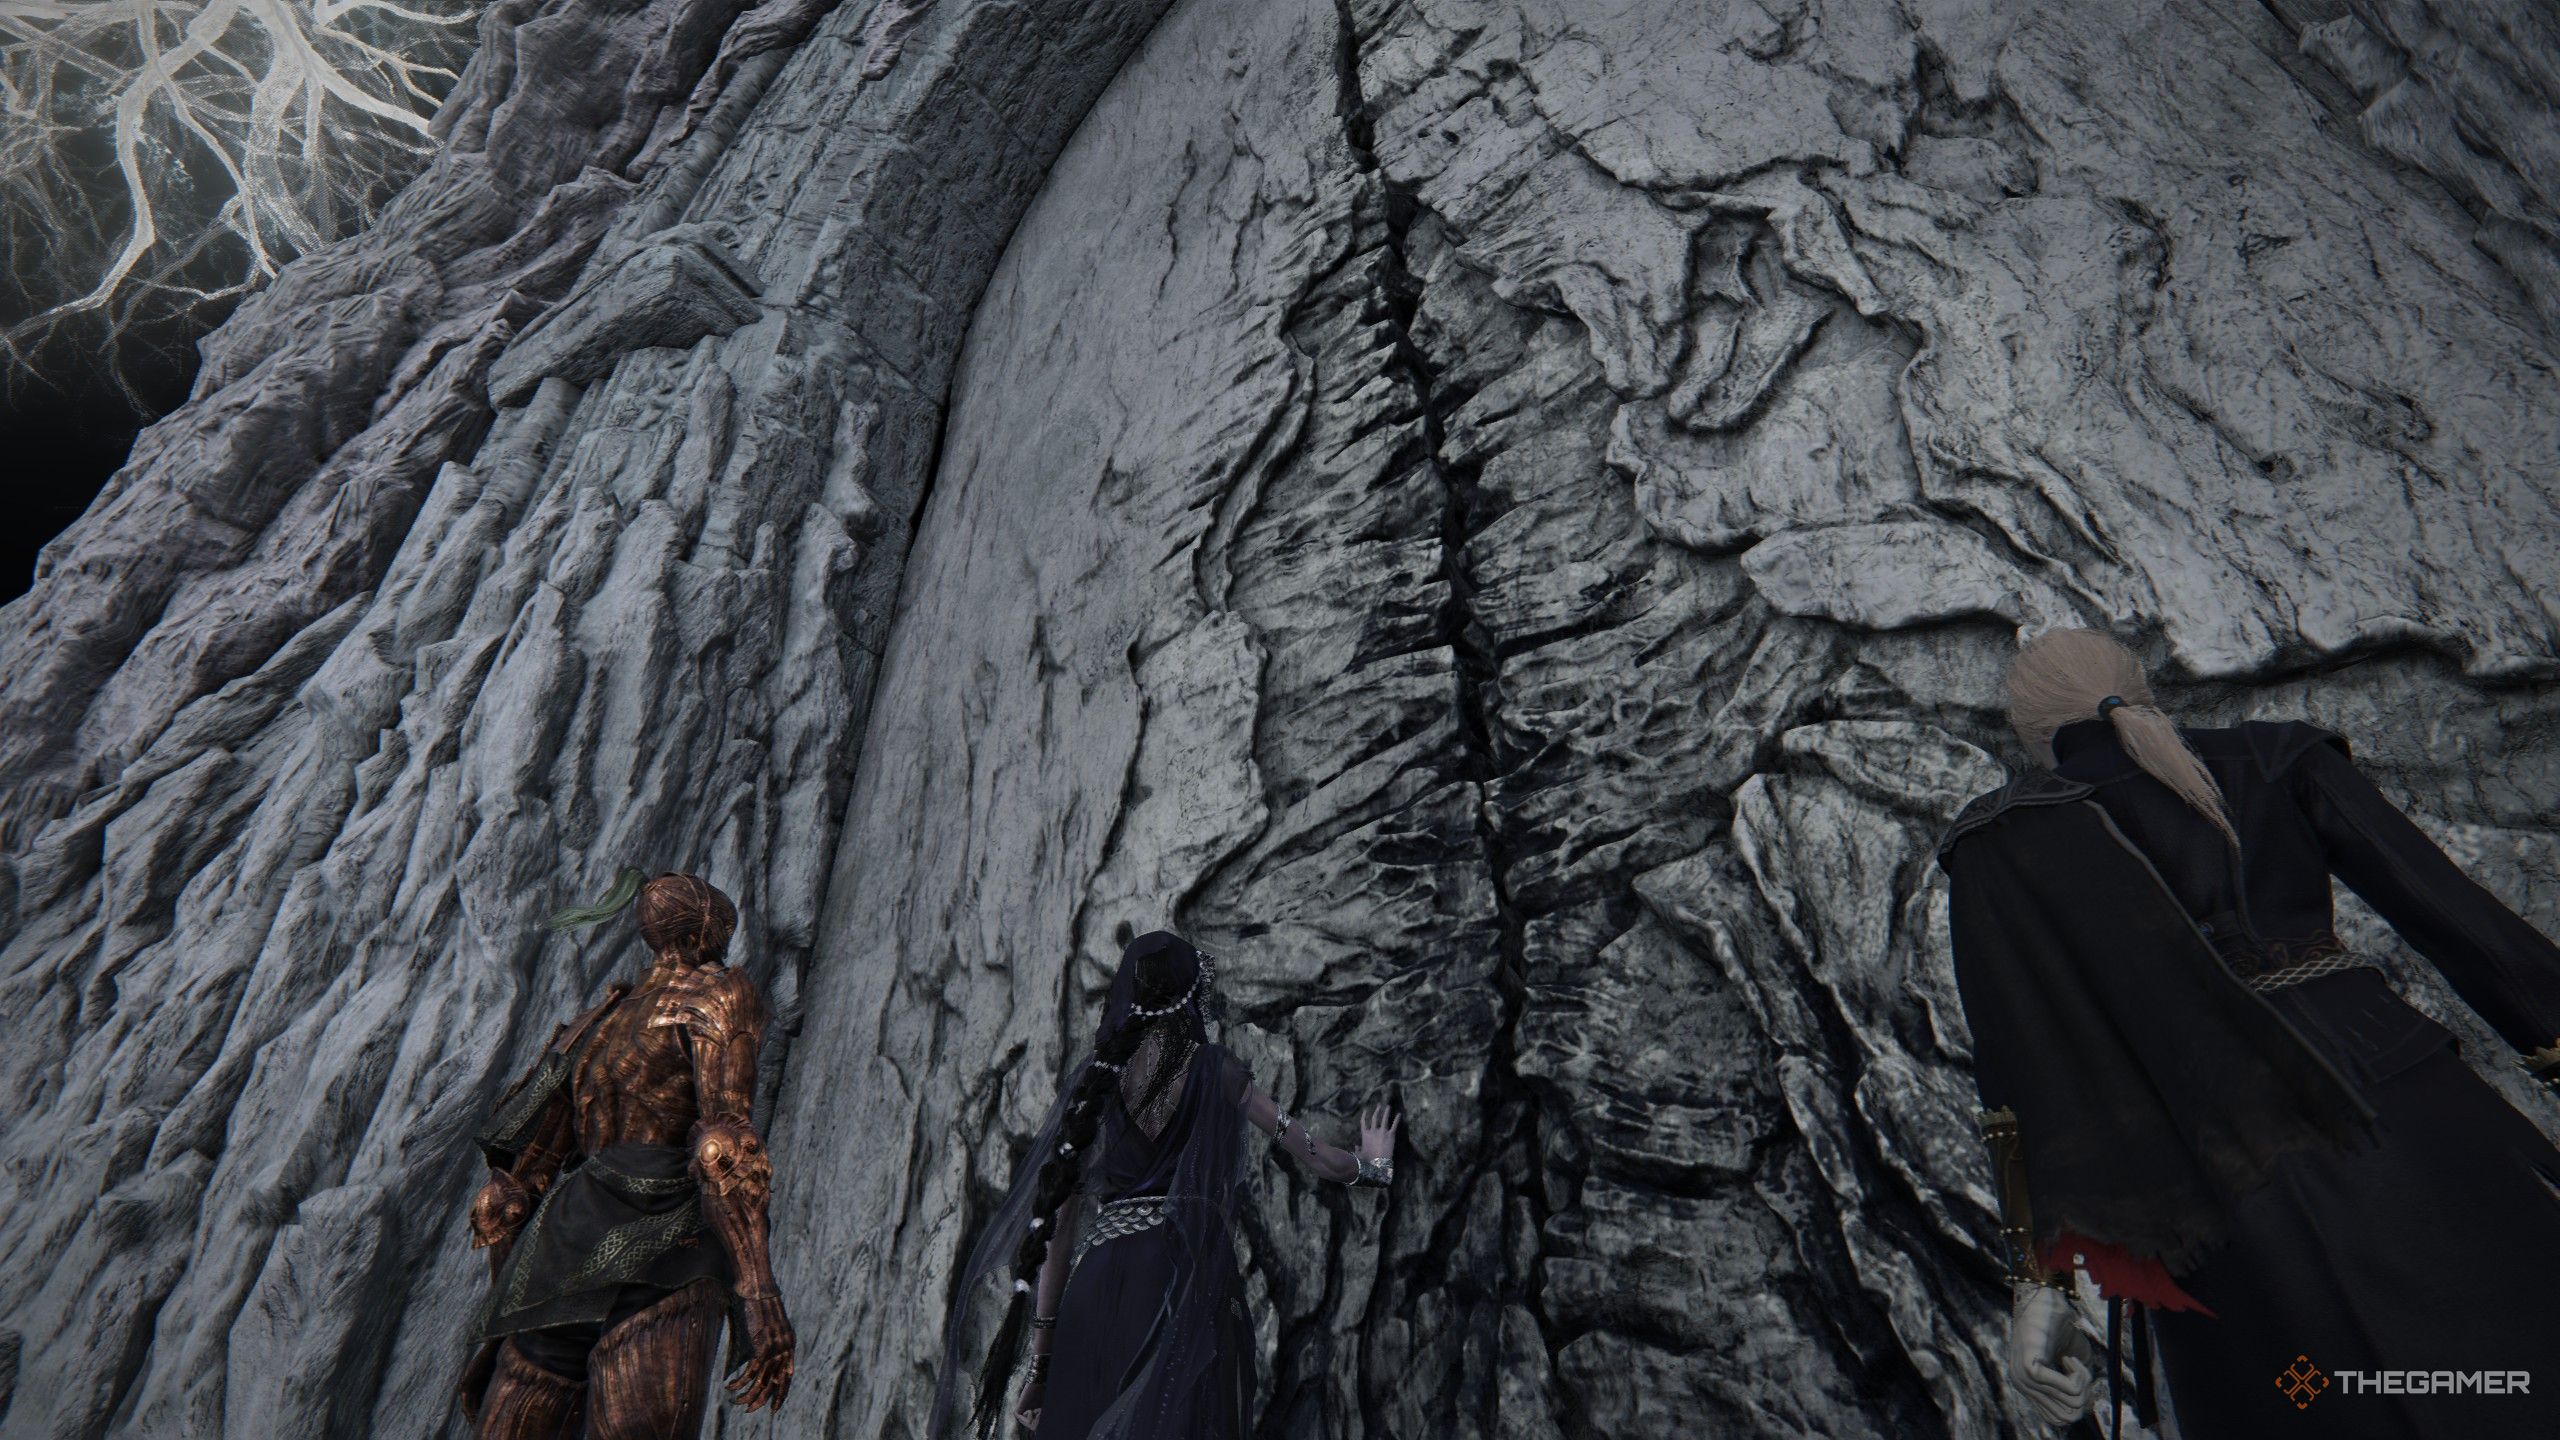
After defeating all enemies, interact with the item on the wall, then choose to embrace the Night when asked. Undertaker will then lick the wall until she hears footsteps – you’ll find the source of these to the northwest of the main roundtable. Speak with the Scholar near the statue to finish this part and receive your first Relic, the Leather Monocle Case.
Chapter 4
Just like in Chapters 1 and 2, you need to defeat Nightlords to get Memory Fragments. I only had to beat one Nightlord to finish this part, so choose any one you like. Don’t forget – you must be playing as Undertaker for this to work!
Chapter 5

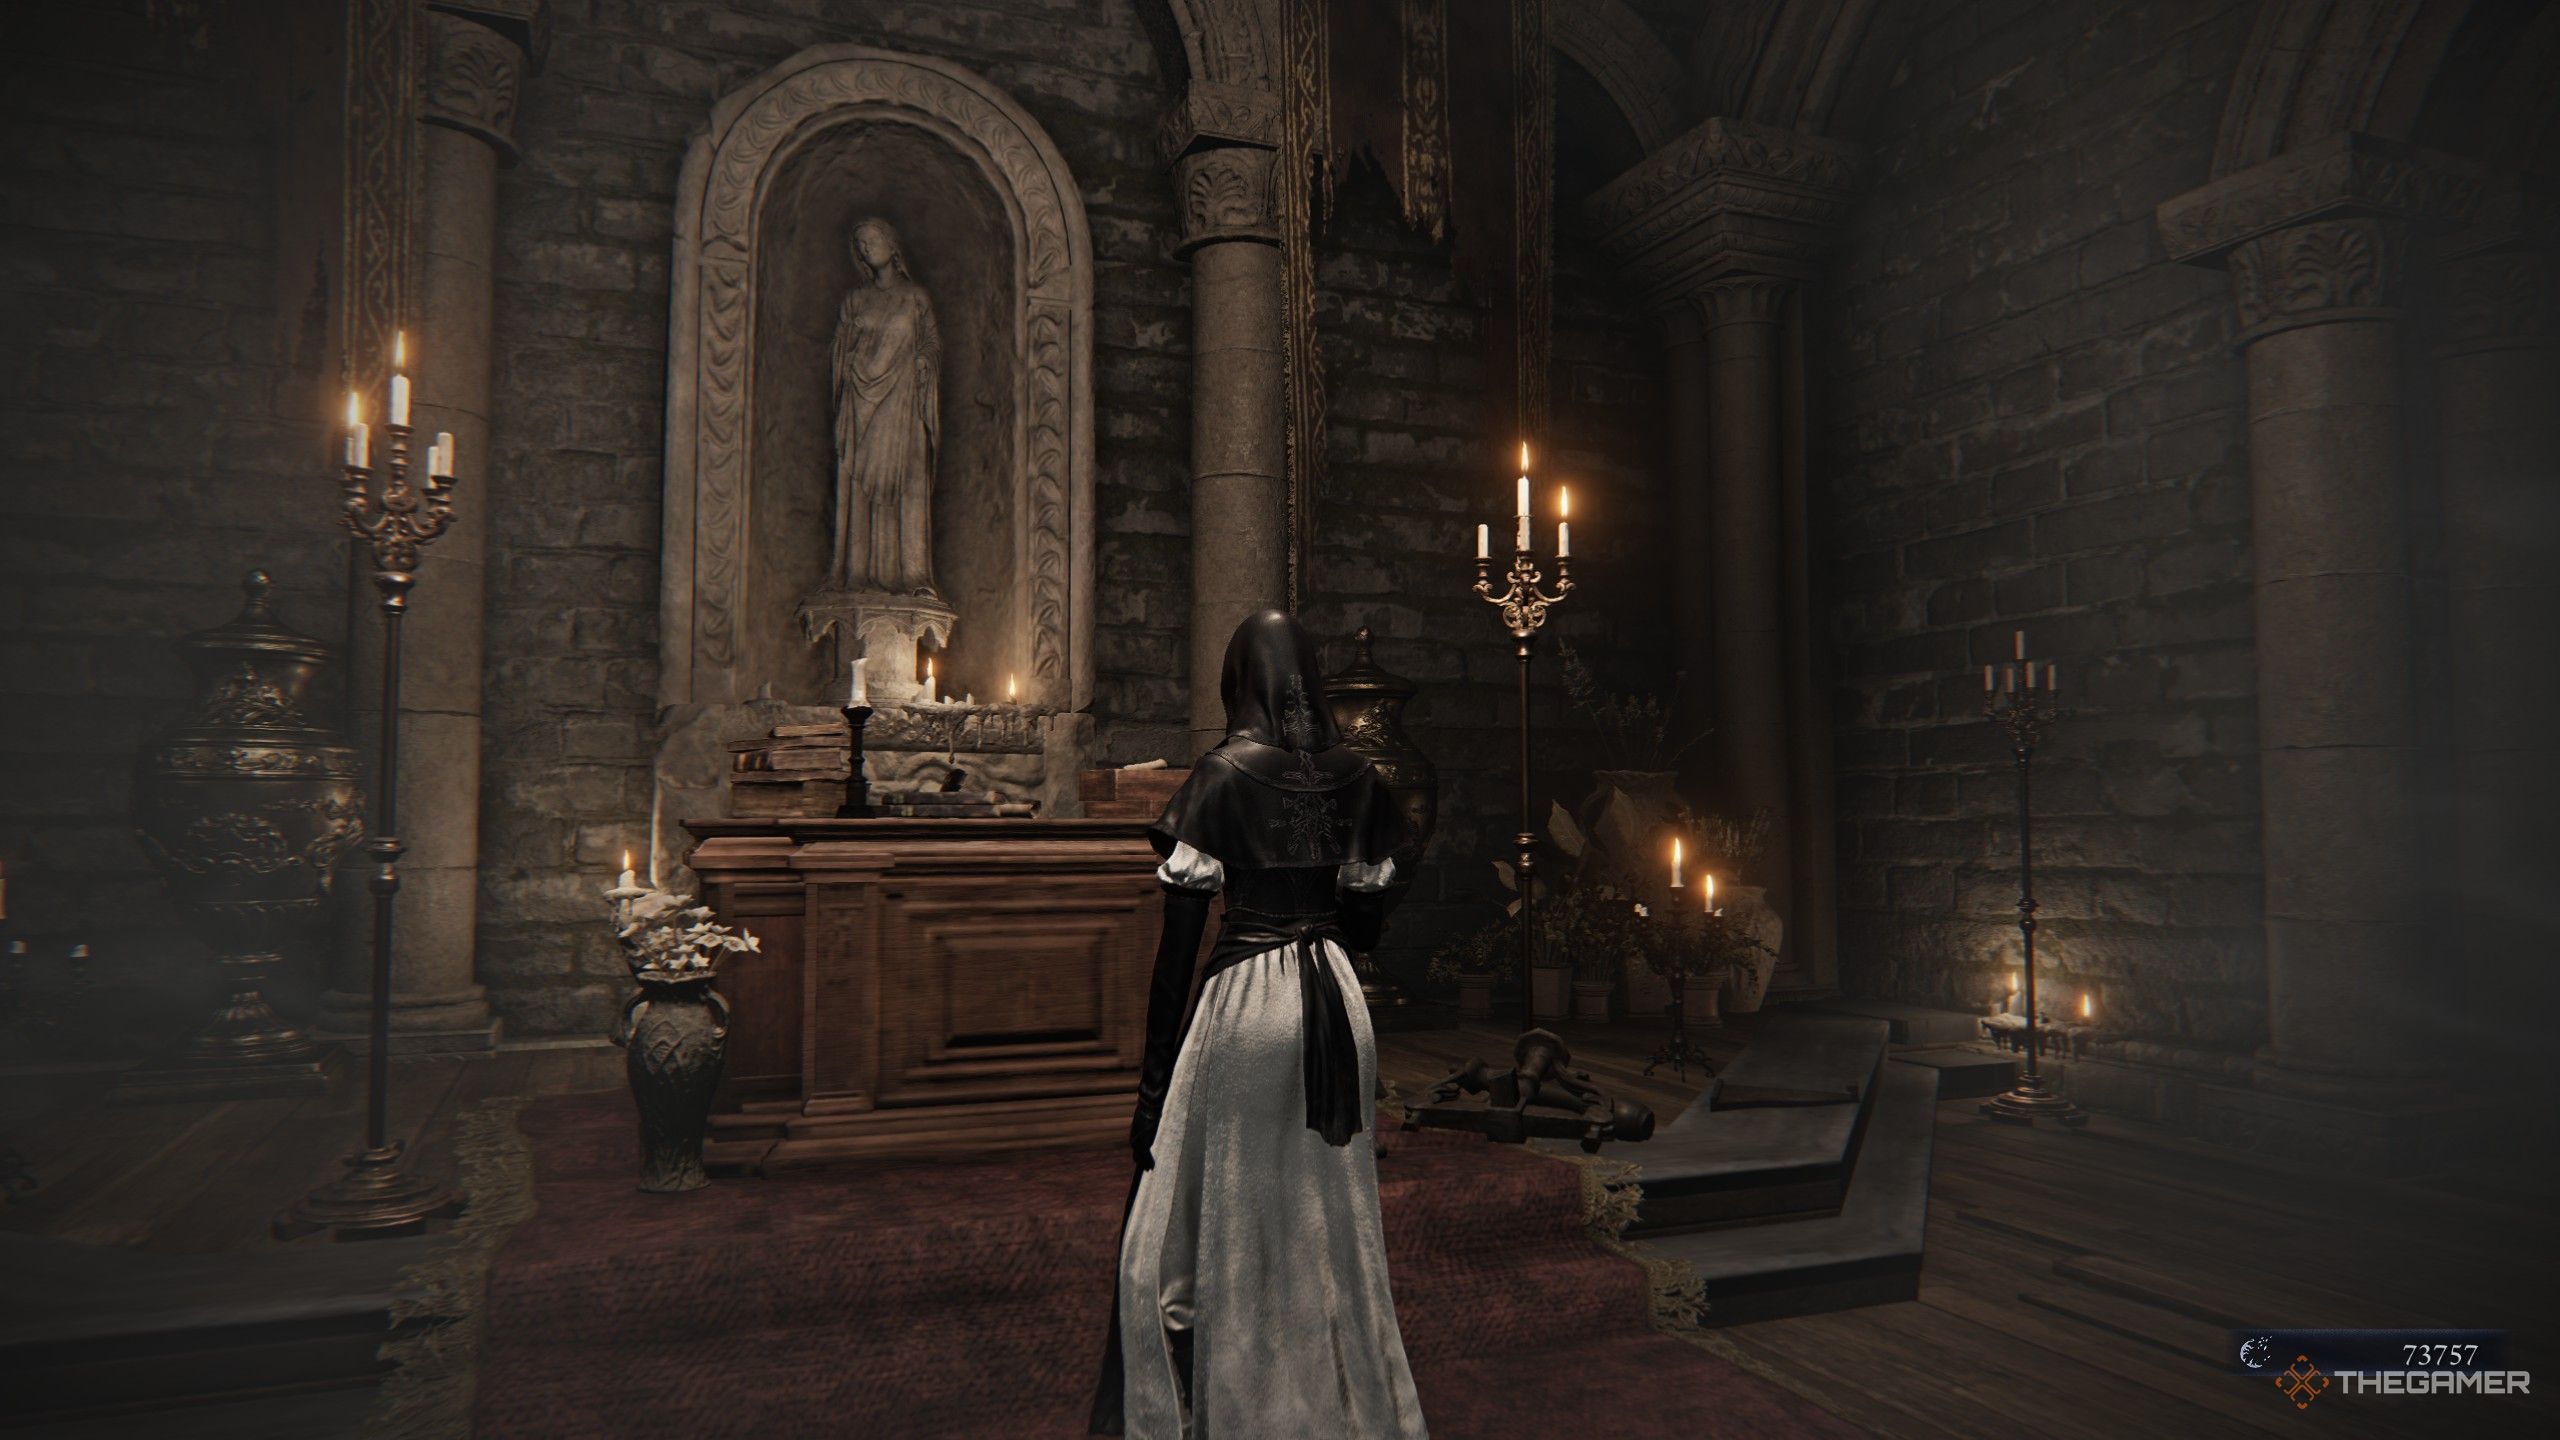
To begin Chapter 5, first find Dutchess at the Roundtable and listen to everything she has to say. After that, go back to the small chapel that became accessible when the DLC started and interact with the altar. Finally, talk to the Iron Menial – they’ll let you know a new Shifting Earth has become available.
Start a game as either a Balancer or a Dreglord, then go north towards the marker on the map. It’s best to do this alone because you can leave as soon as you’re finished, and other players might not want to go out of their way to help with this part of the quest.
Just a heads up: even if the instructions say otherwise, make sure you complete this task on The Great Hollow map, not the standard Limveld map.
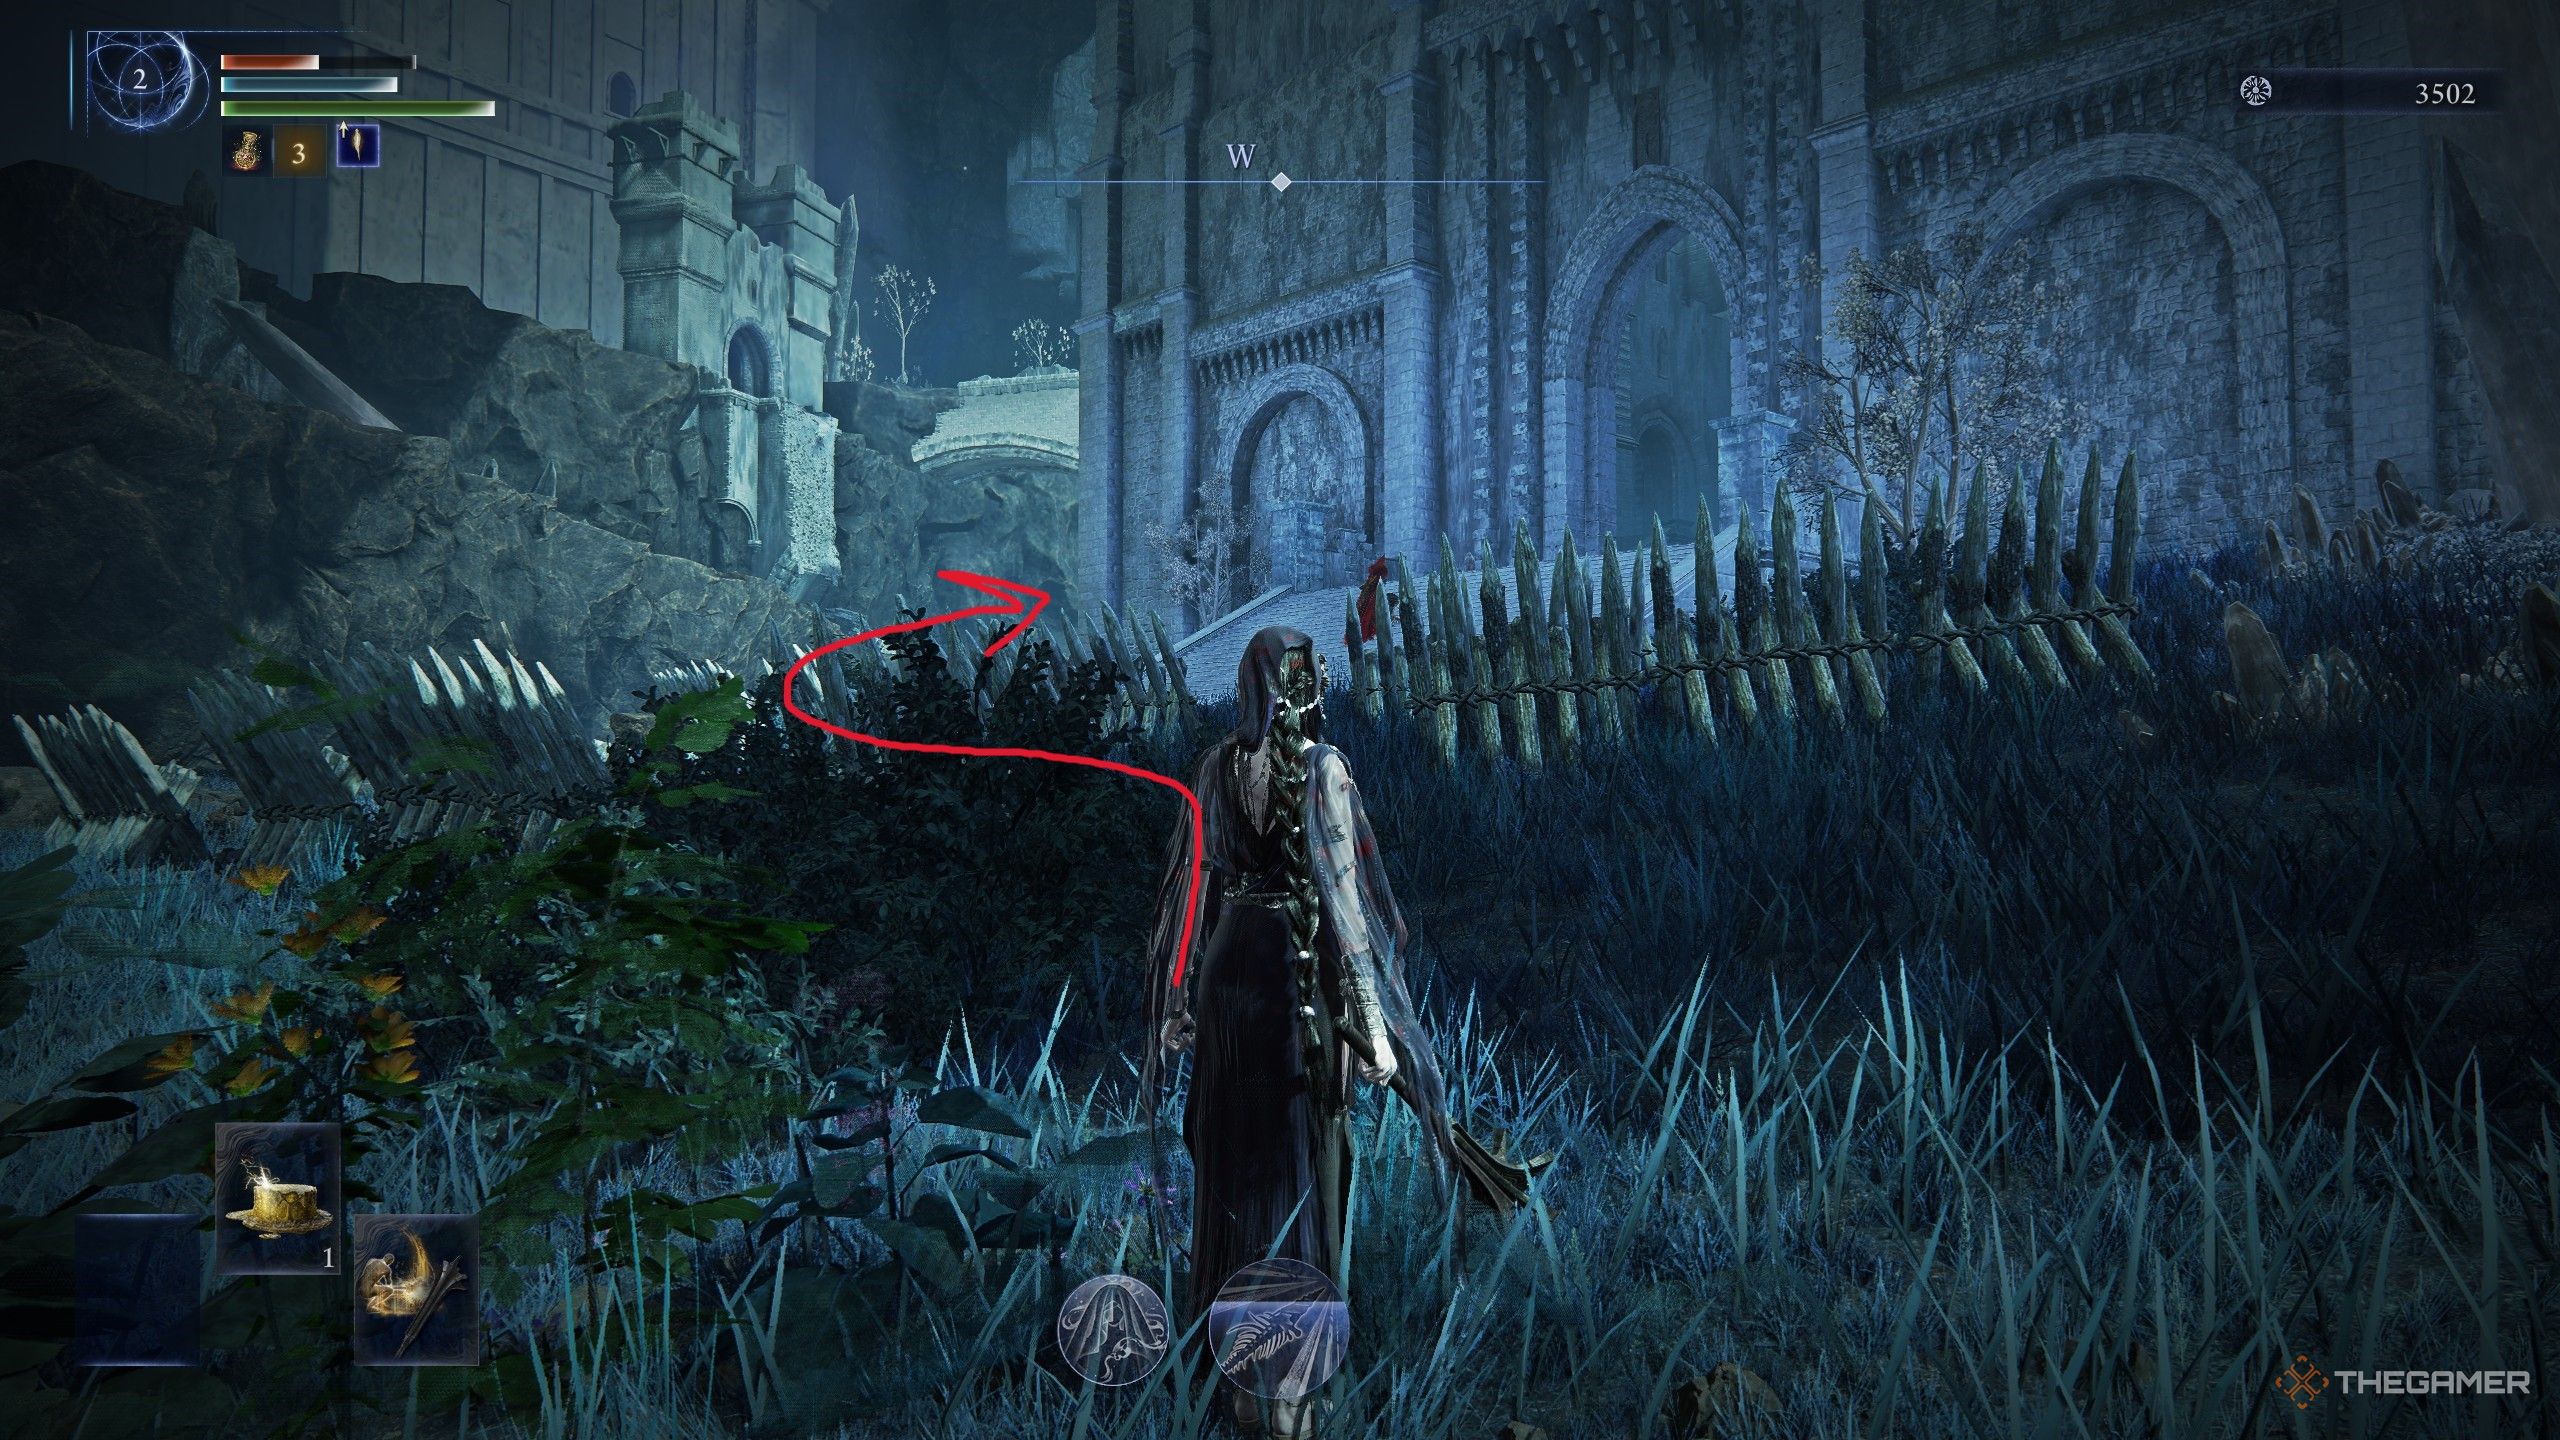
When you start the game, head north towards the castle marked with a red circle on the map. Once you get there, instead of going through the main gate, go around the outside of the castle to the left. Keep following the cliffs until you find a spot where you can jump up onto the outer wall.
To get to the second floor of the castle, go into the room with the huge, chained creature hanging from the ceiling. Climb carefully onto the beast and use it to reach the ceiling beams. Be cautious – if you fall, you’ll have to go all the way back outside and around the castle, so it’s best to move slowly and deliberately.

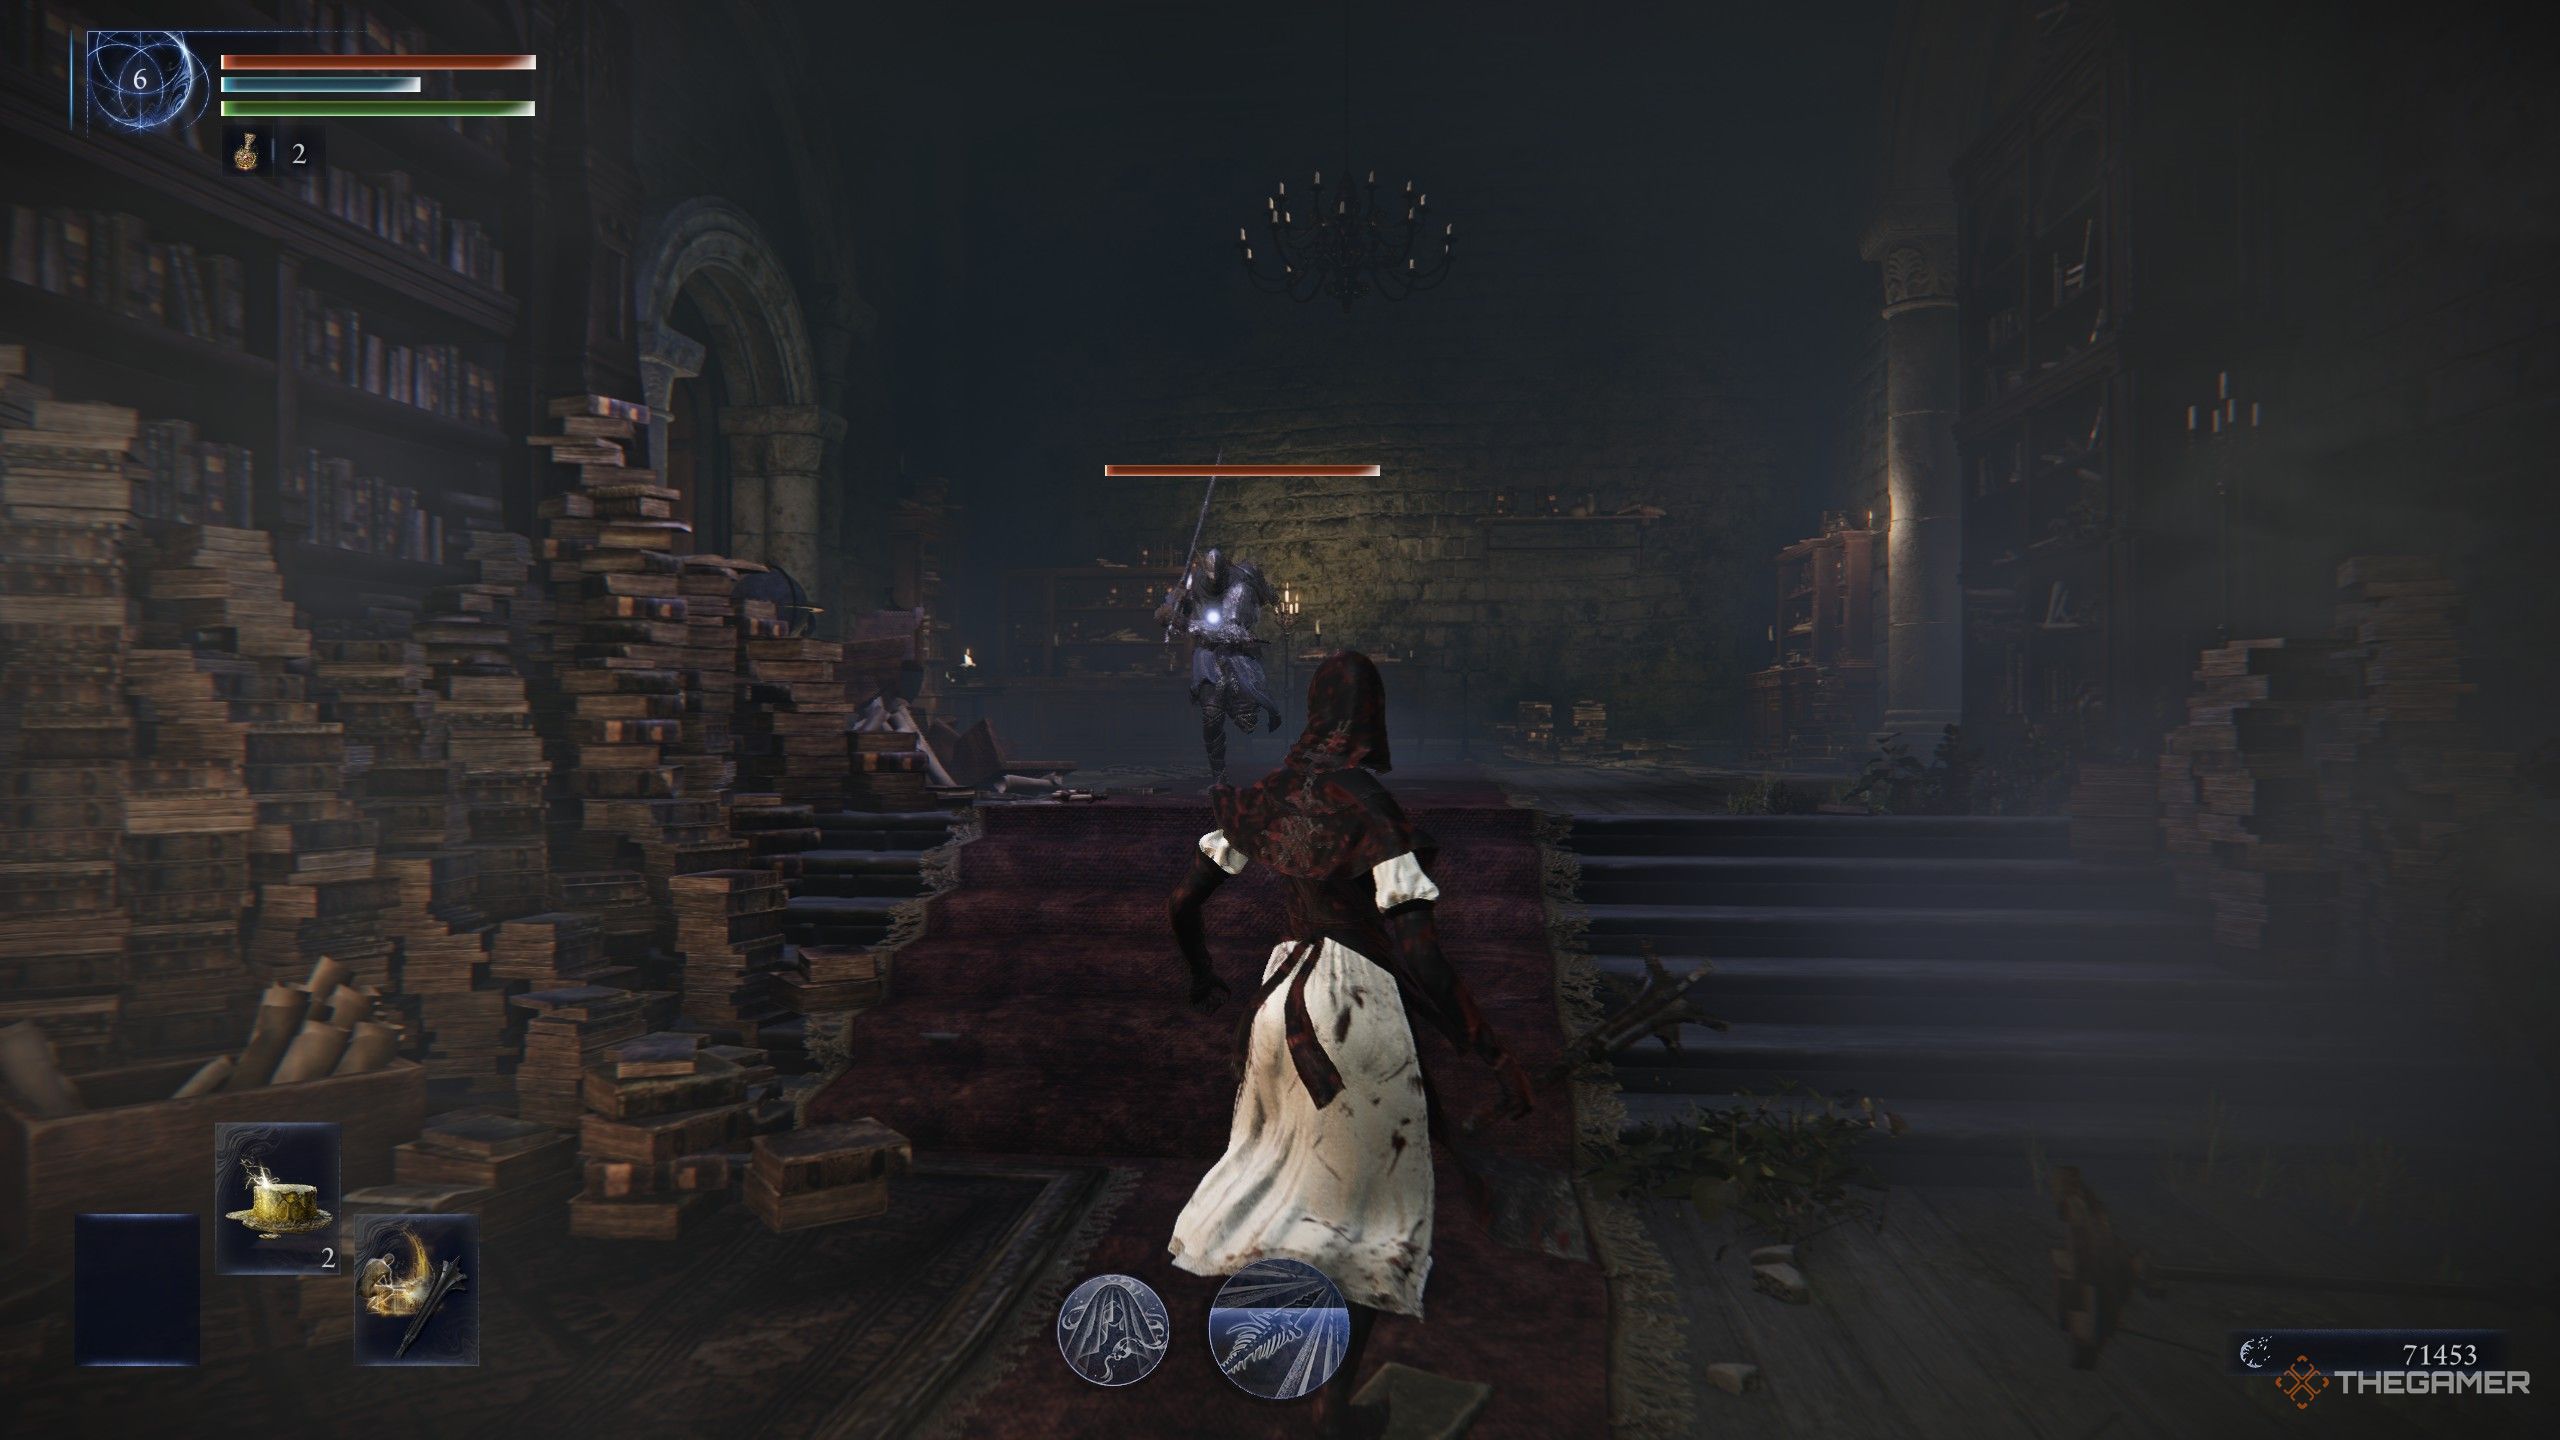
Once you’re on the rafters, look to your left for a small door with a blue light and enter it. Inside, you’ll find Scholar attached to a large crystal. Talk to Scholar to get an item and hear a short conversation. After that, simply finish the current area – it doesn’t matter if you win or lose – and go back to the Roundtable.
Speak with the Scholar in the Chapel and listen to everything he has to say. Once you’ve gone through all of his conversation, you’ll finish the Remembrance and be able to start Chapter 6.
Chapter 6
For the last step of the Remembrance quest, the game won’t give you explicit instructions, but it’s pretty simple. You need to defeat the Night Aspect and then perform a specific action in the area after the boss fight. You don’t need to collect any more memory fragments. Just start a run with Undertaker and go defeat the Night Aspect.
This boss is especially vulnerable to Holy damage, making Undertaker a strong choice for this fight because she primarily uses Faith-based weapons that can inflict Holy damage. Also, after defeating the Night Aspect, free up some space in your inventory before moving on to the final area.
You’ll get a new item called the Dismembered Finger. Take it to the corpse you normally use to leave this area and drop it near the body. If you’ve done it correctly, the Undertaker will say, “This will do… I am sure.” After hearing that line, simply interact with the corpse to finish this part of the Remembrance.
Completing this task will reward you with the Glass Necklace, a special item unique to the Undertaker, and her Remembrance skin if you choose to equip it!
Read More
- All Shadow Armor Locations in Crimson Desert
- How to Get the Sunset Reed Armor Set and Hollow Visage Sword in Crimson Desert
- Best Bows in Crimson Desert
- All Golden Greed Armor Locations in Crimson Desert
- Wings of Iron Walkthrough in Crimson Desert
- How to Craft the Elegant Carmine Armor in Crimson Desert
- All Helfryn Armor Locations in Crimson Desert
- How To Beat Ator Archon of Antumbra In Crimson Desert
- Keeping Large AI Models Connected Through Network Chaos
- Sakuga: The Hidden Art Driving Anime’s Stunning Visual Revolution!
2025-12-16 00:36