The latest update to Elden Ring, Nightreign, adds two new expeditions. You’ll start with ‘The Balancers,’ and you must finish it – including defeating the boss Harmonia – before you can unlock the more challenging ‘Dreglord’ expedition.
When you begin the Dreglord expedition, you’ll encounter challenging mid-bosses like the famous Artorias and the powerful Lord of Blood. But the ultimate boss of this expedition is Traitorous Straghess – a truly difficult opponent. Let’s prepare by covering everything you need to know to defeat him in The Forsaken Hollows.
How To Defeat Traitorous Straghess
You’ll encounter Traitorous Straghess, a powerful Nightlord, after completing the Dreglord expedition. It’s best to reach level 15 before challenging him, as this fight is considered one of the most difficult in the game.
This boss relies heavily on Rot attacks, so try to boost your resistance to that effect before fighting him. He’s particularly vulnerable to Fire and Holy damage, but resists Lightning attacks.
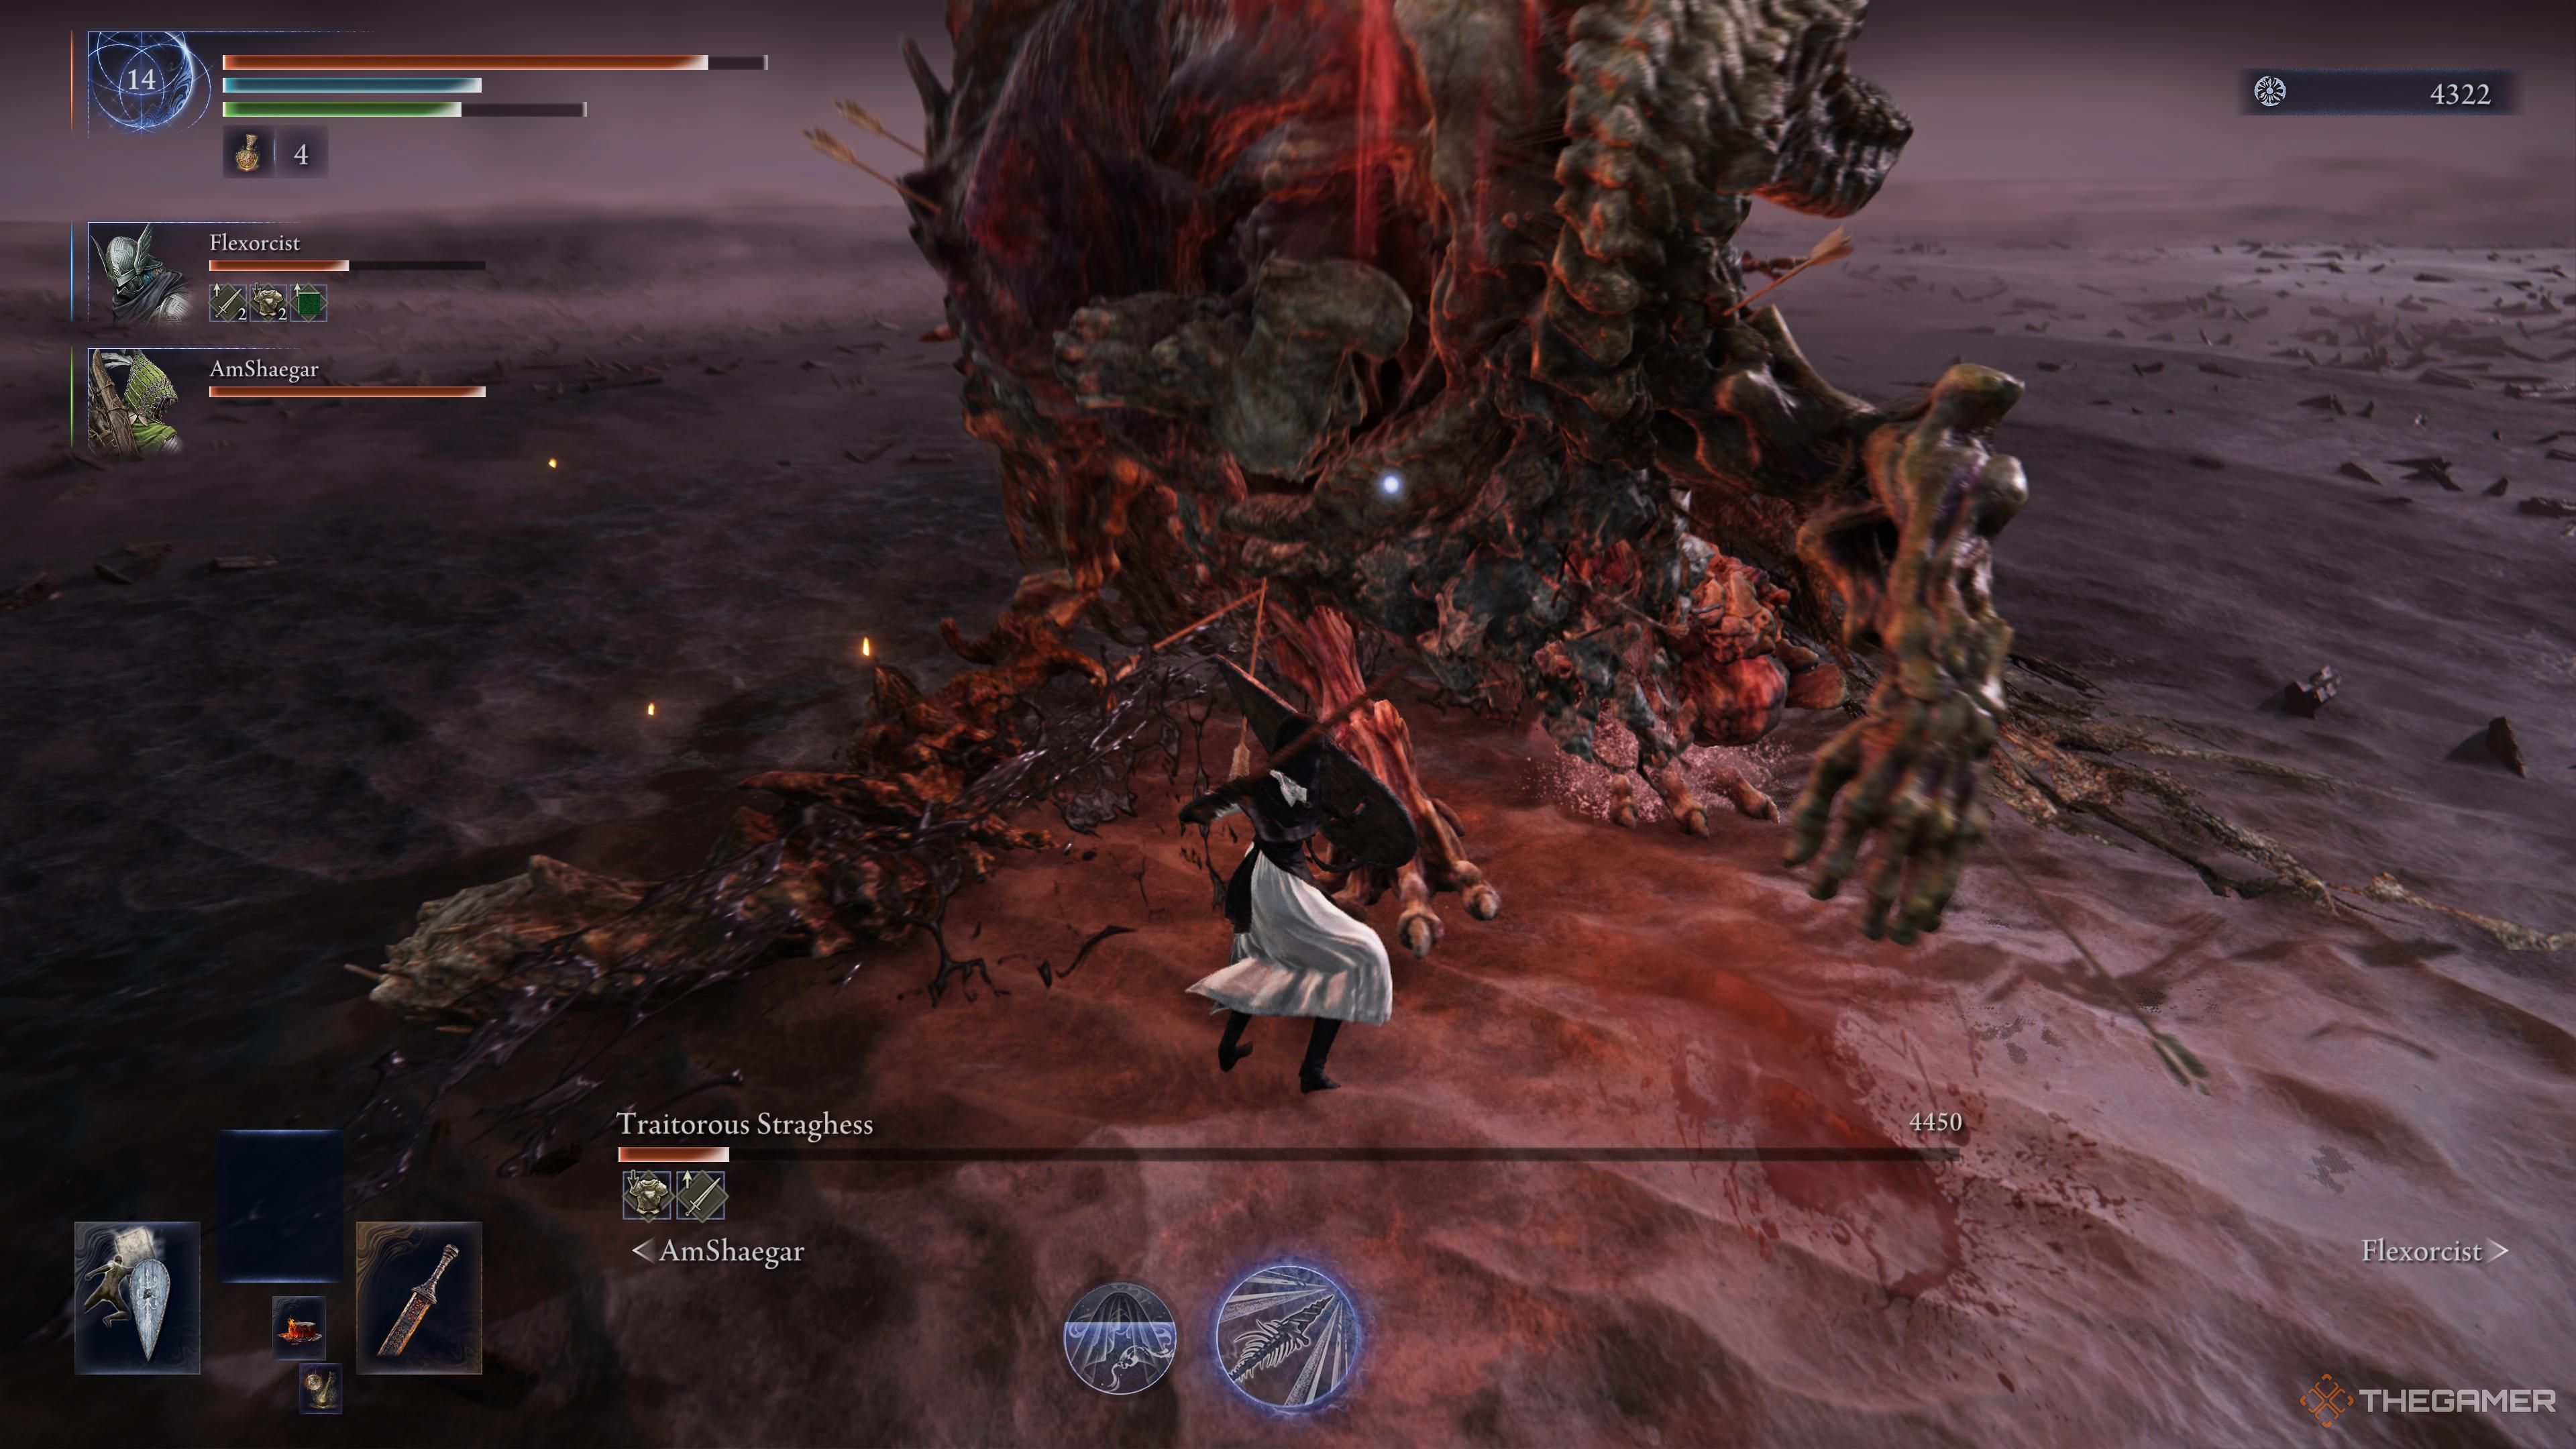
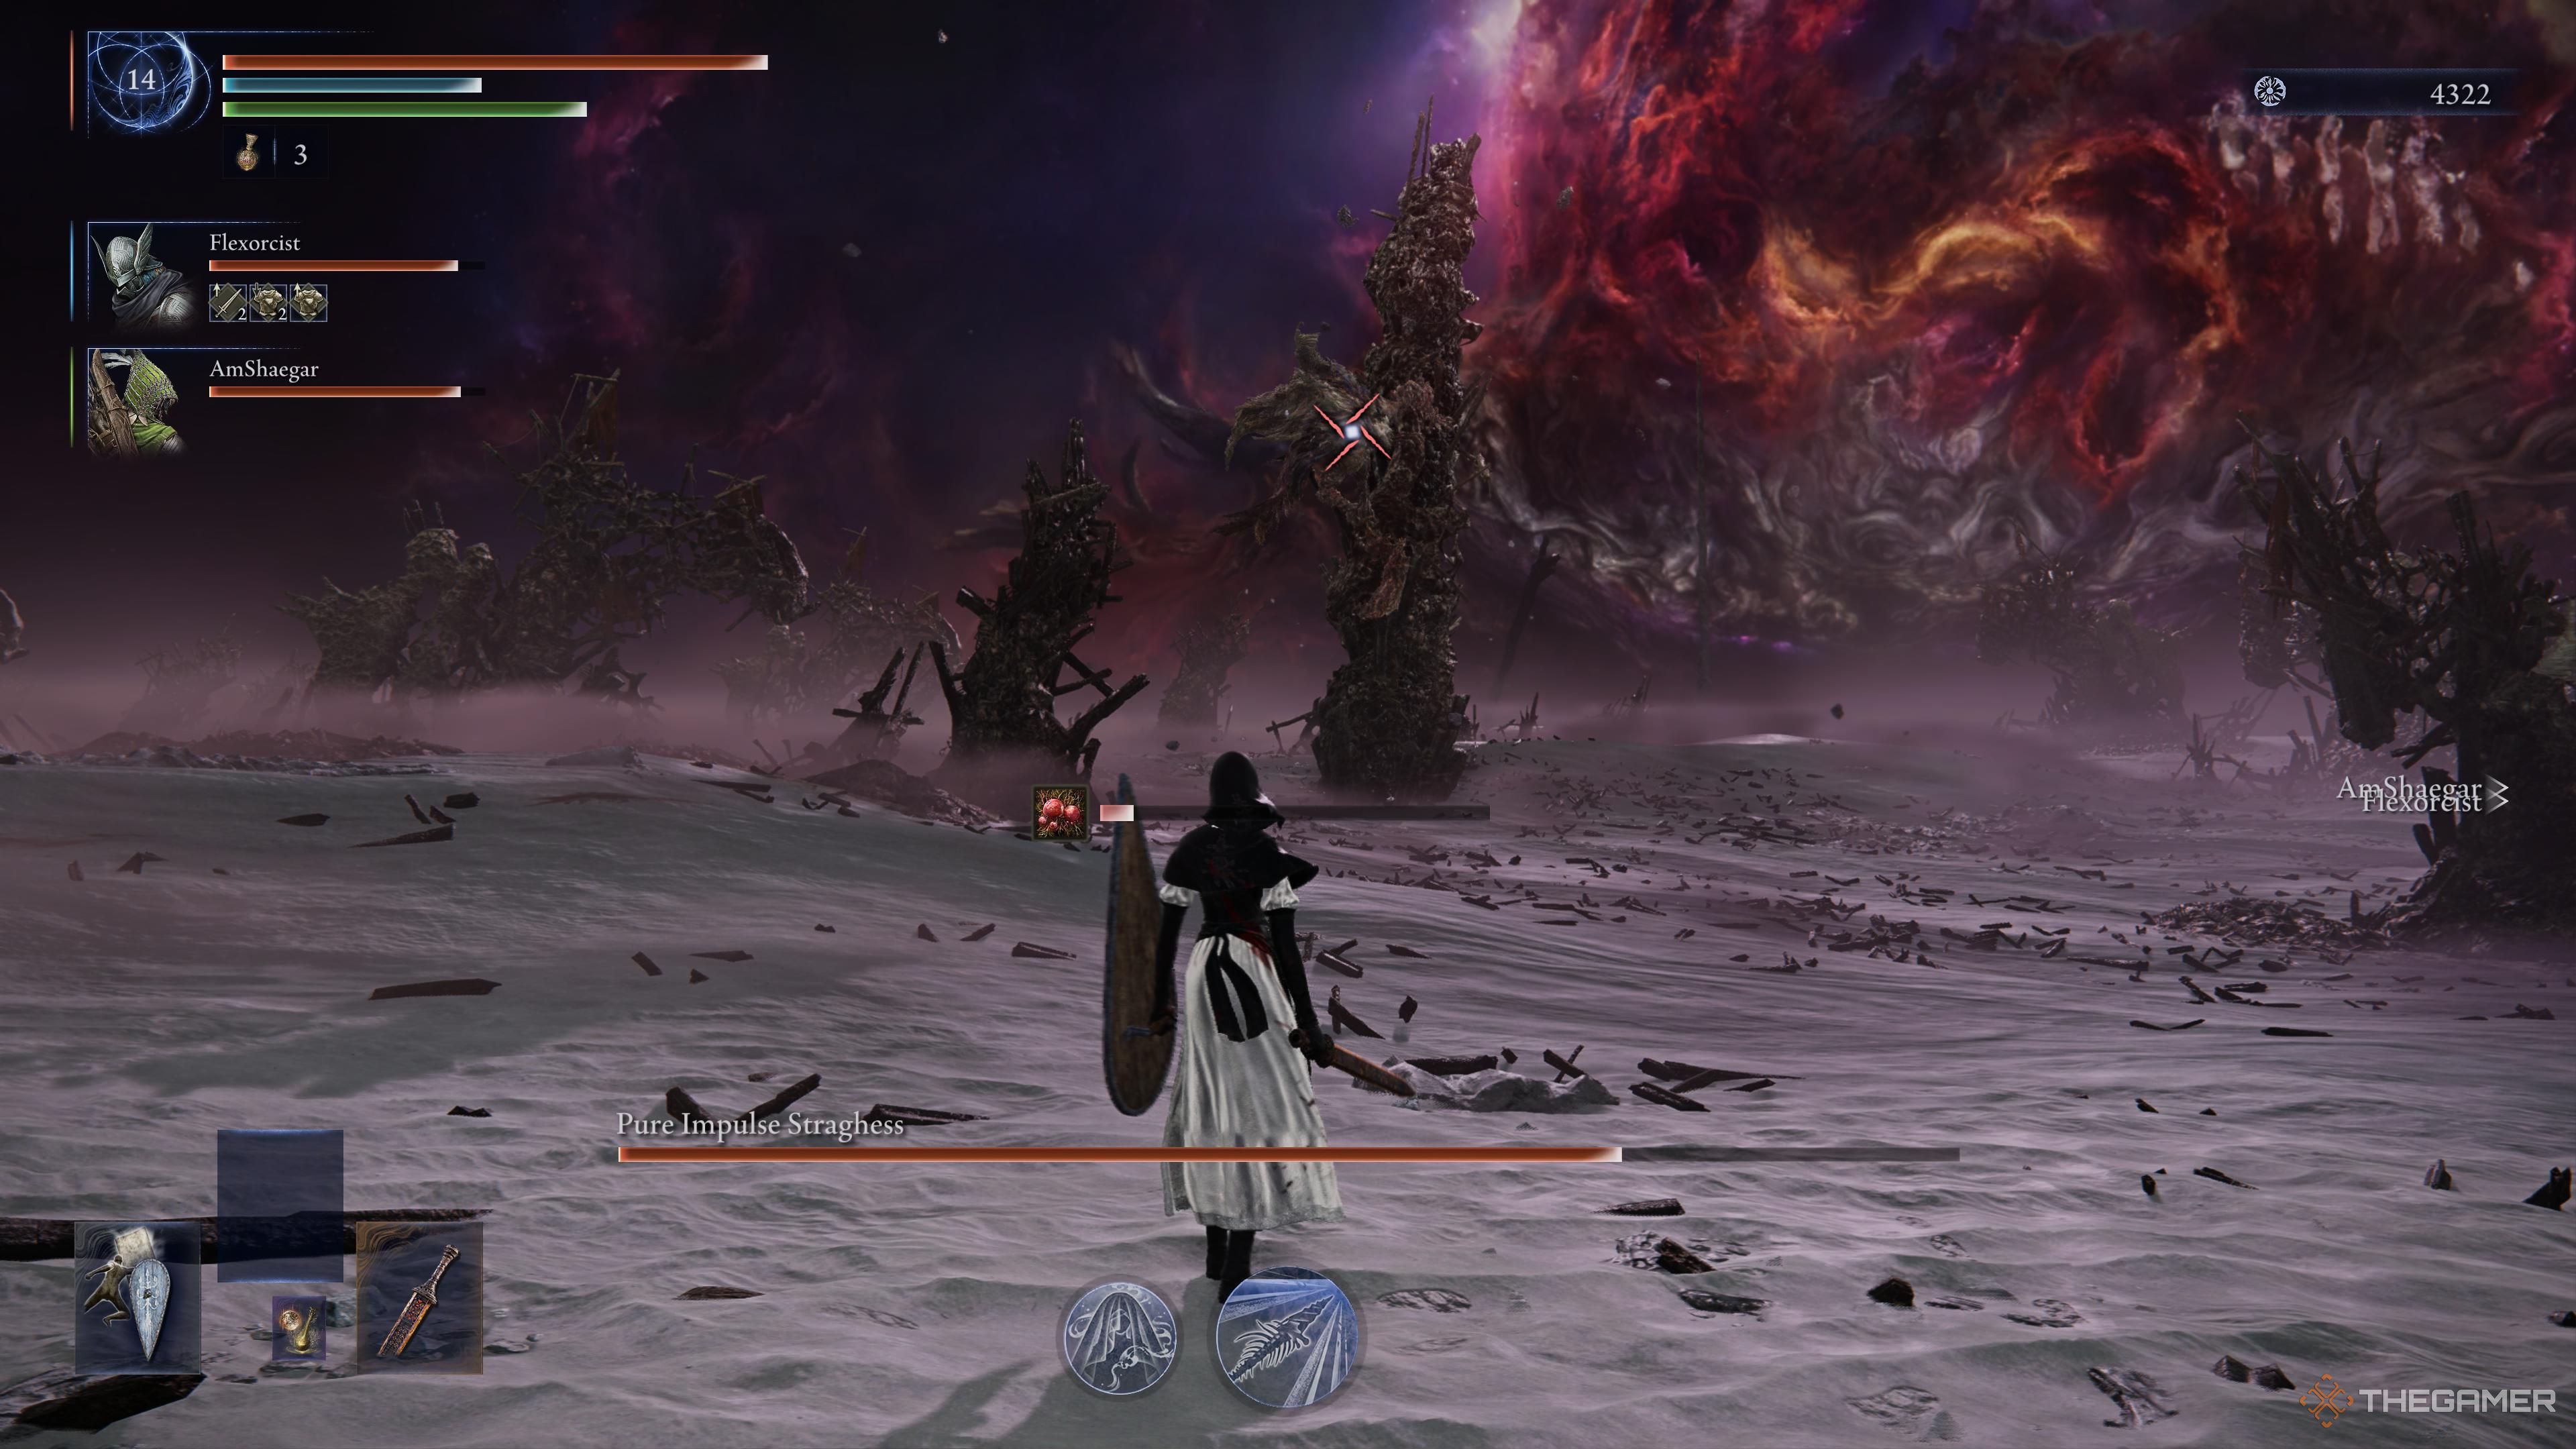
This large enemy stands upright and fights with a hefty staff. He attacks by swinging the staff once or twice consecutively, covering a wide arc in front of him. Before launching a combo attack, he’ll lean forward, giving you a visual cue.
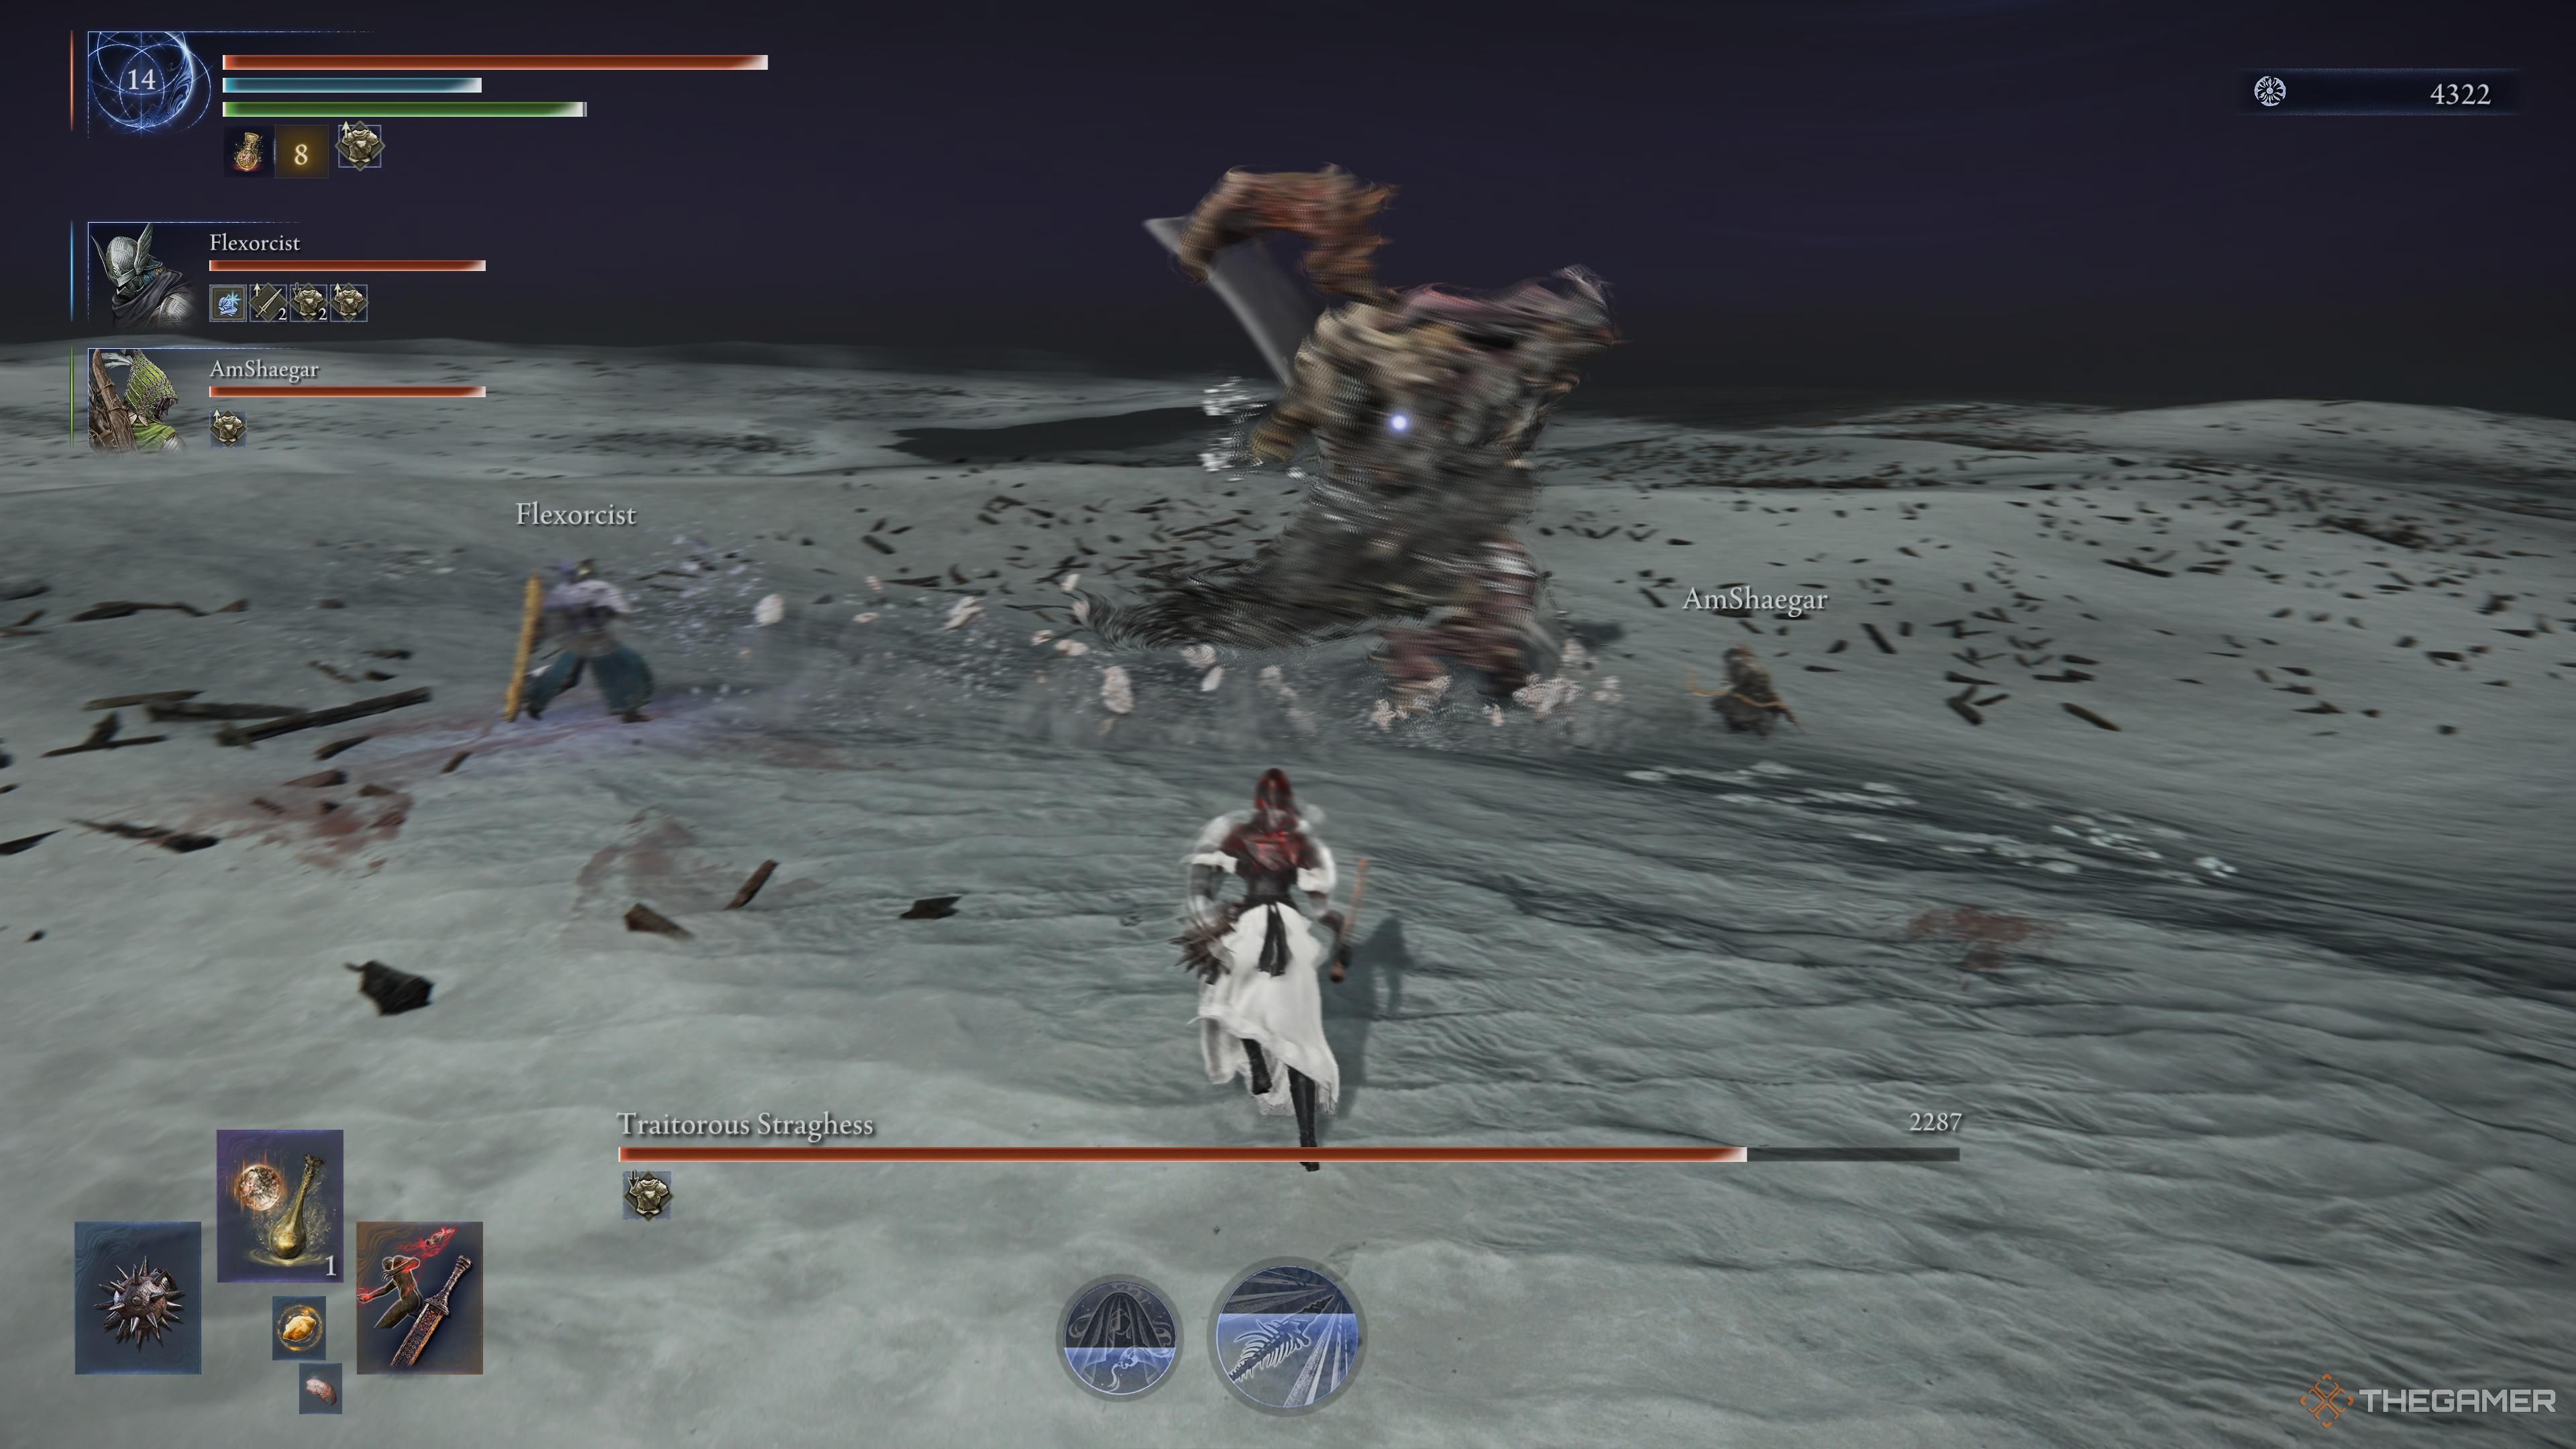
A key attack from Traitorous Straghess involves his Rot balls. Initially, he bounces them near himself, but he’ll soon start launching them directly at you. Be careful to avoid the temporary puddles of Rot that appear after they land.
Straghess begins his attack with a fast jab using his open hand. He then sweeps his staff up from the ground and follows with a series of strikes: two quick hits, a short break, another strike, and finally, a powerful overhead blow after a longer pause.
For the next couple of stages, try to get behind the boss whenever possible. It’s not entirely safe, but it will help you avoid most of his close-range attacks, as he usually attacks from the front.
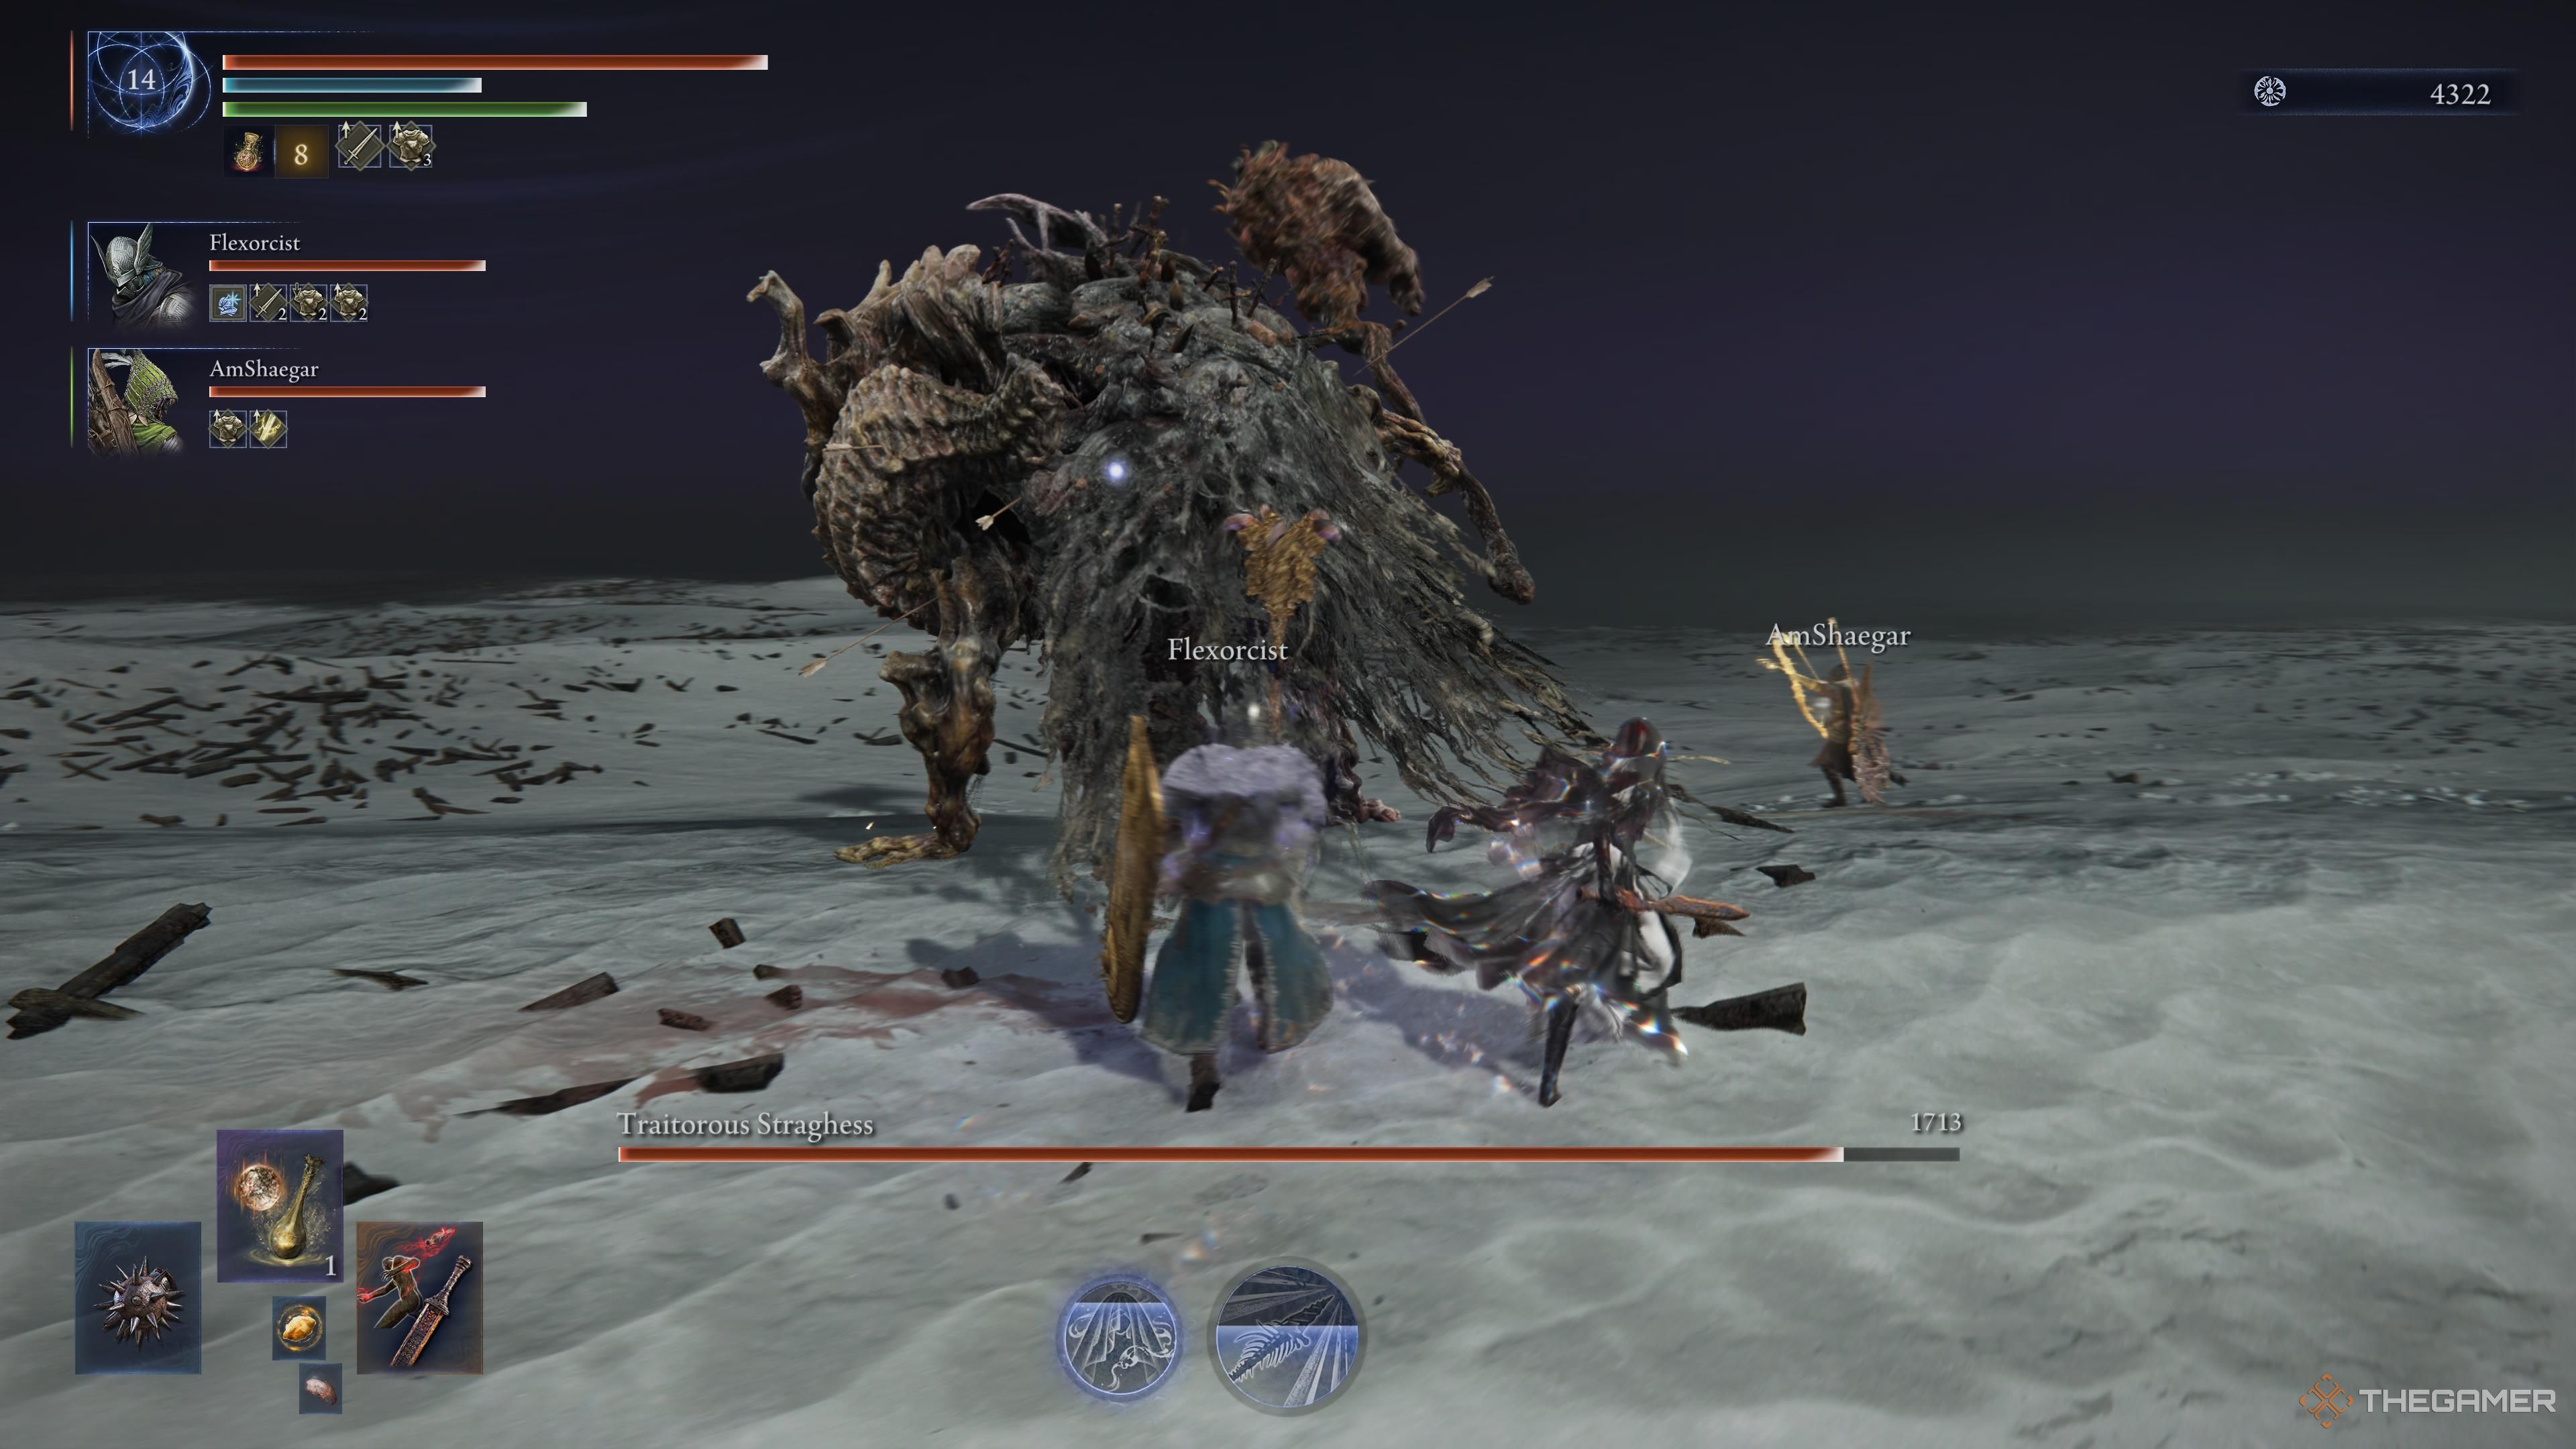
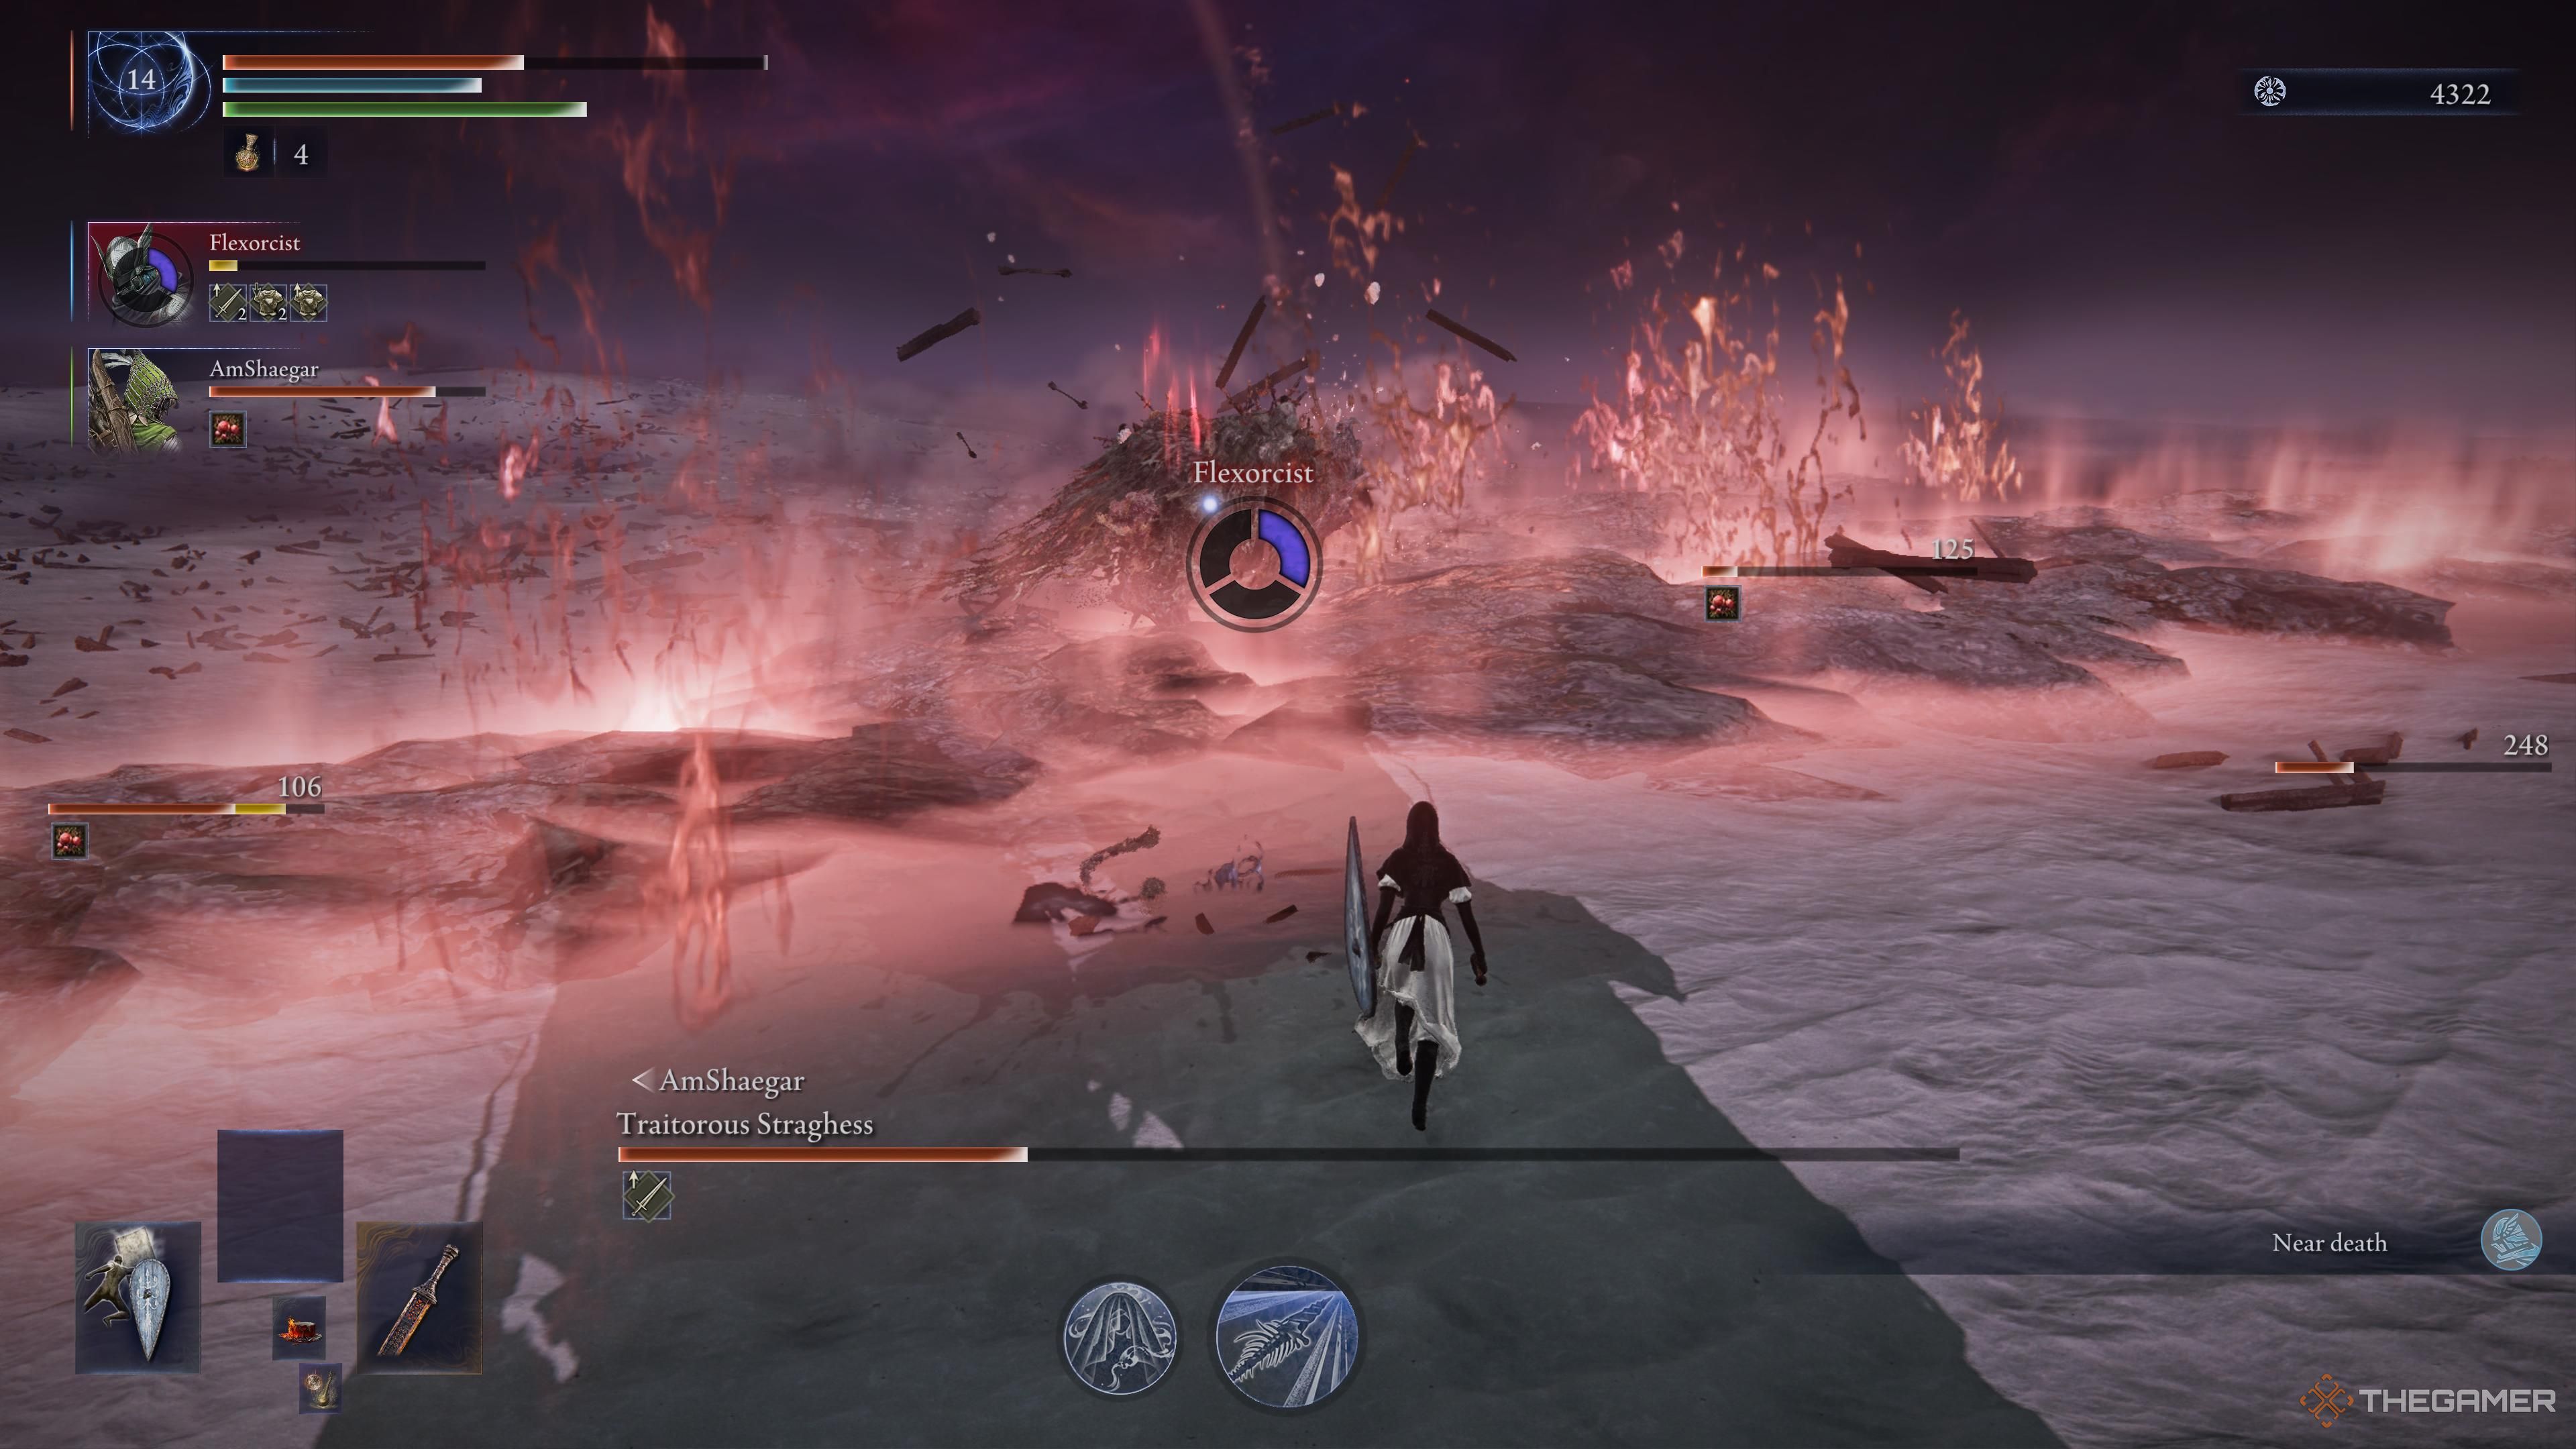
Straghess has a powerful attack where he creates a pile of decaying matter that explodes after a short delay. When he starts lifting this pile, quickly run backwards to get out of its blast radius. Or, you can dodge just as it explodes to avoid the damage completely.
After this attack, you’ll be affected by Rot for a period of time. If the Rot meter fills up, you’ll gradually start taking damage.
After the last attack, pools of Rot will spawn enemies. Don’t worry about these enemies unless they’re right next to you – they move slowly and can distract you from the main fight with Dreglord. Focus on defeating Dreglord instead.

He’ll eventually bring out tougher enemies that are more troublesome and risky, but the key is still to concentrate all your efforts on the main boss.
The most effective way to defeat Traitorous Straghess is to focus on ranged attacks, while one player draws his attention and avoids his attacks. This keeps the rest of your team safe and allows them to deal significant damage (with a party of three). However, Straghess is easily staggered by strong, charged melee attacks, particularly from heavier weapons.
Before using the Critical Hit, deal as much damage as you can for two seconds.
The boss can create large, damaging areas of Rot on the floor by slamming its staff down. When you see marked spots appear, quickly roll away to avoid the explosions.
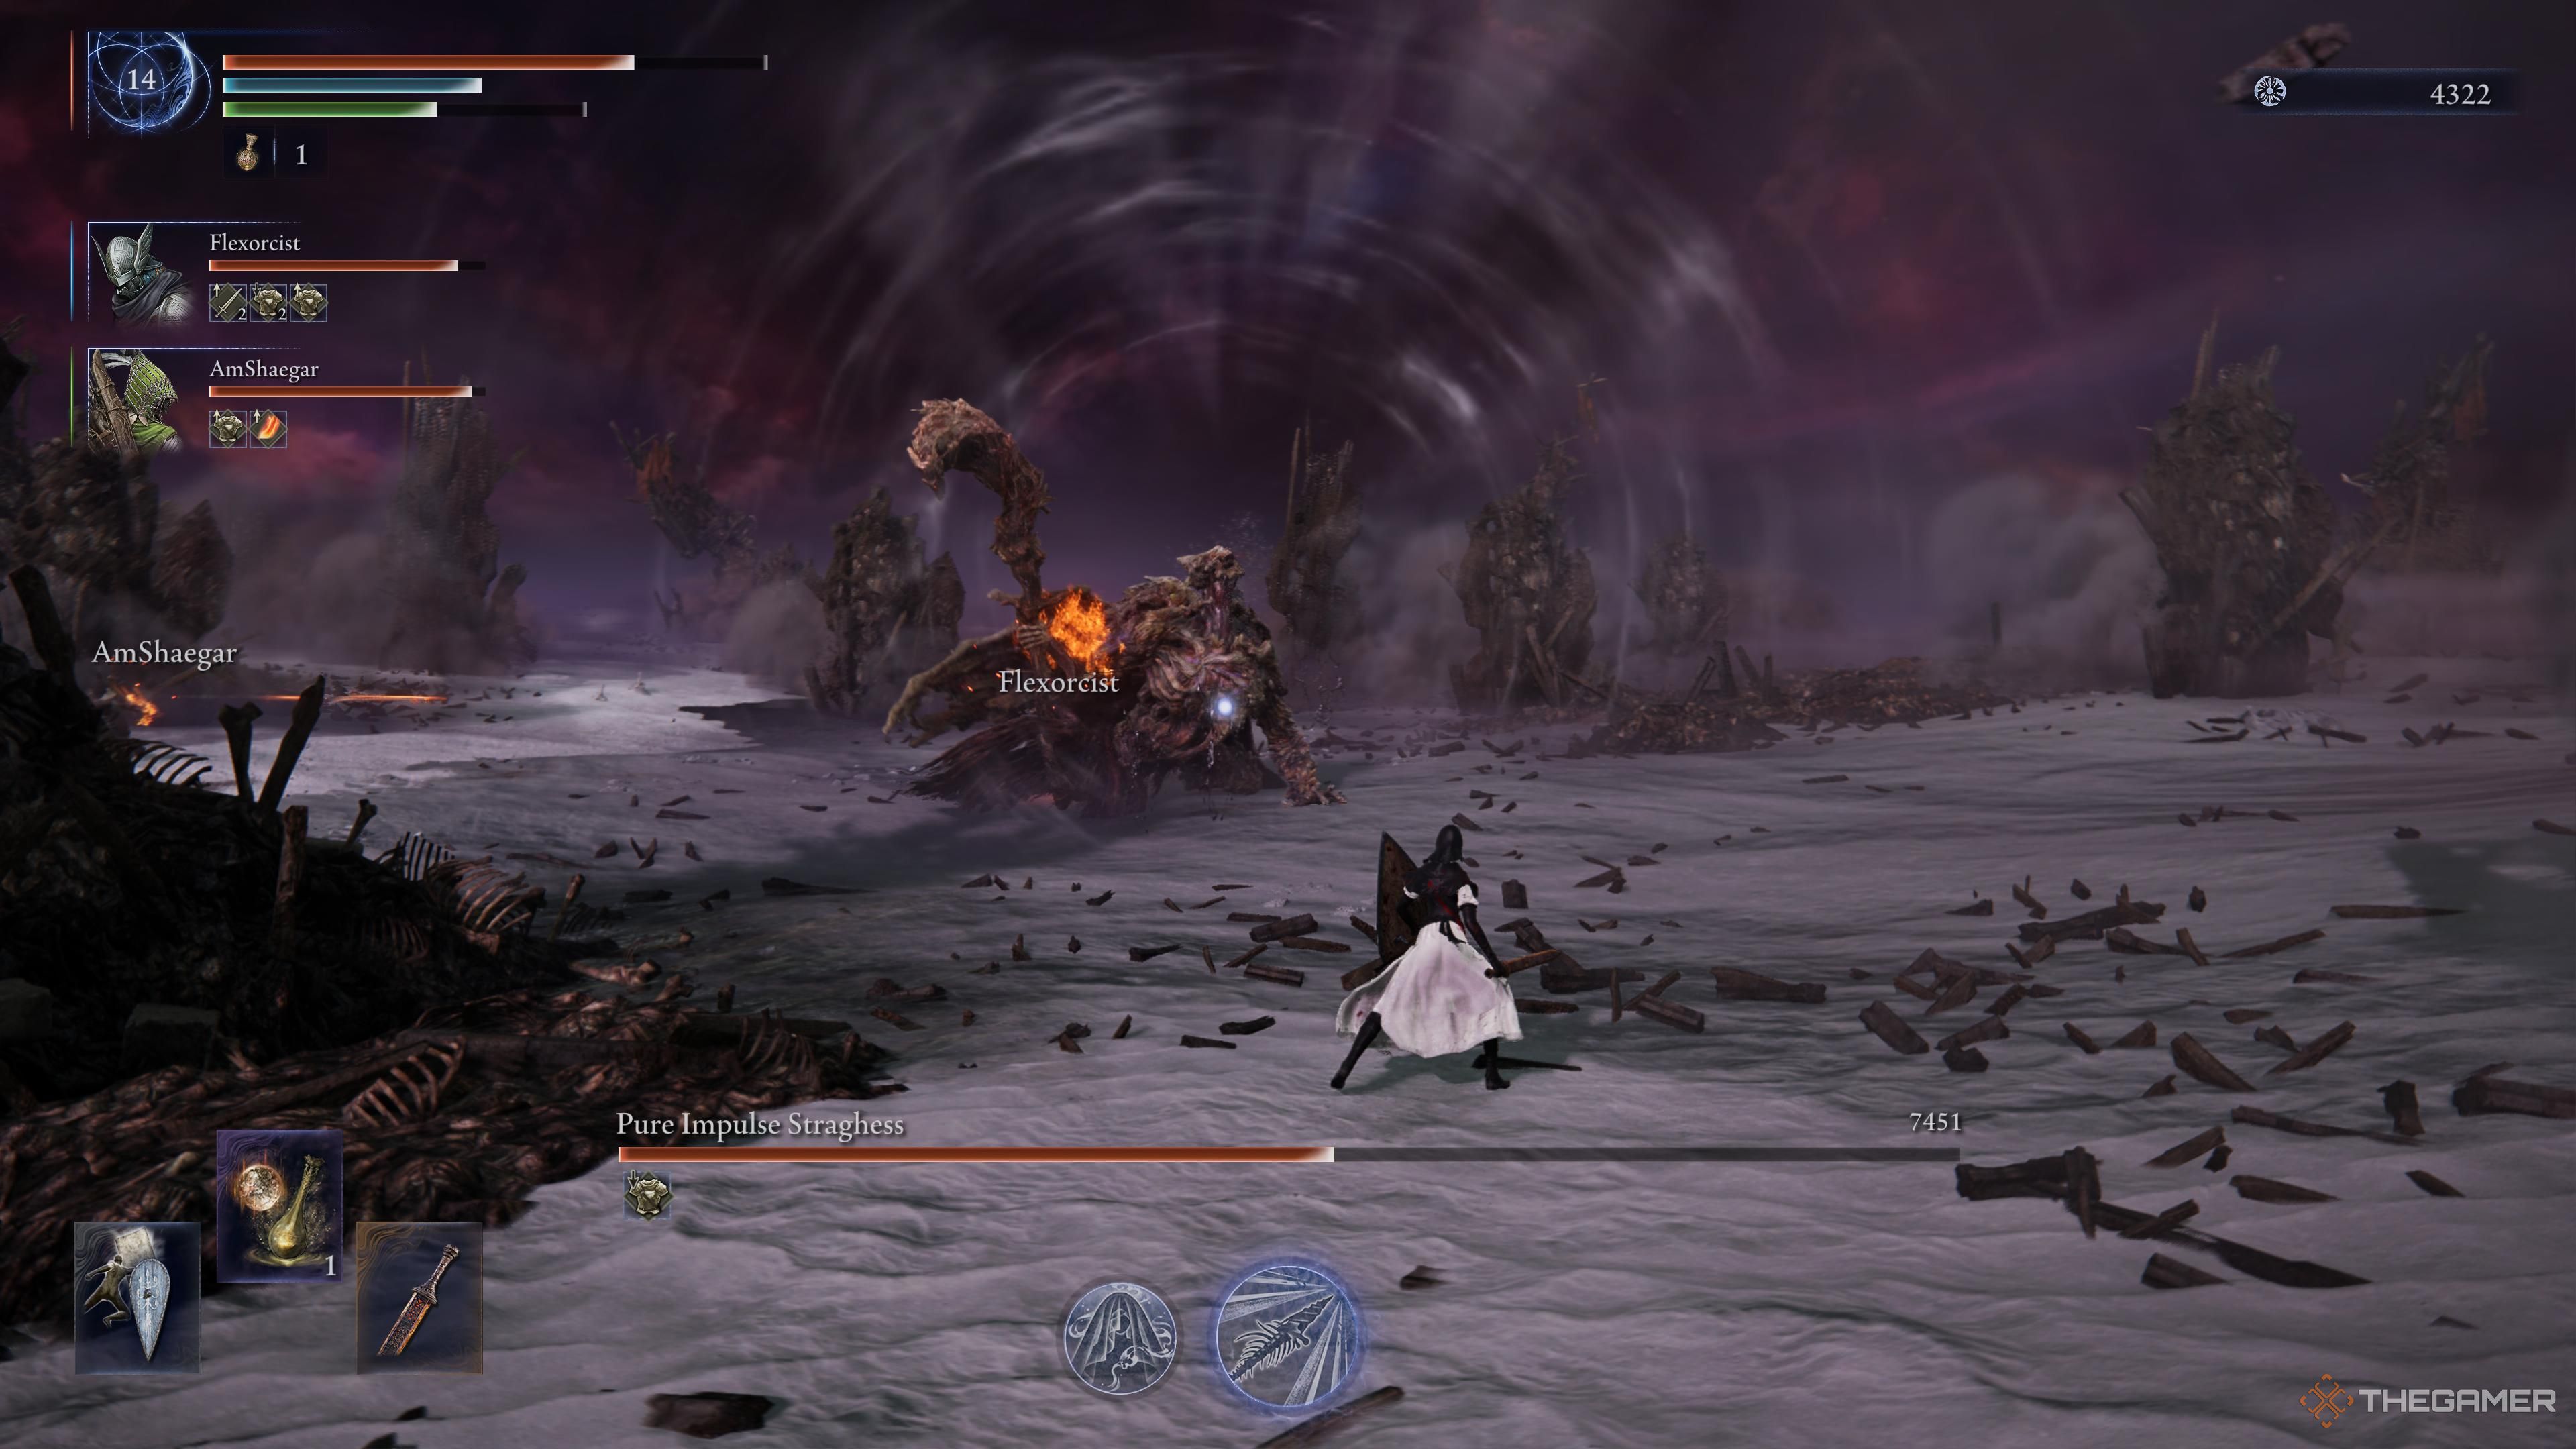
How To Defeat Pure Impure Straghess
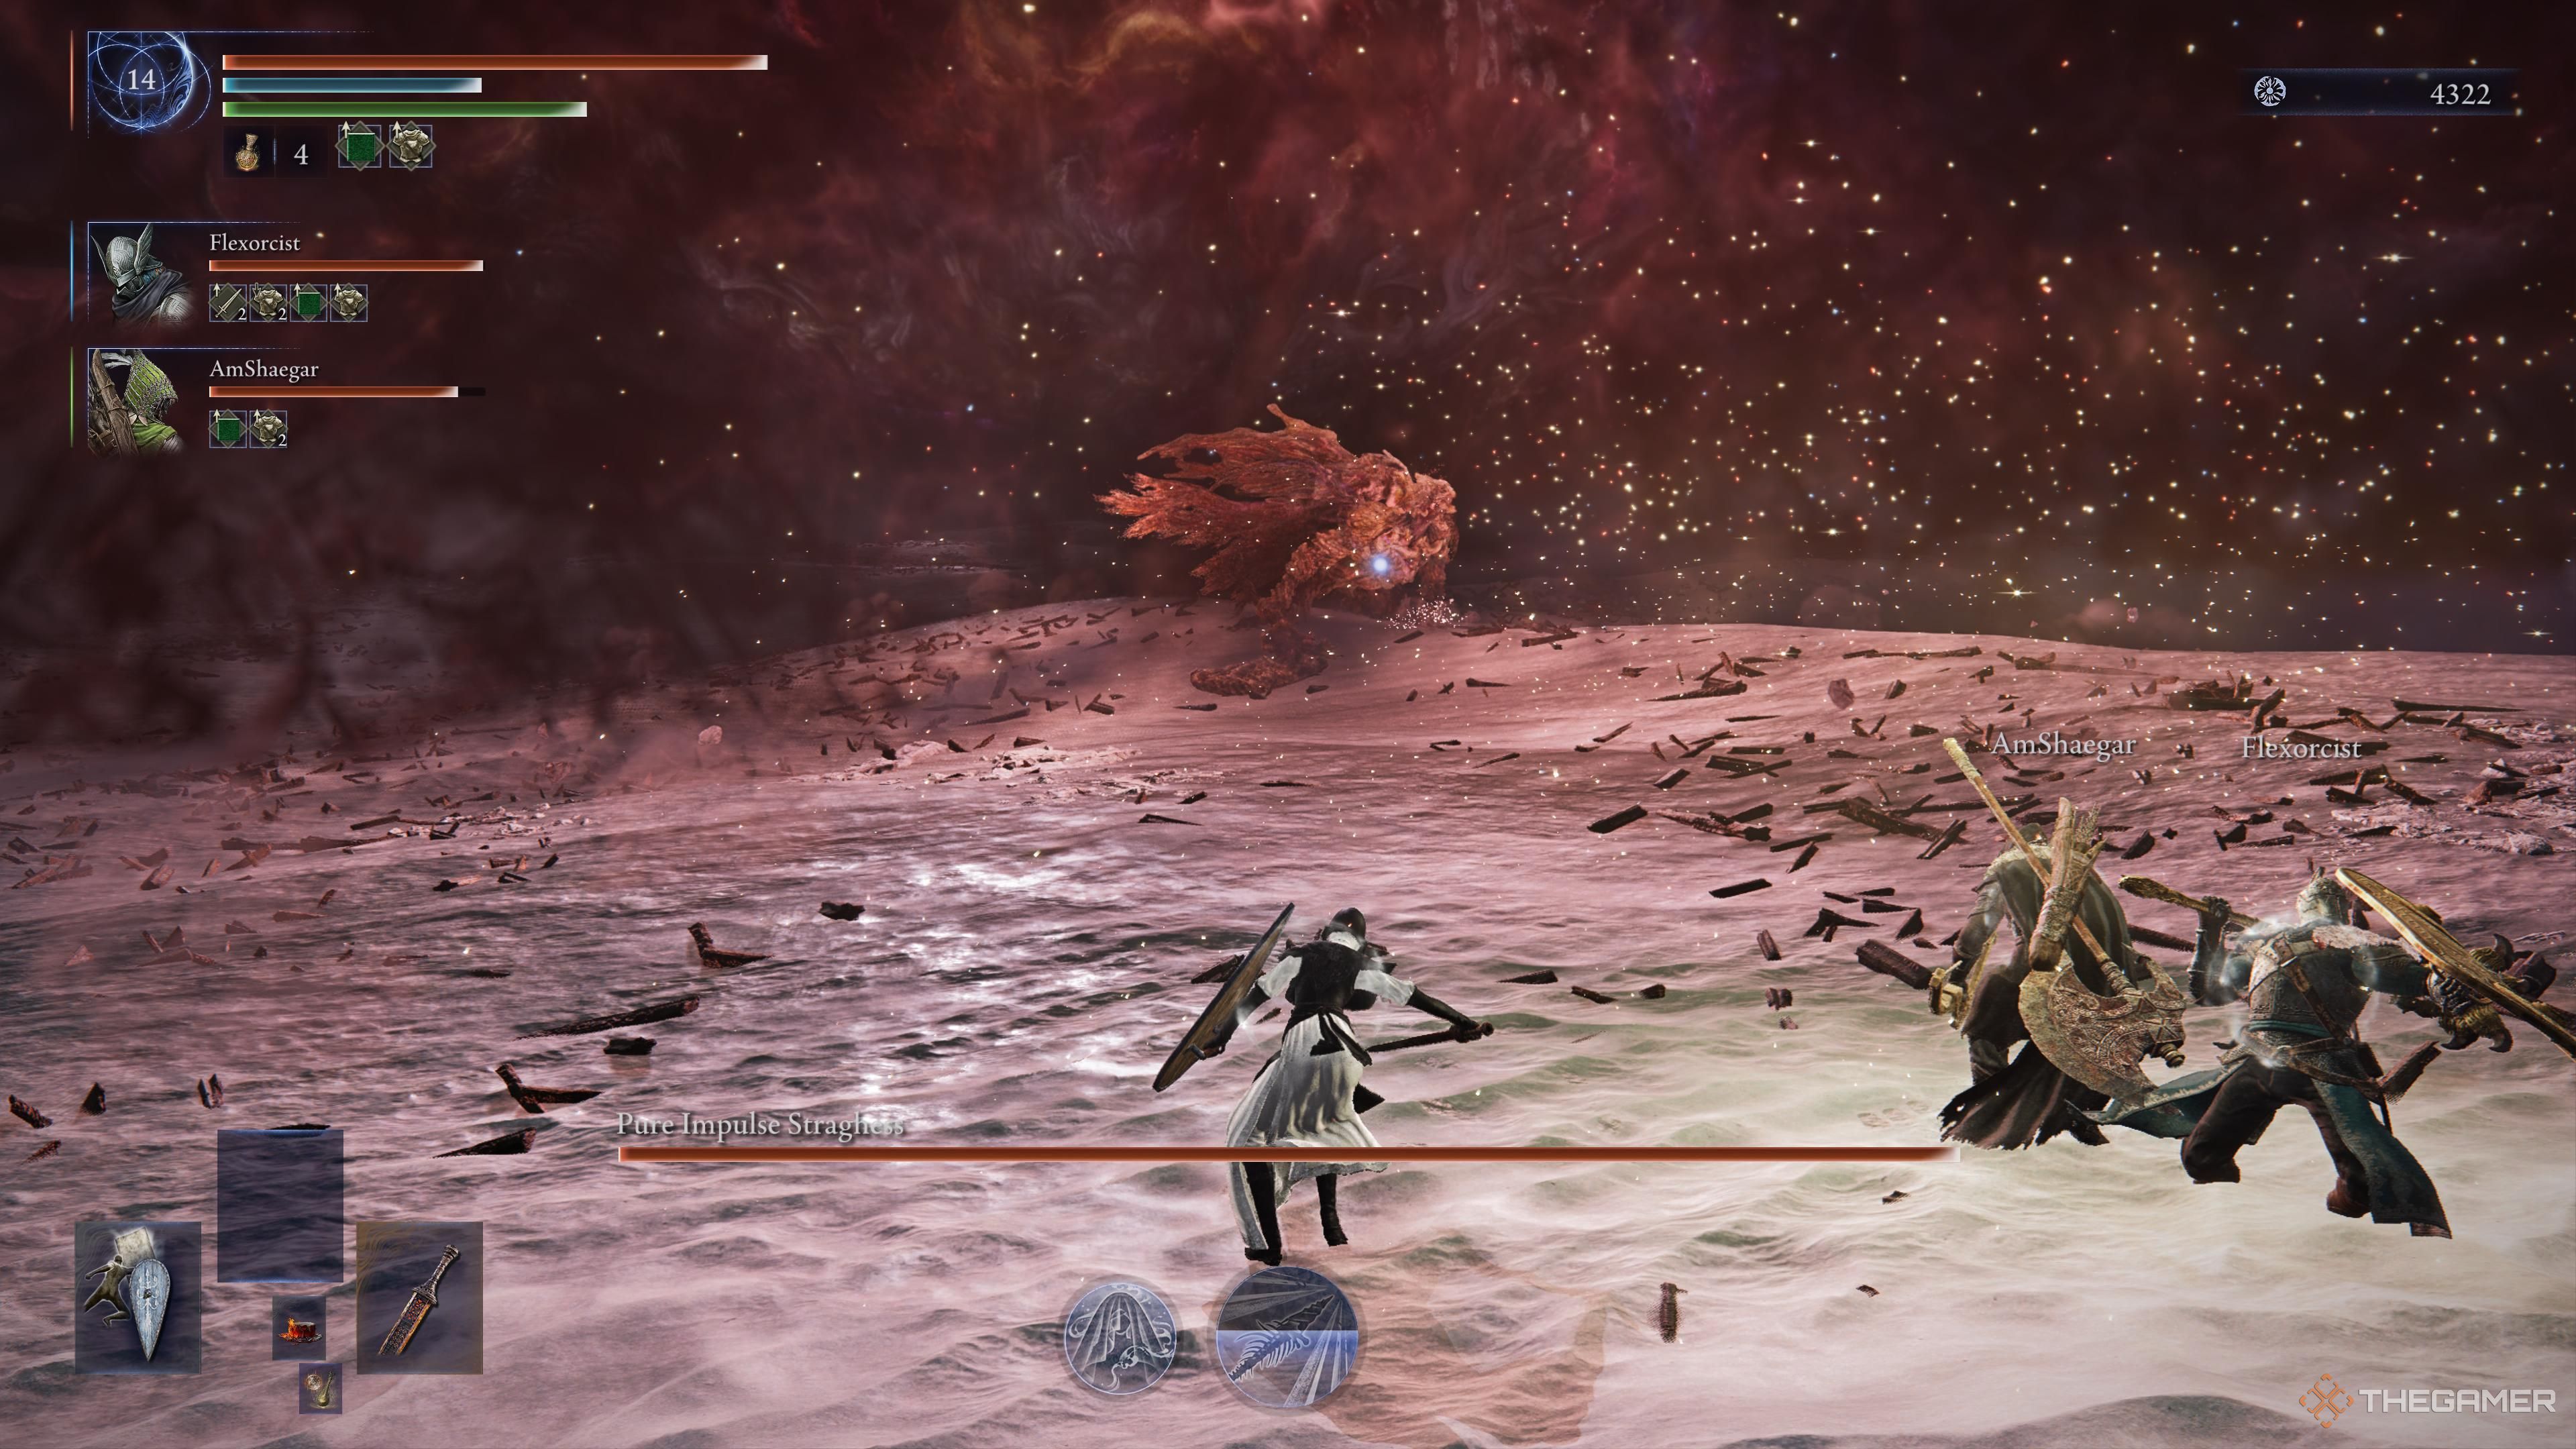
I thought I’d finally beaten the boss when his health bar emptied, but man, was I wrong! It turns out that was just the first phase. This guy, Straghess, is going to come back as something called Pure Impure Straghess, and then the real fight begins. Seriously, this is going to be tough!
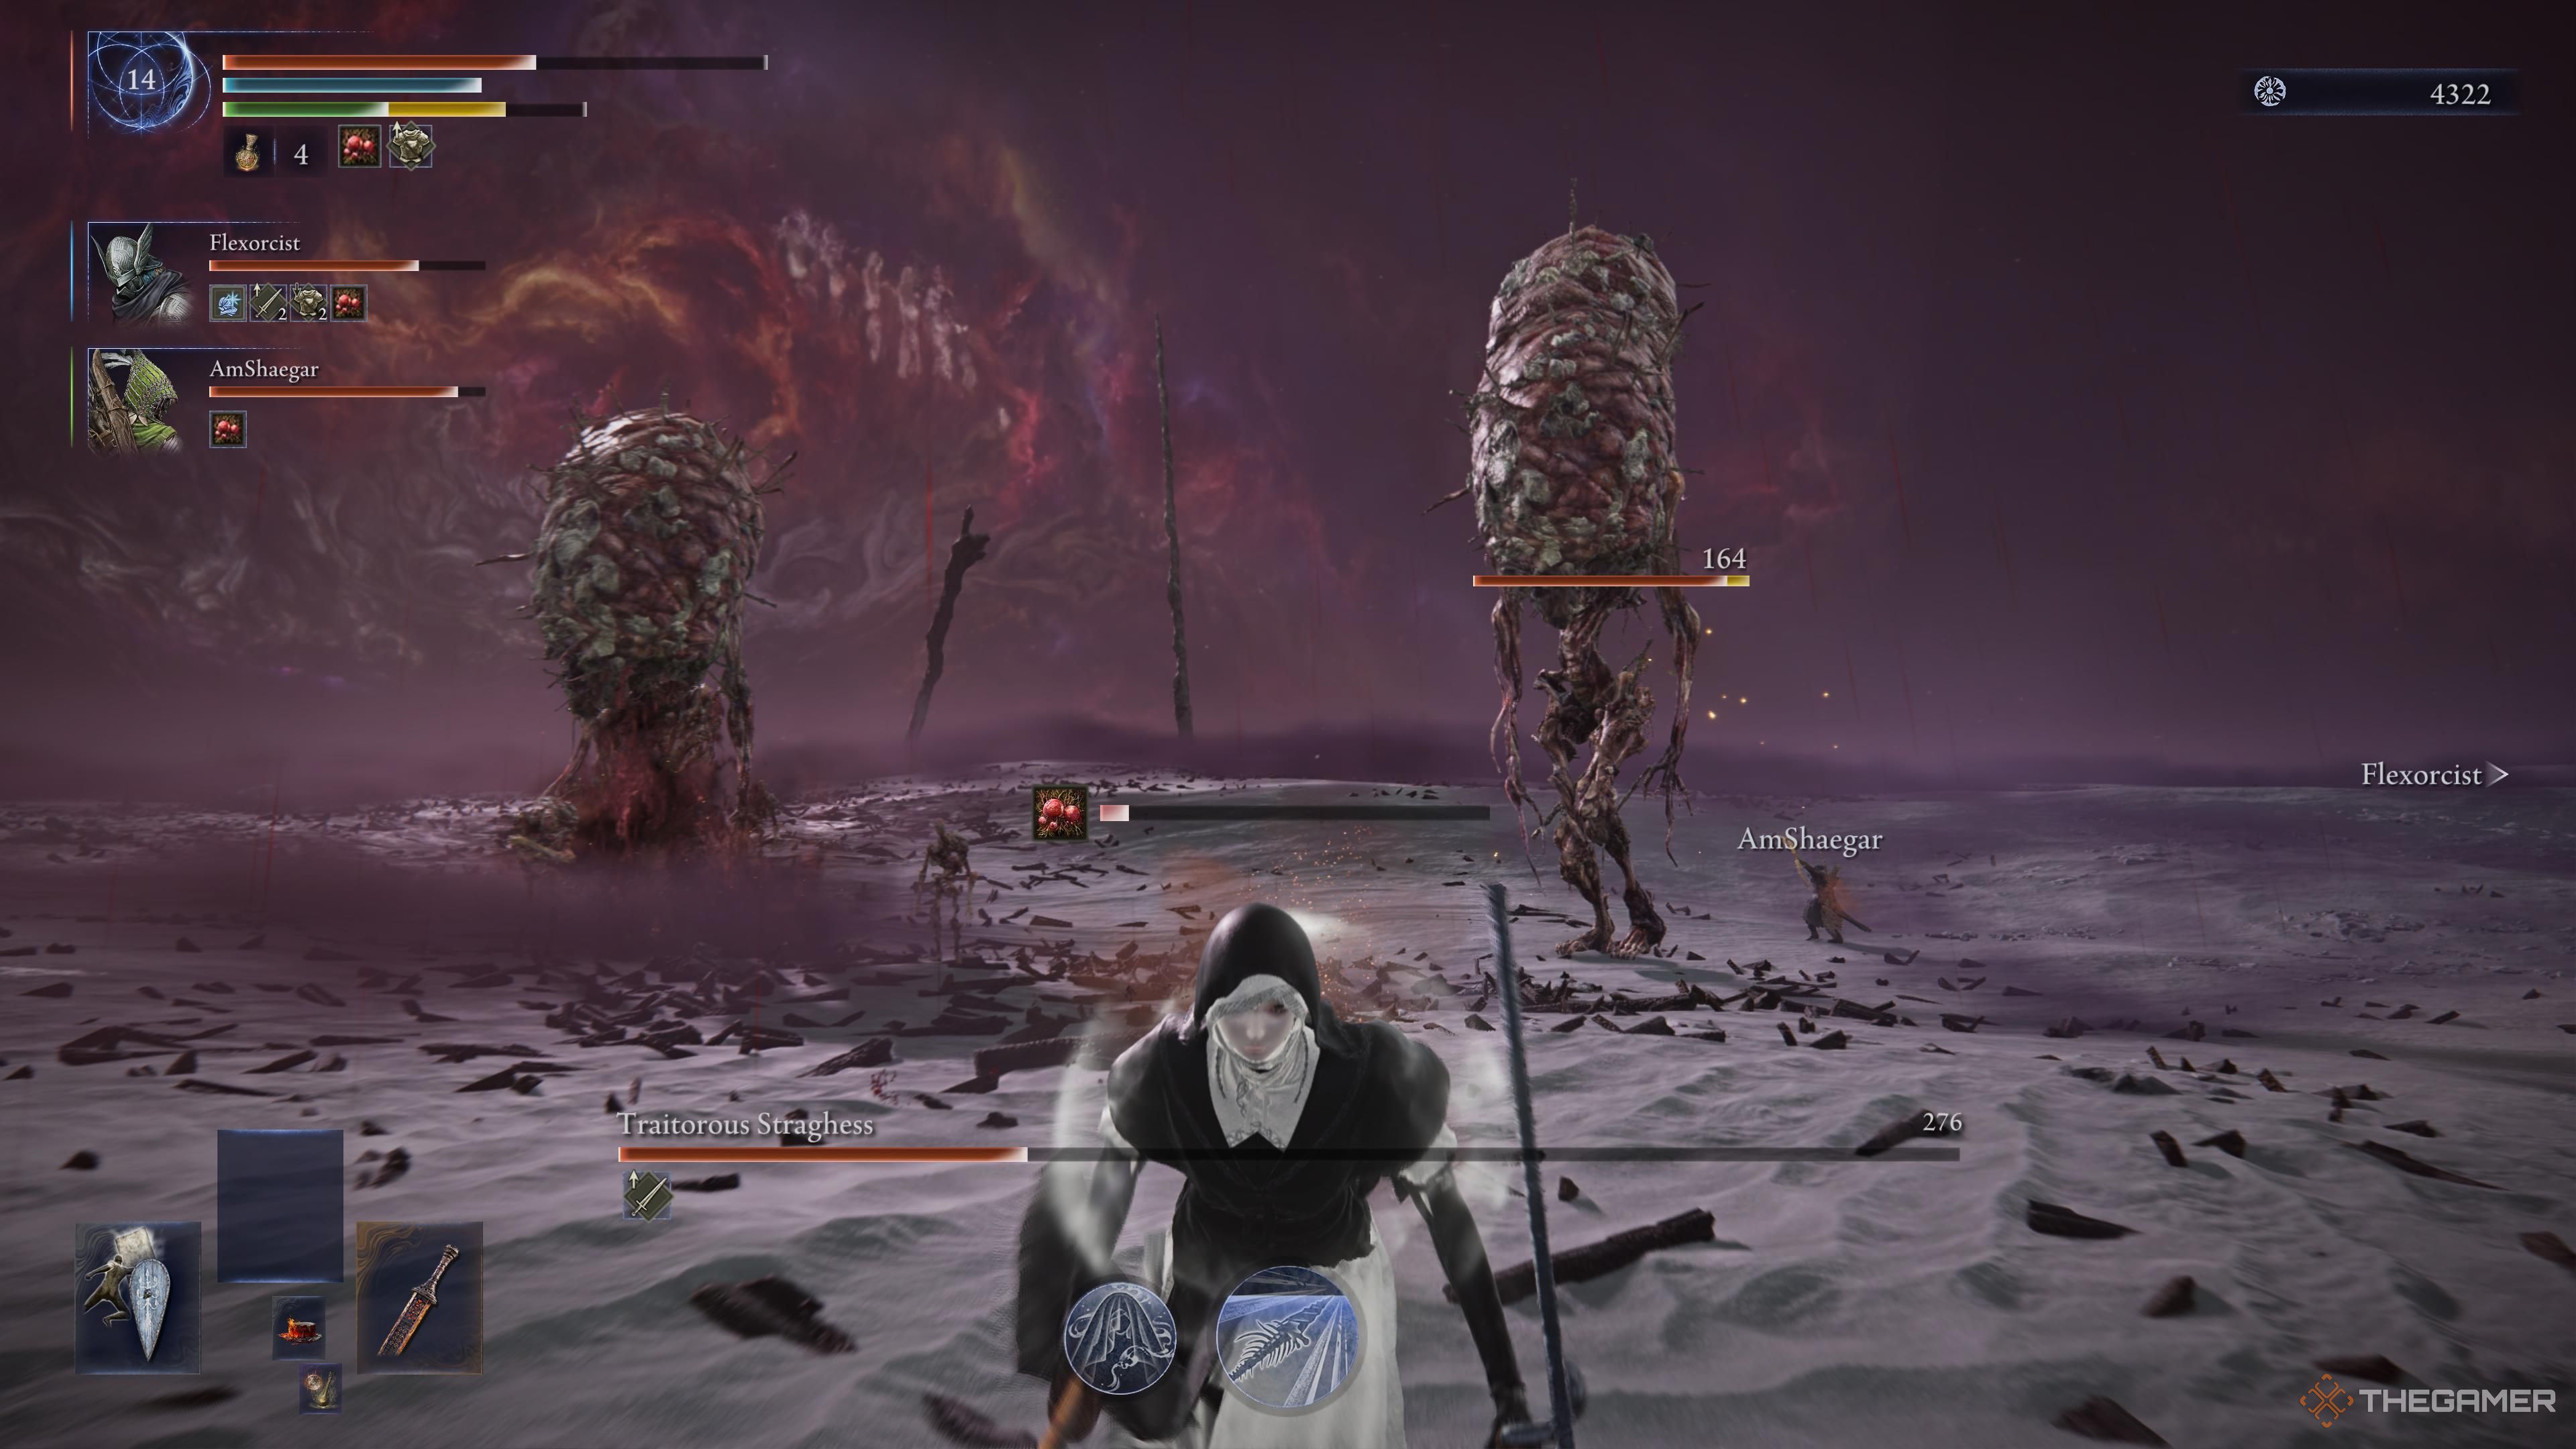
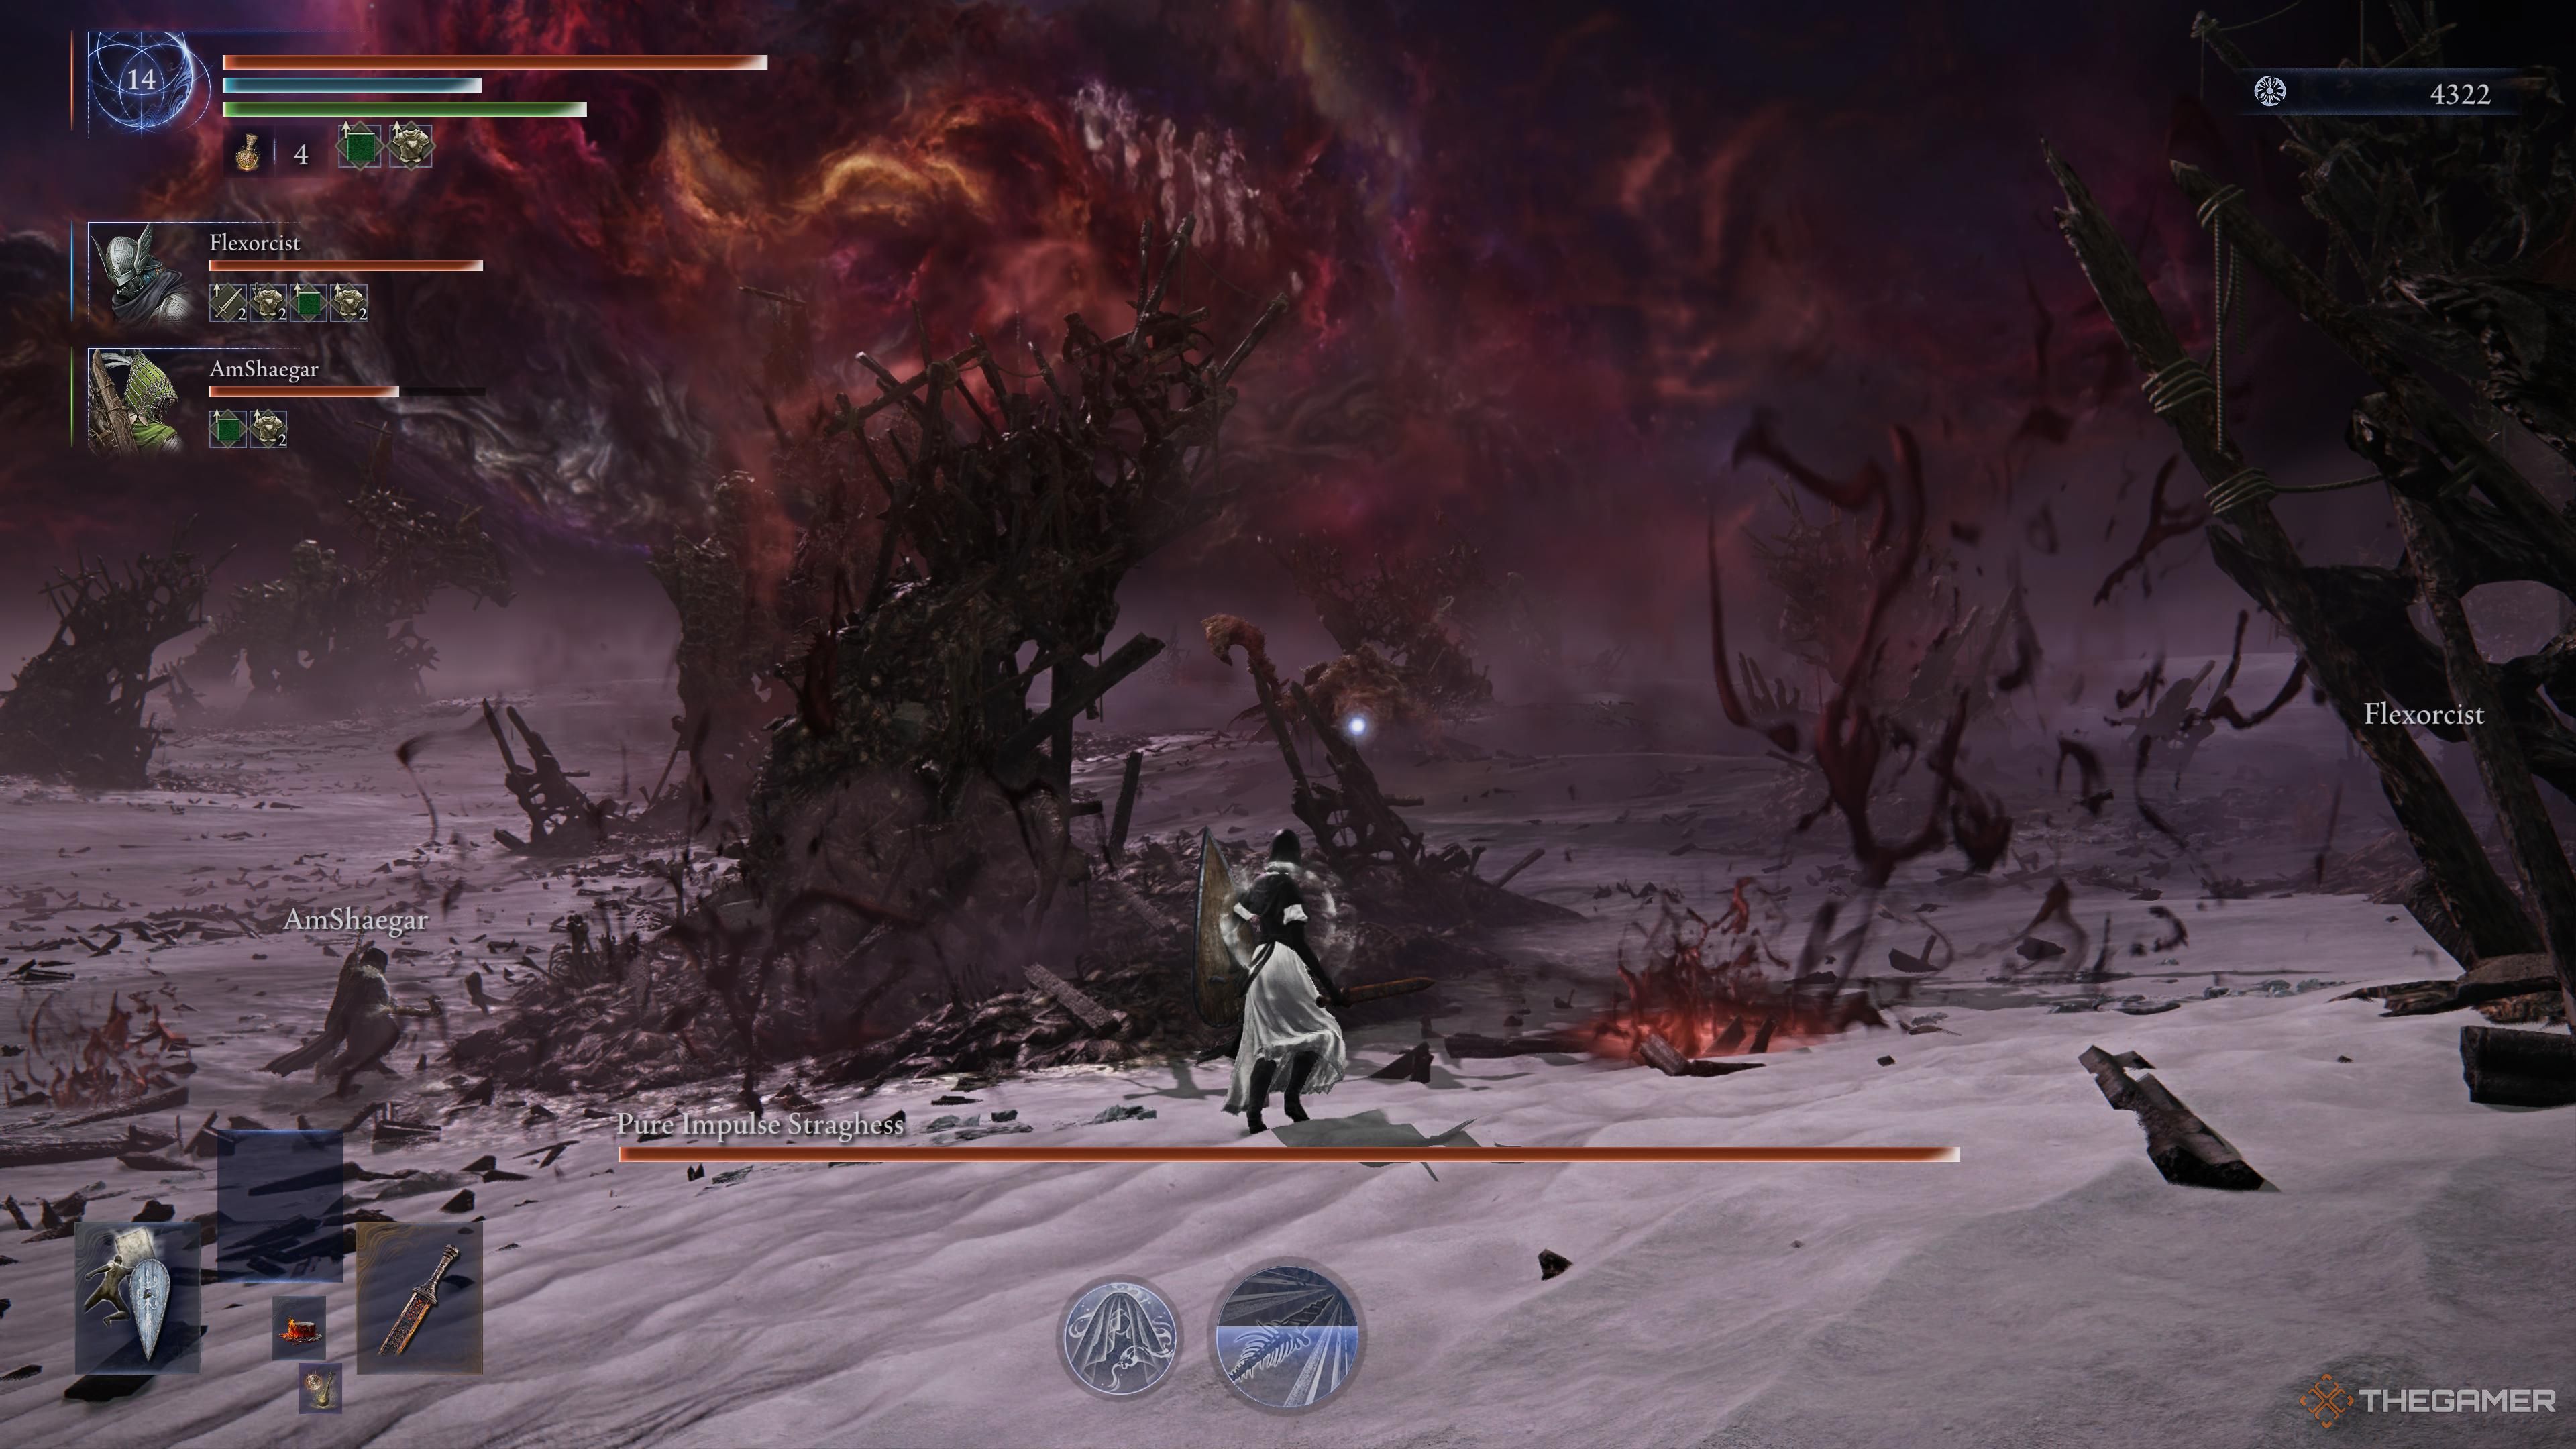
New buildings will be constructed, so pay attention to the markings on the floor and move clear when you see them being built.
Okay, so this version of the boss is seriously quicker and more nimble! He’s jumping around a lot, and you really need to watch out for those jump attacks. The one where he’s carrying that Rot ball is the most dangerous. What I’ve learned is to wait for him to land, dodge right when he does, and stick close to him. That gives you a small window to attack, and it also helps you avoid those nasty Rot explosions – just keep an eye on the pools forming on the ground!
Okay, so his regular attacks are pretty much the same, but I’ve noticed he does this new thing where he’ll run around the sides a bit before he charges. What I’ve learned is to wait until he’s actually coming at me to dodge, and then be prepared because he might keep attacking after that first charge. Honestly, trying to get a hit in while he’s running around just seems risky, so I’ve been avoiding it.
Okay, so Pure Impure Straghess has this really annoying attack where he’ll suddenly launch himself towards one of the towers – either jumping to one or creating one below him. He’ll hang there for a bit, then zip over to the next one like a missile, and you’re likely to get hit if you’re in the way! Seriously, this attack hurts – it does a ton of damage. And the worst part is, he usually does it twice in a row, so if you see him targeting you, just roll to the side immediately! It’s the best way to avoid getting wrecked.
His attack pattern is changing: he’ll now launch damaging projectiles mid-combo, finishing with a jump and a slamming attack. The best way to avoid damage is to wait for him to land and then roll towards him, which will put you in a good position to counterattack.
Subscribe to our newsletter for Nightreign boss tactics
Level up your Nightreign runs by subscribing to the newsletter. Get curated boss tactics, phase insights, gear and build suggestions, and reward optimization so you enter expeditions better prepared.
Subscribe to our newsletter for Nightreign boss tactics
Level up your Nightreign runs by subscribing to the newsletter. Get curated boss tactics, phase insights, gear and build suggestions, and reward optimization so you enter expeditions better prepared.
By subscribing, you agree to receive newsletter and marketing emails, and accept Valnet’s Terms of Use and Privacy Policy. You can unsubscribe anytime.
After roaring, the boss can quickly create several structures and then jump inside one. He’ll then move between these structures for a short time before leaping into the air and slamming down with a Rot ball. This attack is new – now, when he lands, he’ll cause two explosions instead of just one.
Okay, so listen up! During this part, just don’t attack. There are explosions, and you have to time your roll perfectly right before they happen, or you’re gonna take damage. It’s all about the timing here!
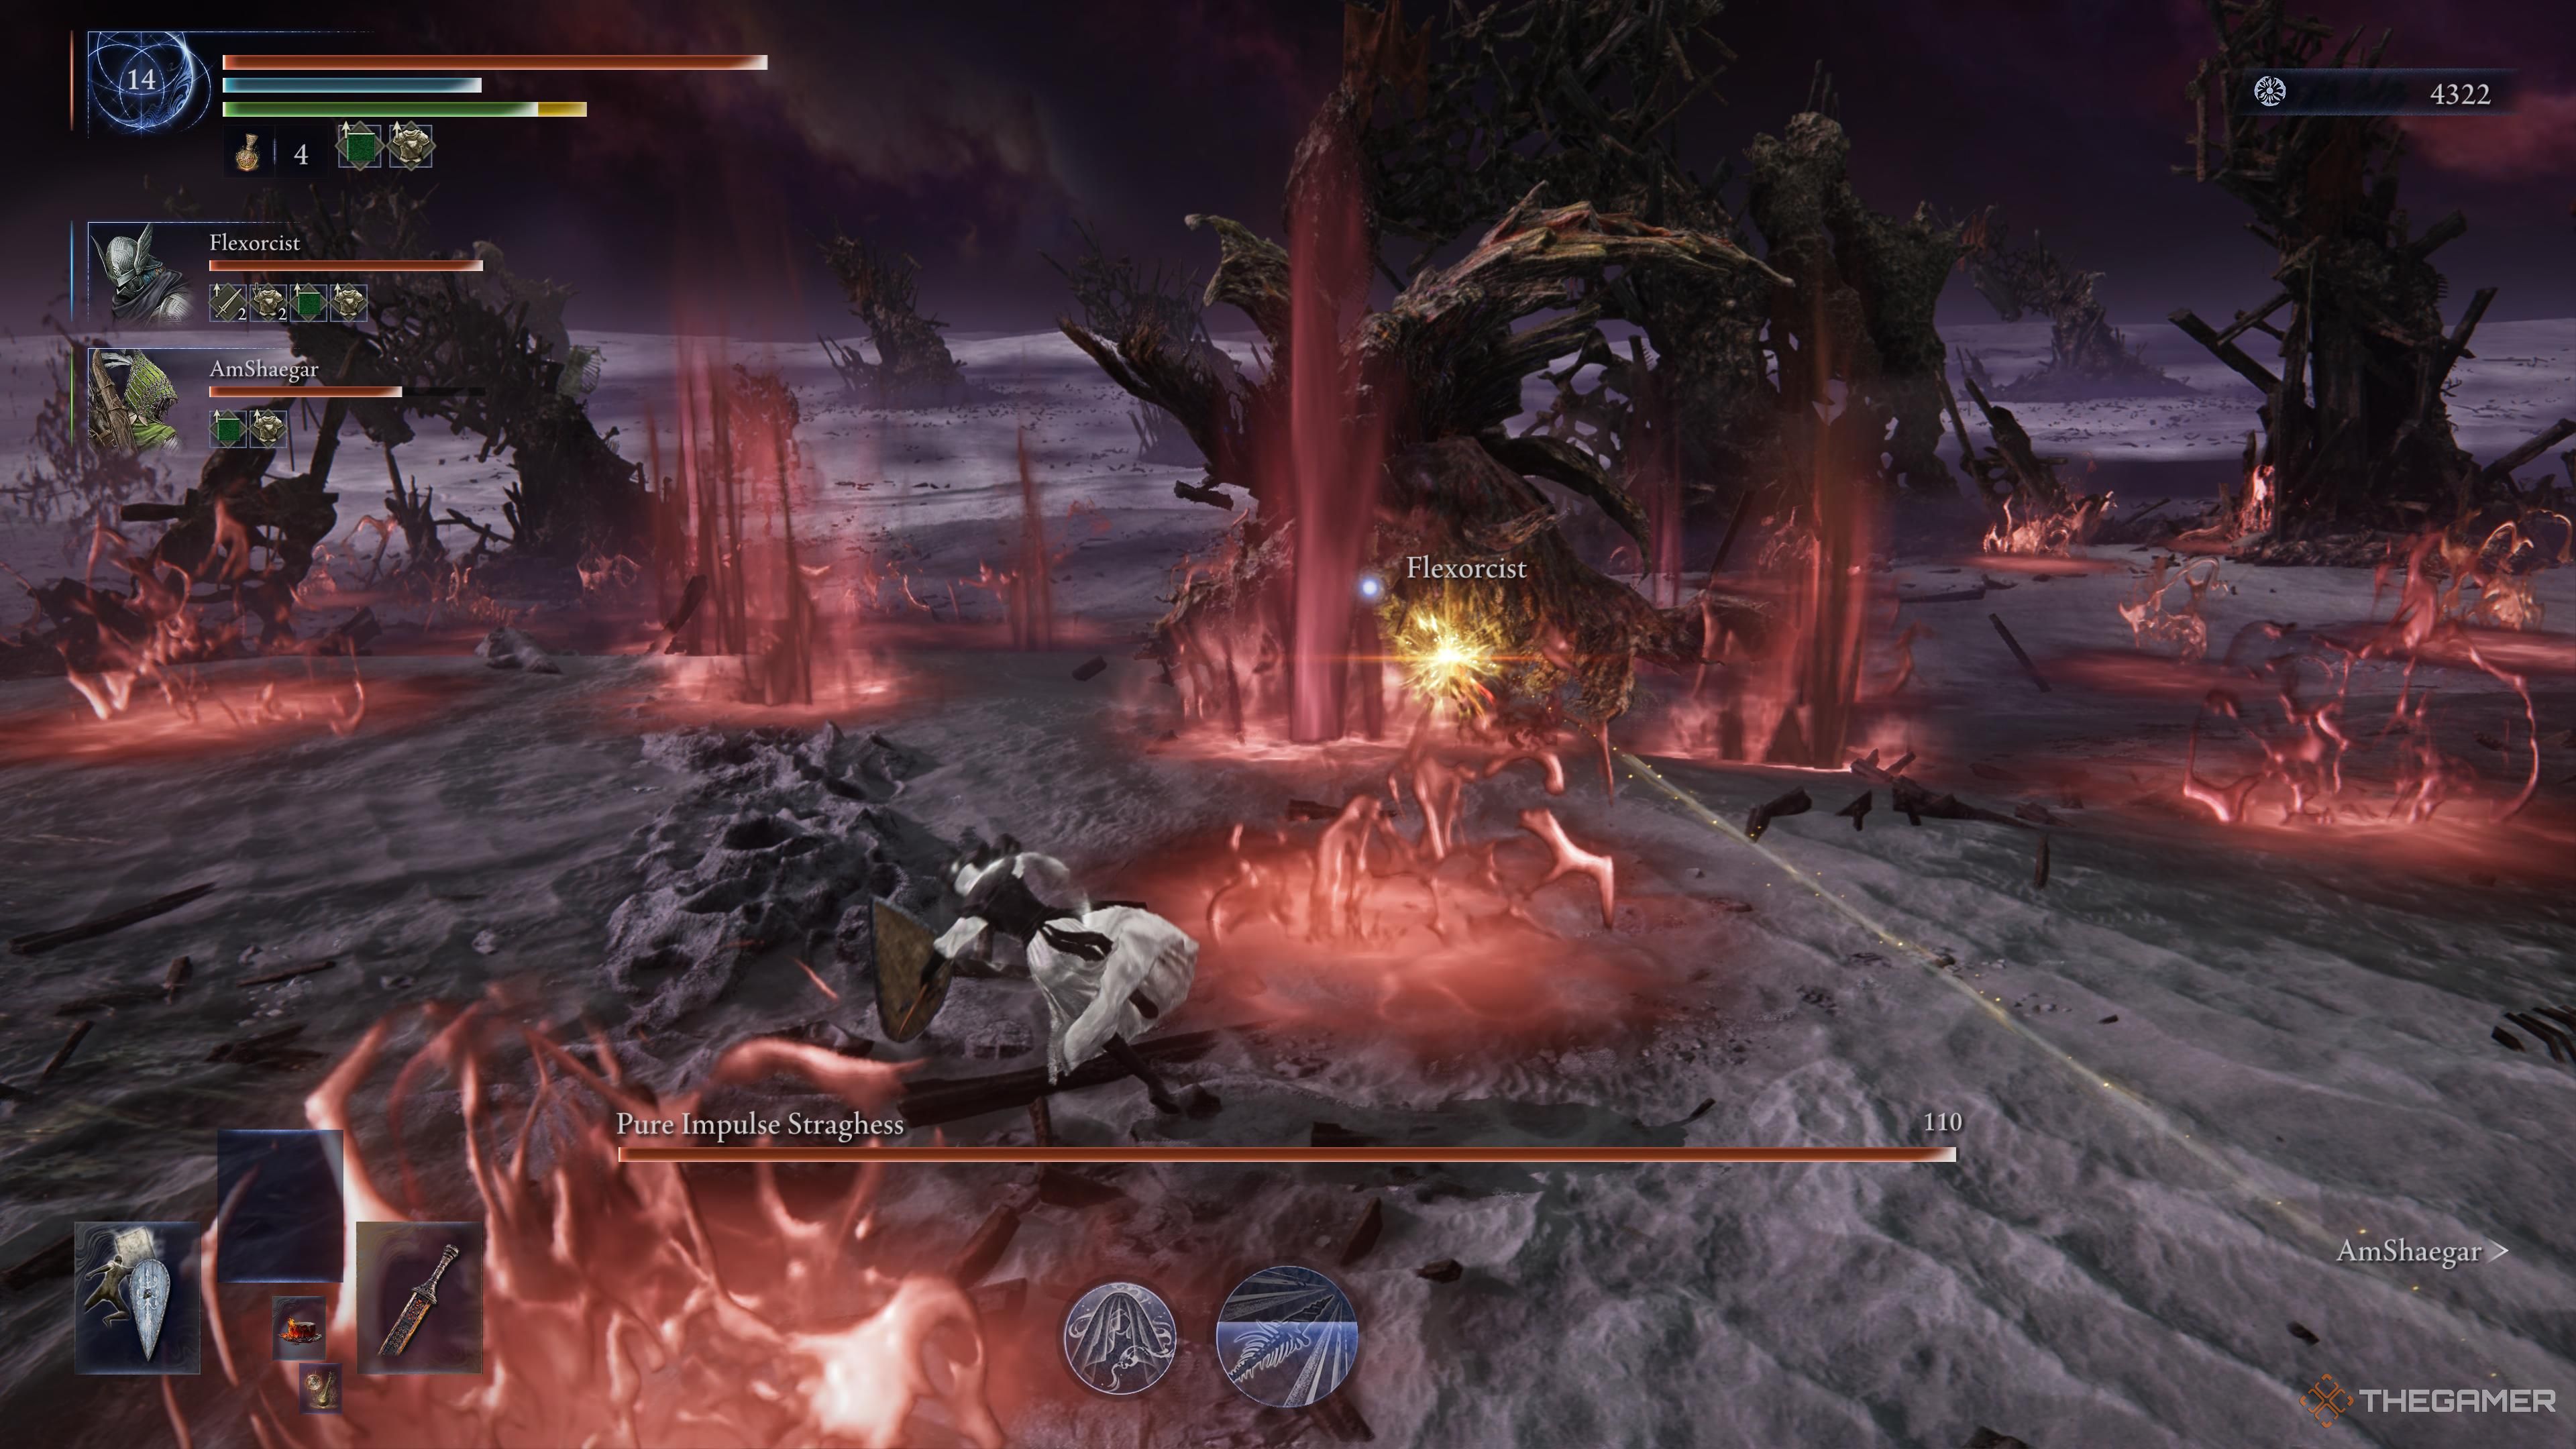
After the two explosions, he’ll create areas of damaging Rot around the arena. That’s when he’s most vulnerable to attack.
Dreglord will use his Rot attack again, and this time it will cover a larger area. Give yourself a little extra time to react and dodge it.
Rewards For Defeating Pure Impure Straghess
Okay, so I finally beat the boss, and I got this awesome red relic called The Night of the Dregs! It’s supposed to make my Rot damage even stronger, which is amazing. Plus, as a bonus, I unlocked a couple of cool new skins for the Scholar and Undertaker classes – definitely worth the effort!
Read More
- All Skyblazer Armor Locations in Crimson Desert
- How to Get the Sunset Reed Armor Set and Hollow Visage Sword in Crimson Desert
- Robinhood’s $75M OpenAI Bet: Retail Access or Legal Minefield?
- How to Catch All Itzaland Bugs in Infinity Nikki
- Speedsters Sandbox Roblox Codes
- Jojo’s Bizarre Adventure Ties Frieren As MyAnimeList’s New #1 Anime
- Invincible: 10 Strongest Viltrumites in Season 4, Ranked
- Re:Zero Season 4 Episode 3 Release Date & Where to Watch
- Who Can You Romance In GreedFall 2: The Dying World?
- Top 10 Must-Watch Isekai Anime on Crunchyroll Revealed!
2025-12-23 04:37