As an avid fan and seasoned player of God of War, I can confidently say that the journey to obtain these powerful Relics is as thrilling as the battles themselves. The Legendary Chest and the tuning fork relic, Huldra Project #9, can be purchased from the shop once you’ve completed the main story. A hefty sum of 10,000 Hacksilver will be required, but it’s a small price to pay for such a formidable weapon.
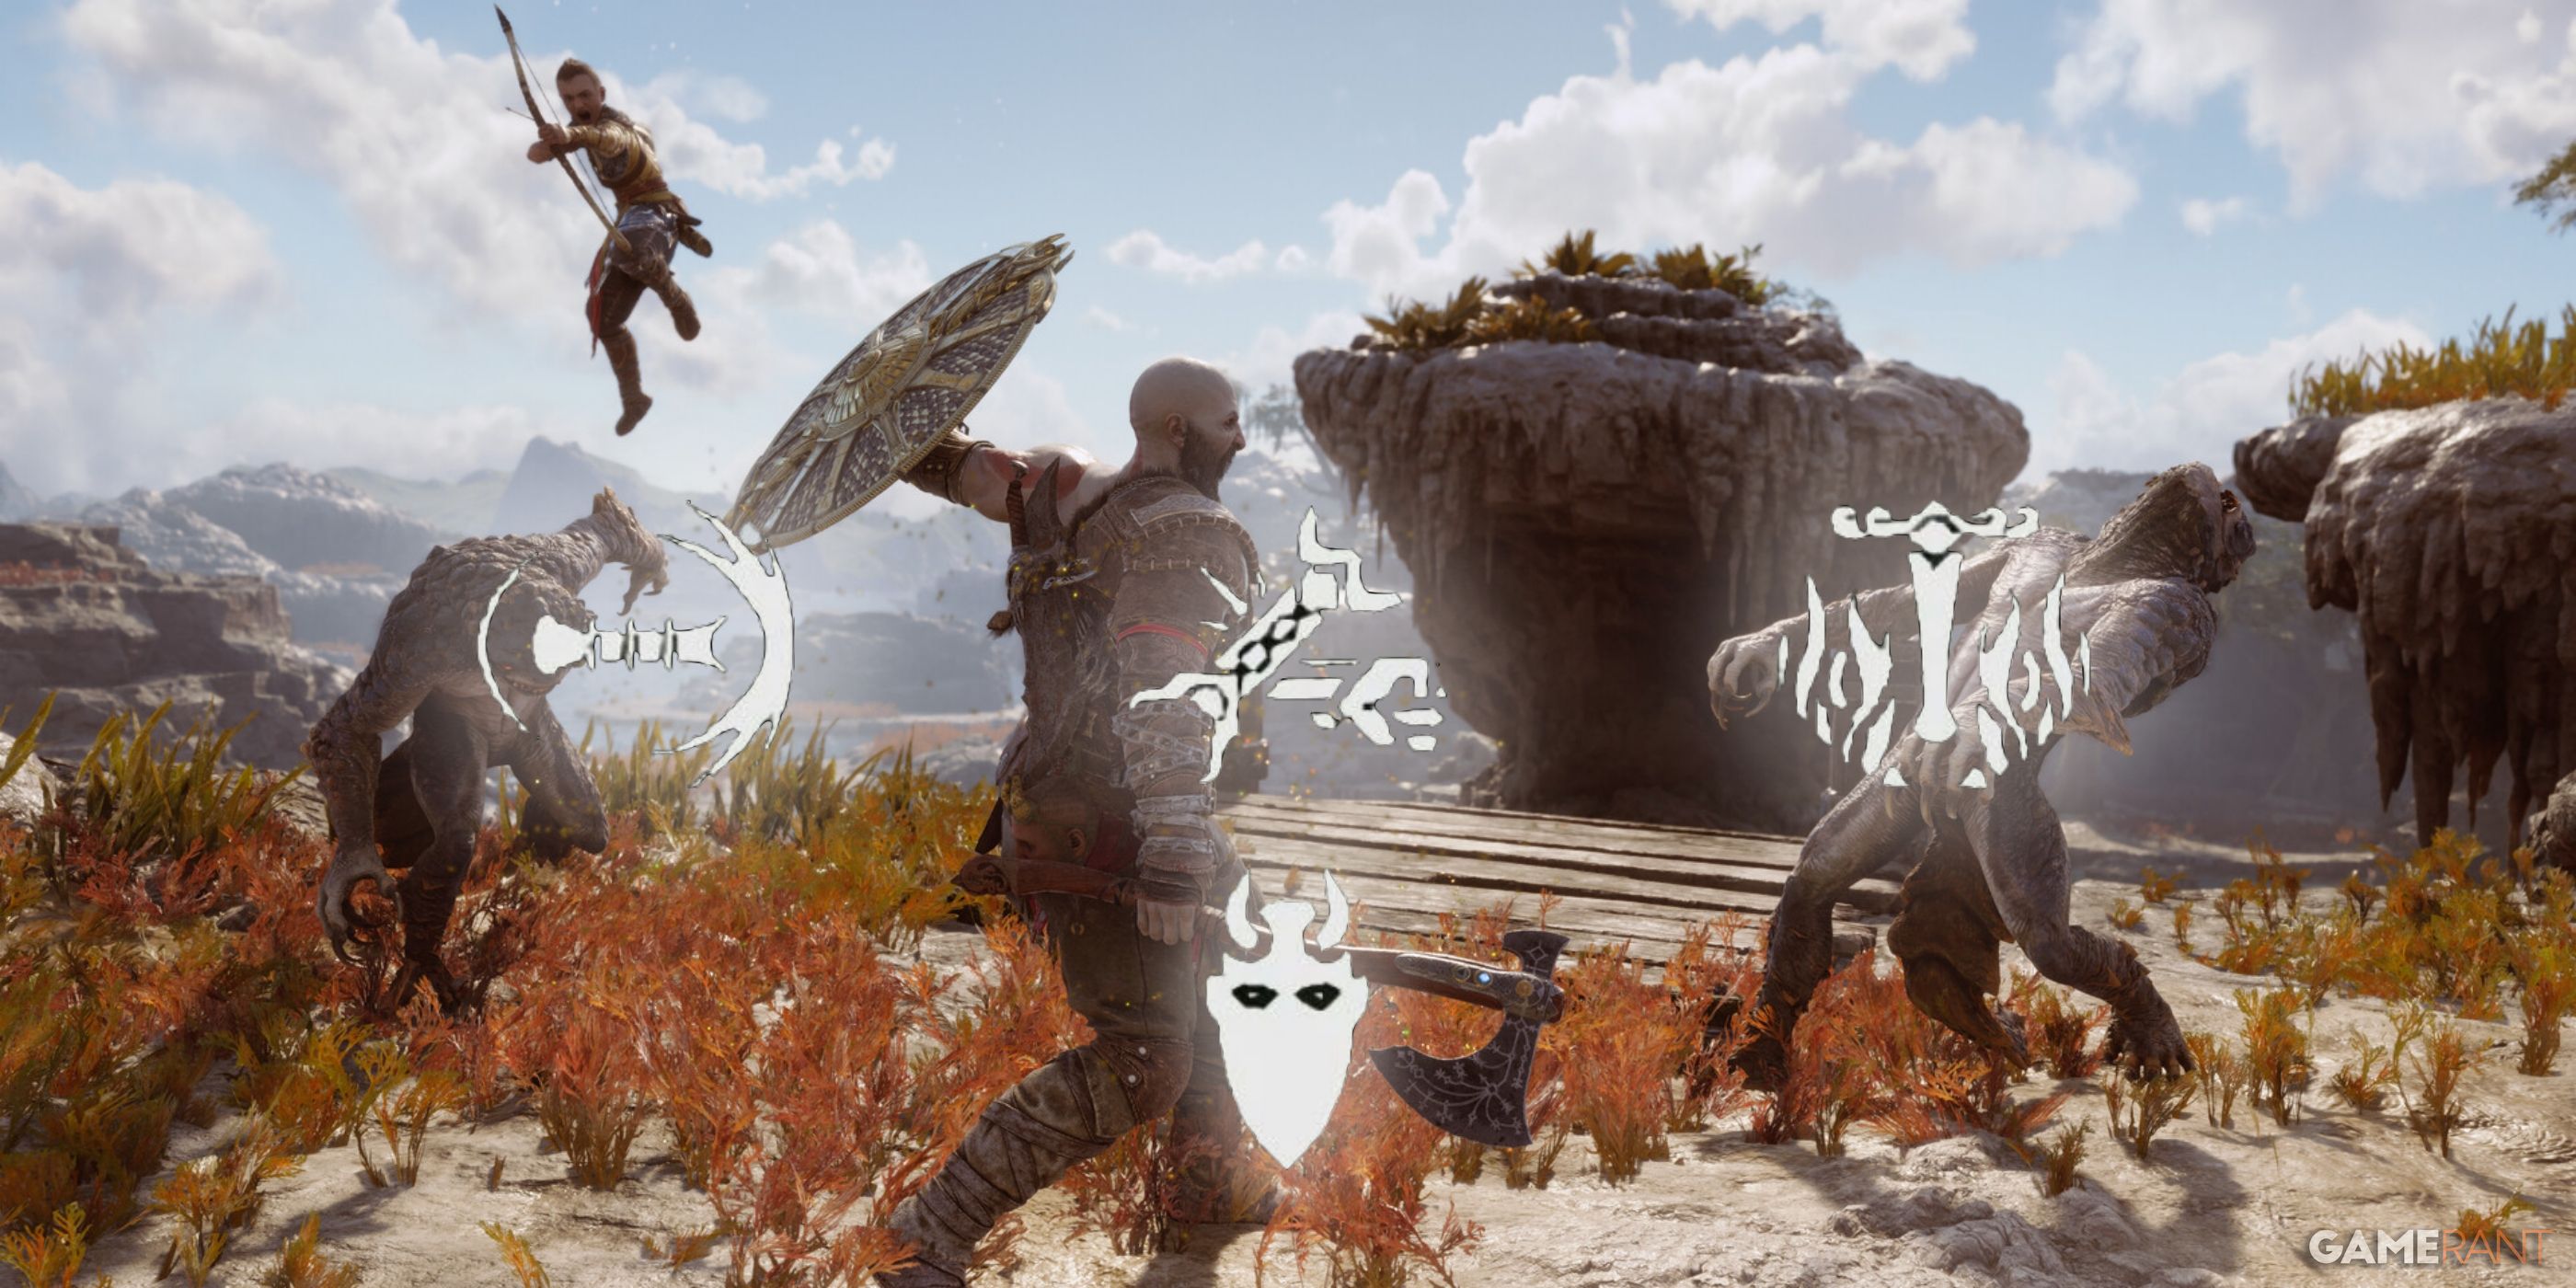
In God of War Ragnarok, there have been substantial alterations to Kratos’ combat gear. Although his main weapon systems remain mostly unchanged, the new Relic mechanic brings about a transformation in how certain items function. Talismans are no longer available, replaced by a solitary Amulet where Enchantments are now equipped. Previously associated special moves from Talismans have been swapped with Relics, which can appear in various forms.
God of War Ragnarok Relics Explained
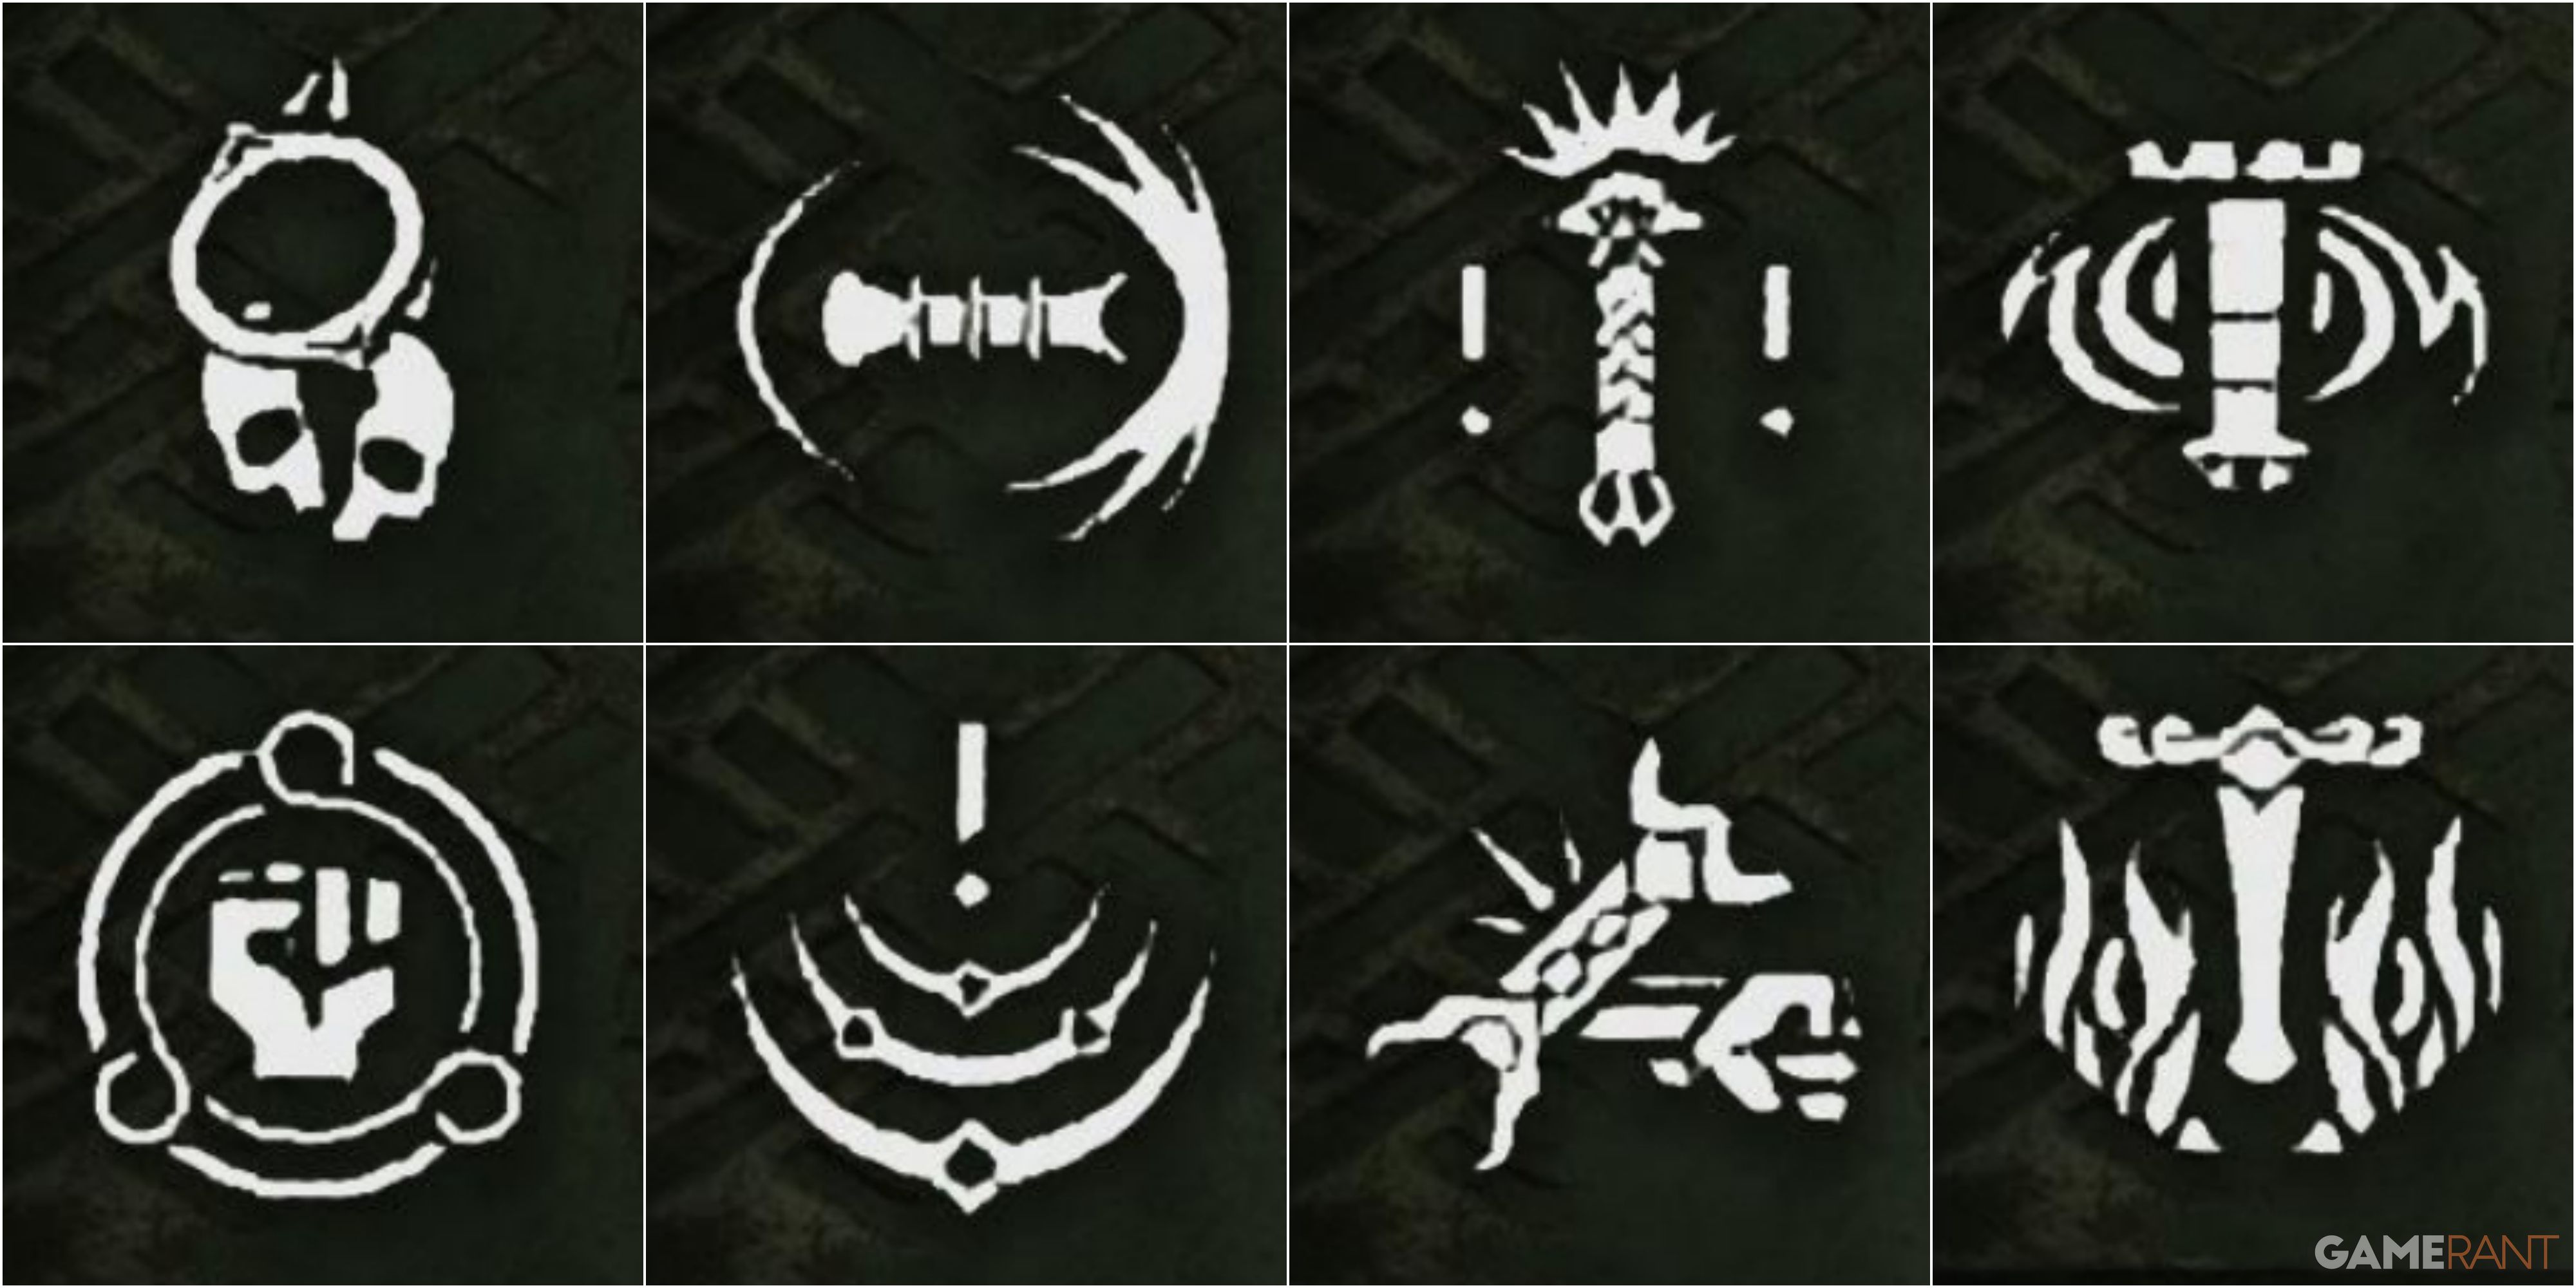
14 distinct artifacts, known as Relics, are scattered within the game ‘God of War Ragnarok’. Each one offers its unique benefit or bonus. From passive enhancements like the Strength-enhancing Talisman of Meign that boosts melee attack power, to special abilities such as Motsognir’s Call for extraordinary attacks, players will have numerous choices based on their preferred playstyle. As Kratos embarks on his adventure, he will acquire Relics in various ways. Some will be earned by overcoming challenging foes, while others will be uncovered through exploration.
No matter which Relic I’m wielding, I’ll consistently trigger it by keeping my left index finger on the L1 button and then pressing the Circle button simultaneously.
Upgrading Relics:
Just as Kratos’ other tools, the Relics can be enhanced. This procedure is much like enhancing his Runic attacks and requires the experience points that Kratos gains from battles. To boost a Relic, simply select it in the menu, and an upgrade menu will appear at the bottom center of the screen. Each Relic has three levels, with each item starting at the first level, followed by two possible enhancements. The cost of upgrades varies among Relics, with rarer items often requiring more points to enhance.
Talisman of Meign
Due to each Cooldown being influenced by its respective stat, the duration of the Cooldowns may differ depending on a specific player’s current Cooldown stat. In this tutorial, we assume that all Cooldowns are set at the standard stat level of 100.
| Description | Grants bonus to Melee damage for a short duration |
|---|---|
| Cooldown | 89 Seconds |
How to Get the Talisman of Meign:
- Location: The Applecore, Svartalfheim
In the epic game “God of War Ragnarok”, players will initially come across the “Talisman of Reign” – their first relic, not long after searching for Tyr within Applecore’s realms during their initial visit to Svartalfheim. You’ll stumble upon this artifact when you chance upon a deceased figure trapped within a wall crevice. Engage with the body to claim the “Talisman of Meign”.
Hilt of Gram
| Description | Grants a burst of Rage and applies Stun to nearby enemies |
|---|---|
| Cooldown | 89 Seconds |
How to Get the Hilt of Gram:
- Location: Temple of Light, Alfheim
In Chapter 4, Kratos will revisit the Temple of Light. To obtain the Hilt of Gram, first go to the room just preceding the main platform that encircles the Light of Alfheim. If you’ve already reached the Light, begin there and proceed up the stairs and through the door. In the chamber before the Light, find a lower level where you can operate a wheel that lowers a reflective surface. From this wheel, you can spot a round door leading to another room. There is a small puzzle in this room which, when solved, will open a Legendary Chest. The chest contains the Hilt of Gram.
Hilt of Angrvadall
| Description | Slash forward three waves of light that deal increased damage against enemies afflicted with sonic. |
|---|---|
| Cooldown | 133 Seconds |
| Crafting Requirement | Skirnir’s Gambanteinn |
How to Get the Hilt of Angrvadall:
- Location: The Barrens, Alfheim
The artifact called the “Sword Hilt Relic” is one of four unique pieces needed to complete a distinctive quest referred to as “The Misplaced Scrolls.” Instead of retrieving the artifact directly, you’ll come across one of the four missing scrolls. Once you have the necessary resources, you can create the item using that found scroll.
As a gamer, I stumbled upon the elusive page needed for crafting the Angrvadall Hilt hailing from the frosty realms of Alfheim. The map pointed me towards the chilly expanse of the Barrens’ northern edge. Upon arrival, I discovered an ancient, circular ruin that matched the description.
Where to Find Skirnir’s Gambanteinn:
You’ll come across this specific item exclusively from chapters beyond chapter 9. It serves as a reward for successfully finishing several optional missions and overcoming the formidable boss, Gravel Belly. Here are some tasks you need to accomplish in Alfheim:
- “Song of the Sands”
- “Freyr’s Gift”
- “The Desert Door”
With these quests complete, you’ll be able to craft the Hilt of Angrvadall.
Glaive of Dodher
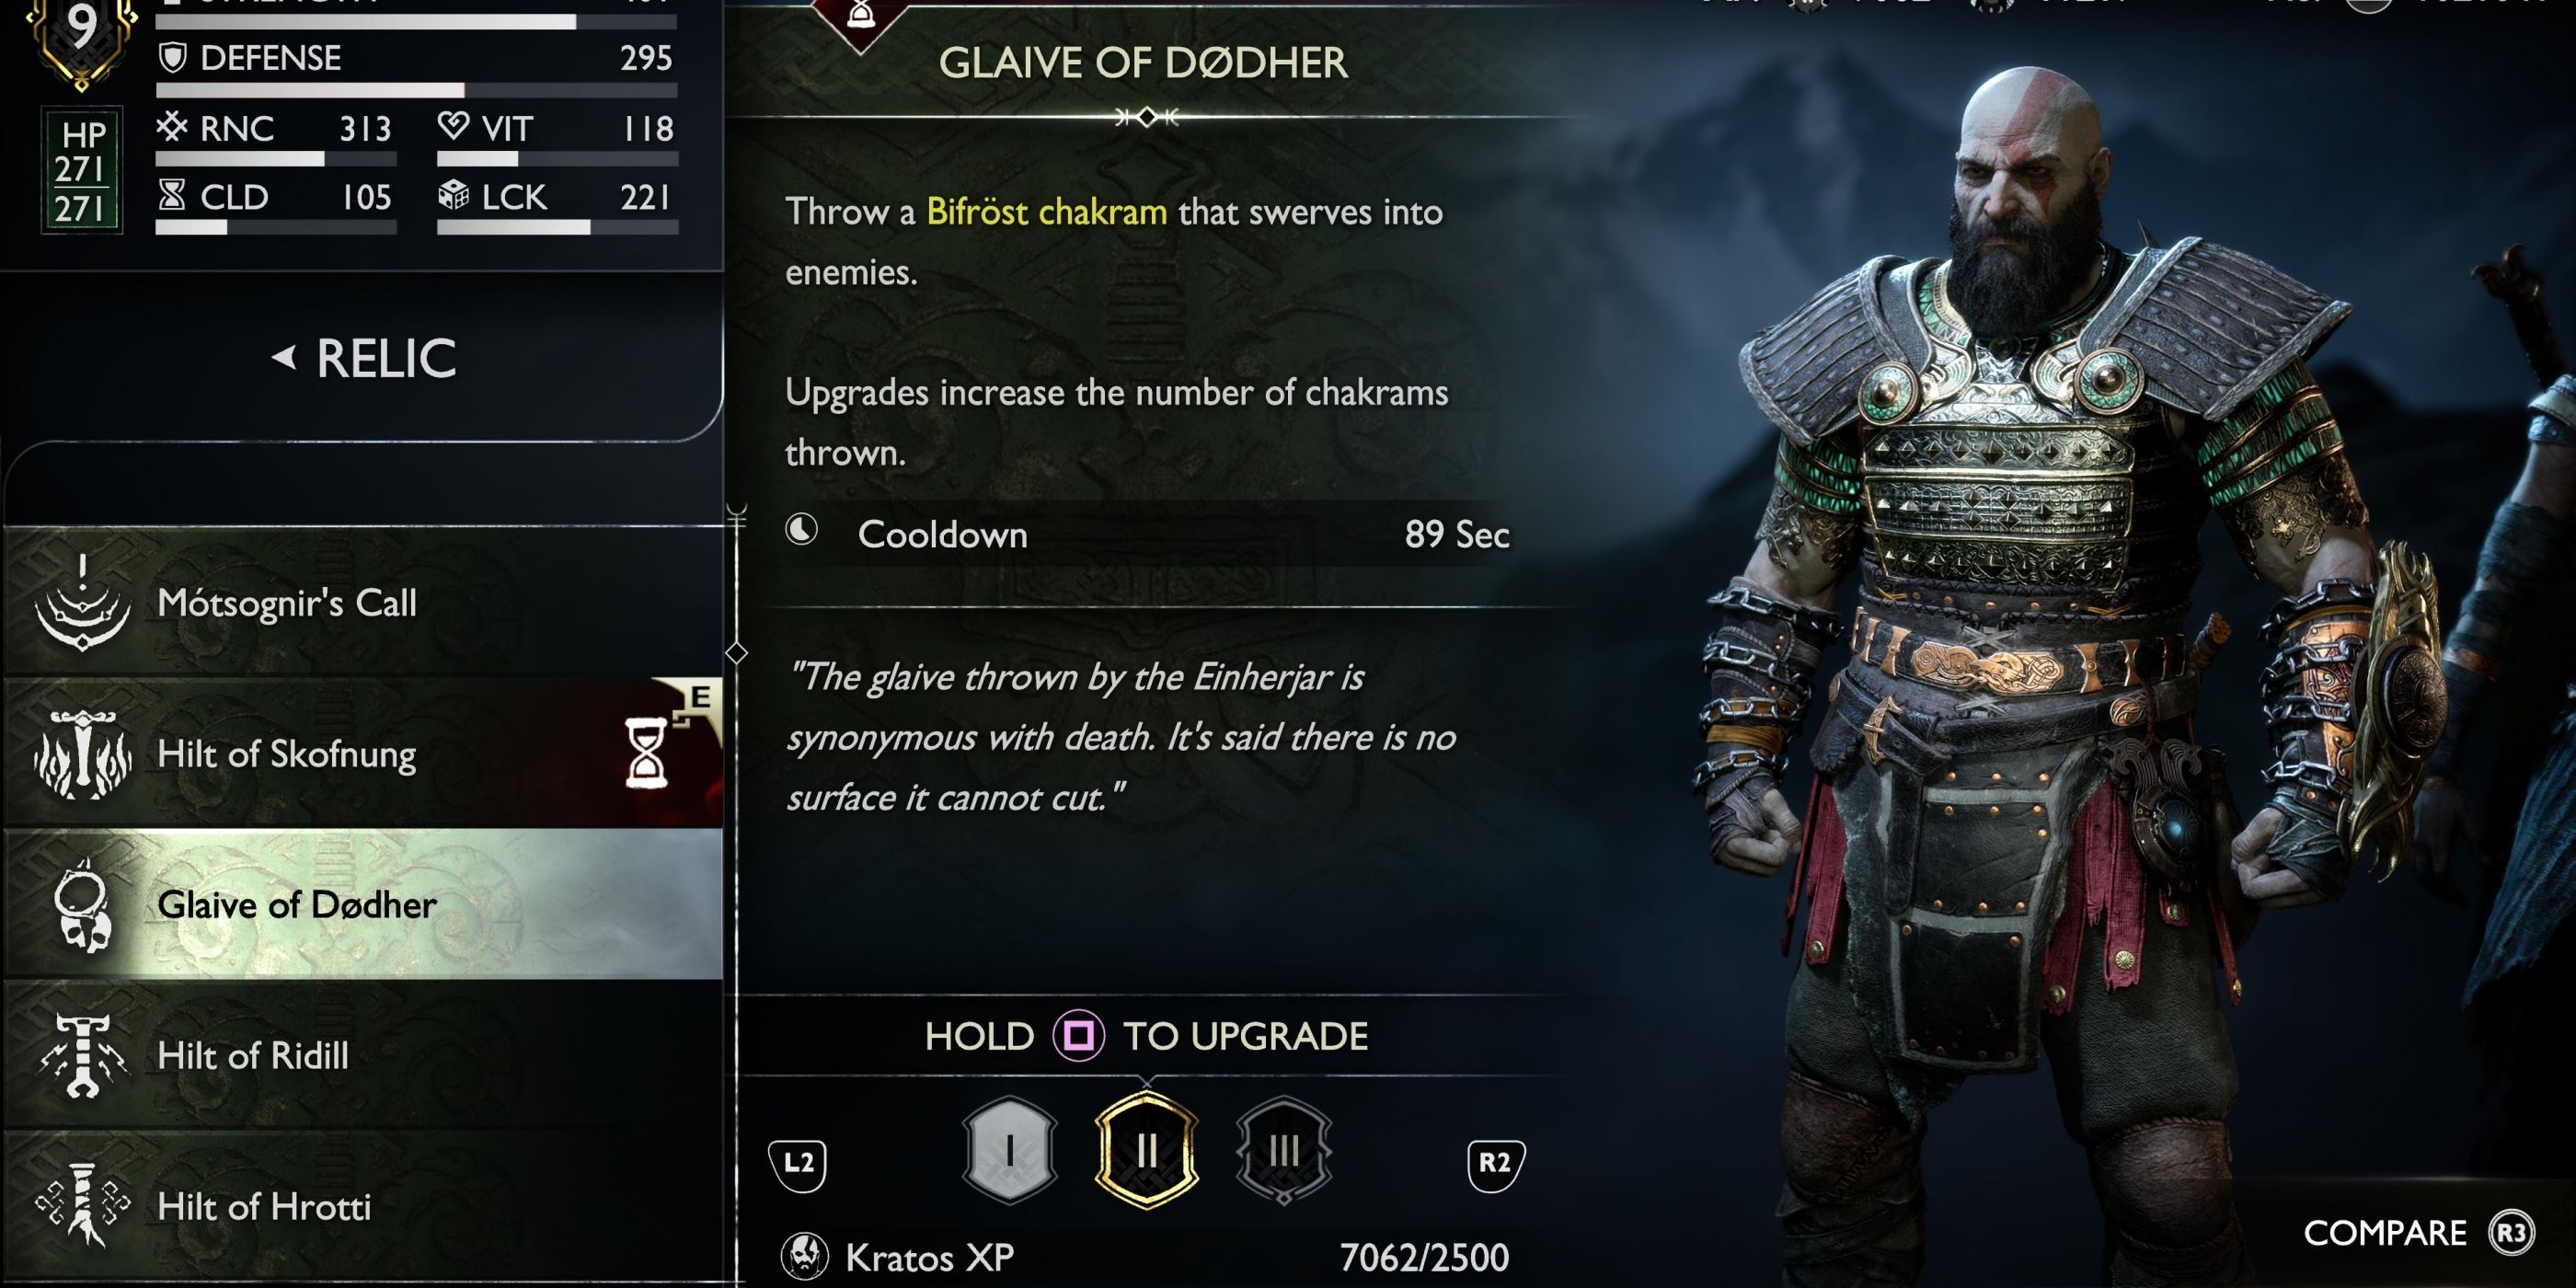
| Description | Throw a Bifrost chakram that swerves into enemies |
|---|---|
| Cooldown | 89 Seconds |
How to Get the Glaive of Dodher:
- Location: Abandoned Village, Vanaheim
Obtaining this Artifact is straightforward; all you need to do is vanquish Fiske, a tough Einherjar leader who appears in Chapter 6 – The Reckoning. This battle is not to be missed, and Kratos will receive the Glaive of Dodher as a reward upon his victory.
Hilt of Ridill
| Description | UNleash a wave of Shock to electrify enemies |
|---|---|
| Cooldown | 133 Seconds |
| Crafting Material | Crackle of Bilskinir |
How to Get the Hilt of Ridill:
- Location: The Lost Treasury, Midgard
The second artifact, known as “The Lost Pages” Sword Hilt Relic, is hidden within the enigmatic vault called the ‘Lost Treasury’, nestled in the realm of Midgard. However, locating this treasure chest isn’t straightforward; you’ll first have to amass two keys, one from the group of sailors known as The Oarsmen, and another from the abandoned outpost – both situated in Midgard itself. With these keys, you’ll then need to unravel the puzzle presented by the massive shield guarding the Treasury. Upon successful entry, you’ll encounter a scroll essential for your quest, located in a pit positioned to the left of the entrance.
How to Get the Crackle of Bilskinir:
Great! It seems I just need to finish a task, “Unleashing Animal Instincts,” for Kratos here. Once that’s done, I’ll be squaring off against Olaf Nautson in combat. If I manage to take him down, I’ll earn the necessary material as my reward, wrapping up this favor successfully!
Hilt of Dainsleif
| Description | Slam the ground to create an explosion of Seidr poison, leaving behind a hazard. |
|---|---|
| Cooldown | 148 Seconds |
| Crafting Material | Svefnthorn |
How to Get the Hilt of Dainsleif:
- Location: The Forbidden Sands, Alfheim
The third “Lost Pages” Sword Hilt Relic is found in a set of Light Elf ruins in the Forbidden Sands. This location is only accessible after the sandstorm has been cleared, and is the same location where ‘The Elven Sanctum’ takes place. In the building, there’s a large chamber with several tables and books. Head to the back of the chamber to find the scroll sitting on a table.
Where to Find Svefnthorn:
As a gamer, I’ve just earned Svefnthorn after successfully wrapping up “The Lost Treasure” quest in Svartalfheim. To proceed further, I need to grab Draupnir. So, I’m headed towards Dragon Beach in Svartalfheim, aiming for the top of that massive wooden structure. Once there, a spirit will present me with ‘The Lost Treasure’ mission.
Hilt of Tyrfing
| Description | Charge the sword to sacrifice Health and deal damage based on the amount of Health lost. |
|---|---|
| Cooldown | 56 Seconds. |
| Crafting Material | Nar’s Cup |
How to Get the Hilt of Tyrfing:
- Location: The Wishing Well, Vanaheim
To obtain the last relic, the Hilt of Tyrfing – the “Lost Pages” Sword Hilt – you must progress through Chapter 13 and finish the quest titled “Scent of Survival”. Once achieved, access to The Crater region in northern Vanaheim will be granted. A scroll containing the crafting instructions can be discovered close to the Wishing Well, right before the pathway that takes you to the Mystic Gateway shortcut.
How to Get Nar’s Cup:
In Vanaheim, the boss known as Blatonn, who is near where Kratos battled Niðhögg, has accidentally dropped Nar’s Cup. You can locate him by sticking to the route to the right of his battle arena. Continue along this path, and you’ll eventually stumble upon him.
Mystical Heirloom
| Description | Awakens something dormant, deep down inside the bearer. |
|---|---|
| Cooldown | 15 Seconds. |
How to Get the Mystical Heirloom:
- Location: Lake of Nine, Midgard
Near Tyr’s Temple in Midgard, there’s a radiant yellow mark on an icy wall, just before the trail leading to the Hidden Wealth. After obtaining Draupnir, revisit this spot and employ the spear to shatter the ice barrier. Behind the broken ice, you’ll discover the Mystical Artifact. This object is essential for rousing the Sleeping Trolls scattered across the Nine Realms, a prerequisite for acquiring the Steinbjorn armor set.
Hilt of Hofud

| Description | Distort space and time by creating a Realm Shift |
|---|---|
| Cooldown | 193 Seconds |
How to Get the Hilt of Hofud:
- Location: Main Story Mission, Vanaheim
The Hilt of Hofud is automatically awarded to Kratos upon defeating Heimdall in Vanaheim.
Hilt of Hrotti
| Description | Applies a mark to nearby enemies. Attacking a marked enemy reduces Runic Cooldowns of the equipped weapon. Killing a marked enemy grants a Blessing of Runic. |
|---|---|
| Cooldown | 133 Seconds |
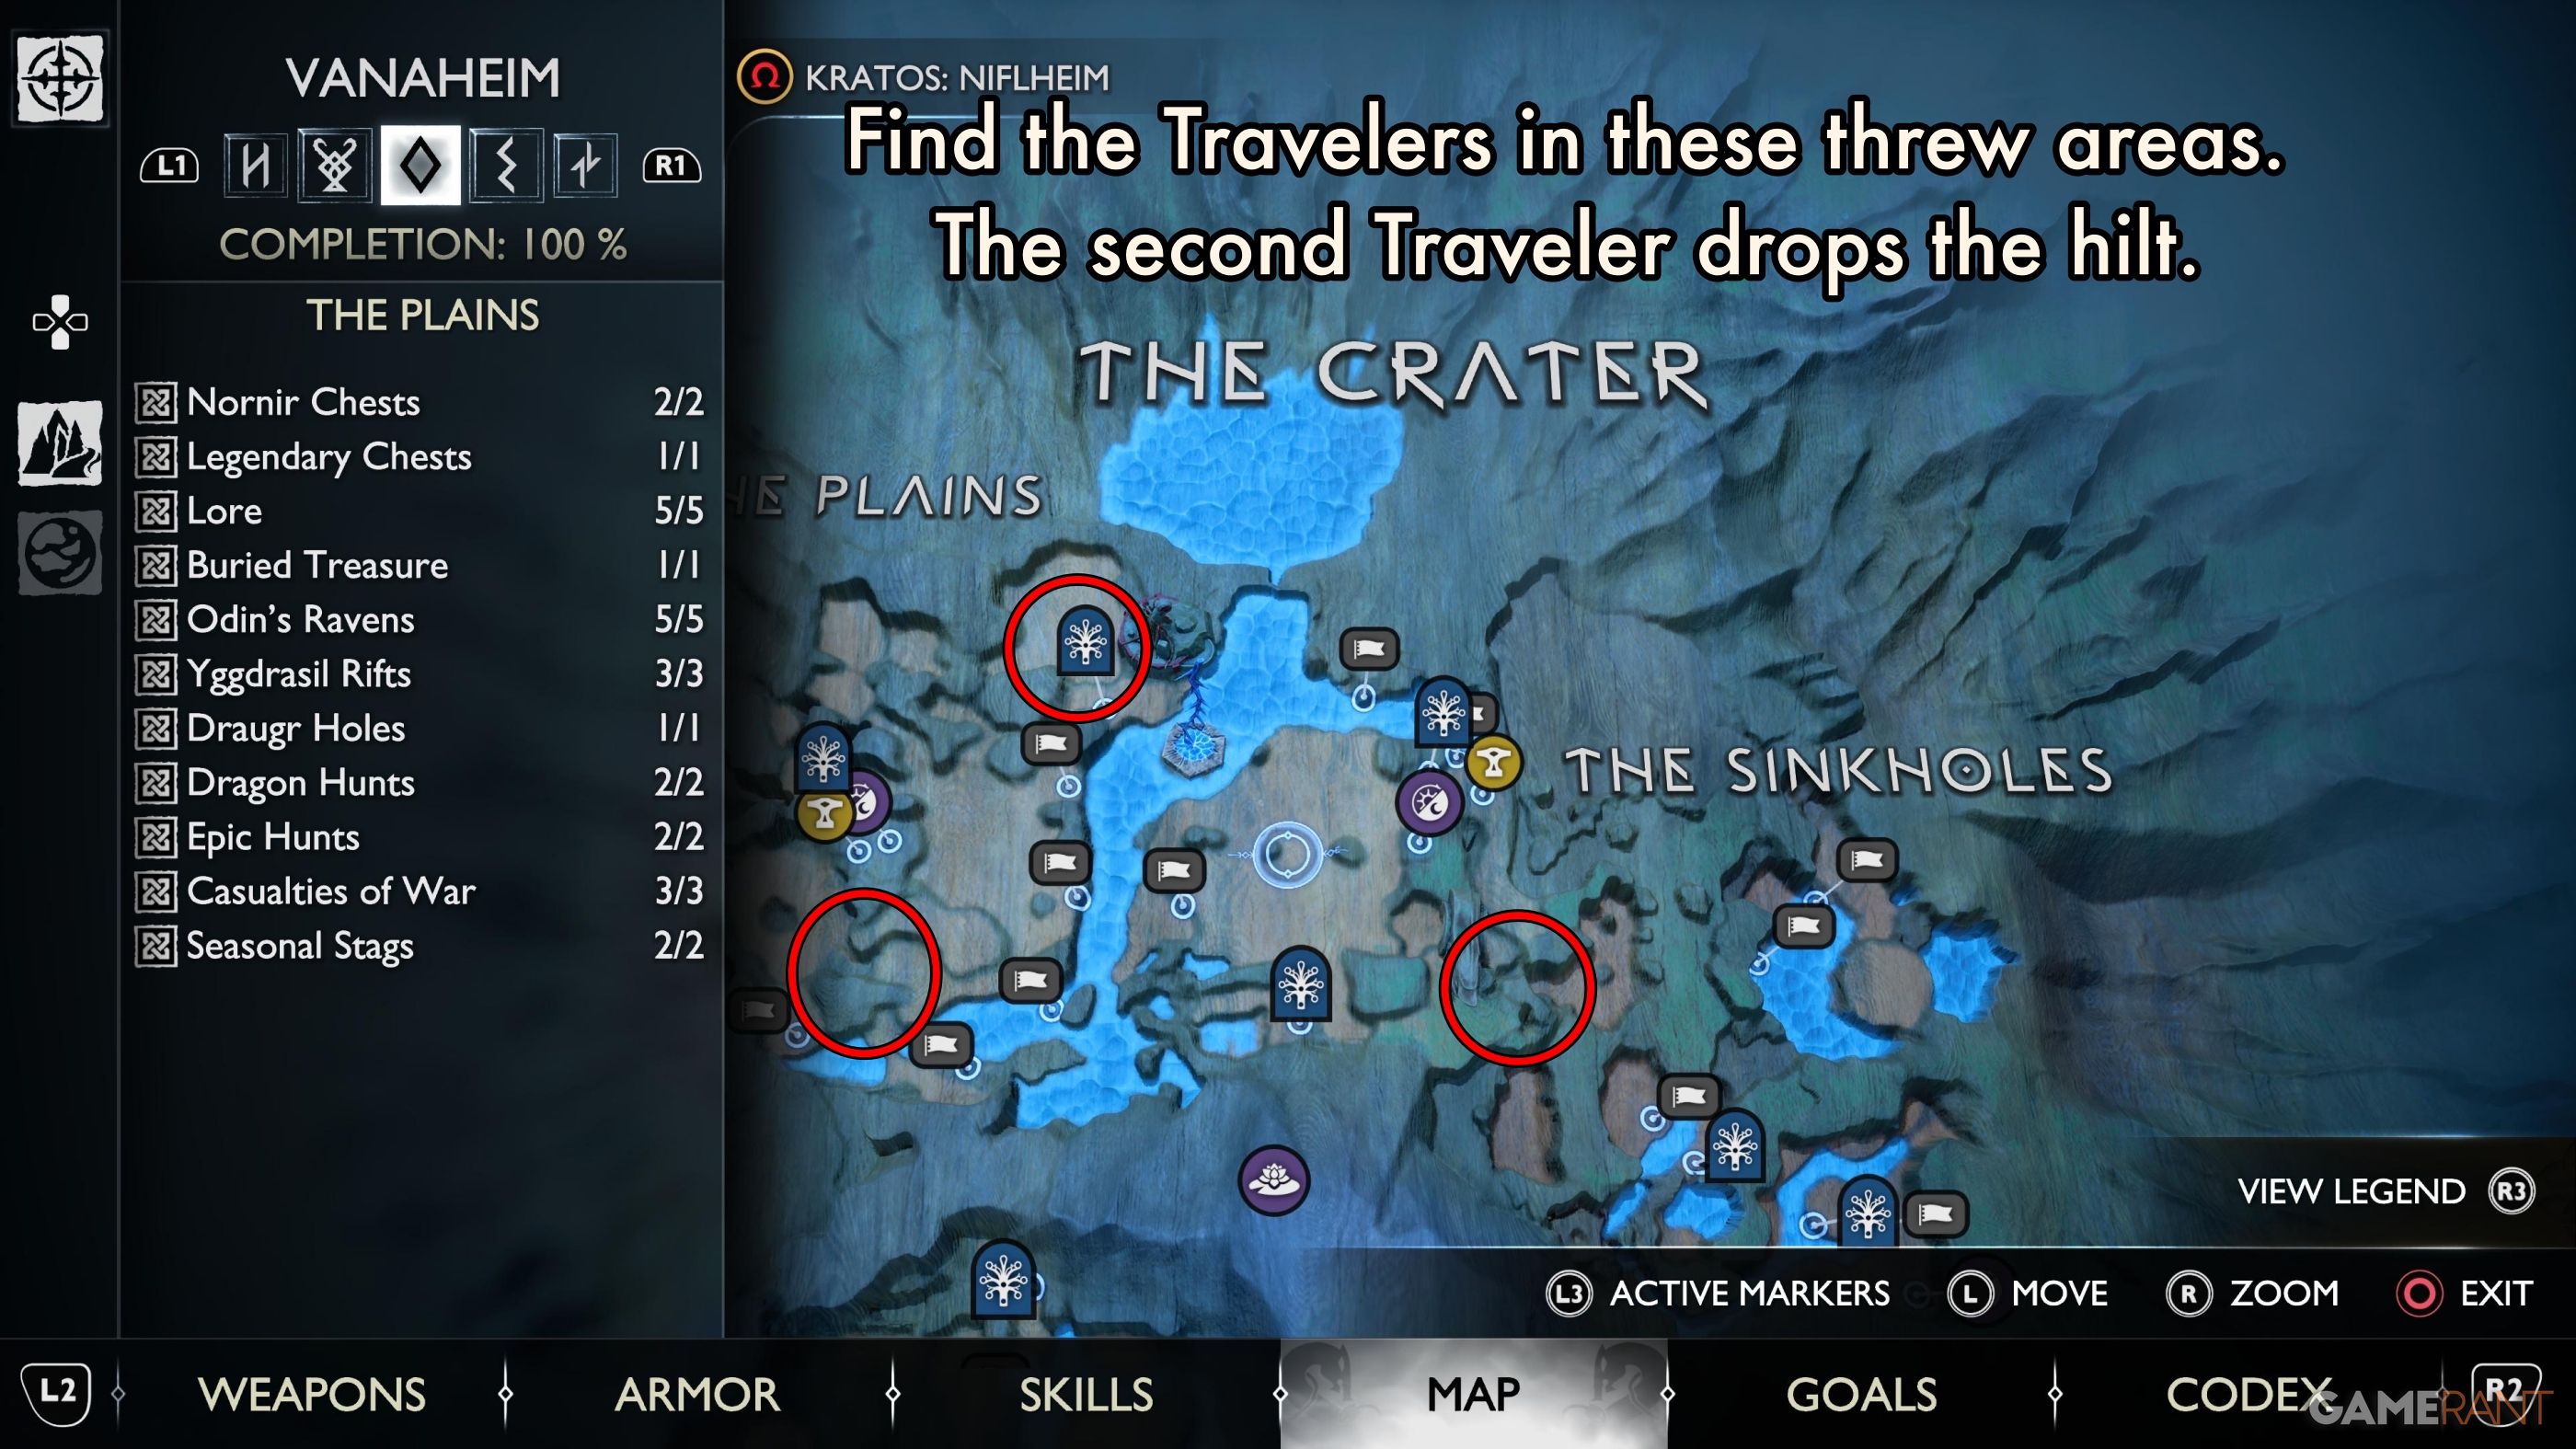
How to Get the Hilt of Hrotti:
- Location: The Crater, Vanaheim
In Vanaheim, players can acquire another Hilt exclusively after they’ve navigated to The Crater. Inside this region, there are three Traveler bosses that Kratos may face. One of these is met on the route towards The Sinkhole area, another lies hidden in the southwest corner of The Plains, but only at night, and the third is near the Overgrown Tower. These enemies can be tackled in any sequence you prefer, and upon defeating the second Traveler that Kratos encounters, the Hilt will drop as loot.
Motsognir’s Call
| Description | Create a shockwave that deals High Stun to surrounding enemies |
|---|---|
| Cooldown | 148 Seconds |
How to Get Motsognir’s Call:
- Location: Aesir Prison Wreckage, Niflheim Postgame
Once you’ve finished the primary questline, venture towards the enigmatic gateway of The Raven Tree in Niflheim’s mystical realm. Right before reaching the tree, a divergent path will present itself to your left, guiding you to Odin’s private cell block. Traverse through this prison complex until you reach the upper level on its far side, having entered from the opposite end. Therein lies a fabled treasure chest. Immediately beyond that chest, you’ll encounter a corpse on the ground, with a tuning fork resting beside it. That tuning fork serves as the elusive Relic you seek.
Huldra Project #9
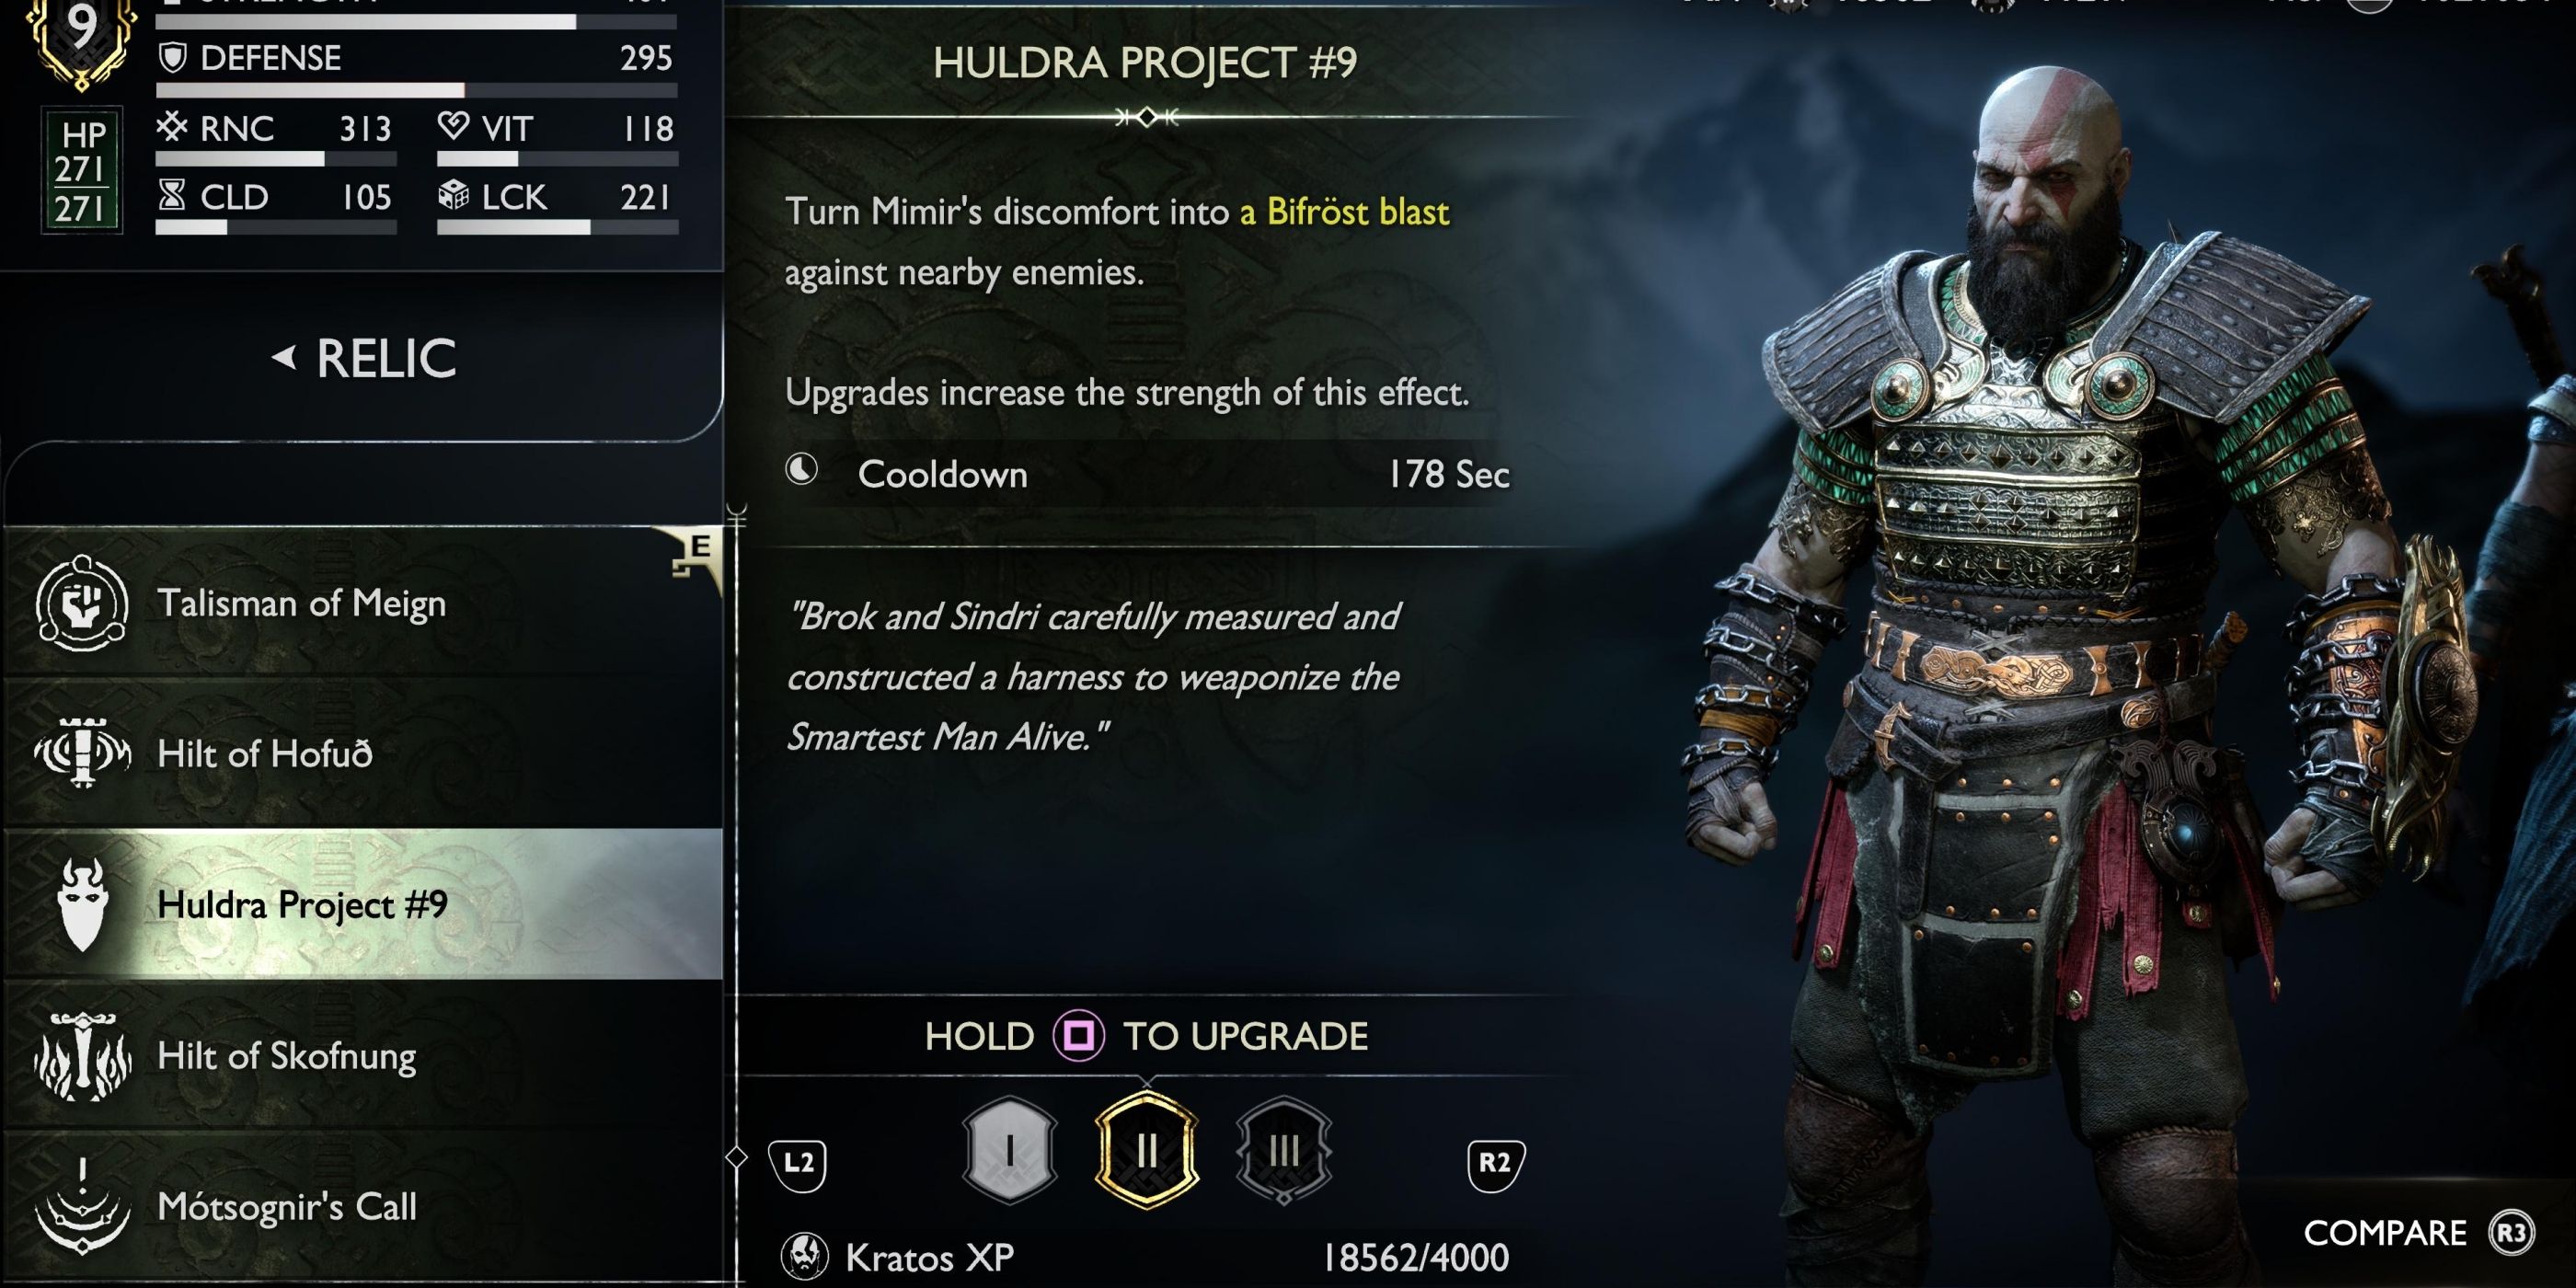
| Description | Turn Mimir’s discomfort into a Bifrost Blast against nearby enemies. |
|---|---|
| Cooldown | 178 Seconds |
How to Get Huldra Project #9:
This artifact is the exclusive one you can buy directly from the store, without meeting any additional conditions. But, remember, it becomes accessible only after you’ve finished the main tale.
- Cost: 10000 Hacksilver
Hilt of Forsbrandr

| Description | Push enemies back with force and grant an Aura of Protection. |
|---|---|
| Cooldown | 89 Seconds |
How to Get the Hilt of Forsbrandr:
- Location: The Raven Tree, Niflheim
This hilt can only be acquired after Kratos has destroyed all 48 of Odin’s Ravens. Once you have done this, return to the Raven Tree in Niflheim, and you’ll have to fight the Raven Keeper. Defeating this difficult boss will reward you with the Hilt of Forsbrandr.
Hilt of Skofnung
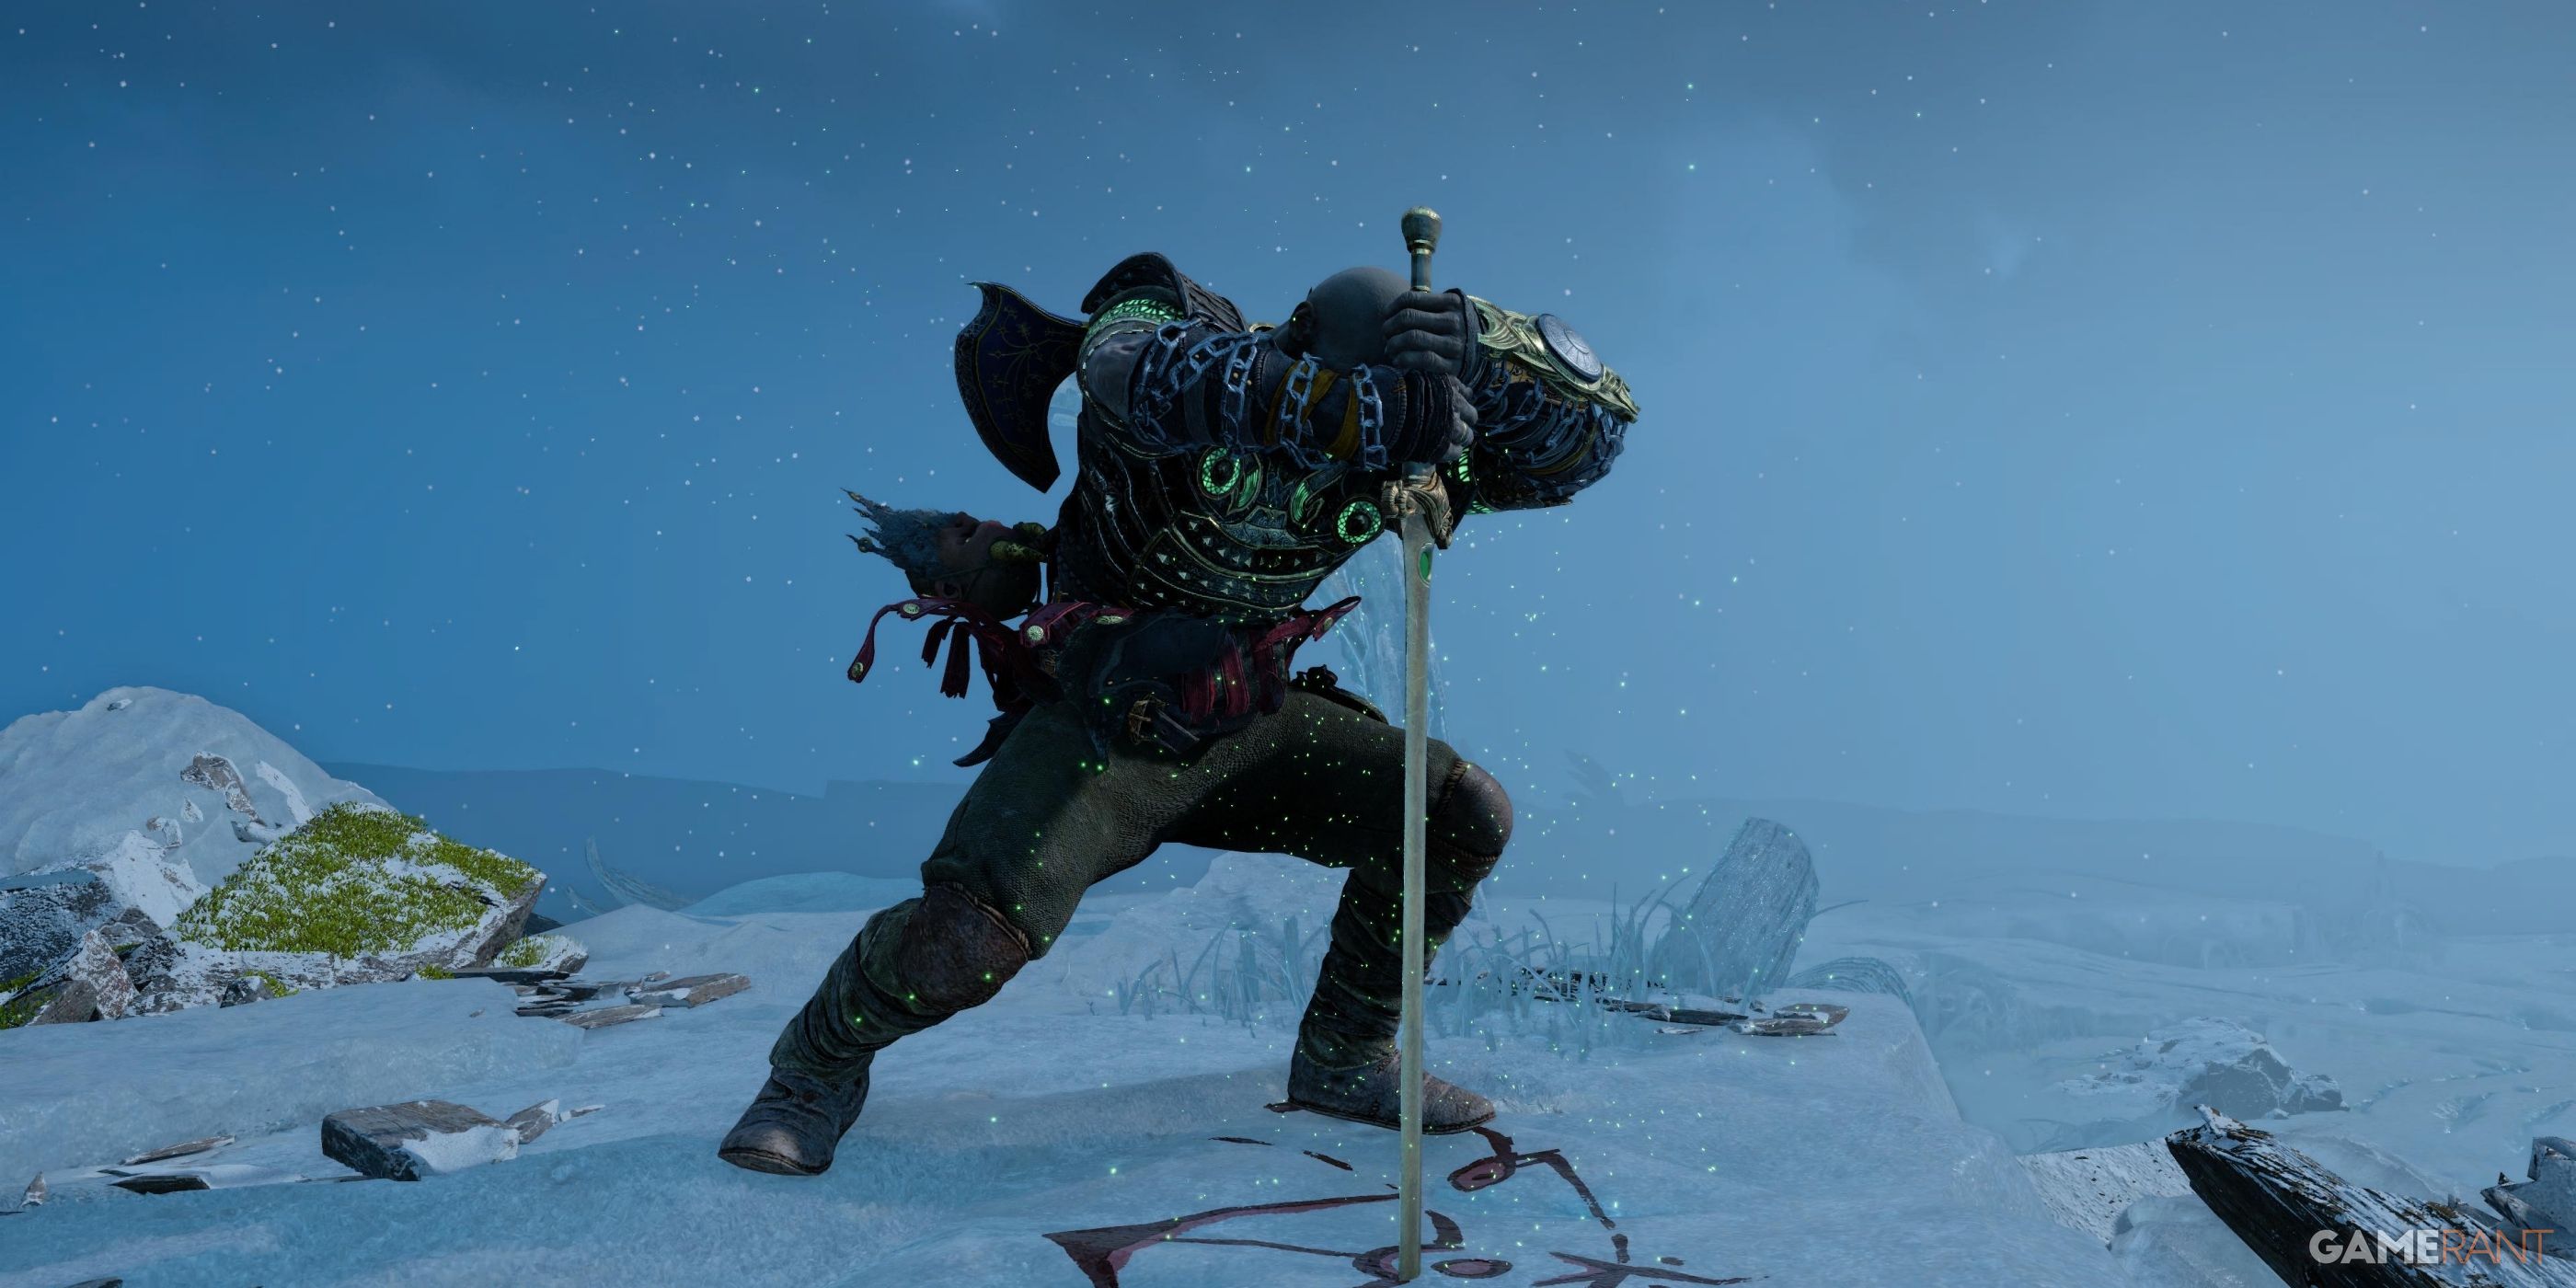
| Description | The sword unleashes power from the souls within. |
|---|---|
| Cooldown | 241 Seconds |
How to Get the Hilt of Skofnung:
In “The Word of Fate,” Kratos receives the hilt as an item, but he can’t utilize it as a Relic until he finishes a very challenging mission. At first, this hilt can only be used to unlock all ten Berserker battles, including the final battle against King Hrolf, who is also known as the Berserker King. Overcoming Hrolf grants Kratos access to fully utilize the Hilt of Skofnung.
Read More
- LUNC PREDICTION. LUNC cryptocurrency
- SOL PREDICTION. SOL cryptocurrency
- BTC PREDICTION. BTC cryptocurrency
- BICO PREDICTION. BICO cryptocurrency
- VANRY PREDICTION. VANRY cryptocurrency
- USD ZAR PREDICTION
- USD COP PREDICTION
- USD CLP PREDICTION
- USD PHP PREDICTION
- G PREDICTION. G cryptocurrency
2024-09-23 09:24