I’m really excited about playing the campaign in Quarantine Zone: The Last Check! The game is great about teaching you the ropes – it slowly introduces new tools and mechanics each day, which is a huge help. But honestly, it doesn’t cover everything, so I’ve put together a few tips and tricks for Quarantine Zone that should help you survive, and hopefully keep those zombie outbreaks to a minimum!
Players who are good at identifying symptoms will earn more money and Research Points. These rewards let them improve their equipment and make the checkpoint more secure and efficient. The better you do, the better things get in this zombie game!
Develop A Routine So You Don’t Forget Anything
With so many tools, symptoms, and gameplay elements to learn, it’s easy to forget things, and a single error can ruin your progress. To avoid this, it’s helpful to create a consistent routine: do each task in the same order every morning, then inspect your survivors the same way. Soon, it will become second nature.
An example routine might be:
- Wake up.
- Check that there is enough food, med kits, and power.
- Feed any zombies in the cage with corpses.
- Recheck those in Quarantine.
- Read the bulletin board.
- Begin inspections.
- Check bags first for contraband, as it’s easy to forget afterwards.
- Start with the eyes and skin using a flashlight.
- Cycle through the tools, one by one, checking for each symptom type.
- Go to the Laboratory if you sent anyone there for research.
To be even more thorough, you could create a consistent scanning pattern for each body. This ensures you don’t overlook any areas. For instance, you could always begin with the head and systematically work your way down.
If you don’t recognize some of these steps, don’t worry, they will be unlocked on later days.
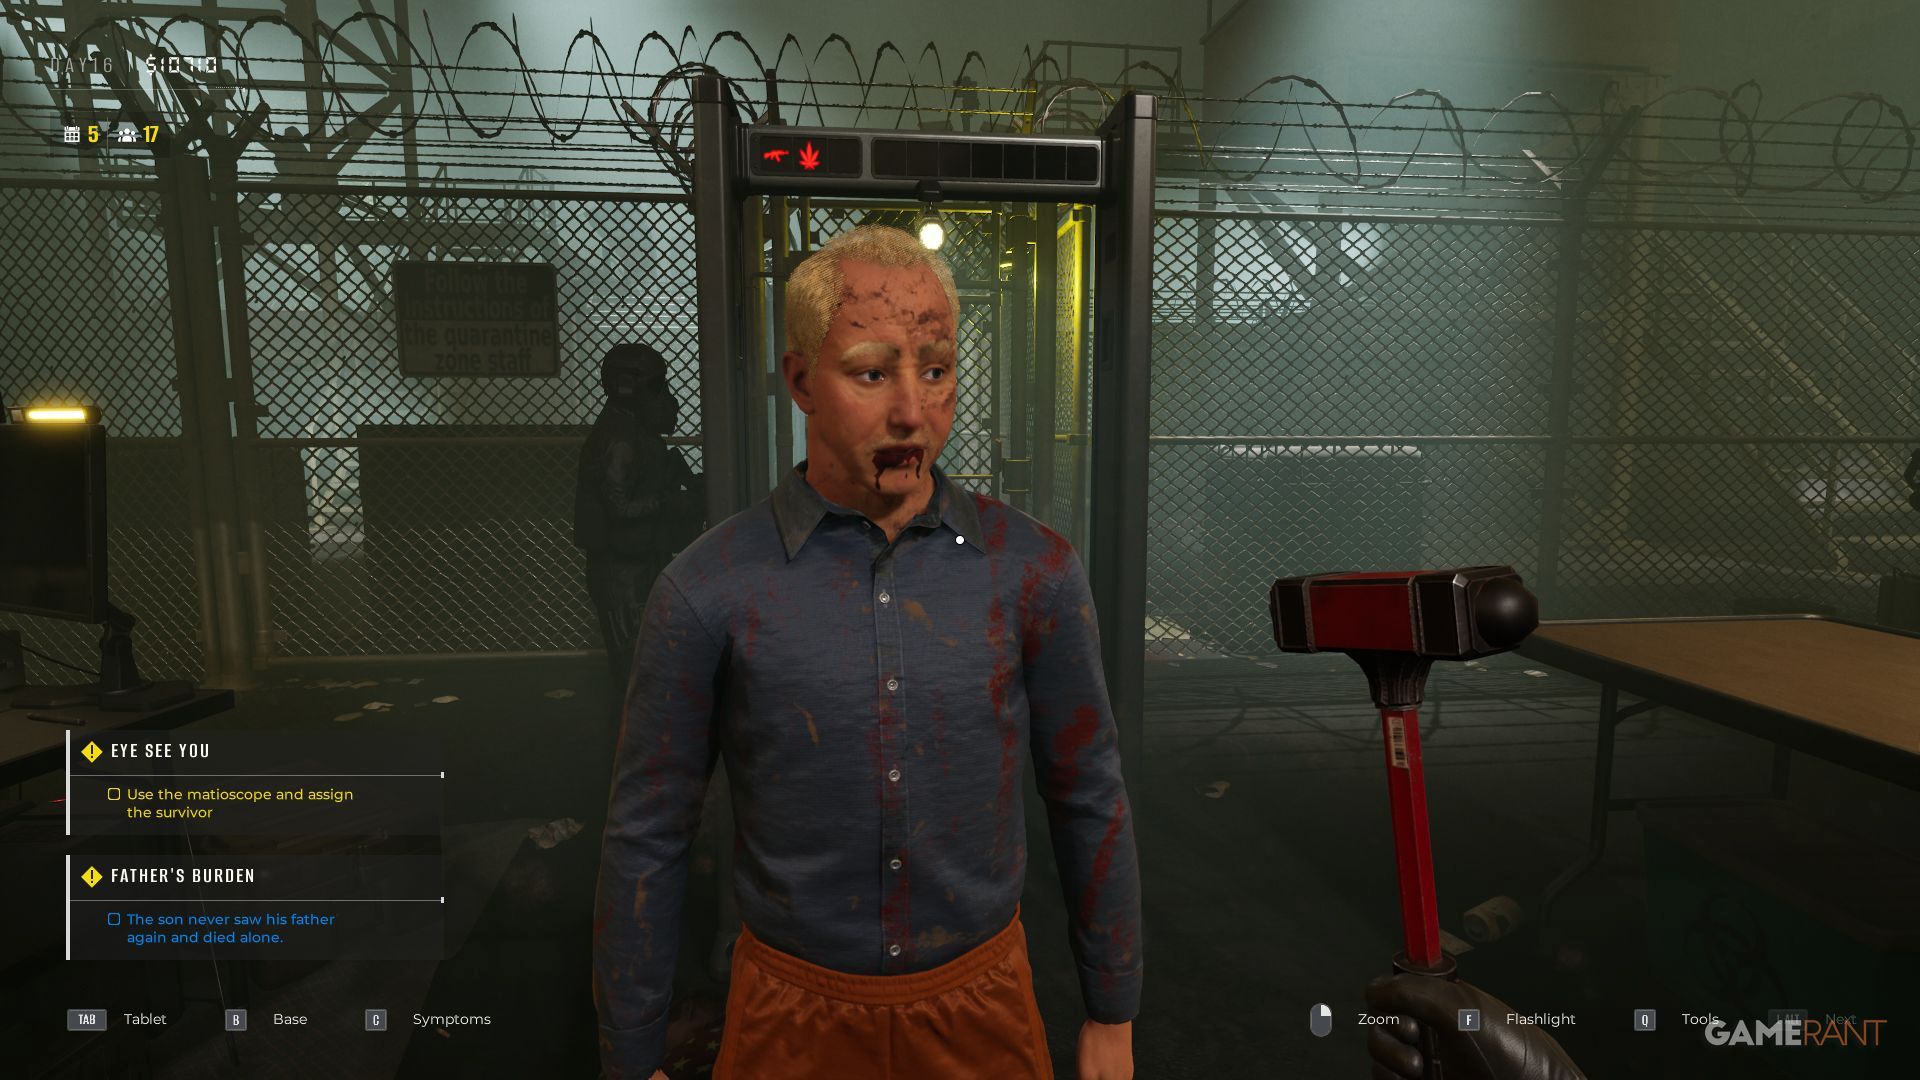
Take Your Time, Check Sides, Feet, & Every Angle
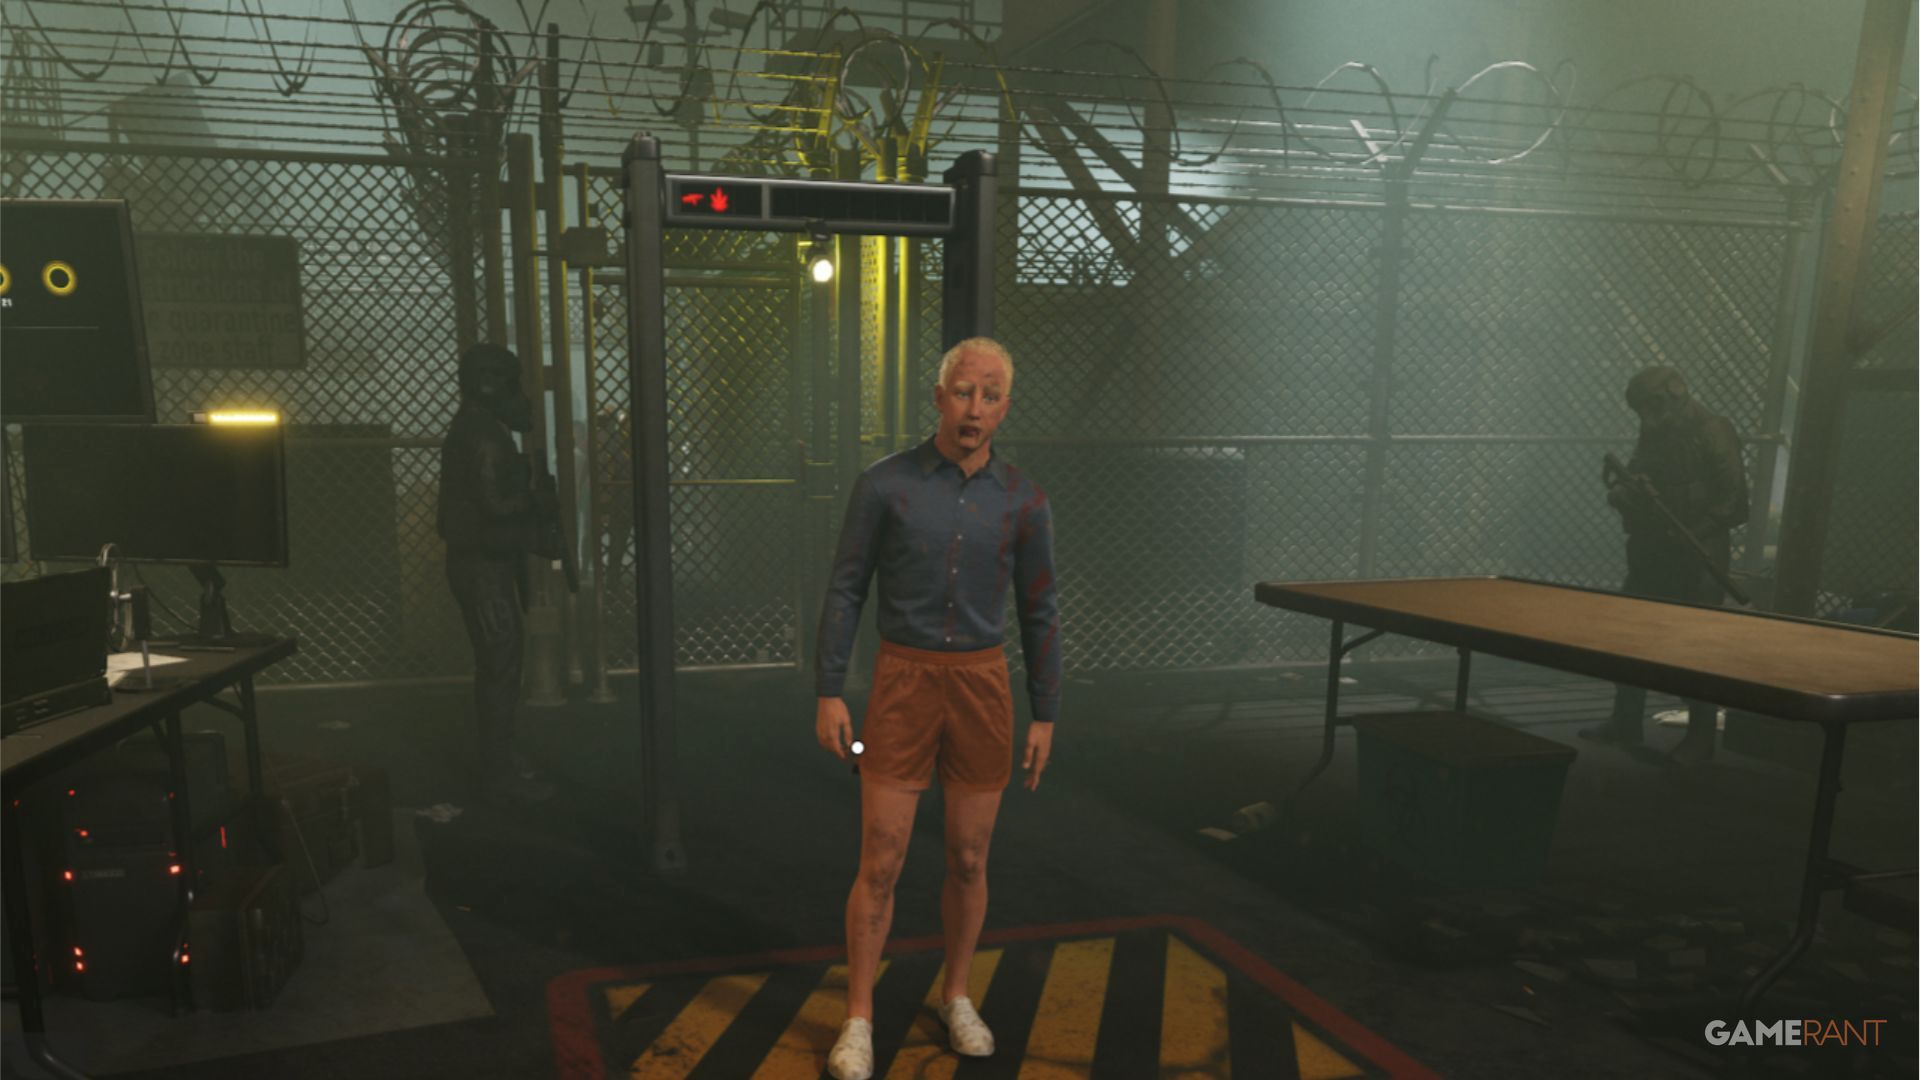
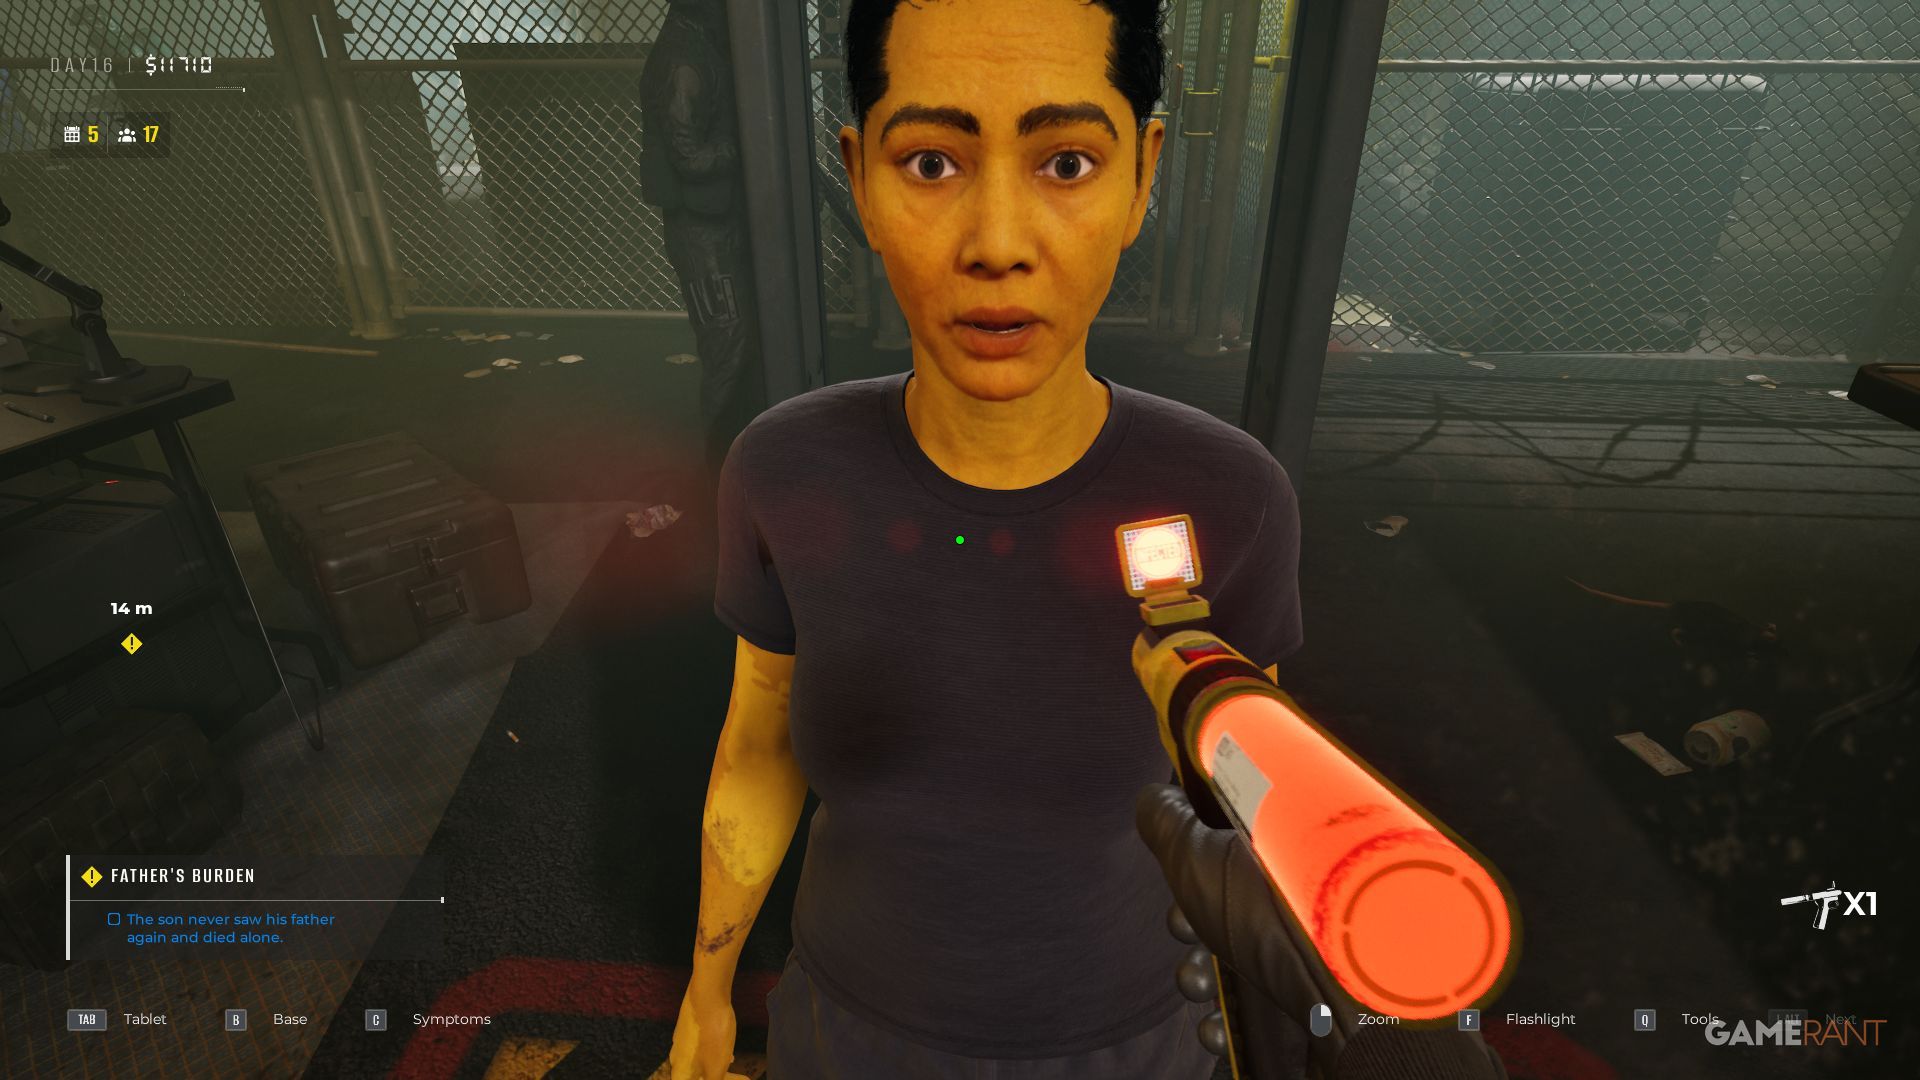
In Quarantine Zone: The Last Check, you don’t need to hurry. Take your time and carefully examine each survivor for any signs of infection. Overlooking even one symptom could put everyone at the checkpoint in danger. Be sure to inspect survivors completely – check every part of their body for skin issues like bites or tissue damage. Walk around them to get a full view, including from behind and the sides, to make sure you don’t miss anything.
Don’t forget to check your feet for bite marks, and use the crouch and zoom functions for a better view. Once you’ve unlocked the Scanner, use it for these checks – both of its upgrades will be very helpful.
There Are Two Tool Upgrades To Heavily Prioritize
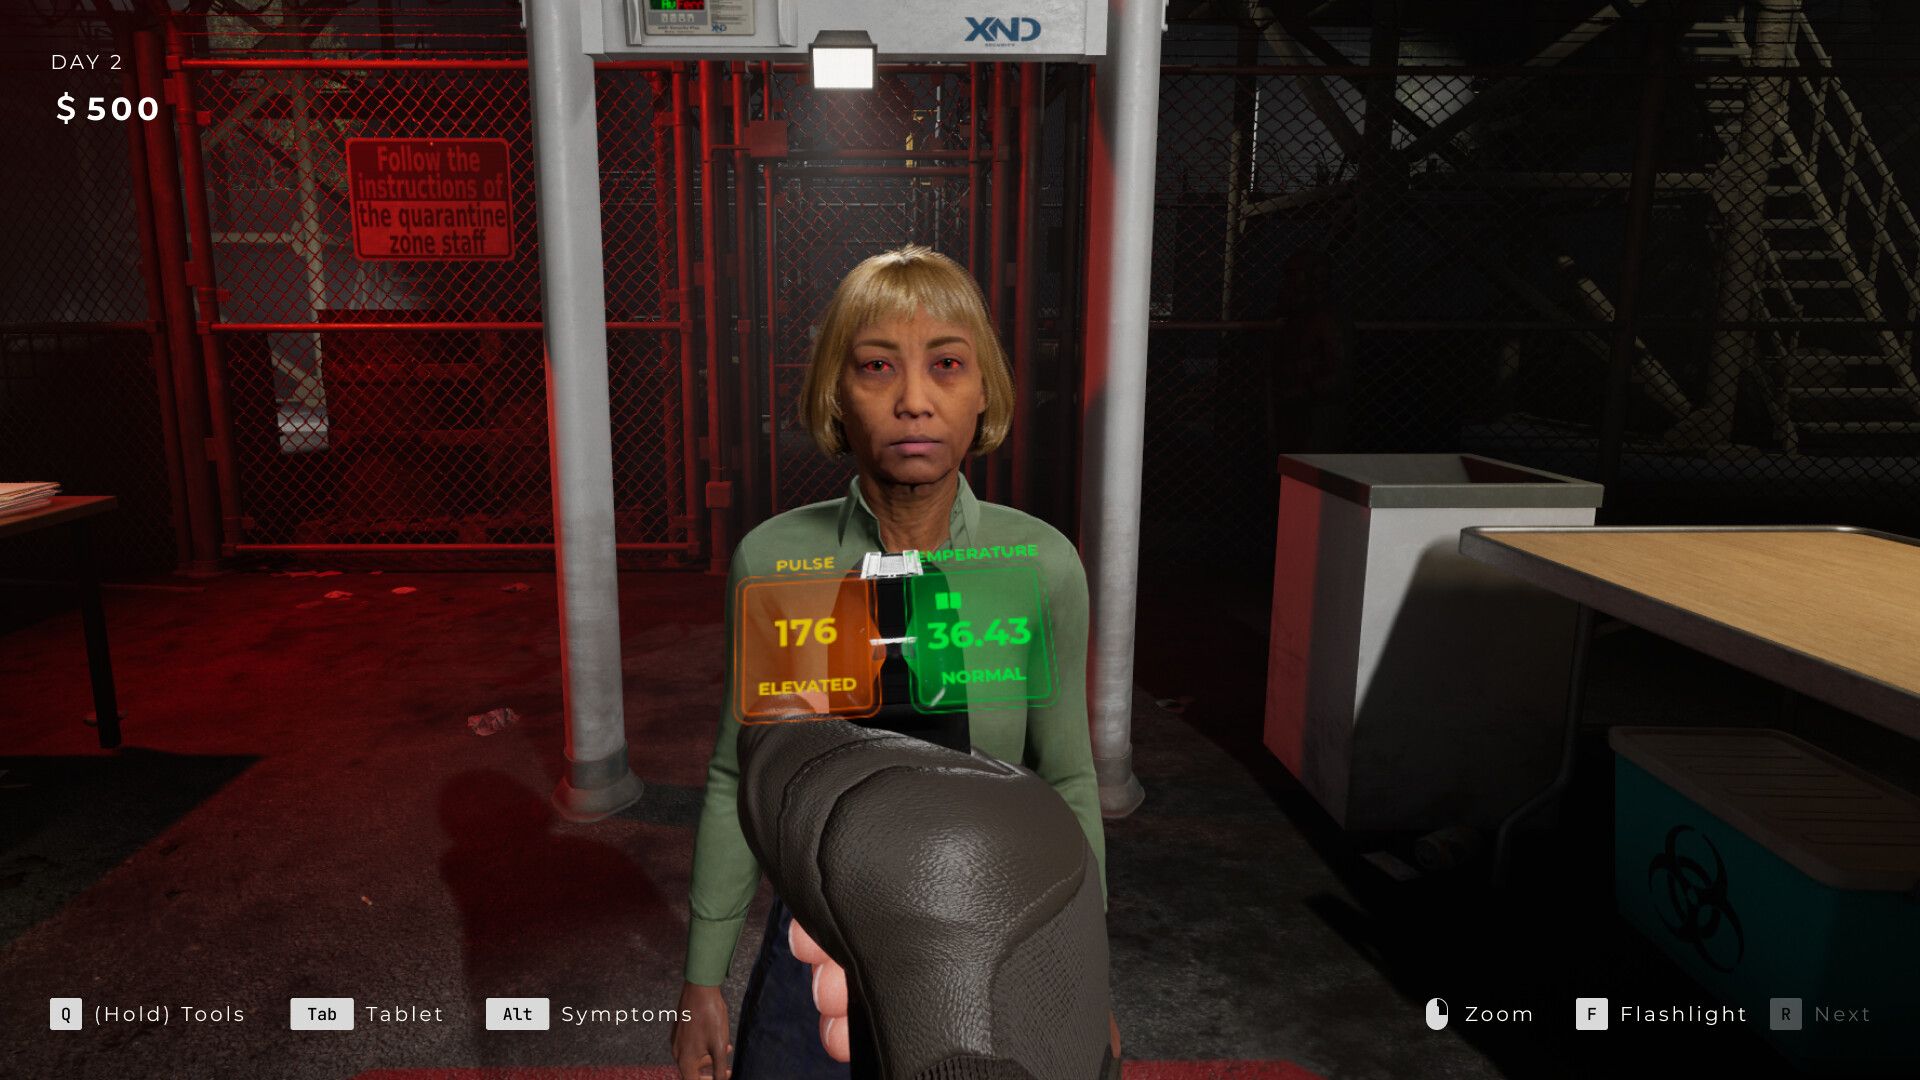
Players can spend Research Points to improve their checkpoint and various tools. Two upgrades are particularly helpful. The first is a color upgrade for the Thermopulser, which makes it much easier to understand the readings. Instead of memorizing specific numbers, you can quickly see if something is healthy (green), elevated (orange), or extremely hot (red). Just remember to hold the Thermopulser down long enough – it takes a few seconds for the readings to stabilize.
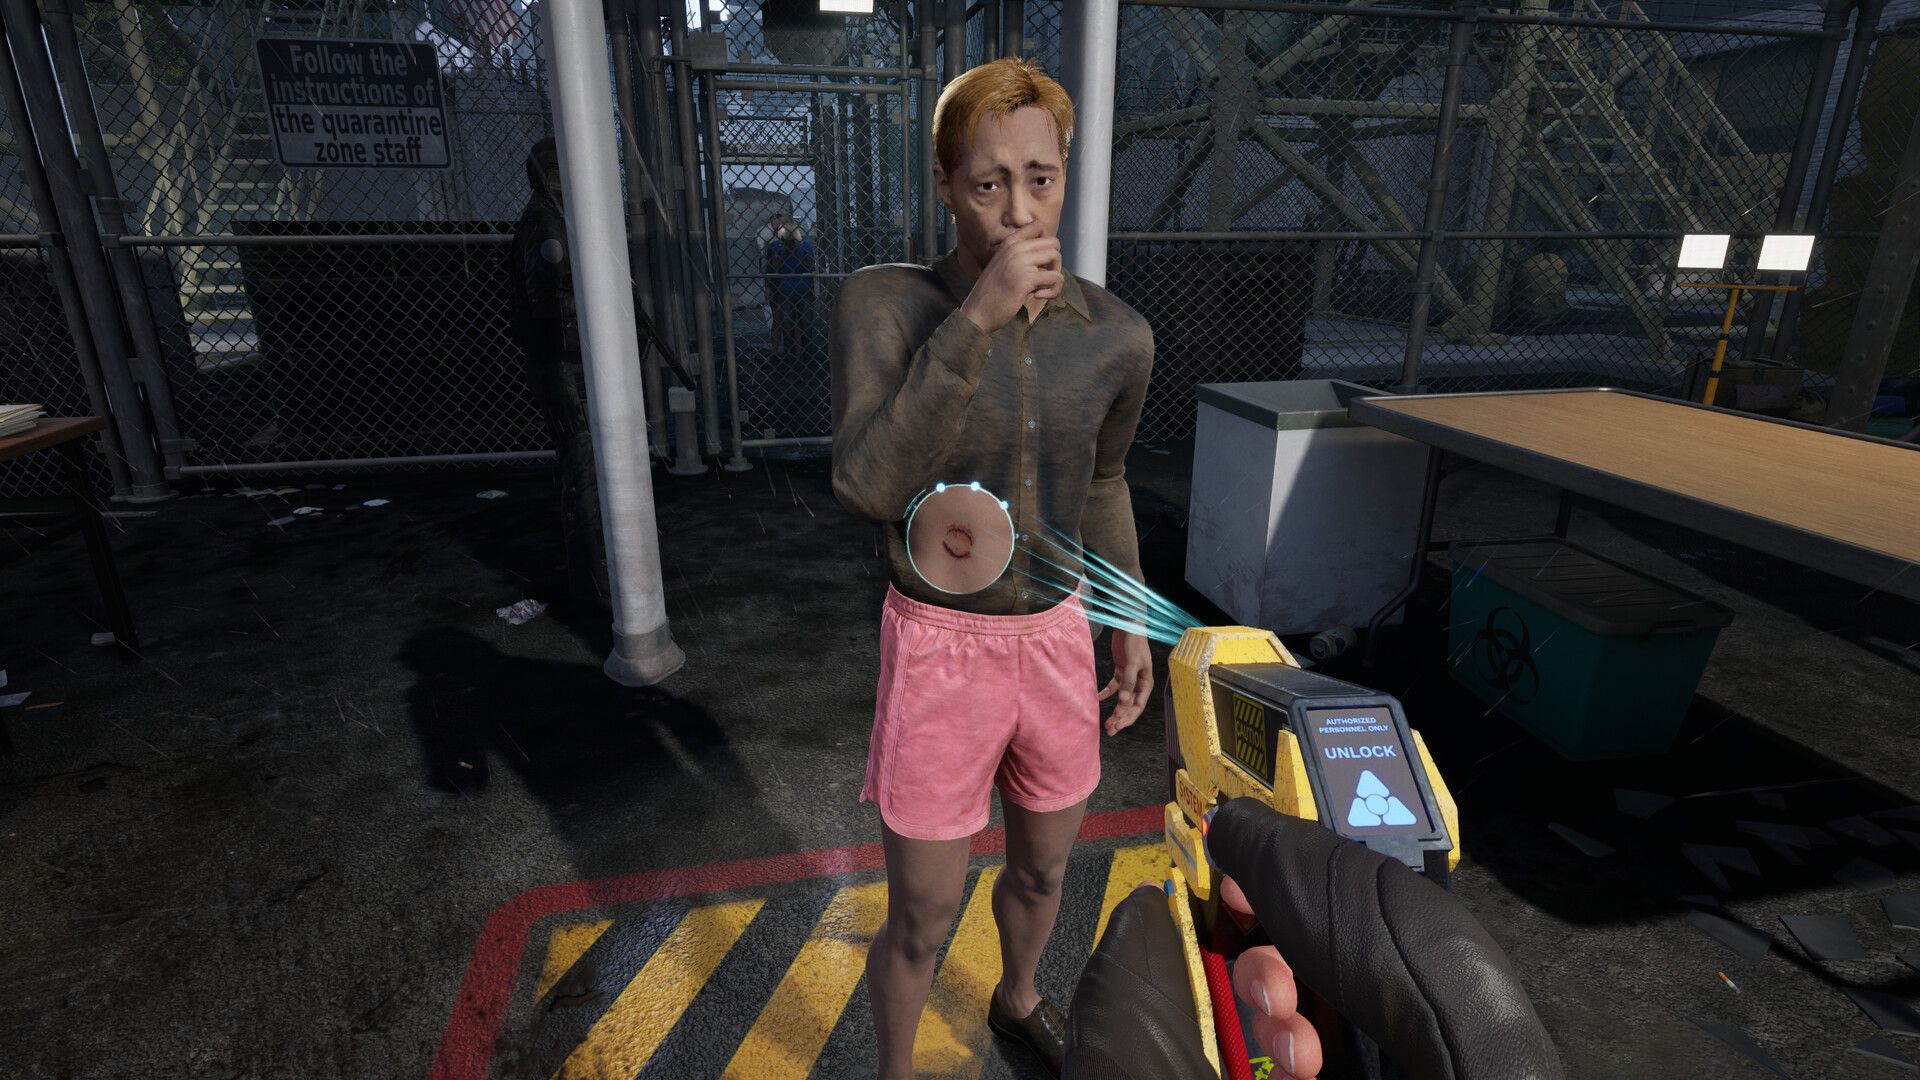
Next, focus on upgrading the Scanner to ignore blood and dirt. This is helpful because some skin issues can look like simple grime, and removing the visual clutter of blood and dirt will lead to faster, more reliable diagnoses.
Switch Drone Weapons During Zombie Outbreaks
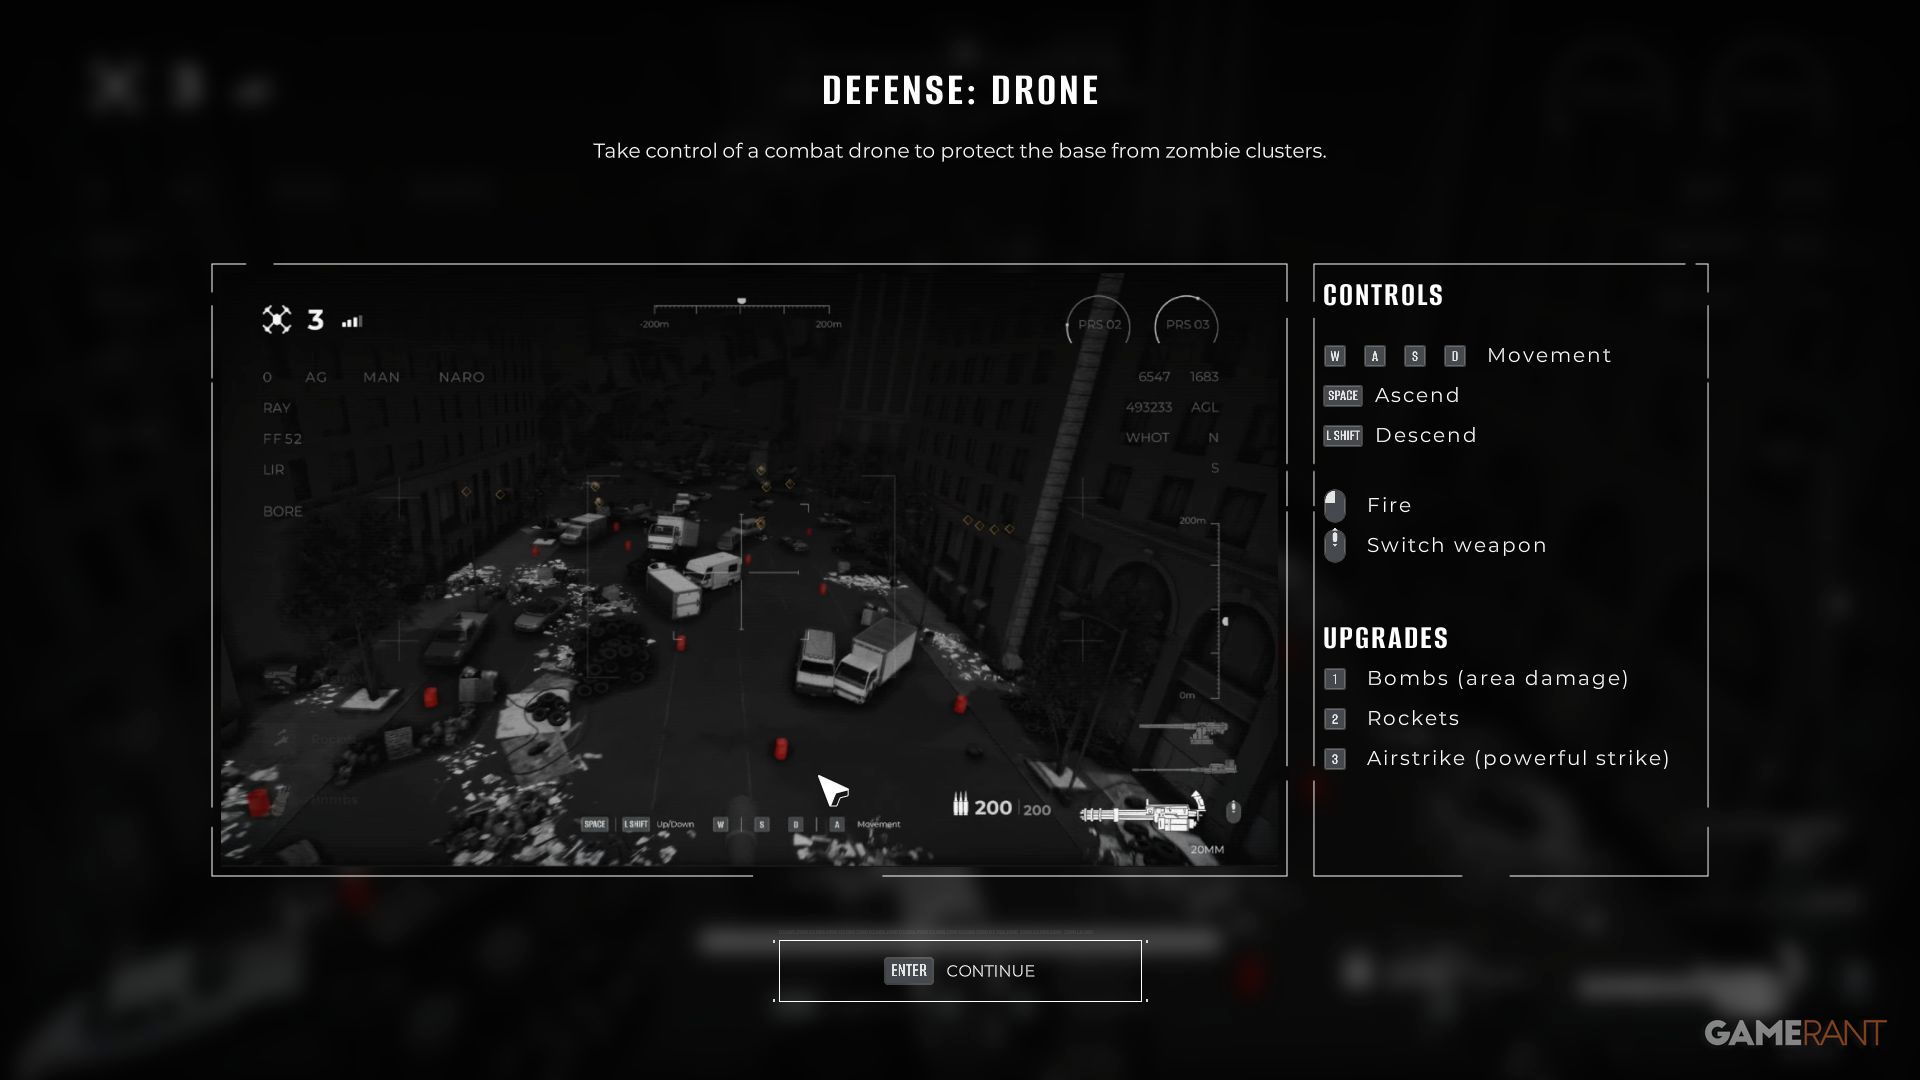
Every few days, players will receive an alert and need to control a drone using their laptop. New players of Quarantine Zone: The Last Check should know that there are multiple weapons available, and they can switch between them using the scroll wheel.
It’s best to switch between your weapons because each one is good for different situations. The powerful guns take a while to reload, so use another weapon while you wait. Save those big guns for groups of enemies and tougher zombies that appear later. Use the machine gun in quick bursts to take out enemies getting close to the wall or when they line up. Finally, hold onto the explosive barrels and use them on large groups of enemies.
Step Back After Using The Hammer To Avoid Being Hit
You get the Reflex Hammer fairly early in the game. One key sign it’s working is that survivors will try to fight back when you hit them with it. To protect yourself from taking damage or getting stunned, quickly step back immediately after hitting someone with the hammer – this helps you avoid their counterattack.
Be extra cautious when checking a survivor’s reflexes, especially if their jaw is limp, as this suggests their reflexes aren’t working properly. If they’ve already shown other signs of being unwell, they might react unexpectedly. It’s crucial to avoid their attacks, particularly when dealing with aggressive infected, because they may strike multiple times.
Don’t Waste Syringe Analyzers
Syringe Analyzers become available on day 11 and provide a guaranteed way to check if a survivor is infected. However, they’re limited, and you only get more every five days. Therefore, it’s smart to use them carefully and save them for when you really need them.
Don’t use the Syringe Analyzer until you’ve thoroughly checked a survivor for all possible symptoms using every available method. If you find any red symptoms, it immediately confirms they’re infected. It’s also wasteful to use the Syringe Analyzer on people with no symptoms or only mild (green) sickness, as they probably aren’t infected and syringes are limited. Instead, save the Syringe Analyzer for the end of the day to test anyone you sent to Quarantine who shows a few orange symptoms.
Use Quarantine As Temporary Storage
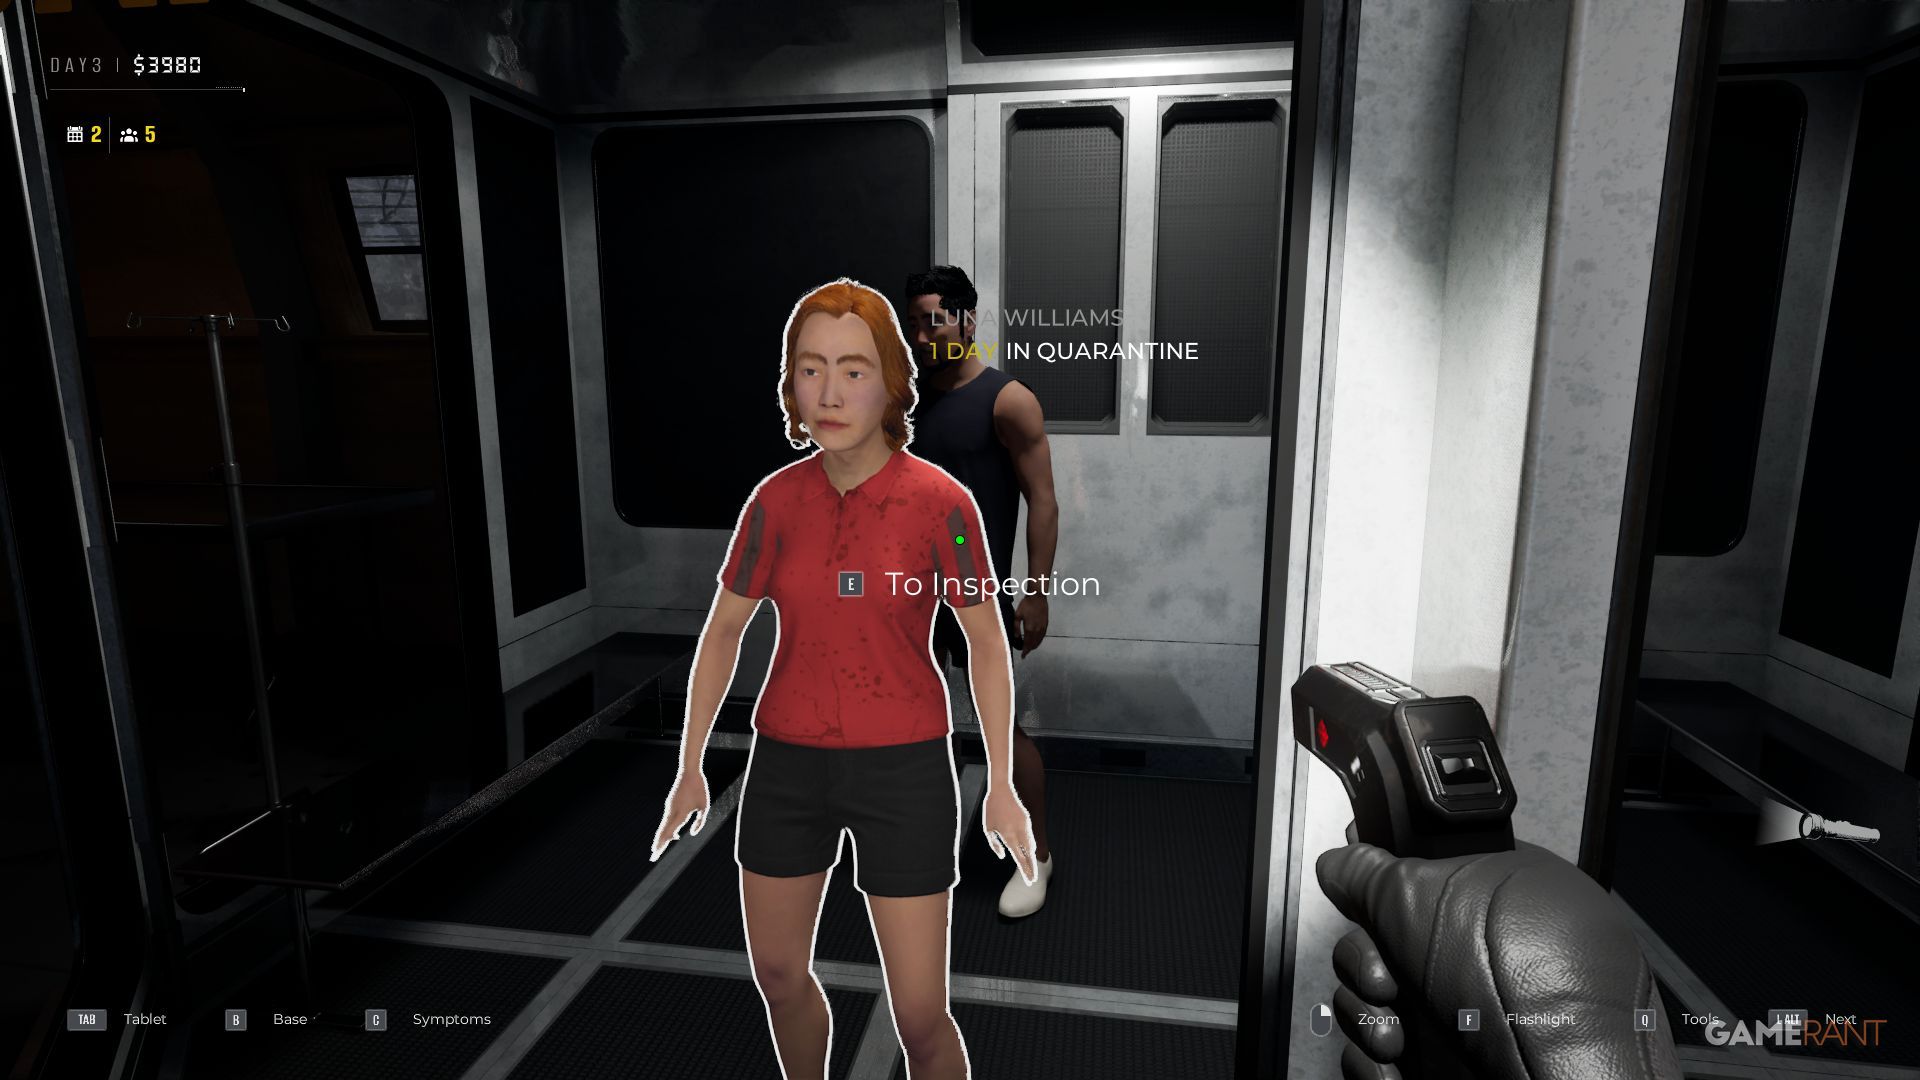
Quarantine isn’t just for overnight observation to see if people recover or become infected. It can also be used as a temporary holding area during the day. For instance, you can gather potential test subjects in Quarantine to use with the Syringe Analyzer. It’s also helpful if you notice possible new symptoms but aren’t certain – send those people to Quarantine and then decide later who needs laboratory testing.
You can use the Quarantine to hold infected people, who will eventually turn into zombies. These zombies can then be stored and removed for a significant cash bonus. Improving the Quarantine’s capacity allows you to temporarily hold more survivors as well.
Equip Your Gun At The Start Of Inspections & Remember It’s Hotkey
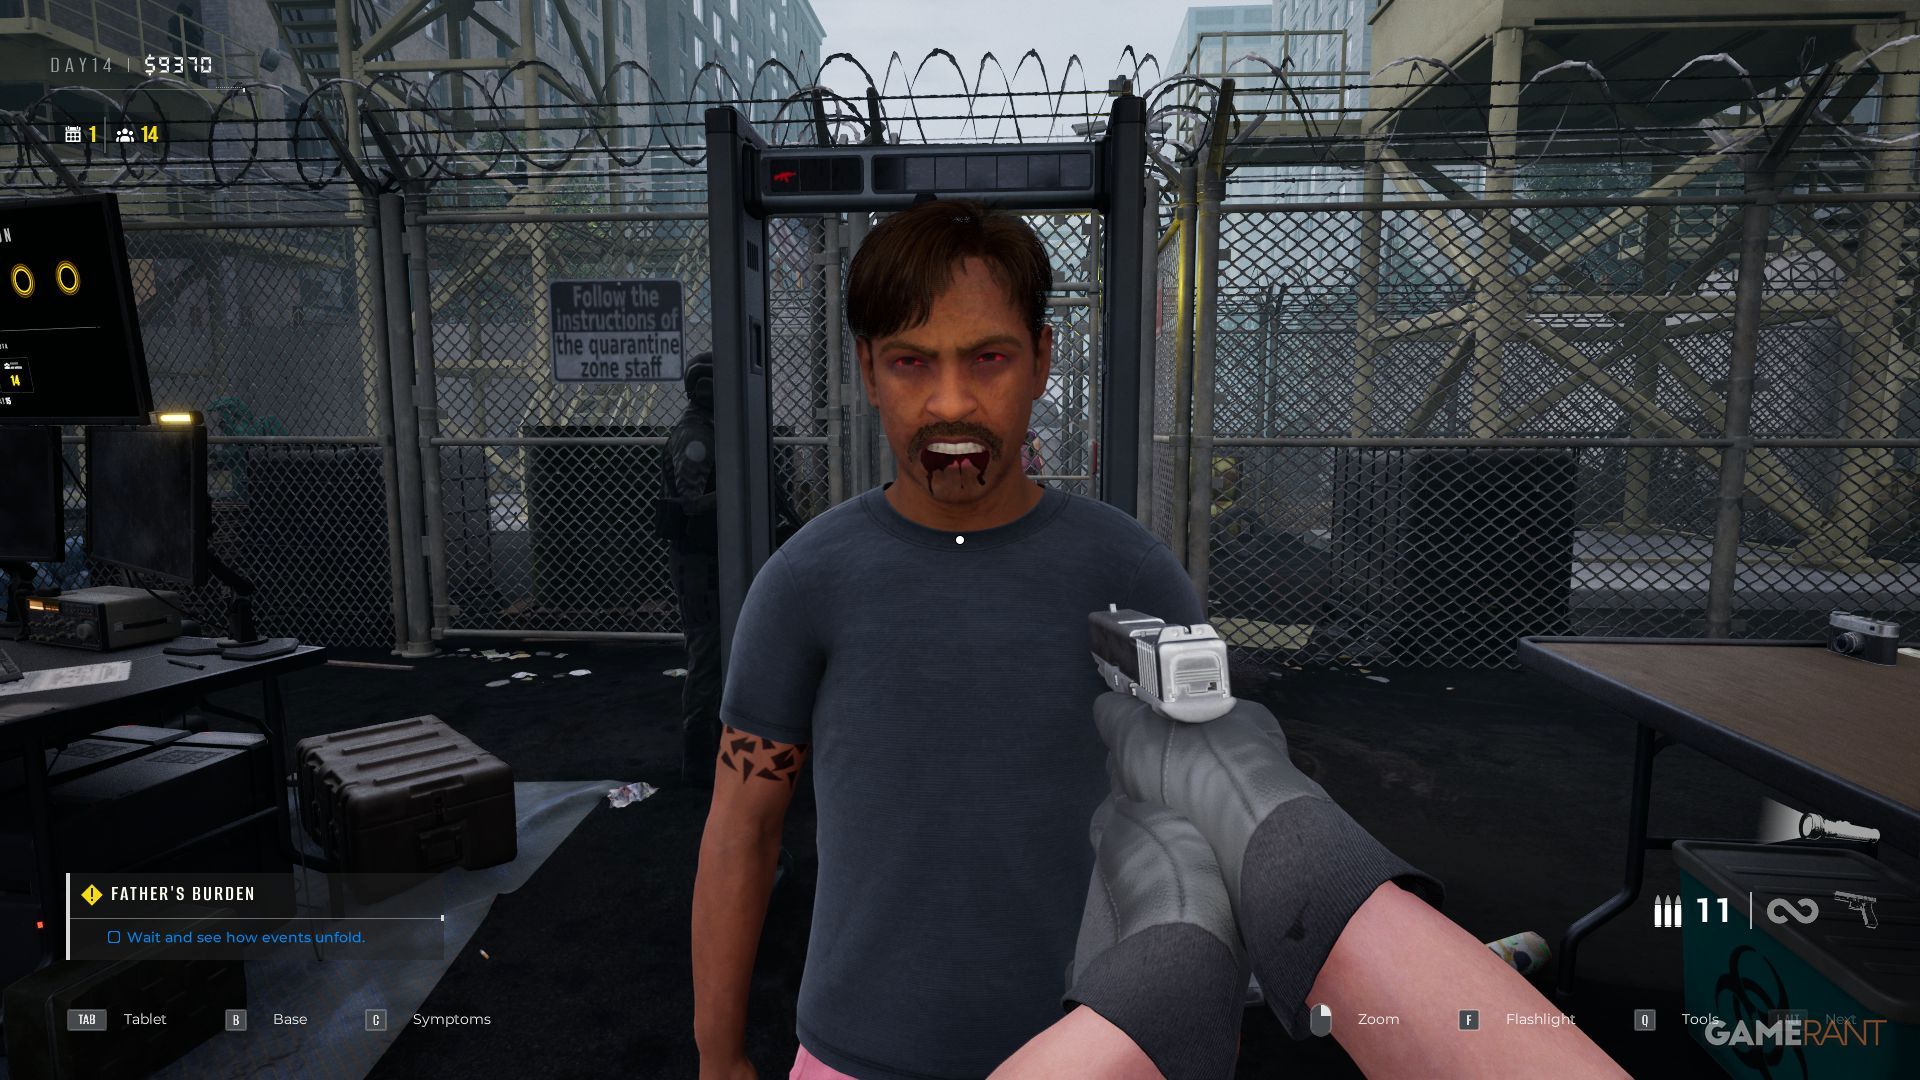
After the first two rounds of people are rescued, the gun becomes available because those infected or feeling unwell start acting more violently. Once this happens, make sure you have your pistol equipped before signaling for the next survivor, as some will immediately rush towards you.
These tough enemies won’t hesitate to attack if you try to send them away, so make sure you’re armed before doing so. It’s also smart to remember the button for switching to your pistol – especially if you’re used to playing first-person shooter games, as it can be a lifesaver in a pinch.
Read More
- Forza Horizon 6: Find the Ohtani Treasure Chest Location
- LEGO Batman Legacy of the Dark Knight Batcave Minikits & WayneTech Caches
- NTE Drift Guide (& Best Car Mods for Drifting)
- Diablo 4 Best Loot Filter Codes
- USD CNY PREDICTION
- USD RUB PREDICTION
- PS Plus Monthly Games for June 2026 Wish List
- Cookie Run Kingdom Timeline of Fate Update Guide
- GBP CNY PREDICTION
- CNY RUB PREDICTION
2026-01-15 18:05