The first quest in No Rest for the Wicked, called Sacrament, isn’t just a simple tutorial. It actually gives you a good idea of what the whole game will be like. You start in Isola Sacra with almost nothing, and because No Rest for the Wicked can be tricky to navigate, figuring out this first quest – and the map itself – can be a bit challenging.
No Rest for the Wicked Sacrament Guide
Because the game world is so open, we’re leaving out areas that aren’t needed for the main story, except for places with really valuable rewards that players will definitely want to explore.
Okay, so after the little intro, you’ll end up on a beach. The real adventure starts when you talk to the ship captain who’s, well, not doing so great, over to the left when you begin. But before you do that, seriously, go straight north – you’ll see this… unpleasant pool of sewer water. Head east once you get there, and you’ll find a path that loops back north. There’s a broken grate you can crawl through, and it leads to a little hideout with a chest full of random stuff to get you started!
You can’t select your starting gear. If you begin without weapons, focus on blocking enemy attacks and attempting to sneak up behind them for unarmed strikes.
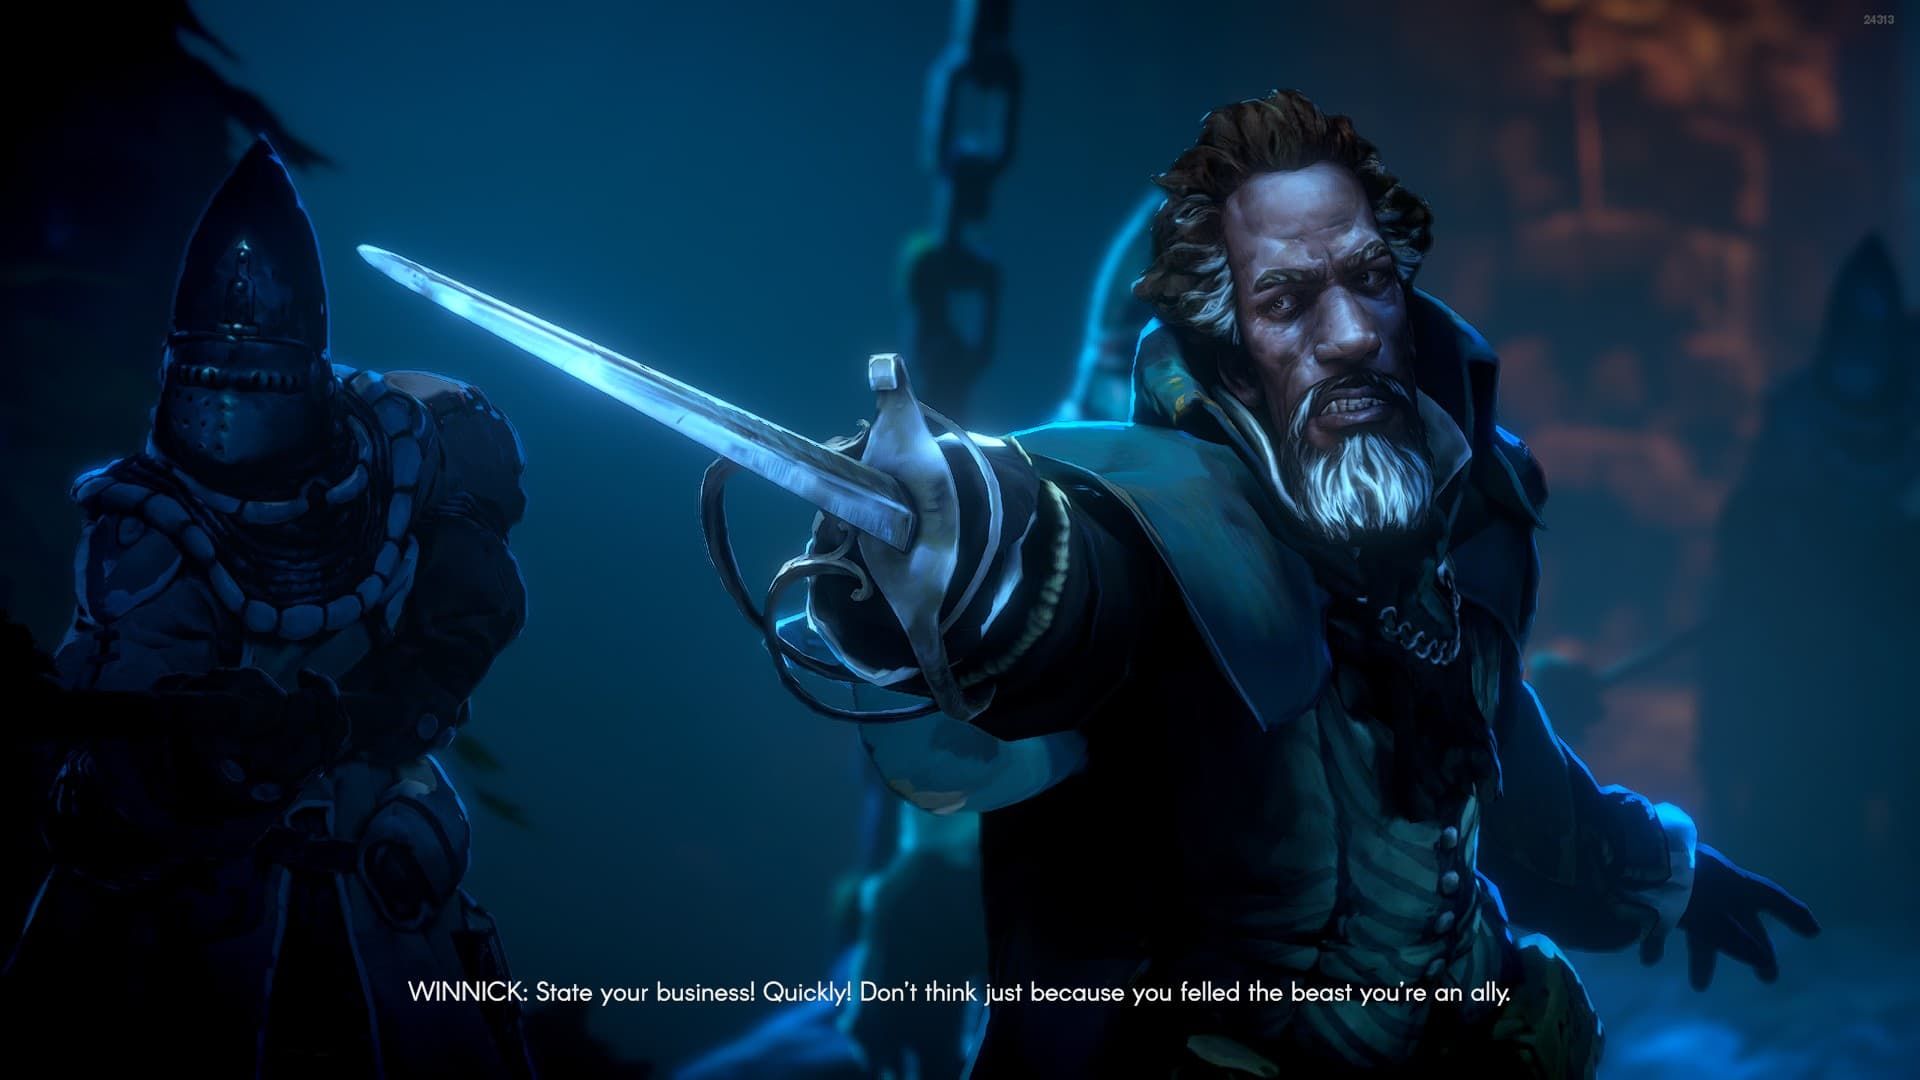
Return to the captain who is injured, and then make your way across the bridge. To find a ruined tower, head to the western edge of the beach. Enter through the wall that’s broken and faces the water, and then speak to the Whisper you find inside. These locations will act as quick travel spots and where you reappear after being defeated.
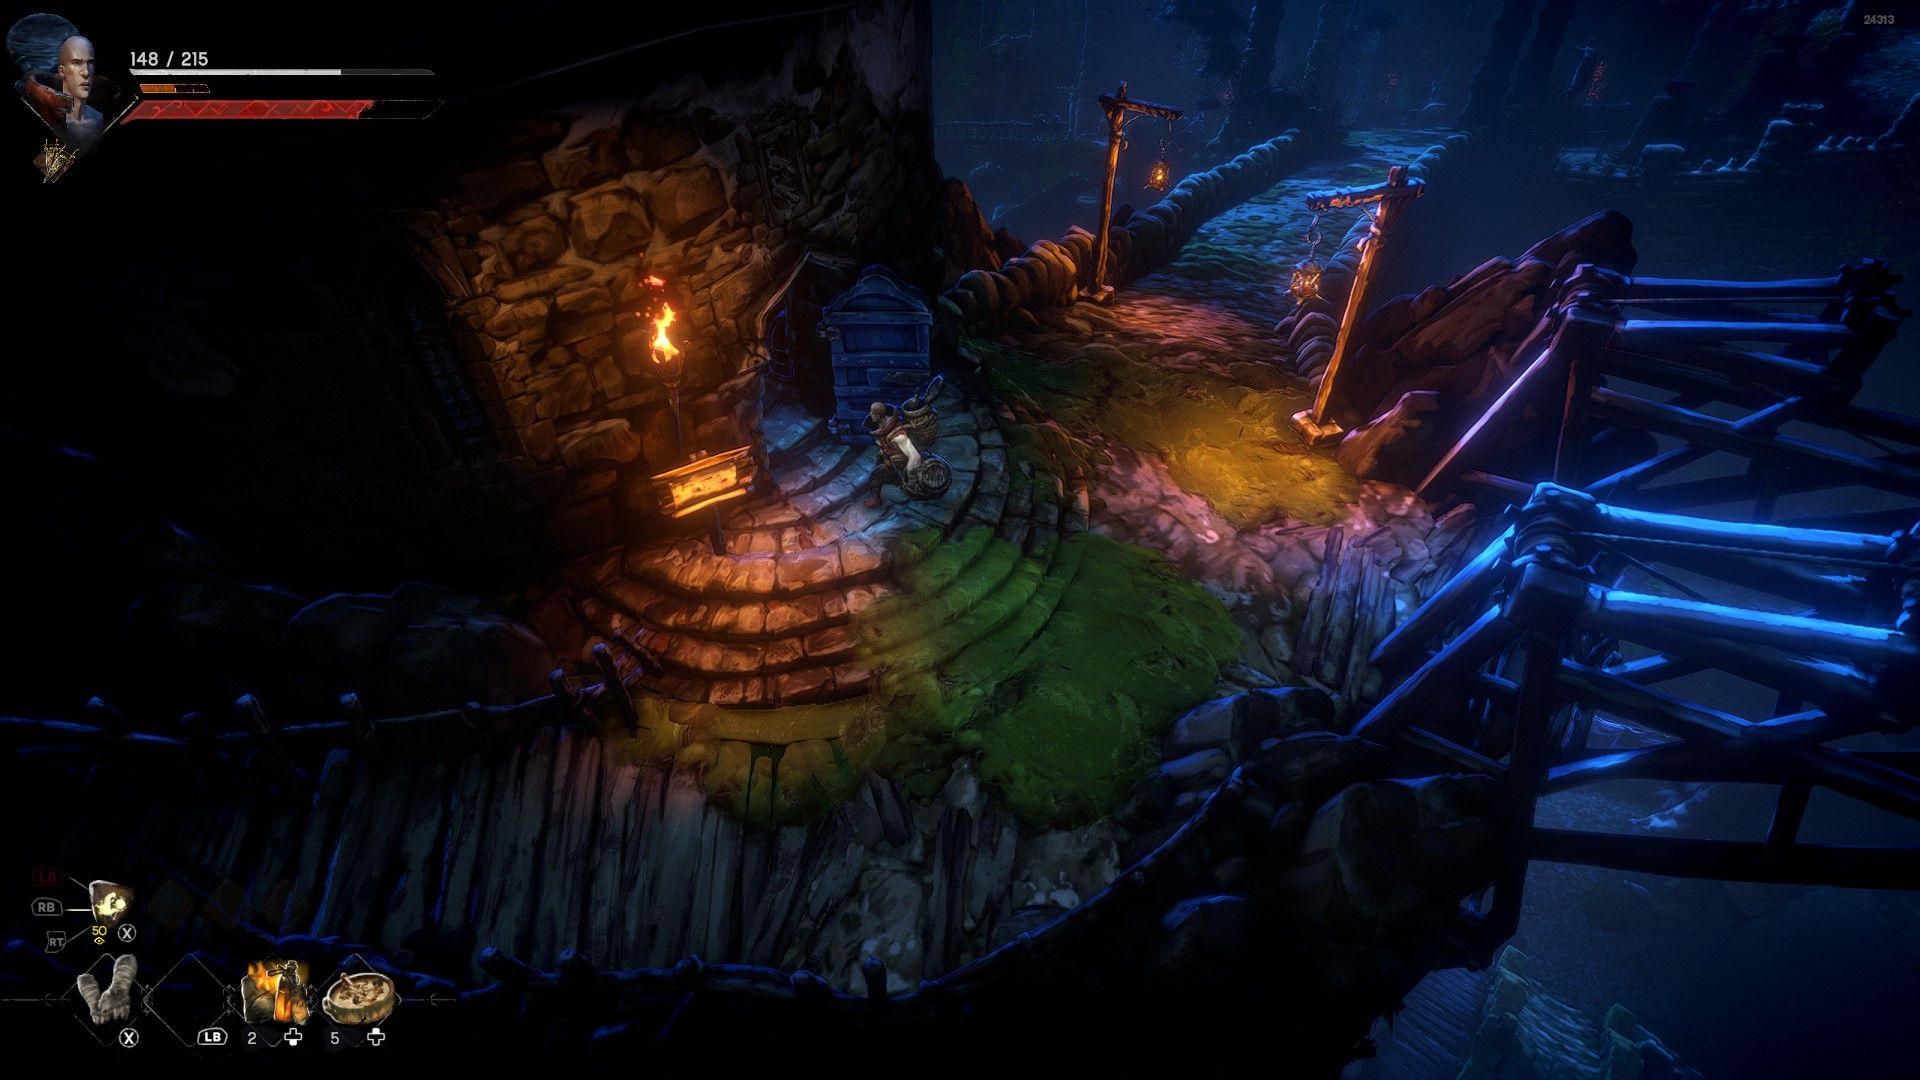
Head back outside and go north past the campfire. You’ll find the entrance to Mariner’s Keep, but be warned – it’s now controlled by Risen rebels. From here on, expect a lot of combat, so stay alert! Dying will damage your equipment, and if you die repeatedly, your gear will eventually break.
Mariner’s Keep has a lot of hidden areas that you’ll discover by exploring carefully, but they all eventually lead back to familiar locations. One door, which needs the West Bridge Key to open, won’t be accessible until you progress further in the game.
Defeat the enemies in the courtyard and take some time to look around. You’ll find another Whisper close to the stairs near the large bonfire. After you find it, go east of the bonfire – you’ll encounter more enemies and a locked gate. You can open this gate by finding a lever, and you can get that lever by rescuing the blacksmith in the mess hall nearby.
Gate Lever Handle Location
After defeating the enemies by the gate, you can find the Mess Hall Key by going through the broken wall to the south. You’ll find a body on the ledge nearby.
Head back to the bonfire, and then stay close to the bottom of the screen. You’ll eventually see a door to the mess hall. Inside, you’ll find the blacksmith, Fillmore, being bothered by some bandits. Defeat the bandits, and then talk to Fillmore to receive the Gate Lever Handle.
To get the Gate Lever Handle, head back outside and use the cart to climb up to the catwalk running along the north wall. Then, walk east along the catwalk until you find the slot for the gate lever.
Filmore is a merchant who both sells items and buys things from you in No Rest for the Wicked. Talk to him to get a good weapon to start with.
The Orban Glades
Go through the gate and defeat the enemies you find. You’ll come to a raised bridge that’s blocking your way. Instead of crossing it, take the elevator nearby to reach a tower on the other side. Eliminate the two enemies at the top of the tower, then continue heading east. You’ll discover Lara and Reed relaxing by a campfire. Speak with them, and then destroy the bridge so you can access it later.
Once you’ve moved past the obstacles, continue east along the path until you find another Whisper. Then, you can choose from three different paths.
- Go up the mountain path near the campfire where you met Lara and Reed to find more enemies to fight and loot to grab.
- Go down south of the Whisper and climb up a vine wall to find even more enemies and loot.
- Follow the path east to fight the first boss of the game.
Chests and items you find throughout the game will reappear after a while, but their contents will always be different each time. So, you don’t need to stress about finding every single chest before heading to the boss!
We suggest exploring both optional areas to collect items and gain experience. The first boss can be challenging, and getting extra loot and stat boosts from these areas will be very helpful if you’re struggling. There’s also a hidden path to the south that leads to a small shrine where you can find lots of ingredients to make healing items.
Warrick the Torn
Warrick is a tough boss who attacks with a large sword. He’ll try to corner you, so pay close attention to where you’re standing. Be careful not to fall off the edge of the arena while dodging or moving, and if you’re playing with others, remember that you can accidentally hit your teammates.
Warrick is a fairly simple boss to defeat. His attacks are slow and easy to block, so focus on dodging and striking back while staying alive. If you win, you have a chance to get the Corpse Smearing Blade, a powerful unique sword that comes with Runes and special magical enhancements.
To improve your parrying skills in No Rest for the Wicked, time your parry button press to coincide with when your opponent’s attack connects with you.
Finding the Rookery
Once you’ve defeated Warrick, head to the Rookery – it’s the large tower overlooking the town of Sacrament. You’ll find it at the highest point in town, so just follow the stairs going up if you’re unsure where to go. The guards can also help point you in the right direction.
After arriving at the Rookery, talk to both Roan and the Watcher. This will finish the current quest and move the story forward.
Read More
- Forza Horizon 6: Find the Ohtani Treasure Chest Location
- LEGO Batman Legacy of the Dark Knight Batcave Minikits & WayneTech Caches
- NTE Drift Guide (& Best Car Mods for Drifting)
- Diablo 4 Best Loot Filter Codes
- PS Plus Monthly Games for June 2026 Wish List
- Cookie Run Kingdom Timeline of Fate Update Guide
- USD CNY PREDICTION
- USD RUB PREDICTION
- GBP CNY PREDICTION
- CNY RUB PREDICTION
2026-01-23 11:35