Chapter 3 of Deltarune revolves around the TV game show “Ant Tenna’s TV Time,” which is more than just a fun distraction. The show hides several secrets that players can uncover both during the gameplay and between rounds. A lot of the best parts of this chapter can be easily missed if you don’t perform well on the game show, and even then, finding all the secrets requires exploring hidden areas.
Dedicated players who complete all the challenges in Deltarune Chapter 3 can unlock a hidden boss fight, but it requires finding specific items first. This complete walkthrough will guide you through everything the chapter offers, helping you unlock all its secrets.
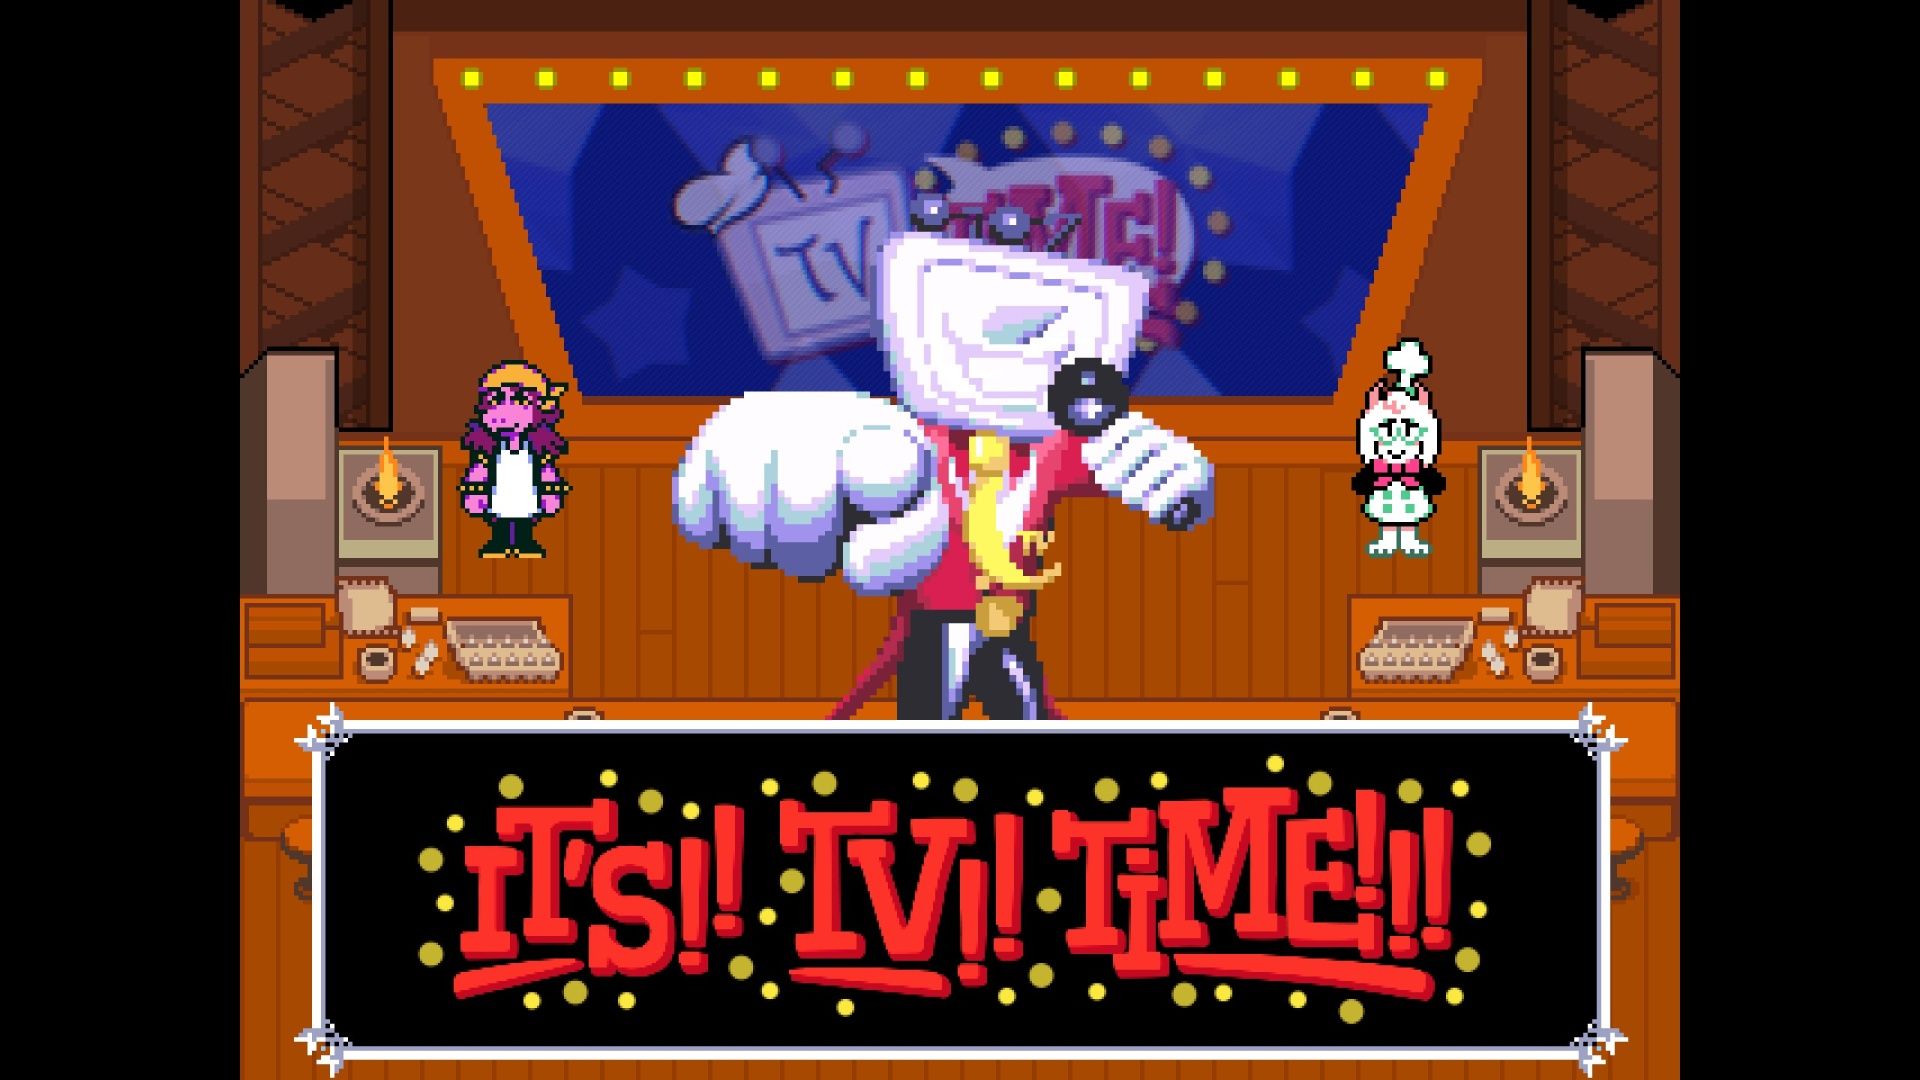
Deltarune Chapter 3: Ant Tenna’s TV Time Game Show

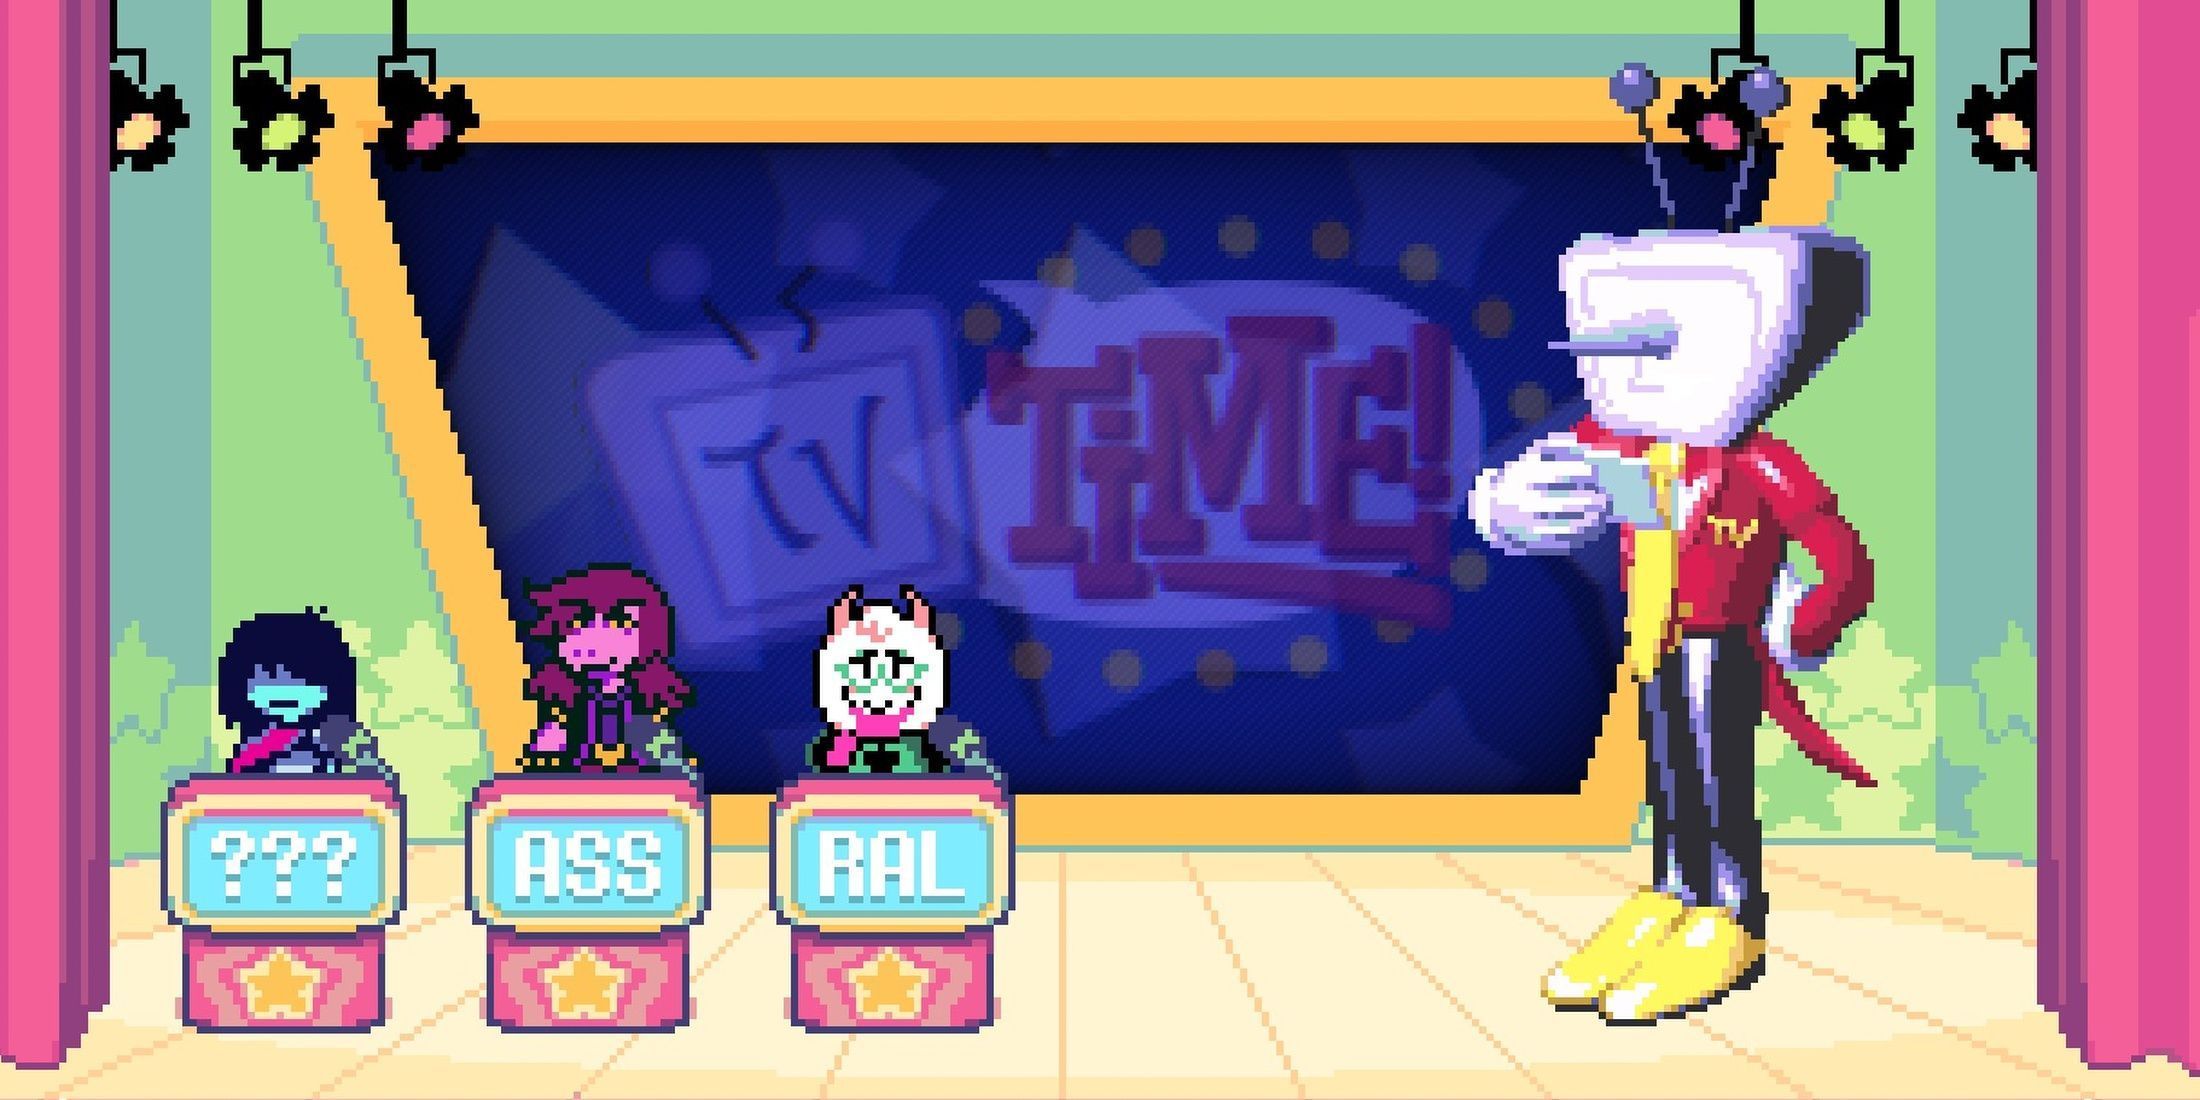
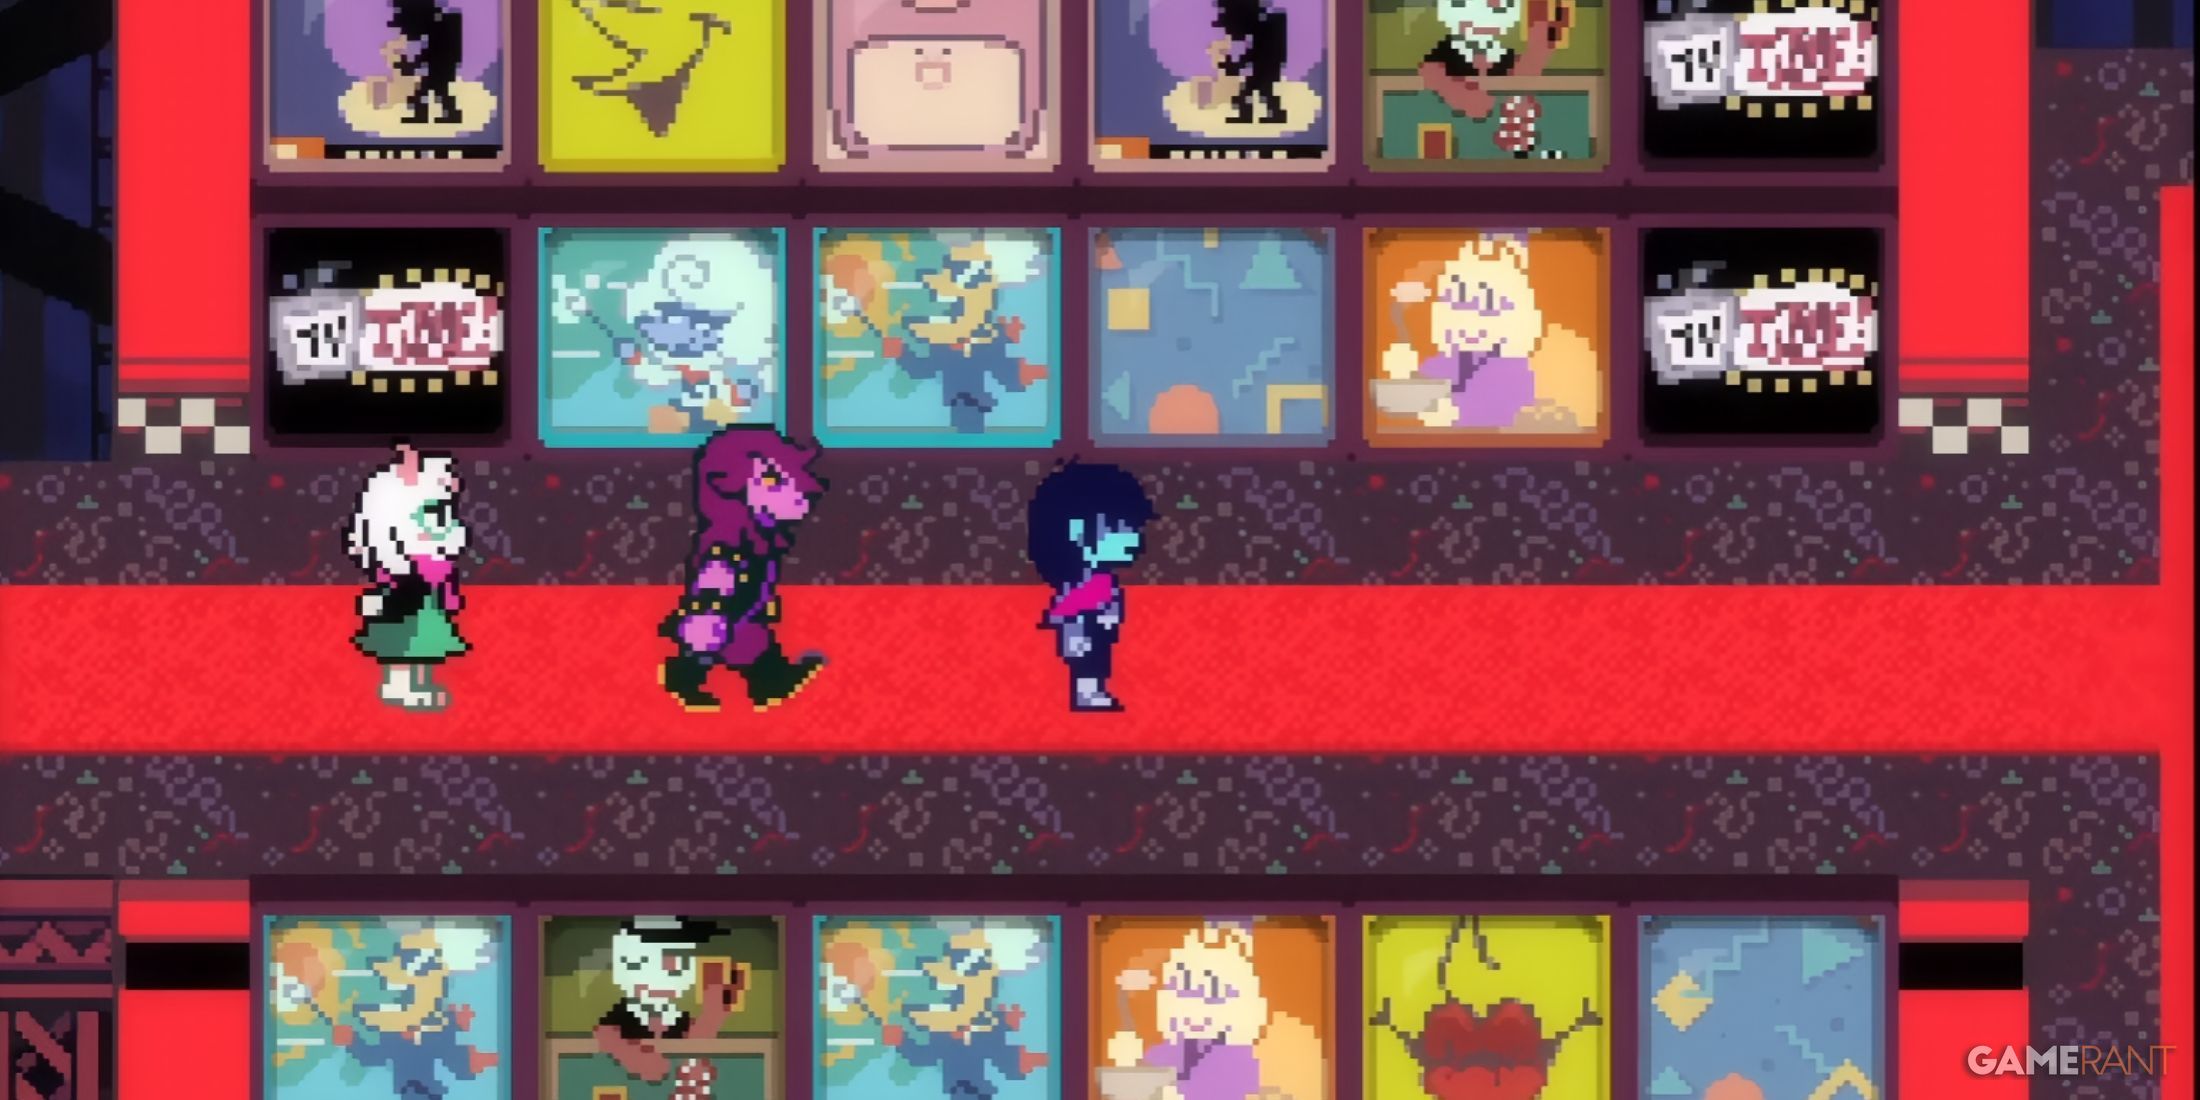
The third chapter of Deltarune begins with Kris and Susie finding themselves in the Dark World. At first, there isn’t much to do – just follow the story forward until you reunite with Ralsei. Eventually, you’ll be stopped by Mr. Ant Tenna, who moves the plot forward.
Welcome to the game show! First, pick any three letters to be your name – it’s just for fun and doesn’t change anything. After that, we’ll kick things off with a round of Tenna’s TV Time, which is a mini-game similar to those found in the Zelda series.
Your score in each round of Tenna’s game show will determine your rating, and the highest rating is an S-rank. To get an S-rank, you need 1500 points per round, which you can earn by winning battles, answering quizzes, and solving puzzles.
Round One
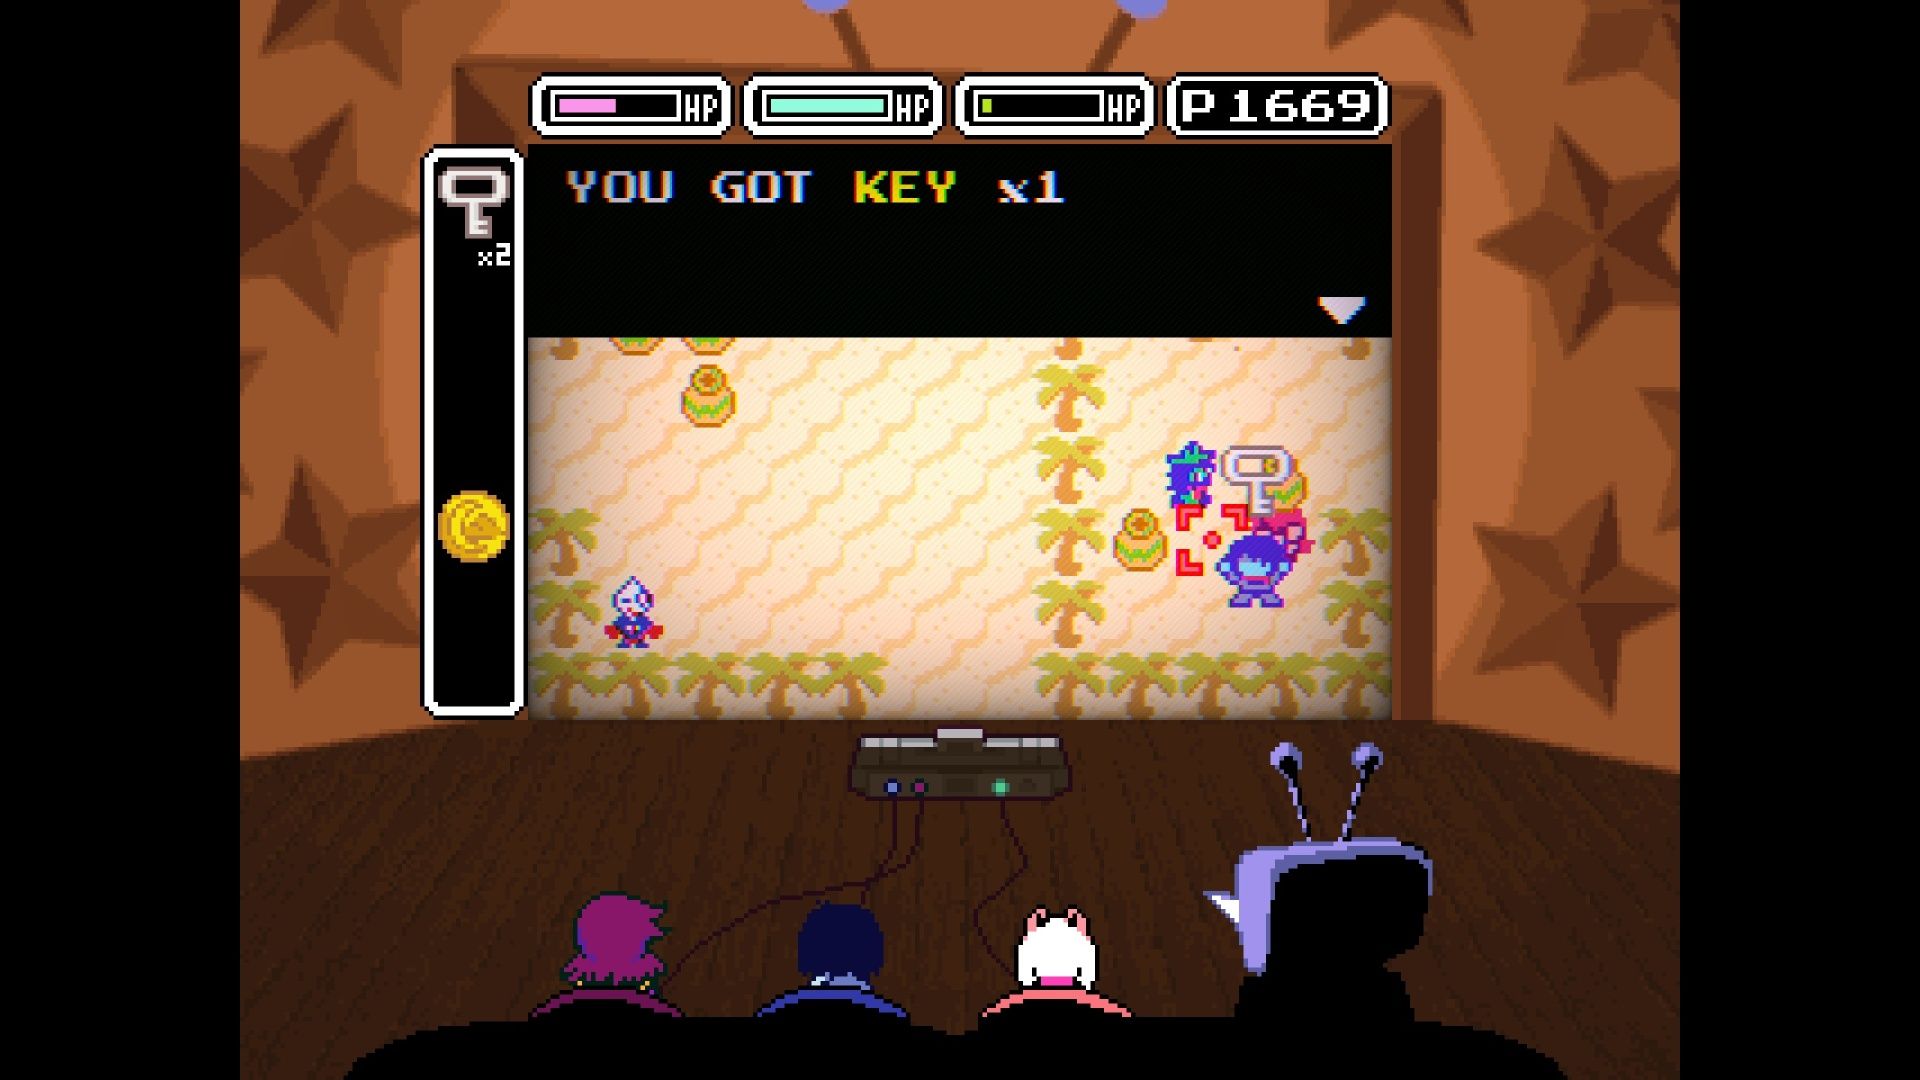
In this minigame, you need to find three keys to unlock the door and move on. There are actually four keys hidden, and collecting all of them will give you bonus points. Watch out for regular enemies, and be careful of the blue spiral enemies – if they touch you, you’ll have to answer a multiple-choice question!
To defeat the shadowy opponents in this area, choose Boogie in battle. Using both S-Actions and R-Actions will bring Susie and Ralsei to your aid, tiring out the enemies. Once they’re exhausted, Ralsei can use his Pacify spell to spare them instead of fighting.
Key #1
The first key is easy to find, located just a short distance from where you start. It costs 250 points in the shop, so keep that in mind for when you have enough points.
Key #2
The second key is easy to miss, tucked away behind trees and flowerpots just south of where you start. To get it, you need to bring two ‘Q’ items to the sphinx located in the top-right corner of the map. You earn these ‘Q’ items by completing two quizzes, which you’ll find while exploring and searching for the other keys.
This guide has all Deltarune Chapter 3 quiz answers if you need help.
After collecting both Q items, head to the sphinx and answer the final quiz. Don’t forget to solve the puzzle right before the sphinx – it unlocks the Power Croissant for Susie, letting her lift and throw pots. Once you’ve answered all the sphinx’s questions, a new path will open on the left, leading to the key you saw at the beginning of the challenge.
Key #3
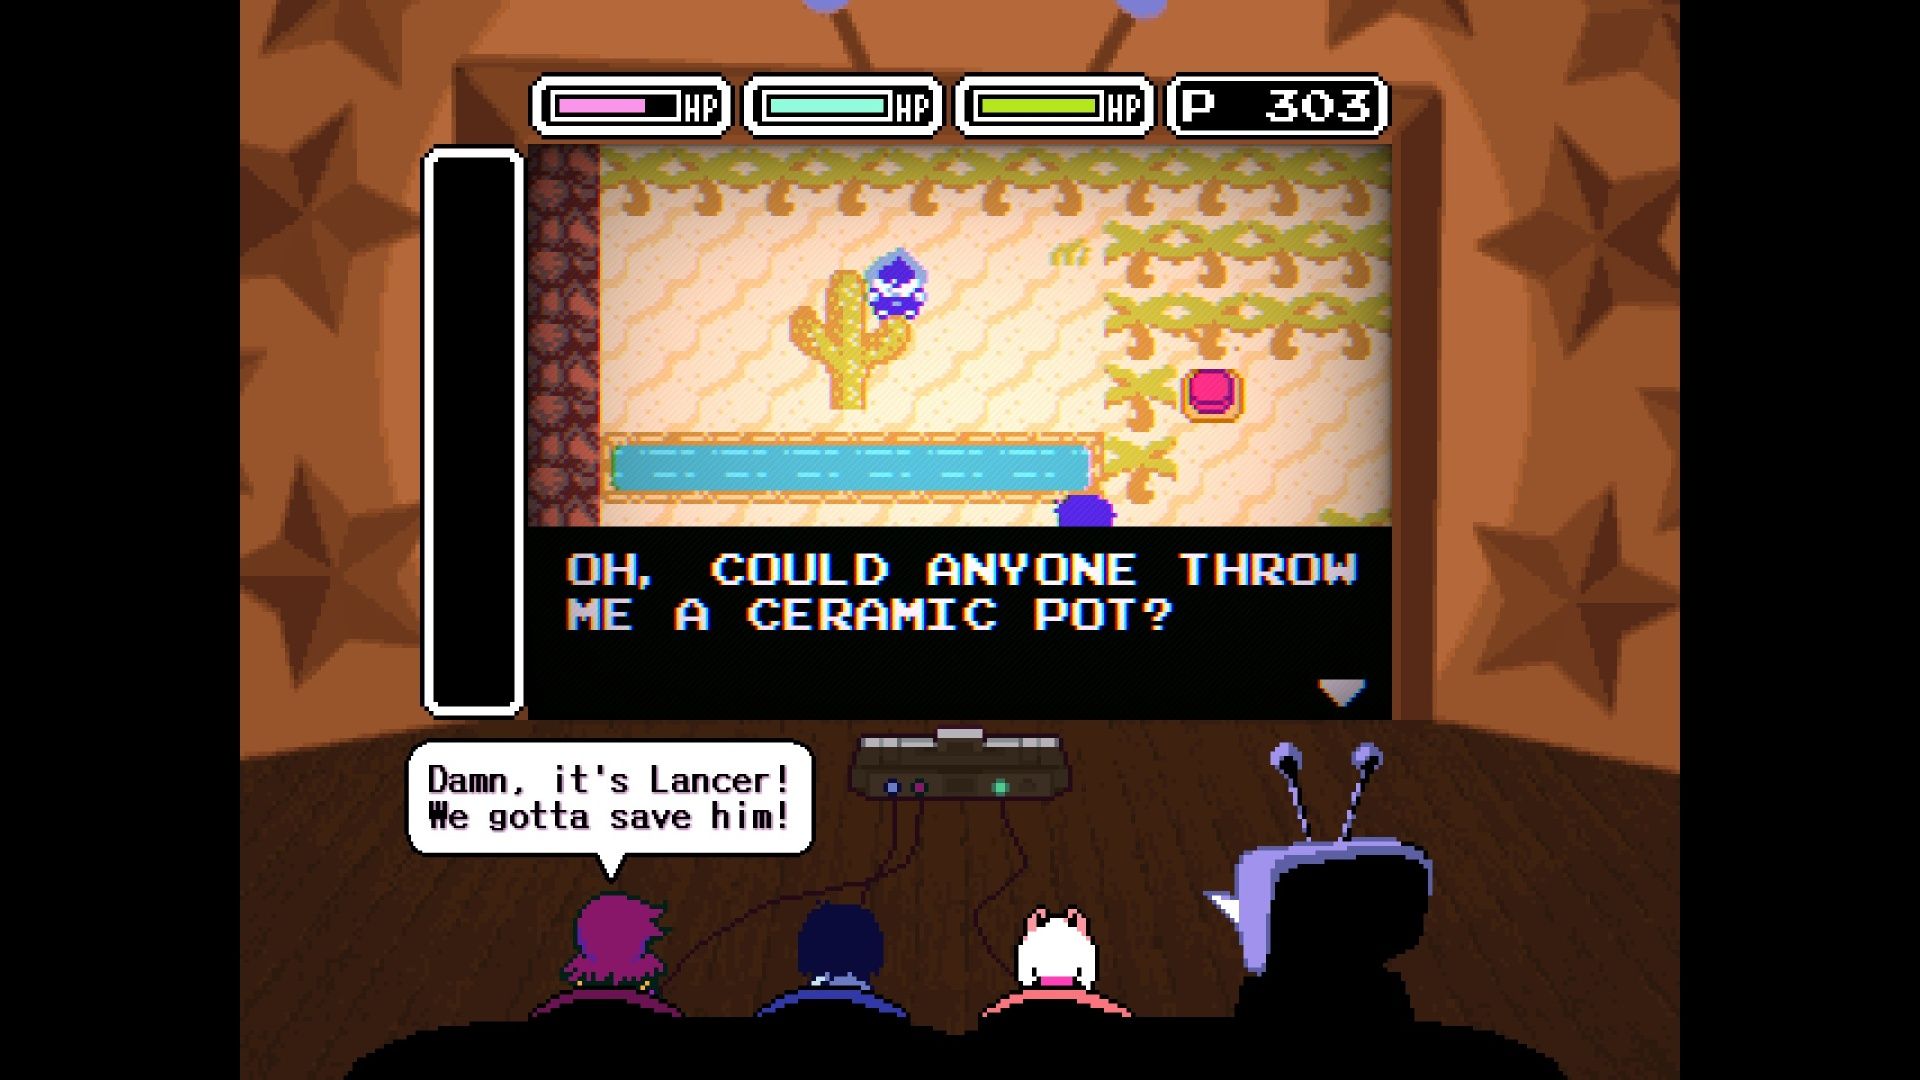
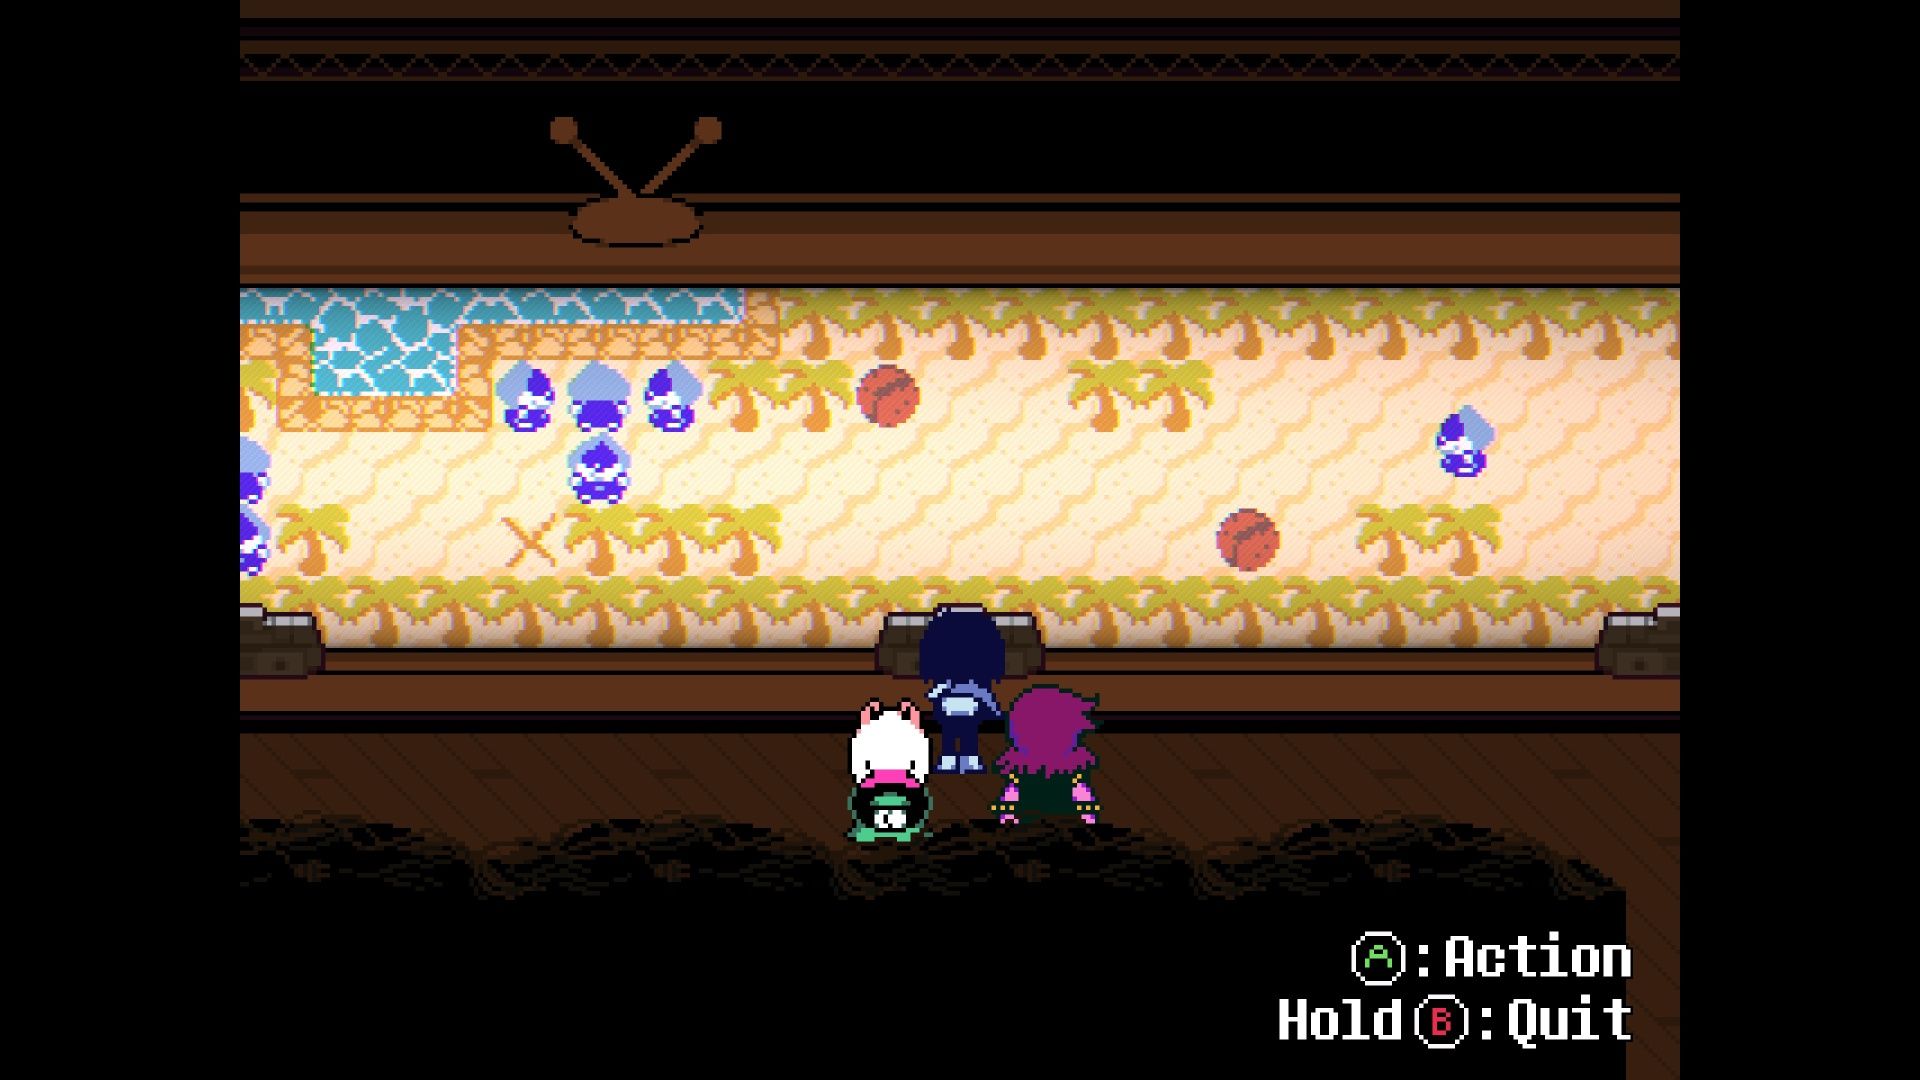
To get the third key, you need to save Lancer who’s located in the top-left of the map. Step on the button, and Susei will launch Ralsei to grab him. Then, bring Lancer to the pool of water just down and to the left. He’ll find the key, which will unlock a boss battle somewhere else on the map.
Key #4

The fourth key is hidden somewhere among the cacti. A Pippin will give you a clue: “the cactus that lived upstairs loves you.” Look for the cactus that turns pink when you approach it – that’s the one you need to move aside to find the key.
Boss Battle: Lanino and Elnina
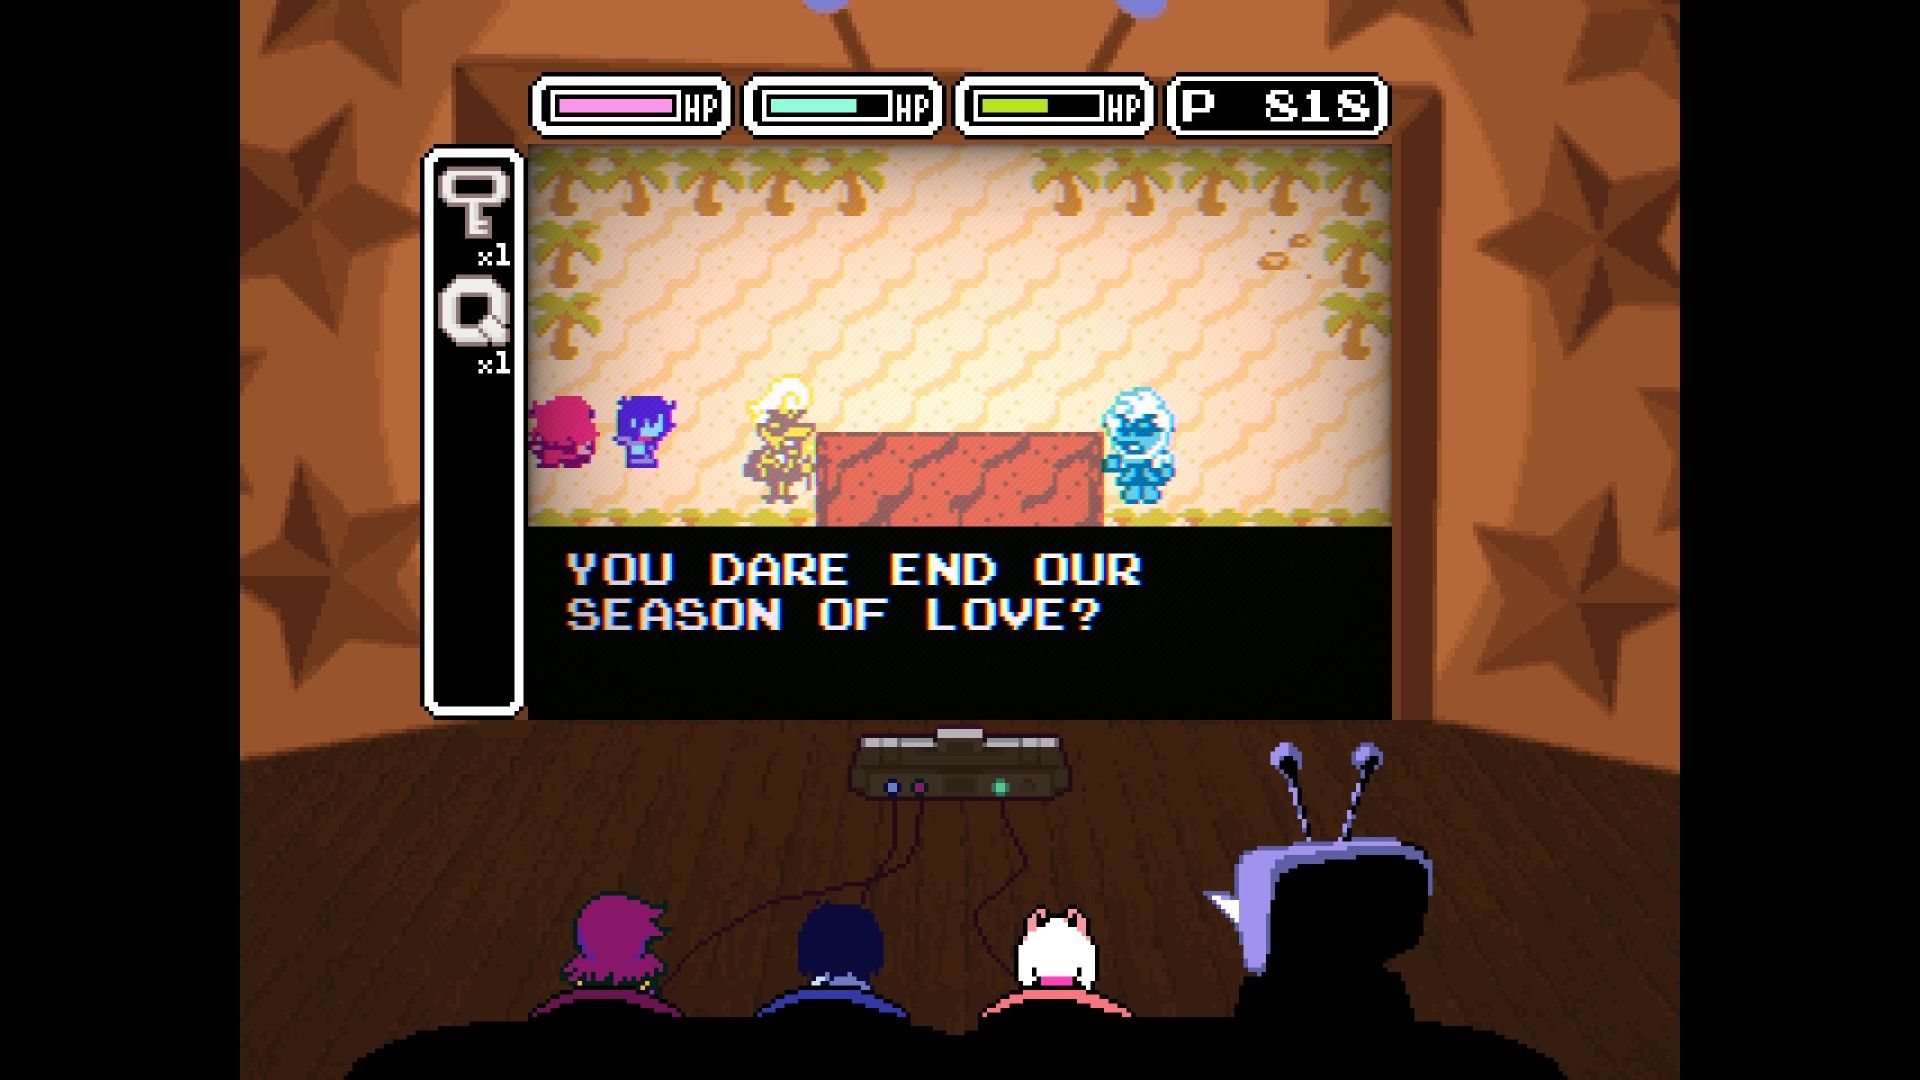
Lancer found the water source before them, so the pair no longer have their pool. They are now protecting the Mooncloud Stone – the last item you need to open the door and finish the level.
Tenna says repeating “I love TV” 99 times will win the game, but things get chaotic fast. You have to keep saying it while dodging attacks. Eventually, Elnina and Lanino will start bickering and even ask which attack you prefer. Pick the one you like best – that attack will become stronger as the game goes on.
When the two combatants are completely defeated, Mr. Tenna immediately stops the battle. Neither fighter takes any damage, and you’ll receive the Mooncloud Stone, plus the keys to open the final door and proceed to the last challenge of the first round.
Don’t worry if your health gets low at the beginning of the battle. It’s a test of how long you can last, not how much damage you take, so focus on staying safe. Keep healing when necessary and consistently use your ‘I Love TV’ ability. If you keep the action going and avoid getting hit unnecessarily, you’ll eventually win.
Cooking Minigame
Okay, so the first round is kinda crazy! It’s a cooking game where you’re grabbing food as it falls and tossing it to customers. There are special customers that give you extra points, so keep an eye out for them! But here’s the catch – Susie’s cooking is terrible and the table is constantly on fire! You can jump over the flames, but the more food I stack up, the harder it is to jump, which makes dodging tricky. It’s a fun challenge, but definitely keeps you on your toes!
To succeed in this minigame, build stacks of four or five ingredients and then shoot them to the customers waiting below. It’s best to wait for special customers – they’ll boost your score much more than regular ones. You can track your score on the screen behind you, but remember it goes down if you don’t serve anyone quickly, so don’t spend too long building stacks!
You’ll likely do well in the first round if you performed decently in the initial exploration phase. The physical challenges aren’t a major factor in your overall round score unless you struggle significantly. If you achieve an S-rank in round one, you’ll receive a Pink Ribbon, which boosts the amount of TP you earn when you barely avoid attacks.
When trying to achieve a T Rank, focus on quality over speed. Instead of serving everyone immediately, build up a large order and wait for a special guest. They significantly increase your score, and larger orders give you an even bigger bonus. Be careful around Susie’s flames – getting hit will ruin your progress. If you start to feel overwhelmed, it’s fine to serve a smaller order to regular customers, then resume building a large one to impress special guests and reach a score of 700 or higher.
The Green Room
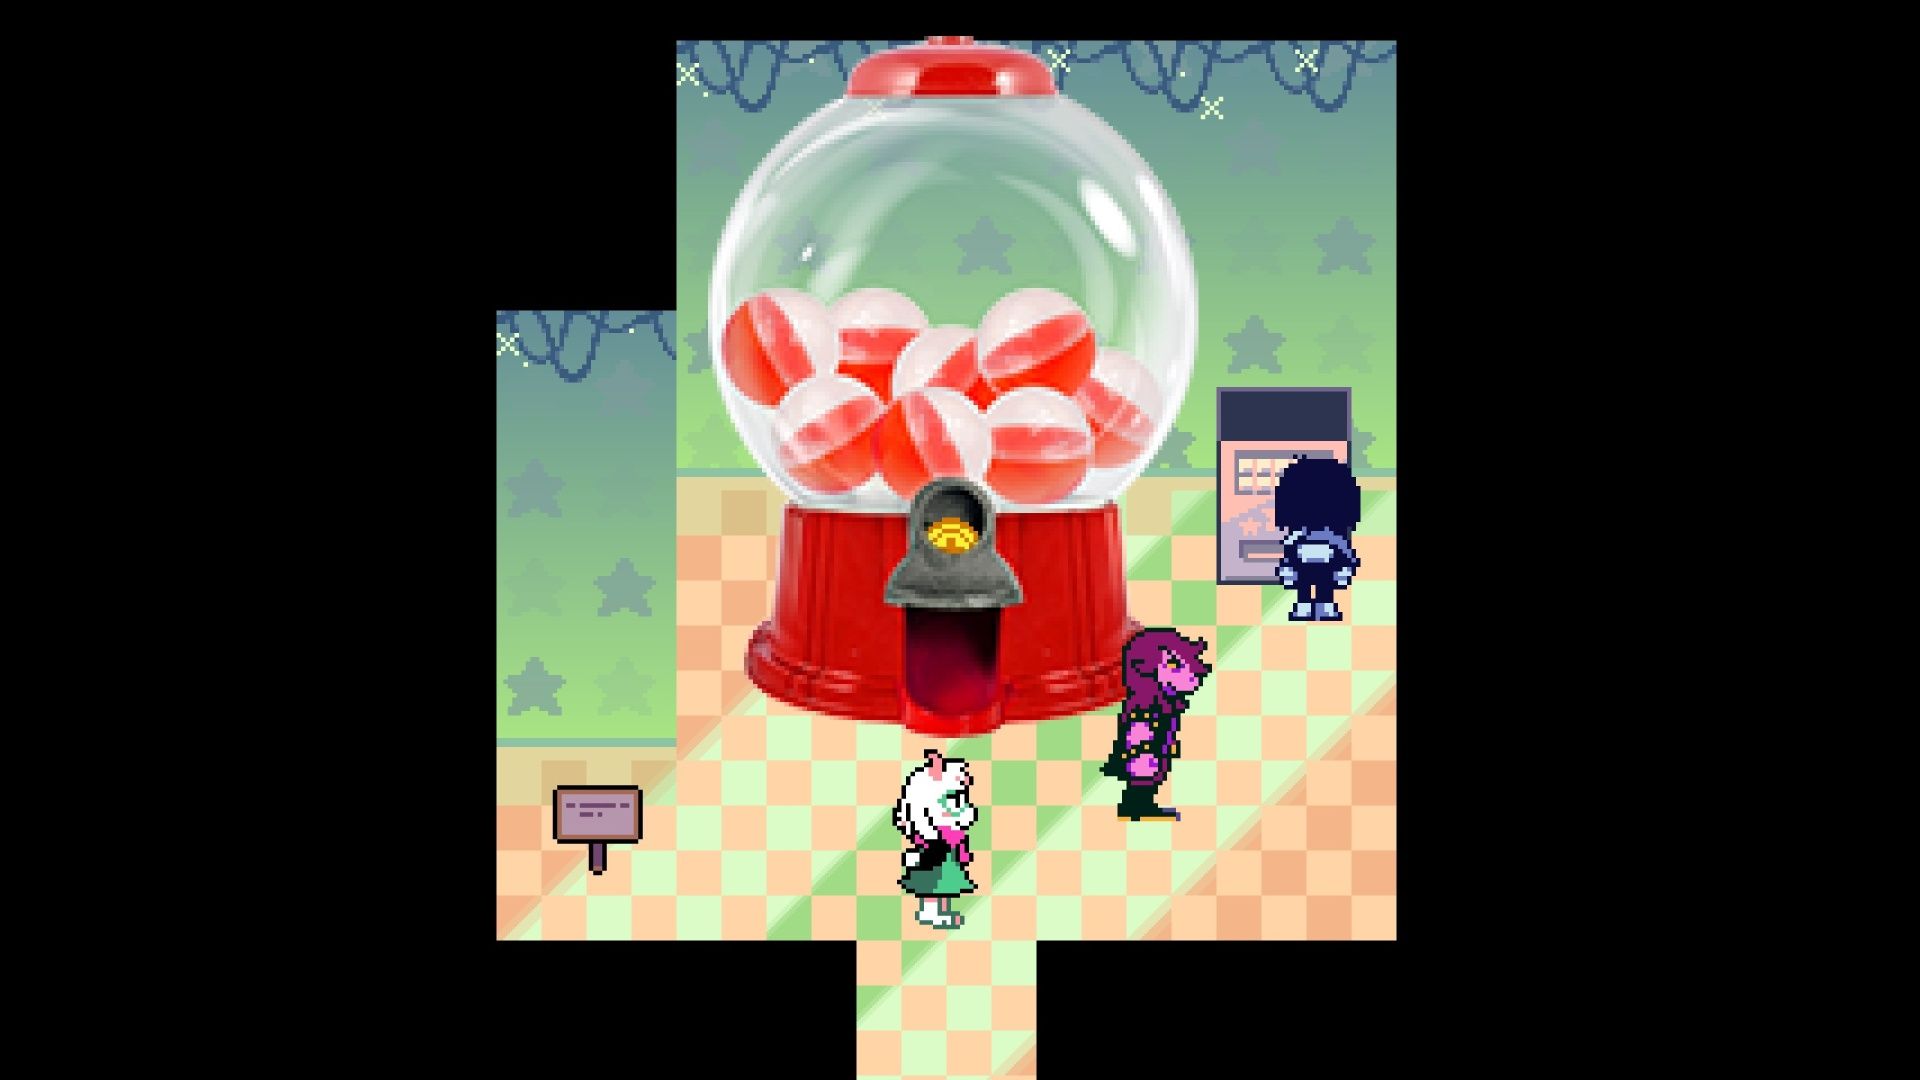
Feel free to relax in the green room between rounds. You can grab snacks and drinks from the vending machines, but the changing rooms are the main feature. Access to those rooms is based on your performance in the first round – you’ll only be able to open certain doors if you did well.
The main changing rooms have special areas for players of C, B, and A rank. The C-rank area has a tough enemy near the water cooler. The B-rank area features a gacha machine where you can spend points earned in previous rounds – it’s a fun way to try your luck! The A-rank area hides a minigame called Susiezilla, where you defend Tenna from negative comments. These are all optional activities, but they’re worth checking out. The B-rank gacha machine is especially rewarding, with a rare Glowshard as its top prize.
Glowshards become more valuable as you progress in the game, making the gacha machine a potentially worthwhile way to spend them.
You can always talk to Tenna to keep playing the game show. However, if you got an S-rank in the first round, you should definitely check out the S-rank changing room. Inside, you’ll find a hidden minigame that lets you get the Ice Key, which is the first item needed to unlock the secret boss fight in Deltarune Chapter 3.
Round Two
The second round of Tenna’s TV Time features another *Zeldathemed challenge, and this one focuses on photography. You’ll use a special camera to both freeze objects and beat enemies by taking pictures. Plus, every photo earns you extra points, so snap away!
In round two, you’ll face Pippins. You can defeat them using S-Actions and R-Actions, filling up the mercy meter. Susie has a special ability to tire out the Pippins, allowing Ralsei to spare them with the Pacify spell. Alternatively, Kris can use the ACT option to bet, which will change one of the Pippins’ attacks to green and give you mercy progress when you touch it.
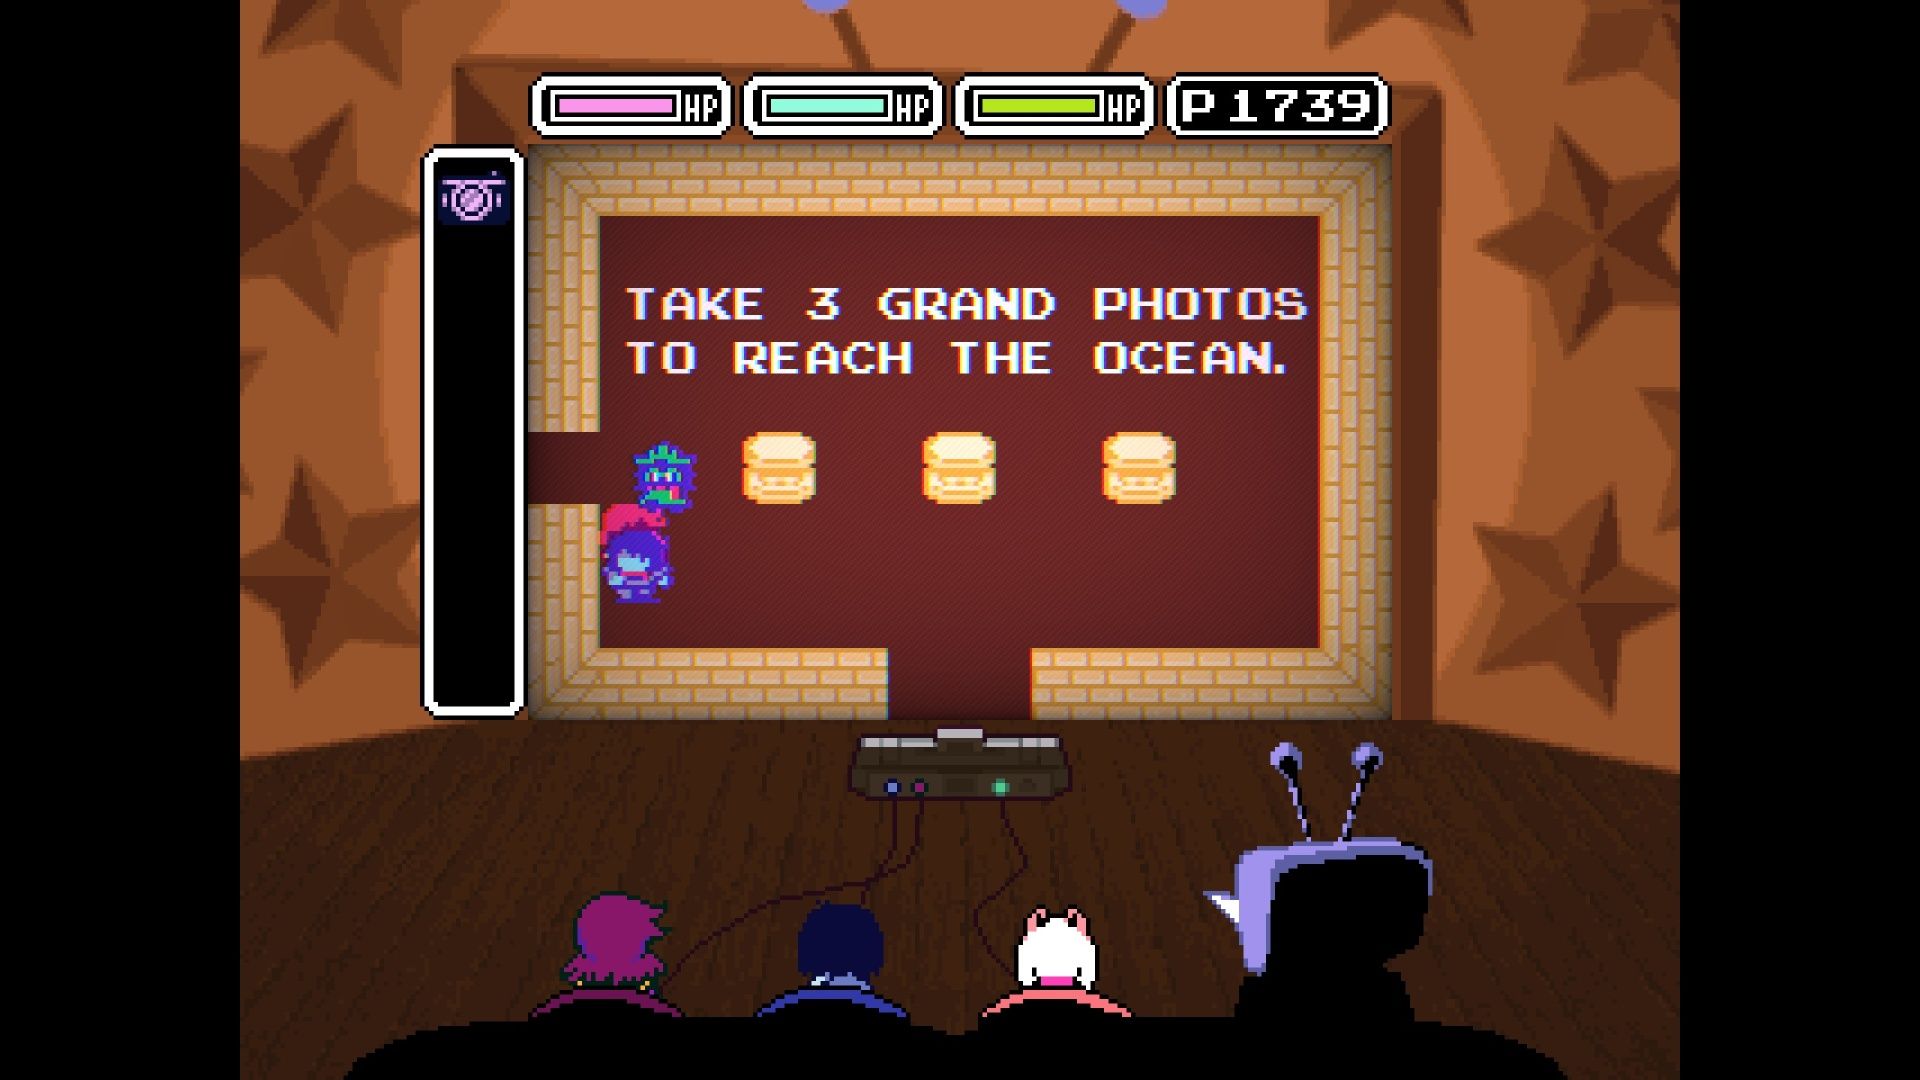
Similar to the first challenge, you’ll need to capture four photos, but only three are required to advance. You can find clues about what to photograph near the beginning, provided by Pippins.
- The plant of spikes, hides in the forest. It’s no rose, but its thorns hold love.
- A green geyser, just next door. Who can dig it up?
- The red antlion, under the ground. Fangs of youth, unearthed with a photo.
- A flower torn in half! I wonder who took it… the photo, I mean.
Photo #1
The first photo is just to the left and below where you start. You’ll see a tall, narrow area with a river running through it, and Lanino in the distance. To get the first great photo, find the cactus hidden among the trees on the right side of the screen and take a picture of it.
Photo #2
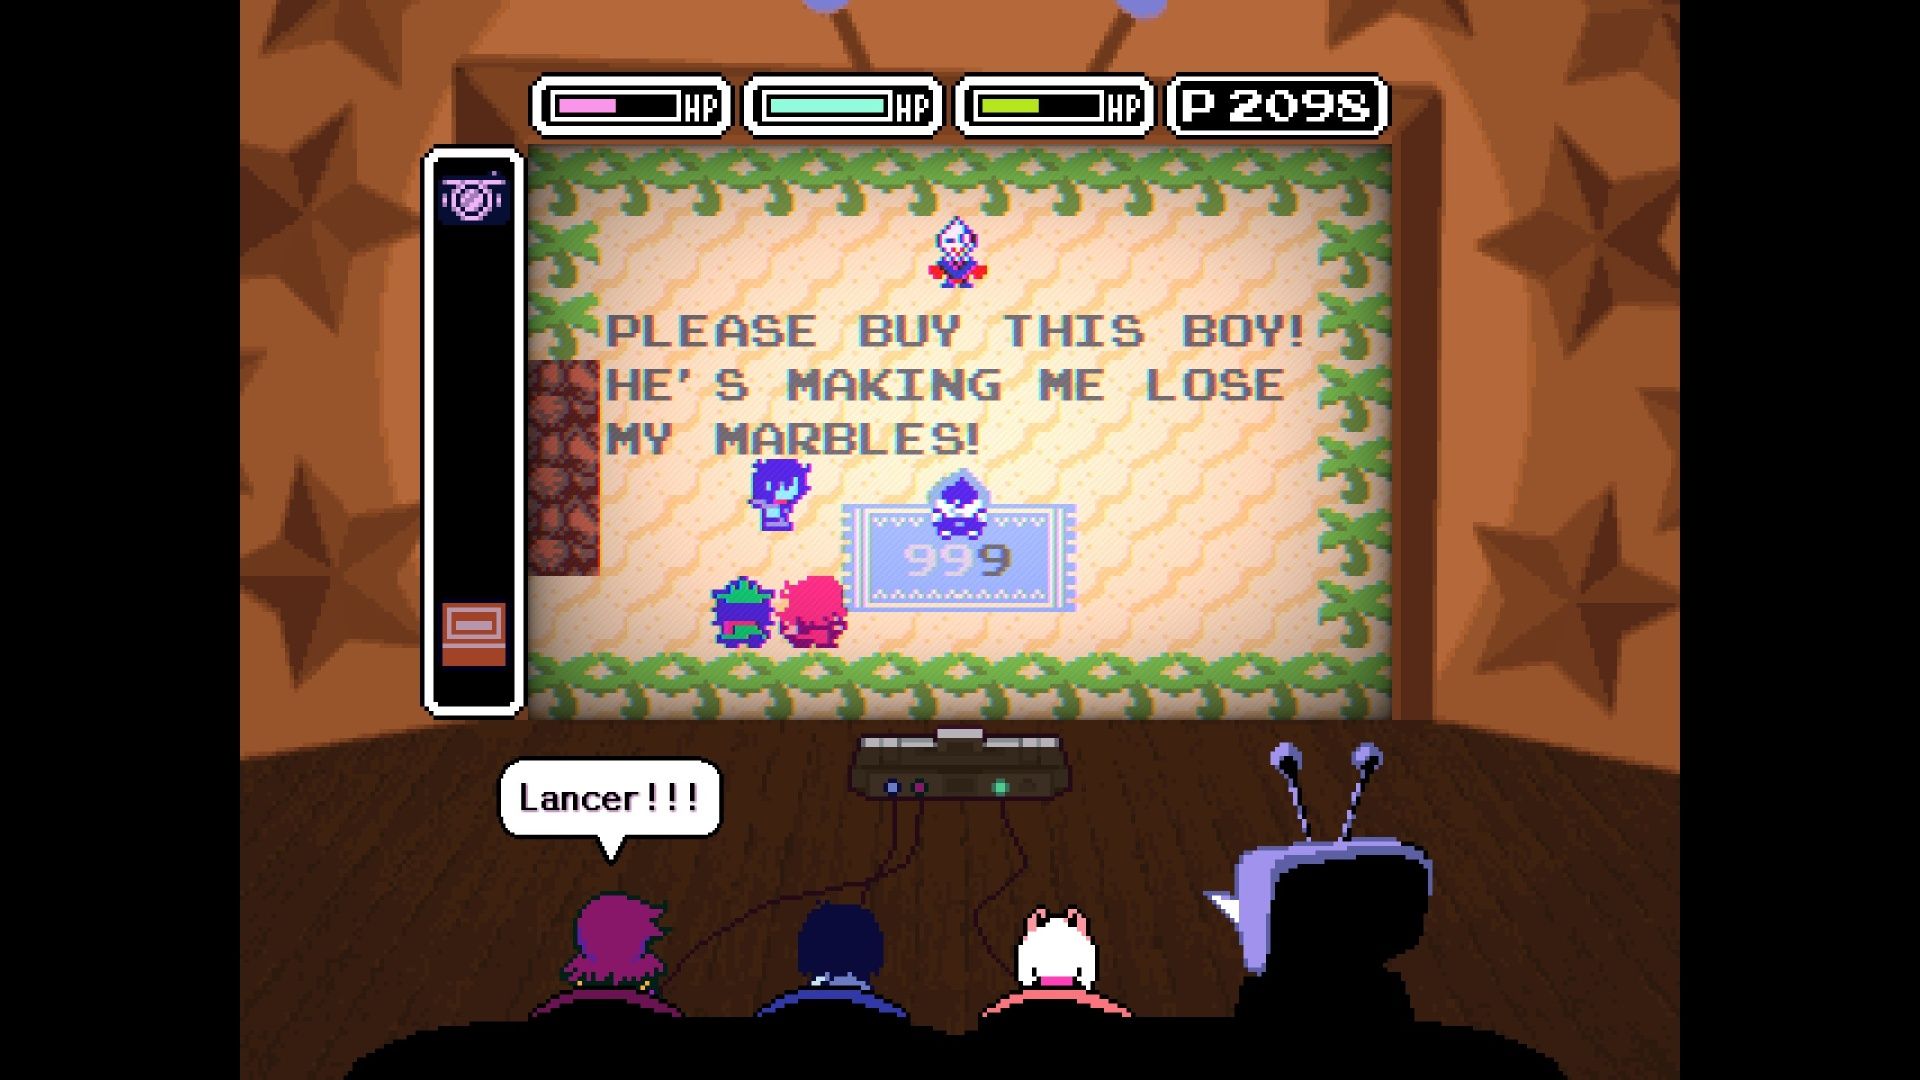
The second photo opportunity involves a bit of trickery with a vendor. You can buy the Lancer game for 999 points, but if you take a picture of the price display, it cleverly hides two digits, reducing the cost to just 9 points! Once you’ve purchased Lancer, return to the starting area. Then, look at the screen on the right side – Lancer will unearth the green geyser, completing your second grand photo.
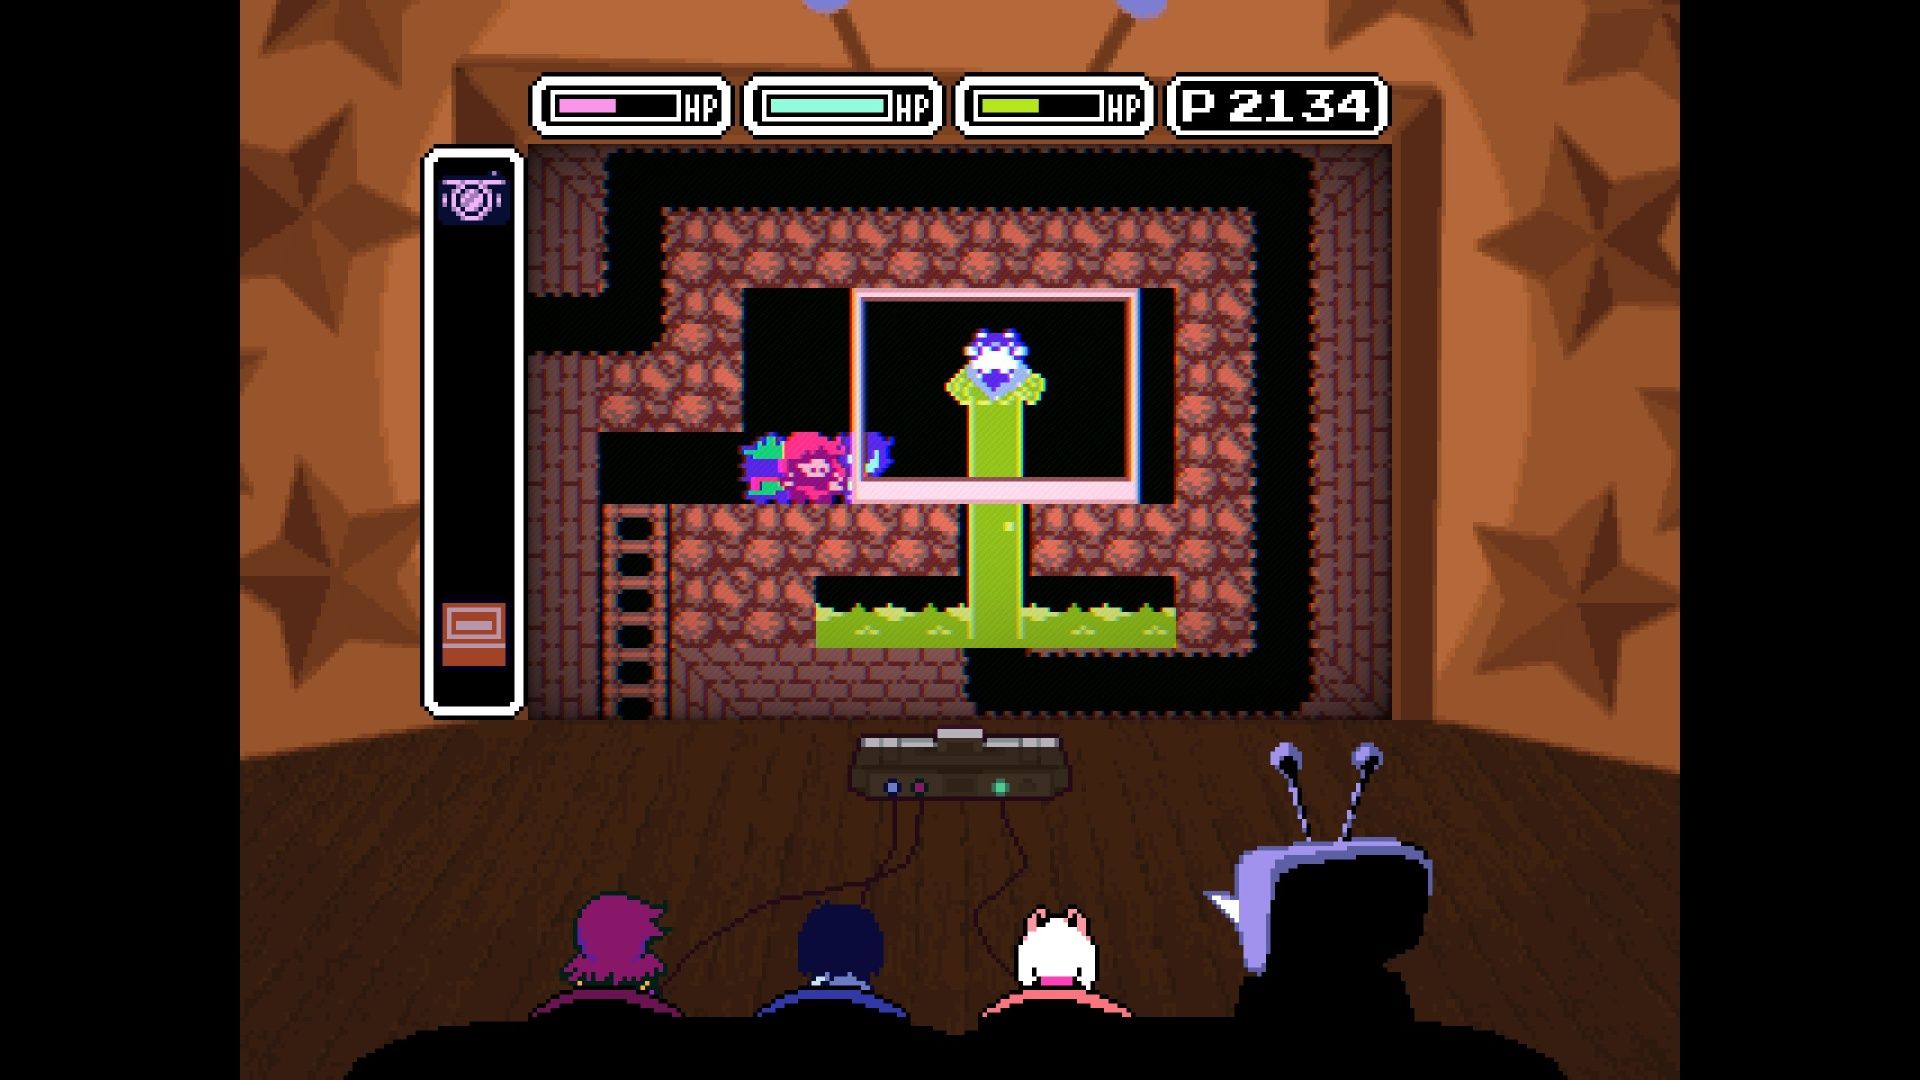
You can also walk through the path that Lancer burrowed through to earn some bonus points.
Photo #3
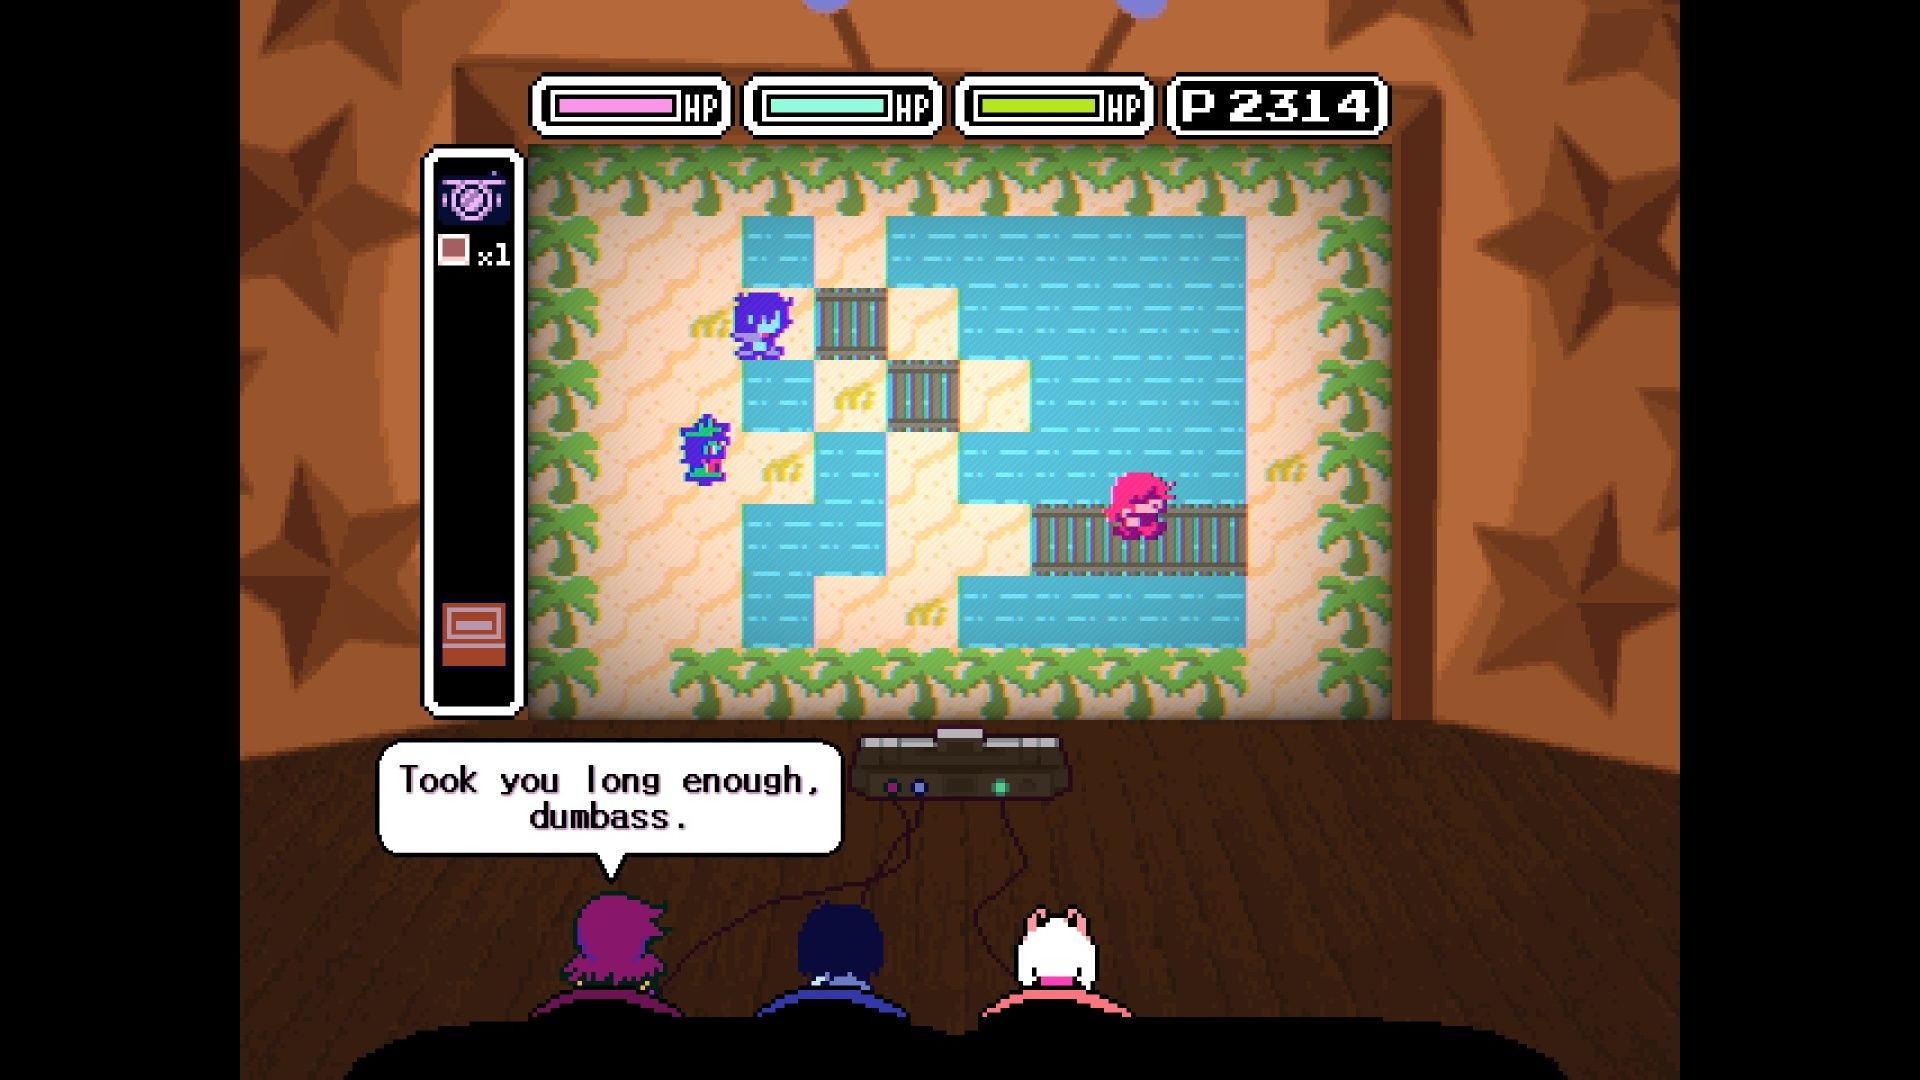
To get the third amazing photo, you’ll need to solve some bridge puzzles. Go southeast to find a lake and the pieces you’ll need. Susie will help with the first puzzle, but then she’ll playfully switch up your controller buttons, leaving you to finish the rest on your own!
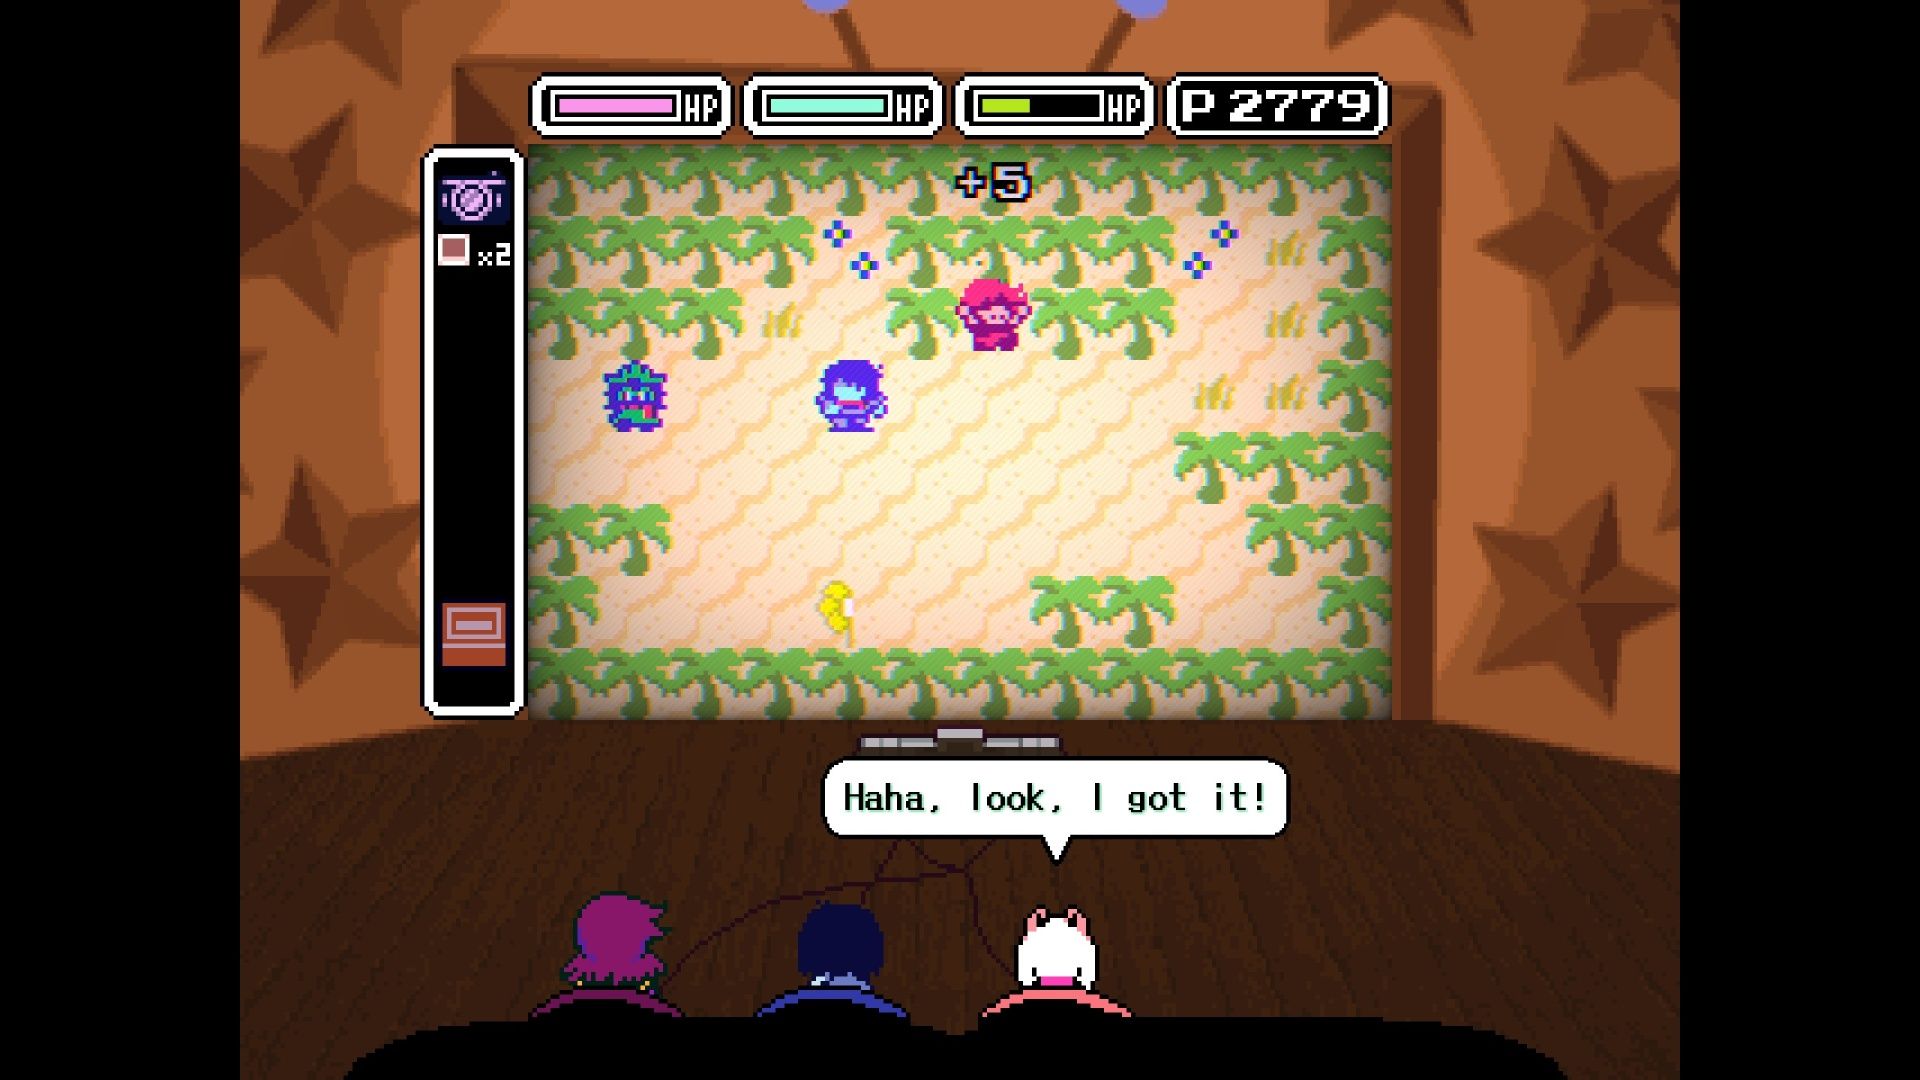
Once you’ve finished switching controllers around a bit, you’ll discover a golden half-flower. Photograph it to get your third great photo!
When playing as Susie, pick up as many plants and pots as you can. They’re worth bonus points!
Photo #4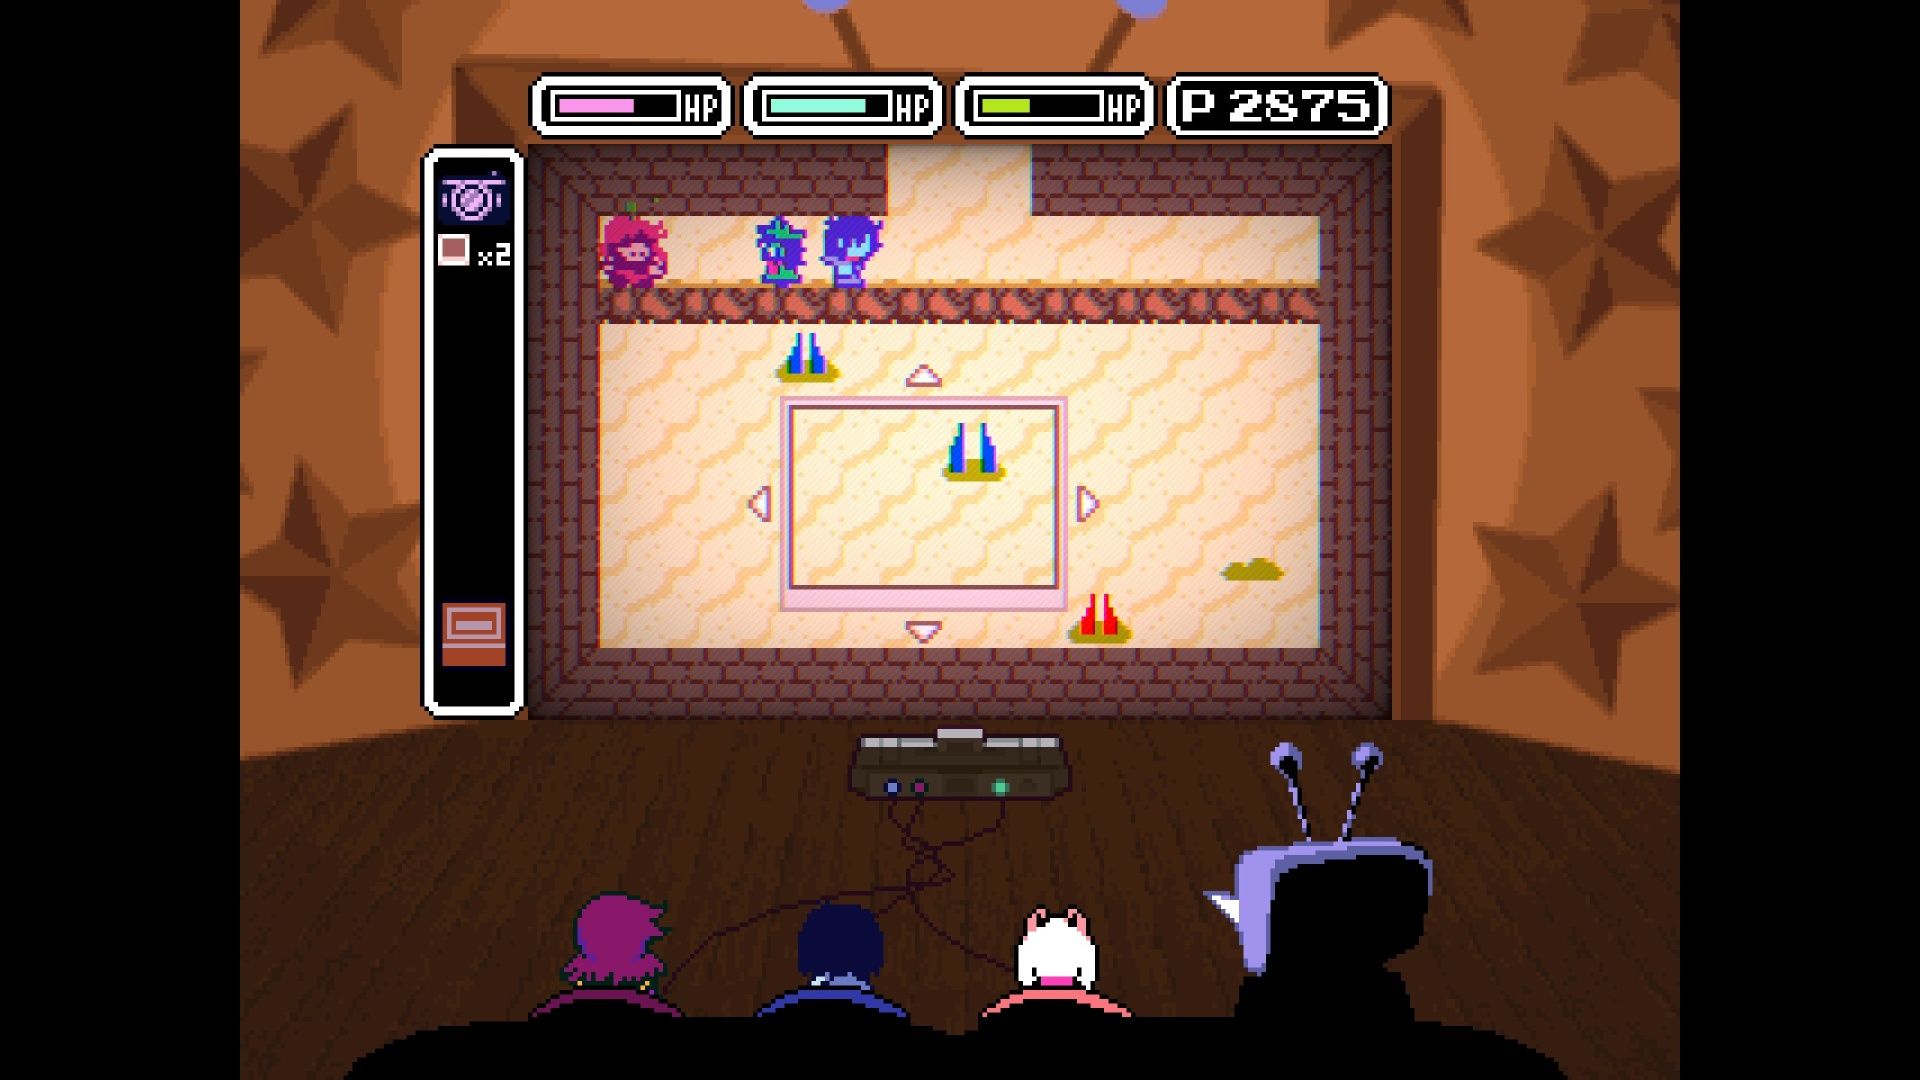
Okay, so the last big photo is inside a cave! To get to it, you have to solve another bridge puzzle, which leads down this staircase into the ground. Once we’re down there, Susie does her thing and blows open a secret room… it’s awesome!
Watch out for antlions hiding in the sand! Capture a photo of one with red fangs to get the final, amazing picture you need.
In this area of the map, you can find moss growing on a cracked wall – it’s on the right side of the screen, and Susie can eat it.
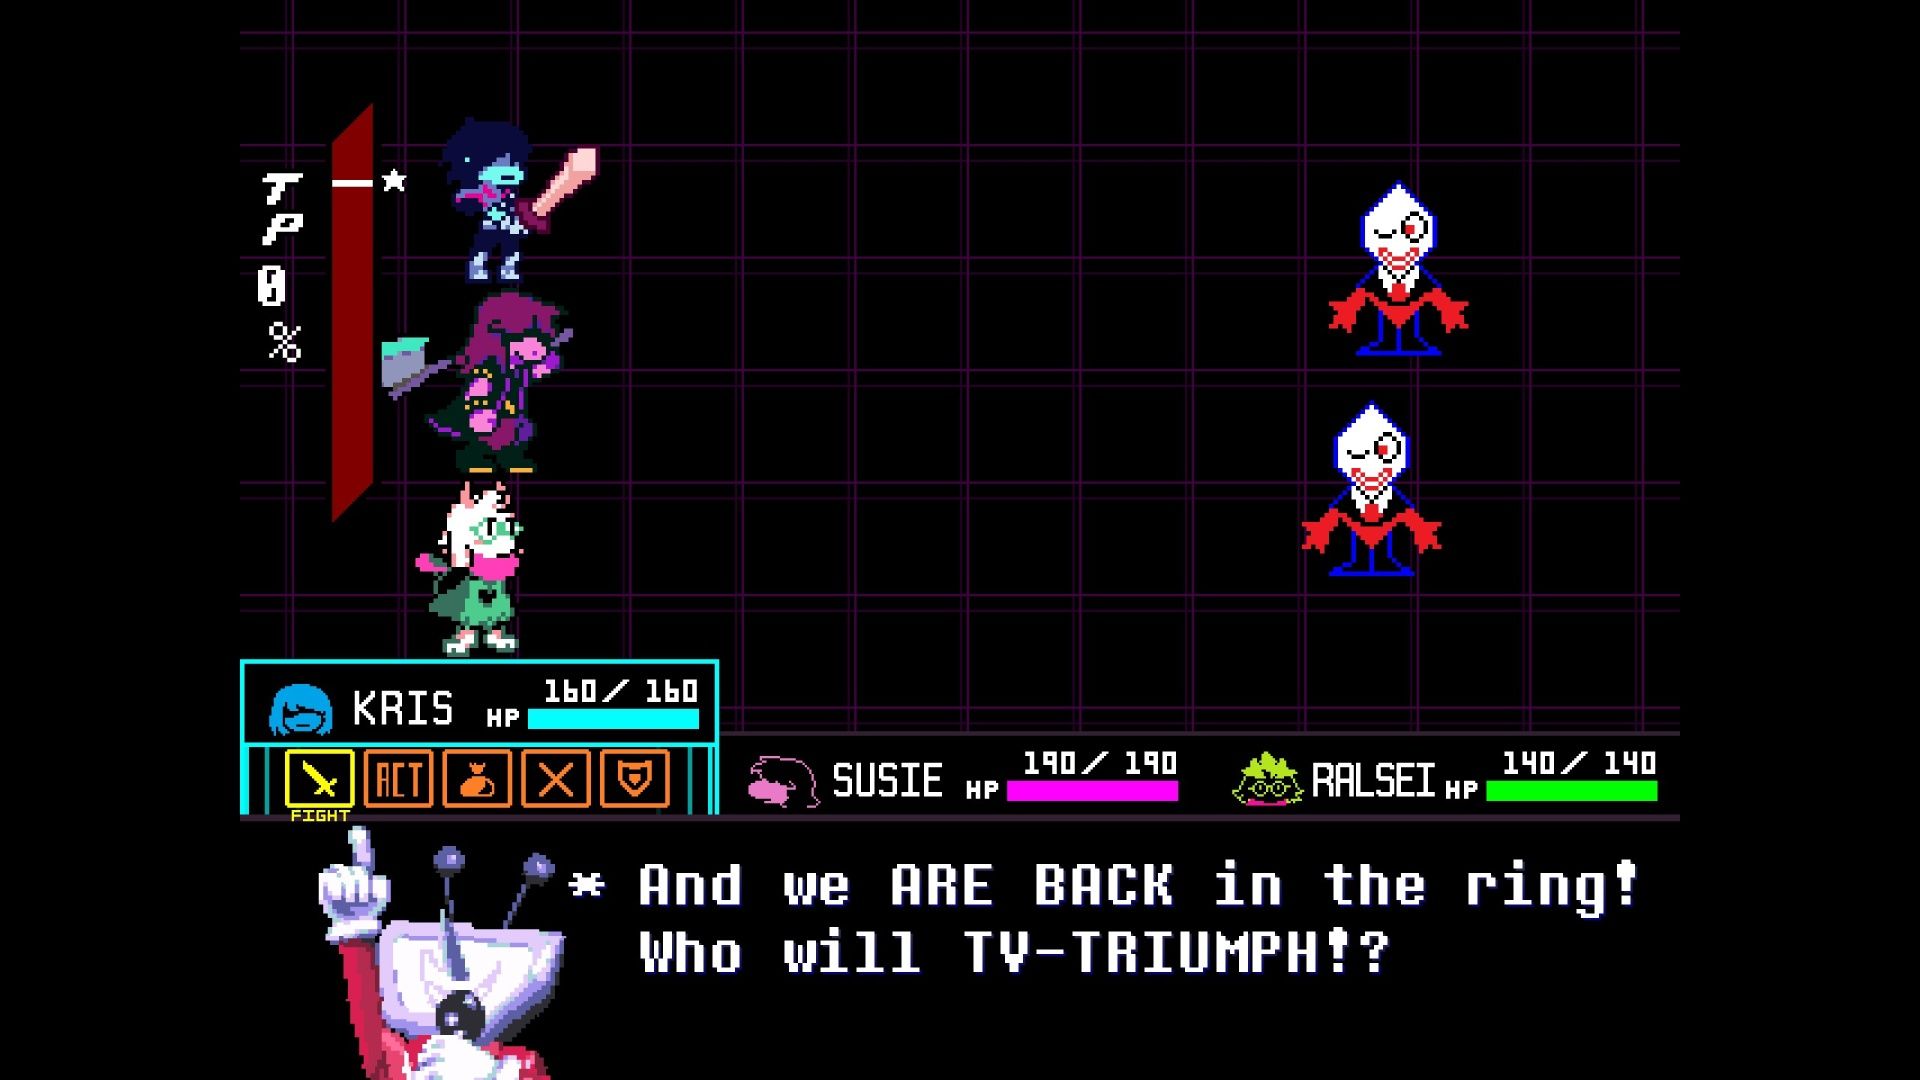
Boss Battle: Shuttah

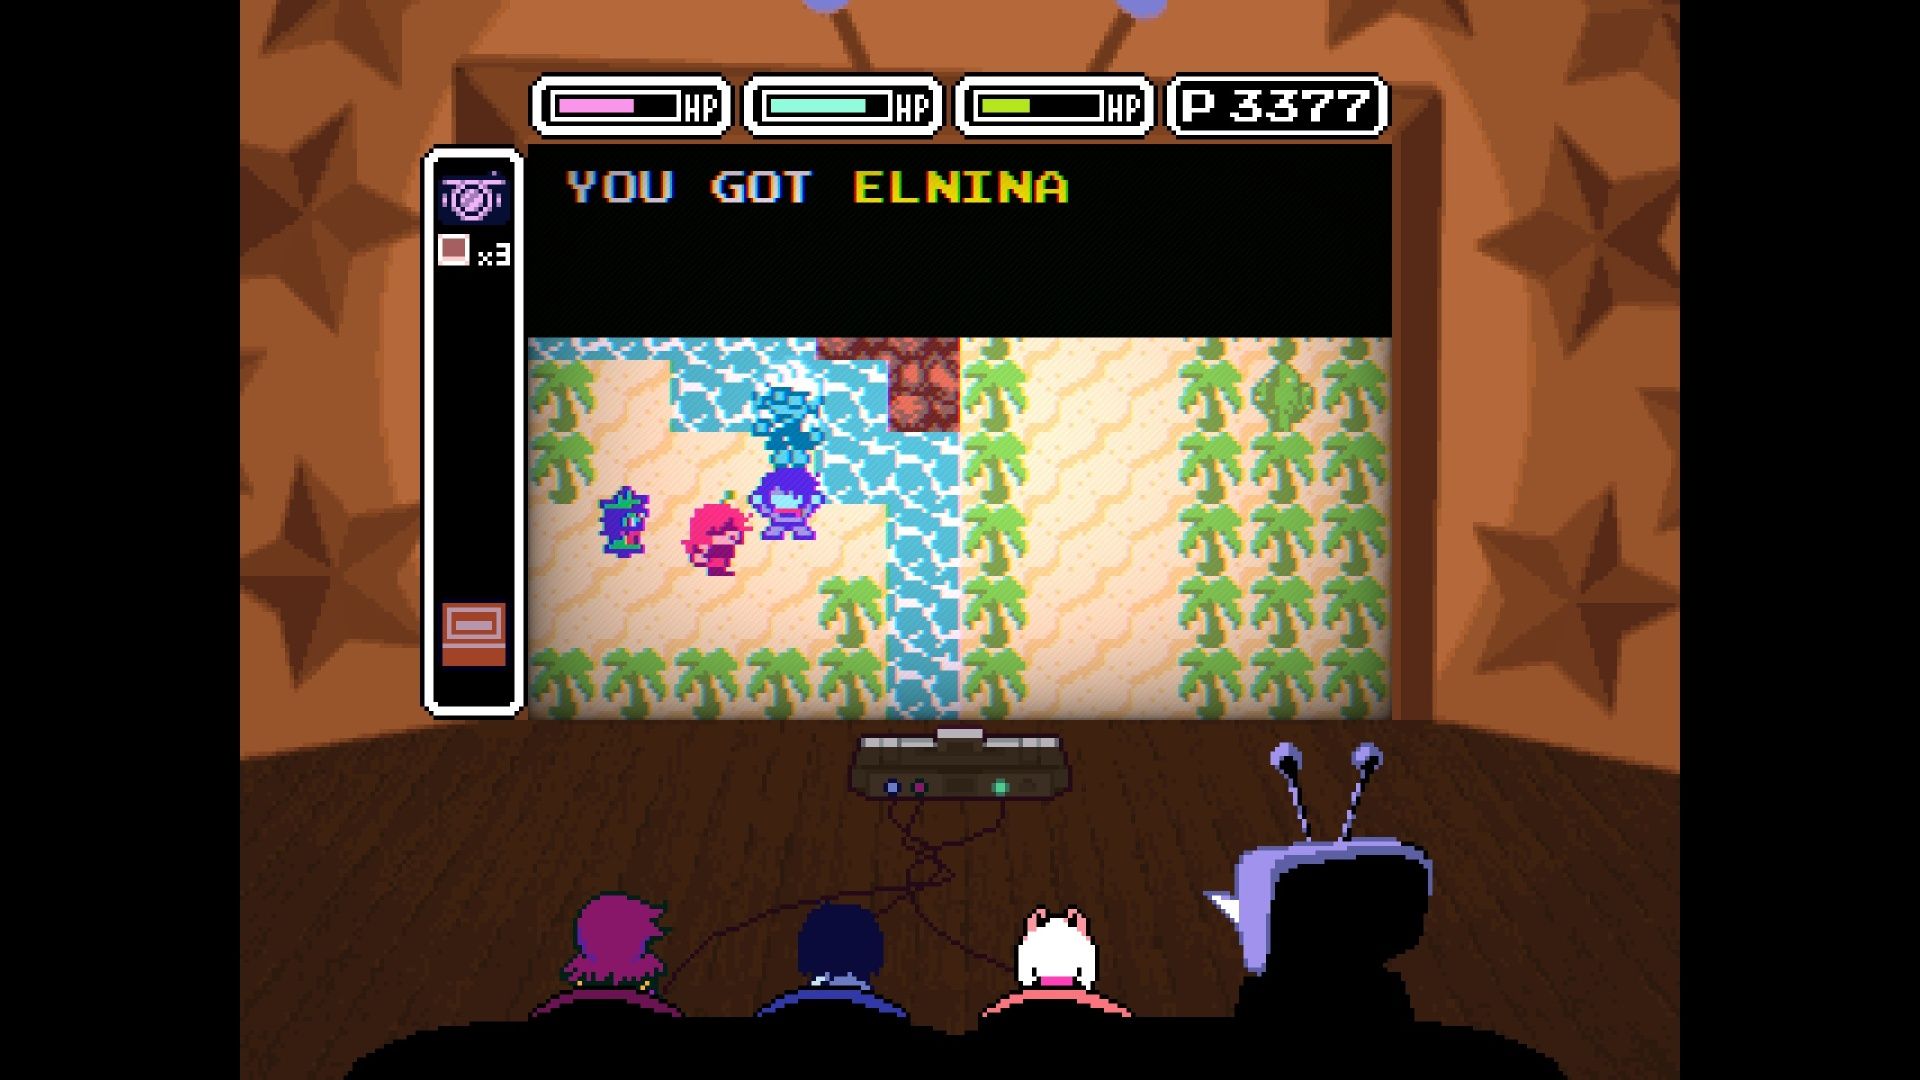
Bring all the photos back to the podiums where you started, and a raft will appear, allowing you to cross the water. If you sail southwest with the raft, you’ll discover a hidden lawnmowing game where you can earn extra points. Sailing too far north will lead to an area you can’t access yet, but it will be important later on.
Travel to where Elnina is by raft, then pick her up. You’ll then face a boss called Shuttah. The key to beating Shuttah is your camera! Take pictures of each character using your TP to fill up the mercy meter. More difficult photos require more TP and inflict more mercy damage, so you’ll need to be fast with your shots. Overall, it’s a pretty simple fight.
Raise Up Your Bat
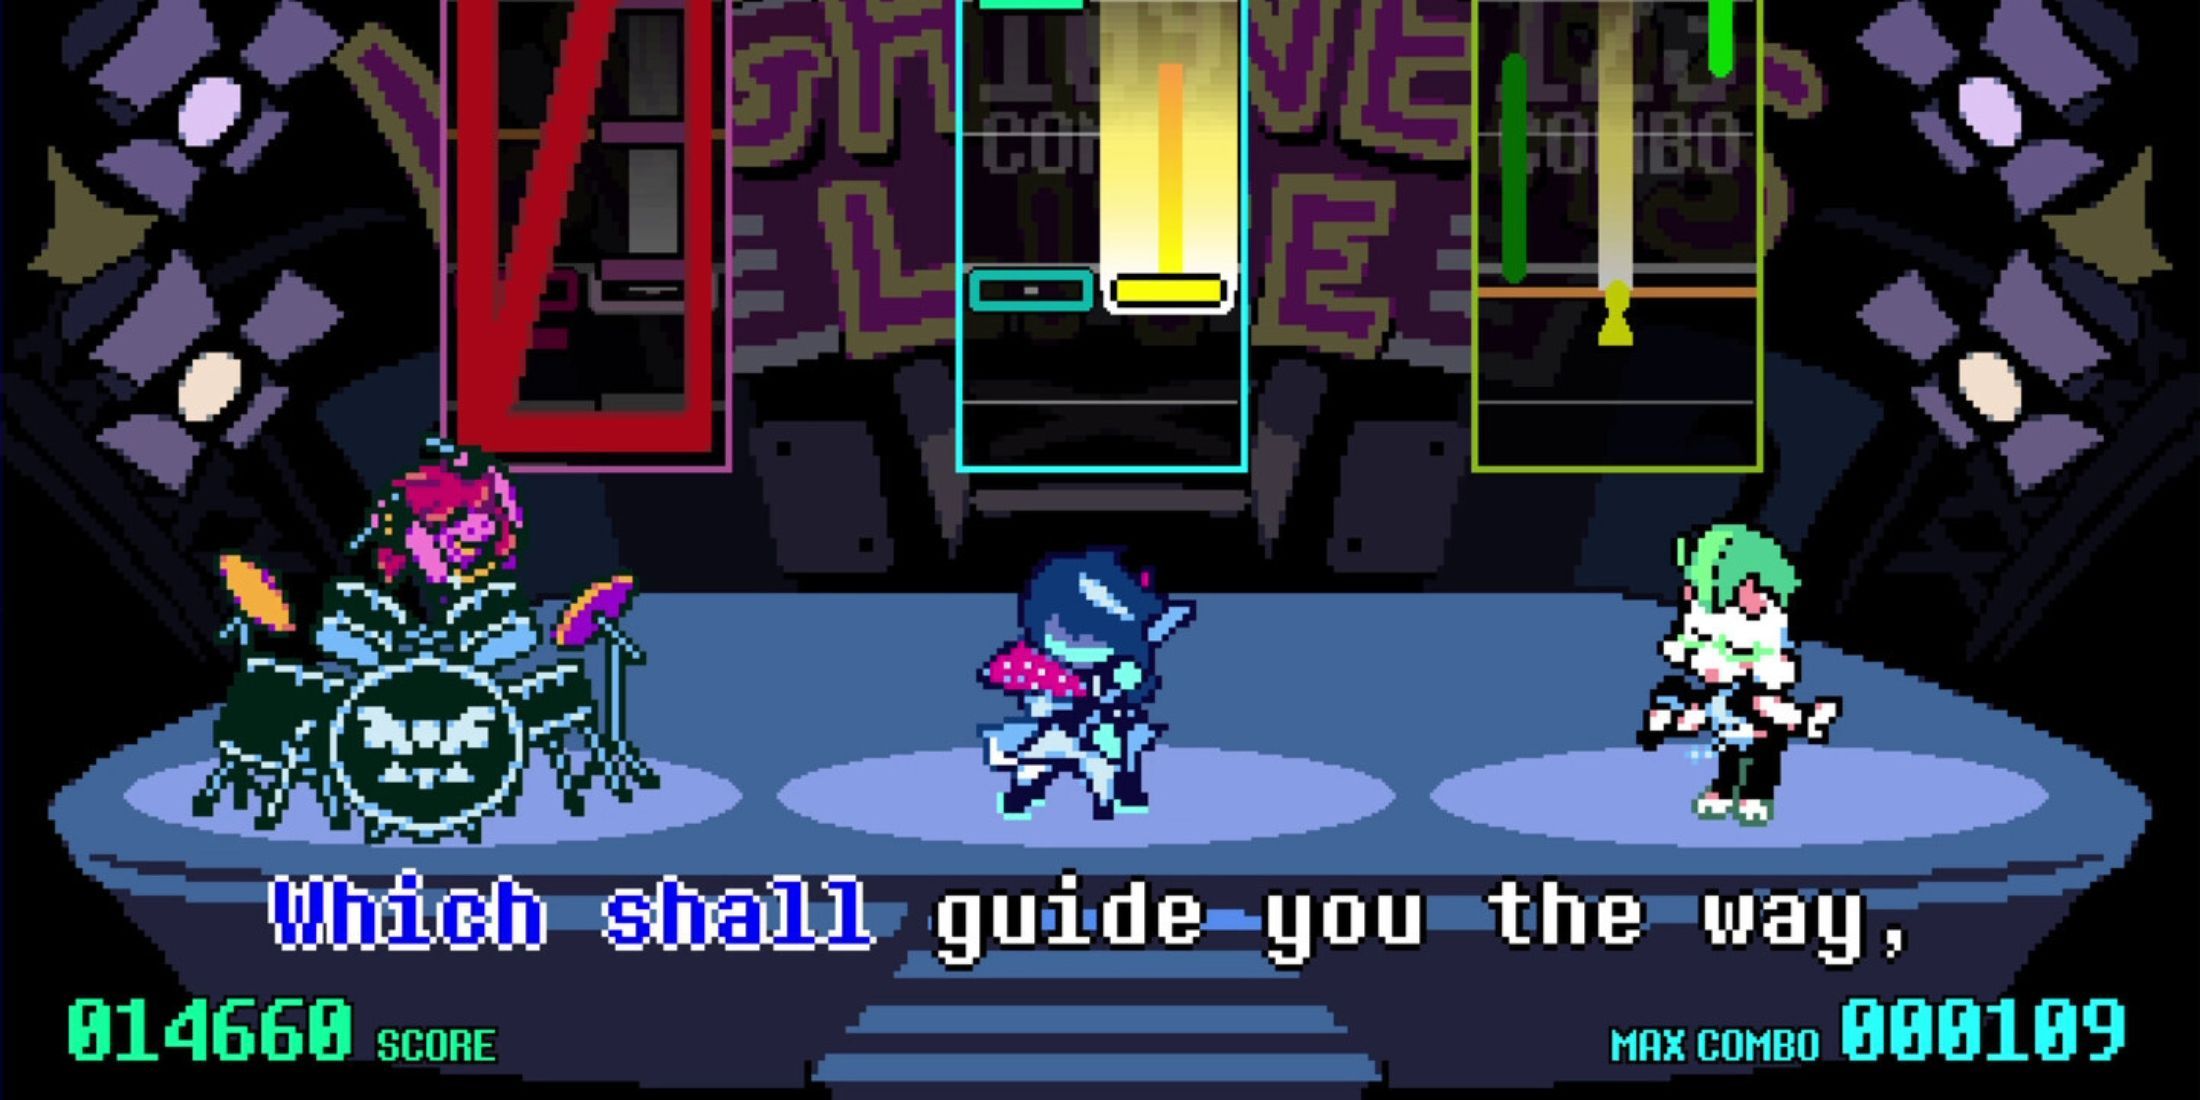
Okay, so the *Zeldathemed part wasn’t the only thing round two had in store! After all that food service, Tenna’s switched things up and now wants us to show off our musical skills with a physical challenge. Basically, we’re trading aprons for instruments and getting ready to rock out!
Okay, so for this challenge, I’m playing a rhythm game – it’s pretty straightforward. Susie gets a little carried away on the drums, but it doesn’t actually impact my score, which is good! If I nail the rhythm game and get a high score during the Zelda part, I’ll get an S-rank and a White Ribbon as a bonus. That S-rank is important, though, because it unlocks a secret minigame in a special changing room. If I beat that one, I get the Shelter Key, and I absolutely need that to challenge the secret boss in Chapter 3. So, gotta aim for that S-rank!
During the Zelda minigame in round 2, you can earn points by taking pictures with the camera. Enemies constantly reappear, allowing you to repeatedly photograph them and gradually increase your score.
Tenna’s Technical Difficulties
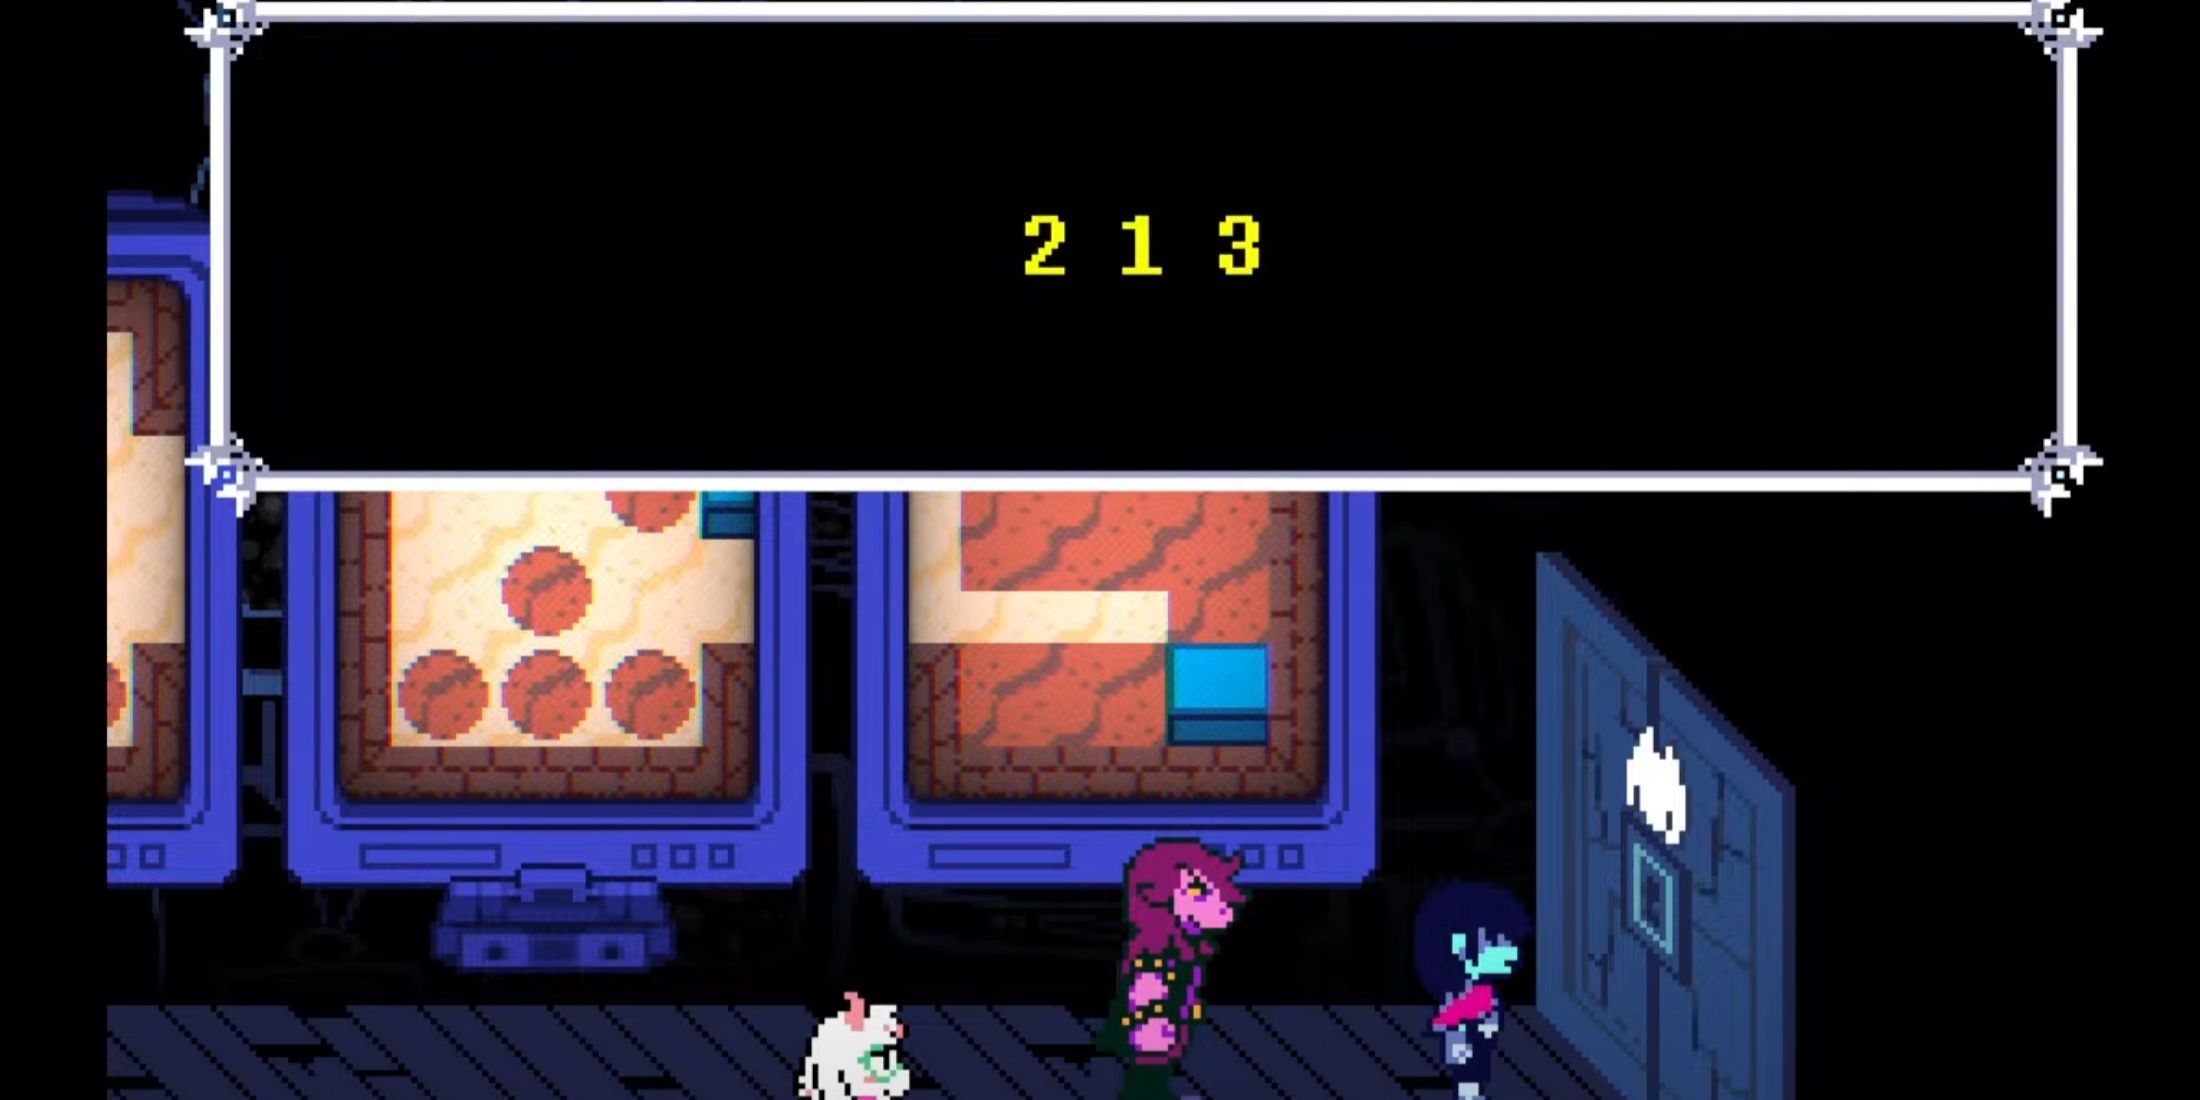
After you finish round two and return to the green room, talk to Tenna, who’s on the screen to the left of the stage, to advance the story. Susie will head off on her own, and you can either follow her or stay and hang out with Ralsei – it doesn’t matter which you choose. Once Tenna makes up an excuse and leaves, it’s time to check out the guarded door on the right side of the room.
To get in, ring the guard’s call buttons. Once inside, you’ll encounter several locked doors that require passcodes. The codes are displayed on screens throughout the hallways, but they aren’t in the right order. Look at the brick patterns around each room to figure out the correct sequence of numbers. The first code you need is 213, and the second is 1225.
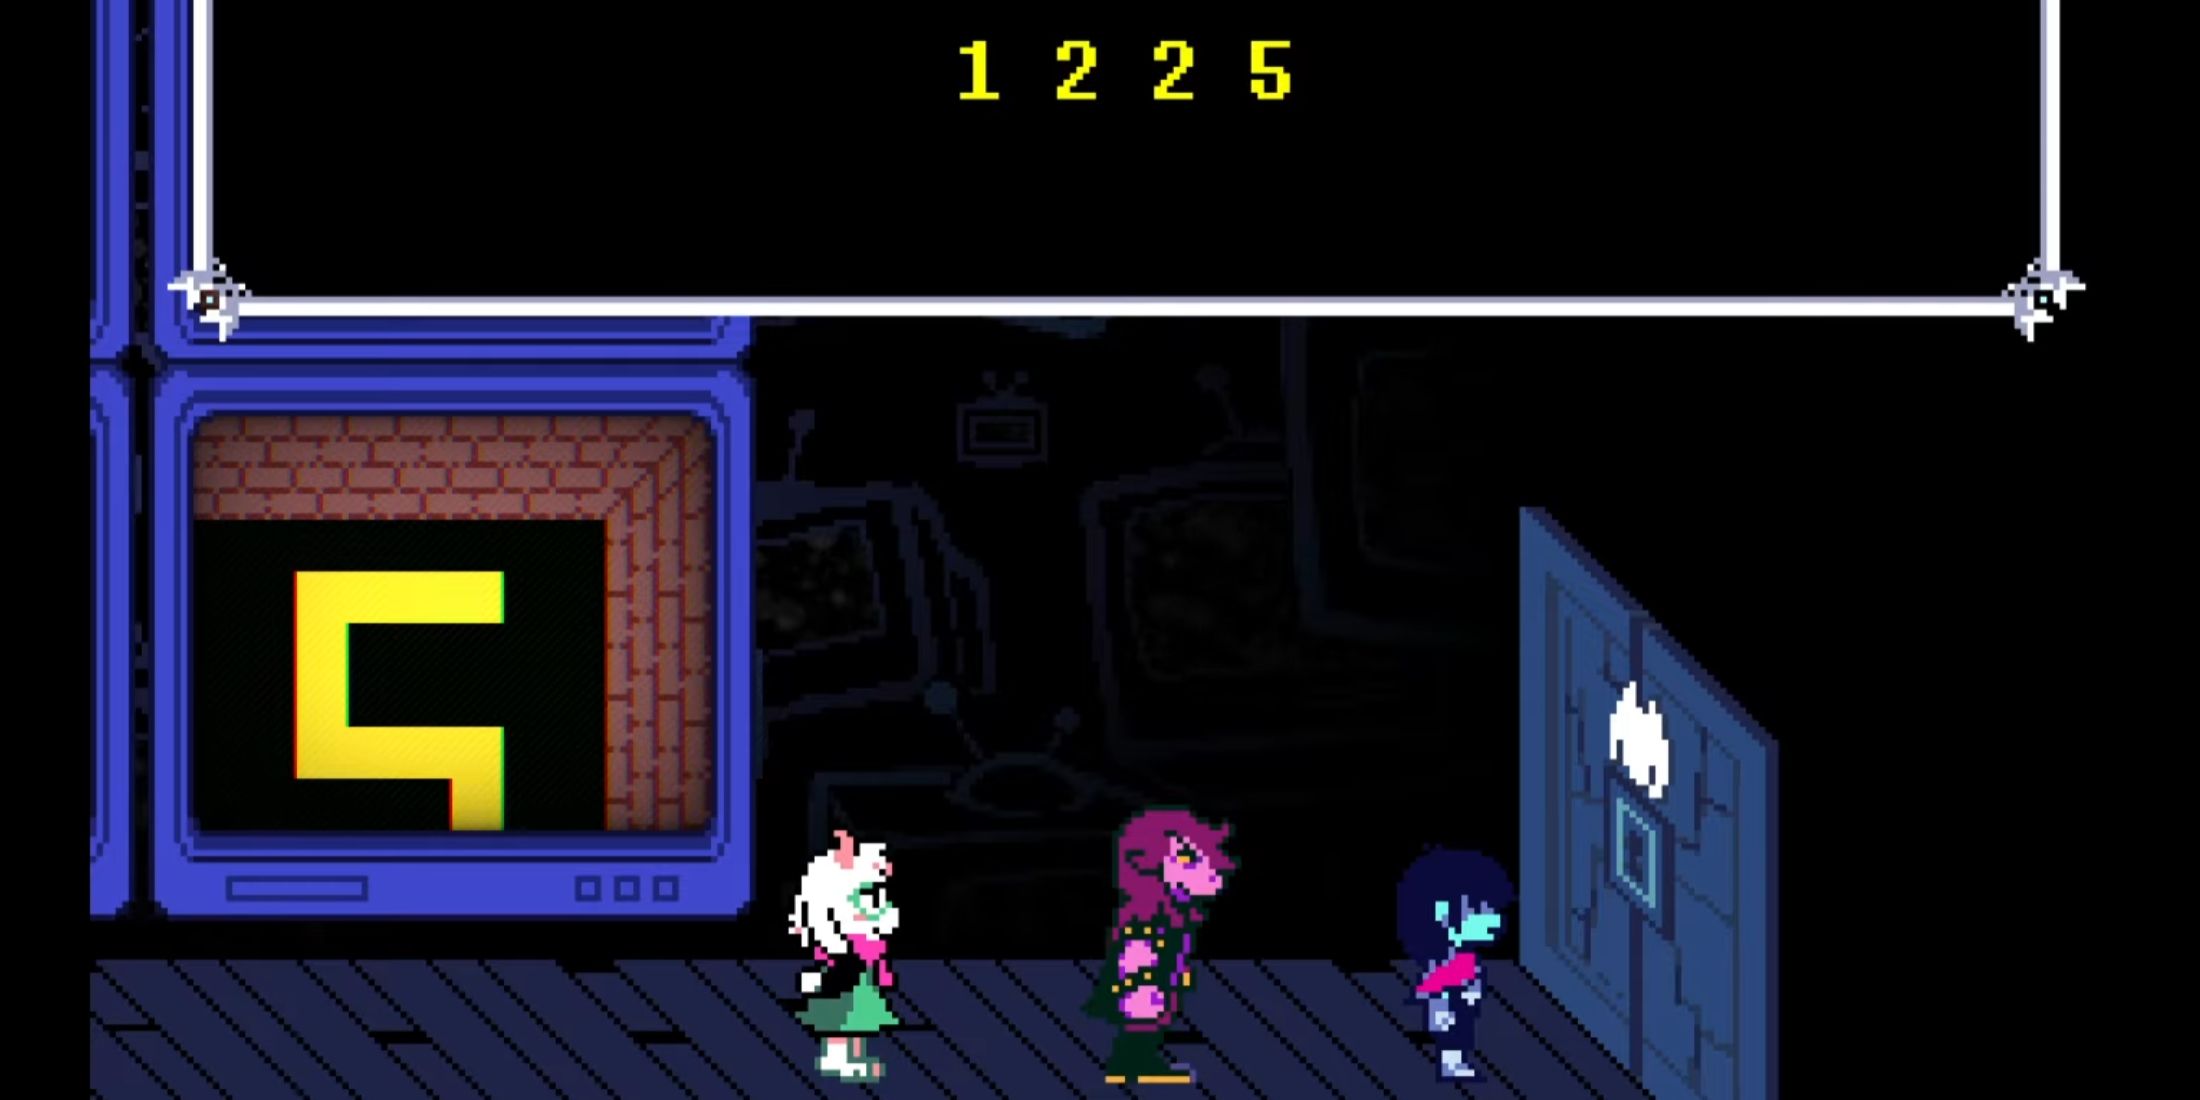
When Tenna catches you investigating, things get chaotic! You and your party are stuck inside gachapon balls and forced to participate in a wild game show. Don’t stress about the challenges – nothing you do here affects the story. Eventually, you’ll escape Tenna and be able to continue your adventure.
TV World
It’s a good idea to save your progress before continuing – you have a challenging journey ahead! You’ll quickly encounter a new minigame on the next screen: a Western-style shootout. Practice shooting the enemies as they appear, because you’ll need to play it again later on.
While exploring the TV World, you’ll face the same enemies as before. You defeat them the same way – shoot their hats, take pictures for Shuttah, and so on – even though the TV show is over. The mazes in this world hide chests, but they only contain healing items like TV Dinners. Feel free to skip these chests if you’re well-stocked.

As you navigate the TV maze, you’ll encounter more quick challenges. These are simpler than the main quizzes, with only two answer options. Some aren’t even traditional questions – they’ll test your reaction time with things like asking you what letter a word ends with. Here’s a handy reference table to help you with the actual questions.
| Question | Answer |
|---|---|
| What’s the reward for C-Rank? | Cooler |
| Who runs the green room concessions? | Ramb |
| Kris’s last name!? | Dreemurr |
| What was your rank on board 1!? | Choose whatever you scored (hopefully an S). |
Chapter 3’s hidden egg can also be found in the TV World if you’re hunting for collectibles.
Head northeast to find Lancer’s room. Inside, you’ll find controllers that let you control the Lancers on the screen. Use them to dig up all the marked ‘X’ spots to earn extra points! That’s all there is to this room. From Lancer’s room, go southwest to find a video game puzzle. Control Lancer to hit all the ‘X’s, turning them into rocks. This will create a box you can push onto one of the switches. Then, switch to Ralsei and use his ability to transform and push the second switch, opening the way to a chest containing a Revive Mint.
Head east, and you’ll see Tenna scolding the crew. Further down that road, you’ll find the Susiezilla minigame. You can earn extra points by destroying all the houses in it!
Let’s move on to the Stealth Zone. Stay close to the walls and stick to the shadows to get through. You’ll encounter another cowboy-themed challenge, which is a good chance to practice. Next, you’ll find a room full of worried shadow workers and papers. Use the controller to turn on the lawnmower, shredding the papers and adding all those Darkners to your team. Before moving on to the next Stealth Zone, take a quick detour to the left – there’s a bridge puzzle there that gives you 300 points.

Now, let’s keep following Tenna’s instructions. Head past the Darkners Live stage and through the TV maze. Be careful – the quizzes in this area are tricky! At the southern end of the maze, you’ll find another set of quizzes. Look for a TV screen with a distinct green smile and activate it – this will take you to the Bonus Zone. While the bonus points aren’t huge, the funny Tenna item you’ll get for finding it is definitely worth the effort.
Okay, so there’s one last Stealth Zone coming up! It’s pretty cool because some of Tenna’s crew members actually help you out as you’re sneaking around. This part is mostly just for laughs, thankfully. But heads up – there is a battle right after, so definitely save your game before you go too far into the bar. You’ll thank me later!
Boss Battle: Rouxls Kaard
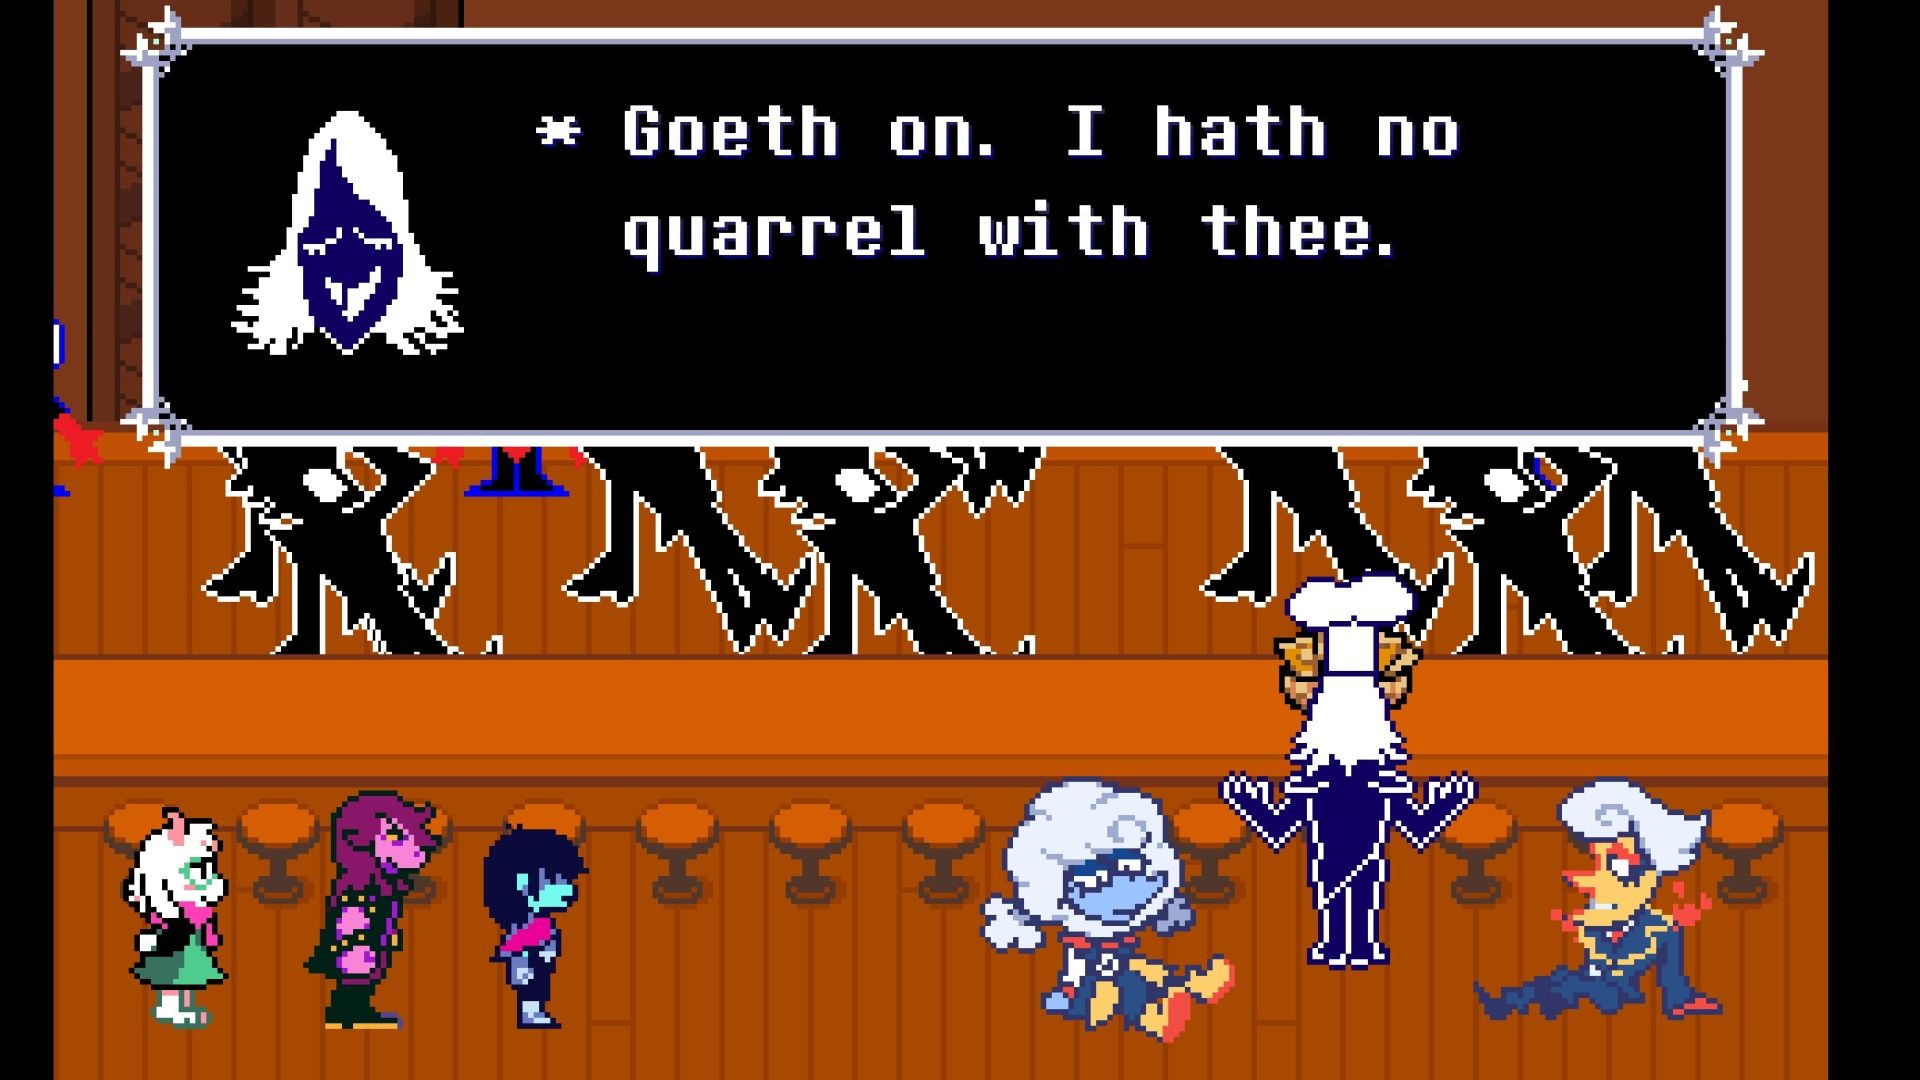
He might say he’s just interested in the food, but Rouxls Kaard and his group – who control the weather – won’t let you pass easily. The battle starts with them limiting your options to only the ACT command. Cooperate with them until Lancer appears.
When Lancer joins the fight, a special icon will appear on everyone’s ability bar. Click that icon to make the enemies switch to your side. Don’t rush – it’s easy to overlook! After you’ve dealt with Rouxls Kaard’s helpers, Elnina and Lanino will enter the battle.
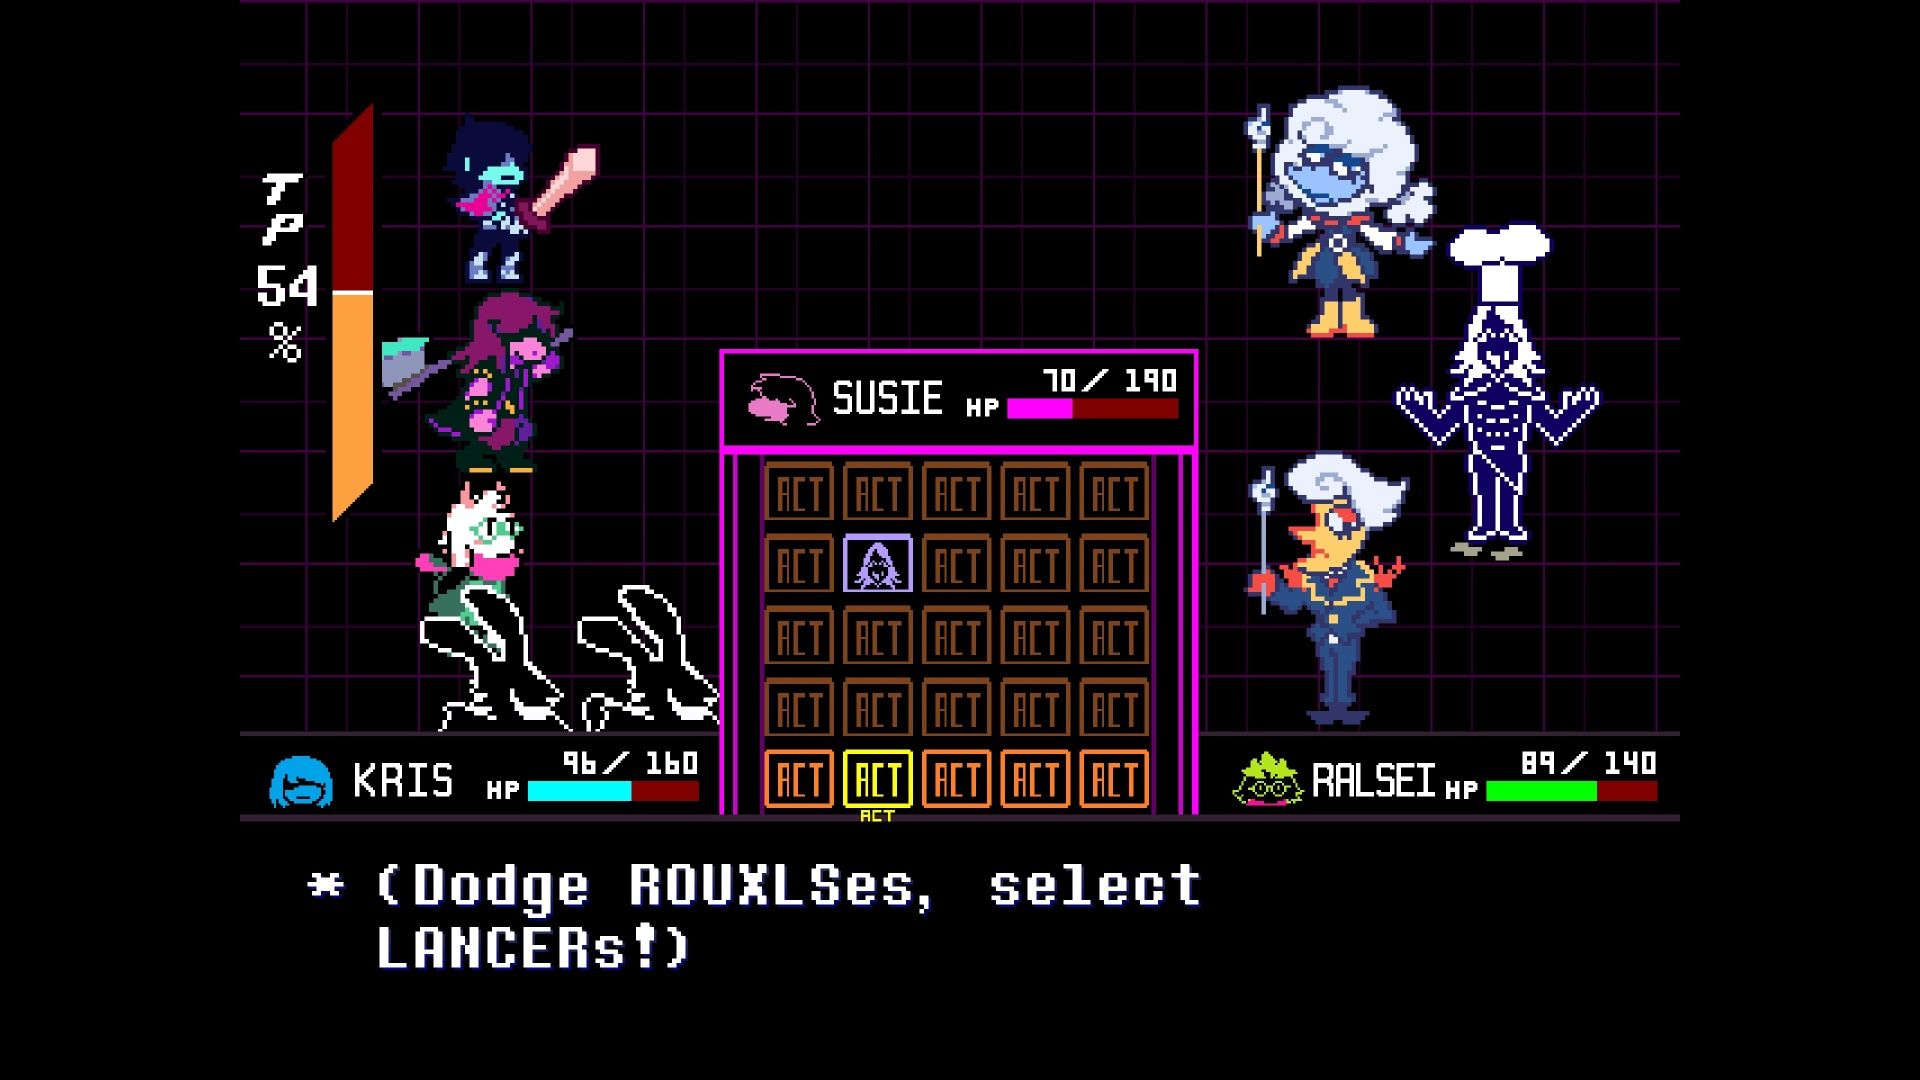
The weather duo fights just like before, but now you have a special grid filled with icons. It’s a 5×5 grid where Lancer and Rouxls Kaard icons fall from the top, similar to a slot machine. You need to pick the Lancer icons and avoid the Rouxls Kaard icons. If you keep selecting the right ones, they’ll eventually surrender and the battle will be over.
As you progress, Tenna will become increasingly upset. Continue forward, and you’ll enter a misty, green-colored area. Here, you can obtain the Shadow Mantle, which is the last item required to challenge the secret boss in Deltarune Chapter 3.
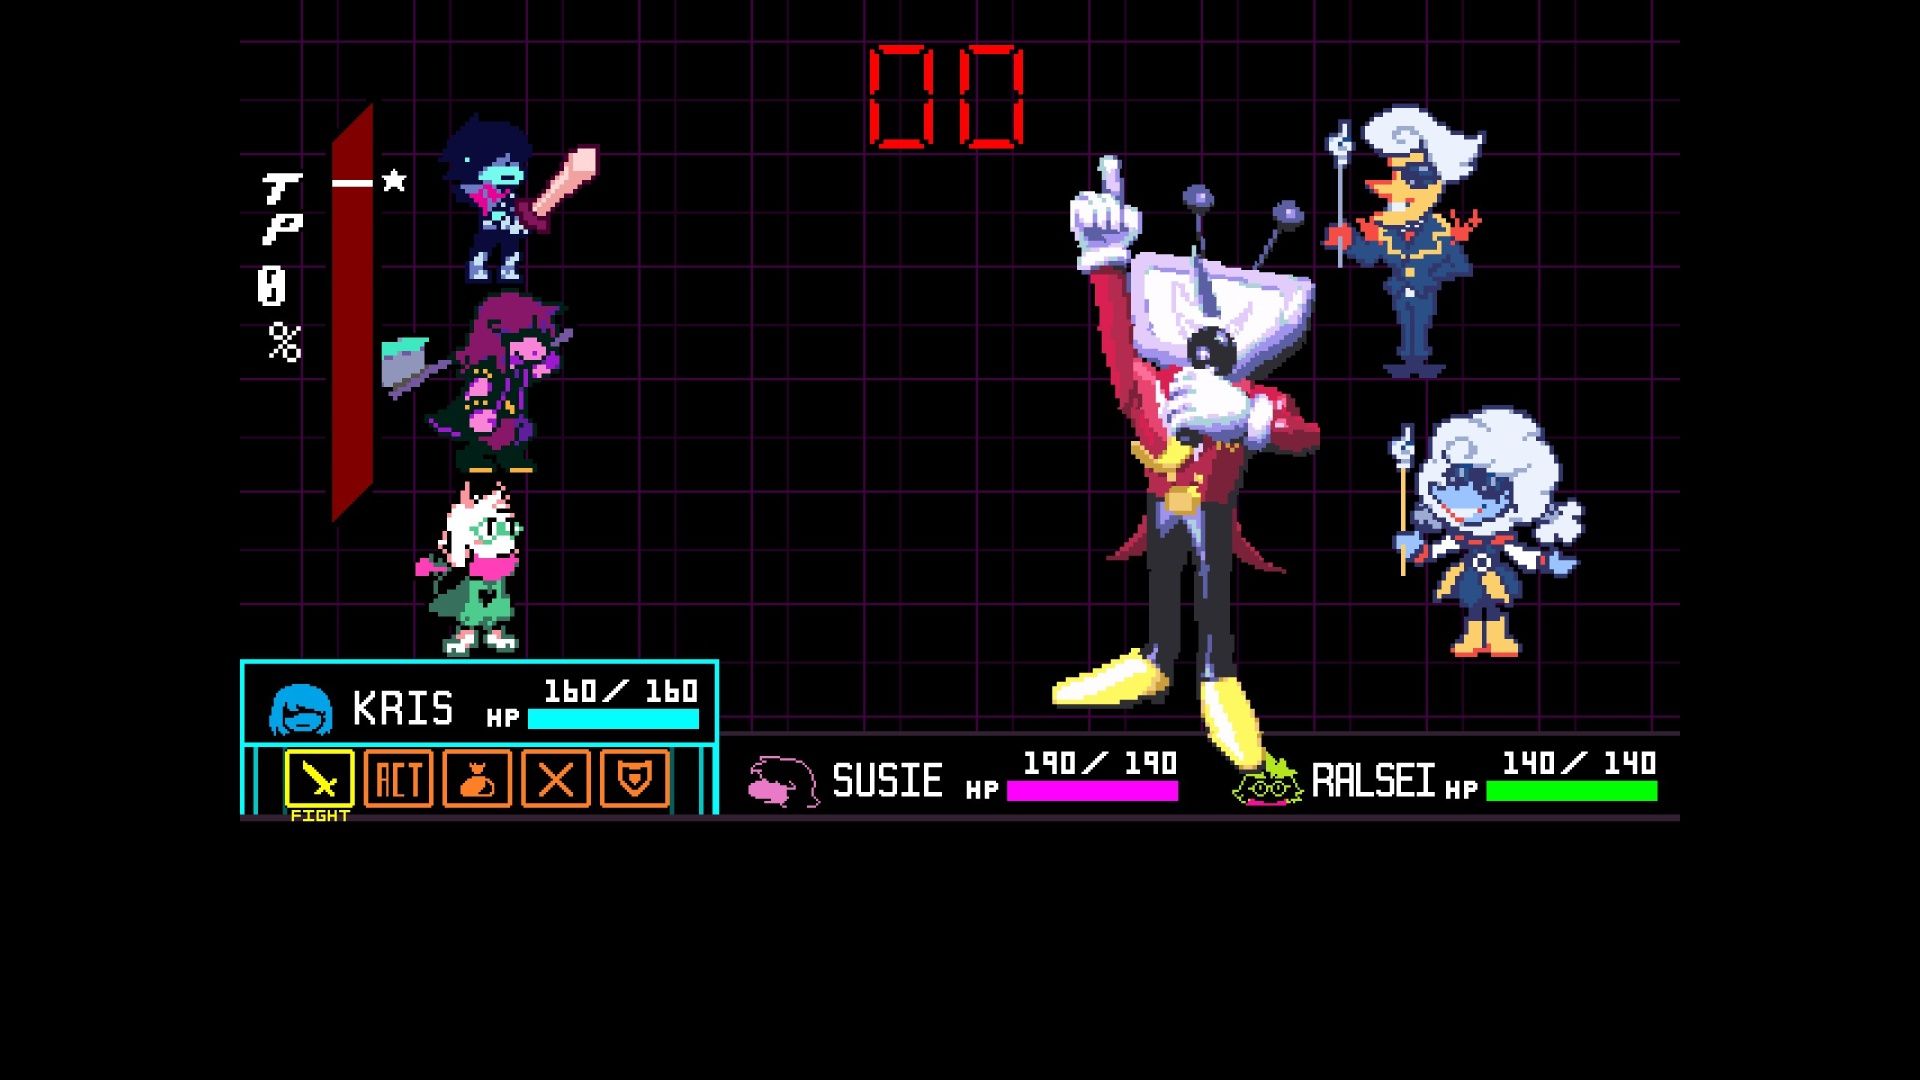
Boss Battle: Ant Tenna
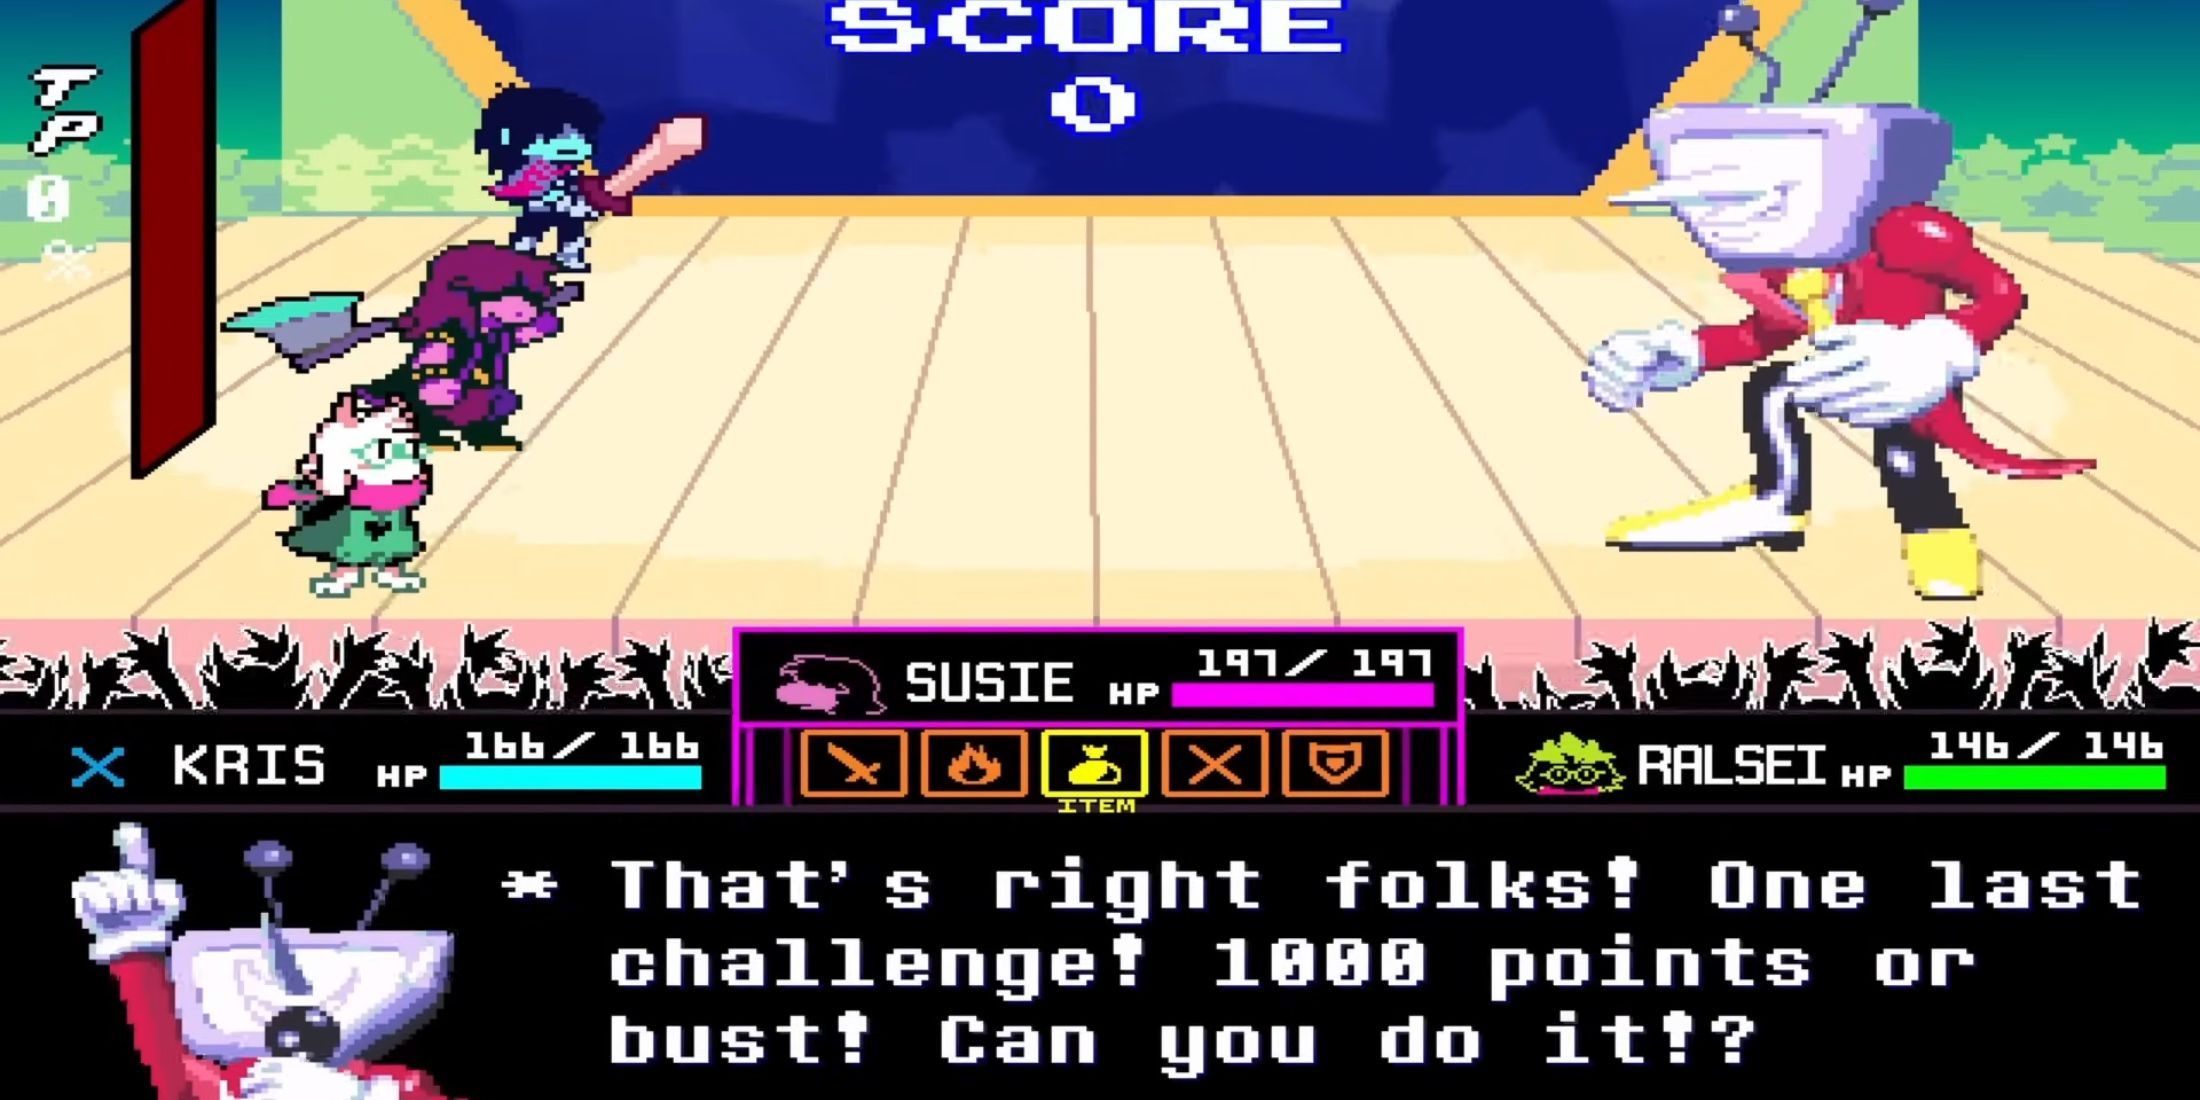
After you’re ready in the green room, head east, past the doors that need a parent’s code, to find Tenna. The group doesn’t want to continue, and Tenna reacts badly to the news.
Tenna explains you’ll need 1000 points to finish his last challenge, and he’s unusually upfront about it. Earn points by yelling “I love TV” and playing minigames. It’s less about skill and more about how long you can keep going. Don’t forget to use the healing items you found, and block attacks to build up your TP so you can use ACT and play even more minigames.
Tenna’s attacks are pretty simple to understand. He primarily fires stars across the screen. He can also divide the battlefield, making it trickier to avoid the lightning that comes down afterward due to the altered view. Keep an eye out for stars that launch smaller projectiles when you hear a drum rimshot, as those can be dangerous.
Tenna’s gameplay focuses on repeatedly playing the same quick-time minigames. If you’re familiar with the WarioWare series, you’ll quickly understand what to do. Just keep playing through the minigames with Tenna and make sure to heal your team when their health gets low.
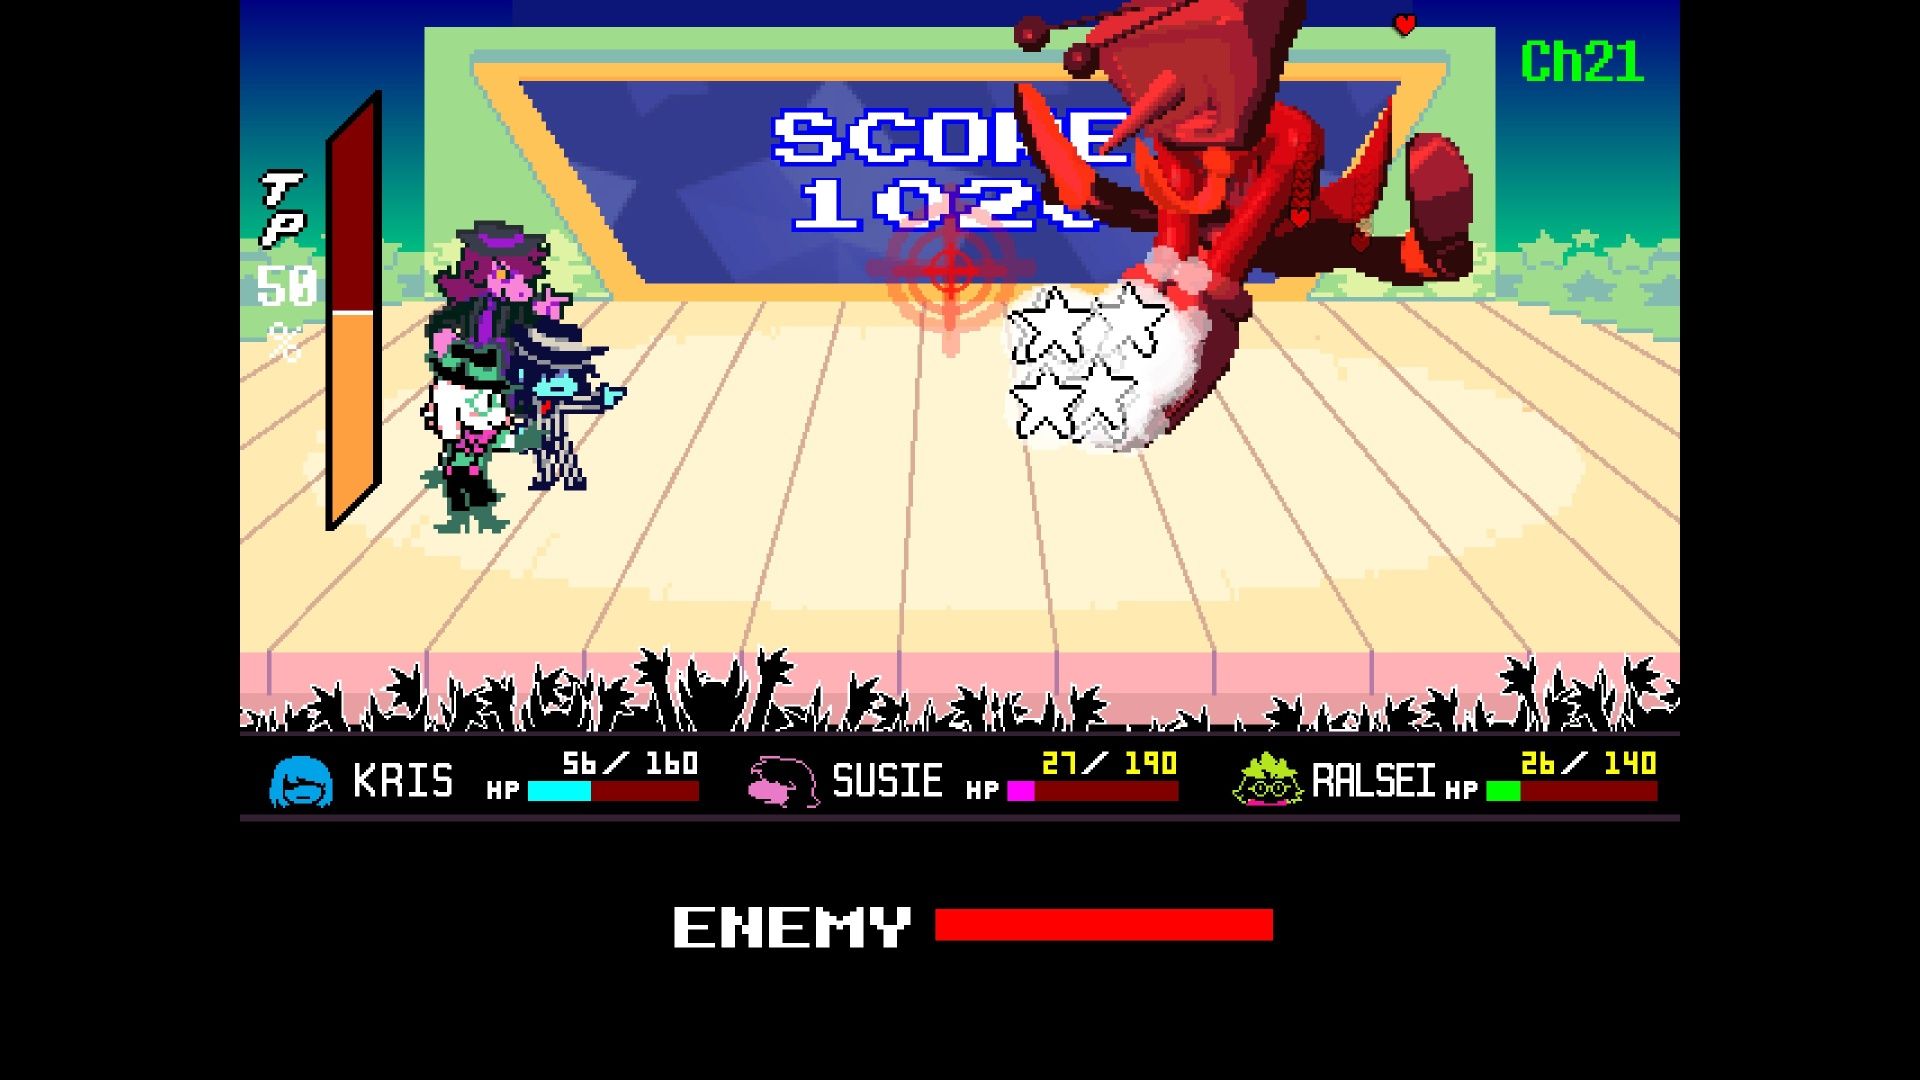
When you reach 1000 points, Tenna launches a final, incredibly fast series of minigames. You’ll need to stay focused! Between each minigame, Tenna will move toward your team on stage. To win, shoot him and destroy the attacks he sends your way.
Boss Battle: Roaring Knight
Tenna isn’t the final boss in Deltarune Chapter 3. Right after you think you’re done, the Roaring Knight appears and attacks. However, you can’t actually win this fight unless you’re equipped with the Shadow Mantle, which will protect you from his powerful attacks.
Okay, so I finally got the Shadow Mantle, and honestly, it makes fighting the Roaring Knight way easier. Don’t get me wrong, this guy is still one of the toughest bosses in both Deltarune and Undertale – I’ve definitely seen the game over screen a lot! This guide is all about how to beat him if you were dedicated enough to find all the secret stuff in Chapter 3. If you didn’t bother with that, well, that’s it for Deltarune Chapter 3, unfortunately!
Read More
- All Skyblazer Armor Locations in Crimson Desert
- One Piece Chapter 1180 Release Date And Where To Read
- How to Get the Sunset Reed Armor Set and Hollow Visage Sword in Crimson Desert
- All Shadow Armor Locations in Crimson Desert
- All Golden Greed Armor Locations in Crimson Desert
- How to Beat Stonewalker Antiquum at the Gate of Truth in Crimson Desert
- All Helfryn Armor Locations in Crimson Desert
- Marni Laser Helm Location & Upgrade in Crimson Desert
- Black Sun Shield Location In Crimson Desert (Buried Treasure Quest)
- All Icewing Armor Locations in Crimson Desert
2026-04-11 10:12