For years, the Monster Hunter series has been known for its challenging and exciting gameplay. While games like Monster Hunter: Rise and the upcoming Monster Hunter: Wilds continue to deliver intense monster battles, the spin-off series, Monster Hunter Stories, is quickly becoming just as renowned for its difficult but satisfying combat.
The new Monster Hunter Stories 3: Twisted Reflection offers fans another exciting adventure, but this time with a different kind of combat – it uses turn-based battles instead of the usual open-world fighting style.
Even though Monster Hunter Stories 3: Twisted Reflection has a charming and lighthearted look, the monsters you’ll face are classic and powerful. Don’t be fooled by the cute style – the game features many tough bosses, each with their own special abilities and challenges.
This list details the bosses you’ll fight during the main story of Monster Hunter Stories 3: Twisted Reflection, and will reveal important plot points and details about those monsters. Be warned: major spoilers ahead!
10. Fire and Ice Feral Velocidromes
Double Elemental Trouble
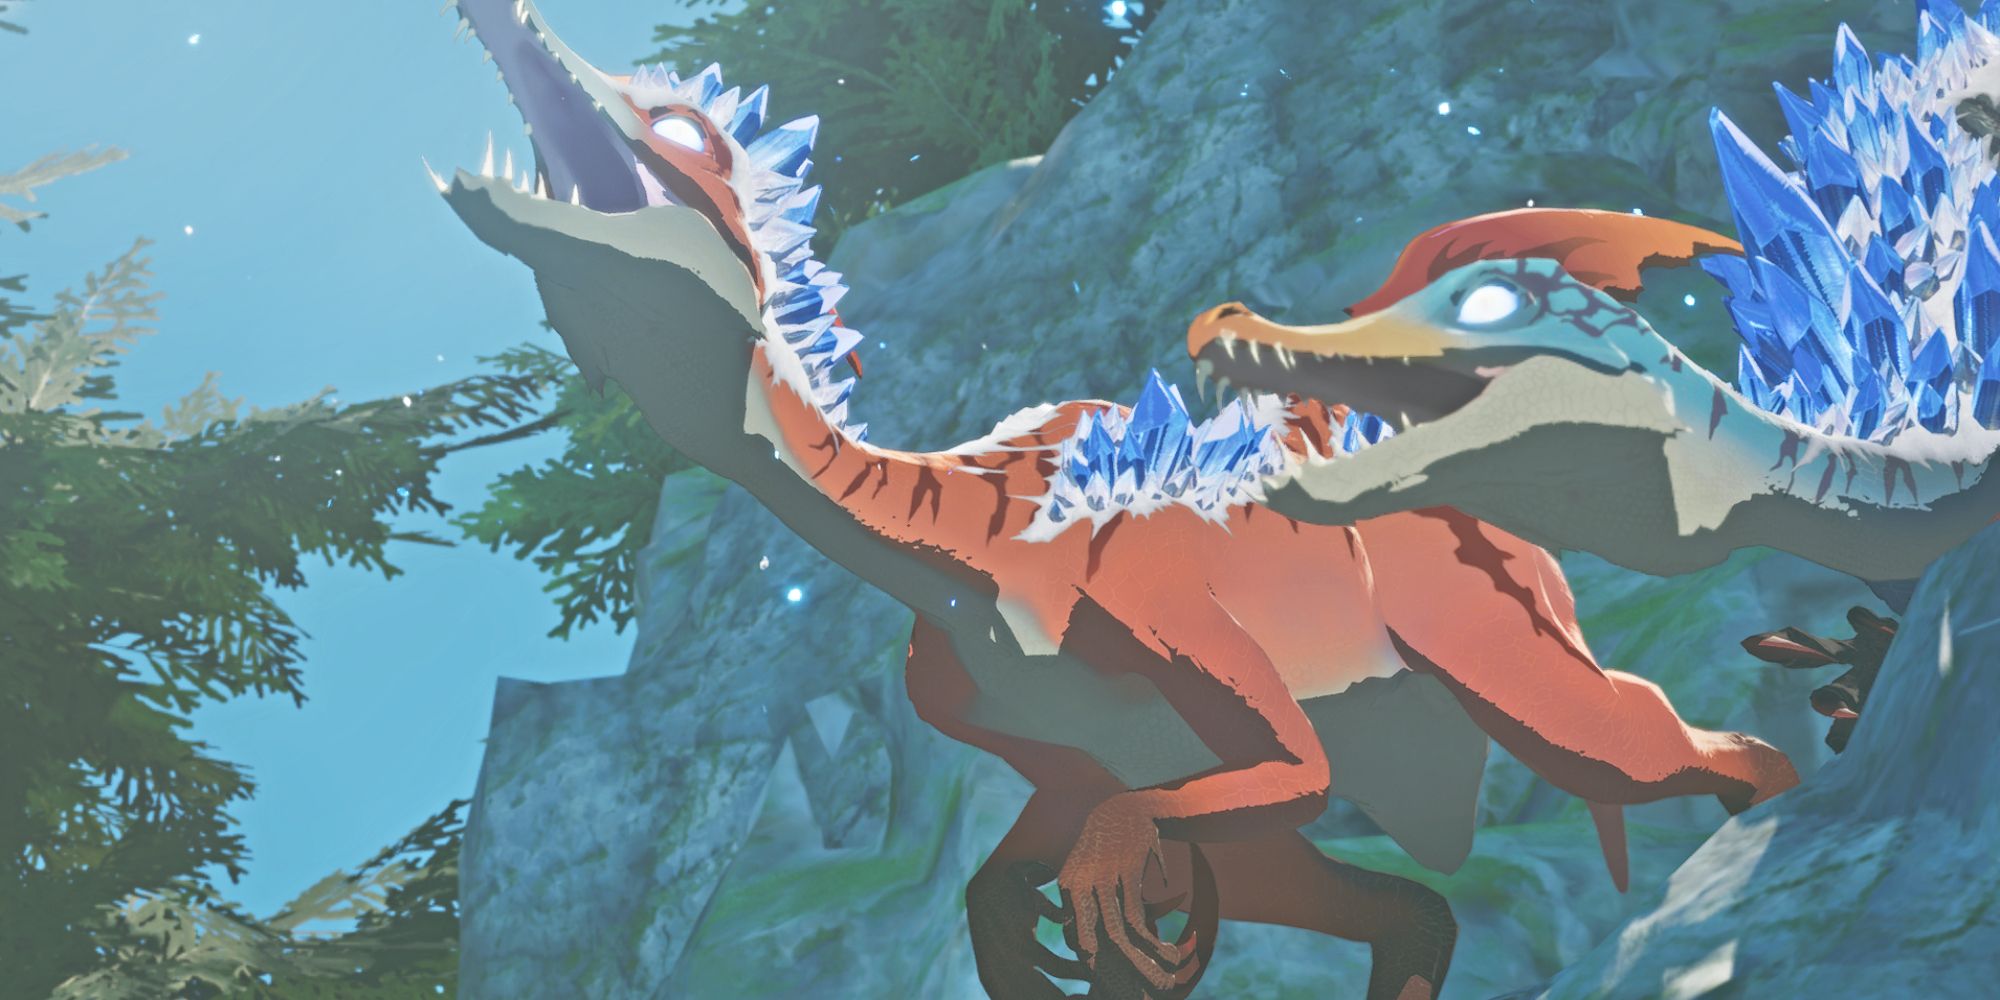
Velocidromes are usually very easy opponents in Monster Hunter. They’re designed to teach you the basics of combat during Thea’s first mission, and aren’t generally a threat after that. But early in the game, you might run into a surprisingly difficult pair: the feral Velocidromes.
While you’re exploring the Encroachment with Simon, a pair of Fire and Ice Feral Velocidromes will try to ambush you. You’ve fought Feral Monsters before, but this fight is especially difficult for a couple of key reasons.
This fight is unique because you face both bosses simultaneously, something not often seen throughout the game. Since they each use different elements, you’ll need to manage their individual attacks and respond with the right elemental counters.
Another challenge is that you’ll be facing this battle on your own, as Simon isn’t around. While Rudy will offer encouragement, this fight really pushes you to rely on yourself and experiment with new tactics right from the beginning.
9. Magnamalo
The Guardian of the Gate
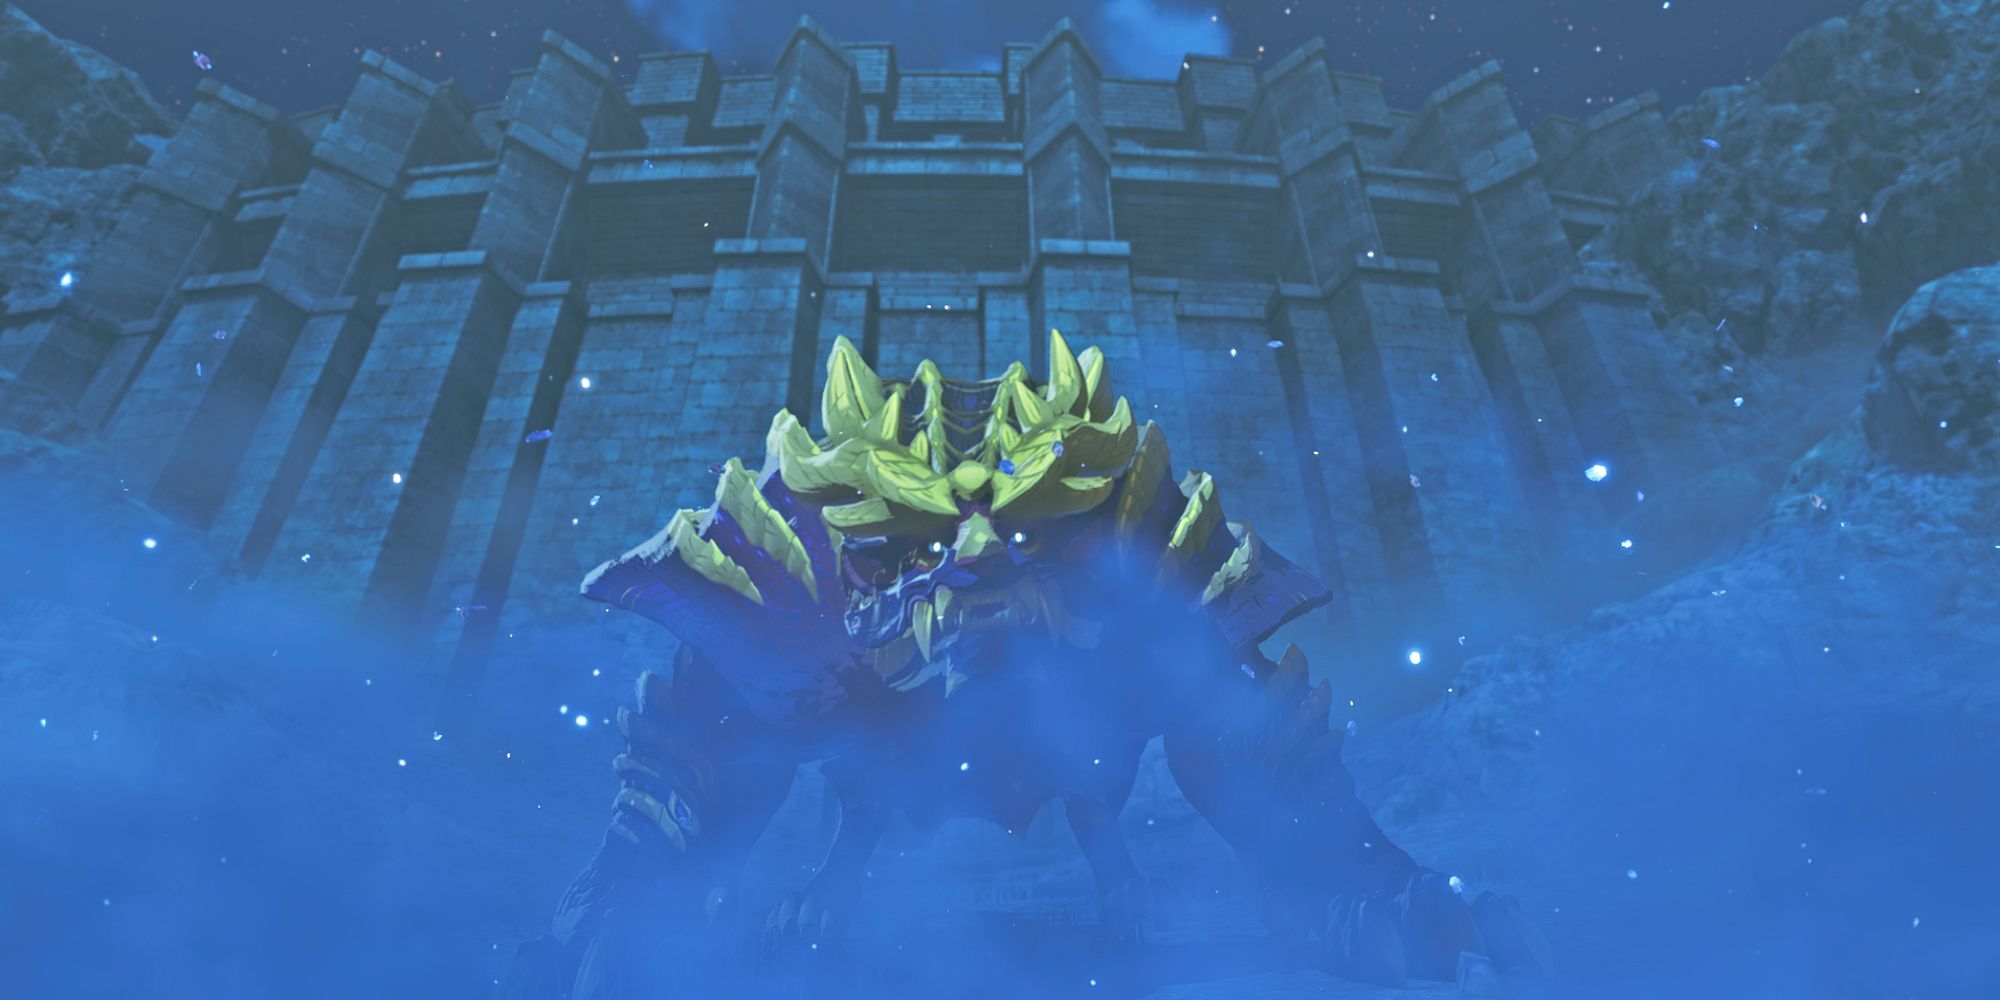
With relations strained between Azuria and Vermeil, your character decides to venture into the forbidden lands beyond the Wyverian Gate, seeking the cause of the Encroachment. But before you can enter, you must defeat a Magnamalo – a formidable opponent that will test your skills.
Magnamalo immediately begins the fight in its most powerful and dangerous state, Hellfireblight Critical. It starts with a massive attack, and you’ll probably need to heal quickly to recover.
During the fight, Magnamalo cycles through three phases, each with unique challenges. If you don’t stagger it at the right moments, you’ll be hit with more powerful Hellfire Retribution attacks. This battle also introduces Blastblight, a status effect that can quickly deplete your health if you don’t address it.
This battle is a key moment in the story, and it will show you how well you’ve prepared. You’ll need a strong party and dependable Monsties to overcome the obstacles ahead, beyond the Northern Meridian.
8. Yama Tsukami
A Mountain God Monster That Needs Your Help

I’ve been working with the people of Sheparden, a hidden village in Canalta Timberland, and their new leader, Kol. Things are about to get really intense, though! We’re facing a huge monster that’s not just threatening their way of life, but could seriously damage the whole region’s environment if we don’t figure out what’s causing it. It’s up to me to help them get to the bottom of this!
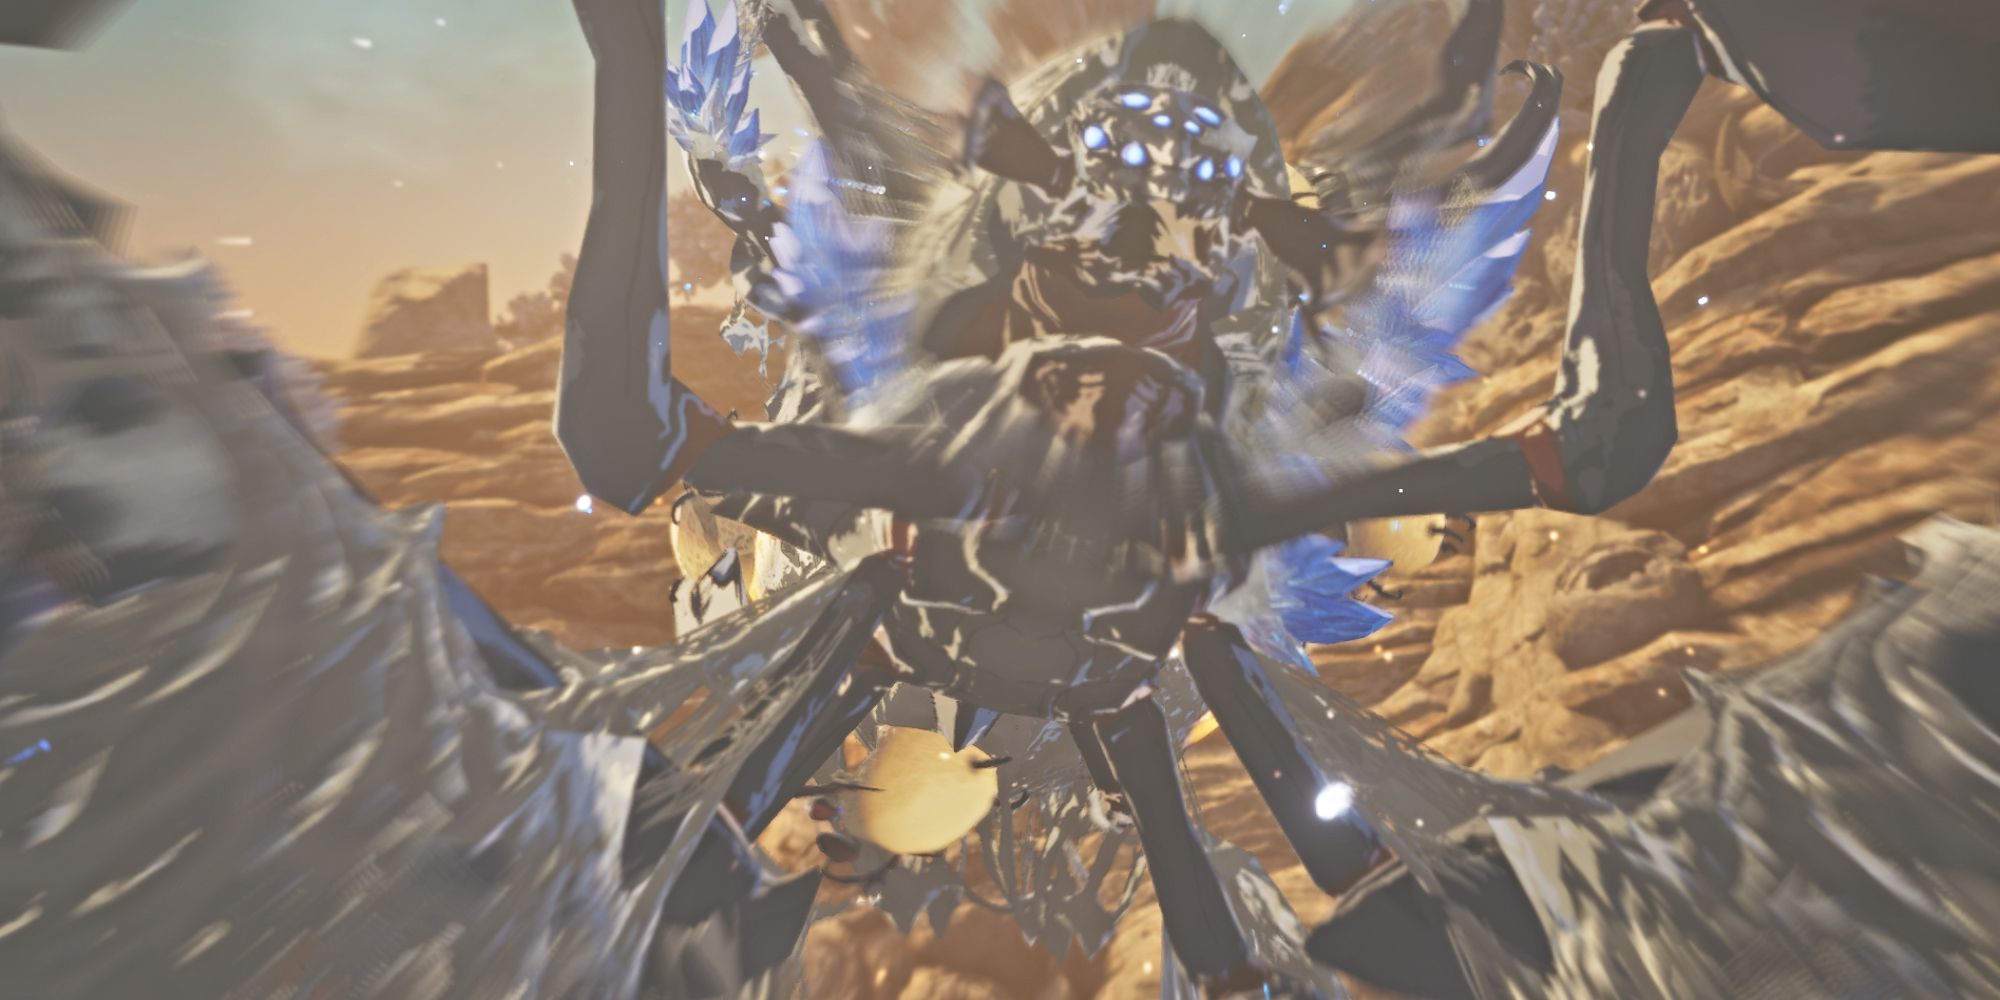
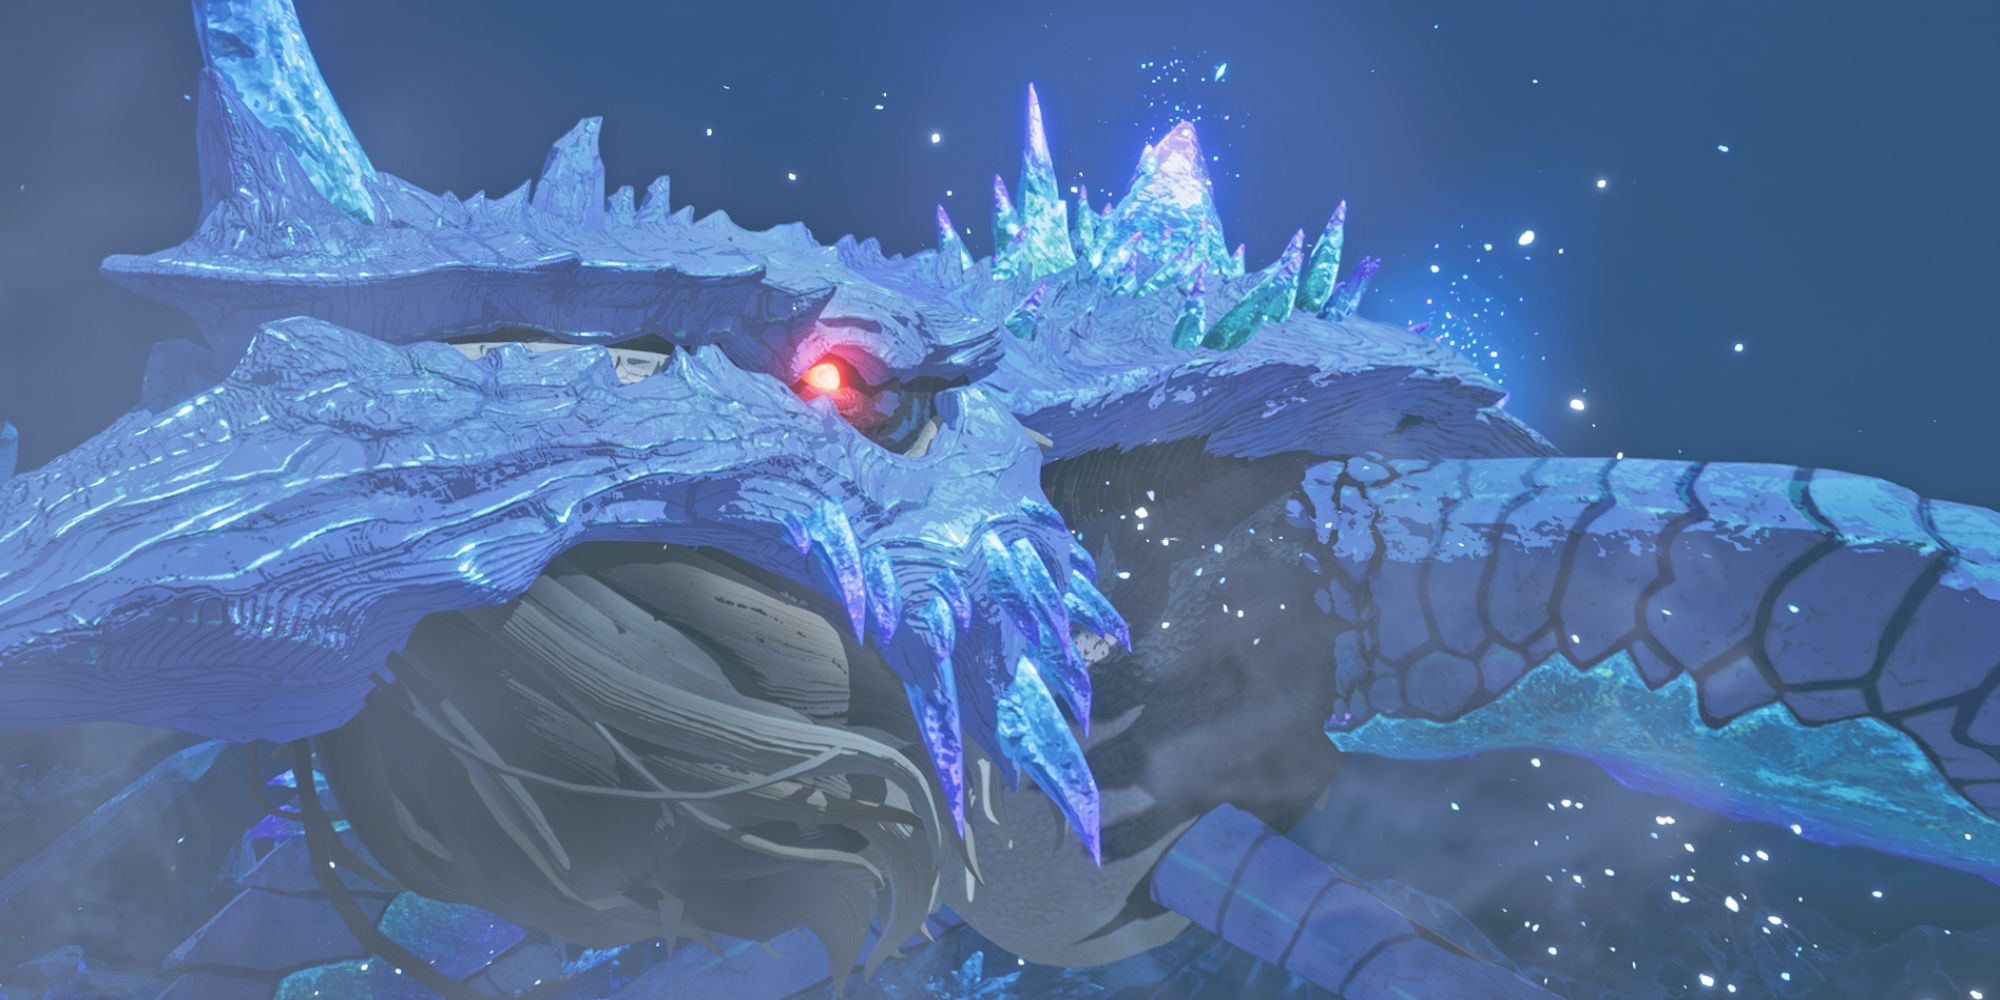
Yama Tsukami is a strikingly unusual Elder Dragon, but it isn’t naturally aggressive. It normally wanders peacefully through the Canalta region. However, the recent Encroachment has affected it, covering its body in crystals and driving it into a violent rage. Now, you must battle this enormous, tentacled creature to stop it.
Yama Tsukami is the first major monster you’ll fight, and it can seem really challenging. It has unique attacks and a health bar that doesn’t quite work like others – you do deal damage, but it won’t empty. Instead of defeating Yama Tsukami, you’re actually trying to save it by freeing it from a crystal curse and restoring it to its original form.
To defeat this crystal, you’ll need to carefully follow the specific steps for each stage of the battle. Breaking its outer shell and staggering it is crucial, as it will unleash powerful attacks if you don’t. This fight is the final challenge in the Canalta region before the story progresses, and it’s quite difficult. But overcoming it leads to a deeply satisfying conclusion and a rewarding resolution.
7. Goss Harag
A Monster With Literal Weapons
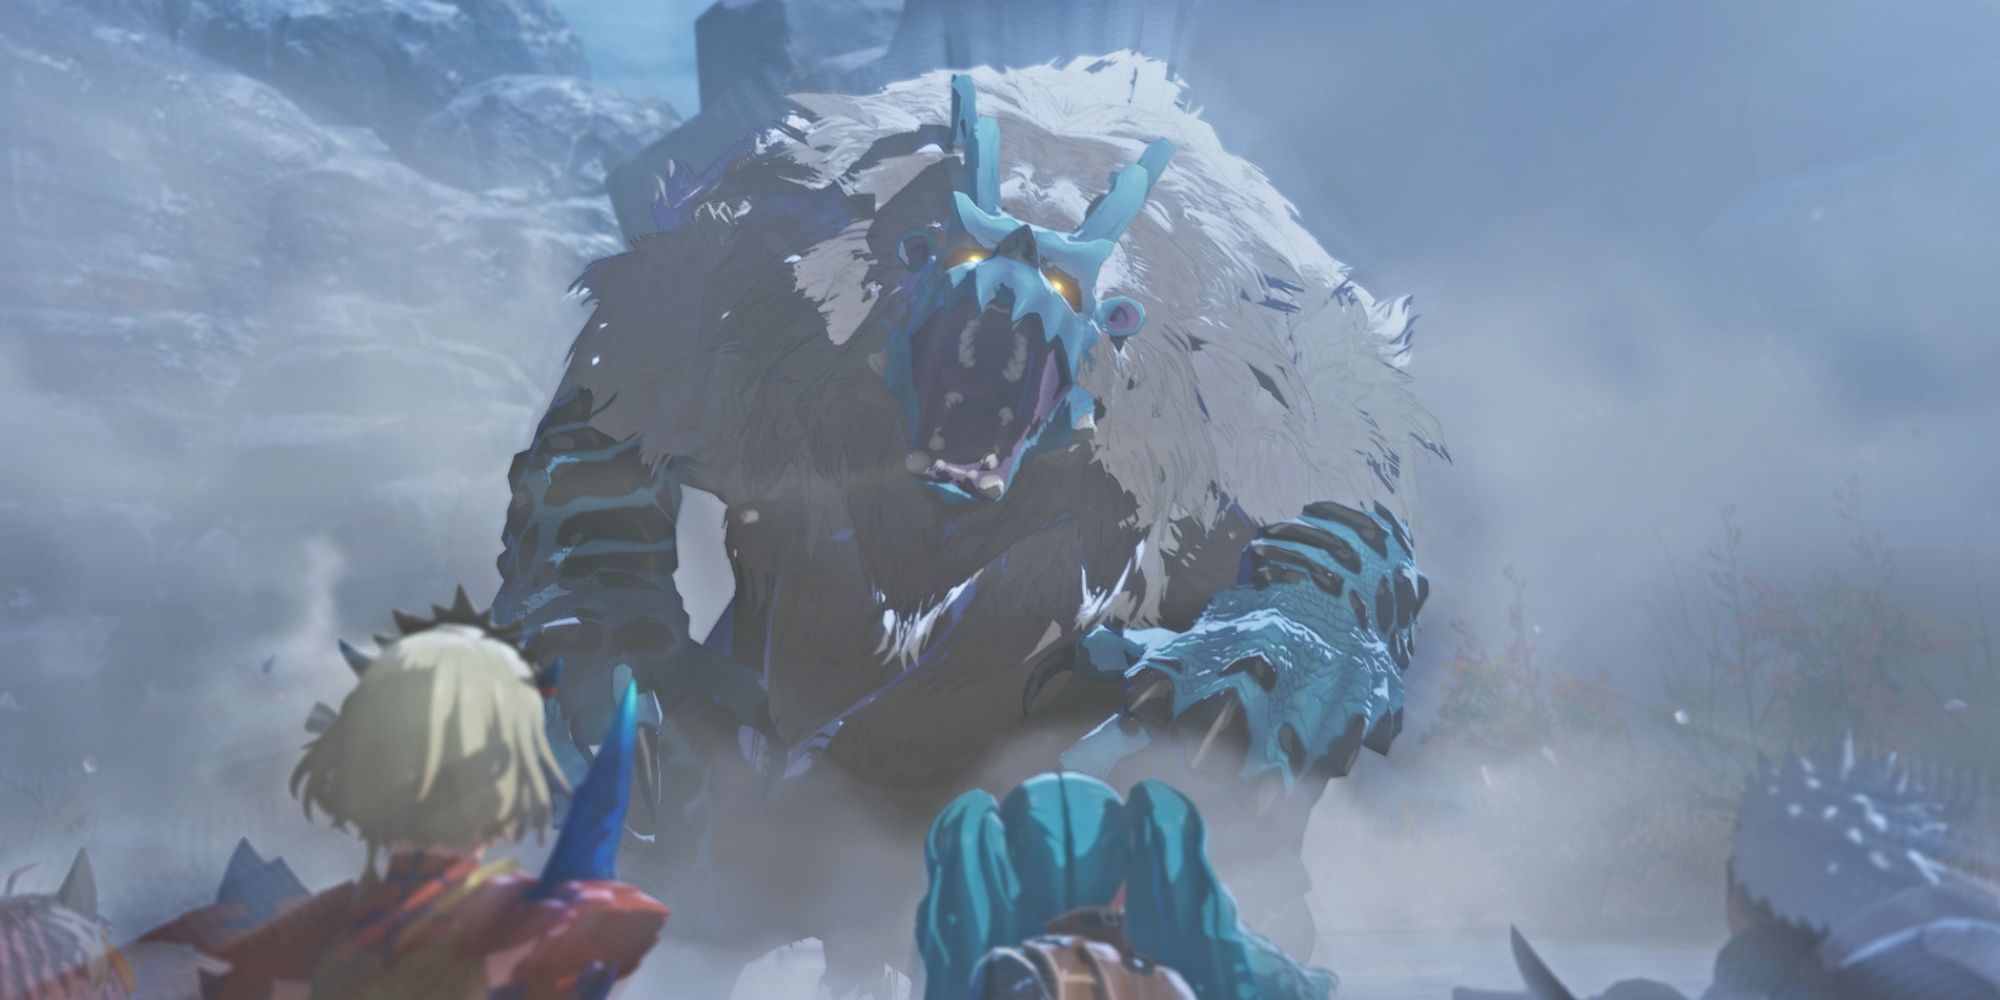
Okay, so traveling through Serathis to reach the Sacrosanctum is seriously tough. You’re constantly battling monsters, and honestly, they get way harder the closer you get to the capital city. There’s this one creature, Goss Harag, that’s a real pain – it loves to ambush you right before you even see the ruined city. It’s a total roadblock!
Despite its fluffy appearance, this creature has a dangerous ability for anyone it faces. During battle, it can transform its forearms into different weapons using ice. Sometimes, it will form sharp blades, delivering incredibly fast and damaging slashing attacks. Other times, Goss Harag will turn its hands into blunt clubs, capable of quickly defeating opponents who aren’t adequately protected or quick enough to dodge.
Having the right team and equipment is crucial for this battle. You’ll want to destroy the enemy’s icy weapons quickly, before they cause too much trouble. If that’s not possible, focus on maximizing your defense to withstand their powerful attacks. Either way, being well-prepared is the best way to defeat Goss Harag.
6. Feral Rakna-Kadaki
If You Thought Spider Monsters Weren’t A Threat…
Your journey through the Tarkuan region is brief, but the dangers within the scorched canyons of Death’s Maw – the path to Serathis – make up for its length. These canyons are filled with dangerous monsters, and the deadliest one guards the way to the abandoned village, meaning you’ll have to face it eventually.
By now, you’ve probably gotten used to fighting Feral monsters as a sign of how far the Encroachment has spread. Death’s Maw continues this trend – you’ll have to battle a Feral Rakna-Kadaki in its web near the abandoned village. This fight is meant to prepare you for the challenges ahead in Serathis, and it’s noticeably more difficult than previous encounters. You’ll need to be well-prepared, or the monster will quickly overwhelm you.
You’ll likely need to try different approaches and change your strategy when facing this enemy – I certainly did. It felt like a major challenge, and I couldn’t progress until I adjusted my tactics. Make sure to fully upgrade your weapons and armor, and train the right Monsties to give yourself the best chance. This is also where you’ll really appreciate Ogden as a companion, as he’s a particularly strong choice for this fight.
Feral Rakna-Kadaki is a very difficult monster for players to overcome. It combines different attack types, begins battles with strong spider allies, and can quickly defeat unprepared parties. Careful focus is essential to survive.
5. Malzeno
A Vampiric Elder Dragon, What Could Go Wrong?
Exploring the depths of the Sacrosanctum ruins in search of Aenshin, you’ll soon discover it’s home to the game’s most powerful monsters. Progress requires facing these tough enemies head-on – there are no easy shortcuts. Both you and your Monsties need to be fully prepared and at your best, or you’ll be overwhelmed by the dangerous creatures living here.
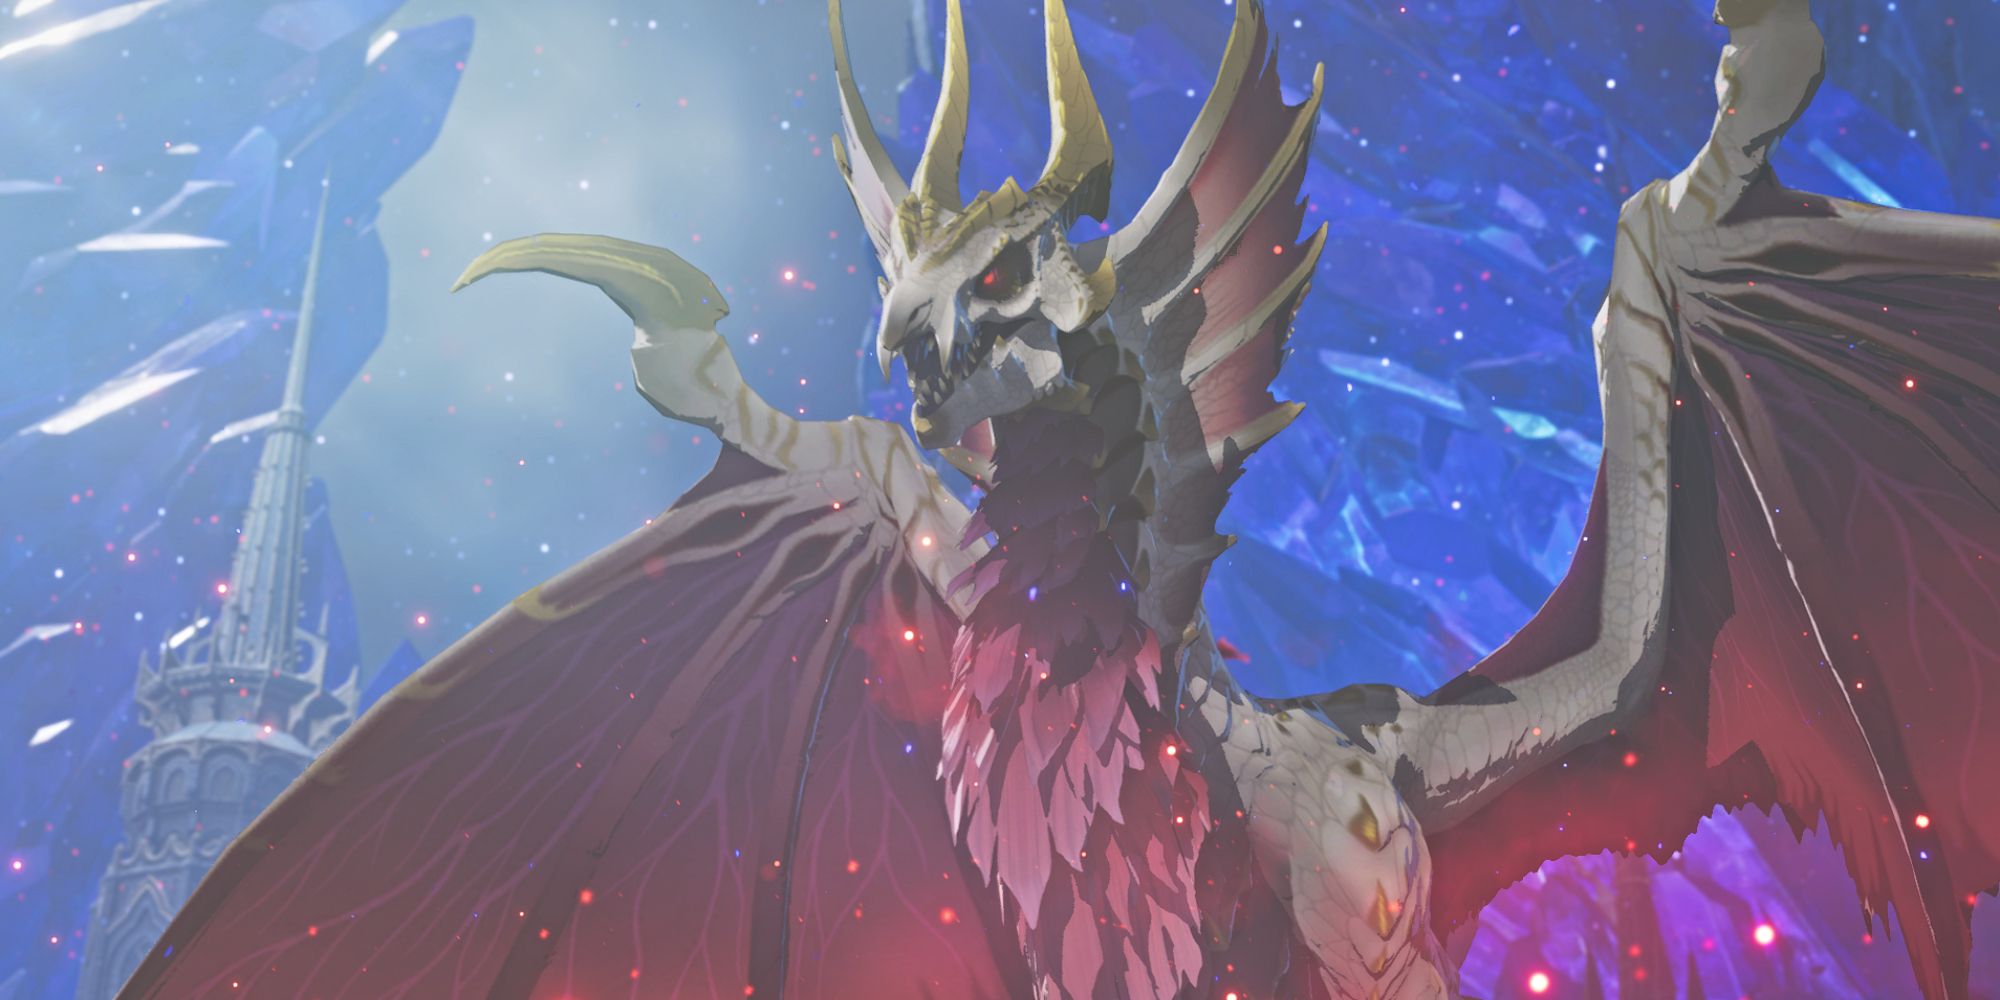
Malzeno is a powerful Elder Dragon with a thirst for blood. It arrives at battle carrying prey, but immediately decides you look like a much better meal. Adding to the challenge, the red creatures that swarm around it actively hinder you during the fight.
Malzeno is a vampire-like monster whose attacks not only deal damage, but also drain your health. It uses a special ability called Blood Rite to steal your health and heal itself, making the fight a test of endurance. The good news is that Blood Rite also gives you a chance to recover health with each hit, turning the battle into a constant exchange until you can finally knock Malzeno down.
4. Arkveld
Don’t Miss Or You Lose
As we’ve discussed, the Sacrosanctum is home to incredibly tough monsters, and those you face during the main story are particularly difficult. A prime example of this lies sleeping in the large crater at the heart of the capital city. But be warned: as soon as you get close, this powerful creature awakens and attacks.
If you’ve fought Arkveld in Monster Hunter Wilds before, you’ll recognize its look and fighting style. This very aggressive flying wyvern begins the battle highly resistant to most types of damage, making it tough to hurt. Like other Dragon-type monsters, you’ll need to wait for it to become vulnerable, but getting to that point is the challenge. Throughout the fight, Arkveld will use its special chainblade-like tendrils to attack and quickly deplete your health.
There’s a crucial part of the fight you need to know about, or you’ll lose quickly. You must use your companion, Ratha, to block Arkveld’s most powerful attack, the Berserk Blade. To do this, you’ll need to charge up Ratha’s fireball attack just in time. When you do, Arkveld’s attempt to absorb energy from your attack will fail, and it will actually hurt itself instead.
This attack can be tricky to avoid the first time, and you might need to adjust your strategy. Arkveld can also use a powerful attack multiple times, so stay alert and watch for clues. This high-risk, high-reward ability can be frustrating, making Arkveld one of the most debated monsters in the game.
3. Bound Azure Rathalos
A Serious Wake-Up Call From the Rift War

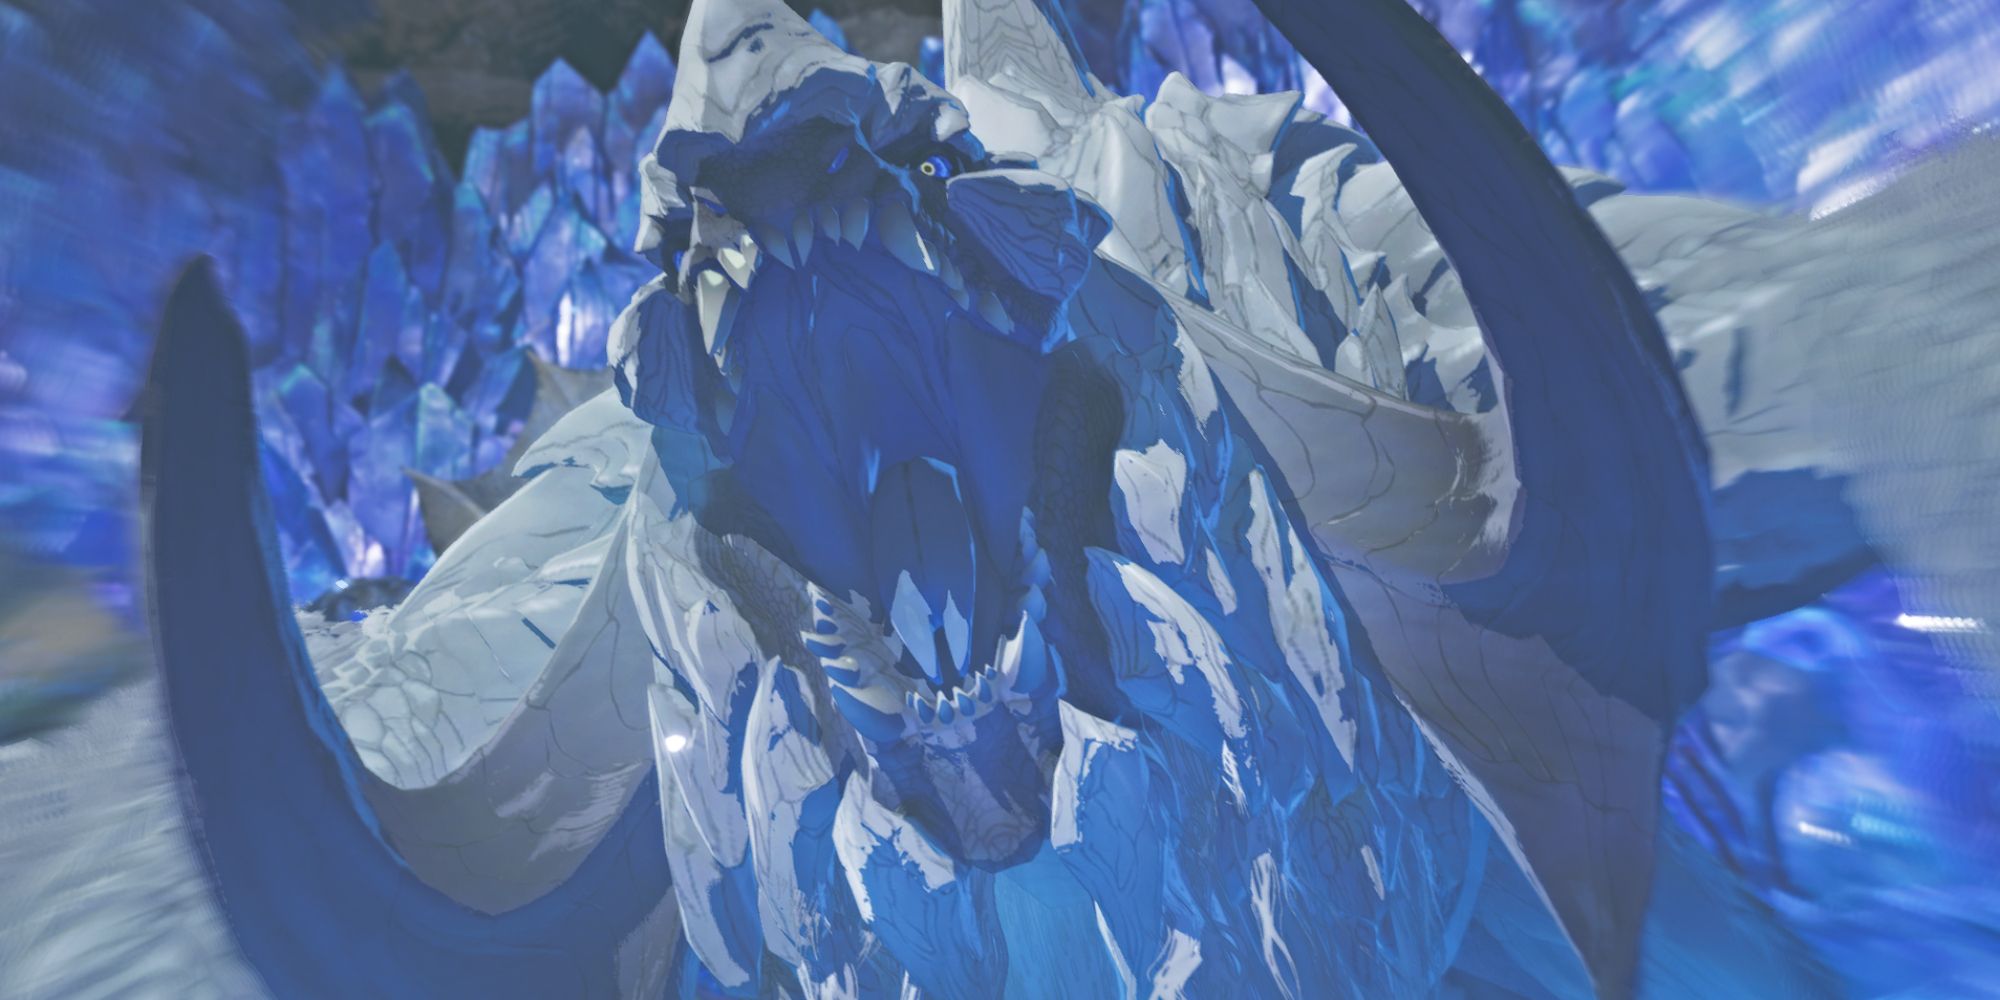
When you get close to Aenshin’s lair in the Sacrosanctum, ancient monsters awakened from the Rift War begin to appear, and they’re not happy to see you. The first one you’ll face is the Bound Azure Rathalos, a powerful example of just how strong these battle-bound Monsties used to be.
Okay, so this fight… wow. This is where the game really starts throwing everything it has at you. This Rathalos variant is seriously tough – it makes the previous boss, Arkveld, feel like a warm-up. Honestly, you need to be pretty high level with everyone in your party, have your best gear (almost fully upgraded, but you don’t need to grind for the super rare stuff), and have a perfect plan. There’s basically no room for messing up. You can’t just button-mash here; you have to think through every move, almost like you’re playing chess against this monster. It’s a real challenge!
Subscribe for Monster Hunter Stories 3 boss guides
The Bound Azure Rathalos is a very powerful monster at level 67, so you’ll want to be close to that level before challenging it. Its attacks are incredibly strong and fiery, and even the best fire-resistant armor will struggle to withstand them. To succeed, you’ll need to consistently win direct attacks, and be prepared for it to launch two attacks in a row during the later stages of the fight.
This battle will probably require a lot of attempts and experimentation. Even if you’re well-prepared with healing items and good equipment, success can still depend on fortunate timing with Rathalos’ attacks.
2. Bound Lunagaron
If You Thought the Last One Was Bad
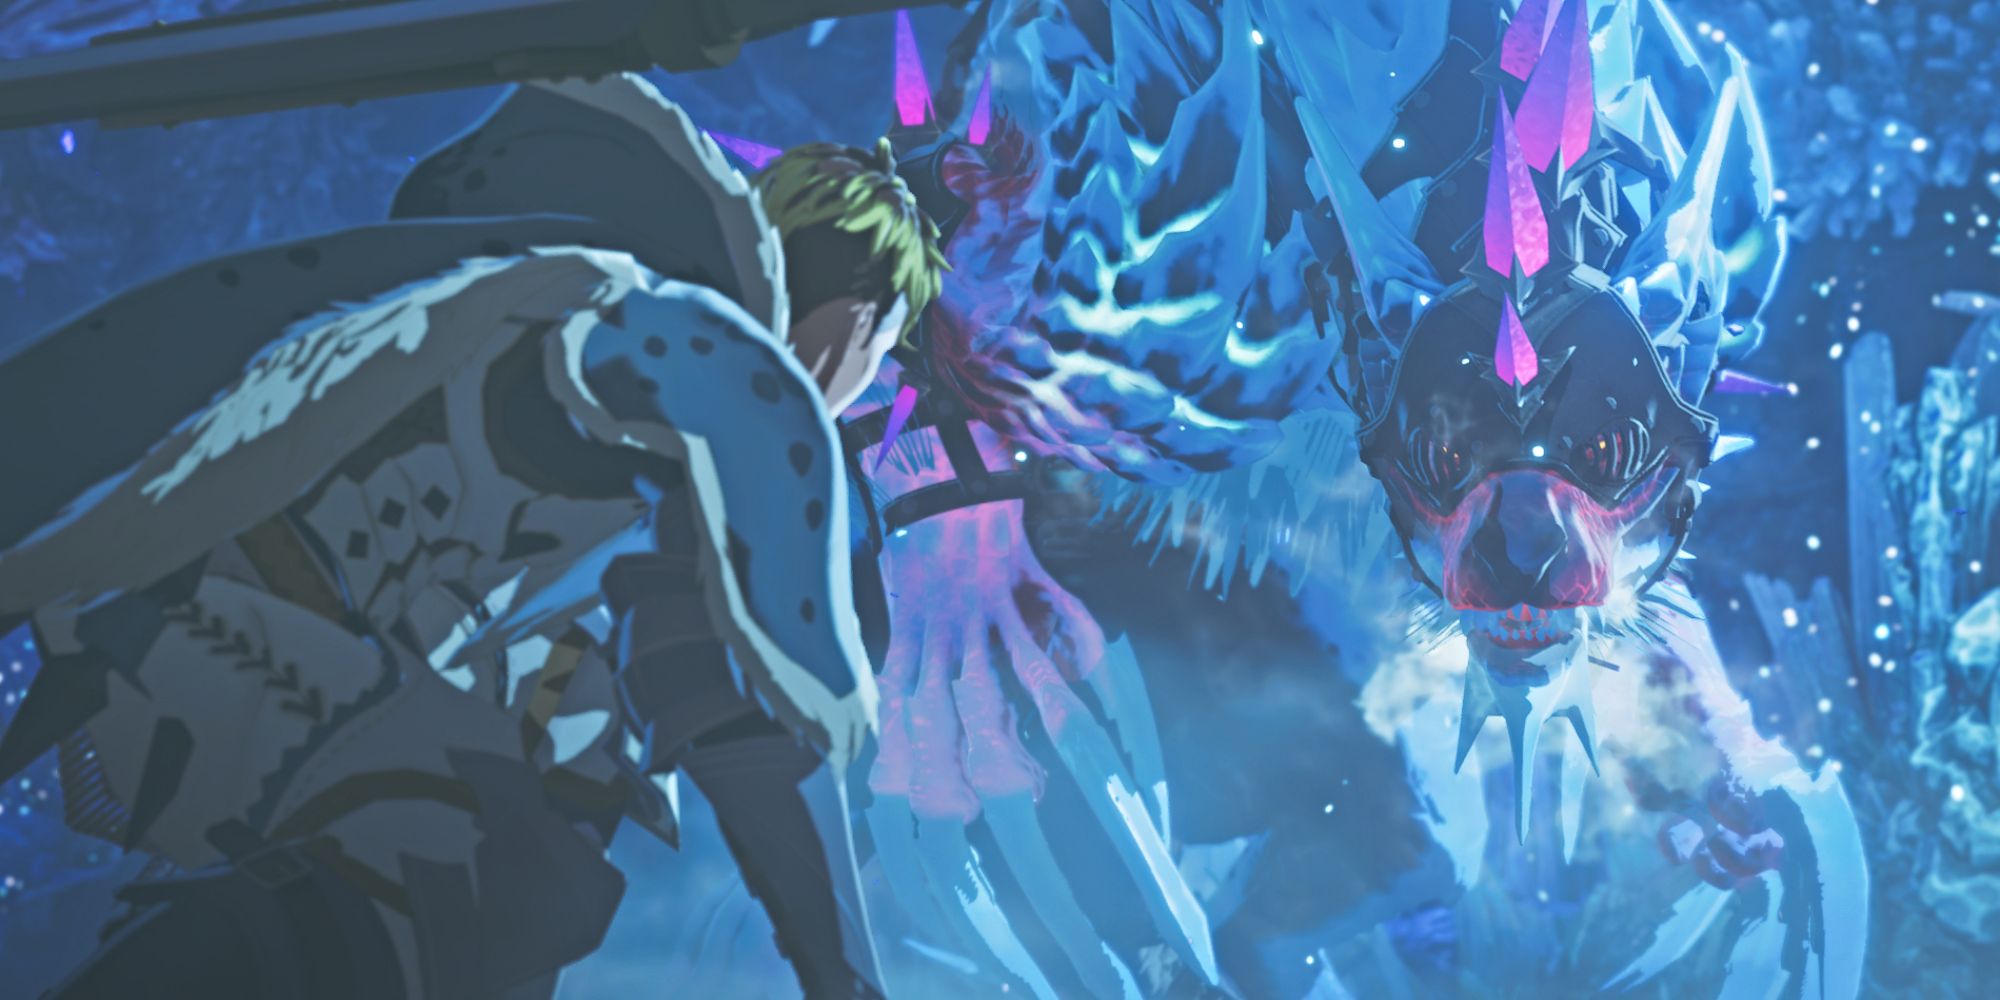
You’re probably still recovering from your tough fight with the Bound Azure Rathalos, but there isn’t much time to rest. As Corbin and the researcher travel deeper into the cave towards Aenshin’s lair, they accidentally awaken a Bound Lunagaron that was trapped inside a quartz egg. Once it’s out, there’s no way to put it back in.
This fight is incredibly challenging, almost as difficult as the toughest battle in the game. The Bound Lunagaron is easily one of the hardest monsters you’ll face, not just in the story, but throughout the entire game. It’s as brutal and difficult as the Invasive Monsters, and looking back, making it a required fight feels almost unfair.
Like the last tough monster, fighting Bound Lunagaron demands careful planning with every move. A single mistake can lead to a quick defeat, so think before you act! Having top-tier equipment is essential, and choosing the right Monsties to help you is crucial. Only a handful of Monsties are strong enough for this battle, and you’ll want to stock up on every healing item you have.
Bound Lunagaron is a dangerous opponent because all of its attacks are incredibly powerful, and it becomes even stronger when it enters its enhanced battle phases. Adding to the challenge, it combines ice, lightning, and water attacks, demanding constant adaptation and stamina to withstand the shifting elemental onslaught.
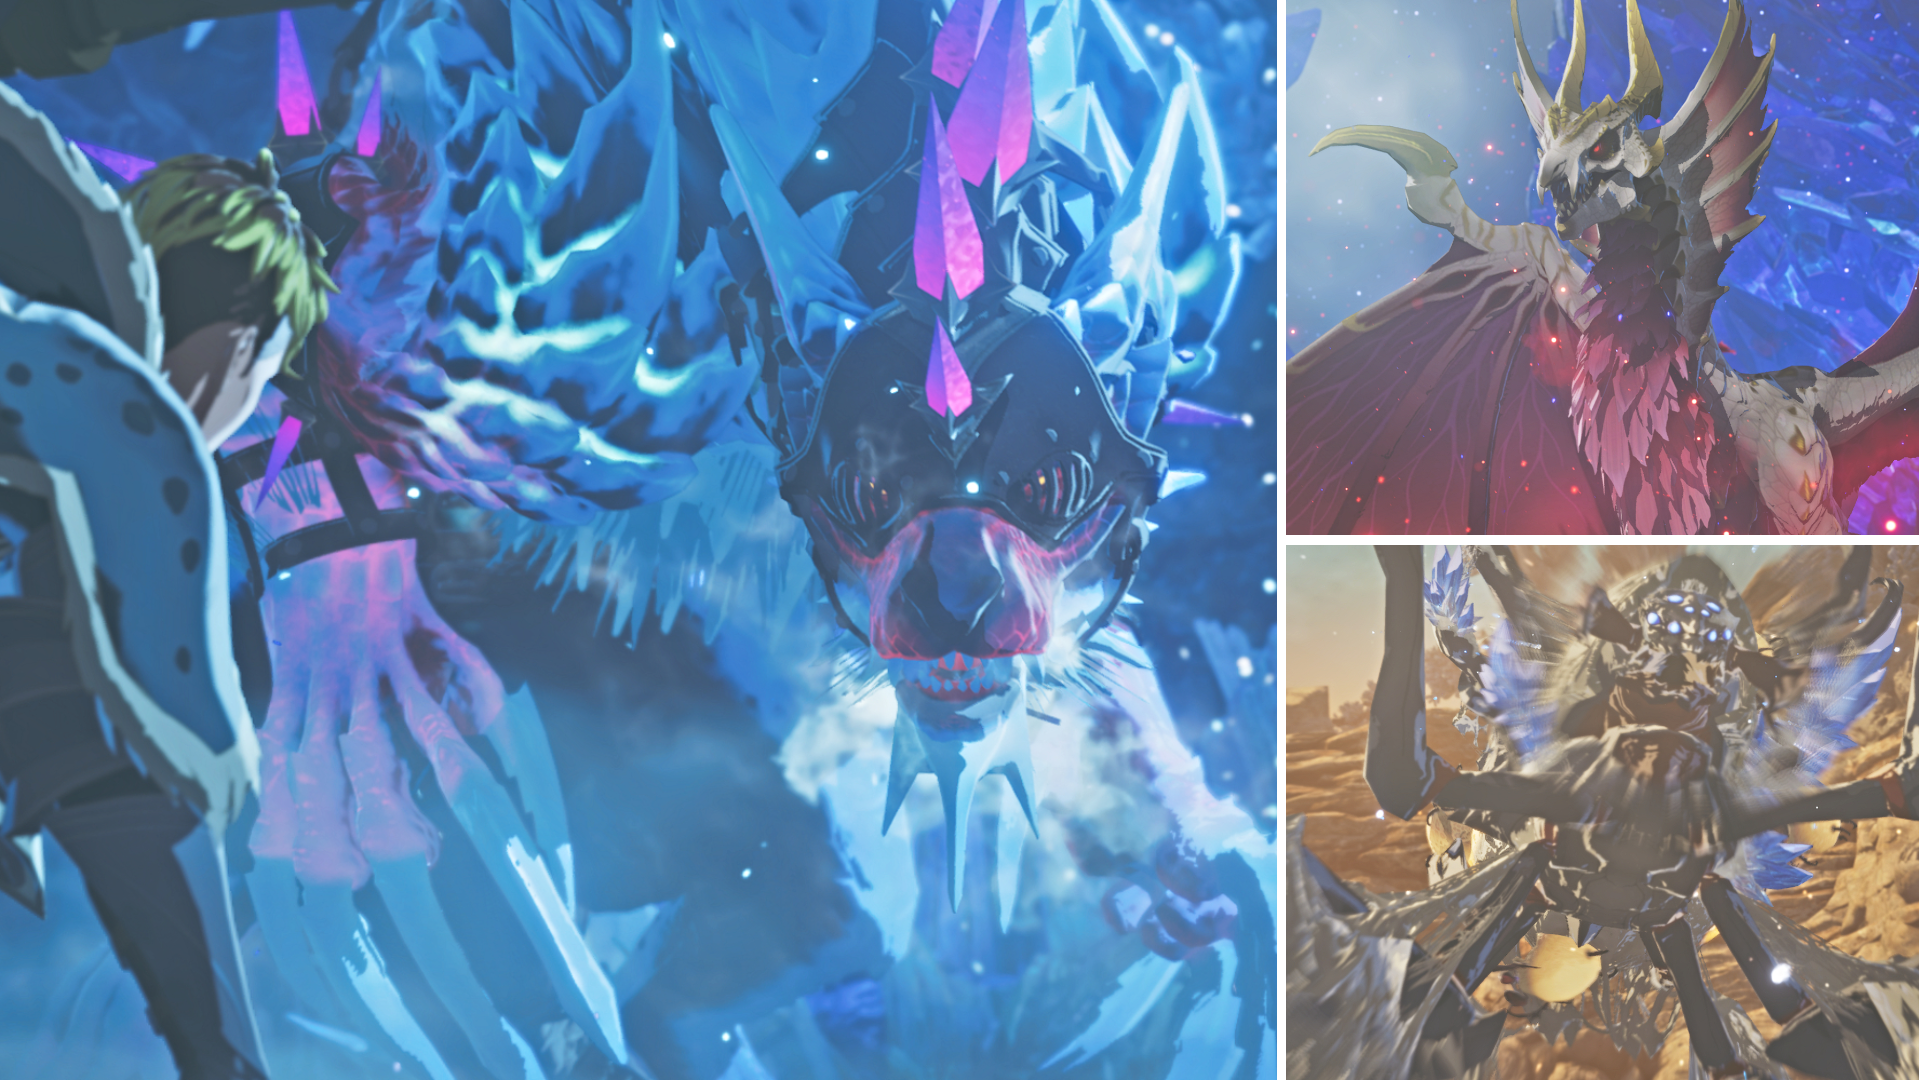
1. Aenshin
A Final Boss That’s Insanely Brutal Three Times Over
Okay, I get it – putting the final boss at number one might seem a little obvious. Honestly, Bound Lunagaron was super close, but seriously, dealing with Aenshin not once, not twice, but three times? That’s what makes him the hardest story boss in Monster Hunter Stories 3, at least in my experience. It’s just a brutal fight that really tests your skills.
I’ve battled a lot of final bosses in video games, and Aenshin is definitely one of the toughest. That’s especially true considering this turn-based game isn’t usually overly difficult—except for the last couple of challenges. This Elder Dragon, inspired by whales, truly deserves its legendary reputation. It’s not just important to the game’s story and world, but also incredibly hard to defeat every time you fight it.
Throughout the story, you’ll need to defeat Aenshin three times. The first fight is immediately challenging – Aenshin is massive and uses the same powerful crystallization that’s destroyed the land, resulting in some of the game’s toughest attacks. These attacks become even more difficult in later encounters. While you get a preview in Azuria, the fight in the Sacrosanctum is where you’ll really need a carefully planned strategy. Like other major battles, you can’t afford to make any mistakes; every move needs to contribute to your progress.
Honestly, by the time I reached the last fight, I was just completely drained and ready for the story to wrap up. The battle itself wasn’t as satisfying as I’d hoped, but the cutscenes after you free Aenshin? Those were so worth sticking it out for!
Read More
- All Skyblazer Armor Locations in Crimson Desert
- One Piece Chapter 1180 Release Date And Where To Read
- How to Get the Sunset Reed Armor Set and Hollow Visage Sword in Crimson Desert
- All Shadow Armor Locations in Crimson Desert
- All Golden Greed Armor Locations in Crimson Desert
- How to Beat Stonewalker Antiquum at the Gate of Truth in Crimson Desert
- Cassius Morten Armor Set Locations in Crimson Desert
- Grime 2 Map Unlock Guide: Find Seals & Fast Travel
- USD RUB PREDICTION
- Marni Laser Helm Location & Upgrade in Crimson Desert
2026-04-12 15:43