Quick Links
- Modifiers And Recommended Loadout
-
Going Through The Contest Of Elders
-
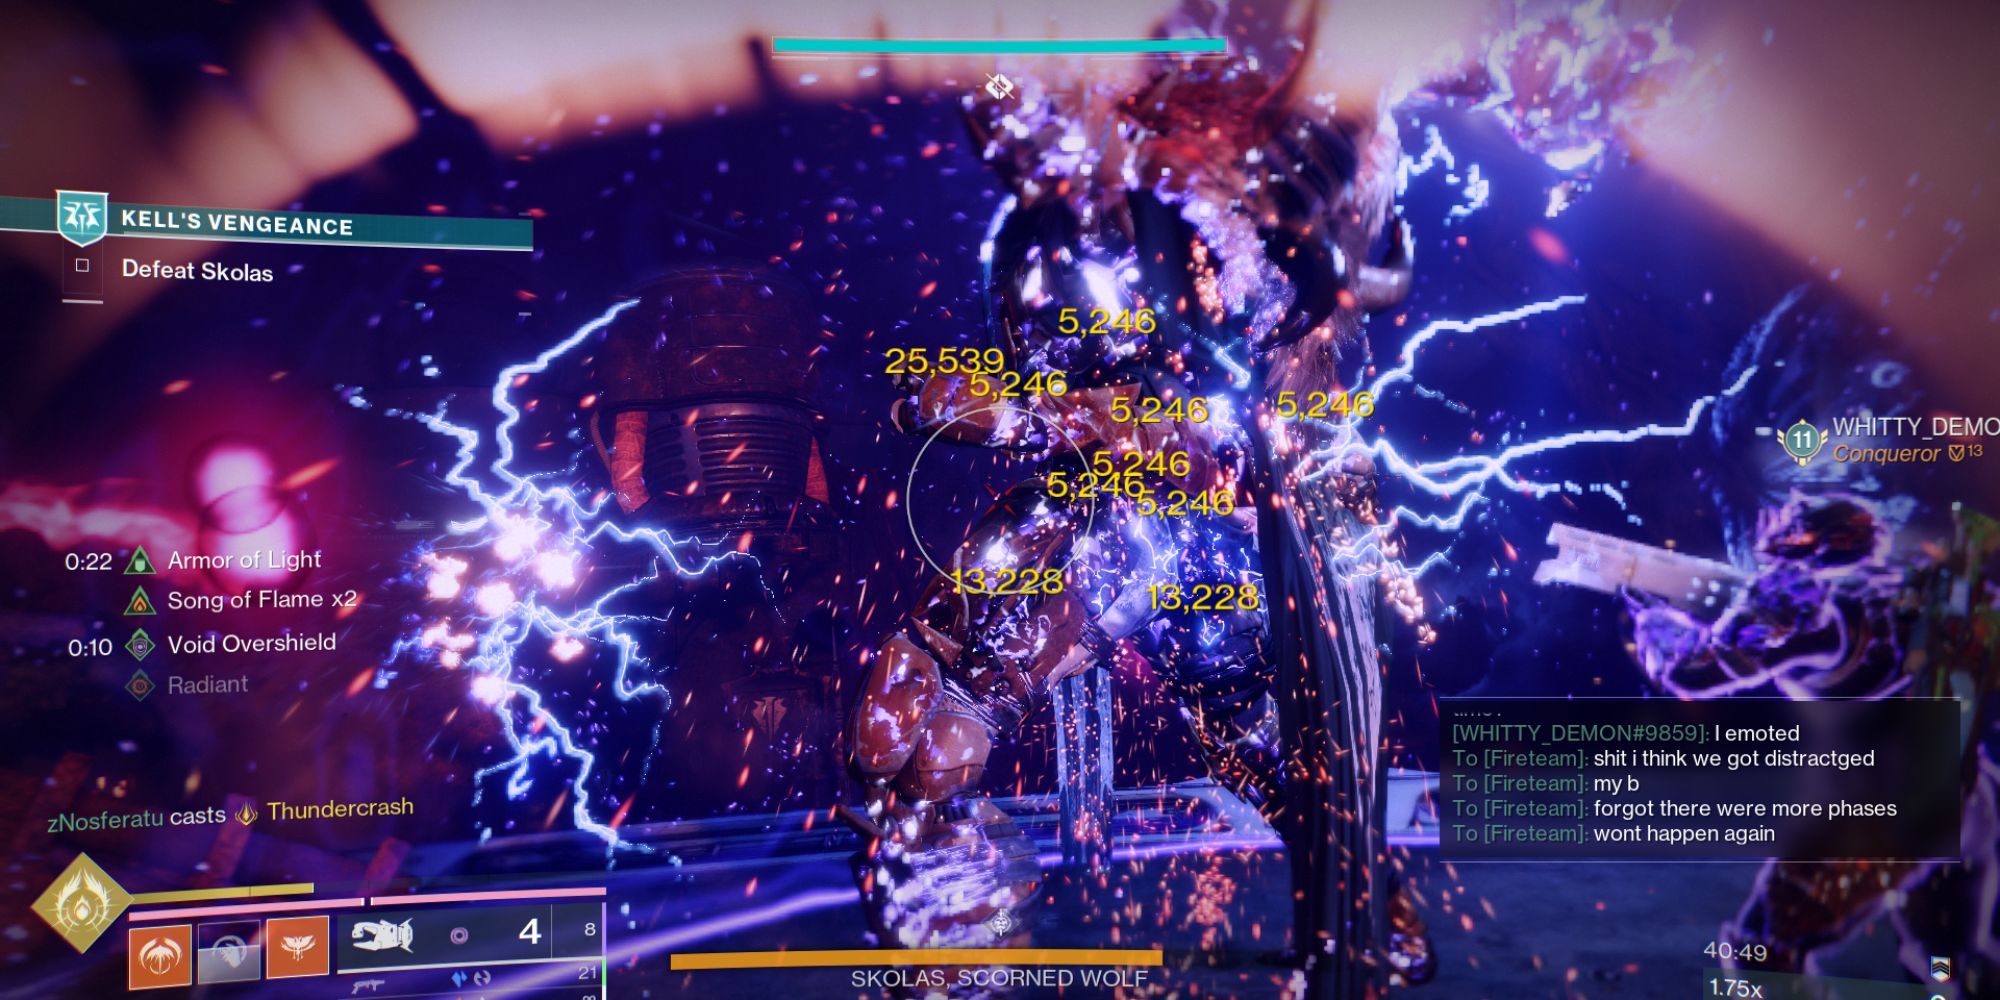
Skolas, The Scorned Wolf
-
How To One-Phase Skolas
-
Kell’s Vengeance Rewards
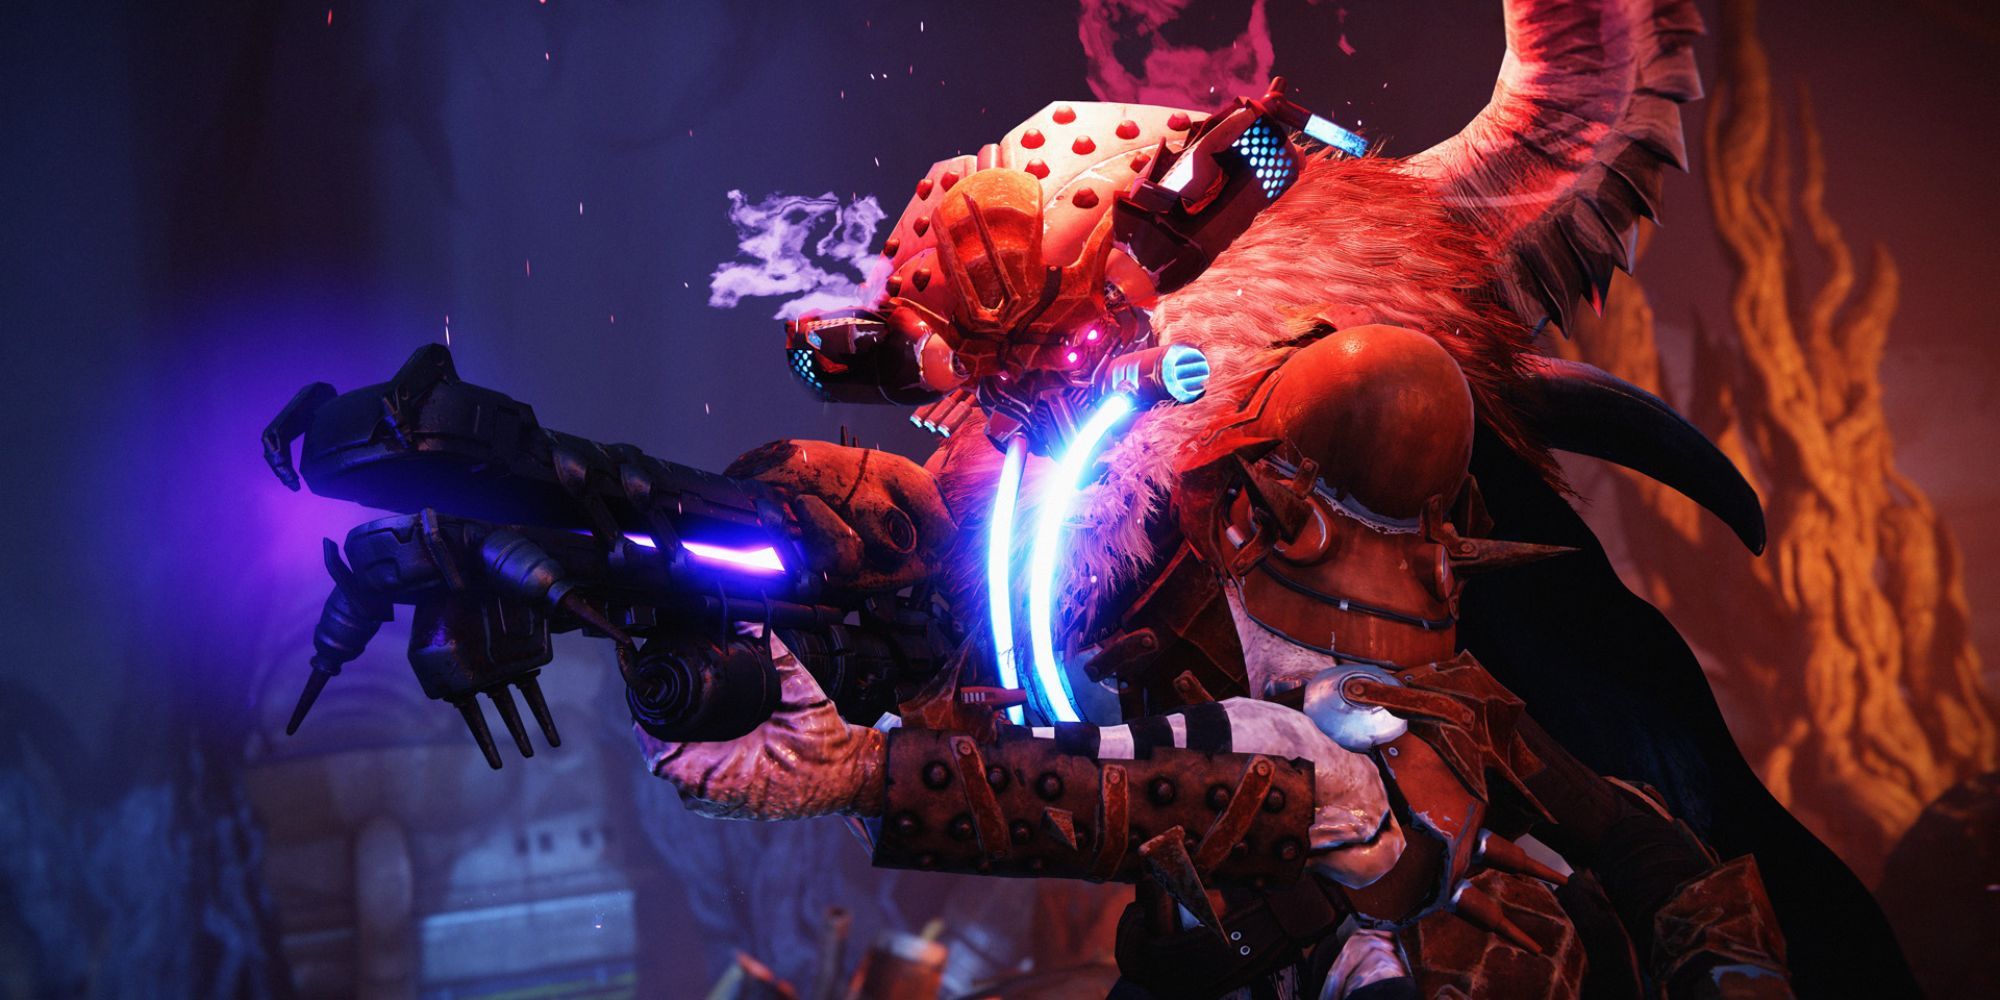
Previously, during Act 2 of Episode Revenant, it is revealed that Fikrul has brought back our ancient adversaries, the Scorn Barons, who were last seen in the game Forsaken. In a surprising turn of events, we even observe the return to life of Skolas, the once deceased Kell of Kells, a formidable foe from the House of Wolves expansion within the original Destiny game.
Wrapping up Act 3 in The Revenant, we find ourselves venturing into the Tomb of the Elders with the latest Kell’s Vengeance mission in Destiny 2. This time around, our task is to confront Skolas and his newly acquired Revenant abilities.
Similar to the Dual Destiny Exotic Class Item mission, Kell’s Vengeance cannot be accomplished alone. A minimum of two players is necessary, and clear communication between you and your teammate is crucial for success. If you manage these two aspects effectively, this mission should prove relatively straightforward, despite its challenging modifiers and level prerequisites.
To gain access to Kell’s Vengeance, you should initially finish the whole narrative of Revenant. This implies you’ll have to go through Kell’s Fall at least three times until you get a prompt indicating that Kell’s Vengeance is ready for activation.
Modifiers And Recommended Loadout
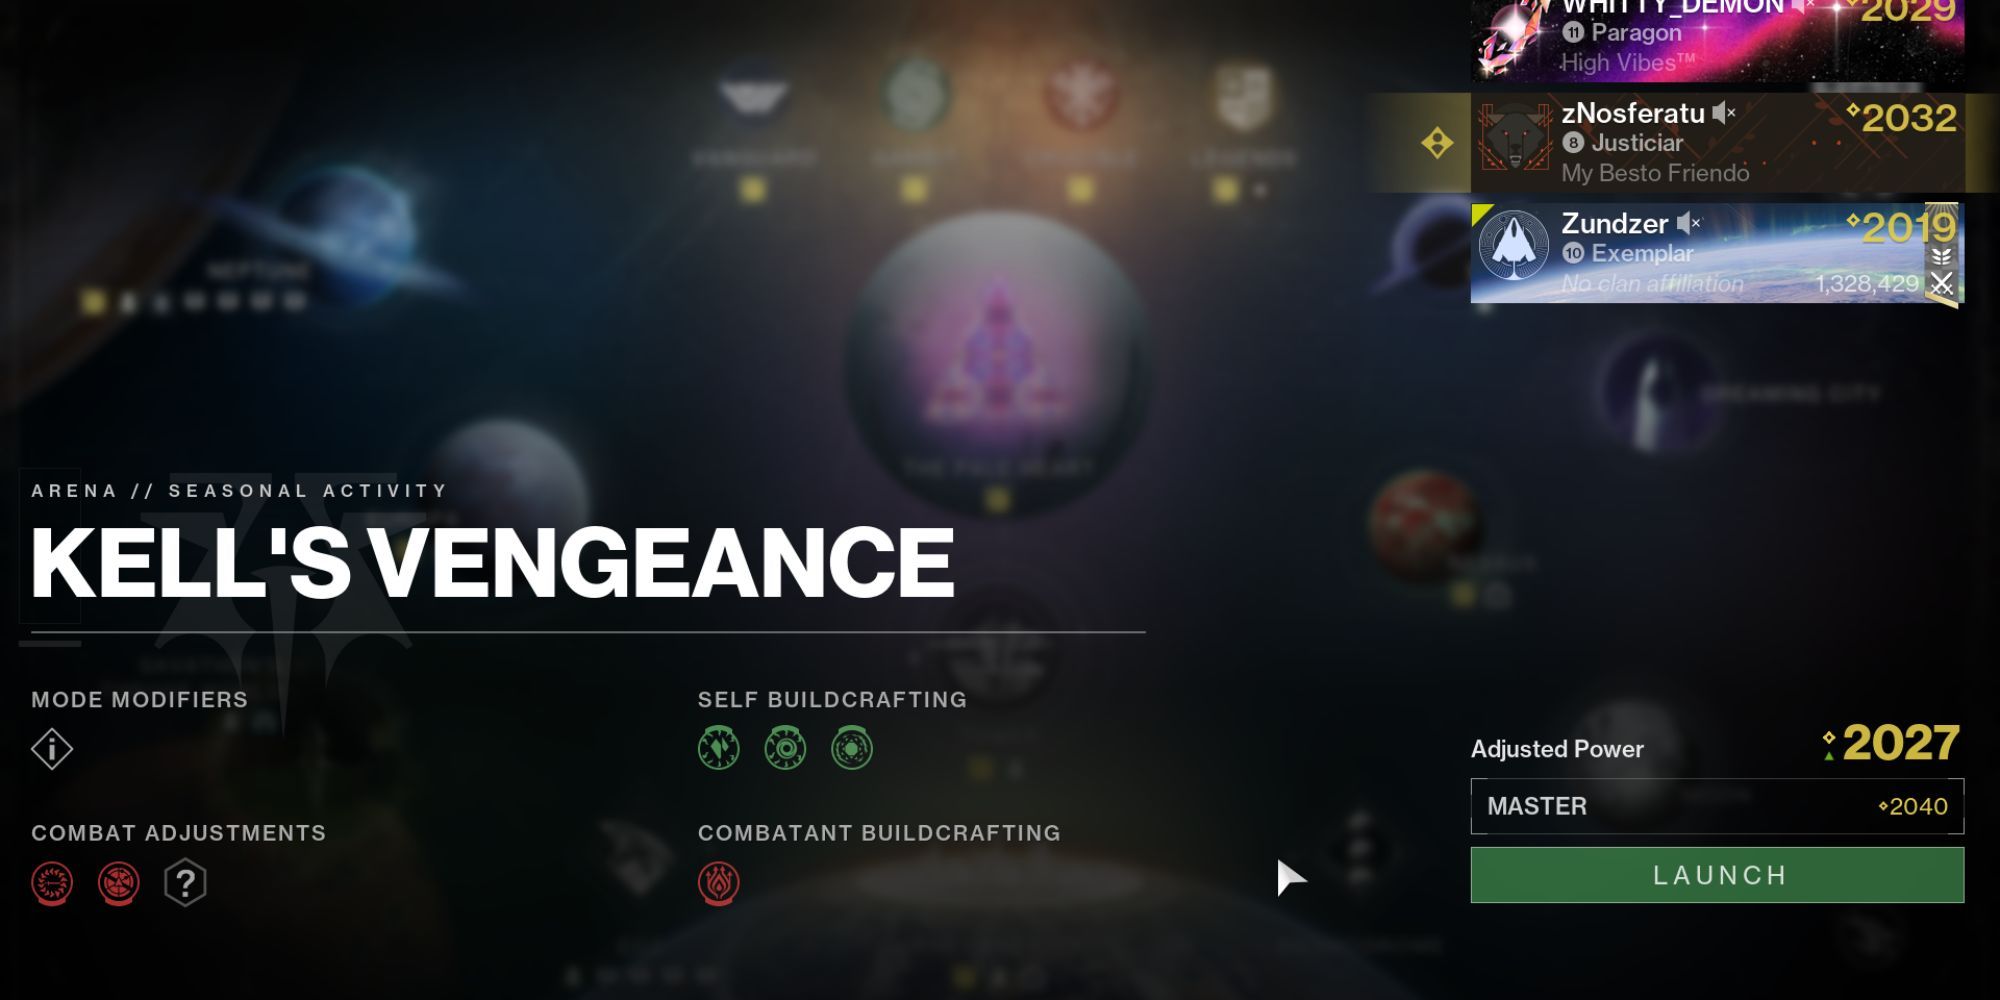
| Master Difficulty | |
|---|---|
| Power Level | 2040 |
| Surges | Stasis, Void |
| Overcharge | Enabled |
| Threat | Arc |
| Champions | None |
| Modifiers | |
| Co-Op Required (Unlisted) | You must have at least 2 players to start this activity. |
| Warden’s Punishment | Failing to complete secondary objectives will wipe your fireteam. |
| Galvanized | Enemies have more HP and are more difficult to stun. |
| Chaff | Radar is disabled. |
| Randomized Banes | Combatants are granted random Banes. |
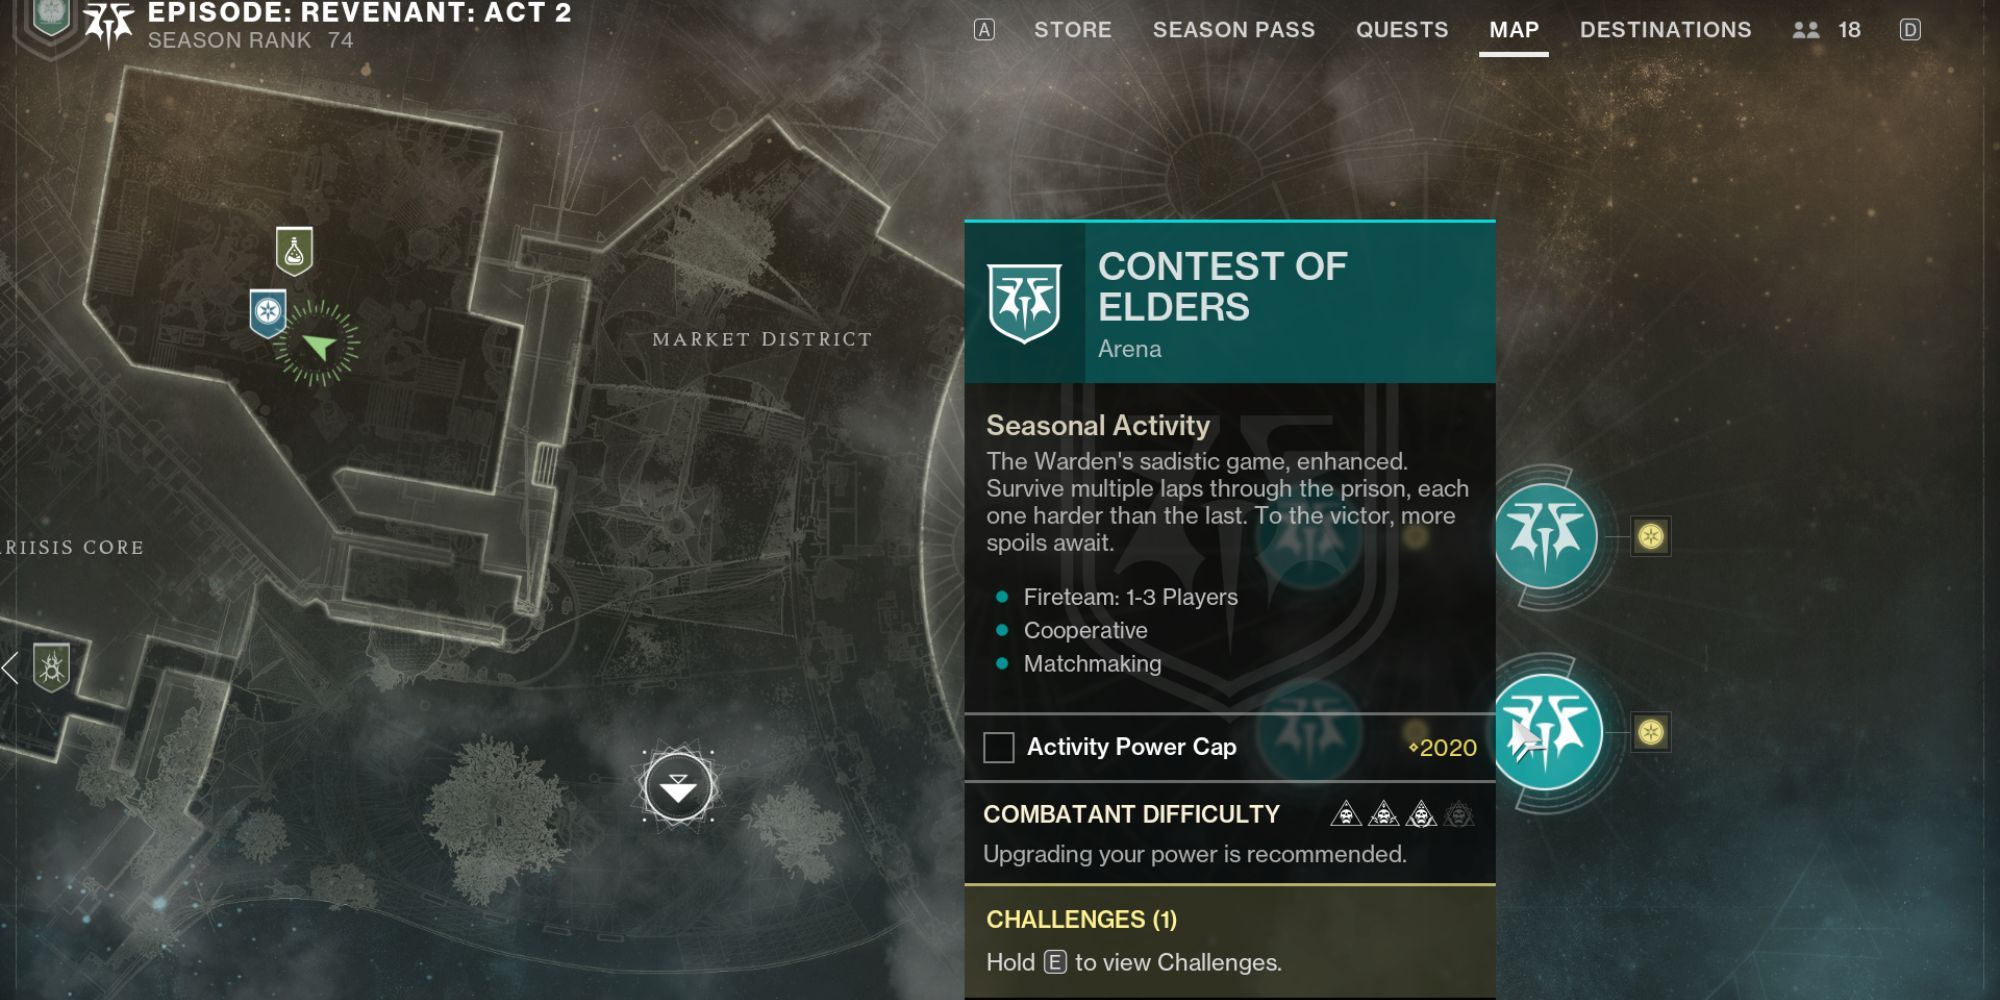
In the Contest of Elders, you must finish a minimum of four rounds to wrap up the event. However, Kell’s Vengeance is notably abbreviated and concludes with Skolas, the Scorned Wolf serving as the final adversary.
Since it has a higher power limit, this version of the Contest of Elders is more challenging compared to the usual one. It also incorporates cooperative gameplay mechanics similar to the Skolas battle encountered in the initial Destiny game.
To begin this mission, it’s essential that you gather a minimum of two teammates. The task is designed in such a way that it cannot be completed alone. Yet, you are allowed to have as many as three teammates for this particular mission.
In many top-level games, Kell’s Vengeance features a respawn interval of just 15 seconds. This short span can easily disrupt your rhythm if you’re not cautious. Don’t worry when you or a teammate gets eliminated–focus on staying alive and attempt to revive only when it’s completely safe to do so.
1. Choose builds that excel in both burst damage and survivability.
2. Experiment with weapons like swords instead of relying solely on Grenade Launchers with Bait and Switch.
3. Adapt your strategy to take advantage of close-range DPS options for optimal performance.
- Sadly, as the only viable build in the current meta for tougher difficulties, Prismatic Titan with Consecration is the way to go, especially combined with the Exotic Class Item with any of the following perks: Point Contact, Synthoceps, Inmost Light. The ignitions can make add clear much easier, and are a solid backup DPS for Skolas.
- Warlocks using Bleak Watcher turrets help managing adds easier, as freezing them solid can take the heat off of you. Rime-Coat Raiment is a great option, as you can lock down specific areas with your enhanced turrets. Alternatively, Prismatic Warlocks running Song of Flame while equipping the Exotic Class Item with the Necrotic and Claw perks can make you an Ignition machine during DPS.
- Hunters with any form of Invisibility can make running the mechanics much easier, as they can completely avoid aggro and find the correct Servitor to dunk the ether into.
Going Through The Contest Of Elders
By obtaining Kell’s Vengeance, it’s likely that you have already conquered the Contest of Elders several times before, as both scenarios share similar mechanisms during their initial encounters.
The primary distinction between Kell’s Vengeance and Contest of Elders lies in the fact that if your team fails secondary objectives, it will be wiped out automatically in Kell’s Vengeance. After observing numerous runs by myself and other players, I found that while the game suggests that modifiers and objectives are randomized, they actually follow a specific pattern, which offers some advantage when planning ahead.
There is no set number of add spawns–enemies will keep spawning until you complete the encounter.
In your initial battle, you’ll face off against Dread and Taken, predominantly Husks, Taken Thralls, and Grim. At some stage during this fight, an additional task will pop up where you need to secure a specific number of kills using Special or Heavy ammo weapons within the given timeframe.
In this context, you could say: “Any powerful weapon that fires rapidly, similar to a machine gun, is quite effective here (for instance, one might call it Rapidfire Tribute or Stormblast). The battle will culminate in a minor boss confrontation.
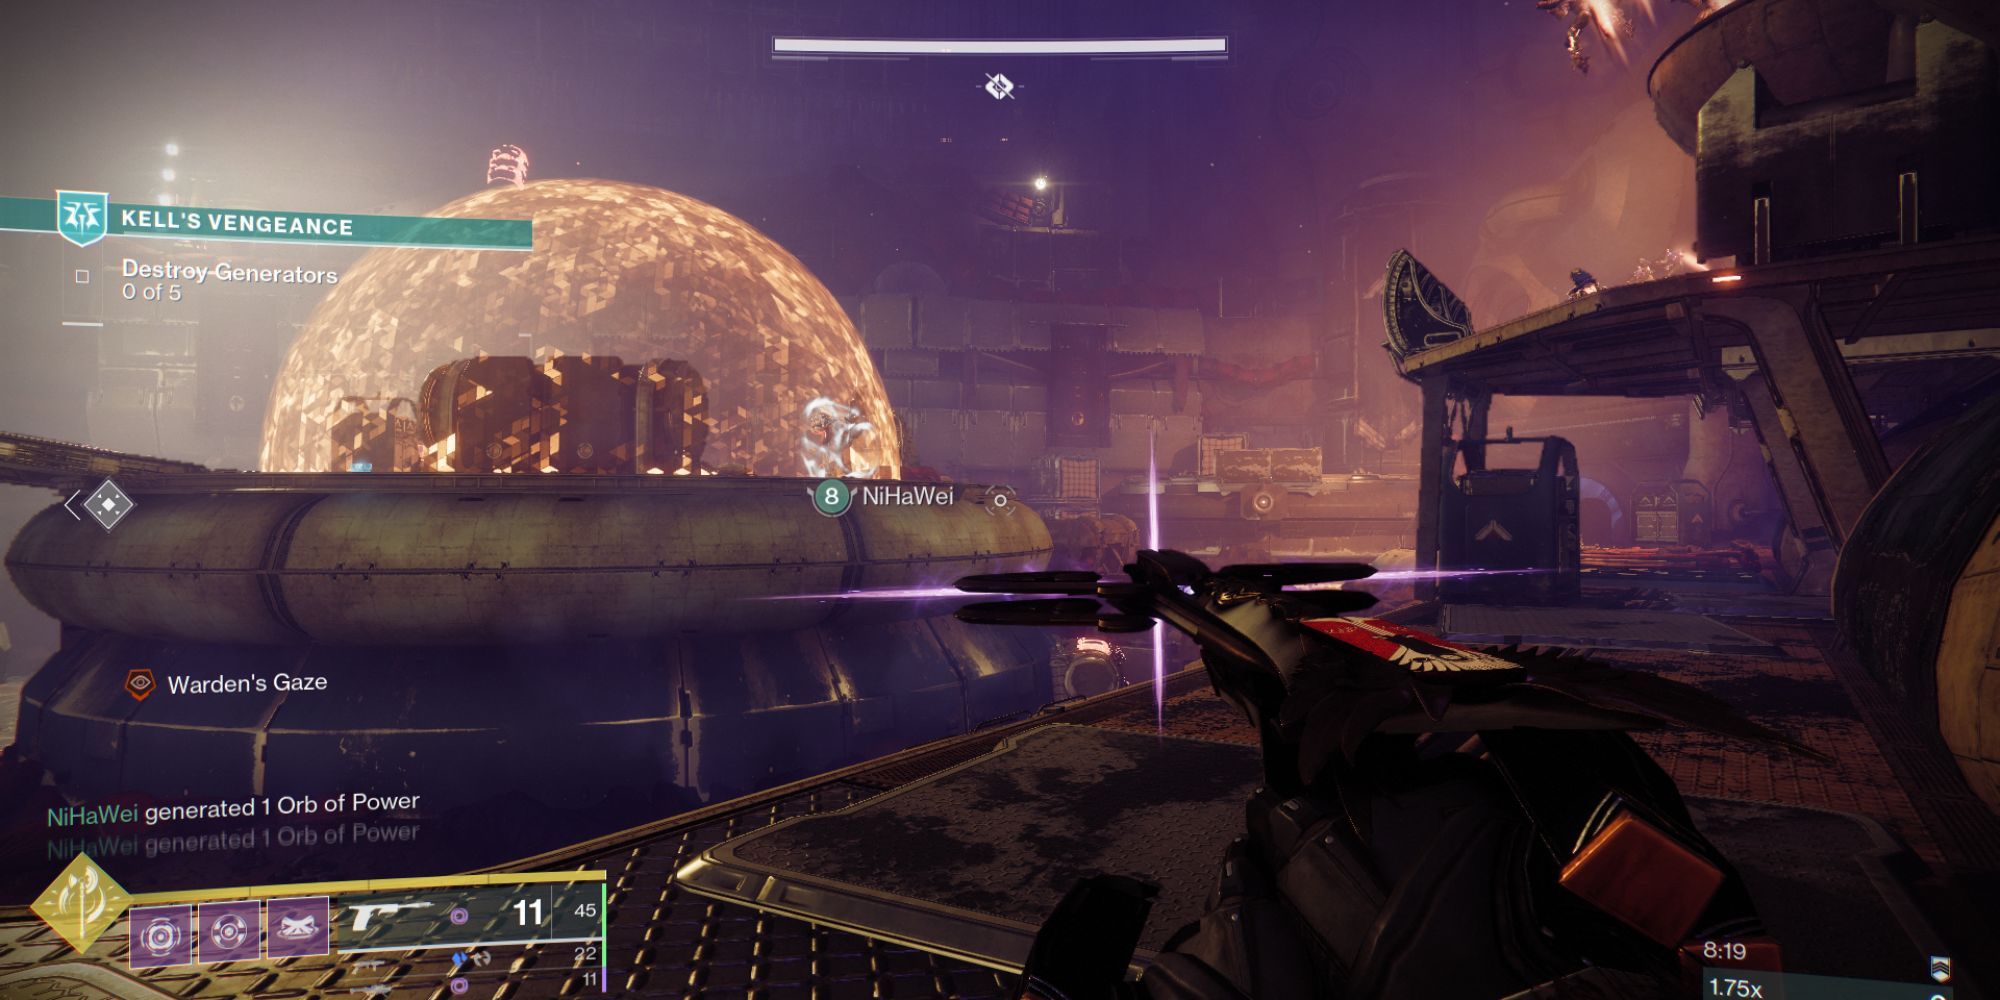
Afterward, you’ll encounter the Cabal, and your primary task is to locate and disable the shields of the twin bosses by destroying five generators scattered throughout the battlefield. These generators can be neutralized using explosive cores, which are obtained from slaying Incendiors that have a Void shield. Each Incendior drops three explosive cores.
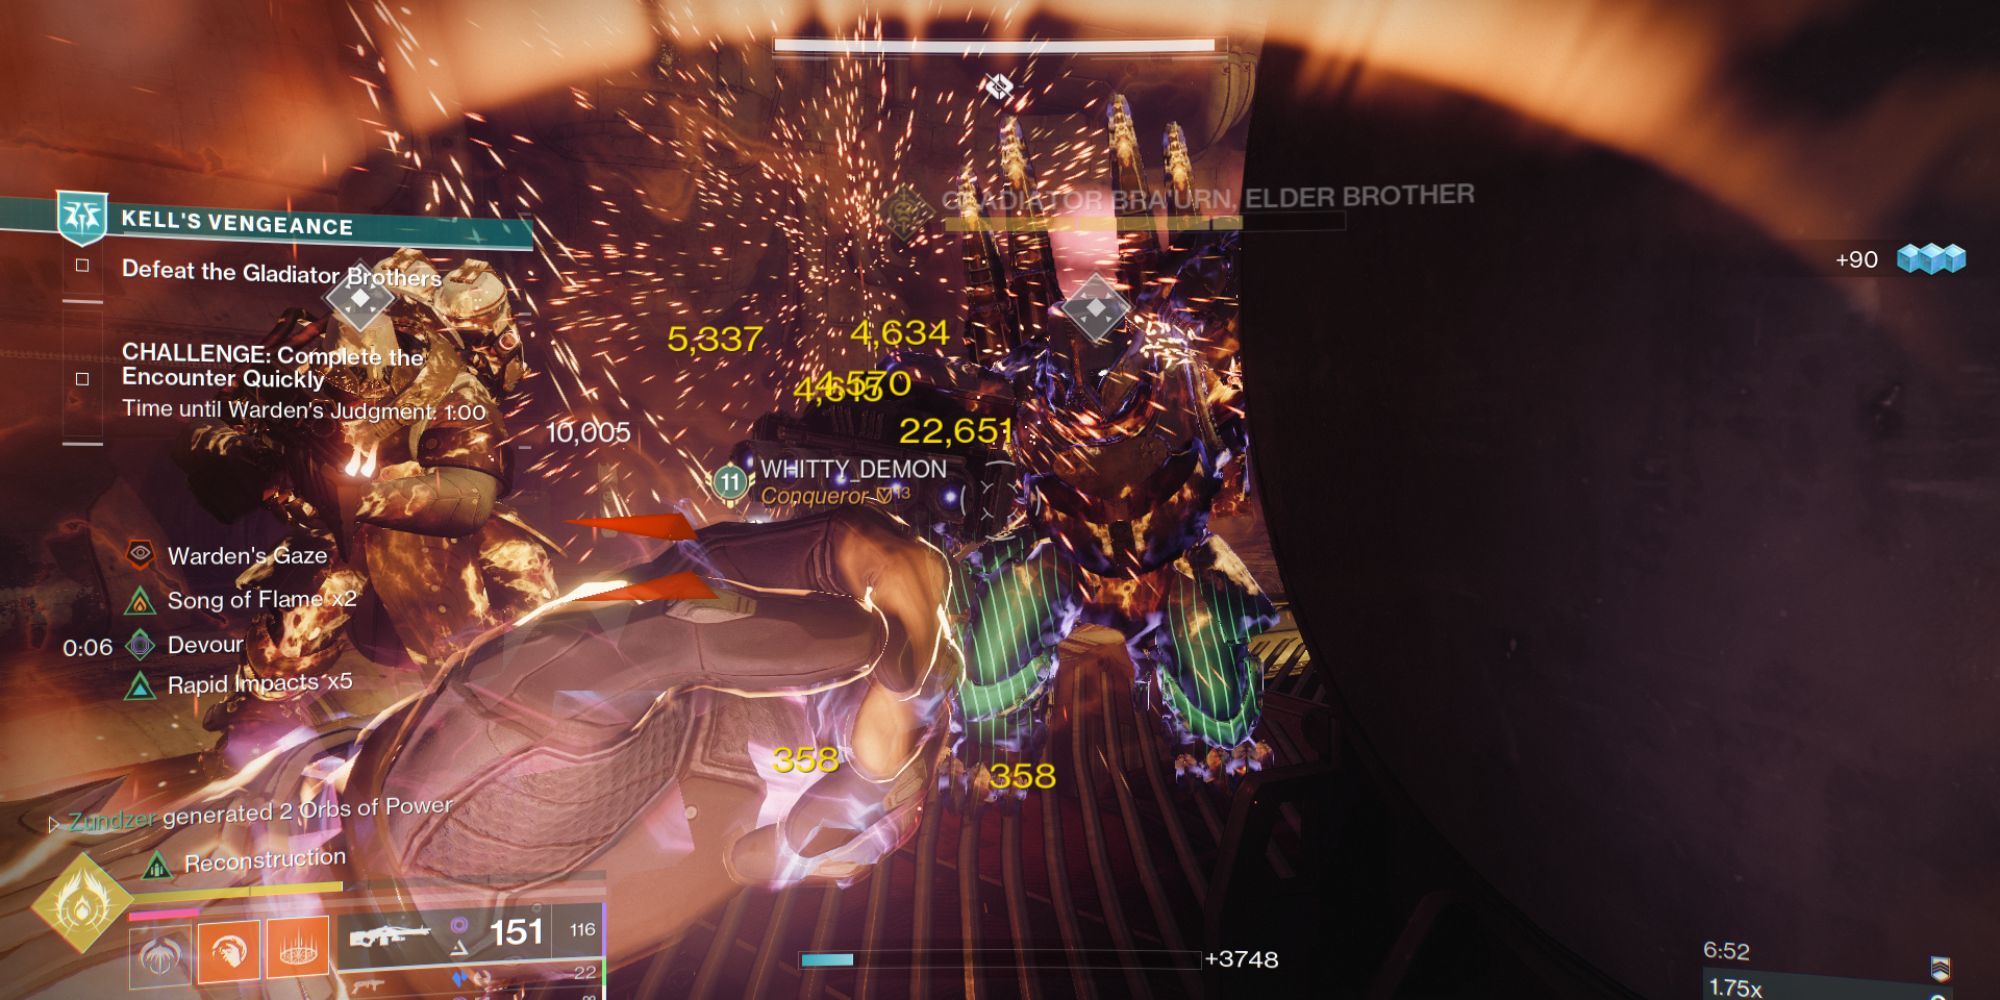
After taking out three generators, the Warden will initiate an additional task. This task requires you to finish the encounter in one minute and thirty seconds.
If you don’t finish the mission, specifically by dealing with any remaining enemies (clearing stragglers), it will result in an immediate defeat for you and your group. Therefore, work efficiently and do everything possible to ensure your team’s survival.
Here’s one way I could rephrase that suggestion in a first-person perspective as a fan:
“I recommend starting by disabling two generators initially, followed by discarding the other core to trigger the next Incendior’s spawn. With three fresh cores at my disposal, I can swiftly eliminate the remaining generators and commence the damage phase immediately. If I manage my actions efficiently, both primary and secondary objectives will kick off simultaneously during the onset of the damage phase.
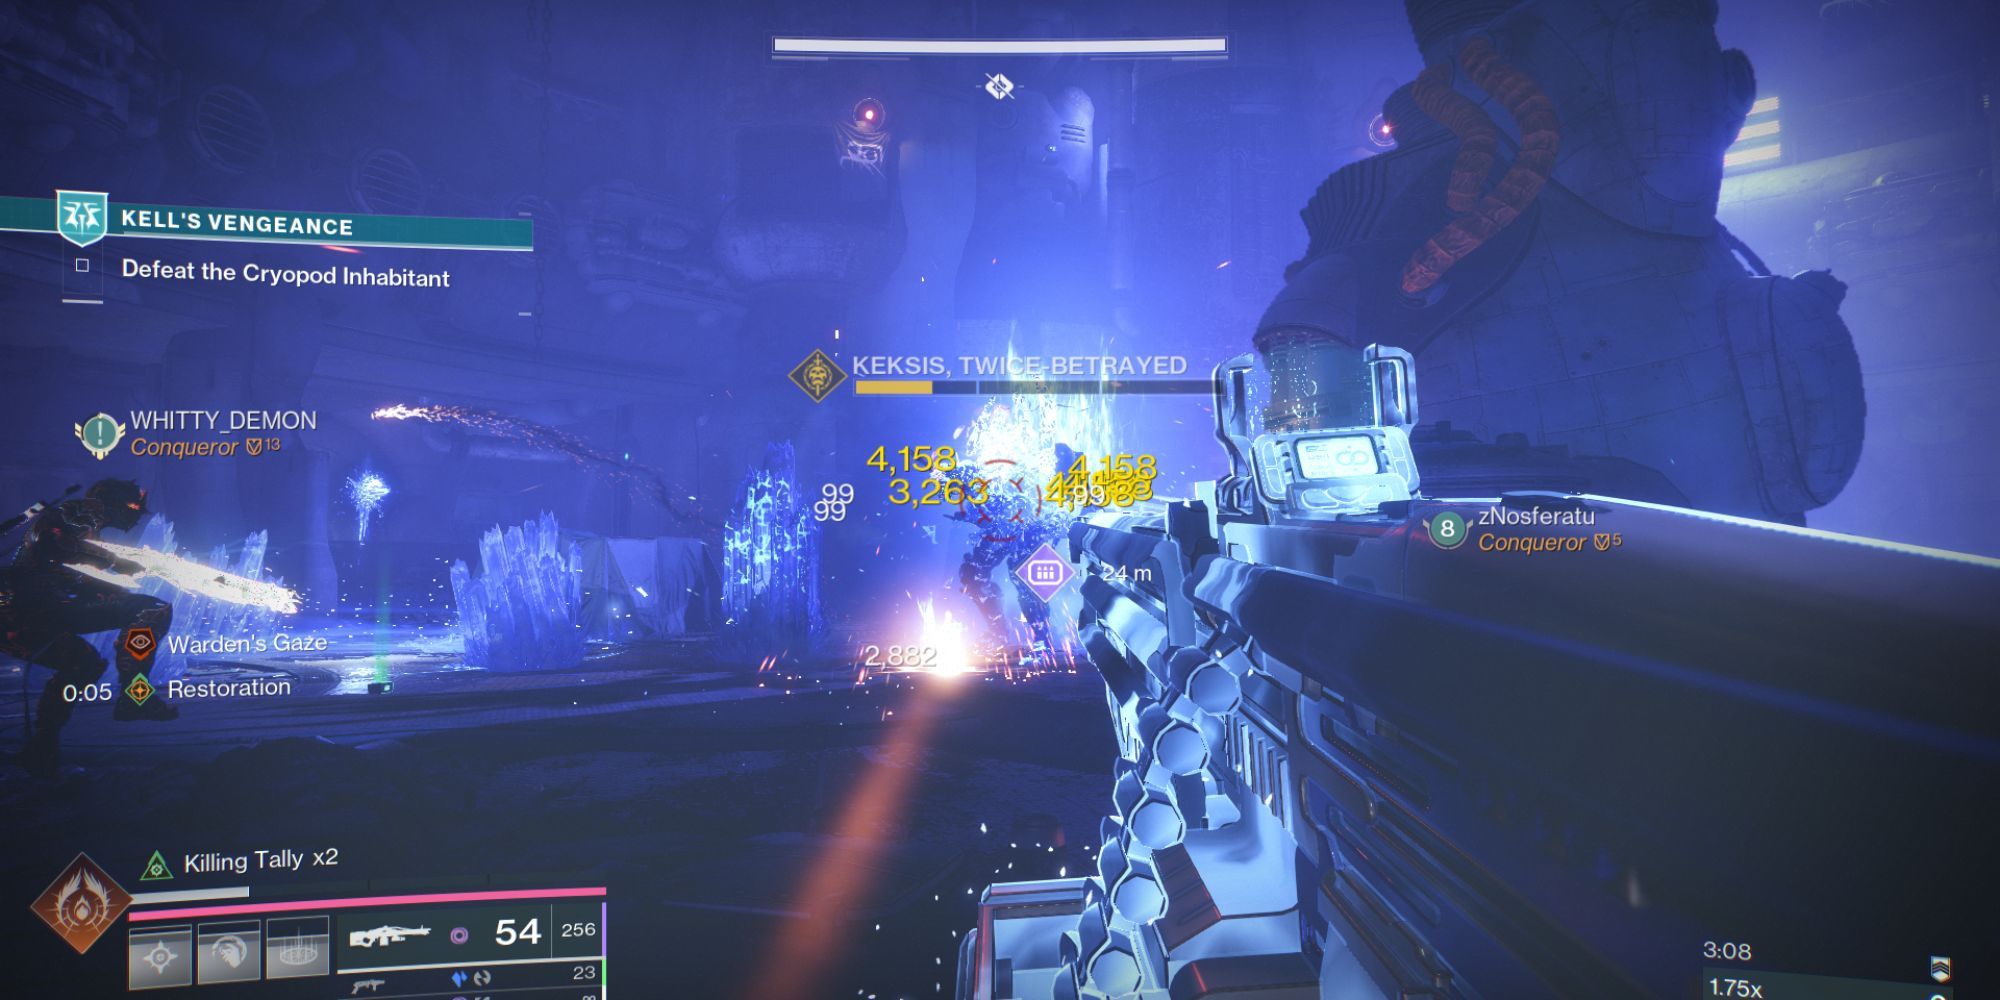
After finishing the Cabal encounter, an airlock will automatically unlock, allowing you to venture through the underground passages while engaging in battles with the relentless Scorn enemies.
Now’s the moment to take a breather and regroup your thoughts, since there’s no immediate pressure concerning secondary objectives. Following this, you’ll find yourself in the principal battle room, gearing up to teach Skolas a lesson.
Skolas, The Scorned Wolf
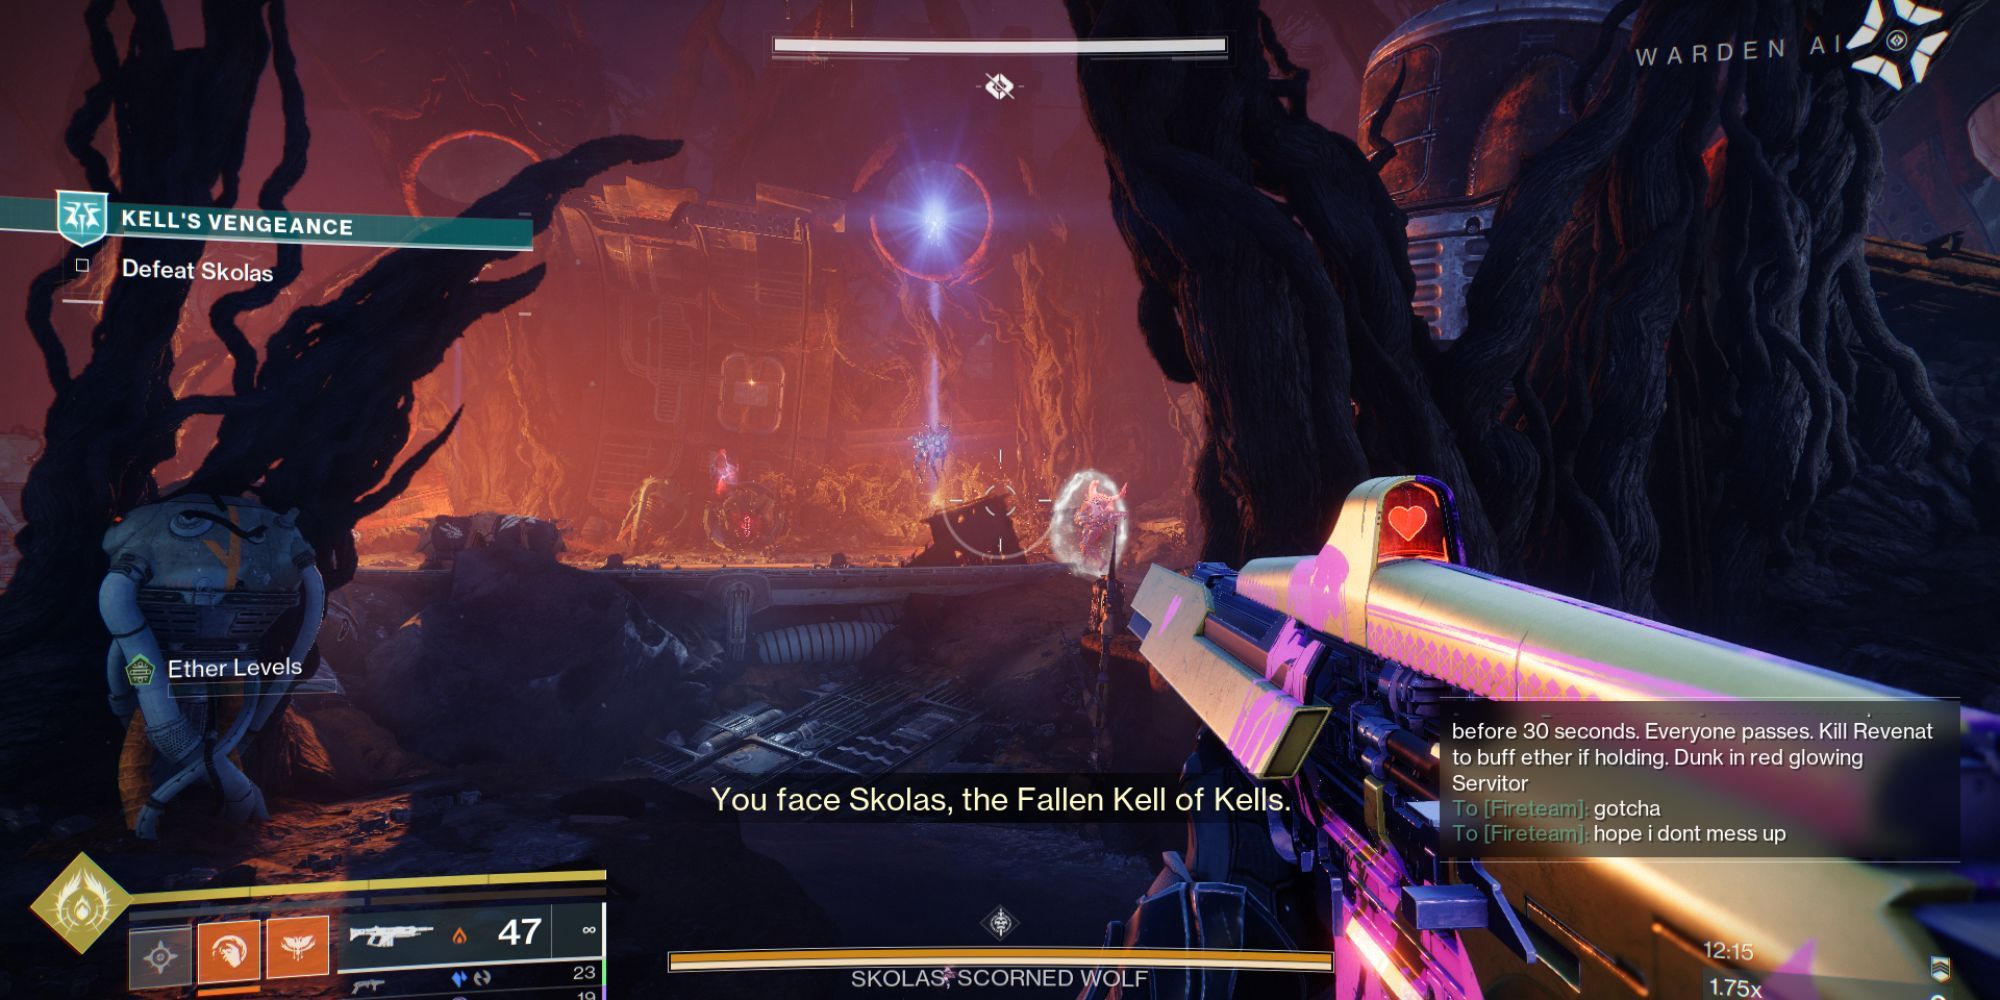
In our upcoming battle against Skolas, if your memory serves, you may recognize some similarities since the fundamental strategy of this confrontation revolves around exchanging the Devouring Essence debuff and depositing Enhanced Essence into Servitors to weaken Skolas for damage dealing.
As the interaction starts, Skolas will materialize on the central platform within the room. One of your teammates will suddenly exhibit a reddish glow, indicating they’ve been infected with Devouring Essence. This detrimental condition will count down for 30 seconds, after which it will instantly cause their demise unless treated promptly.
A sound alert will signal that just 10 seconds remain before you must hand it off to your teammates, so be sure to inform them accordingly.
If you’re playing without voice communication or find it hard to type quickly on a console, it’s crucial to coordinate with your teammates beforehand. They should understand that you will communicate by using emotes to indicate passing on the debuff.
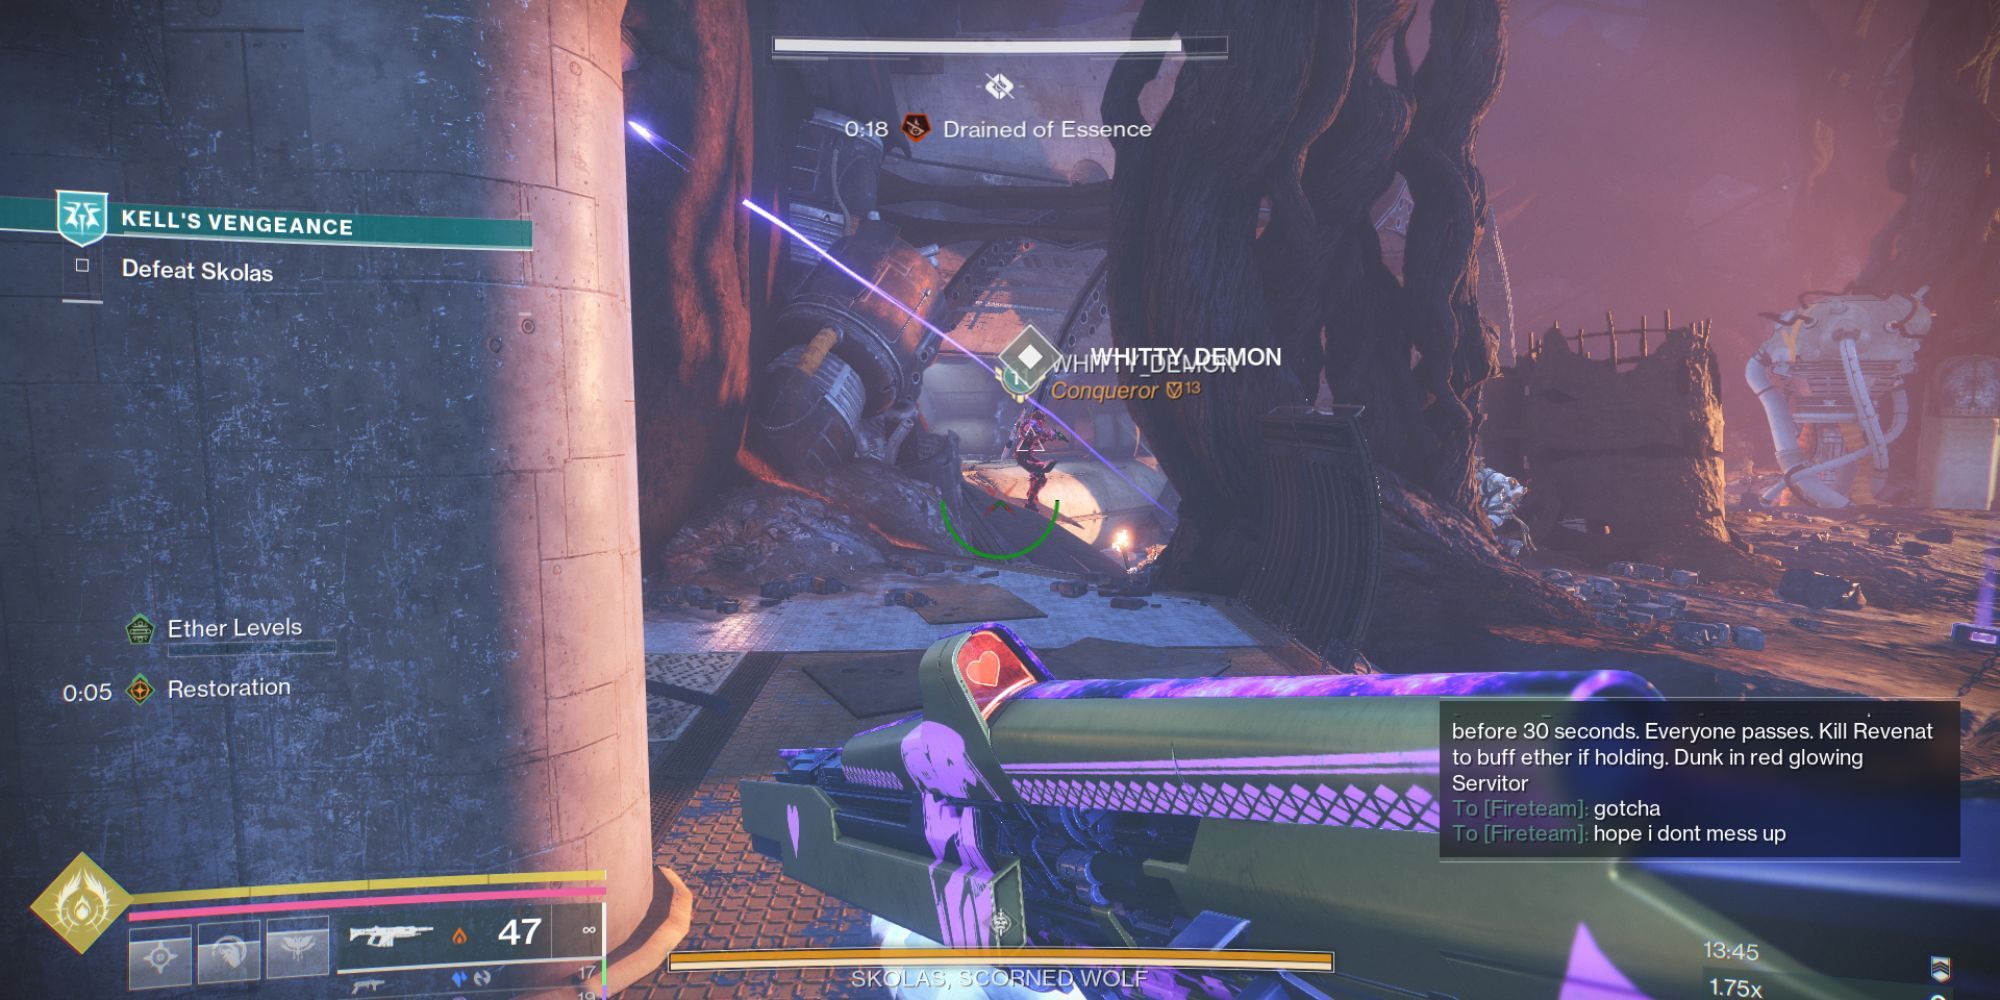
If a teammate grabs Devouring Essence from you, you’ll be unable to reacquire it for 25 seconds, as shown by the “Drained of Essence” debuff on your HUD. This 25-second cool down theoretically allows two players to defeat Skolas together.
After grasping the fundamental workings, your mission is to eliminate four spectral entities known as Revenant Wraiths. Following their defeat, a mini-boss named the Revenant Baron will materialize.
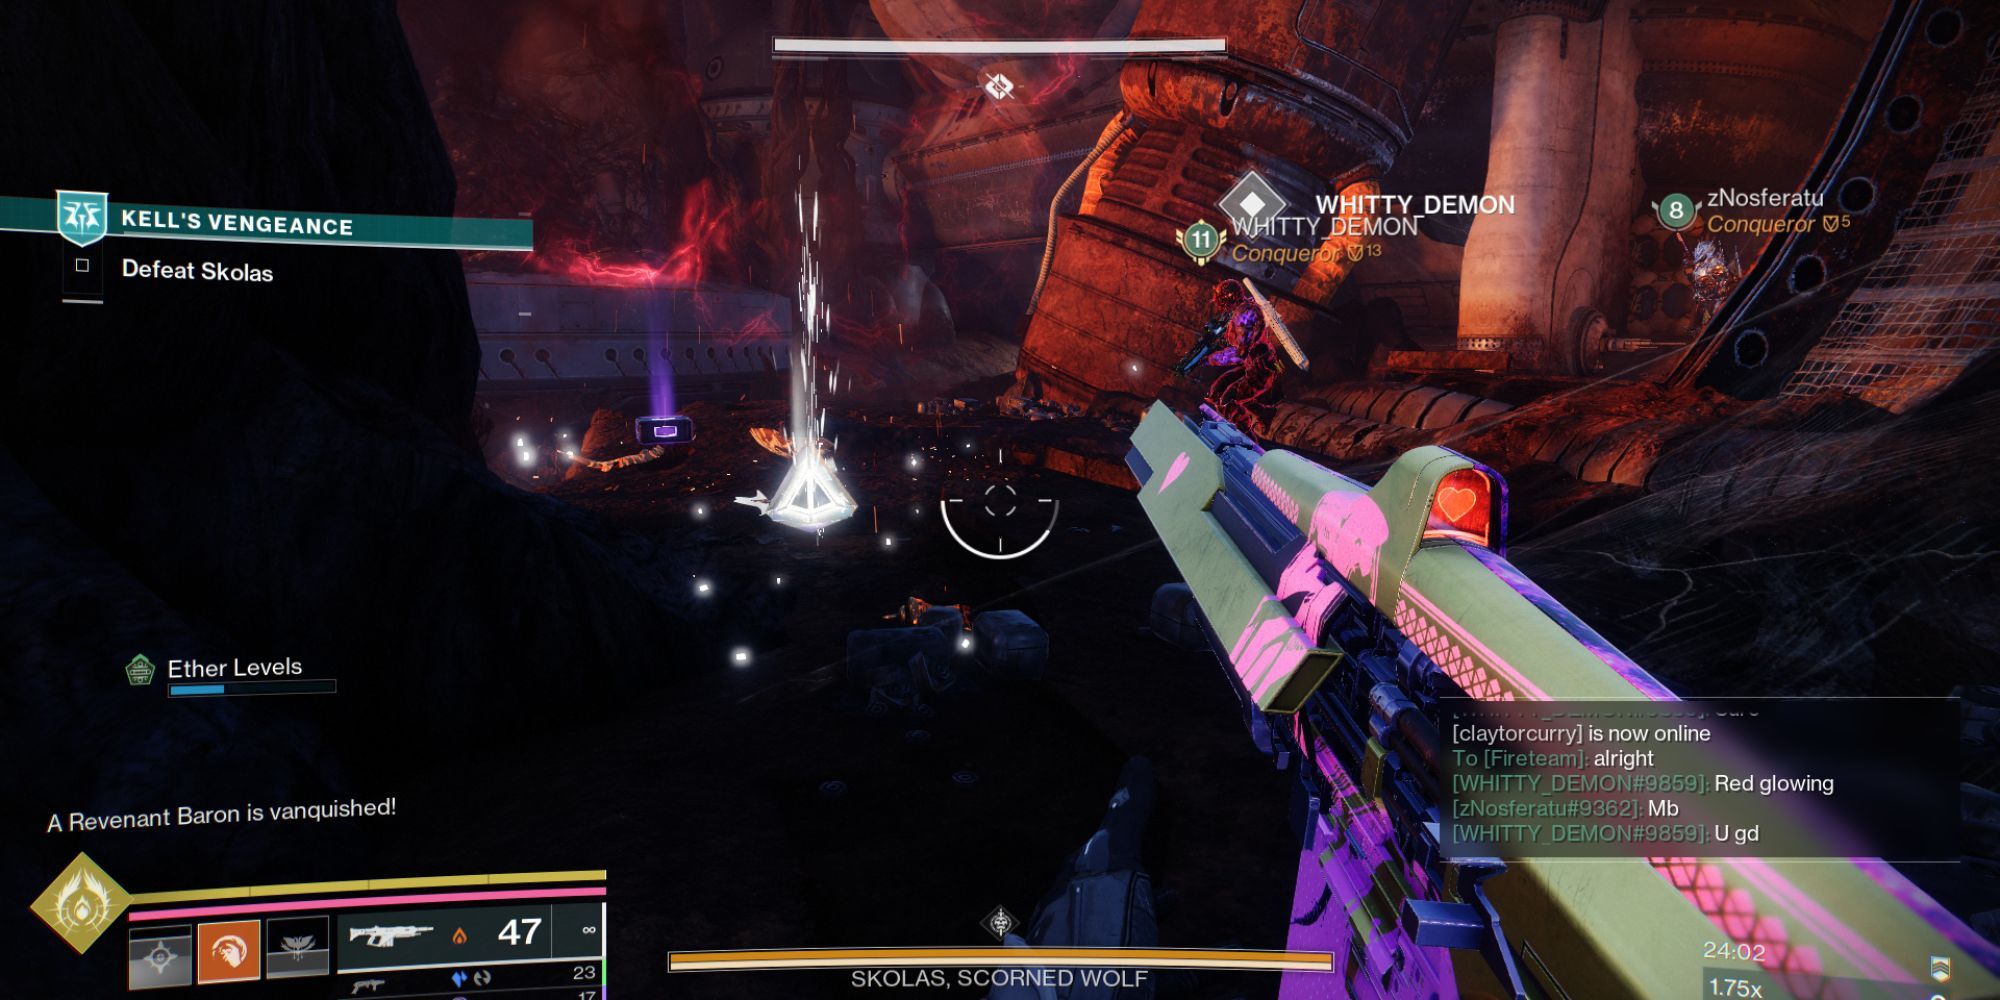
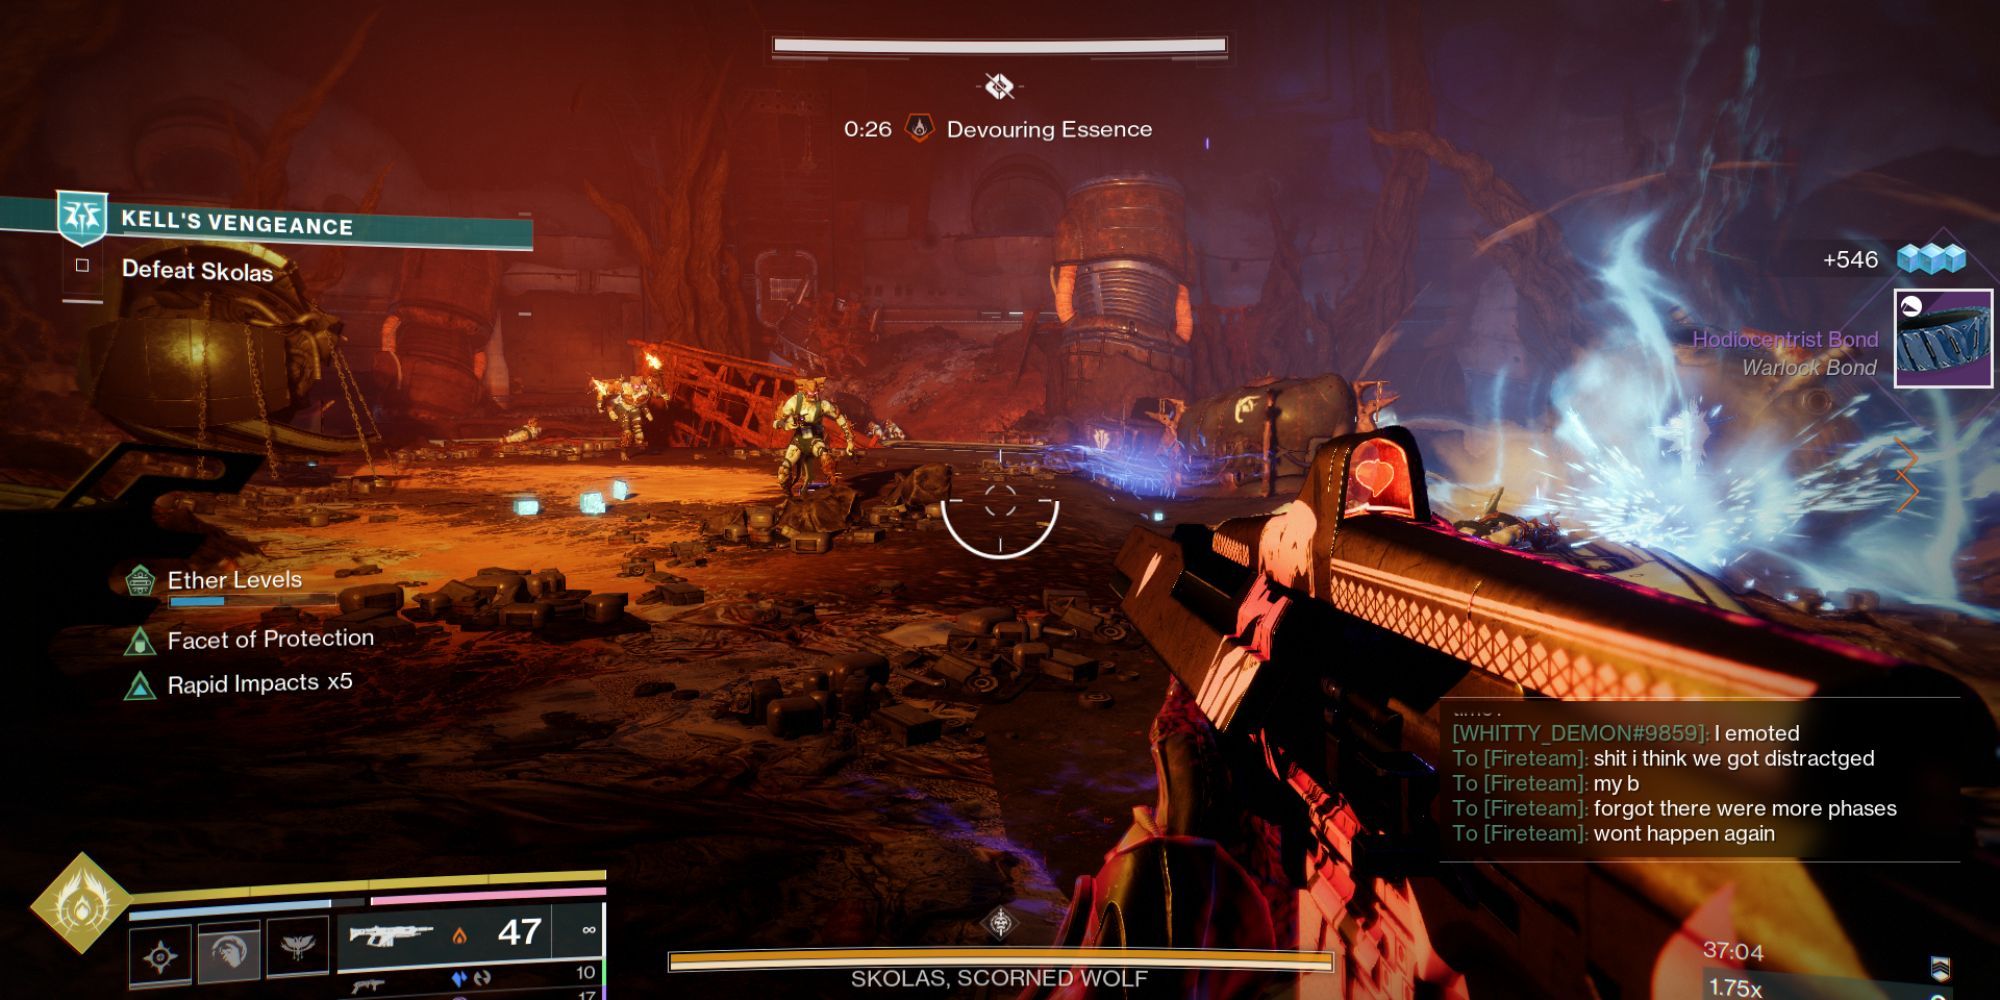
Slaying a Baron and shattering its symbol results in a glowing particle falling onto the floor below. This mote can only be gathered by someone holding the Devouring Essence, which converts the negative effect into Amplified Essence, resetting the timer to an additional 30 seconds.
During the interaction, certain adversaries may generate a floating orb of radiant red energy, which moves towards Skolas. These orbs serve to restore Skolas’ health, so it’s advisable to cultivate the practice of firing at them, even when Skolas appears to be completely healthy.
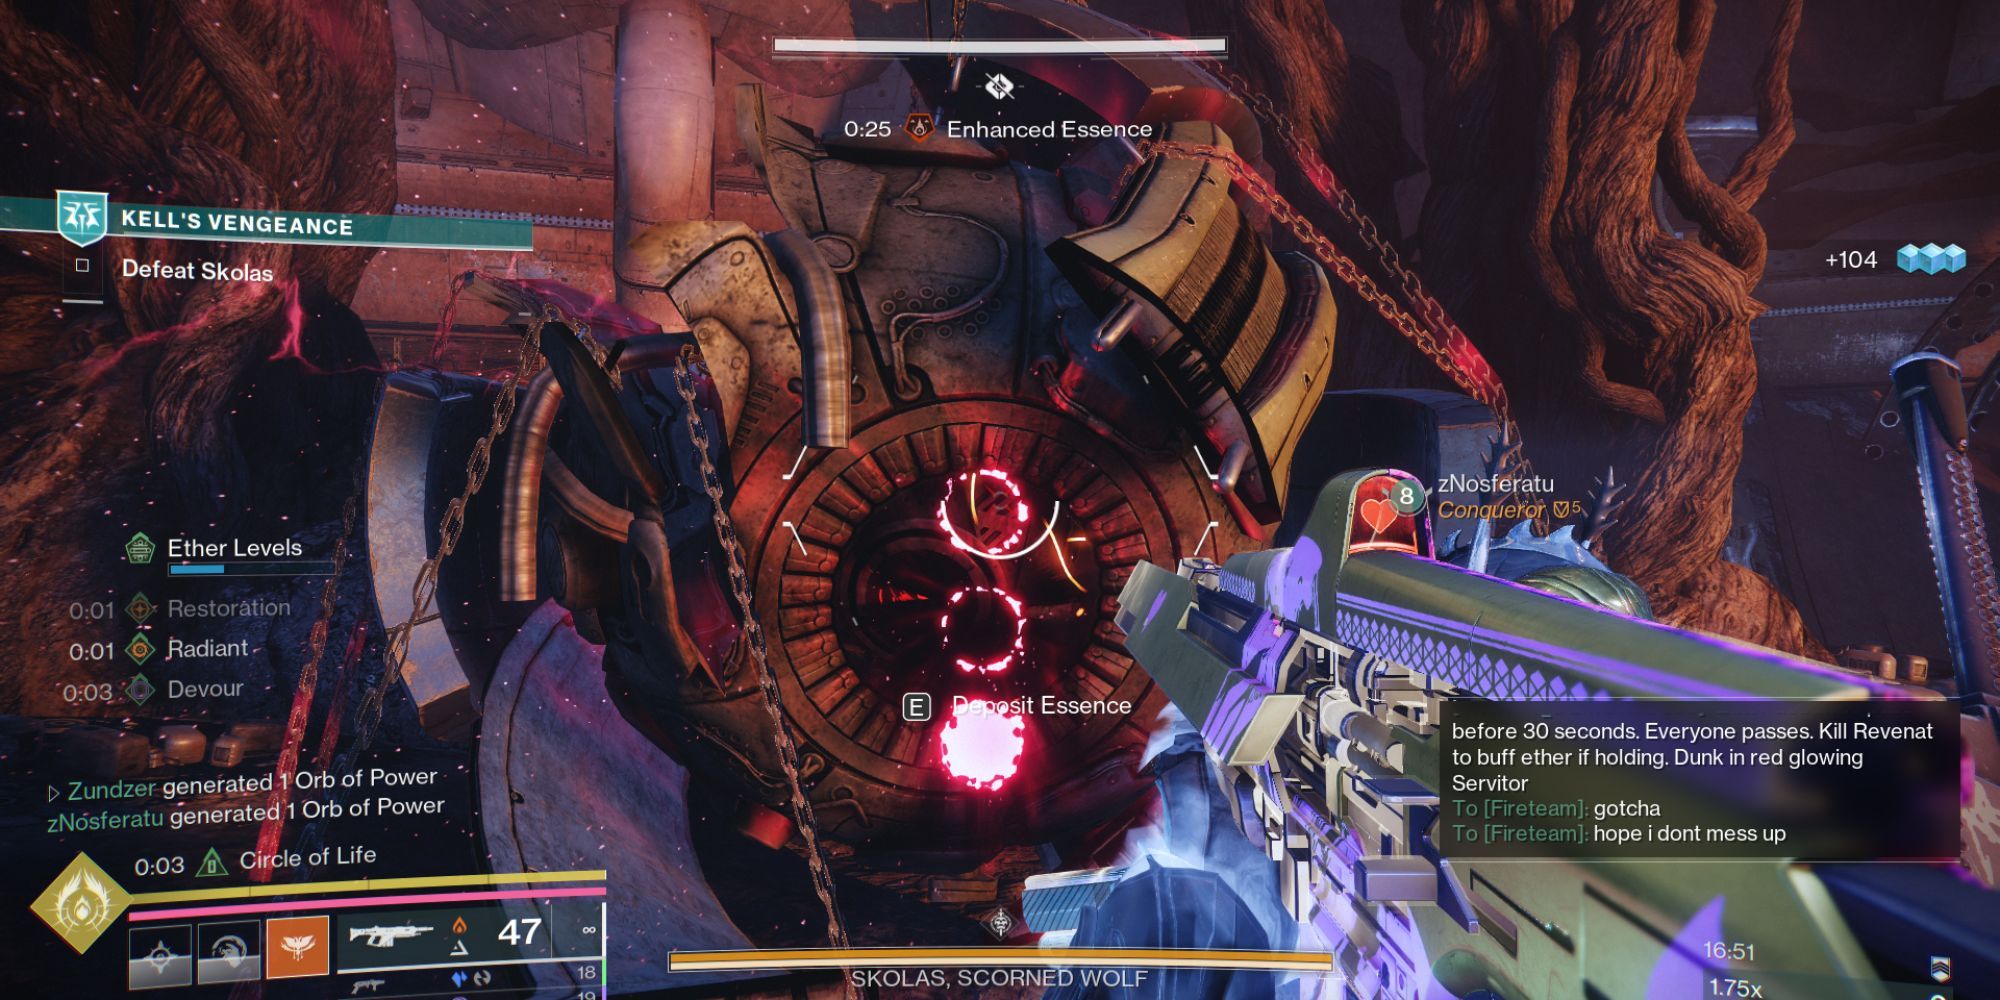
After obtaining the Upgraded Energy, you should store it in one of the three Guardians scattered around the battlefield. These Guardians are recognizable by their radiant red glow, but you’ll only be able to identify the correct one if you possess the Upgraded Energy. Without it, they will remain invisible to you.
Place your debuff in the Servitor three times, as each deposit will increase the “Ether Levels” gauge by a third. You can find this gauge in the left-hand corner of your HUD (Heads-Up Display). Do this process again for two more cycles.
In each loop, numerous adds (including Wraiths) are generated right in the room where Skolas was originally standing. To efficiently create a Baron, follow this strategy: Aim and release a Shadowshot (Deadfall) towards that spot and take out the spawned enemies using a couple of well-placed Consecrations.
After filling up the levels, Skolas will retreat to the platform and start collecting all the Ether you’ve left behind, thus leaving him open for attacks.
During the damage phase, a swarm of red orbs will drift towards Skolas while he’s trying to consume Ether. Each orb restores a tiny bit of health to Skolas, but if your damage output (DPS) is sufficient, you can safely disregard them.
During the damage phase, numerous red orbs approach Skolas as he drinks Ether. These orbs slightly restore his health, but if your damage output is high enough, you can choose to ignore them.
Luckily, the damaging stage persists for roughly half a minute, offering us enough time to inflict substantial harm on the Scorned Kell of Wolves.
How To One-Phase Skolas
You can effortlessly disregard the red orbs by deploying a Titan casting Ward of Dawn, which surprisingly is effective at blocking Skolas’s healing. A suggested team setup would be:
(Note that this is a simplified version and may not reflect the exact game mechanics)
- Void Titan with the Ward of Dawn super and the Helm of Saint-14 helmet, as the Void bubble will increase damage dealt by 25% and will block out any red orb from hitting Skolas.
- Void or Prismatic Hunter with Deadfall Shadowshot, debuffing Skolas and making him 30% more vulnerable to all damage.
- Thundercrash Titan or any other damage-oriented Super for pure DPS.
Lastly, here’s the grand finale: the tale of Acrius, a unique, heavy-duty shotgun that unleashes substantial arc damage on any hapless target within its reach. Following a successful melee strike, Trench Barrel boosts the next three shots by an impressive 50%.
Even with the Void and Stasis Surges activated, the destructive power of Legend of Acrius often outdoes that of any other weapon.
Or in a more colloquial style:
Even when the Void and Stasis Surges are going, Legend of Acrius still deals damage that beats pretty much every other gun out there.
Before moving to the damage phase, ensure the following: Your Void Titan approaches Skolas closely and creates a protective bubble around them. Simultaneously, any Hunter in your team will launch a tether.
During the damage phase, feel free to unleash all your power using the Legend of Acrius. If you don’t possess Legend of Acrius, I’d suggest instead a sword with Vortex Frame (such as Falling Guillotine or False Idols) or Lament for optimal results.
A Behemoth Titan’s Glacial Quake ability could potentially inflict extensive harm inside the bubble, though I haven’t verified this yet.
Executing this method can very easily one-phase Skolas, if not get him at around 20% health.
Kell’s Vengeance Rewards
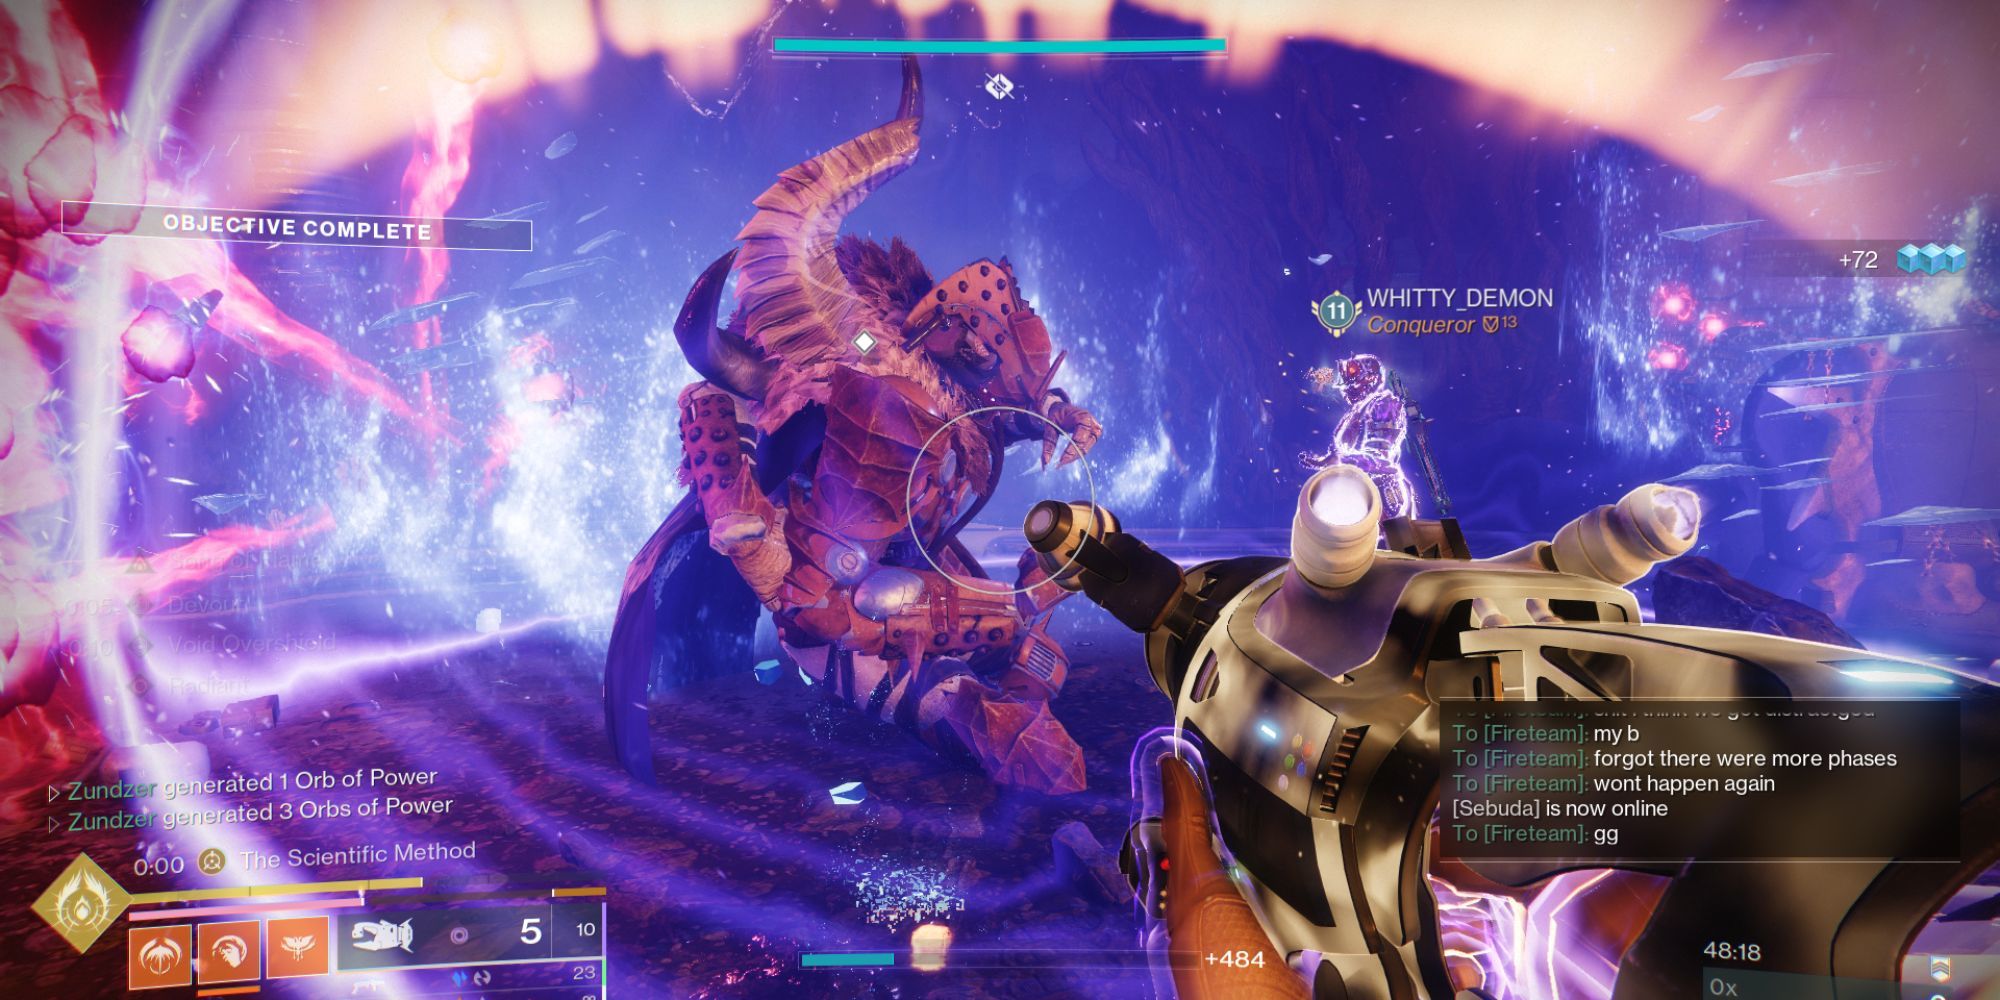
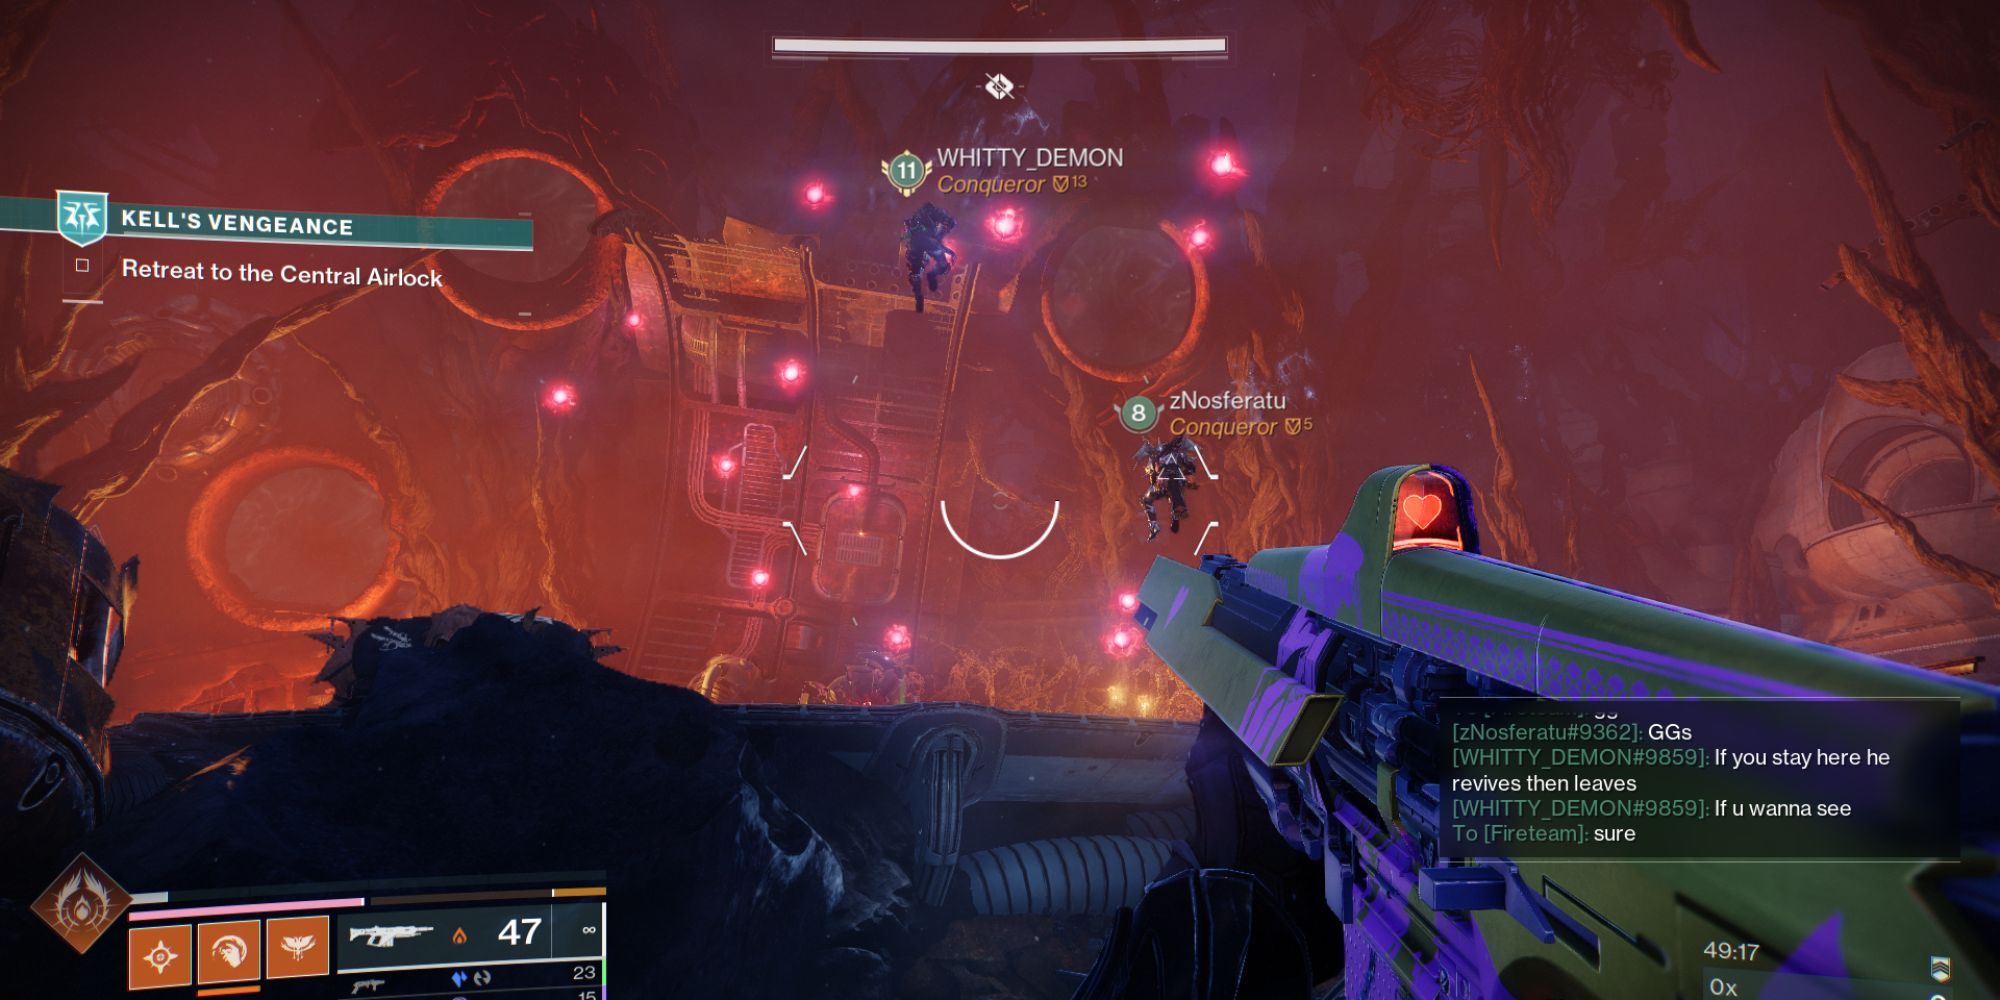
After defeating Skolas, the doors automatically unlock, giving you access to reenter the central airlock so you can collect your prize in the opulently decorated treasure chamber.
Hanging out near the arena for a while will reveal that Skolas seems to have a knack for coming back to life – only to vanish again. This could potentially hint at additional storylines involving him down the line.
Completing Kell’s Vengeance will net you the following rewards:
- Renunciation Exotic Ship (guaranteed)
- Revenant Redress Emblem (small chance)
- Tonic Reagents
- Tomb of Elders Weapons
If you fail to obtain the Revenant Redress emblem during your initial attempt, feel free to try the mission again and again until it eventually drops for you.
Read More
- Top 8 UFC 5 Perks Every Fighter Should Use
- Unlock the Magic: New Arcane Blind Box Collection from POP MART and Riot Games!
- Unaware Atelier Master: New Trailer Reveals April 2025 Fantasy Adventure!
- Unlock the Best Ending in Lost Records: Bloom & Rage by Calming Autumn’s Breakdown!
- Unlock Roslit Bay’s Bestiary: Fisch Fishing Guide
- How to Reach 80,000M in Dead Rails
- REPO: How To Fix Client Timeout
- Unleash Hell: Top10 Most Demanding Bosses in The First Berserker: Khazan
- Reverse: 1999 – Don’t Miss These Rare Character Banners and Future Upcoming Updates!
- How to Unlock the Mines in Cookie Run: Kingdom
2025-01-20 17:41