Quick Links
- Kell’s Fall Difficulty Variants
-
Load-In And Trickster Skirmish
-
Exploring The Fortress
-
Fighting Pits – The Mad Bomber
-
Locate The Sanctum
-
Defeat The Mindbender
-
Defeat The Trickster (Again)
-
Defeat Fikrul And His Minions
-
Secret: The Organ
-
Secret: Illusory Anchors
In the latest development of “Destiny 2”, the final act of Revenant, known as “Revenant’s Endgame”, has been unveiled. The storyline involving Fikrul has come to an end, and it’s now time for players to eliminate Fikrul permanently in the brand new exotic mission called “Kell’s Fall”.
If you haven’t yet finished Act III, Bungie’s latest narrative approach allows you to experience the whole story at once, catching you up to the current events.
Finishing the tale of Kell’s Fall will not just wrap up this episode’s storyline, but you’ll also receive the latest exotic shotgun, Slayer’s Fang. Here’s your complete guide, so get ready to fasten your seatbelts.
Kell’s Fall Difficulty Variants
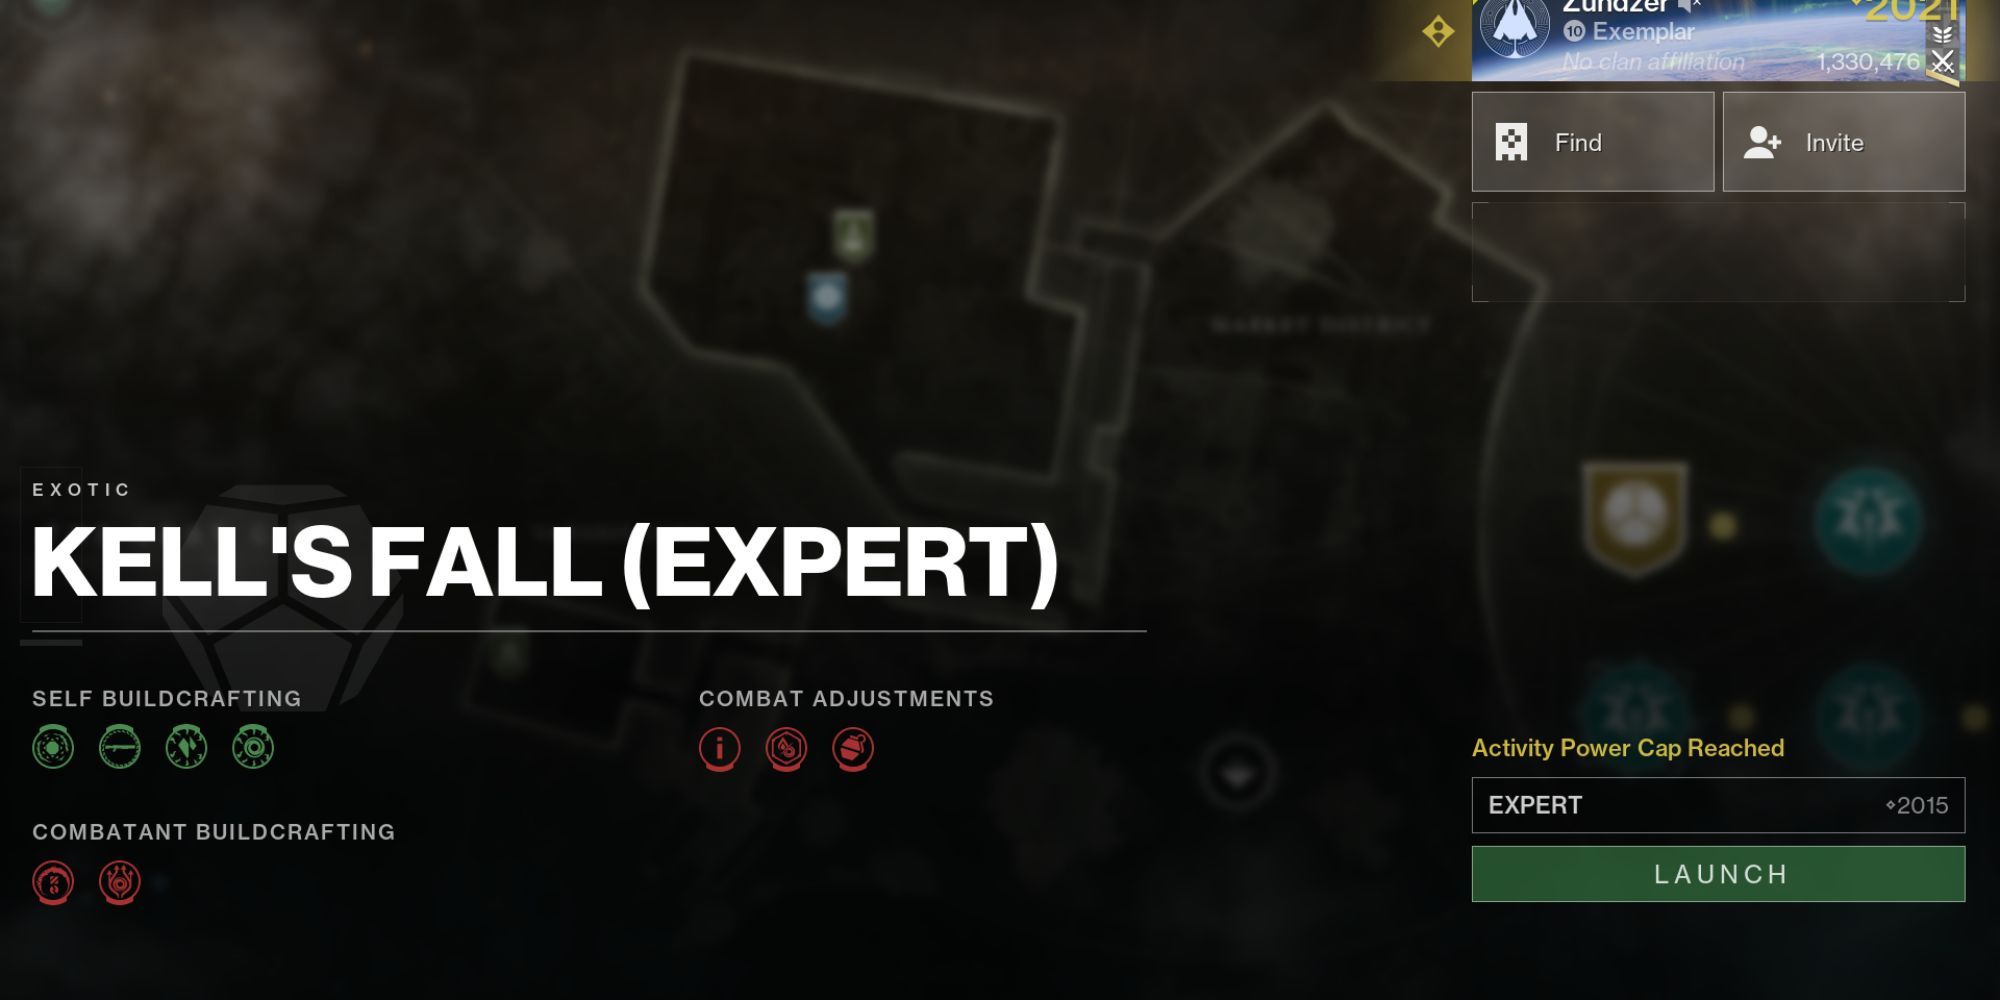
Just as with every Exotic Mission, Kell’s Fall includes both Standard and Expert levels. The standard level features only elemental surges and hazards, while the Expert version presents additional challenges such as Overload and Unstoppable Champions. The Power Cap for the Standard difficulty is 1955, while it’s 2015 for the Expert level.
Because your level has a -15 Power handicap, enemies hit much harder than normal.
Objectives and puzzles are the same between Standard and Expert.
Load-In And Trickster Skirmish
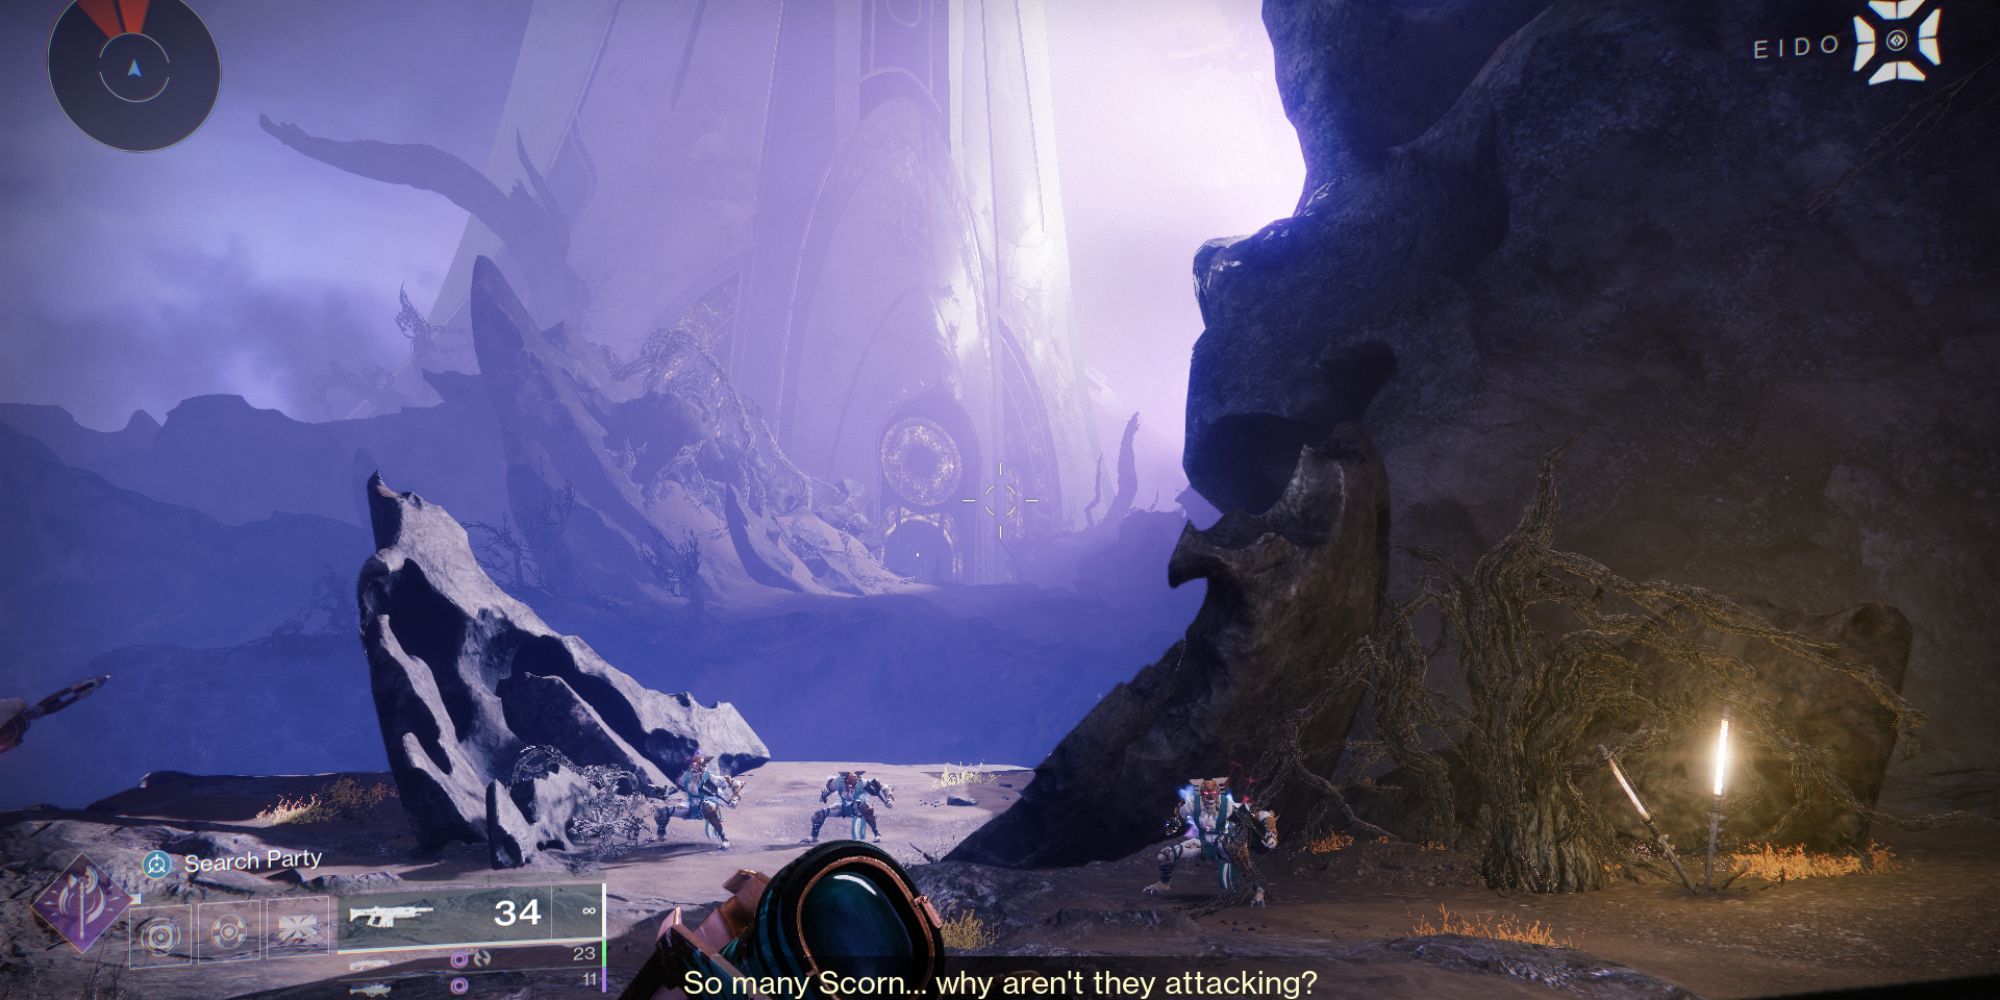
Upon entering, you’ll notice that Scorn is observing your actions closely as you near the fortress. Since combat with Scorn isn’t an option at this point, take a moment to appreciate the surroundings. As you advance, some dialogue may ensue until you finally stand before the fortress entrance.
Upon reaching the entrance, there will be no allowance for weapons. Before the impending turmoil, Araskes, the Trickster, along with additional enemies, will appear. For now, relax as this area is not under any restrictions.
occasionally, the Trickster vanishes and leaves explosives in her last known location. However, she isn’t overly hostile or aggressive.
or
Sometimes, the Trickster disappears mysteriously, only to reappear by placing bombs at her previous spot. Nevertheless, she’s more elusive than combative.
Reducing a third of her vitality causes the Trickster to withdraw, concluding their initial skirmish. As the doors open wide, you’re now ready to advance into the true heart of the Fortress.
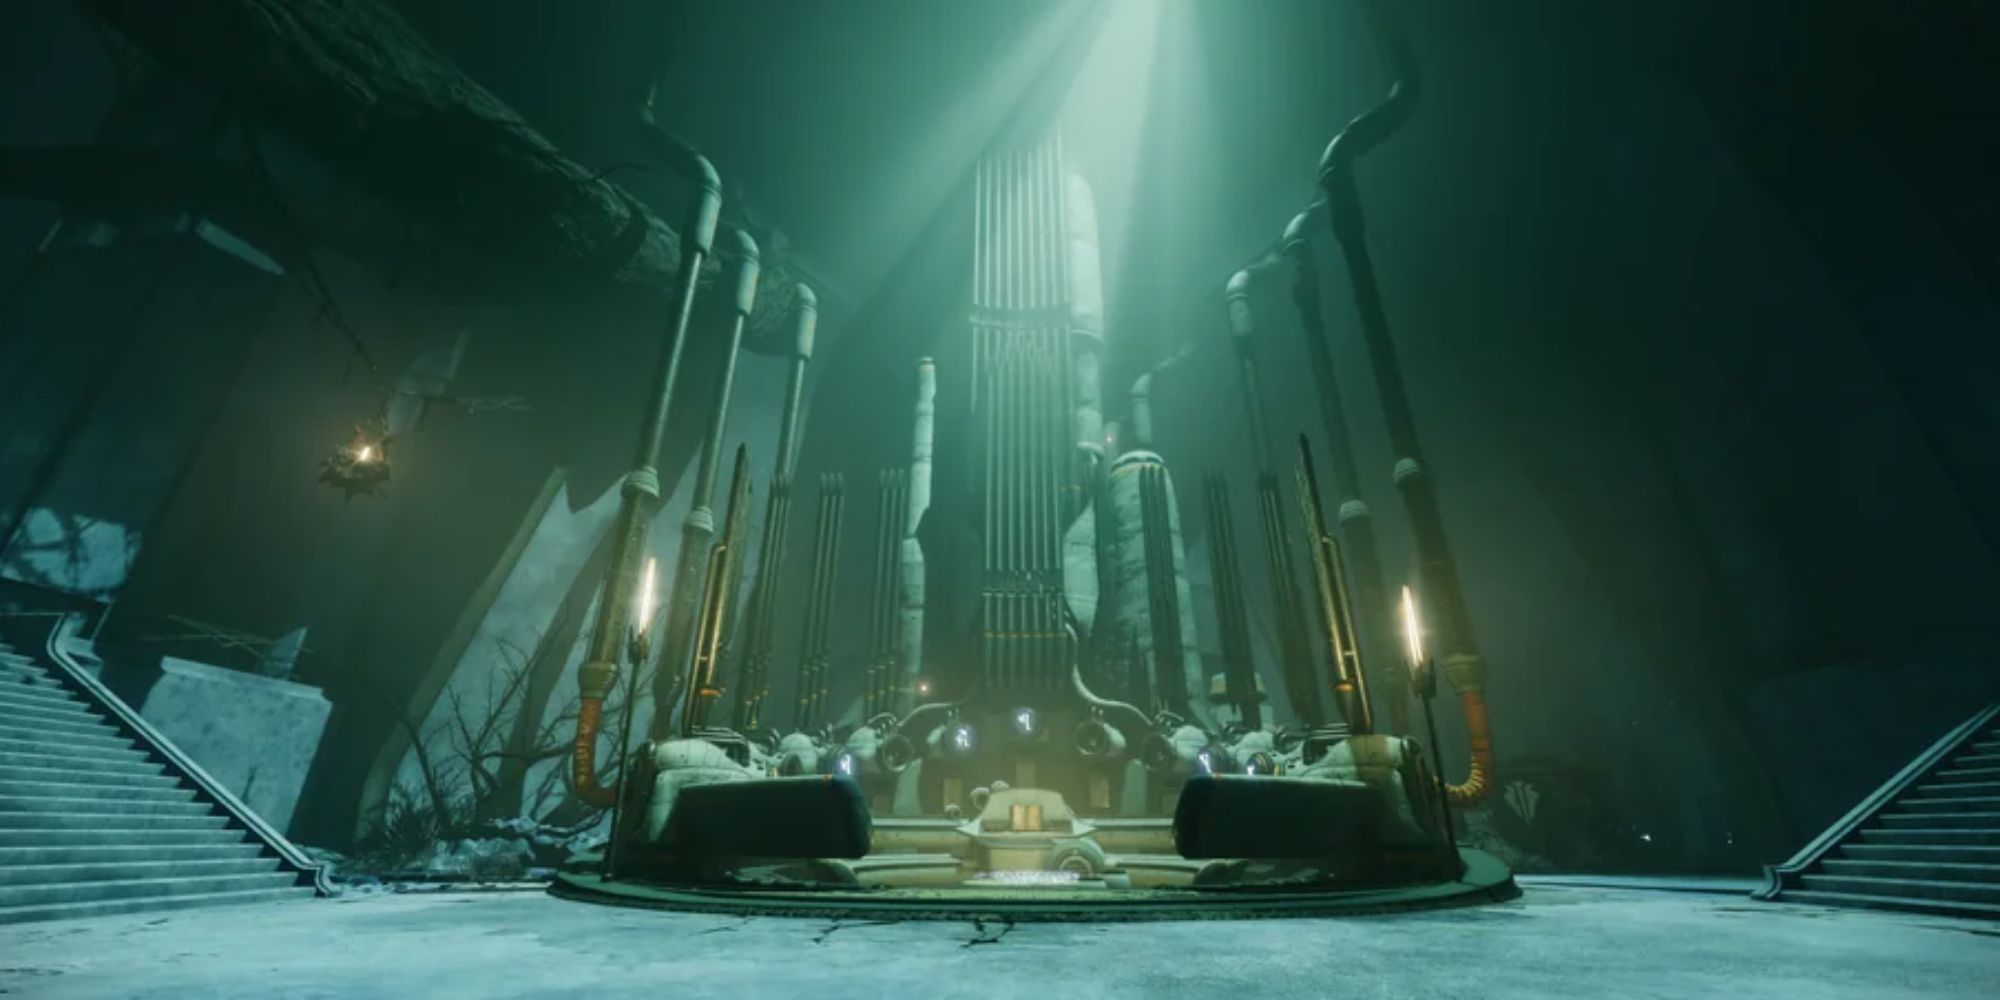
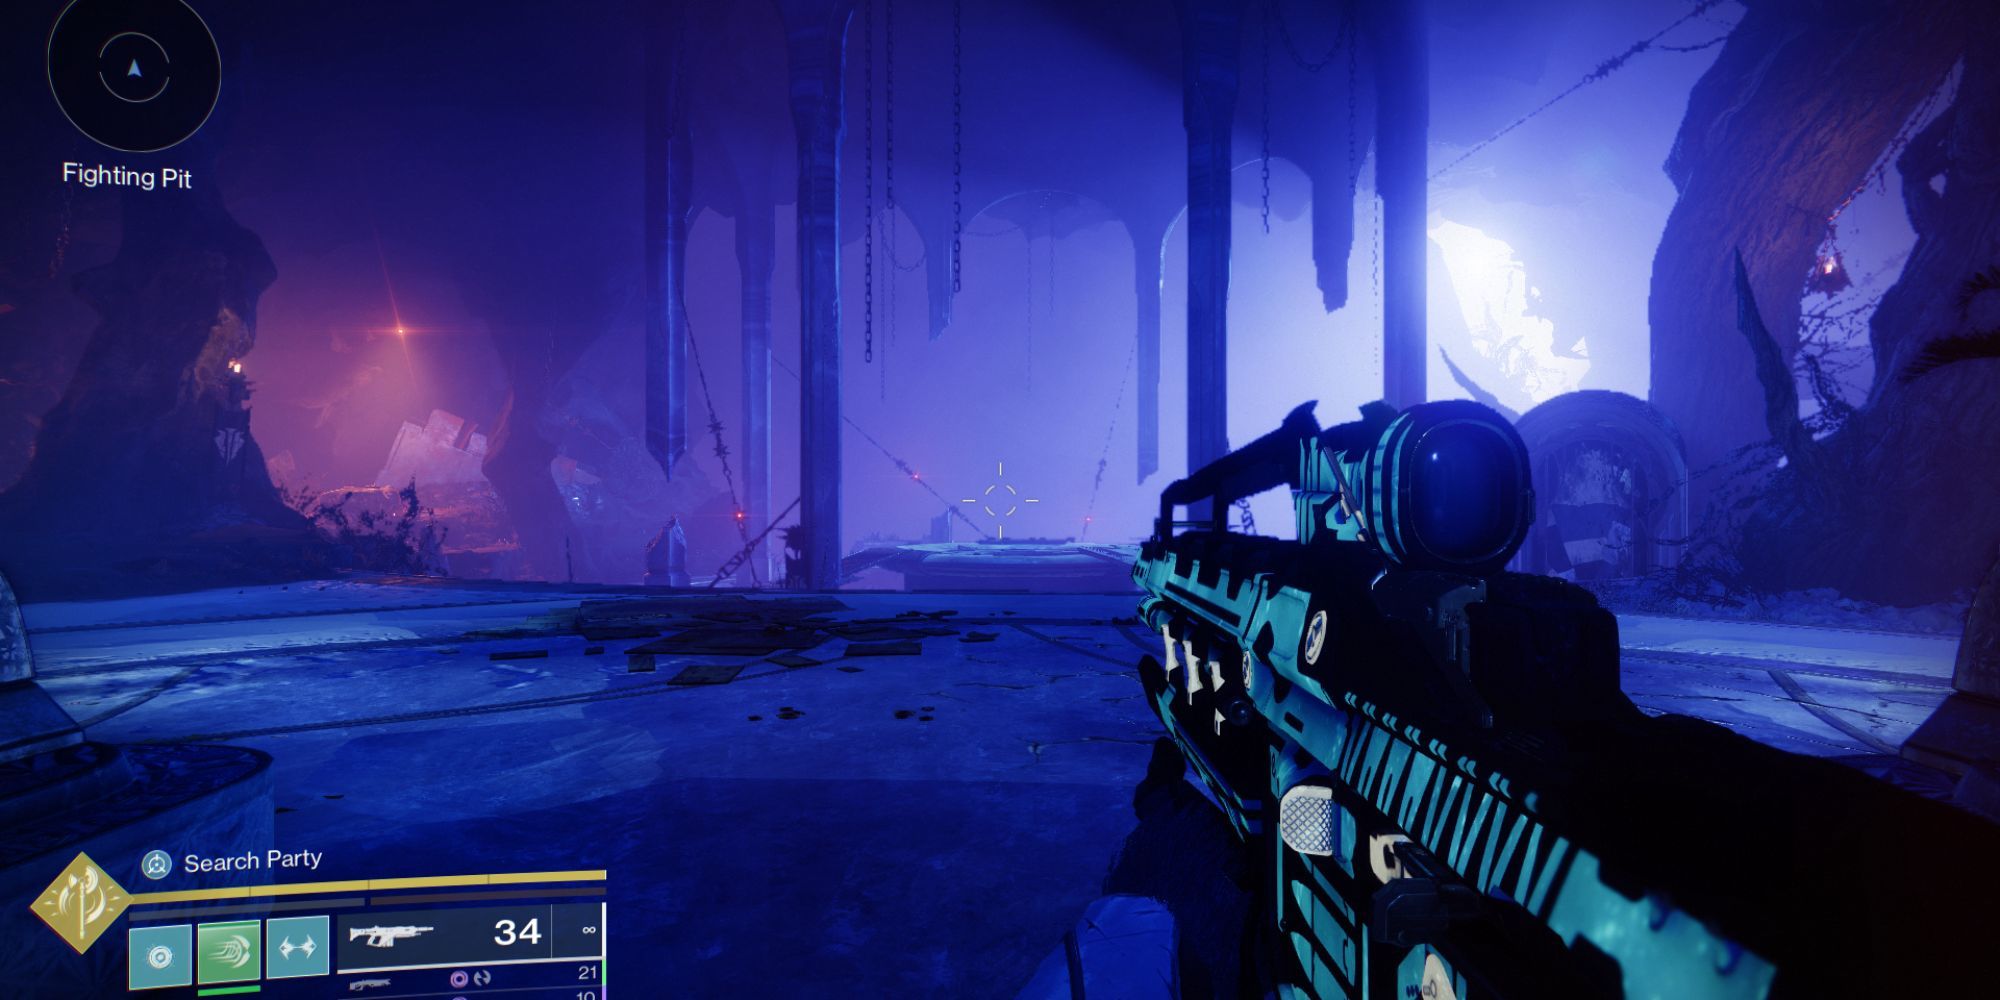
Exploring The Fortress
At the conclusion of the cathedral, you’ll encounter a formidable Scorn boss. However, you won’t have the opportunity to engage in battle with him right away, as he vanishes the instant you step into the fortress.
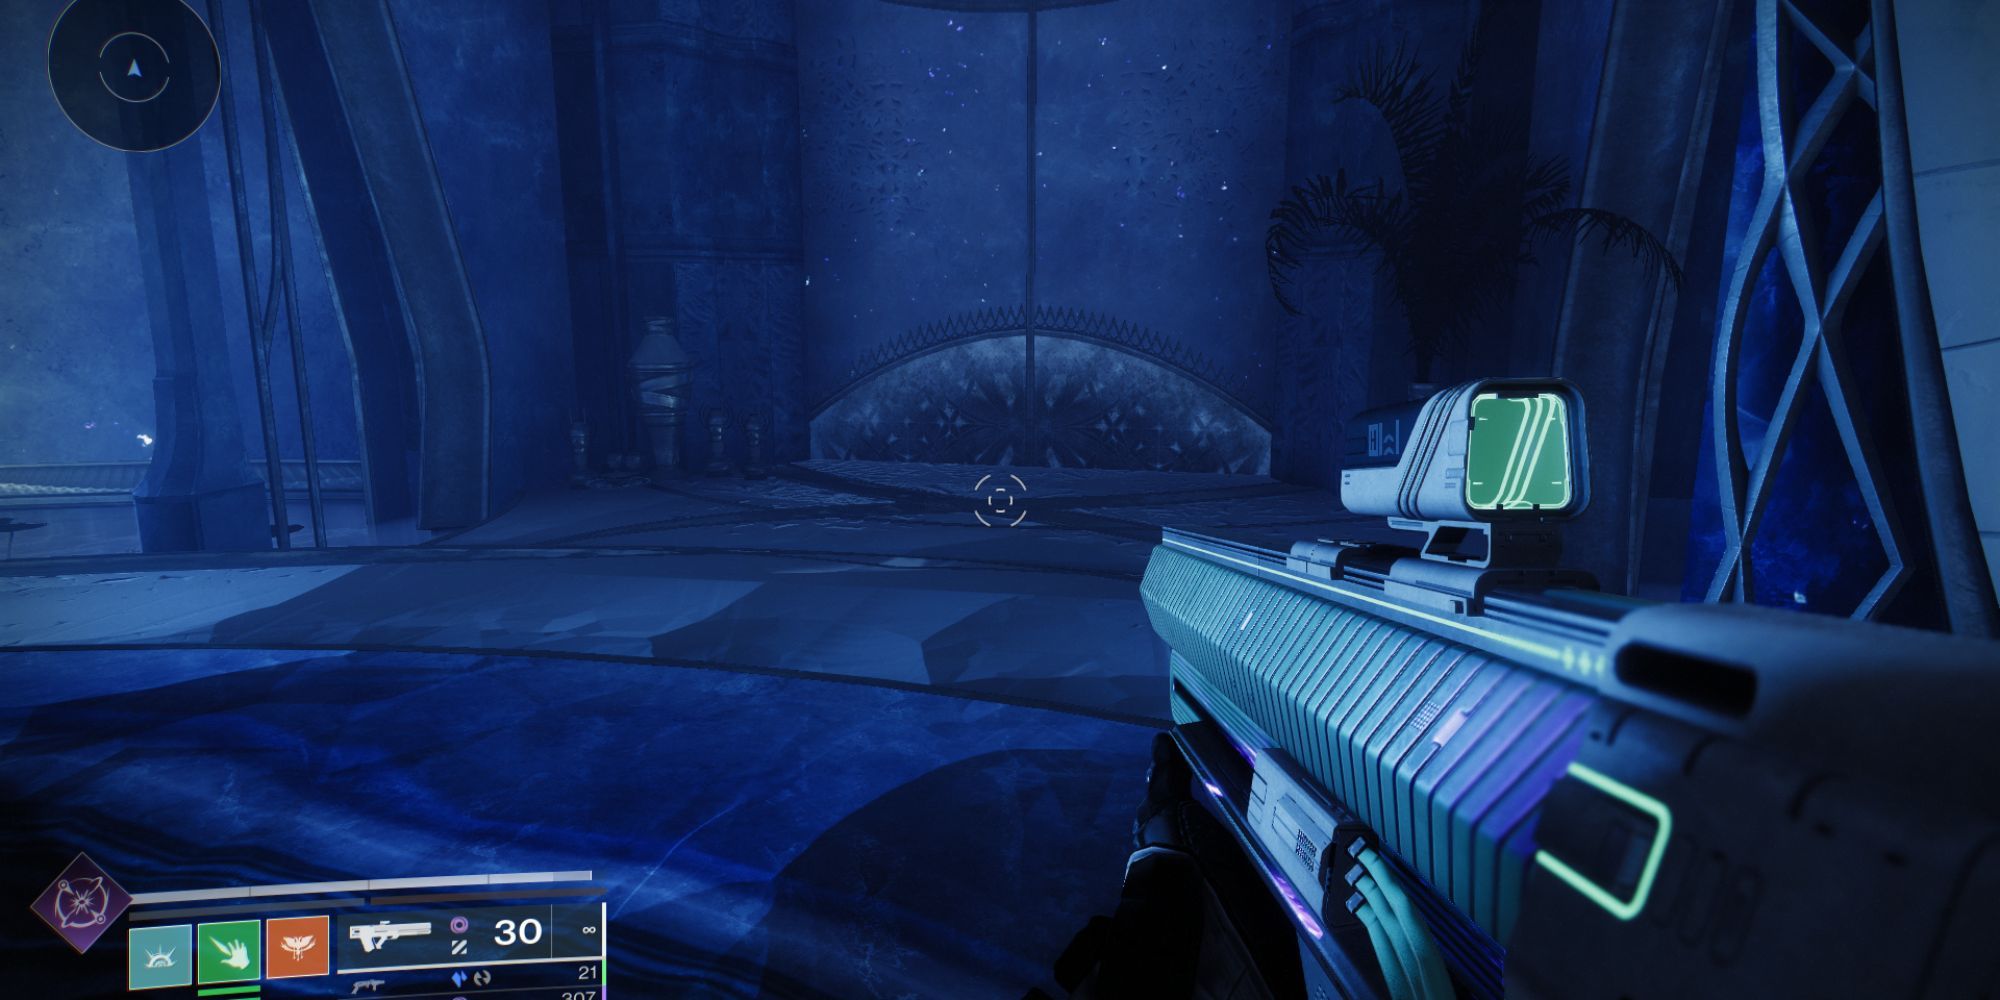
Towards the furthest corner of the room, there stands a grand organ, ideal for a gothic, vampire-hunting episode theme (or this week’s show). You can uncover hidden mysteries by playing the organ later on, but let’s move forward now. Instead, take a left and climb the staircase.
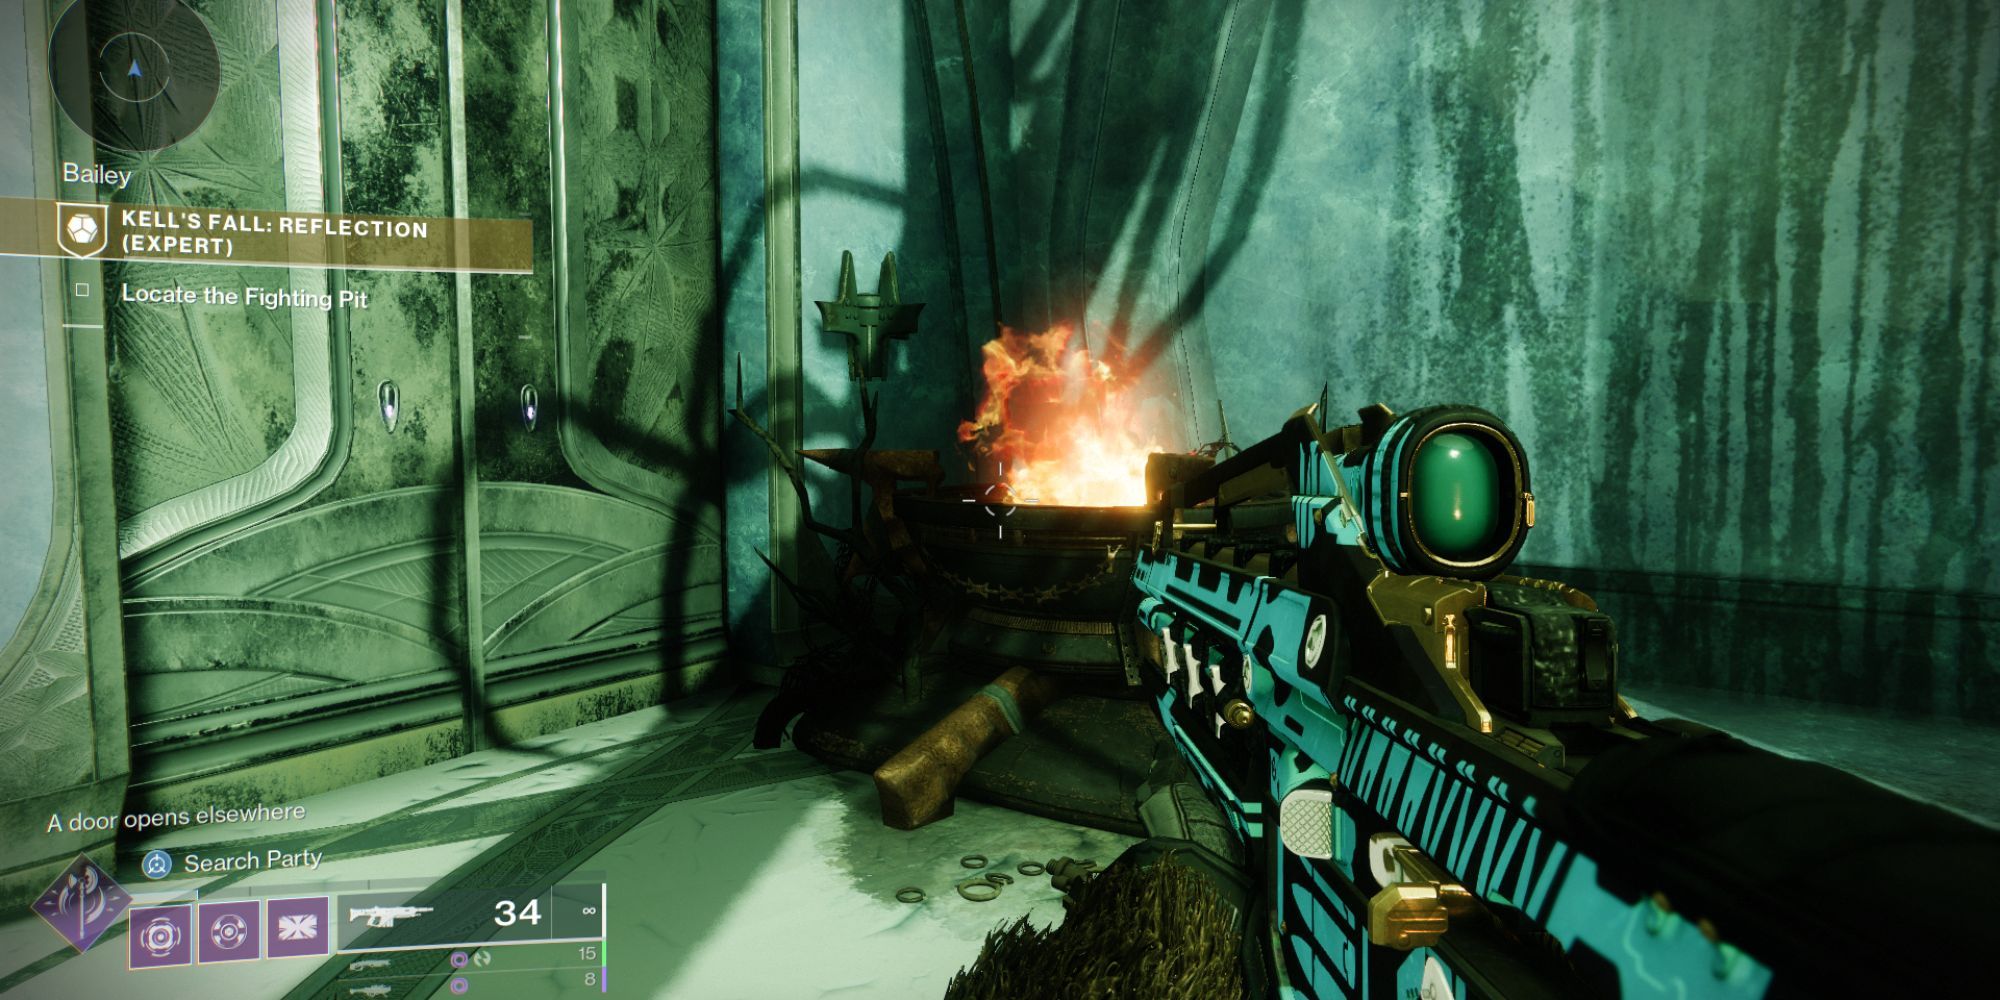
At the end of the hallway, you’ll find a brazier that’s part of the primary challenges for this operation. To activate it, simply engage with it, and it should unlock a nearby door.
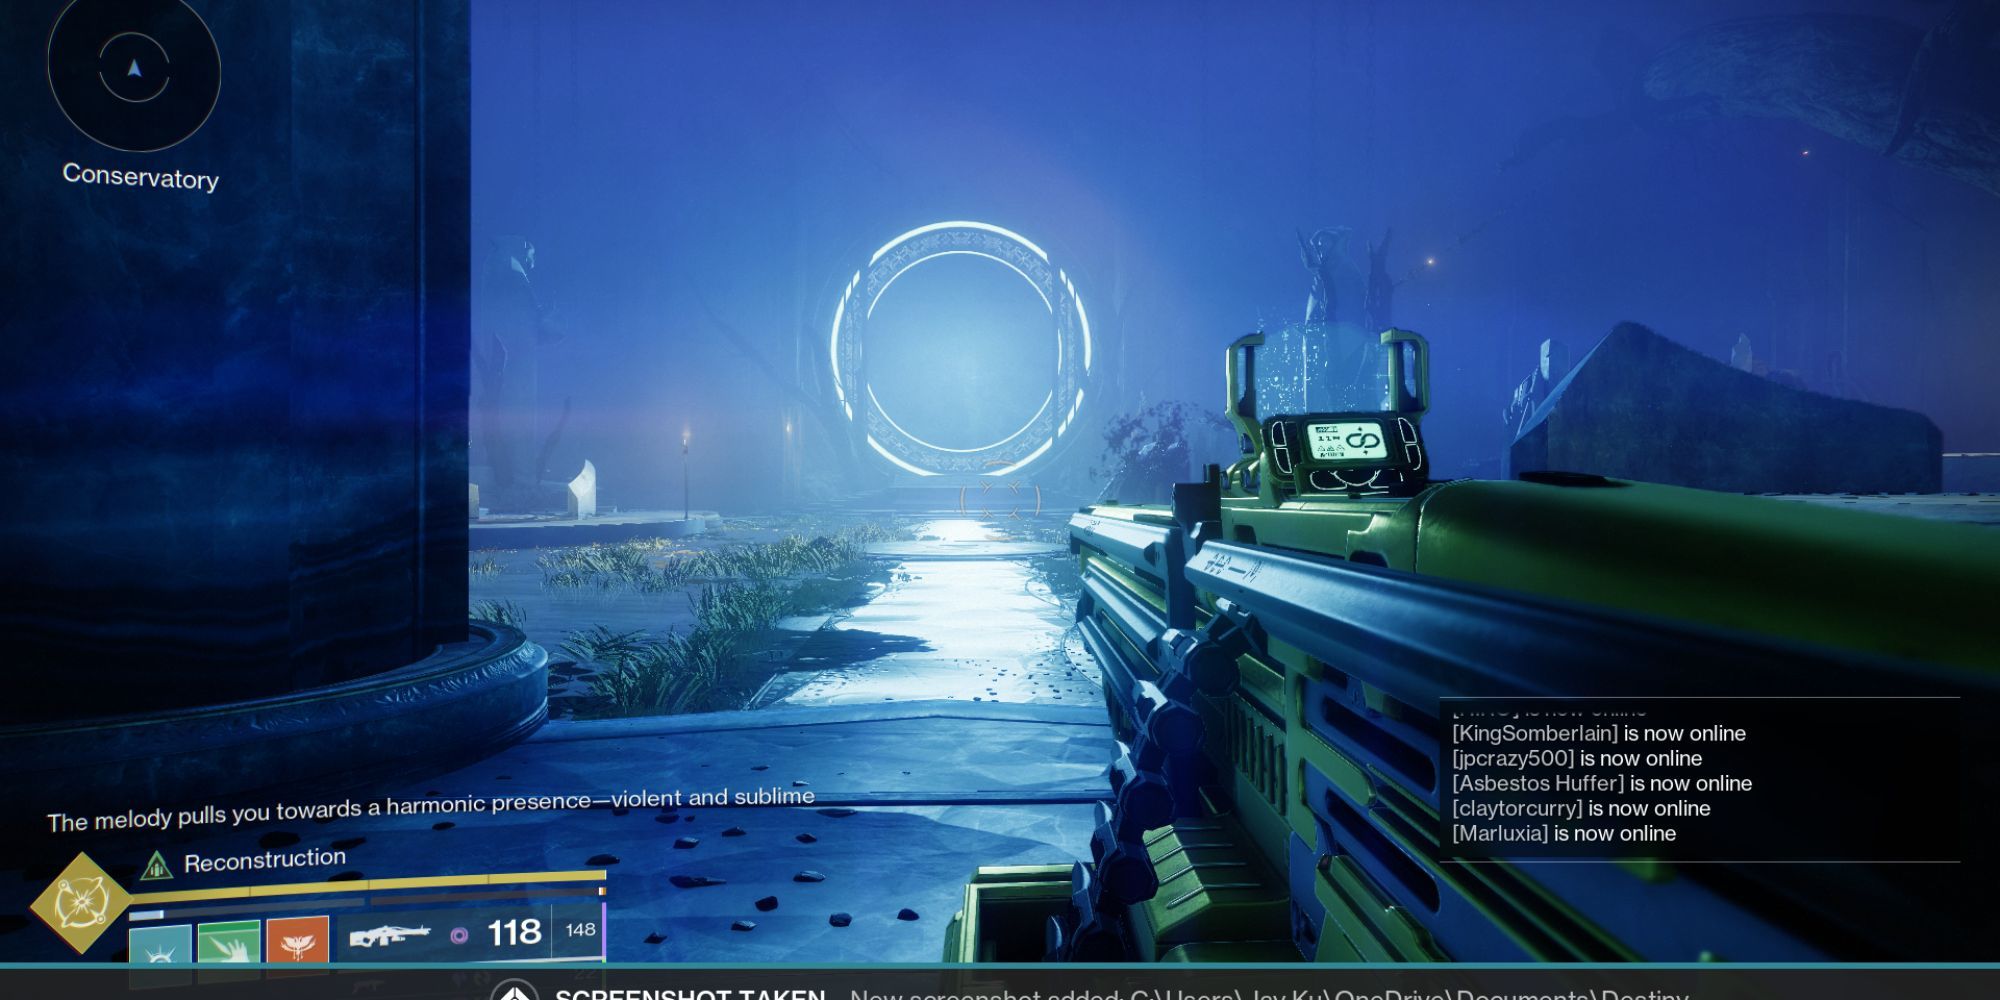
Upon entering the Mirror Gallery, you’ll notice that certain spots are off-limits, but by firing at certain luminescent debris, you can uncover hidden pathways. Continue navigating through the stronghold, and you’ll eventually stumble upon a towering reflective surface.
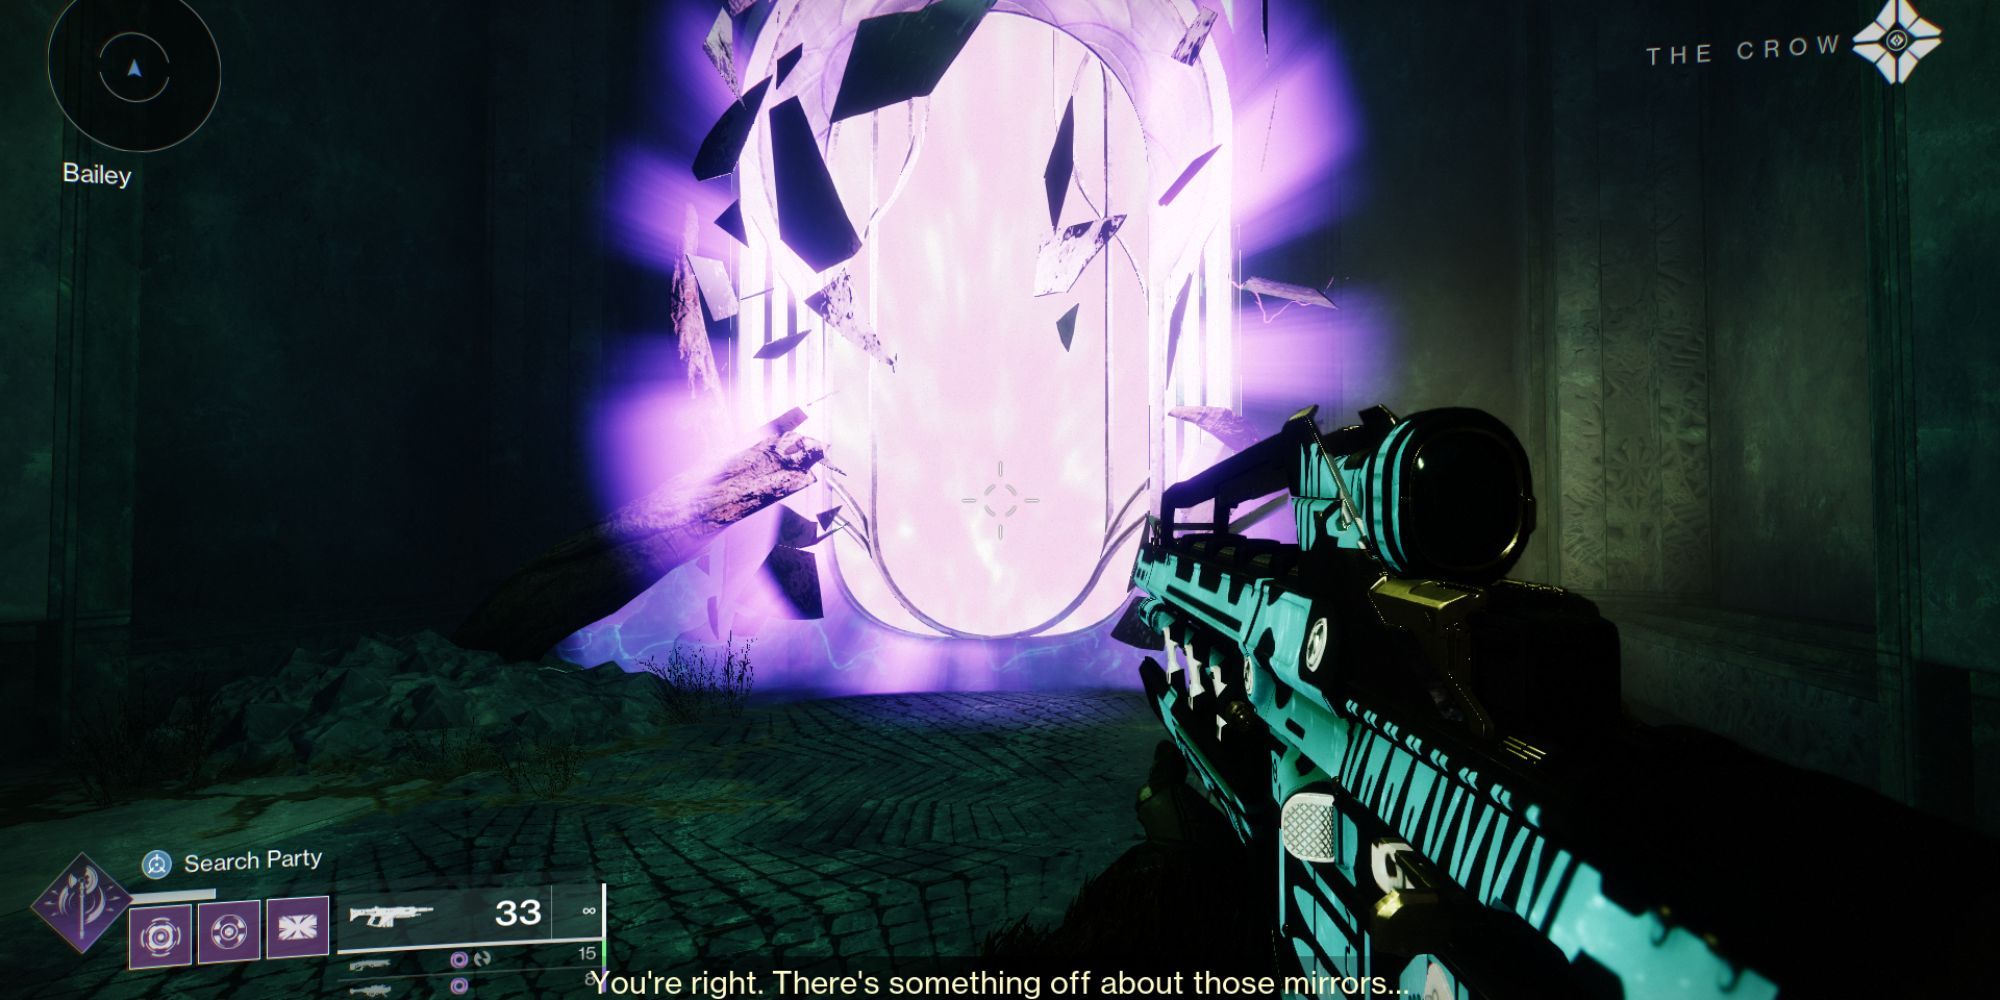
Through Crow’s conversation, it becomes clear that shattering those radiant, cracked mirrors will create an entrance to the realm known as the “reflection dimension.
In the mirror realm, everything seems to glimmer with a soft pink hue, and it appears as though hidden mysteries lurk not far off. For the time being, let’s concentrate on reaching our next interaction.
In my gaming adventure, I’ll battle hordes of foes and formidable enemies in the mirror realm. Along the way, I’ll stumble upon another reflective gateway. Notably, there are braziers in both the mirror dimension and the real world. Igniting these will unlock a new path for me to explore.
Continue your journey towards the designated meeting spot, known as the Fighting Pits. That’s where you’ll find the first significant interaction.
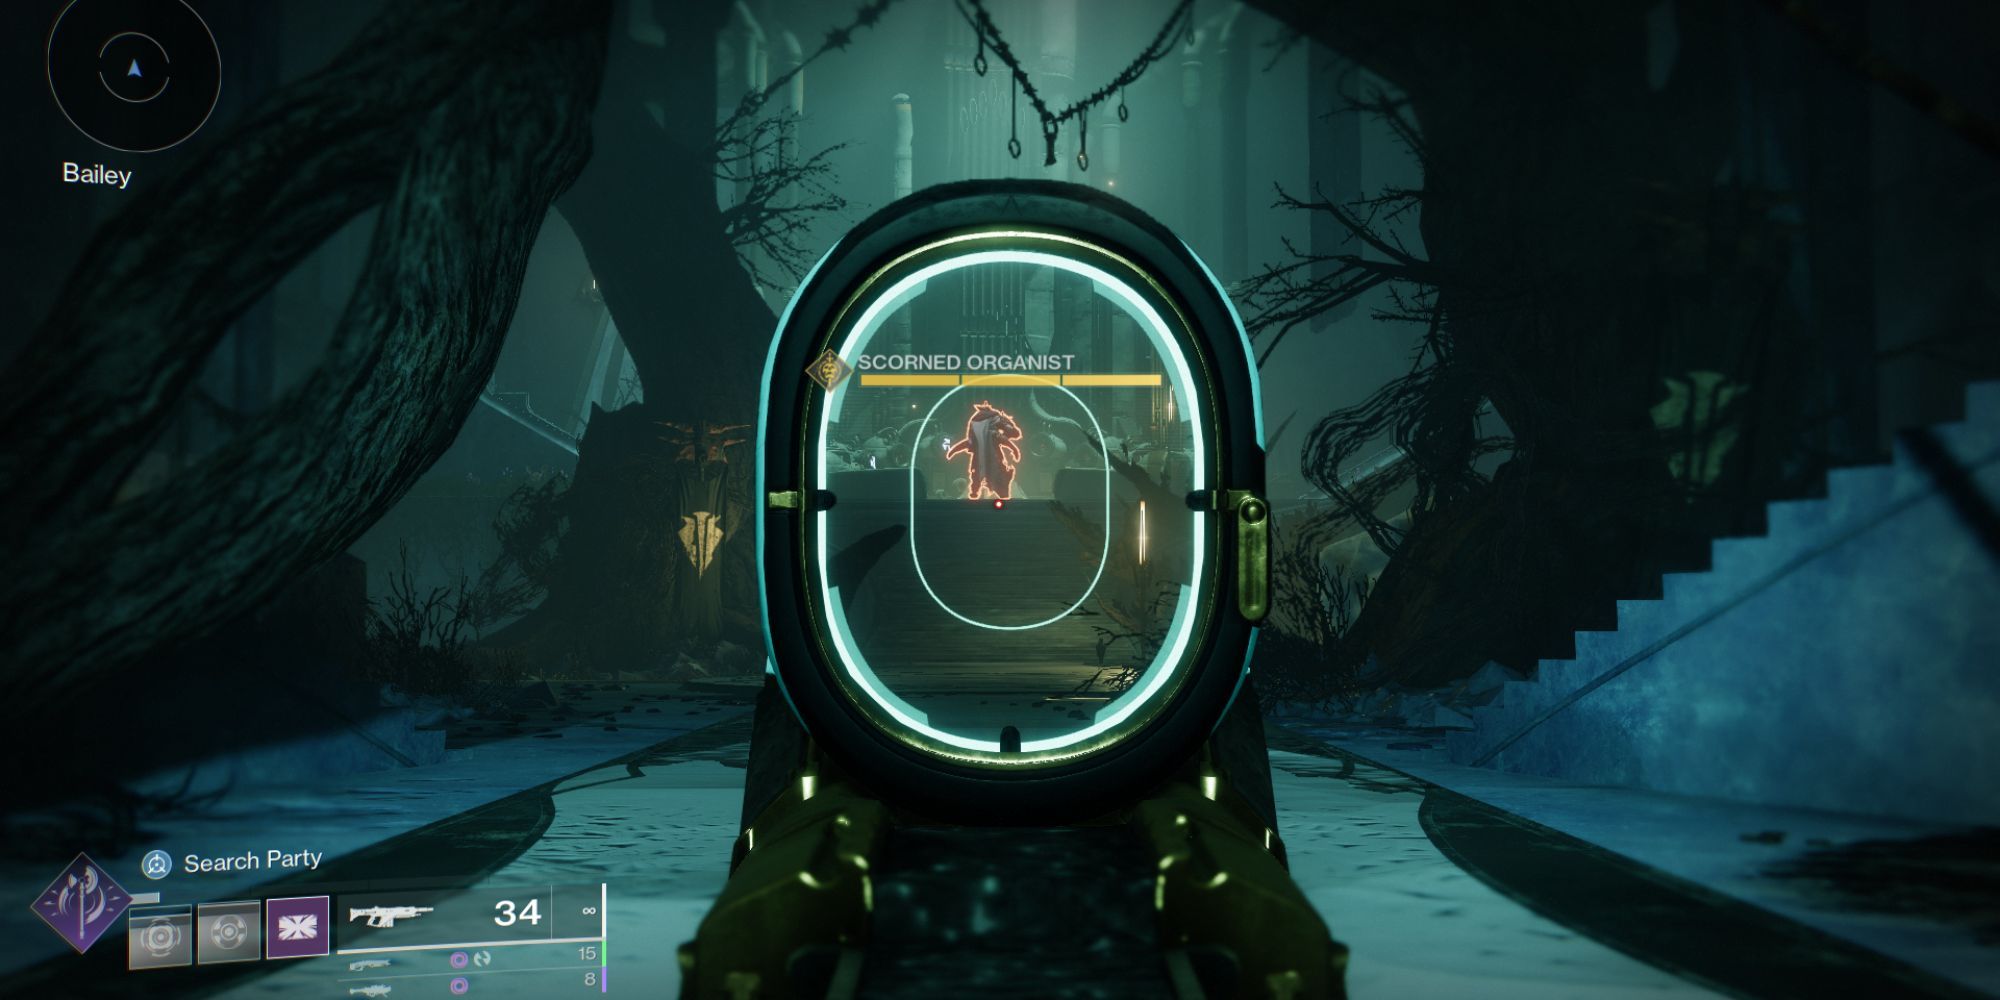
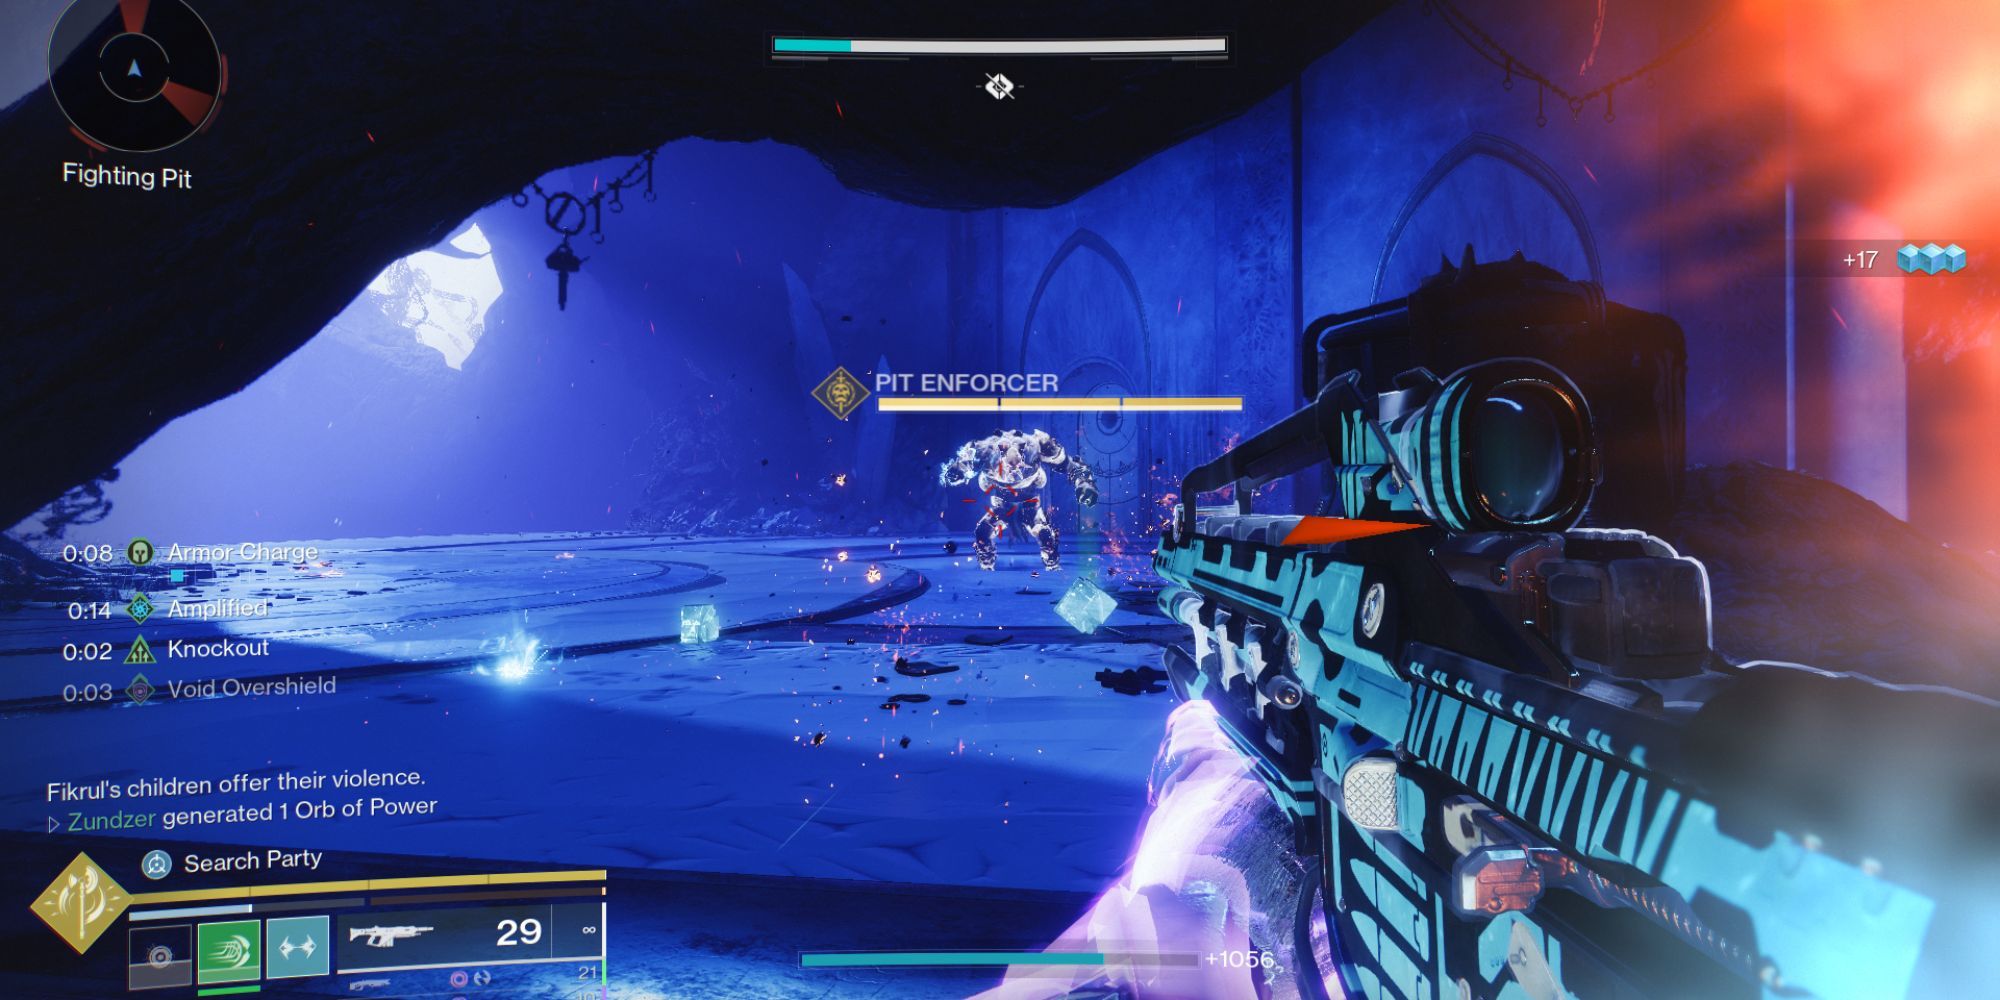
Fighting Pits – The Mad Bomber
Once you regroup, proceed into the room, and there will appear enemies accompanied by two Abominations with yellow health bars, fortified by protective shields, known as “Pit Enforcers.” At this point, disregard these additional foes for now and open the gateway to the reflective dimension.

There, you’ll come across creatures known as Weavers, Grim, and Scorn Lurkers. Slaying the Weavers will result in the dropping of three motes each, which you can collect to accumulate “Revenant Essence.
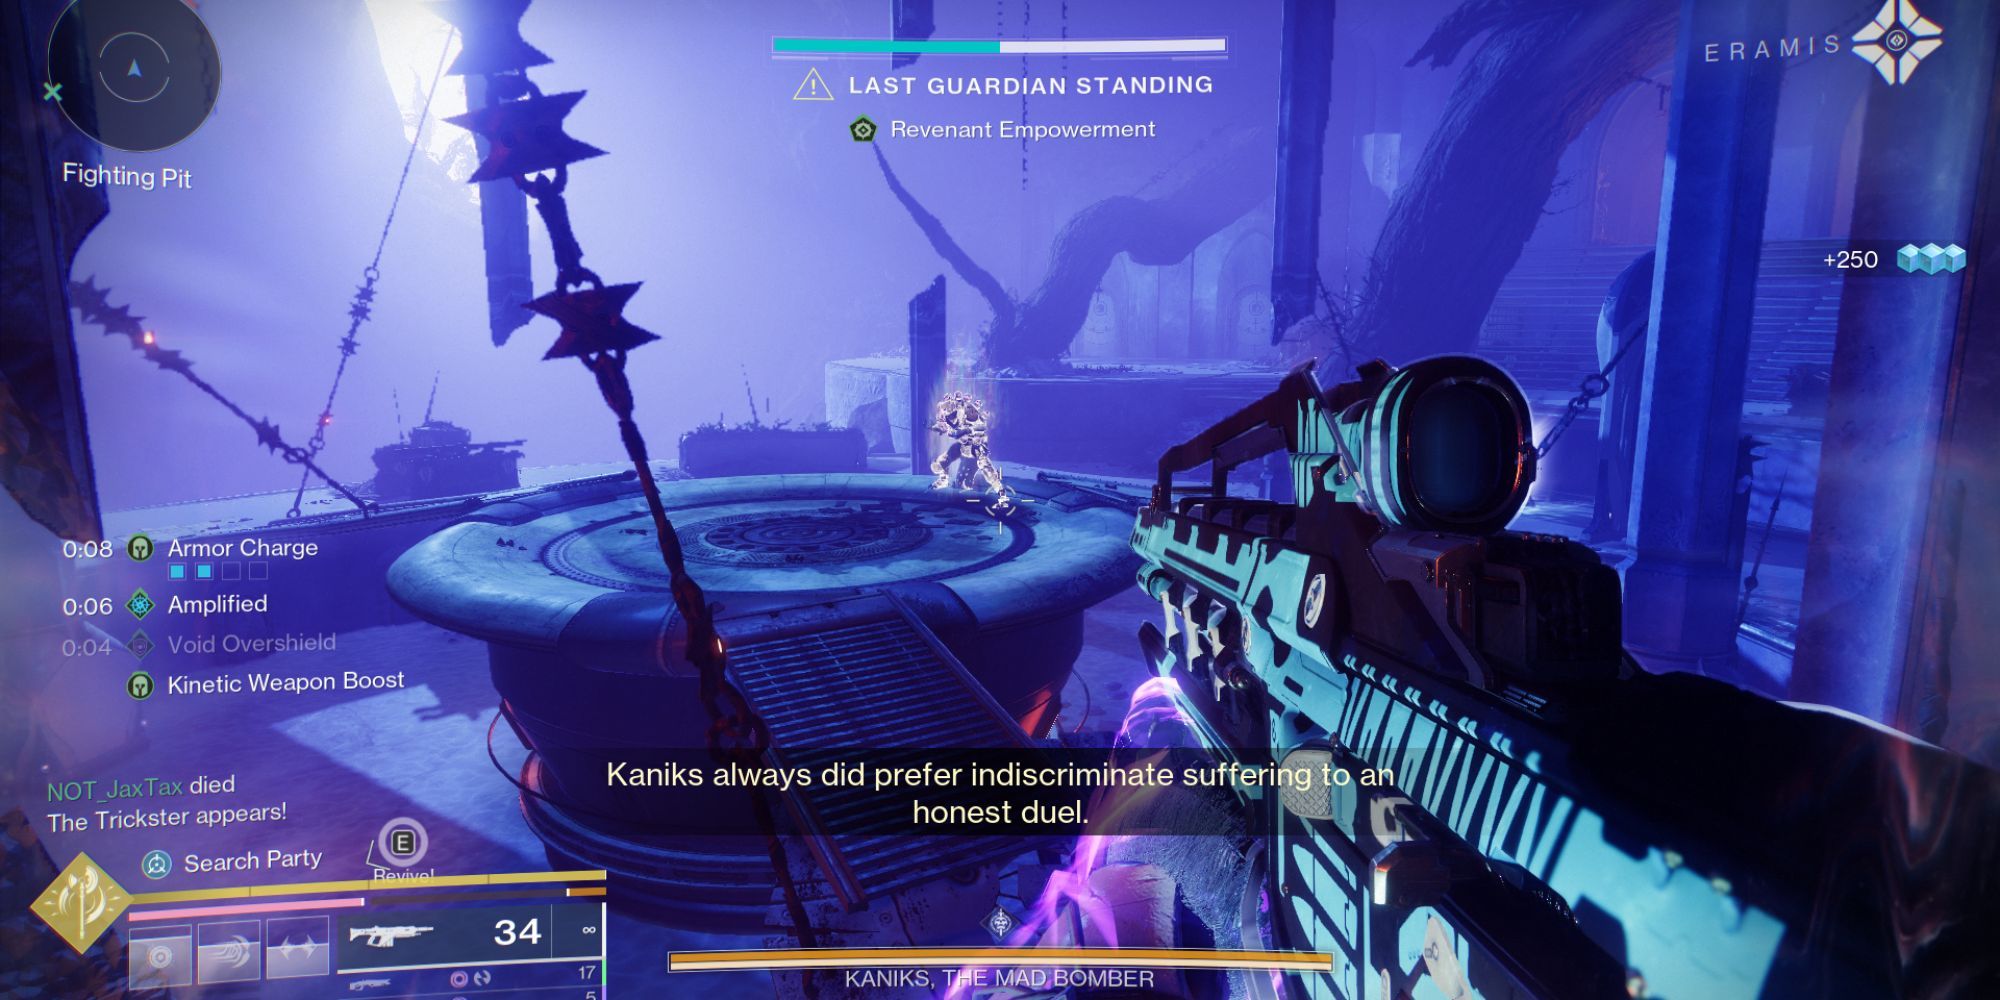
Gathering ten piles of Revenant Essence will grant you Revenant Empowerment, allowing you to utilize this power and re-enter the real world.
By activating the Empowerment of the Revenant, you’ll now be able to breach the annoying defensive barriers of those Abominations (as well as future bosses).
Once they’re both dead, Kaniks the Mad Bomber will spawn. Surprise! The Trickster is here too!
It’s good news that the Mad Bomber lacks significant attacks, so this encounter should prove to be quite manageable for you.
Locate The Sanctum
In this part of our mission, you’ll encounter a challenging platform leap, since many platforms are just out of grasp. Let’s hope your leaping abilities are finely honed for this task!
Feel free to employ any movement technology available to you, such as Lion Ramparts, Eager Edge swords, or Grapple hooks. Just ensure that you reach your destination in the end.
As you scale the metal Eliksni structures, you may find yourself unsure of your next move, just like me. If you glance below, you’ll spot a faintly illuminated cave entrance. Take the leap; it’s safe.
You’ll arrive at the Vestibule, where you’ll face Hiraks, the Mindbender.
Defeat The Mindbender
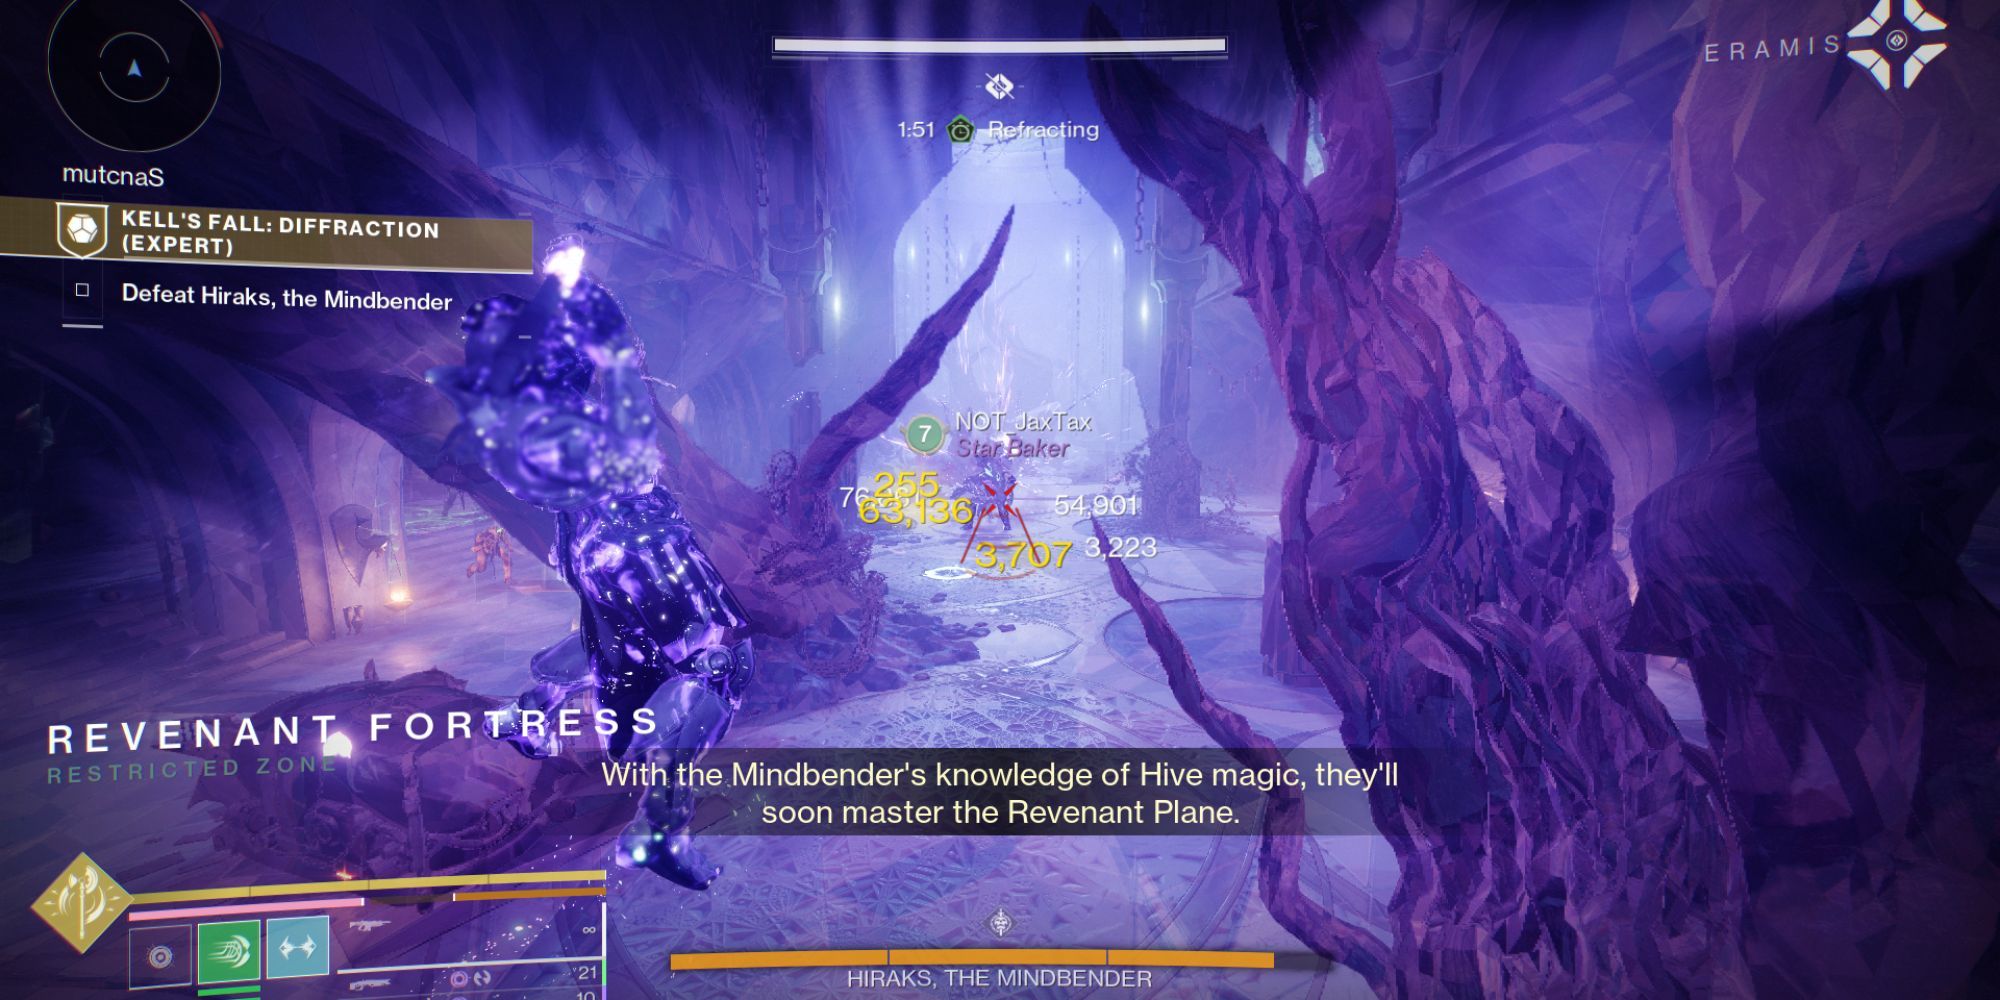
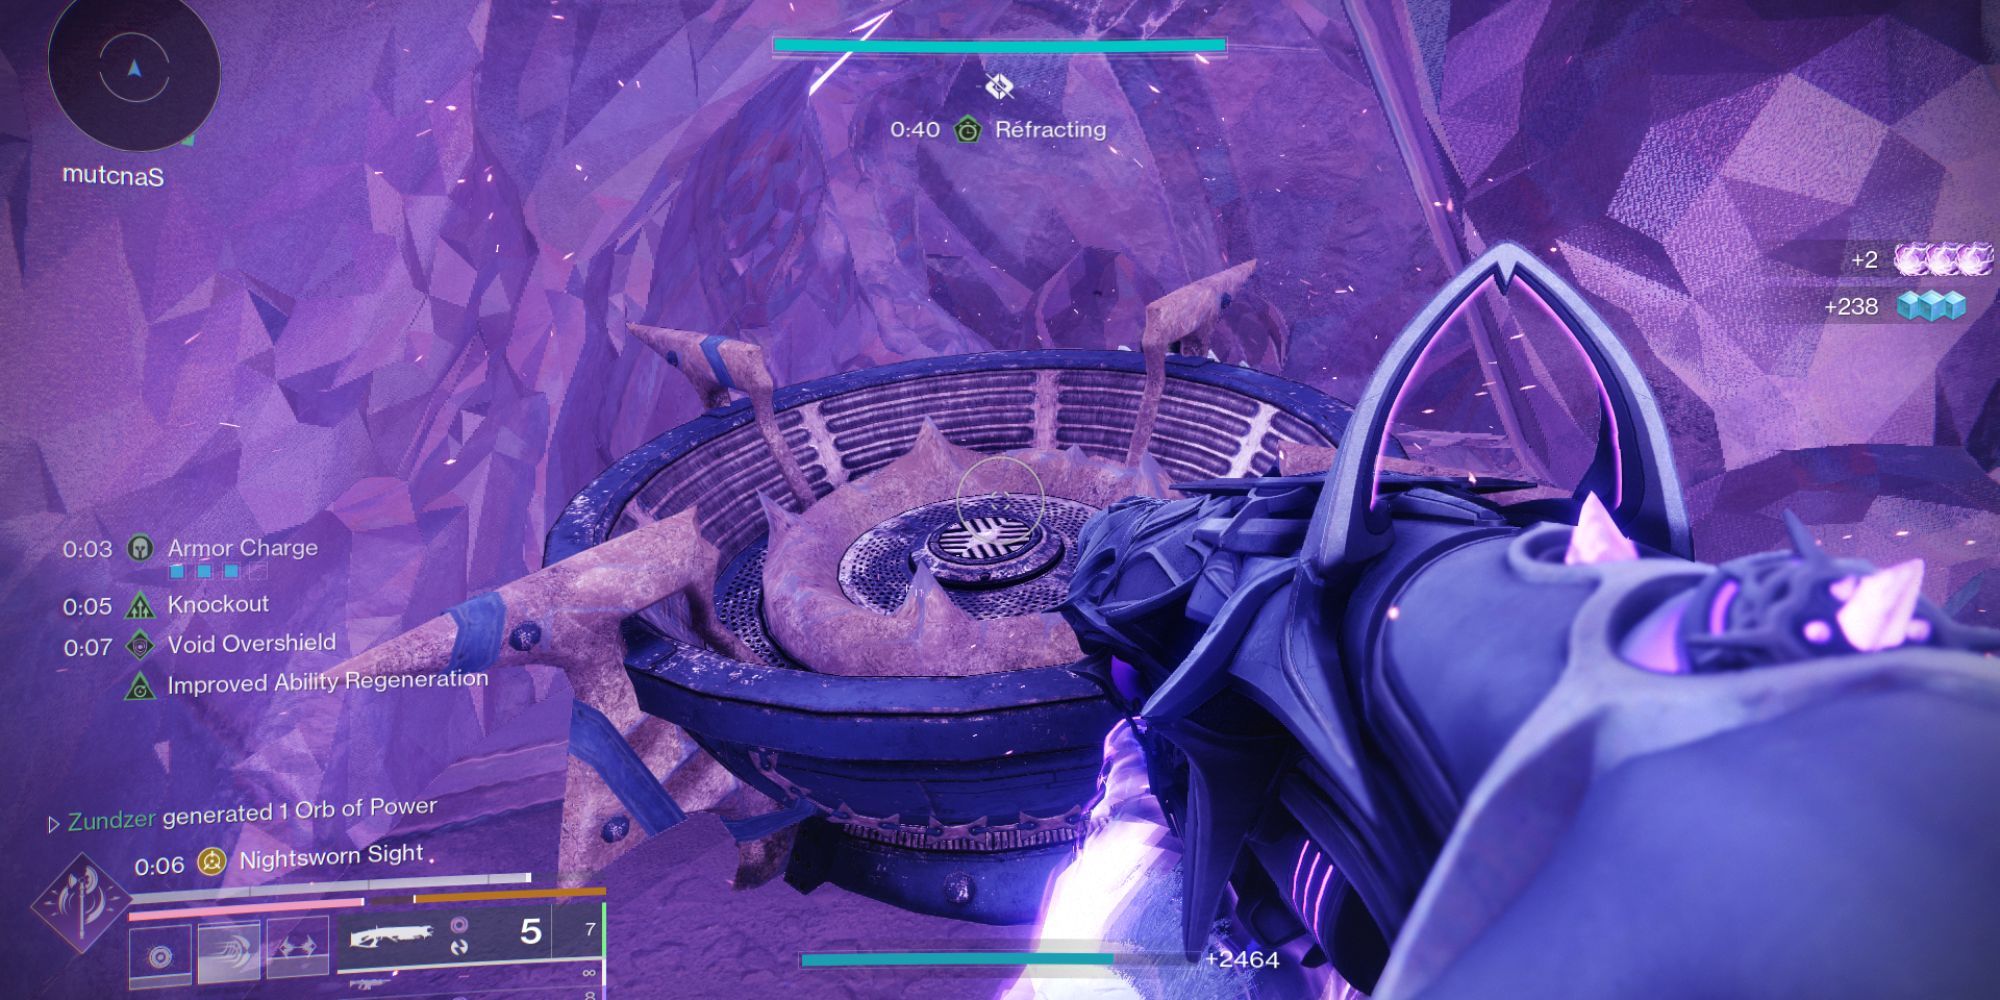
Step through the reflective gateway, and you’ll find a label on your heads-up display saying “Refraction Status.” This status effect grants you approximately two minutes of safe exploration before you need to exit back to reality.
Just as in the Trickster battle, aim to reduce approximately one-third of the boss’s health, and he’ll flee. Therefore, ensure to inflict damage on him swiftly. Any powerful attack or weapon capable of dealing significant instant damage would be ideal for this task.
Following the initial stage, turn slightly to your left towards either of the openings situated on the left side of the sacred space. You’ll encounter a group of Thralls and Cursed Thralls as you approach. Eliminate them and proceed along the passageway.
Be vigilant for any braziers, since they could appear in either of two potential spots within the mirror dimension. One is situated in a narrow passage along the left entrance path, while the other can be found at the right entrance.
After you pass through the hallway, you’ll encounter a gap with platforms and it’s occupied by Acolytes and Wizards. At the far end of the room is the exit. You can either head straight there or engage the enemies, but remember to watch your “Refracting” timer regardless of your choice.
To access that door in reality, you’ll have to ignite two fire pits situated close by. According to our experiments, there seems to be one in the reflected realm and a pair in the physical universe.
The door you just opened is located quite high up on the wall across from the mirror. Walk through it to start the next stage. (Informal, conversational style)
In the next stage, repeat what you did before: Attack the boss until it withdraws, followed by a swift escape through the entrance door. This will lead you to pass through a mirror into the mirror dimension, returning you to the original sanctuary room.
Be cautious about attacking the boss, as a large number of reinforcements (adds) will appear close to him, and there’s also an Ogre that pops up in the heart of the sanctum. So, be prepared for a tough fight!
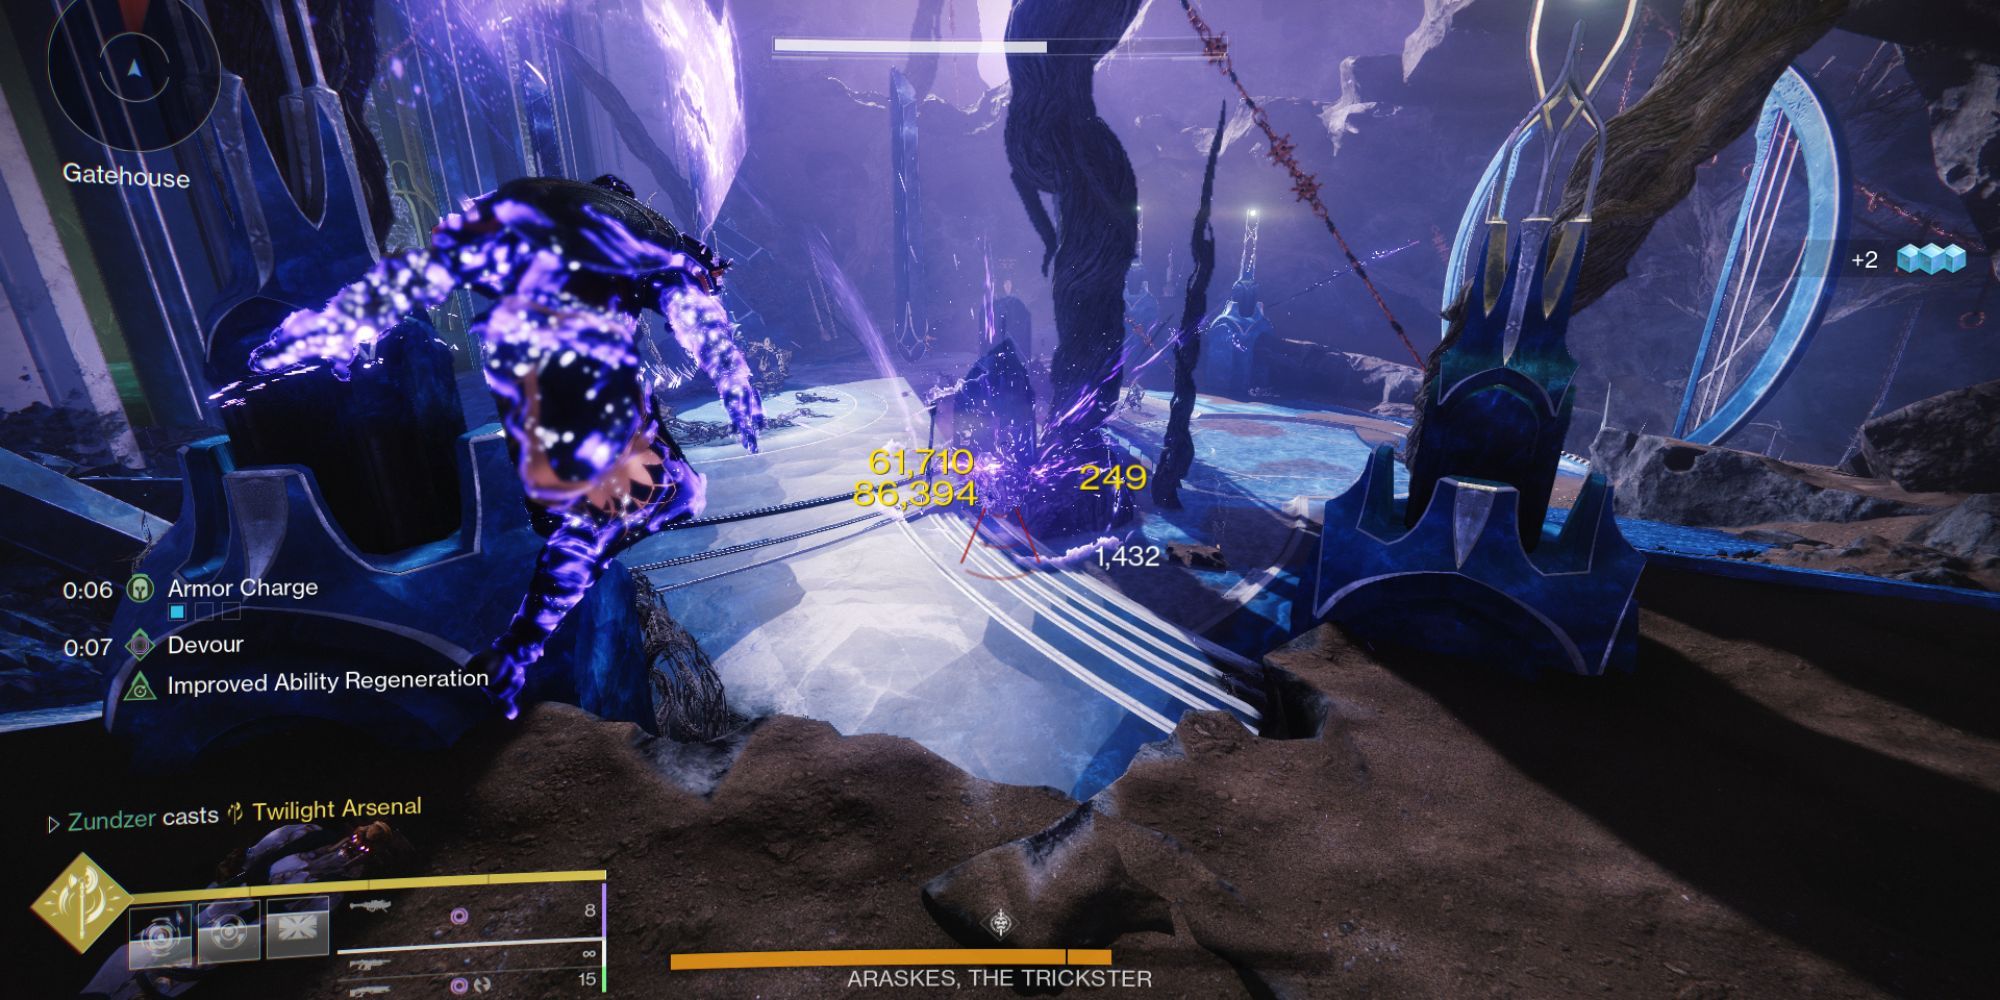
Defeat The Trickster (Again)
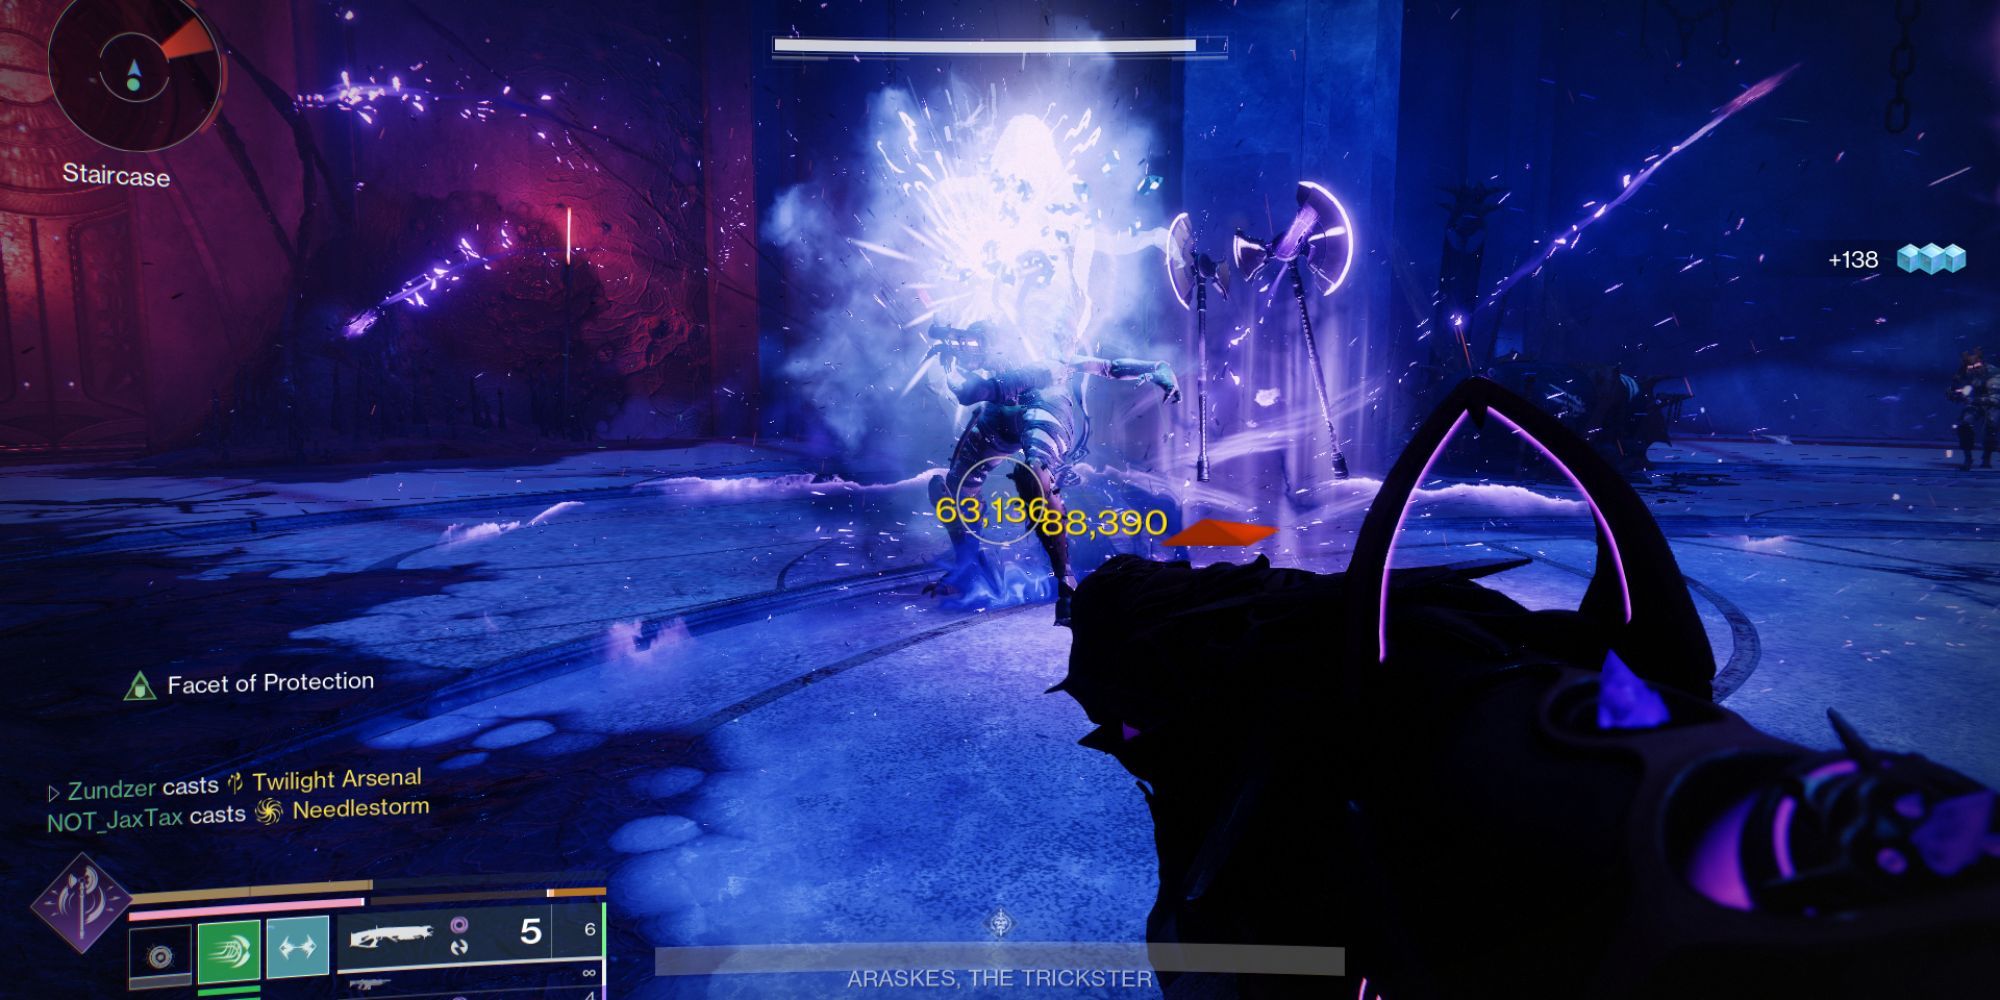
In the second-to-last part of Kell’s Fall, you’ll encounter the Trickster for what seems like the final battle. Ascend a winding staircase as you fend off waves of Scorn and Grim along the way.
I tried to maintain the original structure while making it more accessible and engaging. Let me know if it works for you!
Be cautious of the fake ammunition blocks she disperses, and only engage when she stops moving, then unleash all your firepower on her.
Since there’s no place to clean up around here, feel free to enjoy yourself a bit. When you’ve defeated the Trickster and reached the peak, the entrance to the last area will automatically unlock.
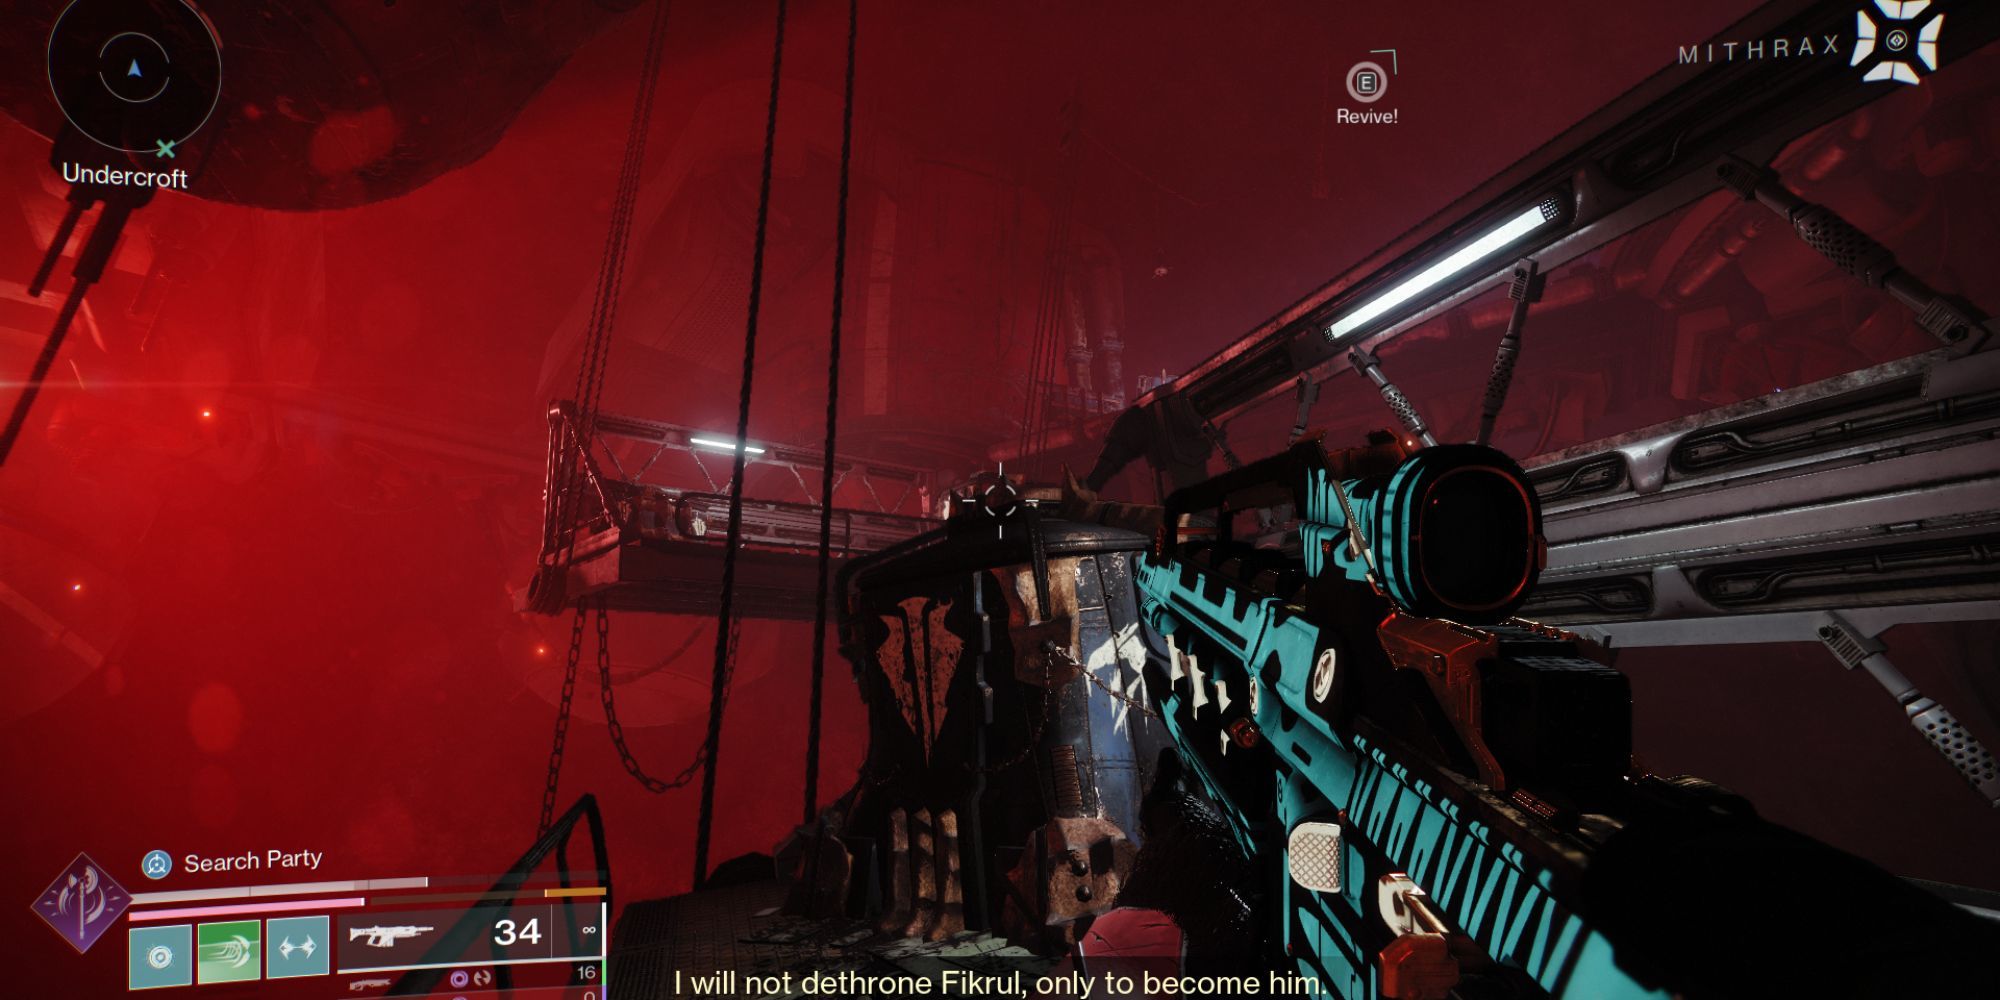
Defeat Fikrul And His Minions
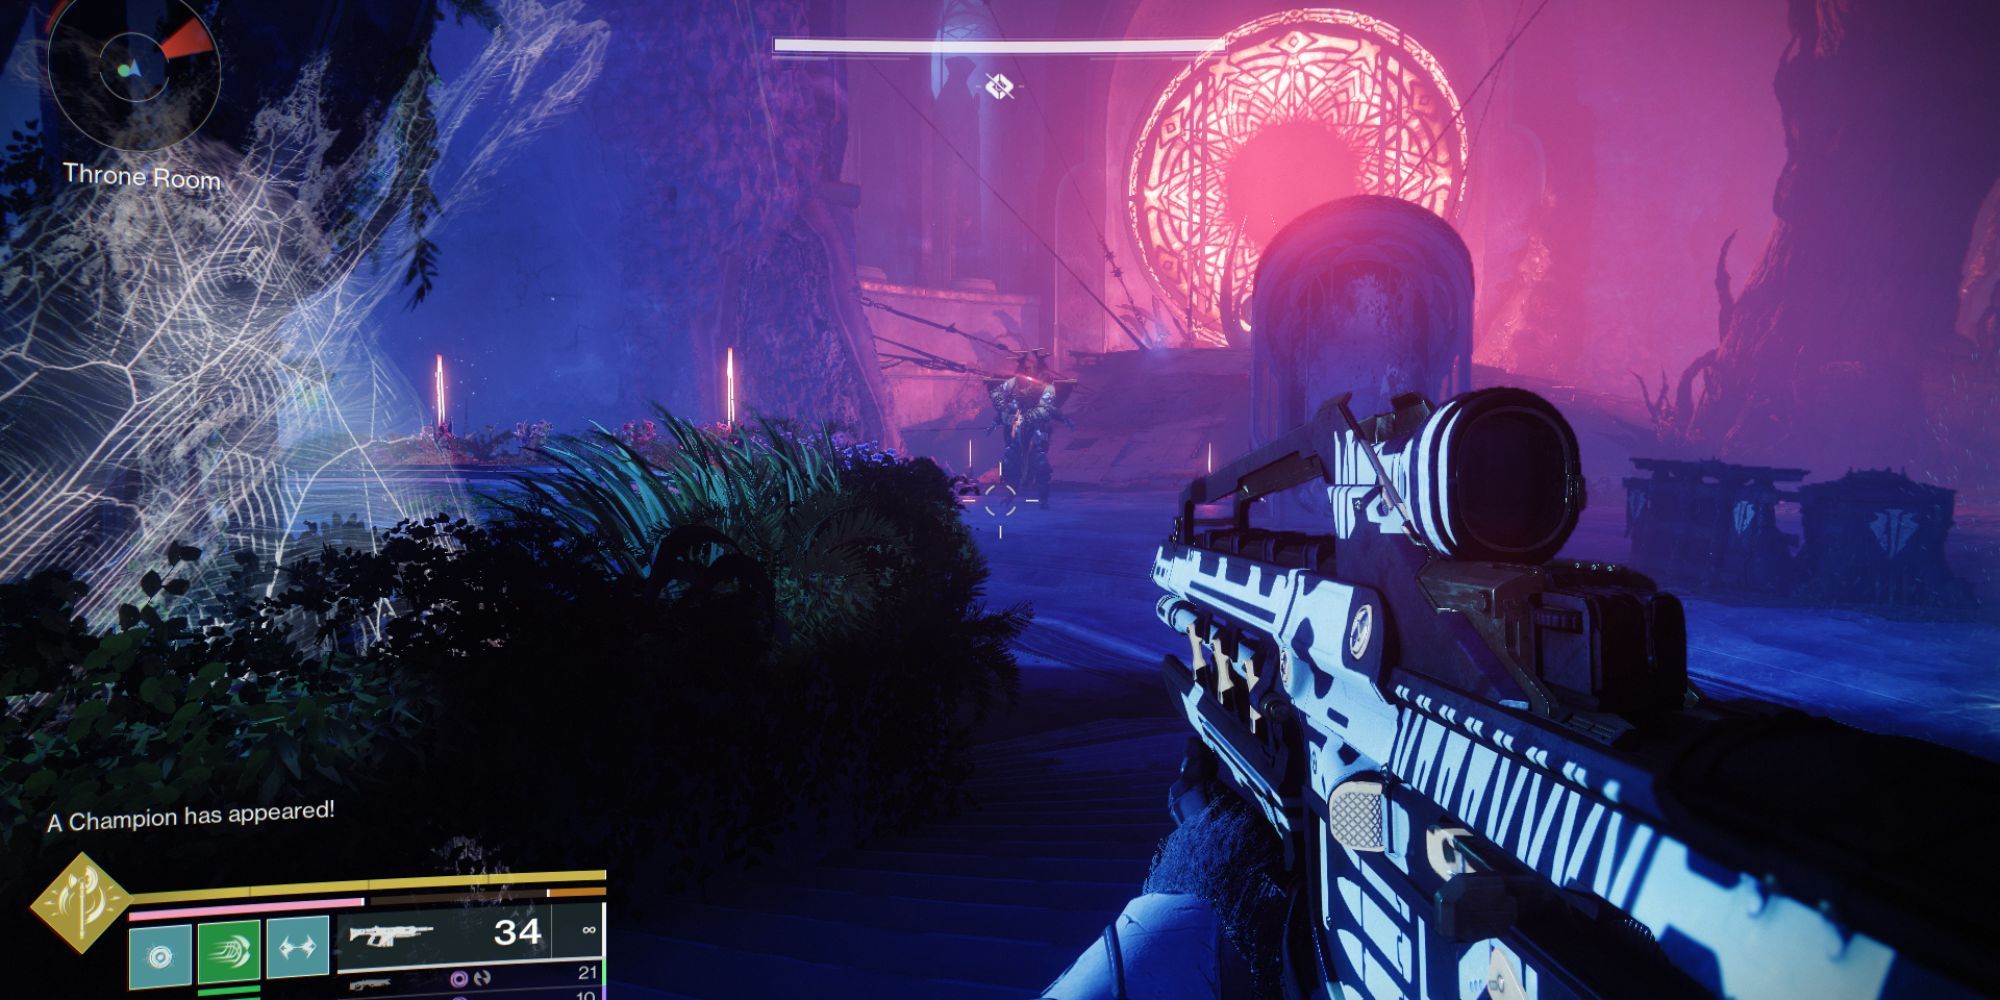
Prepare yourself for the ultimate confrontation against Fikrul. Before you set off, ensure you have a reliable mid-range weapon for damage and a build that offers high durability to survive longer. Remember to pack skills or equipment capable of stunning both Overload and Unstoppable Champions. Good luck!
The meeting initiates by introducing a distinct segment. Enemies known as Scorn will appear throughout the battlefield, so it’s crucial to focus on the Chief figures with the ability to create shield totems first. These Chieftains call forth invincibility totems.
Ensure you maintain effective cover control, since Fikrul’s ranged assaults can swiftly deplete your health, particularly on Expert difficulty.
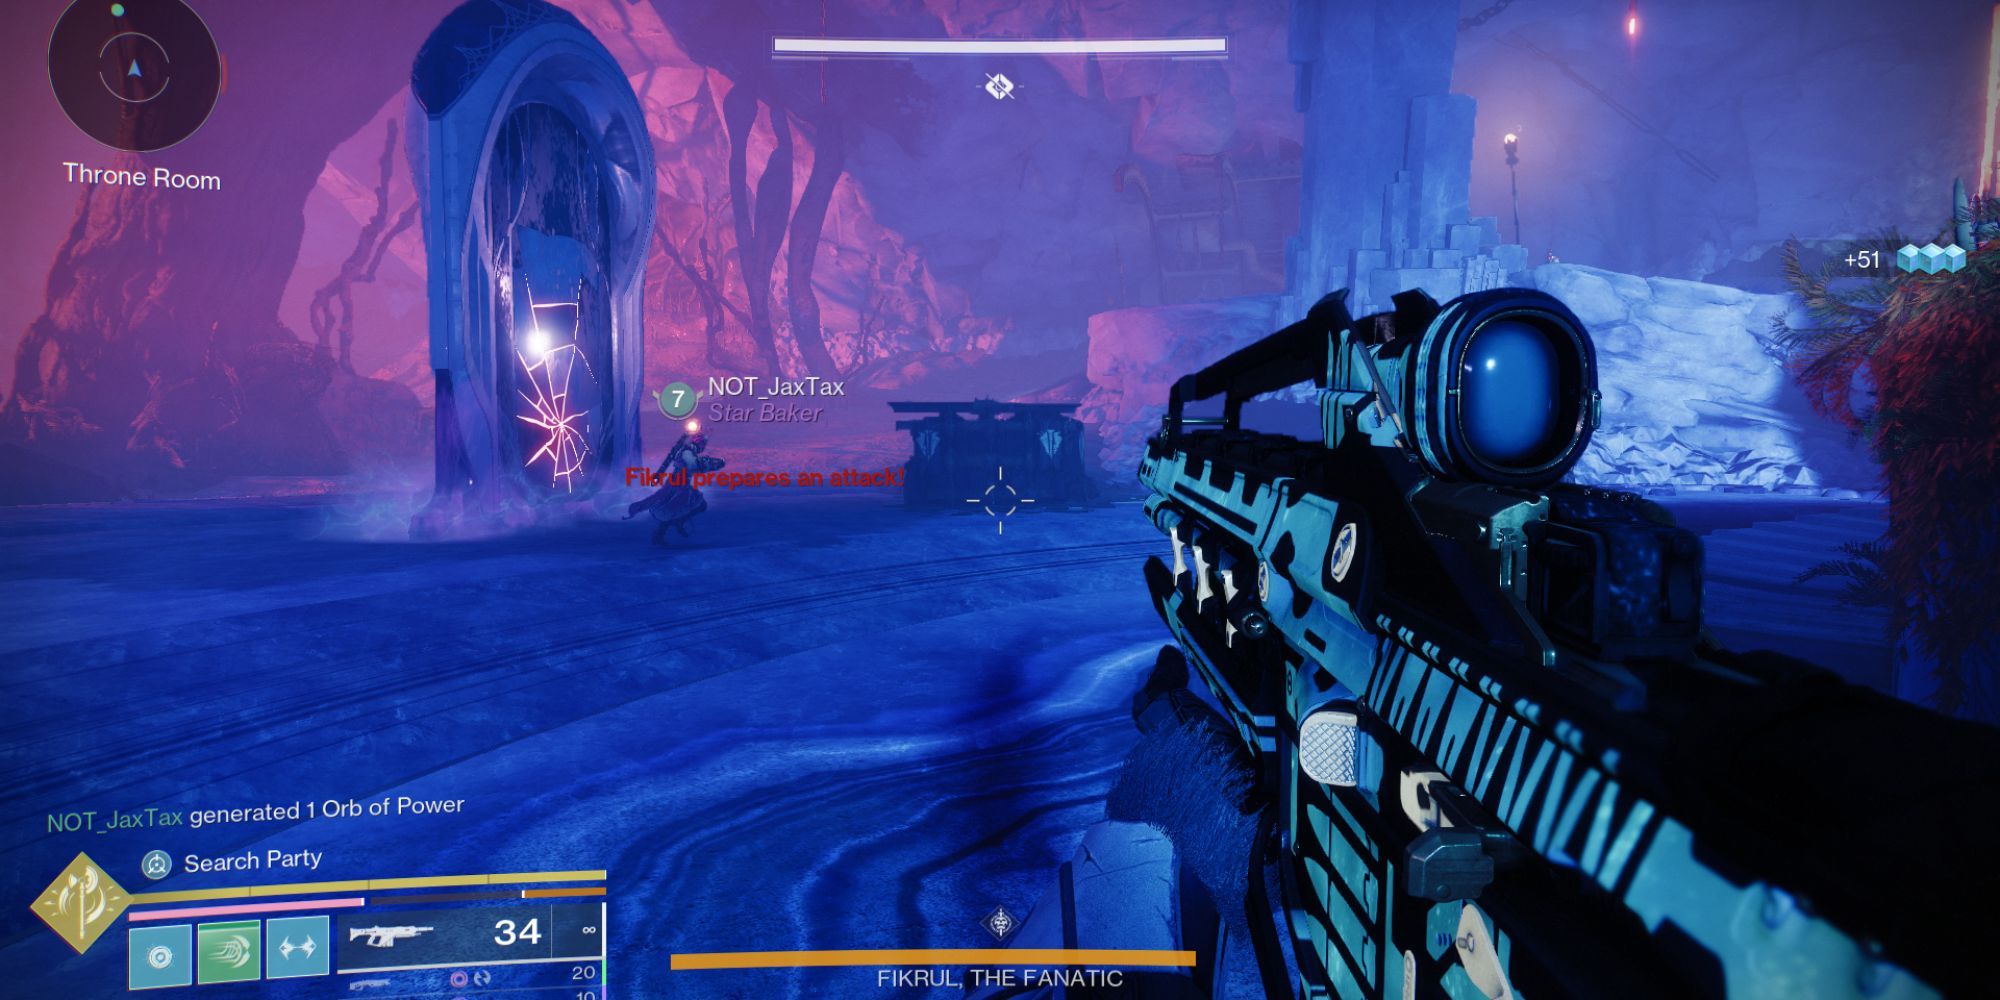
Make sure you focus on the mirror positioned at the far end of the room. Later, as Fikrul initiates his cleaning routine and recharges his staff, that would be the perfect moment for you to leap through the reflective gateway.
In the mirror realm, you’ll find a blend of Fear and Contempt. Similar to the Mad Bomber encounter, your task will be to gather 10 Revenant Essences from Weavers (and Champions in Expert mode). Once you’ve accumulated all 10, you’ll be ready to depart the arena and take on one of Fikrul’s underlings.
If you’ve already completed Act 3 and this isn’t your first time, then you’ll fight Fikrul.
If you encounter Fikrul in battle, he will appear near the reflective portal (exit mirror) and initiate his wipe mechanic. To halt this process, aim and fire at the mirror, stunning him and triggering the damage phase. This phase is brief, so ensure your attacks are impactful during these precious moments.
Prioritize using all of your resources such as Super abilities, grenades, and high-damage weapons effectively throughout the boss fight. Don’t forget to use them wisely. After successfully completing this encounter, you will receive the Slayer’s Fang Exotic Shotgun as a reward.
Secret: The Organ
Now that we’ve completed the exotic mission for the first time, it’s time for the secrets.
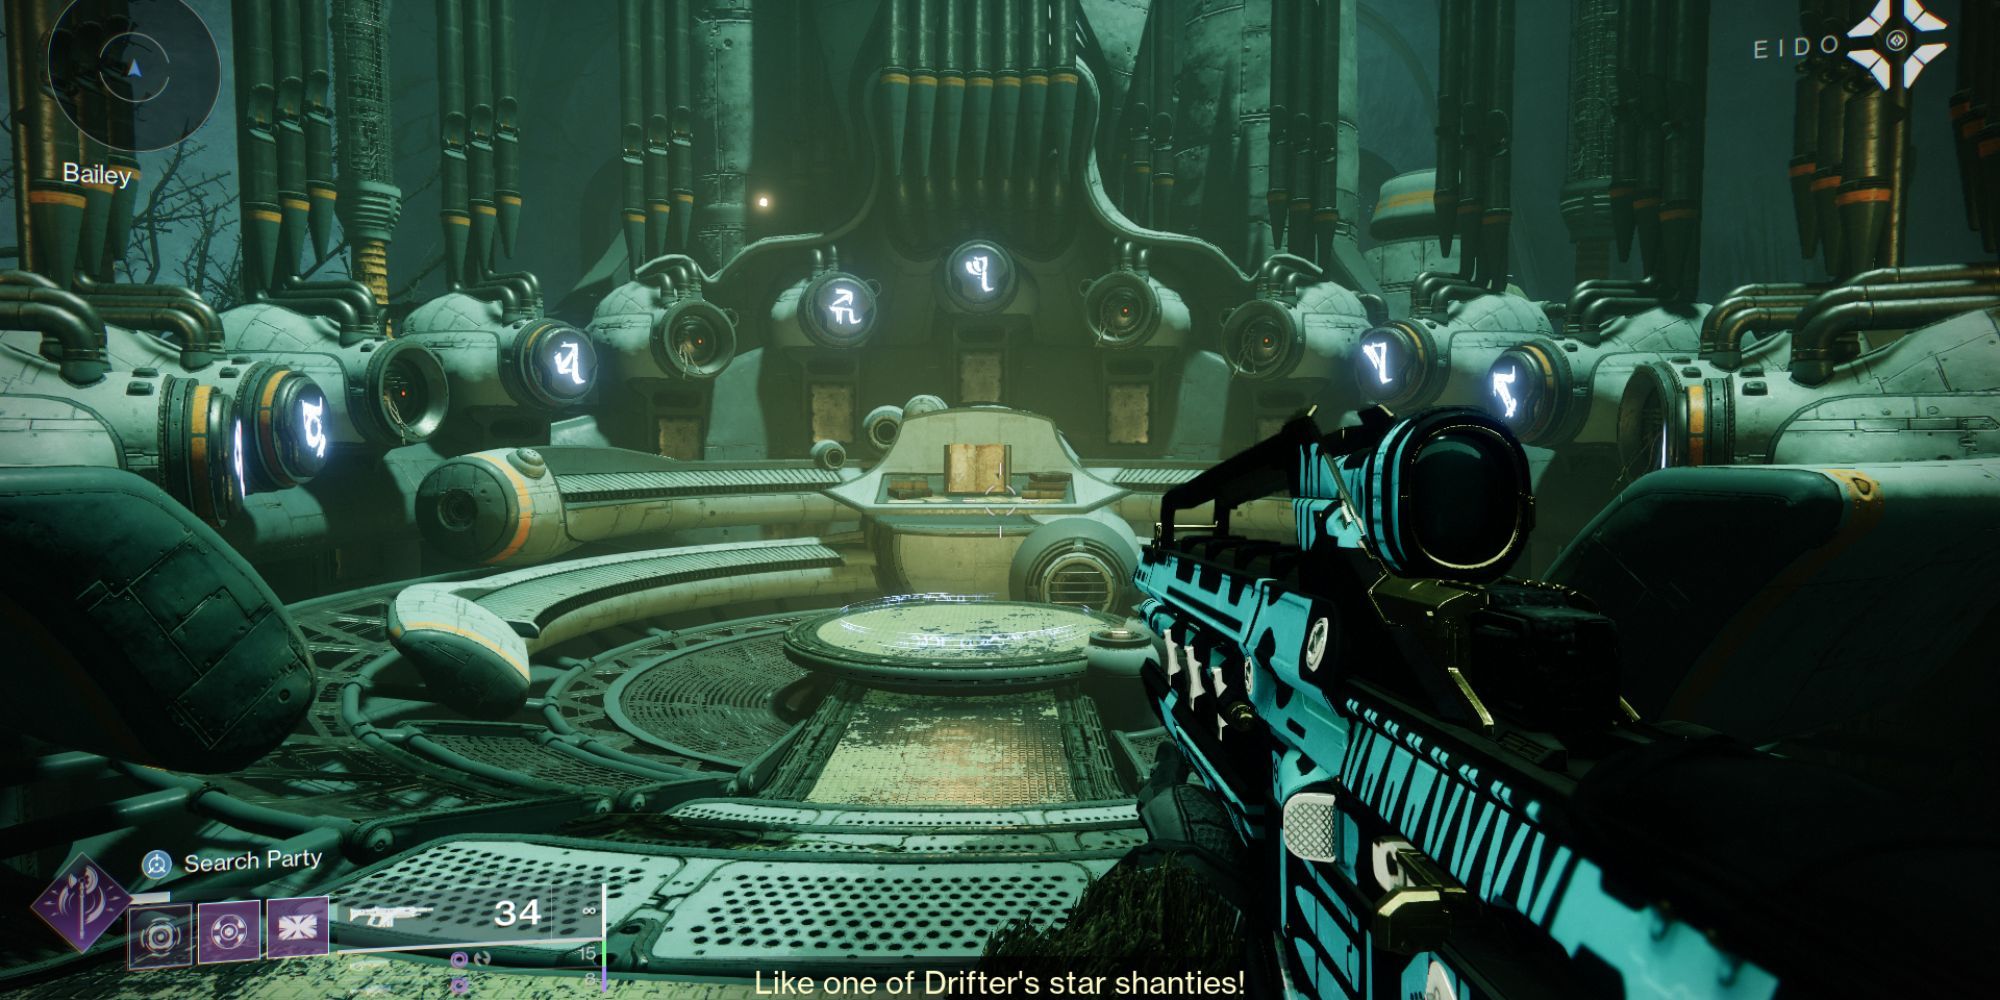
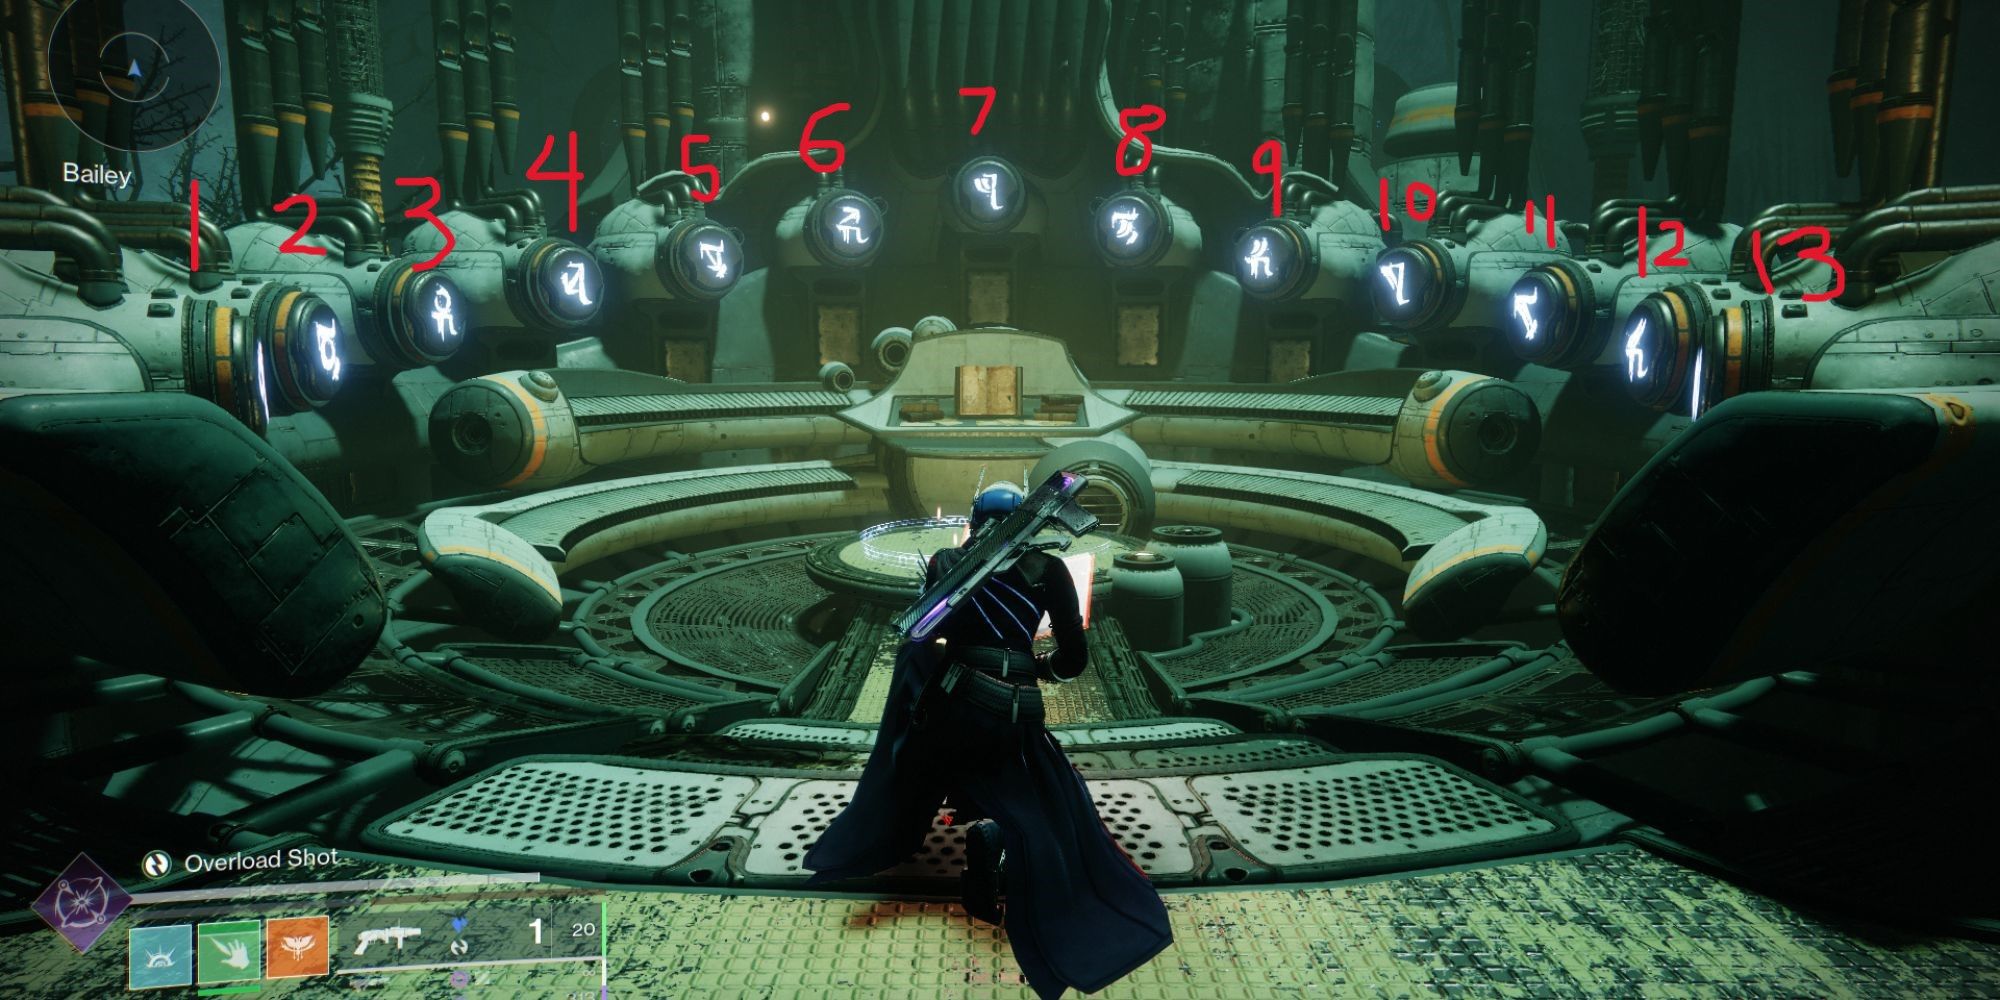
Earlier, I mentioned there’s an instrument resembling a grand organ placed at the very end of the structure, similar to a cathedral. This instrument possesses a total of thirteen keys, each one representing a unique musical note. Each note is assigned a number, starting from 1 on the far left and continuing up to 13, for ease of play. The picture provided serves as a guide.
You can produce organ music by aiming and firing the keys when you’re positioned on the central control section of the instrument.
At present, eight distinct codes have been discovered, each with their own unique hidden detail. Some of these codes are essential for finding the items needed to activate the Intrinsic enhancements for Slayer’s Fang. You’ll recognize a correct input when you see a dialogue in your Heads-Up Display confirming it. If not, you’ll get a message saying “the tune does not harmonize.
If you’re focused solely on enhancing your exotic shotgun, you’ll require just the three codes listed here:
The sequence 2-11-1-10-7-6 serves as a clue to deviate from your usual path, instead of going left, take a right turn. Climb the stairs and traverse along the bluish corridor until you reach an item on the ground. Grabbing it rewards you with the Nightsworn Sight II Intrinsic bonus.
1-4-11-1-4-10 opens a door in the dimension reflecting the Mirror Gallery (or yrellaG rorriM). After defeating the enemies, explore the cleared space to locate a large room. A door on the left side should be open. Inside, you’ll spot a knife on the ground that grants the Nightsworn Sight III Intrinsic bonus.
1-8-1-6 opens a door in the vestibule close to your rally point before engaging the Mindbender. Your task is to locate and ignite three torches. One of them should be at the door prior to rallying, while the other two are situated in the mirror dimension of the room just before encountering Hiraks. After you’ve lit all the torches, a door close to your rally point will open, leading to another doorway. Pass through it, retrieve the urn, and you’ll obtain the Nightsworn Sight IV inherent ability as well as an exotic elixir.
The next five codes are easter eggs, but they are still fun to discover nonetheless.
Trying out the pattern 1-8-1-9 will result in the message, “The melody leaves your stomach in knots; it appears you’ve made a grave error.” For now, however, it seems this sequence serves no purpose other than to create an unsettling atmosphere.
According to Fallout Plays, running this mission should provide you with a Festival of the Lost sweet treat. However, when I attempted the mission, no candy was received. This might indicate that the information is incorrect or there’s a potential bug in the system.

Inputting the code
The sequence of numbers 1-8-1-11-9 conveys the message, “The tune gives you goosebumps. What action have you taken? Some users report getting candies or potions, but I’ve gotten neither. Beyond that, no other effects are known.
The sequence of numbers 4-7-9-6-2-6-7-1 resonates with the recognizable rhythm of Savathun’s melody. Entering this pattern correctly will activate Savathun’s signature laughter.
The concluding sequence,
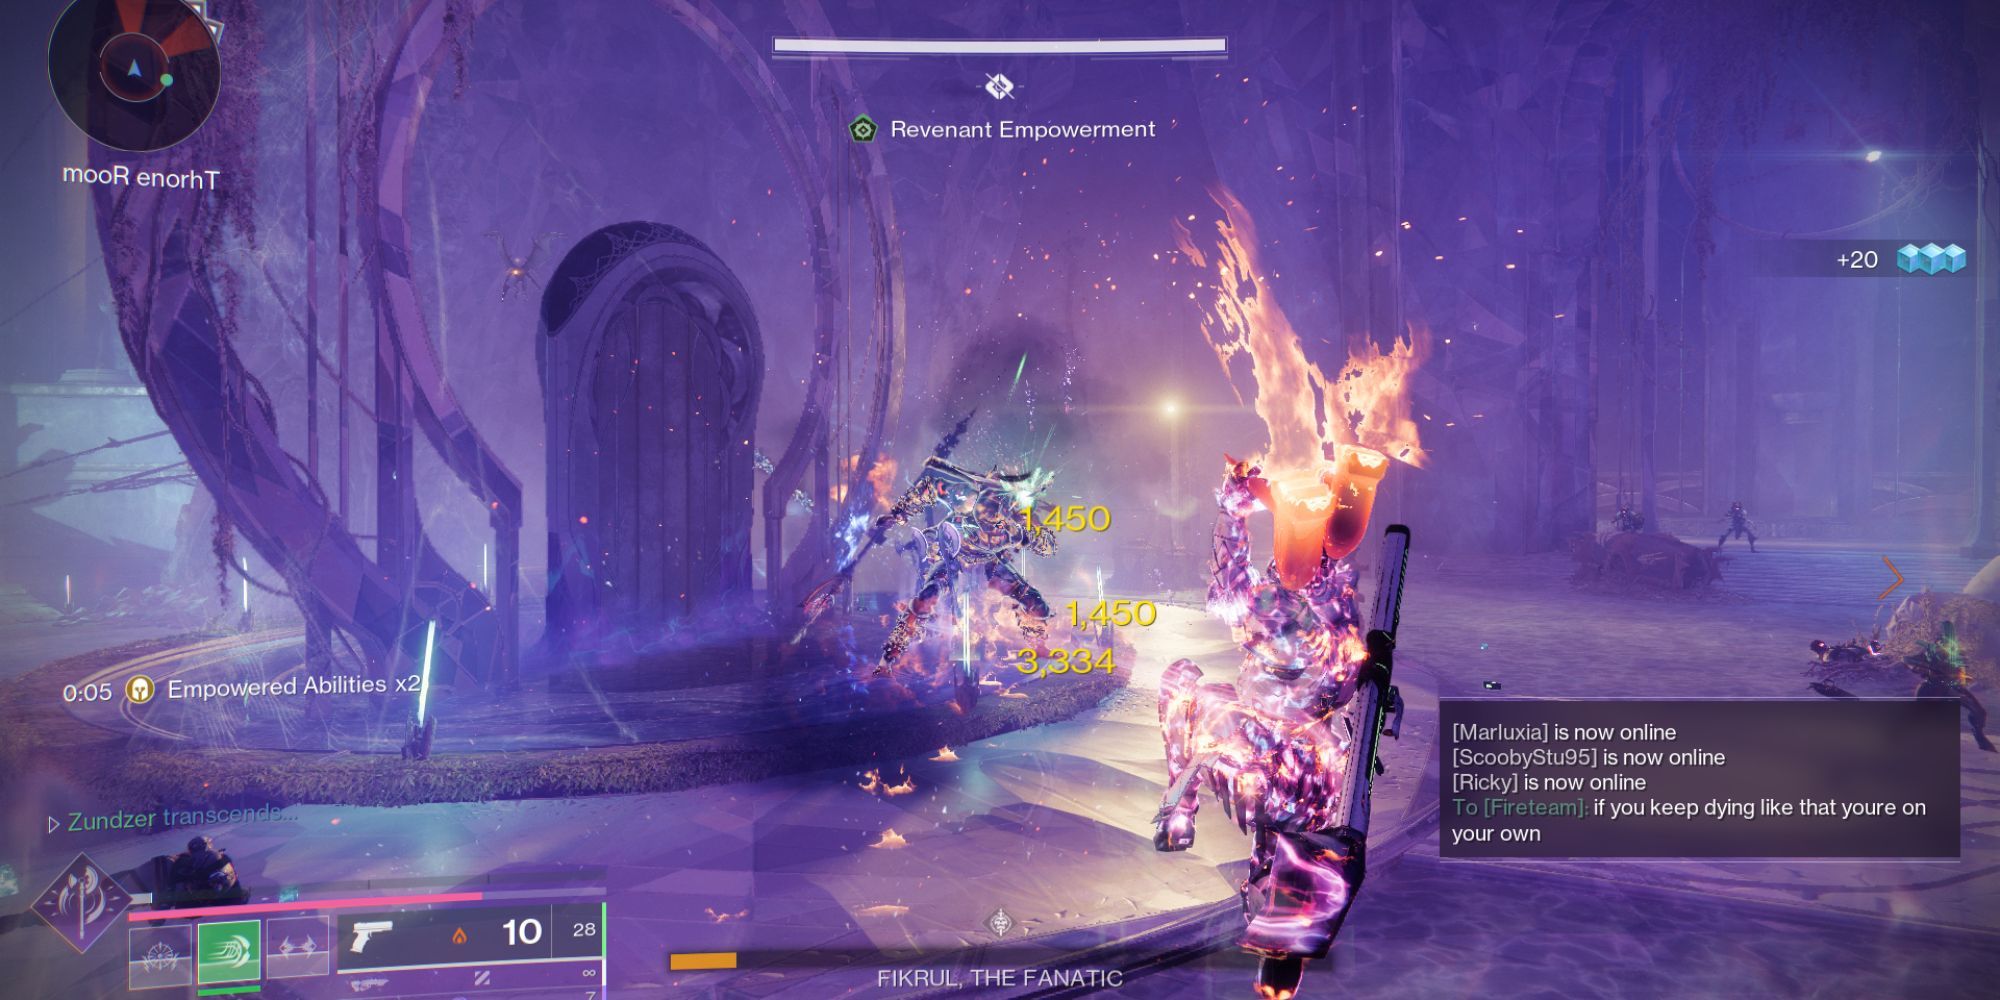
In this boss battle, despite not having a wipe option, you may find yourself inundated by numerous adds that appear and a Tormentor (it’s been a while since we encountered one of these). If you manage to reduce the boss’ health to half, he will enter an invulnerable state. To break this, you’ll need to eliminate the Tormentor first.
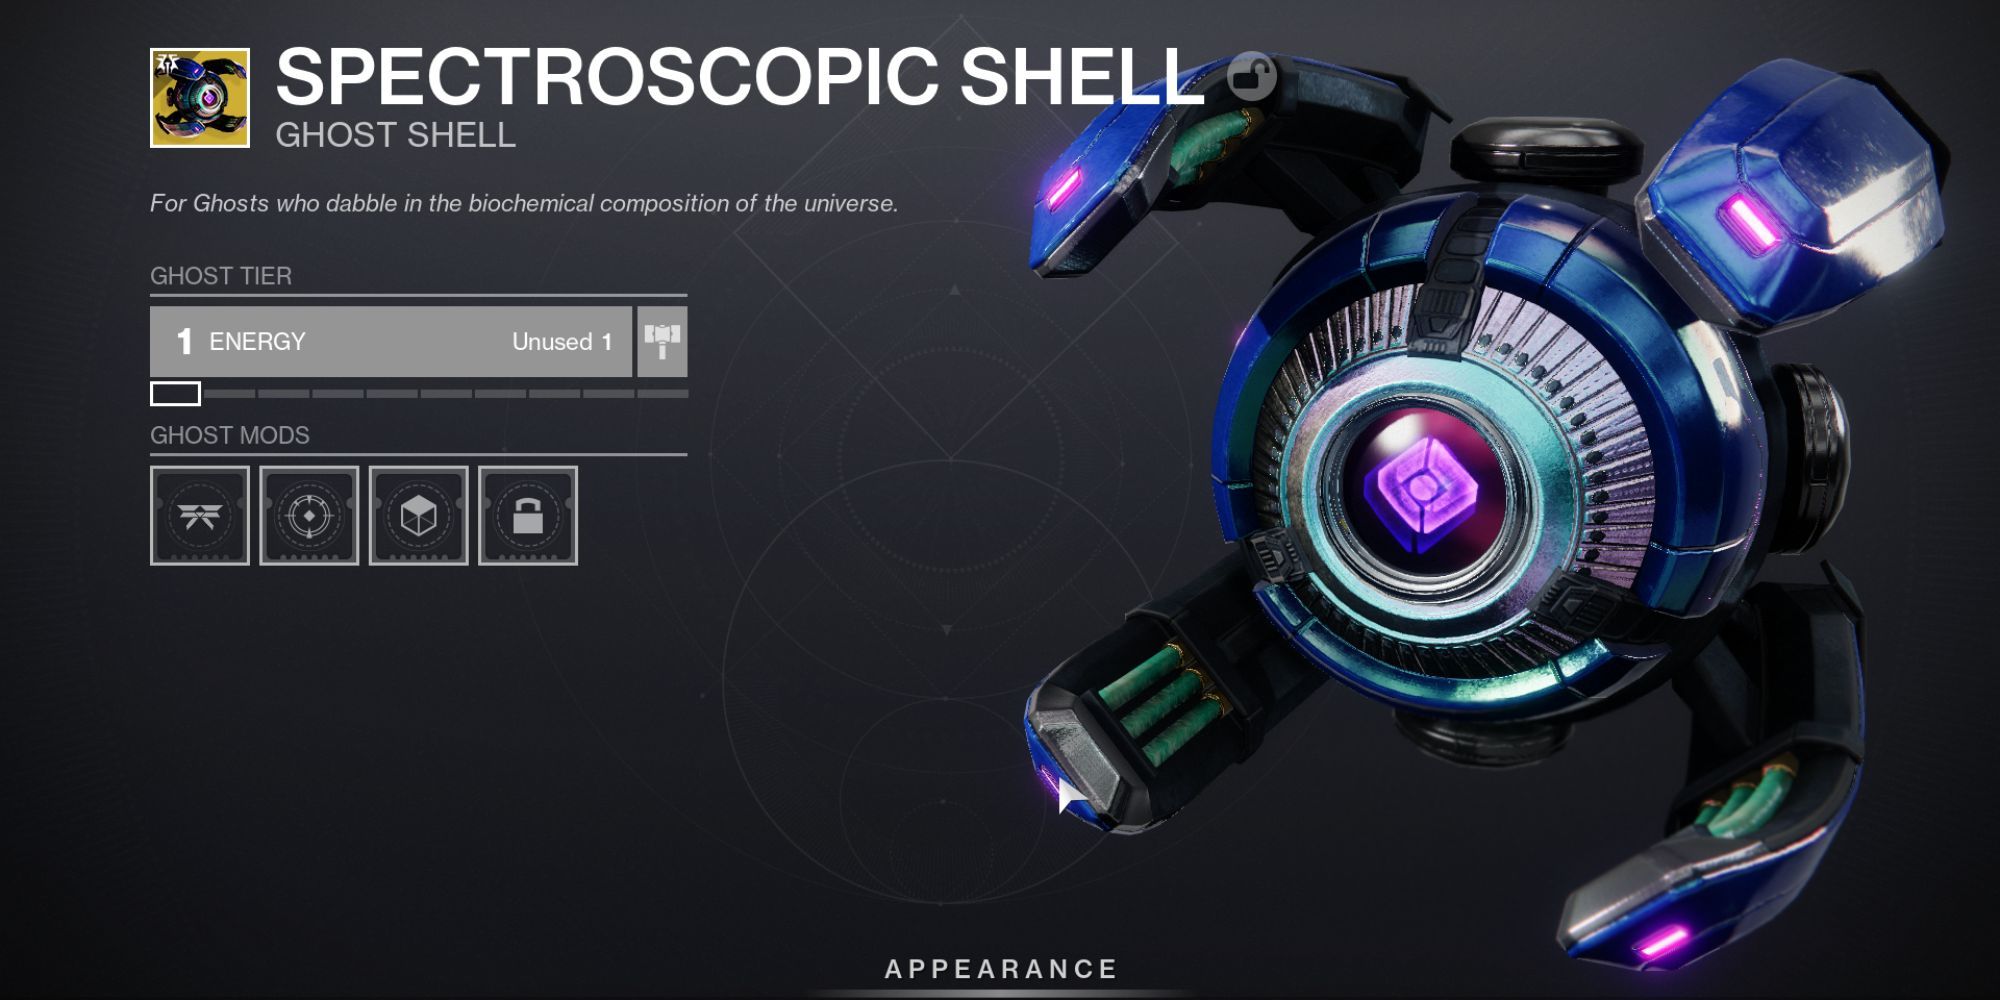
Finishing off this boss battle and then heading back to Eido to wrap up the crucial research tasks will earn you a cool Ghost cosmetic item called the Spectroscopic Shell.
Secret: Illusory Anchors
In your mission, there are secret items called Illusory Anchors hidden here and there. To spot these elusive objects, you need to zoom in using the Slayer’s Fang. Listen for peculiar chimes as a clue they’re close by, and watch out for their faint, translucent outline. Keep in mind that this mysterious artifact can only be destroyed with an exotic shotgun at your disposal.
These almost-invisible crystals come in sets of three, each rewarding you with a Catalyst perk.
First, you’ll need the quest “Revenant Slayer” from Eido to begin earning your Catalysts.
In the mirror dimension, each Illusory Anchor can be found in distinct regions. For precise details on their positions, please check out the galleries provided.
- First Set – Mirror Gallery
- The first one is to your left when you enter the first mirror.
- The second is in the tree root room after your encounter with the Scorn, to the left of the room where you might also find the knife for the intrinsic perk.
- The third and final one is nearby and should be at the opposite end of the room, near where the tree root ends, right in front of a pair of tall doors.
- Second Set – Fighting Pit
- The first one is easy to spot, as it’s in the middle of the arena.
- Another is tucked in a side room, hovering in a cubby.
- The final one is at the edges of the arena, tucked between two statues.
- Third Set – Vestibule
- The first anchor is hovering in a nook right behind where you first enter the mirror dimension.
- The second is immediately to your right in the room where you fight the Mindbender. Make sure to clear everything before you collect it.
- The last one is in a corner near the area before you fight the hive wizards.
- Fourth Set – Throne Room
- The most obvious one is in front of the throne, at the end of the arena.
- The second one is in the corner on the right side of the center mirror. The anchor is way up against the wall.
- The final one is in a small room opposite the exit mirror or throne. Enter the room and turn right, and you’ll see it.
With all the Intrinsics and Catalysts now in hand, you are ready to personalize your brand-new exotic shotgun to your preferred specifications.
Read More
- Top 8 UFC 5 Perks Every Fighter Should Use
- Unlock the Magic: New Arcane Blind Box Collection from POP MART and Riot Games!
- Unaware Atelier Master: New Trailer Reveals April 2025 Fantasy Adventure!
- Unlock the Best Ending in Lost Records: Bloom & Rage by Calming Autumn’s Breakdown!
- Unlock Roslit Bay’s Bestiary: Fisch Fishing Guide
- How to Reach 80,000M in Dead Rails
- REPO: How To Fix Client Timeout
- Unleash Hell: Top10 Most Demanding Bosses in The First Berserker: Khazan
- Reverse: 1999 – Don’t Miss These Rare Character Banners and Future Upcoming Updates!
- How to Unlock the Mines in Cookie Run: Kingdom
2025-01-20 17:43