In the game “Final Fantasy 7 Rebirth,” Aerith can be quite challenging to master due to several reasons. Even in the initial remake of this series, she was somewhat difficult to handle. This is because her attack speed was relatively slow, and they didn’t deal a lot of damage.
In addition, Aerith’s speed wasn’t particularly swift in the original game. But, in Final Fantasy 7 Rebirth, they’ve improved Aerith and her staff weapons by introducing some intriguing skills to experiment with. Mastering these skills can be a bit challenging, so let’s delve into the strategies behind them now. For those eager to collect all seven, be aware that there will be spoilers regarding their locations.
7. Lustrous Shield (Plumose Rod)
You Shall Not Pass!
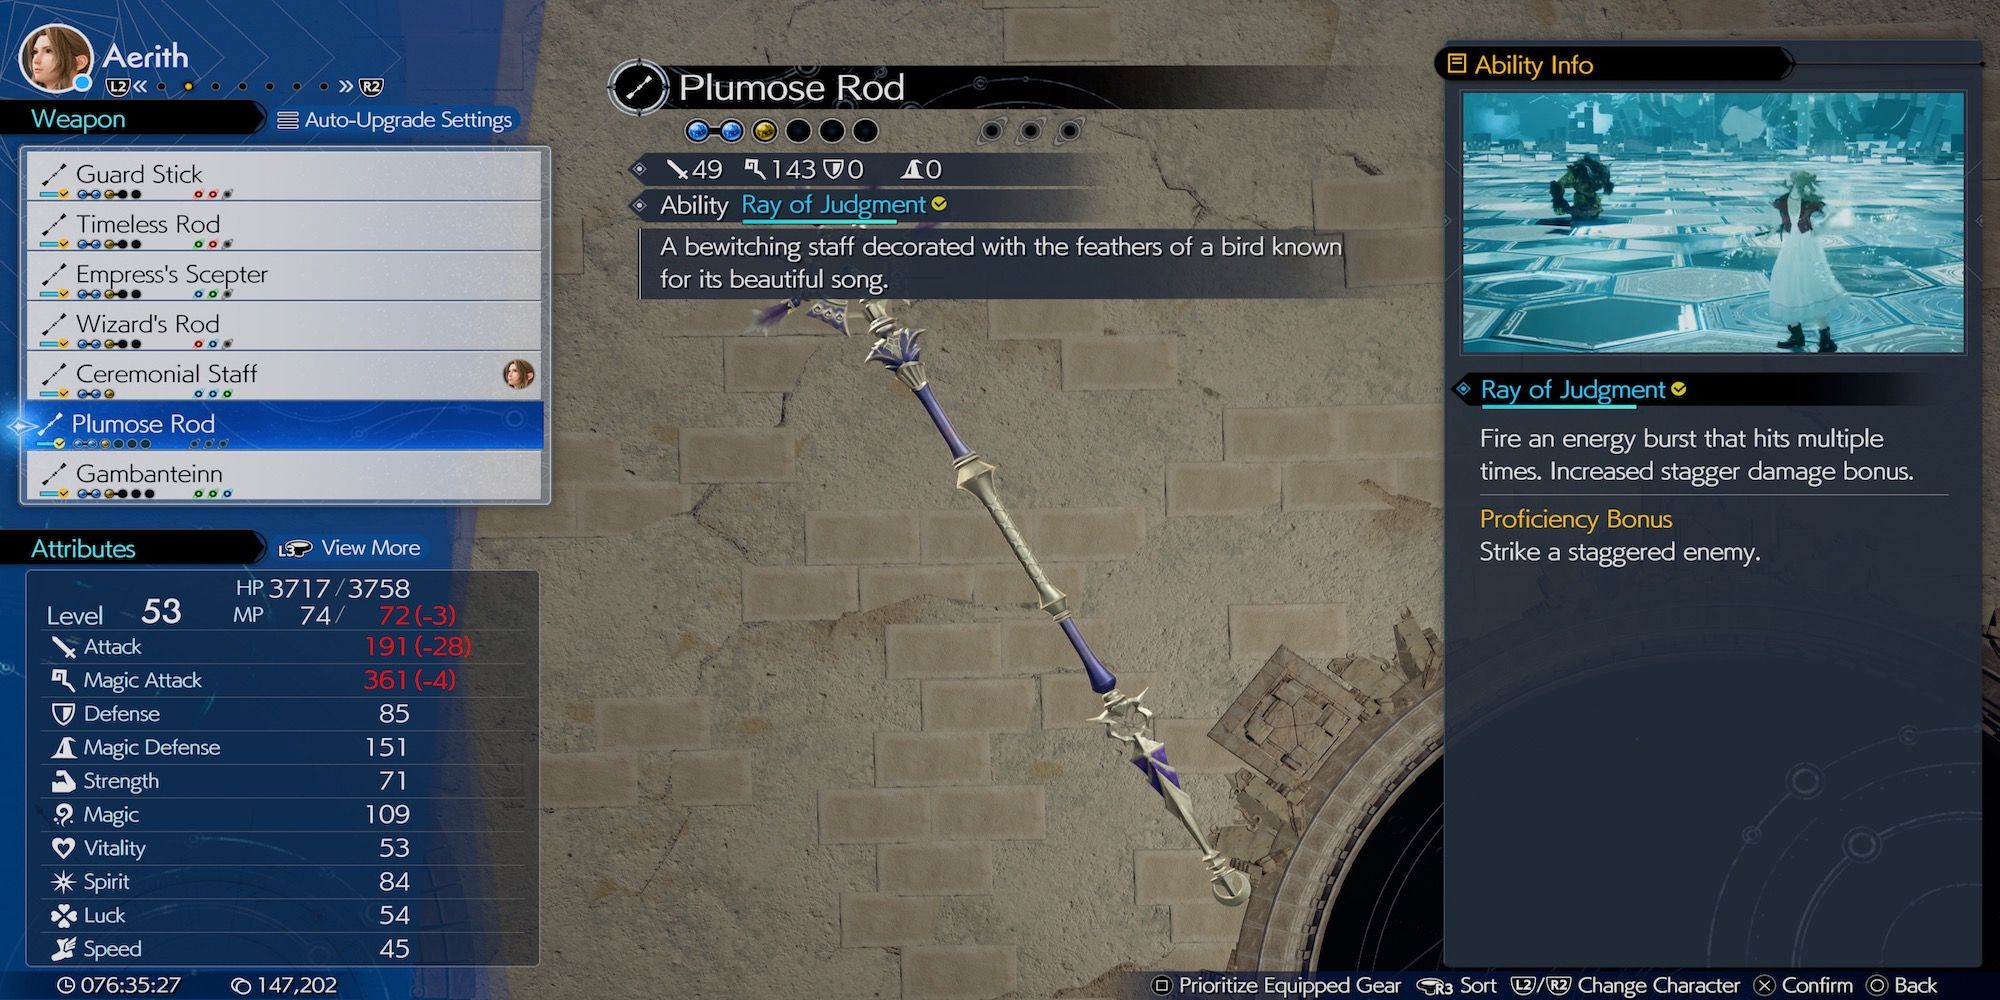
- Creates a shield to keep enemies away and block incoming projectiles.
- ATB – 1
- Location: First complete the side quest “Lament Of The Damned” in Nibelheim during Chapter 12. This will take you to Shinra Mansion, Mako Research Facility Section X, which will be Hojo’s combat exams. Complete every combat exam to unlock the treasure room, with the Plumose Rod being in the purple chest along the right side.
Obtaining the Plumose Rod is no walk in the park; it’s tucked away behind a barrage of obstacles for Hojo within the Shinra Mansion. Only after players have conquered all enemy challenges will they be rewarded with this exceptional item. The rod grants Aerith the skill called Radiant Barrier, offering defensive advantages.
After being created, adversaries cannot penetrate the Radiant Barrier and it will block incoming attacks. Placing Aerith in your party during “Final Fantasy 7 Rebirth” would make her the team’s primary spellcaster. Using spells like Cure or Fire while maintaining a Radiant Barrier as a defensive measure could prove effective.
6. Chrono Aegis (Timeless Rod)
It’s A Chrono Trigger
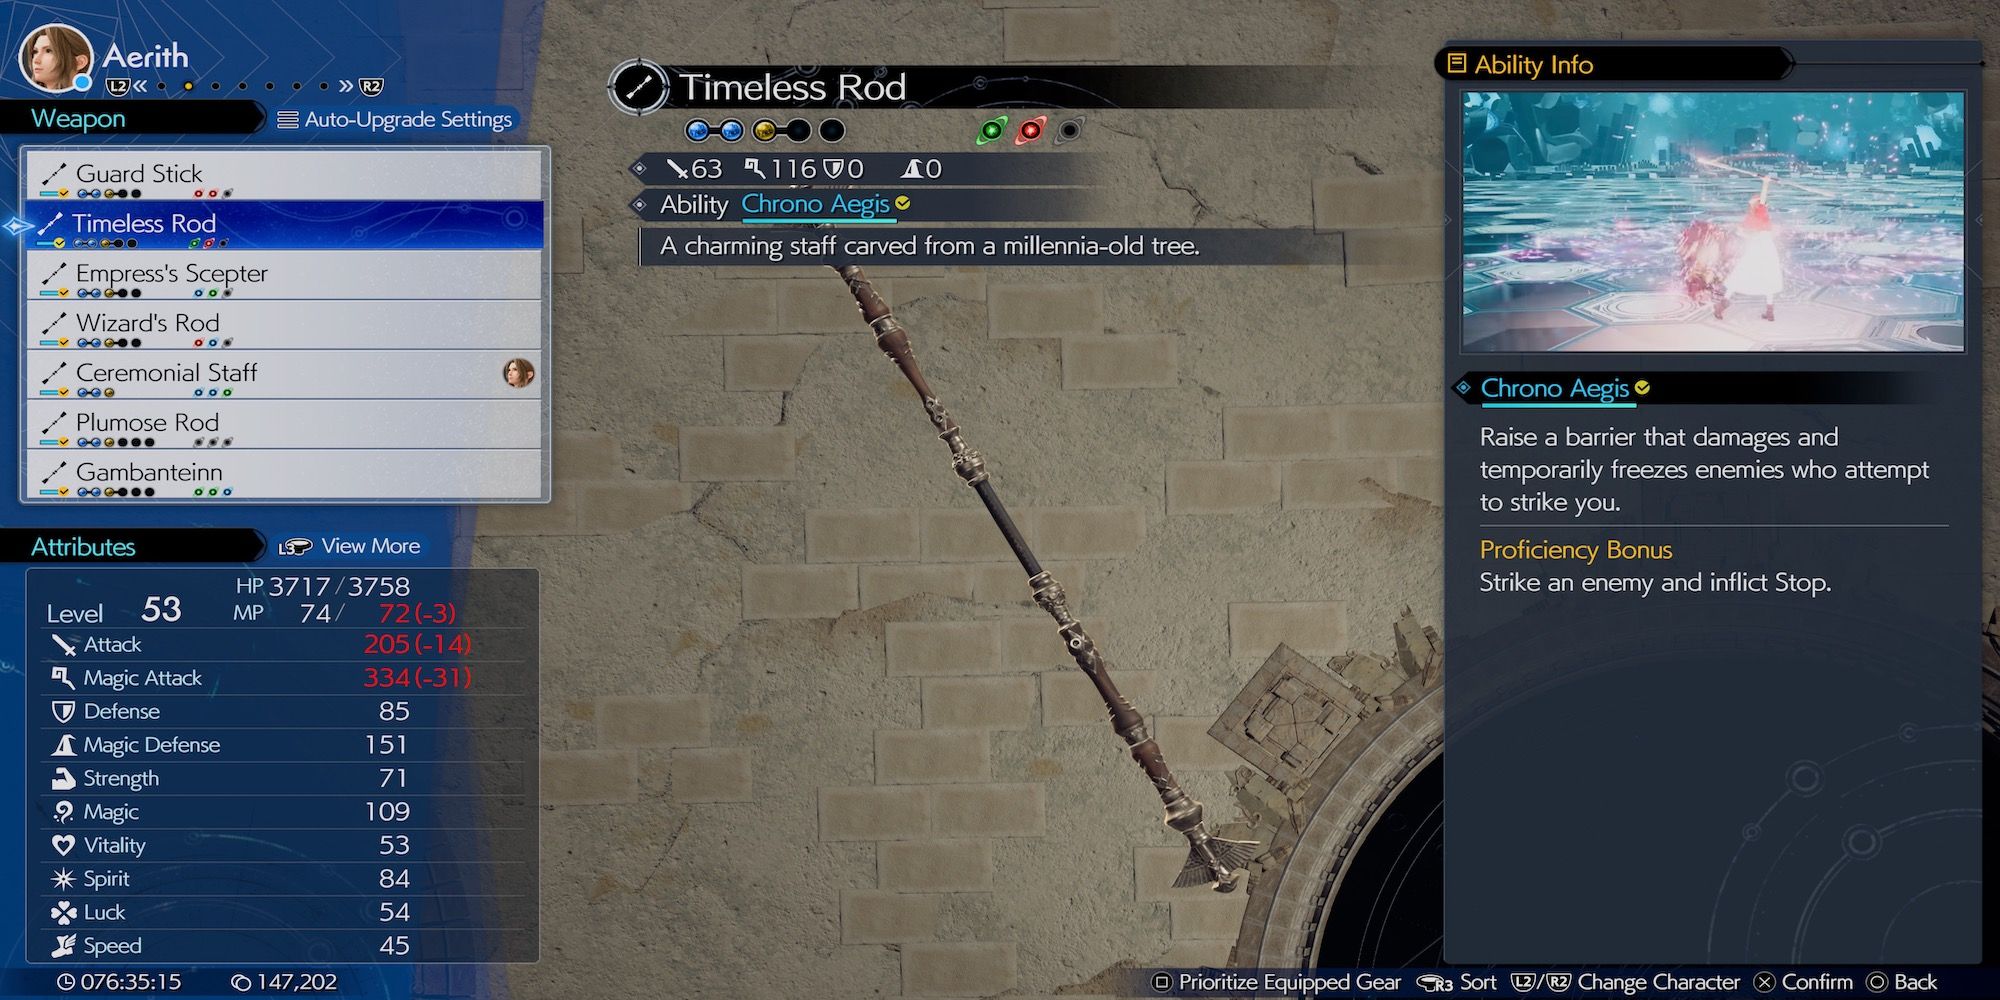
- Creates a barrier that freezes and damages enemies that get too close.
- ATB – 1
- Location: Found in a purple chest in the main building of Bill’s Chocobo Ranch in the Grasslands region. Found back and to the right of Chloe.
Upon receiving the mission to locate the Chocobo in The Grasslands area, players might be tempted to depart right away. But, it’s advisable to investigate the barn before setting off, as there are some scarce materials, useful items, and a special rod for Aerith known as the Timeless Rod hidden inside. This unique-looking rod comes with the Chrono Aegis power attached to it.
In simpler terms, Chrono Aegis serves as a defensive ability that not only shields you from attacks but also retaliates if an enemy strikes it. Additionally, there’s a possibility that enemies will be afflicted with the ‘Stop’ status effect when hit. The ‘Stop’ effect can also be intentionally applied using the ‘Time’ Magic Materia. However, in the game ‘Final Fantasy 7 Rebirth’, the ‘Stop’ effect seldom affects bosses, but it proves beneficial against common field enemies.
5. ATB Ward (Ceremonial Staff)
For The Long-Ranged Heroes
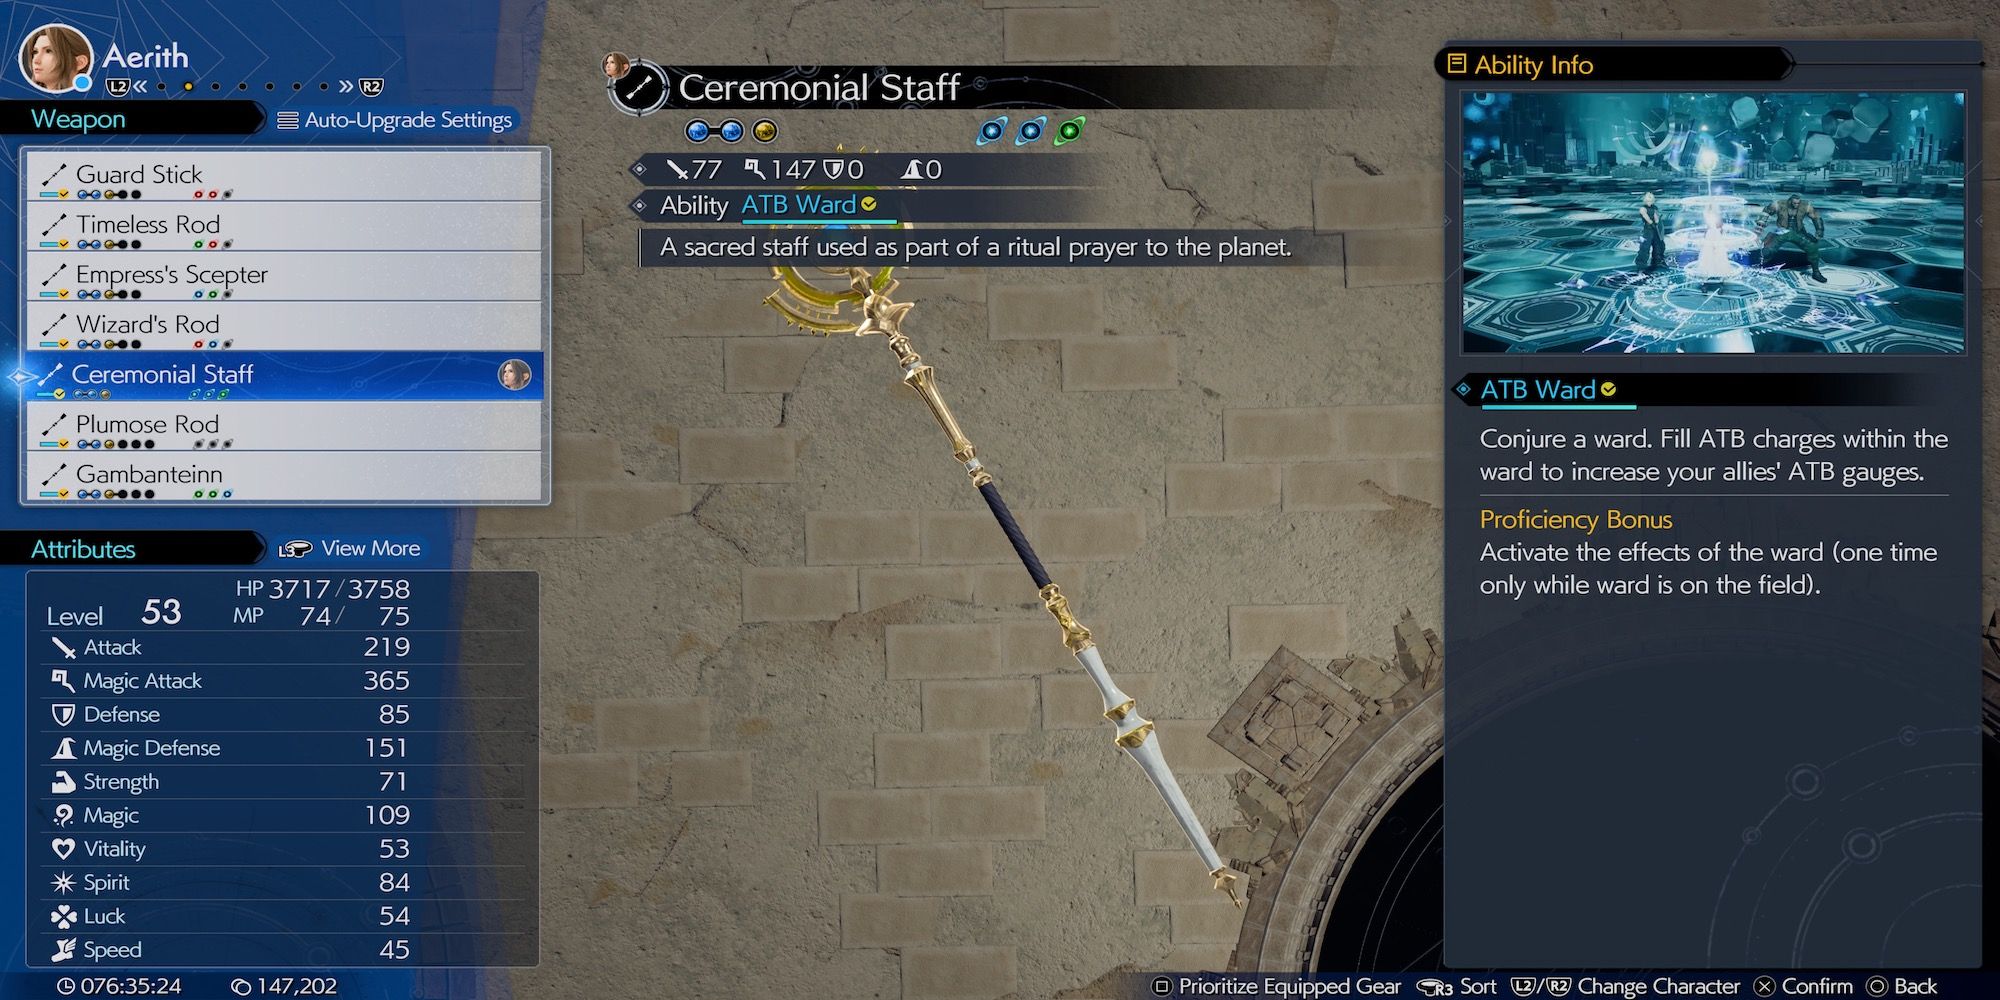
- Attacking as Aerith while in the Ward will also charge up your allies ATB.
- ATB – 1
- Location: During Chapter 10 you’ll travel to the Village of the Gi. Upon arriving you’ll see a checkpoint ahead and to the left of the path forward, with the staff being in the purple chest further to the left of the checkpoint.
In “Final Fantasy 7 Rebirth,” one significant shift in the story unfolds following Red XIII’s trials within the Cave of the Gi. Following these trials, an ancestor of the Gi will escort the party to the Gi Village. Here, a series of battles ensue, and rewards, such as the Ceremonial Staff which equips Aerith with the ATB Ward ability, can be obtained.
When called upon, the ATB Ward accelerates the recharge rate of everyone’s ATB gauge within its vicinity. Given that it remains stationary, it’s advantageous to include characters with ranged abilities such as Barret or Yuffie in your party. Positioning your party’s AI in this zone can sometimes be challenging.
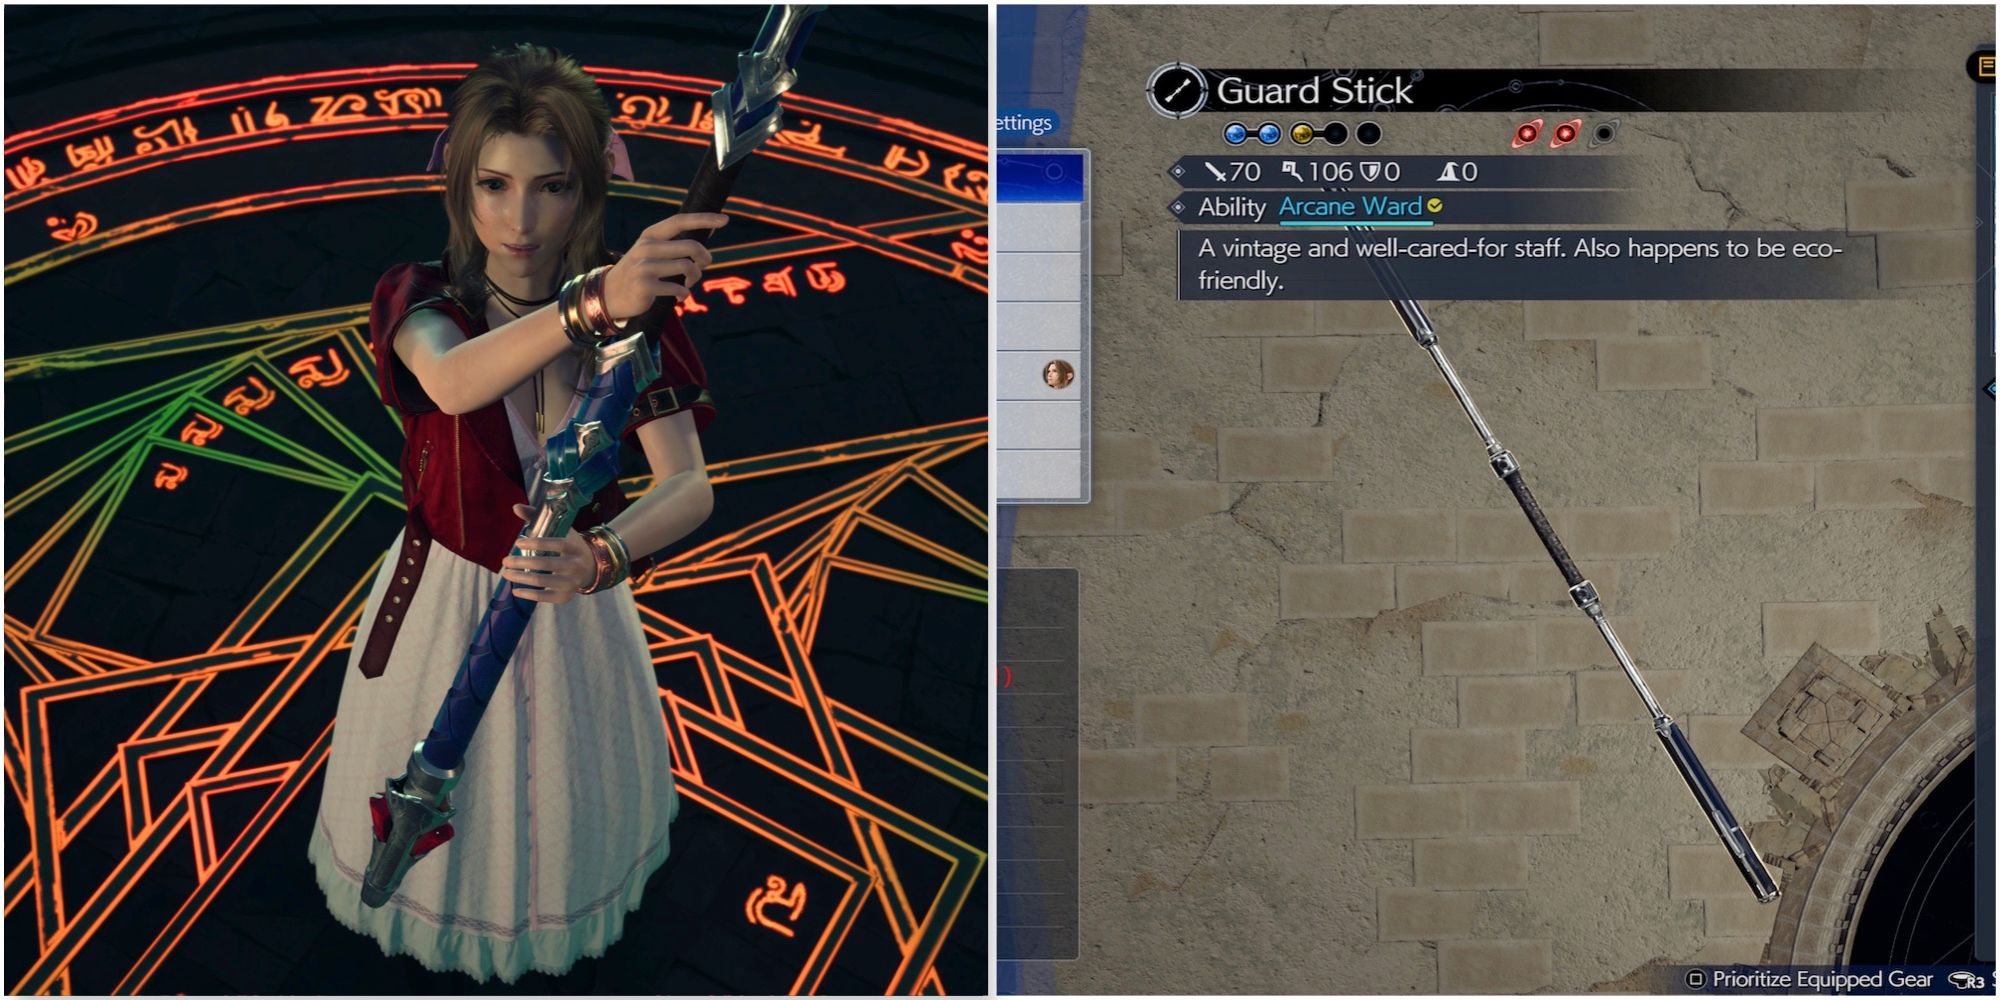
4. Arcane Ward (Guard Stick)
A Quadra Magic Materia Replacement
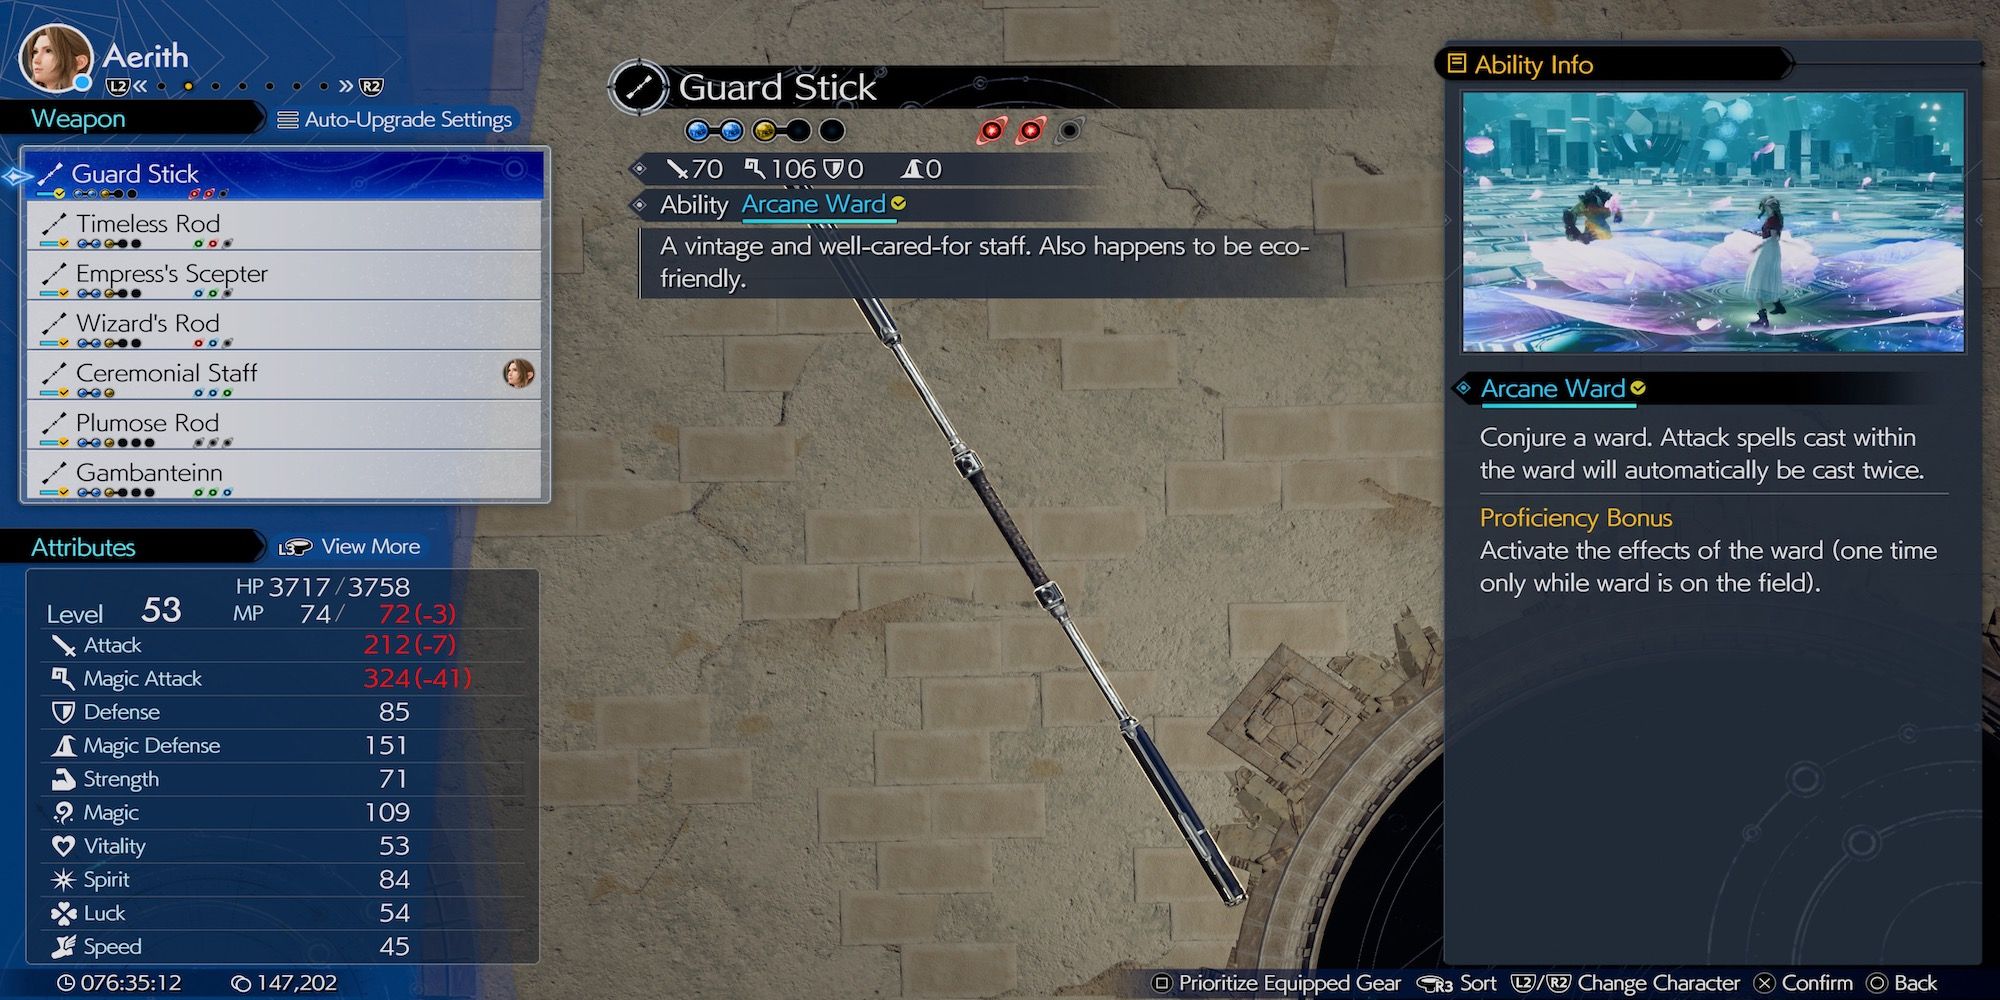
- Attack spells cast within the ward will be cast a second time for free.
- ATB – 1
- Location: Aerith’s starting weapon.
Aerith’s standard weapon is the Guard Stick, which is less recognizable compared to other starting weapons like Cloud’s Buster Sword. Despite its ordinary appearance, the Guard Stick comes with a remarkable ability that boosts Aerith’s power in combat – Arcane Ward.
Within this area, any spells you cast will be doubled, such as an Ice spell on enemies. In the original game, there was a Support Materia called Quadra Magic that functioned similarly, but it was even more powerful, casting the same spell four times instead of two. Hopefully, it might appear in the final game of this trilogy; however, Aerith’s Arcane Ward makes for a suitable alternative.
3. Radiant Ward (Empress’s Scepter)
Make Aerith’s Attack Actually Hurt
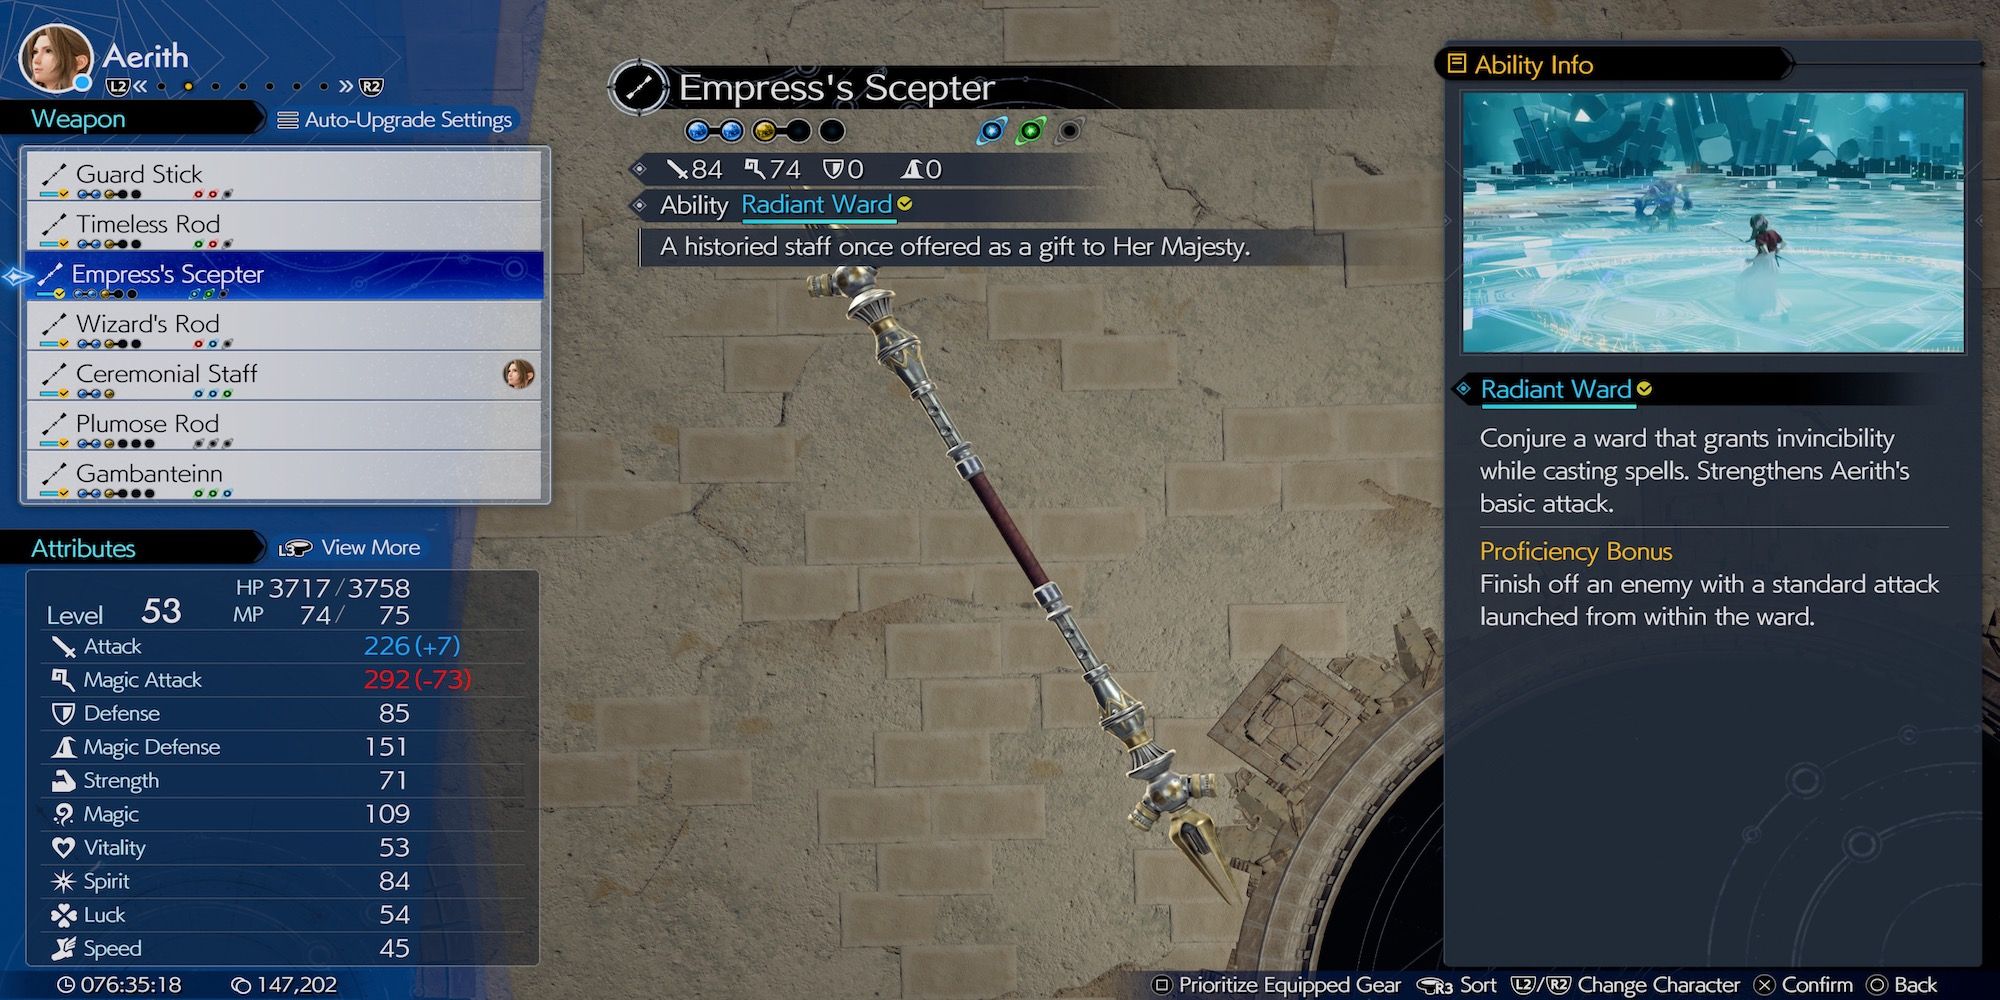
- Casting spells while in the ward briefly makes party members invincible while the cast animation happens. Basic attacks from Aerith in this ward will deal increased damage and launch more projectiles at once.
- ATB – 1
- Location: During Chapter 4 you’ll arrive in Under Junon, with the chest being in Aeirth’s room at the Inn, the first door on your right when walking down the hallway.
Among all characters in the game, Aerith acquires weapons rather swiftly. The Empress’s Scepter becomes accessible at the Junon Inn following Cloud’s encounter with Aerith. This item bestows upon Aerith the Radiant Ward ability, enhancing her power during battles.
Initially, her fundamental attack transforms into a swift and powerful series of laser blasts, inflicting greater damage. This significant change greatly enhances her gameplay dynamics. Additionally, her spells become more potent, and she becomes invulnerable while within the play area.
2. Ray Of Judgement (Wizard’s Rod)
Piccolo Would Be Impressed
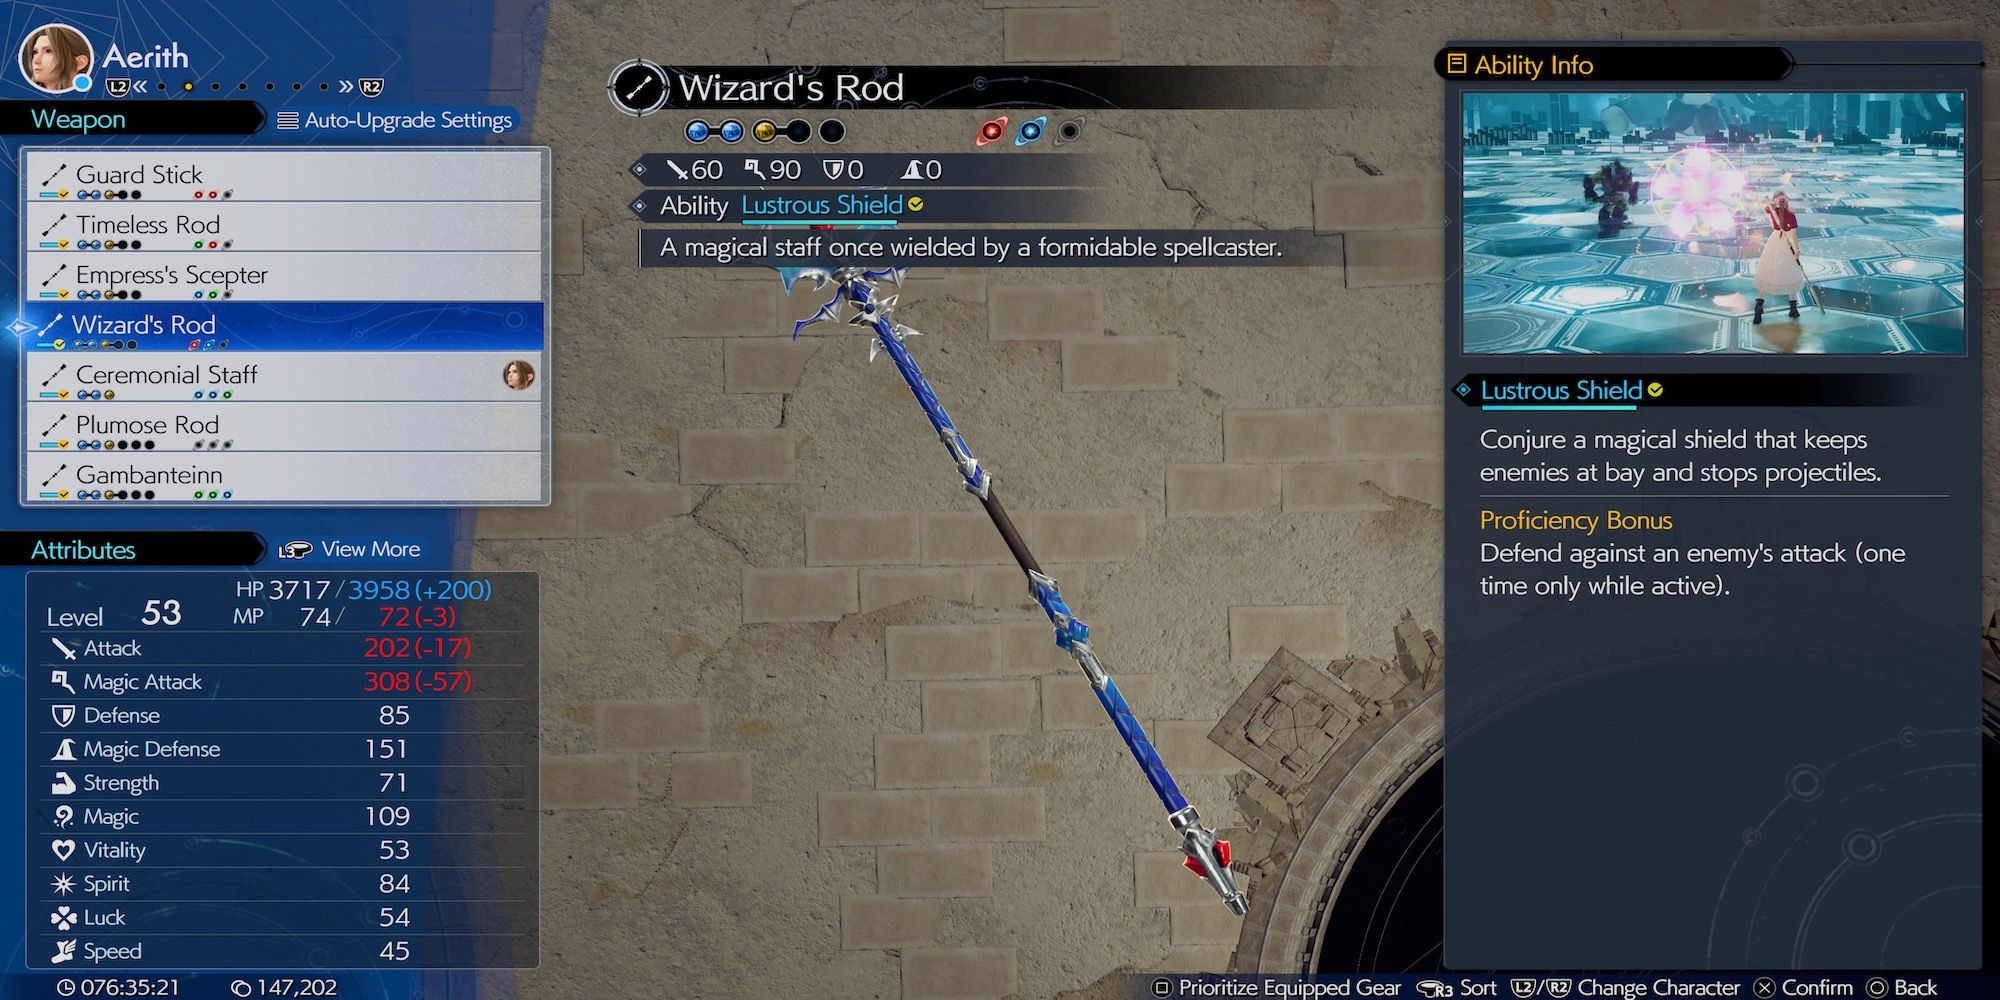
- Shoots a beam of energy to greatly damage any enemy hit.
- ATB – 1
- Location: During Chapter 7 you’ll start climbing Mt Corel and the party will split up. RIght after the other run ahead, you can stop at the checkpoint directly ahead. Go to the alcove to the left of the checkpoint to find the staff within the purple chest.
During your climb up Mt. Corel accompanied by Cloud and Red 13, you can acquire the Wizard’s Staff as a weapon. This staff bestows Aerith with the power of Ray of Judgement, an uncommon offensive attack for her. Essentially, she can summon a powerful laser beam capable of slicing through numerous on-screen enemies.
In simpler terms, the power of The Radiant Ward’s beams isn’t enough to penetrate through opponents. Instead, Ray of Judgment can be likened to Aerith’s version of Piccolo’s Special Beam Cannon from Dragon Ball Z, but with a slightly different intensity and use.
1. Noble Sacrifice (Gambanteinn)
A Powerful Premonition

- Aerith will die, but both party members will be received.
- ATB – 2
- Location: In Chapter 13 while in the Temple of the Ancients, when the party splits up and you’re now playing as Aerith. After learning how to channel the Lifestream and rebuild the environment, rebuild the large stairwell that heads further down into the temple. Head to the Hall Of Life – Second Tier, where the purple chest will be tucked under the stairs you just came down.
As a gamer, I can tell you that the Temple of the Ancients is the ultimate challenge in our game, serving as the final dungeon where many characters can acquire their powerful ultimate weapons. For Aerith, her ultimate weapon is named Gambanteinn, and it comes with an extraordinary ability called Noble Sacrifice. Unlike most of Aerith’s abilities, this one requires 2 ATB bars to activate, but let me tell you, it’s more than worth it in a tight spot.
In this scenario, a selfless act called Noble Sacrifice results in Aerith perishing during combat. This act of sacrifice, however, has profound effects – all other characters will be restored to full health and cured of any ailments, even those close to death. Interestingly, there’s an option for Aerith to be brought back to life as well, making it more of a temporary solution rather than the final farewell for our heroine.
Read More
- Unlock the Magic: New Arcane Blind Box Collection from POP MART and Riot Games!
- Top 8 UFC 5 Perks Every Fighter Should Use
- How to Reach 80,000M in Dead Rails
- Unlock the Best Ending in Lost Records: Bloom & Rage by Calming Autumn’s Breakdown!
- Unlock Roslit Bay’s Bestiary: Fisch Fishing Guide
- How to Unlock the Mines in Cookie Run: Kingdom
- Jujutsu Kaisen Shocker: The Real Reason Gojo Fell to Sukuna Revealed by Gege Akutami!
- Unaware Atelier Master: New Trailer Reveals April 2025 Fantasy Adventure!
- REPO: How To Fix Client Timeout
- MHA’s Back: Horikoshi Drops New Chapter in ‘Ultra Age’ Fanbook – See What’s Inside!
2025-02-04 01:56