
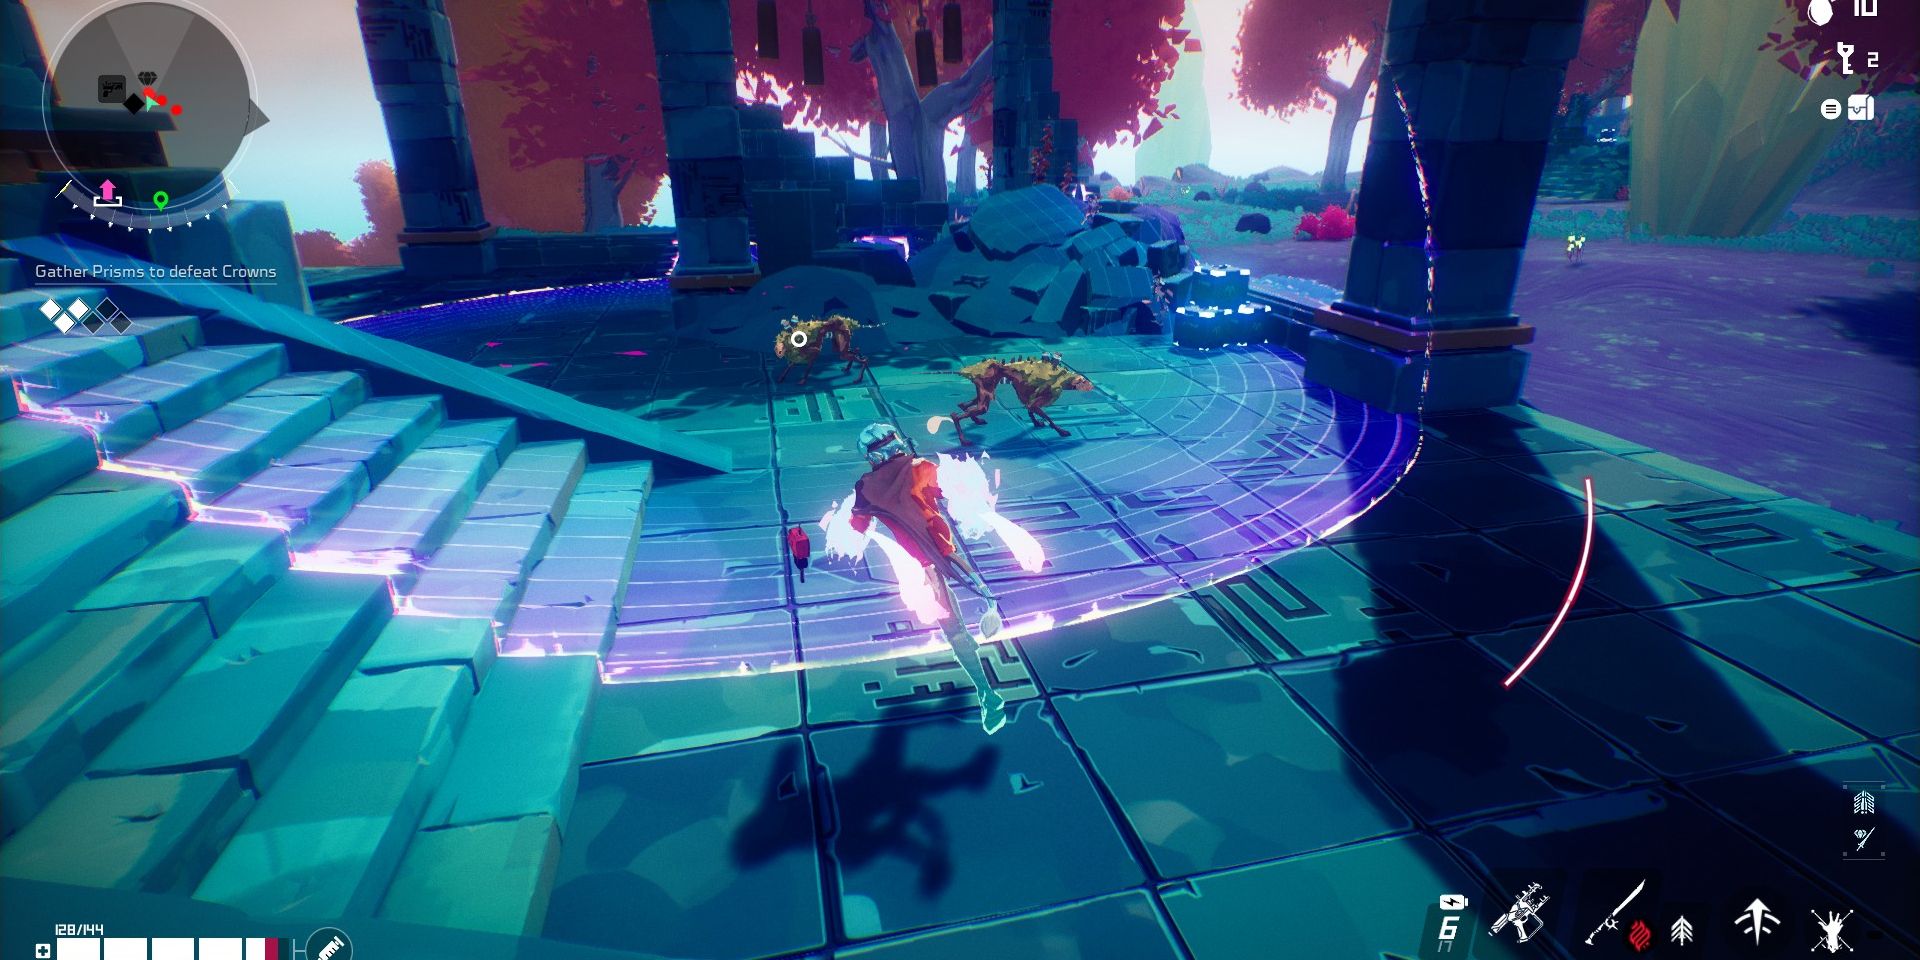
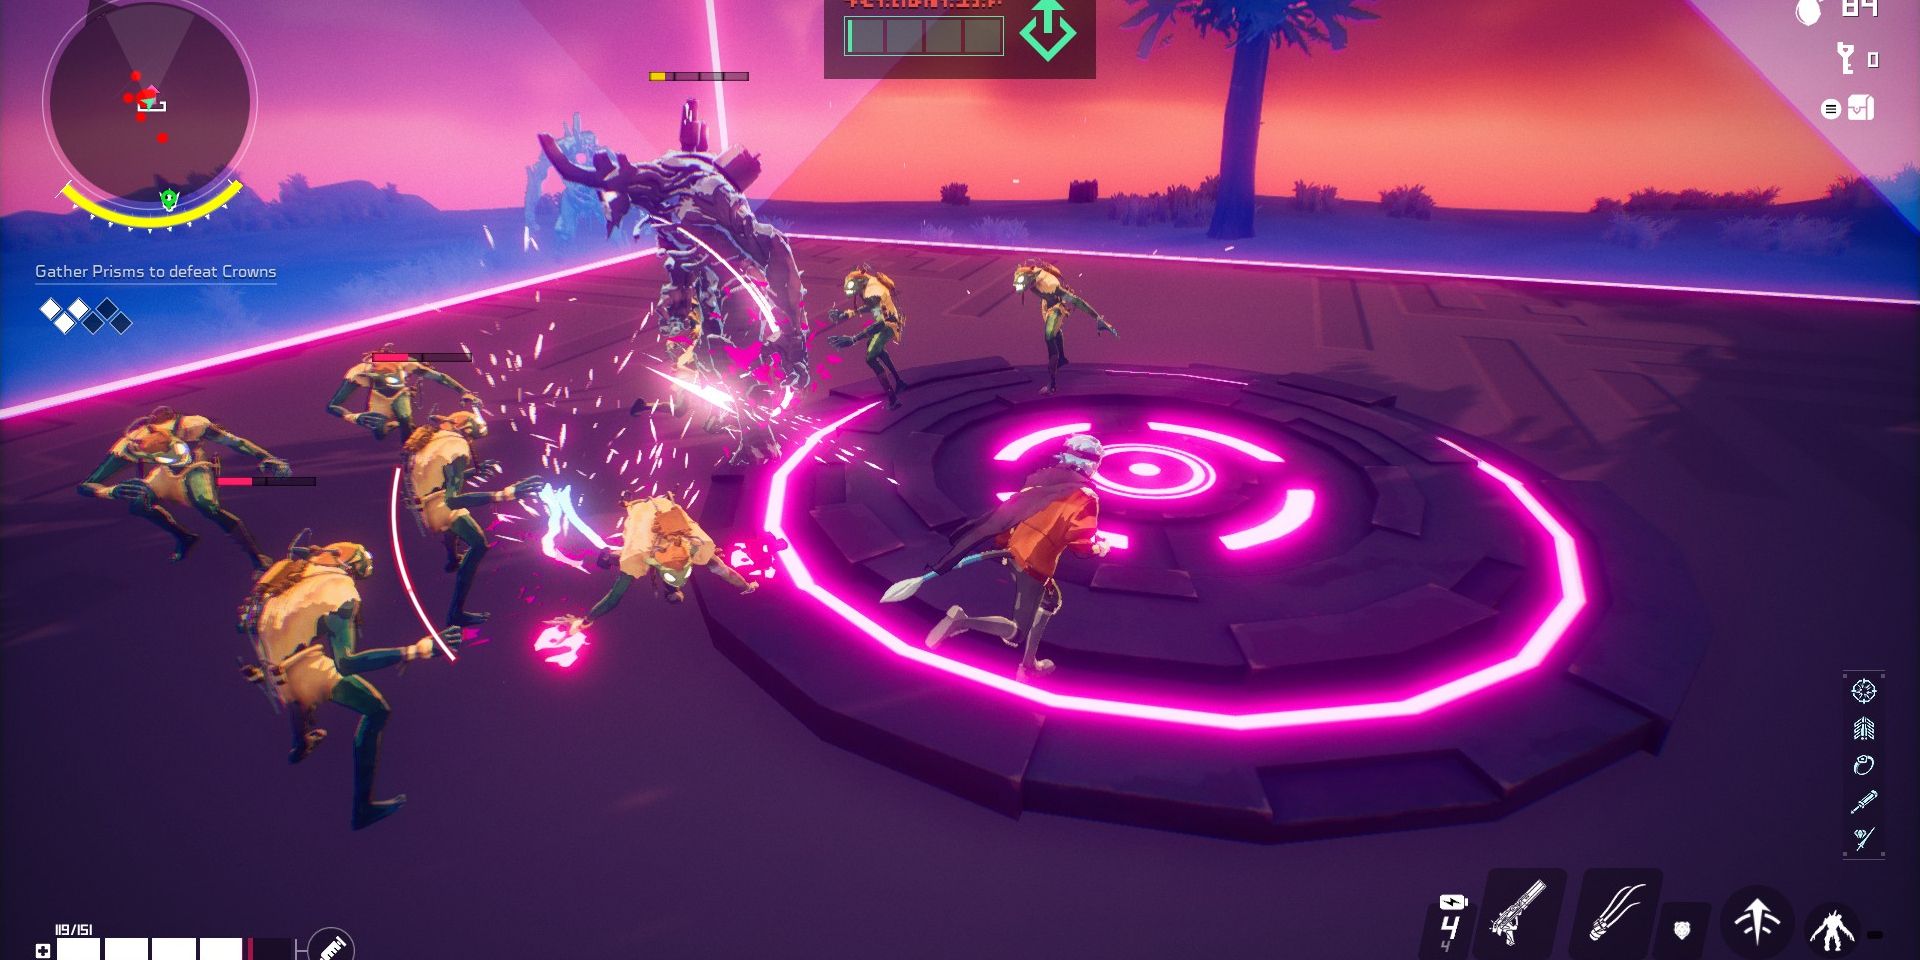
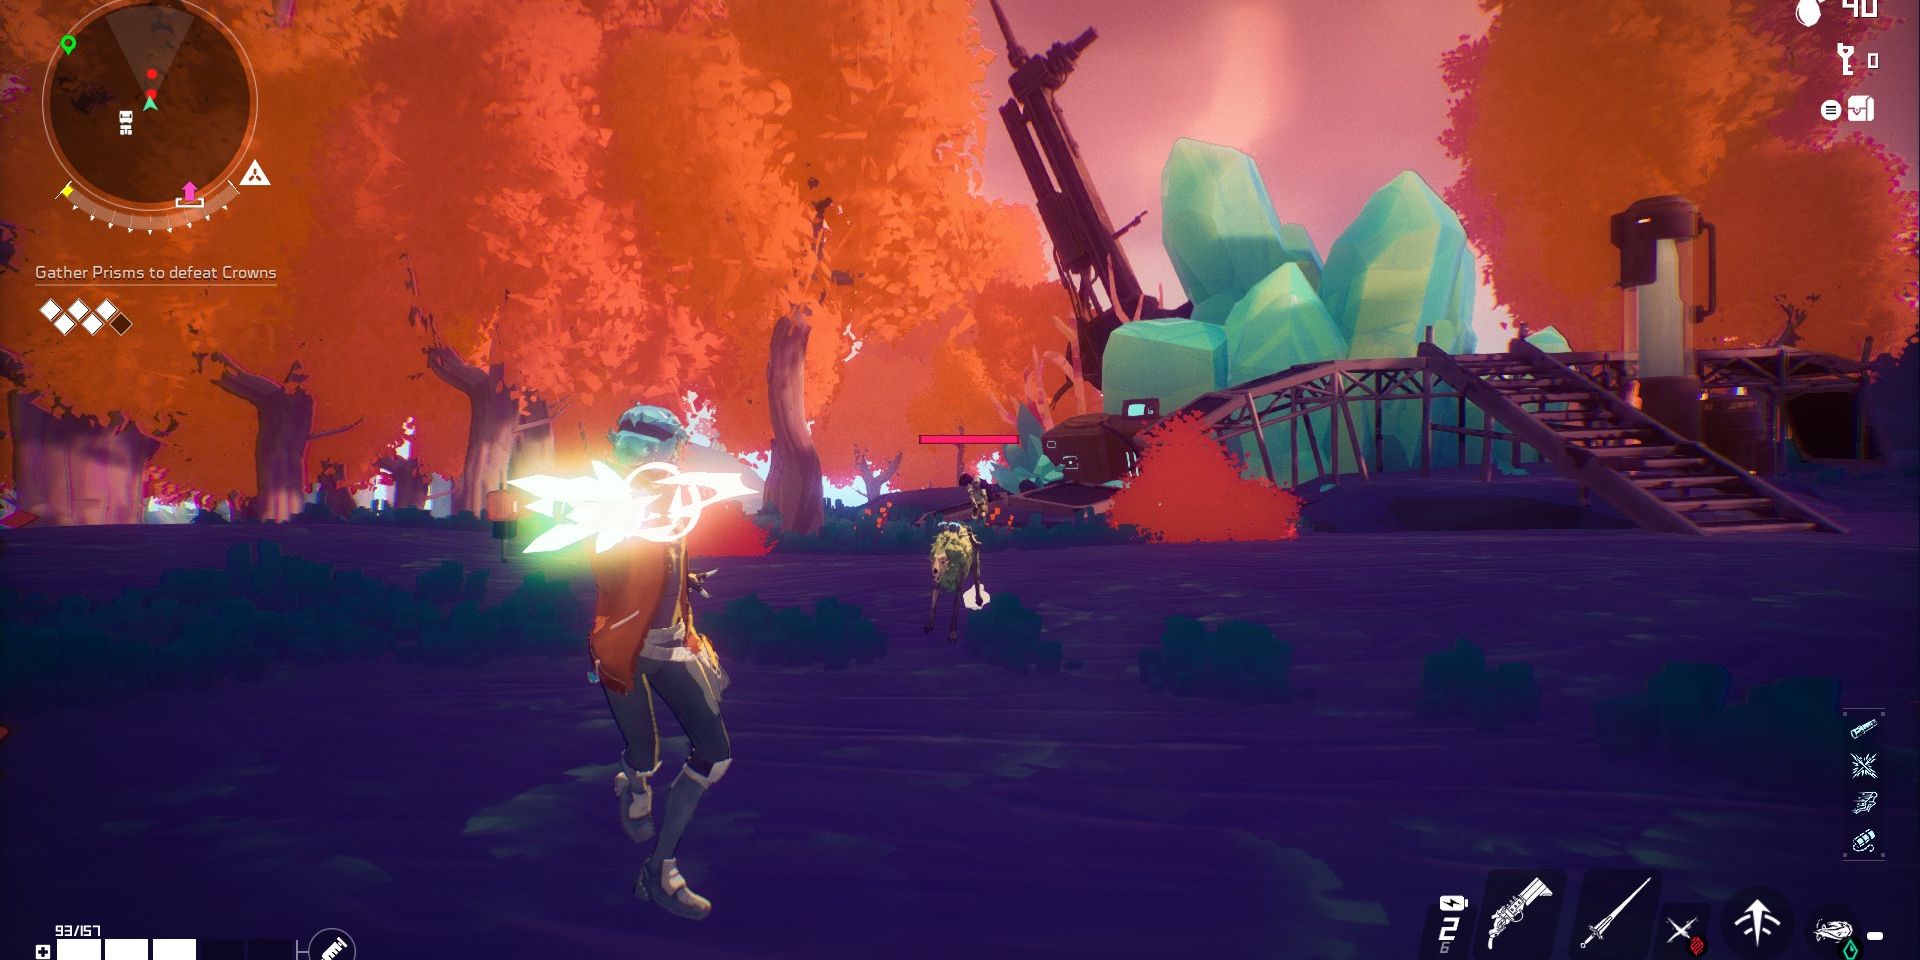
In Hyper Light Breaker, you have numerous attack choices at your disposal. Additionally, there’s this peculiar category called Amp items, which perform a multitude of functions, often serving as an additional method for dealing damage.
While your Blade is equipped with both a specialized and a charged attack capable of inflicting significant damage, it’s worth noting that Amp items can offer valuable support in various situations.
Some backup tools perform their function more effectively than others. Unfortunately, there are some that cause significant harm or seem completely ineffective. Given these issues, it seems fitting to compile a ranking list.
Each option is evaluated independently, with those that cater specifically to certain character types receiving lower scores compared to those that work well across various builds in the game, particularly those capable of dealing high damage.
9. Root-Hash Hack
A Different Kind of Hack
The Root-Hash Hack appears intended to bring forth a friendly replica of your recent foe, yet I seldom witness it functioning as expected – either no duplicate appears or if one does, it materializes much later than anticipated.
When I’ve employed it, the circle remained stationary on the ground without any ally appearing until I’ve completed the fight. There’s a possibility that an ally may show up afterward, but they usually don’t take any action.
If the ally correctly appears, its attacks are so weak that I barely perceive any impact, rendering it ineffective and unworthy of use when it fails at its primary function.
If it were completely reliable, it probably still wouldn’t perform well, and given its inconsistency in delivering satisfactory results, there’s no compelling reason for me to employ it under any circumstances.
8. Vulcan Drone
Bad Backup
The Vulcan Drone calls forth a companion to fire a weak laser at adversaries, but only for a brief moment, vanishing after a minute, resulting in minimal consequences.
This weapon is capable of annihilating an adversary after continuous firing for several seconds, but only under the condition that it’s within range. It merely knocks back minor opponents, and it won’t attract any targets itself.
If only they could draw the enemies away from you so you could easily eliminate them, but unfortunately, they don’t function like that.
This amplifier is quite large yet far from exceptional, offering little value overall. However, its ability to momentarily delay or stagger opponents might make it useful as a temporary solution to diffuse certain situations.
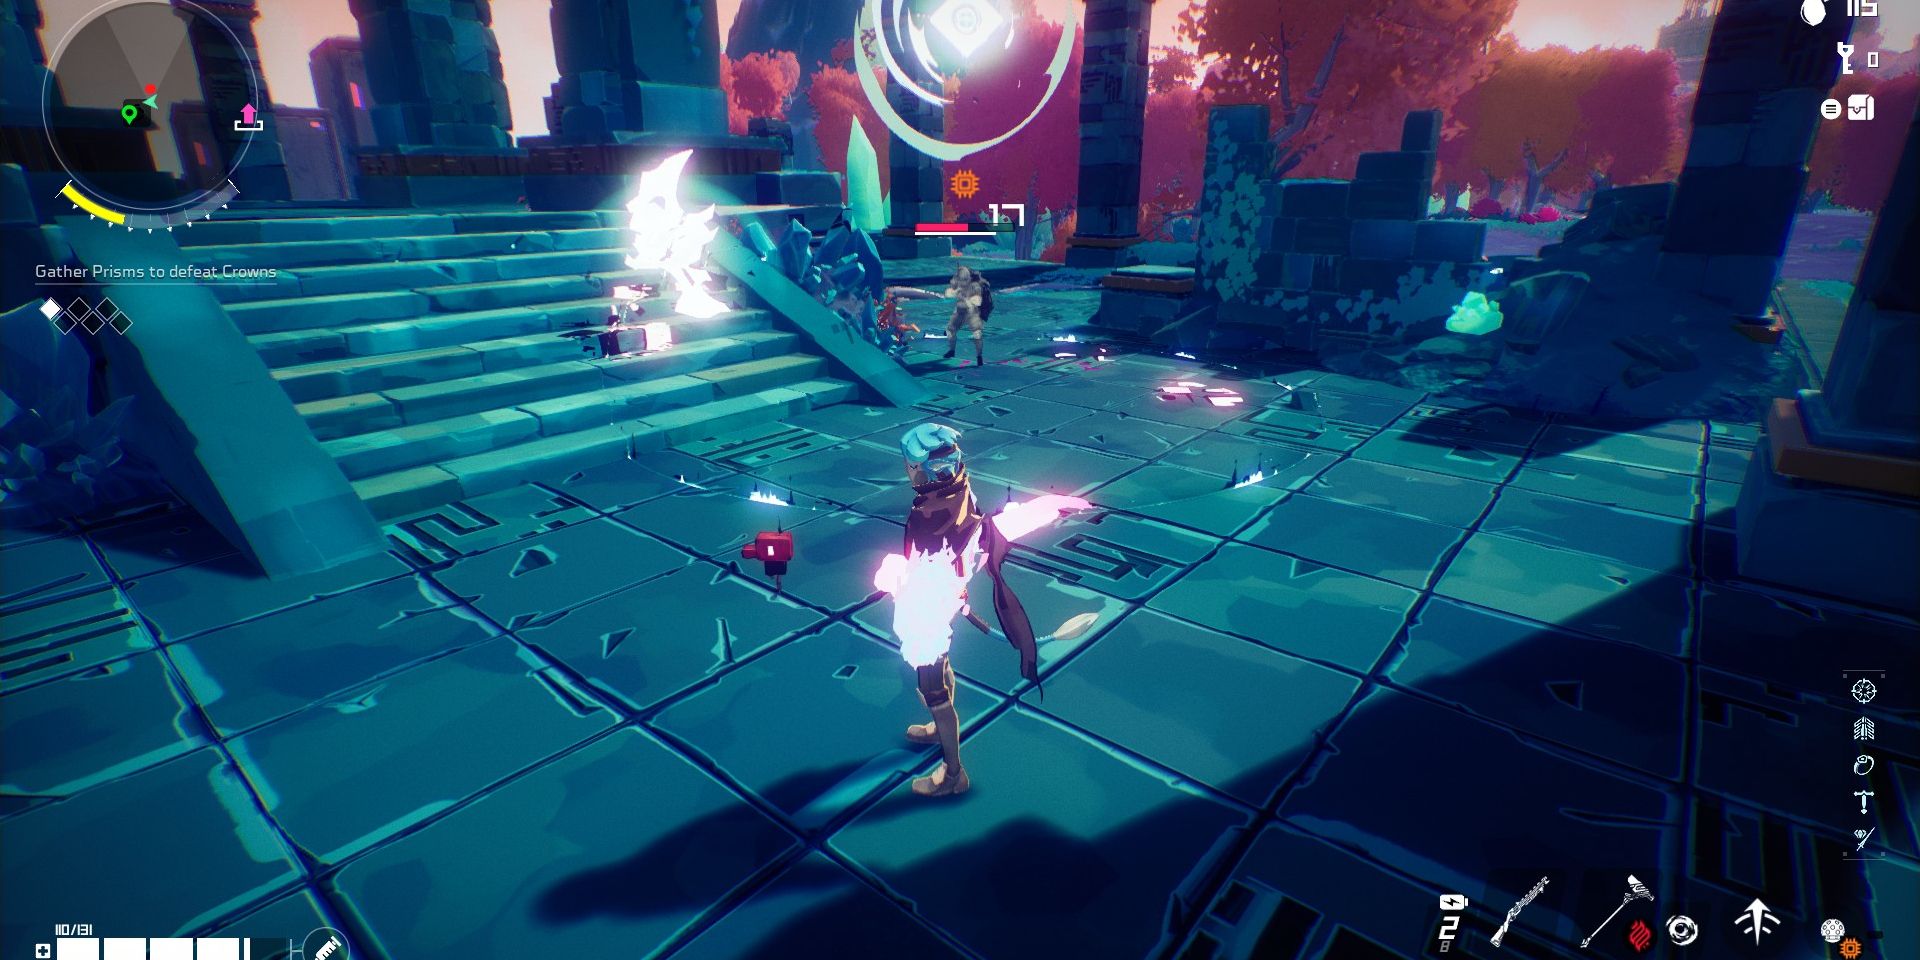
7. Frag Grenade
Drop And Go
The Frag Grenade serves as an instant area-of-effect (AoE) damage and burn provider, offering a swift additional attack. However, it doesn’t stand out as something particularly remarkable in terms of power.
This damage is substantial enough to deplete a good portion of an average enemy’s health, yet it likely won’t eliminate anything particularly robust without prior weakening.
It’s acceptable to use this amplifier, but it doesn’t play a crucial role in the design; they seemingly dropped explosive charges randomly without any apparent purpose.
This device is effective for its intended purpose, capable of completing tasks efficiently, especially in situations where multiple adversaries are present. It excels due to its rapid detonation speed. However, it doesn’t offer many additional functionalities, but that’s acceptable.
6. Shrapnel Cloud
Rain Hellfire
Although Shrapnel Cloud may appear initially as a weak circle of damage-dealing projectiles, it proves to be highly efficient, consistently delivering Damage Per Second (DPS) within a specific area.
Quick-moving adversaries will find it challenging, however, this isn’t true for bosses or mini-bosses. In these cases, the Shrapnel Cloud truly excels in causing substantial damage.
This weapon can defeat several lesser foes and deal substantial damage to larger ones. Meanwhile, it offers a secure area where everything within is repeatedly knocked back or stunned.
In just a fleeting moment, anything ensnared by it is temporarily weakened, offering an excellent opportunity for you to swiftly defeat them. This quality of it makes it rather effective.
5. Crush Block
Better Get Squashed

Regarding the “one-click massive Area of Effect” (AoE) amplifiers, the Crush Block stands out uniquely. It delivers an effective coverage area that can effectively eradicate most enemies it encompasses.
It produces a massive sky-dropping block that appears swiftly, inflicting damage potent enough to eliminate many smaller adversaries. This block vanishes almost instantaneously, resulting in significant damage dealt.
This weapon excels in smaller skirmishes involving mobs, and it’s decent against bosses as well, often eliminating their minions while inflicting a significant amount of damage on the boss. However, it requires some time to properly aim.
The Crush Block amplifier has a tendency to be tricky to target, which is common among damage-focused amps. However, when under intense fire and stress, aiming it becomes even more challenging. Yet, obliterating enemies with the force of a Tungsten Cube makes it all worthwhile.
4. Chrome Golem
Spawning Diversions
Essentially, the Chrome Golem functions as an ideal blend of the Root-Hash Hack and Vulcan Drone, serving up a formidable adversary that not only draws attention from other opponents but also inflicts some harm.
This character doesn’t stand out in terms of damage per second (DPS), managing only a few attacks before being defeated within 30 seconds. However, the brief duration of its life makes it an effective distractor.
The Chrome Golem is more likely to be targeted by adversaries rather than you, providing you with ample moments to recuperate, prepare a charging strike, or attend to any necessary preparations before engaging in combat yourself.
This device offers tremendous aid in removing responsibilities from yourself, and it’s far more efficient at keeping superiors at bay compared to any other Amplifier. If you’re seeking something solely for backup, then this is the one for you.
3. Berserker’s Exoskeleton
Ultra Instinct
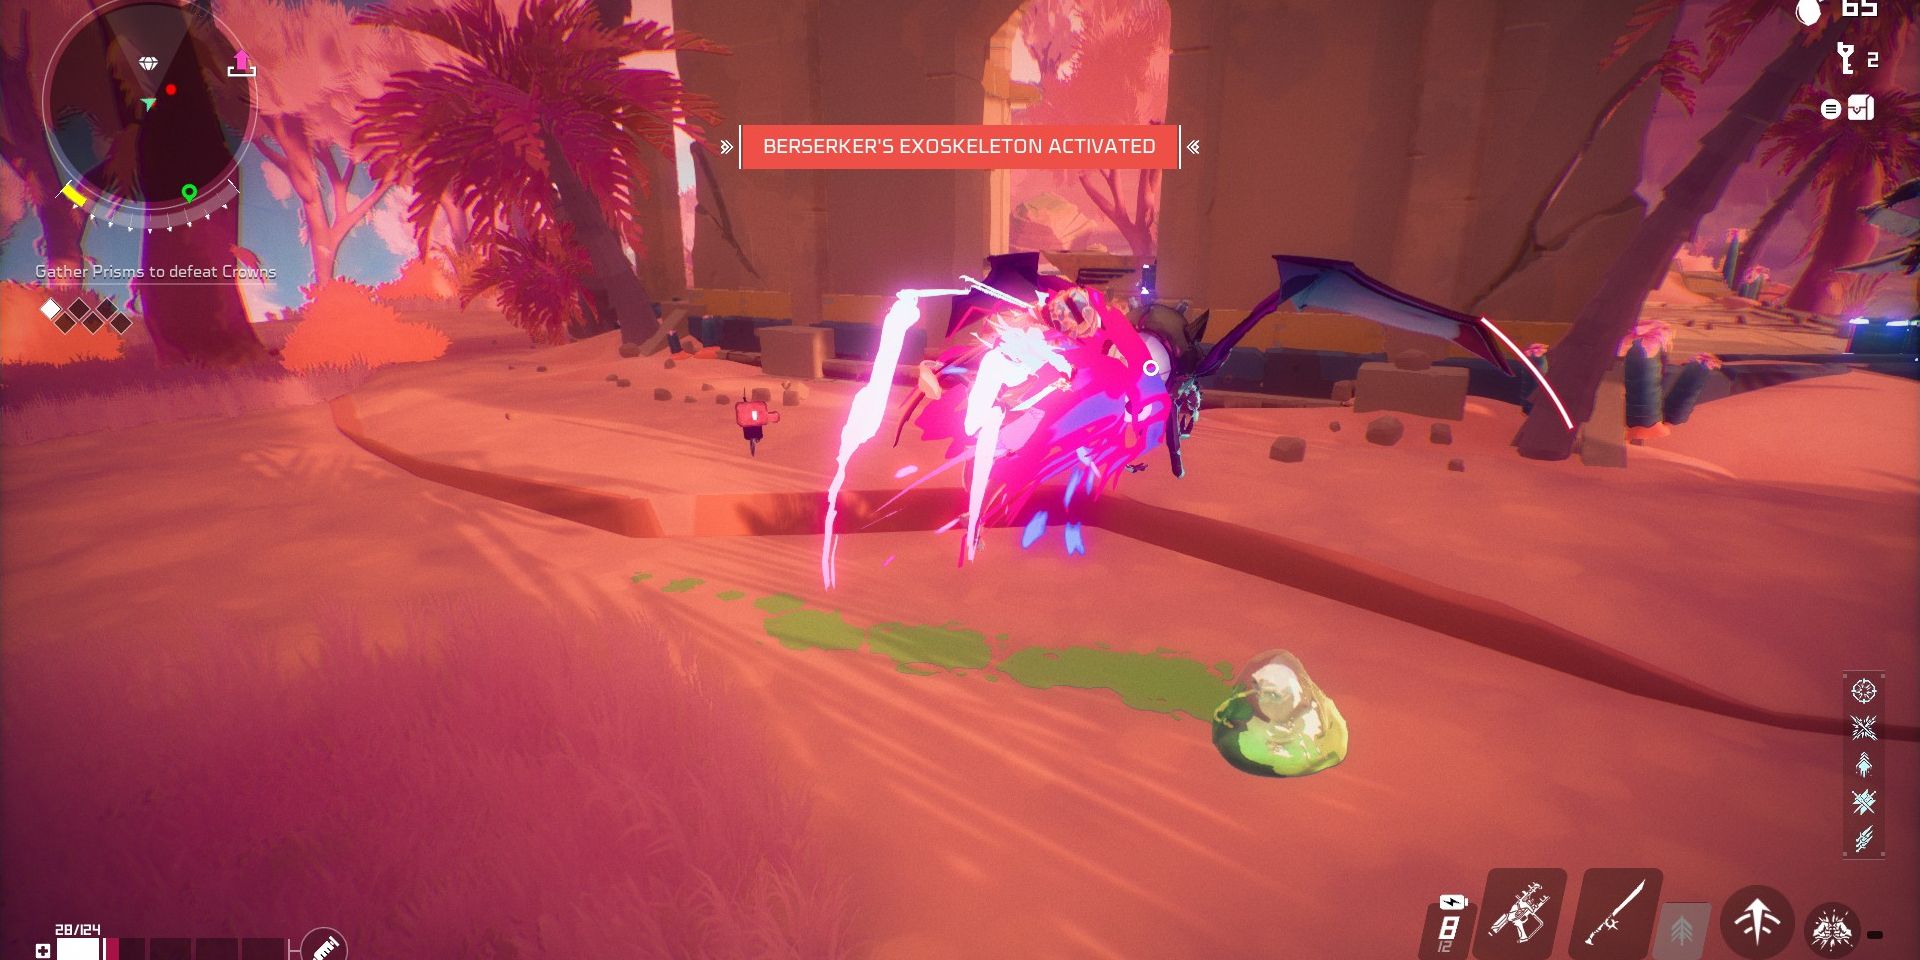
The Berserker’s Exoskeleton performs as advertised, boosting your defense, turning absorbed damage into increased attack power, and restoring a portion of your depleted health.
This device operates for just eight seconds at a time, making it useful mainly during extremely challenging ordeals. Consequently, it’s ideal for those particularly difficult boss battles.
Instead of facing your boss head-on nonstop, along with hordes of enemies attacking relentlessly, this feature allows you to absorb each attack for a brief period, making the experience delightful.
Should it persist a little while more, it would significantly bolster its strength; however, serving as an infrequent escape mechanism for tank designs, it performs its intended function satisfactorily and using it is quite enjoyable.
2. Caretaker Shield
Block This Overhead
In tight spots when surrounded by multiple foes, the Caretaker Shield offers a highly efficient method to momentarily stun several of them simultaneously.
This kind of stun enables you to launch a powerful counterattack immediately afterwards, and it works well in most situations except for boss battles, where they seem mysteriously immune to being staggered.
This item empowers you to charge head-on without hesitation, maintains its effectiveness until you are struck, and offers an excellent method to transition defense into attack, although the concept might be straightforward.
It would be great if the stun area could extend slightly further, since currently you can only stun enemies that are already close enough for melee attacks, which often means they were close enough to be defeated anyway.
1. Shatter Gauntlet
One Punch, Man!
In my opinion, the Shatter Gauntlet stands out as incredibly destructive. It’s quite prevalent and can be swiftly deployed, dealing nearly sufficient damage to defeat mini-bosses with a single strike.
Typically, I carry an item that has a limitation of having short range, but it’s capable of traveling far enough to knock out multiple opponents with a single strike, without exposing me to extended vulnerability.
This move deals more damage instantly, offering a big advantage, as long as you keep some space from the opponent, it will be effective.
As a gamer, I can’t help but feel that the Shatter Gauntlet’s ability to shield me from flinching while it charges makes it an absolute powerhouse among amps in this game. With its quick recharge time and capability of dealing uninterruptible massive damage, it stands out as one of my top choices for sure!
Read More
- LUNC PREDICTION. LUNC cryptocurrency
- Fantom Price Rebounds As Sonic Chain Hit $100M TVL Milestone
- SWFTC PREDICTION. SWFTC cryptocurrency
- Bitcoin’s $200k Price Target: 2025’s Peak Year?
- BTC PREDICTION. BTC cryptocurrency
- Unlock Powerful New Weapons in Destiny 2’s Episode Heresy with Unique Fragile Mods!
- Sakamoto Days: Is The Animation Really That Bad? (Clickbait Title)
- DOGE Will Never ‘Cost You $1 Billion’ in Future, Dogecoin Team Says
- IMX PREDICTION. IMX cryptocurrency
- Naruto: Kishimoto Reveals His Favorite Akatsuki Member
2025-02-06 00:40