
The long-awaited Monster Hunter Wilds has arrived, brimming as ever with fresh knowledge to absorb! From the enigmatic Secret mount, innovative weapon combinations, not forgetting an entire zoo of brand new monsters, your initial playtime in Wilds will be a whirlwind of lessons and exciting discoveries. It’s a wild adventure awaiting you!
In Monster Hunter Wilds, although many features are fresh and exciting, some familiar systems have been brought back for long-time players. One such feature is the Melding Pot, a tool used by hunters to create decorations. If you’re not acquainted with the Melding Pot or could use a reminder, keep reading to discover more about this useful vendor.
Where Is The Melding Pot?
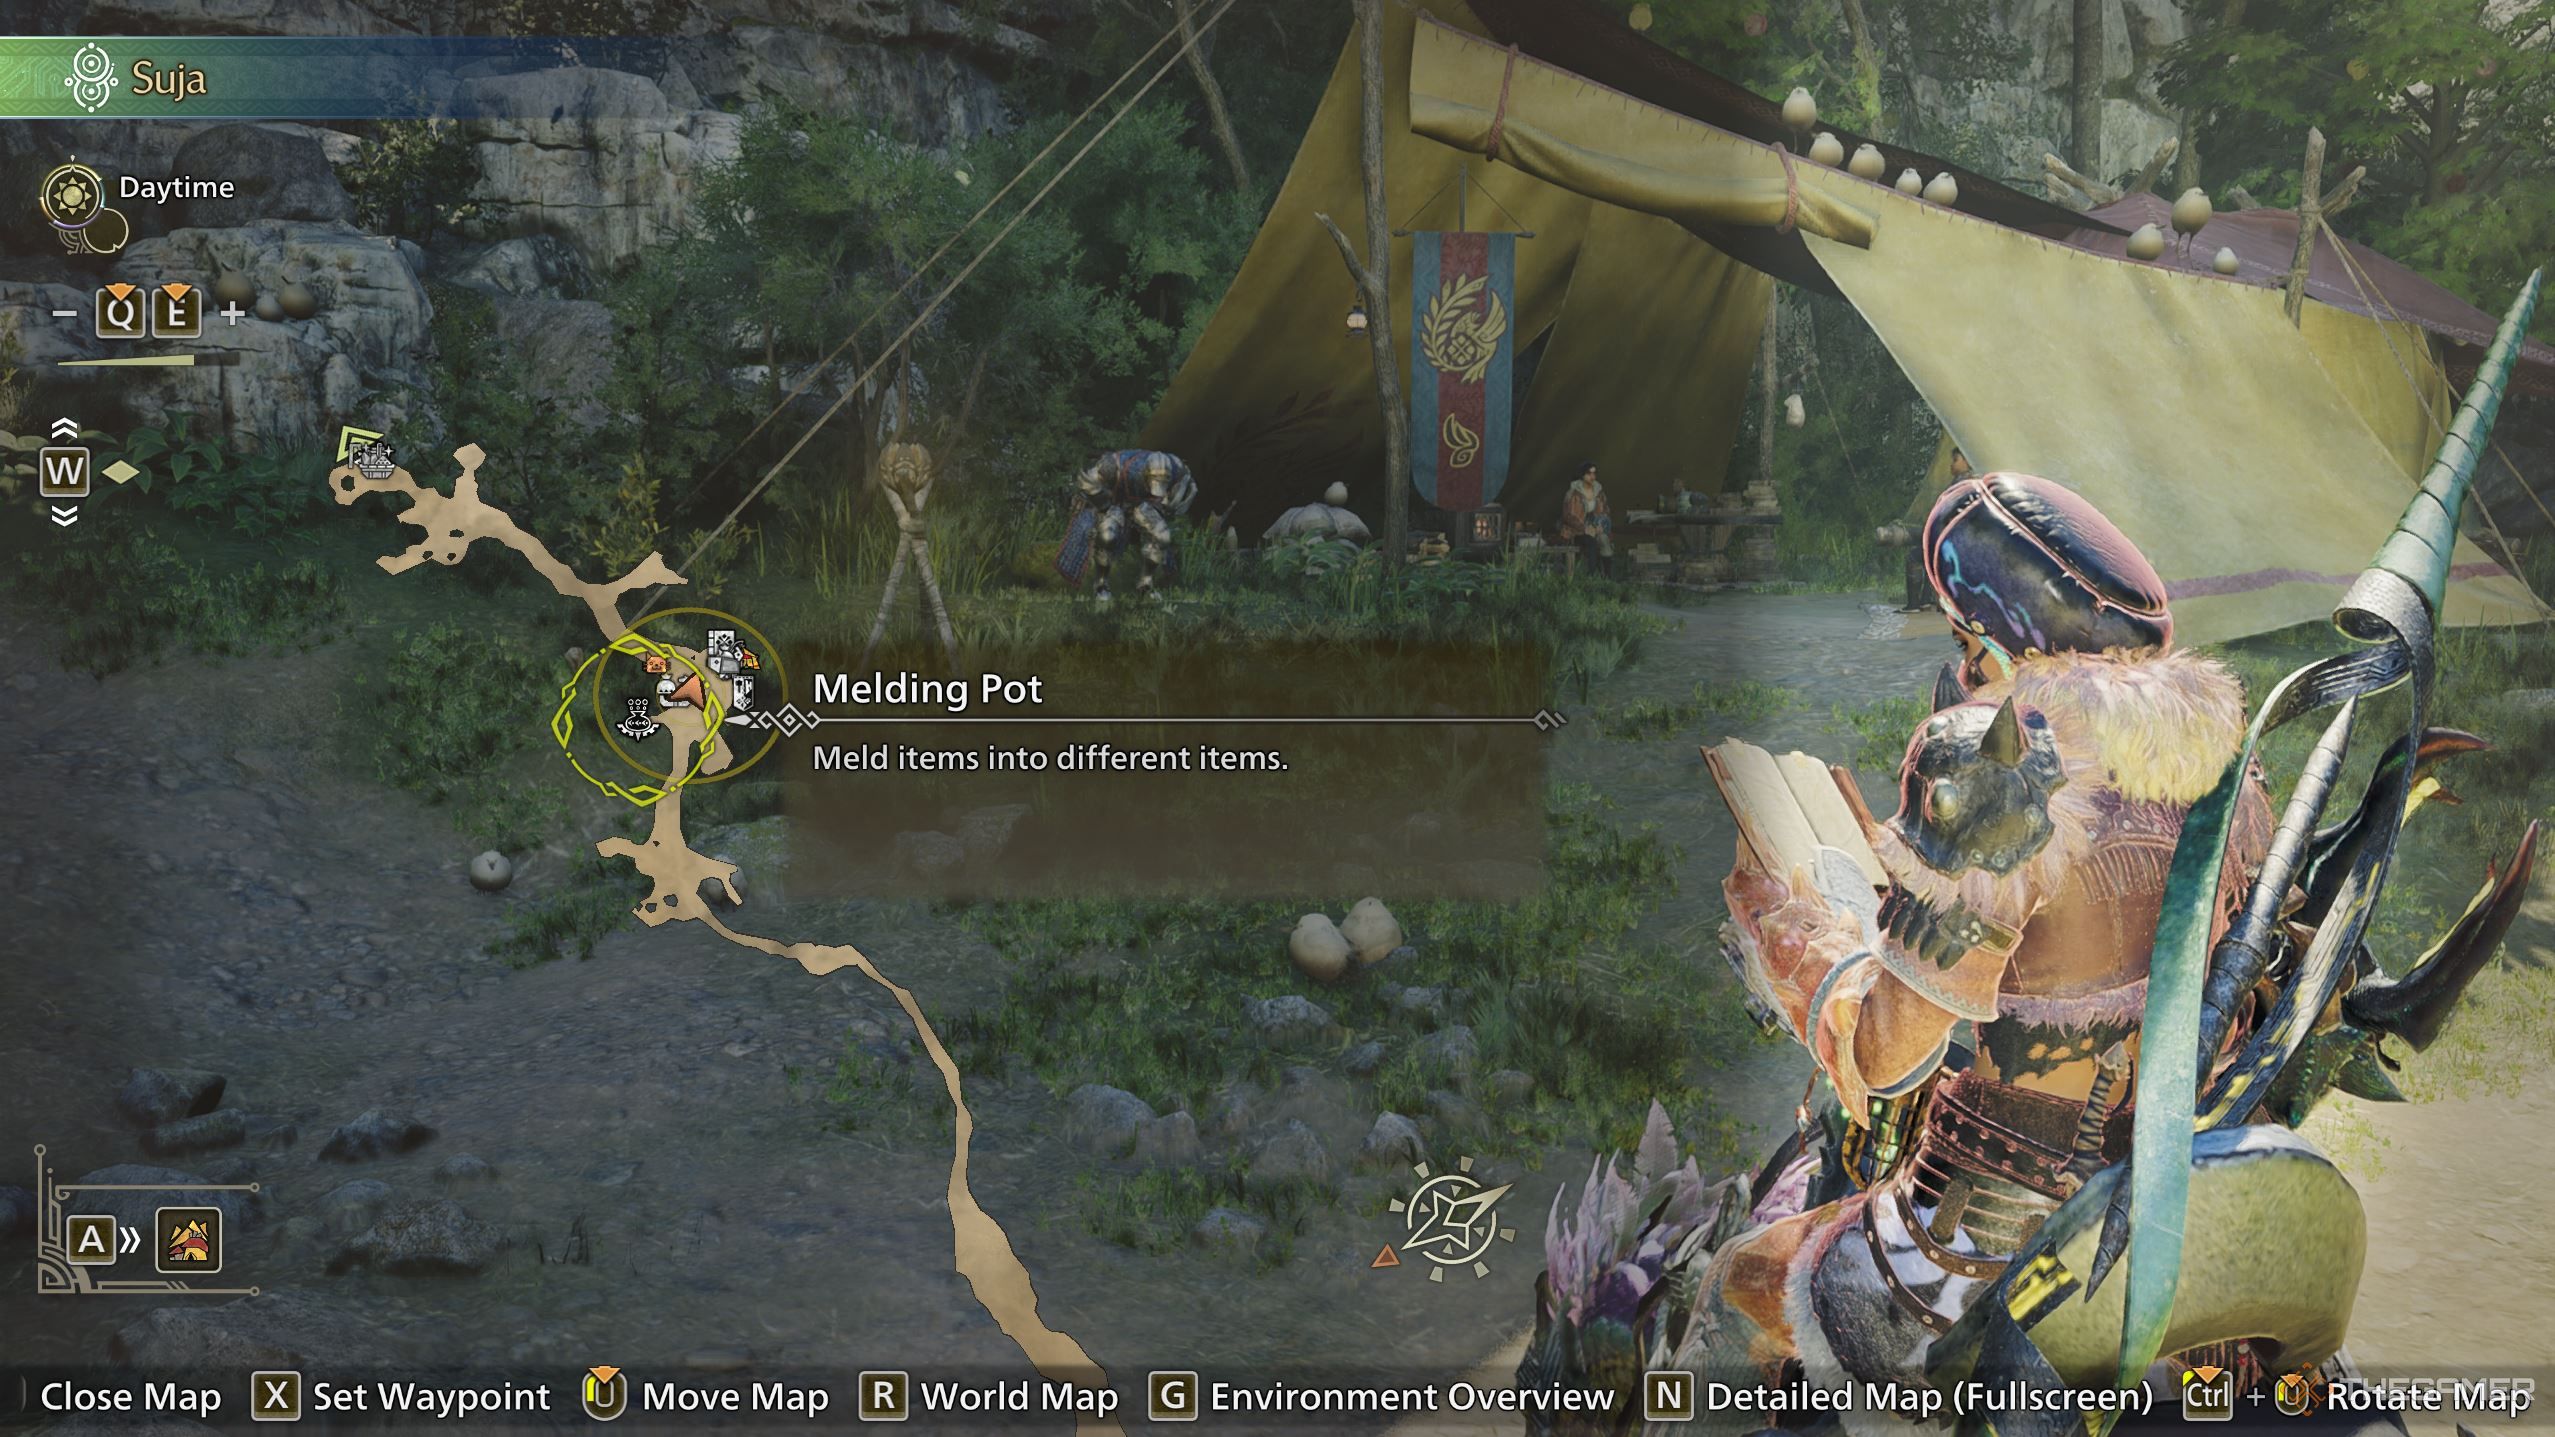
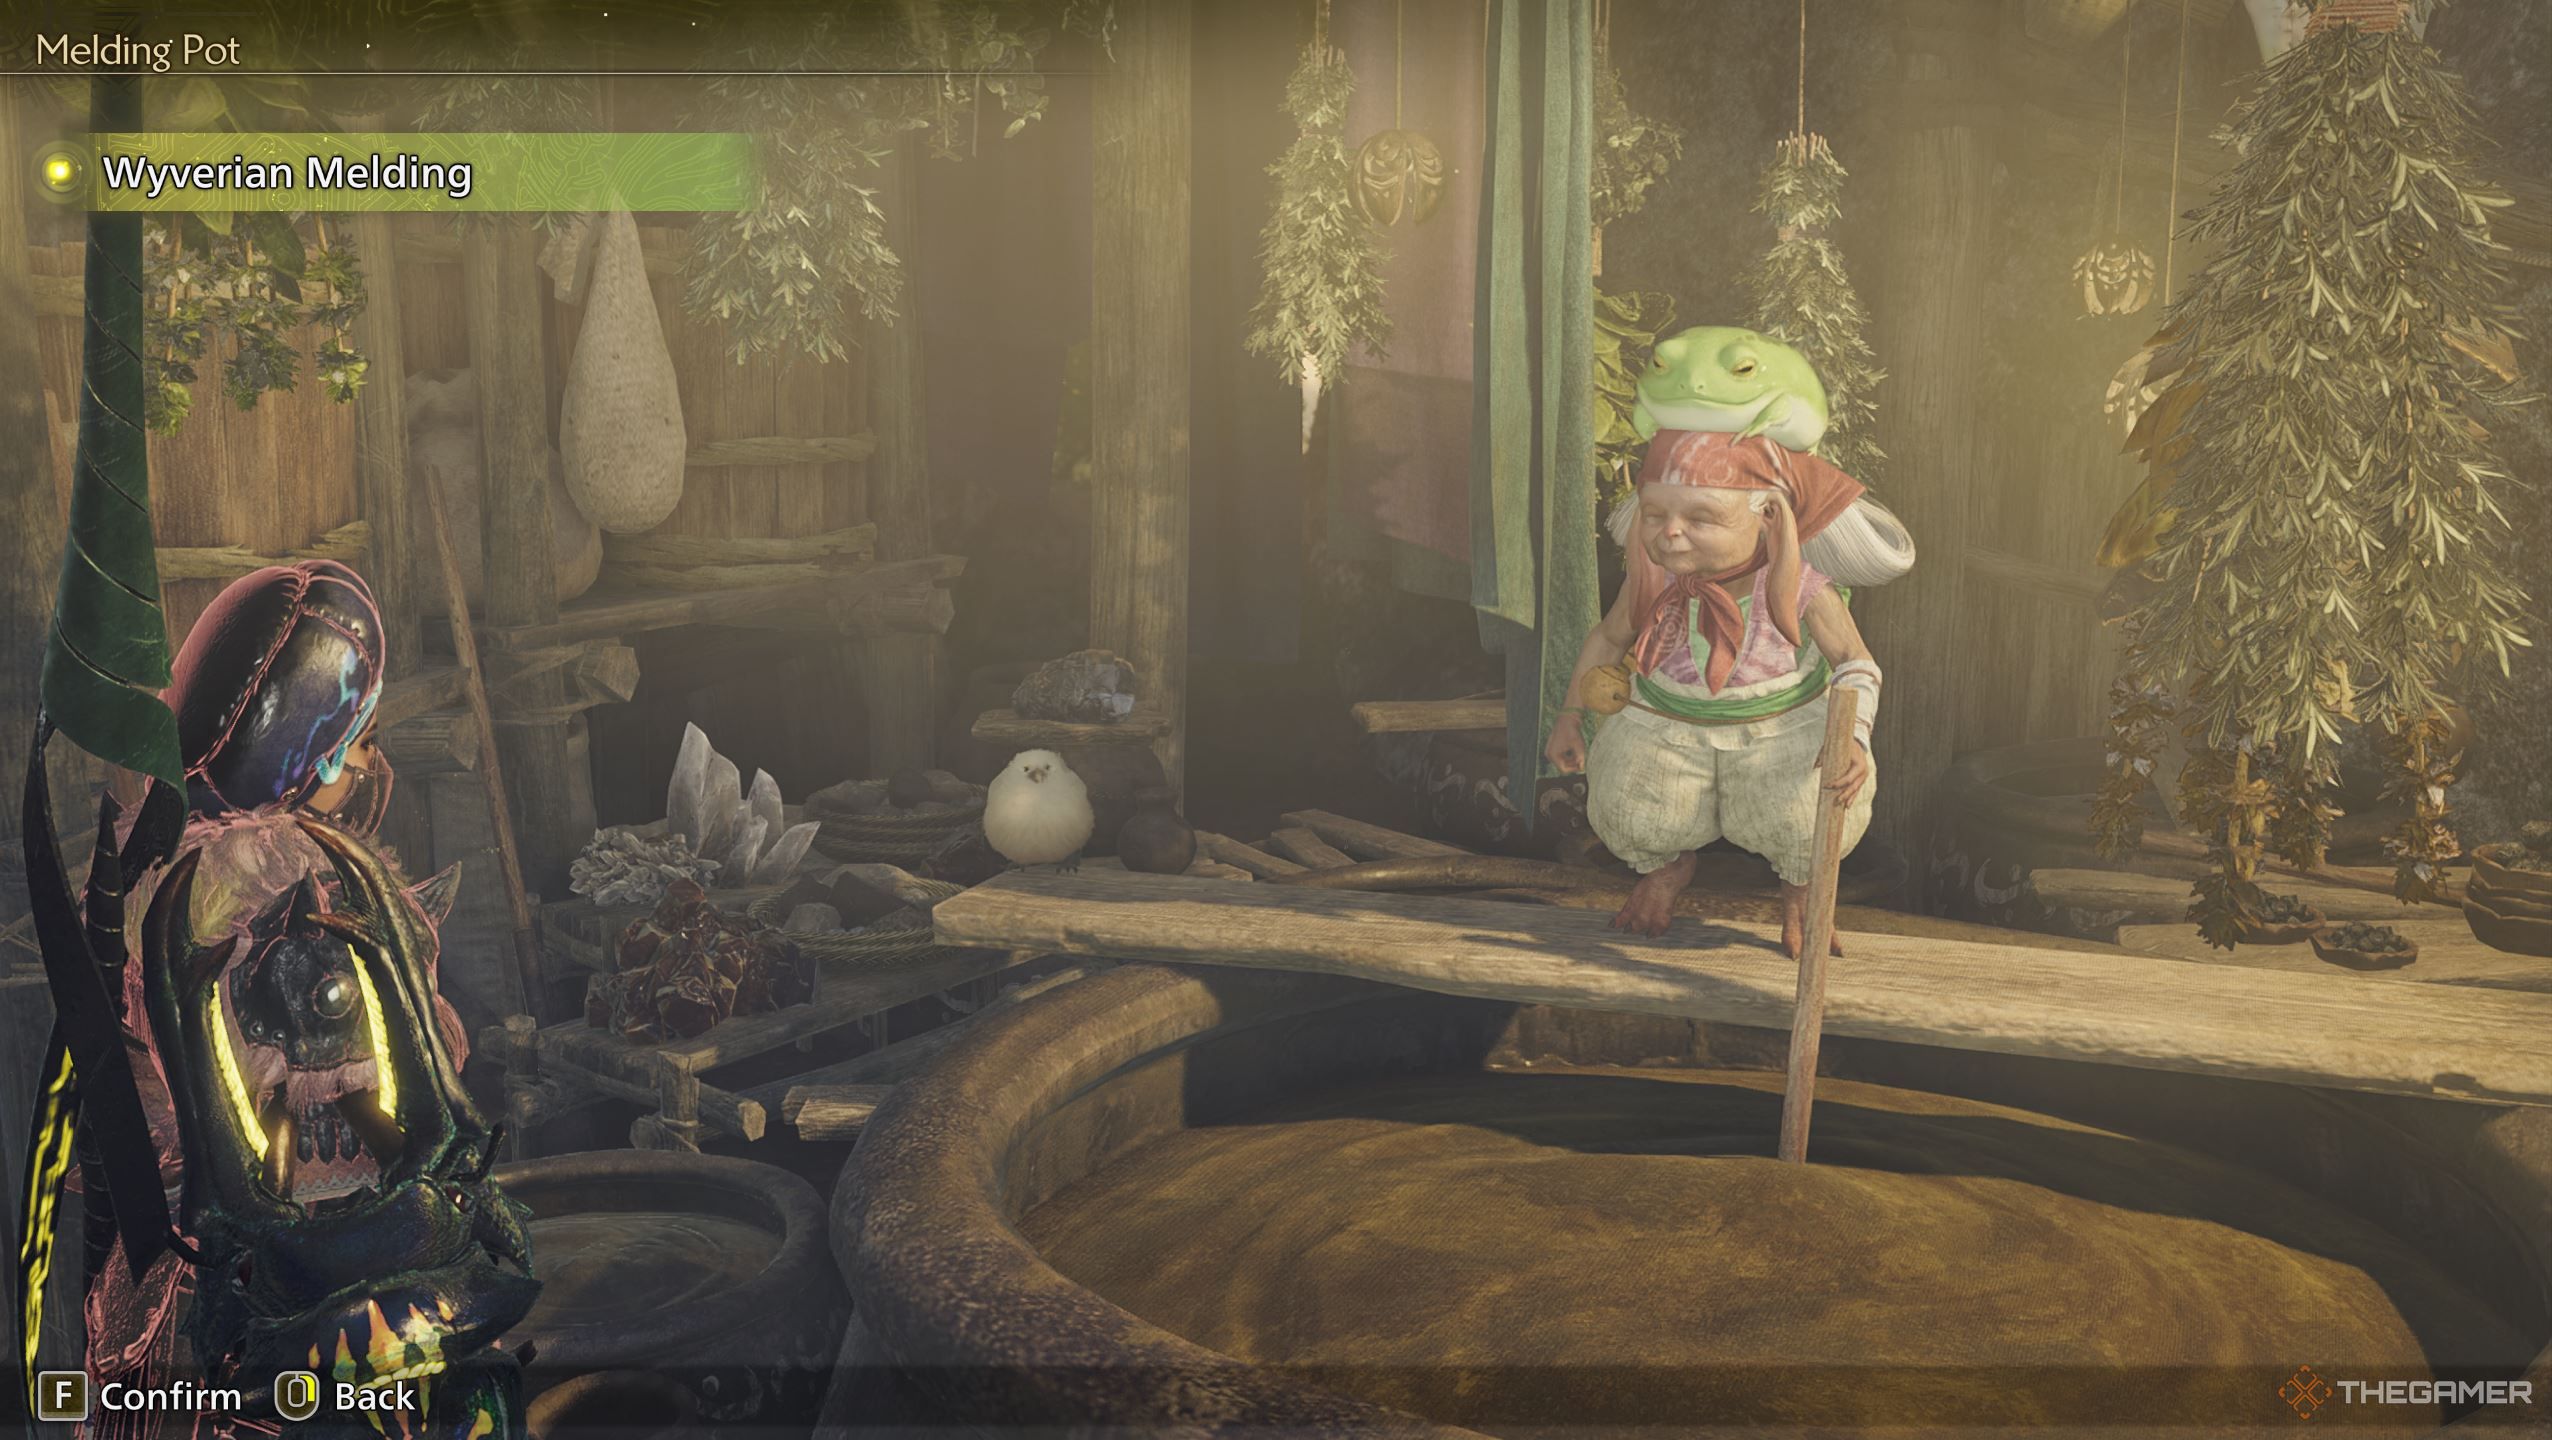
In the beginning of your journey through the Forbidden Lands, you won’t stumble upon the Melding Pot immediately. Instead, look for “Vio the Master of the Melding Pot” in “Suja, Peaks of Accord”, a modest settlement nestled on the eastern edge of the world map.
In the beginning of Chapter 3-3, titled “Through the Dusk,” you’ll set foot in Suja for the very first time. Suja, located along a curvy mountain trail, is where you encounter the Allhearken.
In Monster Hunter Wilds, unlike previous games in the series, there isn’t a single comprehensive base camp. Although many resources are available at the Winward Plain’s base camp, you will need to quickly travel to Suja whenever you wish to utilize the Melding Pot. You can find it inside a tent on the left side of the camp, situated across from the Smithy.
The icon on the map looks like a vase with six dots above it.
How Do You Use The Melding Pot?

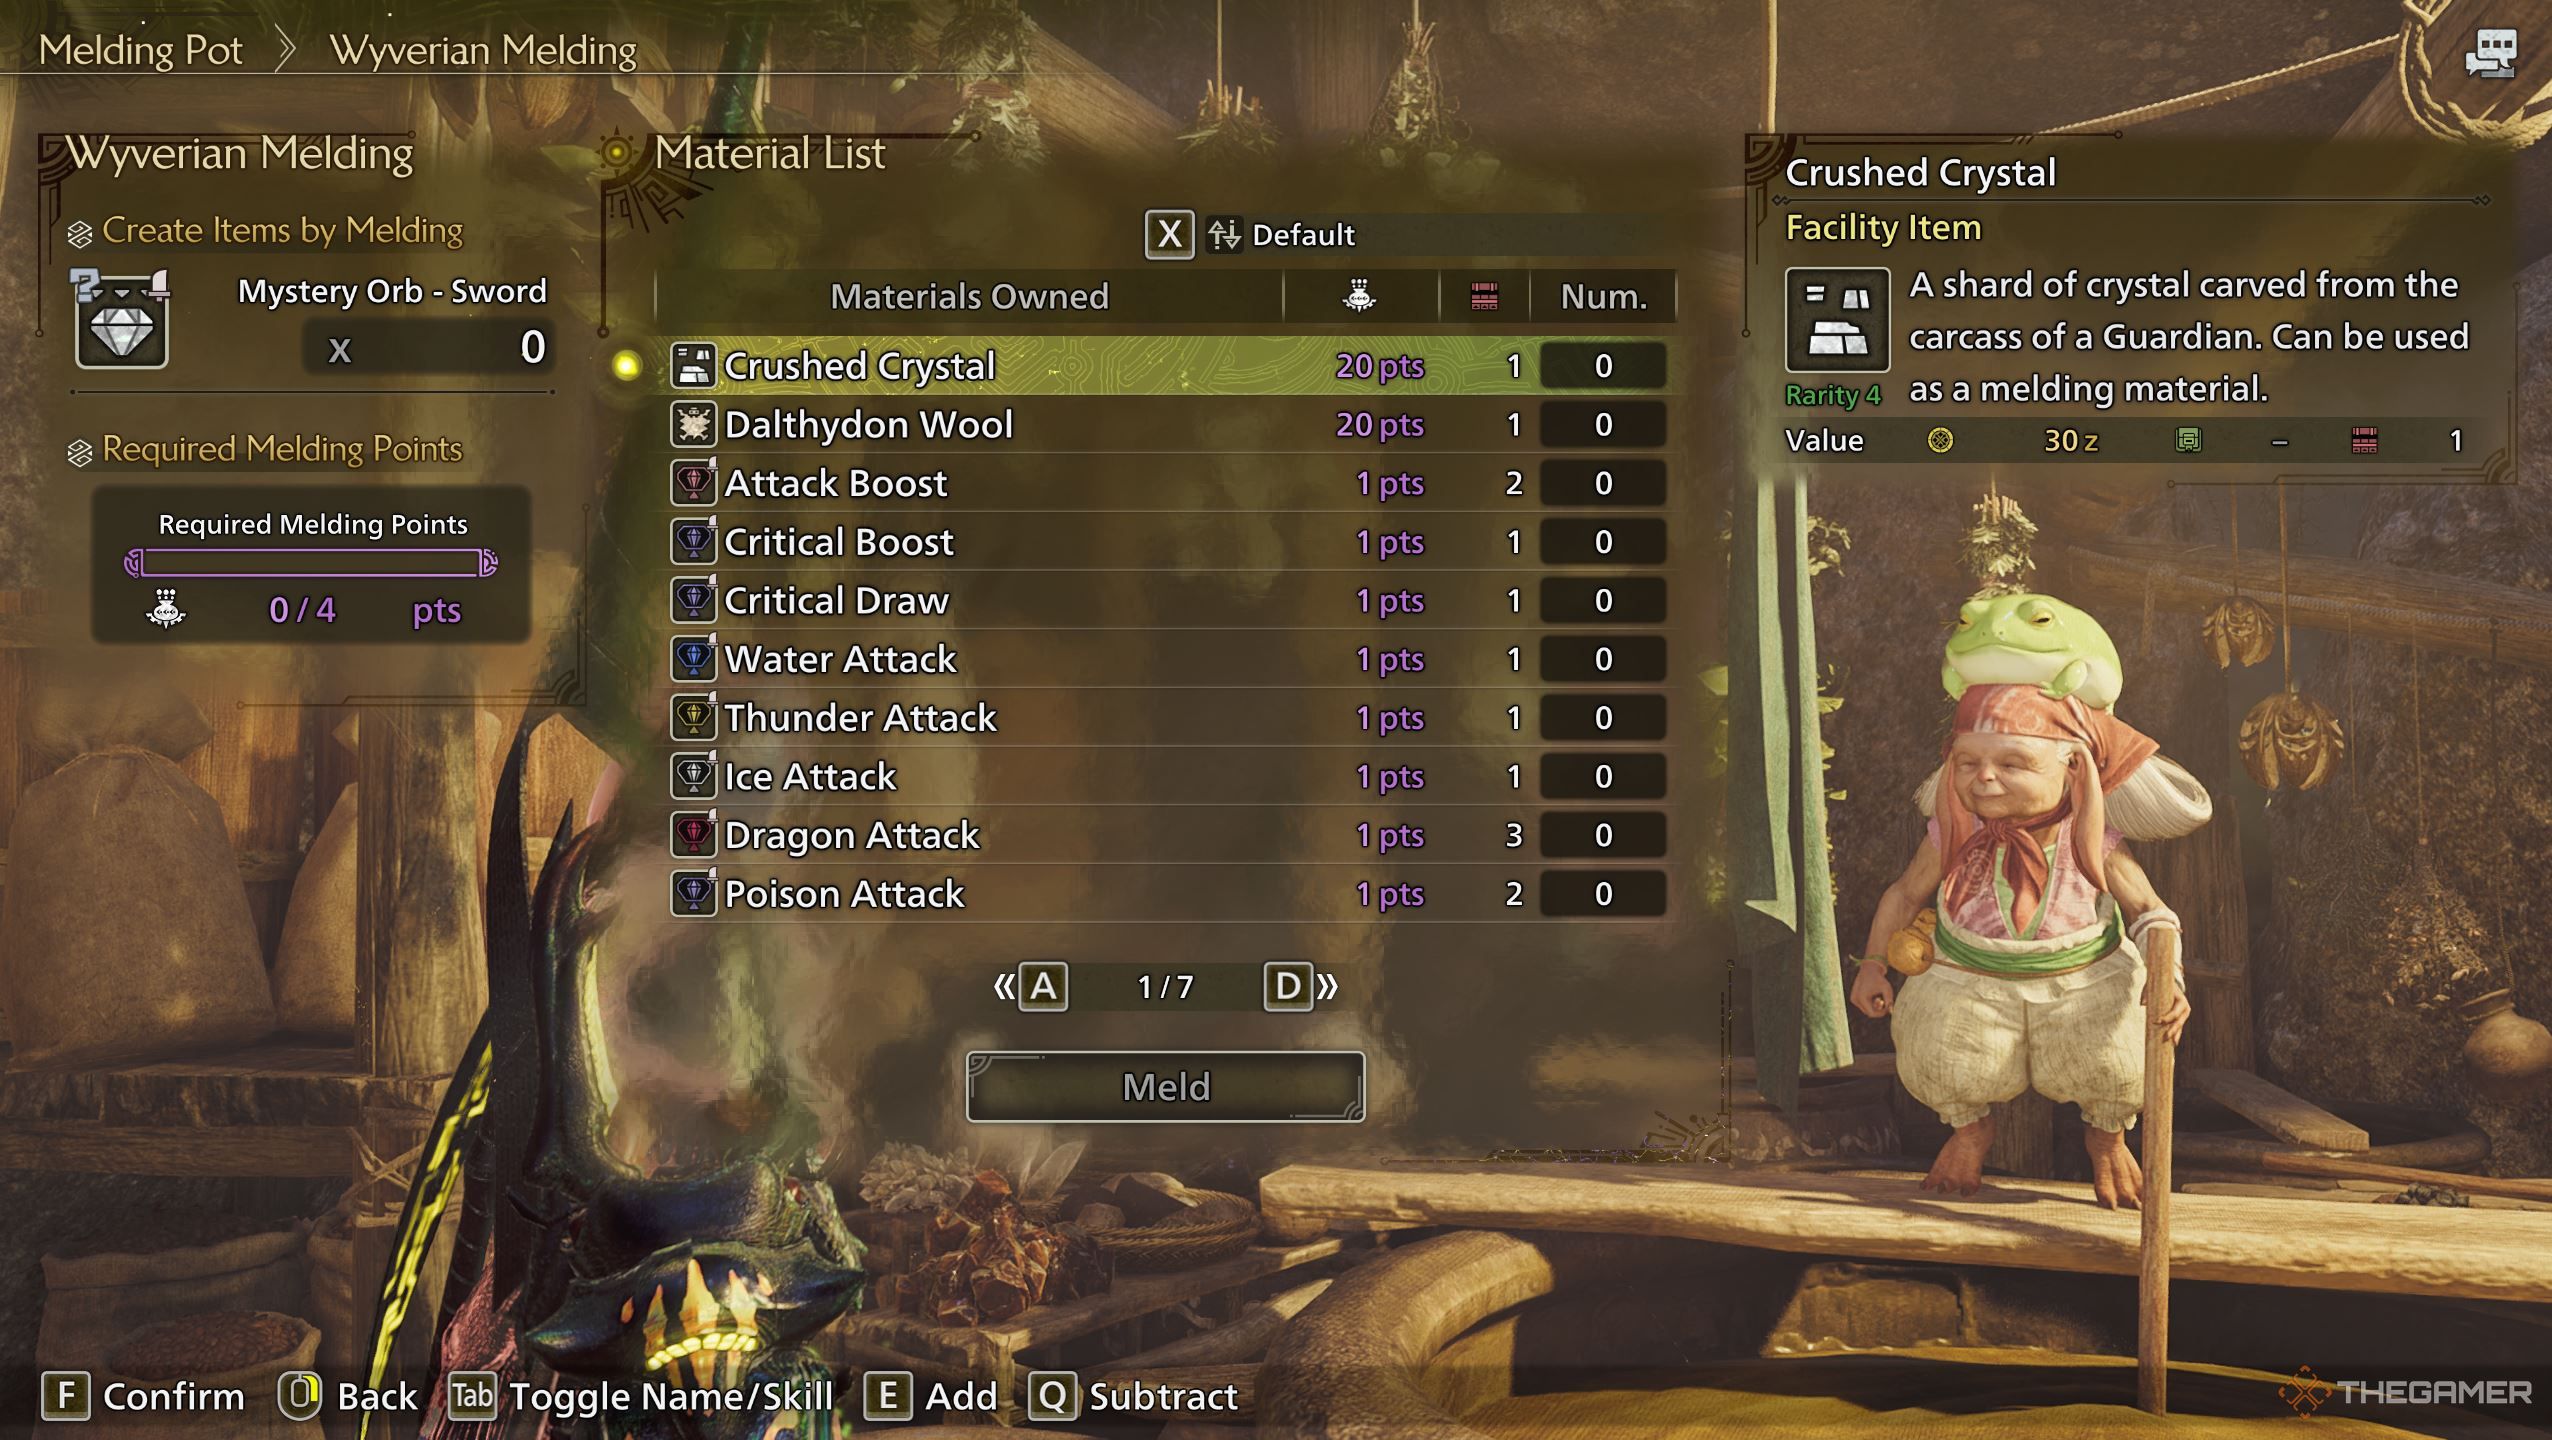
The Melding Pot is a supplier that enables you to transform unwanted decorative items into fresh decorations. Upon your initial interaction with the Melding Pot, you’ll find two recipes at your disposal: Mystery Orb – Sword and Mystery Orb – Armor. Essentially, these are either offensive (for combat) or defensive (for protection) decorations.
To make a mystery orb, you’ll be required to swap materials having the same total value. Once you’ve chosen the orb you wish to create, you will then pick the materials you want to trade for that specific orb.
On the left side, there’s a gauge indicating the necessary fusion points for your chosen orb and how much more you should prepare to spend. You can produce as many identical orbs as you wish, provided you have sufficient resources to trade. By the way, both Sword and Armor orbs require four fusion points to manufacture.
For instance, if you want to create five Sword Mystery Orbs, you need to accumulate a total of 20 points in materials. This can be achieved by combining any assortment of materials until you reach the required 20 points.
Make sure you trade materials whose values are a multiple of four. Any leftover points will be disregarded, meaning the material won’t serve any purpose.
After you’ve decided on the items you wish to trade, simply click on Combine, and you’ll receive all your freshly acquired ornaments in one go. This system is designed to help you discard unnecessary decorations, with the added bonus of potentially obtaining potent new ones.
Afterward, you’ll gain the capability to transform unnecessary Artian resources into various Artian resources using a comparable method. Here are the recipes for the Melding Pot, along with the timeline for unlocking each one.
-
Wyverian Melding
Recipe Cost
Unlocks When Mystery Orb – Sword 4pts Visit Suja the first time Mystery Orb – Armor 4pts Visit Suja the first time Glowing Orb – Sword 10pts Complete 5-1: Storm-cold Vortex Glowing Orb – Armor 10pts Complete 5-1: Storm-cold Vortex -
Meld Relics
Recipe Cost
Unlocks When Damaged Weapon Shard 5pts Complete 5-1: Storm-cold Vortex
Which Decorations Should You Use?
A handy tip is to change your decorations when you have more than you need. Every skill reaches its peak and doesn’t go any higher. For instance, Iron Skin maxes out at level three, so you should keep no more than three Def Lock Jewels. If you possess five, consider using two for a new ornament.
On the Melding Pot menu, you have the option to switch between displaying the names of the gems and the abilities they bestow upon you. Choosing to show the ability names will make it simpler to locate what you need.
In most cases, it’s generally fine to swap decorations if you’re positive you’ll never utilize them. Some decorations are designed for specific weapons, so they might not be beneficial for you. If you don’t own guns or bows, then you won’t require any Precise Jewels, which have the Ballistics skill. You may want to get rid of these decorations unless you anticipate trying a ranged weapon in the future.
You can also sell extra decorations to the Smithy for Zenny.
Below is a list of various items you can swap at the Melding Pot, along with their respective values.
Here’s a rundown of the assorted goods that can be traded at the Melding Pot, along with their corresponding worth.
Or:
The following are the diverse materials you can barter at the Melding Pot and their associated values.
Lastly:
Check out this list of alternative items you can exchange at the Melding Pot, together with their respective prices.
-
Wyverian Melding
Material Value
One-slot Jewels 1pt Two-slot Jewels 4pts Crushed Crystal 20pts Dalthydon Wool 20pts -
Meld Relics
Material Value
Wyverian Bloodstone Shard 1pt Wyverian Bloodstone (S) 5pts Broken Blade 1pt Crushed Tube 1pt Cracked Disc 1pt Rusted Device 1pt
When Should You Start Using The Melding Pot?
As a gamer, when I first stumble upon the Melding Pot in Suja, it’s highly improbable that I’d have an abundance of spare items to swap. However, once I conquer the campaign and transition into farming monster parts in High Rank, I’ll gradually accumulate a plethora of decorations – a good chunk of which won’t be beneficial for my progress.
To put your mind at ease, focus on choosing a particular build before you start optimizing the Melding Pot. It’s more productive to hunt High Rank monsters for decorations rather than relying solely on the Melding Pot. Use it sparingly as an additional means to gather a few extra decorations when needed.
In comparison to earlier Monster Hunter games, the Melding Pot is less prominent in this one. It’s advisable to utilize the Melding Pot when you specifically need certain decos, but generally speaking, it’s not crucial to visit this vendor frequently if you don’t need immediate access to these items.
Unless you just want to spend some quality time with, no one would fault you for that.
Read More
- March 2025 PS Plus Dream Lineup: Hogwarts Legacy, Assassin’s Creed Mirage, Atomic Heart & More!
- Esil Radiru: The Demon Princess Who Betrayed Her Clan for Jinwoo!
- Unleash Willow’s Power: The Ultimate Build for Reverse: 1999!
- 6 Best Mechs for Beginners in Mecha Break to Dominate Matches!
- Top 5 Swords in Kingdom Come Deliverance 2
- XRD PREDICTION. XRD cryptocurrency
- Unlock the Secret of Dylan and Corey’s Love Lock in Lost Records: Bloom & Rage
- Reverse: 1999 – Don’t Miss These Rare Character Banners and Future Upcoming Updates!
- 8 Best Souls-Like Games With Co-op
- USD DKK PREDICTION
2025-02-27 14:17