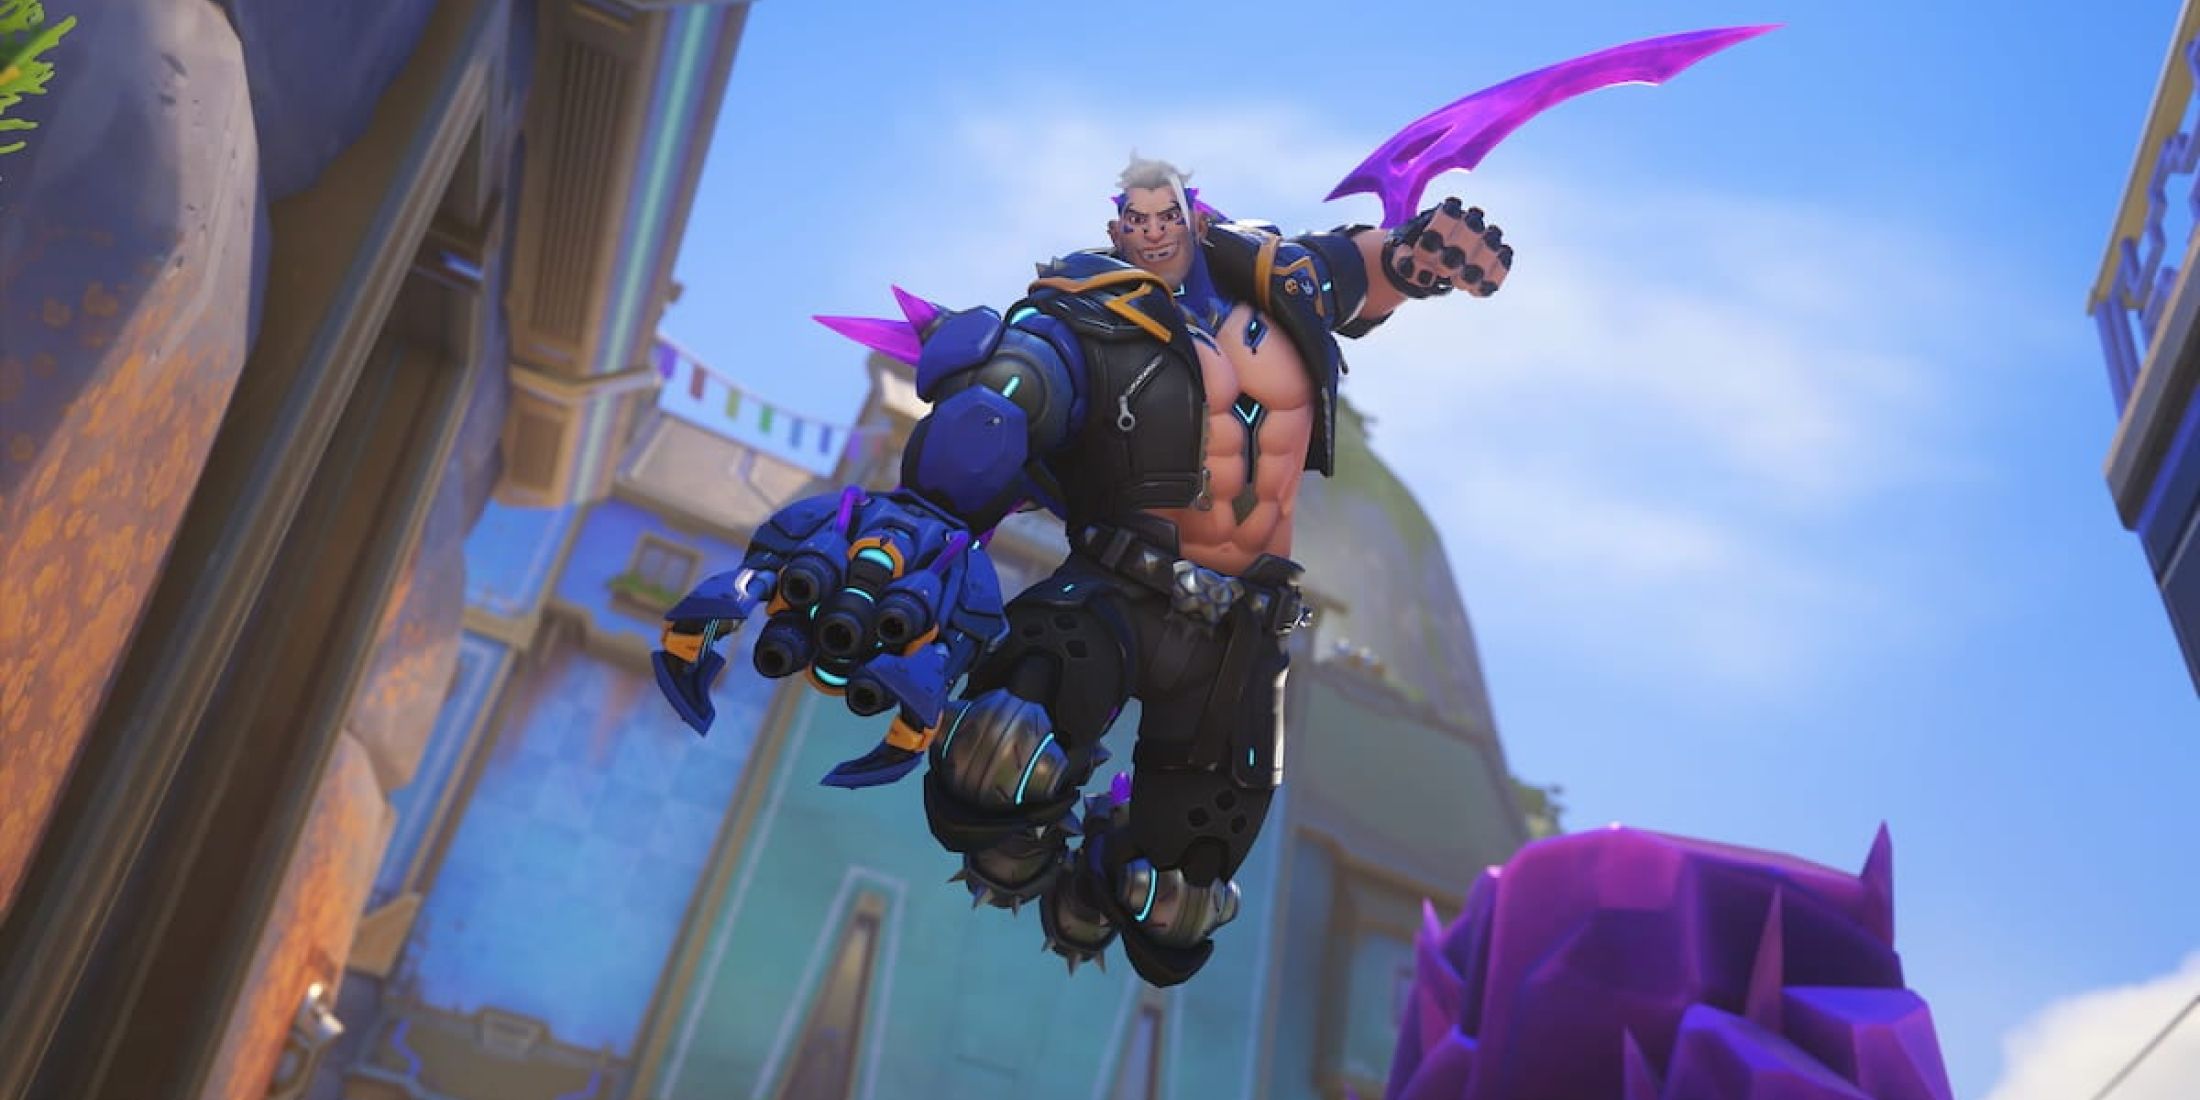
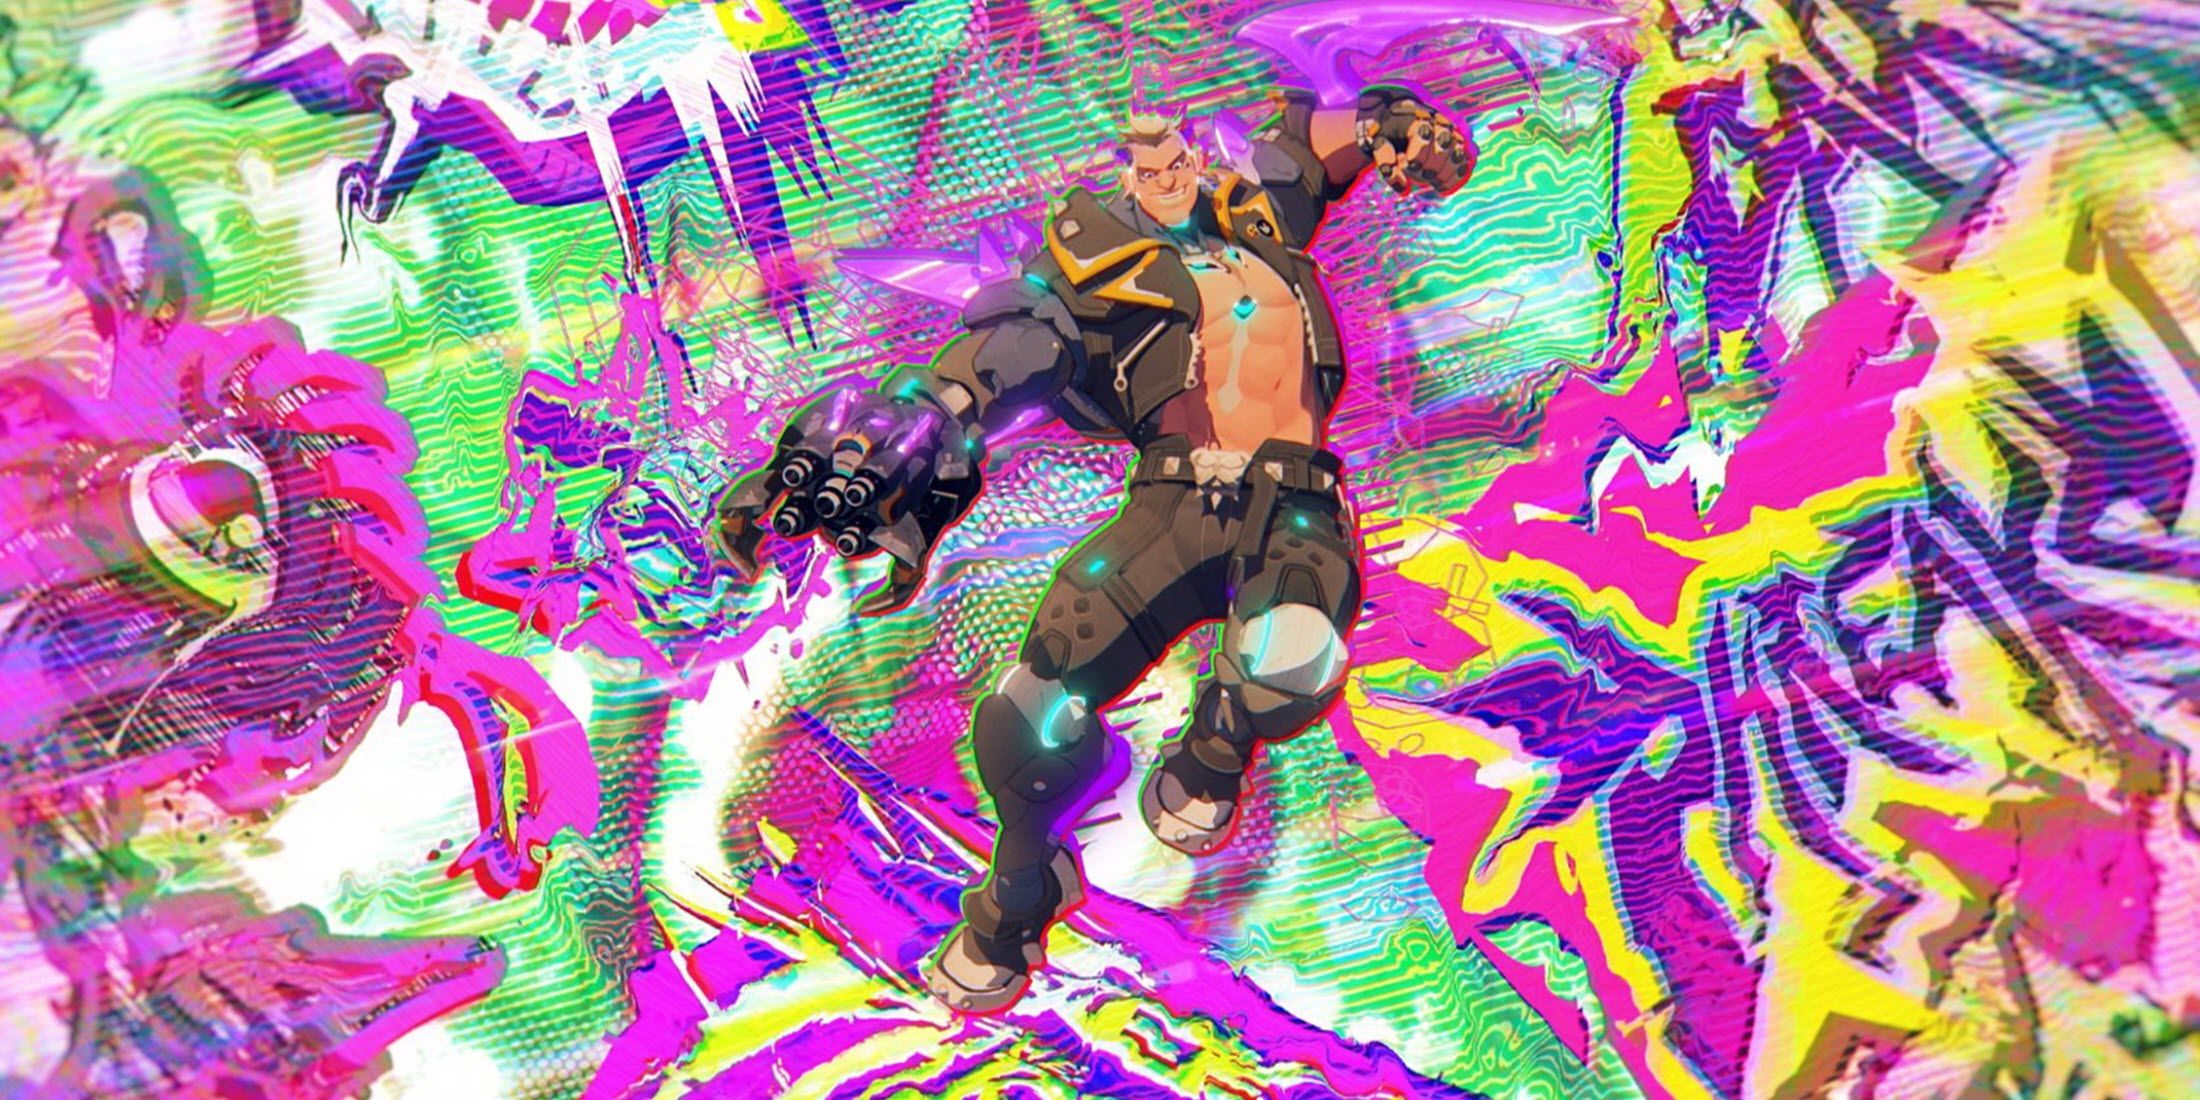
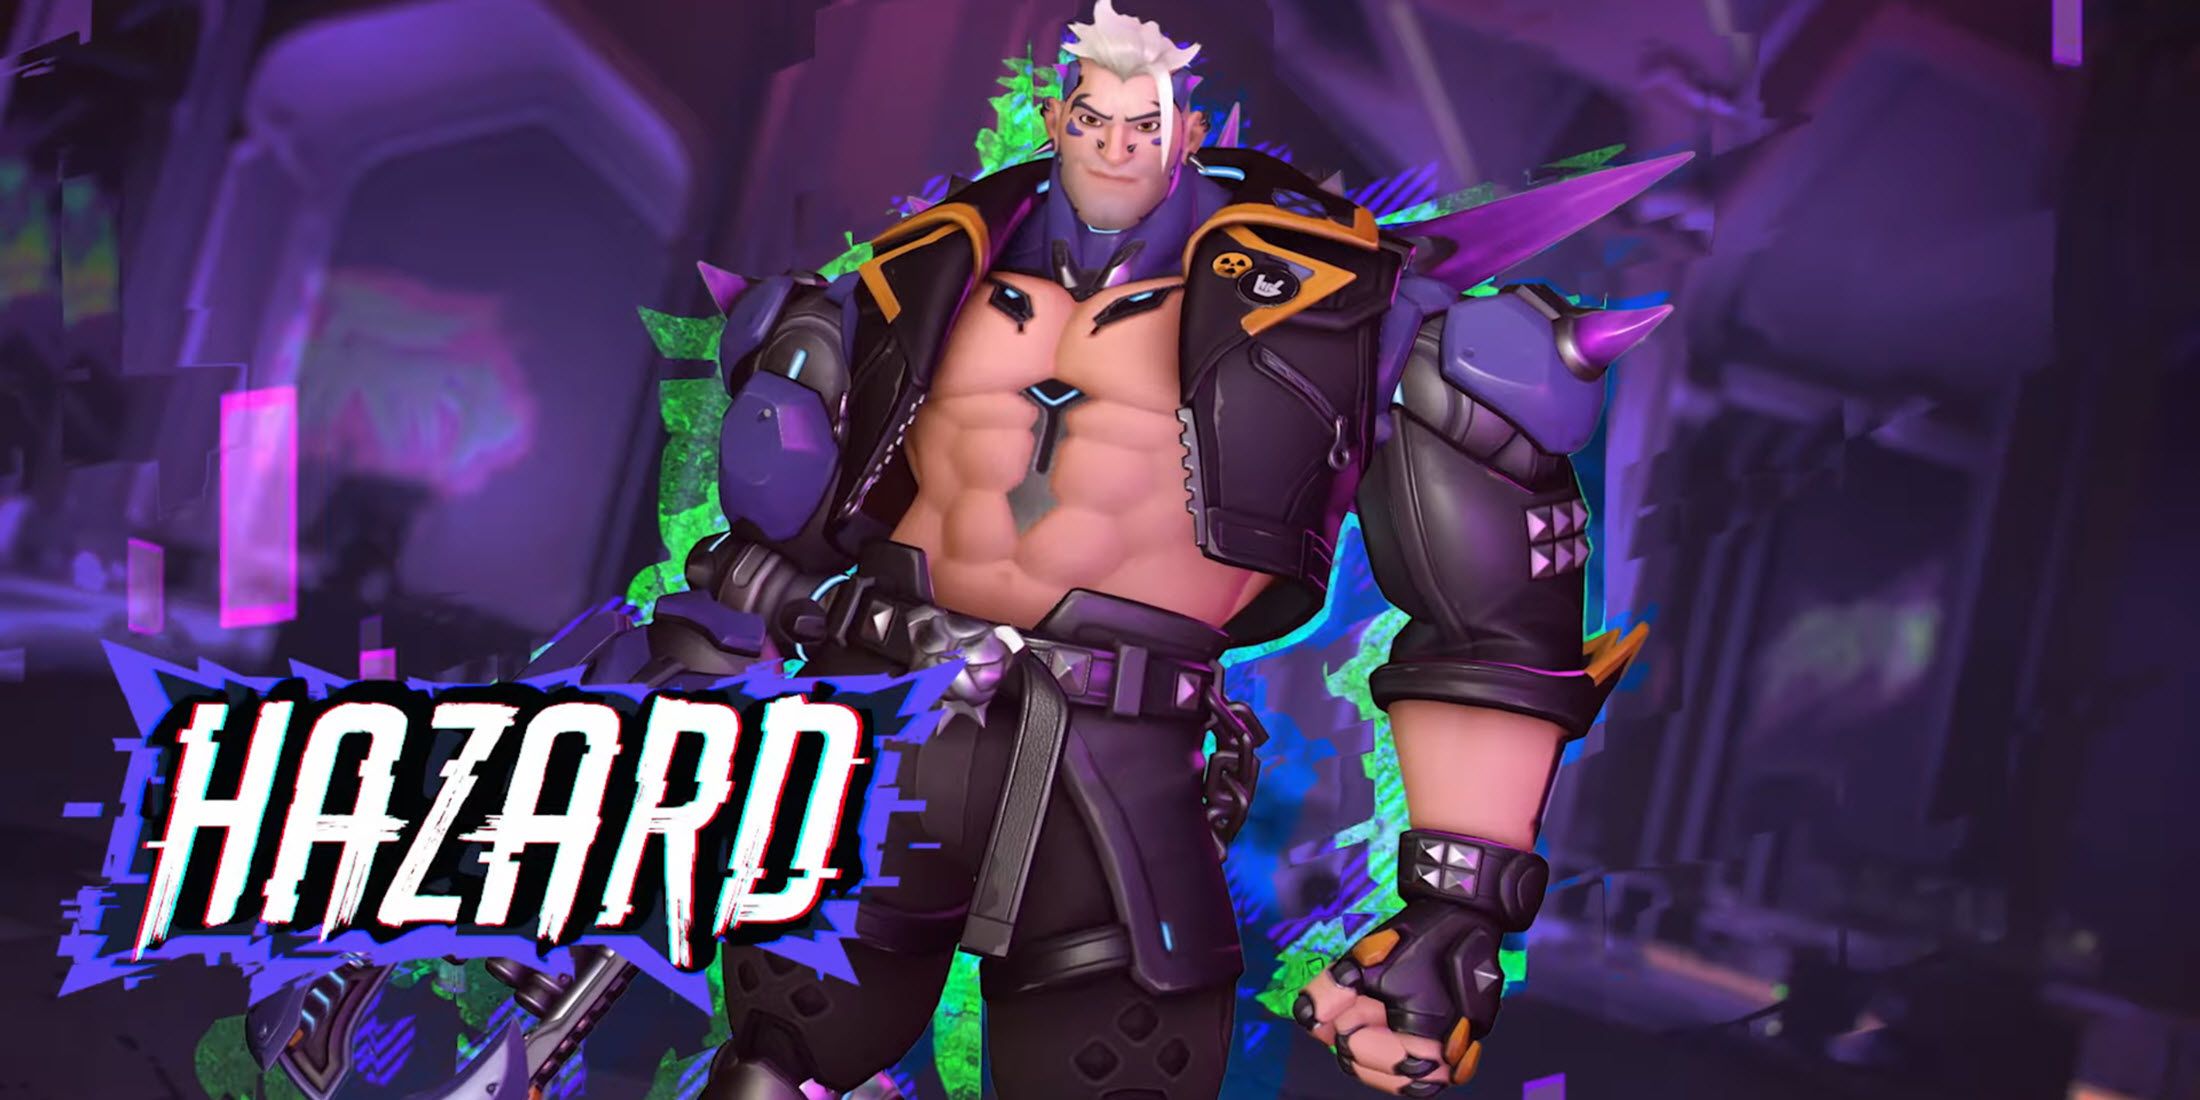
In a live-service style, Overwatch 2 regularly introduces fresh balance adjustments, maps, temporary game modes, character cosmetics, game mechanics, and characters with each new Competitive Season it releases. The latest Season 14 is one of many that debuted a new hero, introducing the Tank character Hazard to the roster.
By now, many players have had ample time to experiment with this character. Yet, compared to most characters in Overwatch 2, Hazard remains relatively fresh. Thus, understanding details about this Tank, like his hero kit and abilities, the ideal team composition for playing with him, and suitable heroes for opposing or neutralizing an enemy Hazard are crucial pieces of information. The guide below provides all the essential insights into Hazard’s gameplay in Overwatch 2. Additionally, Hazard received a buff in December 2024.
Overwatch 2 Hazard Hero Kit & Abilities, Explained
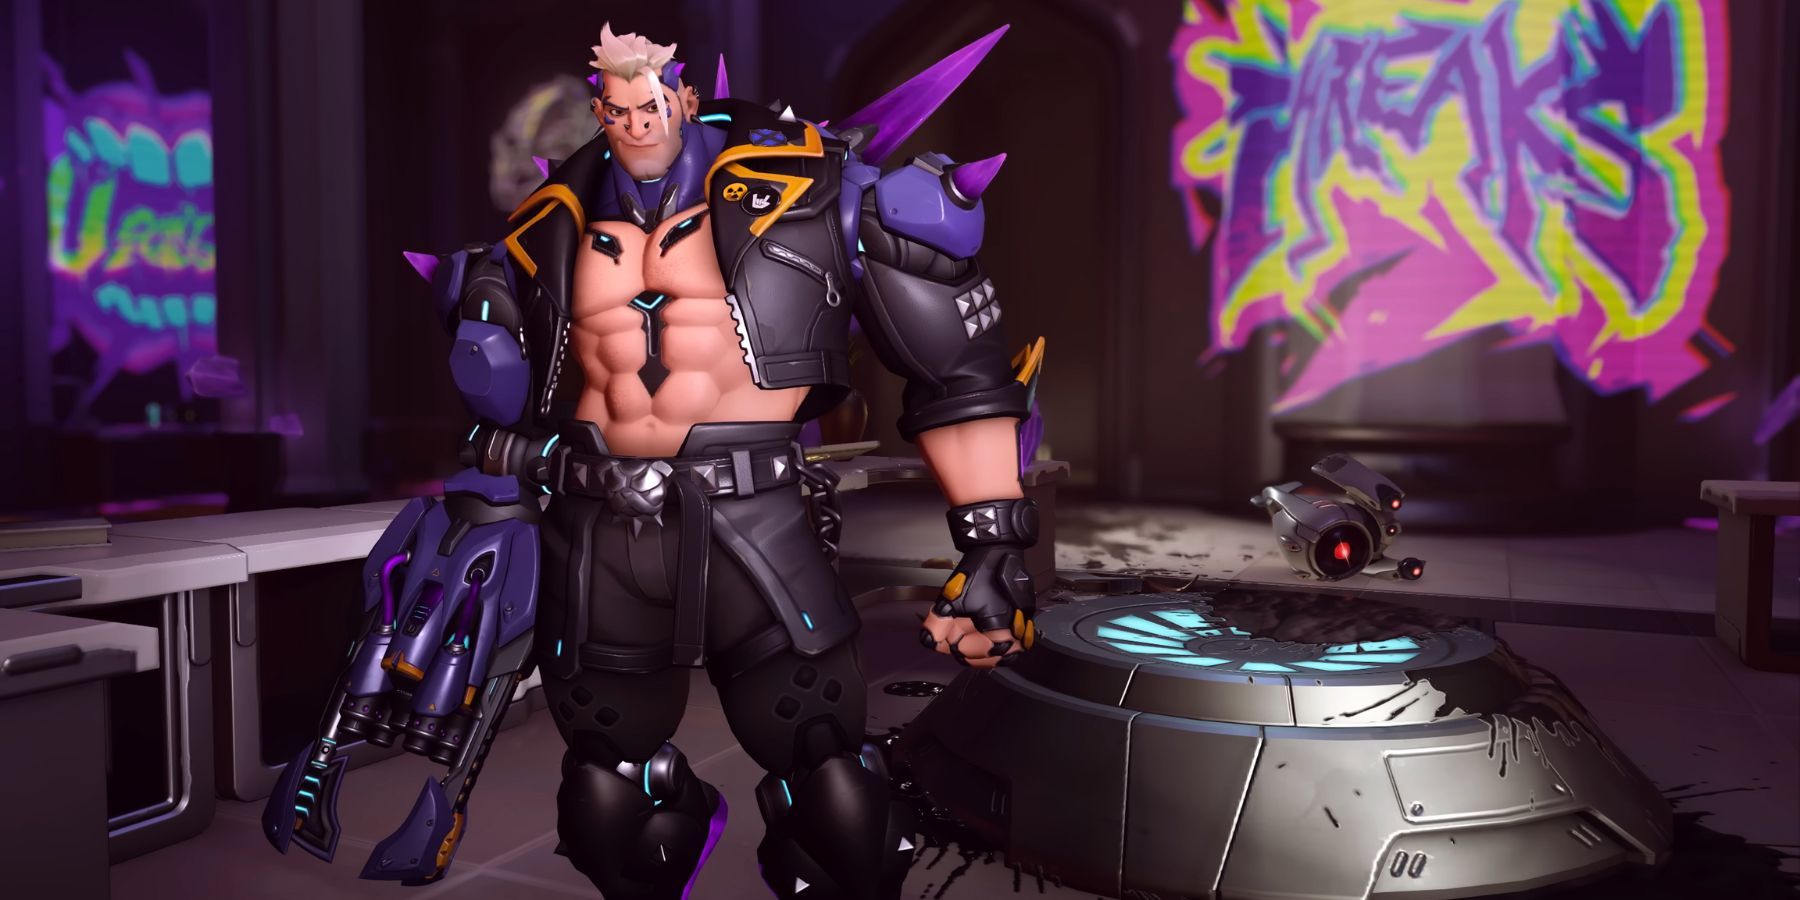
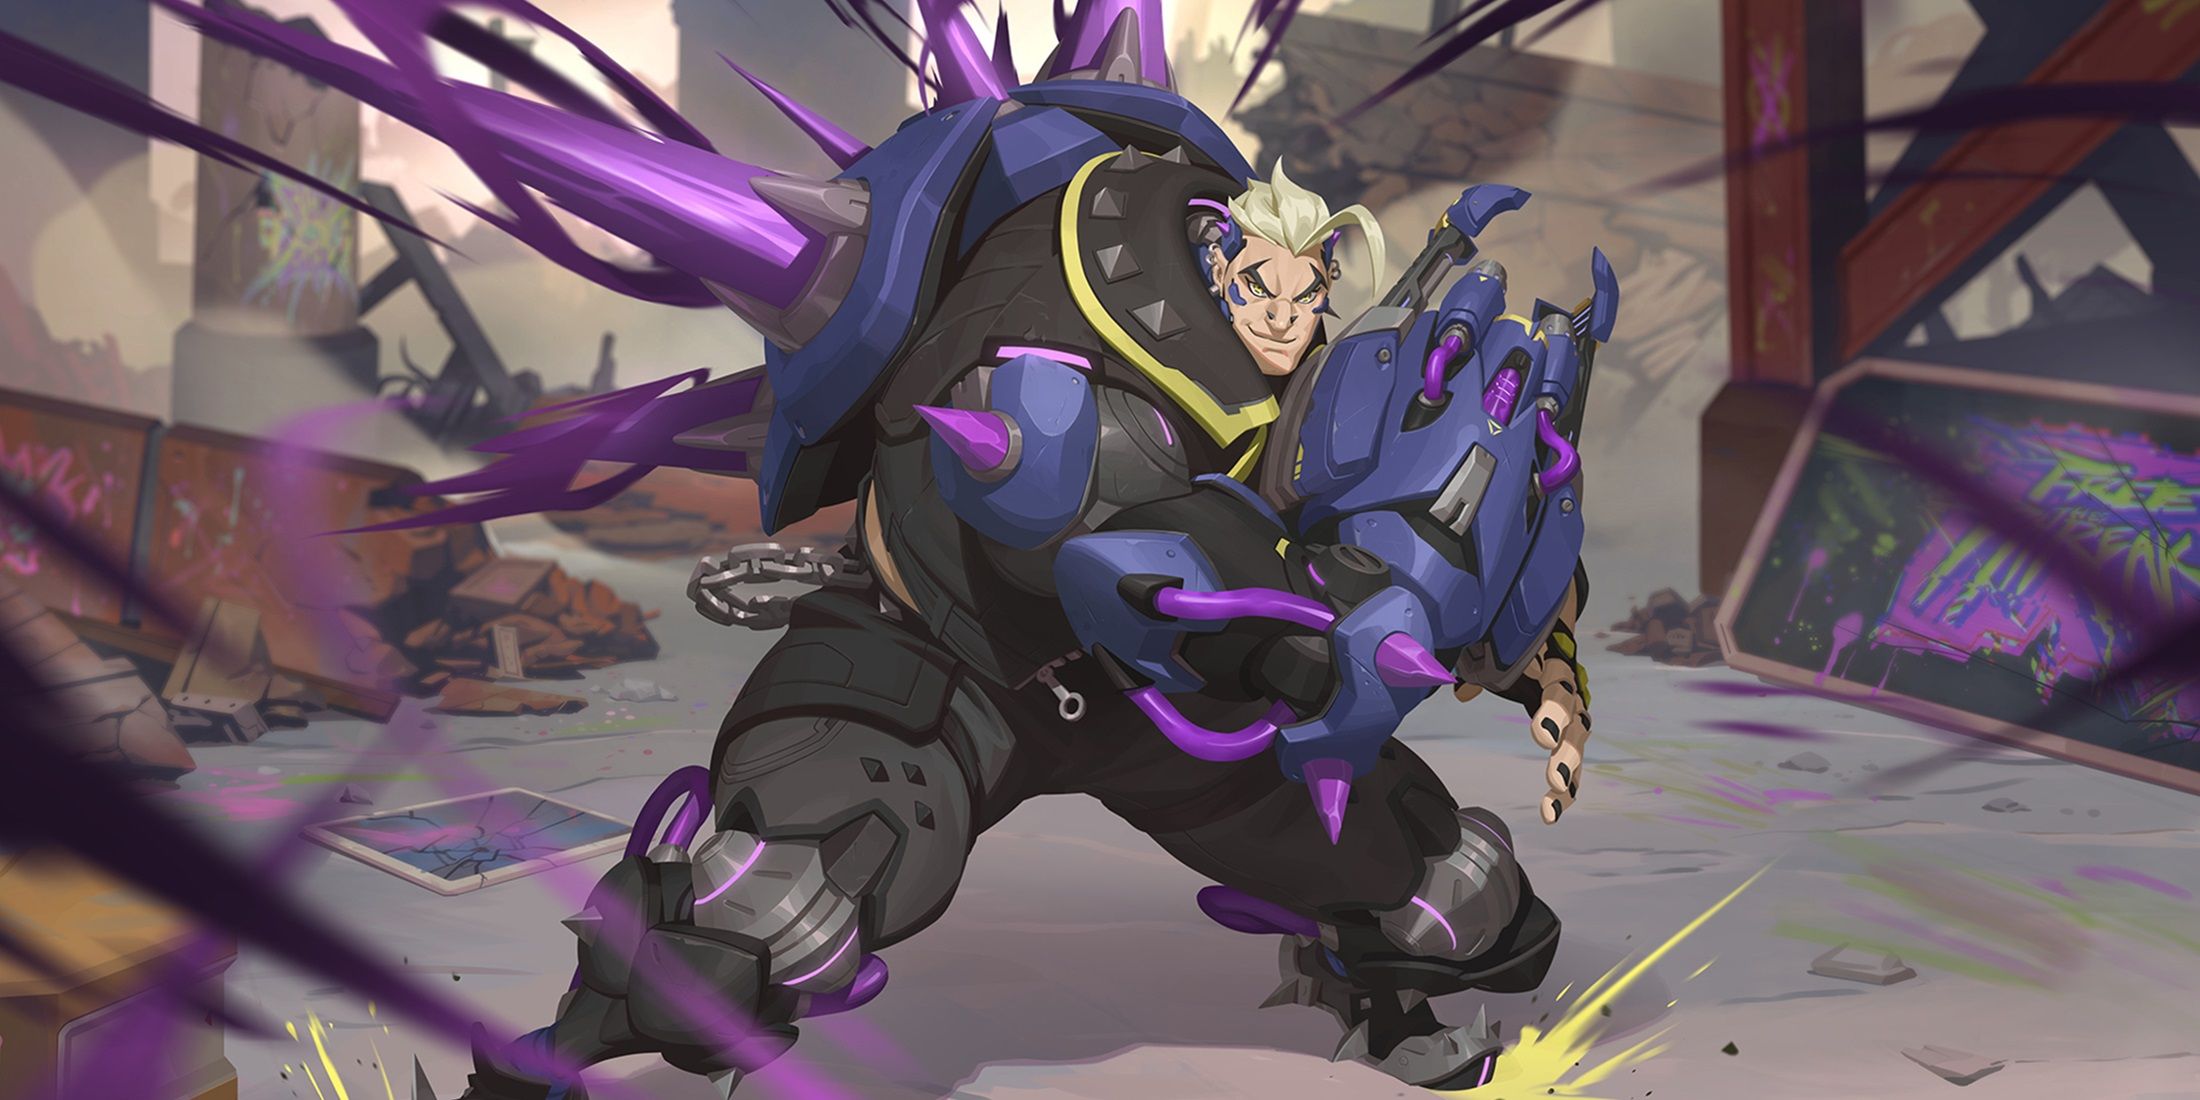
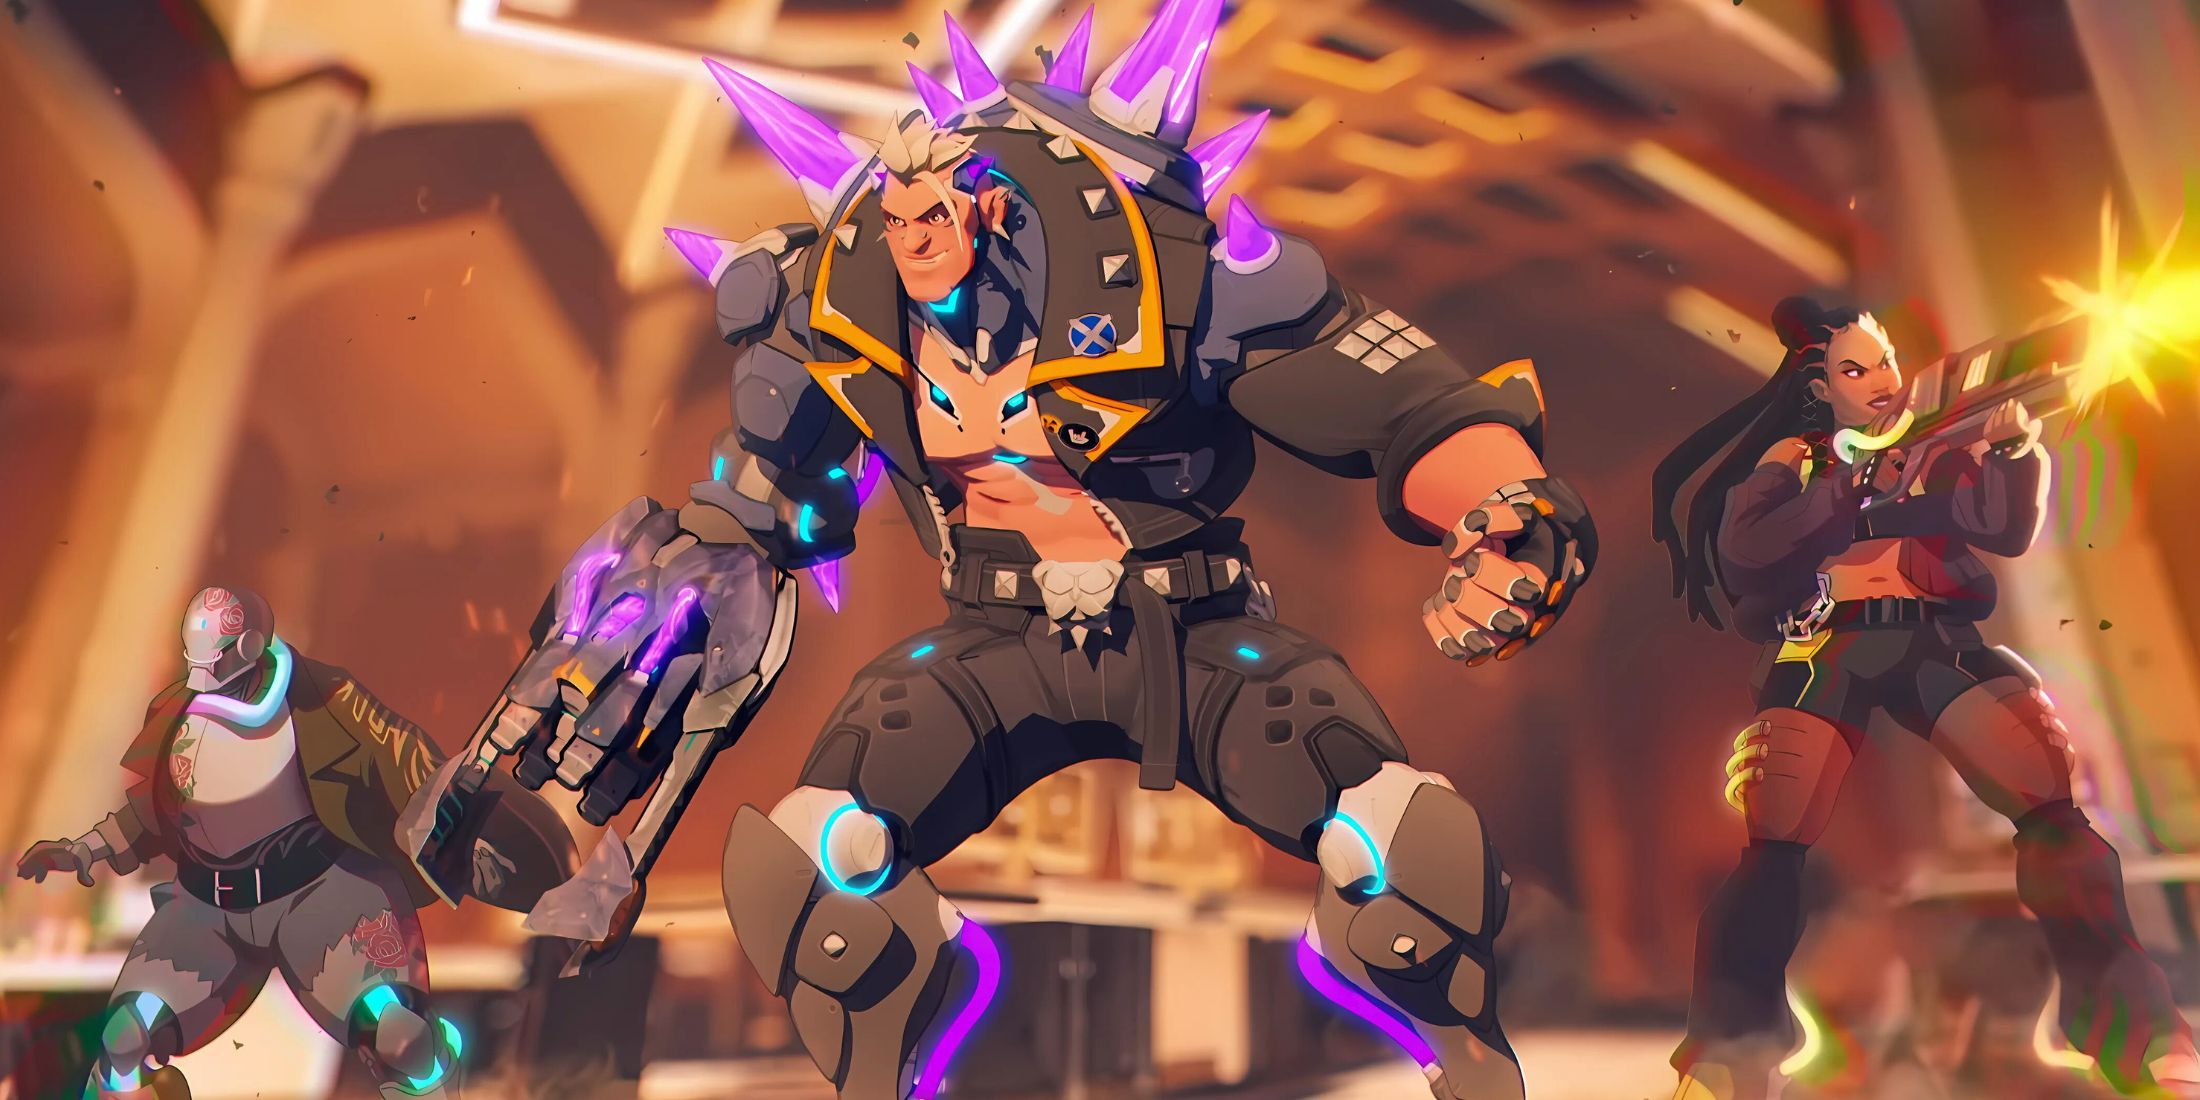
In the game Overwatch 2, Hazard stands out as a distinctive Tank character. His playstyle is a blend of both Brawl Tank and Dive Tank styles, resulting in a robust hybrid-like set of abilities that allow him to perform a variety of tasks effectively. The versatility of Hazard’s kit offers players many strategic options. For instance, his wall can be employed to trap adversaries, provide cover for himself and his allies, serve as part of a combo with his slash to force enemies back for additional harm, and even construct new platforms and high ground for teammates to utilize, flank from, or jump down on for kill opportunities (such as the Reaper Death Blossom scenario is just one of numerous possibilities!).
A complete breakdown of Hazard’s kit has been included below:
Hazard Abilities
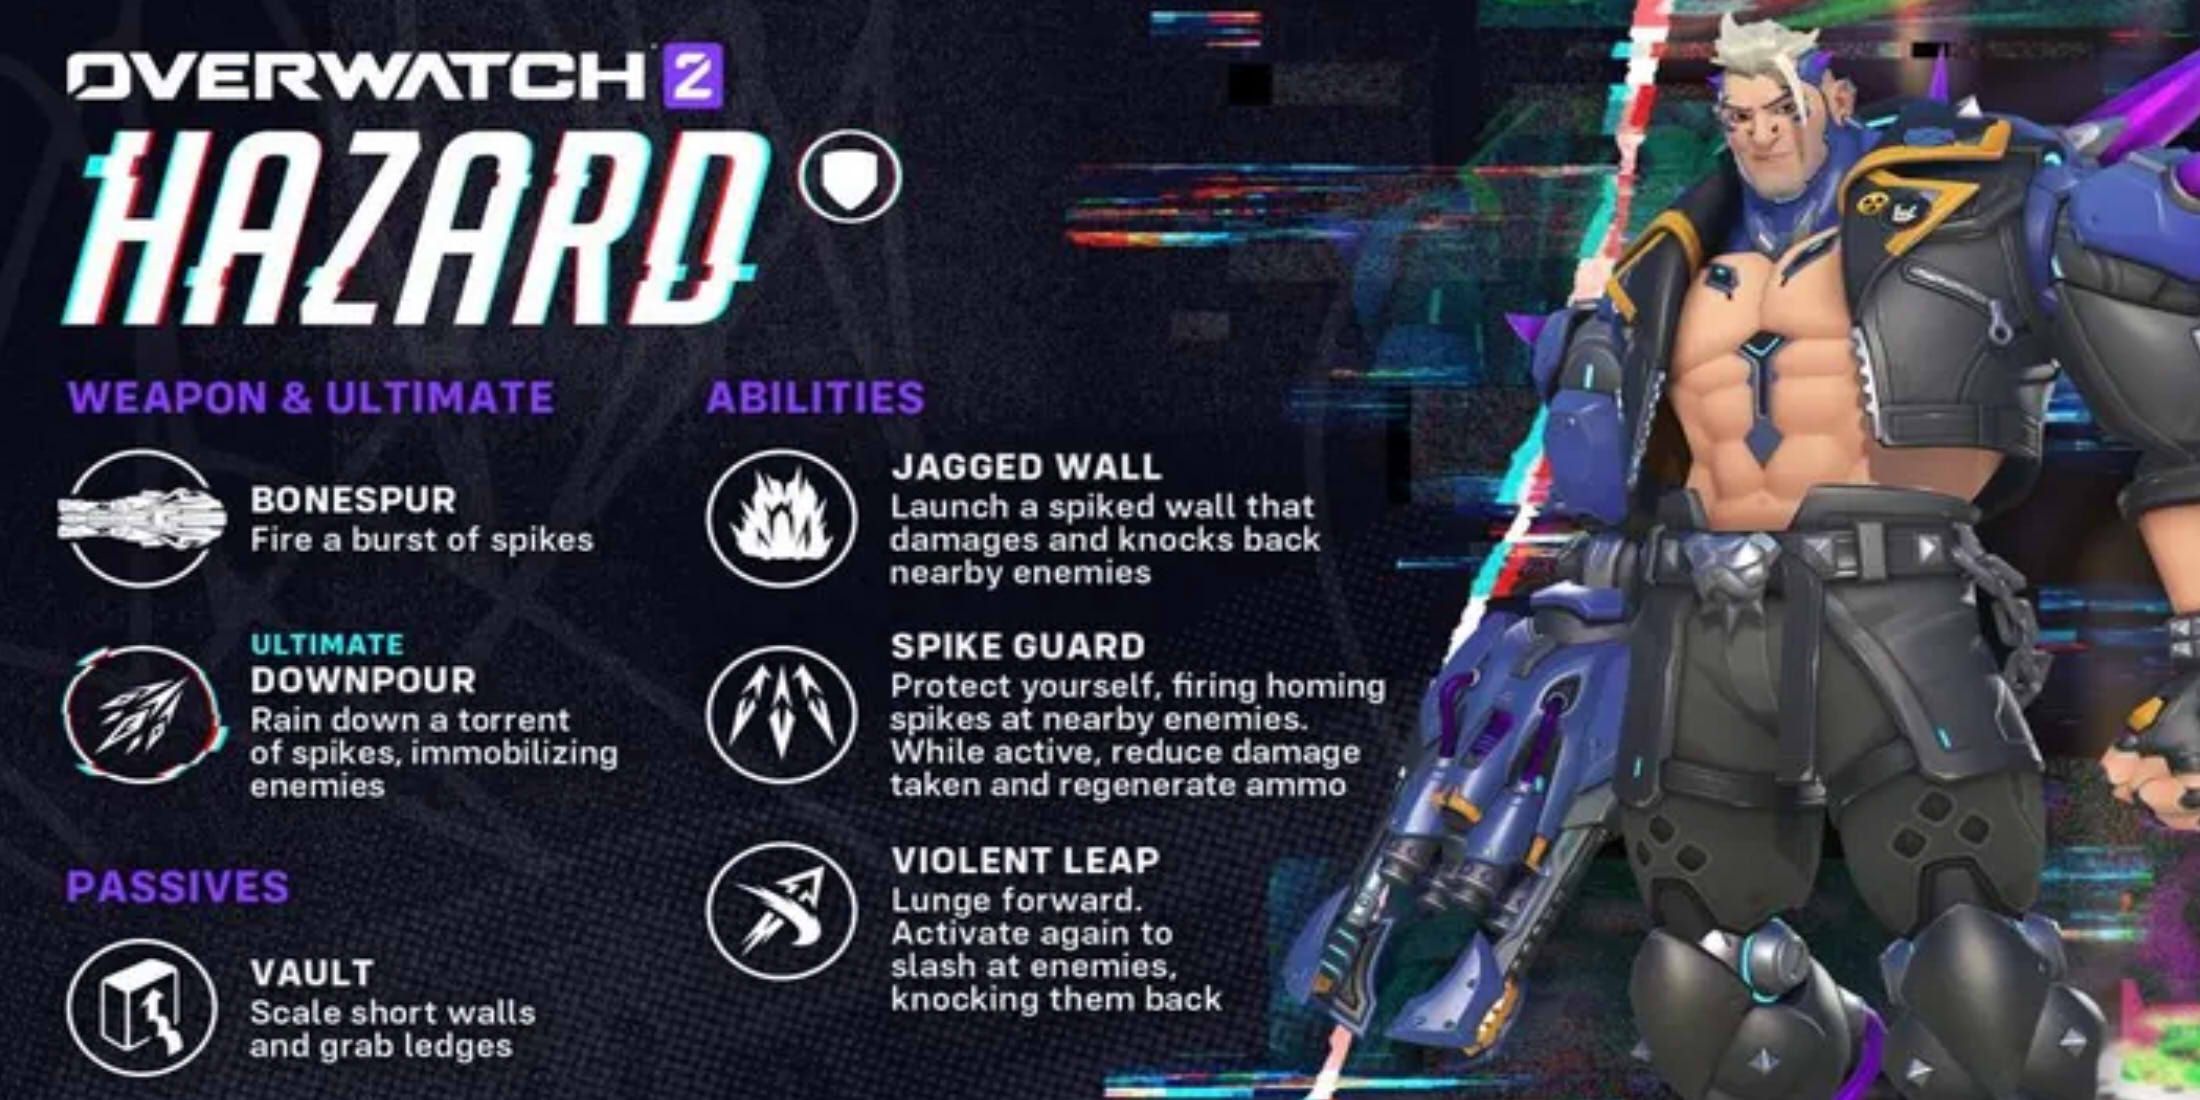
- Bonespur (Weapon – Primary Fire): Fire a burst of spikes.
- Jagged Wall: Launch a spiked wall that damages and knocks back enemies
- Spike Guard: Protect yourself, firing homing spikes at nearby enemies. While active, reduces damage taken and regenerates ammo.
- Violent Leap: Lunge forward. Activate again to slash at enemies, knocking them back.
- Downpour (Ultimate): Rain down a torrent of spikes, immobilizing enemies.
- Vault (Passive): Scale short walls and grab ledges.
Hazard Perks
- Off the Top (Minor Perk): Violent Leap’s Slash deals 30% more damage to enemies above 250 health.
- Reconstitution (Minor Perk): Jagged Wall hits charge Spike Guard with 25 energy, up to 50 extra.
- Anarchic Zeal (Major Perk): Spike Guard’s spikes gain 25% Lifesteal.
- Deep Leap (Major Perk): Violent Leap’s range is increased by 20%.
Hazard Gameplay Tips & Counters In Overwatch 2
As I dive into the world of gaming, I’ll need to invest some time getting familiar with Hazard’s kit, figuring out my preferred playstyle with him, discovering effective combos, and finding heroes that synergize well with him to create an optimal team composition around him. On top of that, knowing counter picks that can hold their own against Hazard in a fight will be crucial when facing off against a formidable enemy Haz.
Hazard Gameplay Tips
- Hazard’s wall climb, slash, and Jagged Wall can be used to scale buildings and walls, “parkouring” over parts of the map to get the jump on the enemy similar to many Doom or Ball flank/rollout routes. However, you will need to consider the cooldowns for these abilities, and the fact that Hazard’s flanking/parkour abilities are much slower than these other Tanks, so his time may often better be used holding the frontline on the ground level of maps to take important team fights.
- Hazard’s Ultimate can be cast through walls and buildings, meaning you can be very clever with how you use this ability to trap the enemy.
- Hazard’s wall projectile will keep flying until it hits a surface to stick to, meaning you can block enemies off with it from afar, or create platforms for teammates to use.
- Hazard’s wall can be cast underneath his own feet. This is very helpful for boosting himself above enemies, then using his leap to jump away back to safety. Alternatively, this can potentially even save him from dying to an environmental kill, by placing the wall as you are falling, then using your leap to attach to it and climb passive to get back on the map.
- Hazard’s Spikes will lock onto multiple enemies at a time, as well as deployables such as Turrets, Illari’s Pylon, Teleporters, and Immortality Field.
- You can bunny hop after Hazard’s leap to continue momentum and slash following the bunny hop. This enables you to cover more distance whilst still maintaining the slash for damage on enemies.
Hazard Synergy Picks
- Reaper has proven himself to be a nice pick alongside Hazard, with the two working together to create plays when strong communication is present. Reaper is great on the frontline with a Brawl Tank, so he is efficient by Hazard’s side, and Hazard can even use his Jagged Wall to create new highground for Reaper to teleport to and from, use as a flank, and drop down for Death Blossom.
- Hazard’s biggest vulnerability is when he gets surrounded by enemies with no abilities to get back out. While he can use his Spikes to buy some time, Juno is extremely efficient as a Support pairing to play alongside him. She has solid range on her gun and healing turrets, enabling her to support Hazard from a distance, as well as her speed ring, which can be used to assist Hazard in getting in and out of fights.
- Kiriko is also another very solid support choice, due to the sheer utility of her kit. She has decent range on her Healing Ofuda, and her Suzu is absolutely crucial for cleansing abilities that can otherwise shut Hazard down and cause him quite a bit of strife, such as Anti-Nade, or Hack.
- Lucio’s speed can be very useful for the same reasons as Juno’s kit, and his boop can create some distance when Hazard needs it. However, in comparison to some other Tanks Hazard seems to take quite a bit of damage during team fights, and Lucio’s healing may struggle to keep him up if the other Support isn’t able to provide assistance.
- Mei pairs nicely with Hazard, and the ability to have two walls for blocking off enemies can cause some major frustration for the opponent if Mei and Hazard have strong communication with one another. Their Ultimate abilities can also pair nicely either together to secure a team kill, or rotating one by one every other team fight to create a real nuisance. The combination of the slow from Mei’s freeze also creates easy picks for Hazard, who can use his entire kit to shred a solo squishy facing off with Mei.
- Genji can often be a little hit-or-miss in some team comps, but with Hazard by his side a good Genji has the potential to become much more of a threat. Hazard’s lunge, slash, and Spikes often get enemies very low, but may take additional shots to secure the kill – this is where Genji can come in with his right click Shurikens and Dash to secure these picks with Hazard. Plus, Genji’s Dragonblade is absolutely brutal when used on those stuck in Hazard’s Ultimate, as there’s not a lot they can do other than sit there and get sliced!
Hazard Counters
- Ana, as always, is a massive threat due to her Anti-Nade and Sleep. While this is true for pretty much any Tank going up against her, Hazard is particularly vulnerable to this due to his large hitbox, and no way to block either of these abilities, other than his Jagged Wall. A good Ana can Sleep then Nade Hazard after his Lunge is used, and as long as her team is able to follow up, they should be able to either kill Hazard before his Lunge cooldown resets enabling him to flee, or force him to back out of the fight if he can flee. Ana’s Sleep is particuarly effective if Hazard is using his Spikes, as this is often when he is trying to regenerate his ammo and reduce damage taken as his supports heal him. Plus, with Ana’s general damage being boosted in S13, she’s much more of an overall threat.
- Zenyatta’s Discord Orb will forever be the bane of many Tanks existence. If Hazard finds himself too close to the enemy without a lot of cover, Discord Orb and focus fire can absolutely shred him. At the very least, you can make Hazard’s job of getting in to either dive squishies or brawl the frontline as frustrating as possible by Orbing him on cooldown, and at most you’ll be able to brutally disrupt Hazard’s playstyle and even force a switch.
- D.Va can be an incredibly frustrating Tank for Hazard to go up against. She’s highly mobile, and he struggles to keep up with and kill highly mobile characters despite his Lunge, and on top of this, her Defense Matrix can eat most, if not all, of his abilities – including Jagged Wall! Hazard will need to play very careful and smart to overcome D.Va, whilst the latter can bait out his most important abilities.
- Bastion can melt Hazard if played smart, especially if they play within close proximity of their team and/or behind a shield. Hazard still has a decent chance of winning the Bastion 1v1 due to damage reduction from his Spikes and his Jagged Wall to help live through Bastions Turret, and can quite easily take him down in his primary form. However, if you pair Bastion with Ana Nade/Sleep or Zen’s Discord Orb, Hazard can be shredded in a few seconds.
- Sombra has the ability to Hack/EMP Hazard out of his abilities – two of which he strongly relies on to play efficiently (Spikes/Lunge). Much like the Ana/Zen situation, if you pair Hack/Virus together you’ll do solid damage on him, but with the addition of Discord or Anti, Hazard can get shredded in seconds. Plus, Sombra has her Translocator and Invisibility as an escape in case she needs to back off out of his range.
- Zarya is an absolute nuisance for Hazard to play into with solid timing of her bubbles. Hazard can’t control the trajectory of his Spikes, so if he pops his Block/Spikes ability, Zarya can bubble any targeted teammates to either collect easy charge, or force Hazard to back out of the ability. While he does have more mobility than her, Zarya can use herself and her teammates to collect charge off pretty much his entire kit, and then push forward when high/maximum charge to make the brawl that much tougher for Hazard to overcome.
Read More
- Top 8 UFC 5 Perks Every Fighter Should Use
- Unaware Atelier Master: New Trailer Reveals April 2025 Fantasy Adventure!
- Unlock the Magic: New Arcane Blind Box Collection from POP MART and Riot Games!
- Unlock Roslit Bay’s Bestiary: Fisch Fishing Guide
- How to Reach 80,000M in Dead Rails
- How to Unlock the Mines in Cookie Run: Kingdom
- Toei Animation’s Controversial Change to Sanji’s Fight in One Piece Episode 1124
- USD PHP PREDICTION
- 8 Best Souls-Like Games With Co-op
- Unleash Hell: Top10 Most Demanding Bosses in The First Berserker: Khazan
2025-03-23 12:07