In No Man’s Sky, players initially couldn’t share their fascinating plant life and unique creatures with others following the game’s release. But now, thanks to the addition of the Photo Mode feature, they can preserve these captivating moments and exhibit their photographs to both friends and strangers. However, finding and utilizing the photo mode can be a bit tricky.
In the world of No Man’s Sky, the ability to capture stunning images wasn’t introduced until the Pathfinder update. Prior to that, players had to resort to screenshots from their computers or other devices to share their base creations, planet discoveries, and more. However, with the arrival of the Photo Mode feature, players now have access to a variety of tools to help them take the perfect shot. This guide will walk you through the steps on how to activate and utilize Photo Mode in No Man’s Sky, showcasing your sci-fi photography talent at its best.
How To Use Photo Mode in No Man’s Sky
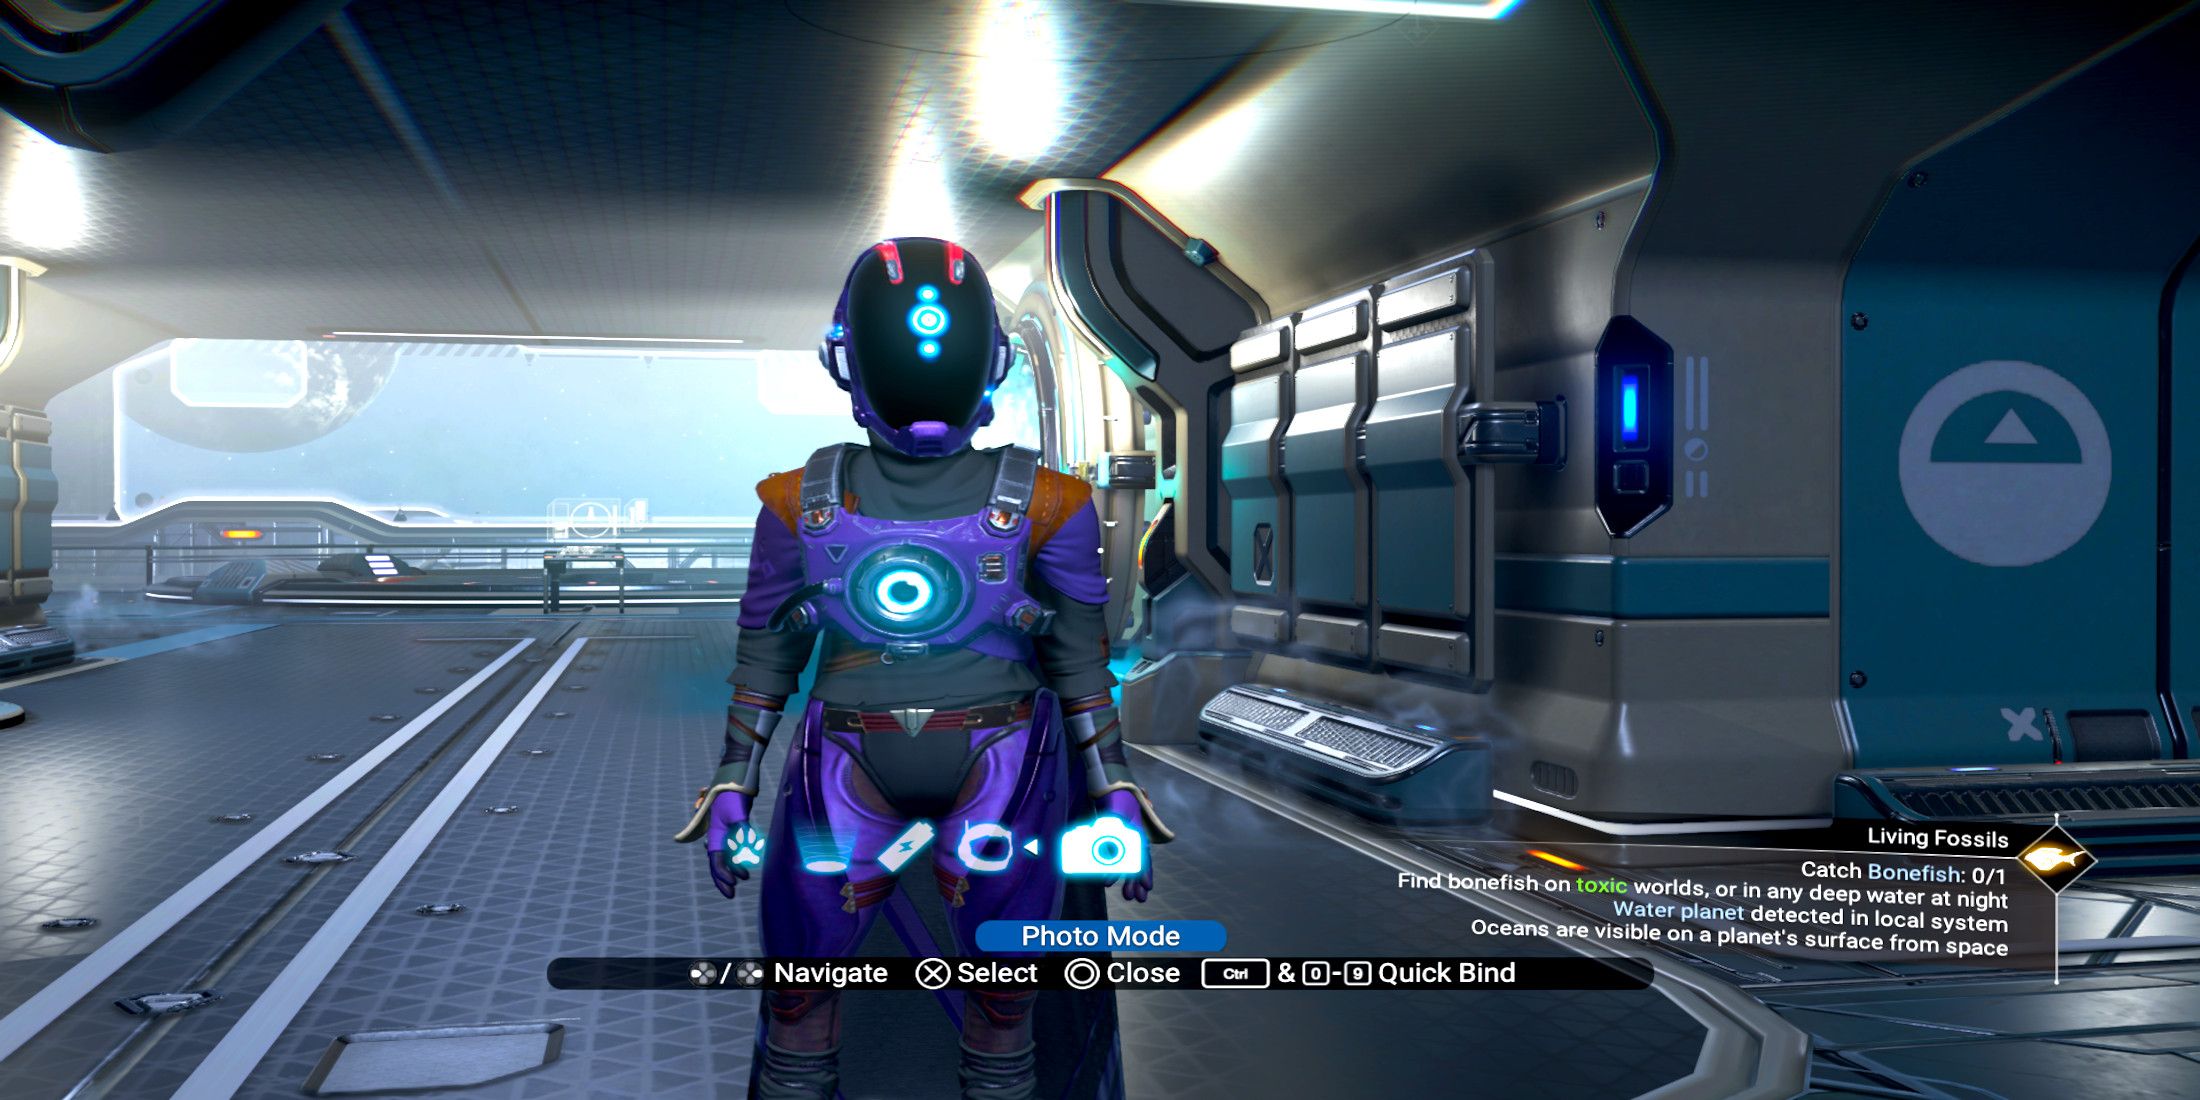
As a gaming enthusiast, I’d be delighted to share that you can easily access the Photo Mode by navigating through your controller. To do so, simply press the down button on your D-pad, and then keep scrolling to the right until you reach the icon that looks like a camera – that’s your Photo Mode!
On a keyboard, users need to press the ‘X’ button first, followed by moving the mouse cursor upwards and positioning it over the camera symbol. Once there, simply click on the camera icon to activate Photo Mode.
In Photo Mode, players may still encounter hazards such as Sentinels, hostile creatures, or storms. These elements will continue to impact the player even though they are in Photo Mode. While the player won’t feel it, it’s wise to exit Photo Mode periodically to avoid potential harm.
In Photo Mode, players will discover various options and settings to assist them in capturing the ideal shot. To revert back to regular gameplay, players using a DualShock controller can press the “O” key, while those on an Xbox controller should press “B”. For PC users, exiting Photo Mode can be done by right-clicking with their mouse.
How To Adjust Effects in Photo Mode in No Man’s Sky
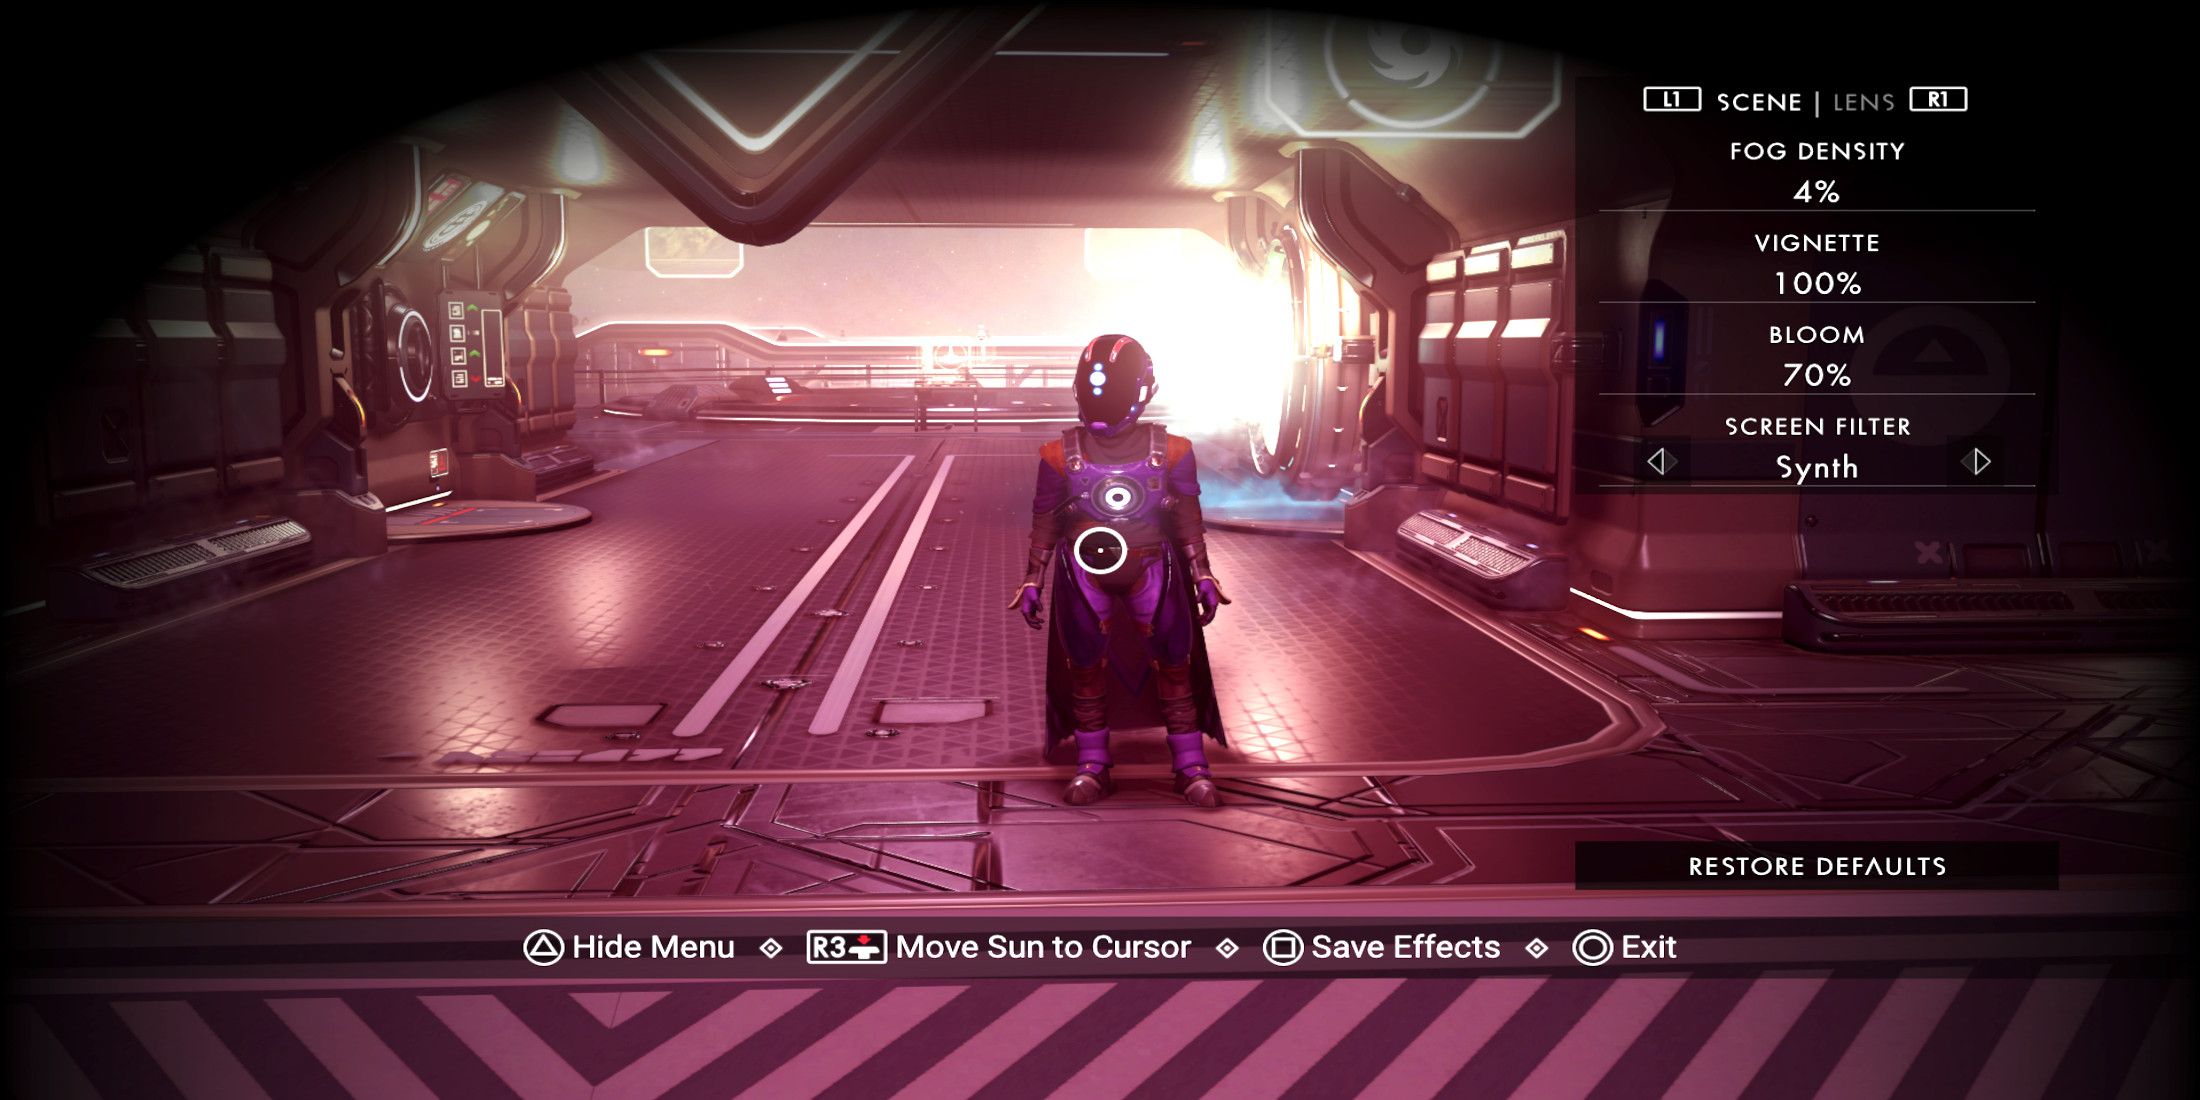
One reason why No Man’s Sky boasts an impressive Photo Mode is that it offers various settings to tailor your screenshots. For instance, if you stumble upon a rare creature but it’s overcast, you can manipulate the sun’s position in Photo Mode to make the photo vivid and well-lit. Without this flexibility, players would either need to delay their shot until dawn or take a dim picture at night, neither of which are preferable scenarios.
In No Man’s Sky, gamers have the flexibility to adjust factors such as the level of fog or bloom effect, manipulate the depth of field, and experiment with different field views. This enables them to capture stunning photographs of breathtaking landscapes within the game.
Additionally, there are options for players to adjust their images using filters. These filters allow for enhancing specific colors or setting a particular atmosphere, such as:
1. Warm Filters: These increase the presence of warm colors like reds, yellows, and oranges.
2. Cool Filters: These intensify cooler hues, such as blues and purples.
3. Vintage Filters: These mimic the look of old photographs with faded, desaturated colors.
4. Black & White Filters: These convert images to grayscale for a timeless, classic aesthetic.
5. Dramatic Filters: These enhance contrast and saturation for a more intense, moody effect.
- Vintage
- Collapse
- Emral
- Chrono
- Vapour
- Soft Pulse
- Synth
- Revisti
- Mosaic
- Frost
- Aliora
- Hyper
- Xeno
- Deepend
- Simulation
- Pikisi
- Unsleep
- Haze
- Phono
- Scream
- Oil Rain
- Inverse
- Lattice
- Shimmer
Refer to the video above to see all these filters in action!
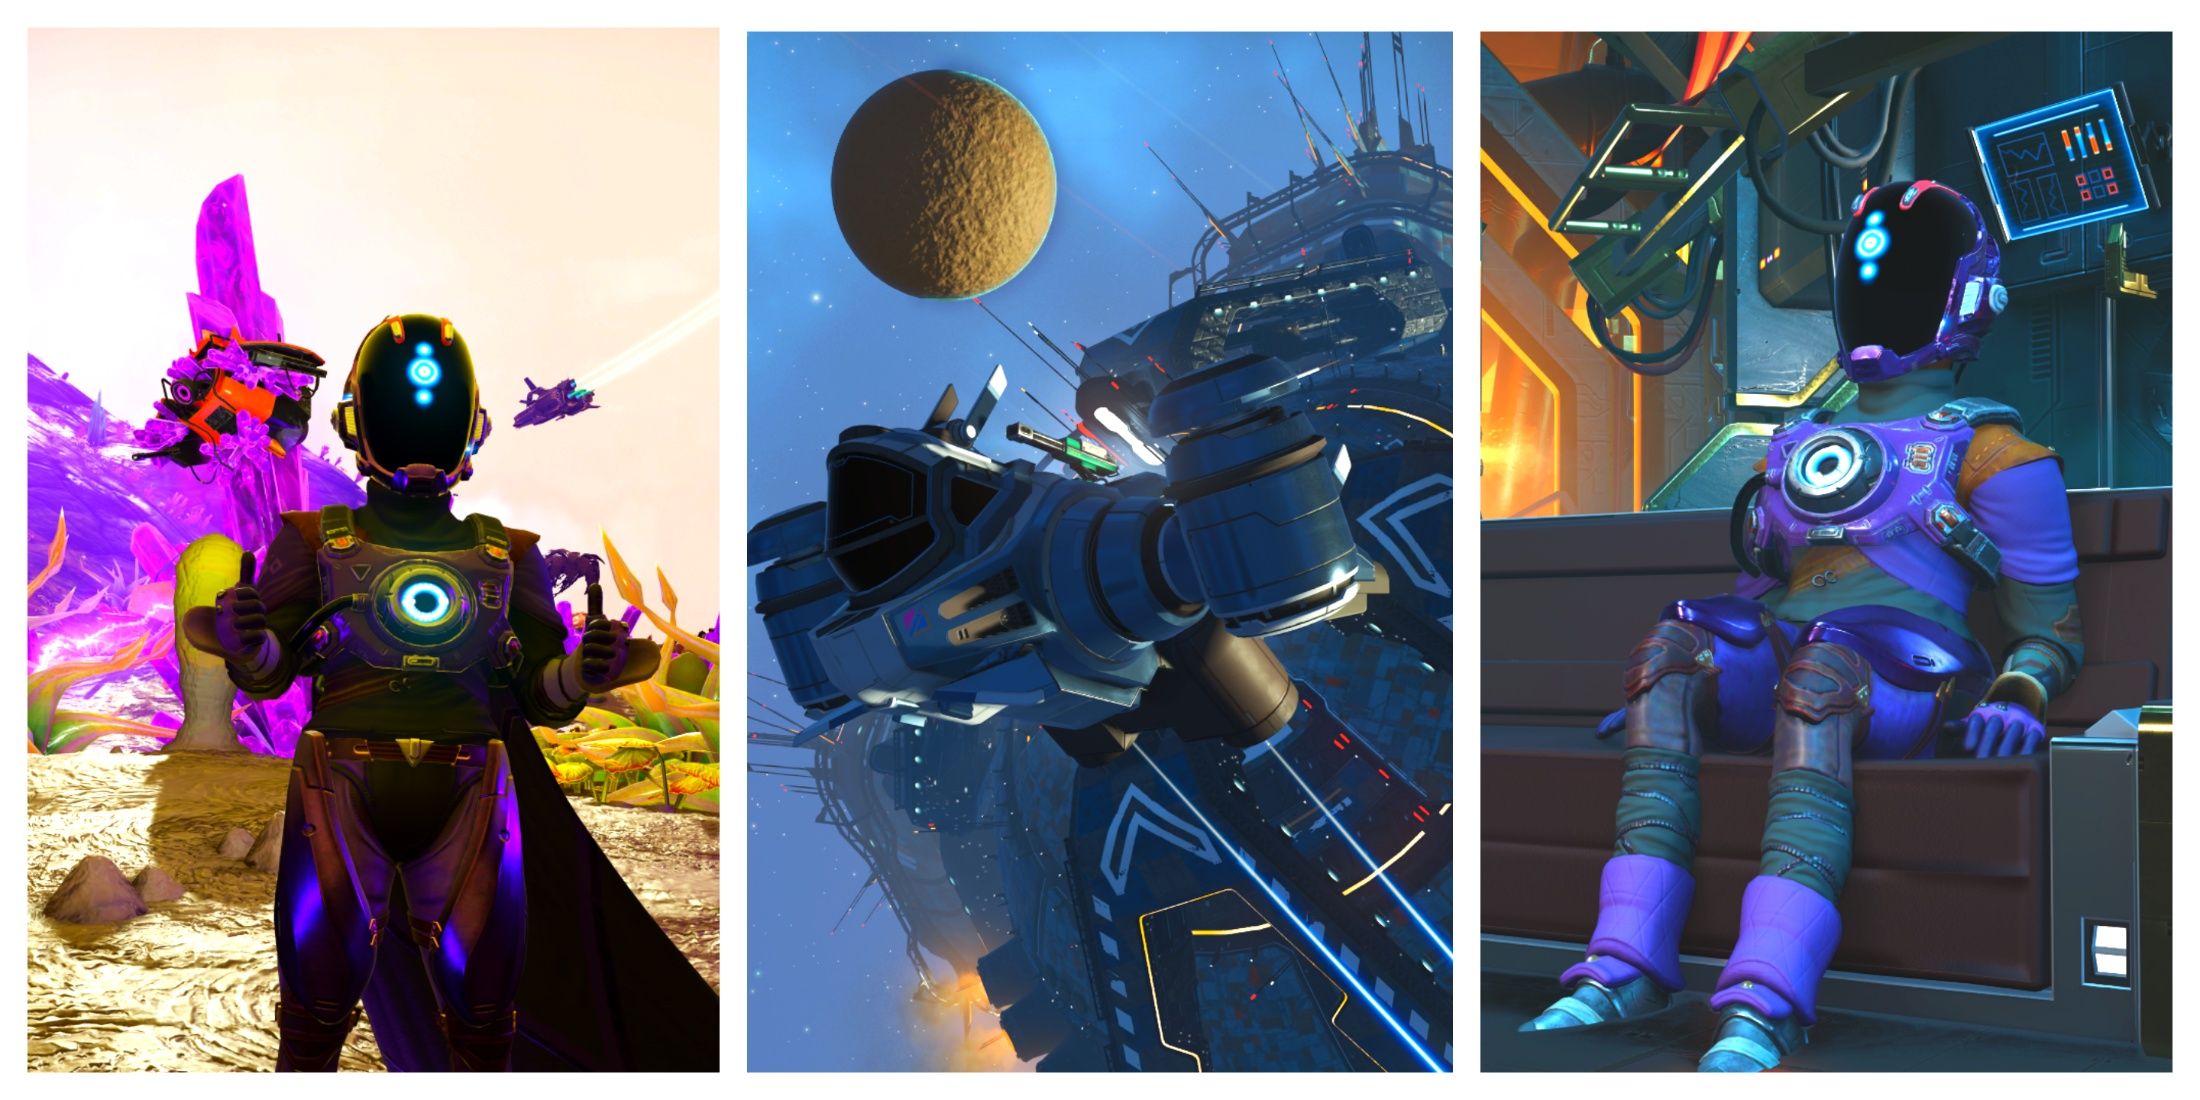
Players can also capture dynamic shots within Photo Mode by employing the Gestures feature. To achieve this, players must revisit the tool belt menu once more. The Gestures option is situated next to the Photo Mode option. Click on it, and then select the emote you wish to preserve. Whether you want to display a dramatic superhero landing pose, give your friends a thumbs up, or simply capture a serene image of yourself fishing by a lake, there’s an abundance of creative possibilities at your disposal.
At this moment, it’s crucial that players act promptly to snap the Gesture photo, as the emotes are temporary and last merely for a few seconds. Swiftly exit the Gesture menu, then guide yourself to Photo Mode. When in Photo Mode, you have the luxury of arranging the ideal framing since time essentially stands still for the emote.
On your PC setup, you have the flexibility to link the Gestures menu and Photo Mode with designated keys for swift transitions. By pressing and holding the CTRL key followed by any number from 0 to 9, you can effortlessly bind these features to custom hotkeys.
In the game No Man’s Sky, players can capture amusing and lasting images by integrating gestures with the photo mode feature.
Read More
- Top 8 UFC 5 Perks Every Fighter Should Use
- Unaware Atelier Master: New Trailer Reveals April 2025 Fantasy Adventure!
- Unlock the Magic: New Arcane Blind Box Collection from POP MART and Riot Games!
- Unlock Roslit Bay’s Bestiary: Fisch Fishing Guide
- How to Reach 80,000M in Dead Rails
- How to Unlock the Mines in Cookie Run: Kingdom
- Toei Animation’s Controversial Change to Sanji’s Fight in One Piece Episode 1124
- Unleash Hell: Top10 Most Demanding Bosses in The First Berserker: Khazan
- REPO: How To Fix Client Timeout
- 8 Best Souls-Like Games With Co-op
2025-04-11 06:04