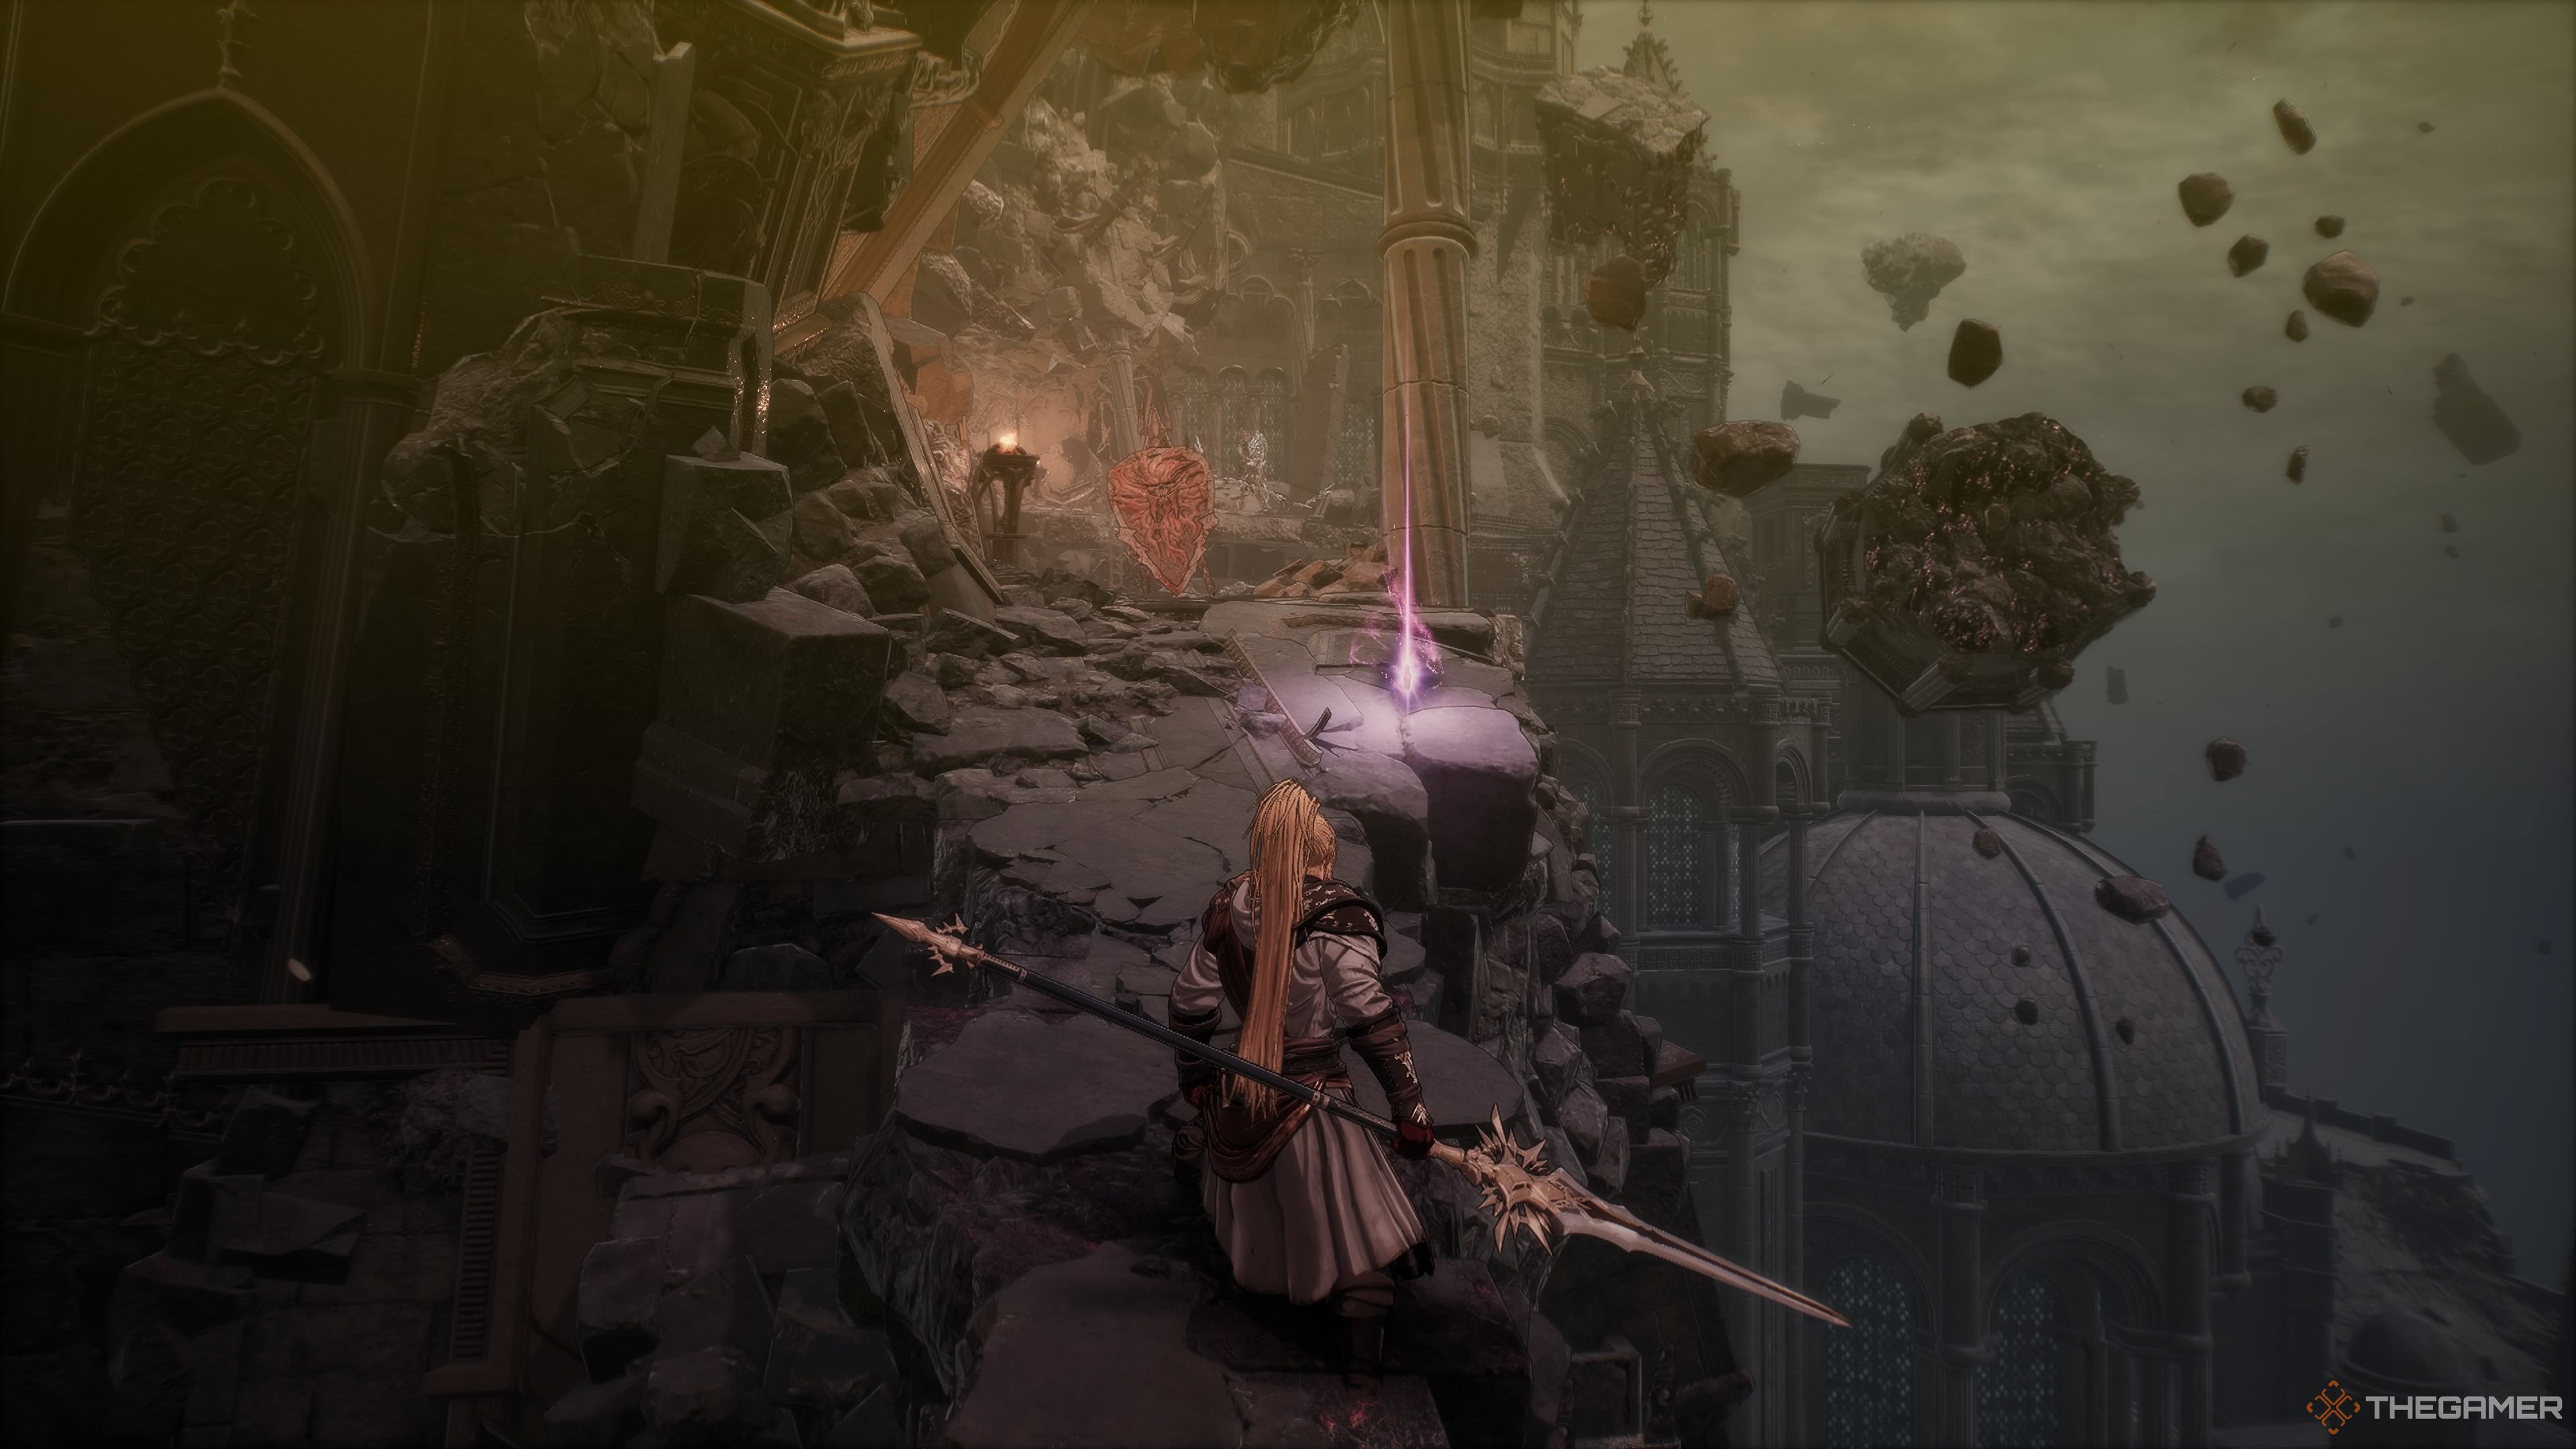
In the grand finale of The First Berserker: Khazan, you’re confronted with the “Master of Chaos” mission, a spectacular send-off. This level showcases an immense, labyrinthine castle swarming with demonic adversaries. As you journey through, expect to traverse rafters, leap between drifting debris, and maneuver through twisting courtyards to reach the game’s climax.
Just like every other mission we’ve tackled together, we’ll guide you through each part of this stage, revealing all the secret treasures along the way – from the final four Soulstones and the ultimate Jarling. We’ll make sure to steer you clear of the numerous pitfalls hidden within this final challenge as well.
Main Entrance Of The Imperial Palace
| Enemies | Undead Shieldbearer, Undead Ice Archer, Undead Vagrant, Yoma Jester, Yoma Shaman, Yoma Pursuer, Elite Renowned Spellblade’s Shadow |
|---|---|
| Notable Items | 2x Unstable Soul Tearstone, 2x Large Spirit Ore |
| Soulstones? | |
| Jarling? | No. |
Hey there fellow gamer! As we dive into this stage, remember to arm yourself with the Undead Hunter’s Lantern first. When we get started, a barrage of fireballs will come your way. Duck for cover behind the scattered debris, then make a dash after the volley has passed. Once you cross over, brace yourself for an encounter with an Undead Shieldbearer and an Undead Vagrant. Further down the hall, there’ll be an Ice Archer and another Vagrant to battle. The corpse behind the archer hides an Unstable Soul Tearstone. Let’s conquer this level together!
Ascend the staircase, make a turn, and you’ll come across some Yoma Jesters, along with a gadget that’s shooting fireballs. You’ll discover Fire Spirit’s Fuel there. Afterward, proceed up the pile of debris, and you’ll land in front of a Blade Nexus. Continue straight ahead, and you’ll run into Yoma Pursuer.
After removing them, proceed to the edge of the bridge. You’ll find yourself crossing it on a floating debris moving between the two parts of the bridge. Once you reach the other side, enter the building and unlock the chest to obtain a Spear of Glory, Crusader’s Top, Necklace, and Spirit Ore.
First, take the elevator ride upstairs. Continue straight ahead, and you’ll reach the Main Entrance of the Imperial Palace Blade Nexus. Jump off to the left side of the Blade Nexus and land on a platform. Follow this platform downwards, and it will lead you to another chest. Open the chest to acquire the Soul Cleaver Dual Wield, Soul-Cleaving Greatsword, Soul Piercer Spear, and two Large Spirit Ores. After that, ascend the ladder again to return to the Blade Nexus.
Turn right, and you’ll find yourself in an area with a Yoma Pursuer and some Chaos Clusters. A Yoma Shaman will be raining projectiles from above. Lure the Pursuer down the stairs, then make your way upward to eliminate the Shaman. Nearby, there are more Chaos Clusters, along with several Shamans. There are 15 Transmutation Shards situated in front of the statue.
Descend the staircase where you’ll encounter both a Chaos Cluster and a Pursuer. You’ll also find three Elixirs that offer Lightning Resistance at this level. Afterward, return upstairs. There’s a narrow passageway with some wooden barriers blocking it. Knock down these barriers and proceed through. Ascend the ladder, then jump onto the Shaman from above to secure another Unstable Tear Soulstone.
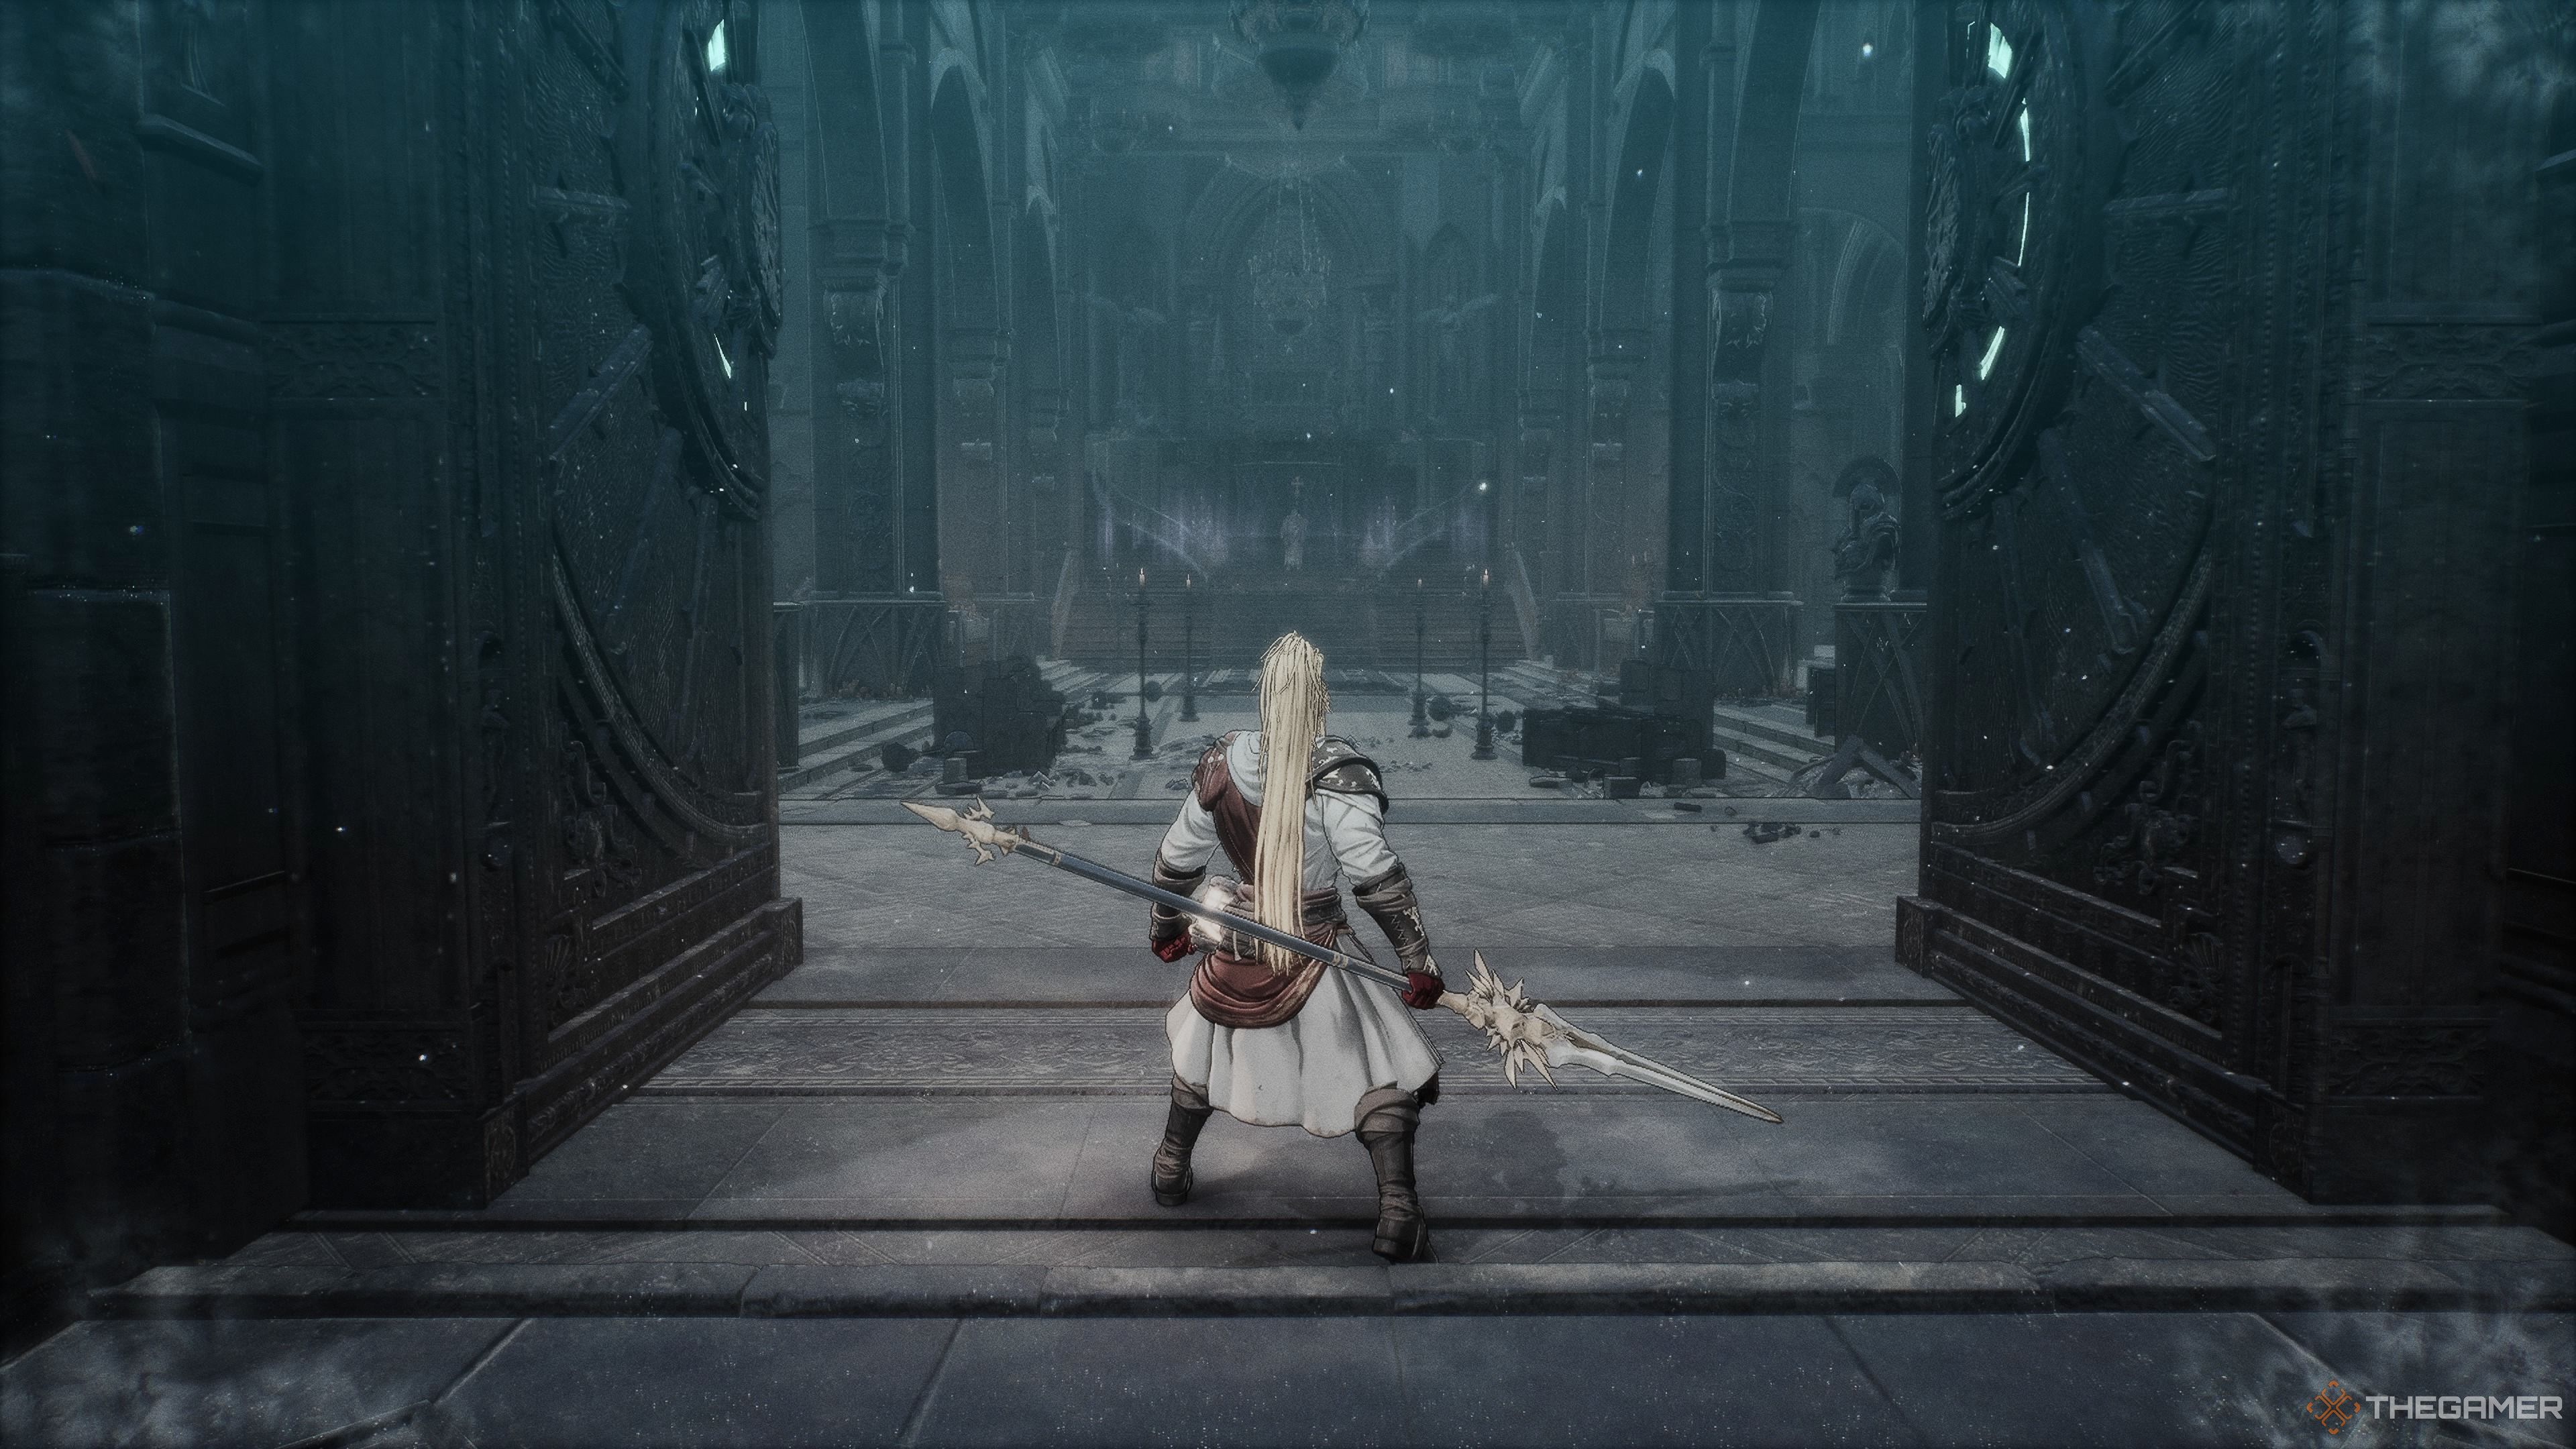
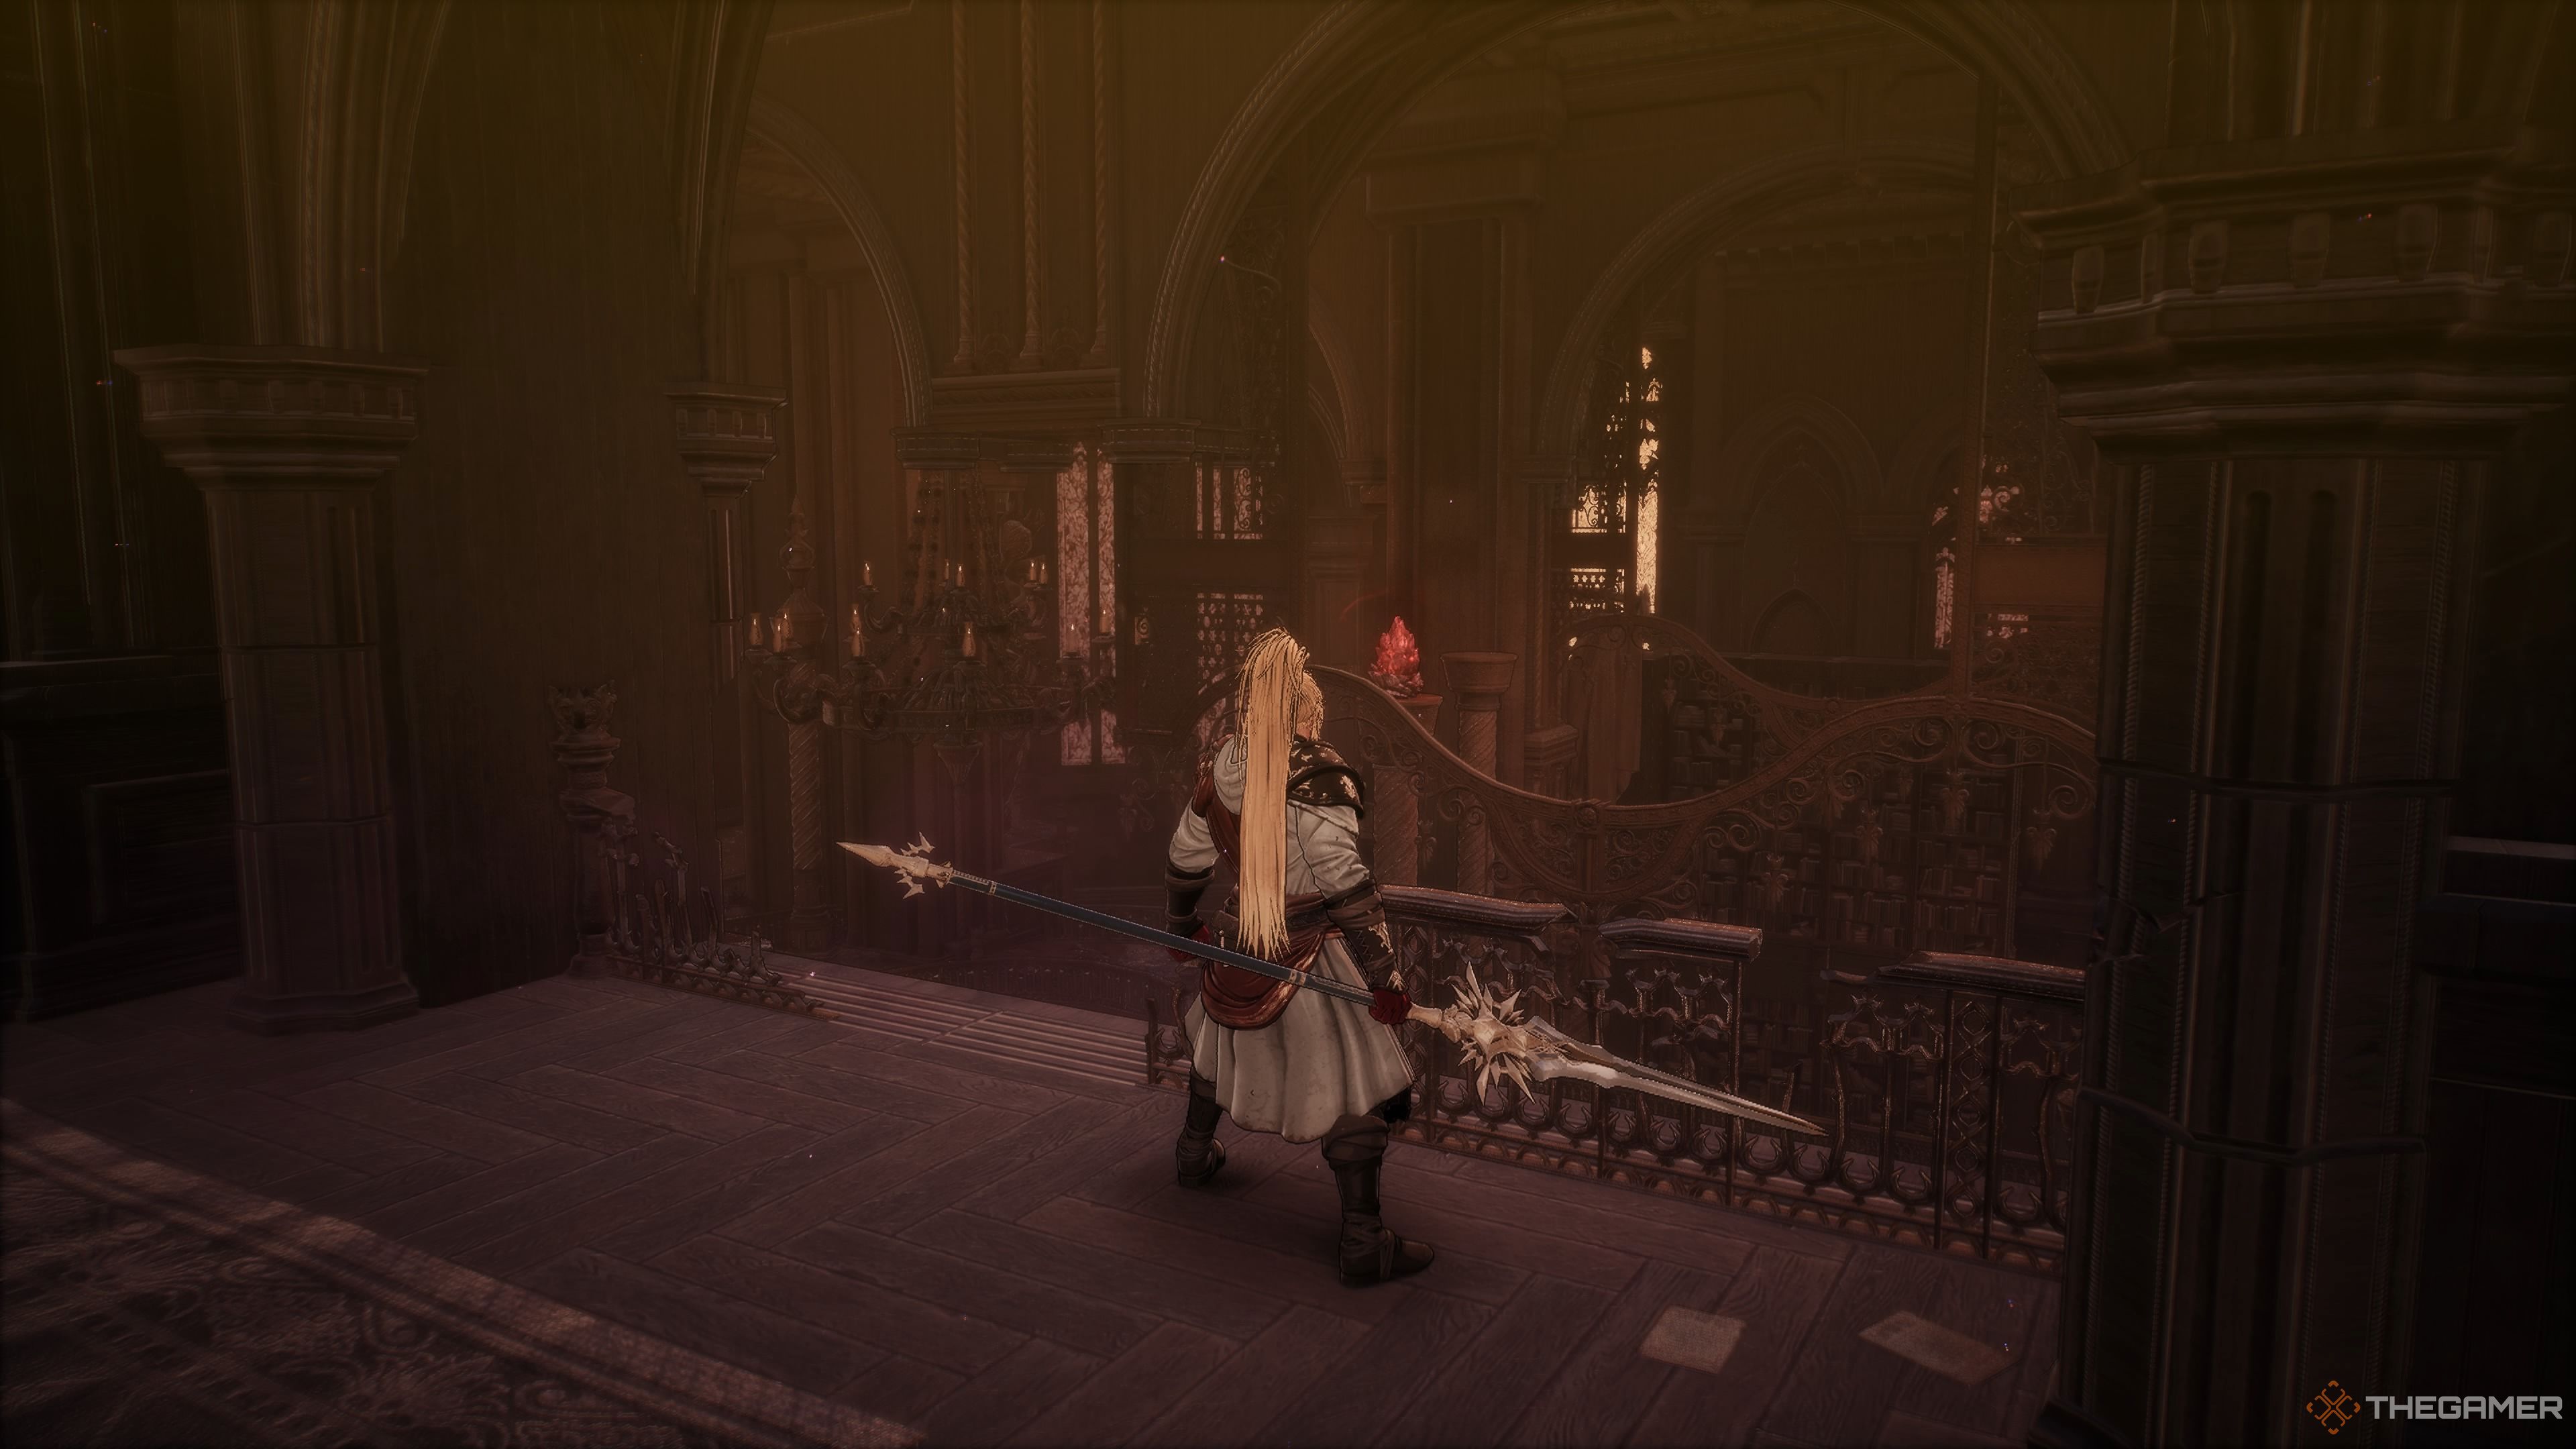
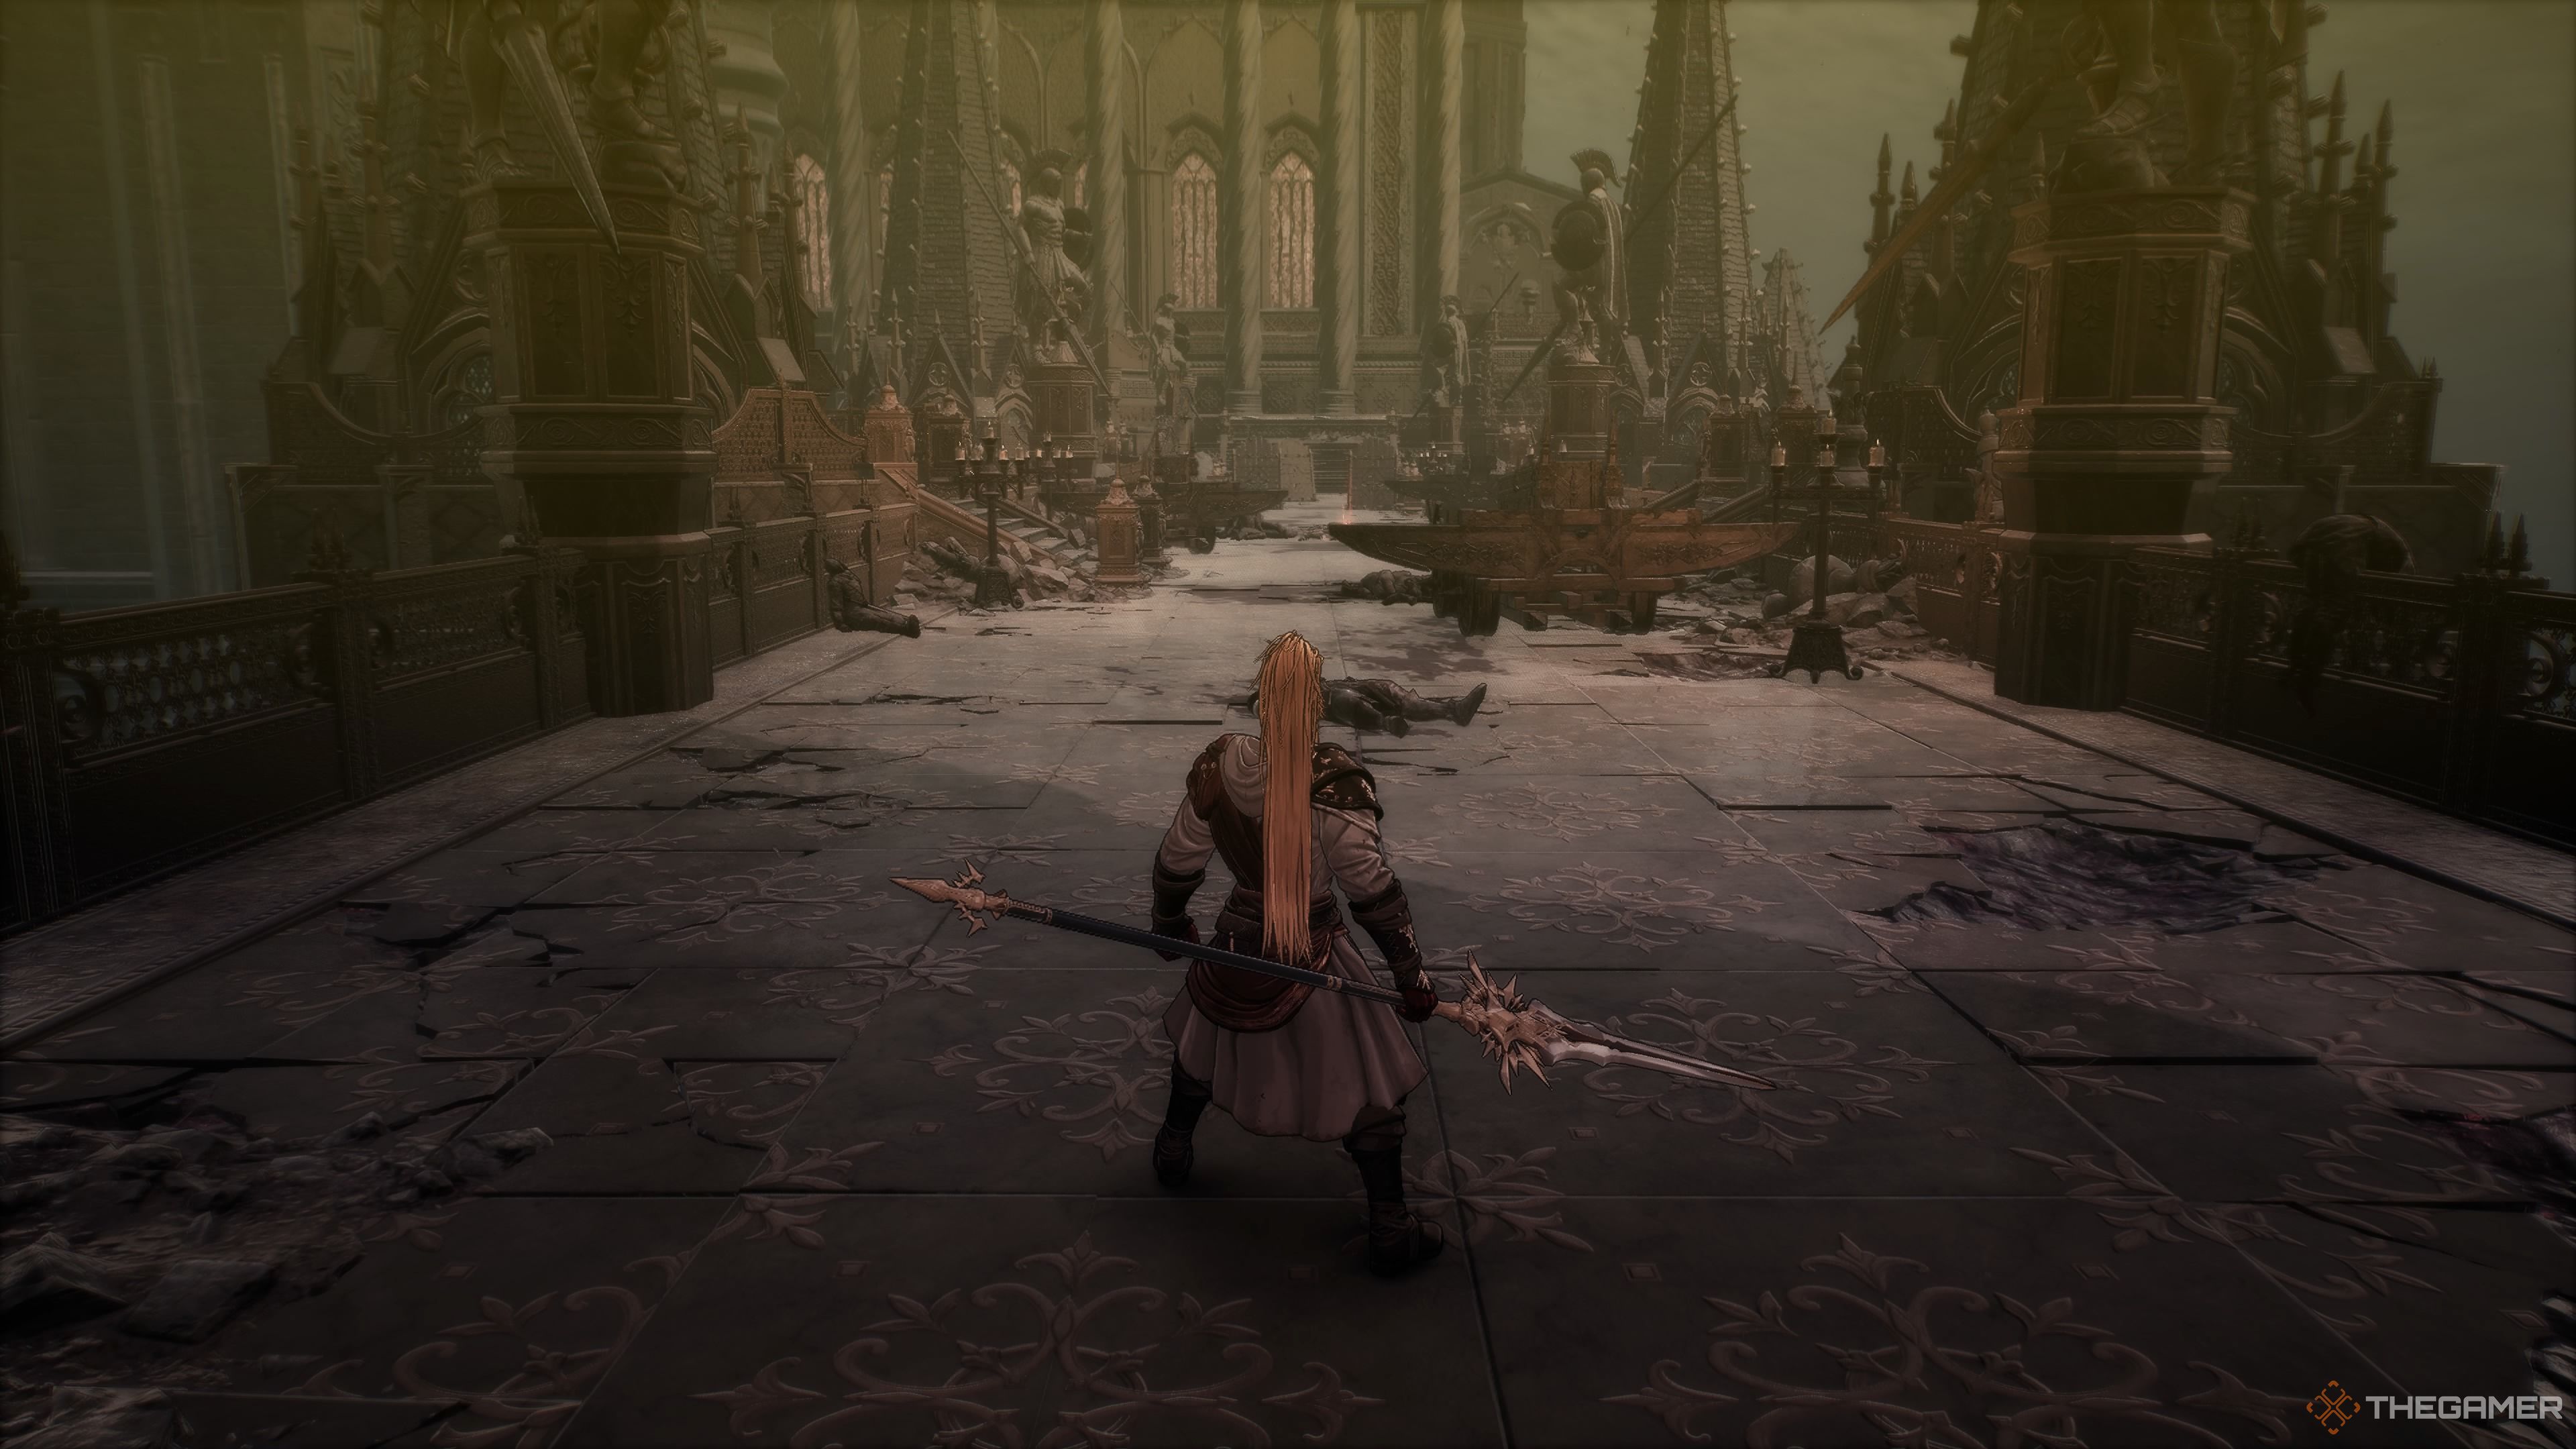
Stepping through the colossal doors ahead, I’m straight away confronted by a pair of Twisted Mages, each one making their way down opposite staircases. It’s crucial to dash towards one and engage in combat swiftly, as dealing with two simultaneously can be a living nightmare. Once these Twisted Mages are defeated, I’ll snatch the elusive Unstable Soul Tearstone that lies near the fireplace.
Make your way out via the doors, then take a sharp turn and descend a staircase. From a distance, you’ll face a barrage of fireball attacks. If you go around to the right, you’ll encounter an Undead Assassin. Close by, there’s a Concentrated Fire Essence. As you fall down, you’ll bump into an Undead Ice Archer and a Shieldbearer. They’ll be together in this area.
To your left, you’ll find a gazebo holding a potent Fire Aura. Three Shambling Wanderers lie in wait to attack when you enter this gazebo. By taking a left twice, you’ll reach another gazebo (offering protection from fireballs). Here, you can find the Phantom of the Famed Mageblade.
Here are two ‘Willpower Orbs’. Proceed forward, make a left turn, cross the bridge, enter another structure guarded by two ‘Shieldbearers’. Inside, you’ll discover an ‘Unstable Tear Soulstone’. Ascend the ladder and defeat the Shaman positioned near the totem. After that, feel at liberty to retrace your steps and collect any loot you may have overlooked.
Once you’ve advanced, make your descent from the tower where you defeated the Shaman, then ascend the staircase ahead. To the left of the statue, you’ll find a booby-trapped chest containing a pair of swords named “Unending Tragedy” and twenty “Keen Blades”. To the right of the same statue, there are three “Chaos Resistance Elixirs”. Connect to the “Cathedral Entrance Blade Nexus”, then proceed up the stairs and through the large doors.
Cathedral Entrance
| Enemies | Beasts of Madness, Elite Corrupted High Cleric, Corruptors, Yoma Pursuer, Yoma Jester, Yoma Shaman |
|---|---|
| Notable Items | Unstable Soul Tearstone, |
| Soulstones? | 2 |
| Jarling? | No. |
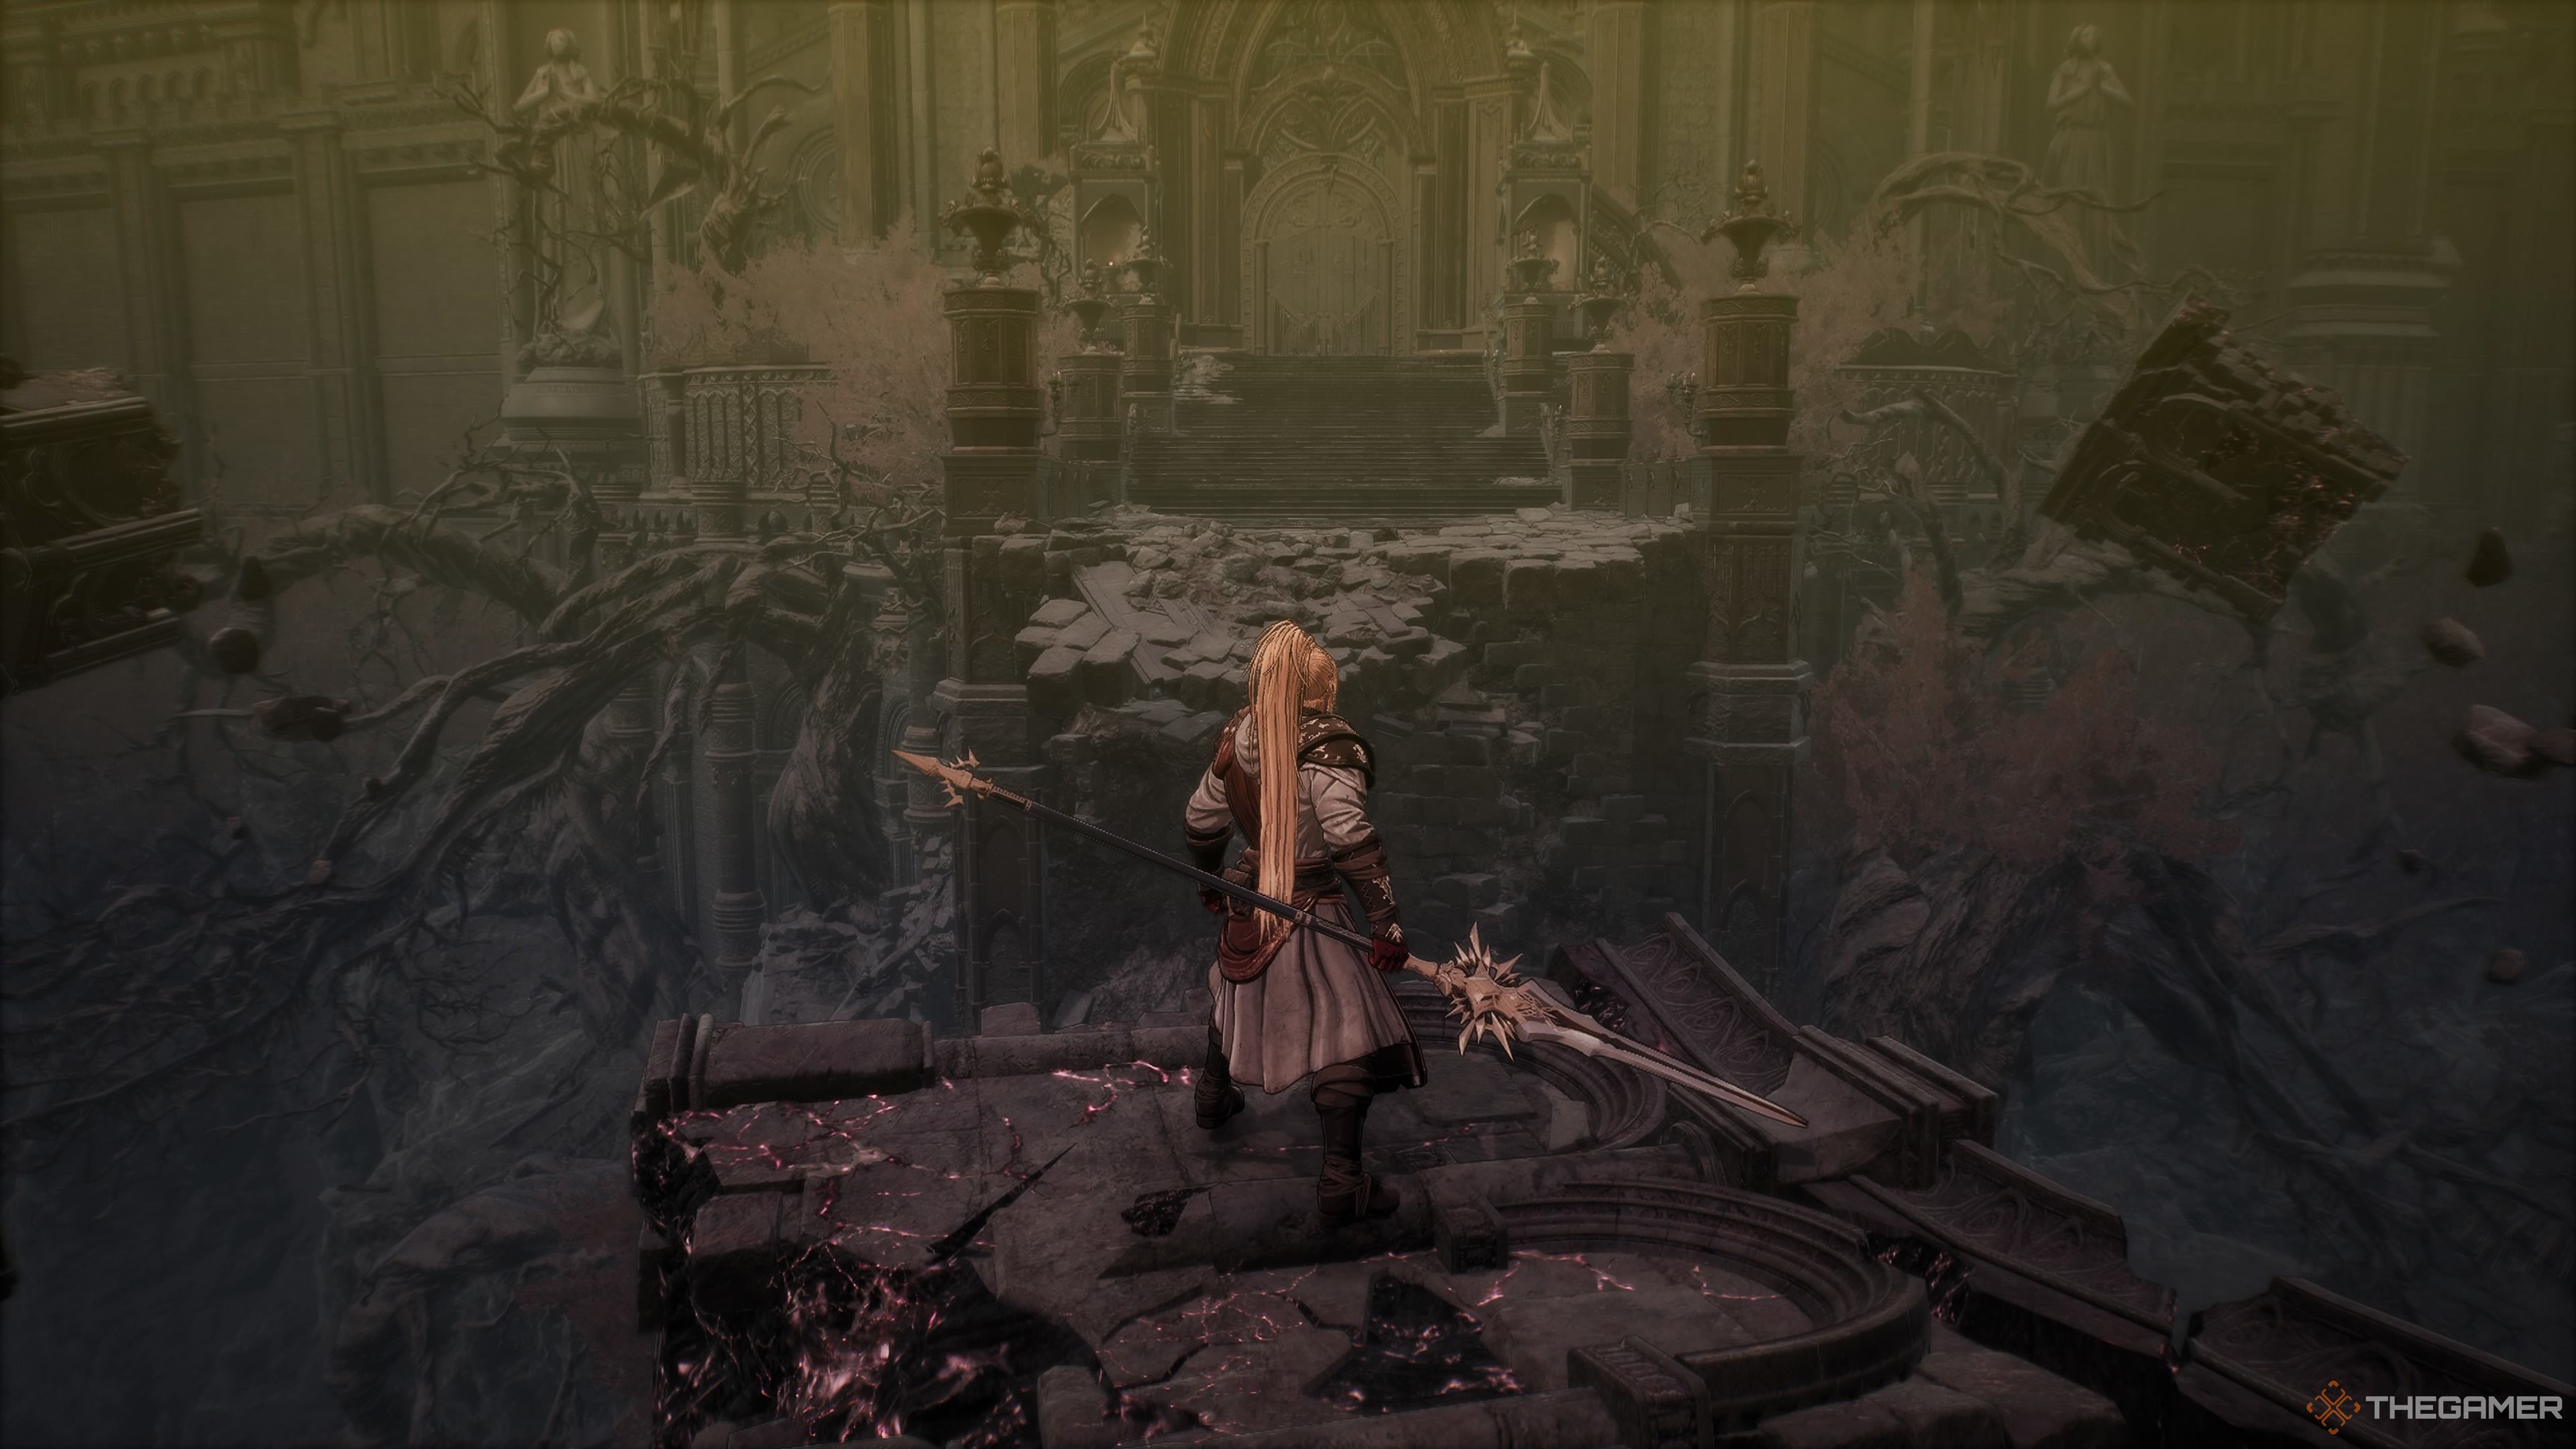
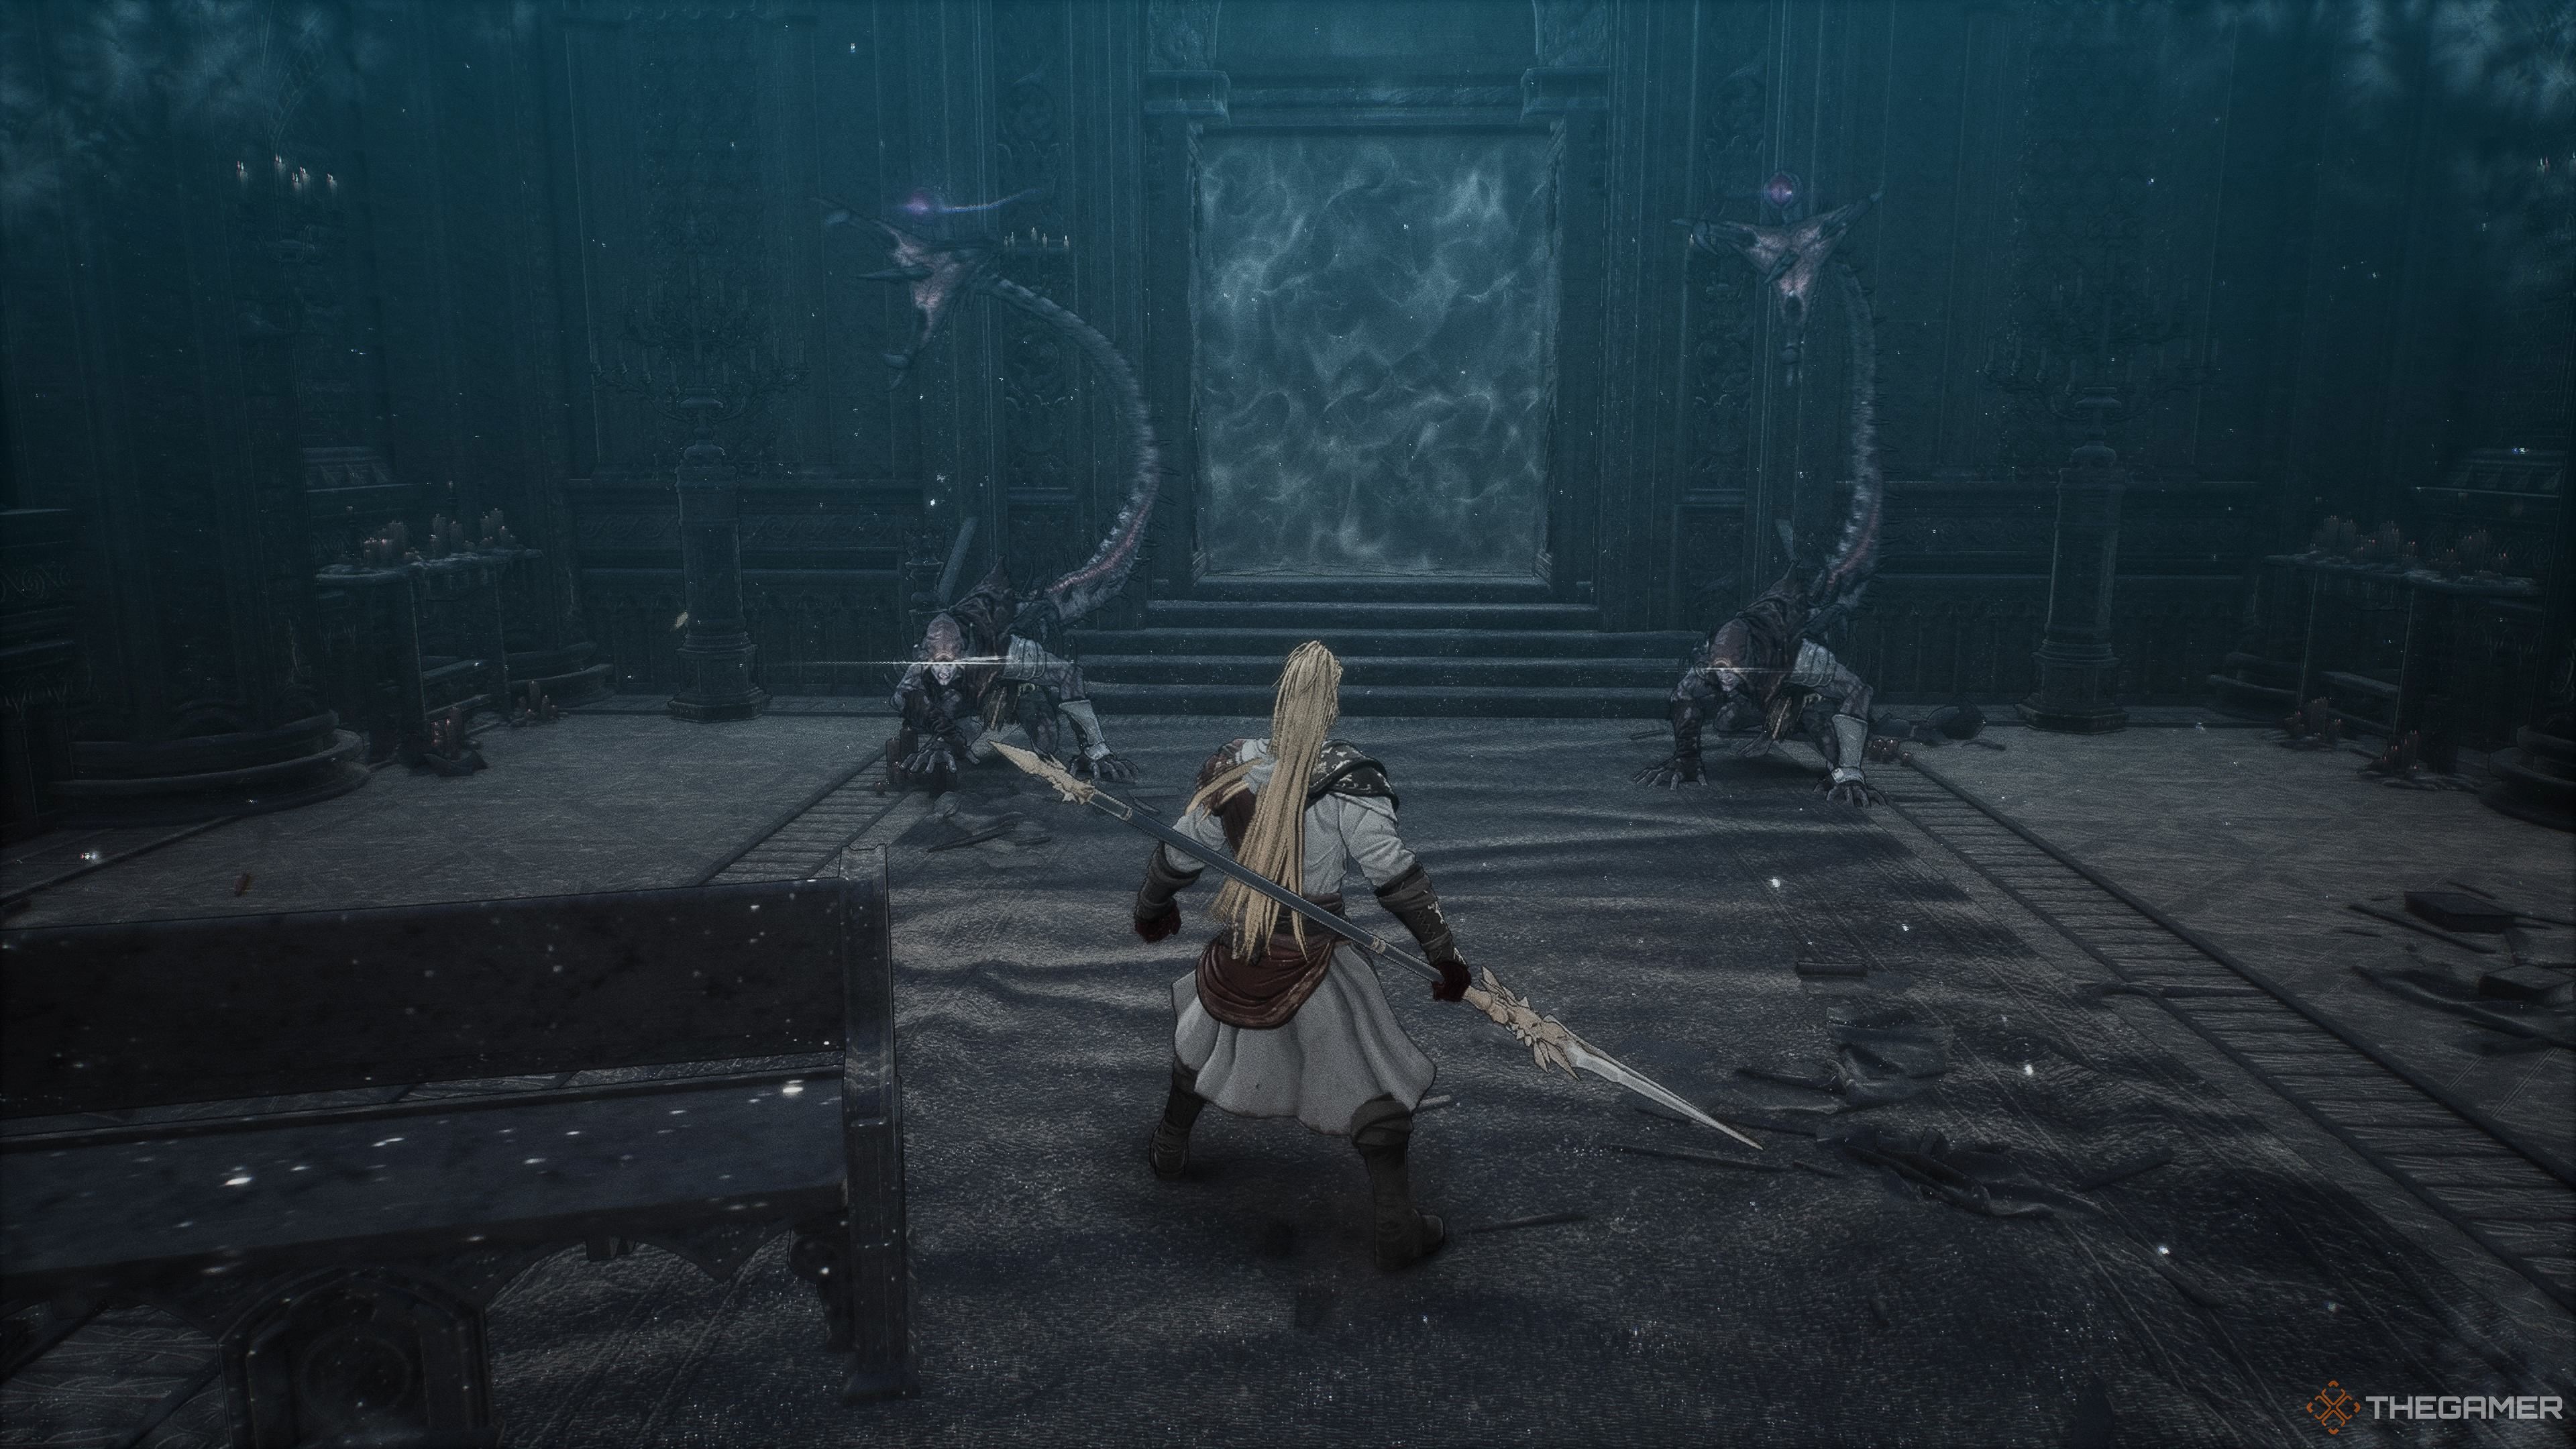
As soon as you pass through the doors, you’ll notice two Frenzied Beasts flanking the sides, with a Powerful Corrupted Priest standing central. It goes without saying that handling the Frenzied Beasts separately should be your priority. After dealing with them, locate an Earth Manipulator on the upper right and two Transmutation Fogs in the bottom right. Finally, don’t forget to activate the lever located above before proceeding further.
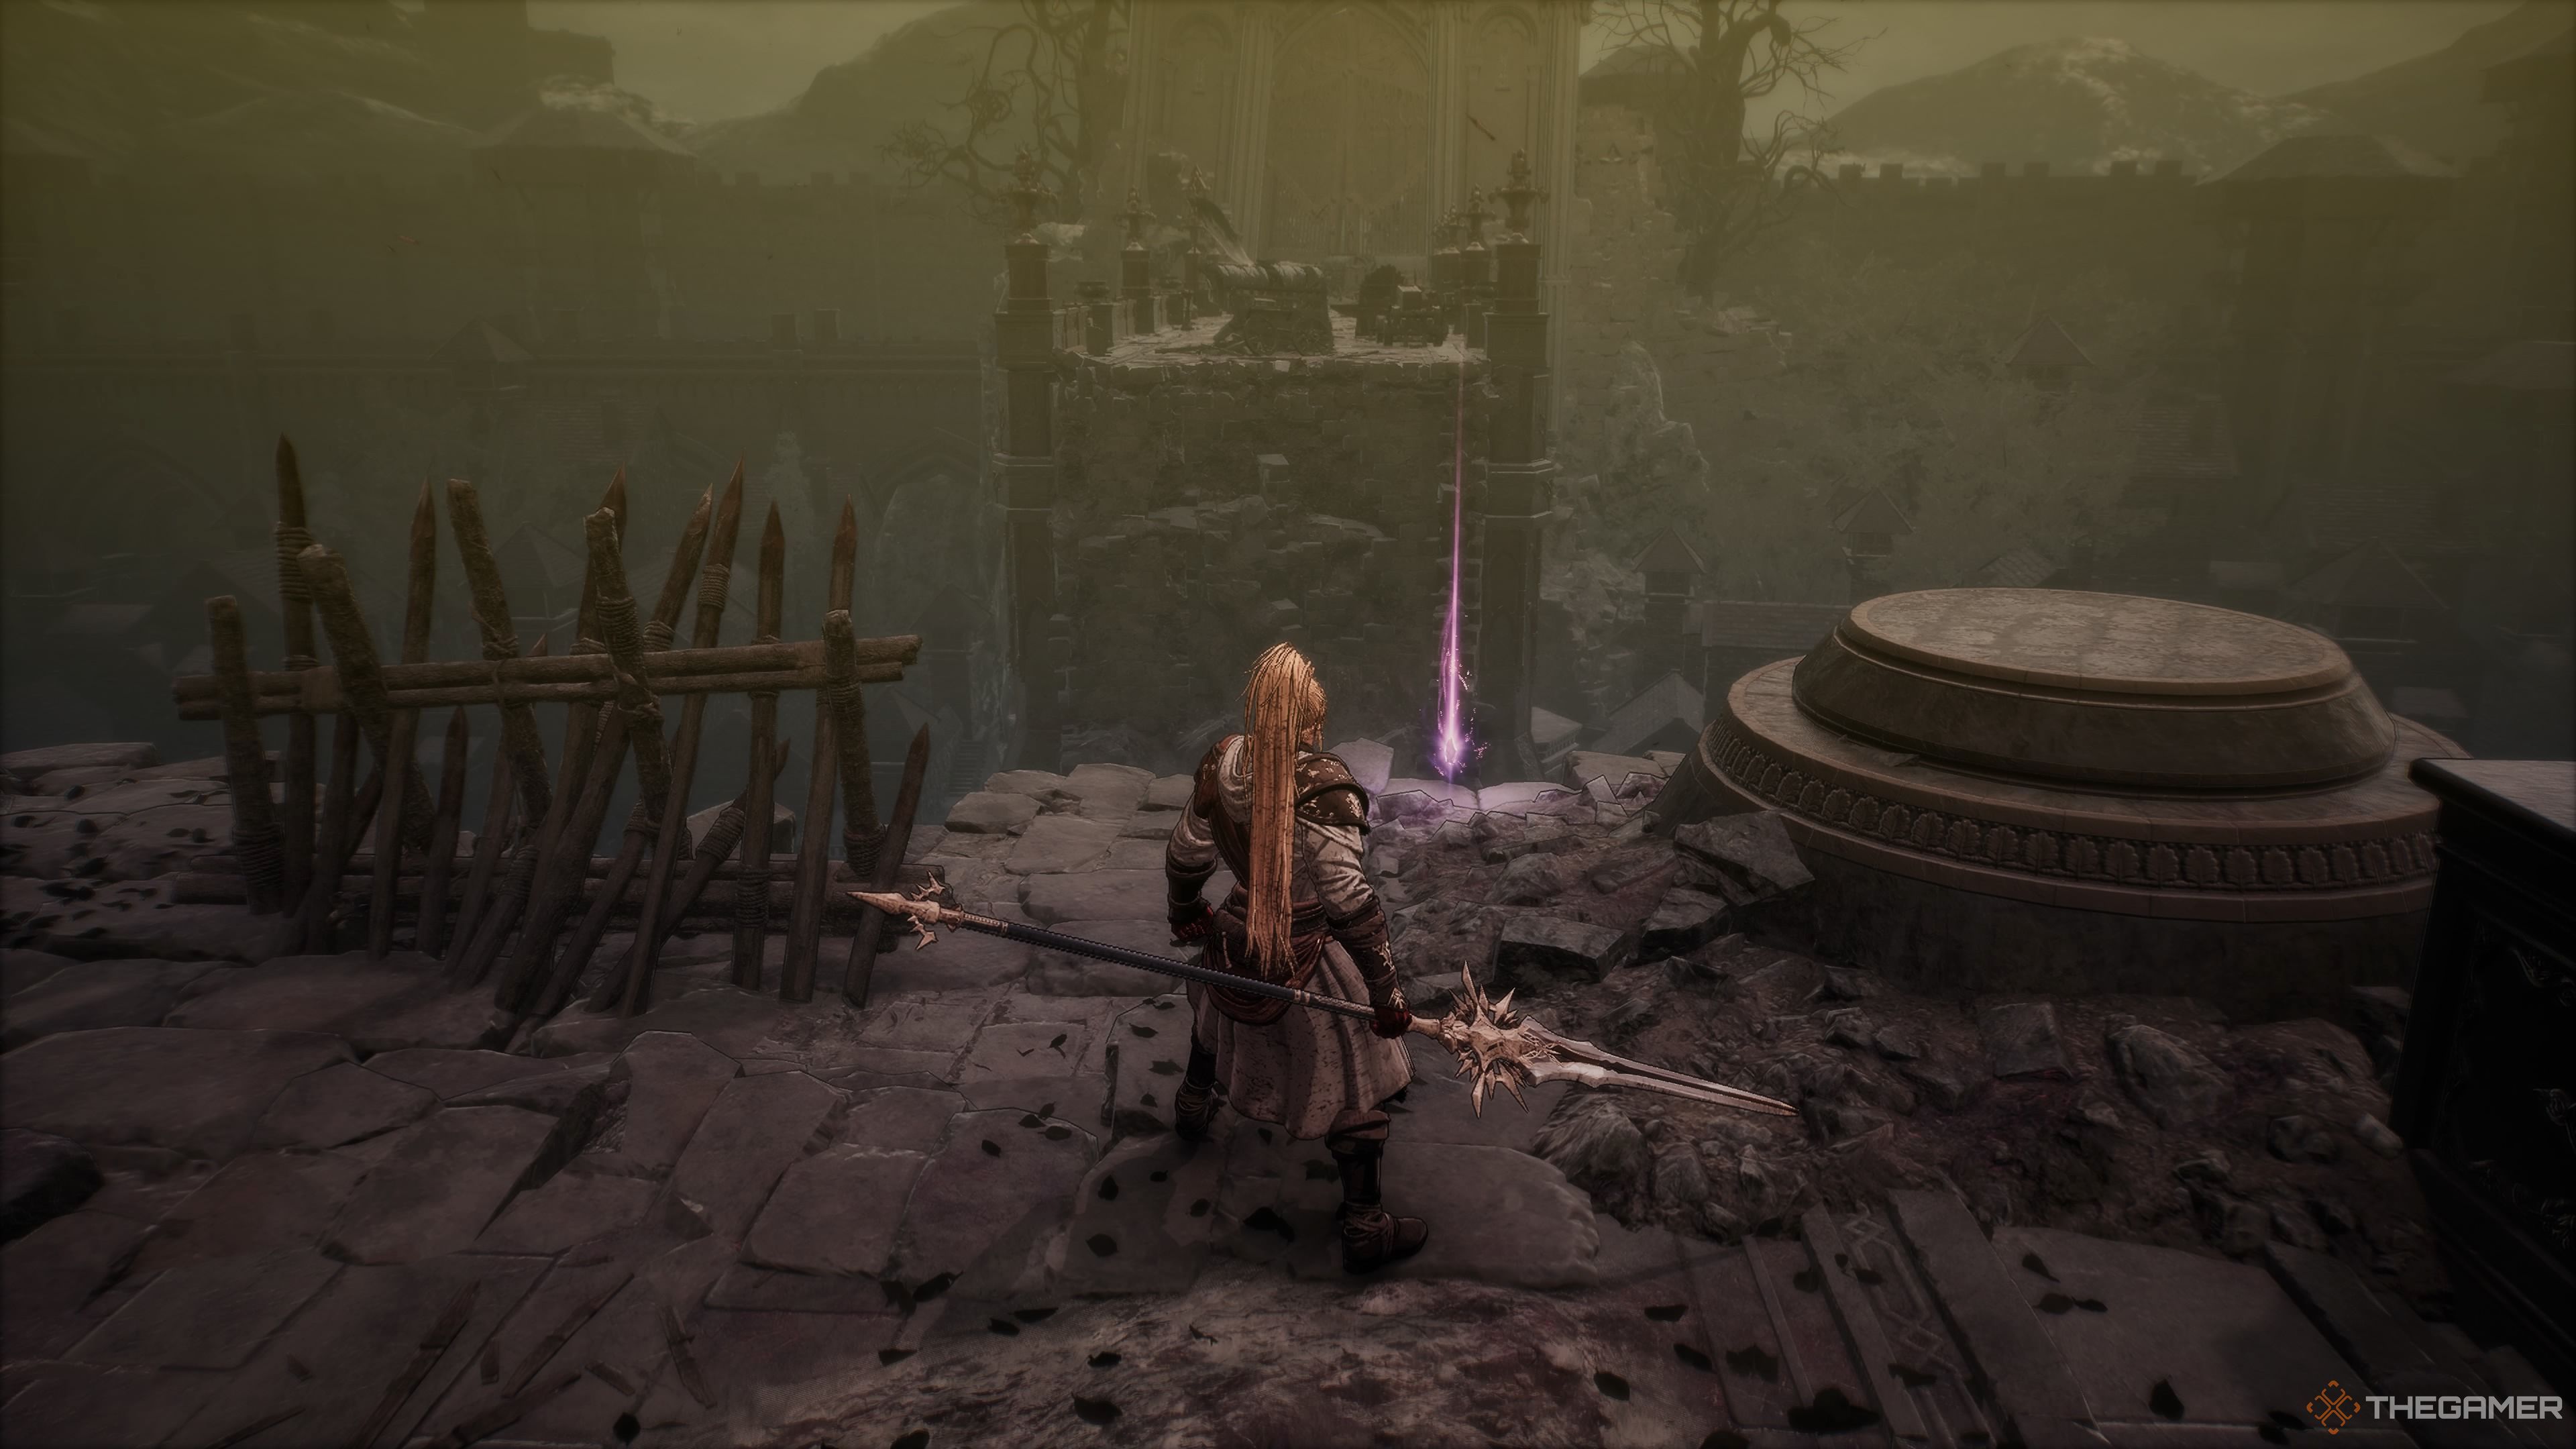
The First Soulstone
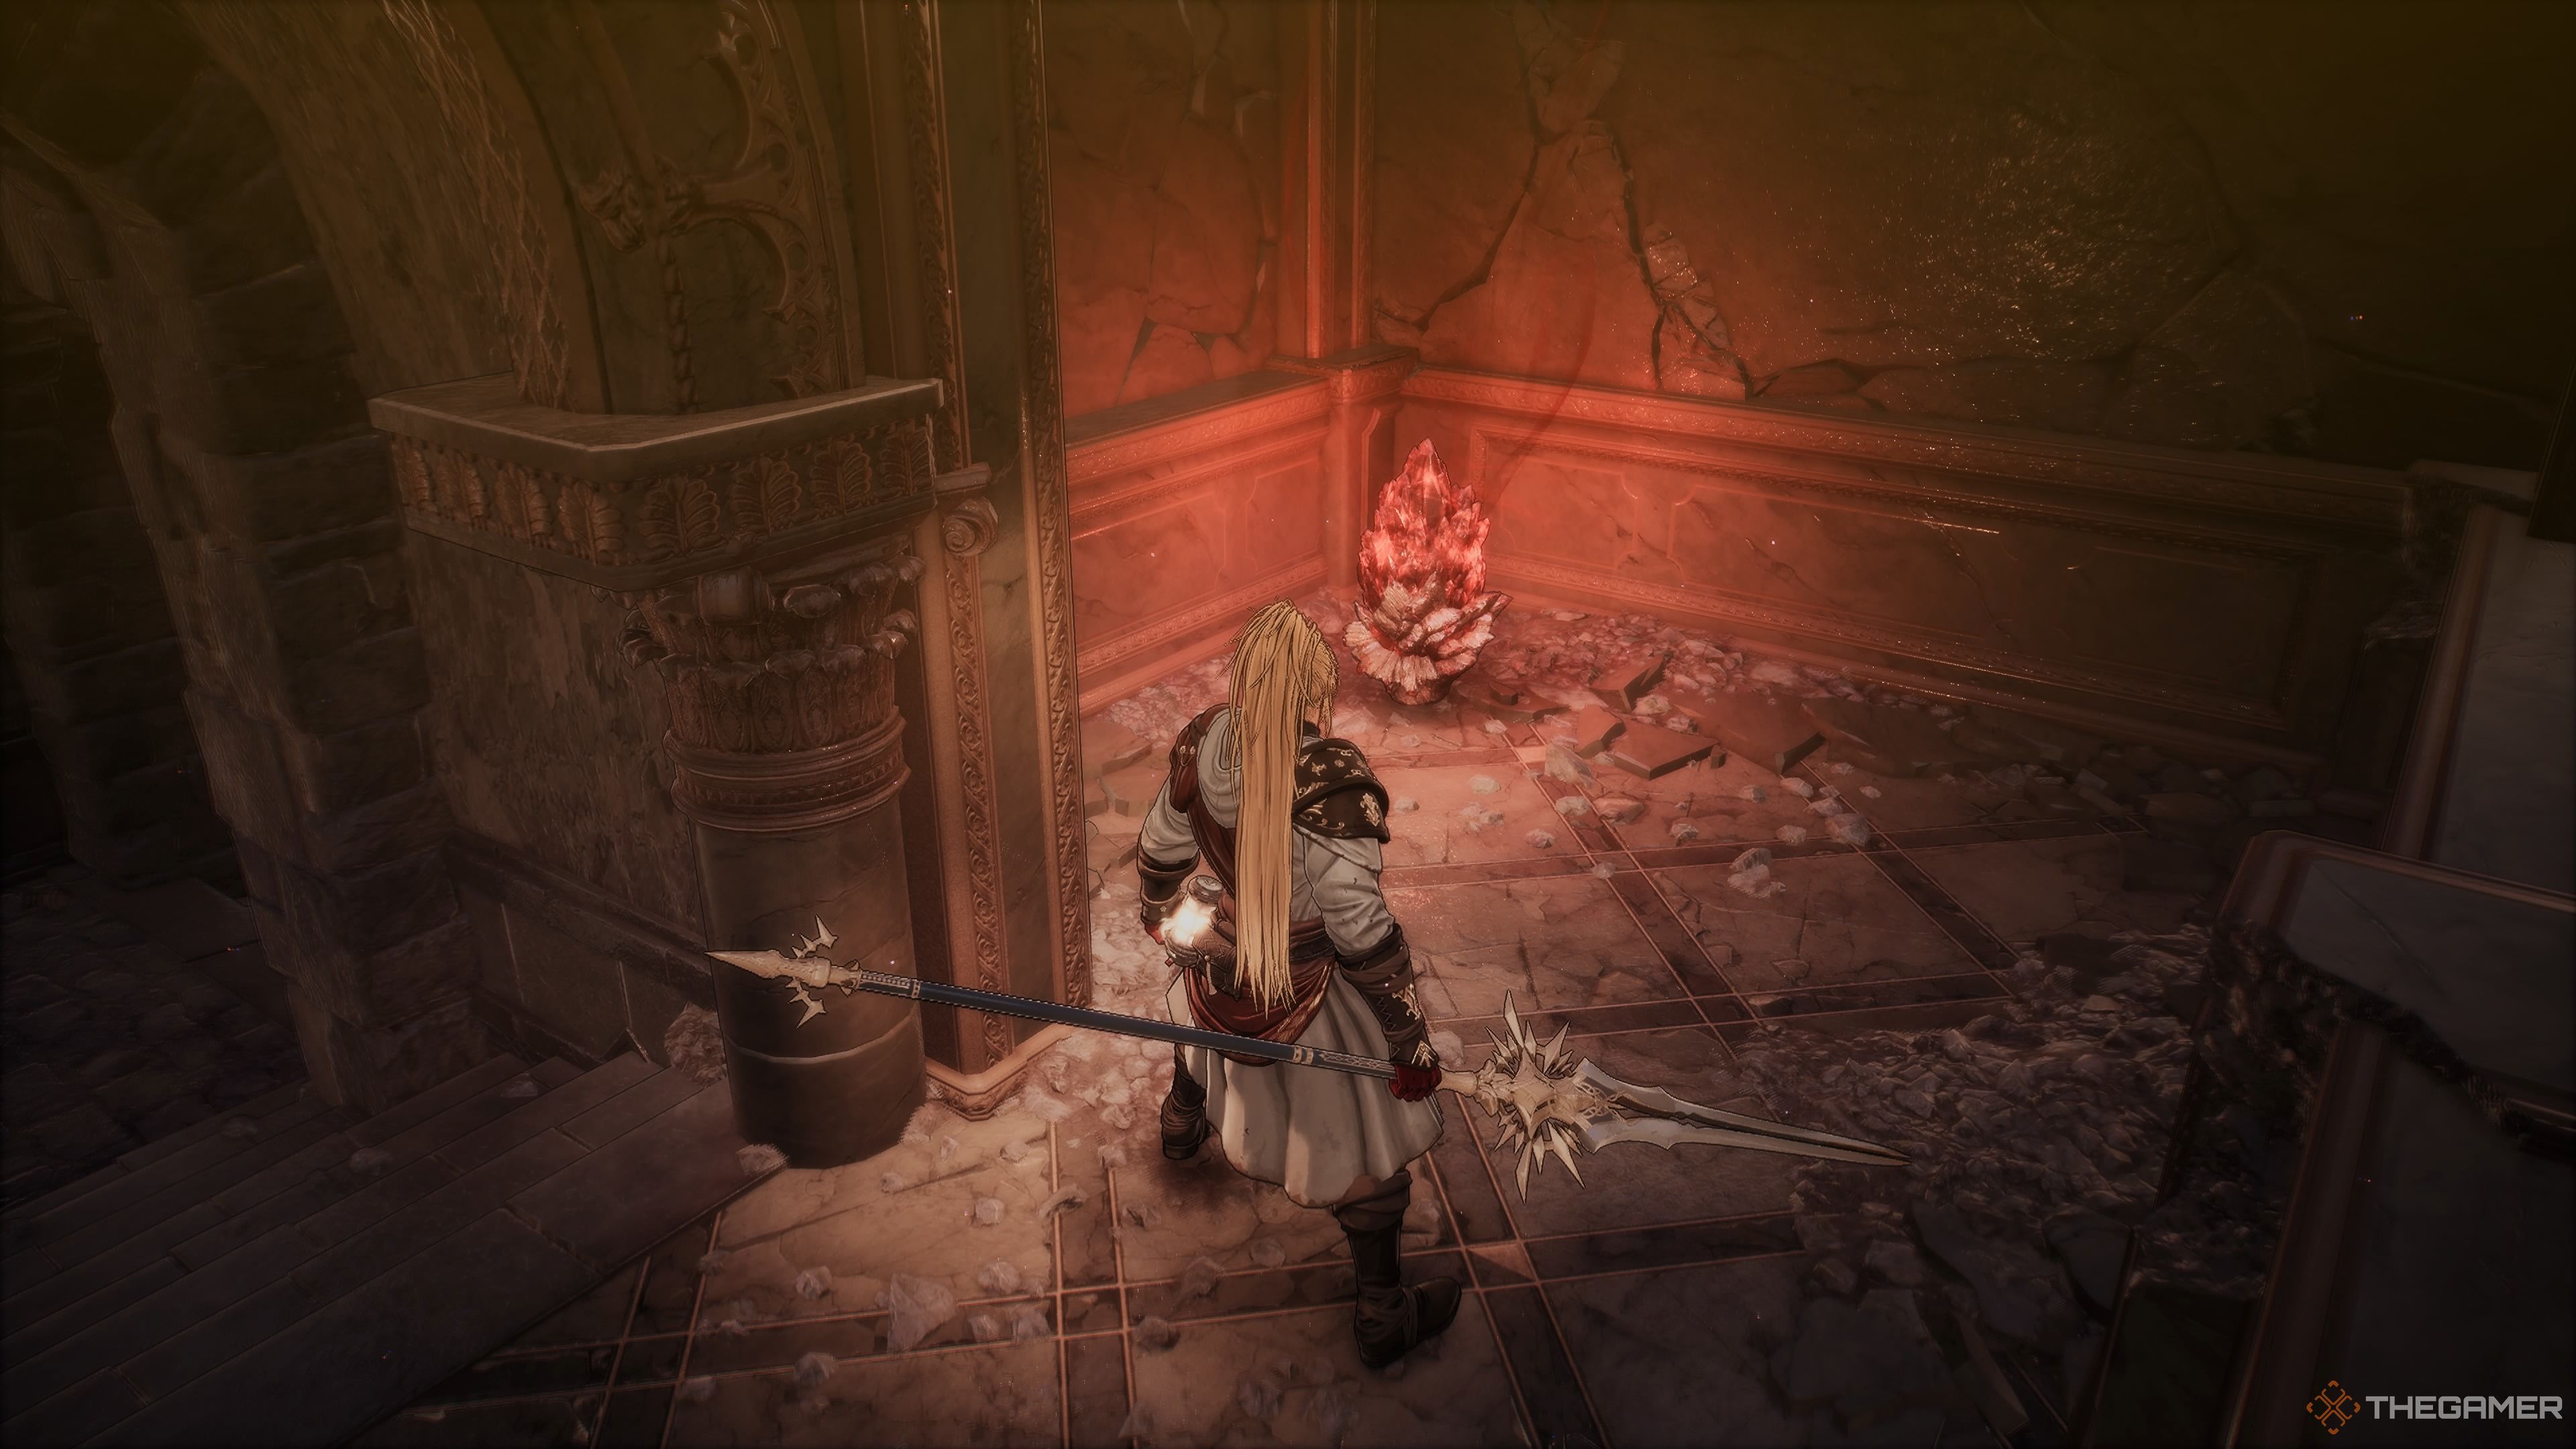
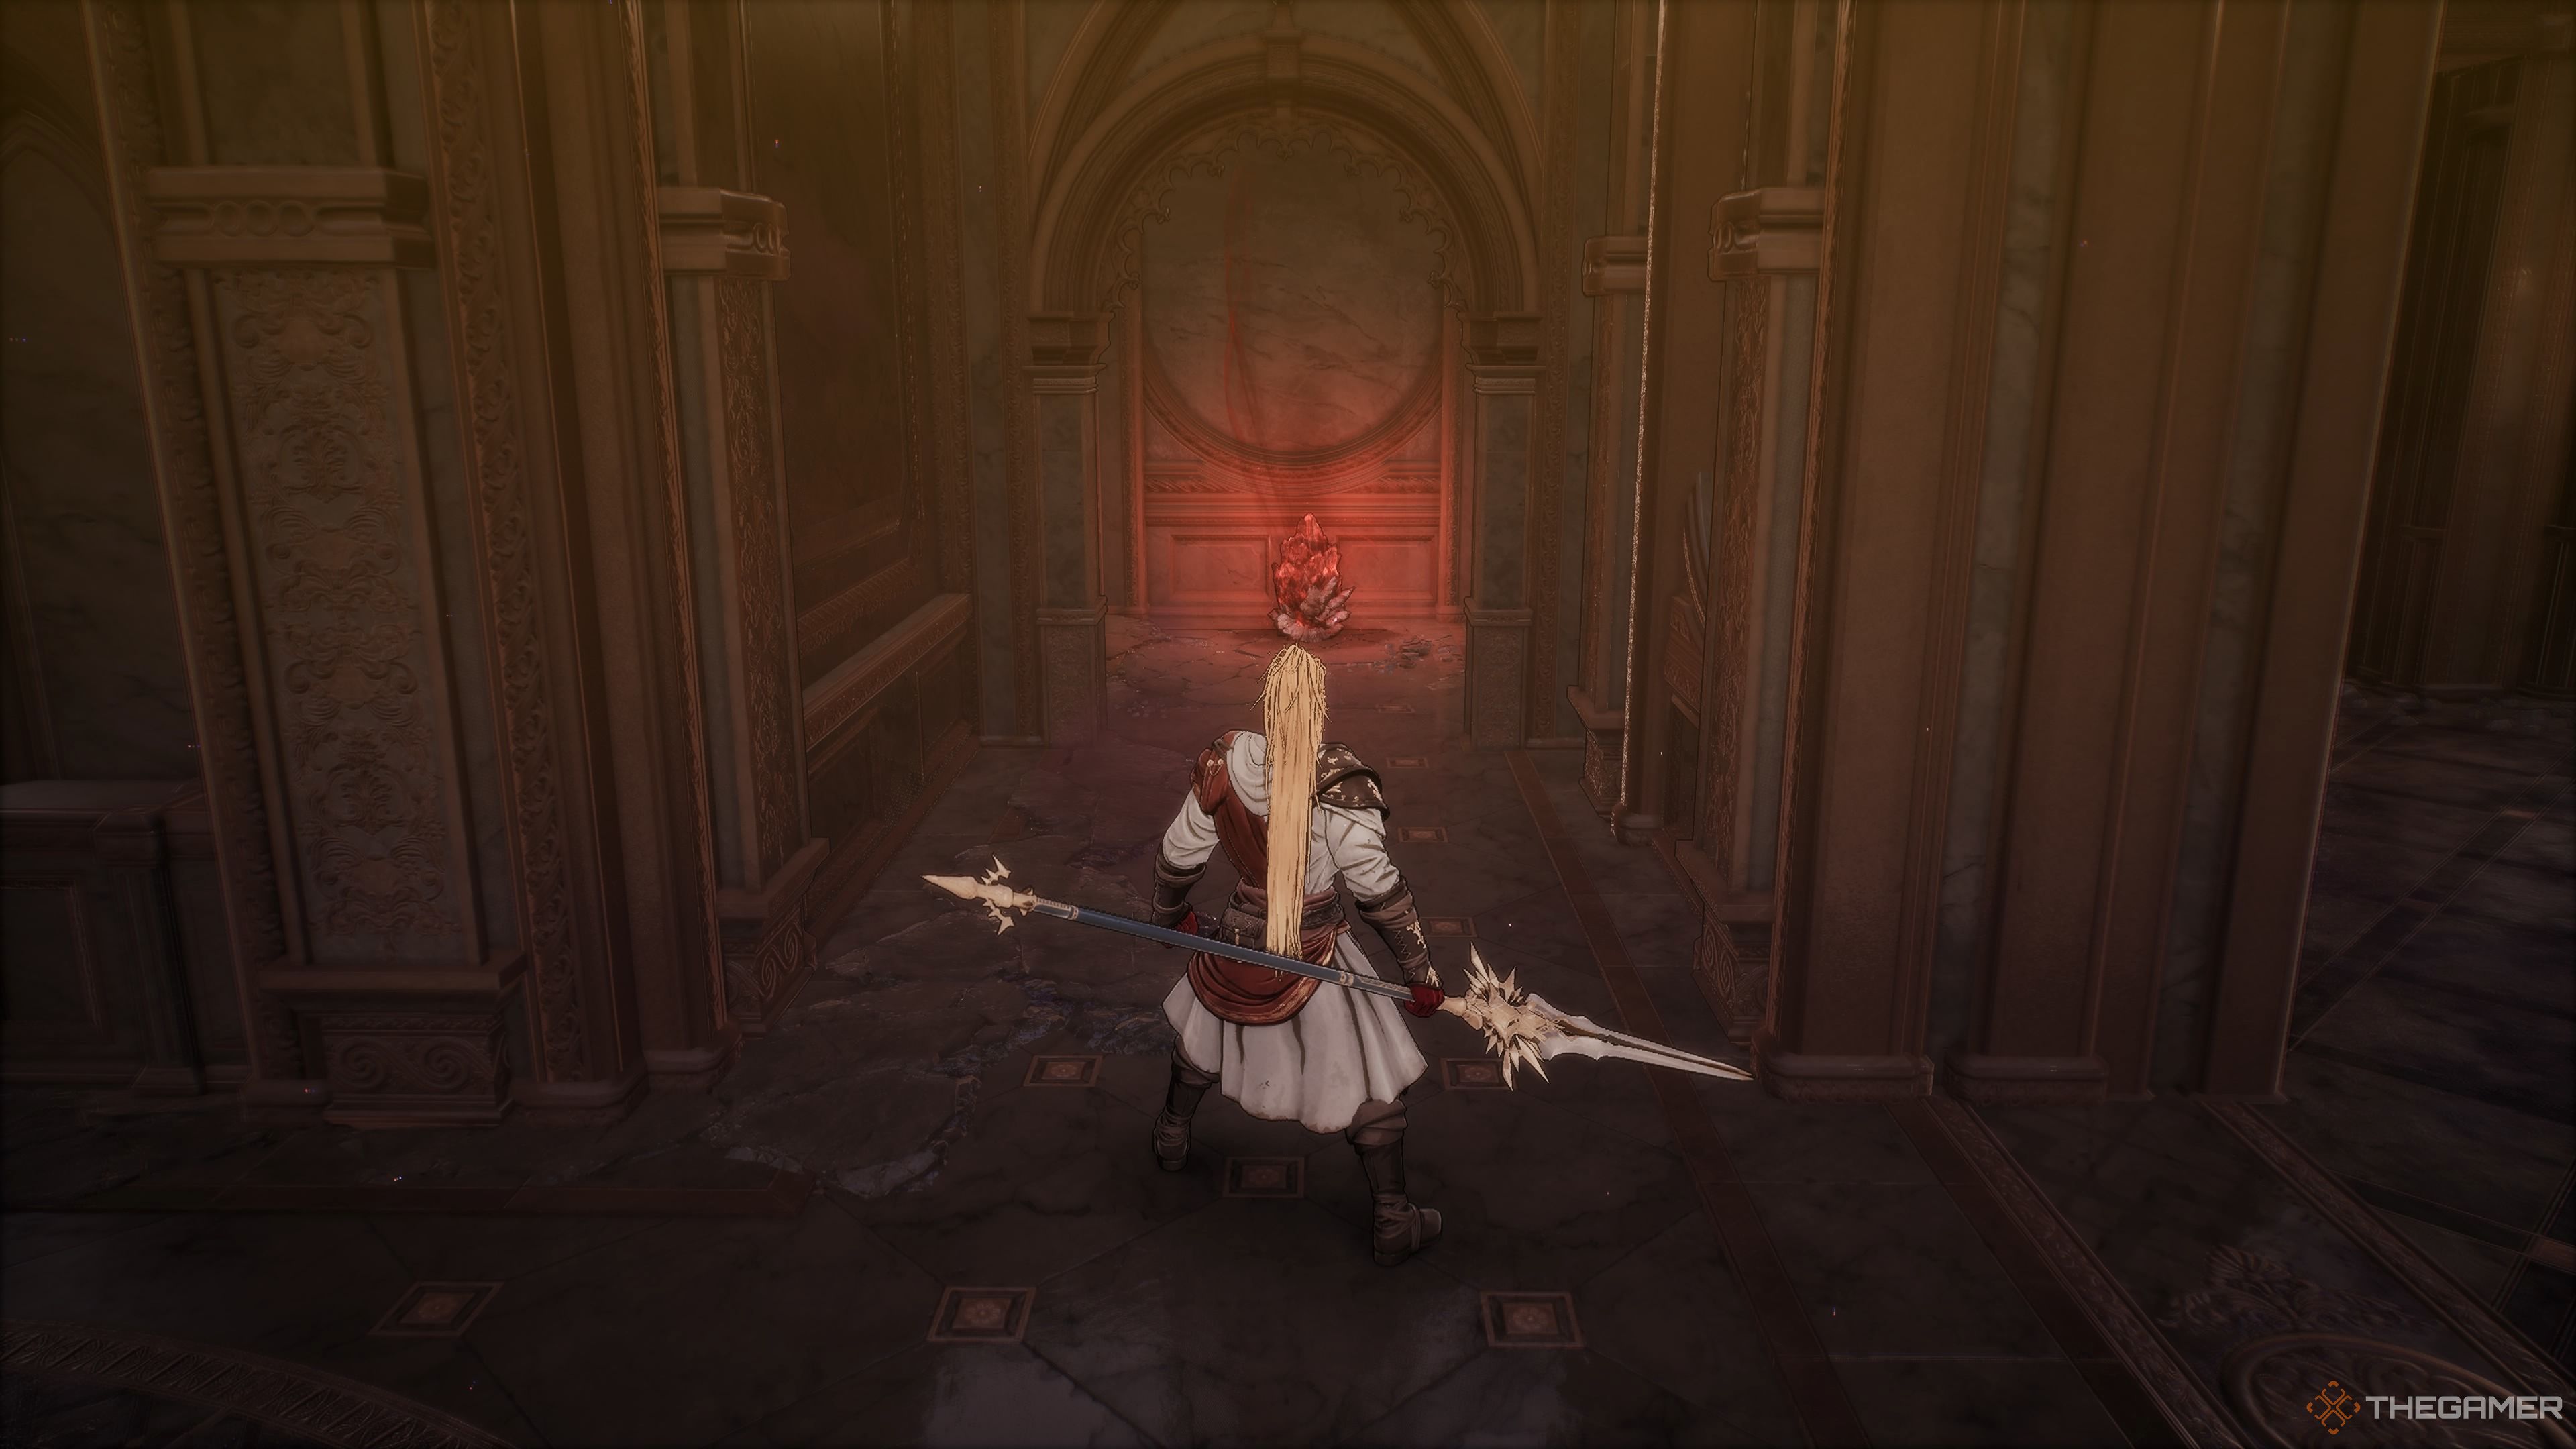
At the ground floor, you’ll find a staircase descending further. To your right, there’s a ladder. Instead of going that way, veer left and ascend another set of stairs. You’ll encounter a Soulstone (1/4). Afterward, make your way back down and scale the ladder.
In the main area, go down some stairs. To your right is a ladder. Disregard it for now and take the steps to your left instead. You’ll find the Soulstone (1/4) up there. Later, return to where you were and ascend the ladder.
1. Starting from the ladder, move ahead and leap over the gap on your left side. Battle against three Corruptors. Grab the Unstable Soul Tearstone that you find, then exit through the hole in the wall to return to the cathedral. Climb up the ladder again. Now, step out via the hole in the wall, and a furious Yoma Pursuer will attack as you traverse the rafters. There are two more up here; defeat them with javelins if you have enough spirit points. You’ll come across a Fire Spirit’s Fuel, and a treasure chest containing a Spear of Glory, Radiant Guardian’s Helmet, Cleric’s Ring, and a Fire Enhancer inside.
2. Starting from the ladder, advance forward and clear the gap on your left side. Fight three Corruptors. Retrieve the Unstable Soul Tearstone, then exit through the hole in the wall to get back into the cathedral, climb up the ladder again. Now, step out via the hole in the wall, and a Yoma Pursuer in a frenzy will attack as you cross the rafters. There are two more up here; eliminate them with javelins if you have enough spirit points. You’ll find Fire Spirit’s Fuel, and a treasure chest holding a Spear of Glory, Radiant Guardian’s Helmet, Cleric’s Ring, and a Fire Enhancer inside.
3. Proceeding from the ladder, go ahead and jump over the gap to your left side. Battle three Corruptors. Grab the Unstable Soul Tearstone, then leave through the wall hole and return to the cathedral, ascend the ladder again. Now, step out via the wall hole, and you’ll encounter a ferocious Yoma Pursuer while traversing the rafters. There are two more up here; eliminate them with javelins if you have enough spirit points. You will discover Fire Spirit’s Fuel, and a treasure chest containing a Spear of Glory, Radiant Guardian’s Helmet, Cleric’s Ring, and a Fire Enhancer inside.
4. Commencing from the ladder, make your way forward and leap across the gap on your left side. Defeat three Corruptors. Secure the Unstable Soul Tearstone, then depart through the hole in the wall to return to the cathedral, climb up the ladder again. Now, step out via the hole in the wall, and you’ll meet a Yoma Pursuer in a rage as you cross the rafters. There are two more up here; eliminate them with javelins if you have enough spirit points. You will come across Fire Spirit’s Fuel, and a treasure chest holding a Spear of Glory, Radiant Guardian’s Helmet, Cleric’s Ring, and a Fire Enhancer inside.
The Second Soulstone
Pass through the hole in the wall, then traverse the ledge supported by floating steps. Be quick about it because the ground could give way beneath you. Jump down to the balcony below. Push the button to start the elevator and leave via the entrance you’ve recently entered. Walk along the corridor, and you’ll encounter the second Soulstone (2/4). Climb the stairs and you can pick up an Unstable Tearstone of the Soul.
This version maintains the original meaning while making it more conversational and easy to follow for the reader.
Head back to the button you were previously on and position yourself there. Then, ascend the stairs and explore your surroundings. You’ll eventually end up in a spacious room devoid of foes. Interestingly, Daphrona is also present… Prior to conversing with her, engage with the Tainted Lounge Blade Nexus.
Corrupted Lounge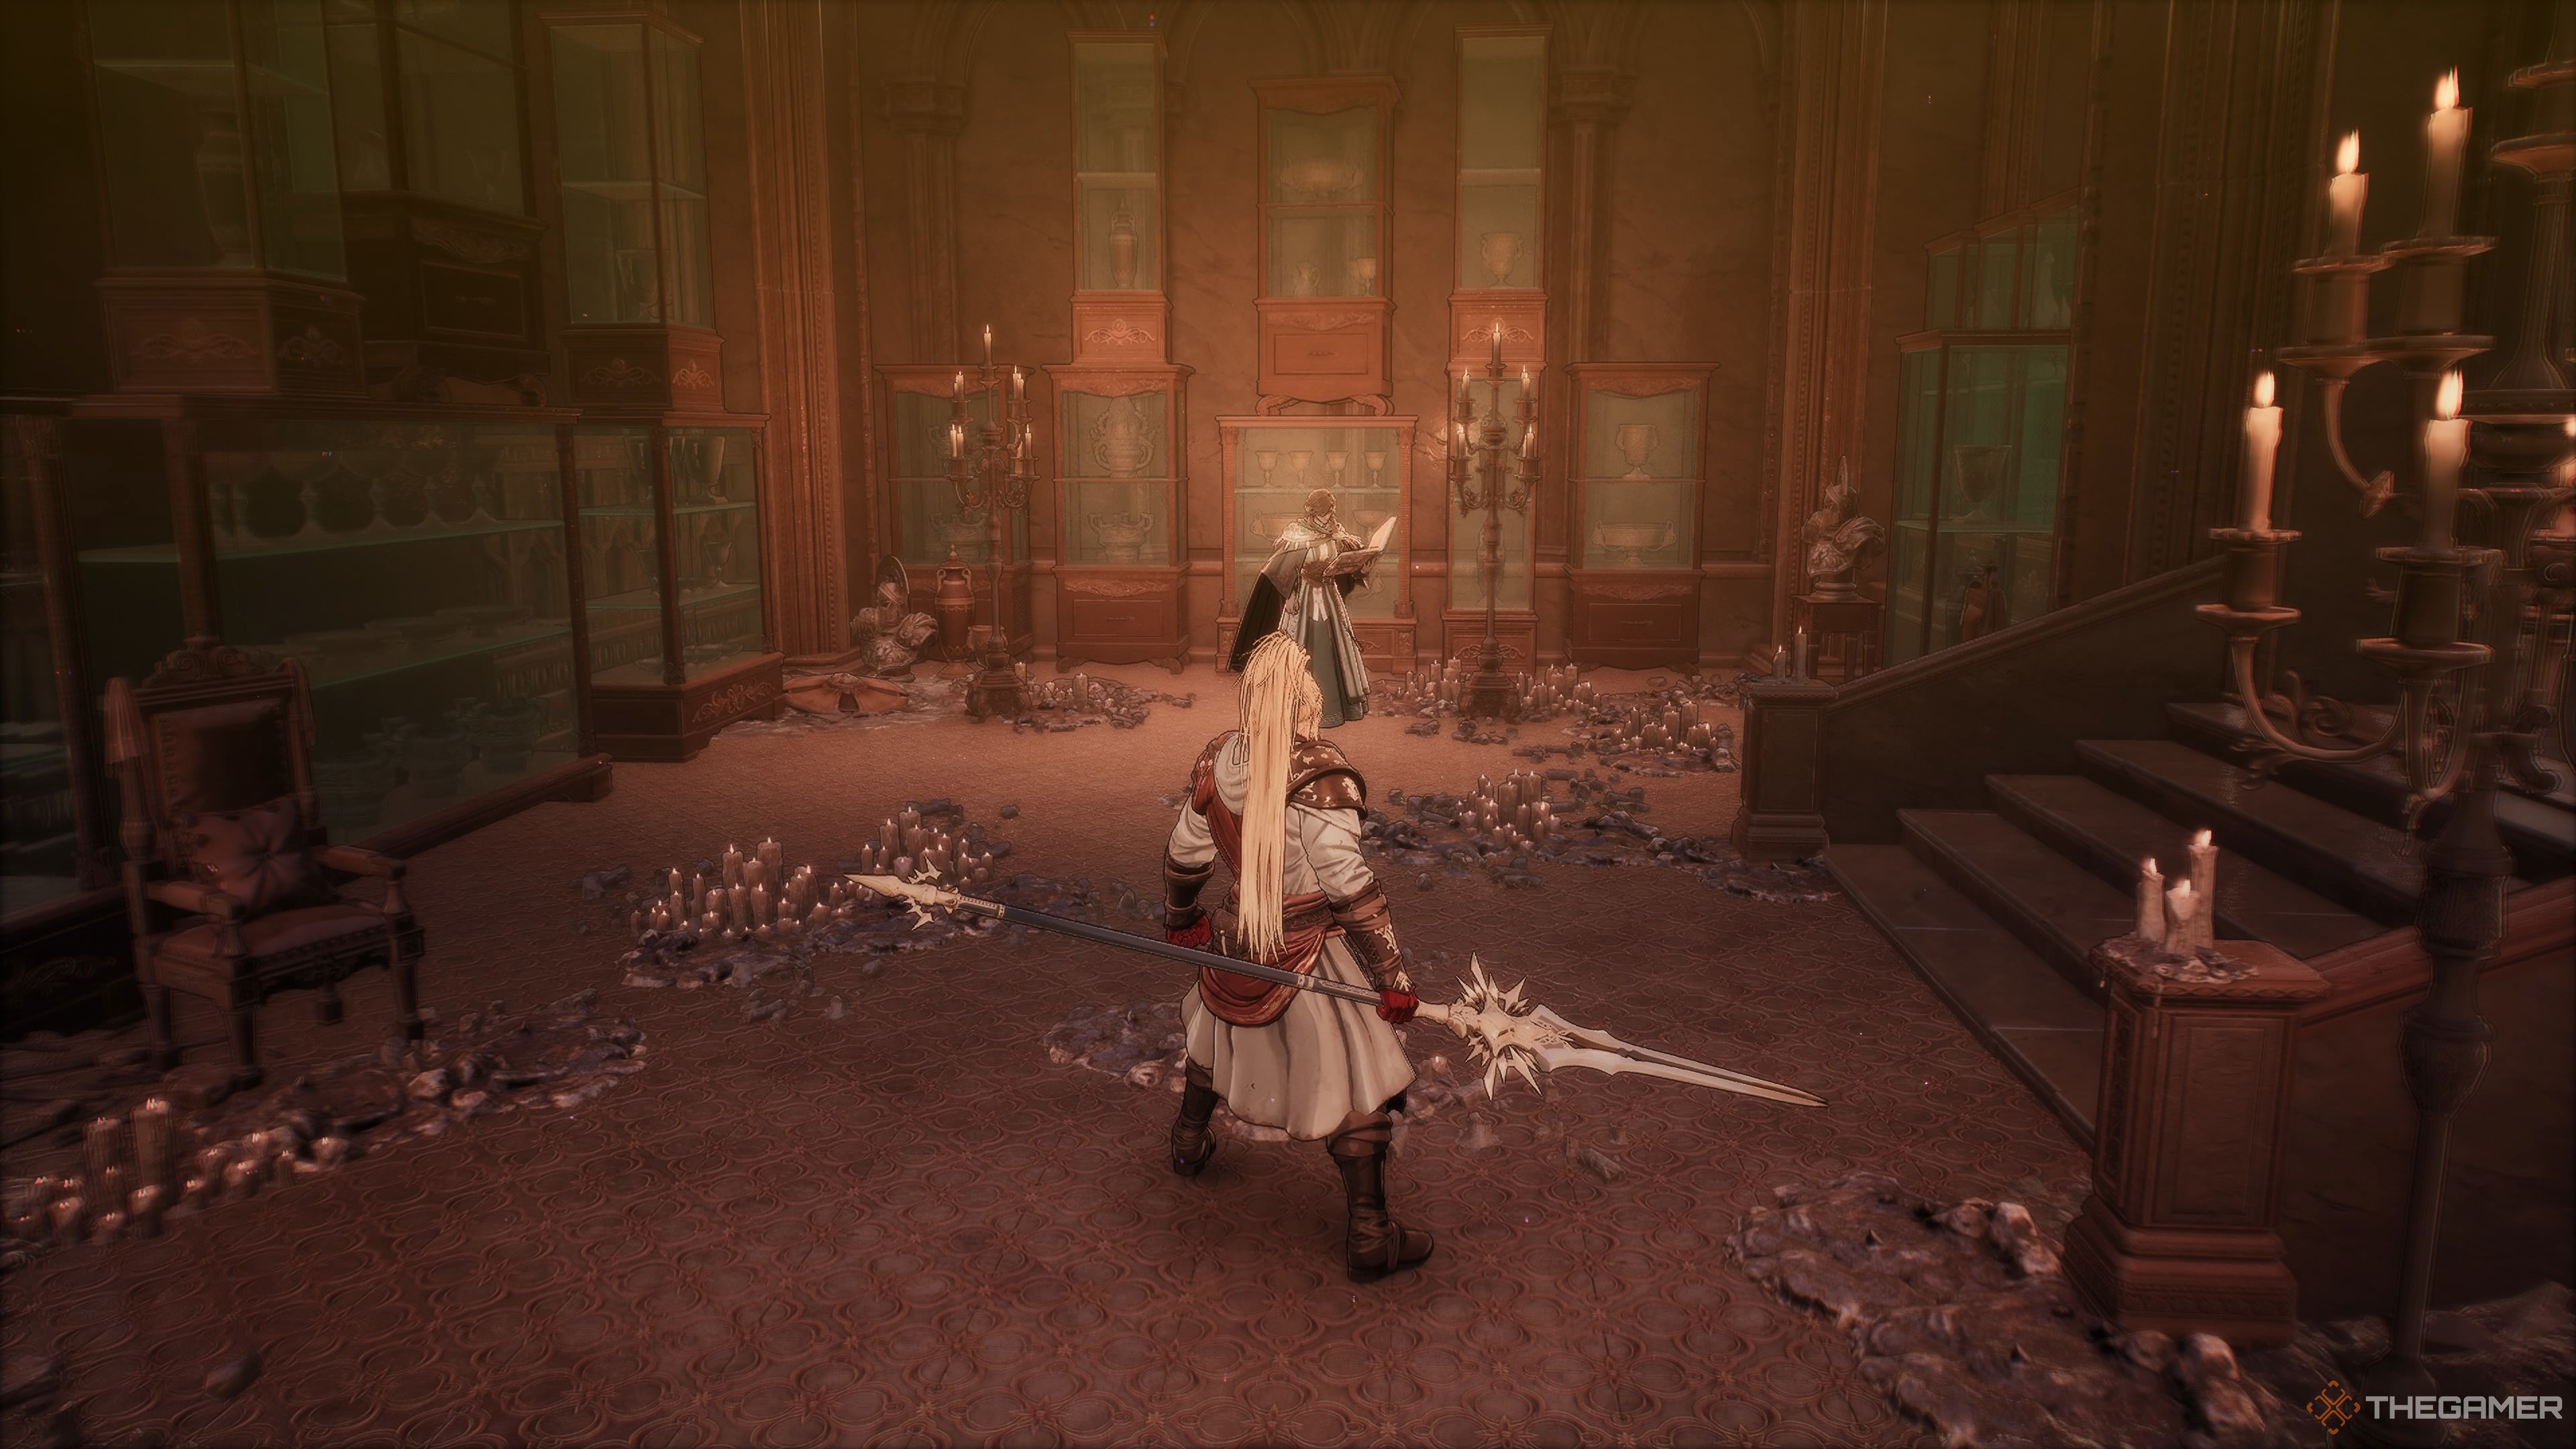
| Enemies | Beasts of Madness, Elite Corrupted High Cleric, Corruptors, Yoma Pursuer, Yoma Jester, Yoma Shaman, Devotee |
|---|---|
| Notable Items | Unstable Soul Tearstone, |
| Soulstones? | 1 |
| Jarling? | No. |
Previously mentioned, this place harbors no adversaries or secrets. Turning left from where you entered the lounge will lead you to a secluded room containing a Tearstone of an Unstable Soul. Following that discovery, your only task here is to converse with Daphrona.
It’s advisable not to speak with Daphrona until you are confident you have fulfilled all necessary conditions to achieve the optimal outcome, should that matter to you.
Speaking To Daphrona
Based on the requirements you’ve met, you can choose your outcome right here. Here are your choices…
- I will have my revenge. – This will get you the most basic ending. When you fight Ozma he’ll have two forms.
- I want to speak with him. – This will get you The Chain ending. When you fight Ozma he’ll have three forms.
- I must know the truth. – This will earn you the best ending. When you fight Ozma he’ll have three forms.
As a gamer, I’m faced with a choice – pick my preferred weapon and then head towards the central staircase when I’m ready to advance. Once I ascend, I’ll find myself in a library setting. Scattered around here are five Shamans, four enraged Pursuers, and three Jesters. Let the game begin!
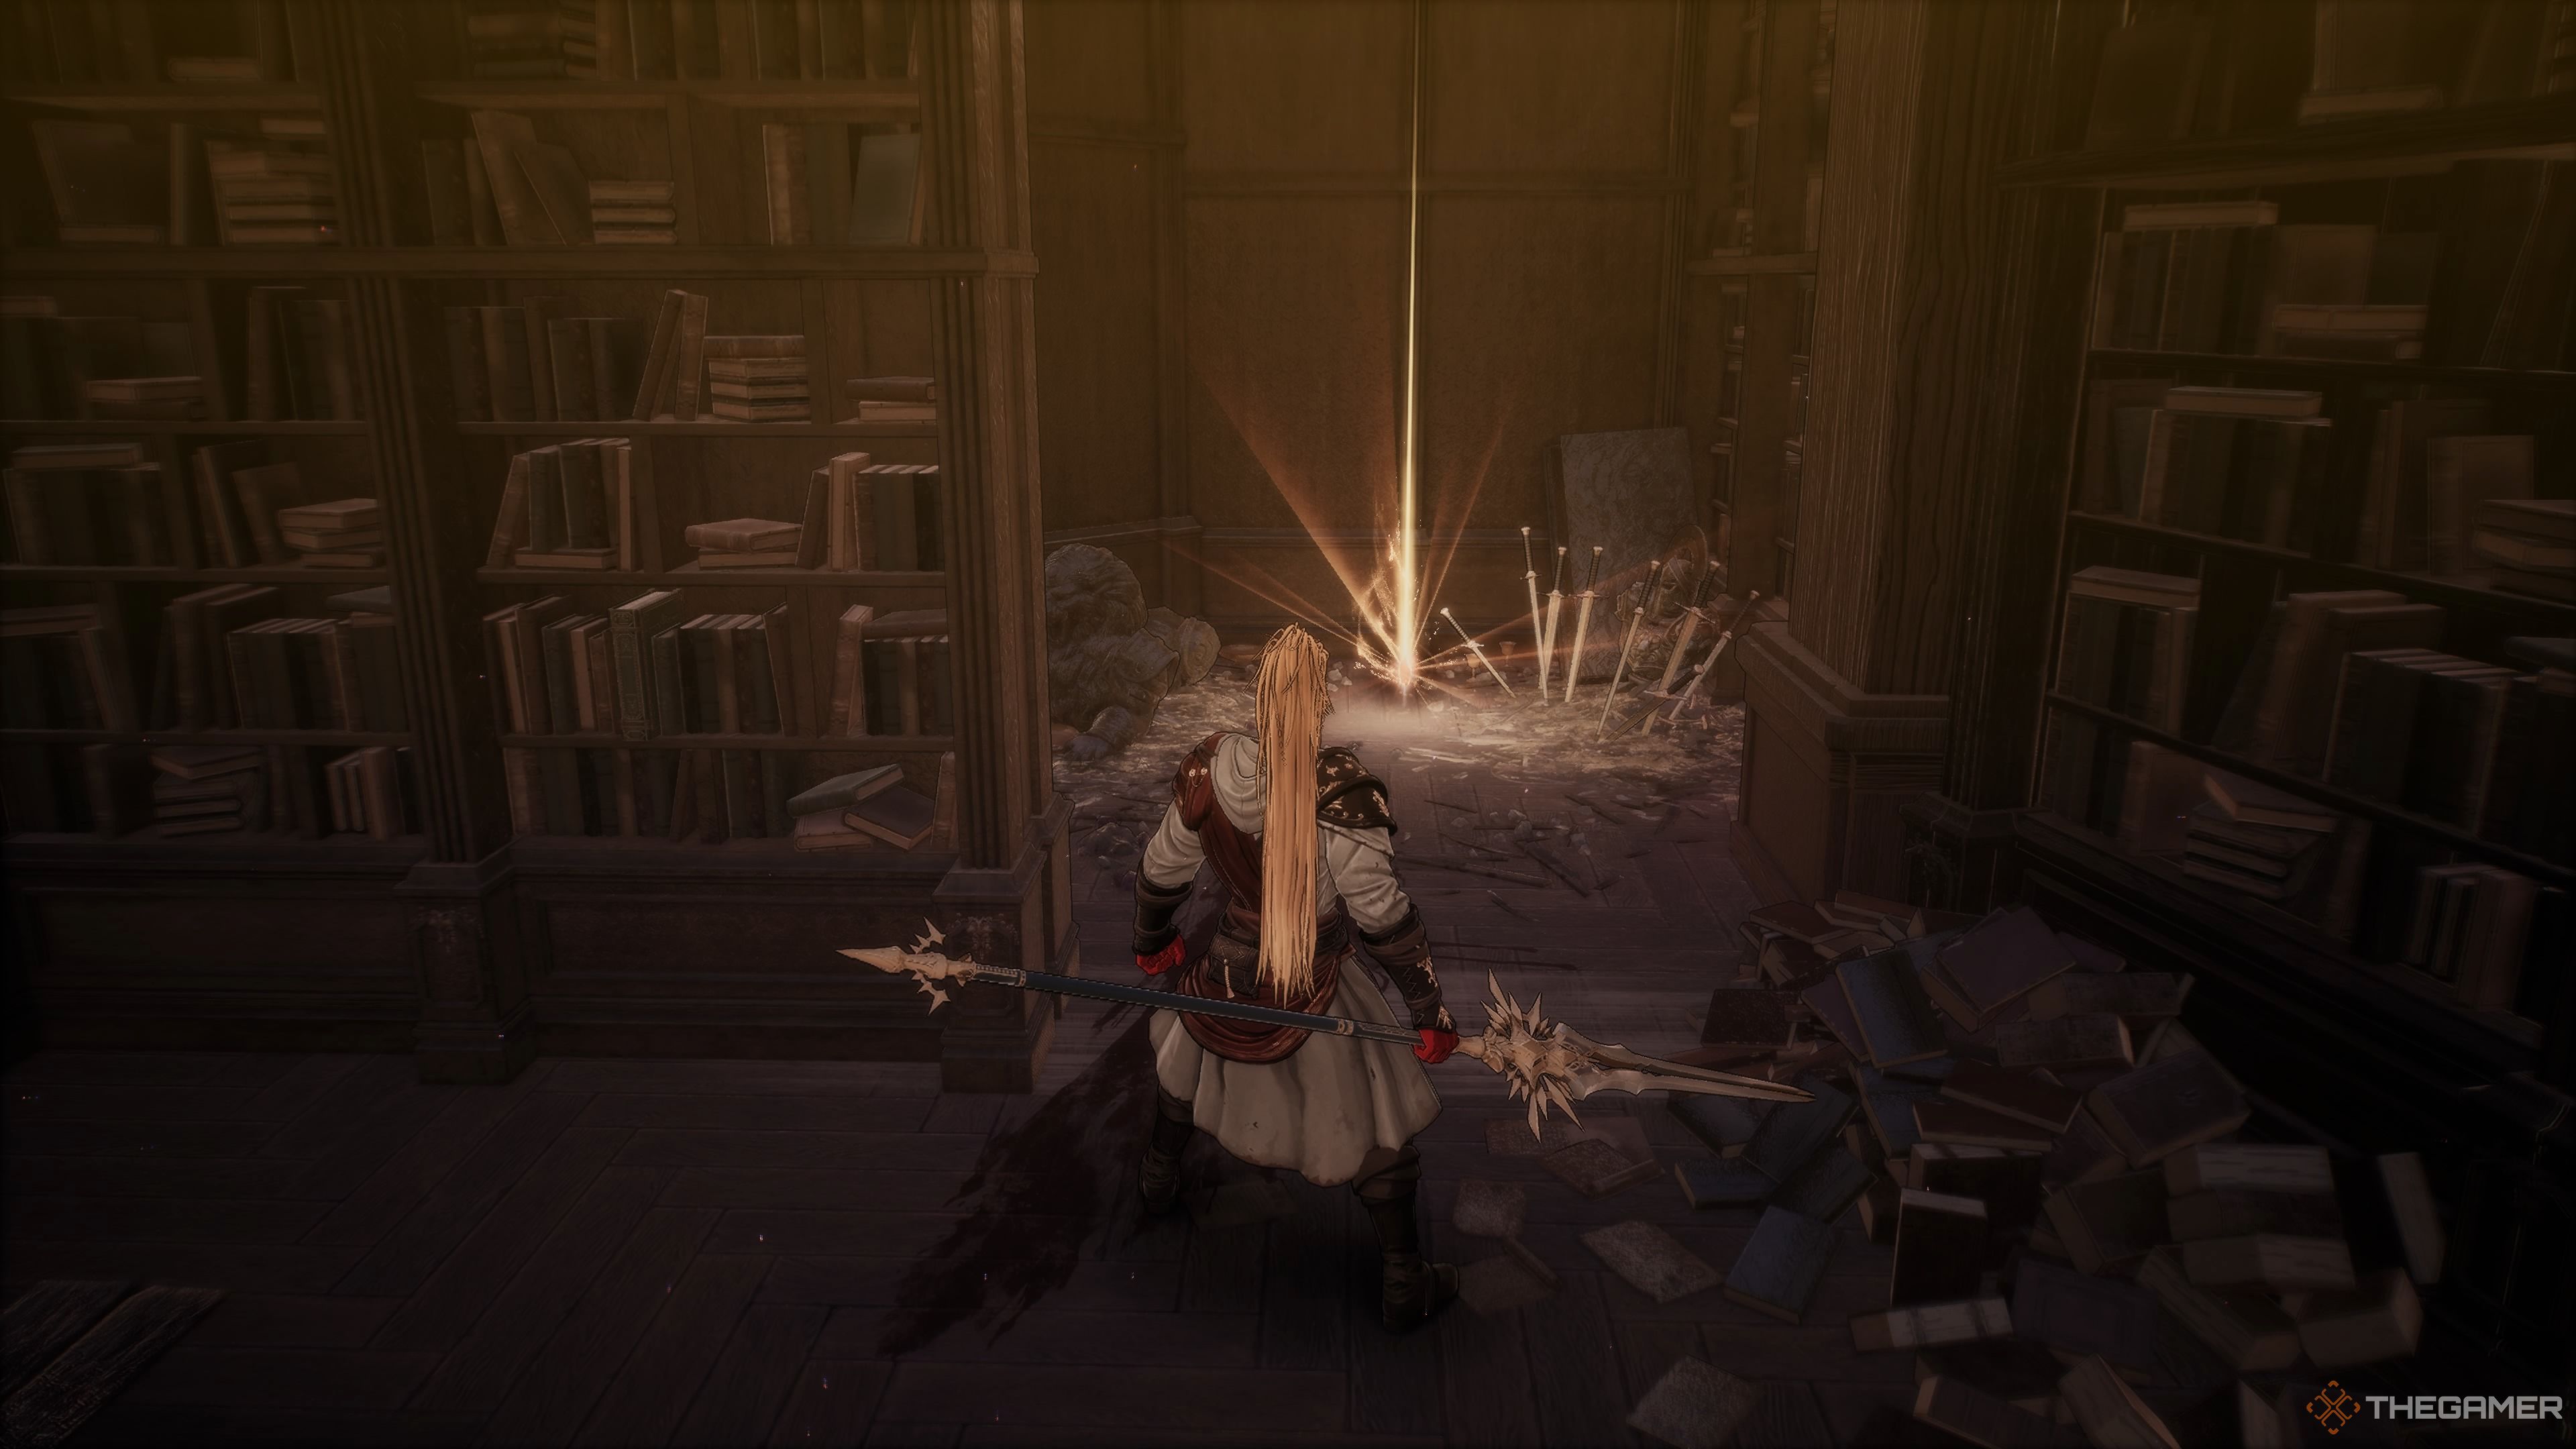
Investigate the hidden alcove over yonder, where you’ll stumble upon an intriguing tome that unlocks a concealed chamber housing two ancient Wooyo fossils. After dealing with a couple of Shamans and Jesters on your left and heading towards the right of the entrance, you’ll encounter another group in the back corner.
Move forward and ascend a mobile staircase into the next location. To your right, you’ll spot a Shaman and a Pursuer. Eliminate them to discover a Large Spirit Ore positioned in front of a bookshelf. Afterward, make your escape through the left side of the room, following the bloodstains on the ground. You’ll encounter another Pursuer tearing into a corpse on your left. Prior to approaching them stealthily, dispatch the Shaman hidden behind a bookshelf on your right. Once they’re down, collect the Unstable Soul Tearstone that’s nearby.
The Third Soulstone
On the level above, you’ll find yourself facing off against two Shamans and two Pursuers. Clear them away and continue up the next flight of stairs. When you reach the following level, turn right before reaching the corner. Look to your left where a railing is damaged. There, you’ll spot the third Soulstone (3/3) resting on a pillar. Be cautious, as there’s a Twisted Mage lurking to the left of the doorway, waiting for an opportunity to attack.
As a gamer, I’m about to step into a place with a winding staircase that spirals downwards. Choosing the descent will lead me to discover seven Spirit Orbs hidden below. Climbing up this staircase instead will present a challenge: defeating a Shaman. Once I’ve taken him out, I can snatch the two Inner Essences tucked away in a circular chamber within.
Step onto the balcony, eliminate the Chaser, then proceed along the winding staircase and continue down the corridor. Be cautious, as a Follower might be concealed above the entranceway. Unlock the chest, and you’ll acquire a “Golden Dual Wield,” “Crusader’s Garment Top,” “Cleric’s Ring,” and “Fire Spirit’s Fuel.” Exit via the corner of the room to engage the “Imperial Palace Garden Blade Nexus.
Imperial Palace Garden
| Enemies | Elite Twisted Mage, Yoma Pursuer, Yoma Shaman, Polluted Husk, Frenzied Husk, Failed Creation, Beast of Madness, Soulbound Knight |
|---|---|
| Notable Items | 2x Unstable Soul Tearstone, 2x Tears of Farewell, 2x Augments of Wisdom, 3x Blood-soaked Stoneshard, 3x Berserk Dragon Horns, 3x Princess’s Mirrors, Large Spirit Ore, 3x Northern Warrior’s Blade, |
| Soulstones? | 1 |
| Jarling? | Yes! |
Keep progressing along the path and make your first left turn. Push open the entrances, but proceed into the cathedral with care. Be prepared to encounter two skilled Twisted Mages lying in wait. You’ll find three Tears of Farewell placed near the altar. Leave through the door situated to the altar’s left, and you’ll walk along a path towards a chest. Open it up to receive a Devourer’s Helmet, Devourer’s Pauldrons, Devourer’s Wristguards, Devourer’s Leggings, Devourer’s Shoes, and not one but two Augments of Wisdom.
Instead, move towards the location where you initially came in from, then turn around. Keep walking forward and notice that the doors are secured. To continue, make a right turn and prepare for a confrontation with two agitated pursuers. After that, ascend the staircase, then veer to your right.
The Jarling
In the vicinity of the rear wall, next to an overturned exhibit, you’ll come across the last Jarling. Proceed into the adjacent room, and you’ll discover a Water Spirit Fuel sitting in front of a bed. Take a leap down the nearby hole. Inside the connecting room, you will encounter two Pursuers and a Shaman.
This version maintains the original instructions while making them more conversational and easier to follow.
Descend the staircase, which will lead you into a grimy, chaotic cellar inhabited by Polluted and Agitated Skeletons. Eliminate these skeletons first, then engage with the Faulty Creation. In the corner at the back of the room, you’ll discover three Blood-Stained Stoneshards. Additionally, a hidden Unstable Soul Tearstone is concealed behind a shelf stacked with barrels. Later, proceed towards the massive gap in the wall, but avoid exiting through it immediately. Instead, turn left and climb up the stairs. Here you’ll find two Shamans and an explosive chest. Pillage the debris to obtain a Spear of Forgotten Memories and 20 Keen Blades. Jump down onto the debris, then continue forward.
The Fourth Soulstone
Just before stepping into a room with a handle, glance to your left. Be aware that wall appears solid, but it’s just an optical illusion. Pass through it to collect the last Soulstone (4/4). Open the doors to find a shortcut. Descend the stairs, step on the button, then ascend again, and you can grab the three Berserk Dragon Horns.
Descend the staircase and you’ll encounter two Creatures of Insanity. One will be busy, while the other will be patrolling. Await for the patrolling Creature of Insanity to move a sufficient distance before attacking it in an ambush, then neutralize the other one. In the rear section, you’ll discover three Mirrors belonging to Princesses positioned in front of a statue. Going down the right staircase will lead you to a Large Spirit Ore. The left staircase will guide you to a bridge. As soon as you set foot on that bridge, another Creature of Insanity will charge at you.
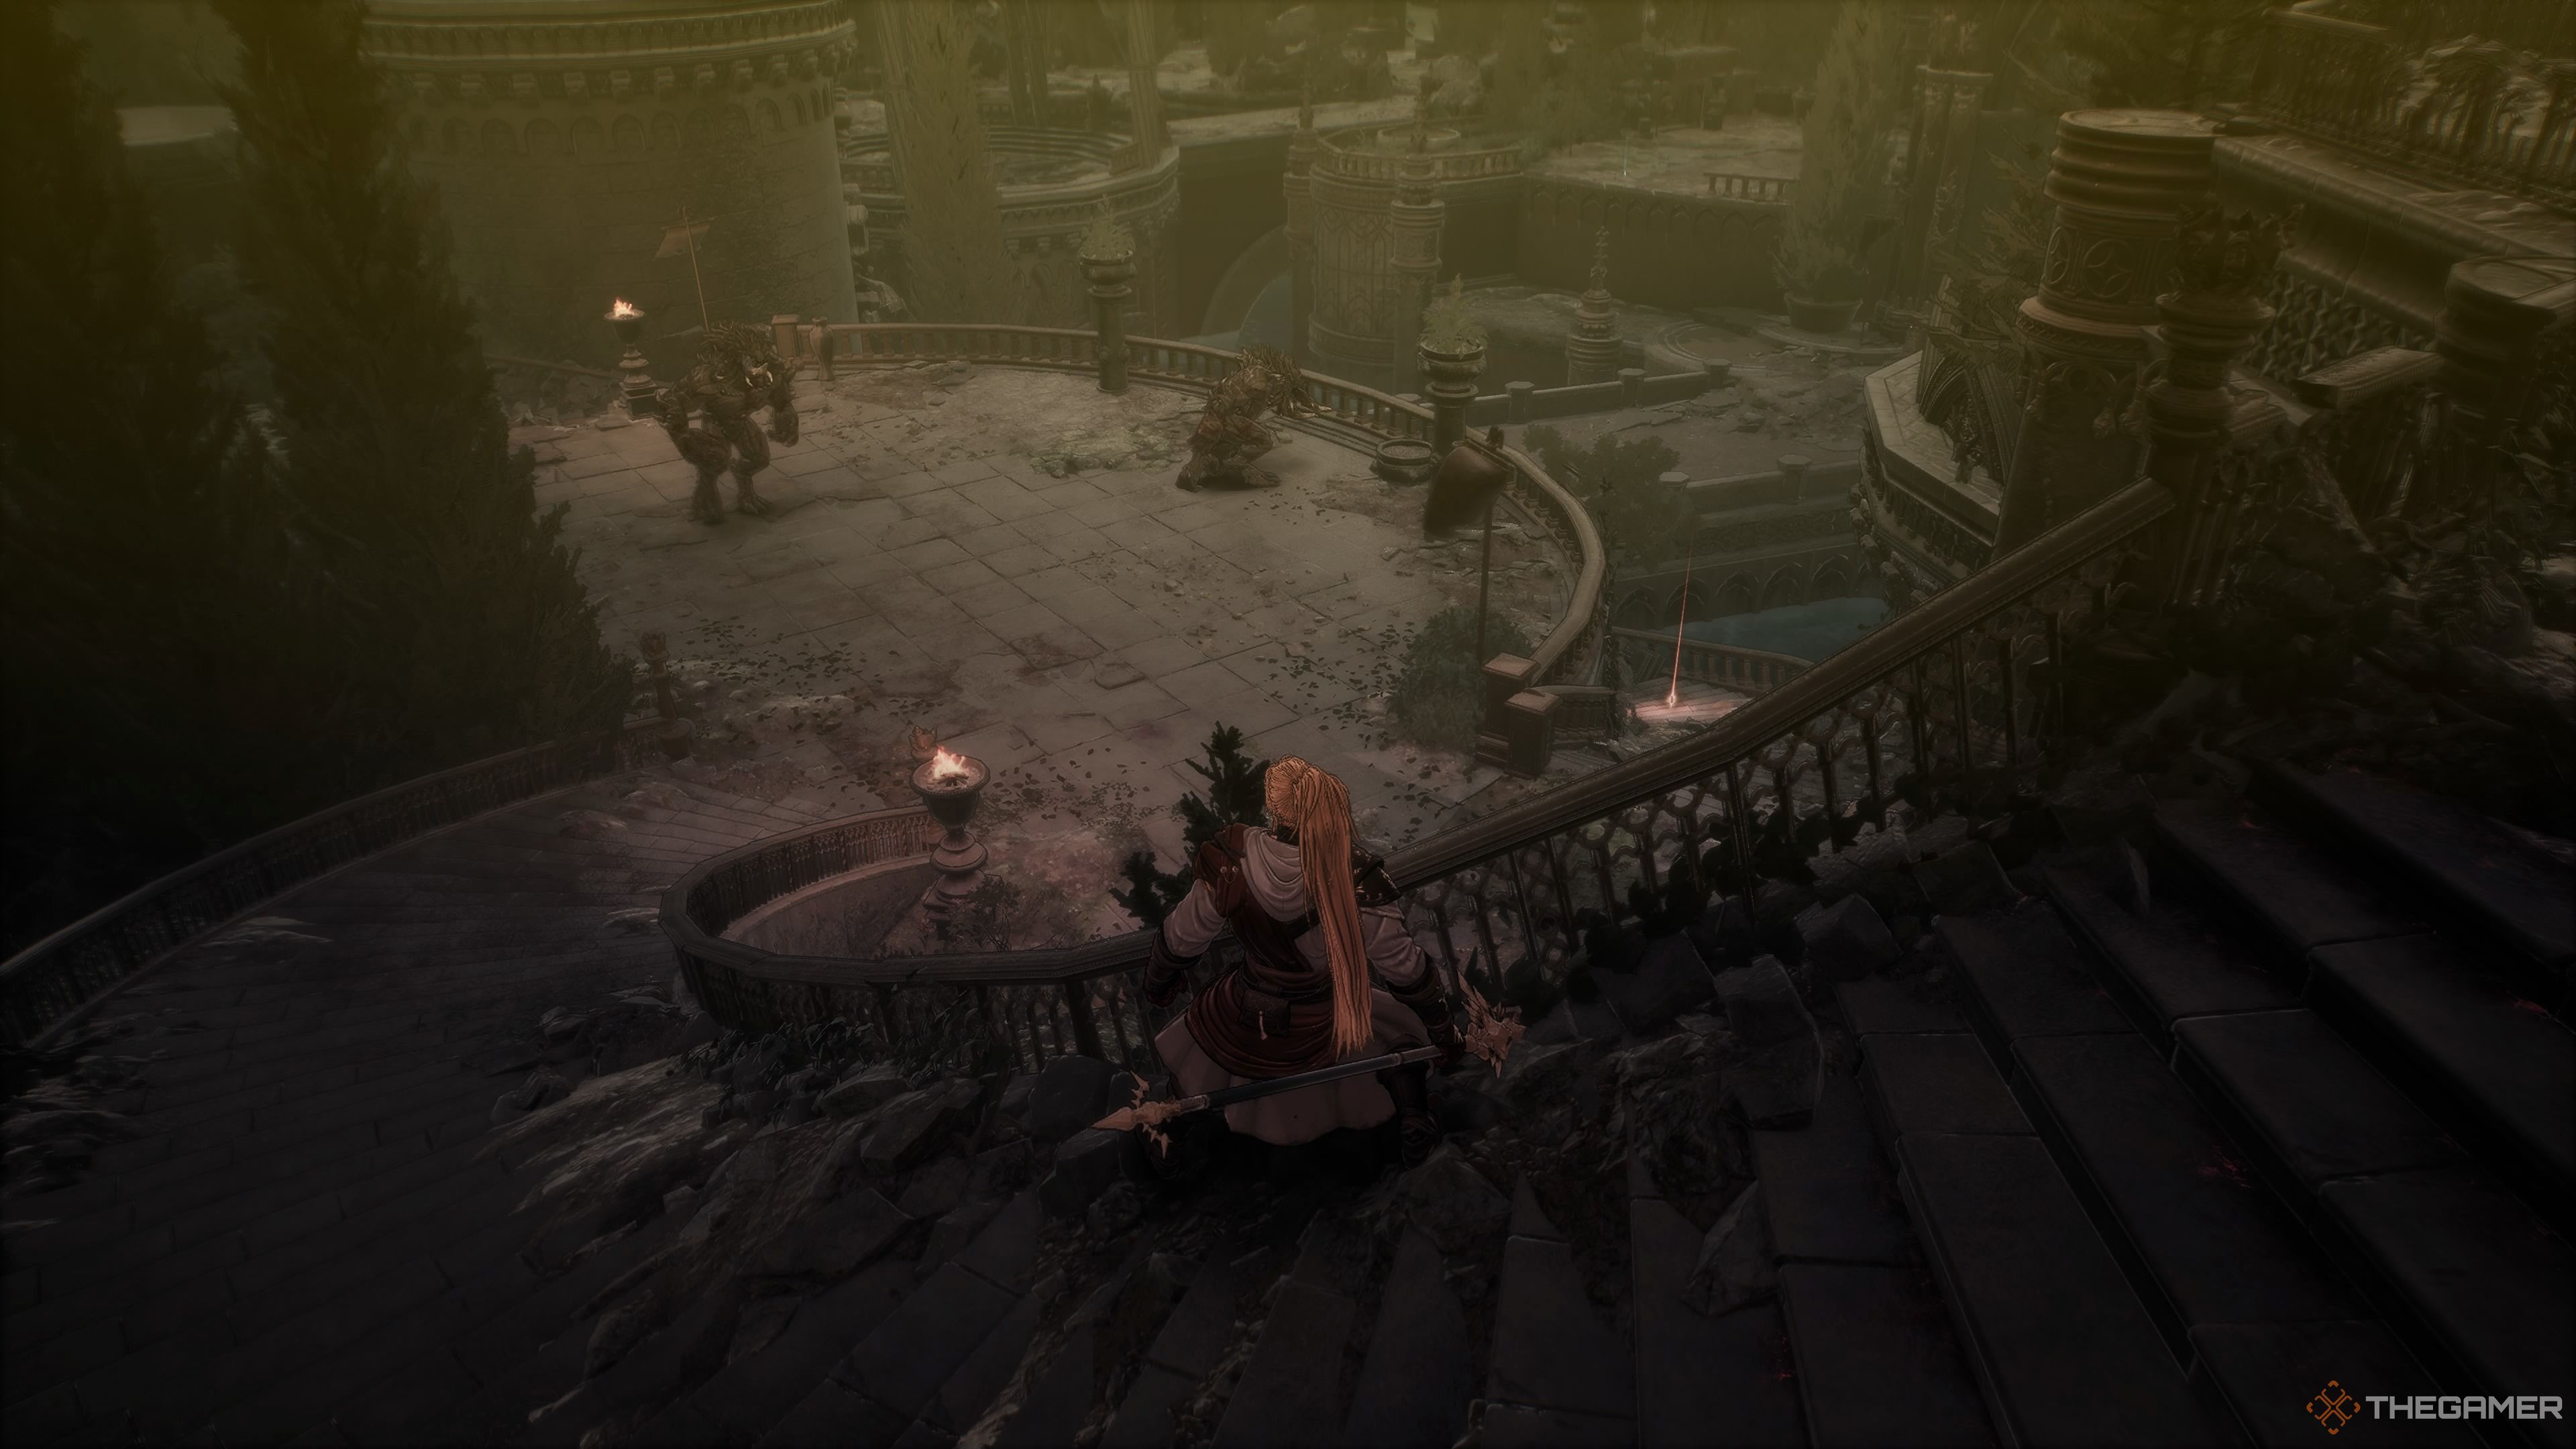
Ascend the stairs and locate the Chaos Cleanse potion positioned close to the ledge. In the subsequent zone, you’ll come across a colossal fountain guarded by two Soulbound Knights. Fortunately, there are also some Chaos Clusters nearby that can be employed to momentarily stun them.
After you’ve cleaned up the area, ascend the stairs, retrieve the Tearstone of the Unstable Soul from the deceased, then jump down to the fountain below. There, you can collect the three Northern Warrior’s Blades. Proceed into the next zone and trigger the Nexus of the Celestial Tower Blade.
I’ve made it more conversational while keeping the instructions clear and easy to follow.
Celestial Tower
| Enemies |
Beast of Madness, Saint of Sin, Undead Ice Archer, Undead Shield Bearer, Red-Eyed Boulder Bat, Yoma Shaman Elite Twisted Mage, Yoma Pursuer, Yoma Shaman, Polluted Husk, Frenzied Husk, Failed Creation, |
|---|---|
| Notable Items | Large Spirit Ore, Spirit Ore, Unstable Soul Tearstone |
| Soulstones? | |
| Jarling? | No. |
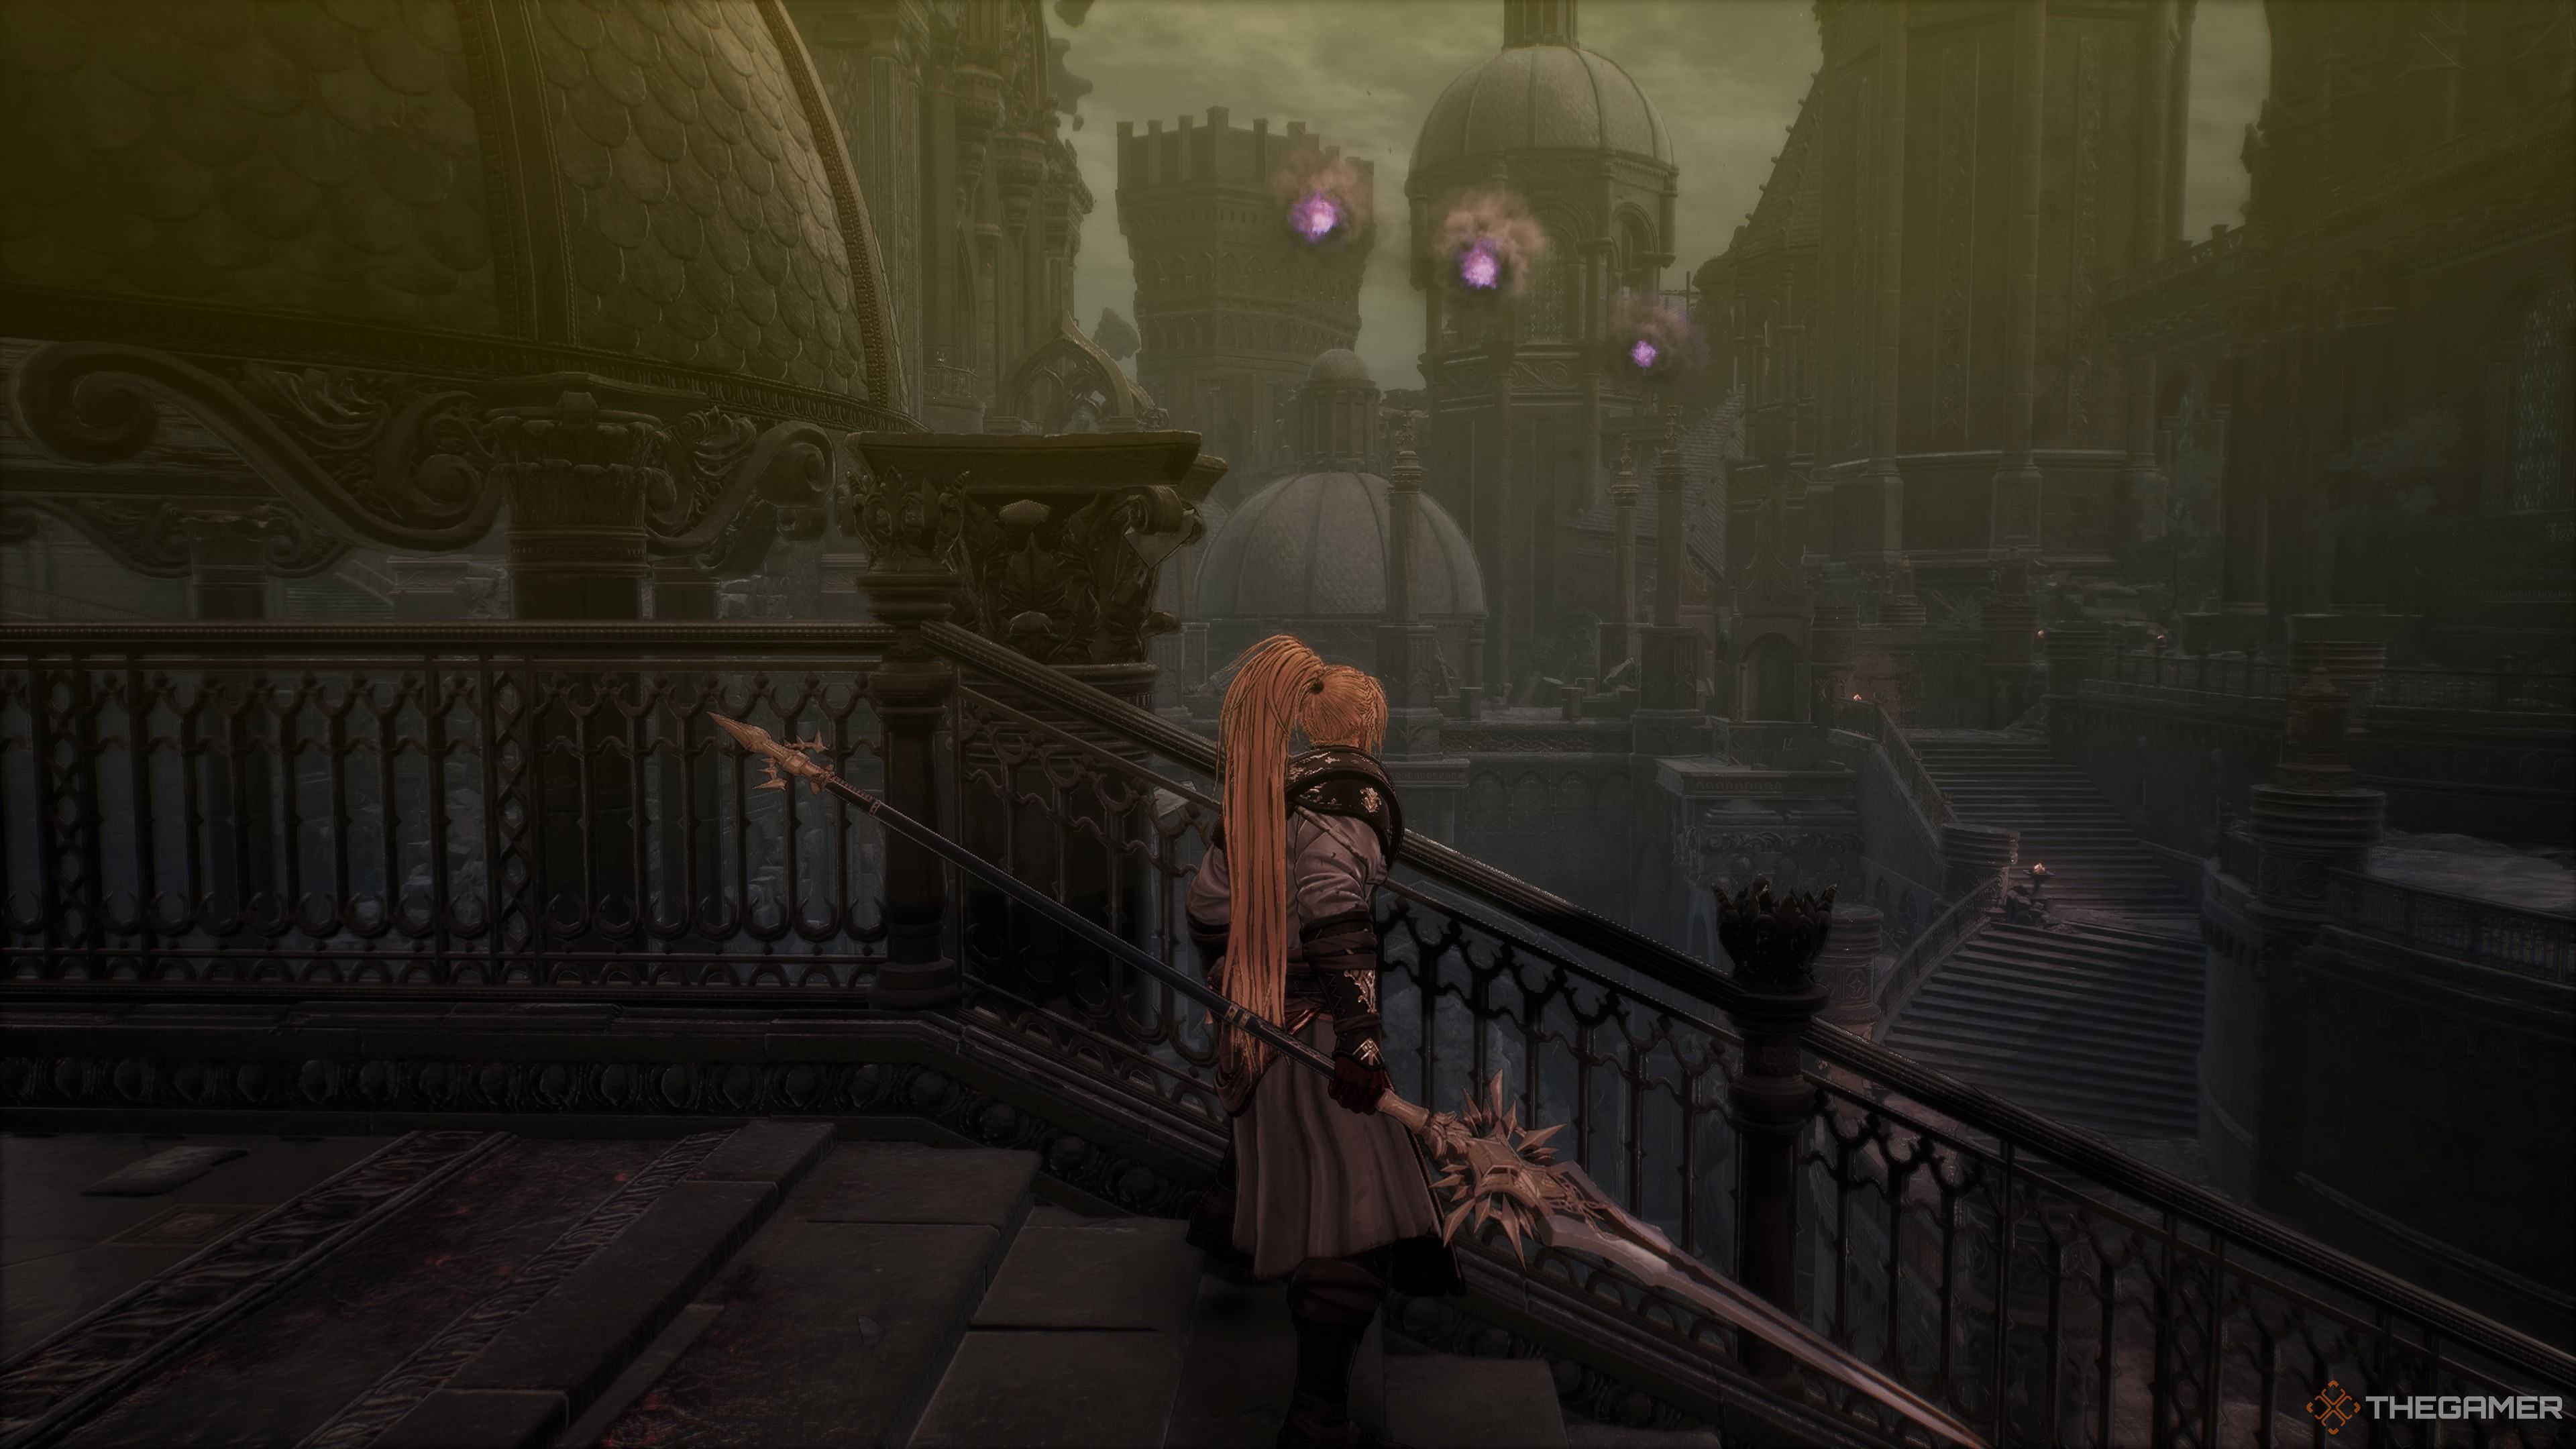
First, let’s proceed by walking over the bridge. Once you reach the central pavilion, beware as a Madness Beast lurks nearby. Step back slightly to avoid drawing attention from its counterpart on the other side. Then, defeat the crouching figure and retrieve the large Spirit Stone.
As a gamer, I’ll make my way back to where the Beast of Madness first attacked me, intending to tackle the Saint of Sin. Inside the chest she’s protecting, there’s a Sacred Greatsword, Radiant Guardian’s Leggings, Necklace of Life, and a precious Spirit Ore. After that, I’ll stride through the doorway next to the Blade Nexus, ascend the stairs, and hop onto the lift for an upward journey.
In the upcoming section, you’ll need to navigate by jumping onto drifting wreckage that moves along a broken stone walkway. Wait until it reaches its highest point before jumping off onto the pieces on the other side of the path. Pause there without advancing yet, as an Undead Ice Archer is in the distance and an Undead Shieldbearer is directly ahead. Dispatch the archer with a javelin first, then engage the Shieldbearer. Be prepared for him to try pushing you off the platform, so dodge around him to avoid falling. Once both are defeated, pick up the Water Enhancer located nearby.
After you leap off, the platform will spin 90 degrees to the front, so remember to position yourself near the wall or pillar for a safe landing spot. Then, move towards the corner of the platform and traverse over to the ladder. Ascend the ladder and then jump onto the drifting stone platforms, but be swift as they’ll crumble beneath you.
Next, descend onto the following rocky ledge and seize the Specialized Cleansing Potion. For now, avoid progressing to the next platform. Instead, search for the Red-Eyed Boulder Bat first. Engage it with a javelin throw, then advance cautiously to eliminate it. Be wary, as this creature can easily knock you off this ledge and potentially result in your demise. Therefore, if you must engage it in combat, ensure that you have the wall at your back for added protection.
After you reach the top, watch your steps. The space will twist sideways as before. Aim for the upper right corner and move over to the floating debris. Pick up the “Essence of the Thunder Spirit.” Then jump down onto the floating debris. Now you’ll find yourself at a series of locked doors. Climb the stairs and use the elevator to descend. You’ll now have an easy way back up to the Blade Nexus from here.
Descend into the hole beside the elevator and unlock the doors. Next, traverse the bridge. If you turn left at the first opportunity on the bridge, you’ll find a “Fire Enhancer”. In the middle of the bridge, there’s an “Unstable Soul Tearstone”. Finally, before reaching the end of the bridge, there’s another “Unstable Soul Tearstone” to your right. However, chaos projectiles will begin to fall as you approach the bridge, so for now, disregard the items scattered across the bridge.
Instead, dash across to the opposite end, engage in combat with the two Shieldbearers, eliminate the Yoma Shamen summoning the fireballs, and afterwards head to loot the bridge. Now, ascend the stairs, you will encounter another Servant of Chaos. Once you have vanquished him, open the massive doors, and proceed into the final region. Interact with the Audience Chamber Blade Nexus.
Audience Chamber
Before proceeding to the boss arena, make sure you’ve chatted with Daphora first. This is your final opportunity to finish any outstanding tasks, like side missions or gathering Ozma’s Diary Fragments, for the optimal conclusion. If you go through the gate without speaking to her, you’ll be limited to the standard ending.
Preparation For Ozma
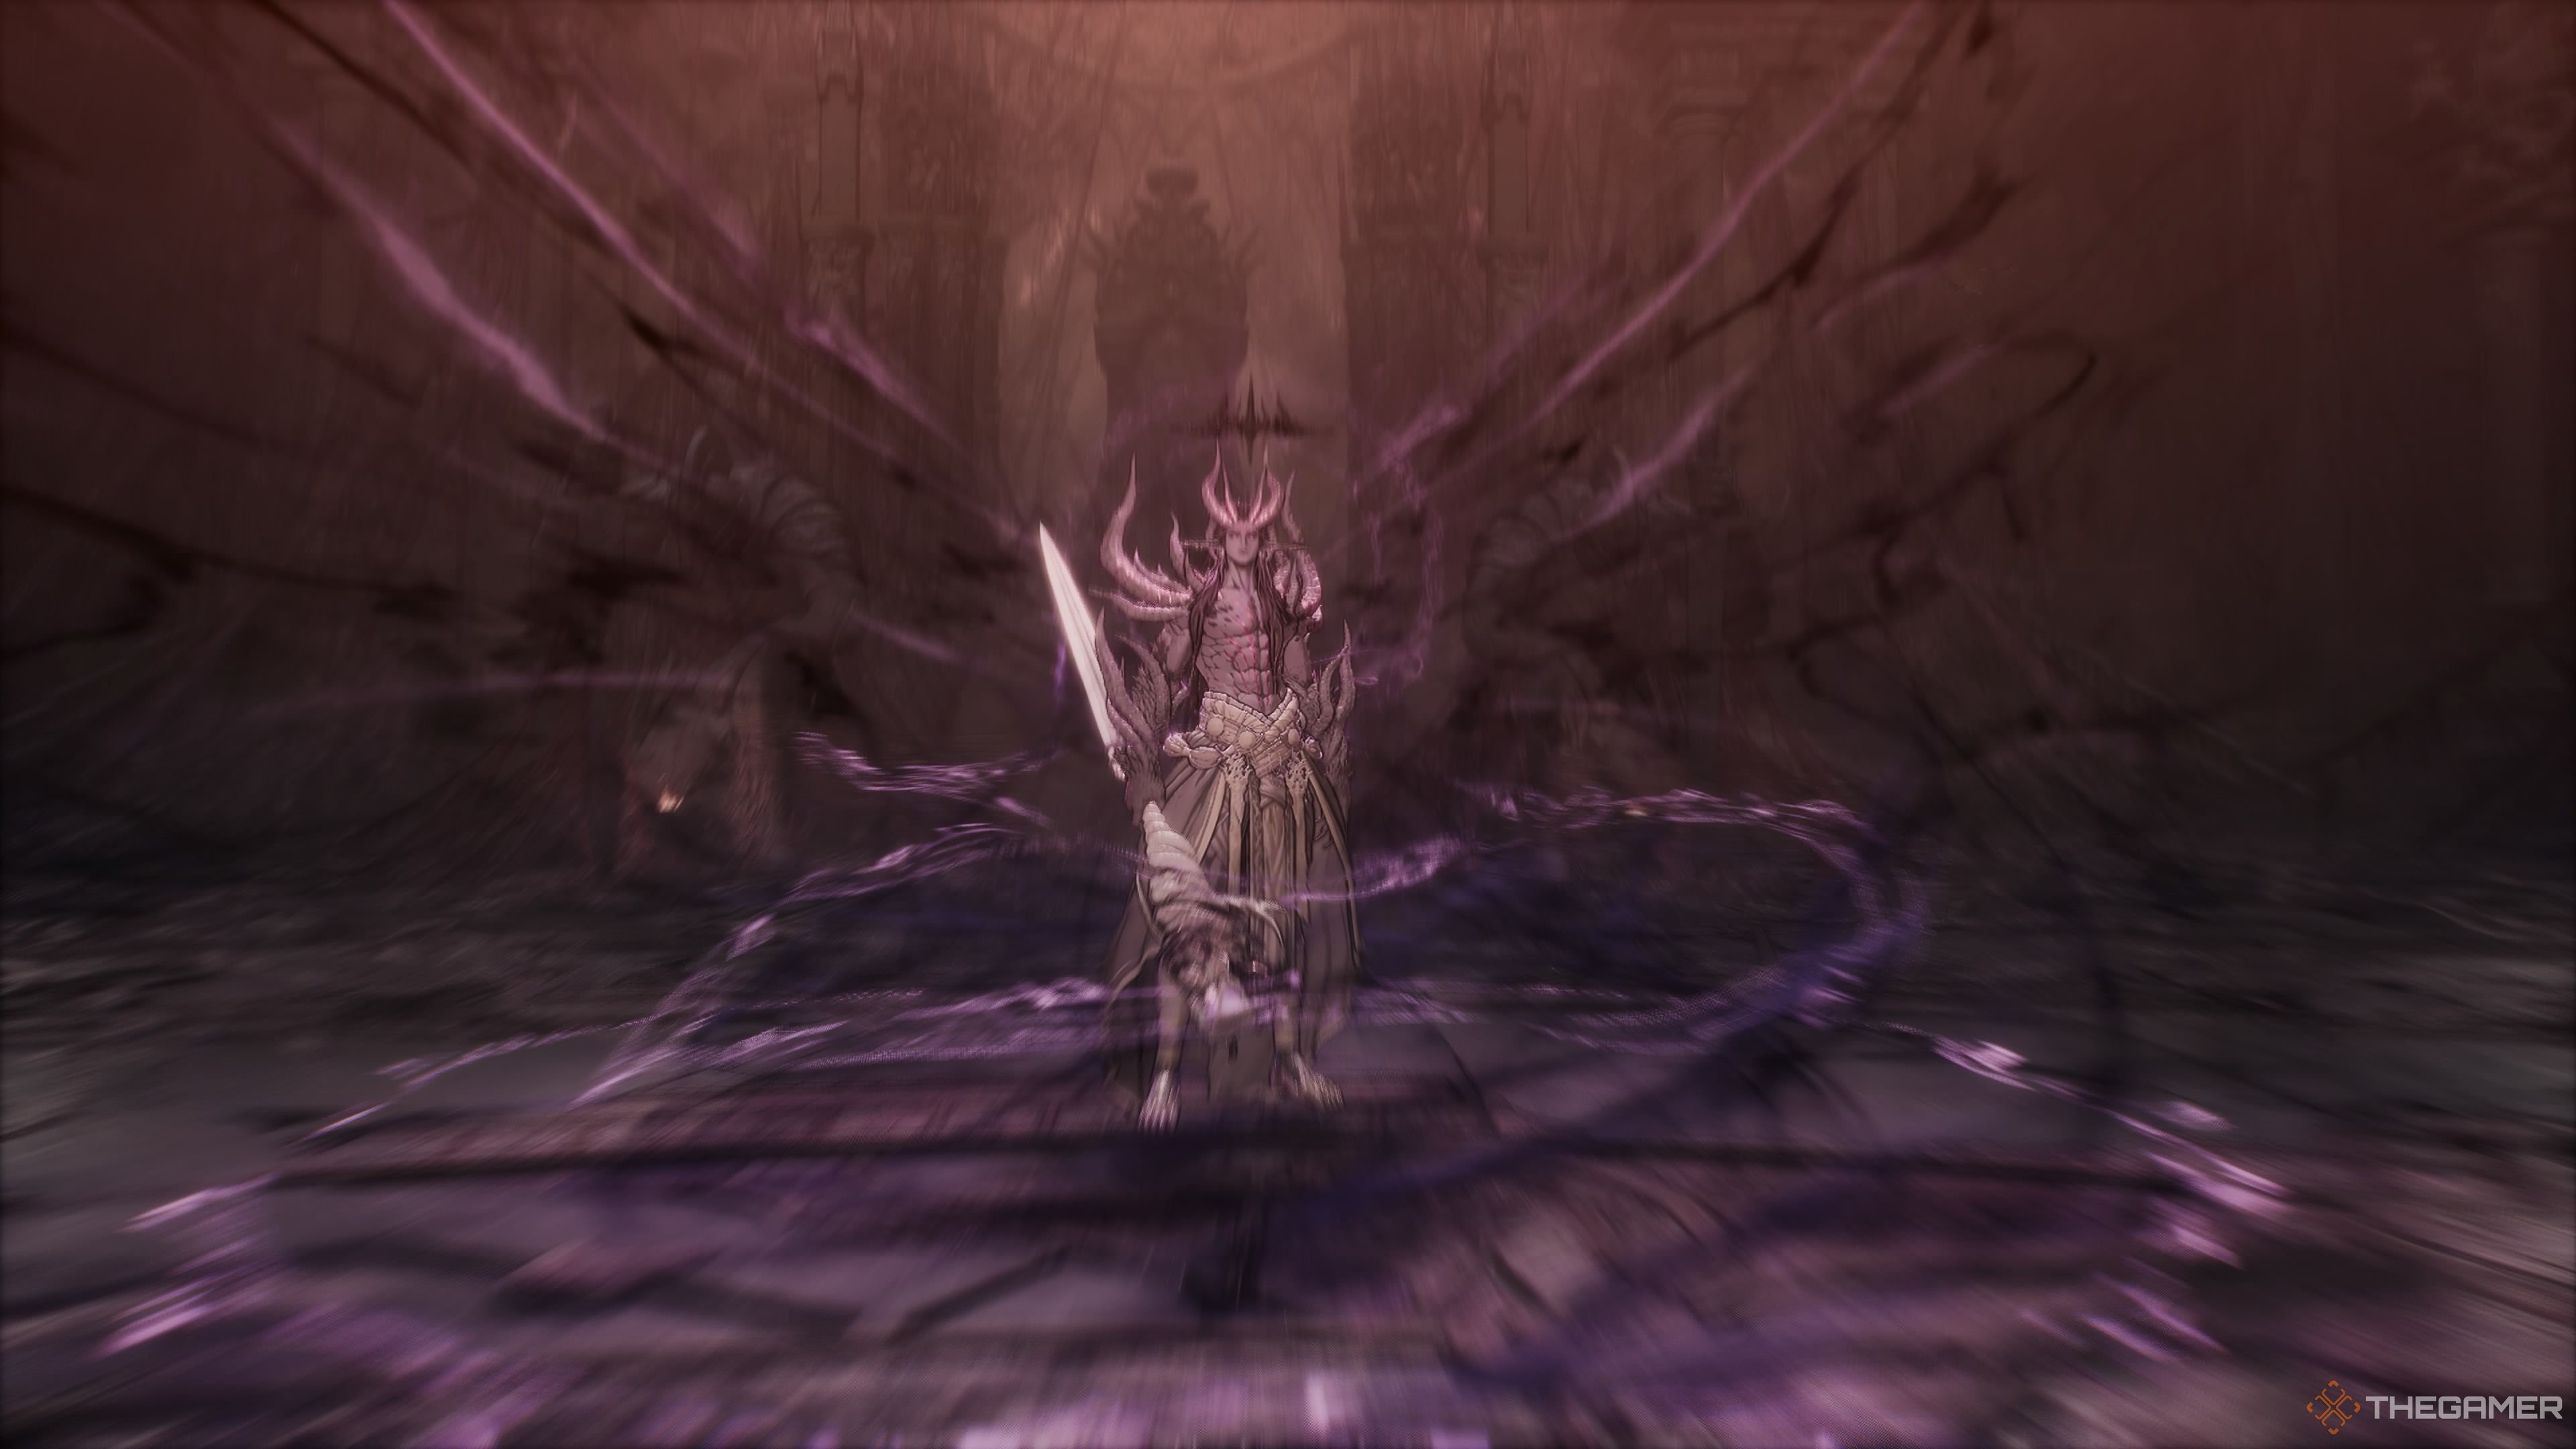
Before engaging in combat with Ozma, I suggest you keep a few points in mind. Firstly, be aware that Ozma employs an array of magical abilities. To counteract this, it may be beneficial to have potions on hand that purify status conditions such as flame, frost, and chaos.
If you’re seeking a protective gear suitable for countering, it’s the Chaotic energy since most of his spells are chaos-infused. In this case, either the Radiant Guardian or Saint armor sets would serve effectively by offering you significant resistance against the Chaos influence.
Regarding the most effective weapon, any of the three will suffice, but the Spear’s mobility makes it particularly handy against Ozma’s widespread attacks. Furthermore, when facing Phantoms, Keshta’s stamina recovery boost will prove invaluable, while Adelhaide’s enhanced healing and the ability to recharge Netherworld Energy when depleted can significantly boost your resilience. In essence, both options are excellent choices.
Read More
- Top 8 UFC 5 Perks Every Fighter Should Use
- Unaware Atelier Master: New Trailer Reveals April 2025 Fantasy Adventure!
- Unlock the Magic: New Arcane Blind Box Collection from POP MART and Riot Games!
- Unlock Roslit Bay’s Bestiary: Fisch Fishing Guide
- How to Reach 80,000M in Dead Rails
- How to Unlock the Mines in Cookie Run: Kingdom
- Toei Animation’s Controversial Change to Sanji’s Fight in One Piece Episode 1124
- USD PHP PREDICTION
- 8 Best Souls-Like Games With Co-op
- Unleash Hell: Top10 Most Demanding Bosses in The First Berserker: Khazan
2025-04-11 07:07