Summary
- The Bungalow in Schedule 1 allows for starting a cannabis operation with ample space and potential for growth.
- As the game progresses, the Bungalow can be converted into a mixing headquarters for other drugs like cocaine and meth.
- By multitasking in the Bungalow, players can produce a variety of drugs by designating specific areas for different products.
The aim of any management simulation game is to cultivate a thriving enterprise, regardless of the specific goods or clientele. In Schedule 1, the protagonist is a laid-back local resident with aspirations of becoming the area’s top drug dealer. This ambition necessitates frequent updates to various money laundering and production facilities.
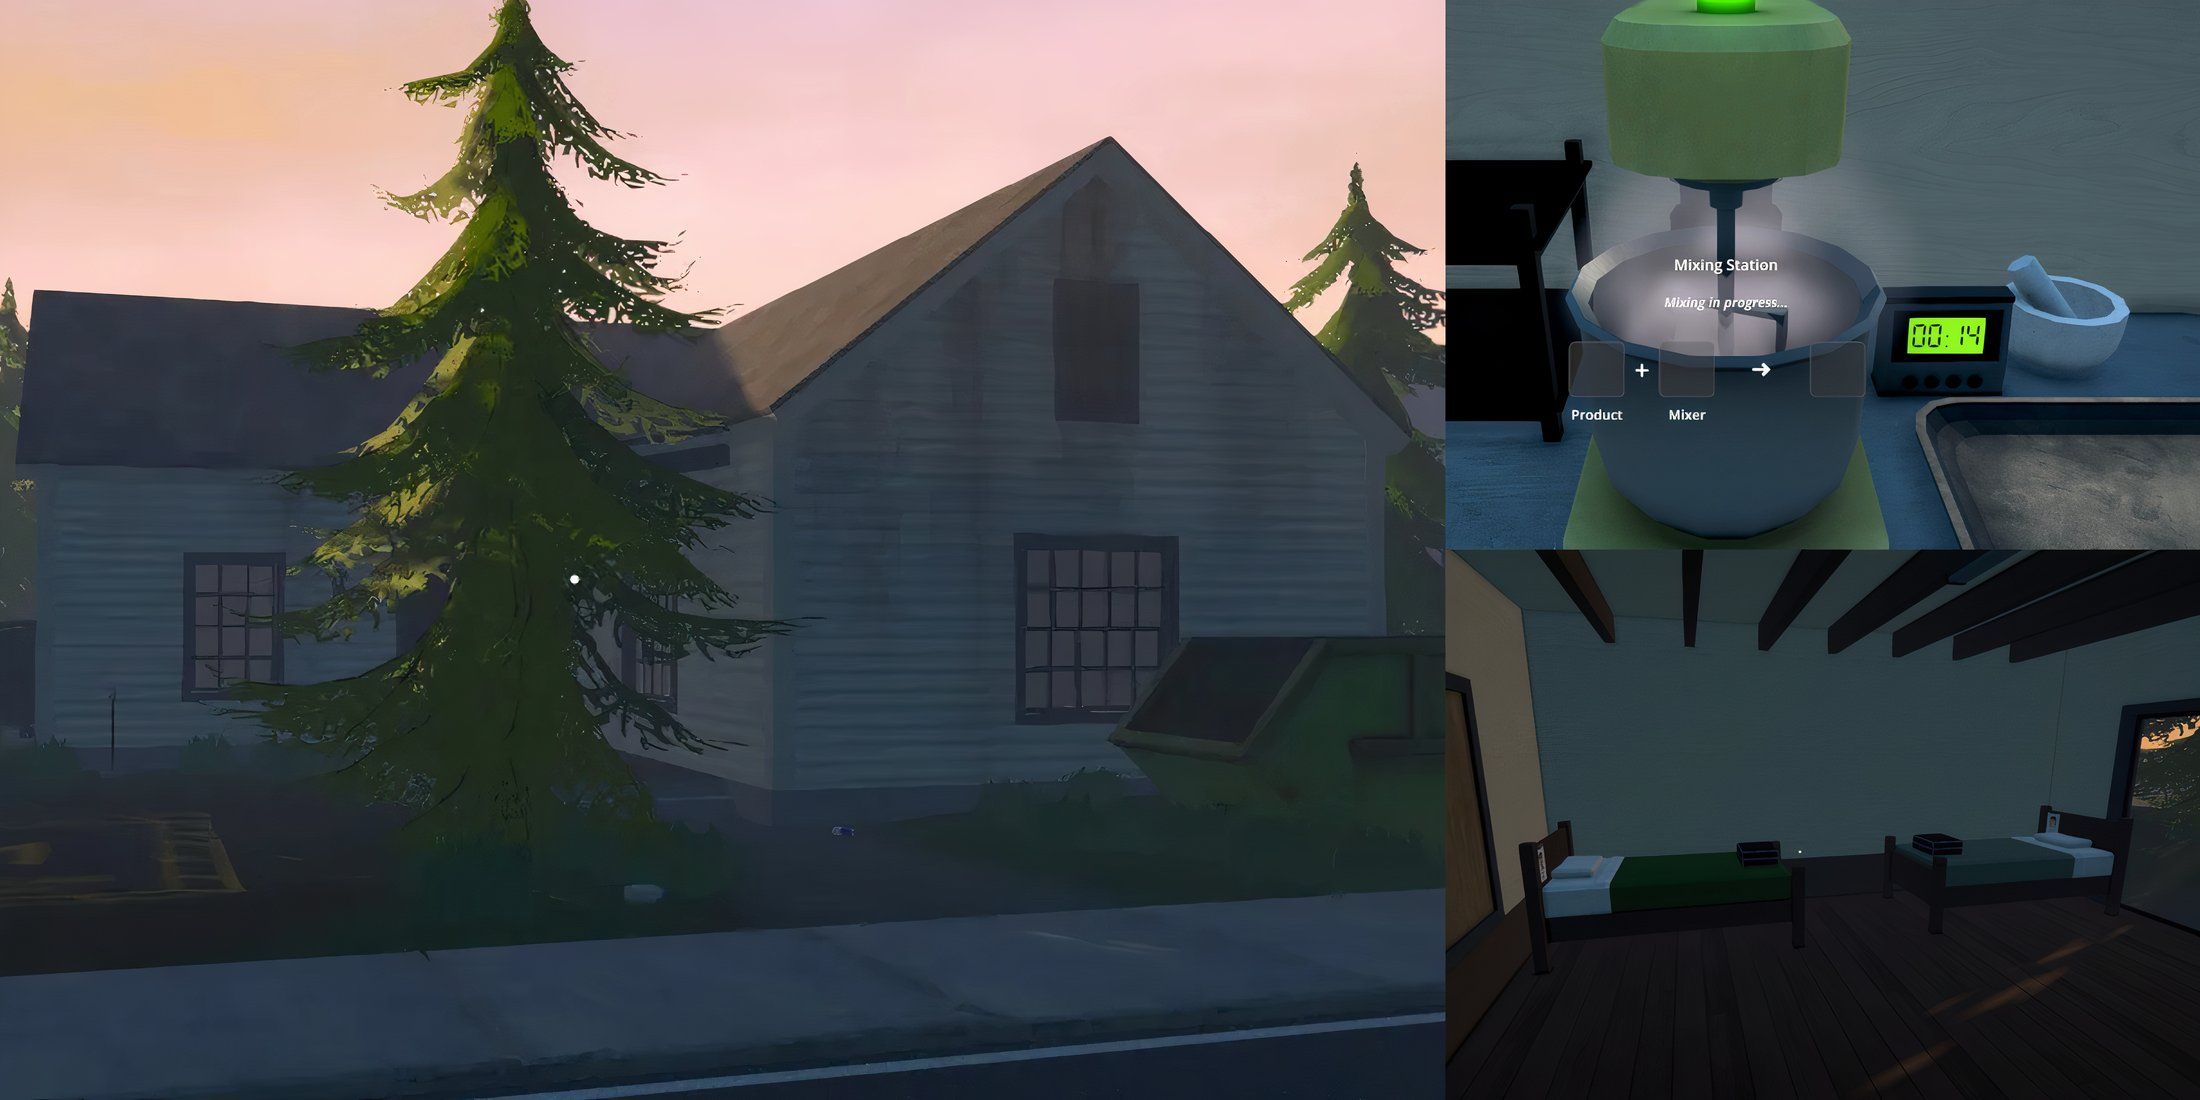
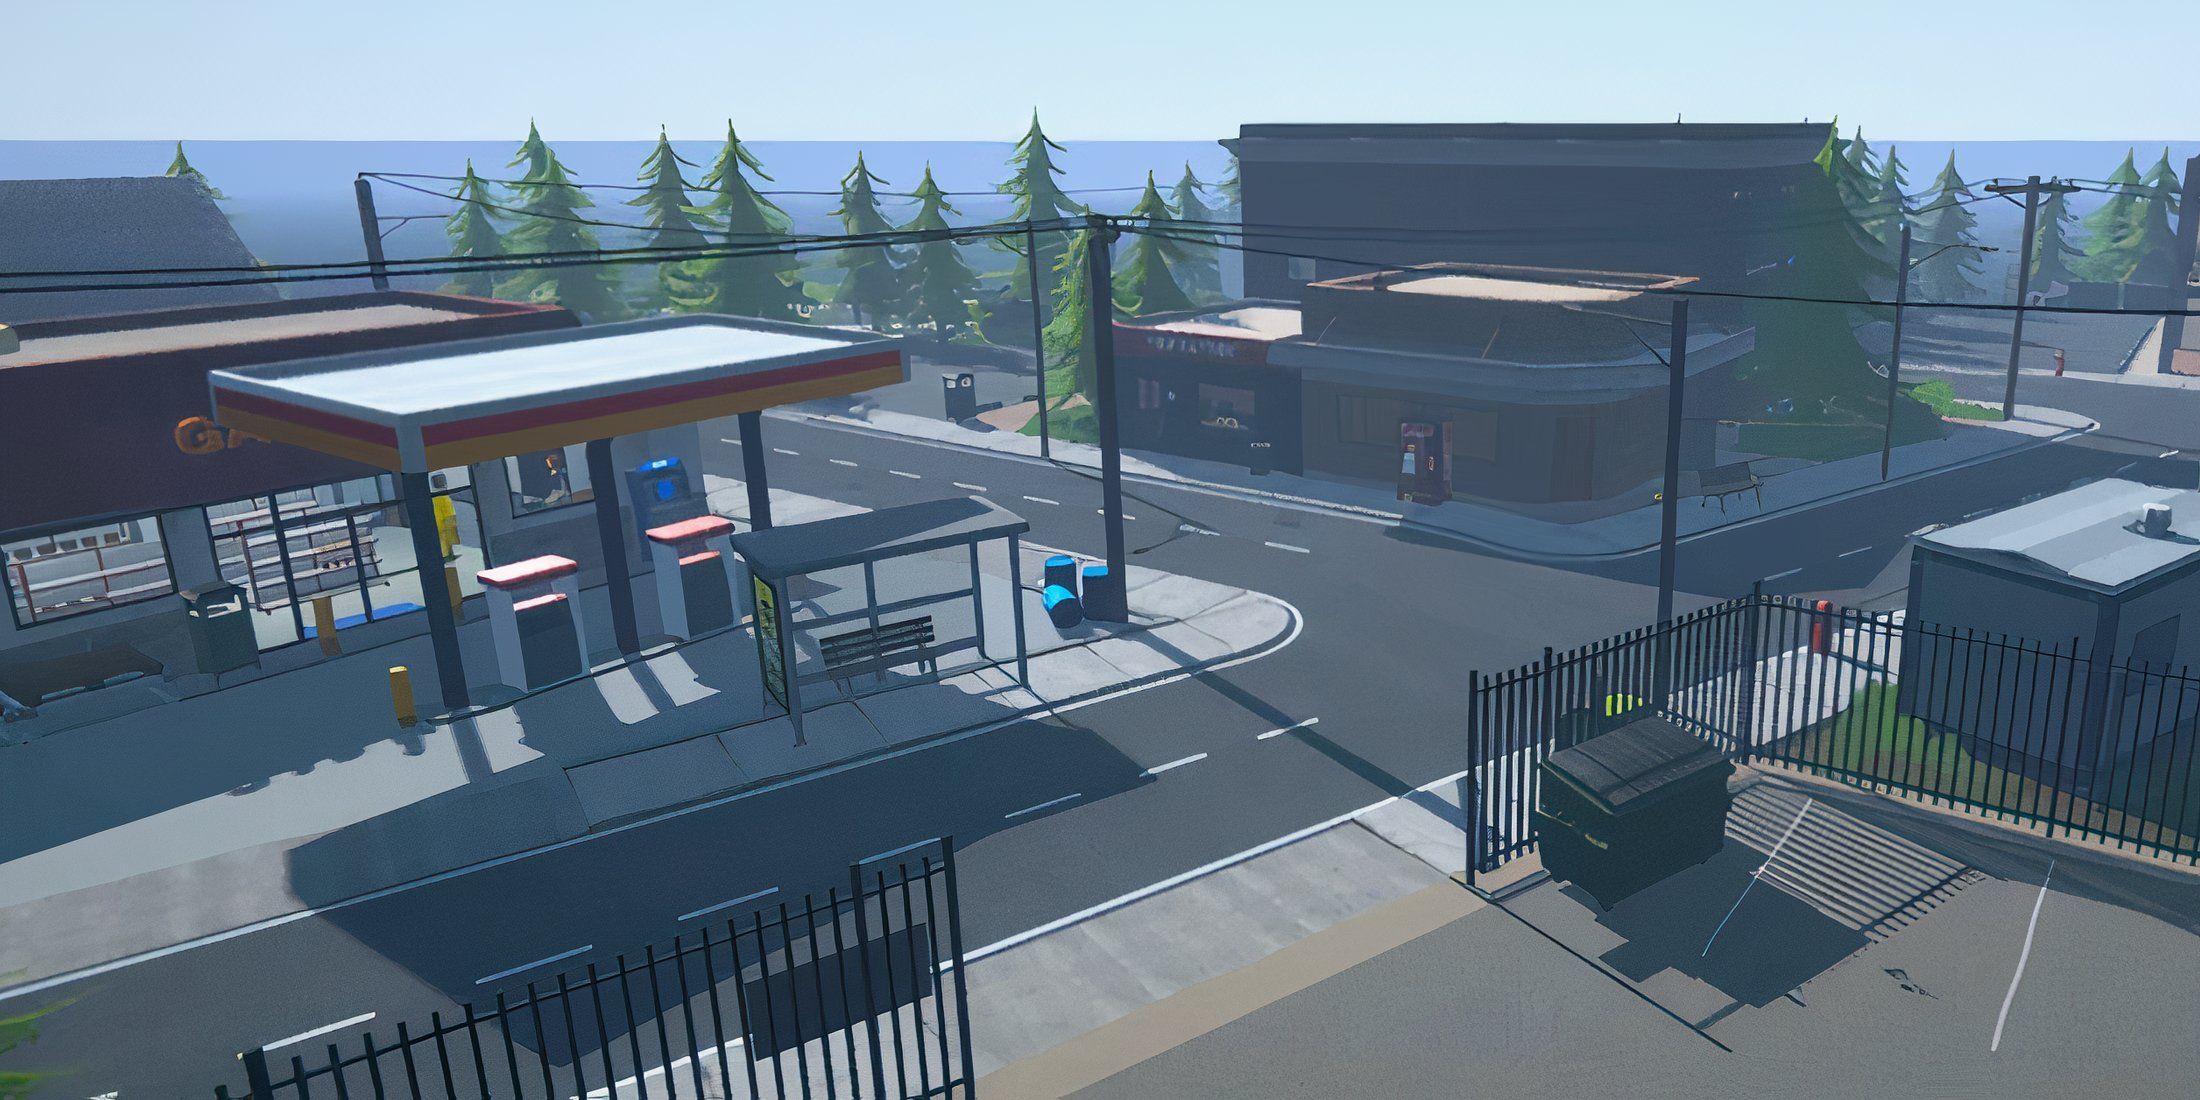
In the game, the Bungalow is typically the second or third residence players obtain, marking a significant upgrade from their earlier dwellings that had restricted storage for goods, equipment, and staff. Situated on the outskirts of Westville, it’s not the most accessible location, but it boasts a loading dock and three spacious rooms – among them, a kitchen and enough room to accommodate five employees comfortably.
5. The Weed House
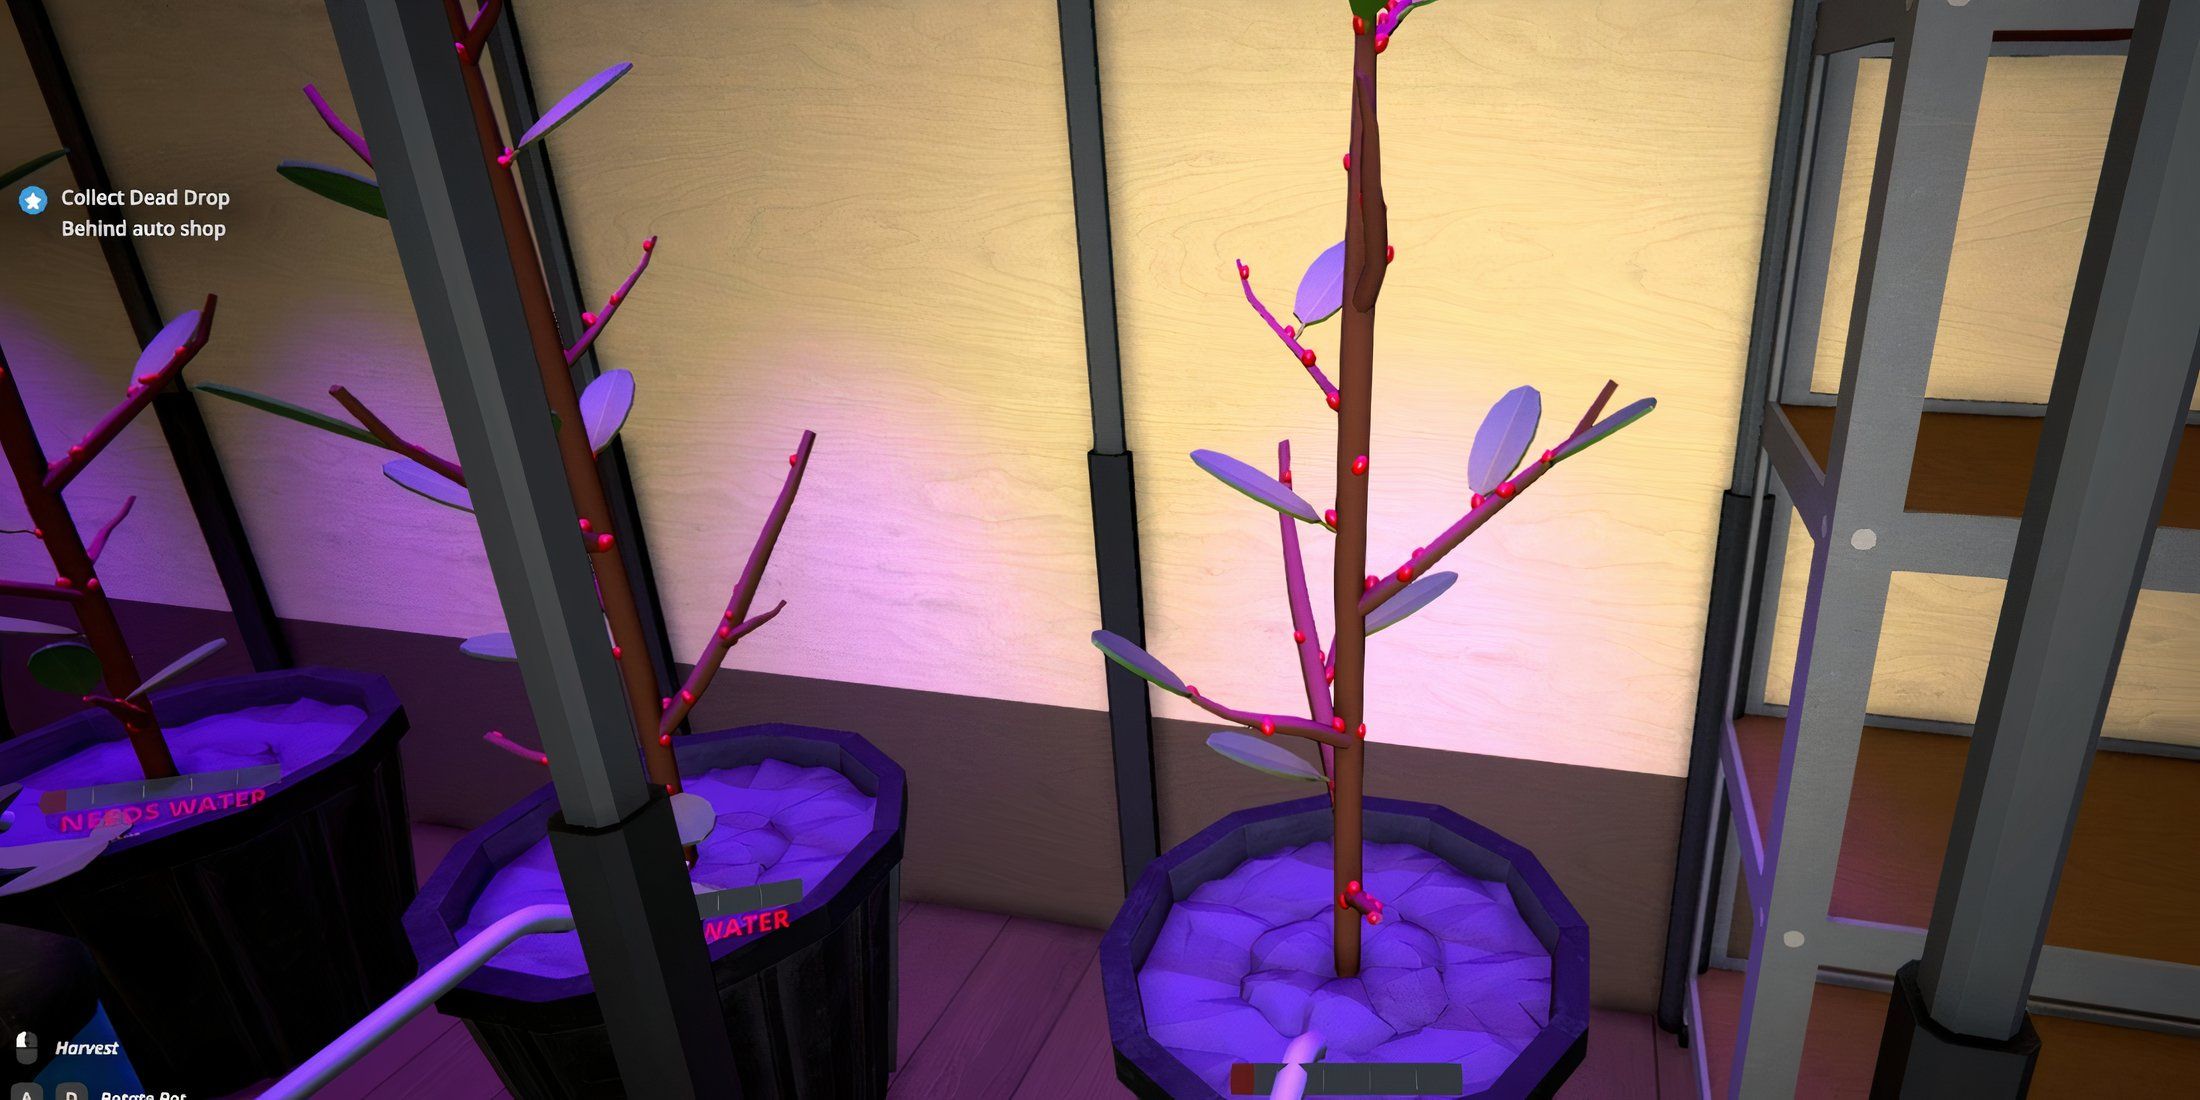
Cultivating Cannabis On A Grand Scale
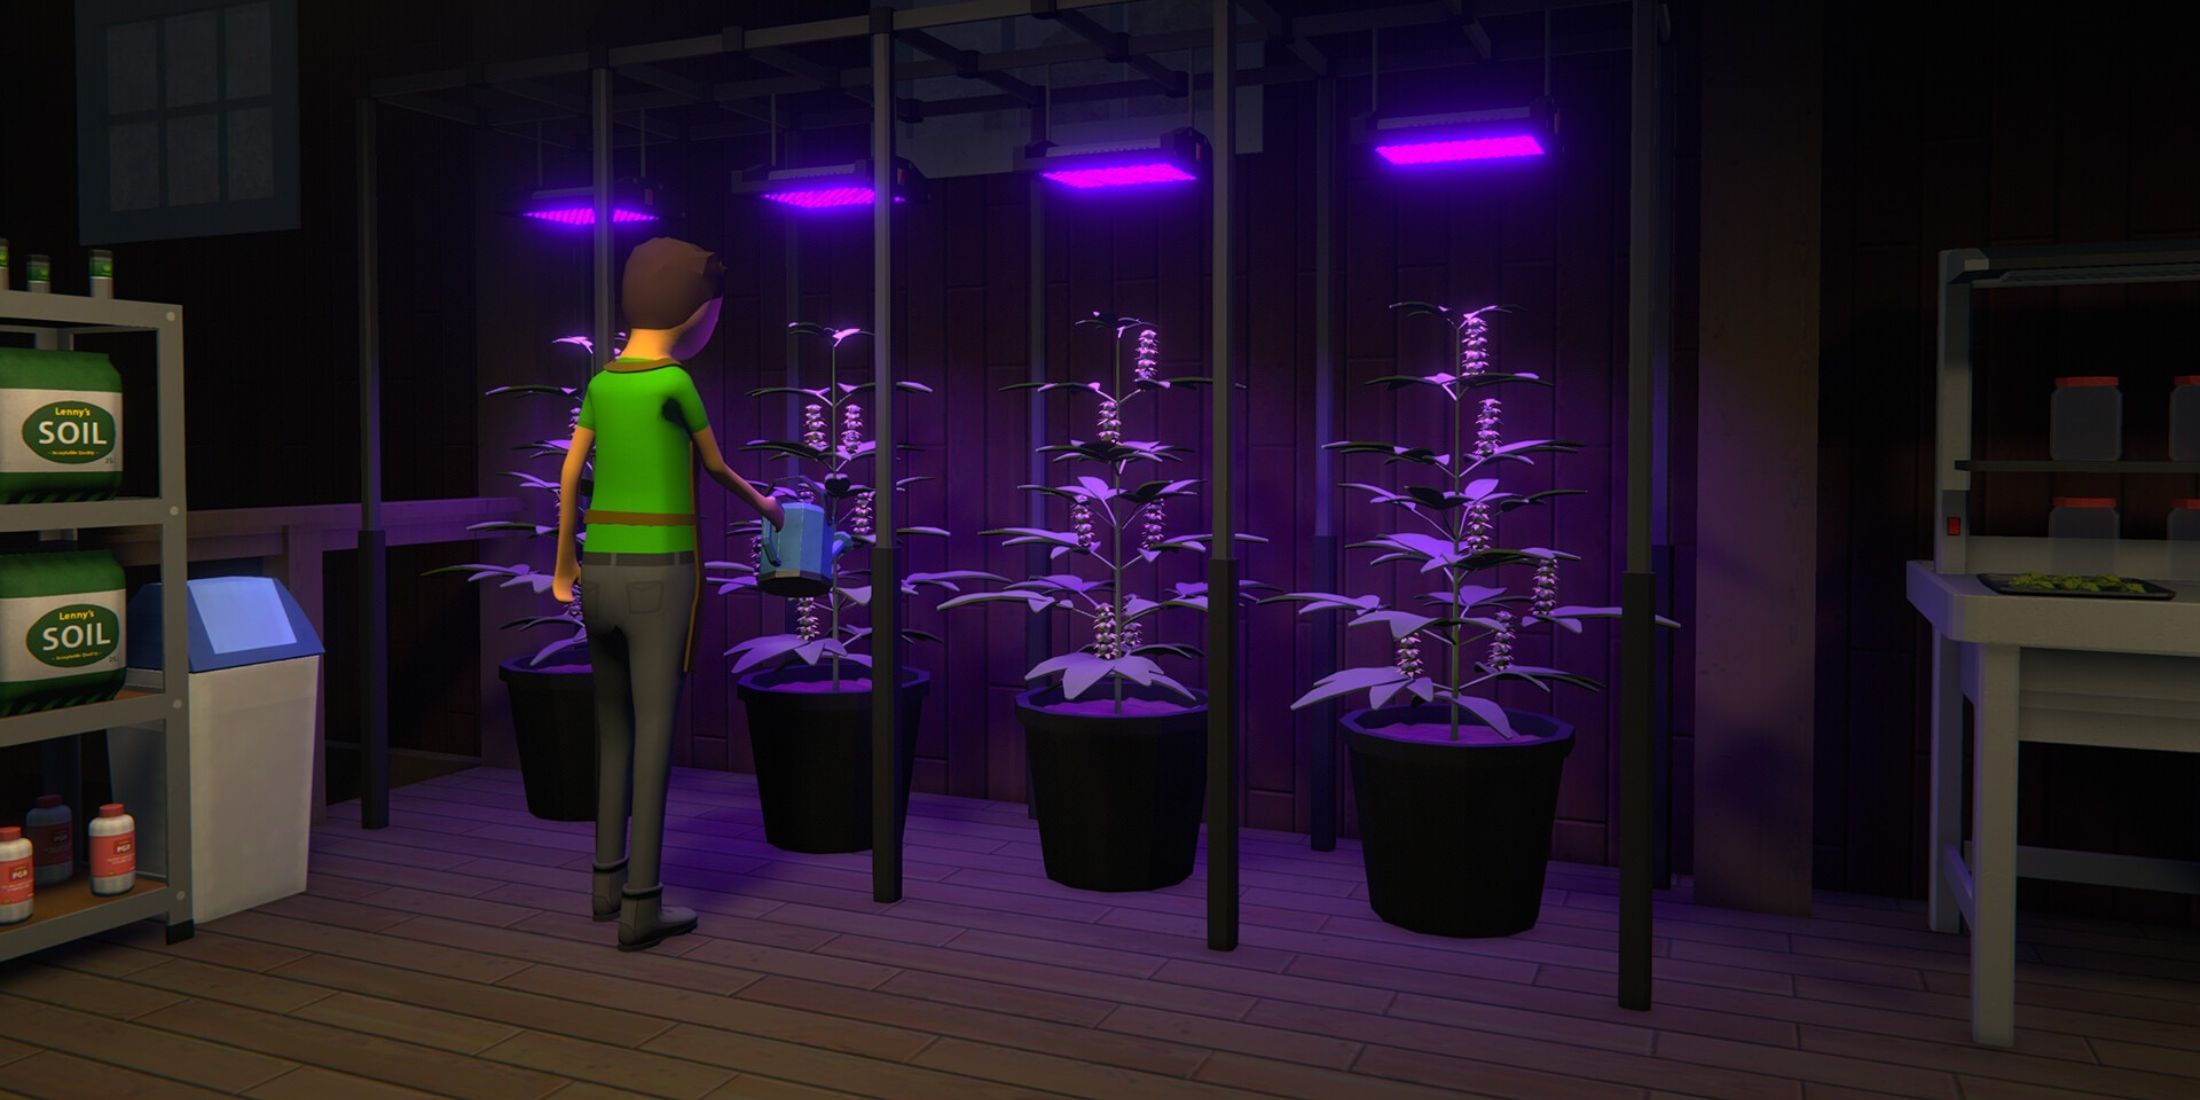
- The perfect size for a starter grow.
As I contemplate my next big move in the gaming world of cannabis cultivation, it seems prudent to kick things off at home, specifically in the Bungalow, before venturing into larger establishments like the Warehouse or Barn. This humble abode can serve as a starting point for my tutorial on industrial-scale operations, where success will not only elevate my status but also boost my cash flow as I progress through the game.
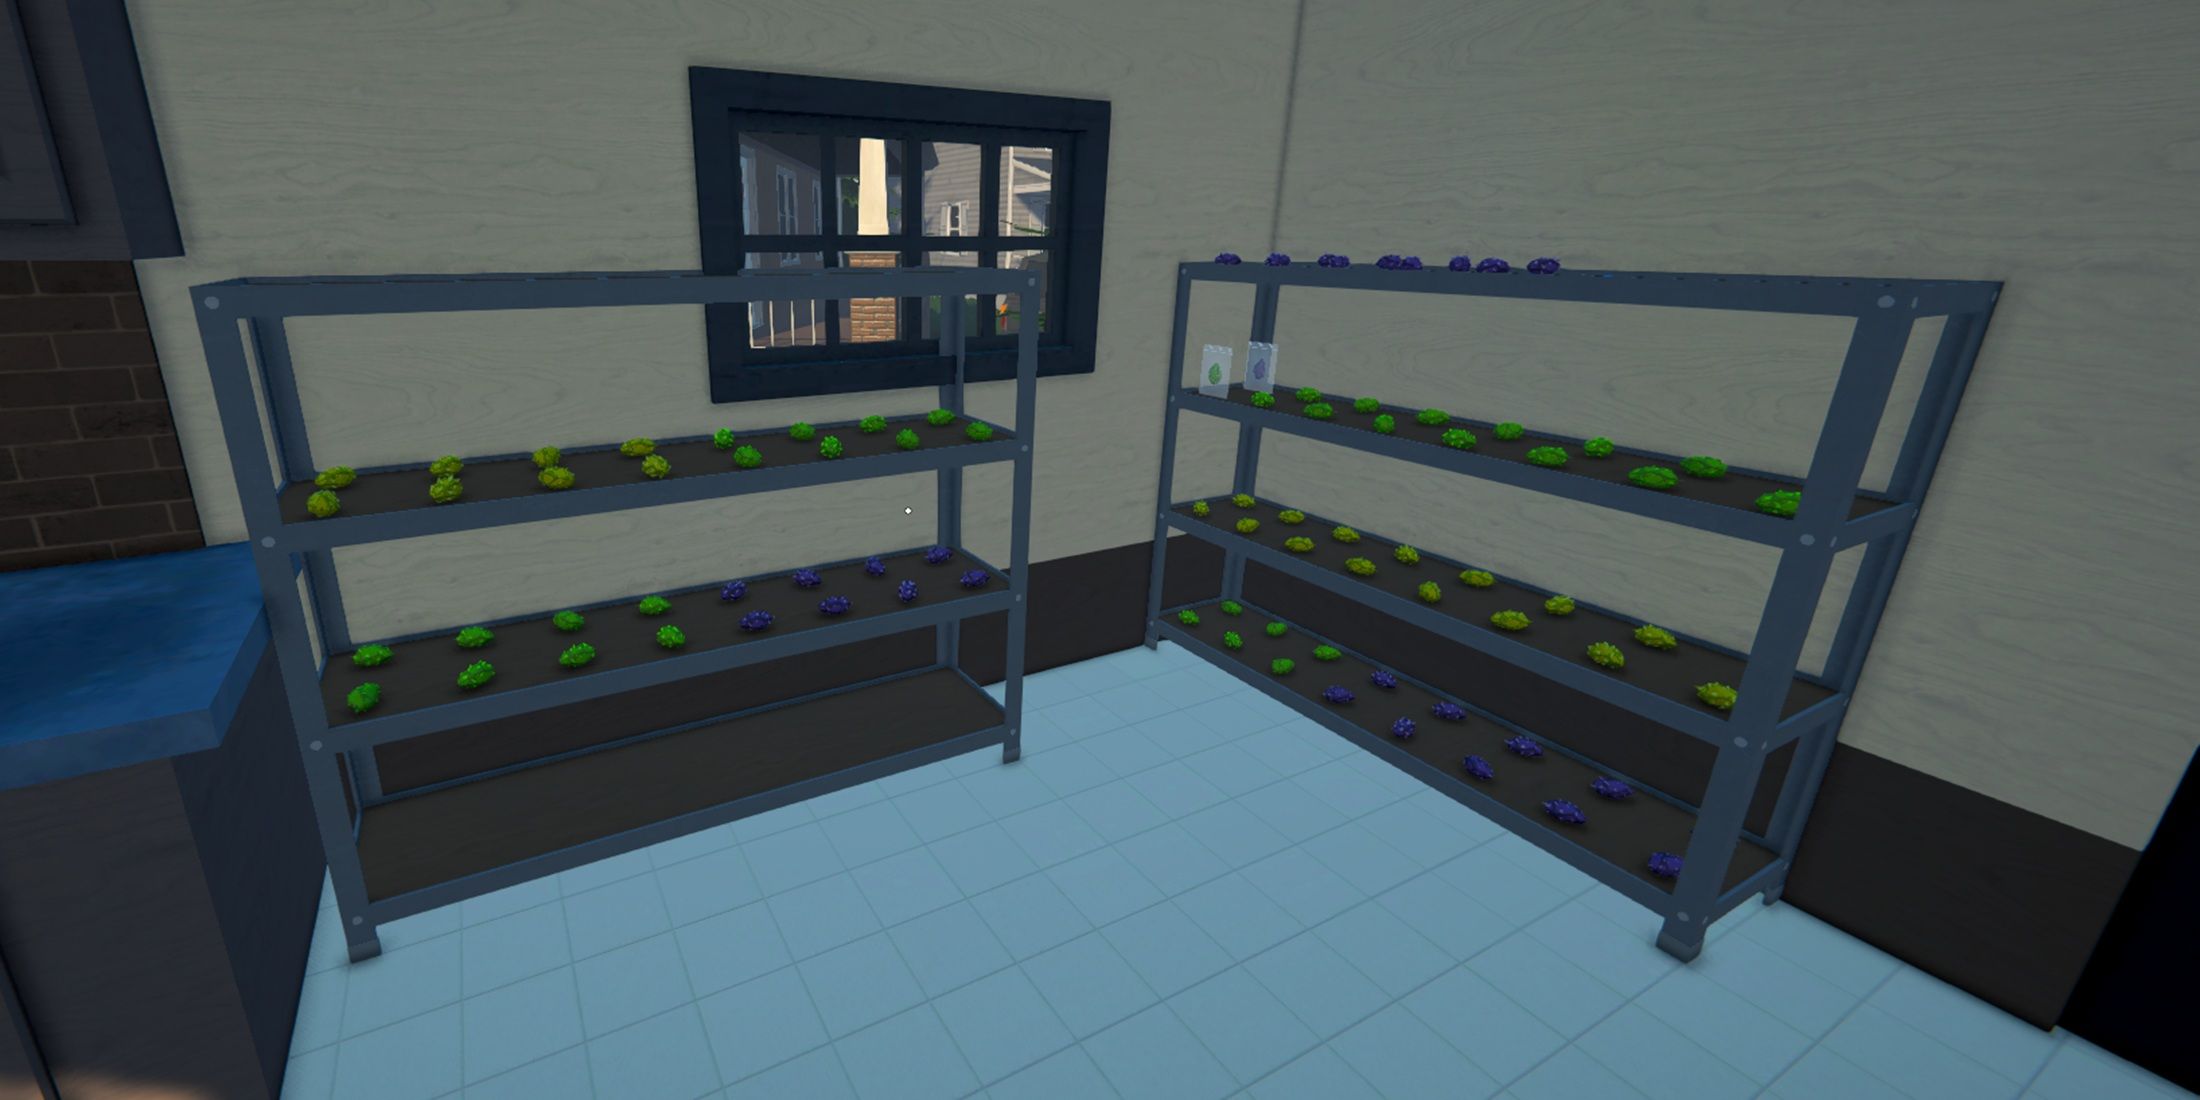
The design and structure of the house lend themselves to easy understanding, offering another benefit. The L-shaped house features a living area, kitchen, and a room with boarded-up windows, ideal for housing plants and some basic shelving. Grow tents can be arranged along the walls in rows, while the center of the room provides space for Drying Racks. This layout incorporates two packing stations within the kitchen, which also offers additional shelving for supplies and mixing ingredients. If desired, players can set up a Mixing Station by giving up some shelving space, but keep in mind that this will require an extra worker.
Employees
- Botanists: The most important employee in a grow operation, and if this is a pure weed production, it’s best to hire at least two for a crop of eight plants or more.
- Handler: That product needs to be weighed and packed for customers on time.
- Cleaner: Only one is required, even for a larger-scale grow, but players should make sure they have ample supplies.
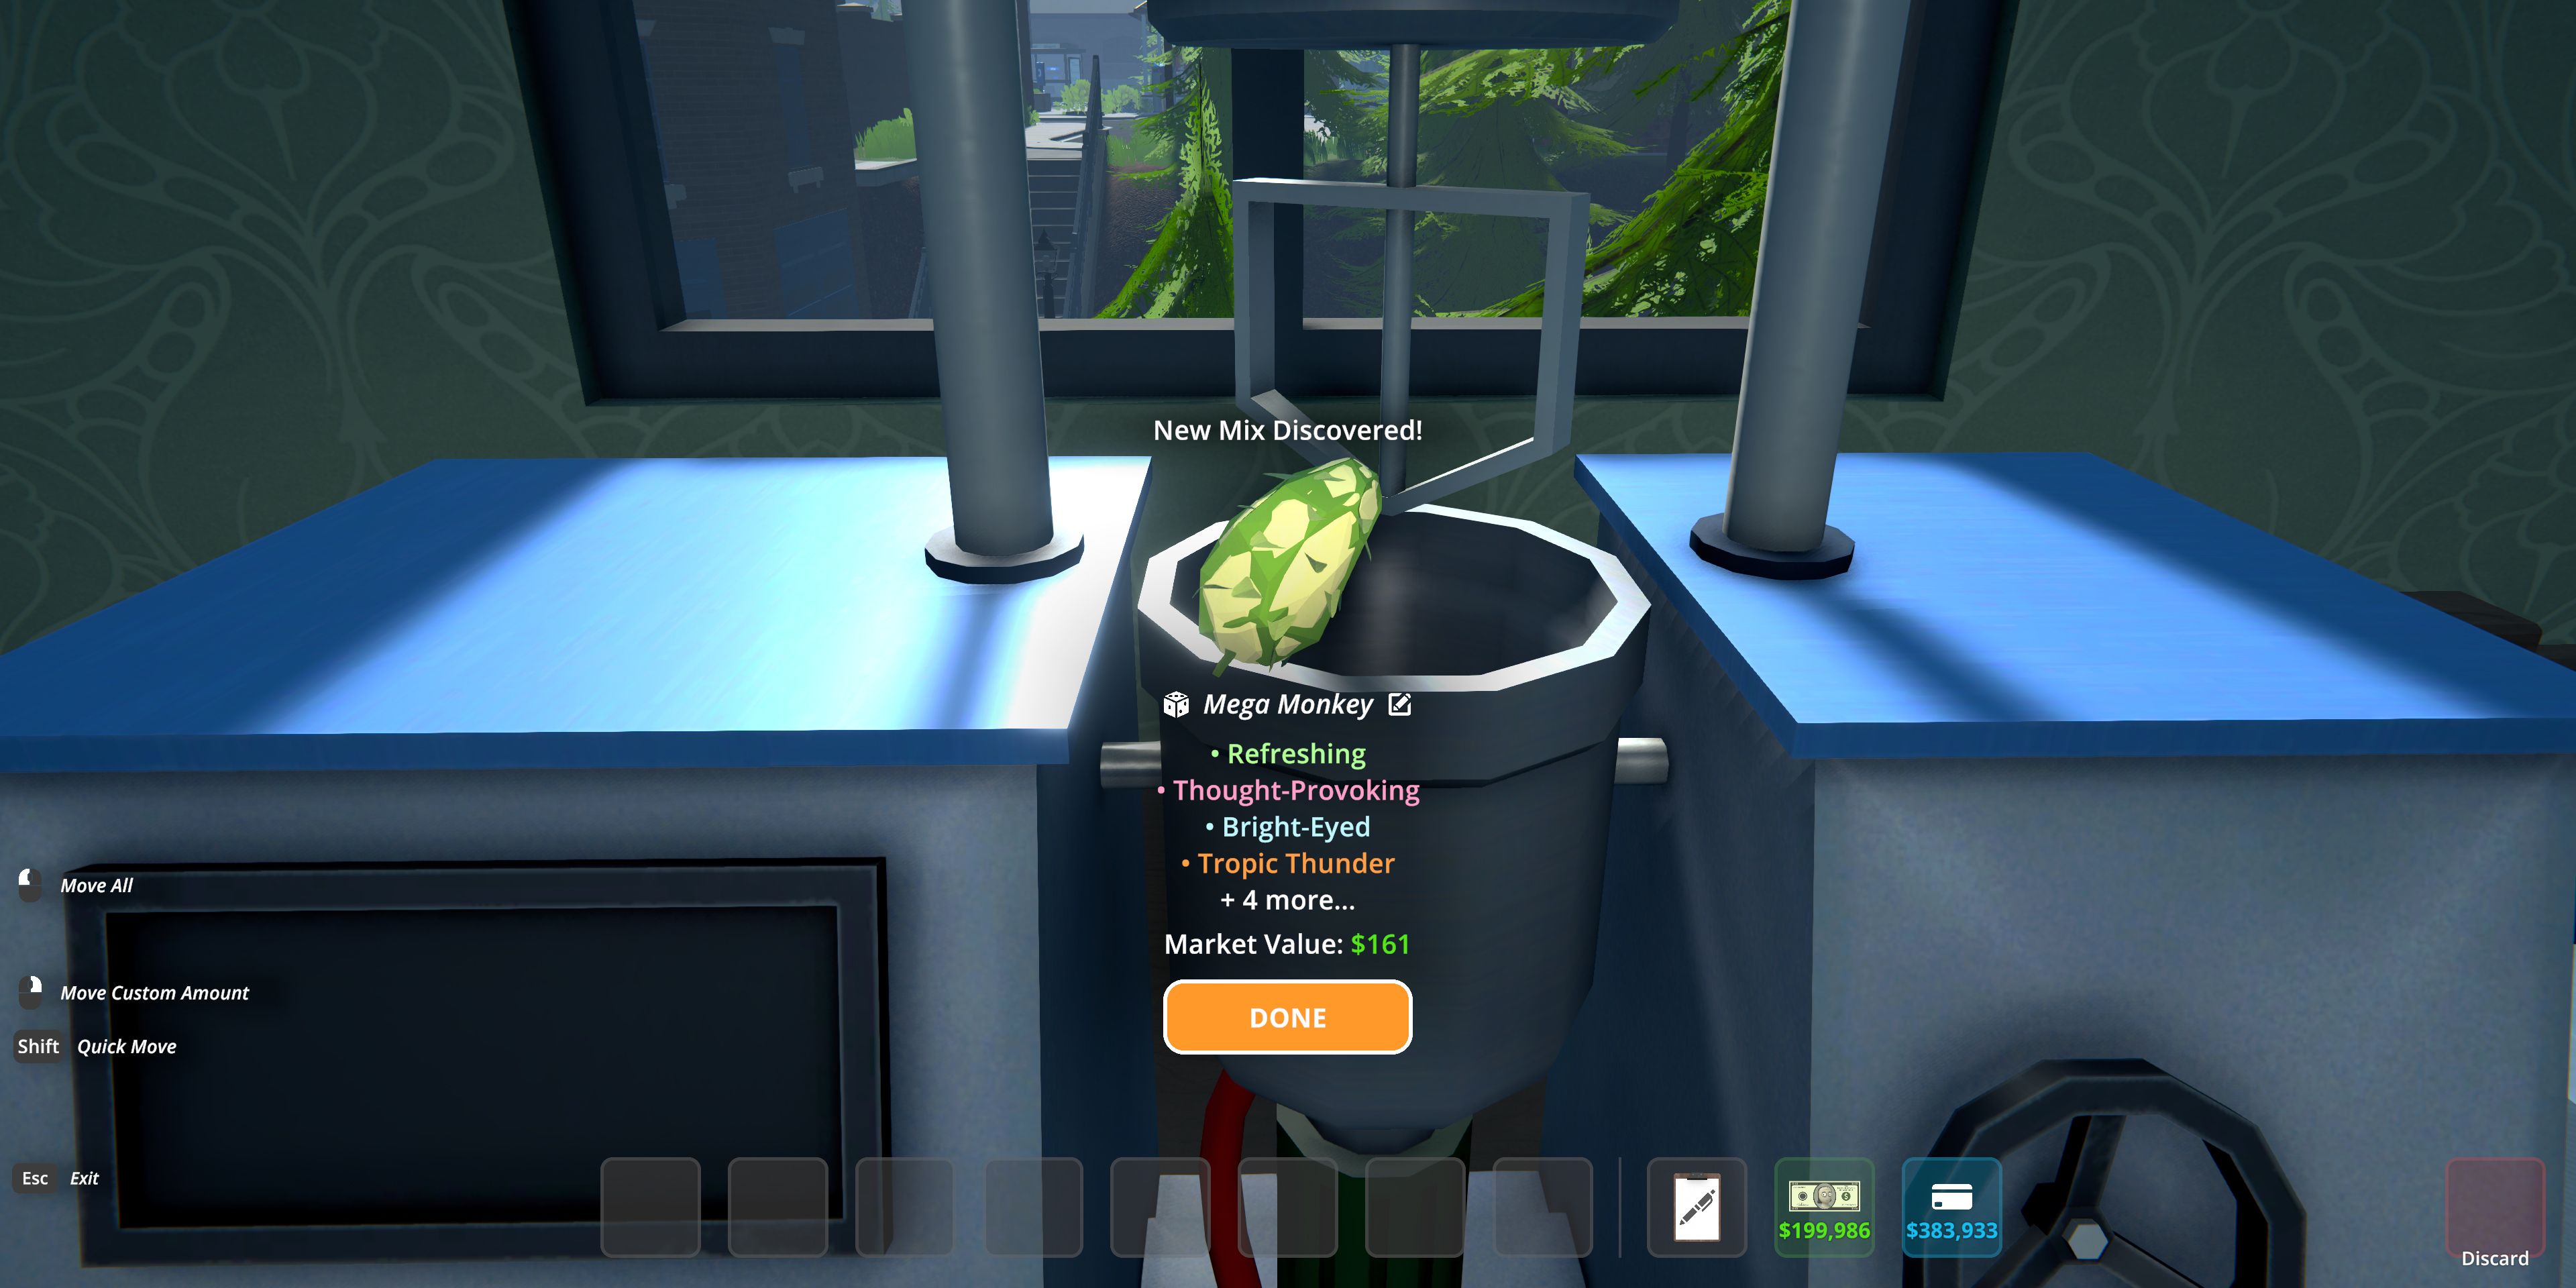
4. A Mixing Headquarters
Marketing Various Drug Combinations
- A small house for mixing, experimentation, and storage.
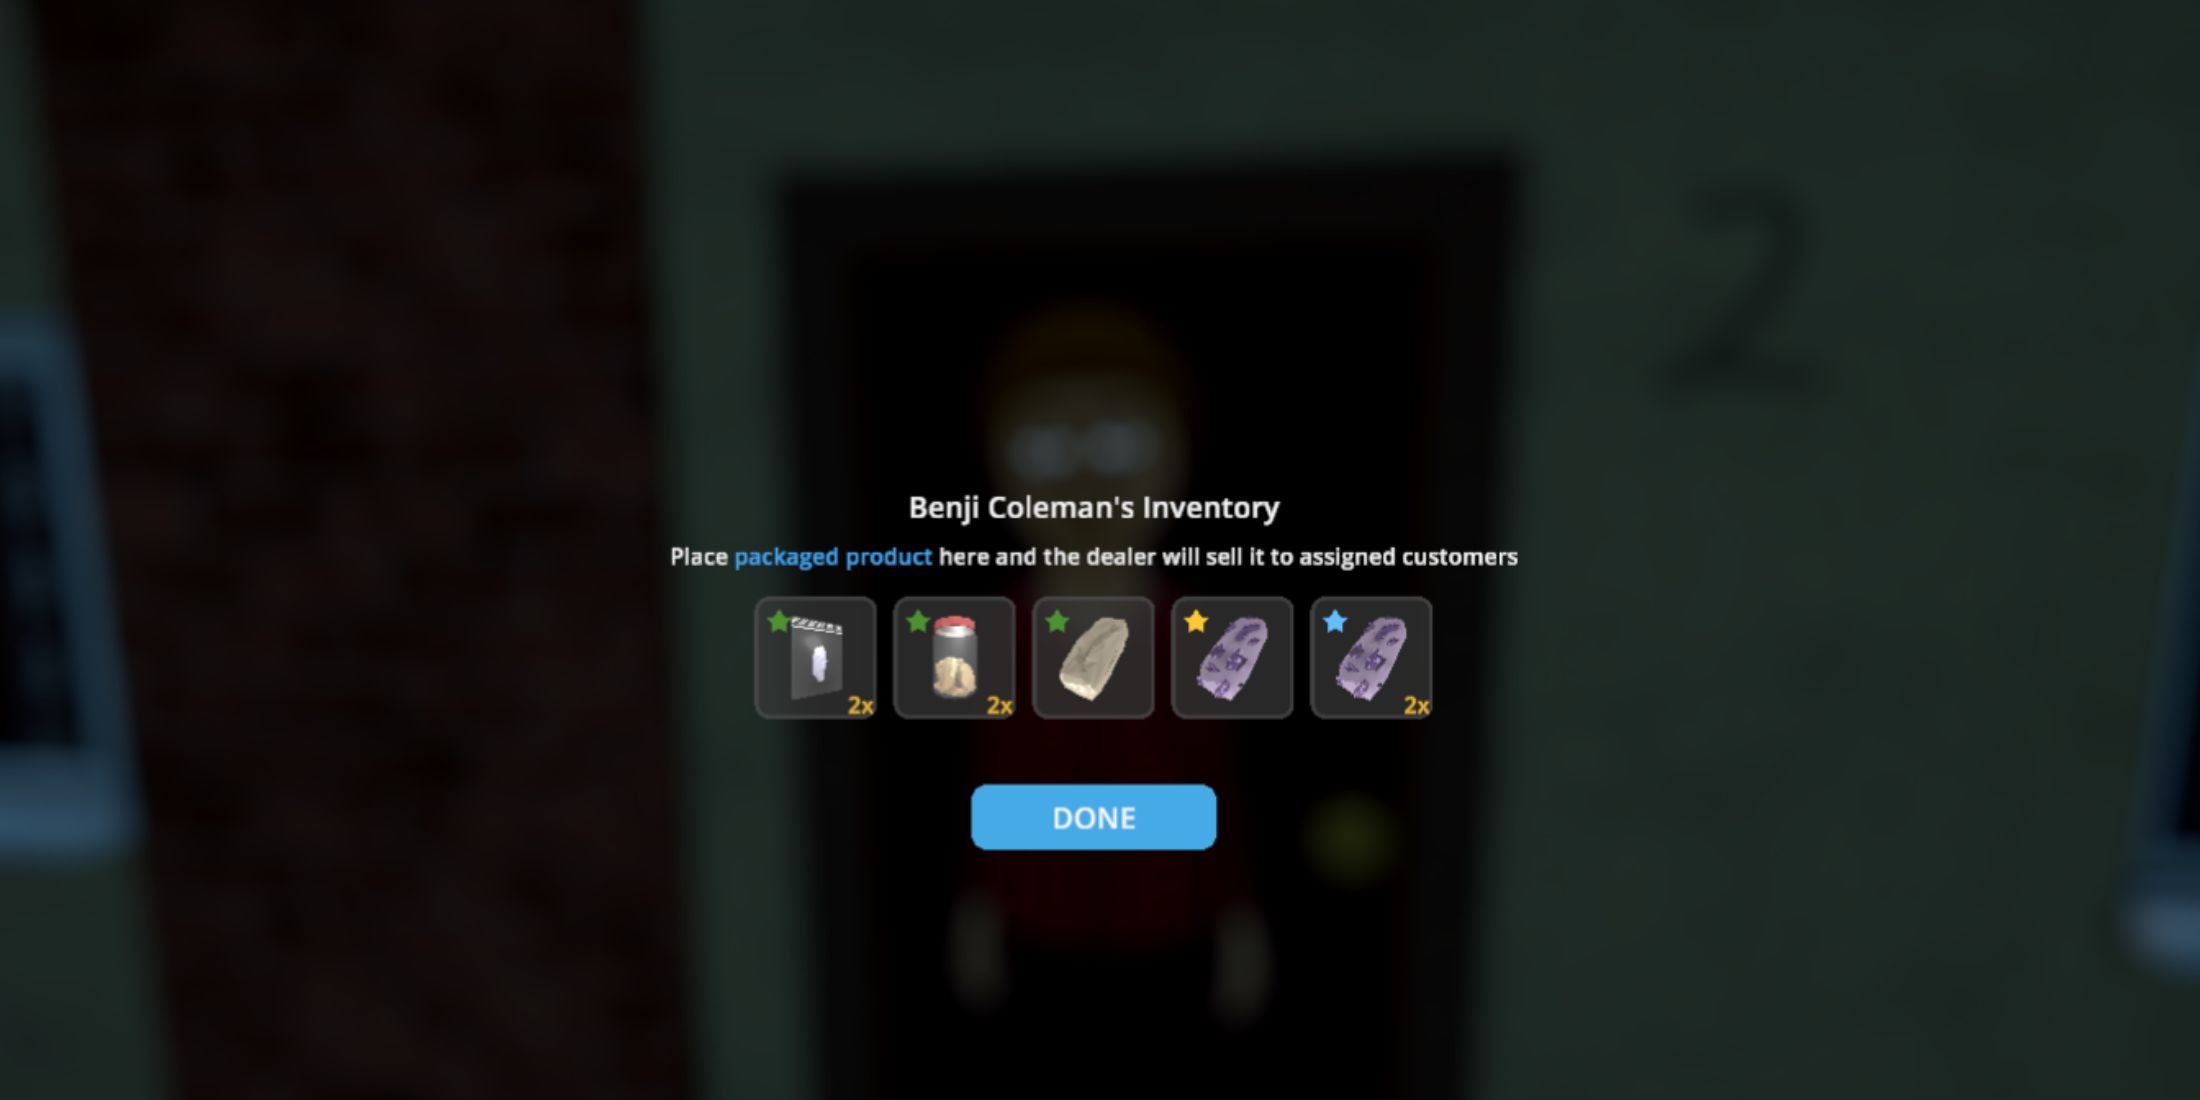
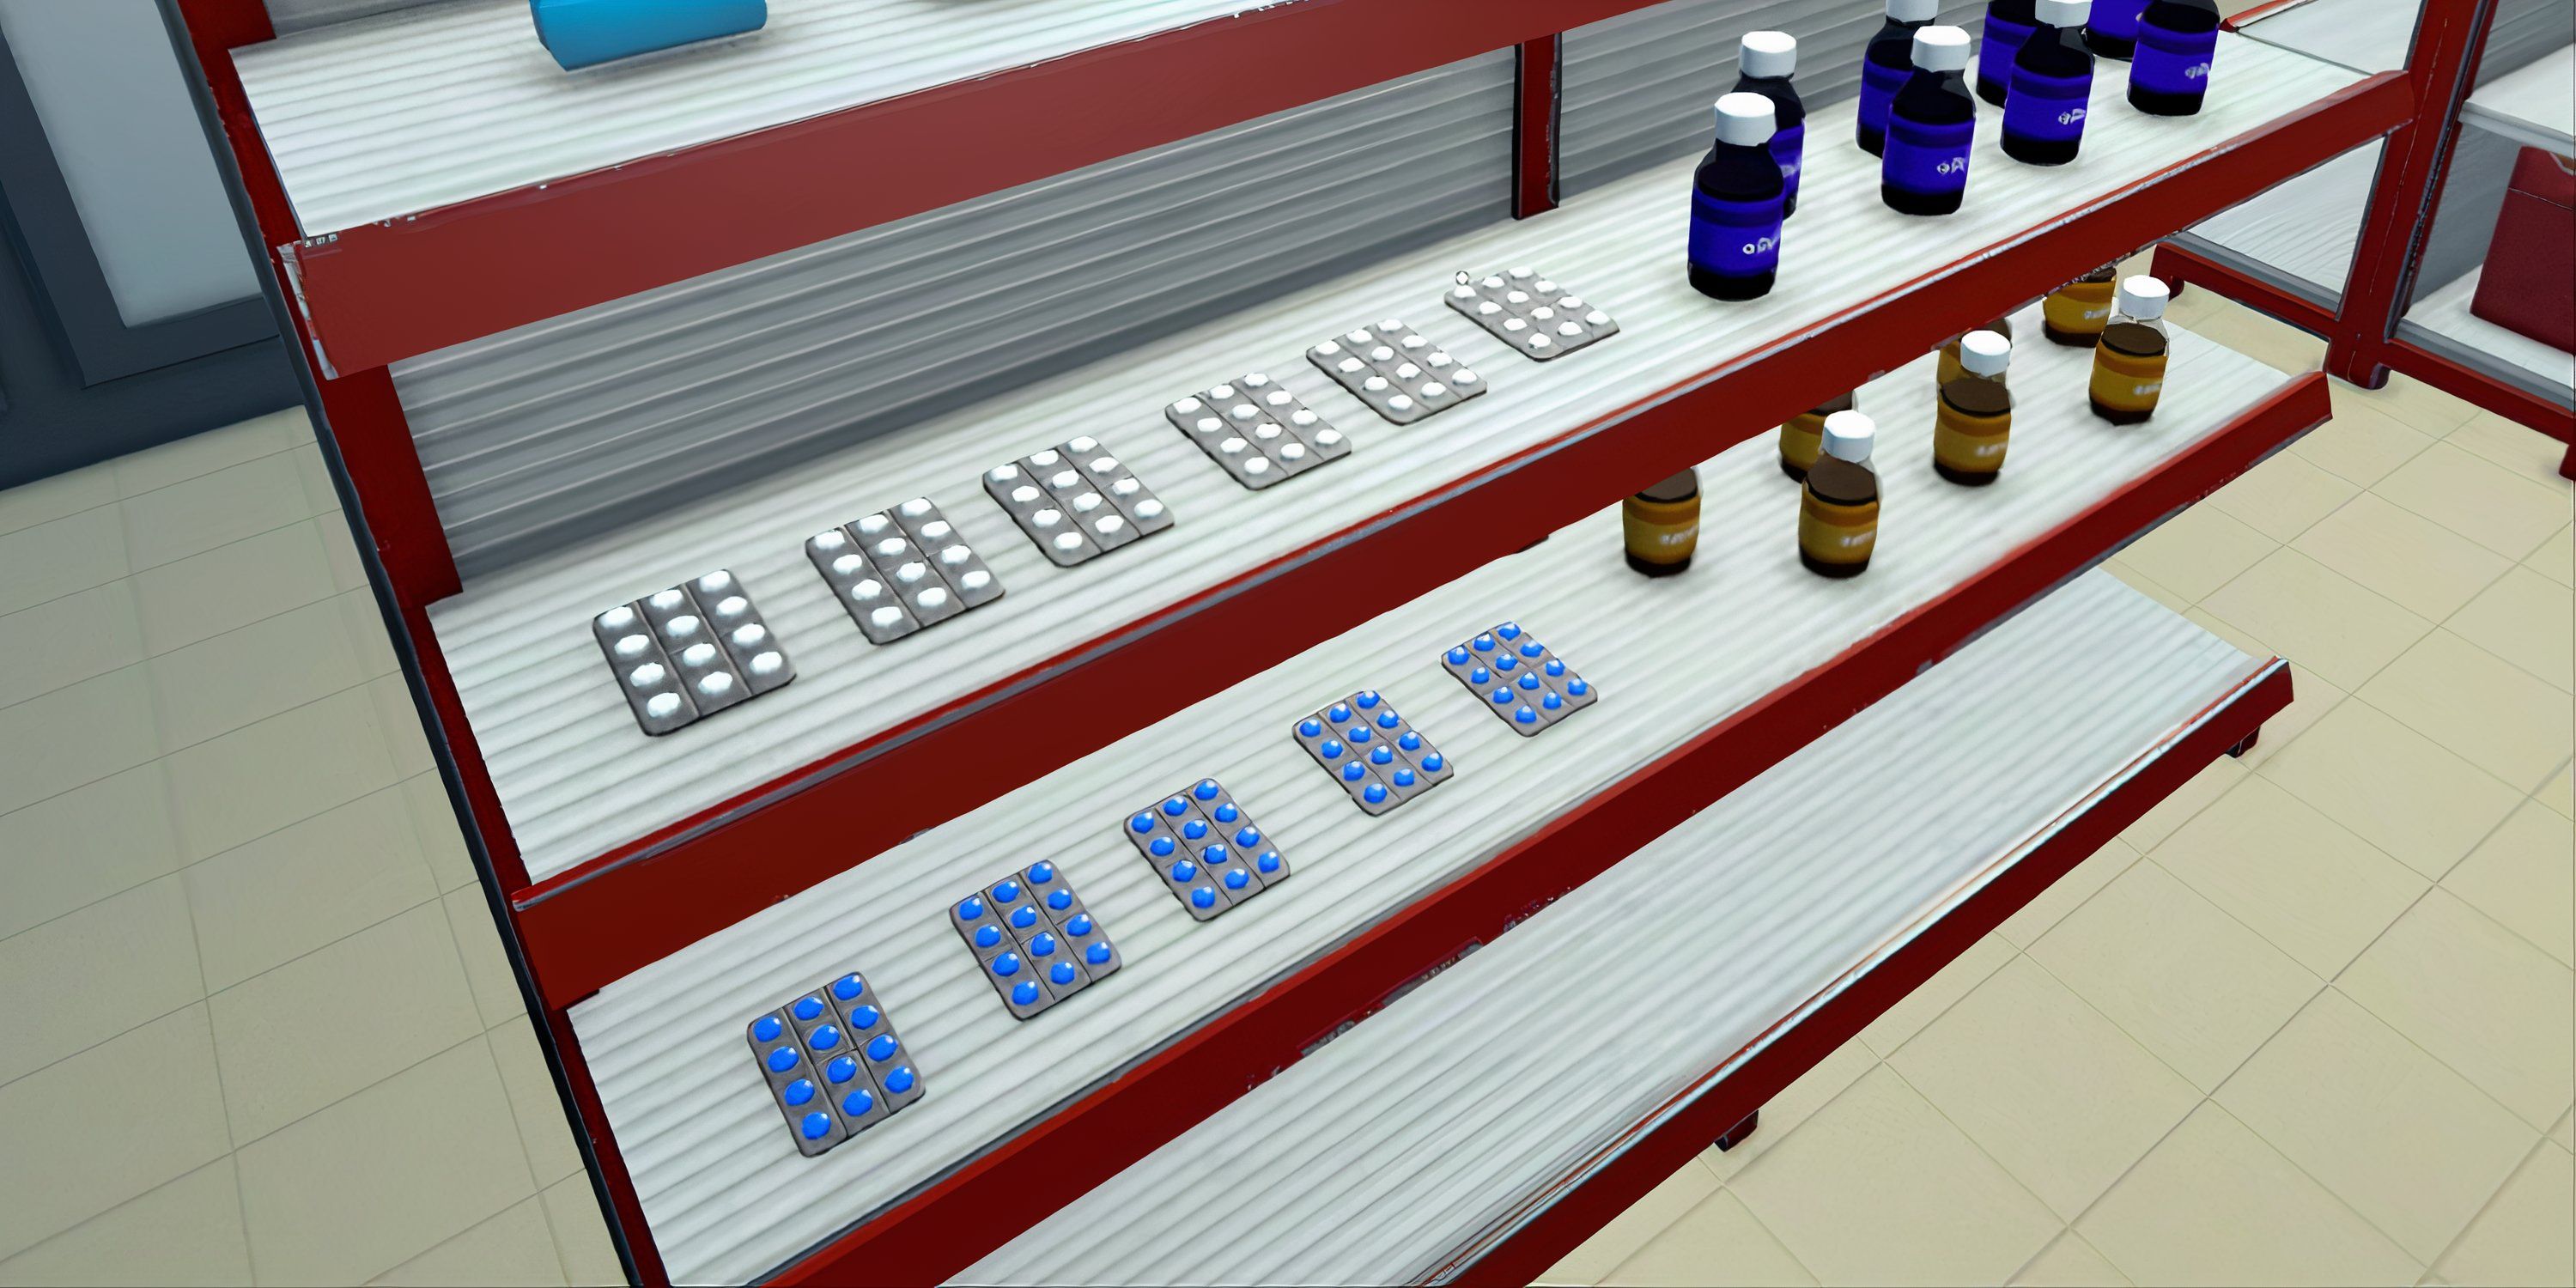
As the game advances and the player constructs bigger structures, the Bungalow can be transformed into a space that serves a more productive purpose than cultivating cannabis. Players may choose to change most of the grow room into storage for resources and set up one or two Packing stations, while using the kitchen for mixing and cooking instead.
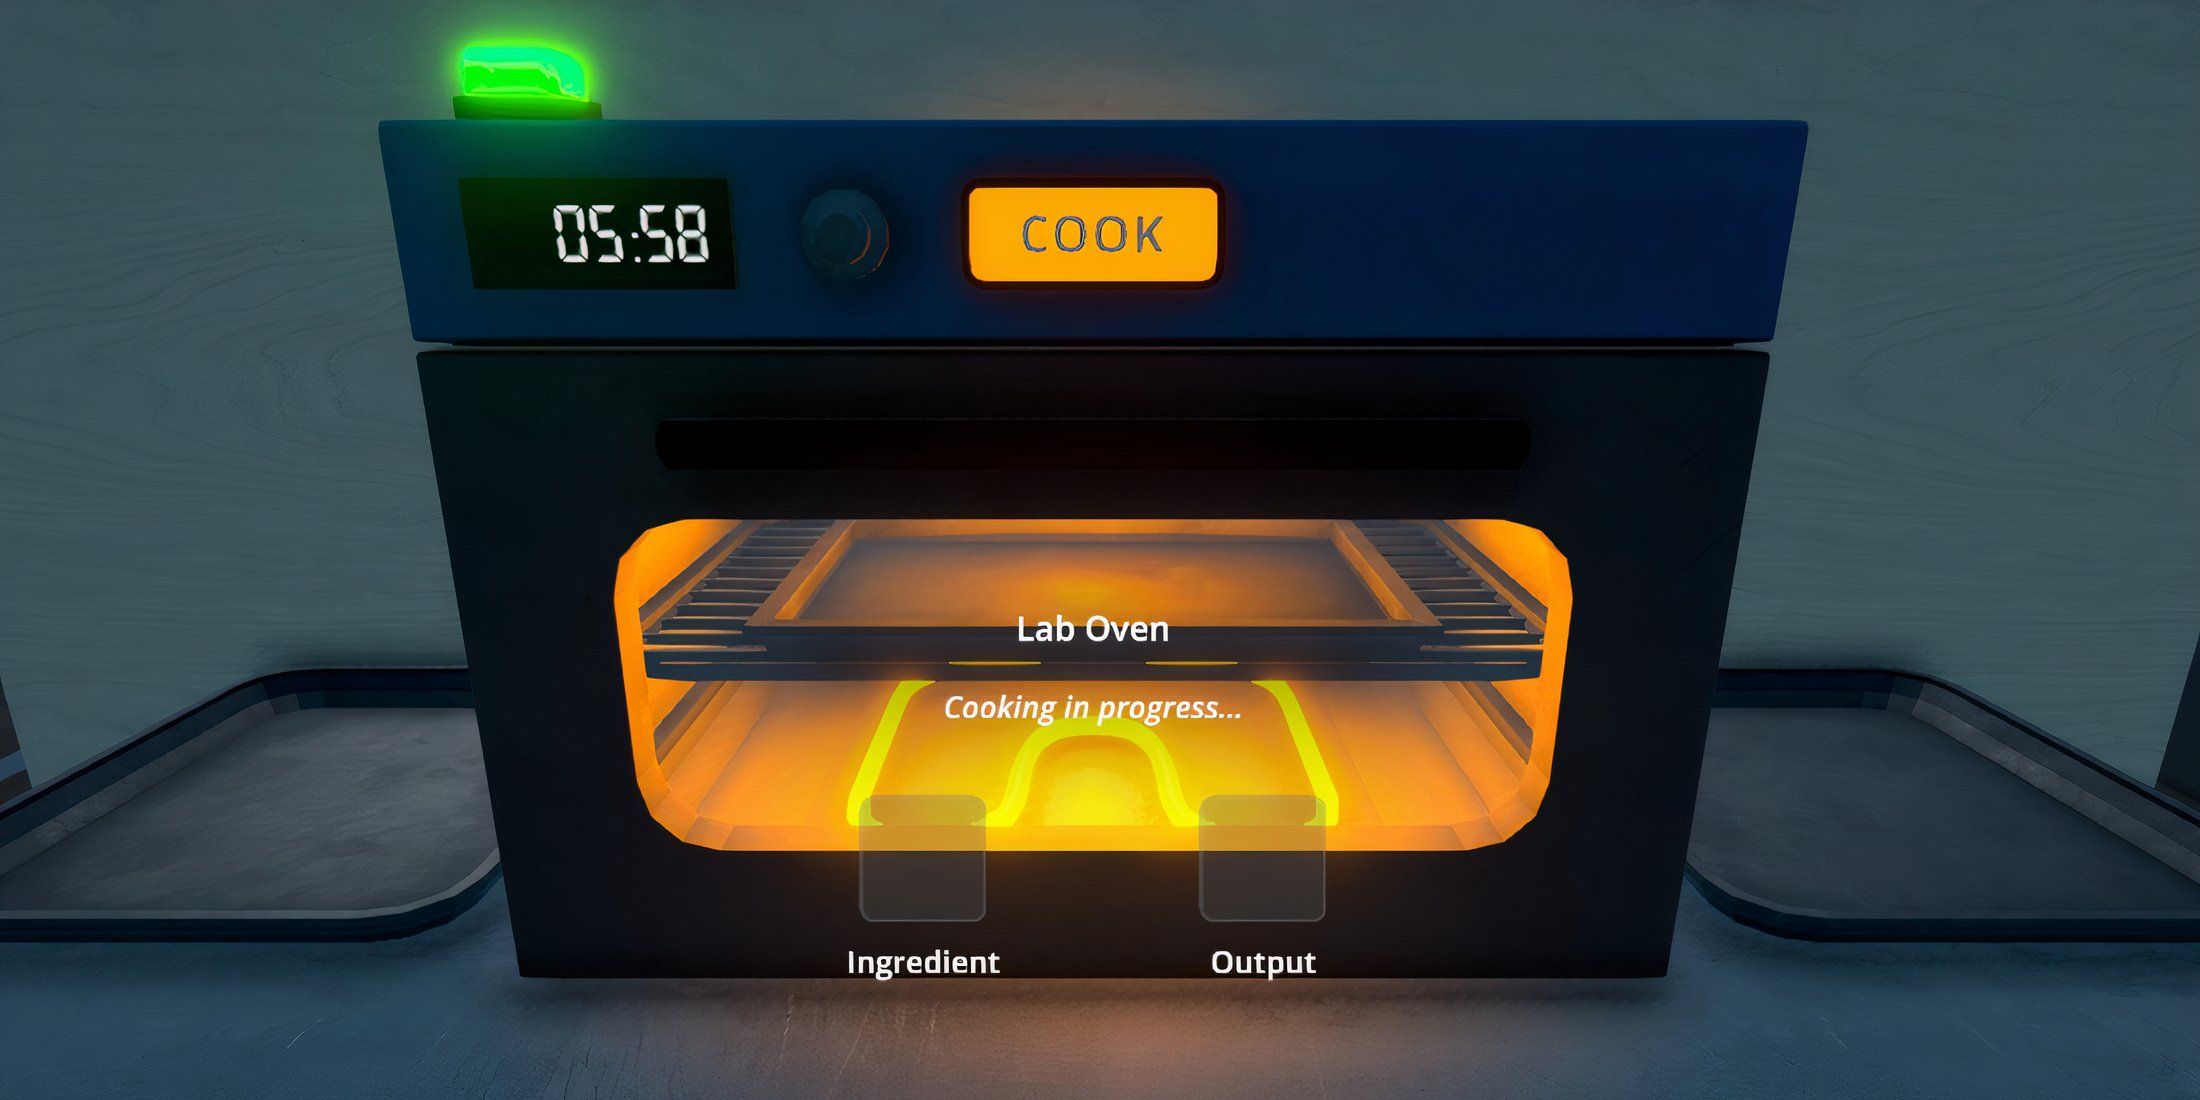
In this setup, you’ll need to establish a minimum of two Mixing Stations, accompanied by a Cauldron, a Chemistry Station, and a Lab Oven. This arrangement might squeeze the kitchen for storage space, but it reduces the workforce needed, allowing for more shelving in the living area. With this design, players can concentrate on storage, mixing, and packaging without being distracted by plants.
- Chemists: The cooks and mixers, so hiring two of these for this location is preferable.
- Handler: Although no plants are grown here, output at this location is still fairly high.
- Cleaner: The player can take over this job if they need to hire an extra person as a Chemist or Handler.
3. Coocoo For Coca
The Finest Powder
- Plenty of room for the plants and other ingredients required.
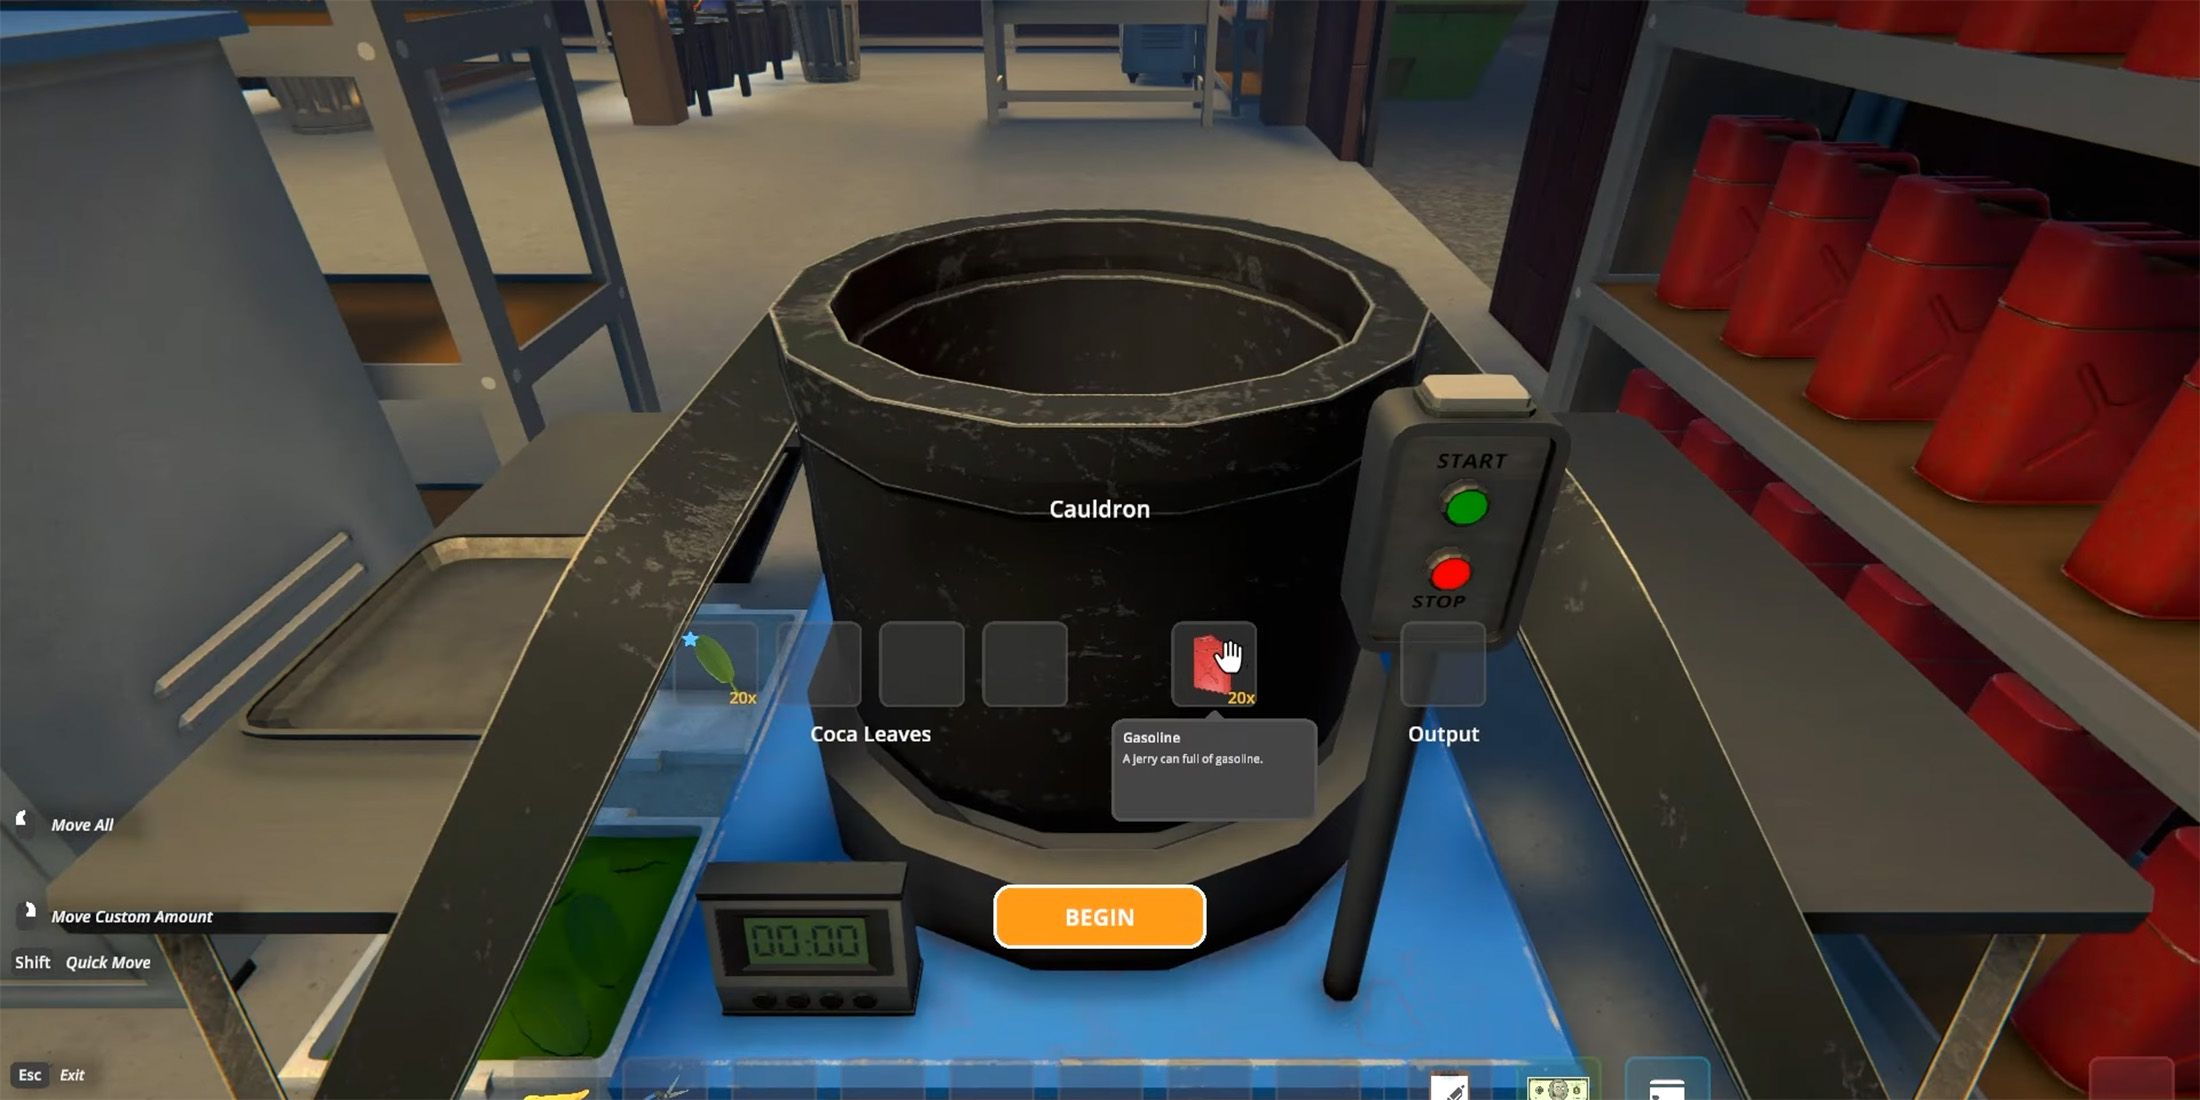
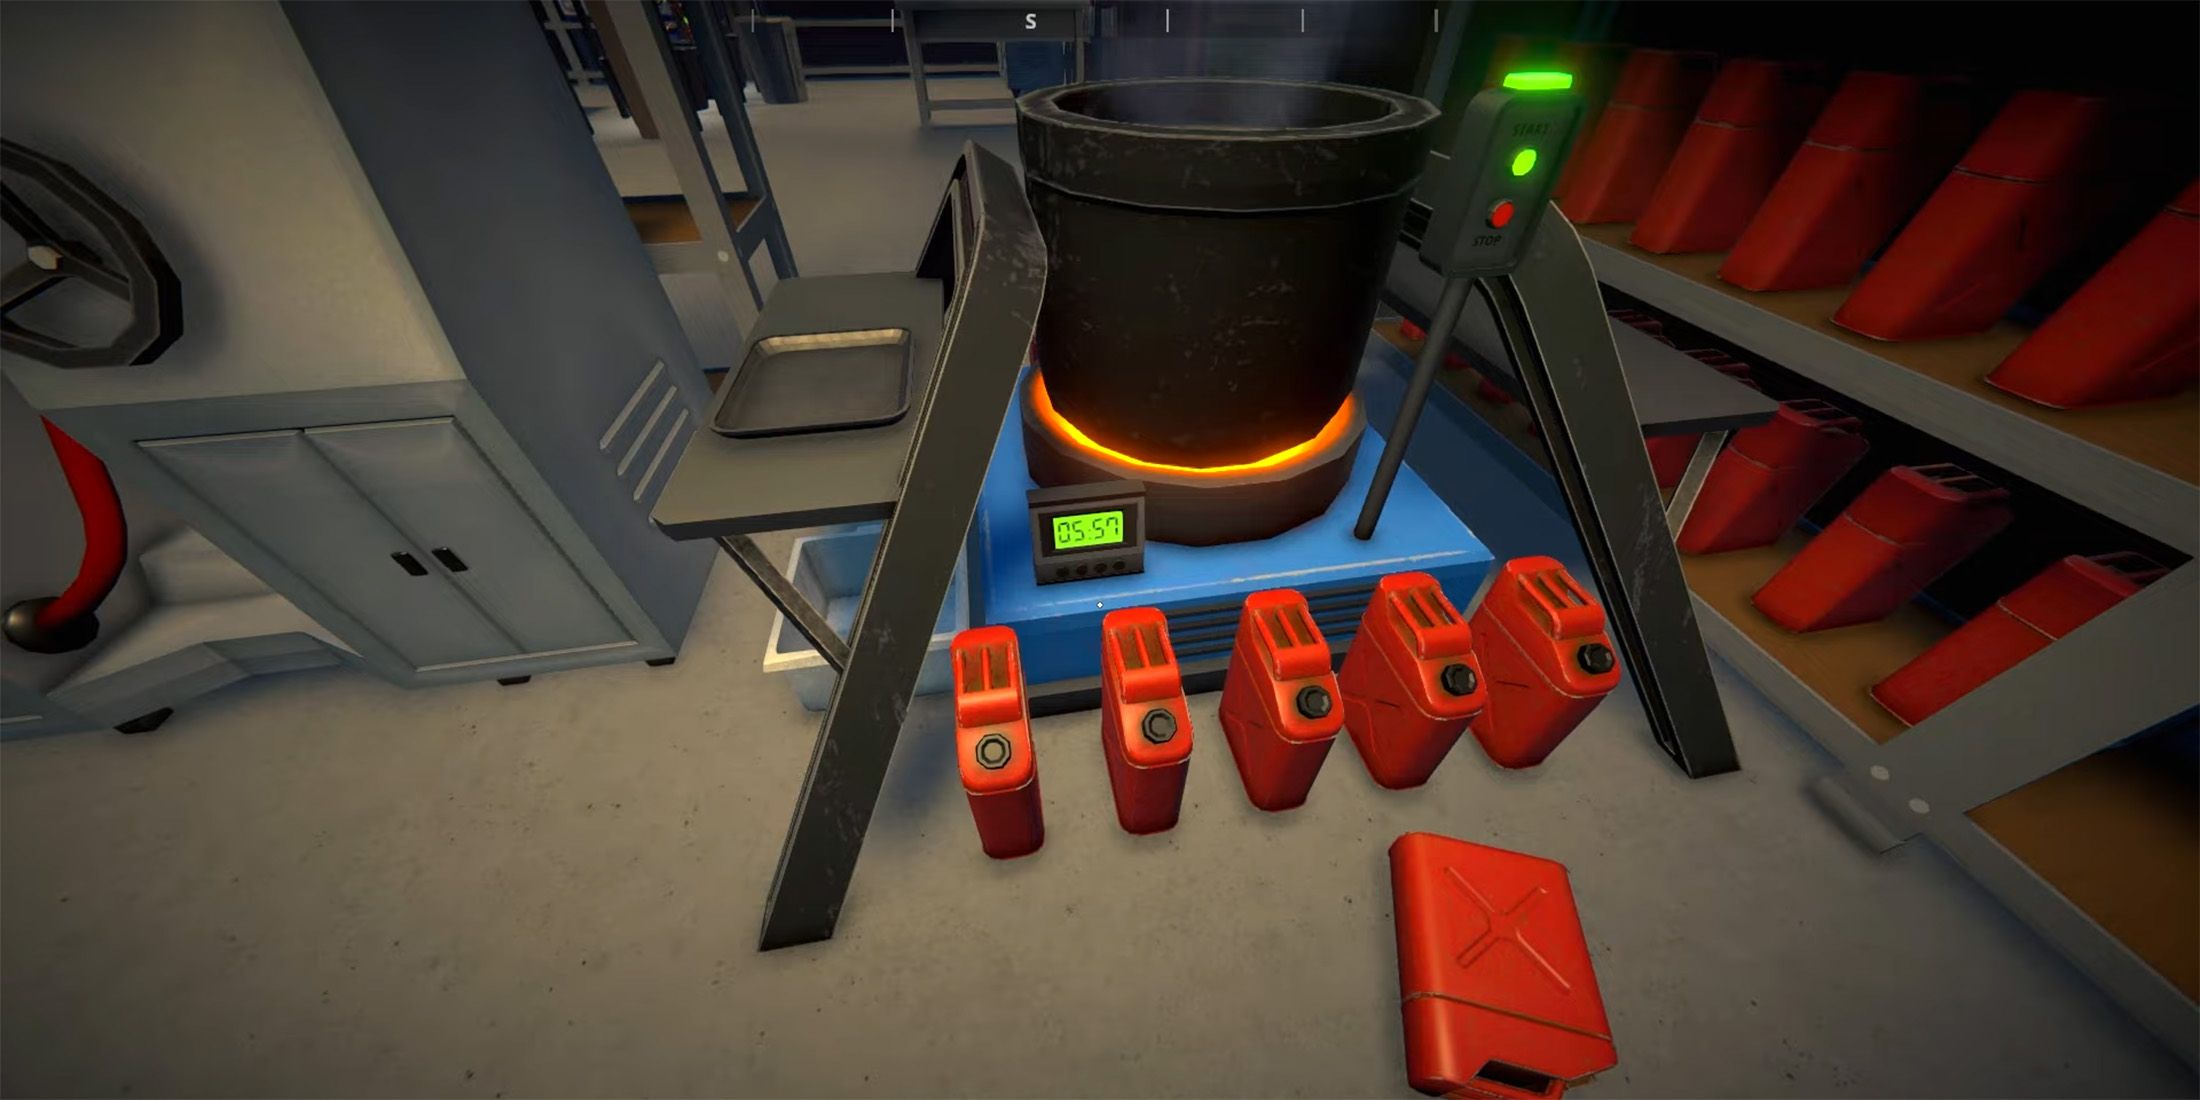
Once a player advances to the rank of Enforcer and acquires multiple properties for extensive drug trafficking, they might find a spacious bungalow ideal for running a substantial cocaine operation, but it’s crucial to allocate the entire space exclusively for this purpose. Additionally, keep in mind that increased production would necessitate more staff members.
In this rearranged setup, the enclosed space could serve as a greenhouse for plants, drying racks, and the cauldron, whereas the kitchen can be utilized for blending, packaging, and additional storage. It might prove beneficial for the player to consider purchasing a Brick Press now, as the quantities of various goods are expected to significantly increase during this phase of the game.
Employees
- Botanist: For a layout with more than eight plants, a second Botanist is required.
- Chemist: This is the most important employee at this location, so players should make sure they have their tasks assigned and updated.
- Handler: At this point in the game, this employee will also be driving, delivering, and unloading at the Dock.
- Cleaner: One should be enough, but players should ensure that they have ample supplies. Players can take on this job if they want an extra Chemist as part of the layout.
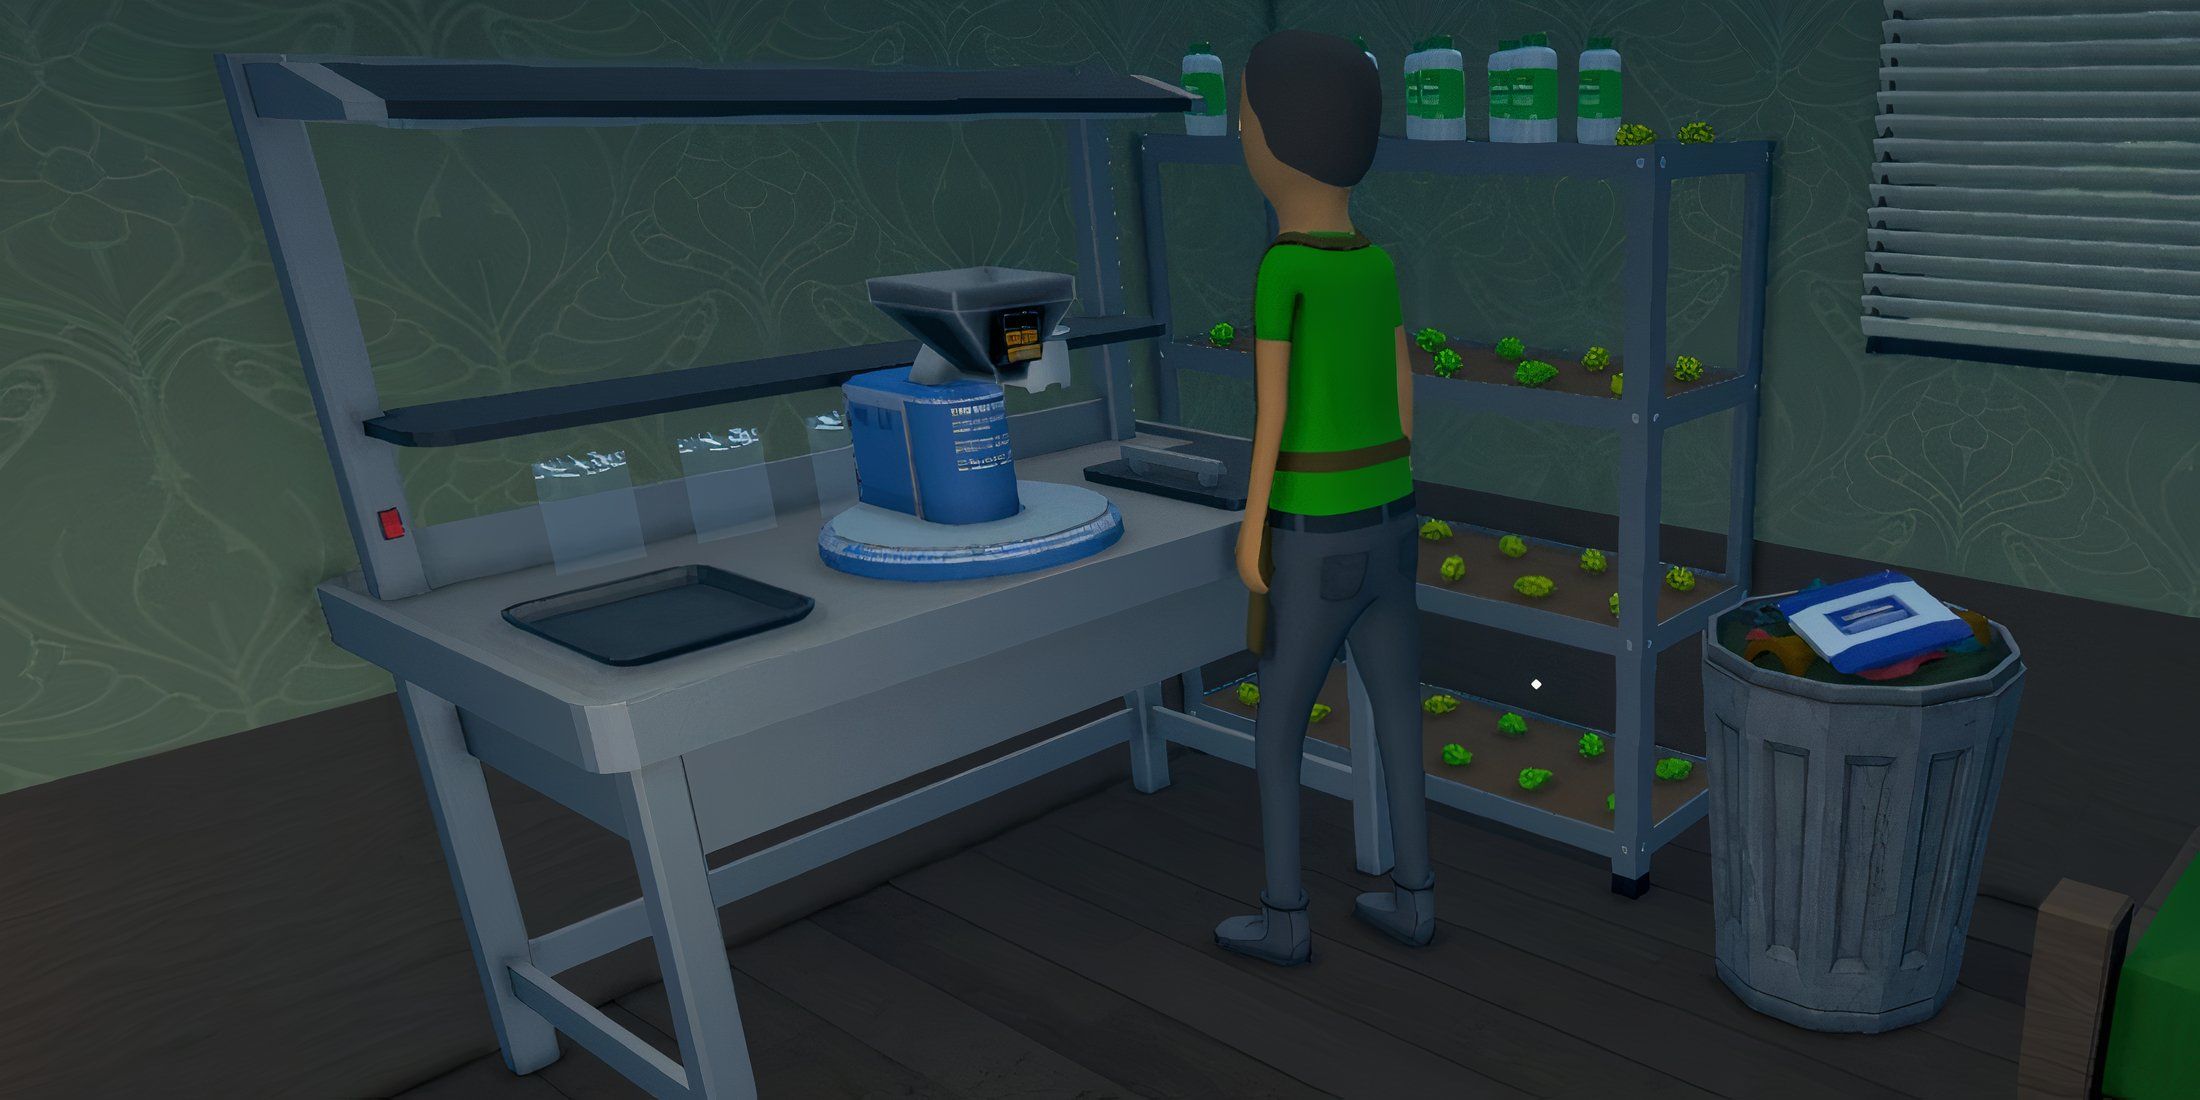
2. Copious Crystal
Lots Of Meth Fits In A Small Space
- Make a small investment and receive a generous return.
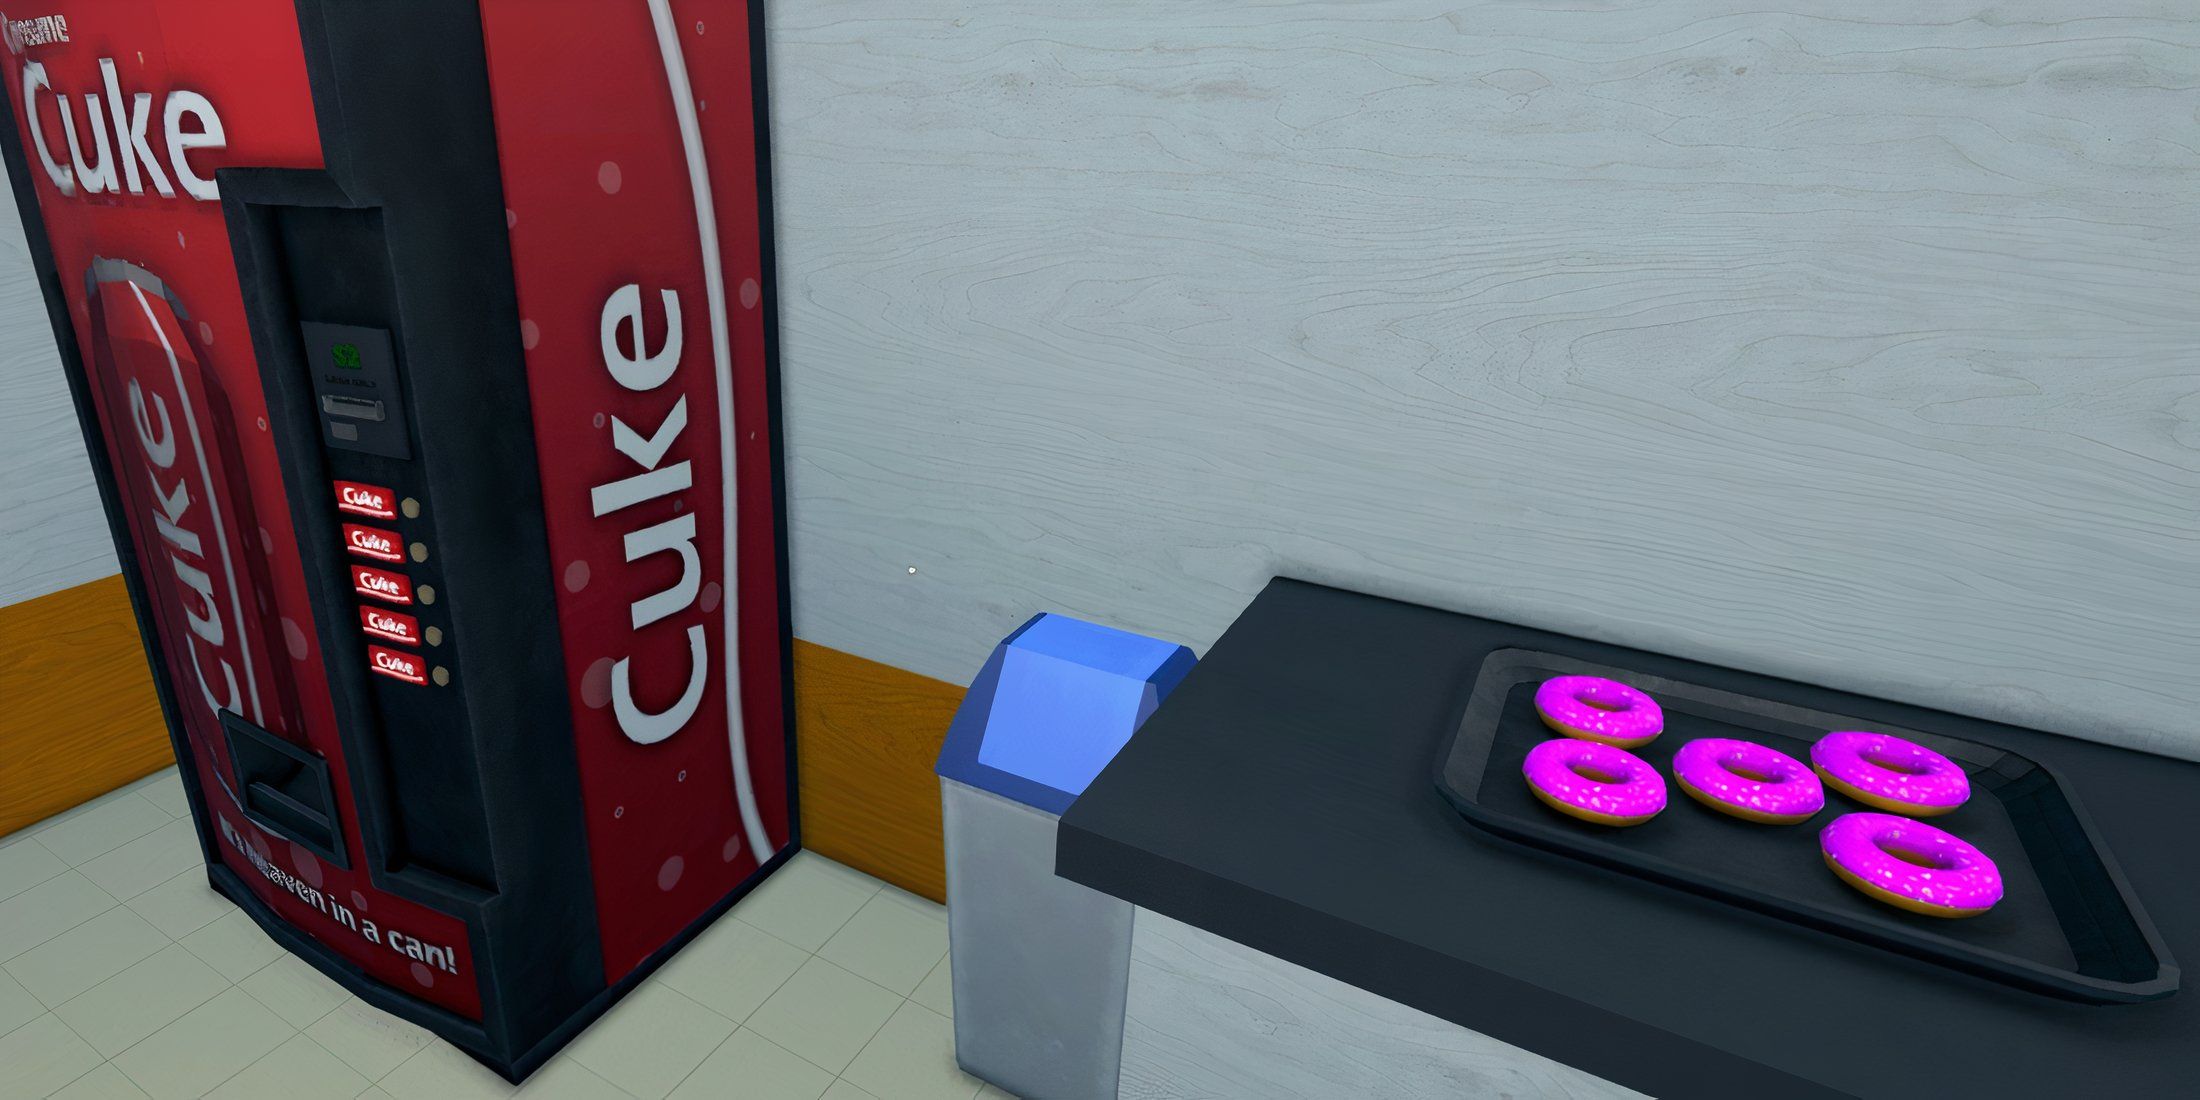
One advantage of meth in Schedule 1 is its small production requirements compared to other drugs. With a connection to supplier Shirley Watts, the player only needs a few additional components to manufacture it successfully. These essential ingredients are Acid and Phosphorus, which can be conveniently obtained at the Gas Mart.
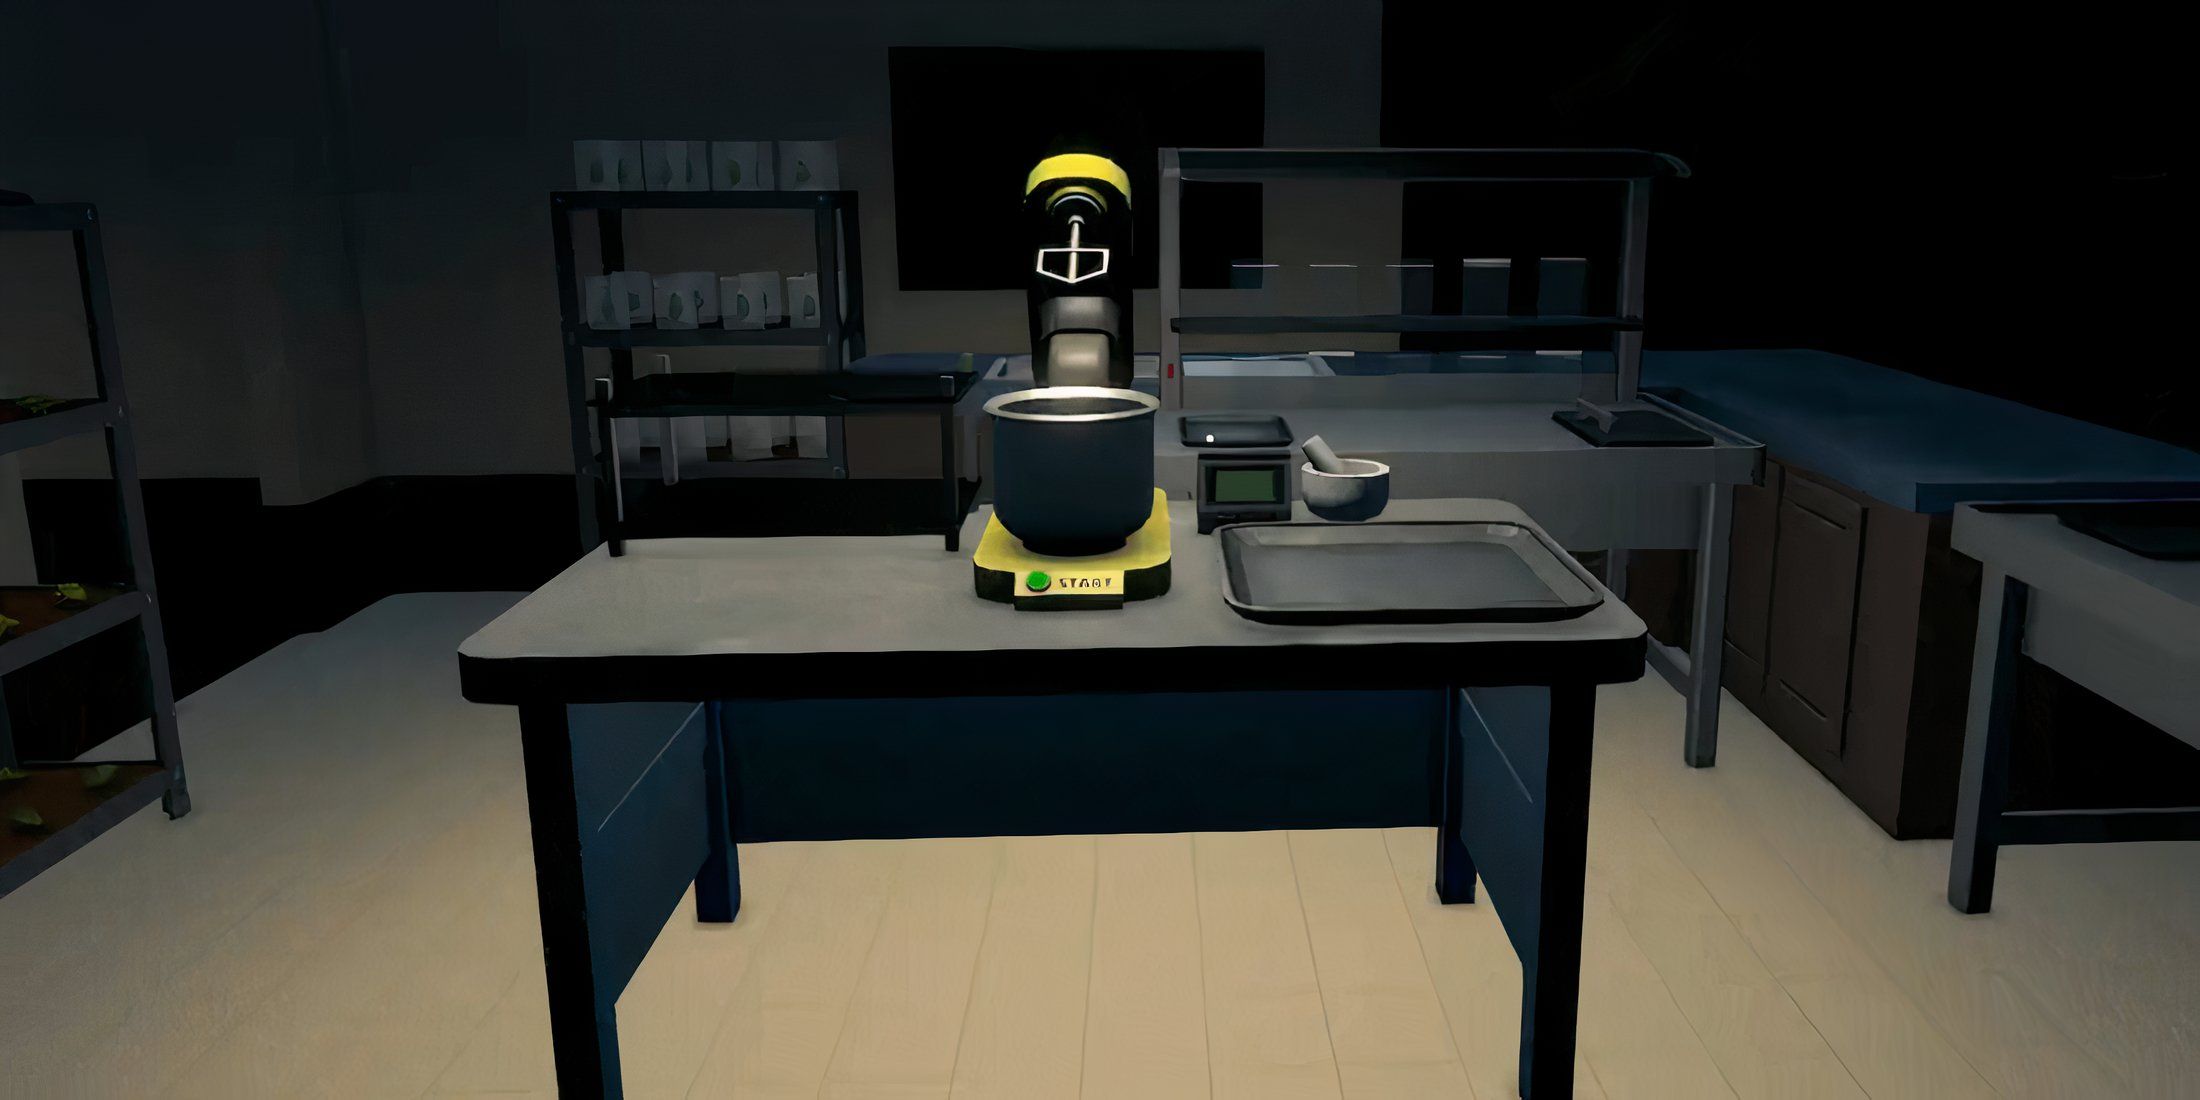
It’s convenient that a Gas Station is just a short walk from the Bungalow, making it one of the few shopping spots nearby. The empty room provides ample space for all necessary equipment, including a Chemistry Workstation and Lab Oven as well as some storage shelves. This allows players to have duplicate sets of everything, resulting in increased production of this sought-after, pricey substance.
Employees
- Chemist: At least two for this location, maybe even three, depending on how big it gets, and one can be dedicated to Mixing.
- Handler: This is a high-volume operation, so players should expect to move a lot of this high-demand product quickly, and they should think about hiring two Handlers as well.
- Cleaner: This is one of the few Bungalow layouts that has plenty of room for a Cleaner because no Botanists are required.
1. Multi-Purpose Space
Big Enough For Some Of Everything
- A design for the eclectic drug dealer.
For individuals seeking to juggle multiple tasks simultaneously, the Bungalow can be customized to accommodate a blend of functions. While the output may be limited, it remains a productive workspace that generates items. However, this setup necessitates the involvement of all five team members in different roles.
In this converted room, there’s enough space for both cannabis and coca plants, accompanied by some drying racks and simple shelving. For packing materials, feel free to use the living area. As for culinary activities, the kitchen remains the place where you’ll prepare your meals as normal. This area also offers ample room for a Cauldron, a Mixing Station, and a Lab Oven. If you wish to mix ingredients elsewhere, the additional space can be utilized to expand your cooking equipment or simply for extra storage.
Employees
- Botanist: It’s best to have two, one for the coca plants and another for the cannabis, giving them eight each maximum.
- Chemist: The bulk of their work will be at the Lab Oven and Cauldron, unless the player also wants to cram the Mixing Station in.
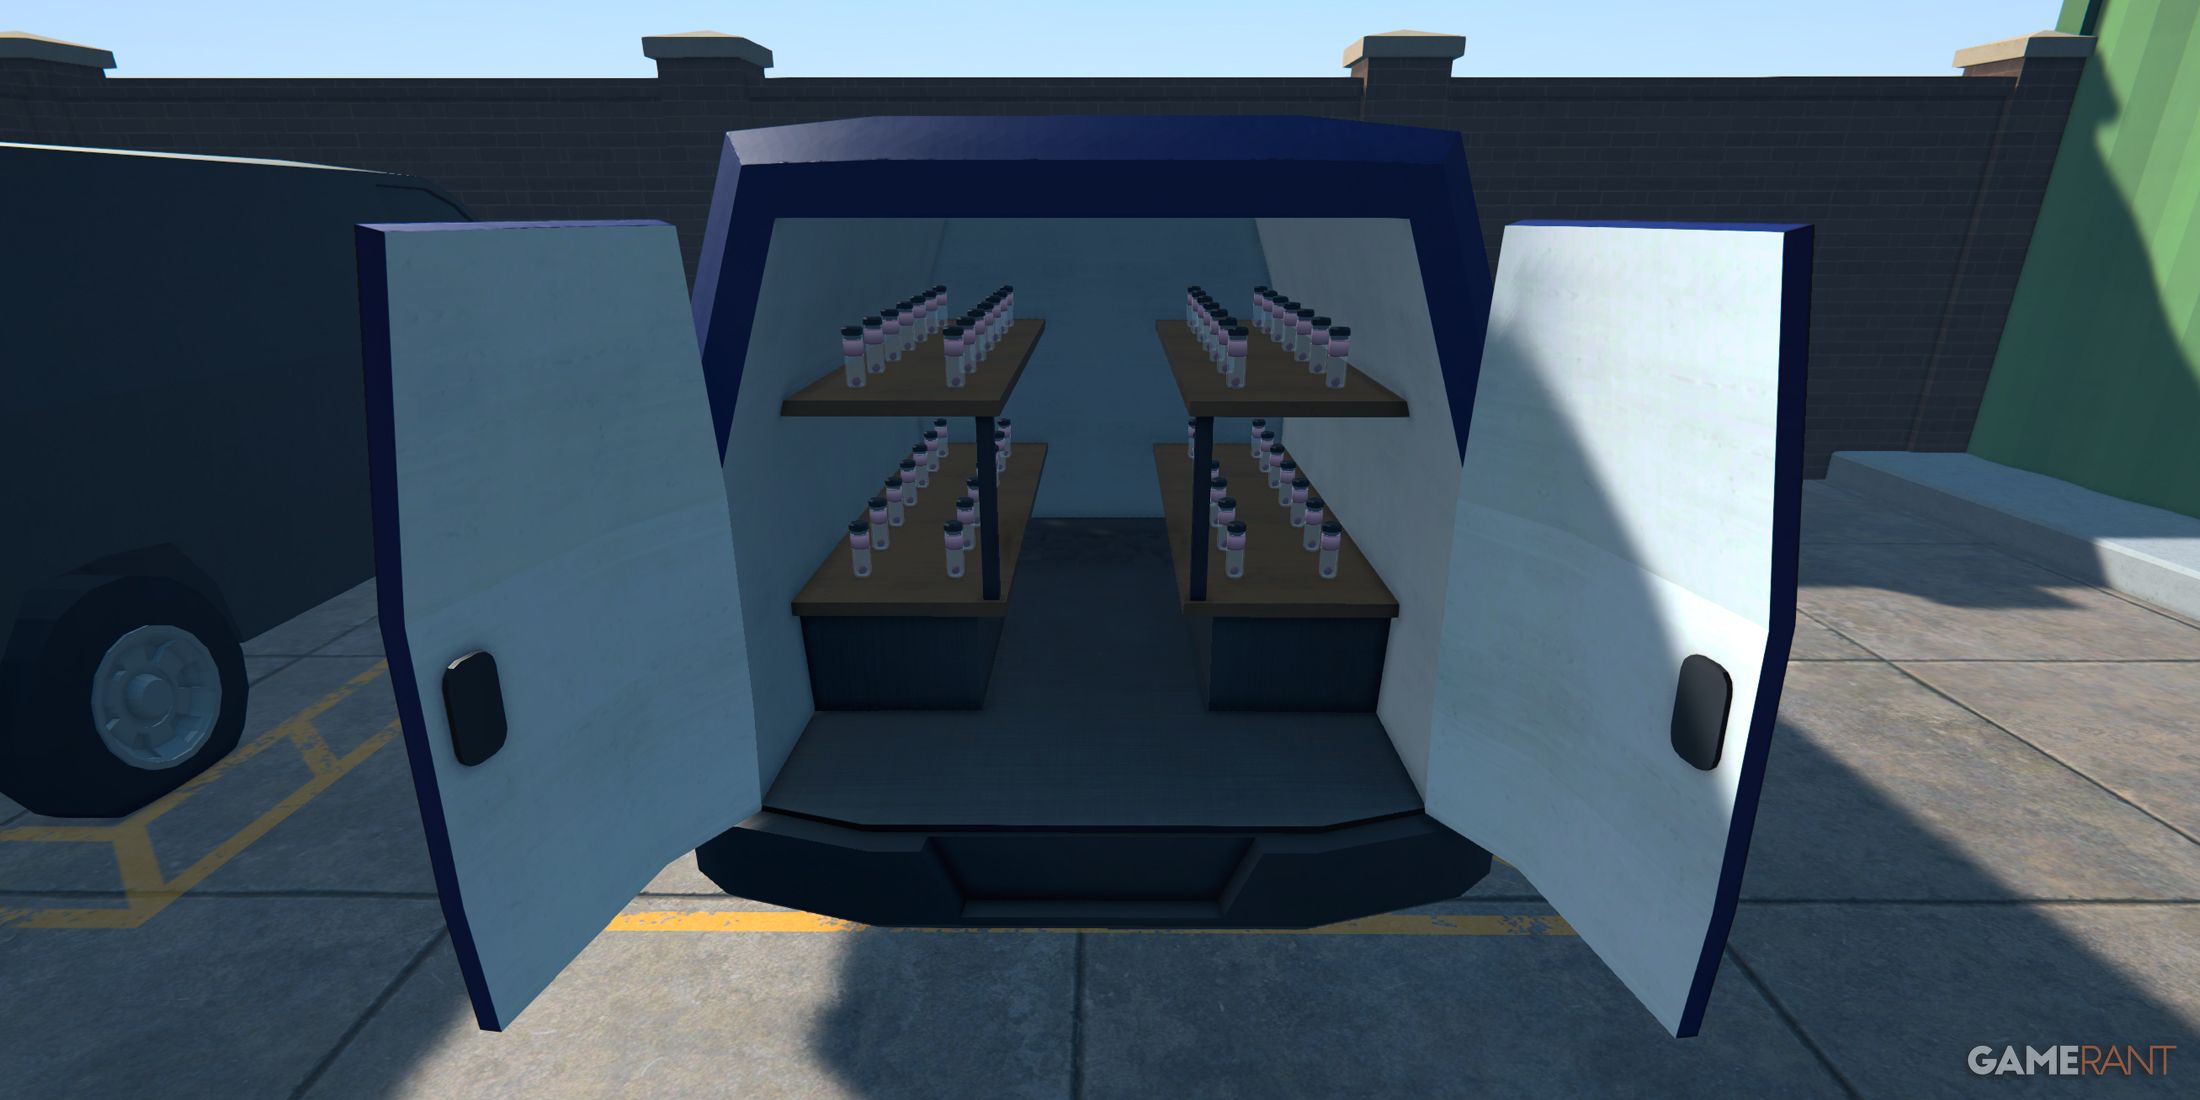
- Handler: This location has a handy loading dock, and this worker will also be moving product from place to place while also packing it.
- Cleaner: Nice to have, but should the player require an extra Chemist at this location, they can take on the job themselves.
Read More
- Devil May Cry Netflix: Season 1 Episodes Ranked
- Unlock the Magic: New Arcane Blind Box Collection from POP MART and Riot Games!
- Jujutsu Kaisen Shocker: The Real Reason Gojo Fell to Sukuna Revealed by Gege Akutami!
- Top 8 UFC 5 Perks Every Fighter Should Use
- You’re Going to Lose It When You See the Next Love and Deepspace Banner!
- How to Reach 80,000M in Dead Rails
- Nine Sols: 6 Best Jin Farming Methods
- Unlock Roslit Bay’s Bestiary: Fisch Fishing Guide
- Unlock the Best Ending in Lost Records: Bloom & Rage by Calming Autumn’s Breakdown!
- Get Ready for ‘Displacement’: The Brutal New Horror Game That Will Haunt Your Dreams!
2025-04-24 07:06