In the game known as “Phasmophobia”, you’ll find no dearth of spine-tingling situations designed to challenge players’ abilities as paranormal detectives. What makes it even more thrilling is that the rewards for conquering these paranormal obstacles can be quite significant, particularly when it comes to confronting the game’s most perilous ghosts – especially those in the mode referred to as “Challenge Mode”.
In Phasmophobia, Challenge Mode offers some of its toughest weekly tasks, including the intense Hide and Seek: Extreme test. If you’re struggling with this task, here’s a breakdown of what you should know.
What is Challenge Mode in Phasmophobia?

In the game Phasmophobia, Challenge Mode presents special difficulty levels and weekly tasks that offer players a diverse range of investigative challenges for substantial rewards and accomplishments. These challenges often encompass the most demanding ghost-hunting situations within the game, some comparable to the formidable Gold Apocalypse challenge.
In this thrilling challenge I find myself in, the gear packages provided are fixed and non-customizable, yet they’re generously given to me at no cost. This means if I happen to fall short during my attempt, I won’t bear any financial burden. What’s more intriguing is that these loadouts aren’t influenced by my existing game level or the equipment I’ve previously unlocked and upgraded.
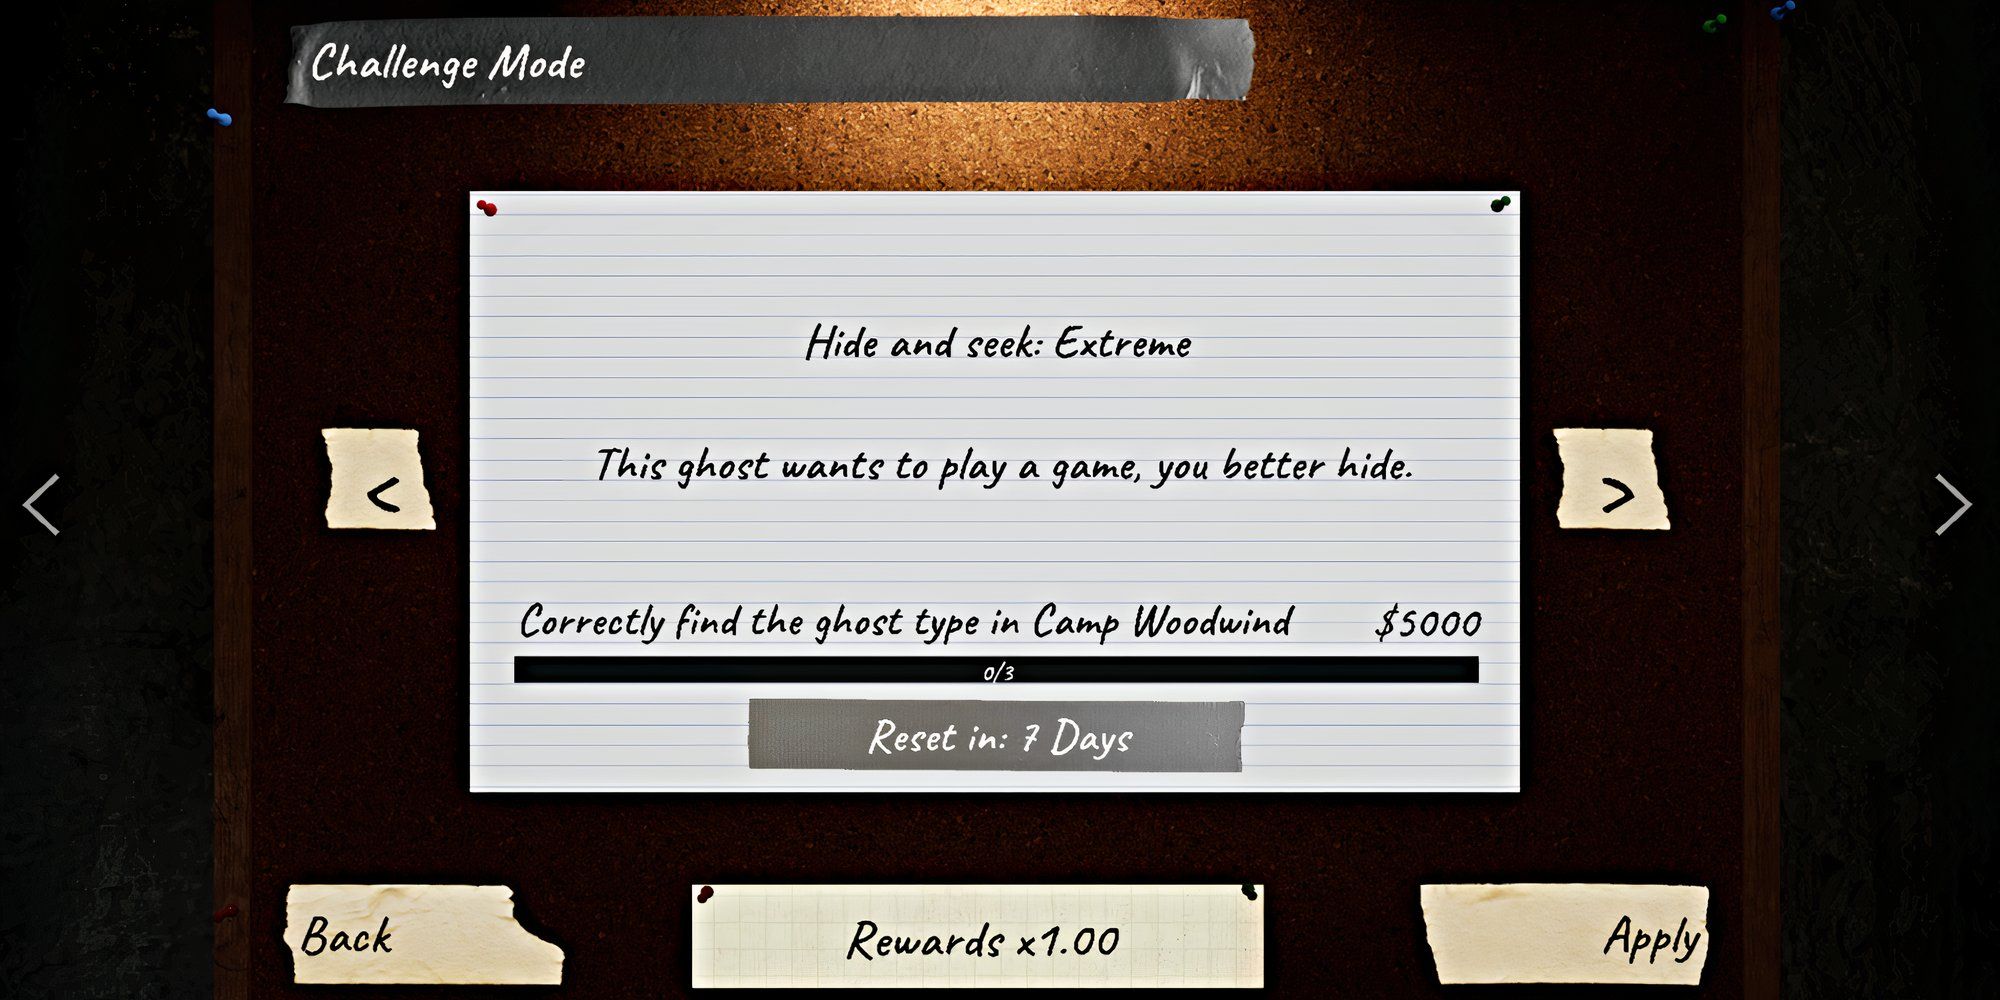
To earn all the weekly Challenge Mode rewards, you should manage to solve the presented challenge at least three separate times. In order to consider it solved, you just need to accurately identify the ghost’s true identity. Achieving additional objectives isn’t mandatory but may enhance the rewards you receive.
As a gamer, I can see my progress clearly displayed on the main lobby board up above. Completing investigations not only earns me a base reward of $5,000 but also any extra points from the tasks themselves, plus bonuses from daily or weekly challenges. To level up and prestige my character to the max, these challenges are an invaluable aid.
When Does Challenge Mode Reset in Phasmophobia?
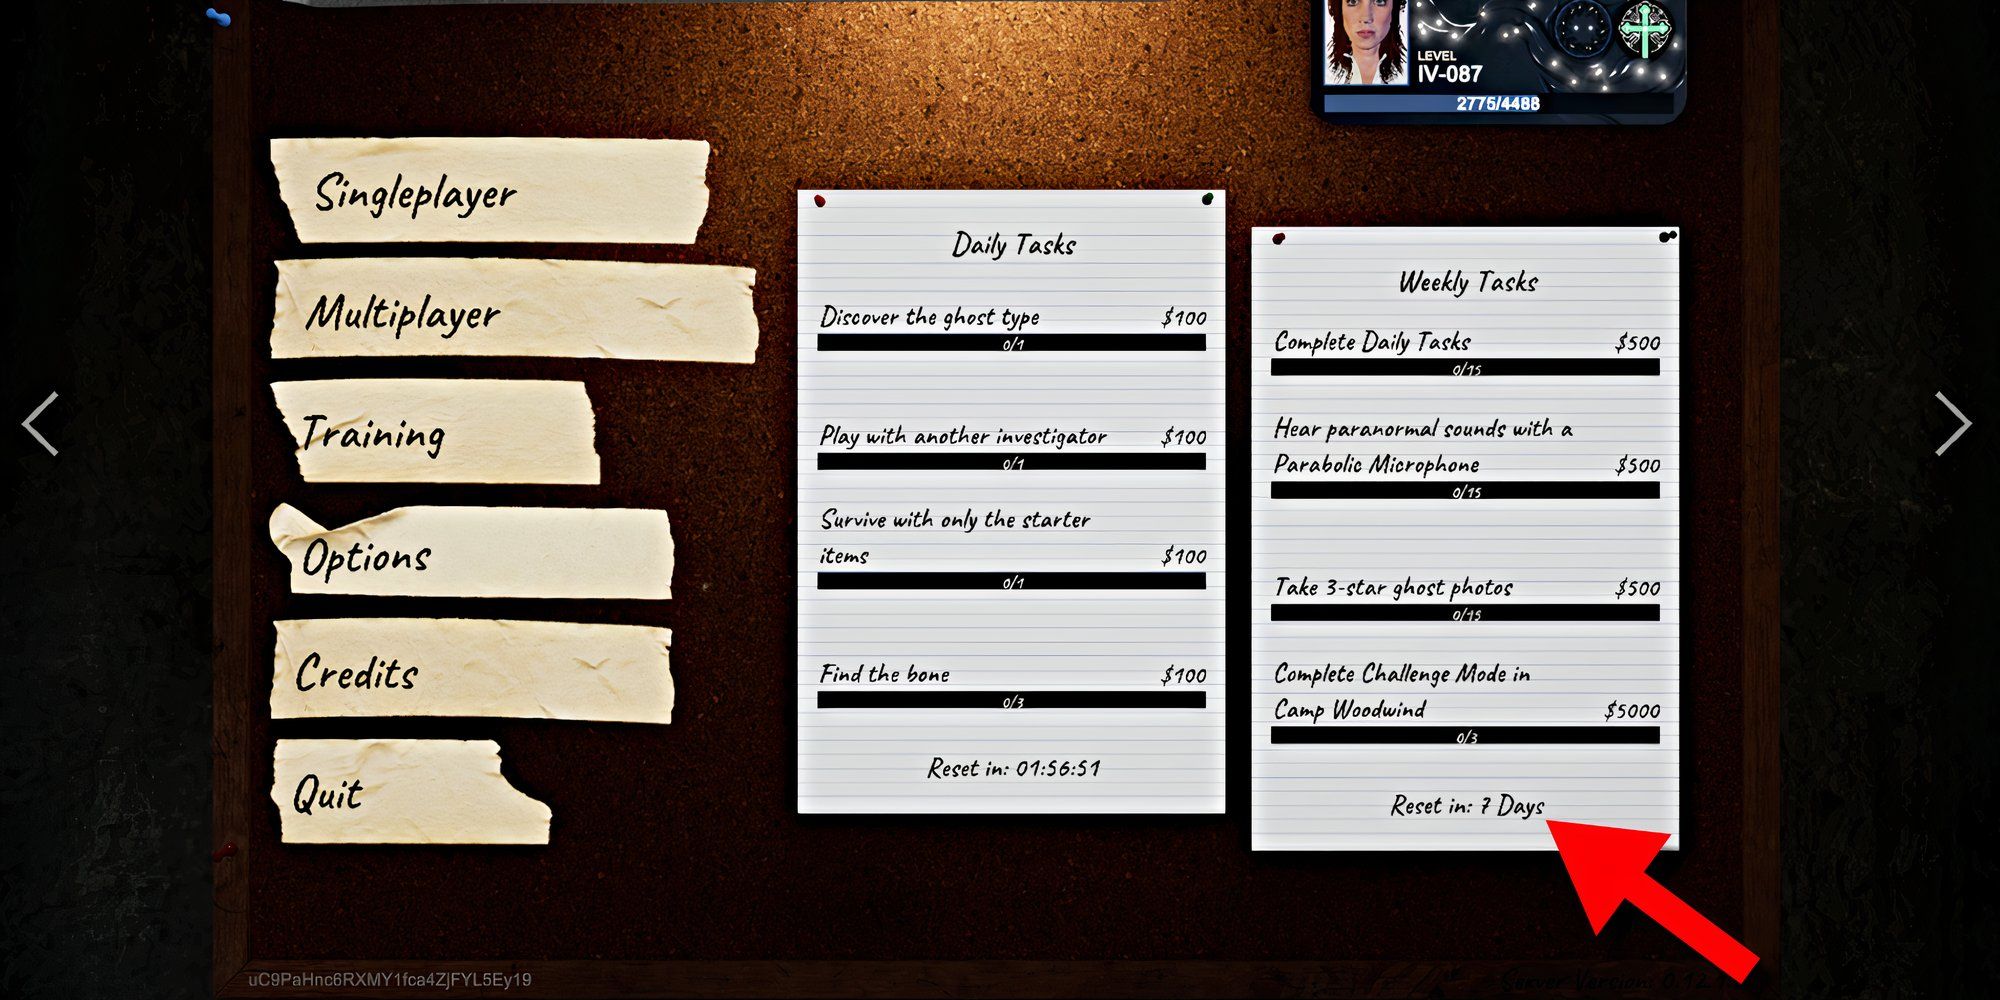
Similar to other weekly tasks in the game, the Challenge Mode refreshes at 12:00 a.m. UTC every Monday. Although the exact timing may vary depending on your location, this regular refresh happens every week. To earn the rewards associated with Challenge Mode, you need to finish the three mandatory investigations before the server resets at this specific time.
After the server resets its weekly timer, a fresh challenge will appear on the main board in the lobby, and the timer displayed at the bottom of the chart will update accordingly.
How to Complete Hide and Seek Extreme Challenge in Phasmophobia
To join the Hide and Seek: Extreme Challenge in Phasmophobia, follow these steps first:
1. Navigate to the main lobby menu and choose between Singleplayer or Multiplayer.
2. Next, adjust your settings to Difficulty and look for the Challenge Mode option.
3. After finding it, hit ‘Apply’ at the bottom right corner of the screen.
4. Now, you are queued up for the challenge!
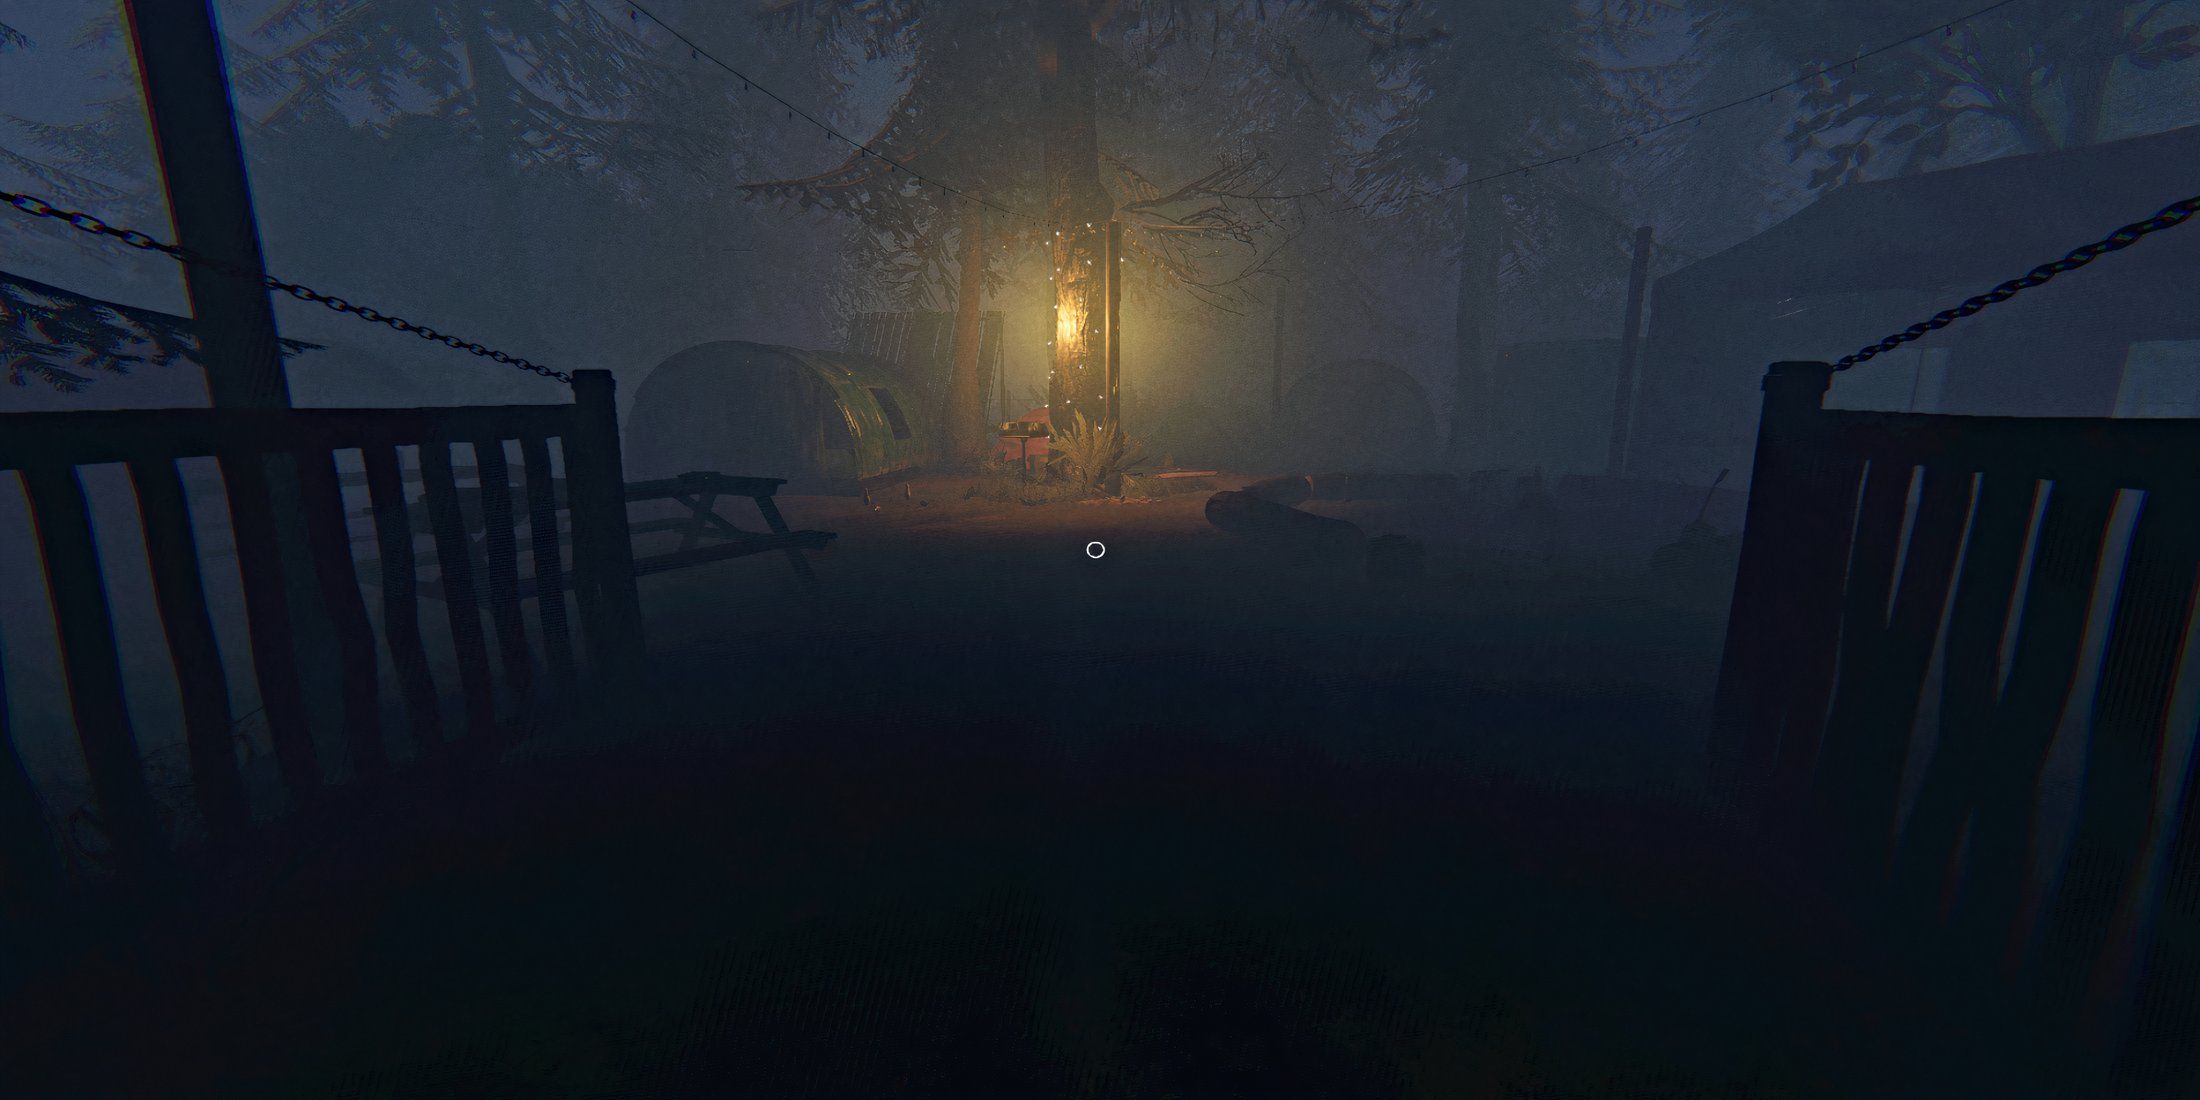
Lastly, swing to the map board and locate ‘Camp Woodwind’, situated at the bottom right corner, neighboring Maple Lodge Campsite. Just like other tasks, this one should be finished using the map specified in the task details. If you opt for a different map, your progress won’t contribute to challenge completion.
Hide and Seek Extreme Challenge Rules
In the game Phasmophobia, Hide and Seek: Extreme is among the hardest weekly challenges, competing with the tough Sanity Survival challenge. This is because the rules are quite stringent, making it significantly challenging for players to avoid being spotted by the ghost that resides in the campsite.
Initially, it’s important to recognize that you embark on this investigation without any sanity whatsoever, and unfortunately, there are no medications to help regain it. Consequently, regardless of the type of ghost, it can try to haunt you right away as soon as you enter the campsite (once the preparation period is over). You’ll only have a single minute for preparation, which you can use to locate the ghost’s position and gather as much equipment as possible before the situation becomes perilous.
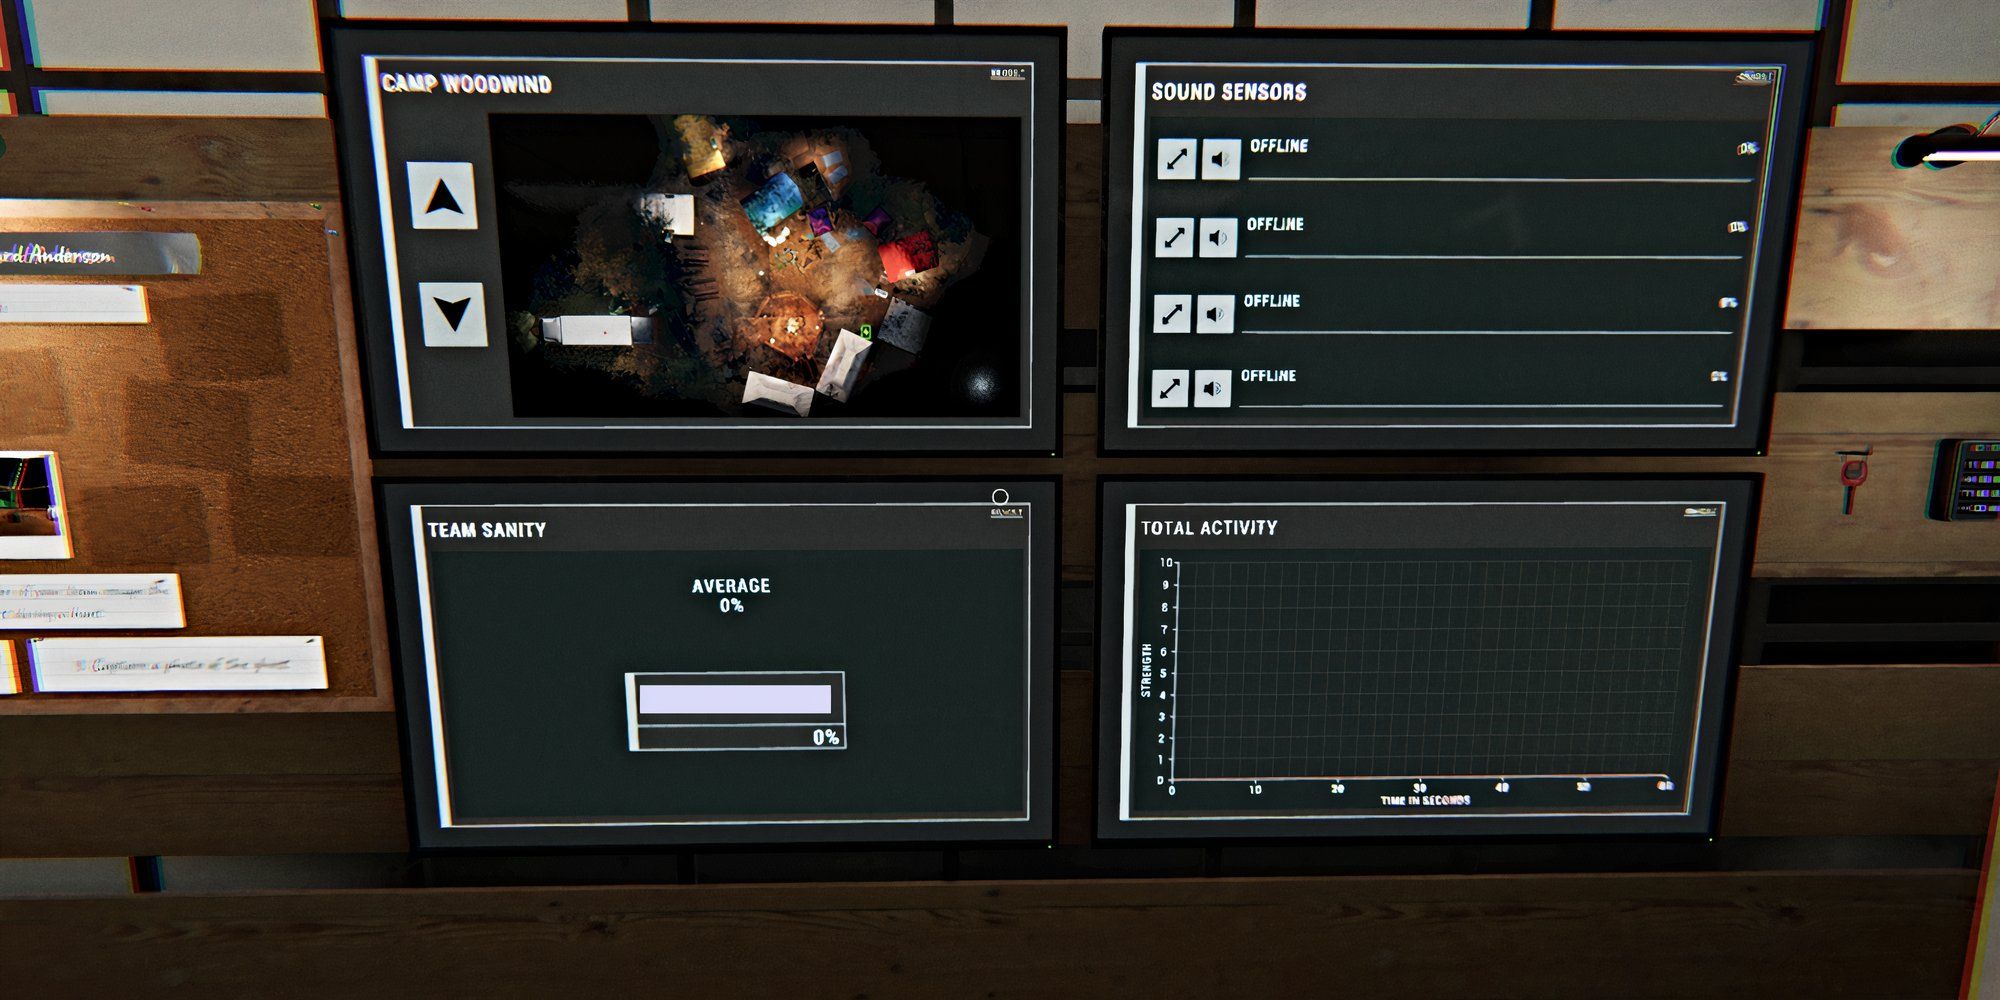
Fortunately, you’ll be able to utilize the fuse box (which in this scenario is a red generator) during this task. It will already be operational at the start of the investigation. Although it can’t maintain your mental stability, it can certainly keep the area brightly lit as you collect evidence. This is especially useful because you won’t have flashlights to illuminate your path.
Additionally, the spirit increases its movement speed by 50% while hunting, so be mindful as you move around. The scarcity of hiding places makes it difficult to find cover, and the ghost tends to switch its preferred room or area often during this task, so remain alert.
In summary, the ghost is likely to show moderate levels of activity, so be vigilant when such instances occur. You should also note that these ghost-related incidents, such as singing, lights flickering or misting, are quite uncommon during this endeavor.
Hide and Seek Extreme Loadout & Cursed Objects
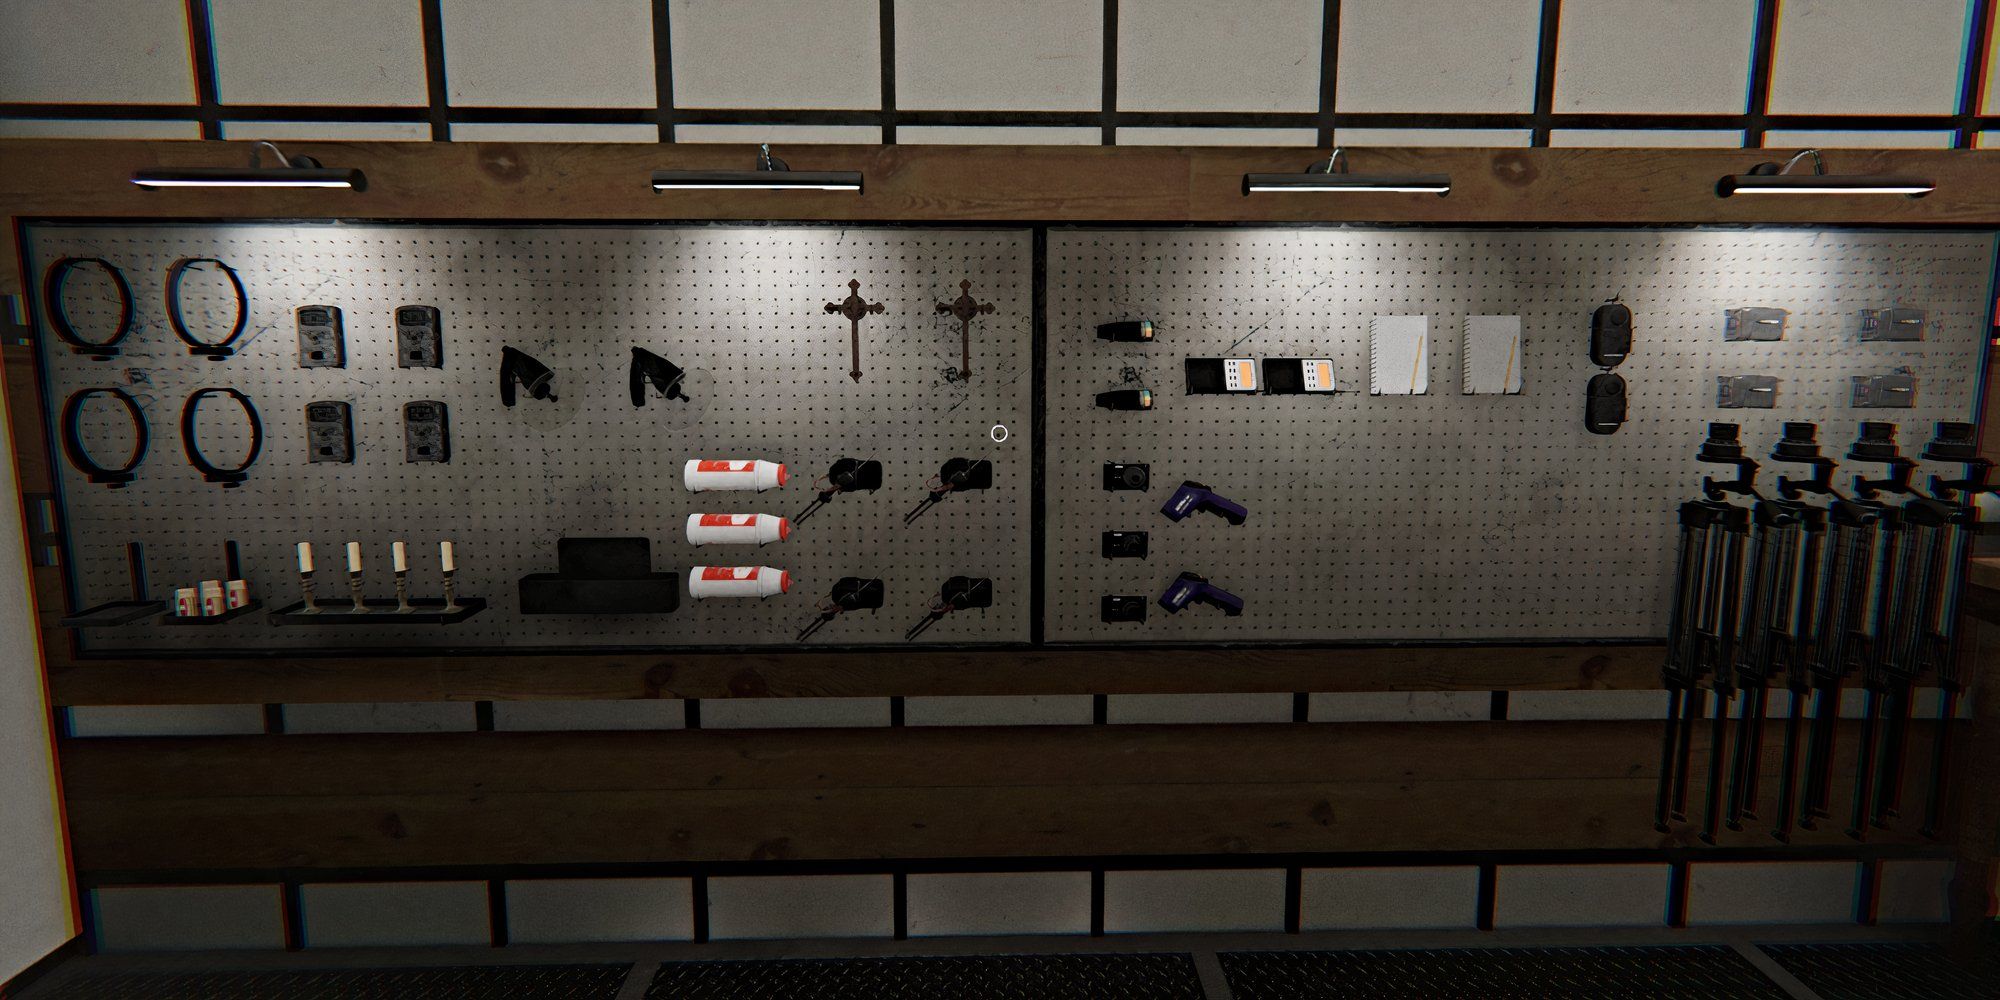
In the Hide and Seek: Extreme challenge within Phasmophobia, the gear given to you is a well-balanced mix of Level 1 and Level 2 items. To excel in this game, it’s essential to understand how to optimally utilize all your resources.
In all, you’ll have the following items at your disposal:
- Tier 1 Head Gear – While it doesn’t come with a flashlight, this head gear can still be useful, especially when playing in a group. It features a camera of its own that your party members can watch as you move around the map.
- Matches (Tier 1 Igniter) – Matches are useful in this scenario for lighting the bonfire near the campsite’s entrance, or lighting Firelights.
- Tier 1 Motion Sensors – These are best used for finding the ghost’s initial location (especially on smaller maps like this one) and subsequently tracking its movement, in case it changes areas.
- Tier 1 Firelight – Firelights are normally used for helping to preserve sanity, but in this case, they’re better used for helping keep the map lit. Alternatively, if you think you’re dealing with an Onyro ghost, you can use your Firelights to “test” for it. Beware that doing so will trigger a hunt if it is indeed an Onryo.
- Tier 1 Parabolic Microphone – This is actually one of the best tools for finding the ghost’s location, as it will pick up any audible activity from it. You can also “test” for either a Banshee (will scream into the microphone) or a Deogen (will breathe heavily into the microphone).
- Tier 1 Salt – Since UV Flashlights are not available for this challenge, salt can be used for ghost photos instead, if needed.
- Tier 2 Crucifixes – These are your strongest defense against ghost hunts, as they’ll prevent said hunts when placed properly in the ghost’s favorite area.
- Tier 1 Sound Sensors – Similar to the Parabolic Microphone, these can be used to figure out the ghost’s location by sound. If you have a party member in the van, they can listen to the ghost’s movement speed during a hunt as well.
- Tier 2 EMF Readers – These are used to detect EMF readings from the ghost, up to level EMF 5 (a potential evidence option).
- Tier 2 Photo Cameras – These are used to take photos of ghosts and their activity for extra investigation points.
- Tier 2 Spirit Boxes – These are used to detect Spirit Box evidence, if applicable.
- Tier 2 Thermometers – These are used to check for Freezing Temperature evidence, if applicable. They can be useful for finding the ghost’s location as well if need be.
- Tier 1 Ghost Writing Books – These are used to check for Ghost Writing evidence, if applicable. If the ghost decides to throw the book instead of writing in it, this means that it cannot be possible evidence.
- Tier 2 DOTS Projectors – These are used to check for DOTS evidence, if applicable. Certain ghosts will react differently to DOTS equipment, so pay close attention.
- Tier 1 Video Cameras (w/ tripods) – Video Cameras are useful for many things, such as detecting Ghost Orb evidence, or just a convenient way to keep an eye on the ghost’s current location and its activity, especially during hunts.
During this gaming session, you won’t find Sanity Meds, Incense sticks, UV lights, or flashlights at your disposal. Instead, you’ll need to rely on the gear I’ve provided for a fair and exciting experience!
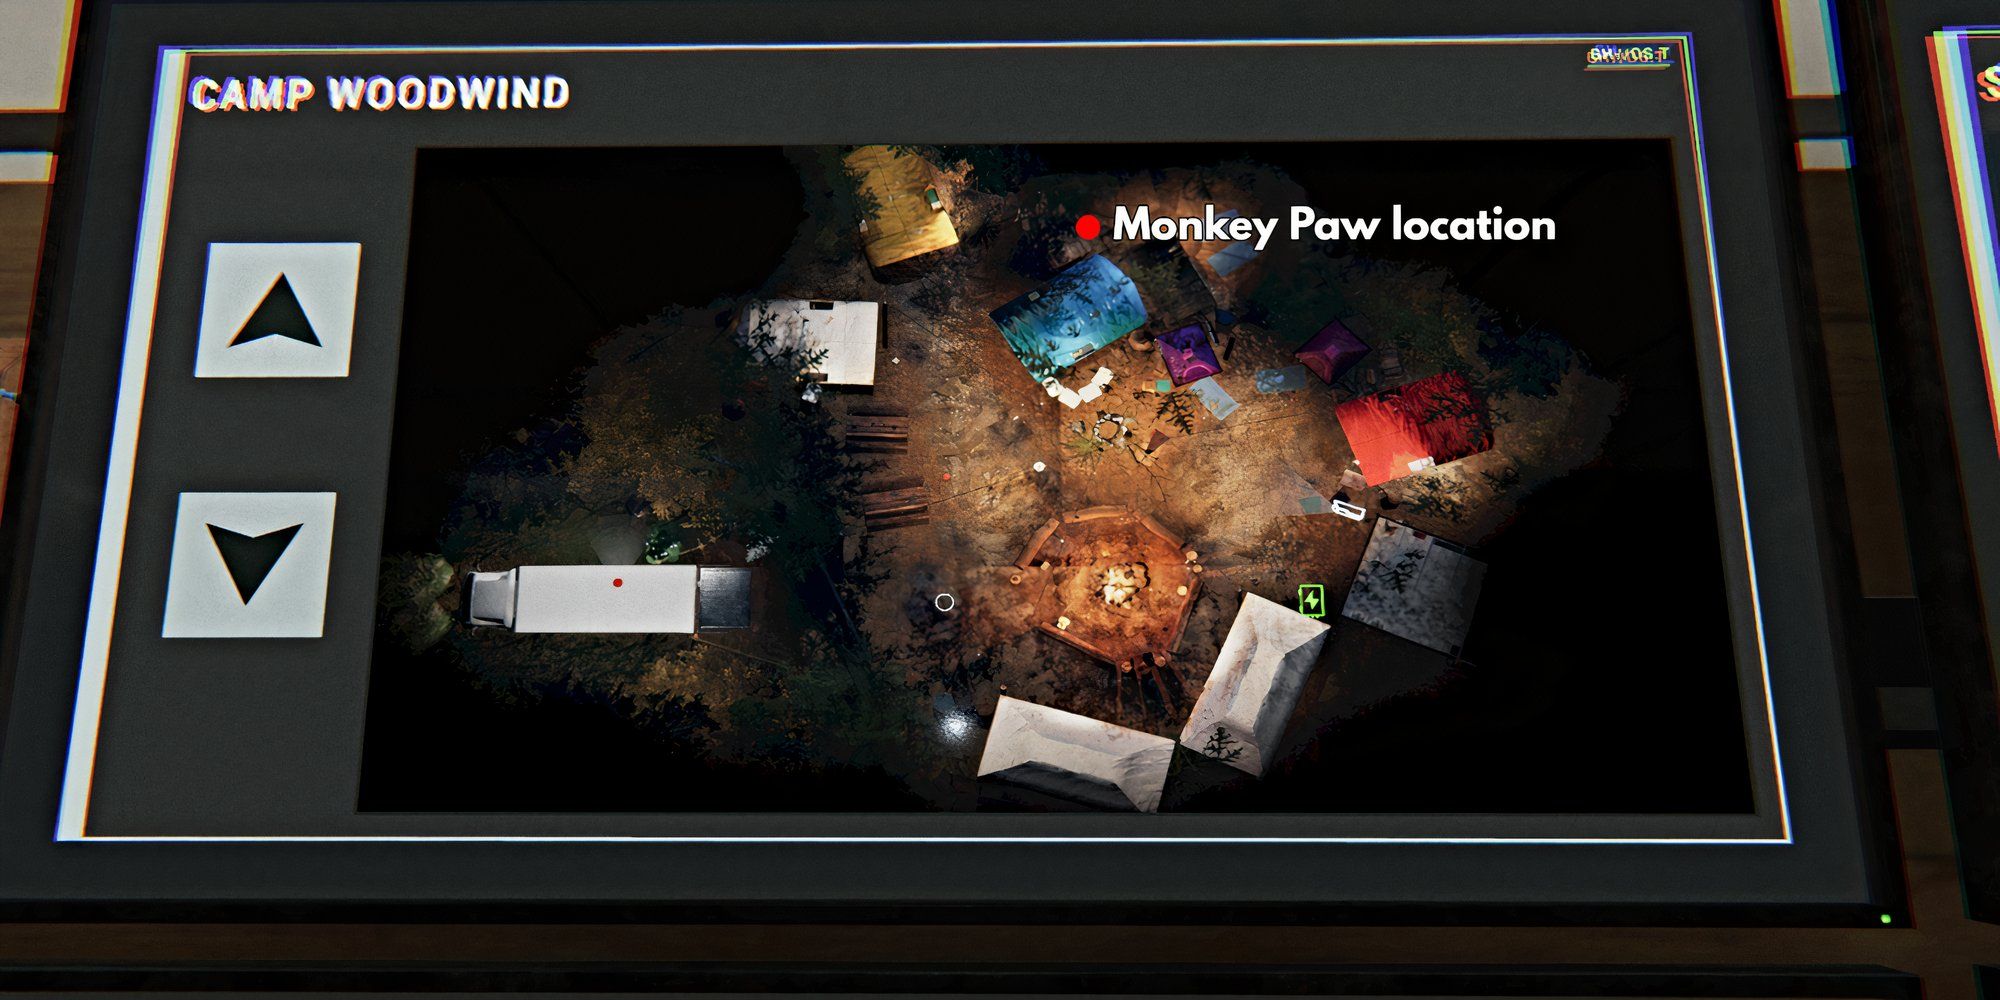
During each try of this challenge, you’ll come across a mysterious item known as the “Monkey Paw Cursed Object.” You can spot it on the “Lovers Bench at the rear end of the campsite,” near stacks of marshmallow-filled sticks. While it’s not necessary for completion, use it with caution if you choose to, as the Monkey Paw is one of the game’s most perilous Cursed Objects.
Read More
- AI16Z PREDICTION. AI16Z cryptocurrency
- Tainted Grail the Fall of Avalon: Should You Turn in Vidar?
- Best Mage Skills in Tainted Grail: The Fall of Avalon
- Top 8 UFC 5 Perks Every Fighter Should Use
- Tainted Grail: How To Find Robbie’s Grave
- Slormancer Huntress: God-Tier Builds REVEALED!
- USD ILS PREDICTION
- Hands-On Preview: Trainfort
- LUNC PREDICTION. LUNC cryptocurrency
- Delta Force: K437 Guide (Best Build & How to Unlock)
2025-05-27 07:04