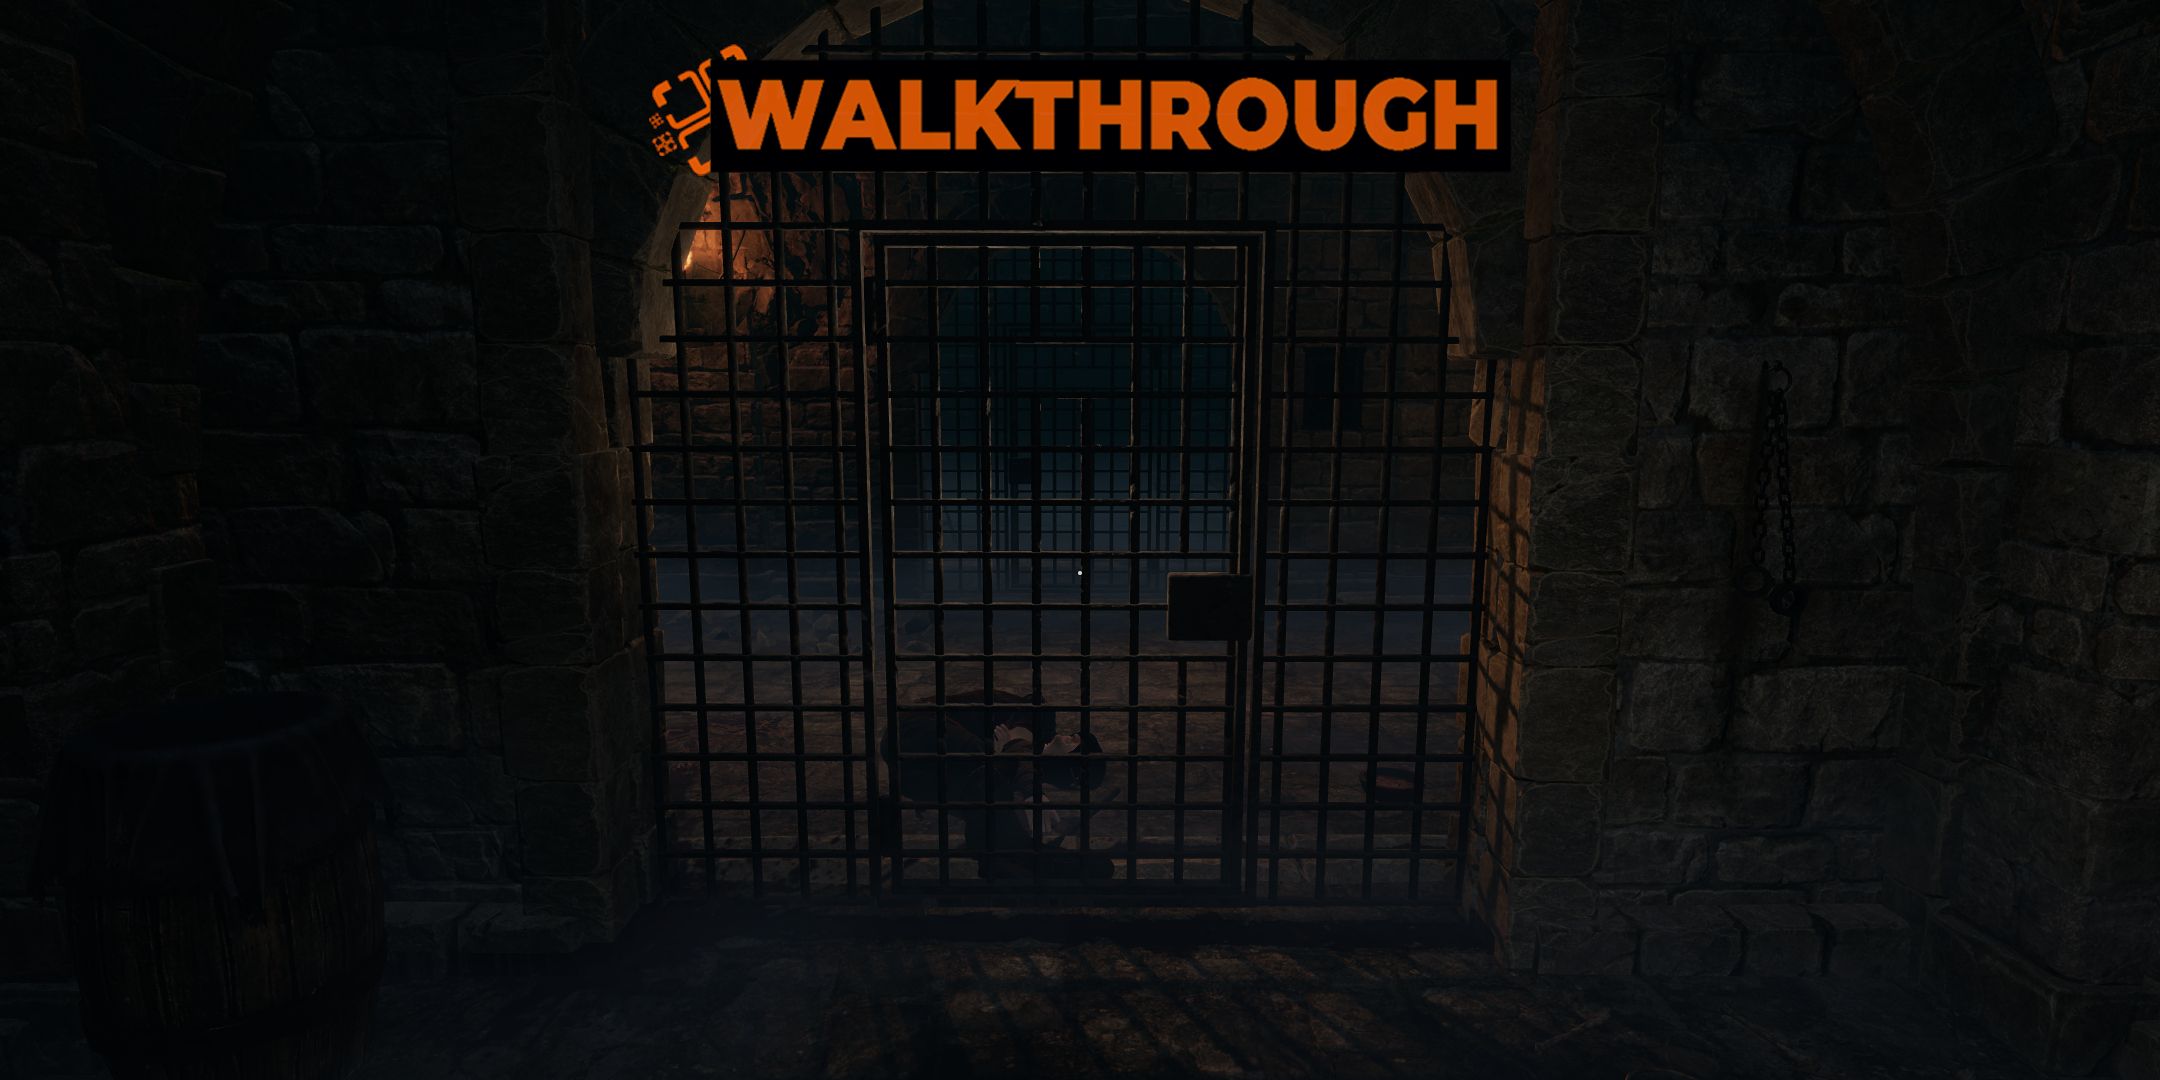
At the outset of “Tainted Grail: The Fall Of Avalon“, you’ll be admitted into a psychiatric institution. This enclosed setting serves as an engaging introduction to the game world and its systems. You’ll encounter numerous non-player characters here, gather various loot, and even engage in battles against mini-bosses.
Since the nature of this game involves exploration and discovery, it’s impossible for us to specify the exact location of every single object. From mugs to potentially sensitive items, the asylum is filled with numerous objects to discover. But fear not, we will guide you to the locations of all valuable equipment, significant items, special recipes, ensuring you don’t miss out on anything important.
Where To Find The Guard Key And Menhir Figure
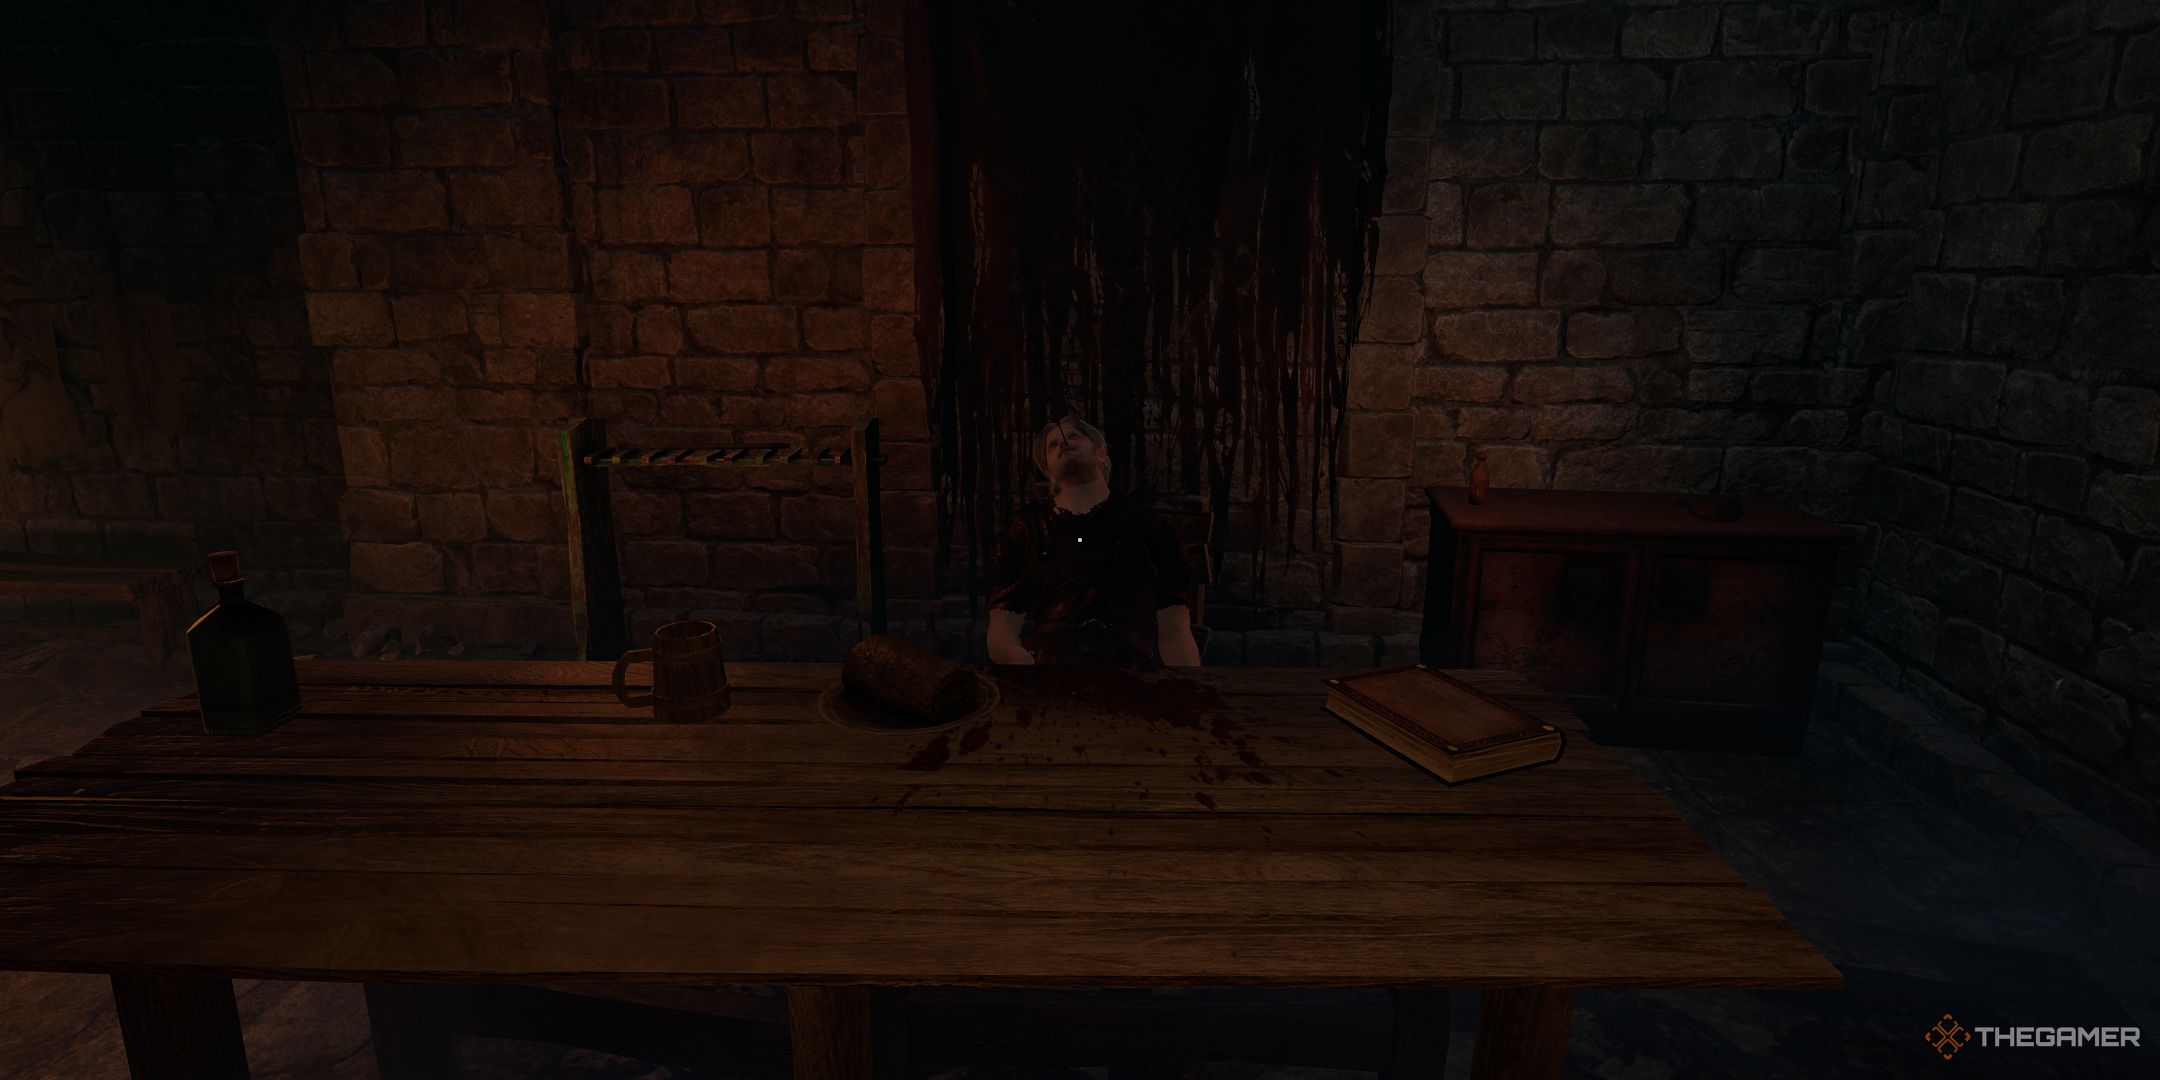
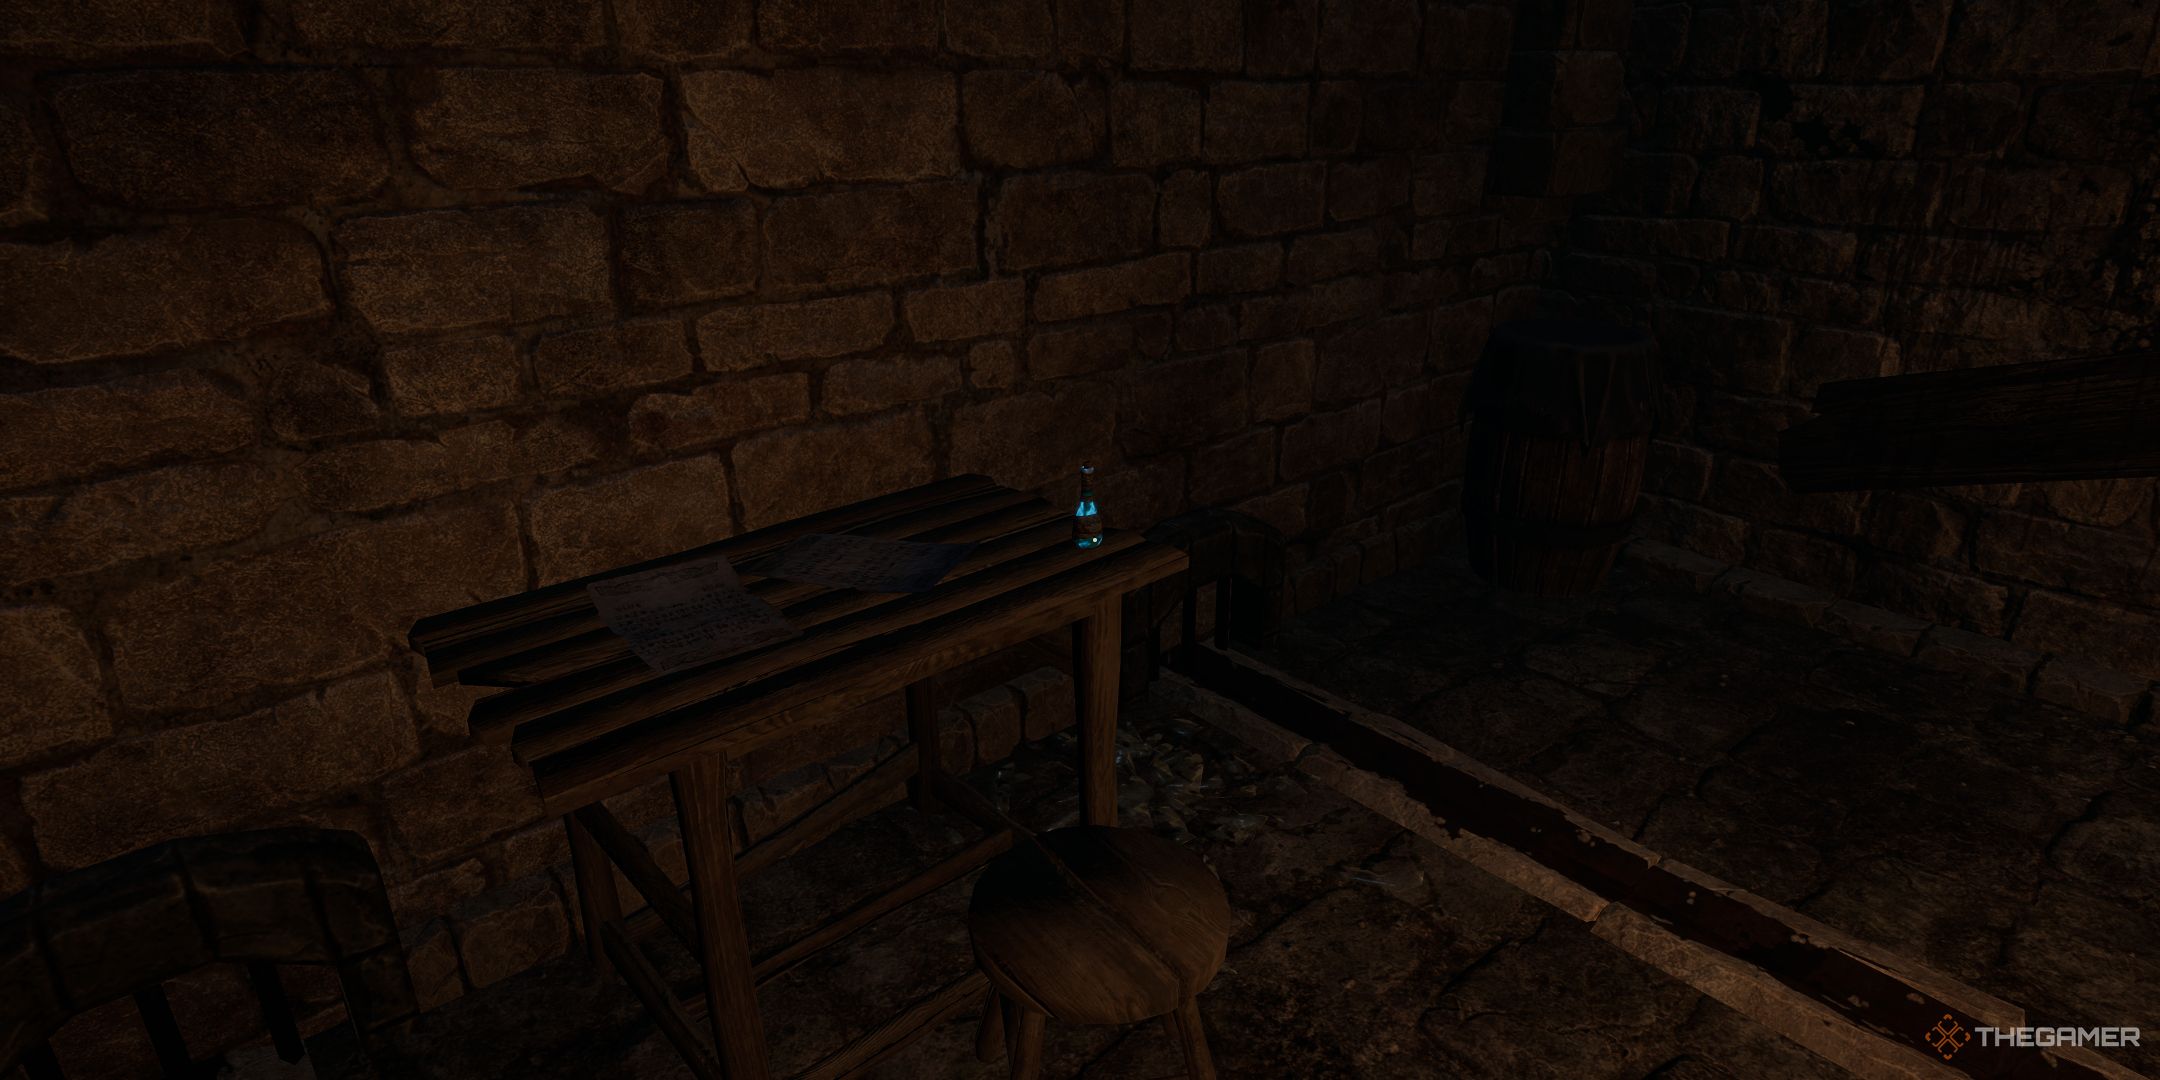
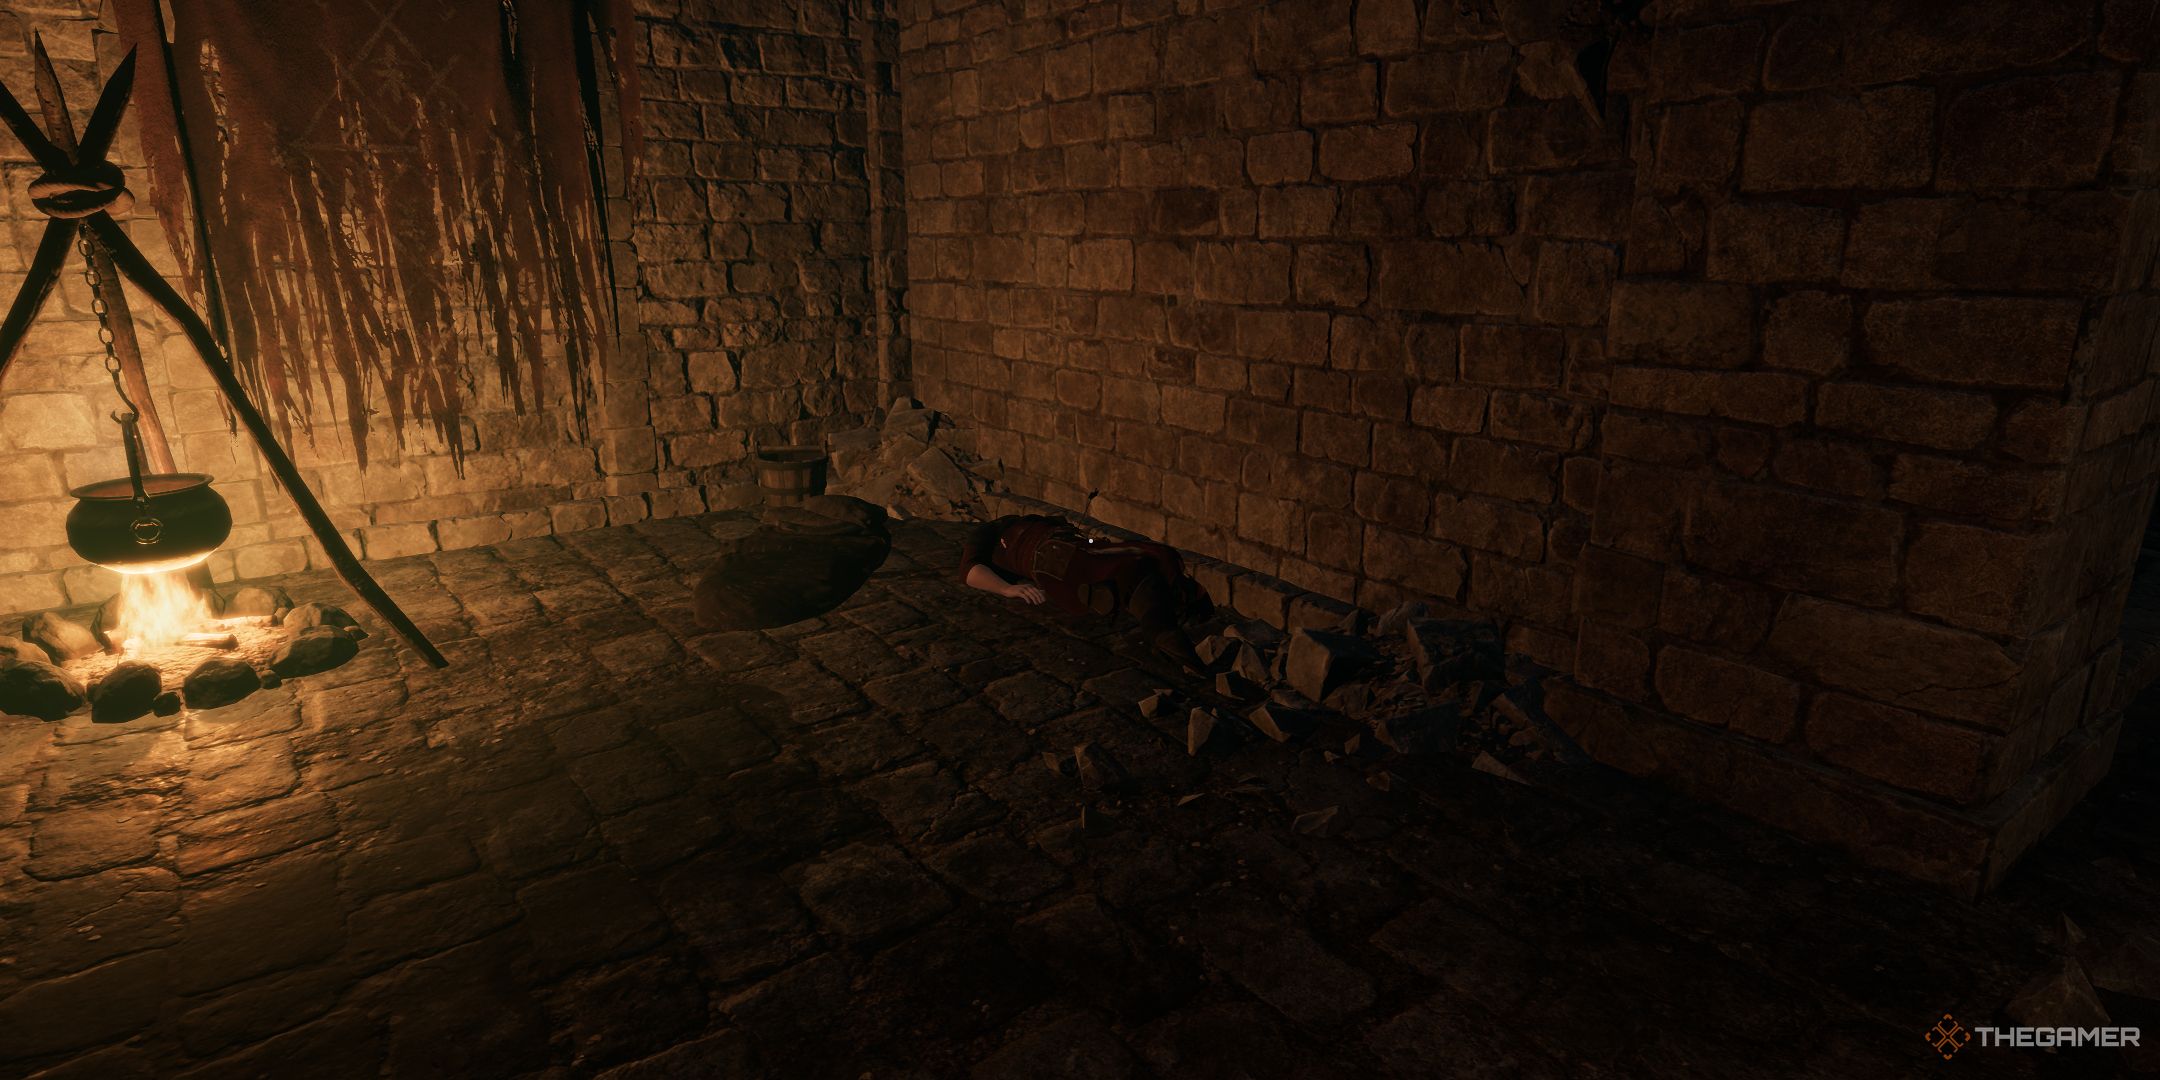
One essential thing you should look for as soon as possible is the guard key, which will give you entry to several cells spread across the prison. To obtain it, after Caradoc releases you, turn right outside your cell and walk to the end of the corridor. Along the way, you’ll encounter the remnants of some guards that Caradoc had neutralized during his rescue attempt. Search the one resting at the table to locate the Guard Key.
You can also grab weapons and armor from these dead guards, of course.
As I carefully move past the fallen guard near the table, my eyes catch a tiny bookshelf tucked away in the corner. Intrigued, I decide to rummage through it and stumble upon an intriguing Menhir Figure. This peculiar item seems to have some sort of magical properties, as using it will boost my HP permanently. Without hesitation, I pick it up and make use of its power.
Acquiring The Cooking For The Resistant, Part 1 Recipes
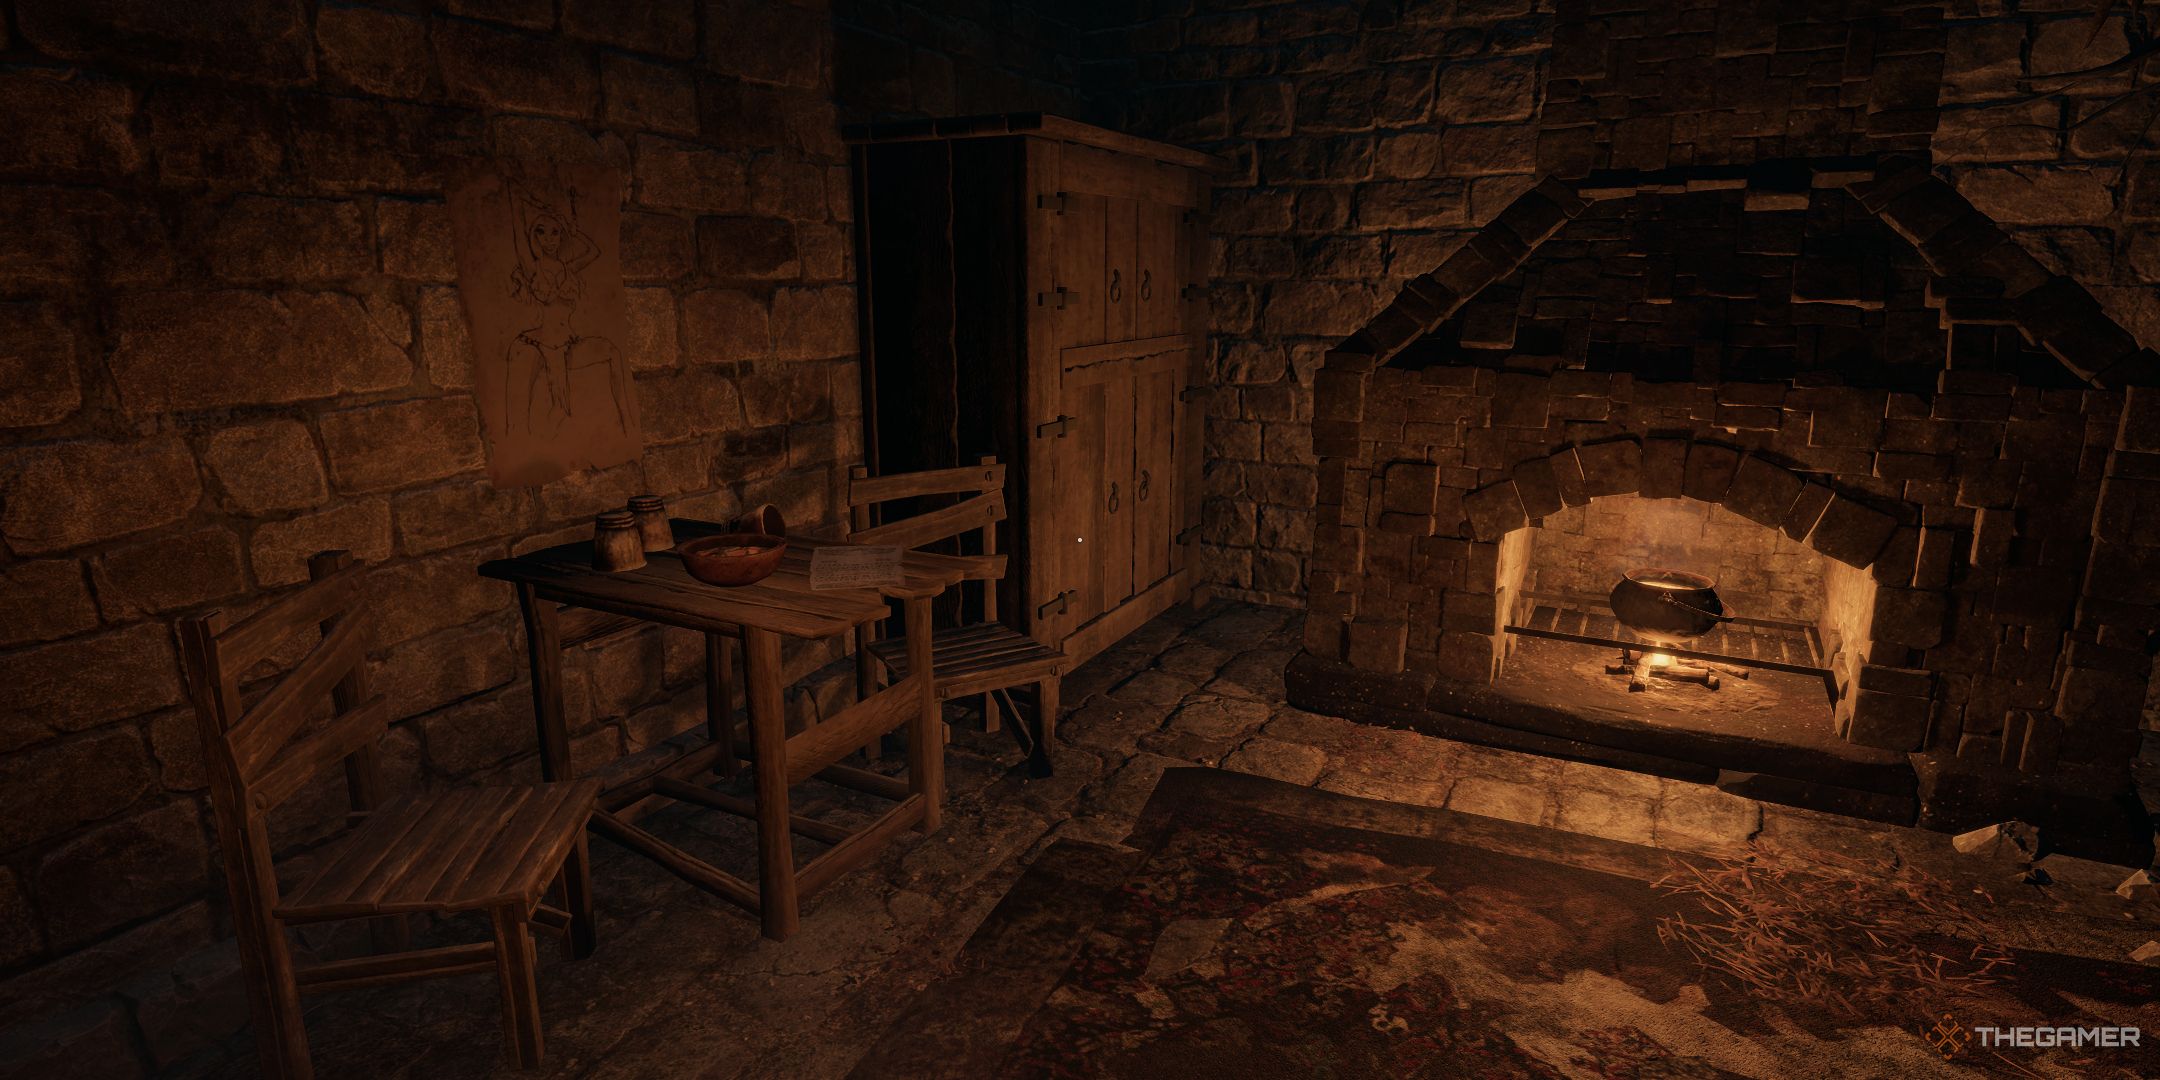
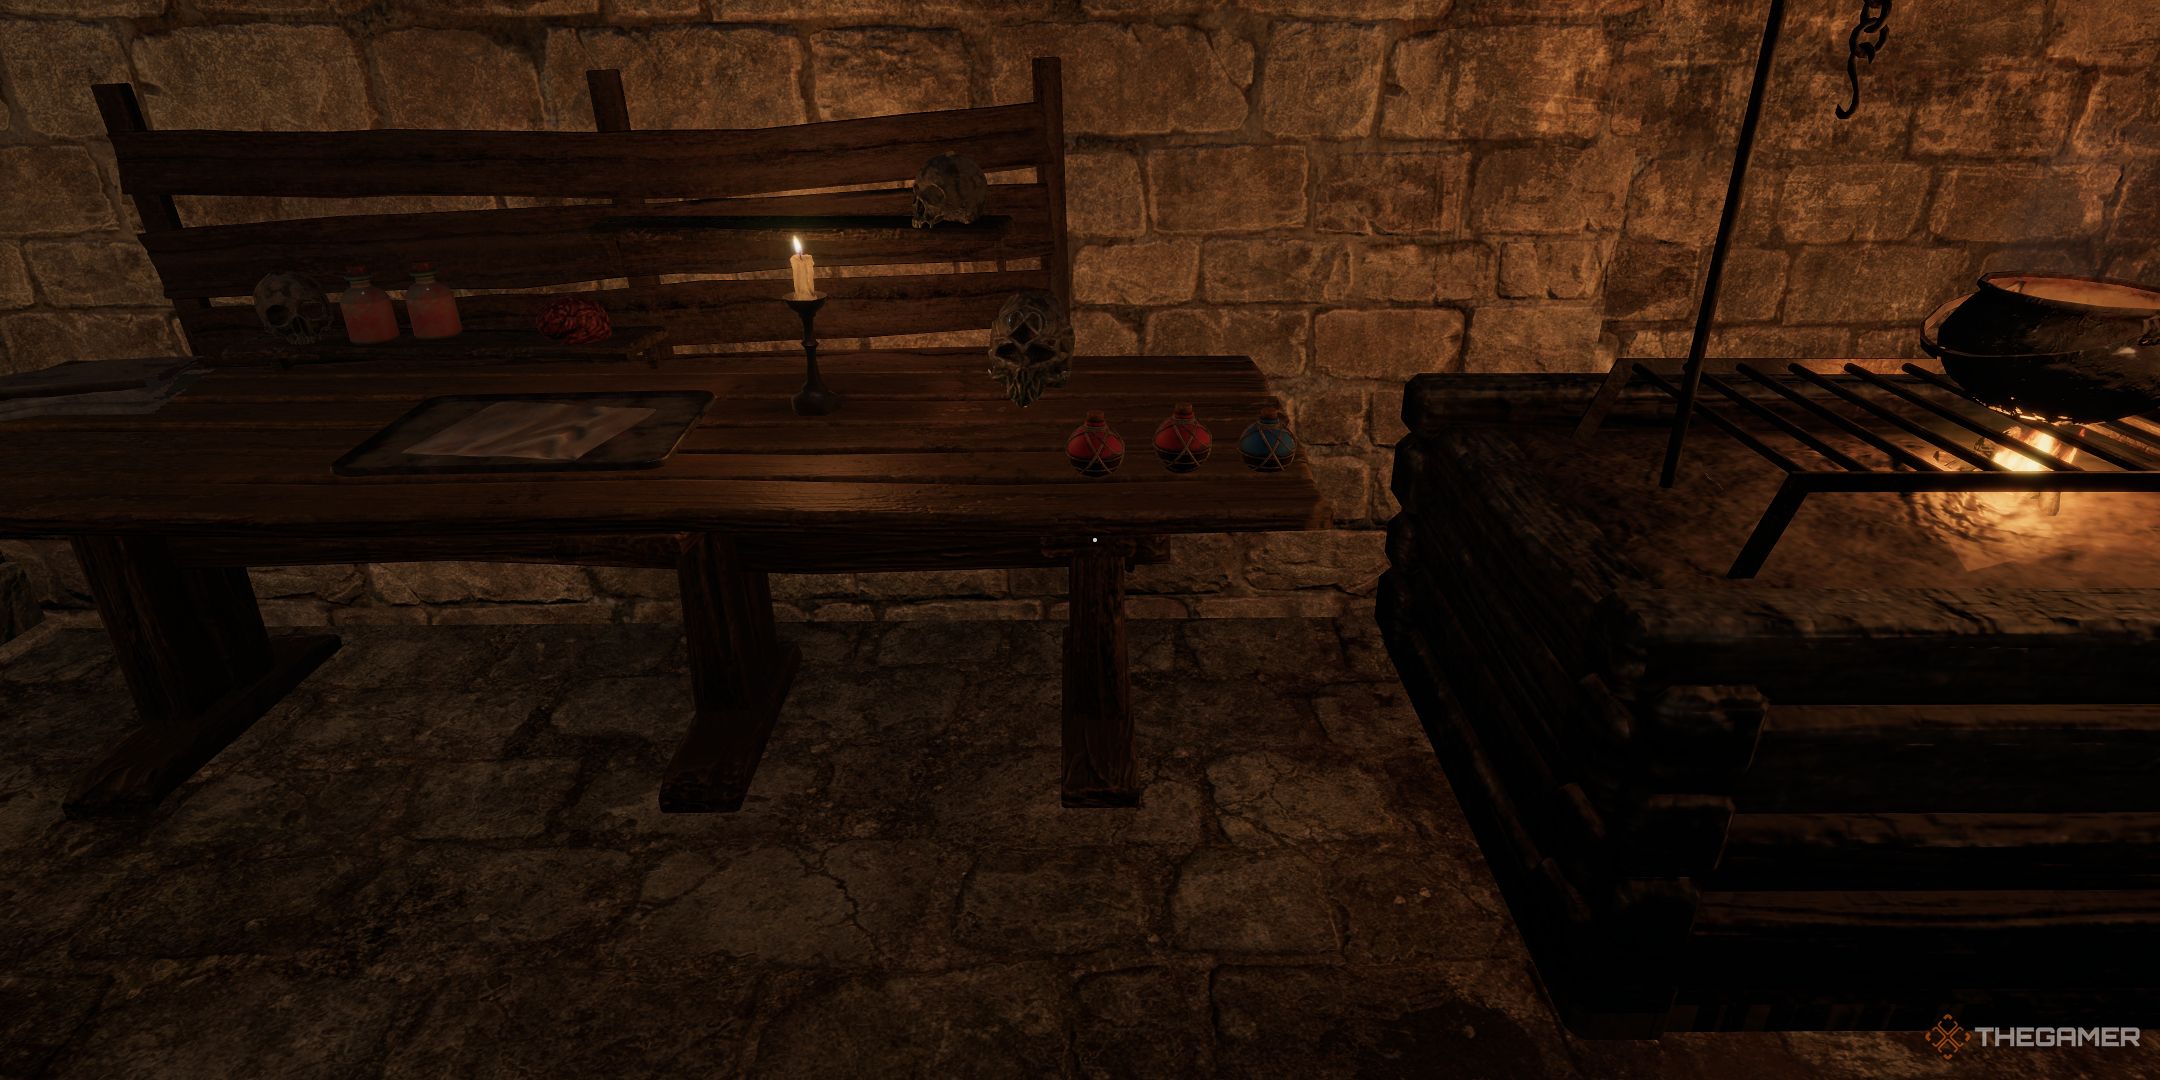
In the very same room where you discovered both the Guard Key and Menhir Figure, take a moment to look around. Near the fireplace, there’s a small table. On this tabletop, you will come across “Cooking For The Resistant, Part 1”, which is a helpful document containing various recipes.
I’d certainly recommend giving the cabinet nestled beside the fireplace a good search. There are quite a few cooking essentials hidden away, but what truly stands out are some useful lockpicks that will come in handy for unlocking various treasures scattered throughout this dungeon.
Acquiring The Old Letter To Gain The Unforgettable Quest
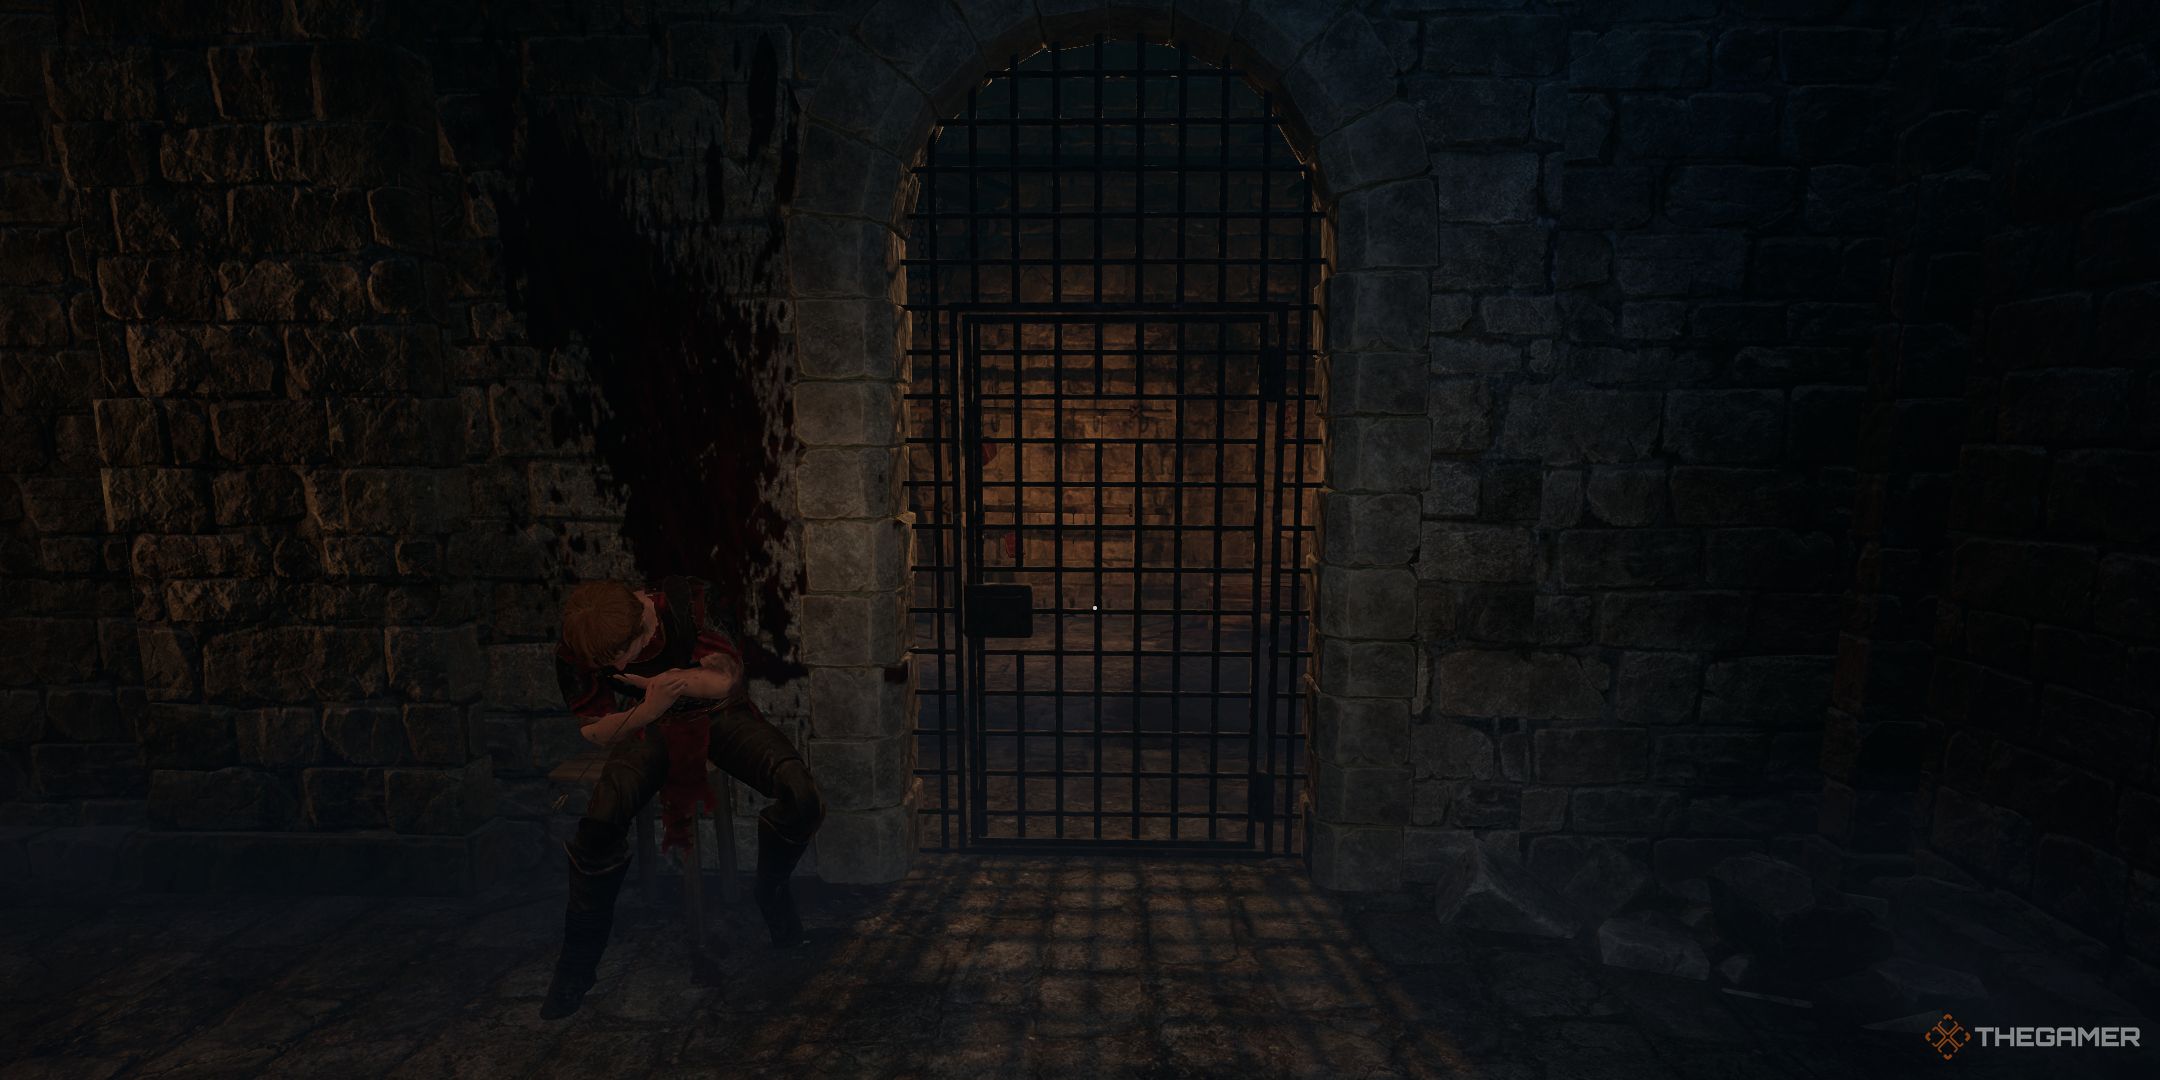
Along the primary trail, you’ll encounter a deceased guard slumped in a chair. Use the Guard Key to unlock the nearby door, then search the chest within to find ten lockpicks and an old letter. Reading this old letter initiates the Unforgettable Quest.
Where To Find The Pickaxe
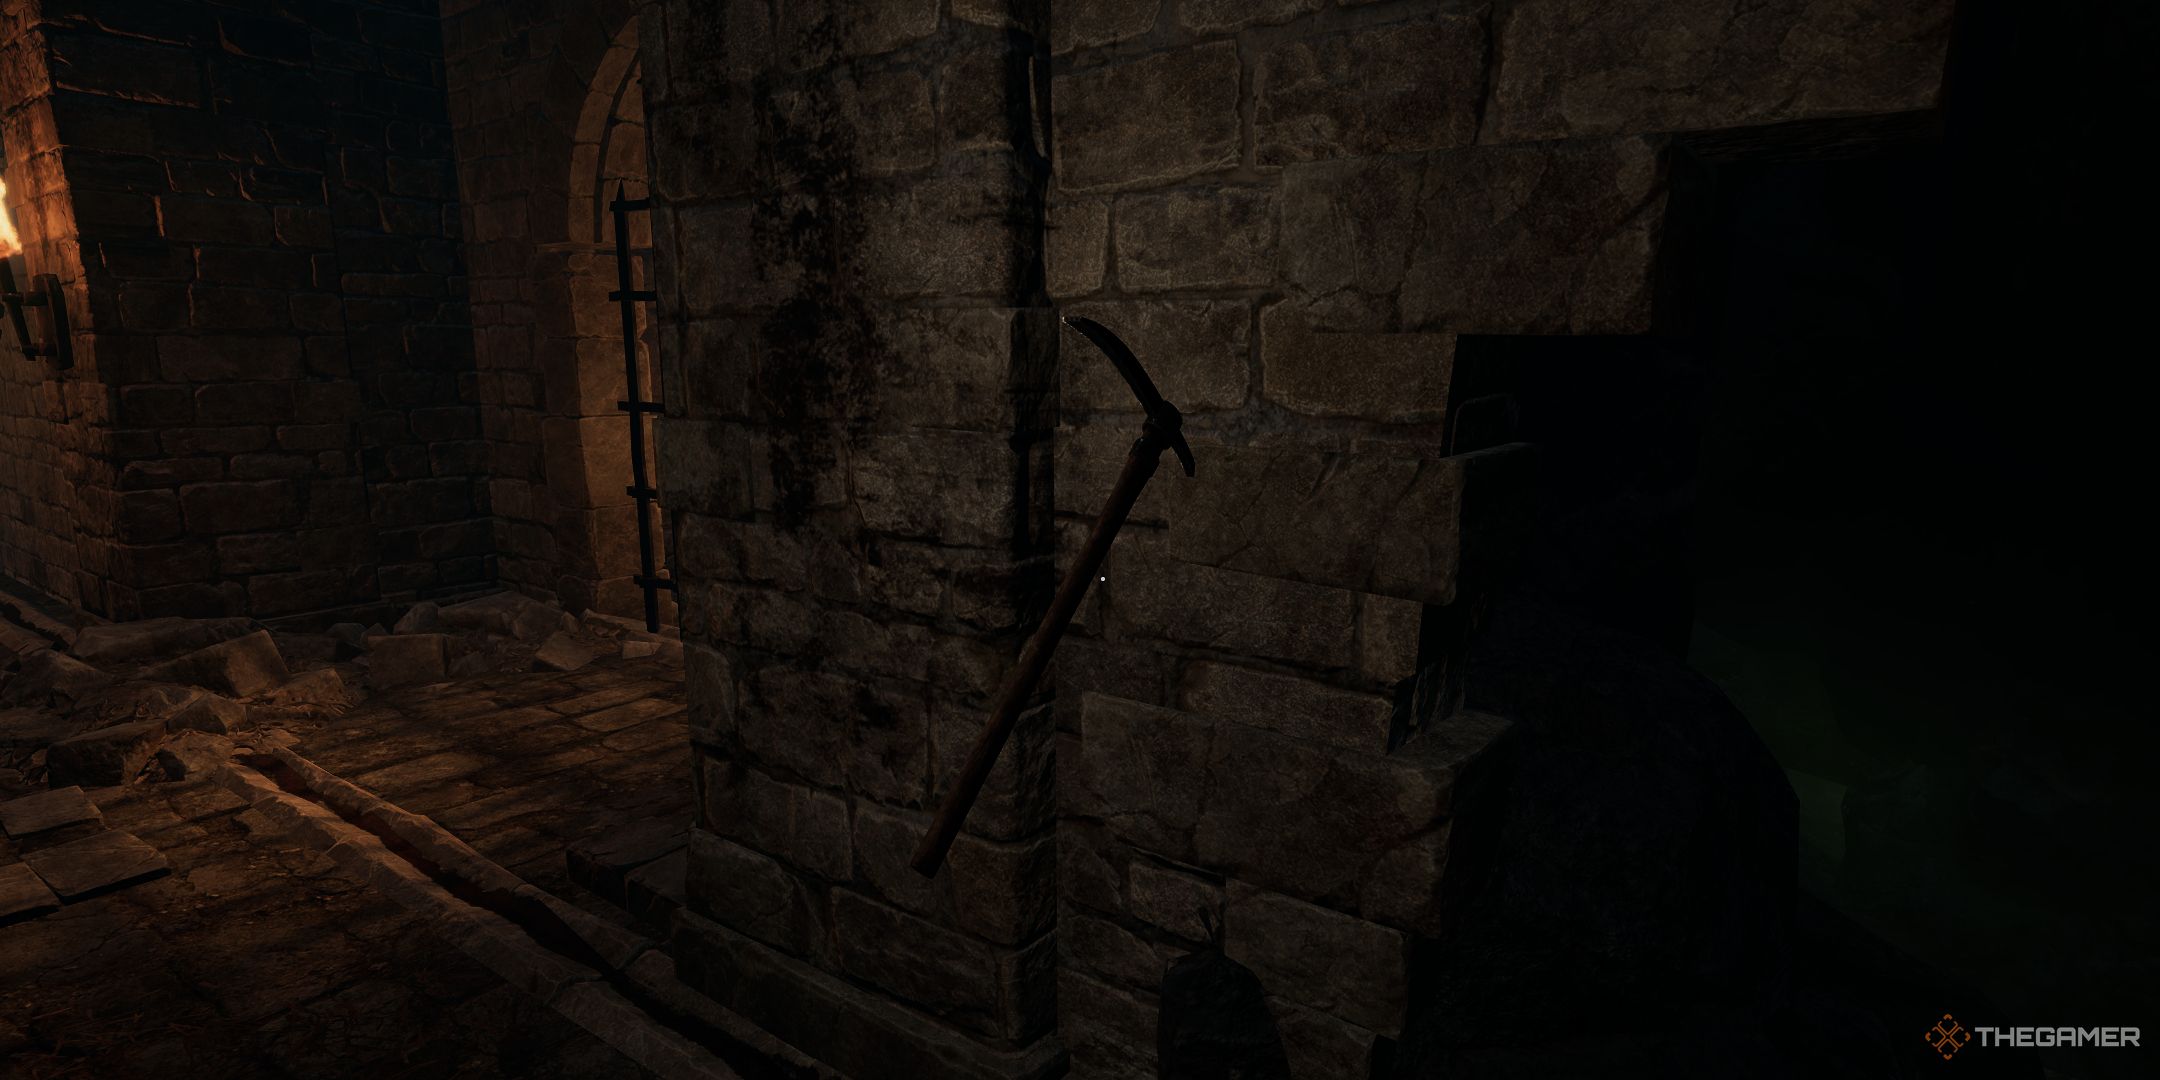
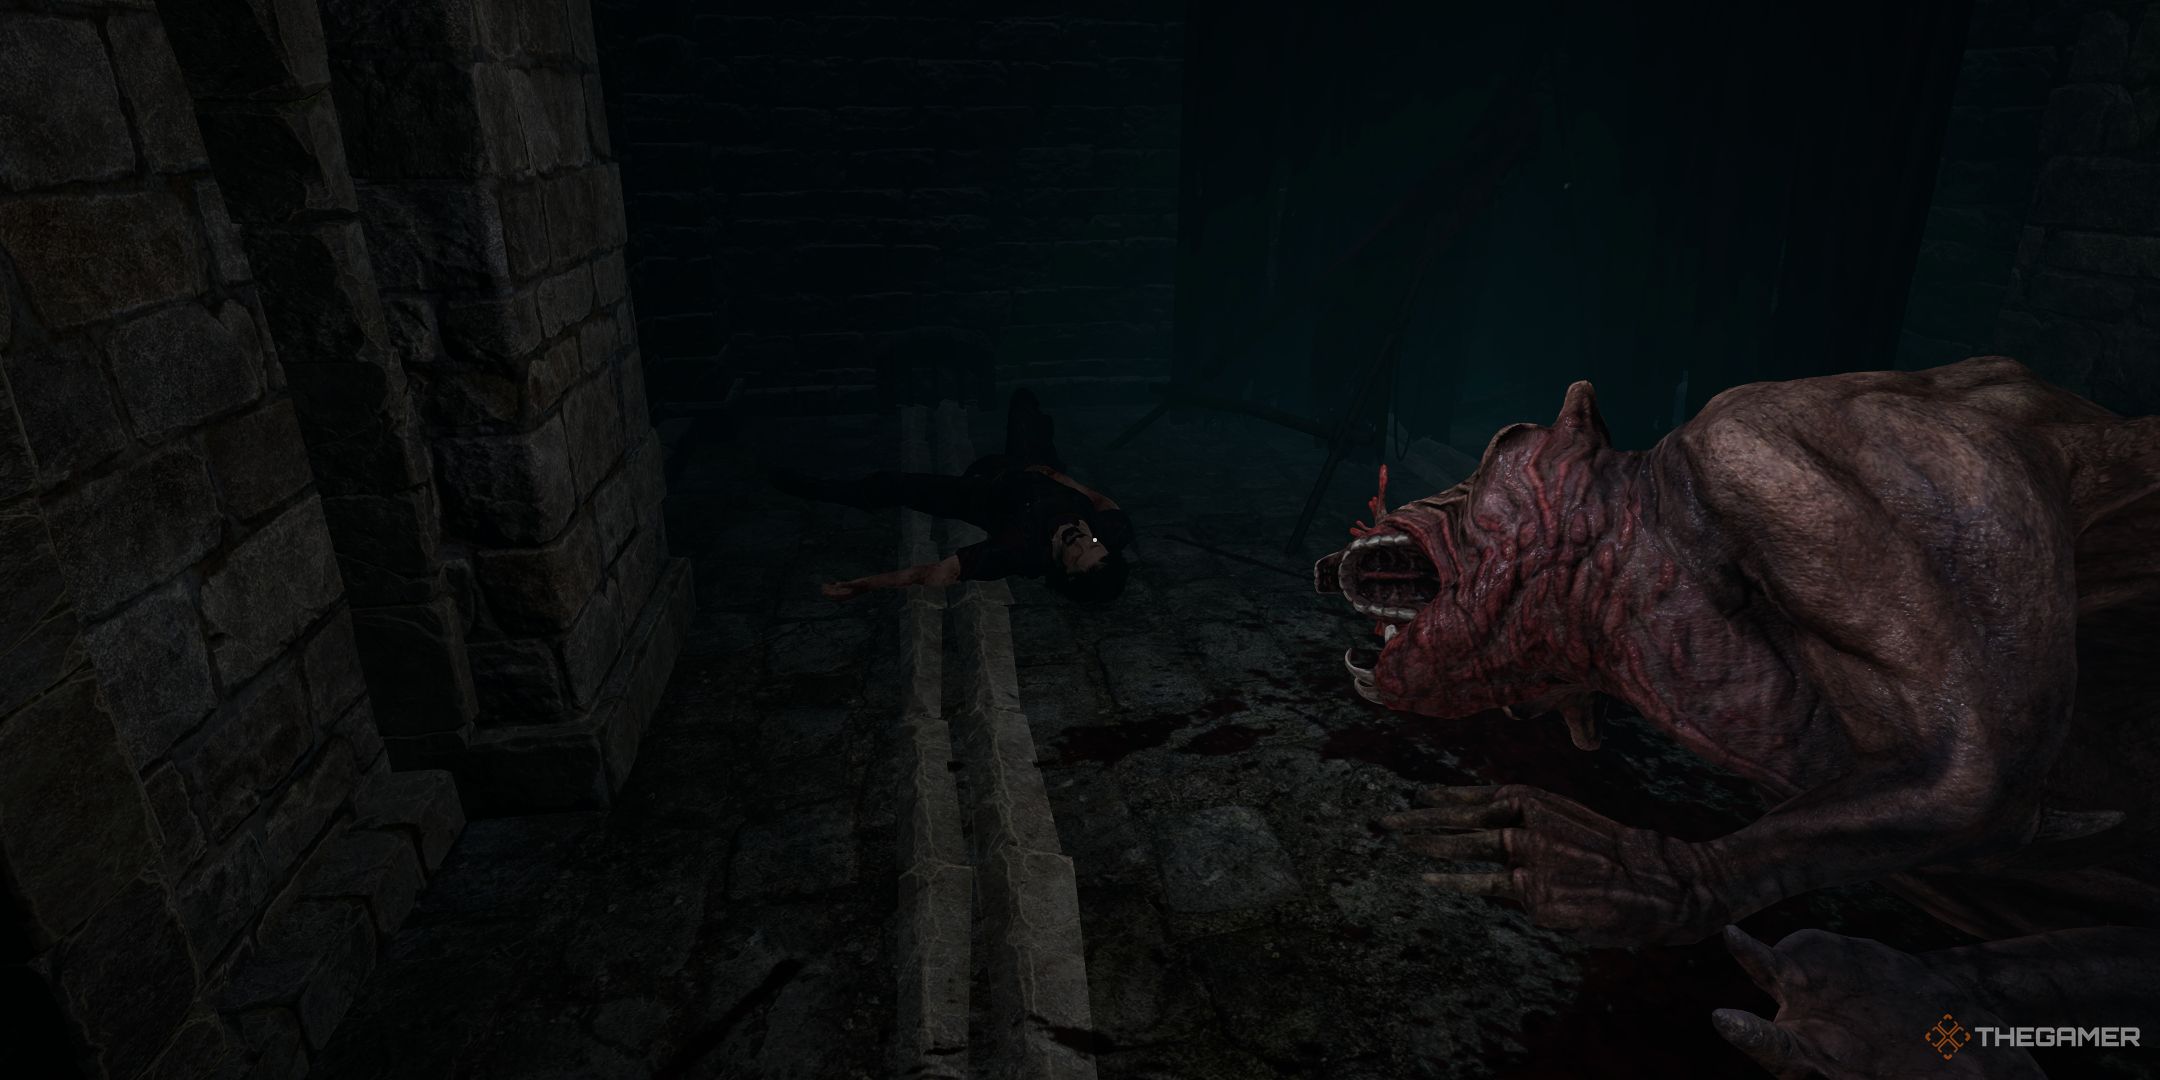
As you step out of your cell, don’t let the excitement last too long, as a duo of the undead will soon break open their cell door and charge at you. Once you’ve dispatched these zombies, continue moving down the hallway, but keep a keen eye on the wall to your left. You’ll likely spot a pickaxe embedded in the wall, not far from where the zombie cell once stood.
Small Health Potion And Small Mana Potion Recipe
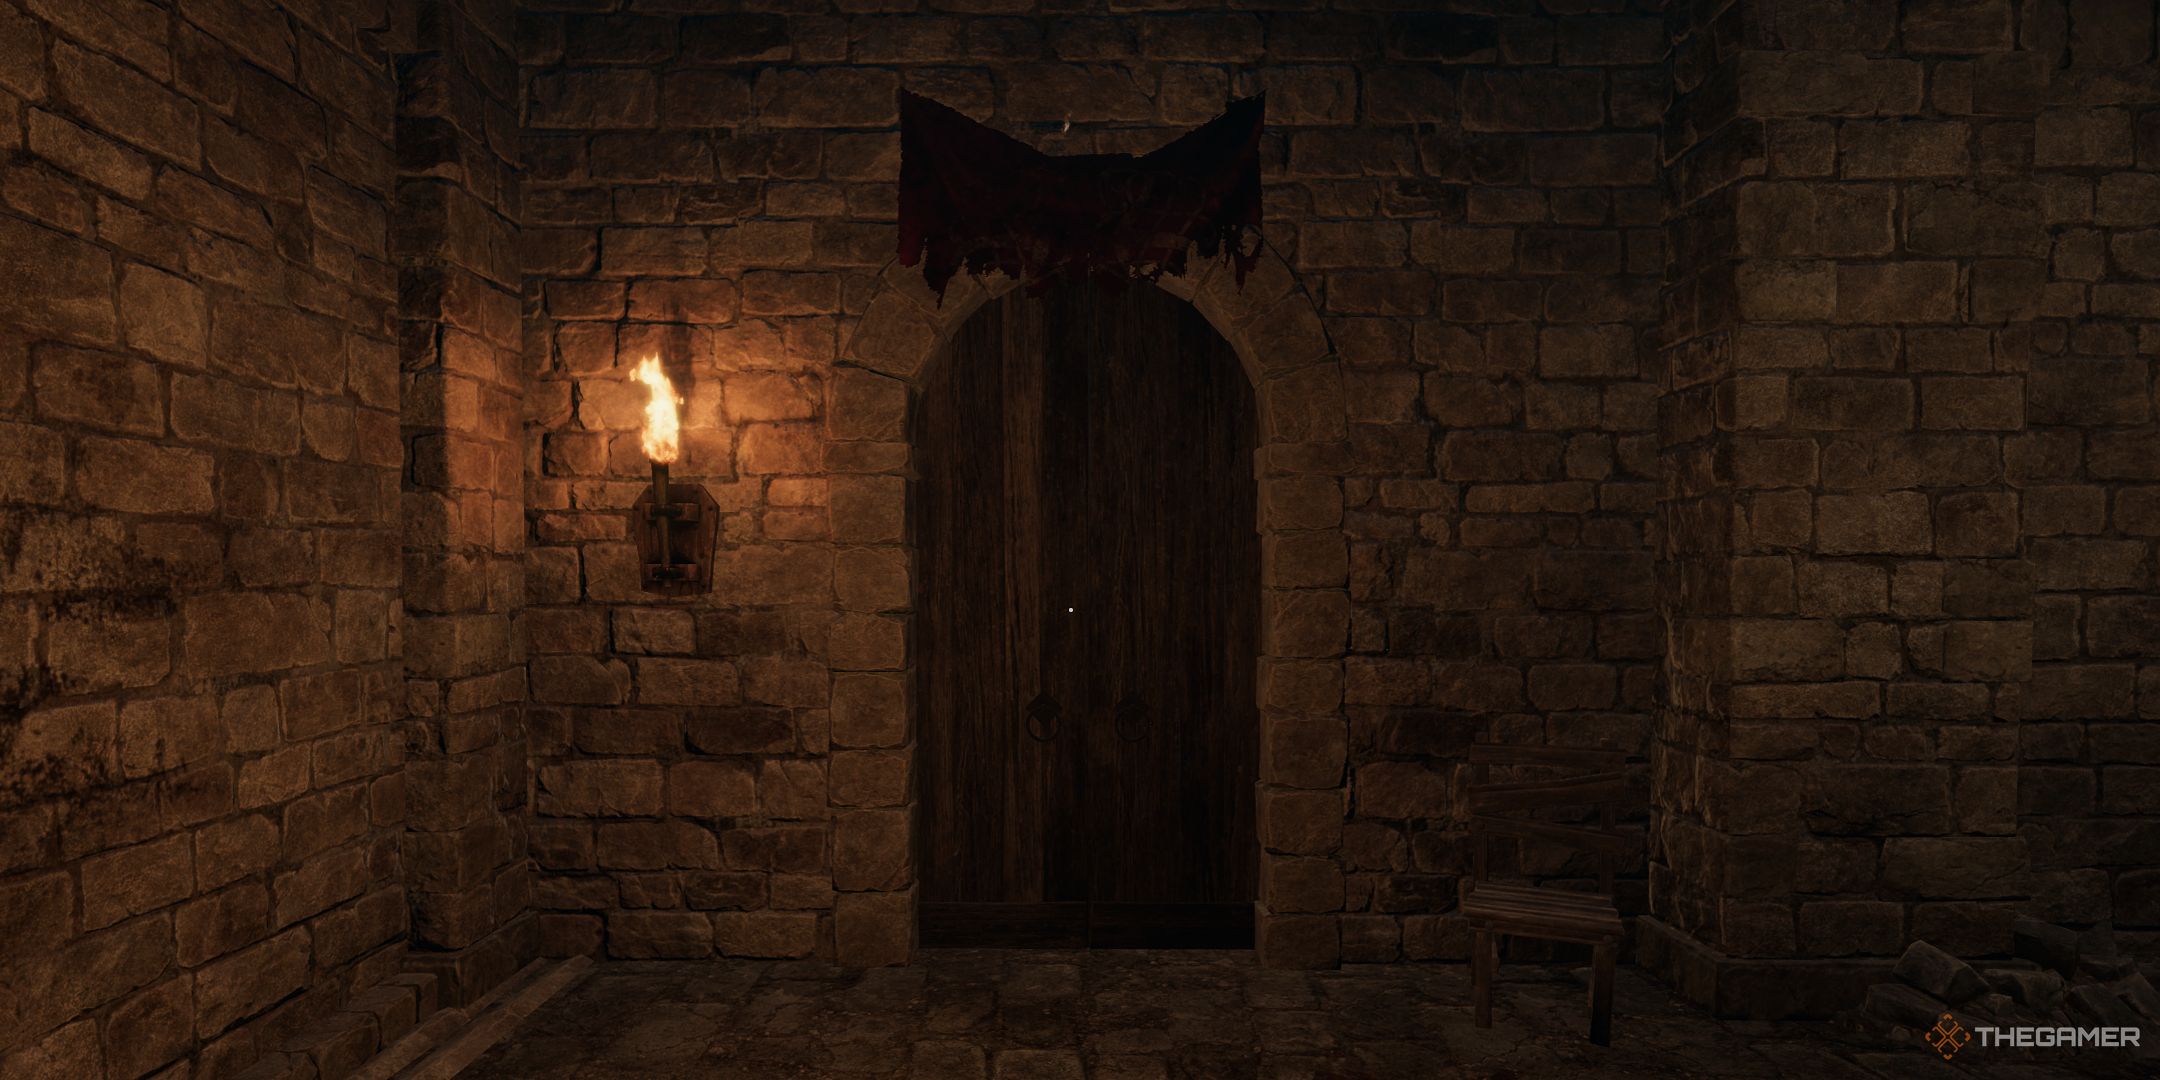
To one side lies a badly wrecked portion of wall, but let’s set it aside momentarily. If you proceed toward the hallway, you’ll discover a note affixed to the door. Take a look at that note, and you’ll uncover the secret formula for crafting the miniature health elixir and the miniature mana elixir.
Acquiring The Blood Transfusion Spell
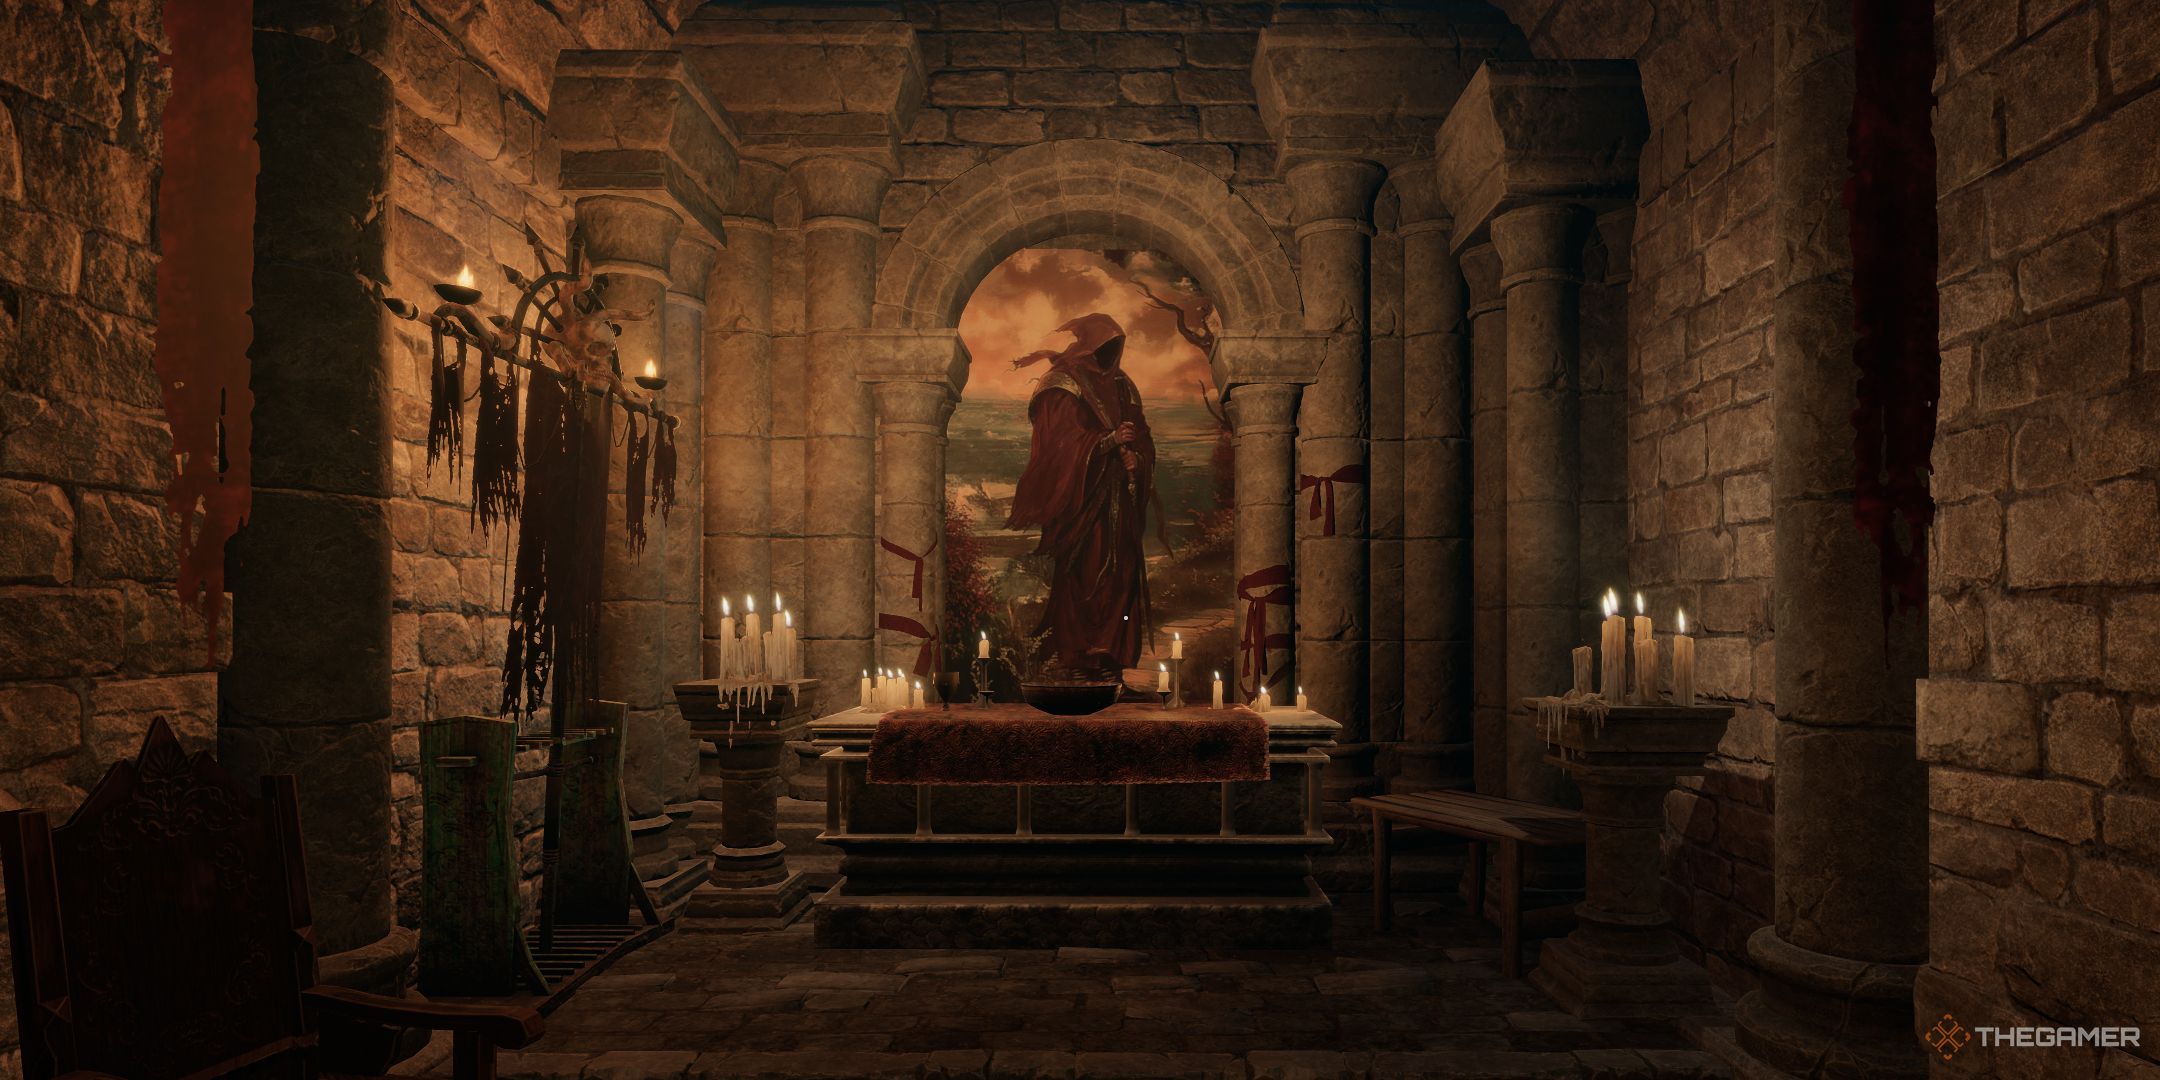
Locate an altar in the vicinity. Upon finding it, you’ll notice a document resting atop it. Retrieve this document and read it to learn the Blood Transfusion Spell.
Acquiring The Burning Embers Spell And Ninian’s Tags
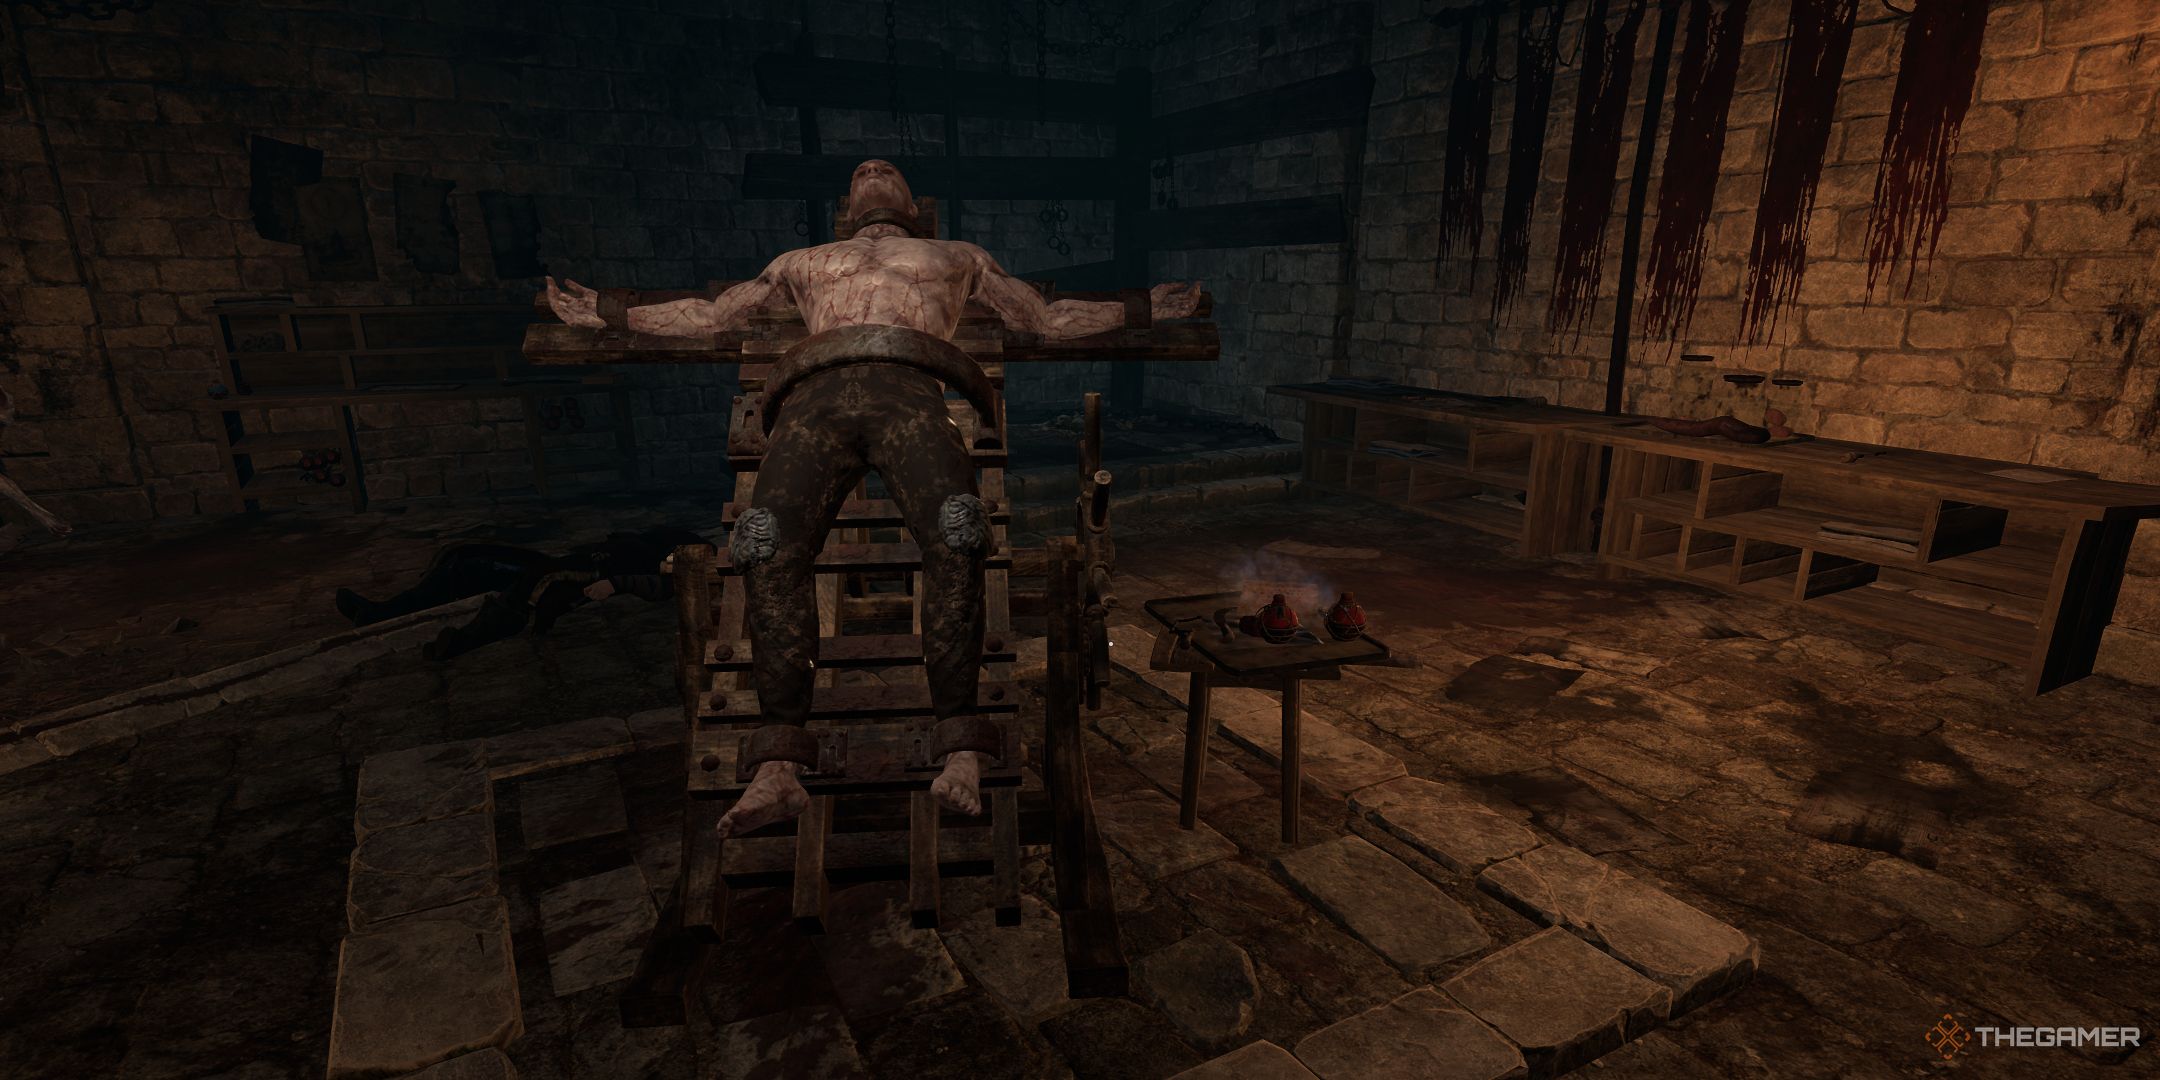
Starting from the location where you cast the Blood Transition spell, follow the hallway, and you’ll come across a door. Enter this door to find yourself in a storage room. Search the storage room thoroughly, filling your pockets with all the edibles at hand. Next, open the following door, which leads you to the laboratory. In this lab, you’ll encounter another Red Priest. Eliminate them. Upon their demise, you’ll discover Ninien strapped to a table. Engage in conversation with Ninien, who will express his desire for relief from his torment.
There is no way for you to convince Ninian to escape with you. You need to kill him.
Later in the game, when you’re south of the Horns, Ninian will instruct you to use his tags. After defeating him, retrieve Ninien’s Tags from his body. Additionally, search near Ninian’s corpse for the Burning Embers spell on a nearby table, along with some potions.
Acquiring The Origin Potion
Peer closely at the lab, search for a hidden doorway or opening in the wall. Bend down to access this location. Upon entering, turn immediately to your left and descend into a chamber. Exit that chamber (you may need to pick the lock first), then proceed to the cell directly opposite it. On the table within, you’ll discover an Origin Potion – these allow character respec, so don’t forget to collect it!
Acquiring The Lesser Health Ring
Exit the current cell, then turn right. You’ll come across a room where a group of Red Priests have met a grisly end at the hands of Conchur. Approach and converse with Conchur once he departs. Subsequently, locate the cell situated at the rear of this room. Use your lockpicking skills on it. Upon entering, you’ll encounter a Red Priest’s deceased body along with that of a Buggane. Search the priest’s remains to obtain the Lesser Health Ring.
If you use a harsh tone with Conchur, he might become aggressive towards you because he can be quite formidable. Keep in mind that if you manage to defeat him, the Raider’s Skirt, Rogue’s Steps, and Raider Greaves will be yours. However, these items are of a high level, so they may not be suitable for your current abilities, but they do come with some impressive bonuses.
After getting the ring, you can proceed along the corridor, passing by the chamber containing the Origin Potion, and eventually reach a spacious room inhabited by Red Priests. However, if you want to gather everything, it would be best to retrace your steps.
Where To Find The Laboratory Key
As you move forward along the primary route, you’ll come across an elevated corridor overlooking a spacious chamber. You can hear some Red Clerics conversing in the room below. You’ll notice the slain body of a Red Priest, likely killed by Caradoc. Investigate that corpse and you’ll discover the Laboratory Key.
Using this key will let you reenter the room where Ninian is, but it won’t be beneficial if you’ve already smashed your way in using a pickaxe. In other words, you won’t need it anymore once you’ve entered the place with the pickaxe.
Acquiring The Shovel
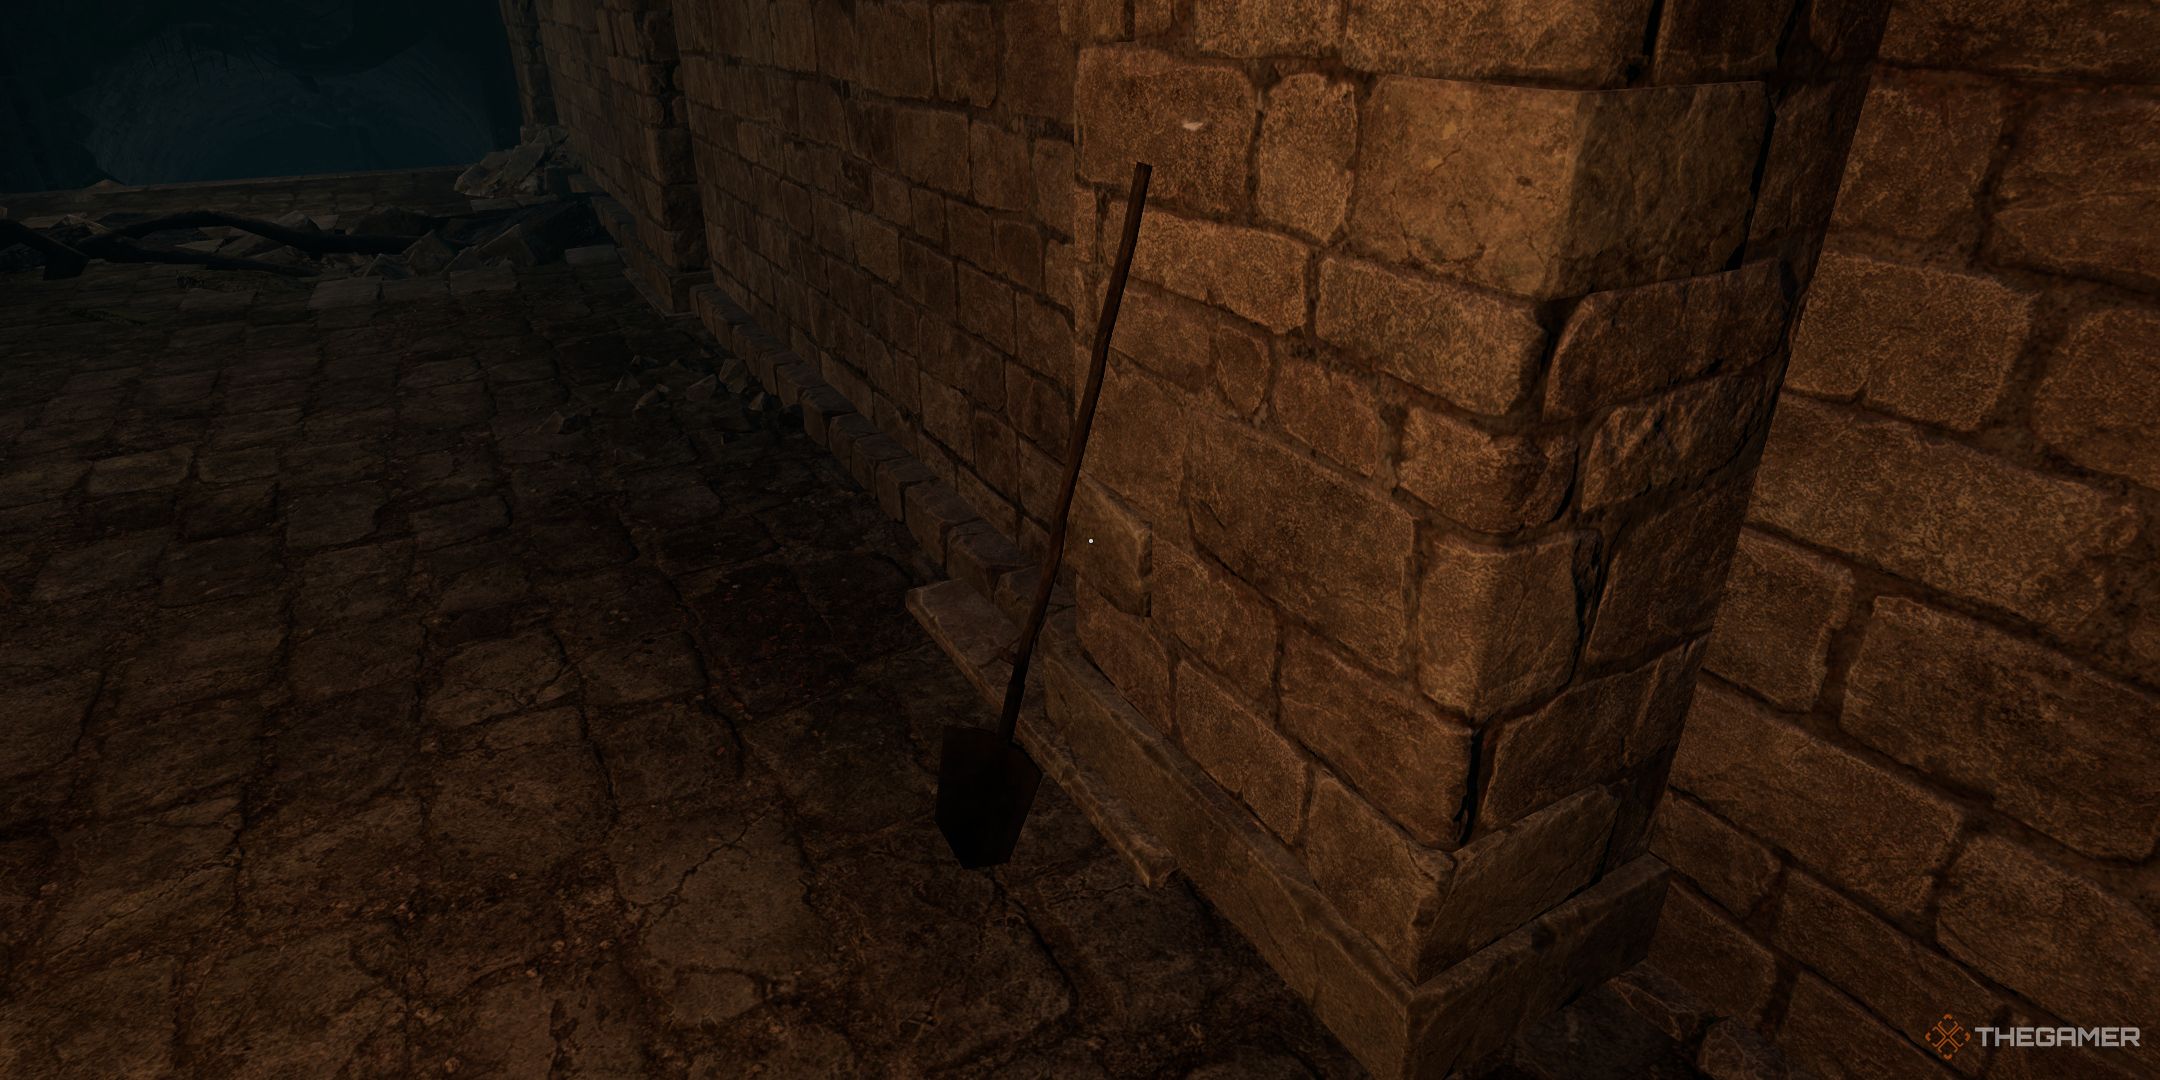
Walk downstairs following the path marked by the Laboratory Key, then turn the corner. You’ll find a shovel leaned against the wall. Take it, as it’s essential for unearthing some hidden treasures.
Acquiring The Bow
After taking the primary route, passing by the corridor housing the Laboratory Key and the shovel, you’ll come across Caradoc on your left side. For now, disregard him and instead, focus on searching the fallen guard nearby. You’ll find a valuable item called the very short bow, which is essential for an upcoming miniboss battle.
Acquiring The Blood Sucker Potion Recipe
As I step away from the hallway where I discovered the Laboratory Key, I’ll make my way down a flight of stairs. You’ll spot a hidden nook on your right, complete with a hole large enough for me to squeeze through. Crawling in there will take me straight to the expansive room I had bypassed when I picked up the Lab Key earlier. In this room, I encountered two Red Priests and a Guard. After dispatching them, I suggest keeping an eye out for a table laden with potions. Once I’ve grabbed those potions, I recommend checking out the document next to them. Doing so will reward me with the recipe for the Blood Sucker Potion.
Acquiring The Lesser Mana Ring
After arriving at Caradoc, look for the stairs on his right side. To your right, you’ll notice a gap in the wall that isn’t the same one leading to the room containing the Blood Sucker Potion recipe. Upon descending these steps, you’ll encounter Sirja who is injured. Since she’s hurt, provide her with a healing potion. After you’ve helped her, she’ll express gratitude by giving you the Lesser Mana Ring.
You have the ability to defeat Sirja, but be warned, unless you’re playing on the easiest setting, this challenge is substantial. She’s remarkably resilient and packs a punch. If you manage to best her in combat, you’ll acquire her armor, though it’s not particularly impressive compared to Conchur’s. However, you’ll receive Sirja’s Cape as a reward for your actions, ensuring that your unfortunate act doesn’t go entirely unrecognized.
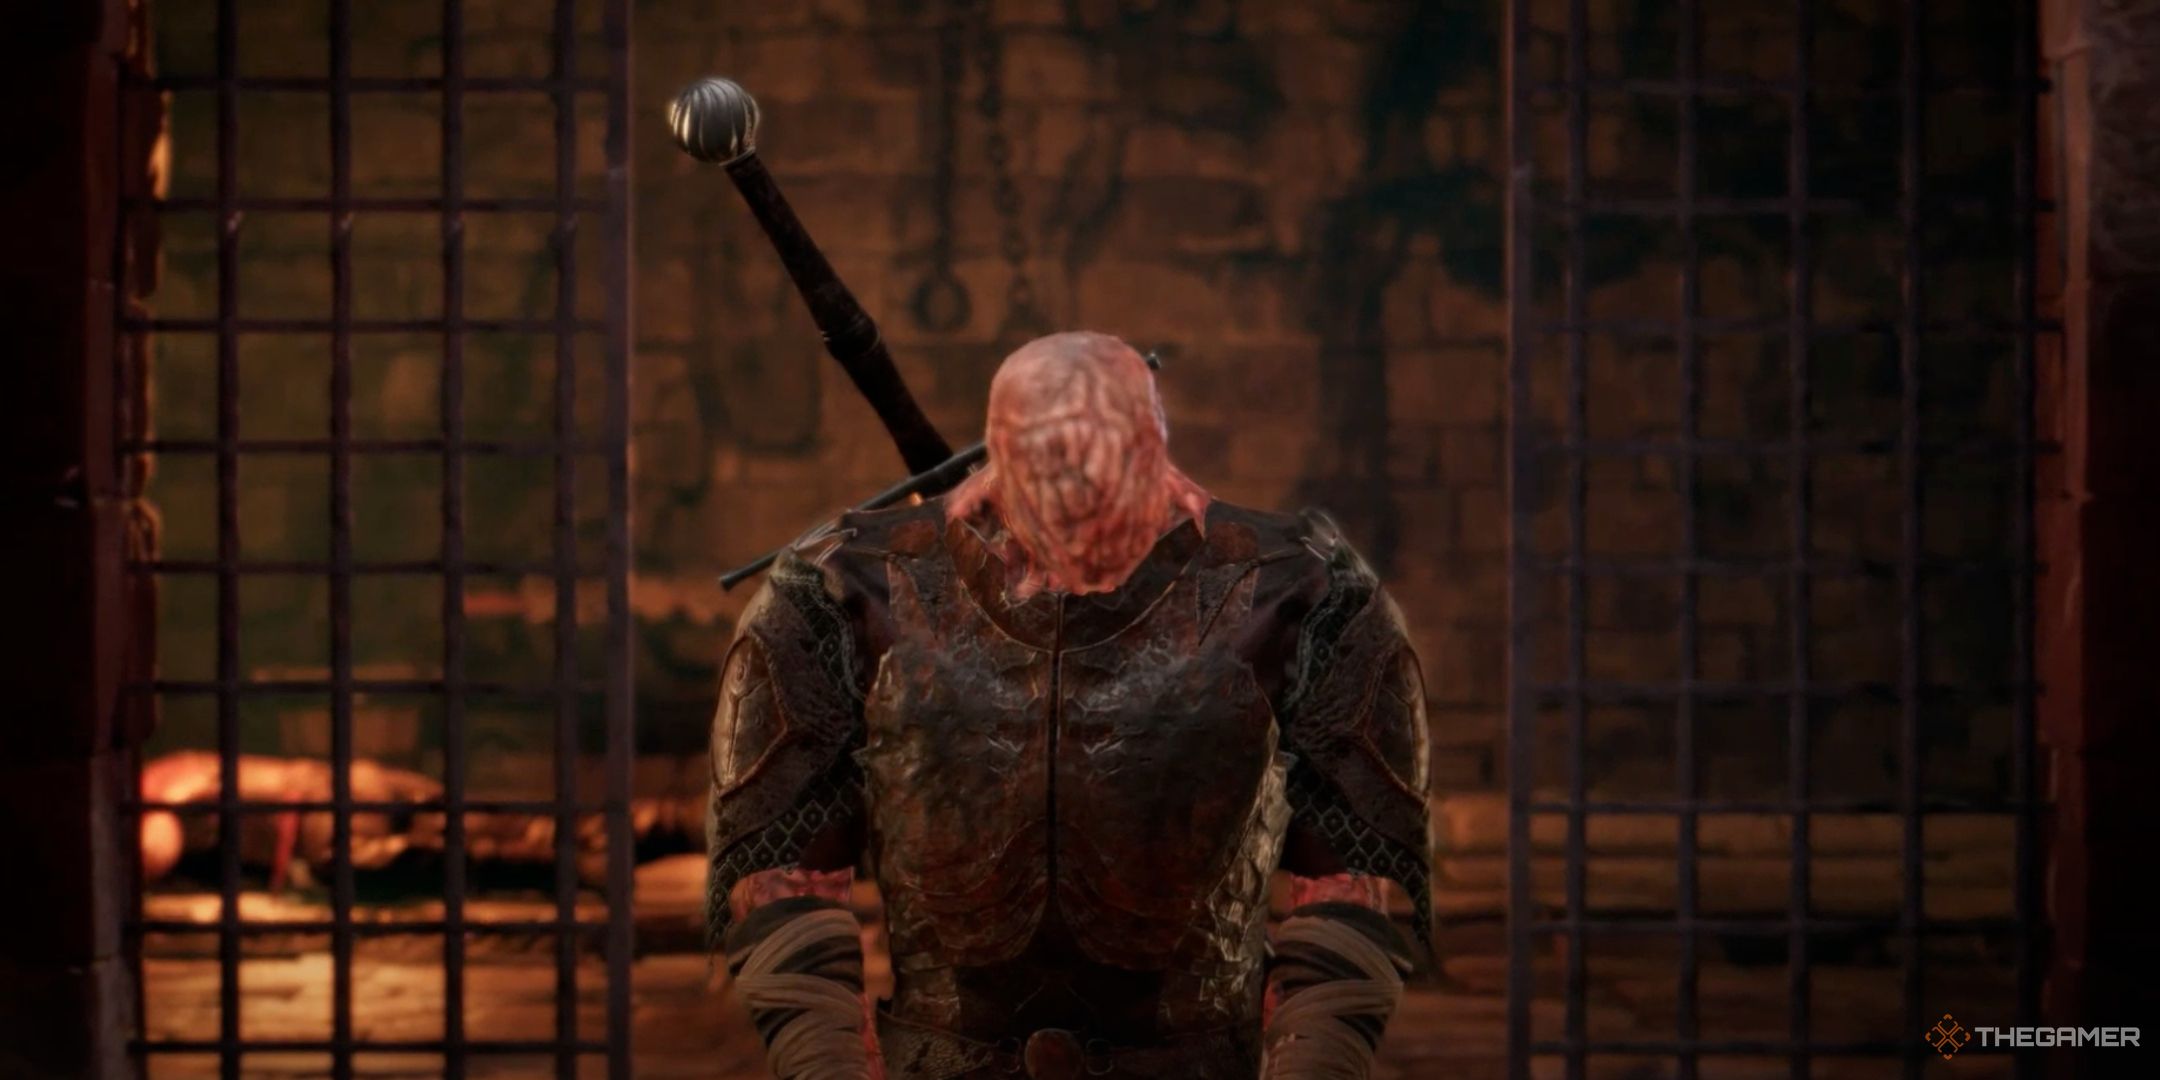
Defeating The Frantic Berserker And Acquiring The Thorn Helm And Athlete’s Pride Ring

In a vast chamber with Sirja, proceed towards a colossal mound of deceased beings. Near these lifeless forms, there’s a sealed door that you can unlock. However, resist the urge to go through it and instead scale the rocky outcrop on your right. Once atop, advance carefully through the opening ahead. This will lead you into the Frantic Berserker’s cell. From your elevated position, take aim with your bow or Burning Embers spell to eliminate him from above.
After defeating the Frenzied Berzerker, search their remains to acquire the Thorn Helm and the Athlete’s Pride ring. The helmet is one of the best in the game’s early stages and has an impressive feature that retaliates by dealing damage to those who attack you. Wearing the ring will slightly boost your stamina.
Defeating The Wailing Effigy And Acquiring The Grief-Torn Armor
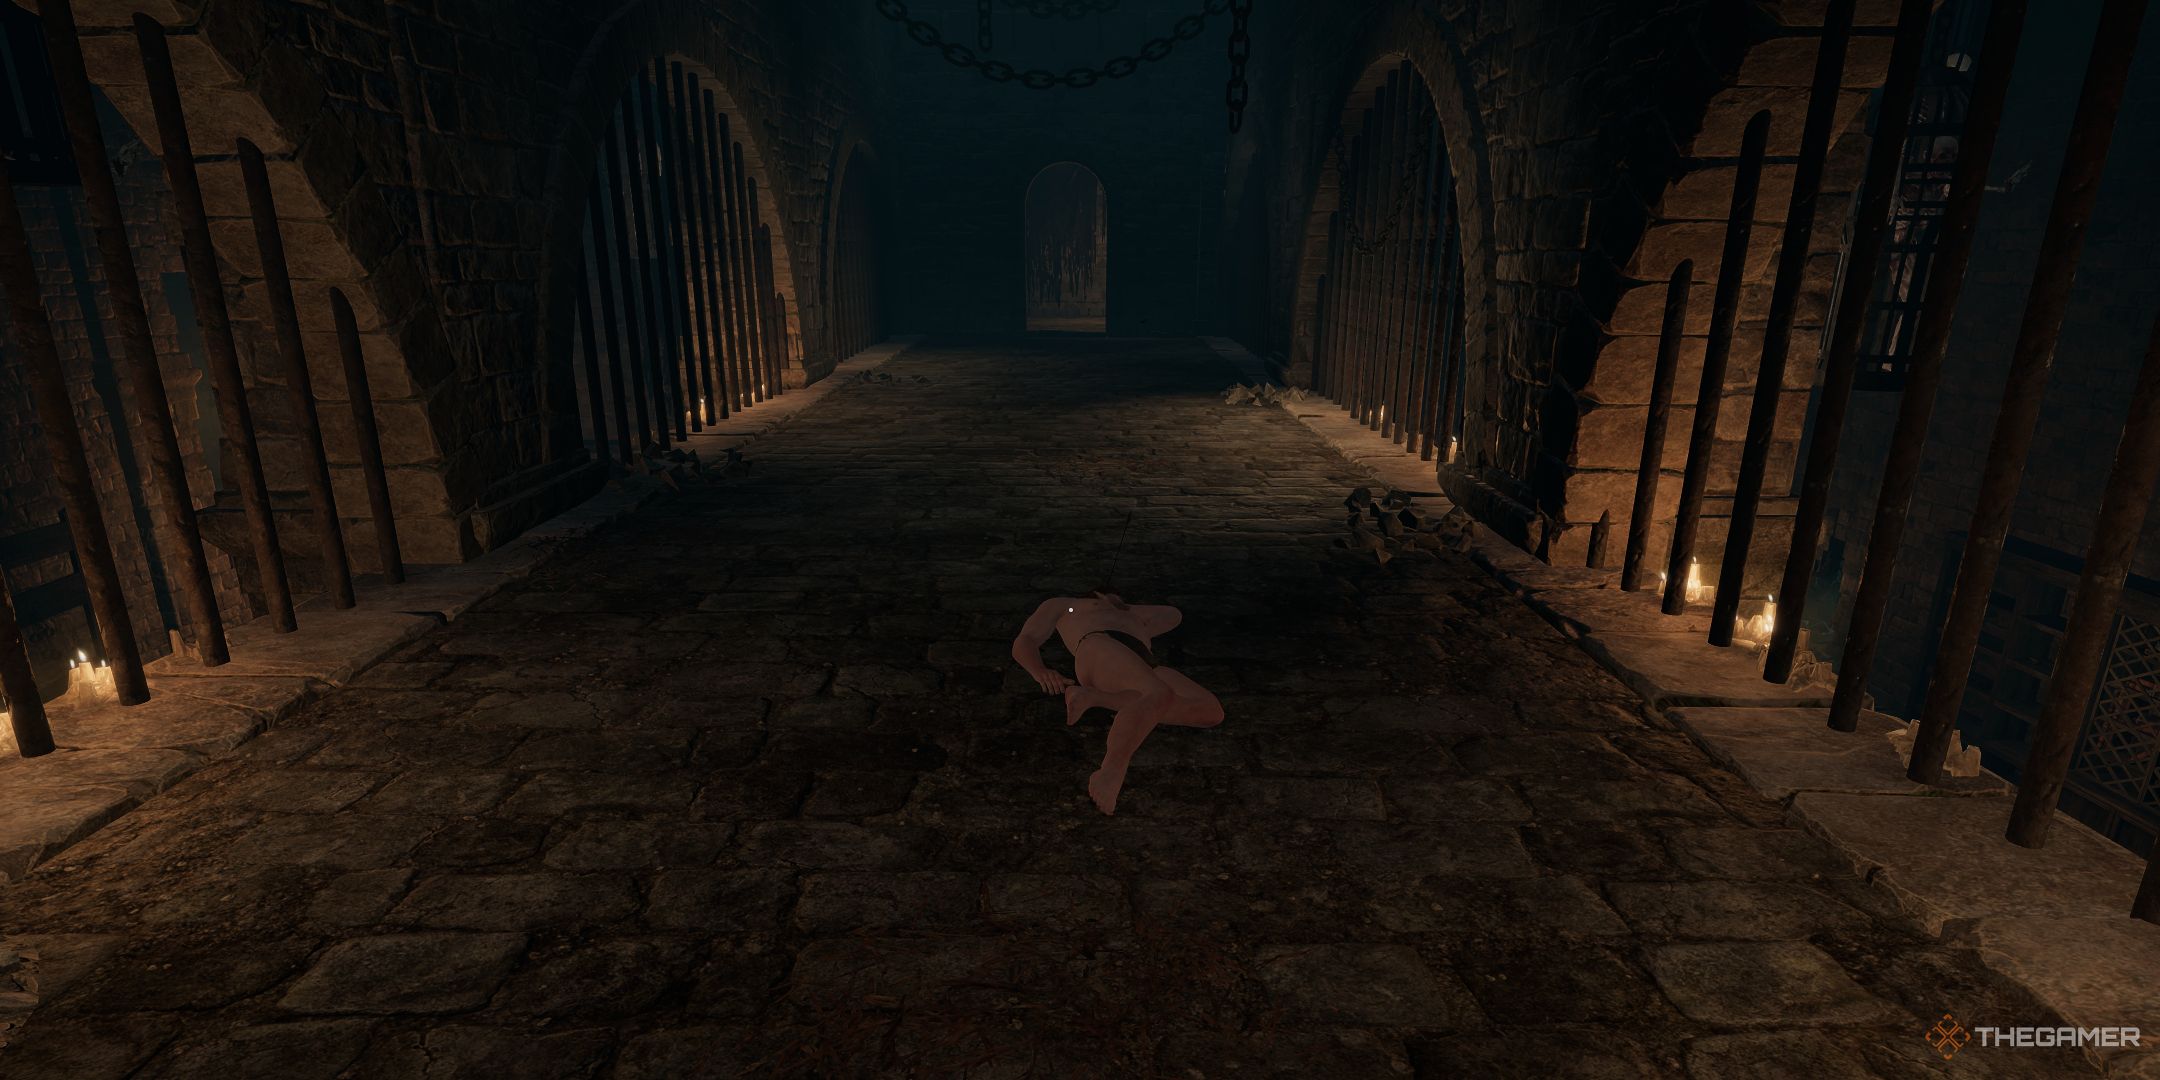
Before departing from the Asylum, it is advisable to tackle the Wailing Statue last, given that he presents a challenging battle. To reach him, proceed along the main path and descend the steps until you reach the bottom. Upon reaching the bottom, use the Guard’s Key to open the door, which will lead you to the confrontation with him.
As a devoted admirer, I’d like to share some insights about my encounter with The Wailing Effigy. He wields a powerful two-handed sword that packs quite a punch, but it’s not exactly swift in its swings. This gives you an opportunity to keep your distance or even parry his attacks effectively.
However, beware! He also possesses a fire spell. If you opt to stay too far away from him, he might just incinerate you with it. Fortunately, the battle arena is equipped with two sturdy pillars that can serve as shields against his pyro attack. Utilize these strategically, and you’ll emerge victorious!
Read More
- AI16Z PREDICTION. AI16Z cryptocurrency
- Best Mage Skills in Tainted Grail: The Fall of Avalon
- Tainted Grail the Fall of Avalon: Should You Turn in Vidar?
- Tainted Grail: How To Find Robbie’s Grave
- Top 8 UFC 5 Perks Every Fighter Should Use
- USD ILS PREDICTION
- Best Awakened Hollyberry Build In Cookie Run Kingdom
- Slormancer Huntress: God-Tier Builds REVEALED!
- LUNC PREDICTION. LUNC cryptocurrency
- Delta Force: 10 Best Gun Loadouts Ranked
2025-05-31 21:36