In Elden Ring Nightreign, you have an opportunity to uncover pieces of the Nightfarer’s past by completing the Raider Remembrance Quest.
In contrast to previous FromSoftware games, Elden Ring: Nightreign departs from employing subtle environmental storytelling techniques. Instead, this multiplayer game delivers its narratives in a more explicit manner. Consequently, each character in the game has a clear questline, similar to Raider’s Remembrance, offering players insights into their past and allowing them to understand how events and thoughts shaped these characters into the warriors they become.
To finish this quest successfully, I’ve put together a comprehensive guide for you on completing the Raider Remembrance missions within the game Elden Ring: Nightreign.
How To Complete the Raider Remembrance Quests in Elden Ring Nightreign
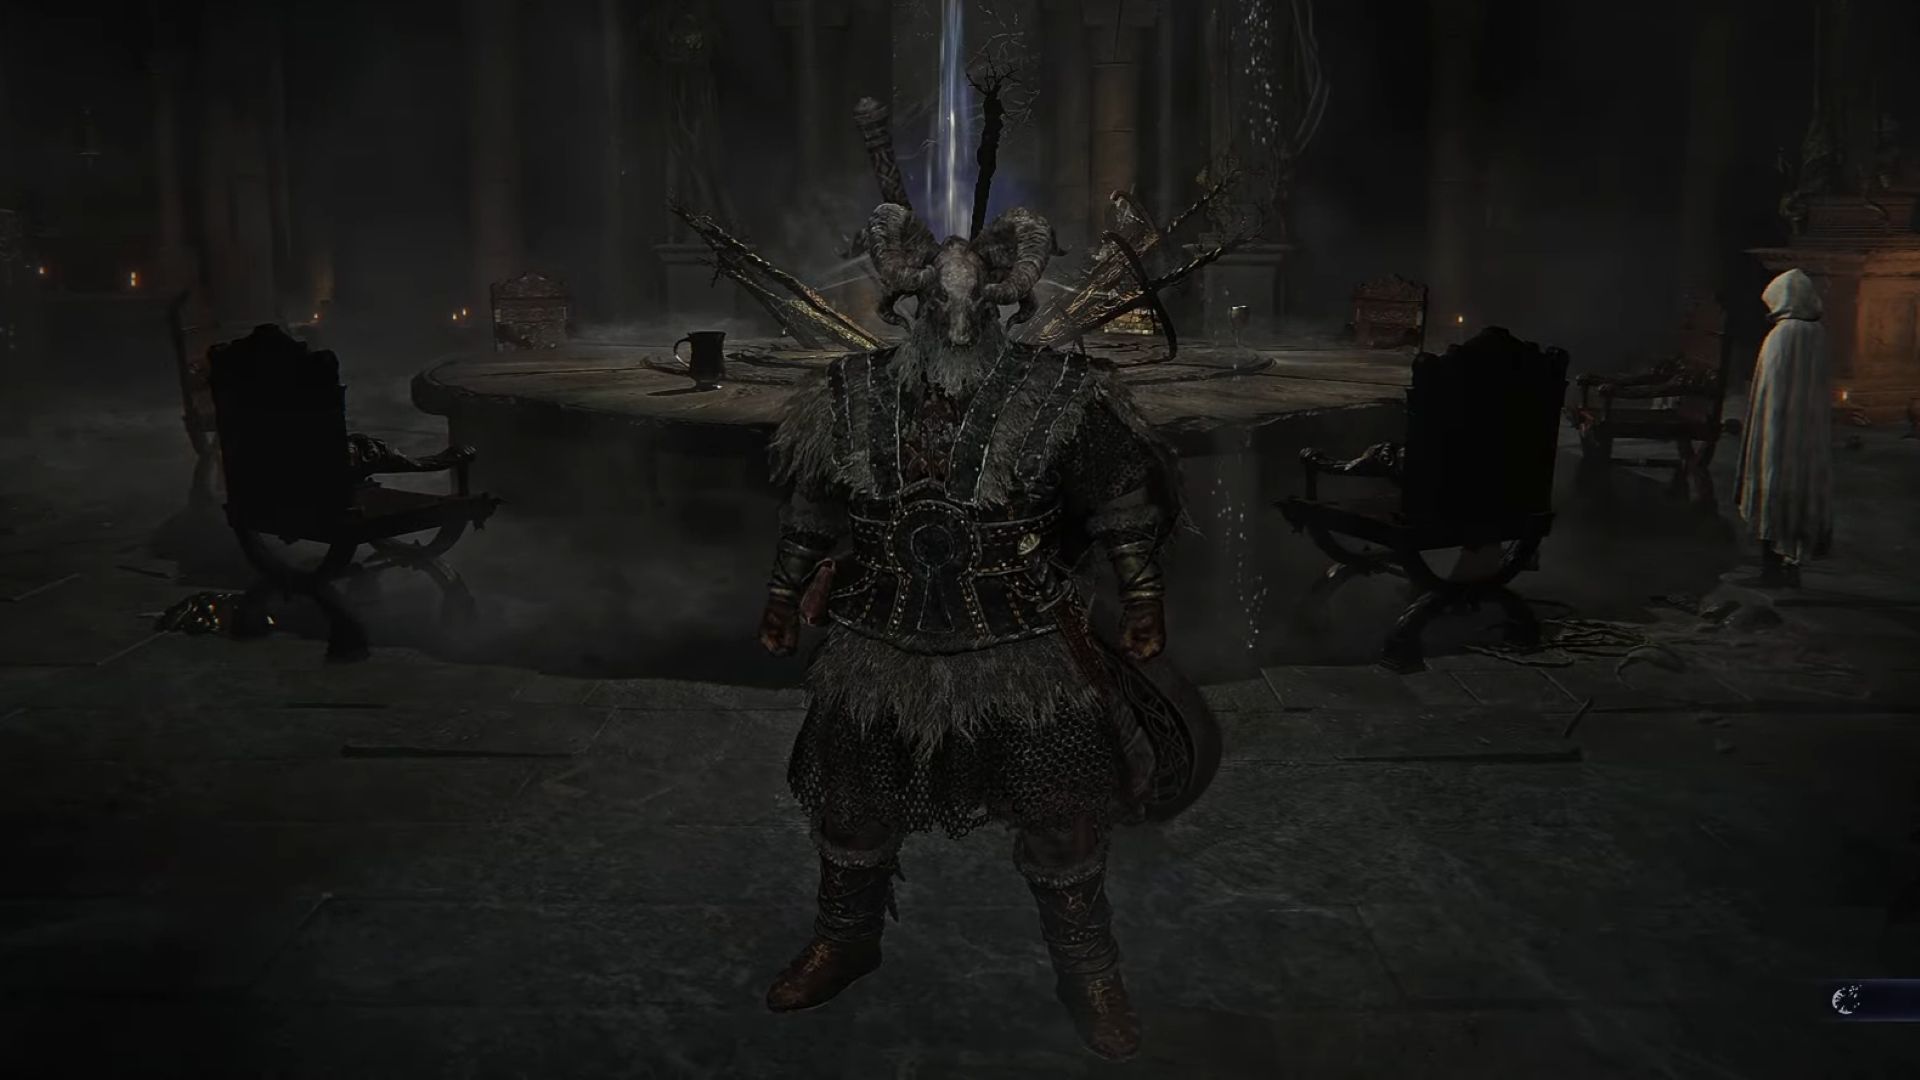
To embark on the Raider’s Remembrances, it is essential that you are acquainted with the Journal first. In the game, this book is positioned to your left at the Table of Grace, in the Roundtable Hold. The Journal stores records for every Nightfarer, including the Raider. By utilizing its contents, you will be able to initiate the Remembrance quests and gain further insights into the characters.
To access additional memories or entries, you’ll need to collect Memory Pieces first. There isn’t a definitive way to get these items yet, but it appears that defeating Bosses and completing Expeditions are the only known methods. Once you have enough Memory Pieces, you can select the “Start Remembrance” option in the Raider’s profile to begin the quests. This Nightfarer currently has three memories waiting for you.
First Raider Remembrance
At some point during other Nightfarers’ Remembrance missions, you’ll find yourself in Limveld. However, the Raider is unique – his Remembrance quests are set in locations tied to his memories. In the Raider’s initial Remembrance, combat awaits against a Gladiator. Therefore, it’s necessary to head to the coliseum. For further details, follow these steps:
1. Understand that during most Nightfarers’ Remembrance quests, you will eventually visit Limveld.
2. Recognize that the Raider is an exception – his Remembrance missions take place in memory-related locations.
3. Know that in the Raider’s first Remembrance mission, you will engage in battle with a Gladiator.
4. Prepare to visit the coliseum for this encounter.
5. Continue following the steps provided for more information.
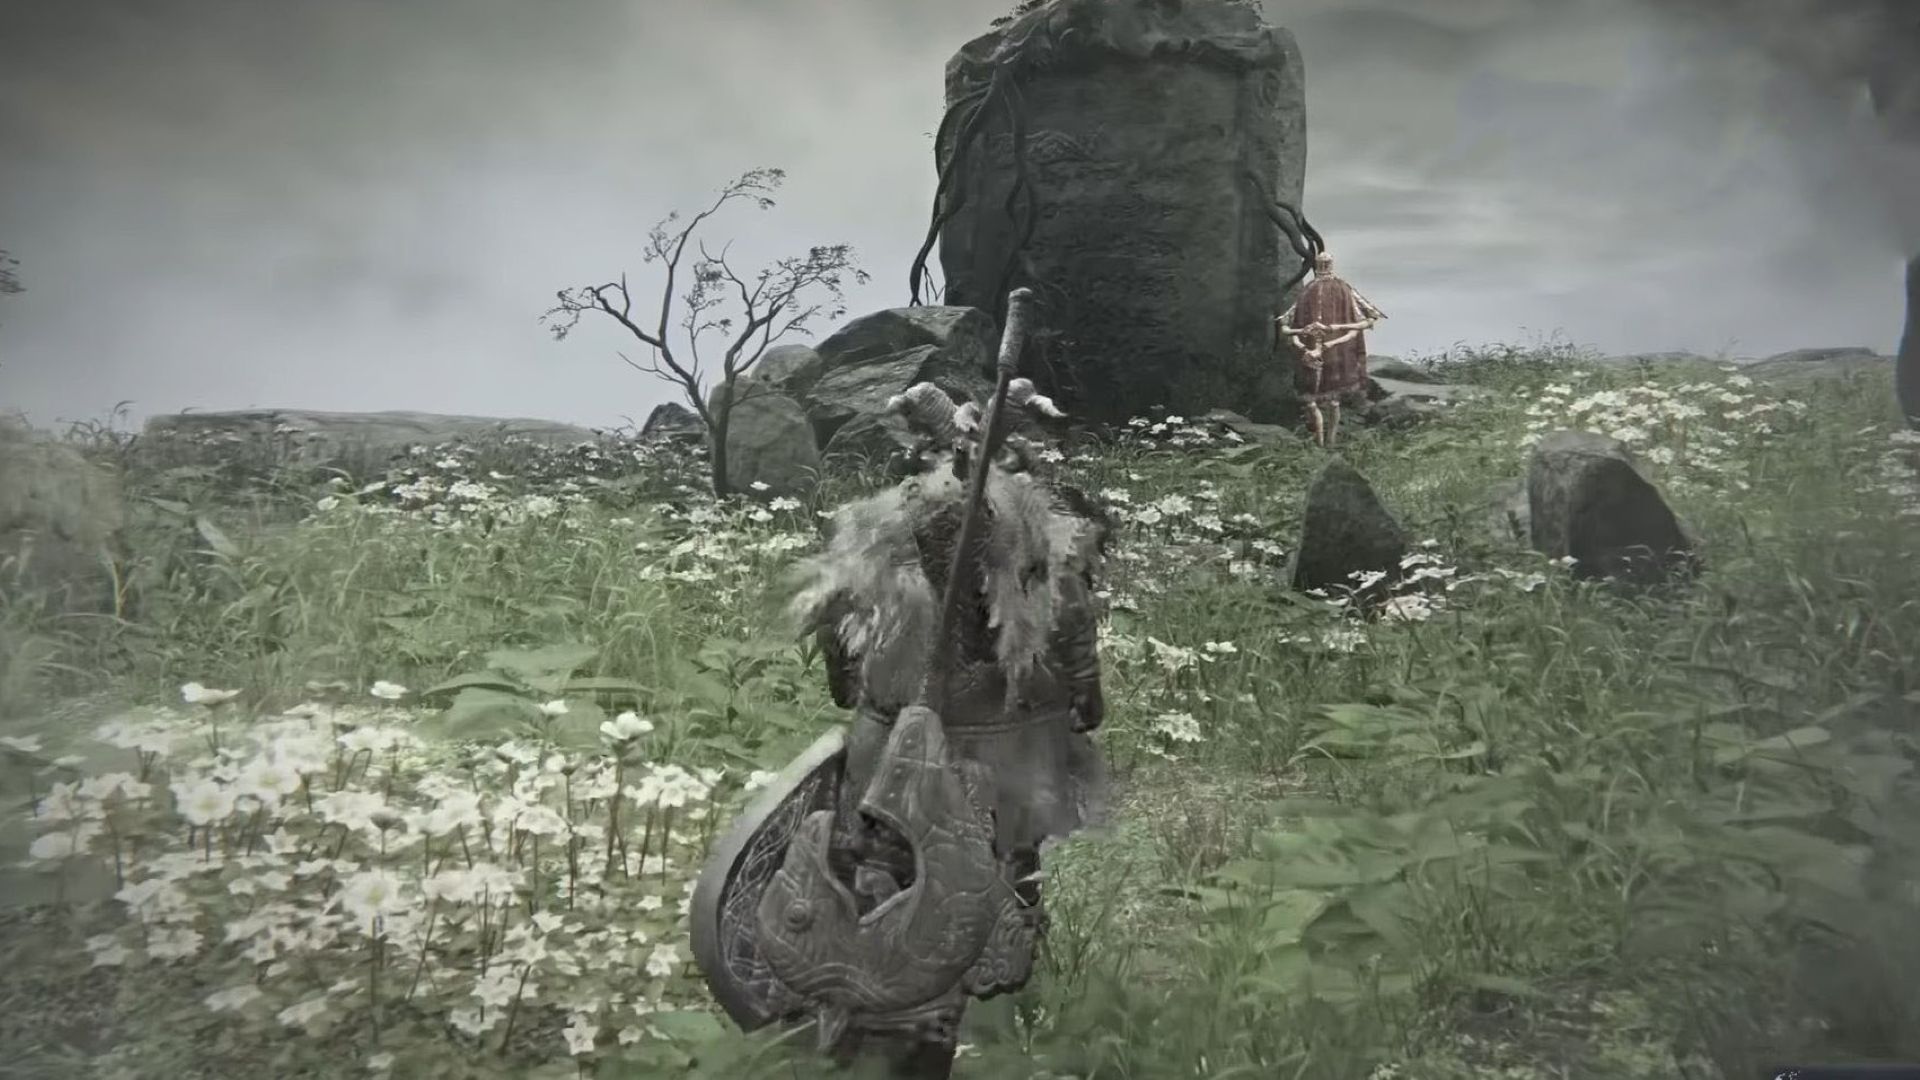
- Talk to the Iron Menial and discuss the monument. Exhaust all his dialogue.
- Interact with the monument and enter the Coliseum.
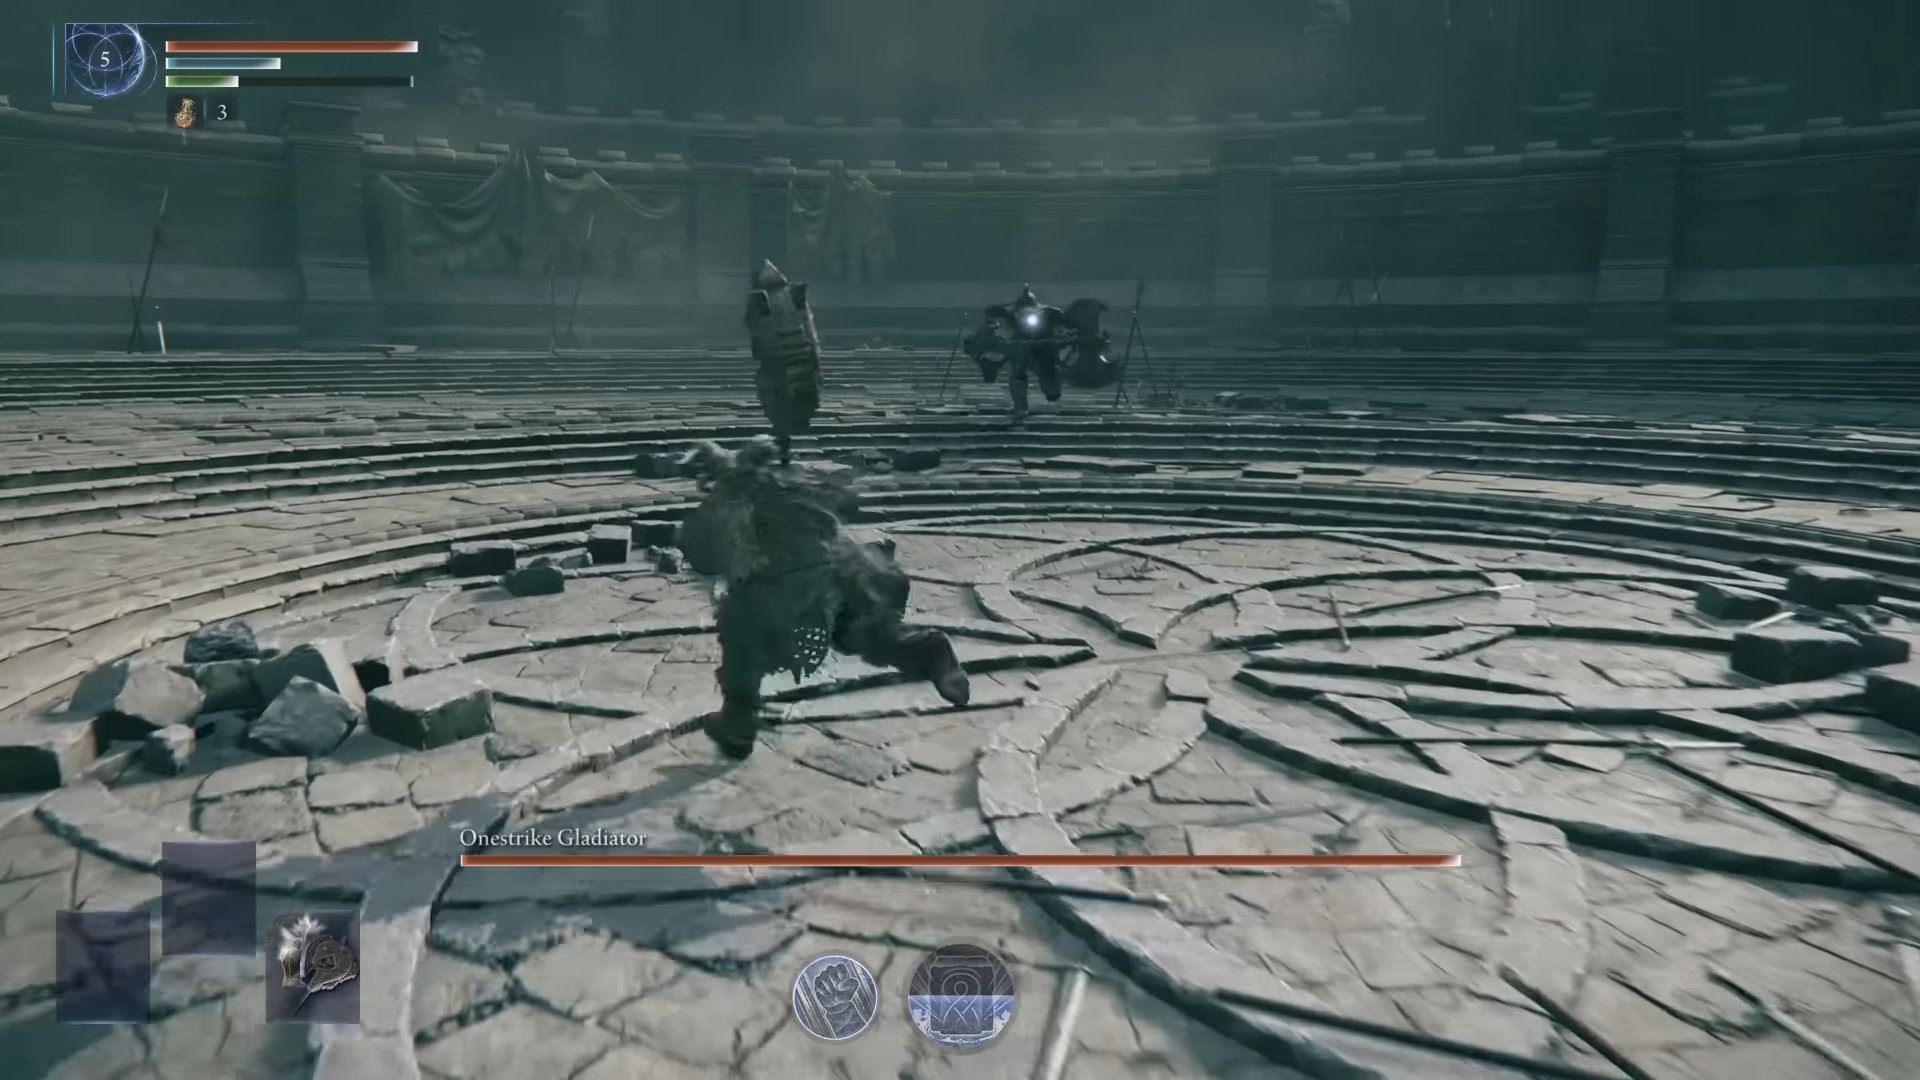
- Confront and defeat the Onestrike Gladiator.
- Obtain the Torn Braided Cord.
- Return and hand the Torn Braided Cord over to the Iron Menial.
- Complete the Remembrance.
Even though Onestrike Gladiator might be considered a challenging boss fight, it’s not too difficult to overcome him. You should find it relatively straightforward to defeat him. Keep in mind that you can use your Relic Rites during these encounters, so it would be strategic to concentrate on building your character for Solo Battles. Upon finishing the Raider’s initial Remembrance, you will receive the Torn Braided Cord relic as a prize. This relic enhances the power of the Raider’s character skills.
Second Raider Remembrance
Just like the first mission, the Raiders’ second memorabilia sets up another boss battle for you. The adversary this time is significantly stronger than your previous encounter, but it won’t be as challenging as a Nightlord, so you should be able to defeat it without too many problems. Follow the instructions below to accomplish all the objectives in the second memorabilia.
- Talk to the Iron Menial and exhaust all dialogue.
- Enter the Coliseum by touching the monument.
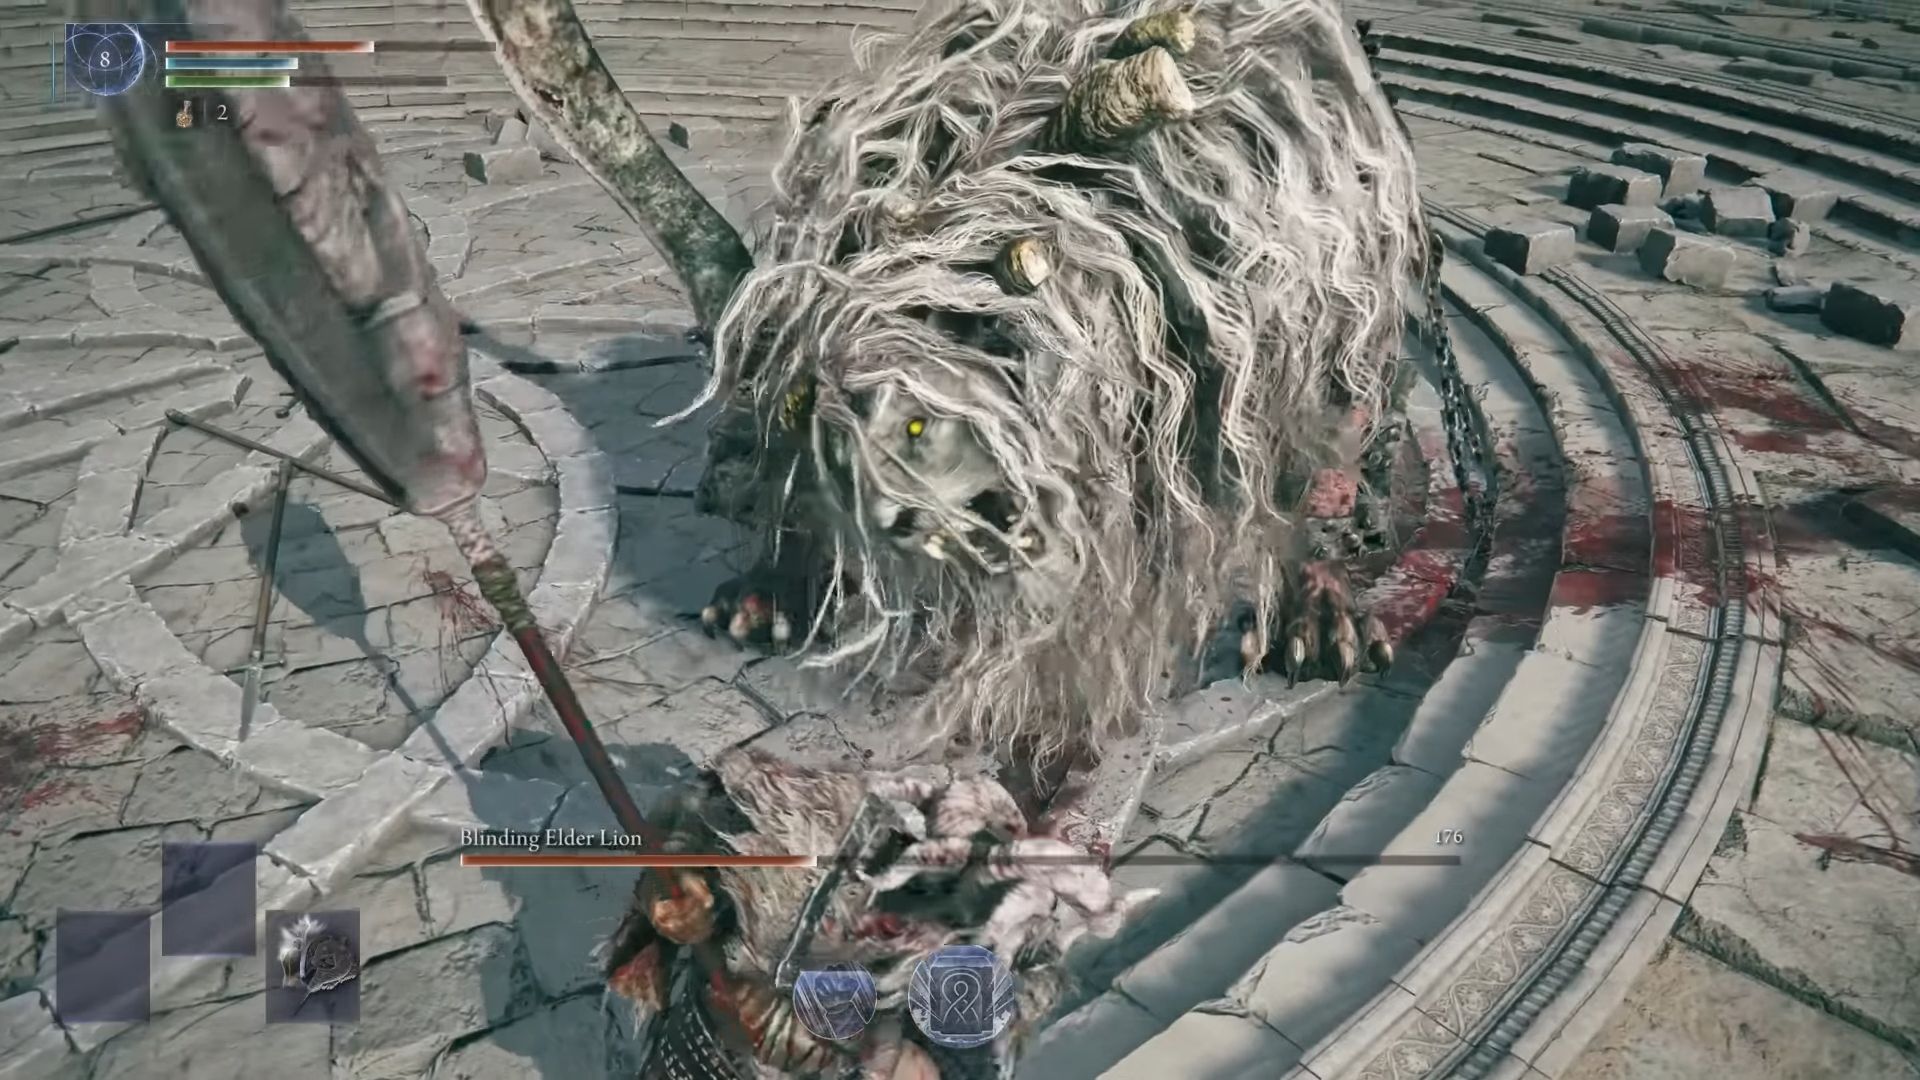
- Confront and defeat the Blinded Elder Lion.
- After you return, speak to the Iron Menial again.
- Complete the Remembrance.
In this battle against the Elder Lion, keeping your concentration is crucial since you’ll soon discover that it’s not only stronger but also swifter than the Gladiator. To put this creature off balance, use your two-handed axe. Once you grasp the lion’s attack sequence, it won’t be much of a danger to you. After successfully vanquishing this boss, you’ll receive the Raider’s Chalice as your reward.
Third Raider Remembrance
As you embark on the Raiders’ third commemoration, you’ll observe a recurring trend. Each of these missions provides you with a boss that becomes progressively tougher than its predecessor. In addition, the final Remembrance mission will lead you to an even more challenging battle against a formidable foe. However, this confrontation may prove particularly arduous for some players. Here’s what you should do once you begin the quest:
- Speak to the Iron Menial, and he will tell you that the monument is currently inactive.
- Teleport to the Coliseum by standing next to the fallen pillar on the shore.
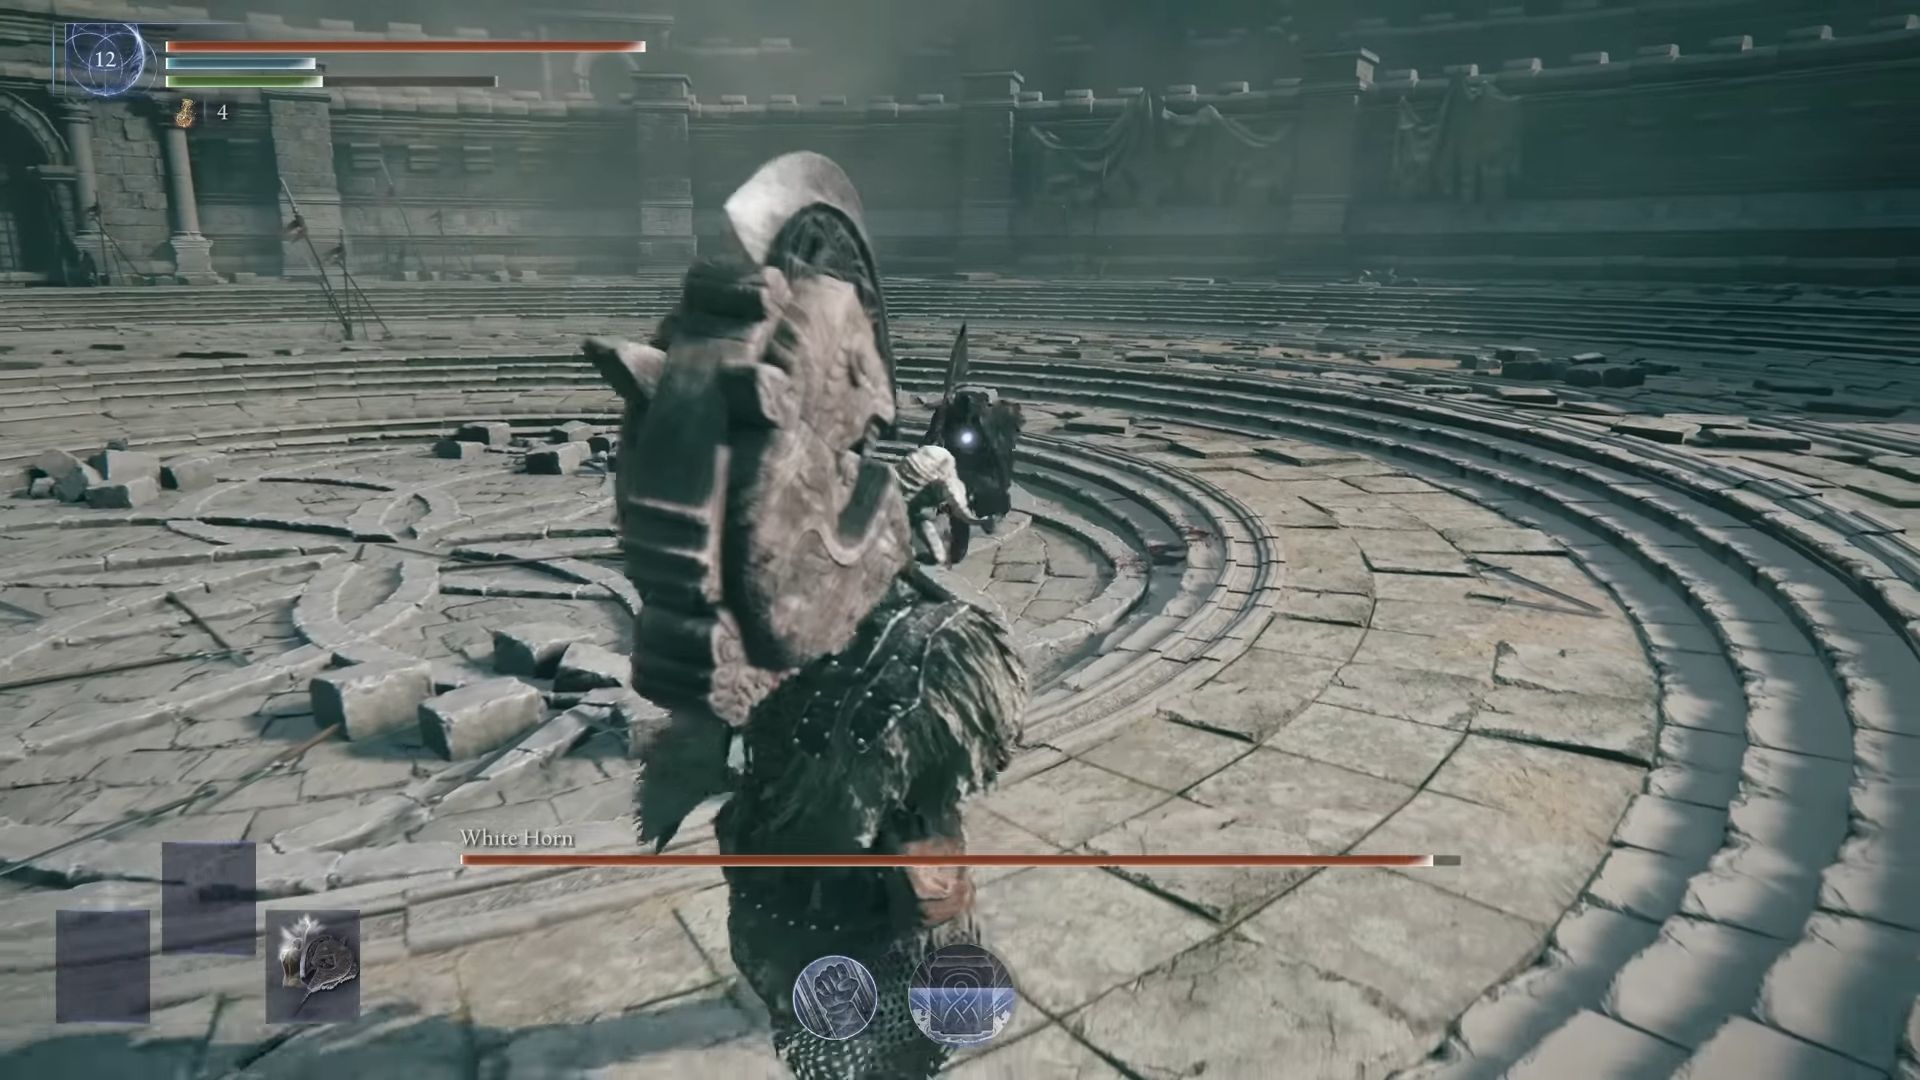
- Confront and defeat the boss, the White Horn.
- After returning, speak to the Iron Menial again.
- Make an offering to the Monument. It will reveal secrets regarding the Raider’s identity.
- Complete the Remembrance.
In contrast to the last two adversaries, the White Horn in Elden Ring: Nightreign features two distinct phases during combat. The fighting style of this boss bears a resemblance to the Raiders, but you can successfully stagger them with offensive attacks. However, it’s essential not to charge blindly at the White Horn. Instead, wait for an opportunity to attack and focus on whittling down its health.
Next, when your boss’s health reaches 50%, they’ll metamorphose into a Tree Spirit. Once you grasp the new tricks, the approach stays consistent. Although it’s the second phase, the battle shouldn’t pose too many difficulties. However, it would be wise to dodge and attack rather than enduring the incoming blows. Upon vanquishing the White Horn, you’ll acquire the Raider’s Remembrance skin and the Black Claw Necklace. The latter grants healing to anyone who defeats an enemy when standing near the Totem Stela.
Read More
- Best Awakened Hollyberry Build In Cookie Run Kingdom
- AI16Z PREDICTION. AI16Z cryptocurrency
- Nintendo Offers Higher Margins to Japanese Retailers in Switch 2 Push
- Best Mage Skills in Tainted Grail: The Fall of Avalon
- Tainted Grail the Fall of Avalon: Should You Turn in Vidar?
- Nintendo Switch 2 Confirms Important Child Safety Feature
- Top 8 UFC 5 Perks Every Fighter Should Use
- Nintendo May Be Struggling to Meet Switch 2 Demand in Japan
- Nintendo Dismisses Report On Switch 2 Retailer Profit Margins
- Nvidia Reports Record Q1 Revenue
2025-06-05 05:41