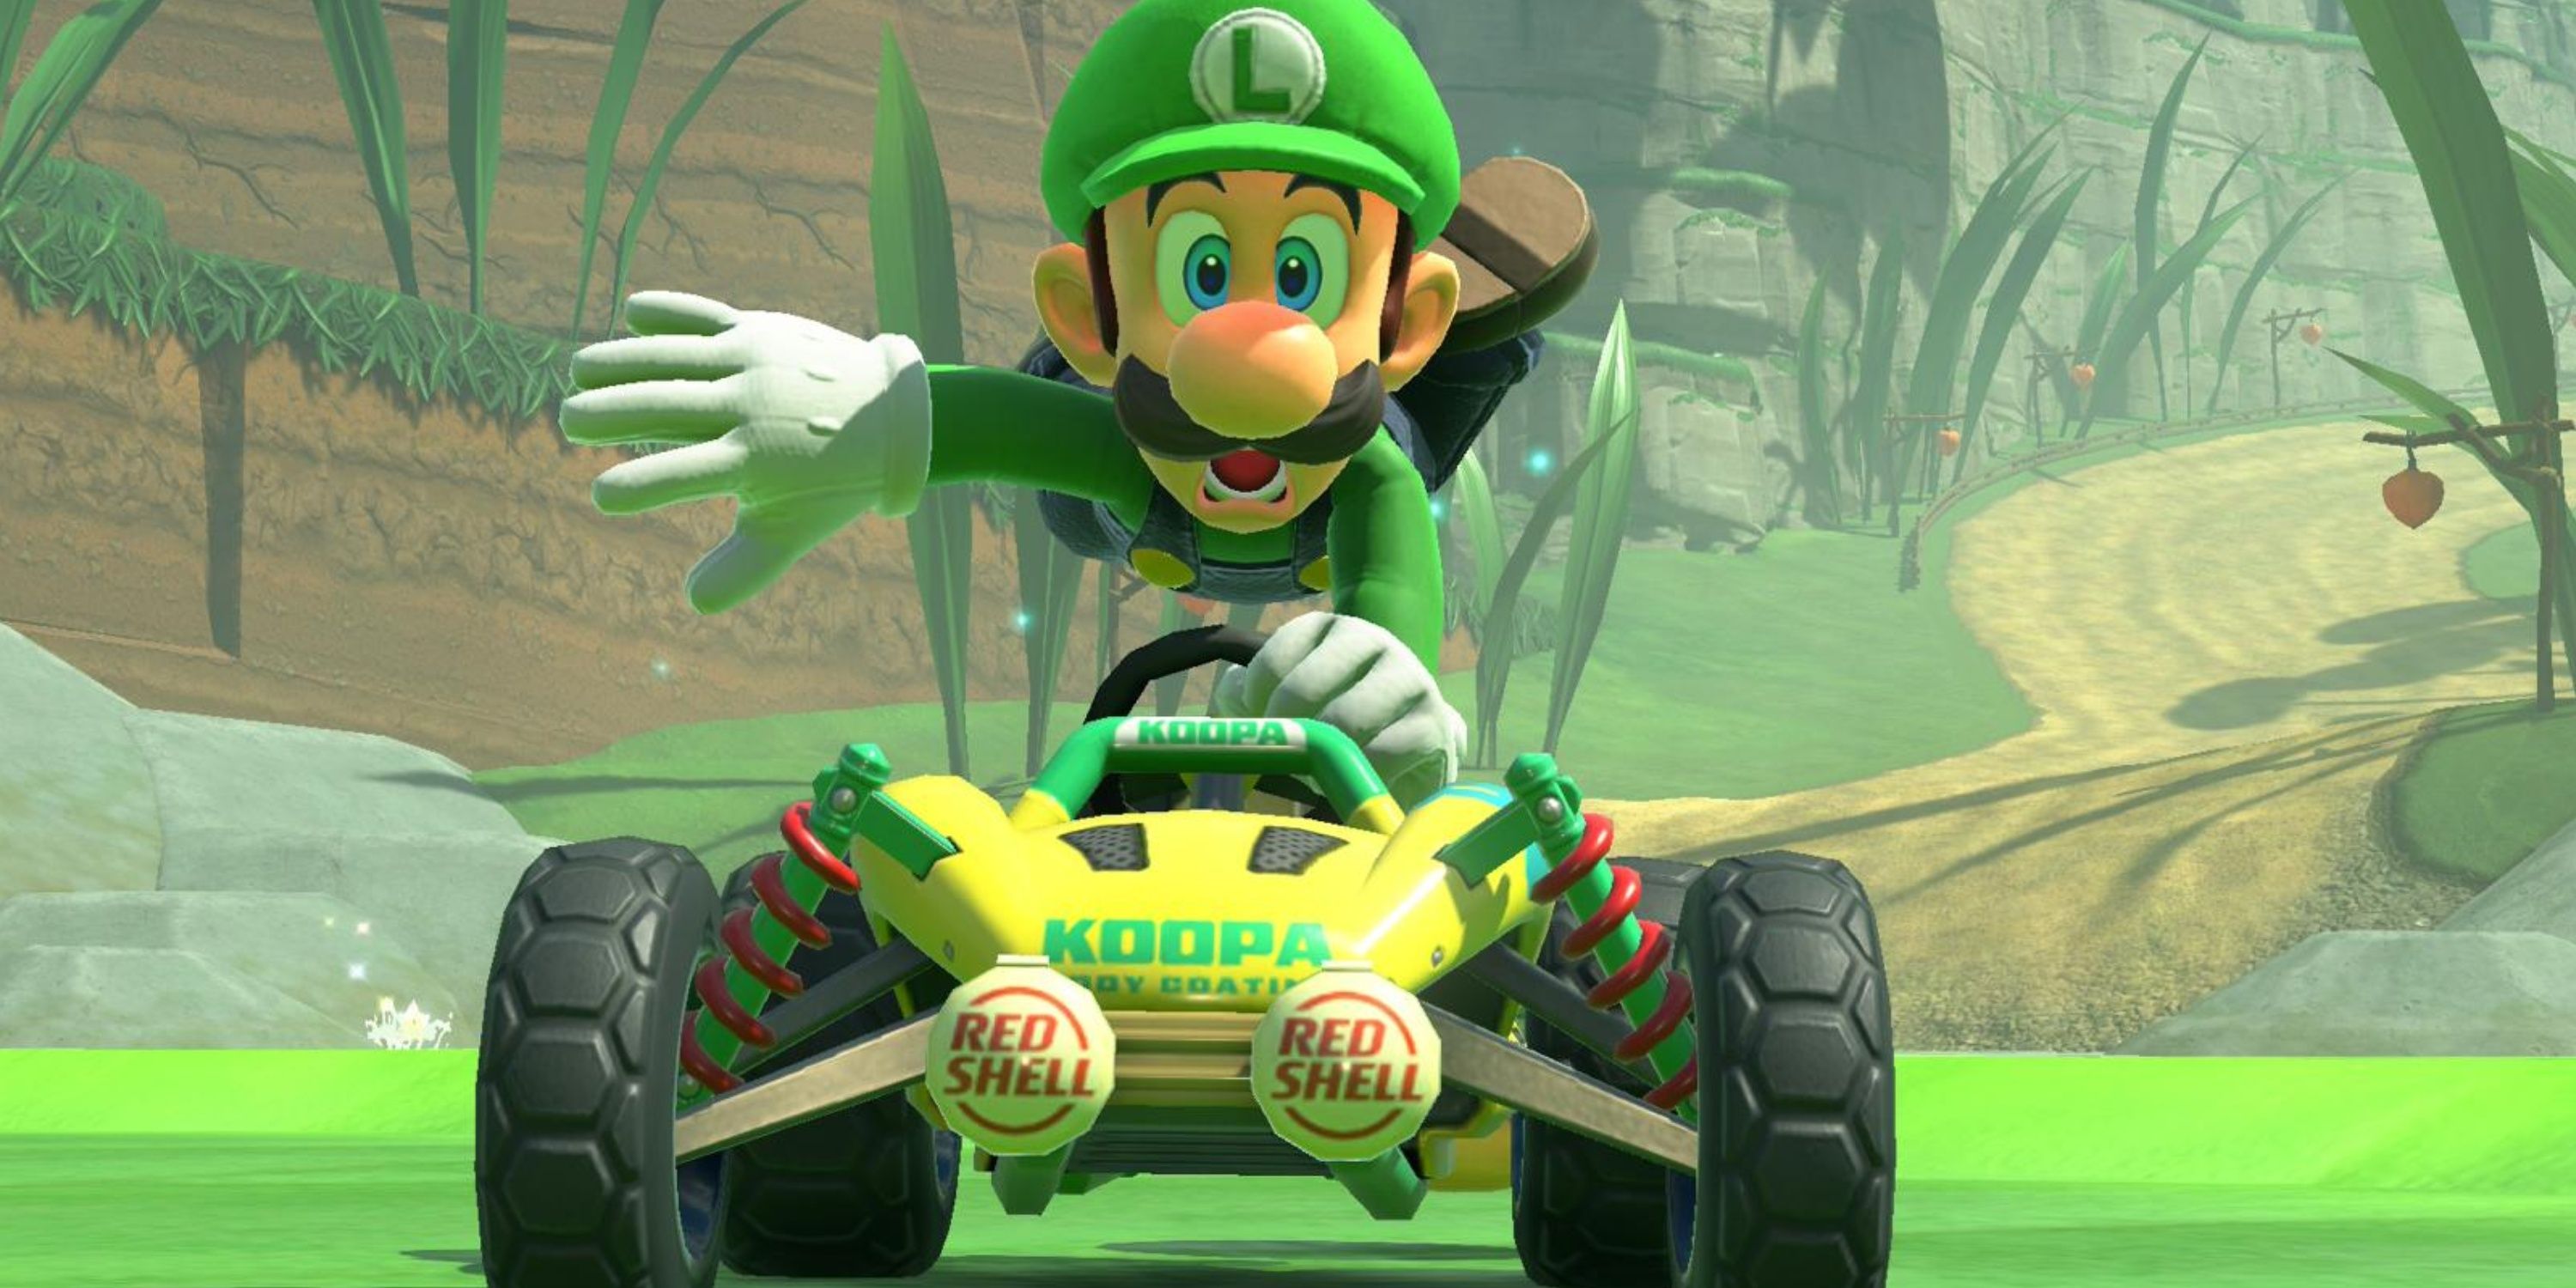
Photo Modes are incredible, offering gamers an opportunity to showcase their creative flair while capturing some truly stunning moments within gaming. Whether you’re after dynamic, action-packed shots or more tranquil ones that embody the atmosphere, Mario Kart World boasts a variety of scenes, and its Photo Mode enables players to share in this creativity.
As an enthusiastic fan, I can’t wait to delve into the captivating world of Mario Kart World’s Photo Mode! It’s a fantastic opportunity to immerse myself in the vibrant racing scene reminiscent of the launch title for the Nintendo Switch 2. This exploration will uncover the intricacies of how the Photo Mode in Mario Kart World functions, and more importantly, showcase the creative ways we can use it to snap stunning shots.
How to Use Photo Mode in Mario Kart World
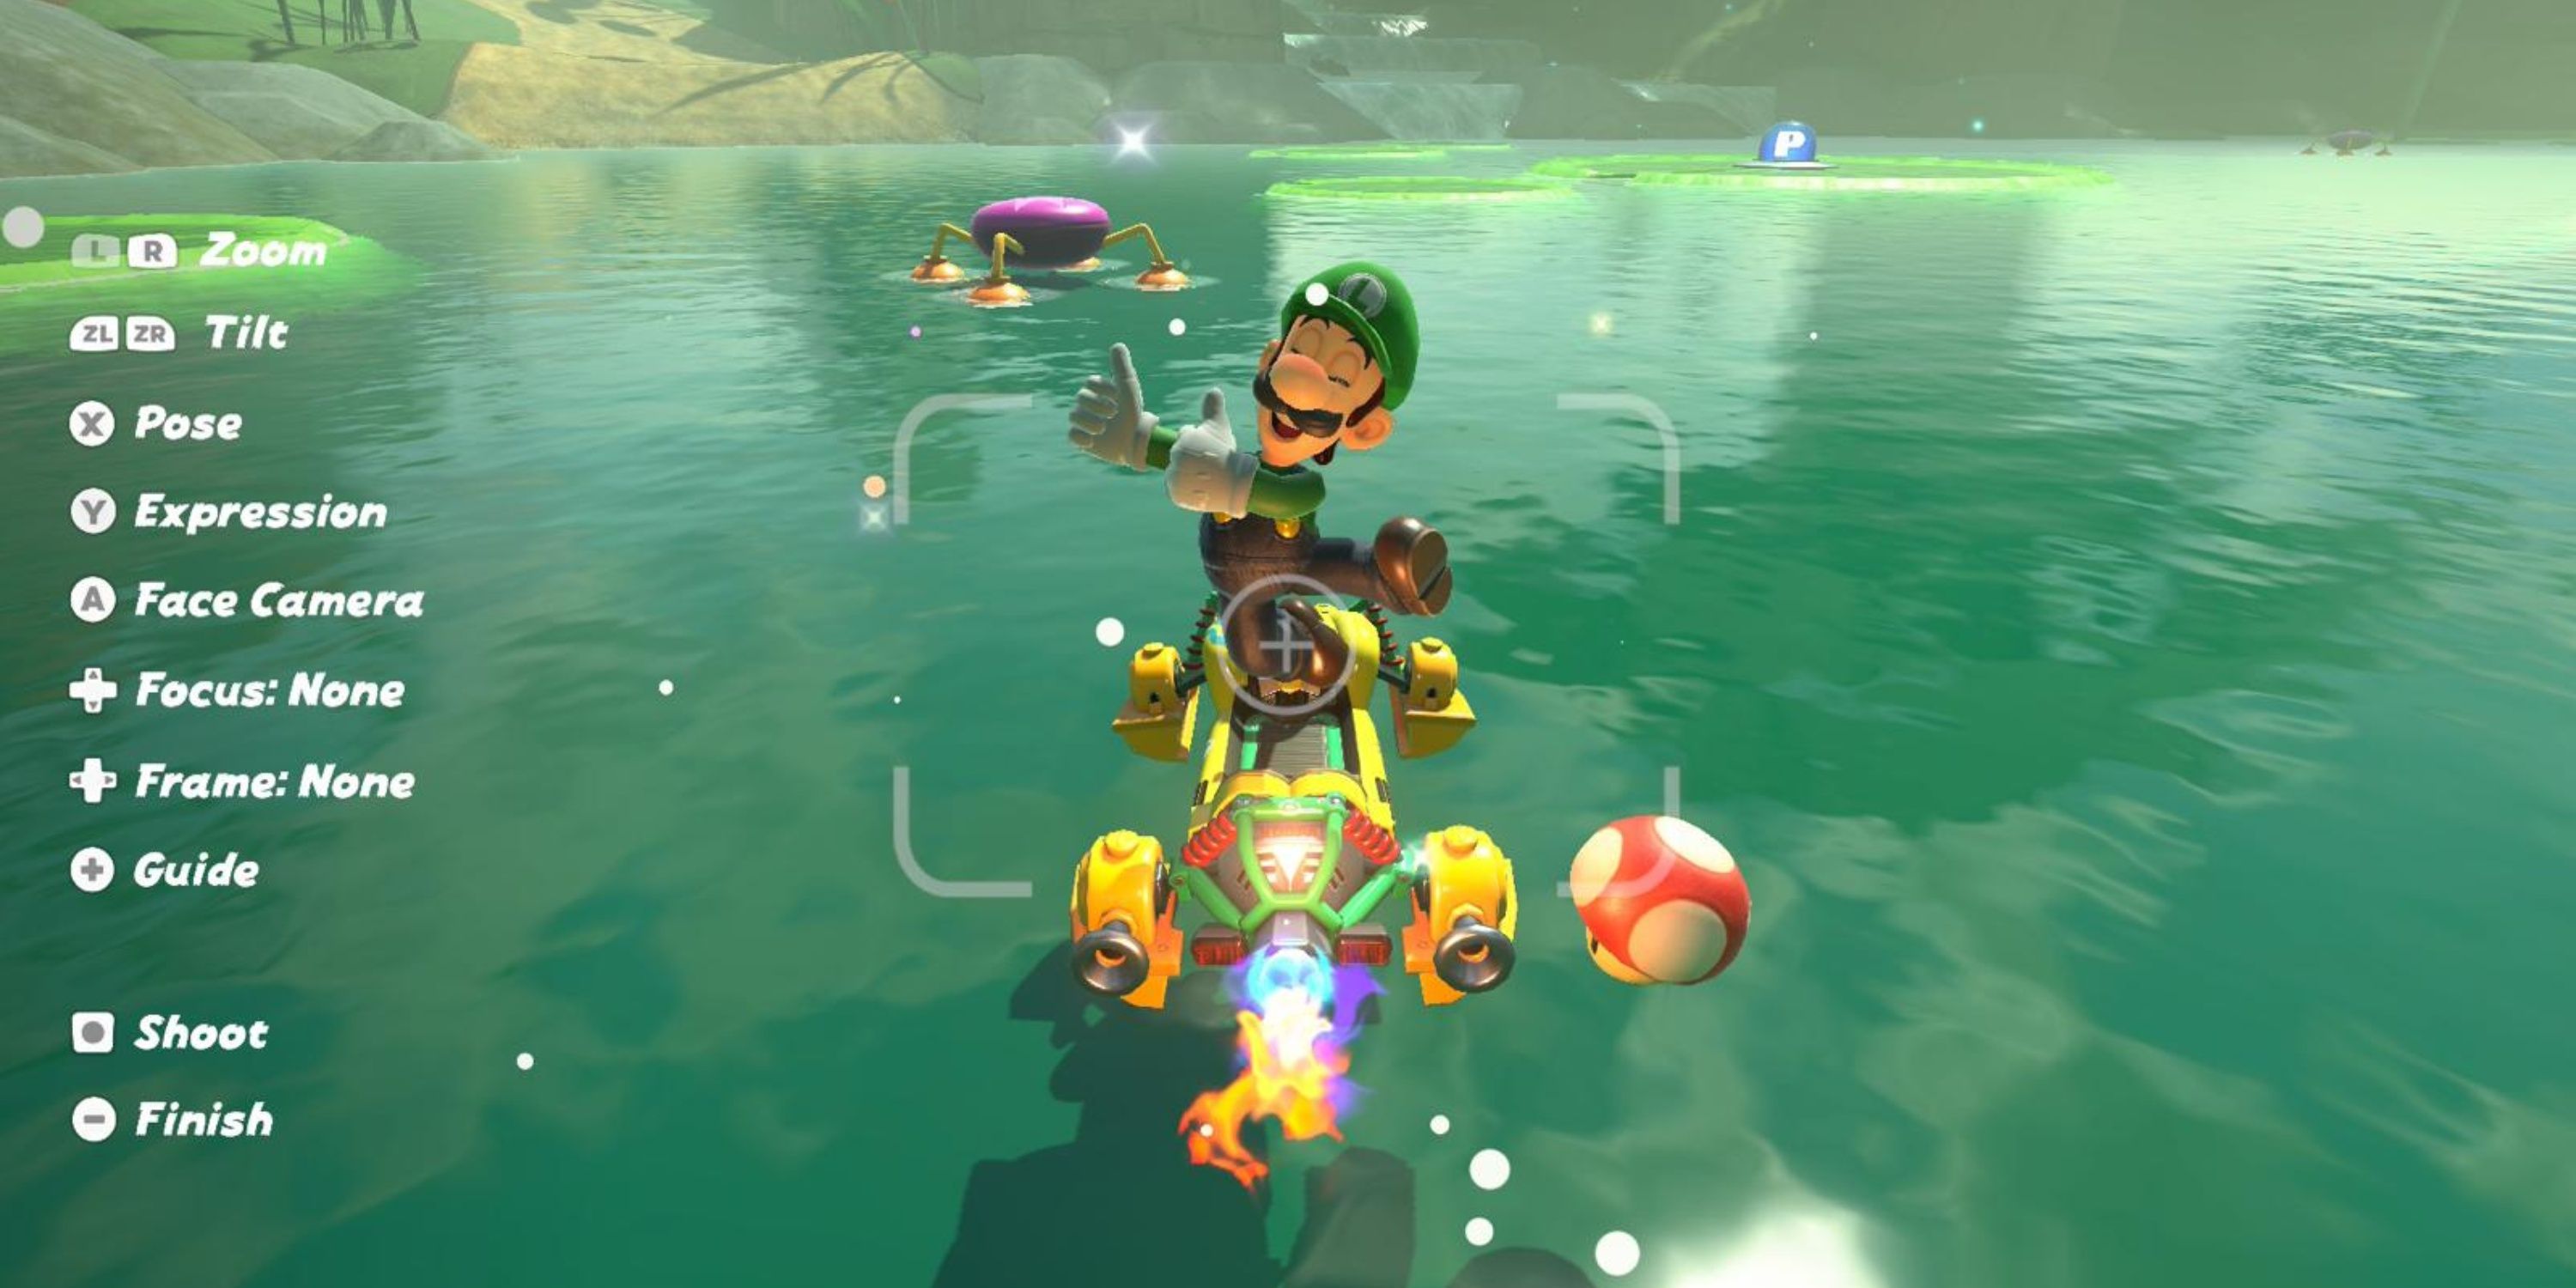
In the thrilling world of Mario Kart, you can enter the Photo Mode by simply pressing the button labeled ‘-‘ on your left controller during gameplay. This very same button serves as the camera control, enabling you to capture moments in Free Roam, solo races, and replays. When you press this button, the game will temporarily pause, giving you freedom to maneuver the camera around your character from various angles within a designated area. Here’s a quick rundown of other controls available for your photographic adventures:
| Controls | Action | What it Does |
|---|---|---|
| L/R | Zoom | Zooms the camera in or out |
| ZL/ZR | Tilt | Tilts the camera at different angles |
| X | Pose | Goes through a selection of poses for the player character |
| Y | Expression | Goes through a selection of facial expressions for the player character |
| A | Face Camera | Makes the player character face the camera position |
| Up (D-Pad) | Focus | Changes the focal lenses |
| Left/Right (D-Pad) | Frame | Provides frames at the borders |
| Plus (+) | Guide | Allows players to close the HUD and take images without button prompts |
| Capture | Shoot | Allows players to take images |
| Minus (–) | Finish | Closes the Photo Mode |
After capturing an image, gamers can press the Home Button on the right side of the Nintendo Switch 2 controller. At the bottom of the screen, there will be an icon labeled ‘Album’. Clicking on Album enables players to browse their captured images. They can zoom in for a closer look and also transfer these images to a mobile device using the Nintendo Switch App.
Read More
- Best Awakened Hollyberry Build In Cookie Run Kingdom
- Tainted Grail the Fall of Avalon: Should You Turn in Vidar?
- Top 8 UFC 5 Perks Every Fighter Should Use
- Nintendo Offers Higher Margins to Japanese Retailers in Switch 2 Push
- Nintendo Switch 2 Confirms Important Child Safety Feature
- Nintendo May Be Struggling to Meet Switch 2 Demand in Japan
- Nintendo Dismisses Report On Switch 2 Retailer Profit Margins
- Best Mage Skills in Tainted Grail: The Fall of Avalon
- Nvidia Reports Record Q1 Revenue
- Switch 2 Sales Soar to Historic Levels
2025-06-06 00:33