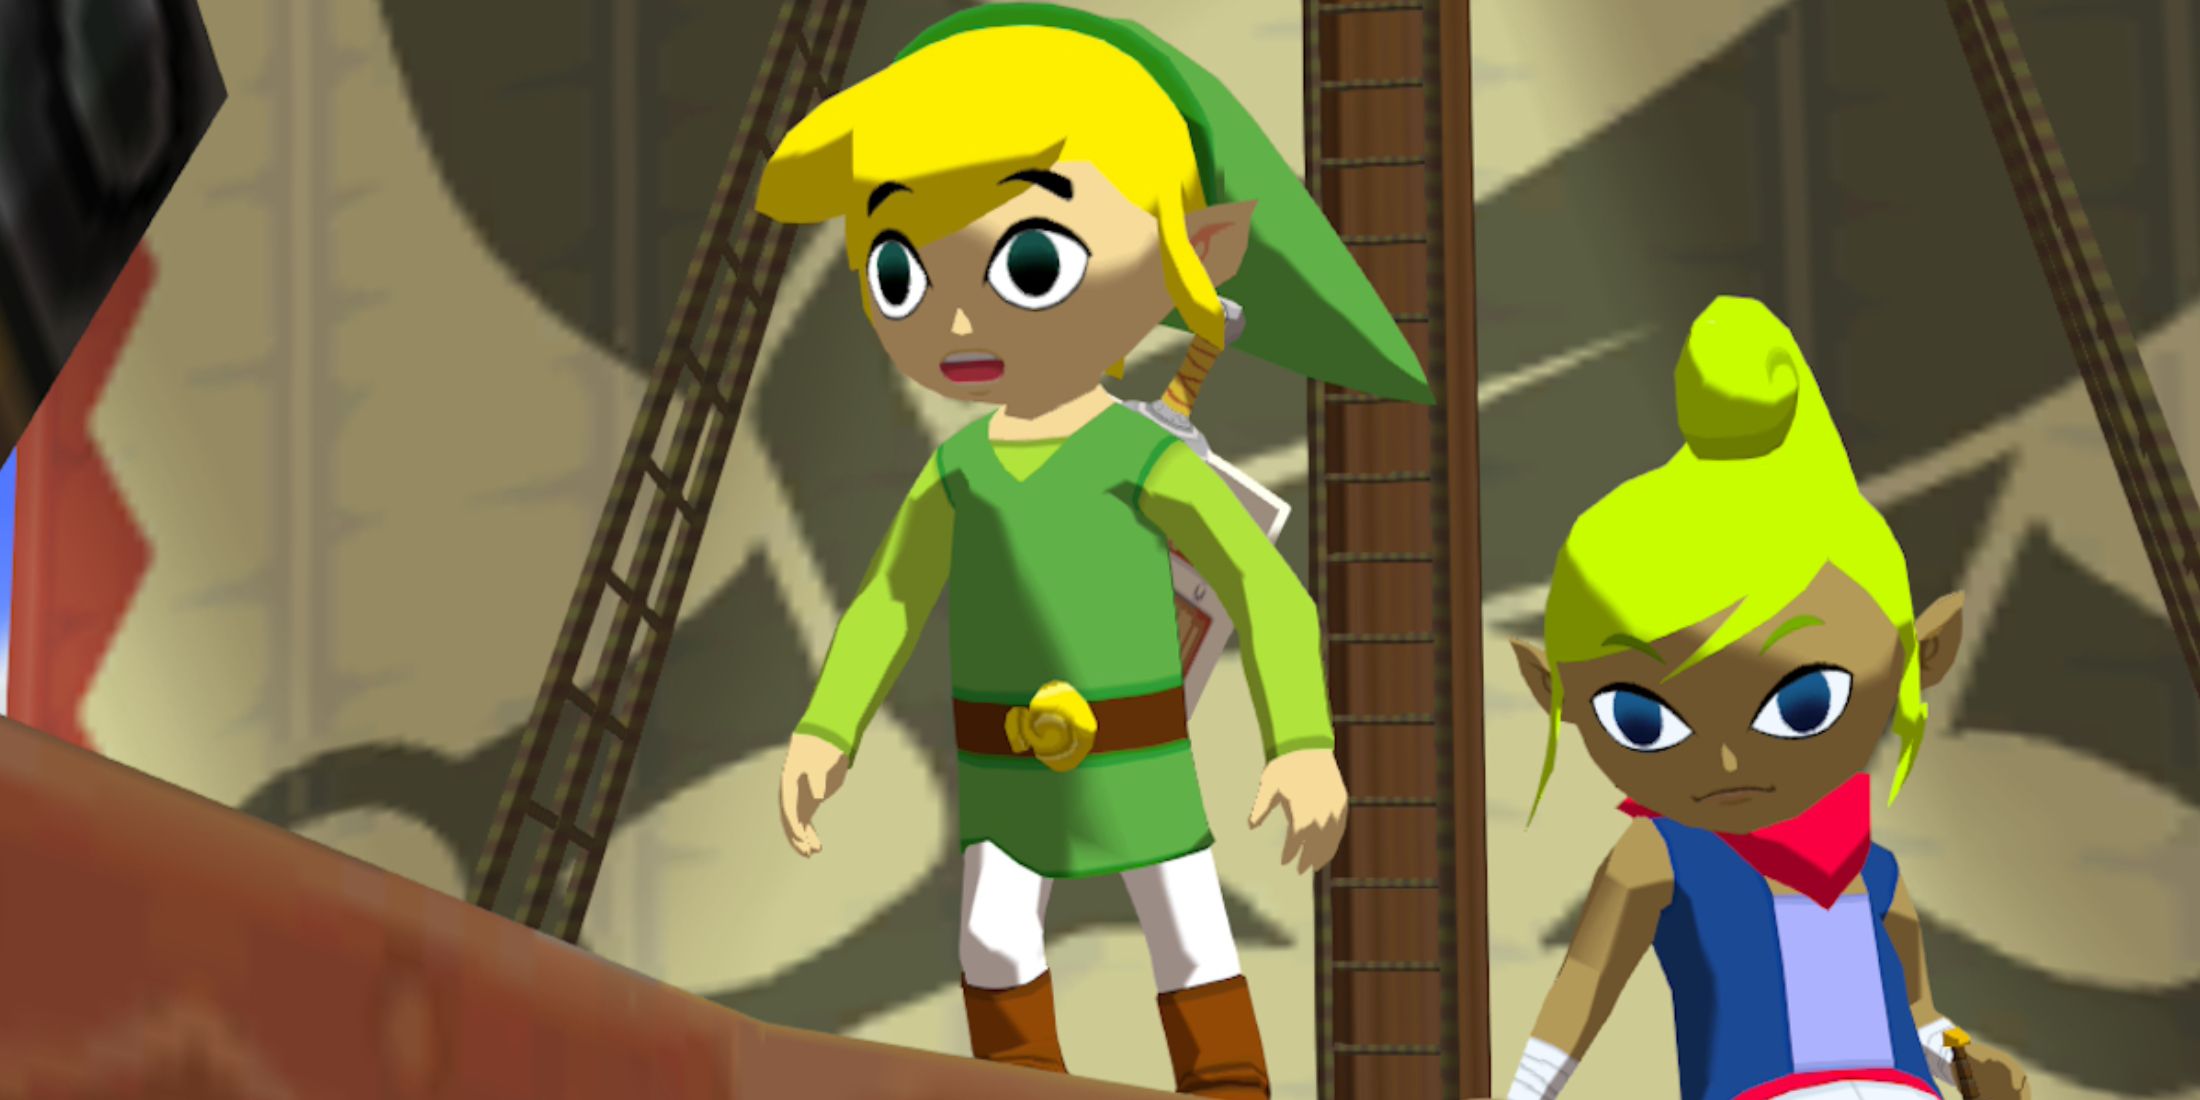
As a seasoned gamer, I’m thrilled to share that “The Legend of Zelda: The Wind Waker” is now part of the latest Gamecube NSO classics lineup, joining forces with “F-Zero GX” and “Soul Calibur 2”. Even though this game dates back two decades, or maybe because of its age, it’s got a unique charm that might take new players some time to grasp. For instance, there’s no quest journal, the progression system is somewhat open-ended, and if you skip through dialogue, some mechanics aren’t re-explained.
As a devoted fan, I’ve compiled a list of essential tips for newcomers in “The Wind Waker.” Whether it’s your maiden voyage across the Great Sea or you’re setting sail for the fiftieth time, these valuable insights from my own experiences can guide you on this enchanting journey through Zelda’s classic waters. From deciding what to tackle first and what to prioritize later, to maximizing your adventure in this expansive maritime odyssey, these tips will be your compass as you navigate the wonders of “The Wind Waker.
1. Follow The Main Story Until You Get The Master Sword
The Game Opens Up After Hyrule Castle
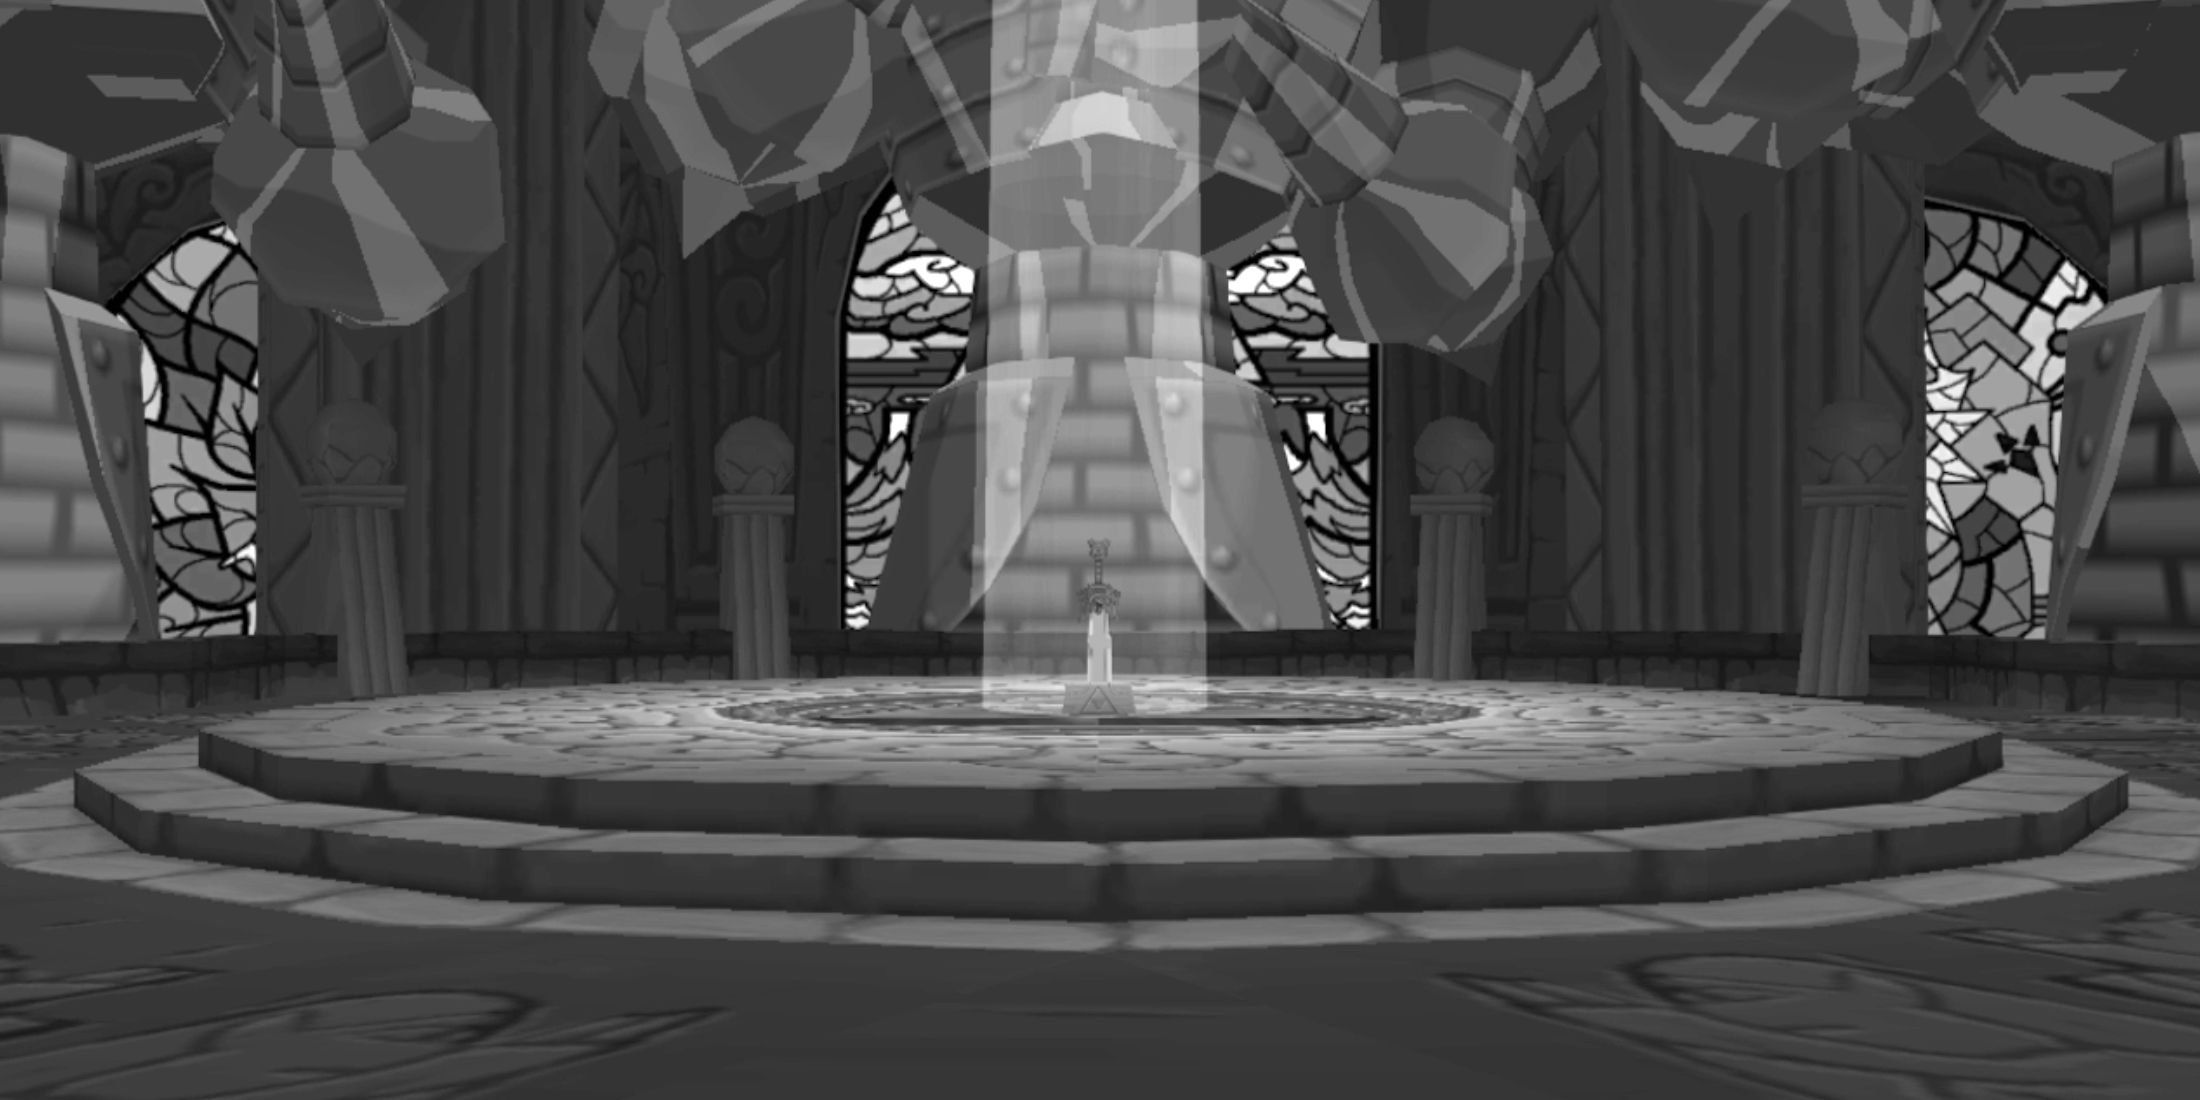
Over time, “The Wind Waker” has faced some constructive criticisms regarding its leisurely tempo and straightforward structure. While it’s undeniable that navigating the vast Great Sea may feel lengthy, once you acquire the Master Sword, the game becomes more expansive to explore.
Once you’ve conquered the Forsaken Fortress, Dragon Roost Island, Forbidden Woods, and Tower of the Gods dungeons, you’ll be guided beneath the waves to retrieve the Master Sword. Upon resurfacing, your main task will lead you back to the Forsaken Fortress.
With the Bomb Bag and Oar in your possession, you’ll have the means to tackle most of the side quests in The Wind Waker. Stick to the main plot until you emerge from the Enigmatic Castle, then take some time to delve into the countless islands. You’ll come across Heart Pieces, lasting enhancements, and unique treasures away from the usual path, so don’t forget to chat with every character you meet and touch down on every island you find.
Should you persist in advancing the primary narrative towards the Forsaken Fortress, you’ll ultimately find yourself venturing once more into the vast expanse of the Great Sea, this time on a mission to track down various Triforce Shards. This journey offers an additional opportunity to delve deeper into the game’s immersive open world.
2. Buy The Bait Bag From Beedle’s Shop Ship
Fish Bait Is Essential For Charting The Great Sea
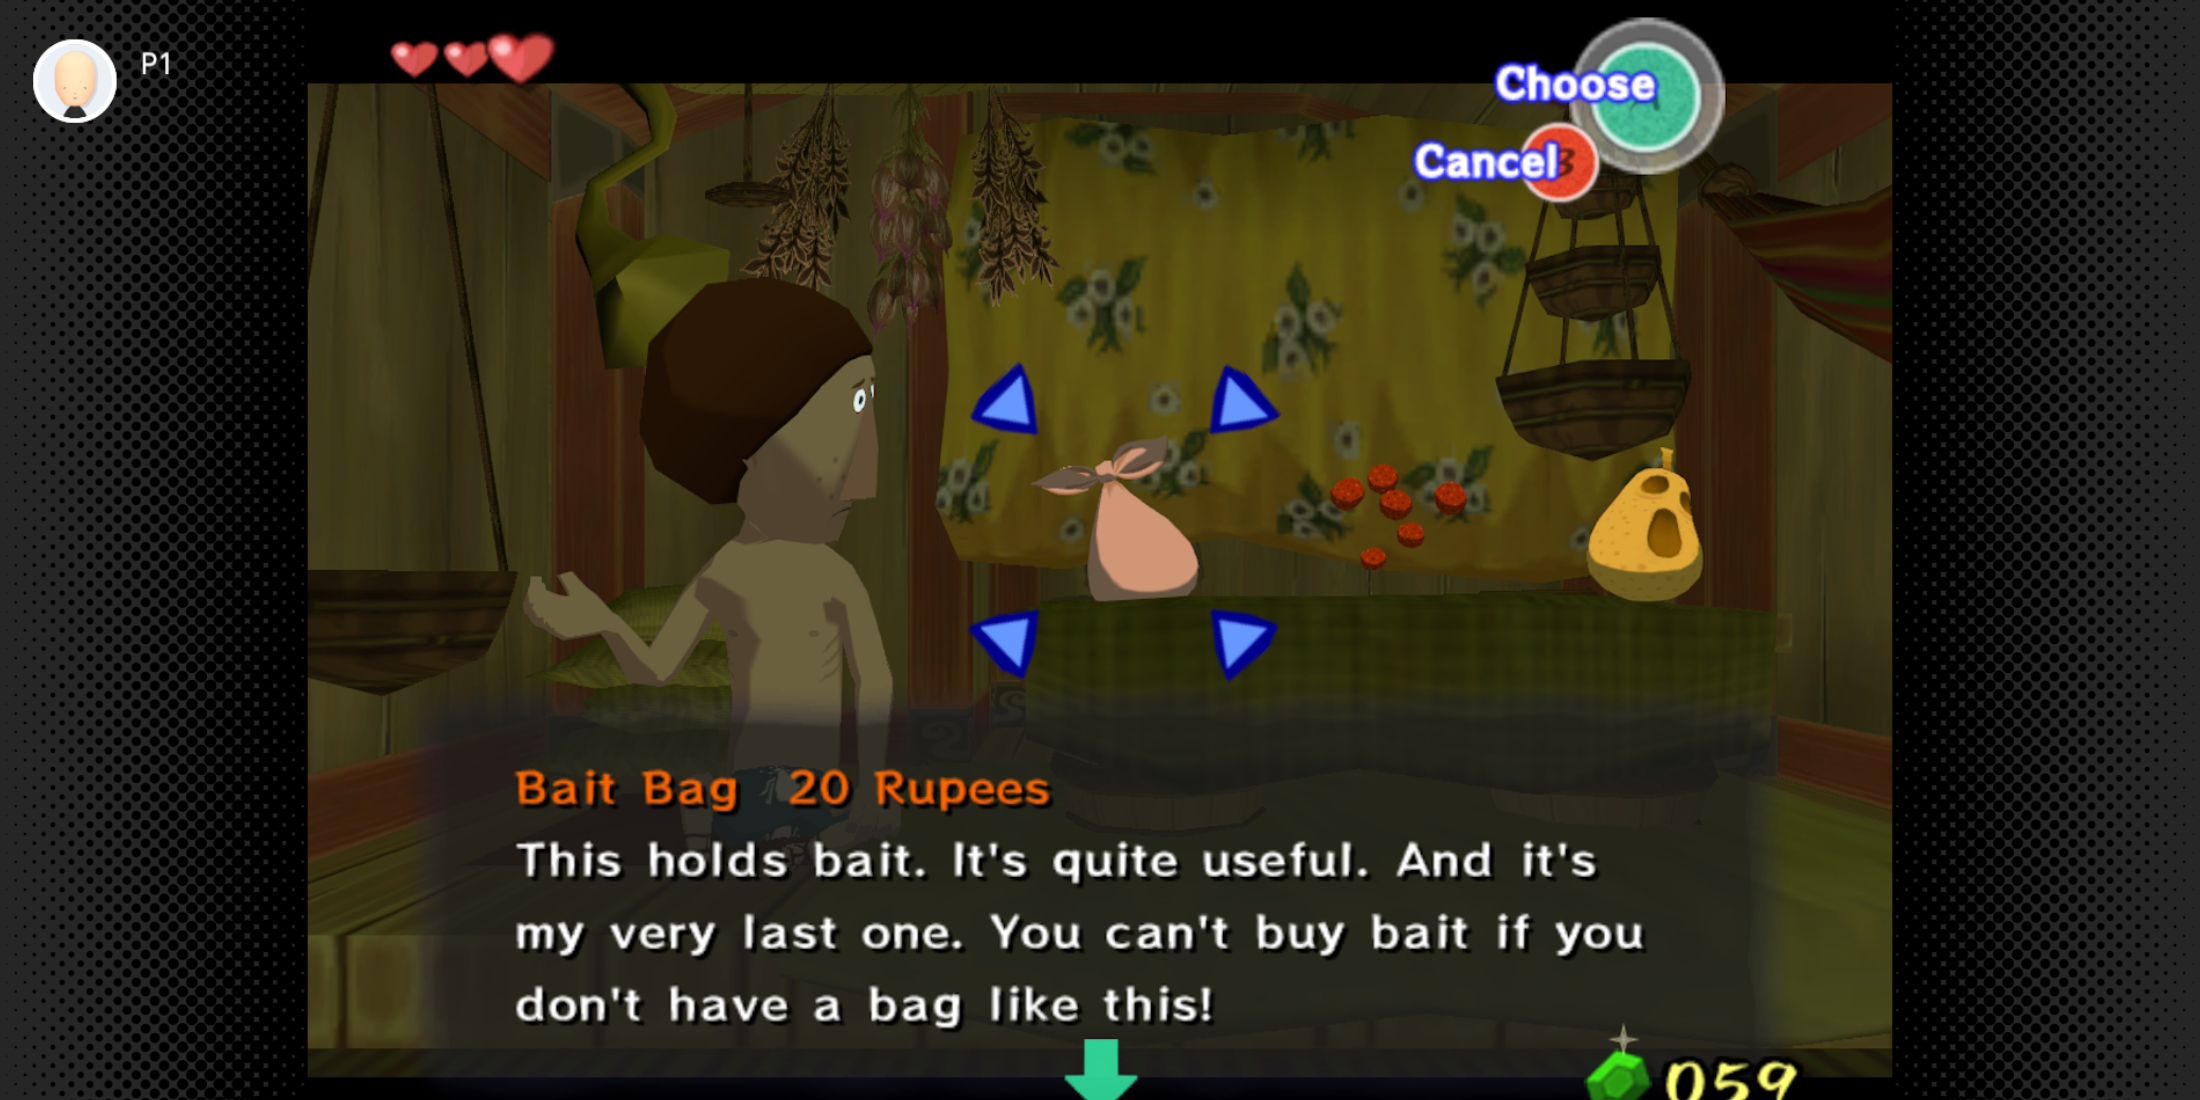
One of your initial purchases in Beedle’s floating shop, anchored near Dragon Roost Island, should be a Bait Bag. To locate it, look for Beedle’s Shop Ship offshore after you receive the Wind Waker from the King of Red Lions. You can either swim or sail out to Beedle, then step aboard his ship.
The price for the Bait Bag is 20 Indian Rupees. If you find yourself short on Rupees when arriving at Dragon Roost Island, consider gathering grass or breaking pots located around the island’s perimeter as a quick way to earn some cash. Alternatively, you can engage in the Post Sorting mini-game, which is found within the second level of the interior Dragon Roost Island area.
To make the most of your exploration in the game, it’s crucial to acquire the Bait Bag at the start. This bag is useful for obtaining and utilizing All-Purpose Bait, which is essential for unveiling the entire game map. Additionally, the Bait Bag can store other items such as Hyoi Pears, which give Link control over seagulls. However, maintaining a good supply of All-Purpose Bait is key to unlocking the full potential of your journey.
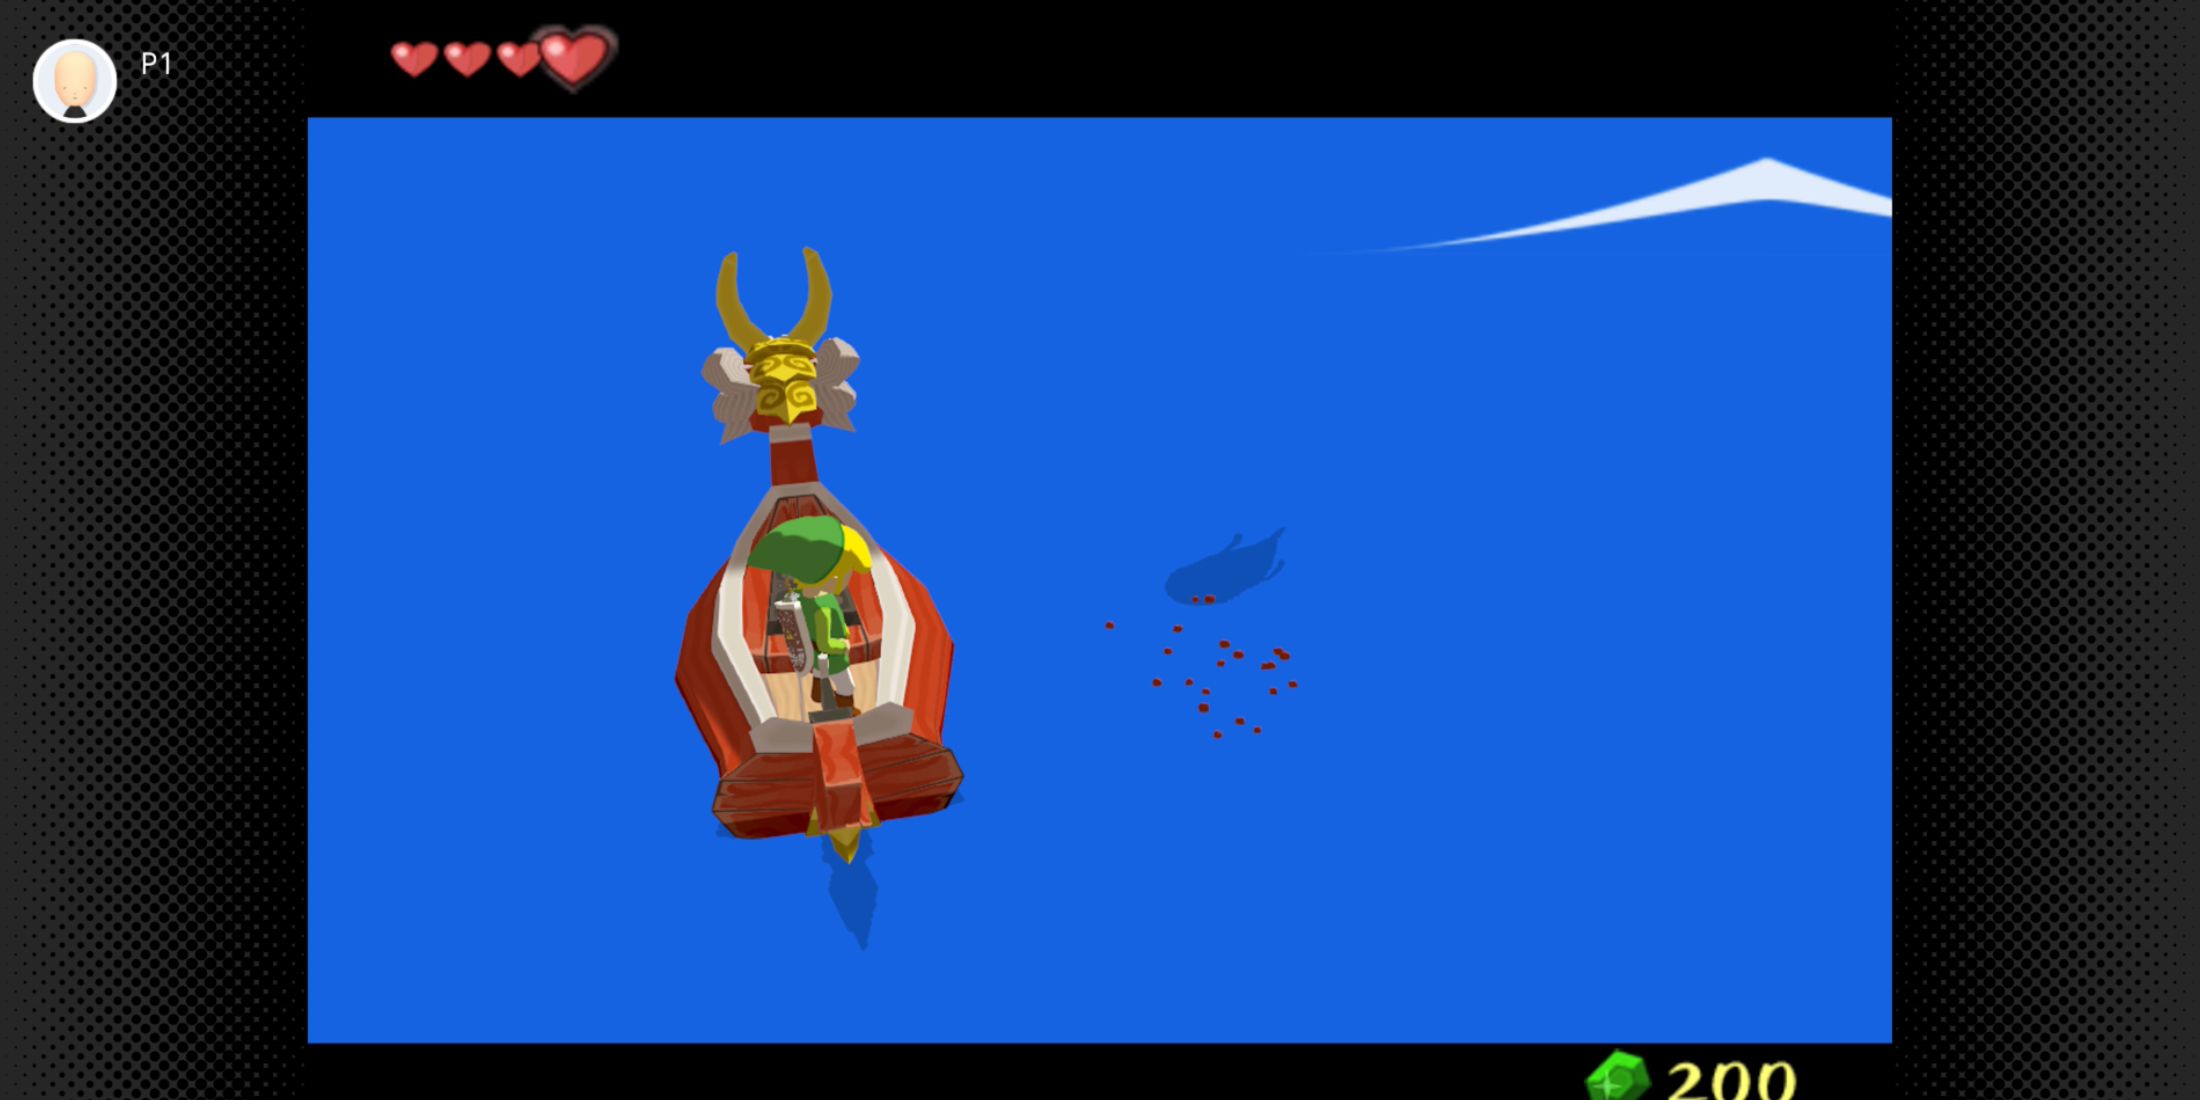
3. Use Fish Bait To Fill Out Your Map
Complete Your Sea Chart With Fish Bait
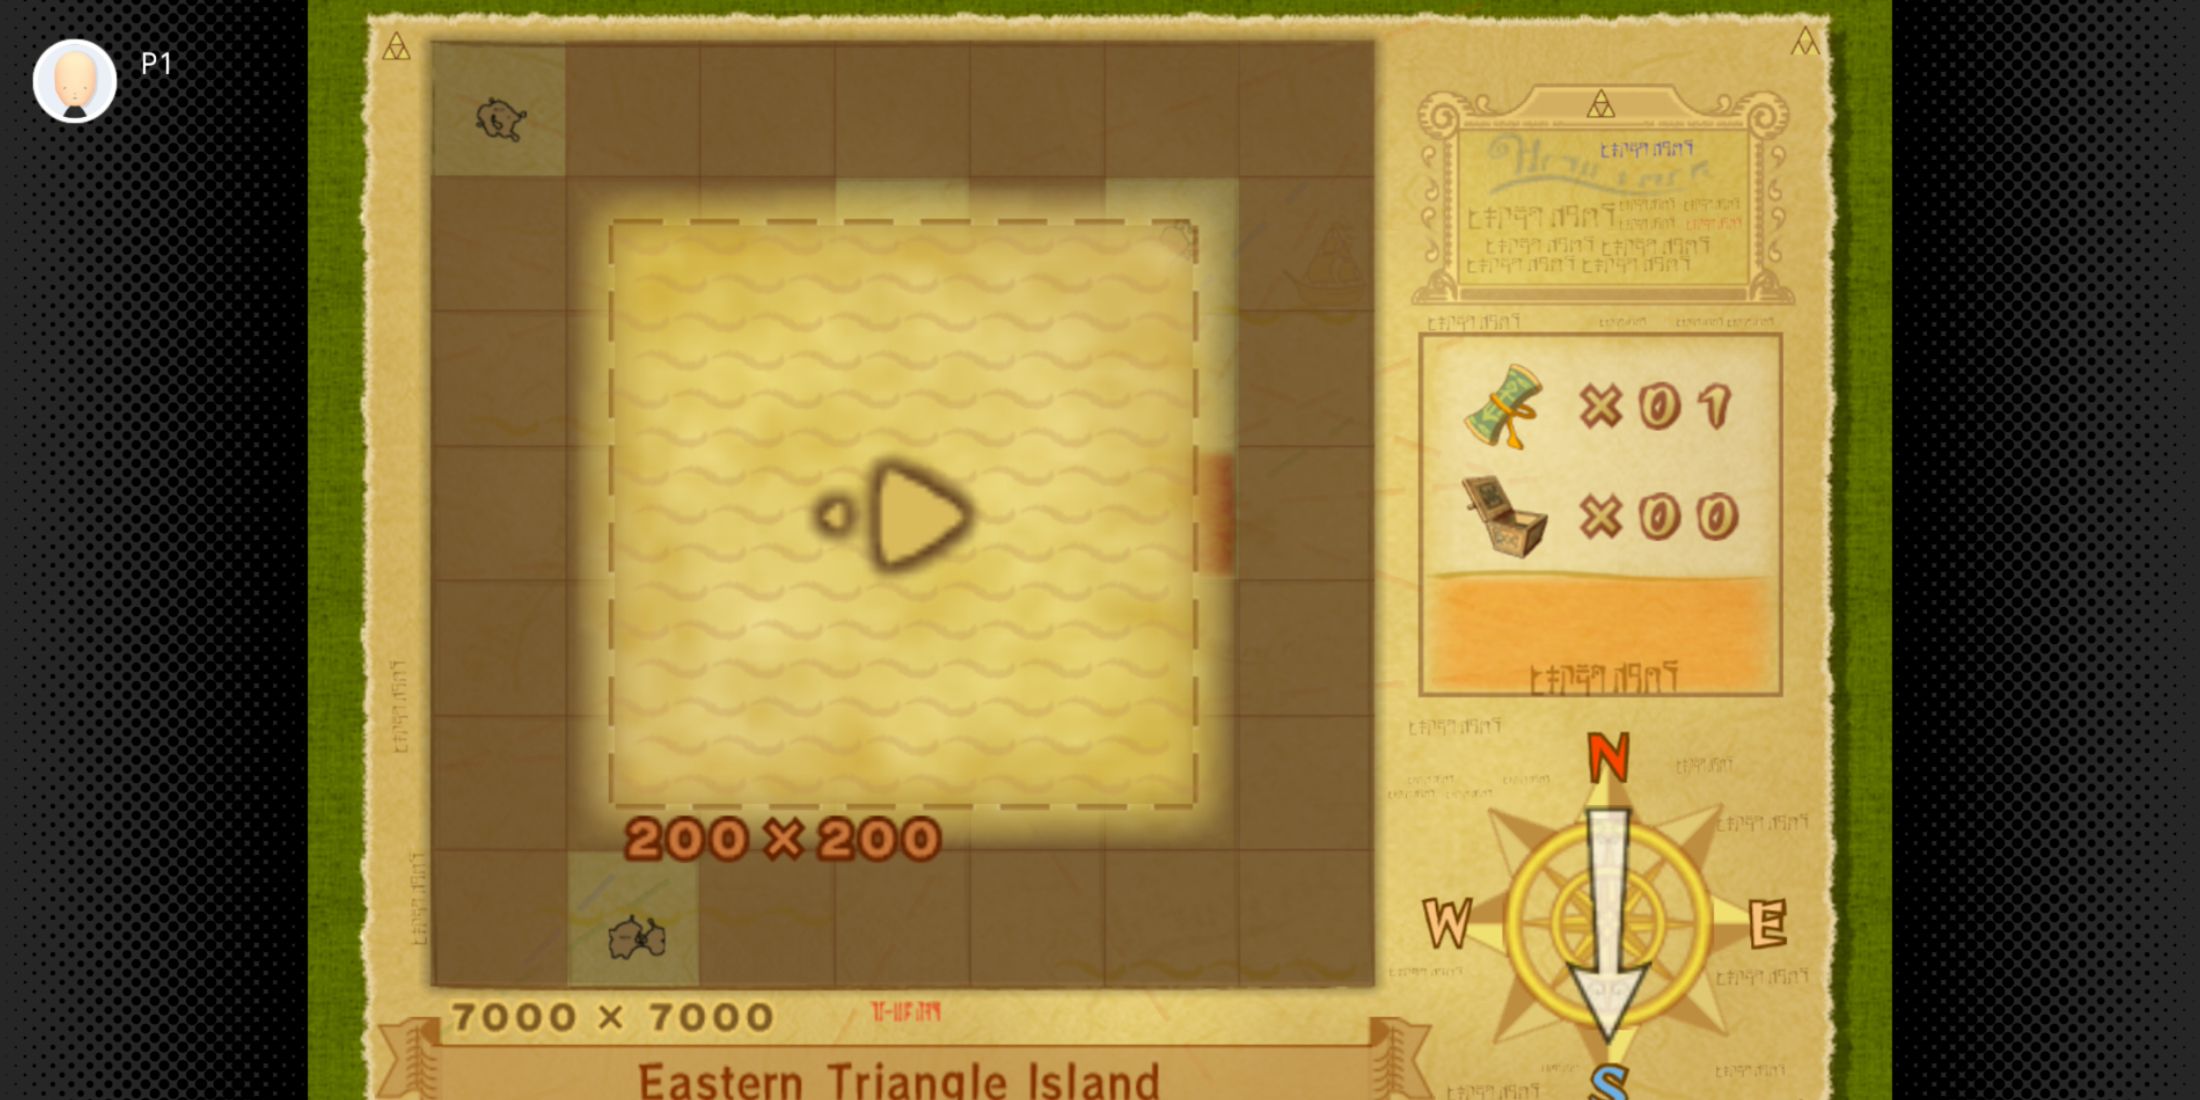
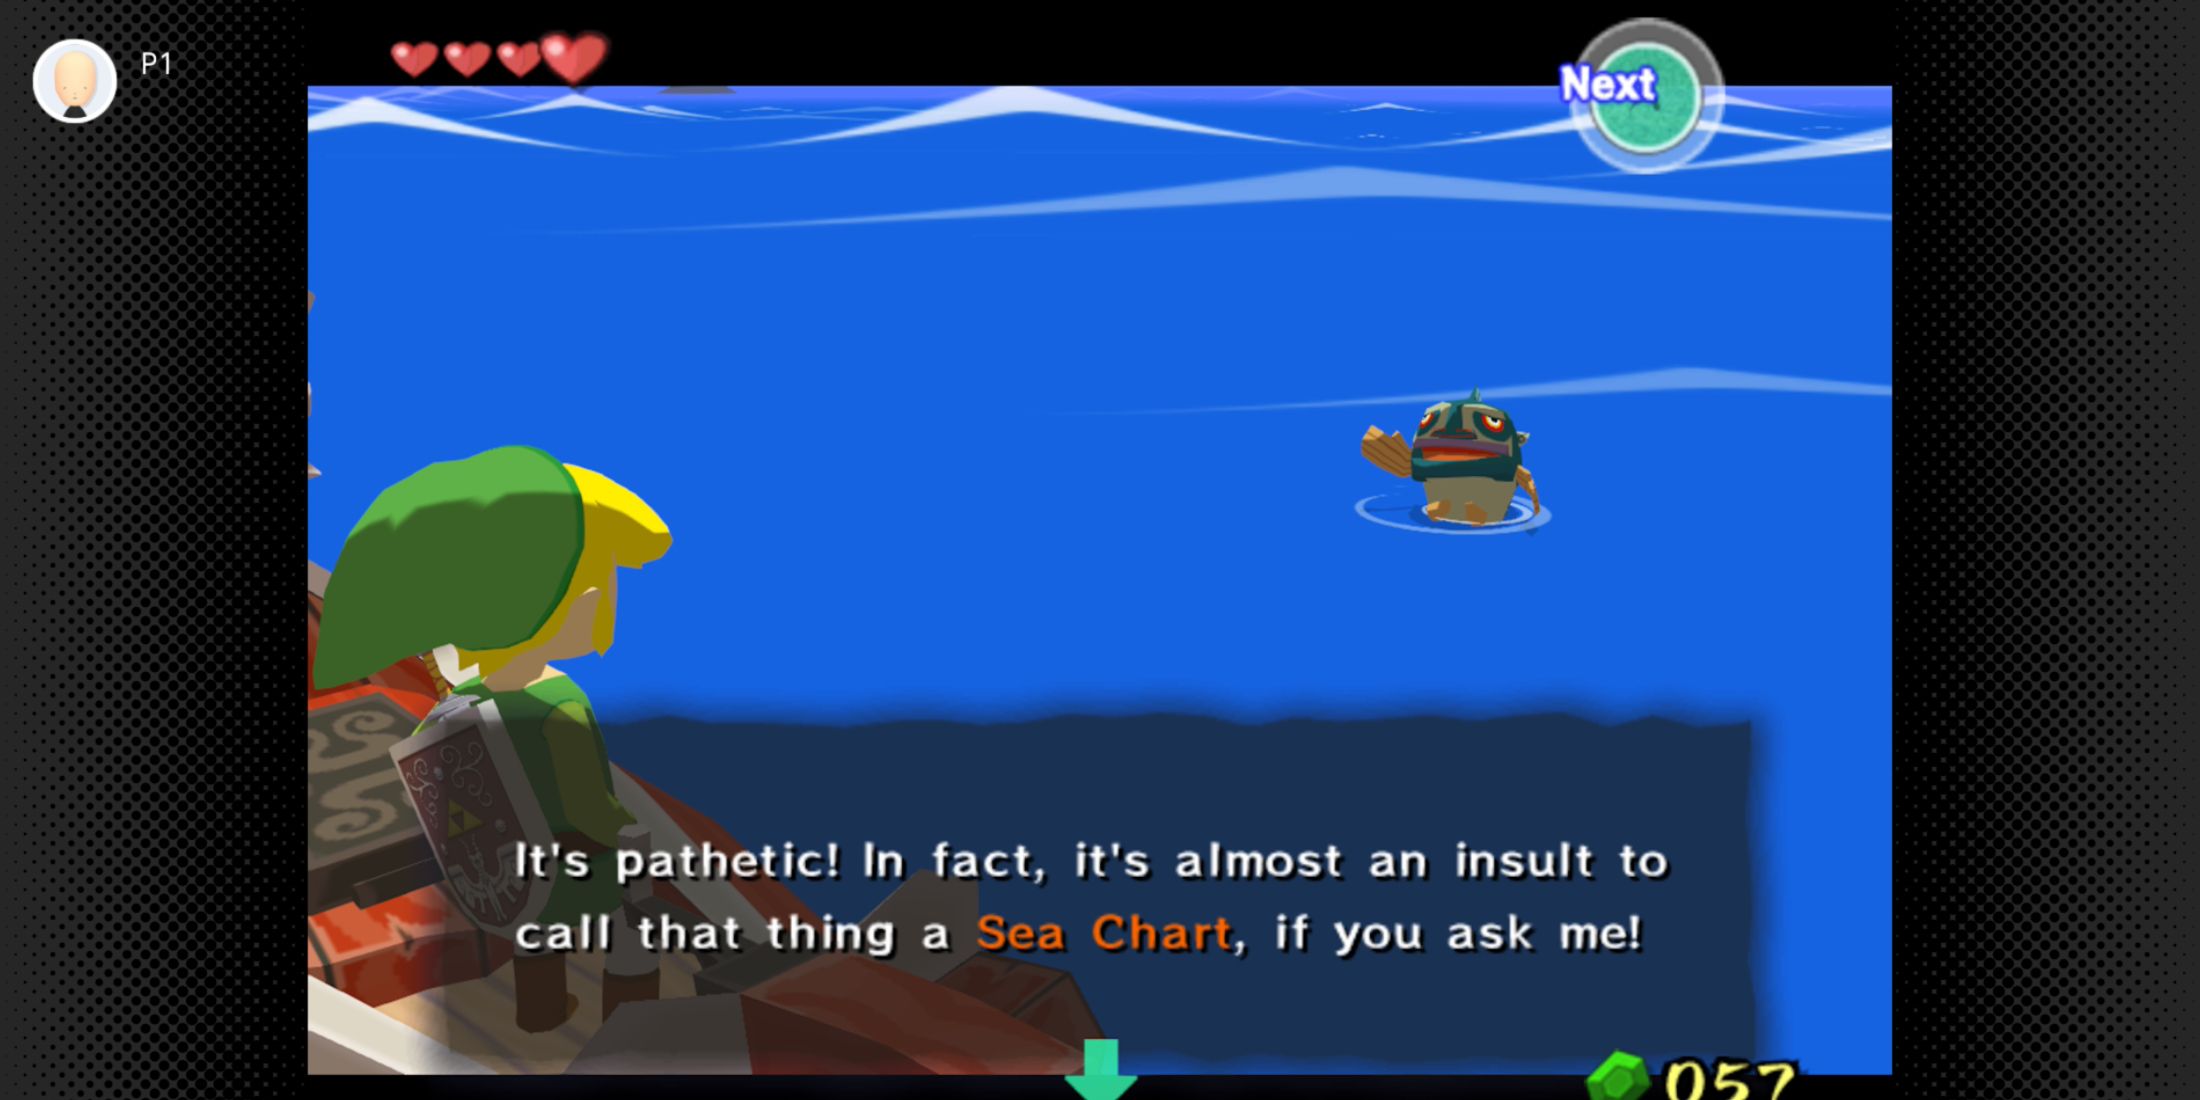
To provide additional details on the large Great Sea map, use All-Purpose Bait. This can be purchased at any Beedle’s Shop Ship and added to your inventory. Once acquired, open your Bait Bag in your inventory to view your supply of All-Purpose Bait. Assign it to an item button (X, Y, or Z) for easy access. When ready, equip the All-Purpose Bait by pressing the assigned button, which will add outlines of islands on the current map square to both the world map and the zoomed-in view of that square.
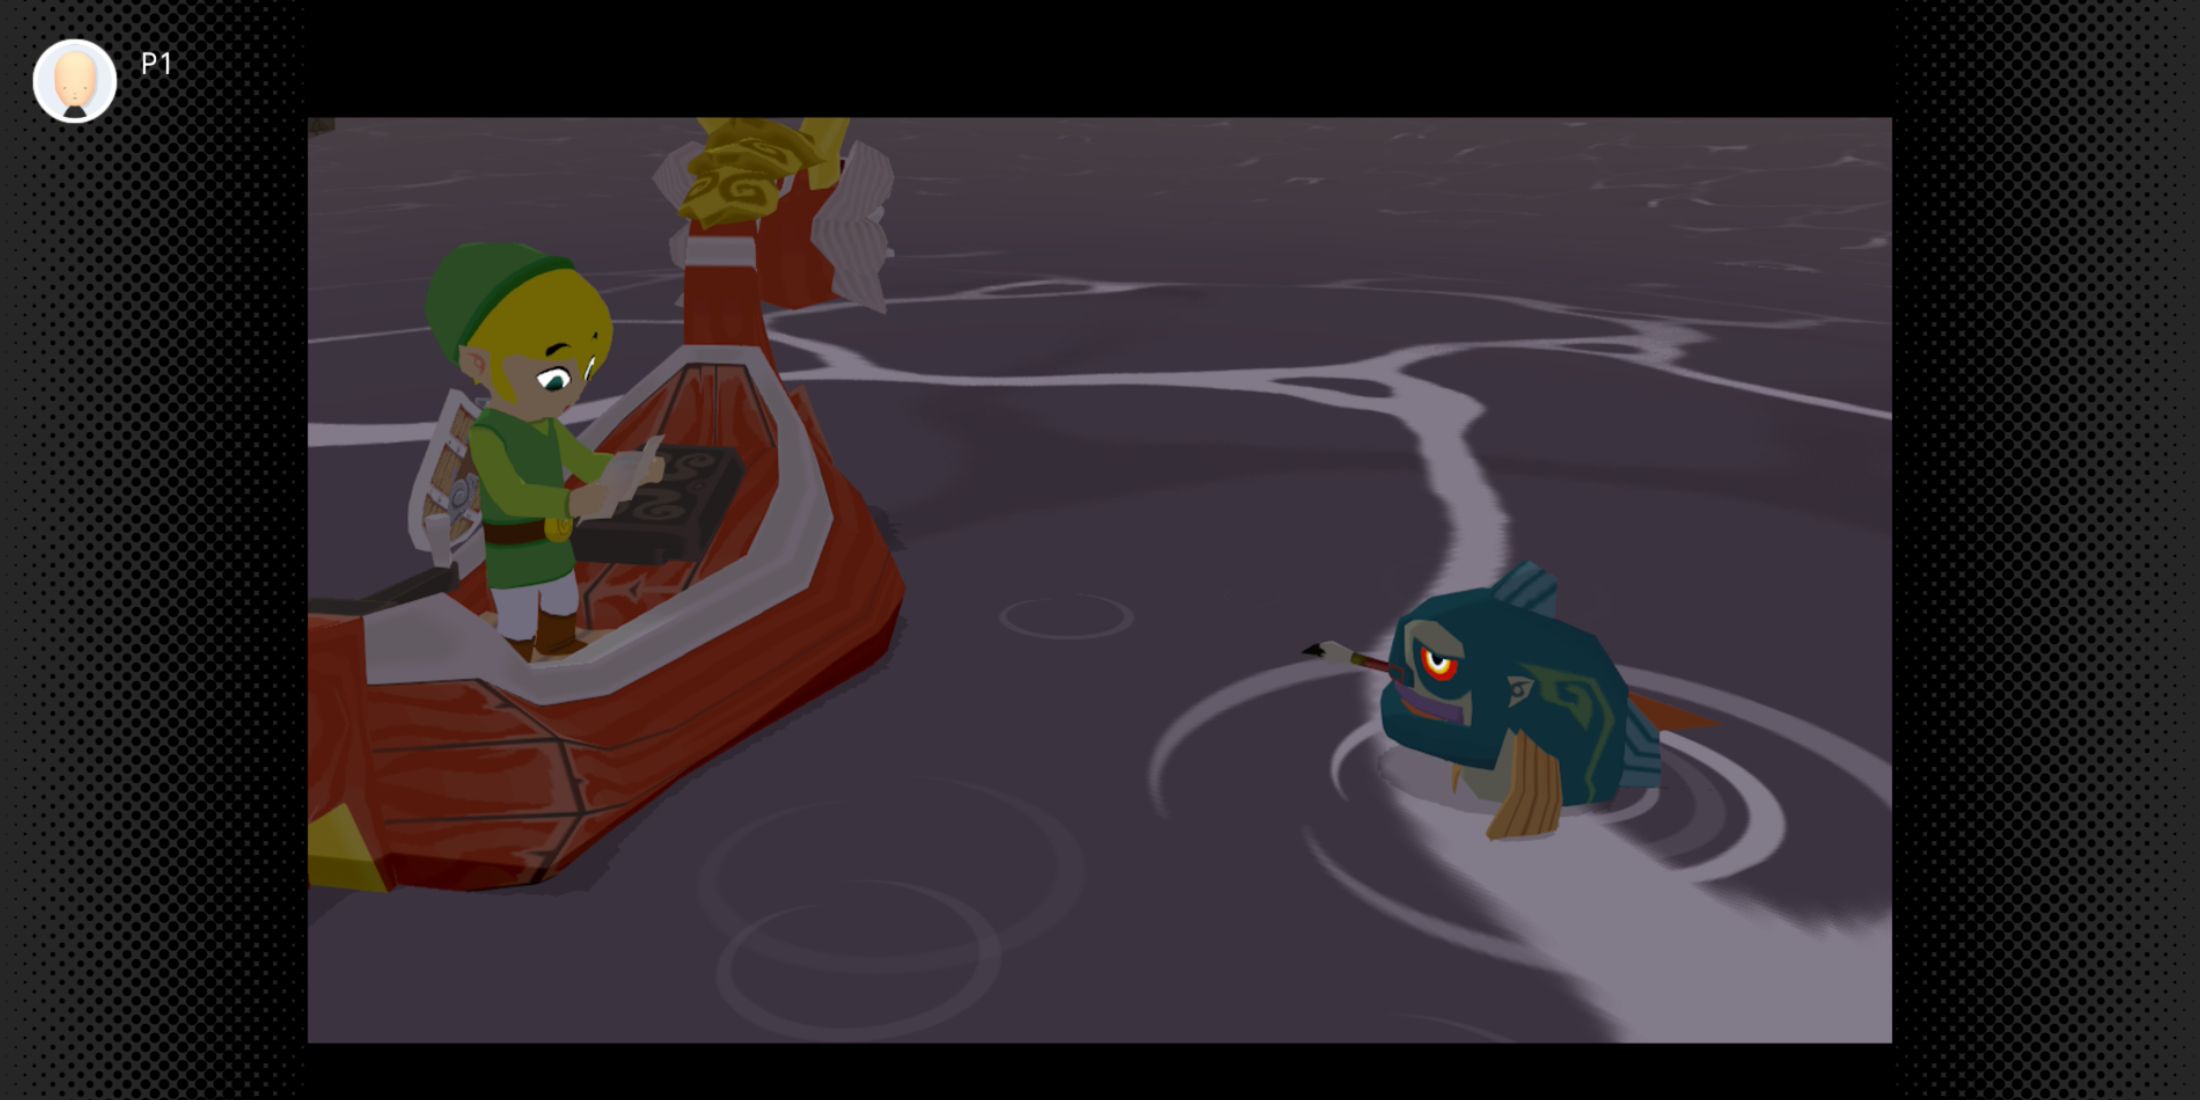
Next, scan the primary island’s squares for a fish leaping frequently in and out of the water. Approach gradually when you find one, and the fish should swim nearer to your boat. Toss some universal bait into the water, and the fish will rise to consume it. Once it does, use the location on your map to mark its whereabouts.
Afterward, the fish might share some details about the island, or on occasion, subtly indicate clues about other locations within the vast expanse of the Great Sea.
In the game world of Wind Waker, there are a grand total of 49 locations marked on the map. However, you only need to discover 46 of these locations in order to fully complete the map. This is because the Forsaken Fortress, Outset Island, and Windfall Island are automatically included on your map at the start of the game.
4. Explore Windfall Island To Find Several Minigames
Heart Pieces, Rupees, And Other Rewards On Windfall Island
Windfall Island stands out as a memorable landmark within “The Wind Waker”. It becomes accessible following your initial meeting at the Abandoned Fortress, where you’ll be assigned the mission to procure a sail for the King of the Red Lions.
You can buy the sail for 80 Rupees from the vendor who wears a parka, located right beneath the Cafe Bar. However, don’t forget to explore all the additional attractions on Windfall Island before moving forward with the primary mission.
- Head to the top of the hill by the docks and enter the door opposite the gravestone to find the Jail. In here, you can free Tingle and get the Tingle Tuner, a special item that was used to connect a Game Boy Advance for additional features.
- Find the Picto Box, a special item that lets you take up to three Pictographs, in a secret area within Tingle’s cell. This unlocks access to the Pictograph quest.
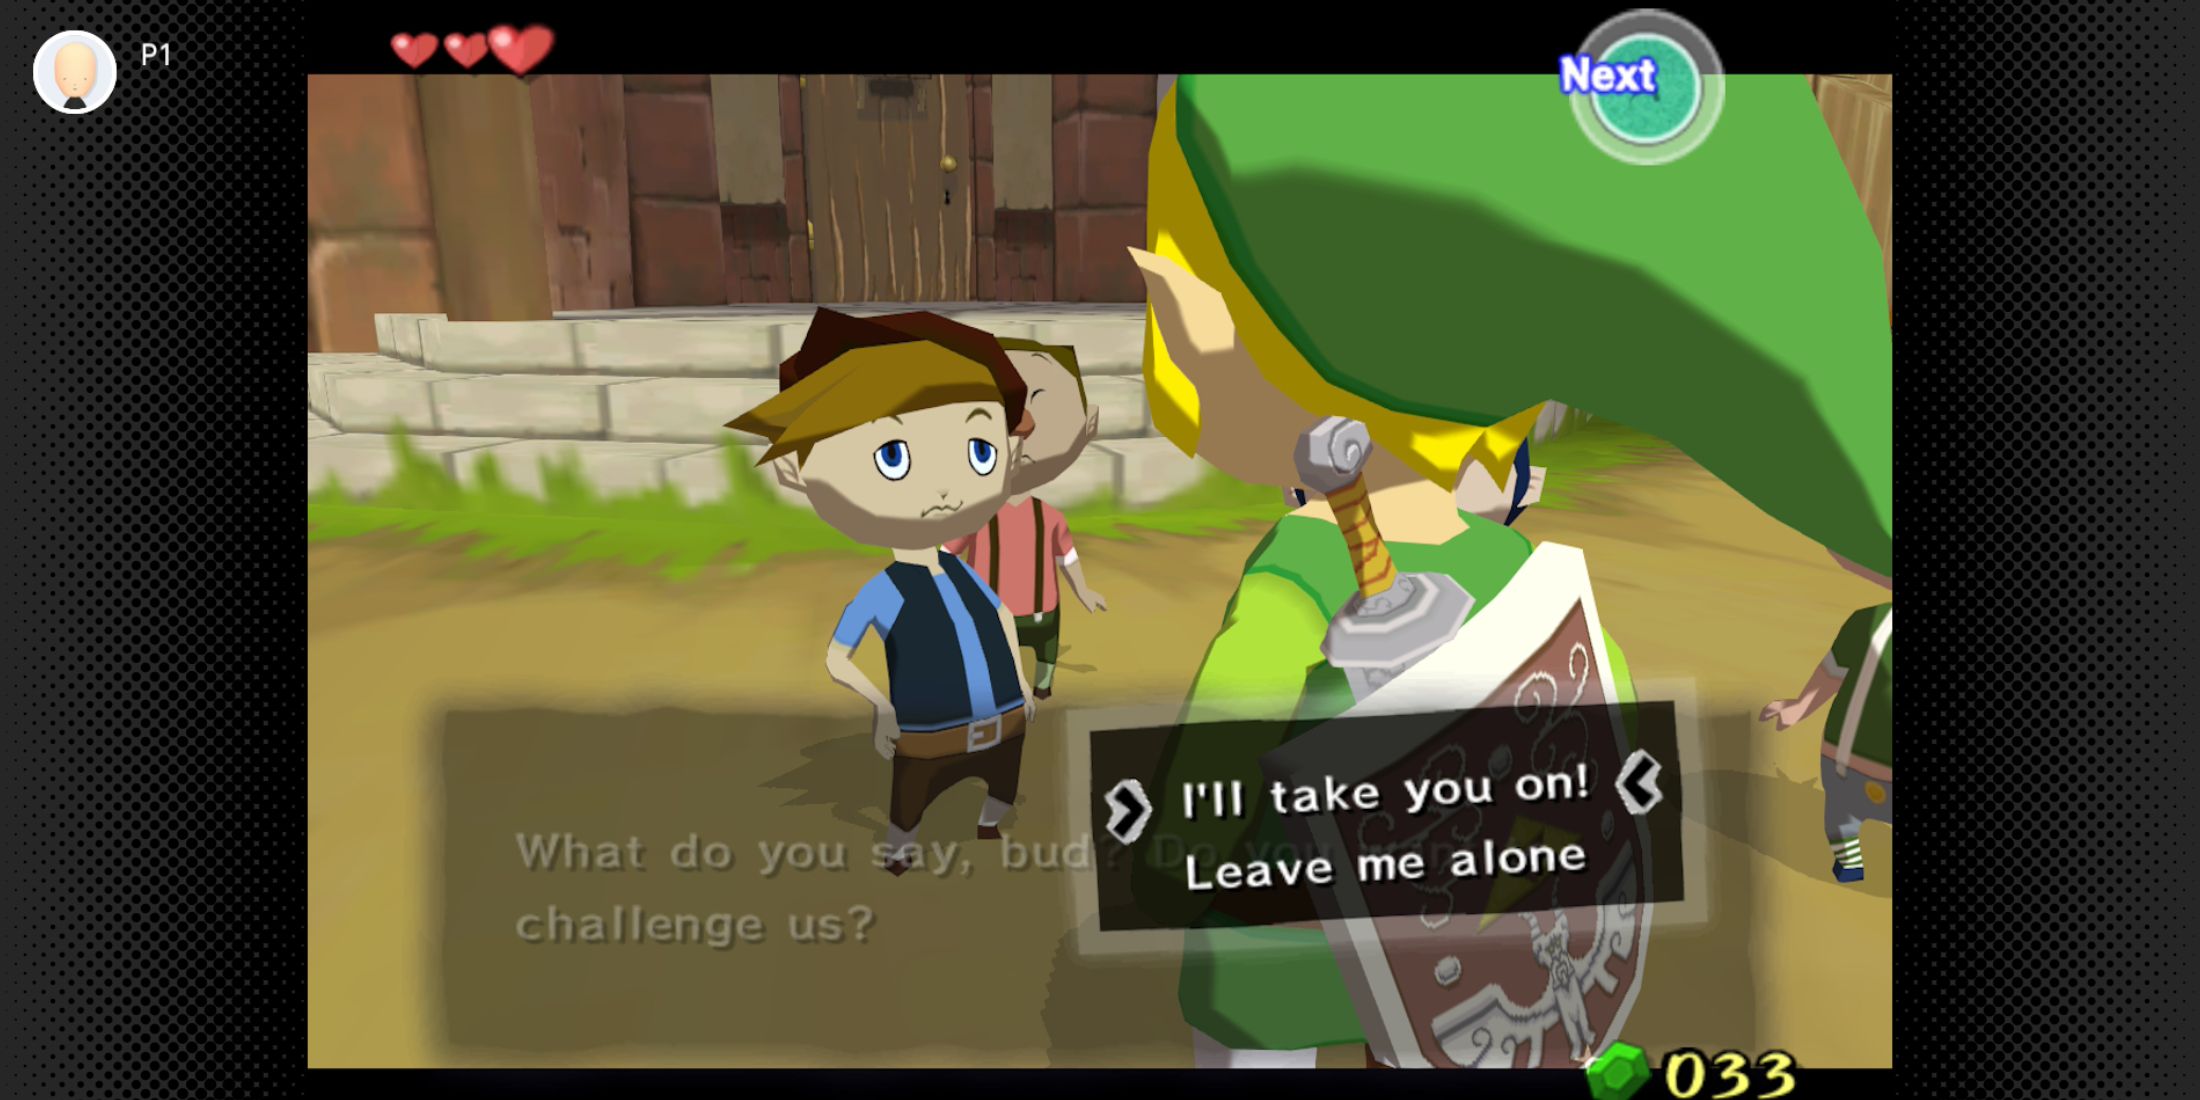
- Talk to the Killer Bees – the gang of kids in the plaza at the top of the town – and play Hide and Seek with them. You’ll get a Heart Piece for finding them all, and will unlock the ability to gift Joy Pendants to their teacher, Mrs. Marie.
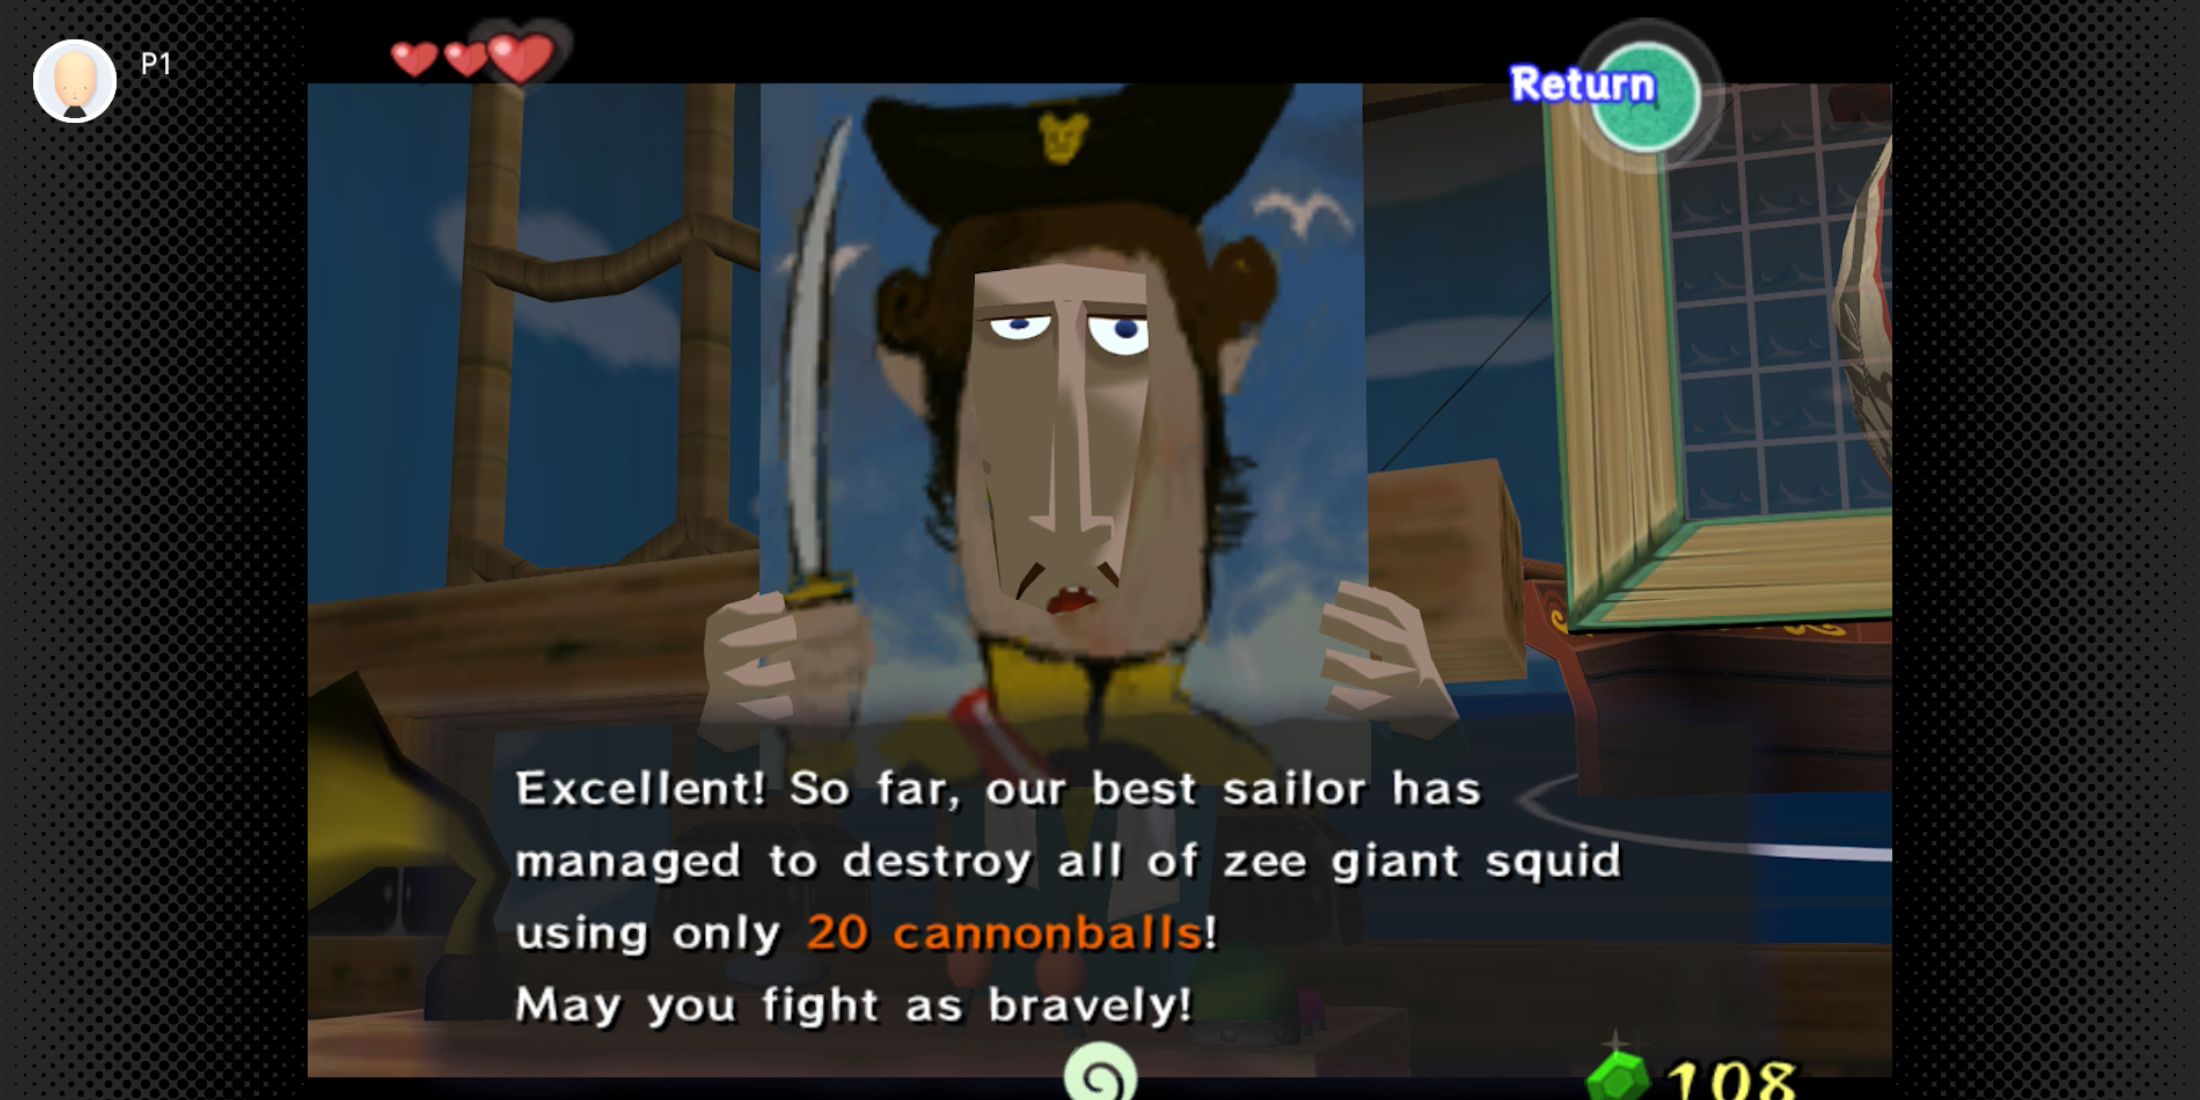
- Enter the room below the windmill to find the Cannonball minigame, which is a bit like Battleship. If you can find all three squids before you run out of cannonballs, you’ll get a Heart Piece. There’s also a reward for beating the High Score.
As the game continues, there’s plenty more for Link to explore on Windfall Island. After acquiring the Wind Waker, upgrading your wallet, or reaching a stage where you’re instructed to revisit Windfall Island, make sure to return to discover additional features and hidden gems.
5. Grapple Hook Enemies To Get Special Items
Steal Enemy Spoils & High-Tier Items With The Grappling Hook
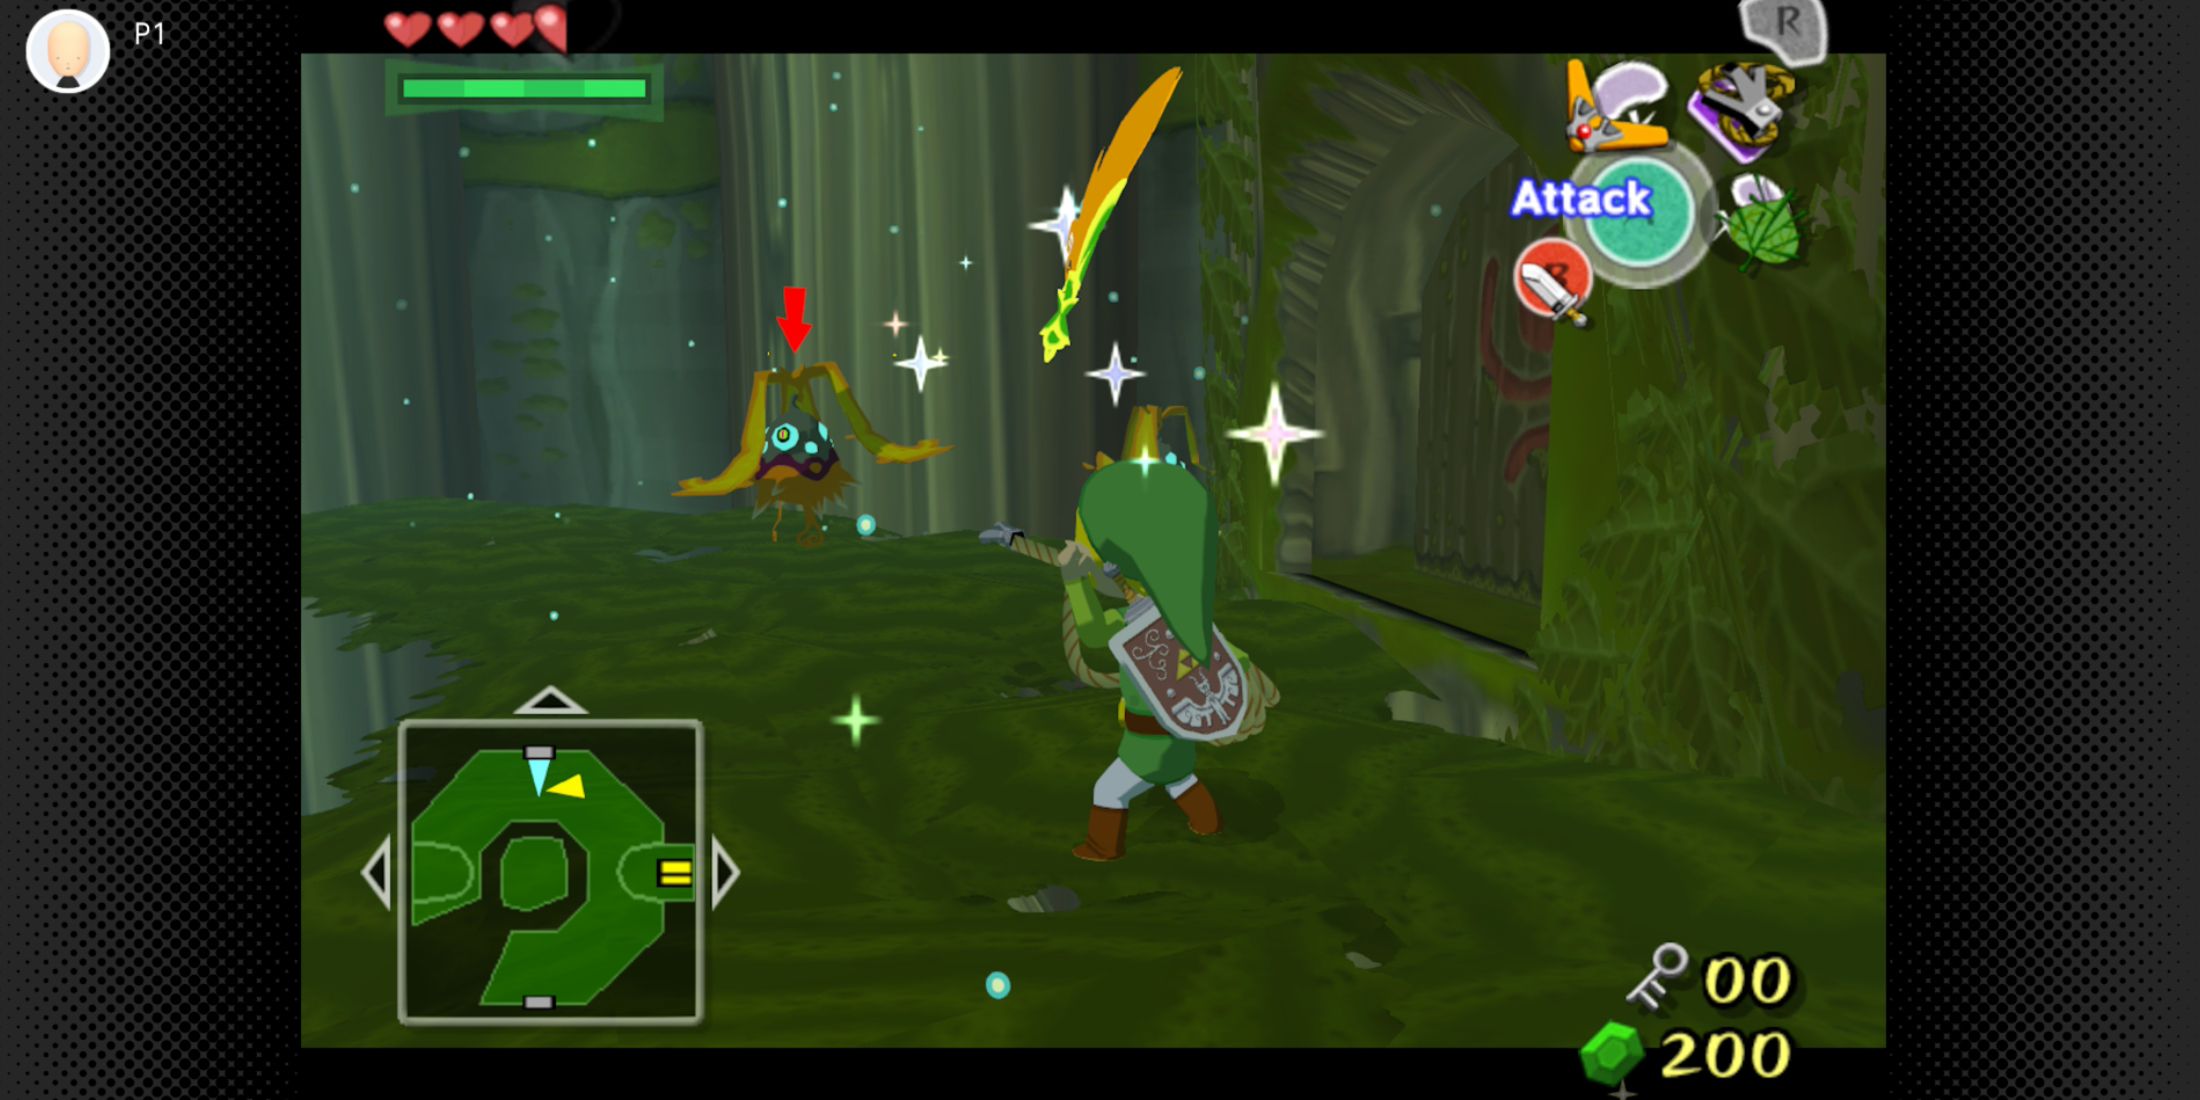
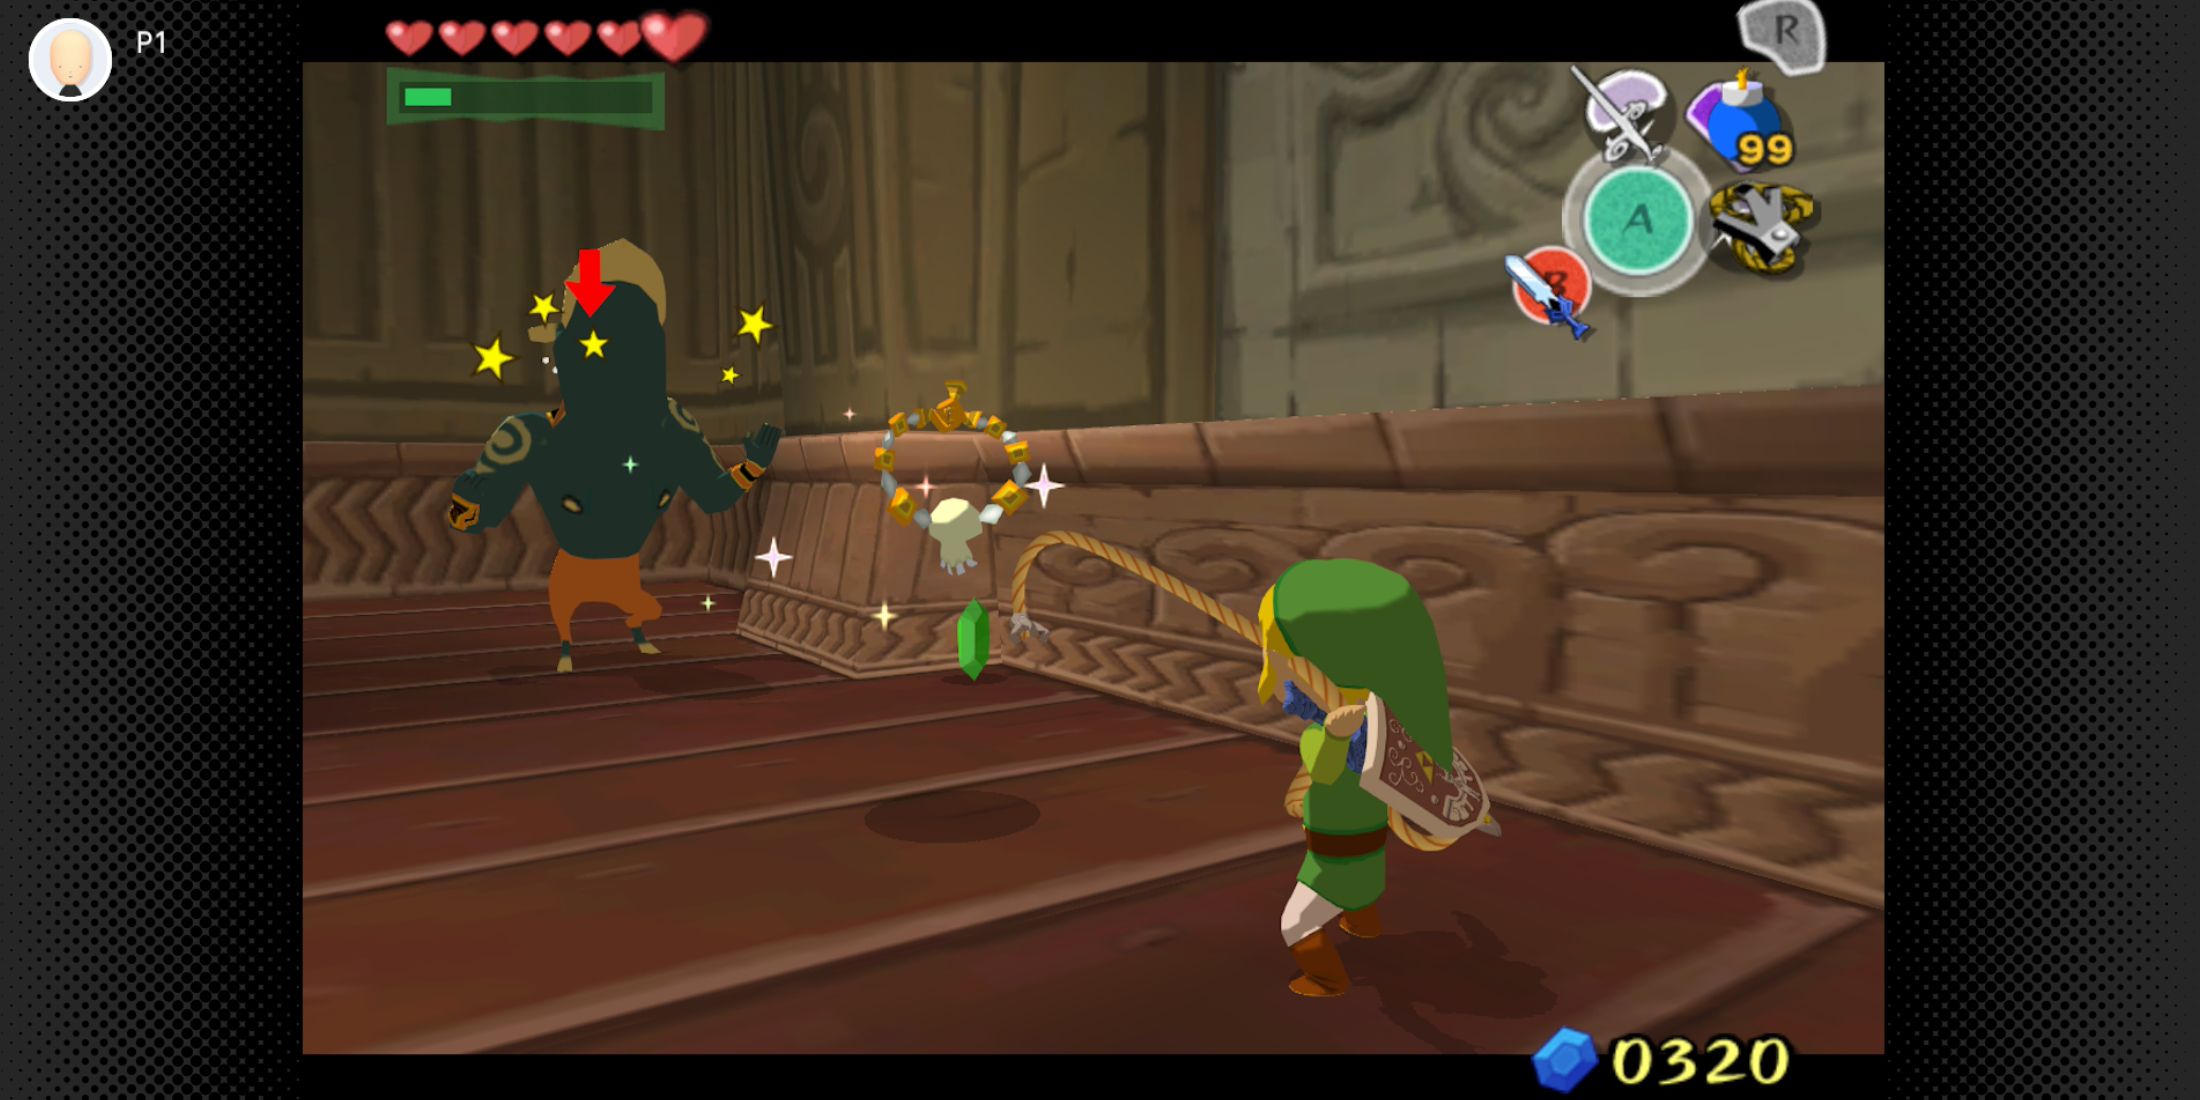
Typically, Spoils items like Skull Necklaces and Joy Pendants can only be obtained by defeating the enemies they are connected to. But once you acquire the Grapple Hook, you’ll have the ability to snatch items from enemies without having to eliminate them. When you successfully hurl a Grappling Hook at a target, it will come back carrying a valuable item from that enemy’s loot collection.
Interacting with a Deku Baba by employing the Grappling Hook results in a Deku Baba Seed. If you fling the Grapple Hook at a Moblin, it typically returns a Skull Necklace. Aim for a Kargarok (flying bird enemy) to collect a Golden Feather or a regular Bokoblin to receive a Joy Pendant. Additionally, grapple non-armored Darknuts to obtain a Knight’s Crest.
Try to make it a routine to toss your Grapple Hook at adversaries prior to engaging in battle with them. More often than not, this will net you a Rewards item that can help you finish different gift-giving tasks within the game.
6. Find Great Fairies To Unlock Permanent Upgrades
Great Fairies Always Grant A Permanent Upgrade

In the magical world of The Wind Waker, as I, the brave gamer, journey through this captivating realm, I come across three containers that can be enhanced with the wisdom of the Great Fairy Fountains: my Wallet, my Bomb Bag, and my Quiver. Each of these containers has two upgrade spots for a grand total of six locations hiding these enchanting fountains.
- Five of these can be found on the Northern, Eastern, Southern, Western, and Thorned Fairy Islands, some of which require you to use special items to find your way inside.
- There is also one Great Fairy on Outset Island, who can be found in the forest that Tetra fell into at the start of the game.
In this game, the order in which you encounter the Great Fairies doesn’t affect the upgrades you receive. The first fairy you find will always grant the first upgrade for the associated container, and the second one you meet will provide the second upgrade. For instance, your Wallet can be enhanced to store 1,000 Rupees initially, then it can hold up to 5,000 Rupees. Similarly, both the Quiver and Bomb Bag can be improved from a capacity of 30 to 60, eventually reaching a maximum of 99 items.
7. Return To Grandma With A Fairy For Elixir Soup
Heal Your Grandma To Get The Best Potion In The Game
In the game, one particularly helpful potion is hidden on Link’s initial island, known as Outset Island. Once you get the Bomb Bag and return to this island to locate Jabun, check inside Link’s grandmother’s house. It turns out that she has fallen ill with some mysterious ailment.
In her slumber, gently release a Fairy by uncorking it, and stand beside her with the Fairy facing her. This action will help alleviate her current condition. You can locate these enchanting beings at any Great Fairy Fountain or near the entrances to boss chambers in dungeons.
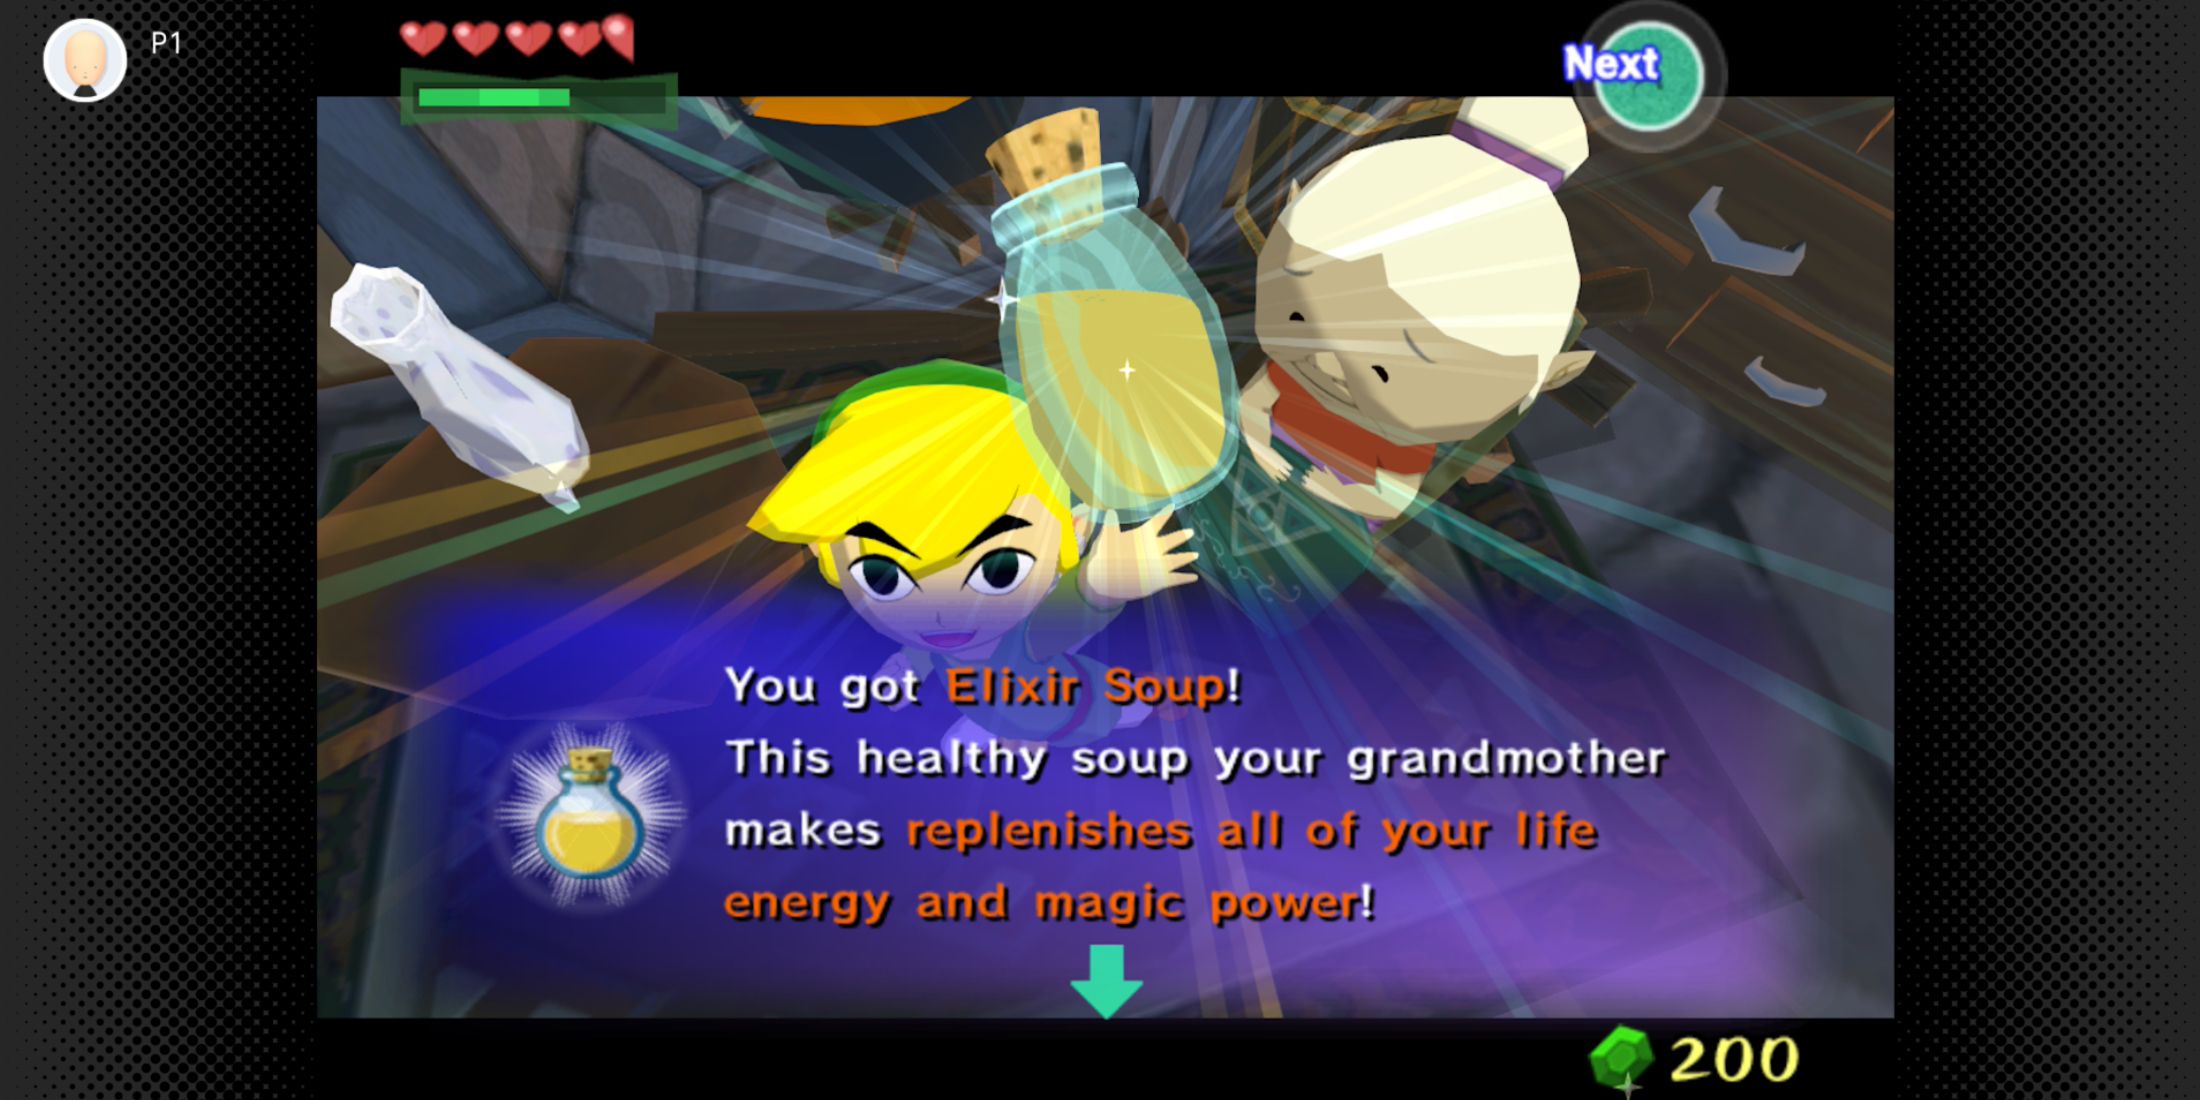
Leave the structure behind and make your way back, and upon returning, Link’s grandmother will provide him a flask of soup for his travels. Should you possess an empty container, you may revisit Outset Island to claim a single serving of Elixir Soup.
This particular potion is exceptionally strong within the game, for it fully restores both your Hearts and Magic while also doubling your attack power until you sustain damage again. However, you can carry just a single flask of Grandma’s Soup at any given moment; yet, each flask contains enough for two servings.
Read More
- Best Awakened Hollyberry Build In Cookie Run Kingdom
- Tainted Grail the Fall of Avalon: Should You Turn in Vidar?
- Nintendo Offers Higher Margins to Japanese Retailers in Switch 2 Push
- Top 8 UFC 5 Perks Every Fighter Should Use
- Nintendo Switch 2 Confirms Important Child Safety Feature
- Nintendo May Be Struggling to Meet Switch 2 Demand in Japan
- Nintendo Dismisses Report On Switch 2 Retailer Profit Margins
- Best Mage Skills in Tainted Grail: The Fall of Avalon
- Nvidia Reports Record Q1 Revenue
- Switch 2 Sales Soar to Historic Levels
2025-06-06 20:14