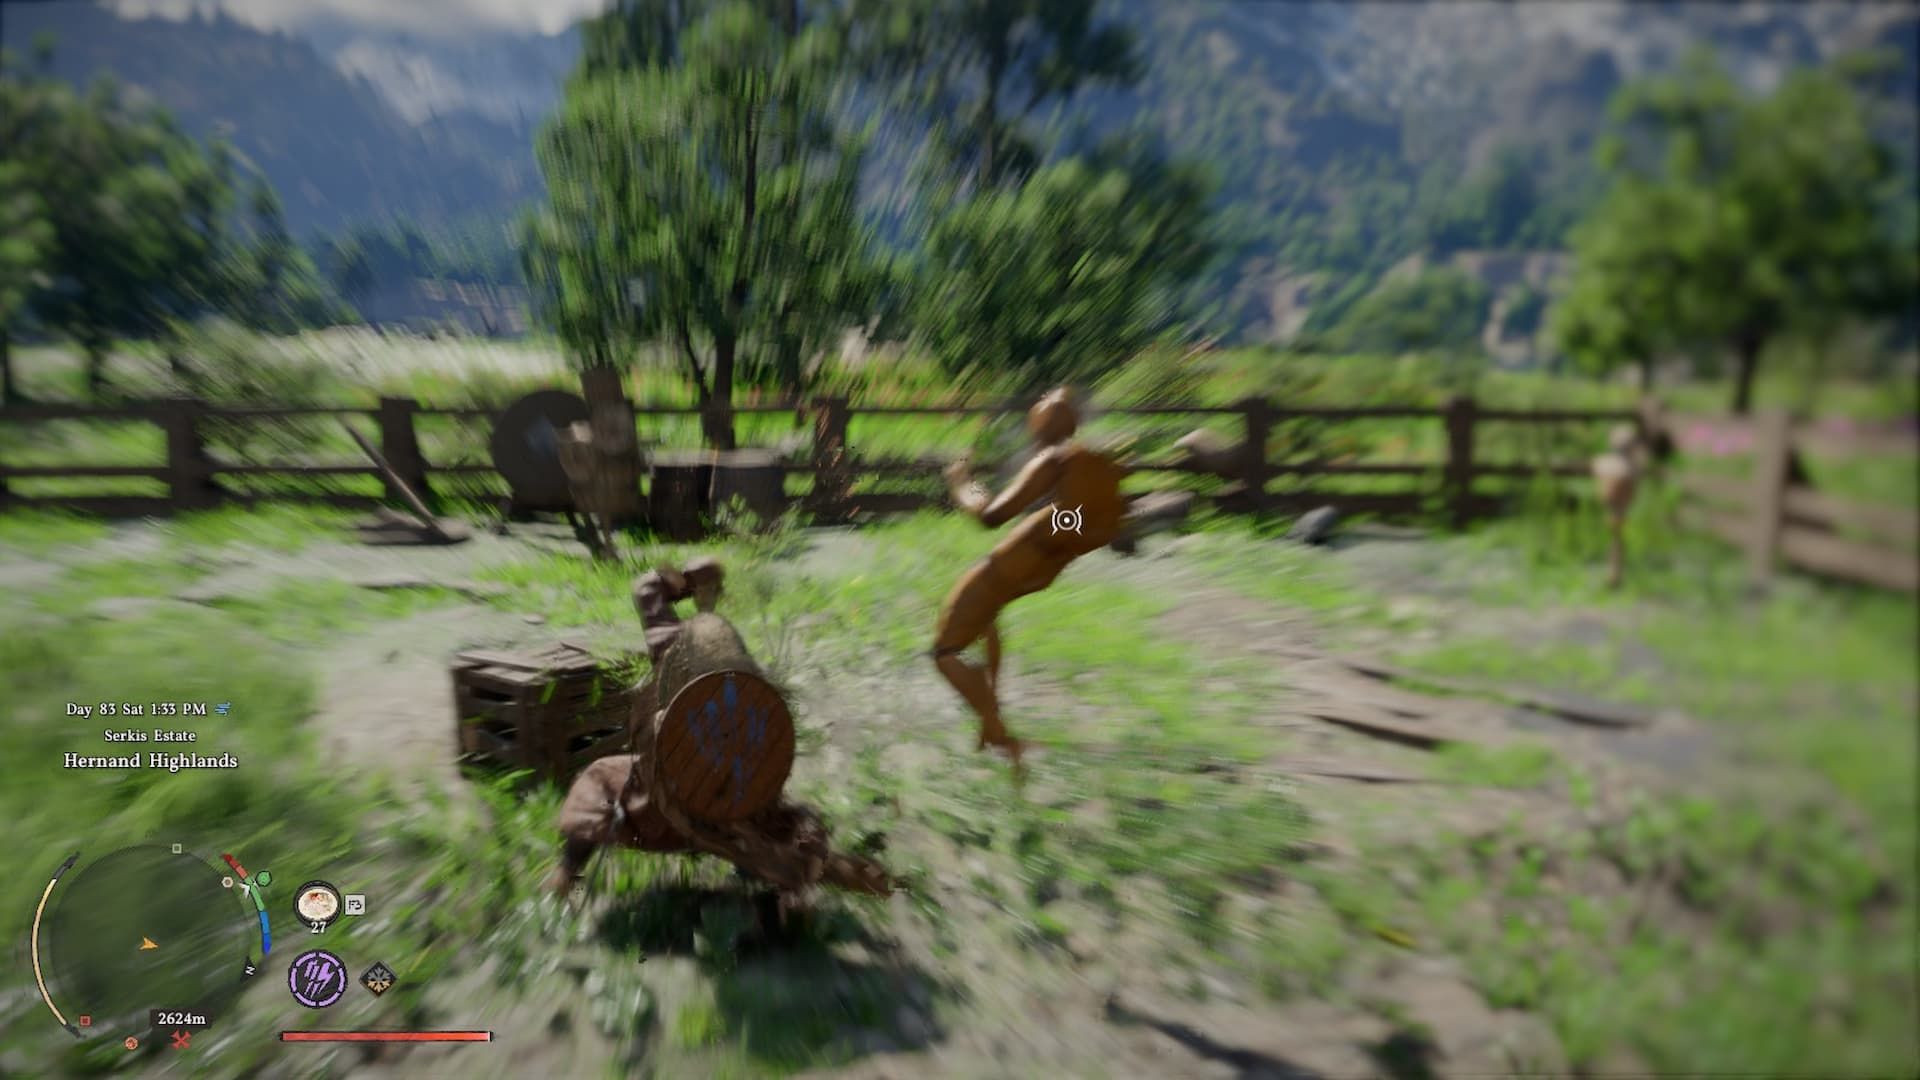
Crimson Desert‘s combat is easy to pick up – almost anyone can win fights by simply pressing buttons repeatedly and using healing items. But it also offers a lot of depth for skilled players who want to perform impressive combos. The game doesn’t explain all of its combat mechanics very well, so this guide will cover some important things you need to know to unlock more advanced moves and combos.
This guide will show you how to use Kliff effectively with his Sword and Shield. It’s designed for players who’ve already mastered basic combat techniques. While many of the strategies here can be used with other weapons and characters, keep in mind there will be some variations.
Combo Starters, Extenders, and Finishers
If you’re looking for some fighting techniques to try out, here’s a simple guide to attacks and combo ideas. These moves can help you start attacks, knock enemies down, get closer, and finish your combos. Many of these attacks connect easily, while others need precise timing.
| Launchers | Throw Heavy Attack Final Hit Unarmed Attack Final Hit Flame Strike Drop Kick Pump Kick Shield Bash Combo |
|---|---|
| Gap Closers | Stab Ambush/Winch Force Palm Quickstep + Stab/Light Attack Turning Slash |
| Knockdowns | Unarmed Attack Fifth Hit Scissor Takedown Lariat Leg Sweep |
| Finishers | Lariat Turning Slash Body Slam Meteor Kick Scissor Takedown Flame Strike |
The main strategy is to combine at least one of these attack types into a flowing sequence. Keep in mind that not all attacks can be linked together – for example, you can’t always follow a Heavy Attack with an Unarmed Attack. We suggest practicing with the Training Dummy in Crimson Desert to discover effective combinations.
Sample combos
| AoE Combo (vs. Groups) | Light Attack → Unarmed Attack → Jump (this results in an unlisted Lariat move) |
|---|---|
| Meteor Kick (vs. Groups) | Light Attack → Vault → Aerial Force Palm → Meteor Kick |
| Gap Closer | Quickstep into Light Attack/Stab |
| Quick Heavy Combo (vs. Elites/Bosses) | Heavy Attack → Light Attack → Stab into Quick Stab → Heavy Attack → Force Palm → Heavy Attack → Turning Slash |
| Launcher Combo | Any Forward Throw/Launcher → Quickstep + Light Attack → 2x Light Attack → Stab into Quickstab → Light Attack → Unarmed Attack → Jump |
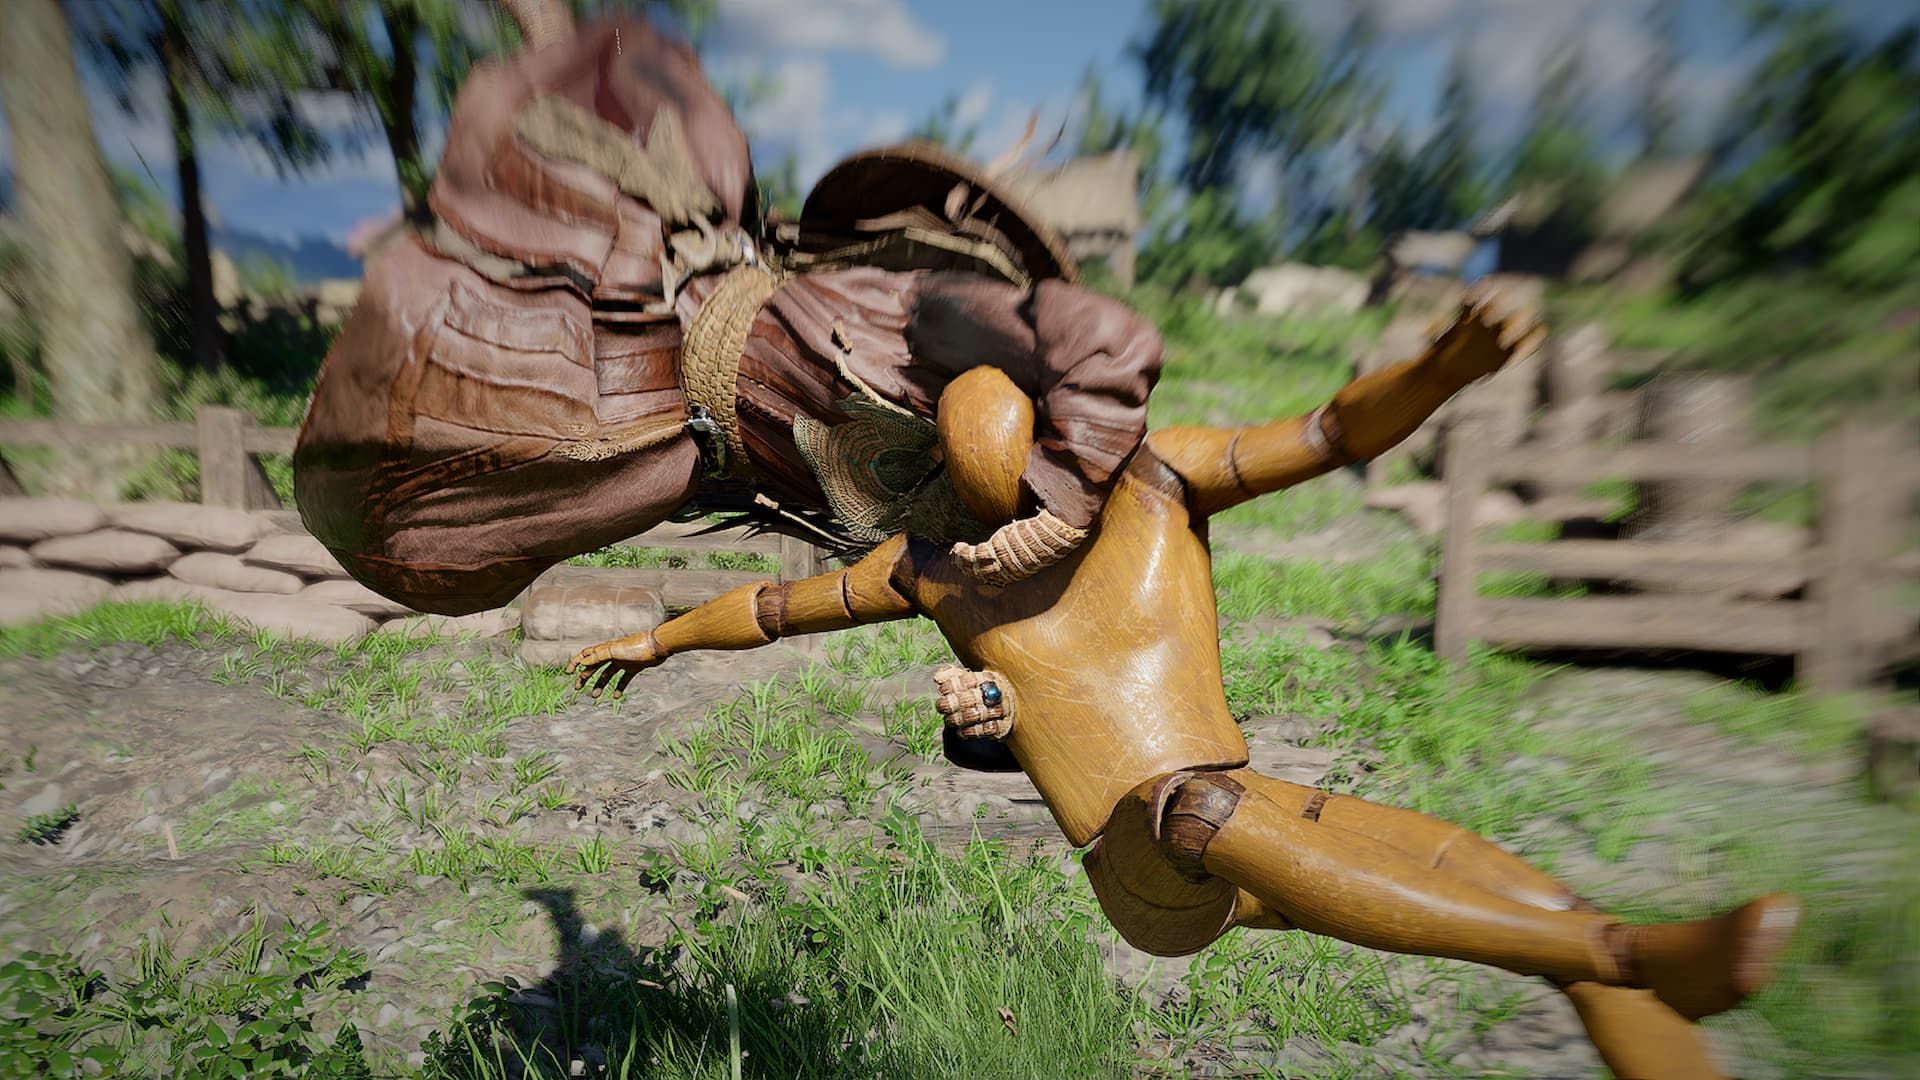
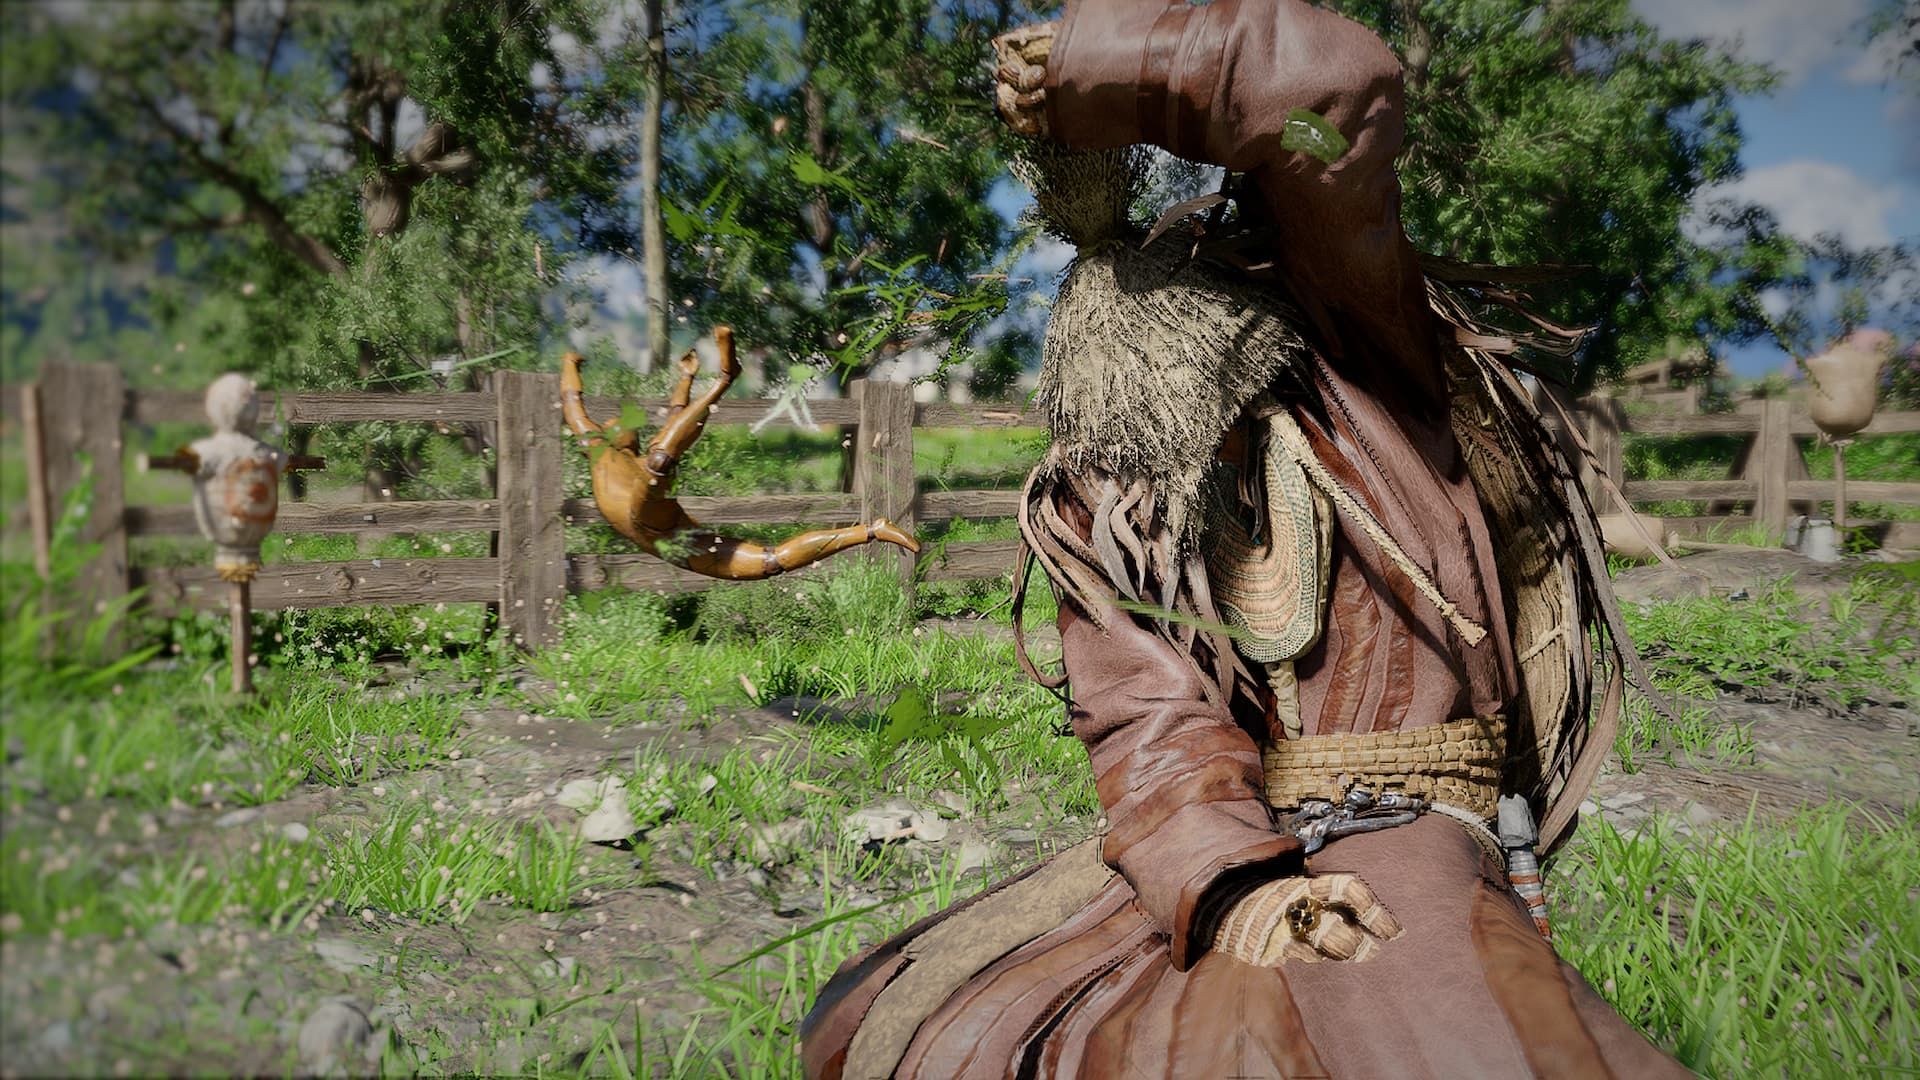
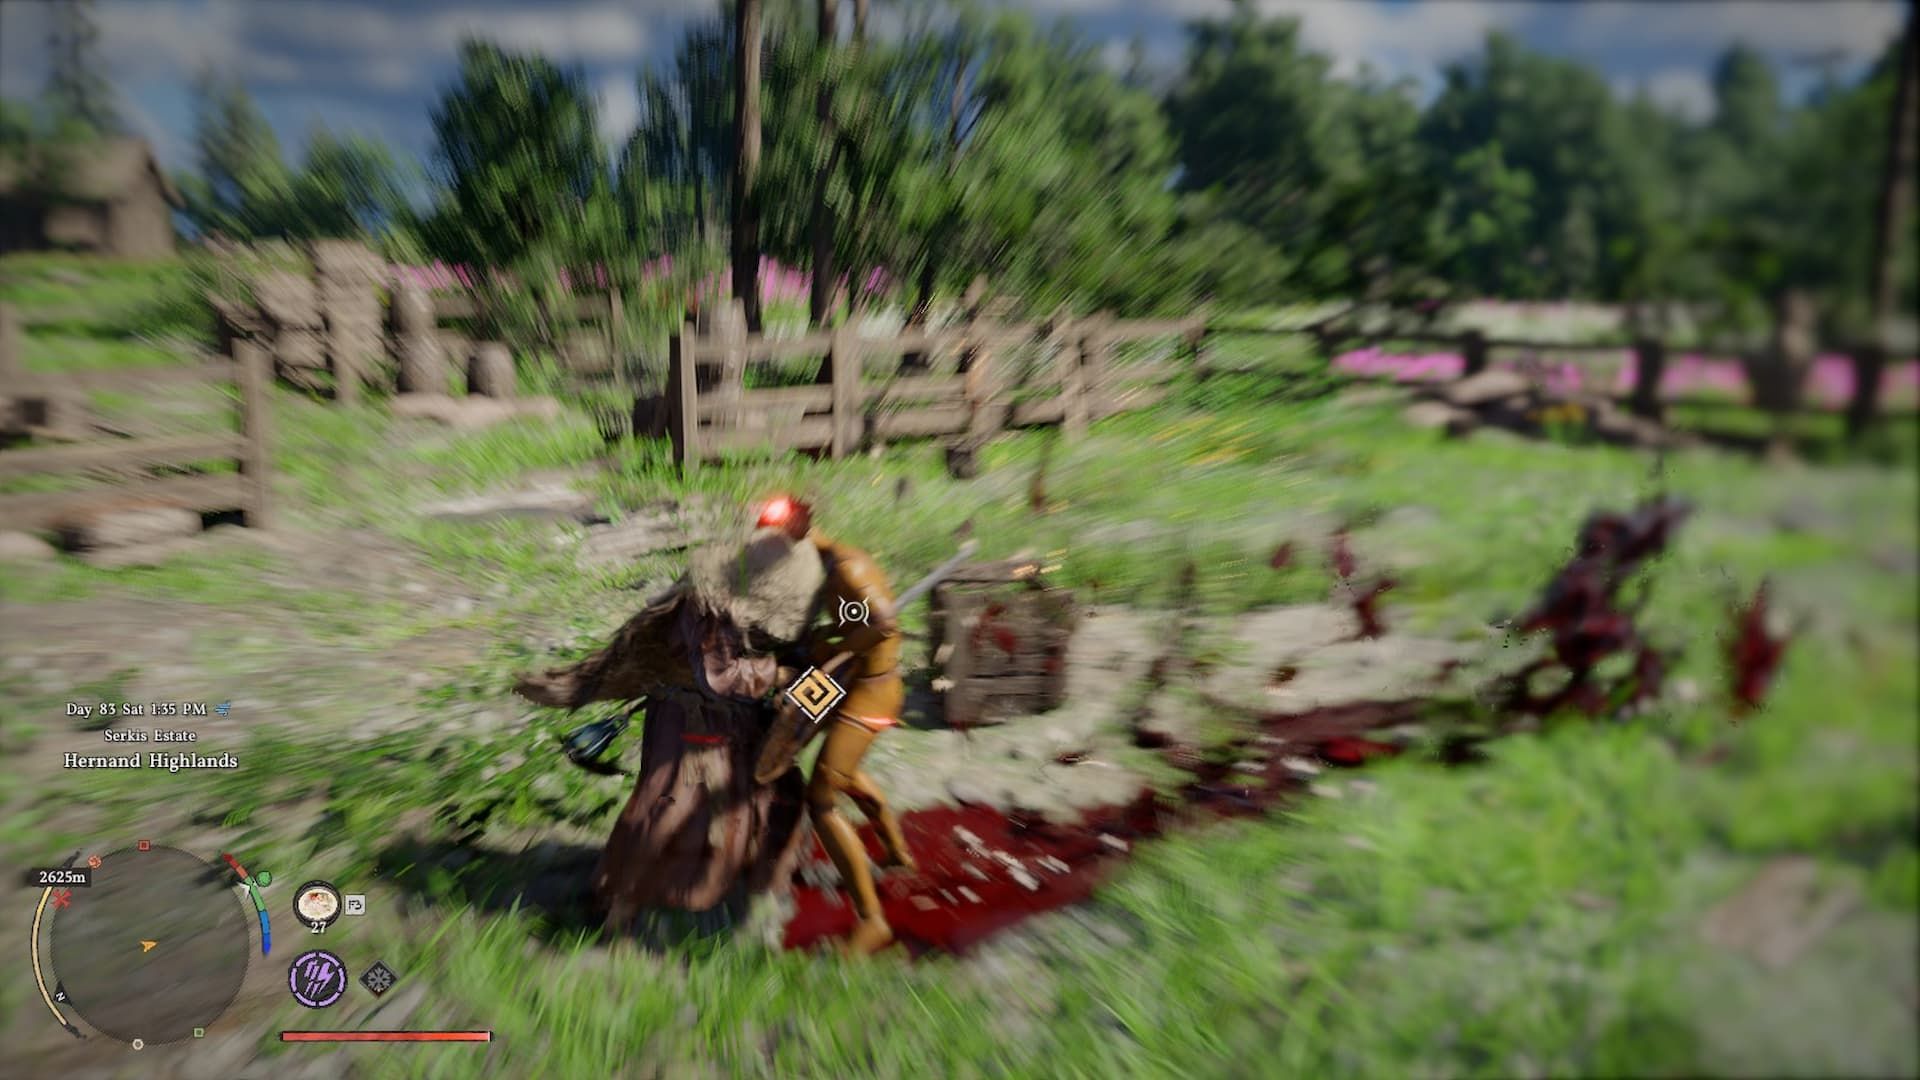
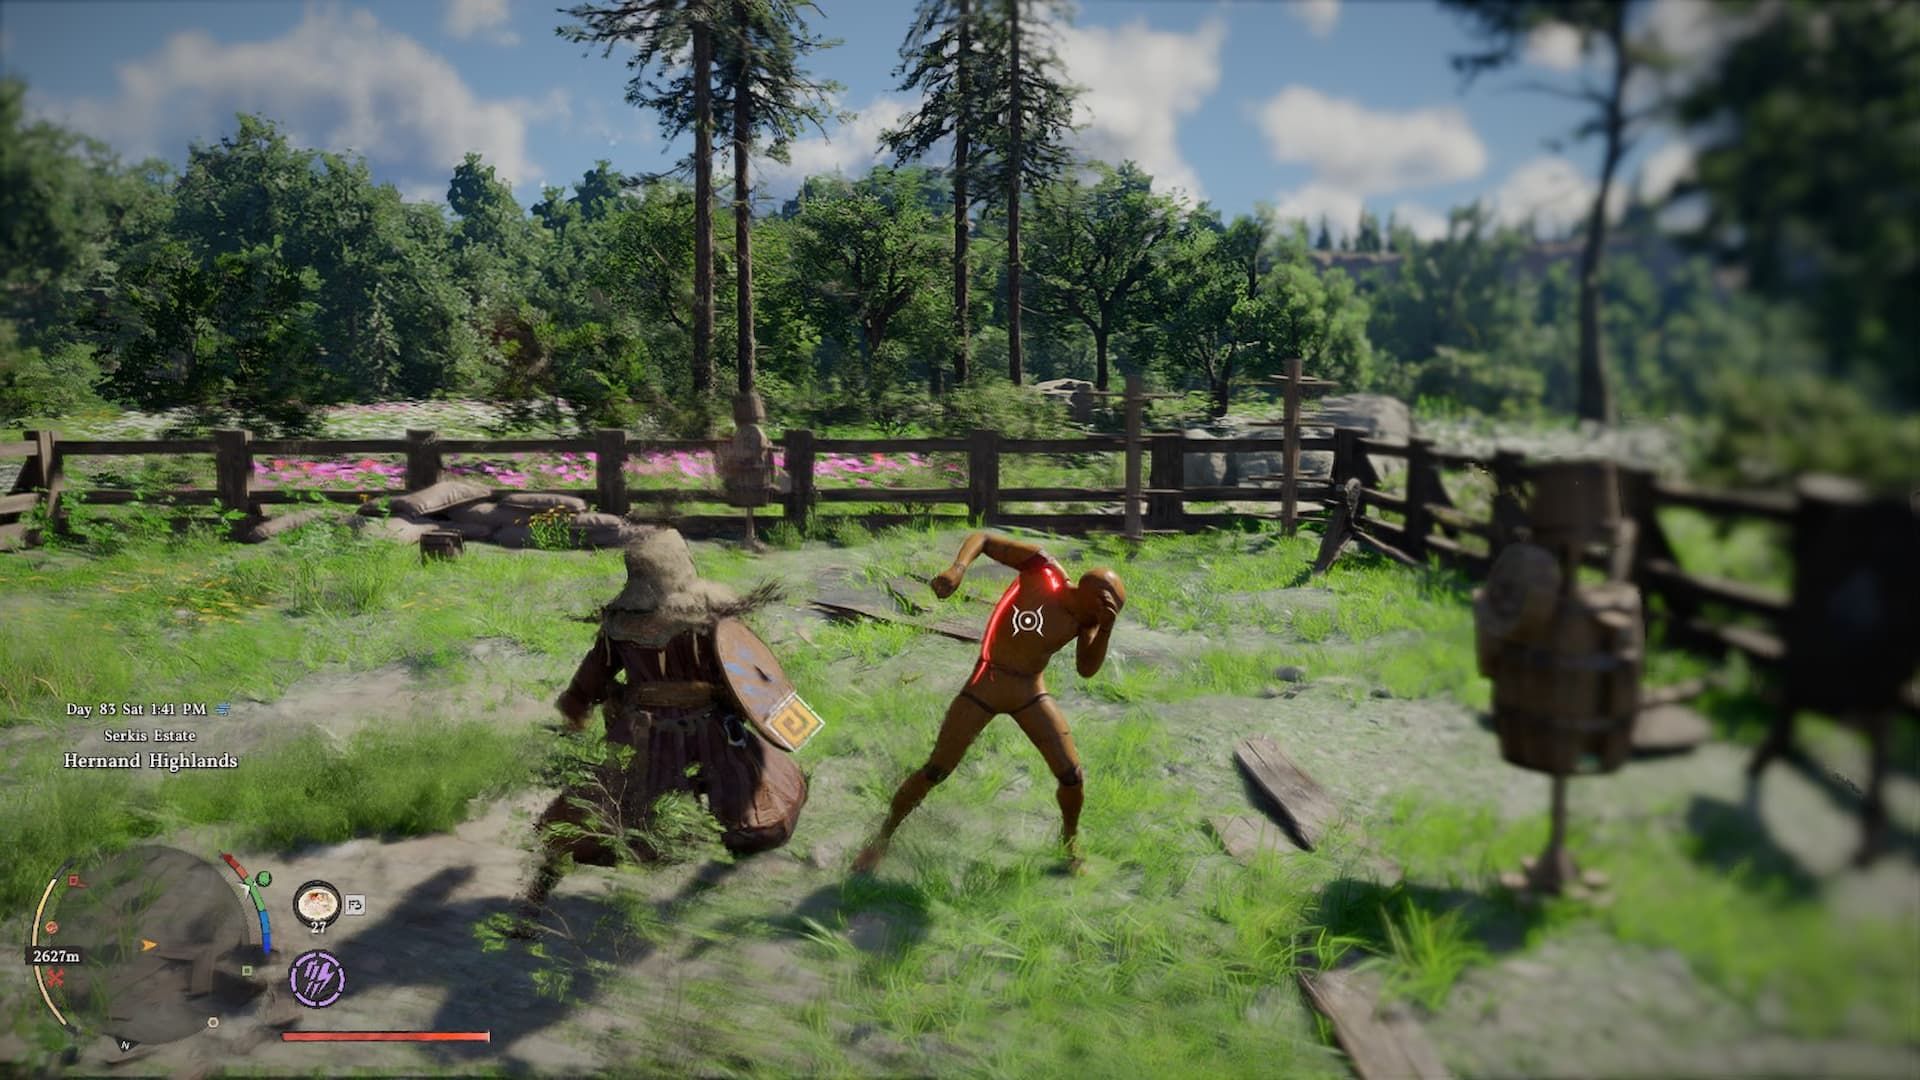
When facing multiple enemies, Lariat and Vault are the most effective abilities. Lariat damages enemies in a wide area, pushing them away to create space. Vault, on the other hand, allows you to quickly move around and easily handle enemies who are blocking with shields.
When facing tough enemies like elites and bosses, quickly create opportunities to attack by using Stab and Force Palm. These moves will briefly stun them, giving you a chance to deal extra damage with Heavy Attacks or Turning Slash. If you stagger a boss that’s around your size (or a bit bigger or smaller), you can also use Grapple moves against them.
Launcher combinations are best used to single out specific enemies, especially powerful ones like those with Flamespitters. They help you spread out large groups of enemies while also quickly eliminating the biggest threats.
Why Bother With Combos?
- You can get rid of large groups of mobs more quickly while taking less damage.
- You’ll completely neutralize dangerous elite enemies like Demenissian Knights and Black Bear Berserkers.
- You’ll maximize the damage you deal against bosses during limited stun/stagger windows.
- They’re much more fun to do than just holding the Light and Heavy Attack buttons.
Stab
This attack should be a core part of your strategy. It’s useful for both filling time between actions and quickly getting into close range. Beginners often overlook it because it takes time to charge, but many don’t realize it charges instantly after certain other attacks. Getting the timing right can be tough, so if you’re struggling, try holding the attack button as soon as your initial attack lands.
To easily follow up a Charged Stab with a Quick Stab, simply hold down the Light Attack button and move towards your opponent as soon as the Charged Stab connects.
![]()
Critical Mass
Pick games to balance the averages.
Scales
Results
Quickstep
Quickstepping is a fast movement you do by pressing the Dodge button twice in a row. It’s useful because it lets you move quickly without the slow recovery time of a regular dodge, and it allows you to seamlessly follow up with powerful attacks like a Charged Stab or a Quickstep Light Attack. This makes it especially good for capitalizing on successful Launcher attacks.
Quickstep Light Attack is great for following up on enemies you’ve hit, and it’s simpler to control than Stab.
Light and Unarmed Attacks
These attacks don’t use up your stamina, but they won’t hit as hard as regular attacks. However, they’re still useful to learn for a few key reasons:
- The final hit of your Light Attack combo knocks enemies back slightly.
- The fourth hit of your Unarmed Combo knocks enemies down.
- The final hit of the Unarmed Combo launches enemies, resulting in a hard knockdown when they land.
A key feature is the ability to seamlessly switch between light and unarmed attacks without breaking your combo. This lets you quickly connect attacks – use light attacks to speed up to the final hit of an unarmed combo, or start an unarmed combo from a light attack. Here are some combos to practice this with:
- 2x Light Attack → Unarmed Attack
- 3x Light Attack → Unarmed Attack → Quickstep → Stab/Light Attack
- 4x Unarmed Attack → Light Attack → Turning Slash
Kliff has a hidden combo with his Sword and Shield: Shield Bash. To perform it, use Light Attack, then hold the Block button, and quickly press Heavy Attack four times while still holding Block. This will launch your opponent and knock them down when they hit the ground.
Fighting Groups
| Best Combos | |
|---|---|
| AoE Combo (vs. Groups) | Light Attack → Unarmed Attack → Jump |
| Meteor Kick (vs. Groups) | Light Attack → Vault → Aerial Force Palm → Meteor Kick |
| Clothesline into Giant Swing | Clothesline → Giant Swing → Sprint → Scissor Takedown → Lariat (Elbow Drop) |
When facing a large group of enemies, focus on quick, powerful attacks. Most weaker enemies will fall quickly with upgraded weapons, so prioritize controlling the crowd using area-of-effect abilities. Also, remember to use Turning Slashes, especially those with elemental effects, as they can deal significant damage.
Fighting Bosses
How you approach a fight will really depend on the specific boss in Crimson Desert. For example, Beloth can be easily stopped mid-attack with powerful hits and quick combos, but bosses like the Half-Moon Reaper can recover fast, so you’ll need to use shorter, simpler attacks.
Most bosses are easily stunned by mixing in quick Stab and Turning Slash attacks between your regular Light and Heavy Attacks. Use these often, and when the boss is stunned, follow up with more powerful Heavy Attacks and Turning Slashes.
Read More
- All Skyblazer Armor Locations in Crimson Desert
- All Shadow Armor Locations in Crimson Desert
- How to Get the Sunset Reed Armor Set and Hollow Visage Sword in Crimson Desert
- Marni Laser Helm Location & Upgrade in Crimson Desert
- Best Bows in Crimson Desert
- All Helfryn Armor Locations in Crimson Desert
- All Golden Greed Armor Locations in Crimson Desert
- How to Craft the Elegant Carmine Armor in Crimson Desert
- Wings of Iron Walkthrough in Crimson Desert
- Keeping Large AI Models Connected Through Network Chaos
2026-04-05 21:10