Ah, me hearty adventurer! ‘Tis time we set sail once more into the depths of Skyrim’s forgotten realms, seeking out that elusive fourth Aetherium Shard. As one who has braved the treacherous waters of this land for many a moon, I can tell ye, none are as daunting as the Dwarven Storeroom nestled beside Mzulft.
Four enigmatic Aetherium Fragments are concealed deep within the heart of the Dawnguard fortress. Gather them all to unlock the path to the Aetherium Forge, where you can craft yourself a completely new artifact.
Along the way you’ll also get to explore several Dwemer ruins, smash up the dusty robots guarding each place, and run off with their goodies.
How To Begin Lost to the Ages
In the game Dawnguard, the Aetherium Shards are integral to the quest titled “Lost to the Ages.” Once you’ve added the DLC to your game, you have the opportunity to collect these shards at any time that suits you best.
Should you gather an Aetherium Shard prior to embarking on Lost to the Ages, a fresh “Determine Crystal Shard Identity” task will materialize in your logbook. Completing this side-quest or even initiating the main quest itself can be achieved by perusing a copy of The Aetherium Wars.
In Skyrim, you can easily find this book almost everywhere. Upon reading it, the hidden Dwemer ruin, Arkngthamz, will appear on your map, marking the start of your new adventure!
Approaching Katria kicks off your adventure, regardless of whether you’re familiar with “The Aetherium Wars.” If delving into Elder Scrolls Lore isn’t your cup of tea, simply venture into the dungeon to embark on your journey.
As an ardent explorer, I can’t help but share my thrilling journey of unearthing every Aetherium Shard hidden within the depths of Dwemer ruins scattered across Skyrim. Beyond the labyrinthine Arkngthamz in The Reach, I’ve set foot at the enigmatic Deep Folk Crossing. In the chilly expanse of The Pale, I’ve delved into the mysteries of Raldbthar. And finally, my quest takes me to the eastern reaches of Eastmarch, where the secrets of Mzulft await my discovery. Each step brings me closer to unraveling these ancient Dwemer mysteries and completing my search.
First Shard: Arkngthamz
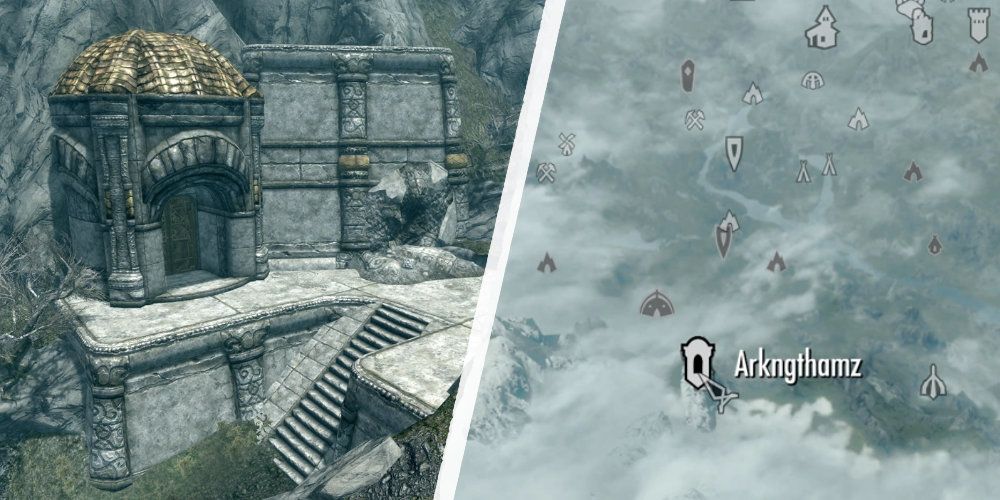
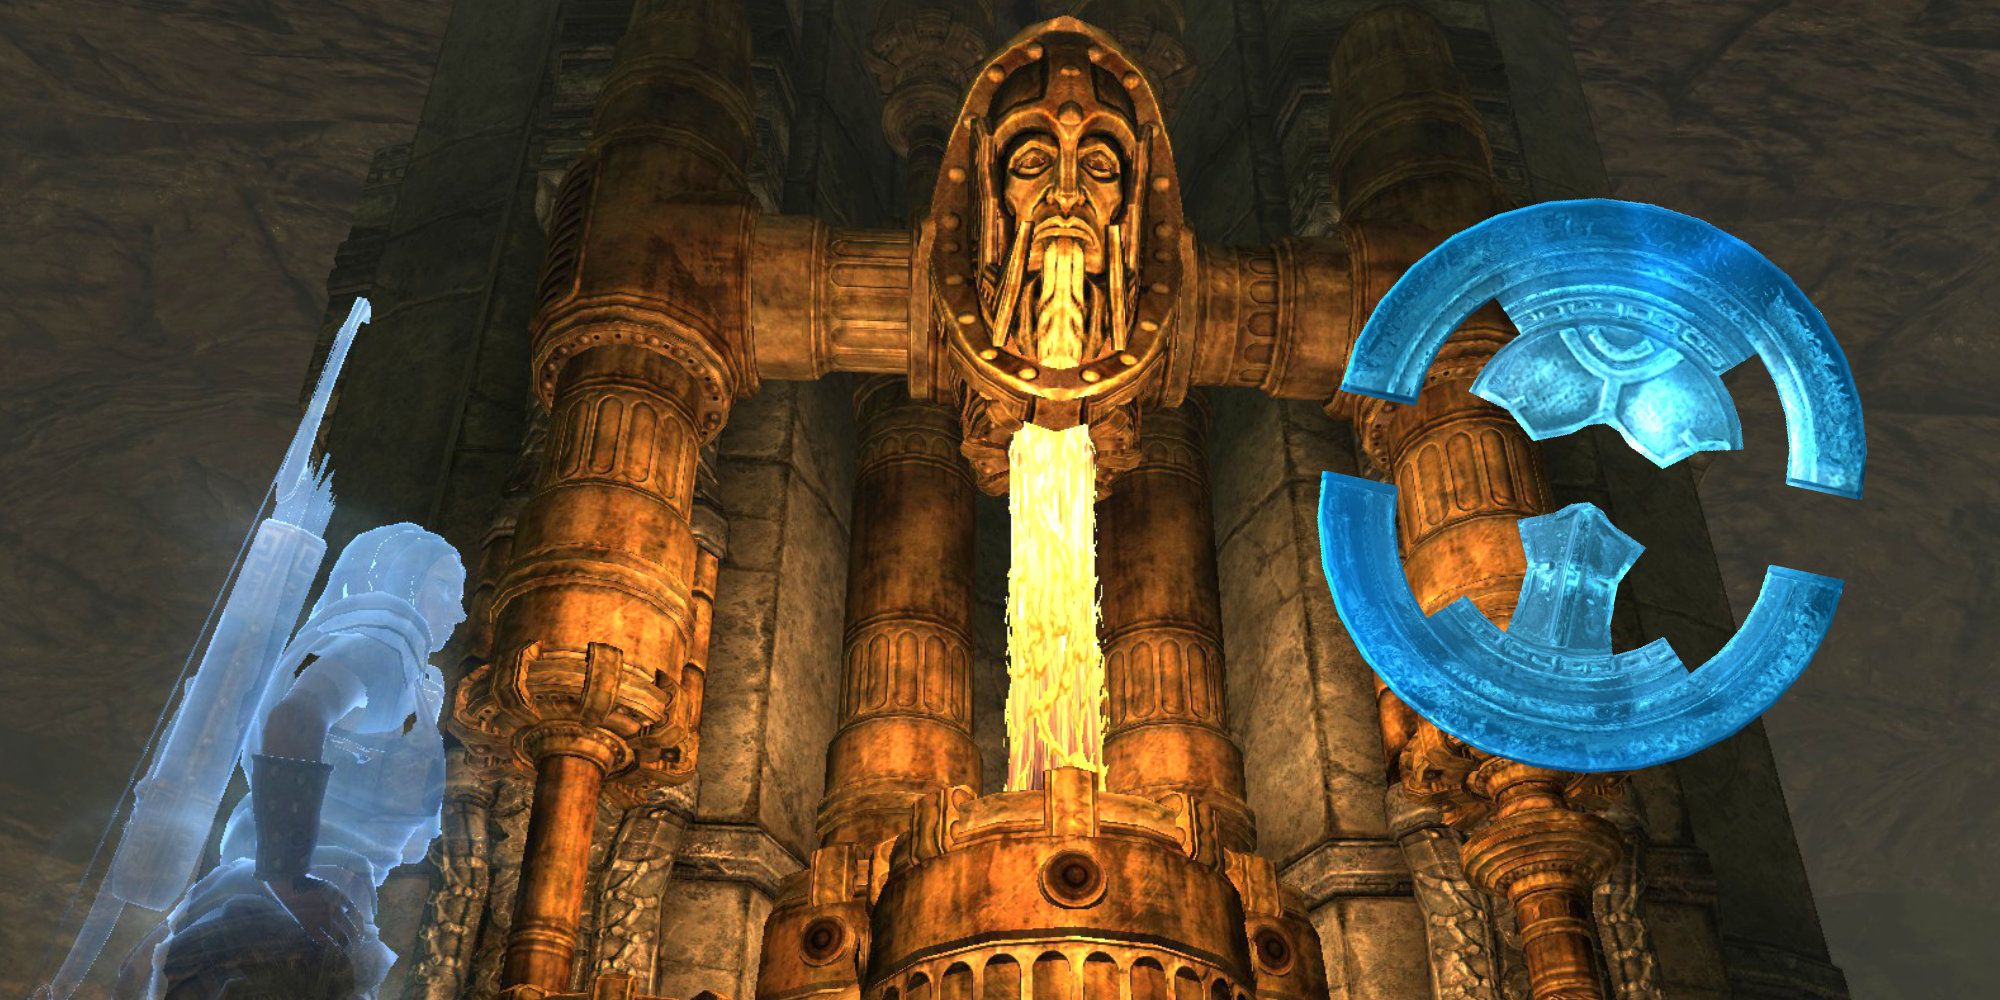
Upon completing “The Aetherium Wars,” you receive a guidepost to Arkngthamz and an update on a quest to explore it further and gather additional information. Upon entry, you are both menaced and greeted by the spirit of Katria, who was studying the Aetherium Shards before her premature passing.
As a gamer, here’s my take:
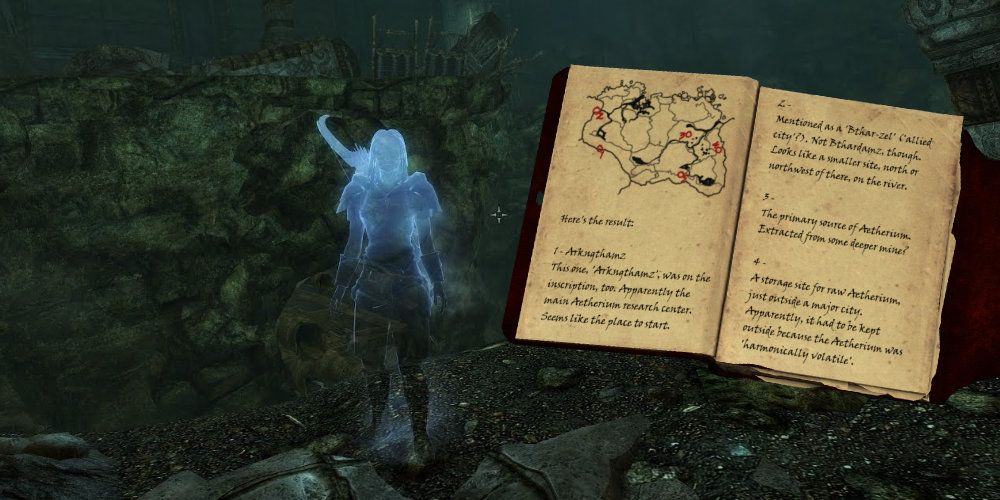
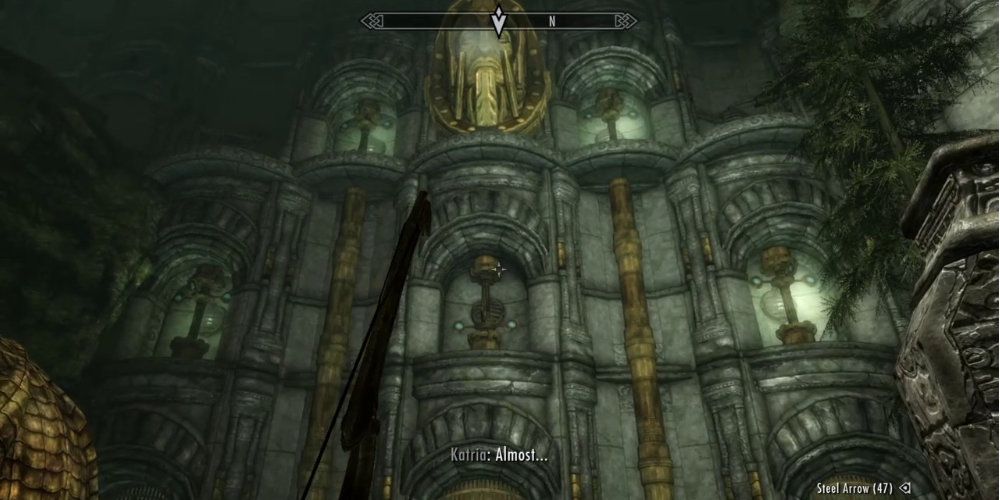
As you delve into Arkngthamz, the spirit of Katria guides you with helpful suggestions. Notably, be sure to retrieve Katria’s Journal journalb’s’ Journal once you come across her remains. After reading the journal, the locations of other shards on your map will become clear to you.
Another item from Katria is her arrow, which is mysteriously faster to shoot. You’ll come across it on a journey through the castle as you ascend the tower. It’s quite valuable in the overall game, so don’t forget to take it with you on your path.
is refullyomez, us’d
is being agained
To open the gate, strike the resonators in the following order:
- Bottom left
- Bottom right
- Top left
- Top right
- Bottom middle
is managing,
The chamber inside is filled with treasure, including your first Aetherium Shard! Just three more to go.
After obtaining Arkngthamz’s Aetherium Shard, feel free to gather the remaining shards in whatever sequence suits you best. At each site, Katria’s spirit will be there to lend a hand.
Second Shard: Deep Folk Crossing
The notable location known as Deep Folk Crossing lies to the northeast of Markarth. This particular pathway happens to be the most straightforward, as it lacks the complexities that come with navigating a traditional dungeon interior.
To get the Aetherium Shard, make your way to the northern part of the bridge, then climb the hill. Once you reach the top, look for the second shard resting on a nearby pedestal.
Third Shard: Raldbthar
This Dwemer ruin is one of three entrances to the Blackreach beneath Skyrim. Despite being located in The Pale, the easiest way to reach Raldbthar is to head west along the river from Windhelm.
After crossing Anga’s Mill, follow the southwestern path towards the mountains. You’ll come across markers leading to two ancient Dwemer sites: one is known as Irkngthand, while the other goes by Raldbthar.
If you’re using the traditional stealth and archery gameplay style, you might have come across Raldbthar before. This ruin is noteworthy as it serves as the setting for the Dark Brotherhood quest named “Mourning Never Comes“, which is likely familiar to seasoned assassins.
Within the ominous depths of this dungeon, I found myself squaring off against rogue bandits and formidable Dwarven automatons. As I delved deeper, I’d recommend sticking to the left-hand side as you traverse, and eventually, you’ll ascend a spiral staircase that culminates in an elevator.
This lift takes you to the dungeon’s second main area: Raldbthar Deep Market. Keep pushing forward through the traps and constructs, and you’ll reach a large chamber with a raised bridge.
To lower the bridge, you must first disengage its gears before pushing the button that triggers the mechanism. The first three gears are clearly noticeable, but the fourth one can be challenging—it’s a fragment of submerged Dwemer Scrap Metal lodged in a gear beneath the water.
Hold your breath, dive in, and the bridge will come down. Defeat the Dwarven Centurion, which tries to block your way, and loot the place clean.
On the right side of the treasure room, you’ll find your objective – the third Aetherium Shard. Don’t forget to pick it up before using the elevator to return to the surface!
To reach Blackreach from here, you’ll find a hidden staircase in the last room, but only if you have an Attunement Sphere with you.
Fourth Shard: Mzulft
Three down, one to go! One last ruin to visit: Mzulft in the Eastmarch.
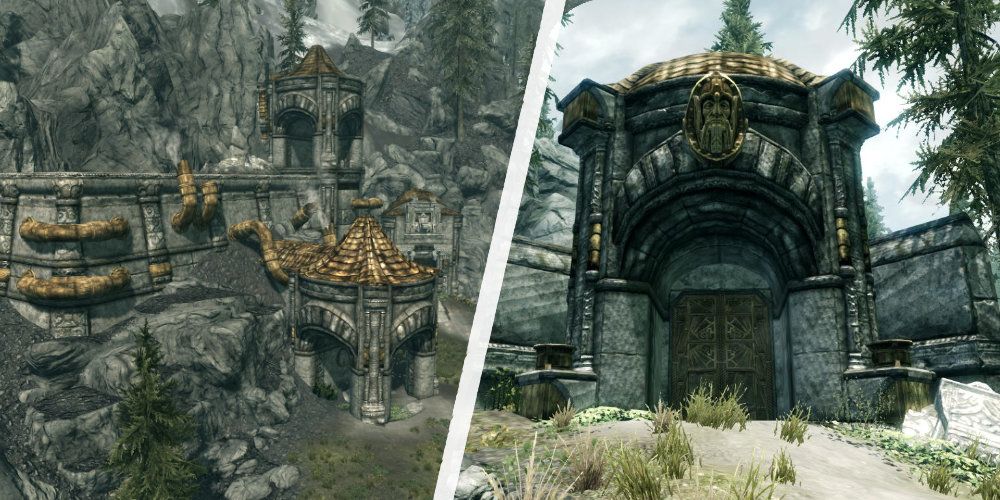
Instead, let me clarify that what you’ll be entering is an adjacent room known as a Dwarven Storeroom. Although this area shares the same complex with Mzulft, you won’t have access to Mzulft until you begin the quest named “Revealing the Unseen” from the College of Winterhold.
To reach Mzulft most conveniently, begin your journey from Windhelm, then proceed southwards towards Steamcrag Camp (inally towards Steamcragaine to Steamcragiancamp. Be mindful of the giants, then ascend east through the mountains. With some distance, a Dwemer ruin marker will be visible on your map.
Upon entering the Dwarven Storage Room, the helpful spirit of Katria indicates the door that requires picking. Inside this room, the final Aetherium Shard rests on a pedestal.
Using the Aetherium Shards
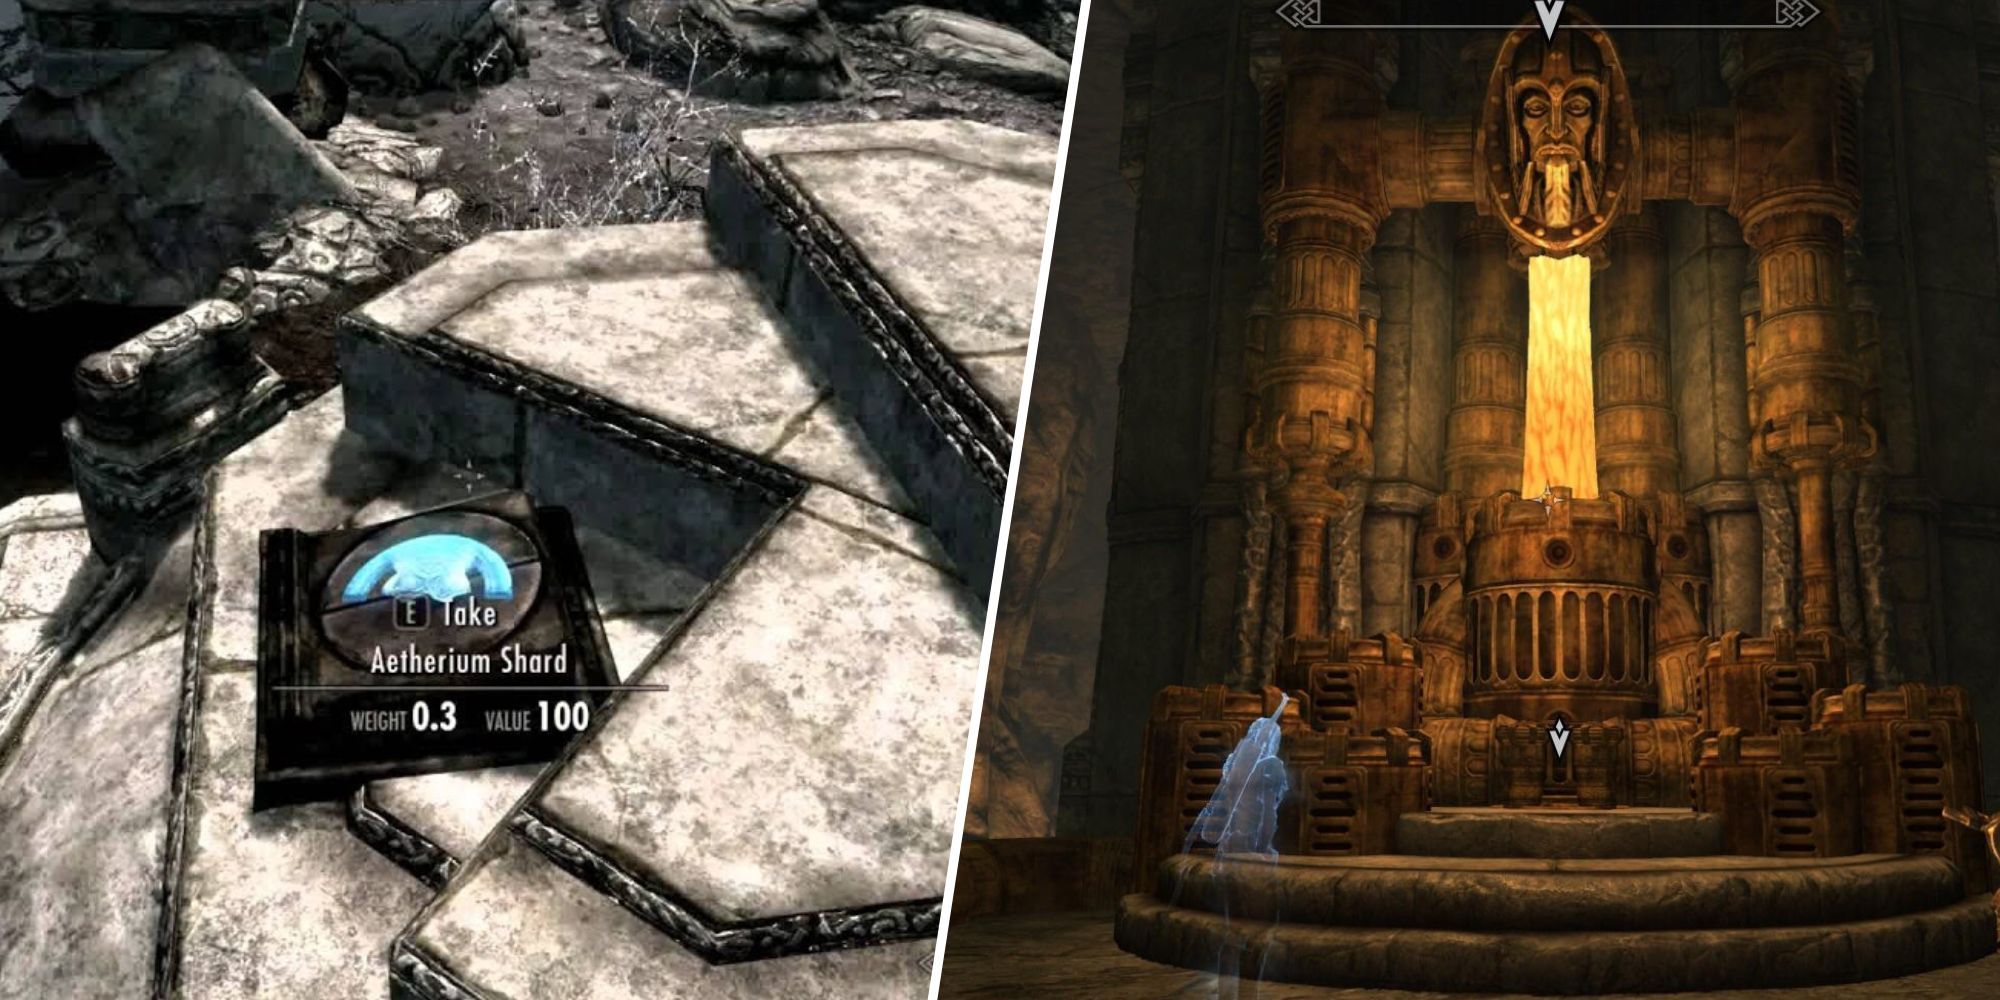
Once you gather the fourth fragment, the “Aetherium Crest” will appear in your possession. Make your way to the “Ruins of Bthalft” located within The Rift, then team up with Katria for the concluding mission to access the Aetherium Forge.
At the end of the dungeon, you’ll be rewarded with your choice of artifact
| Artifact | Ability |
|---|---|
| Aetherial Crown | You can attune two Standing Stone abilities while wearing the crown. |
| Aetherial Shield | Give your foes a shield bash and they’ll turn ethereal for 15 seconds. |
| Aetherial Staff | Use it to summon a Dwarven construct—at high levels, you may get two. |
The best choice will vary depending on your play style. Although turning foes ethereal may seem like a downside, the Aetherium Shield’s ability is actually quite strong since the baddies also can’t hurt you—use this to mitigate damage from dangerous foes (like giants), or while you’re outnumbered.
You can only forge one quest reward, so choose wisely!
Read More
- LUNC PREDICTION. LUNC cryptocurrency
- SOL PREDICTION. SOL cryptocurrency
- BTC PREDICTION. BTC cryptocurrency
- BICO PREDICTION. BICO cryptocurrency
- USD CLP PREDICTION
- USD PHP PREDICTION
- USD ZAR PREDICTION
- USD COP PREDICTION
- VANRY PREDICTION. VANRY cryptocurrency
- RIDE PREDICTION. RIDE cryptocurrency
2024-09-03 23:40