7 Abandoned Auger Mines are scattered across the landscape of Borderlands 4, each housing at least one mine to be explored. These mines harbor creatures dwelling in Kairos and offer an opportunity for pest exterminators to delve into these subterranean caves, reaching their depths where they’ll face a formidable boss battle. In the following list, you’ll find all Auger Mines in Borderlands 4, complete with the bosses awaiting within, as well as the Legendary loot they may drop. This way, you can strategically choose which boss fight to farm for the loot that will elevate your character to an unstoppable force against Kairos’ villains and leave other Vault Hunters envious of your powerhouse build.
Any additional Legendary loot found from these bosses will be updated as they appear.
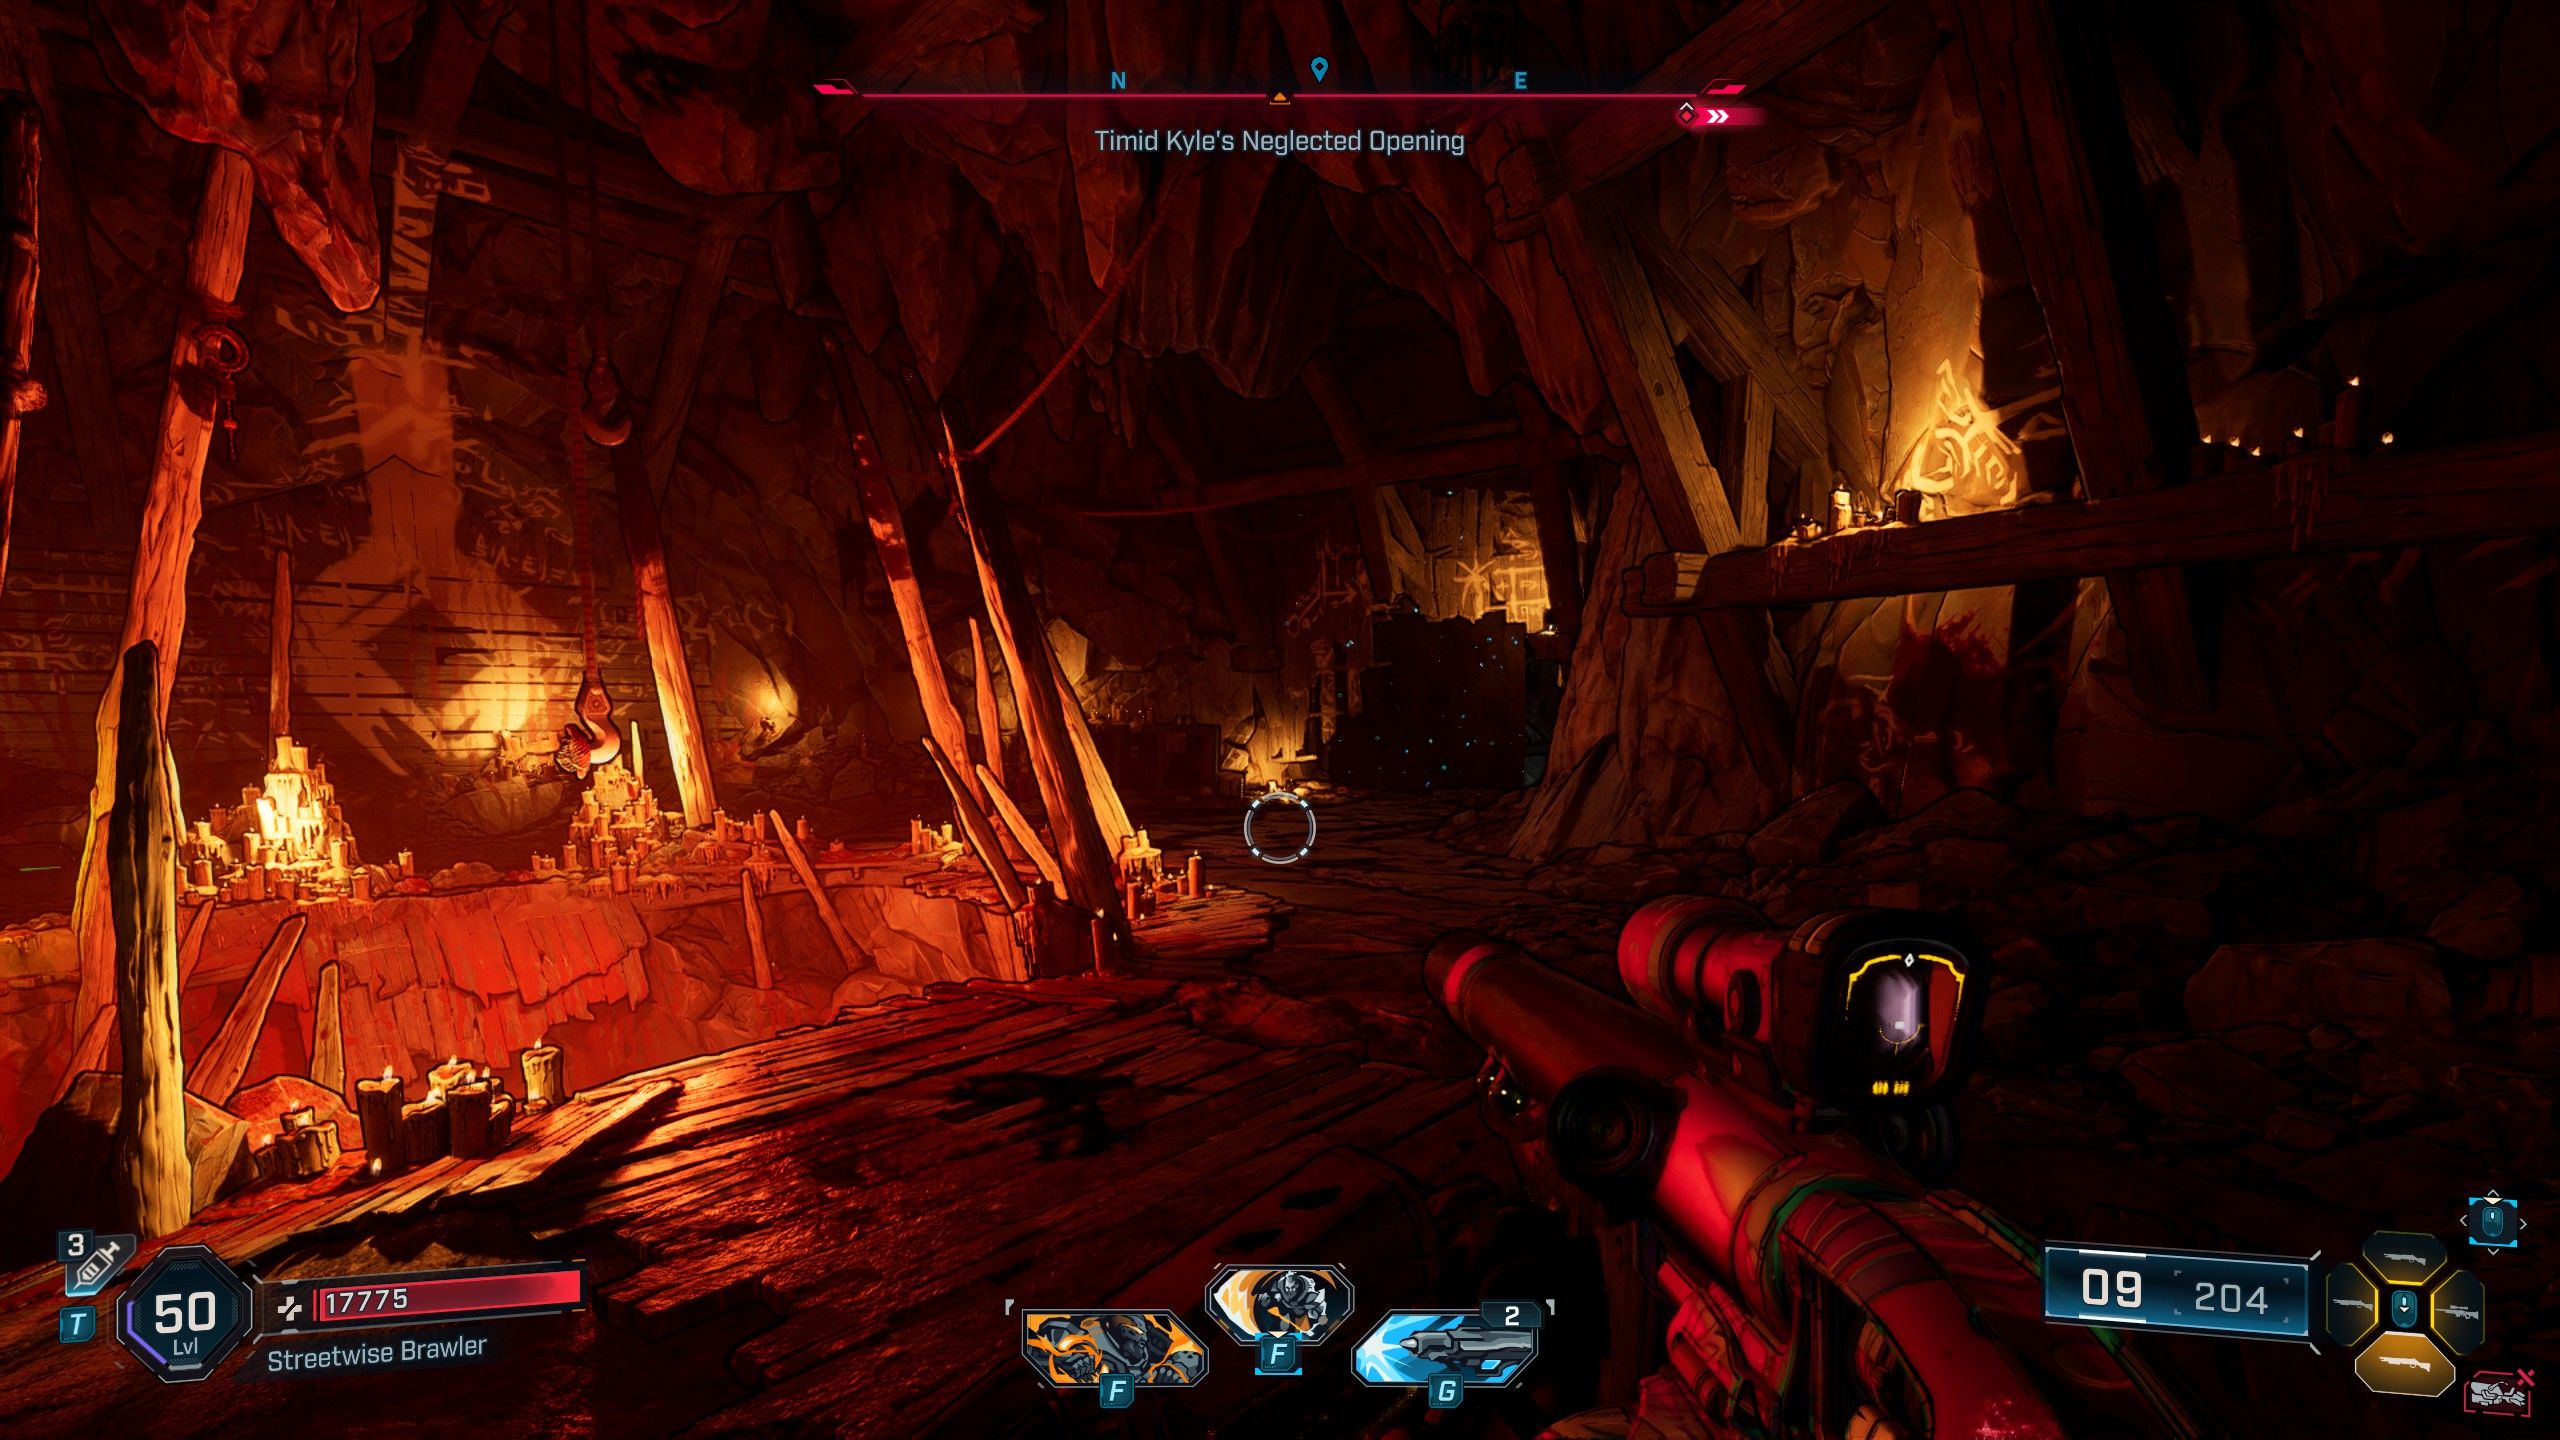
Timid Kyle’s Neglected Opening
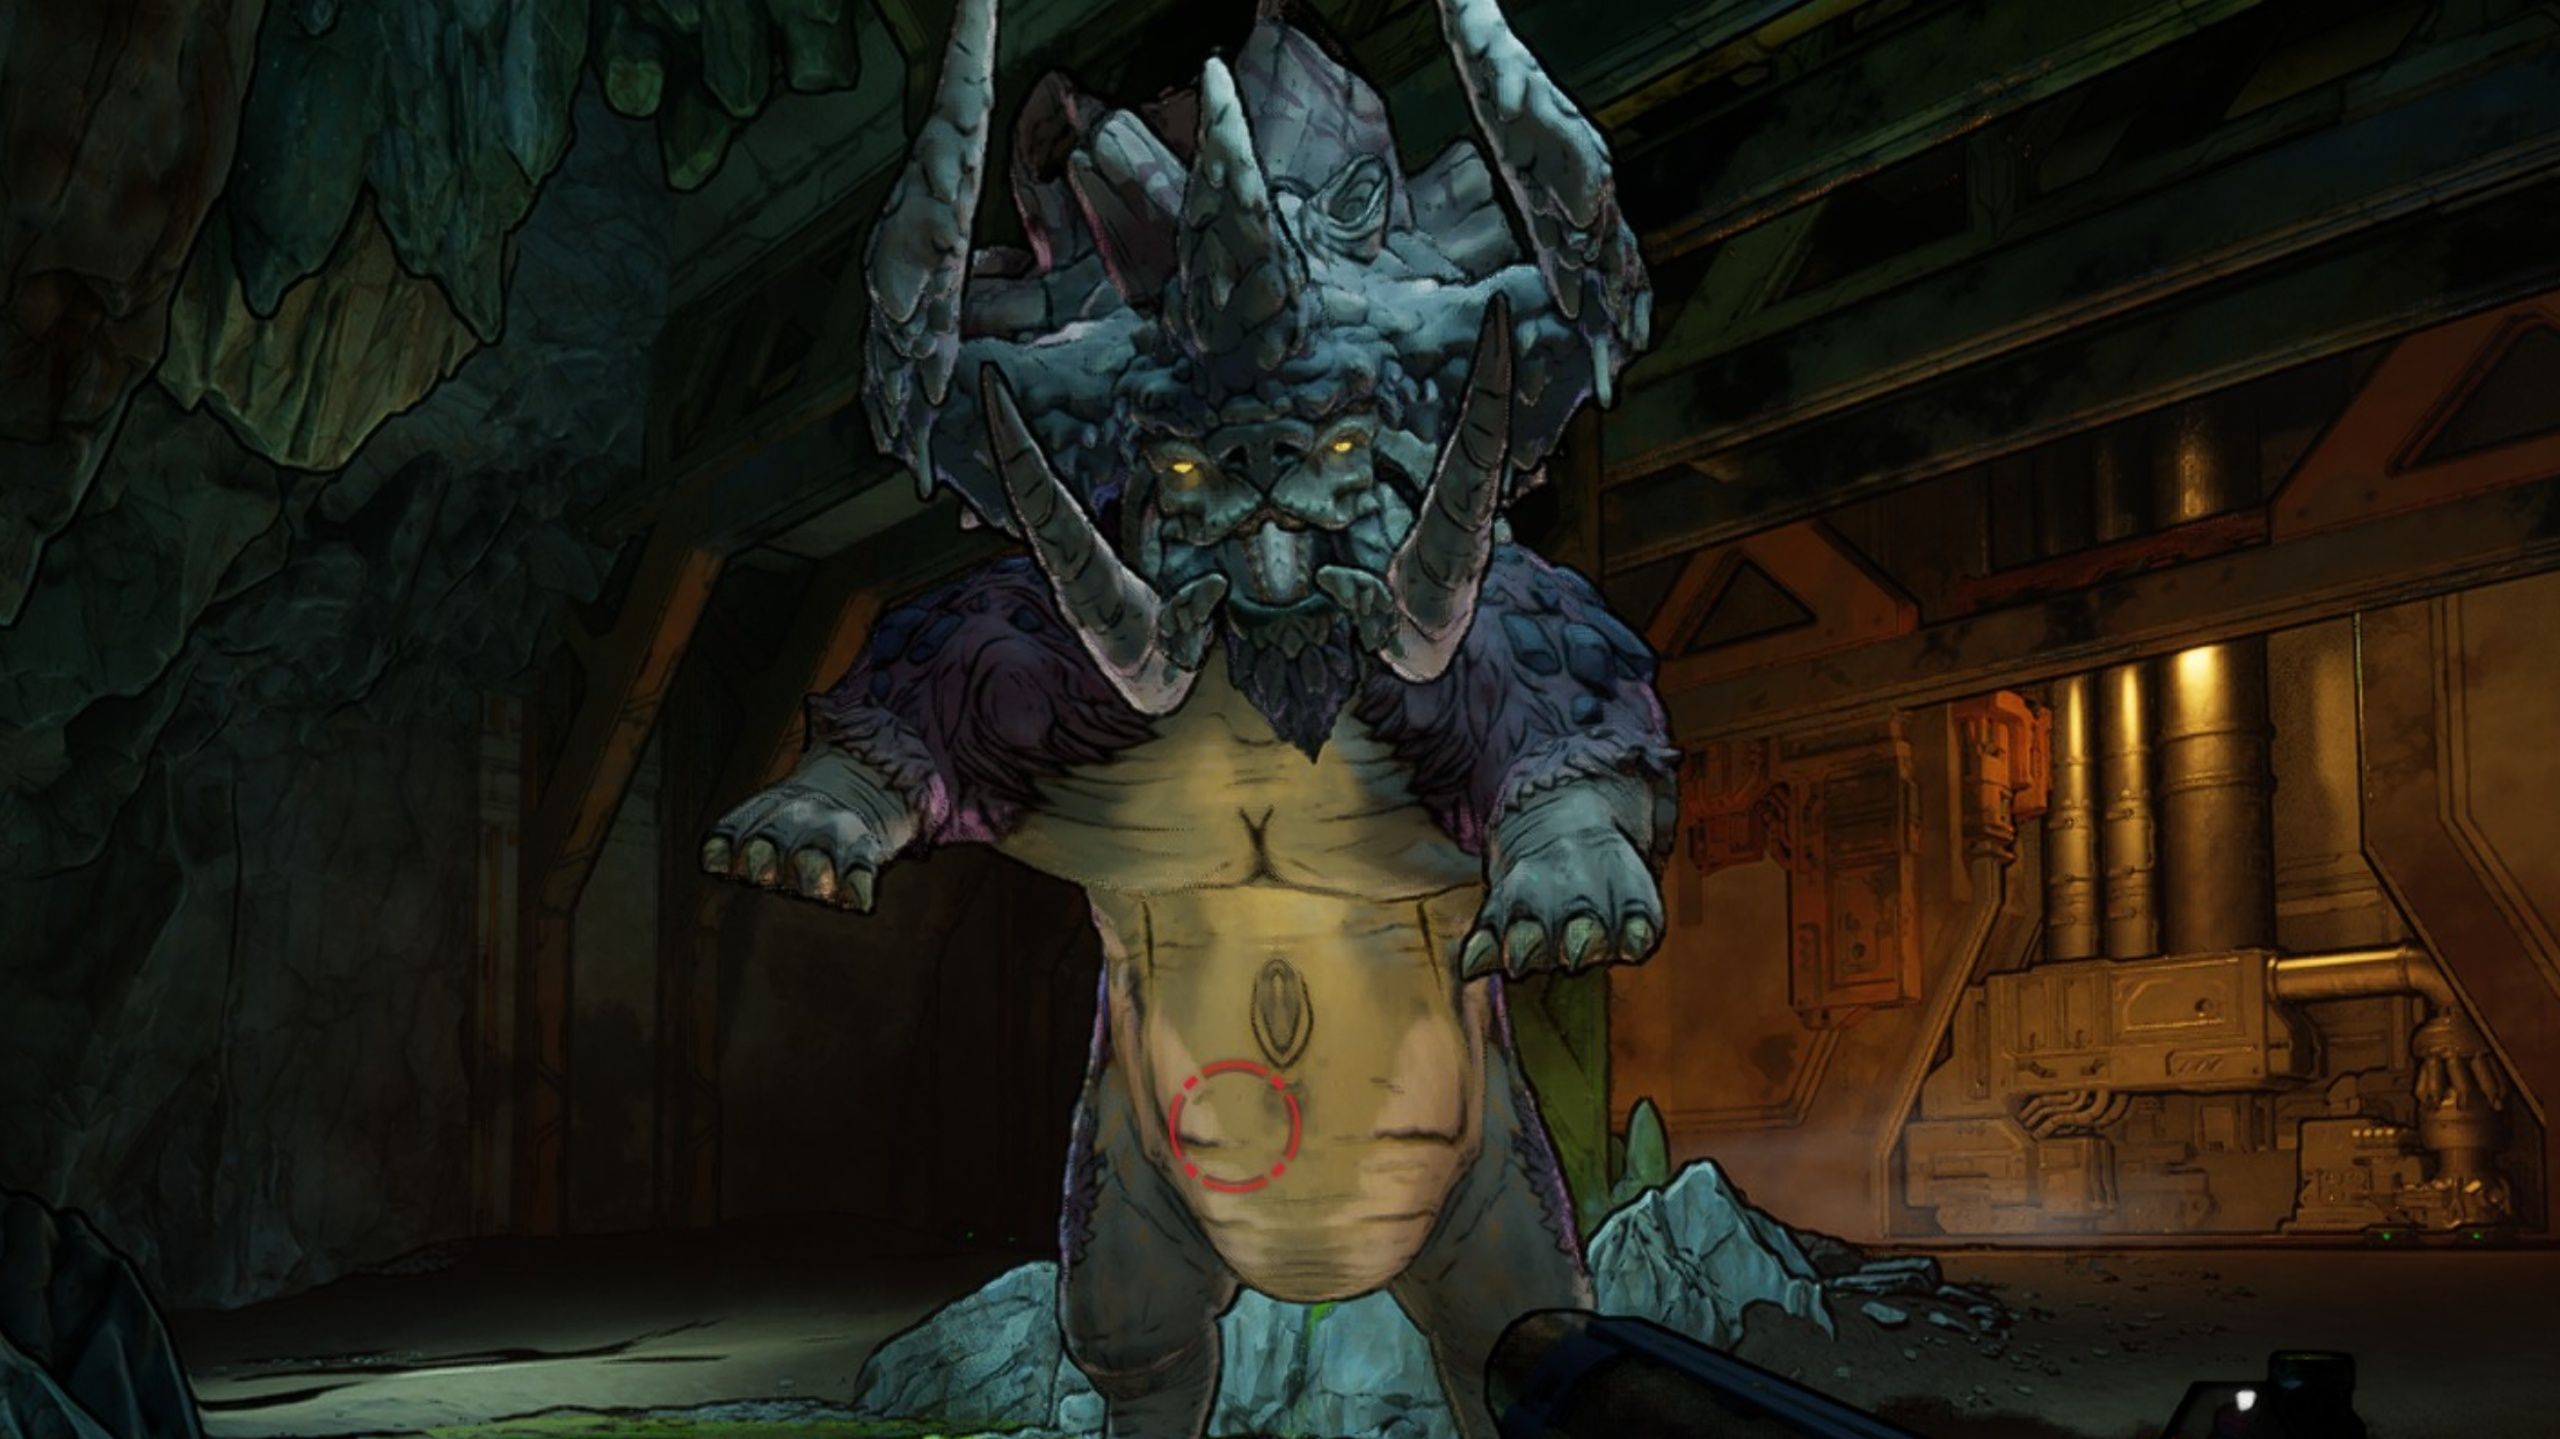
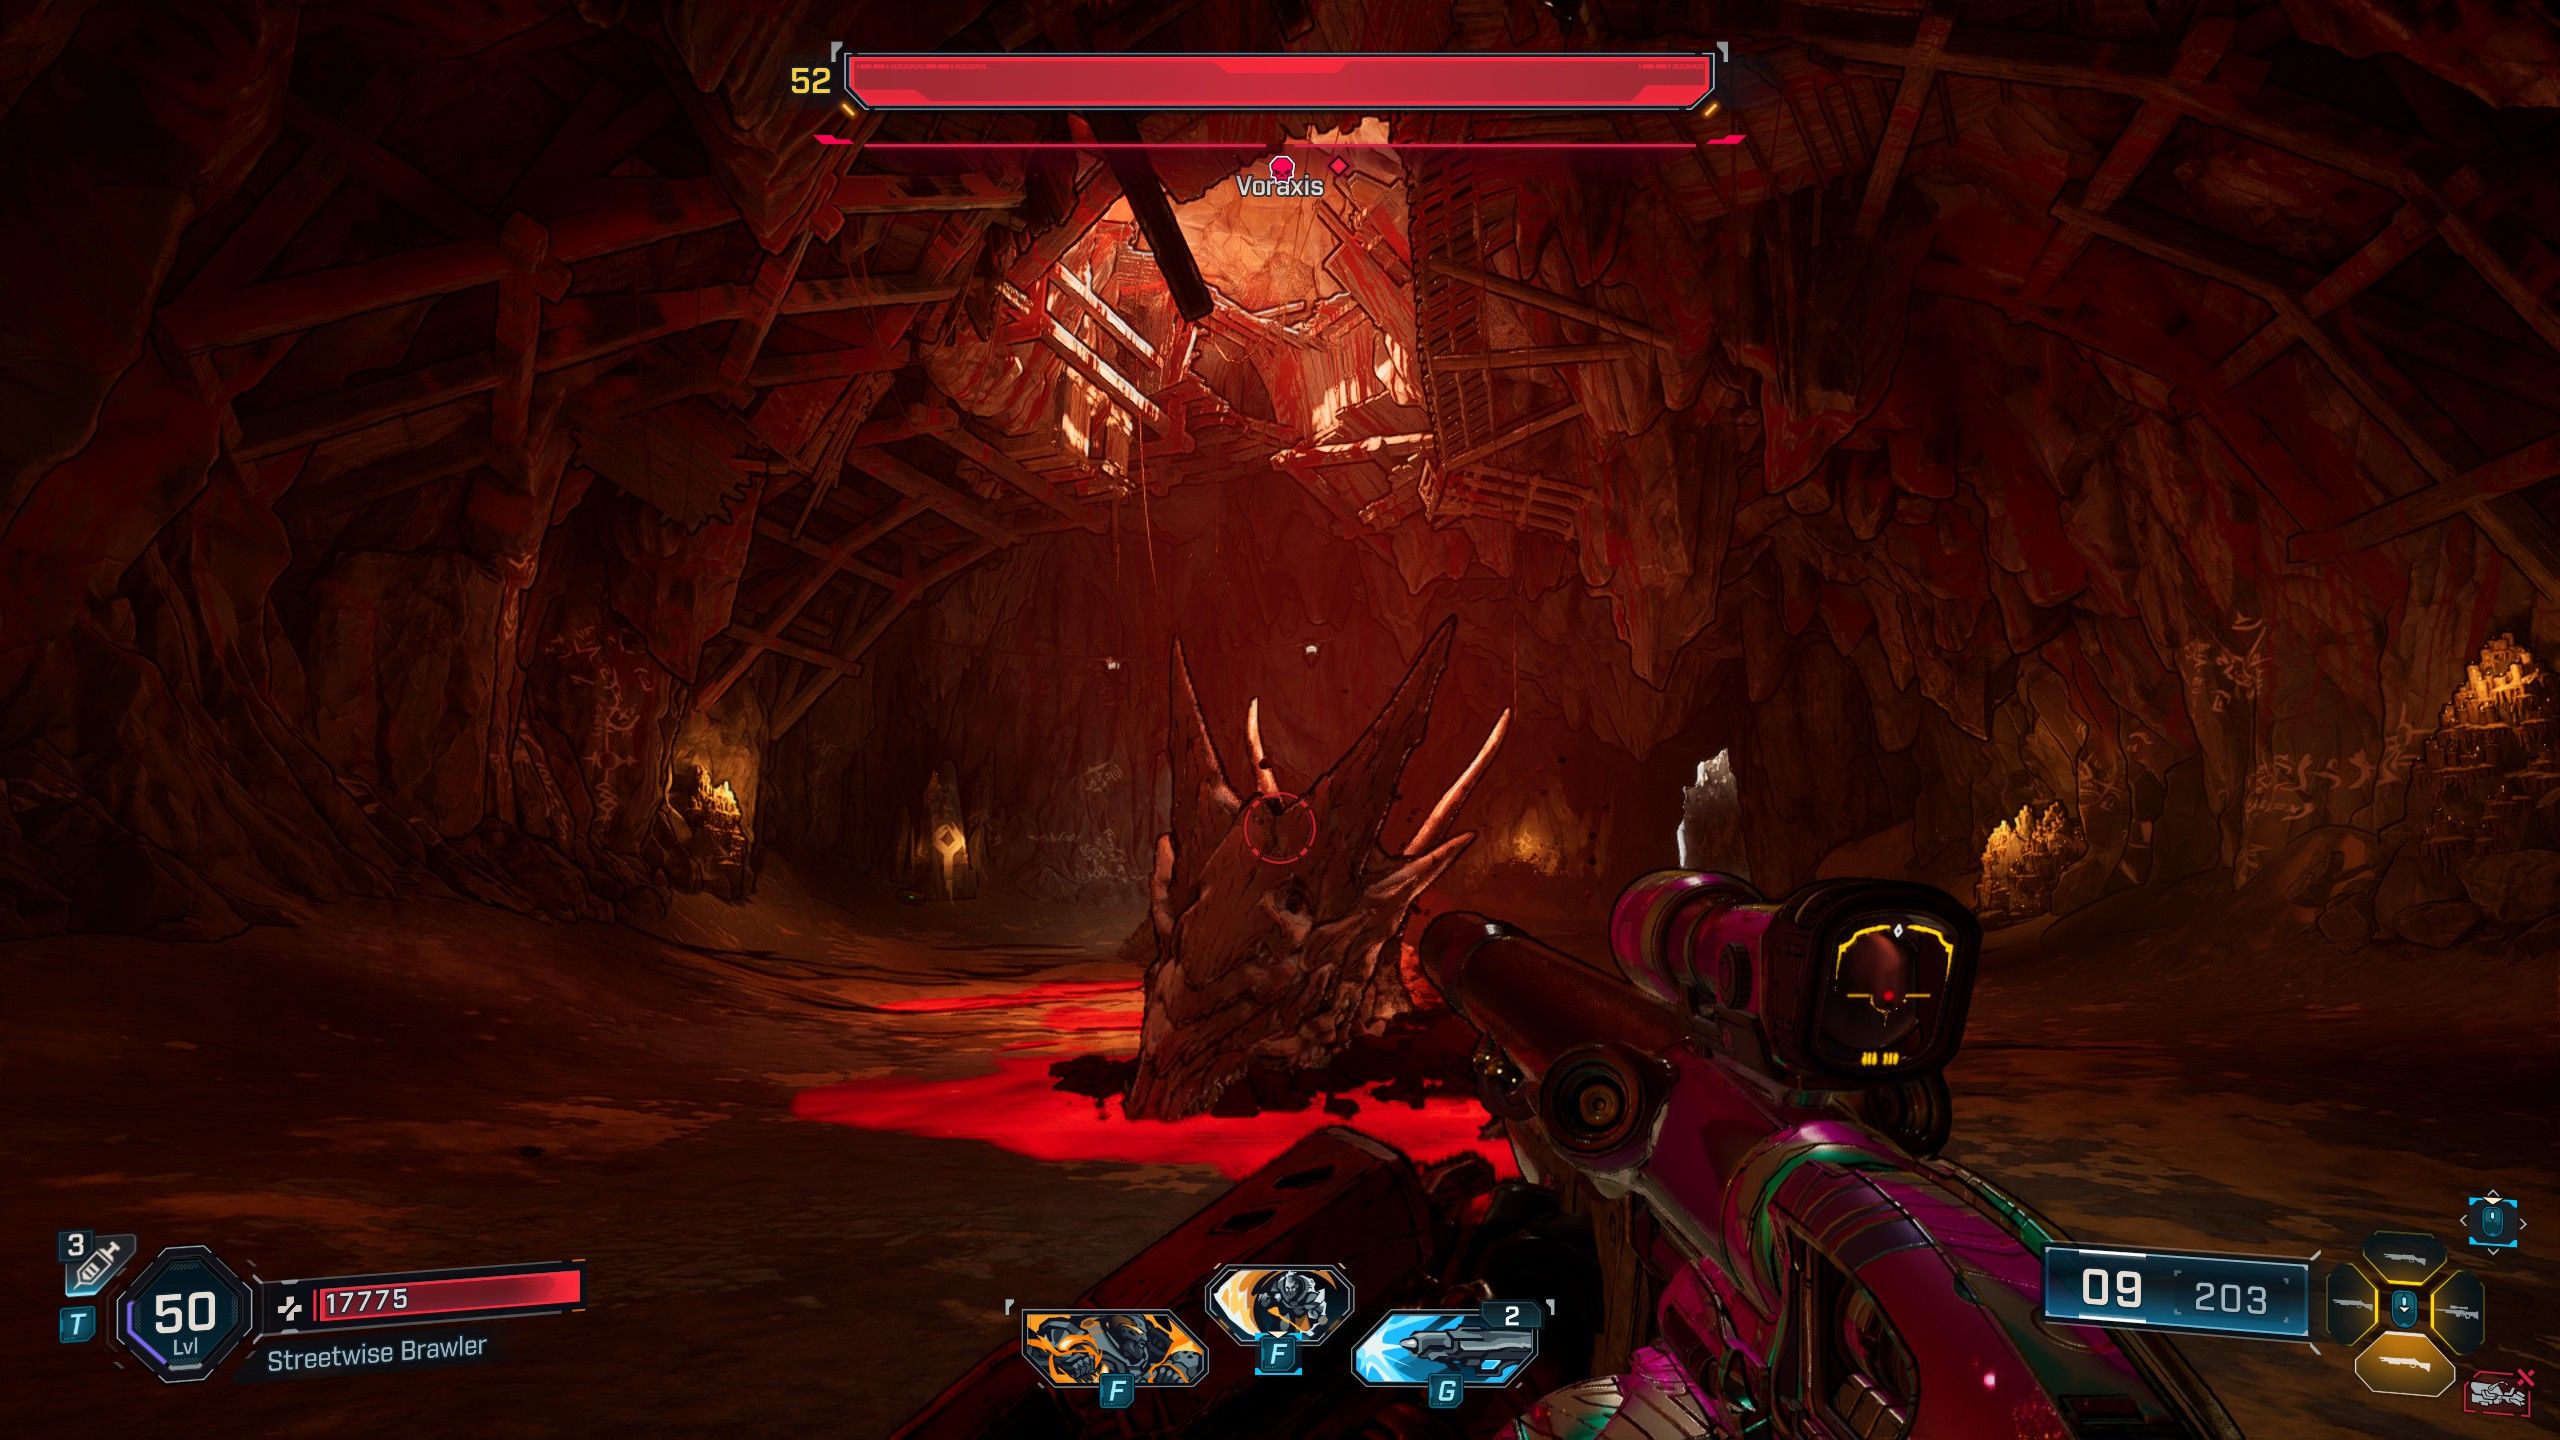
How to Beat Voraxis
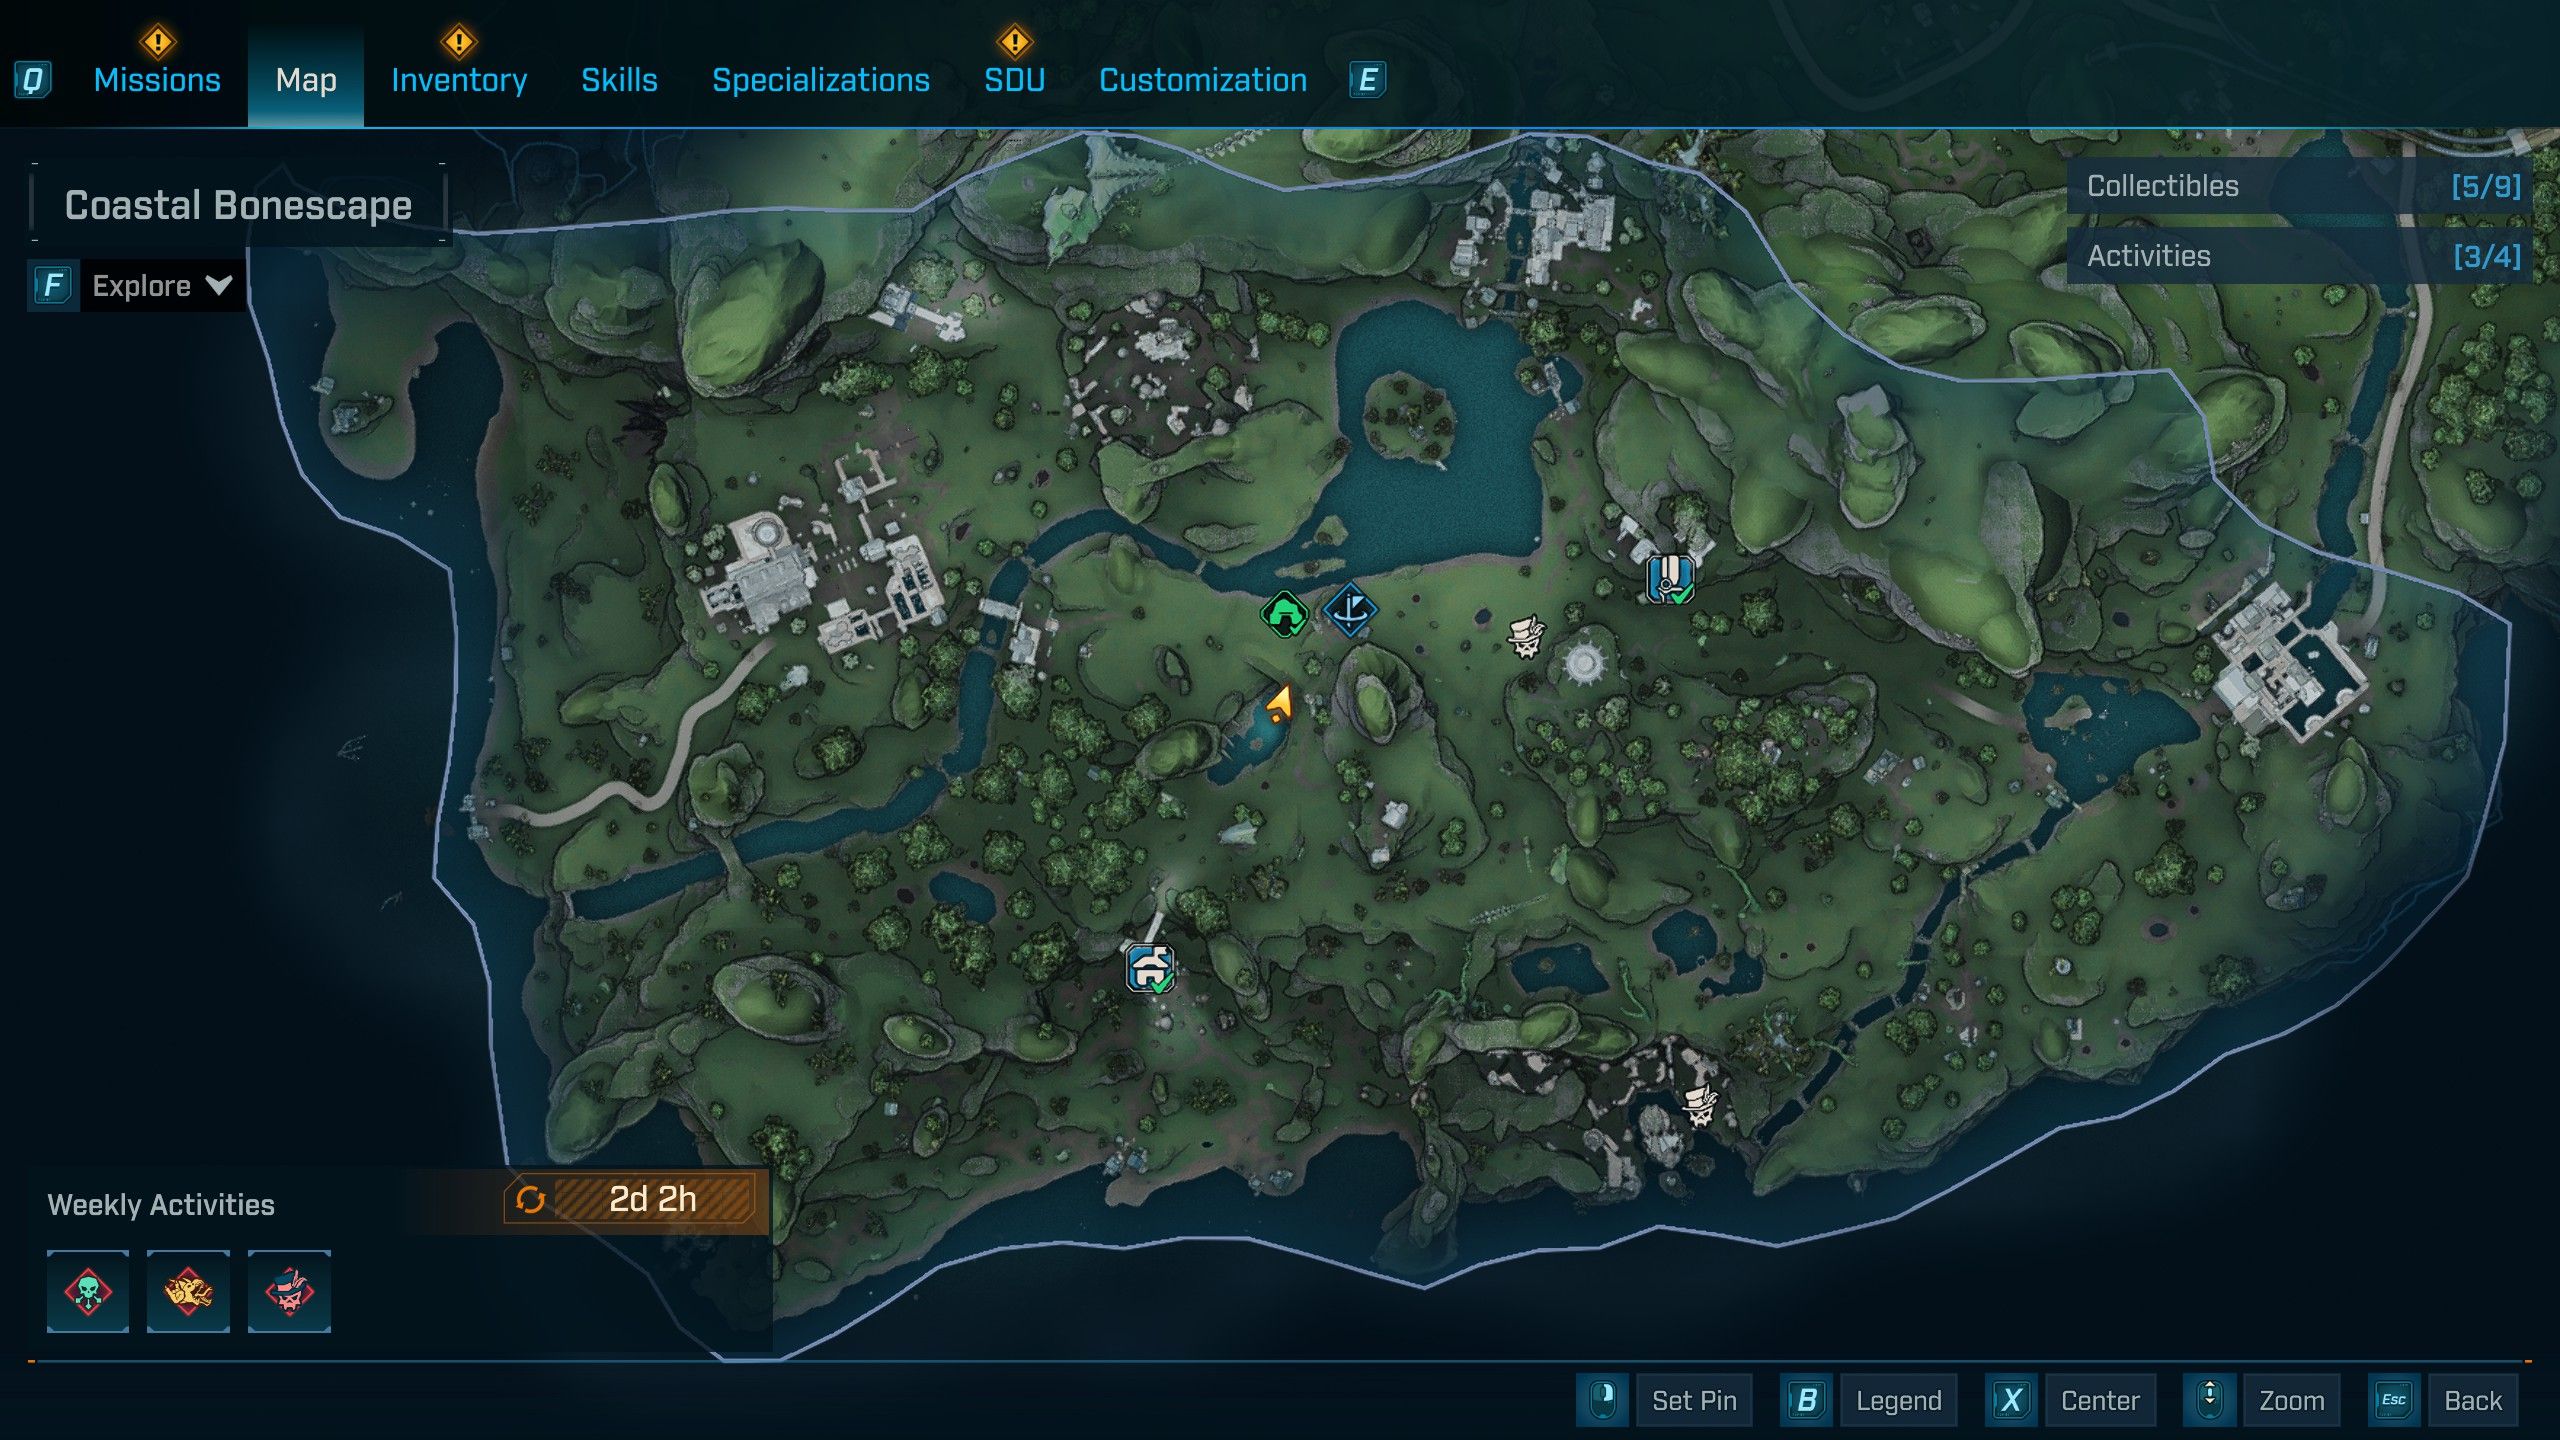
- Location: Coastal Bonescape, The Fadefields
| Legendary Loot | Type | Description | Stats |
|---|---|---|---|
| Rogue Darkbeast | SMG |
|
|
In simpler terms, the easiest Auger Mine can be located in the initial part of the map known as Fadefields. You can reach this mine by heading north from the Old Safehouse situated in Coastal Boenscape. As you approach, notice the cave entrance with an ominous red light. Resist the urge to leap into it and instead veer to the right to discover the cavern entrance. Proceed through the caves while avoiding aggressive Threshers. At the end of this journey, you’ll encounter Voraxis – a particularly menacing Thresher that moves through soil. This massive creature will try to ambush you with bites and charges. Take caution as it has only one Health bar. Incendiary damage is highly effective when dealing with it.
In a more conversational style, the entrance to the simplest Auger Mine can be found in Fadefields, which is the first area on your map if you’re starting out. If you set off from the Old Safehouse in Coastal Boenscape and head north, you’ll spot an eerily glowing cave opening. Don’t get too curious about the hole and jump into it – instead, make a right turn to discover the entrance to the cavern. Then, follow through the caves, keeping your eyes peeled for nasty Threshers. Once you reach the end of this little trek, you’ll meet Voraxis – a rather intimidating Thresher that slithers through soil and is known for its sneak attacks with bites and charges. Since it only has one Health bar, Incendiary damage makes quick work of it whenever it decides to show itself.
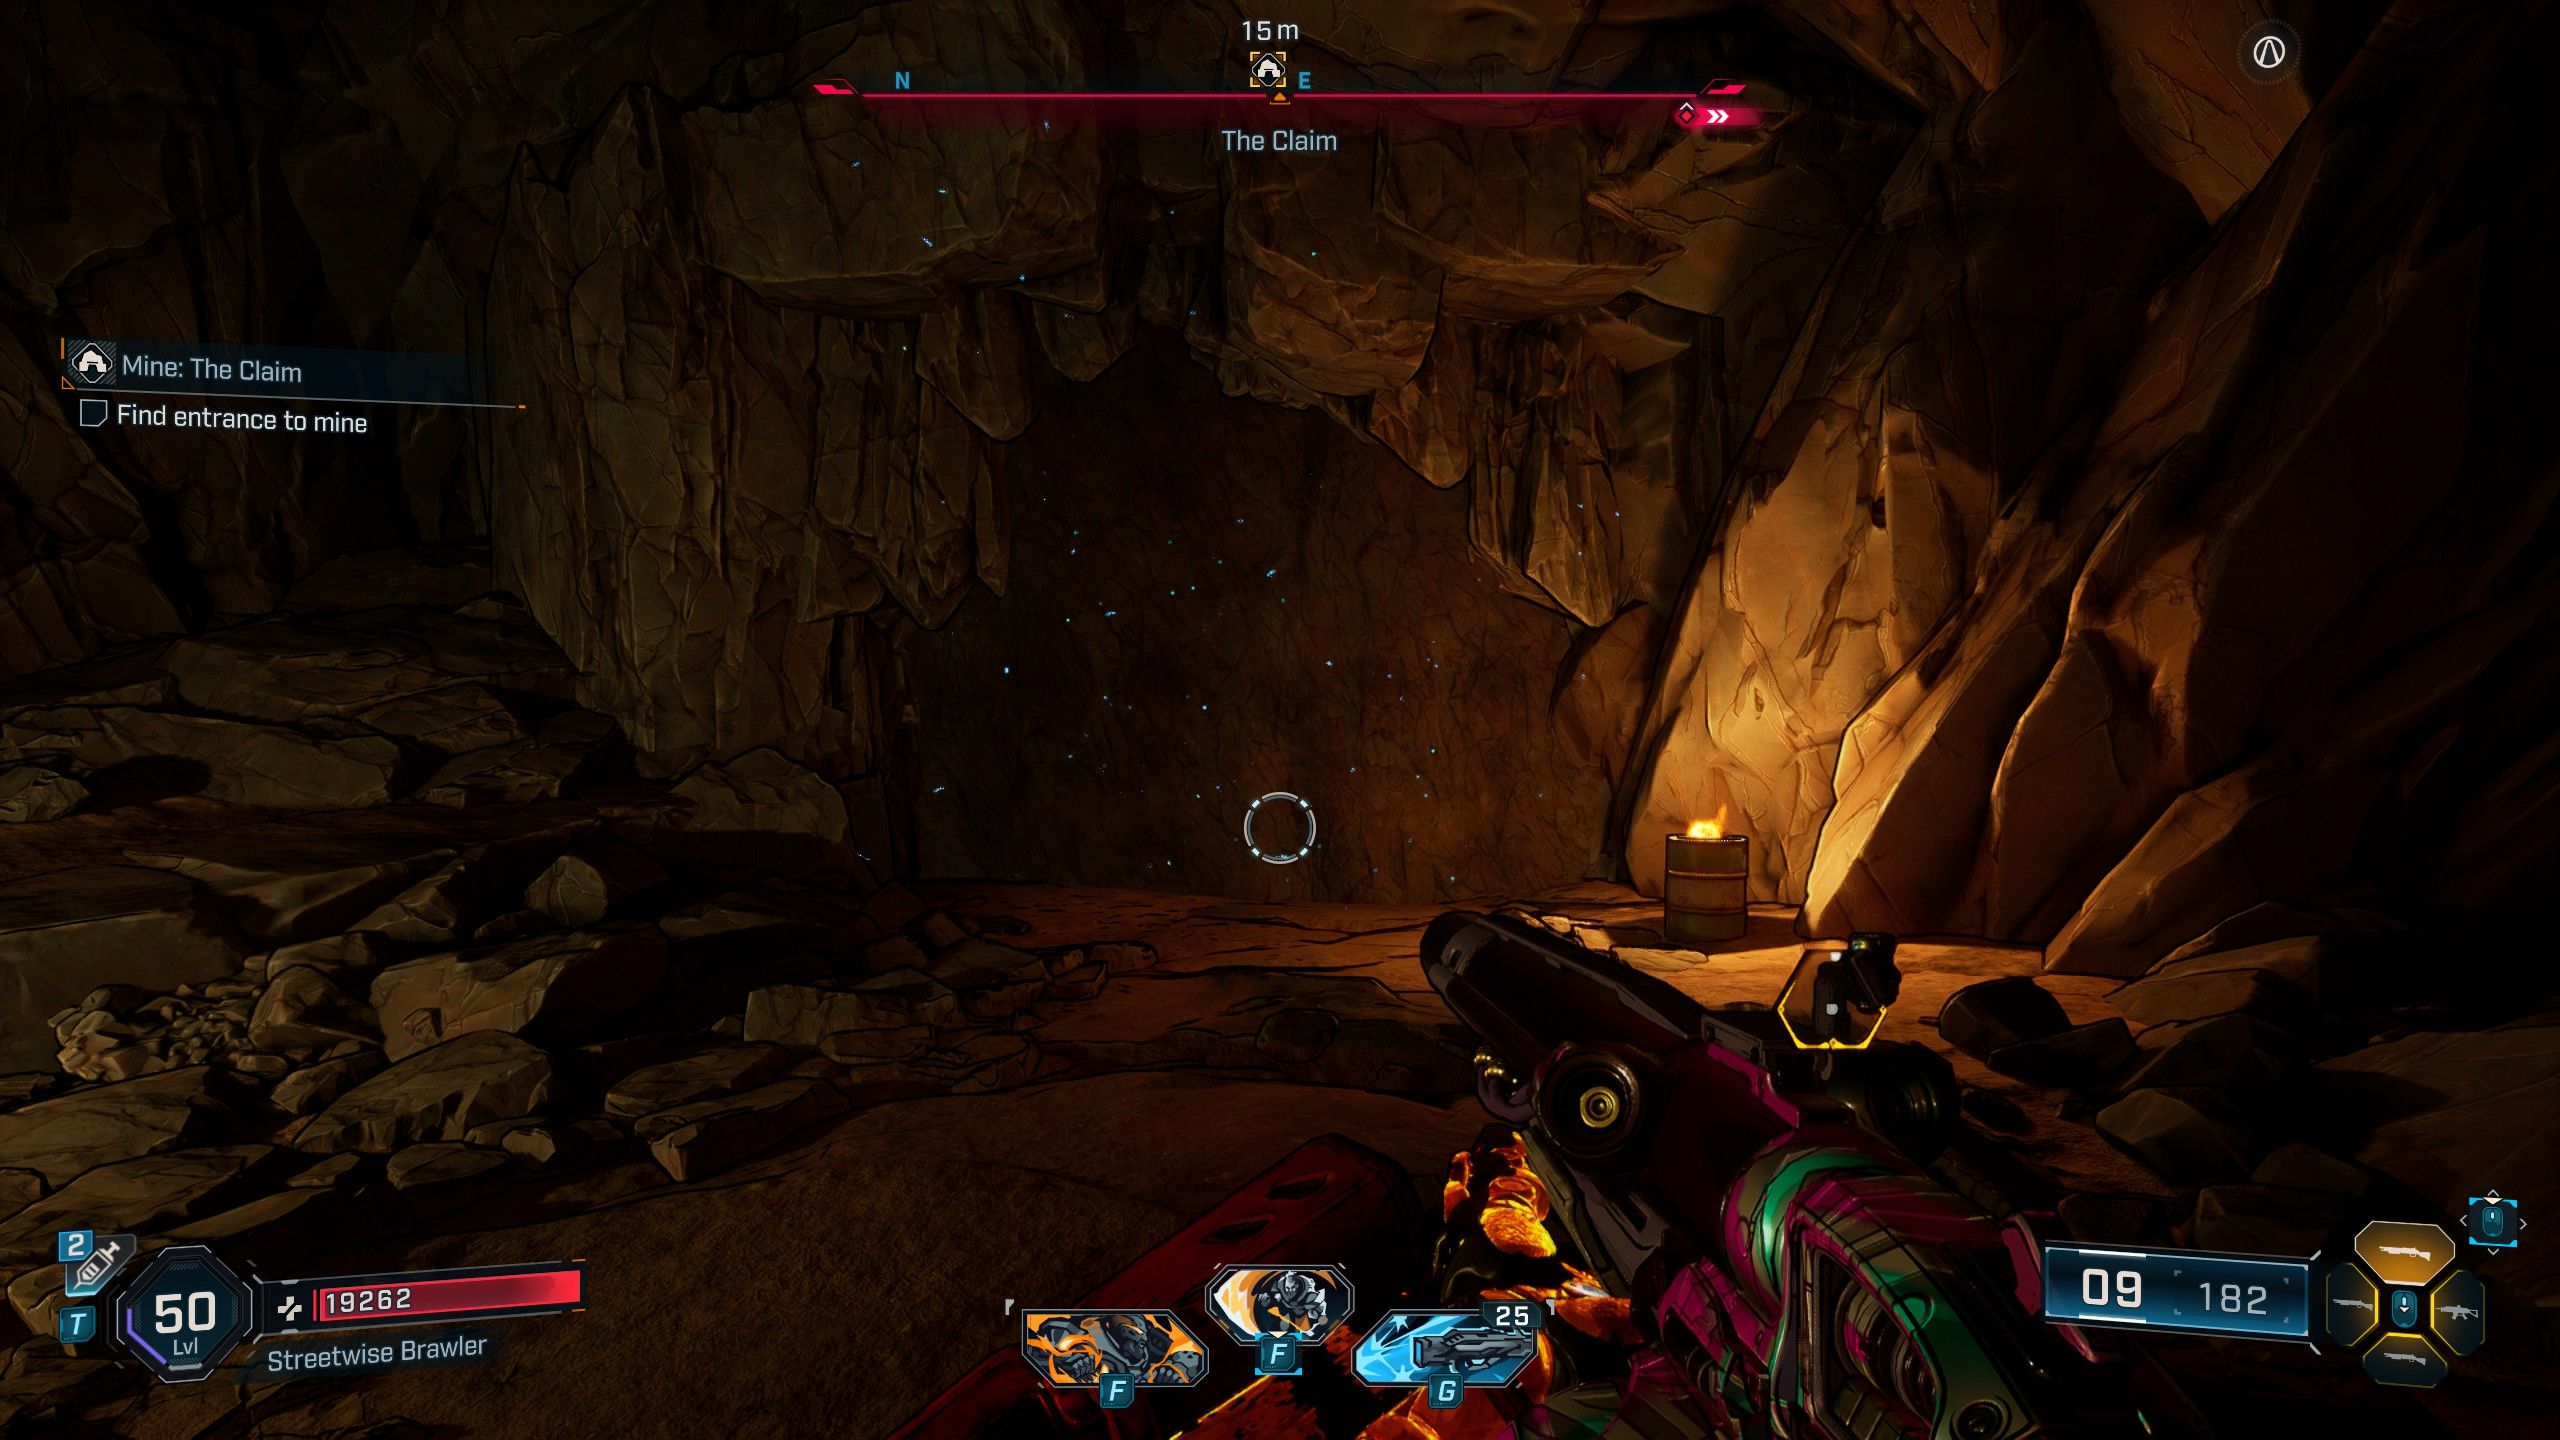
The Claim
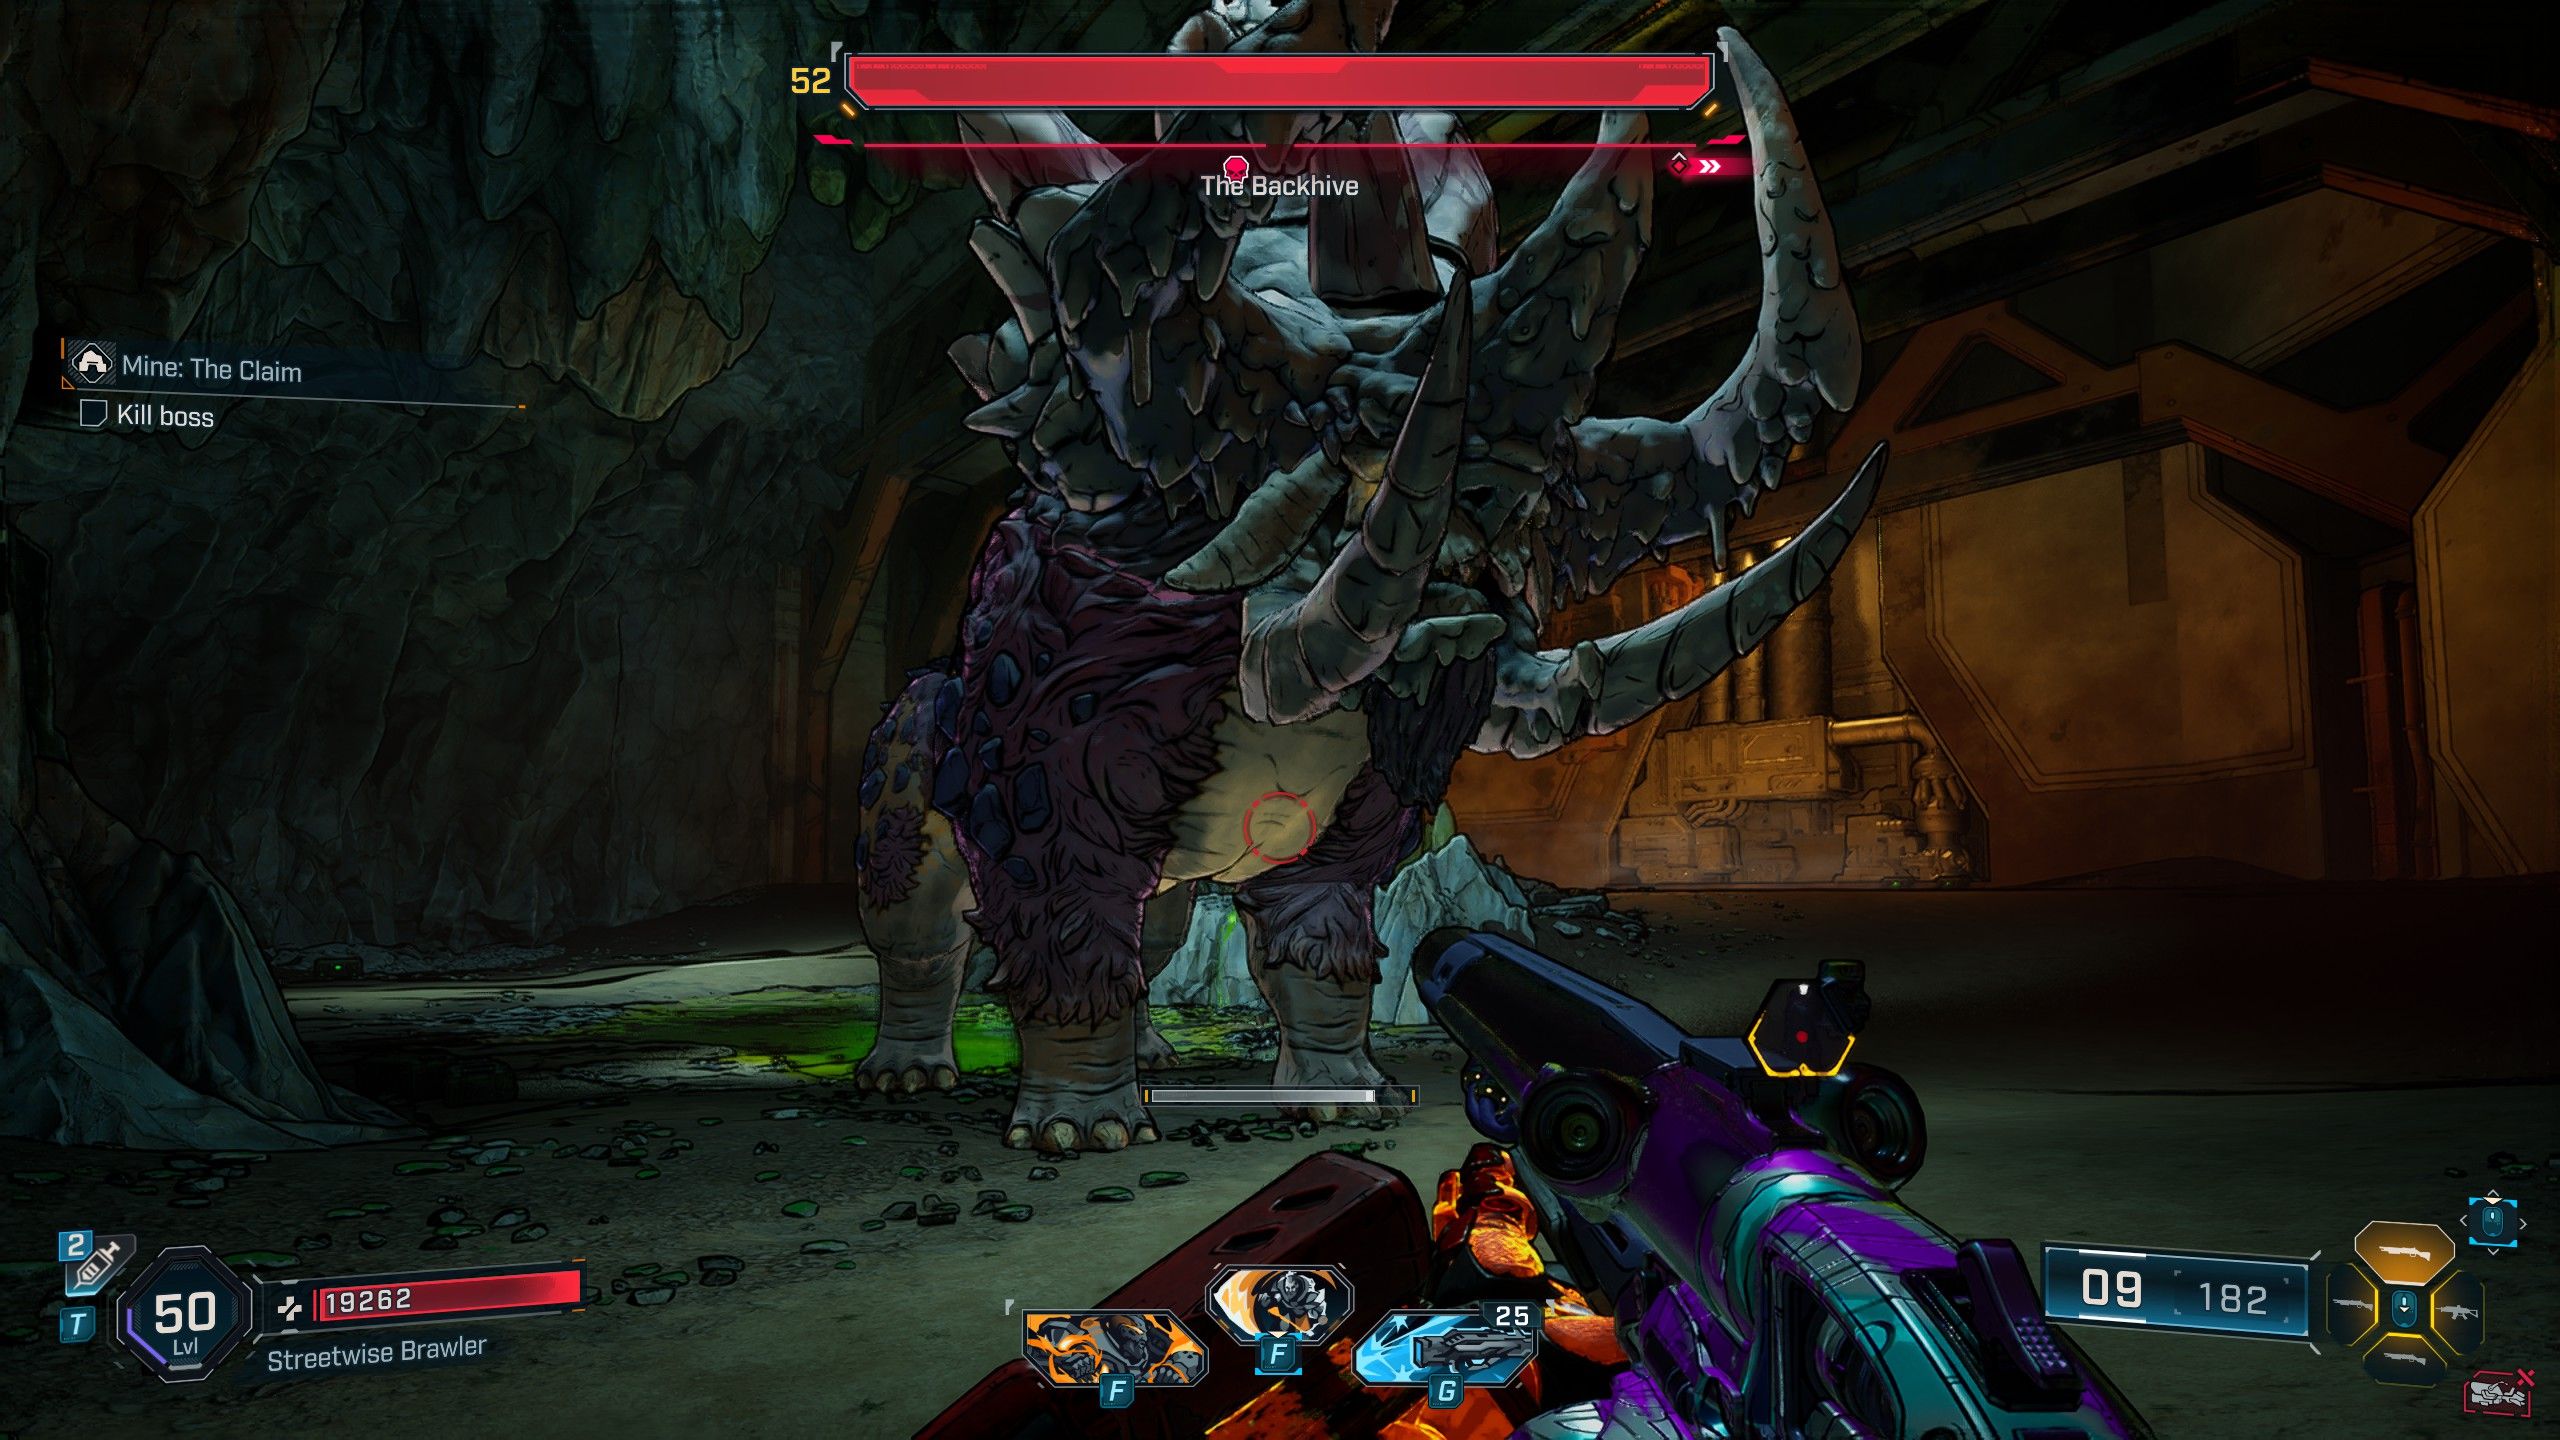
How to Beat The Backhive
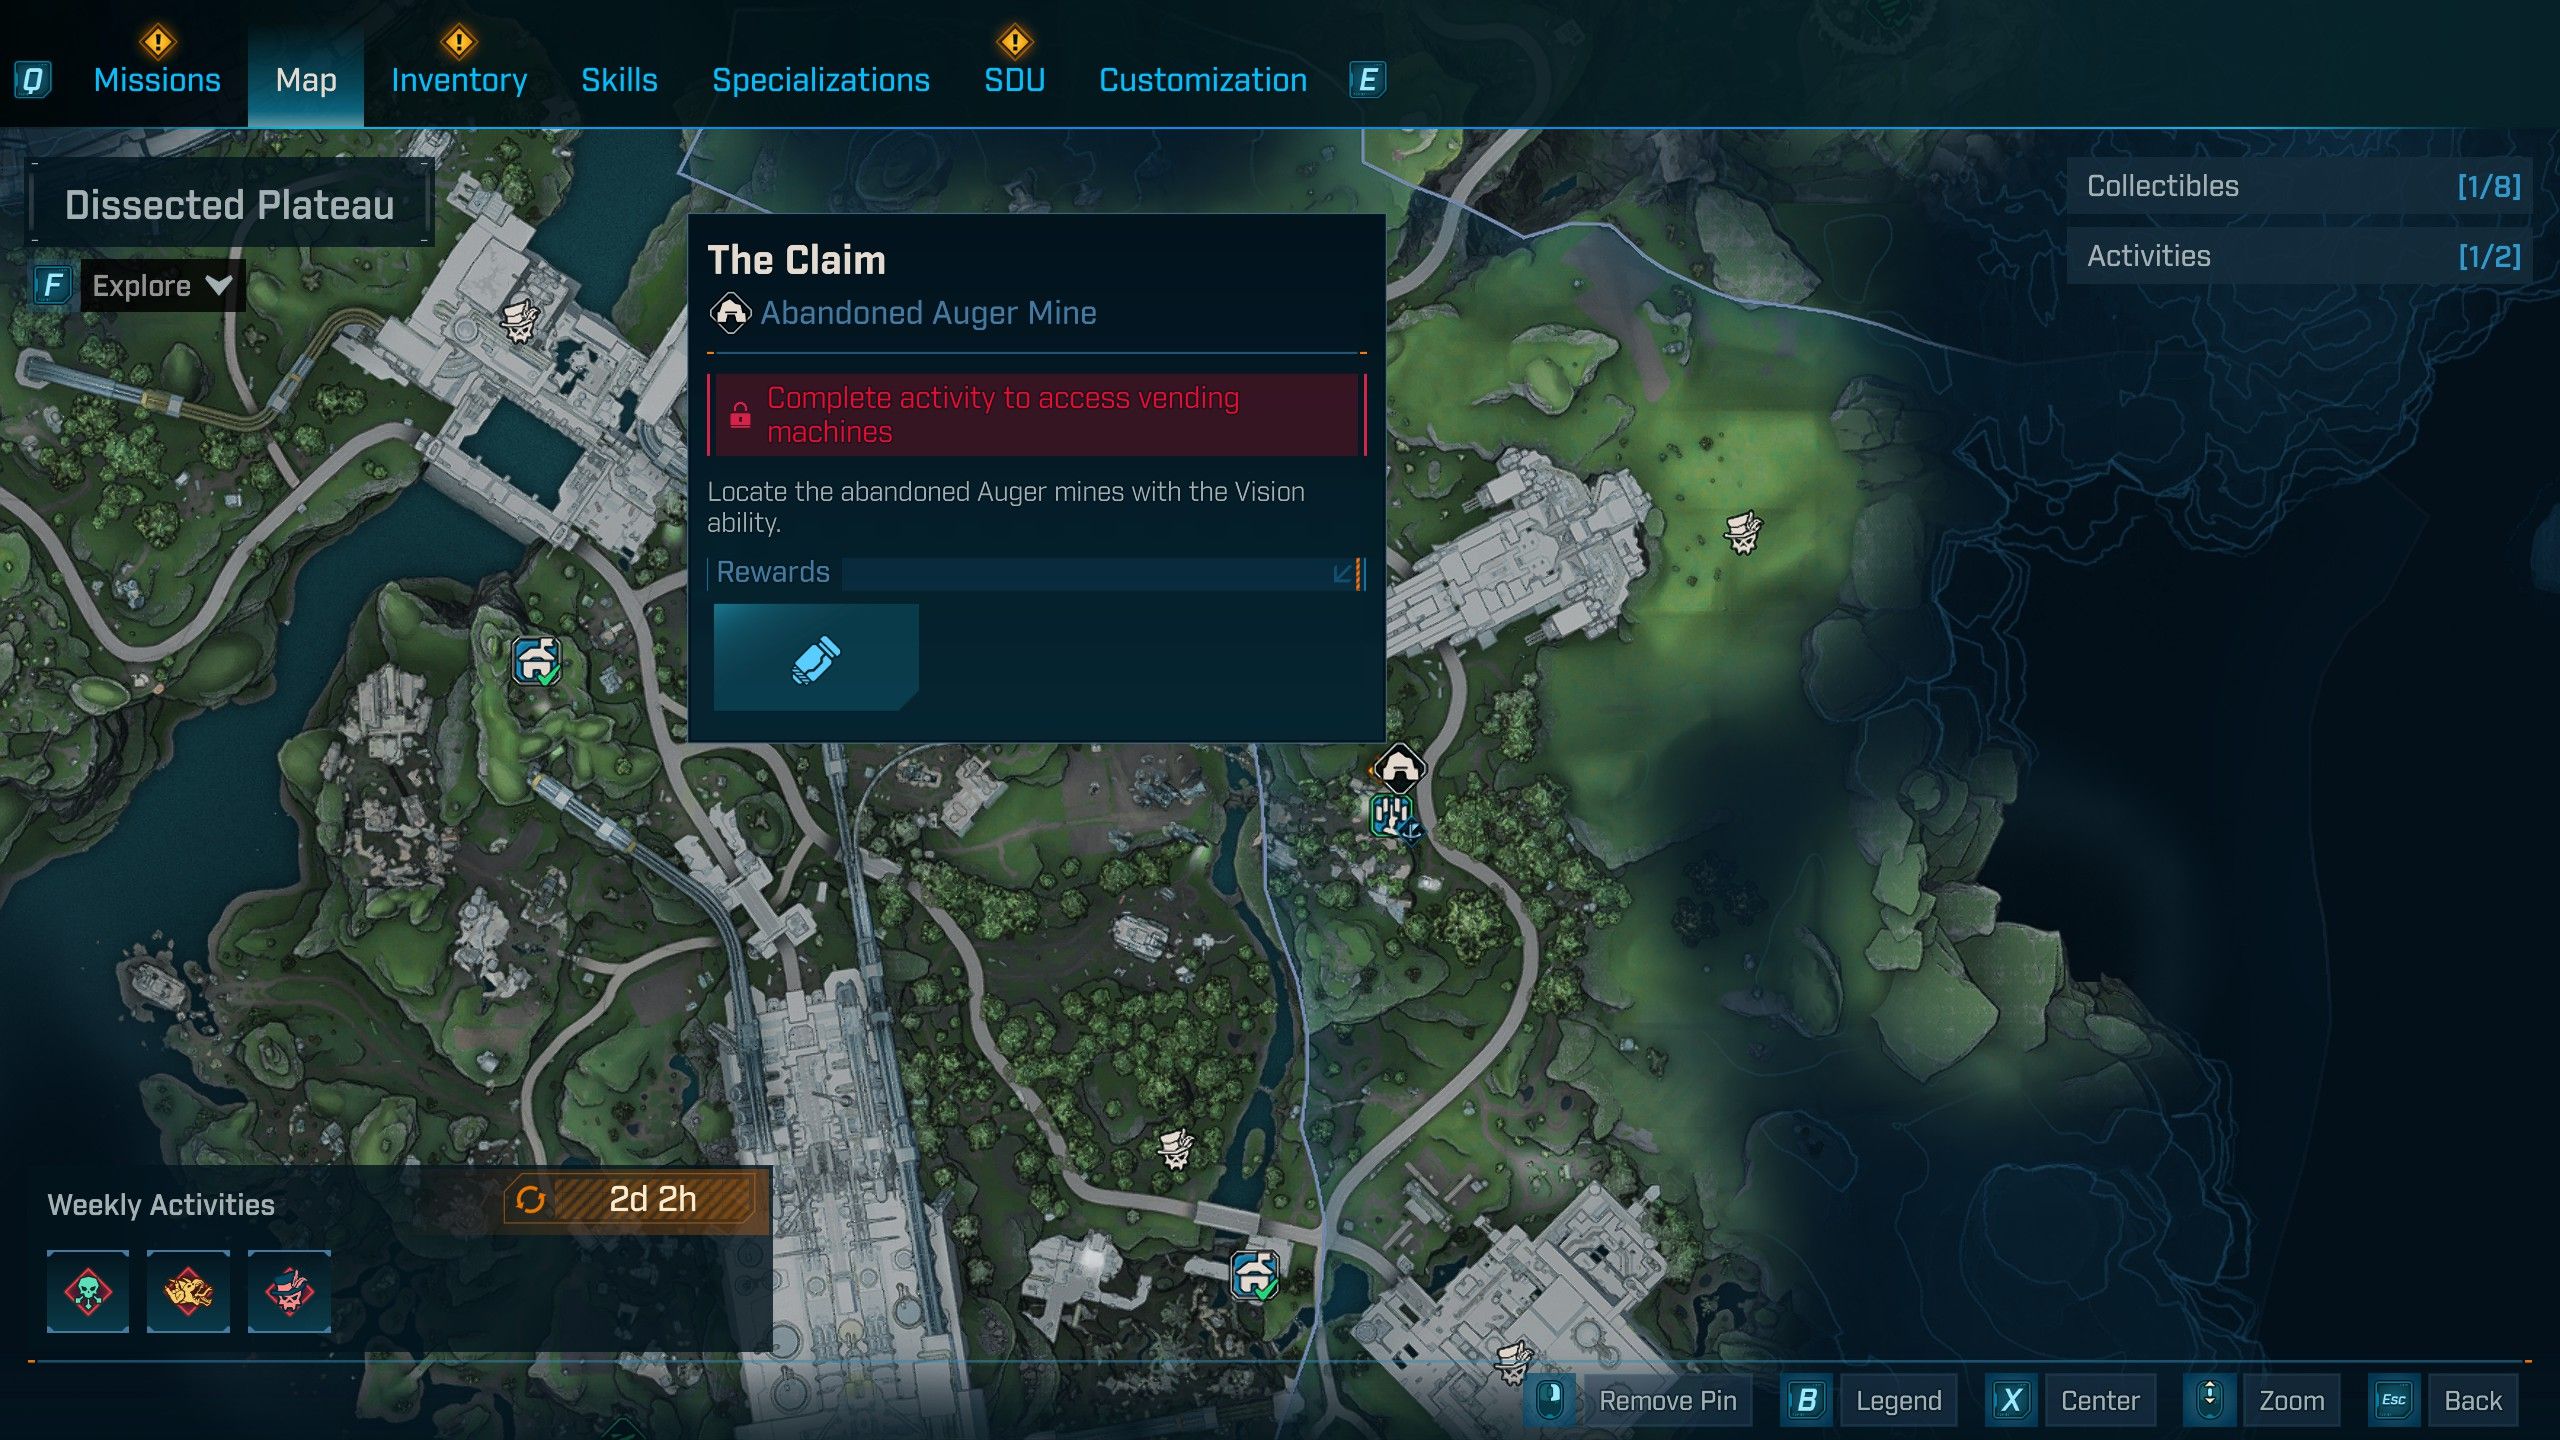
- Location: Dissected Plateau, The Fadefields
| Legendary Loot | Type | Description | Stats |
|---|---|---|---|
| Triple Bypass | Repkit |
|
|
| Rallying Stop Gap | Sniper Rifle |
|
|
In the western part of the Dissected Plateau within Fadefields, gamers can discover The Claim, a cave nestled near Zadra’s hidden lair. To reach it, complete several key missions initially, progressing past ‘A Lot to Process,’ roughly the 4th main mission. Once deeper inside the cave, you’ll encounter The Claim, and series enthusiasts may recall that its boss is distinct from a Rakkhive – it’s a Backhive instead. This colossal creature hosts Kratch foes spawning off its back. Players should equip Incendiary ammo to pierce through the beast’s robust hide, which consists of only one Flesh health bar. Be cautious of its stampeding legs and the aggressive Kratch attacks it unleashes.
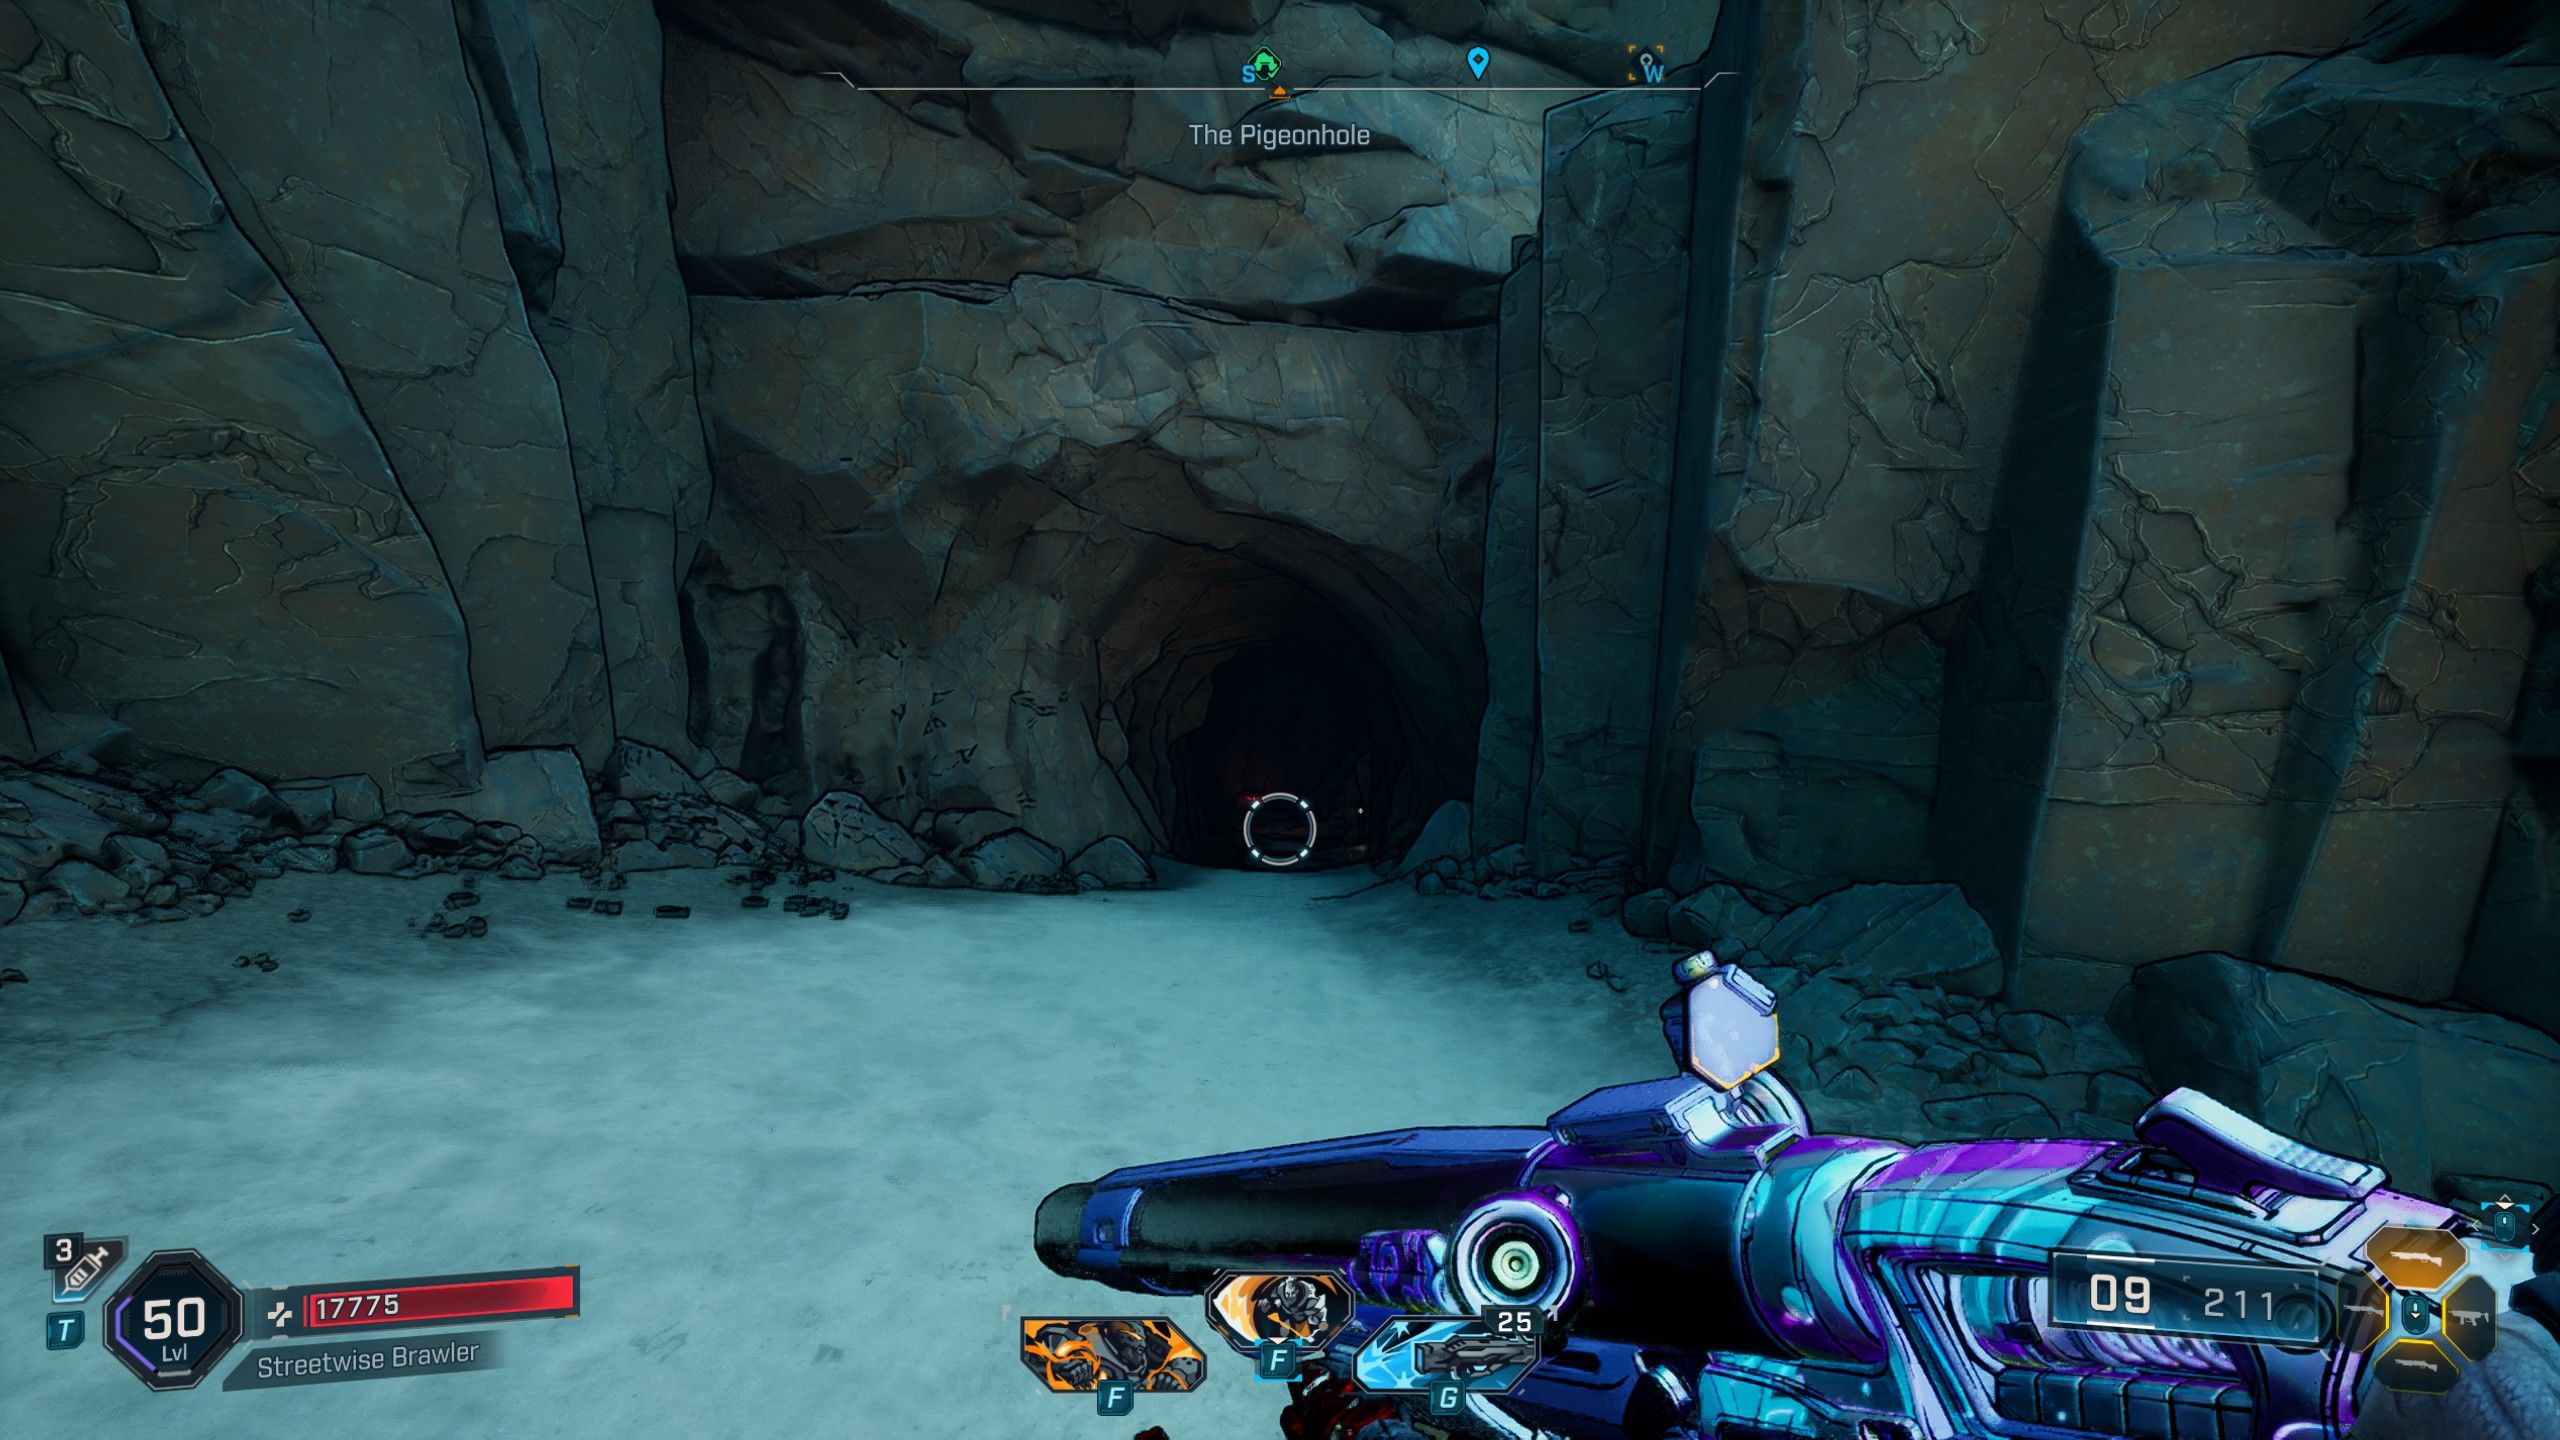
The Pigeonhole
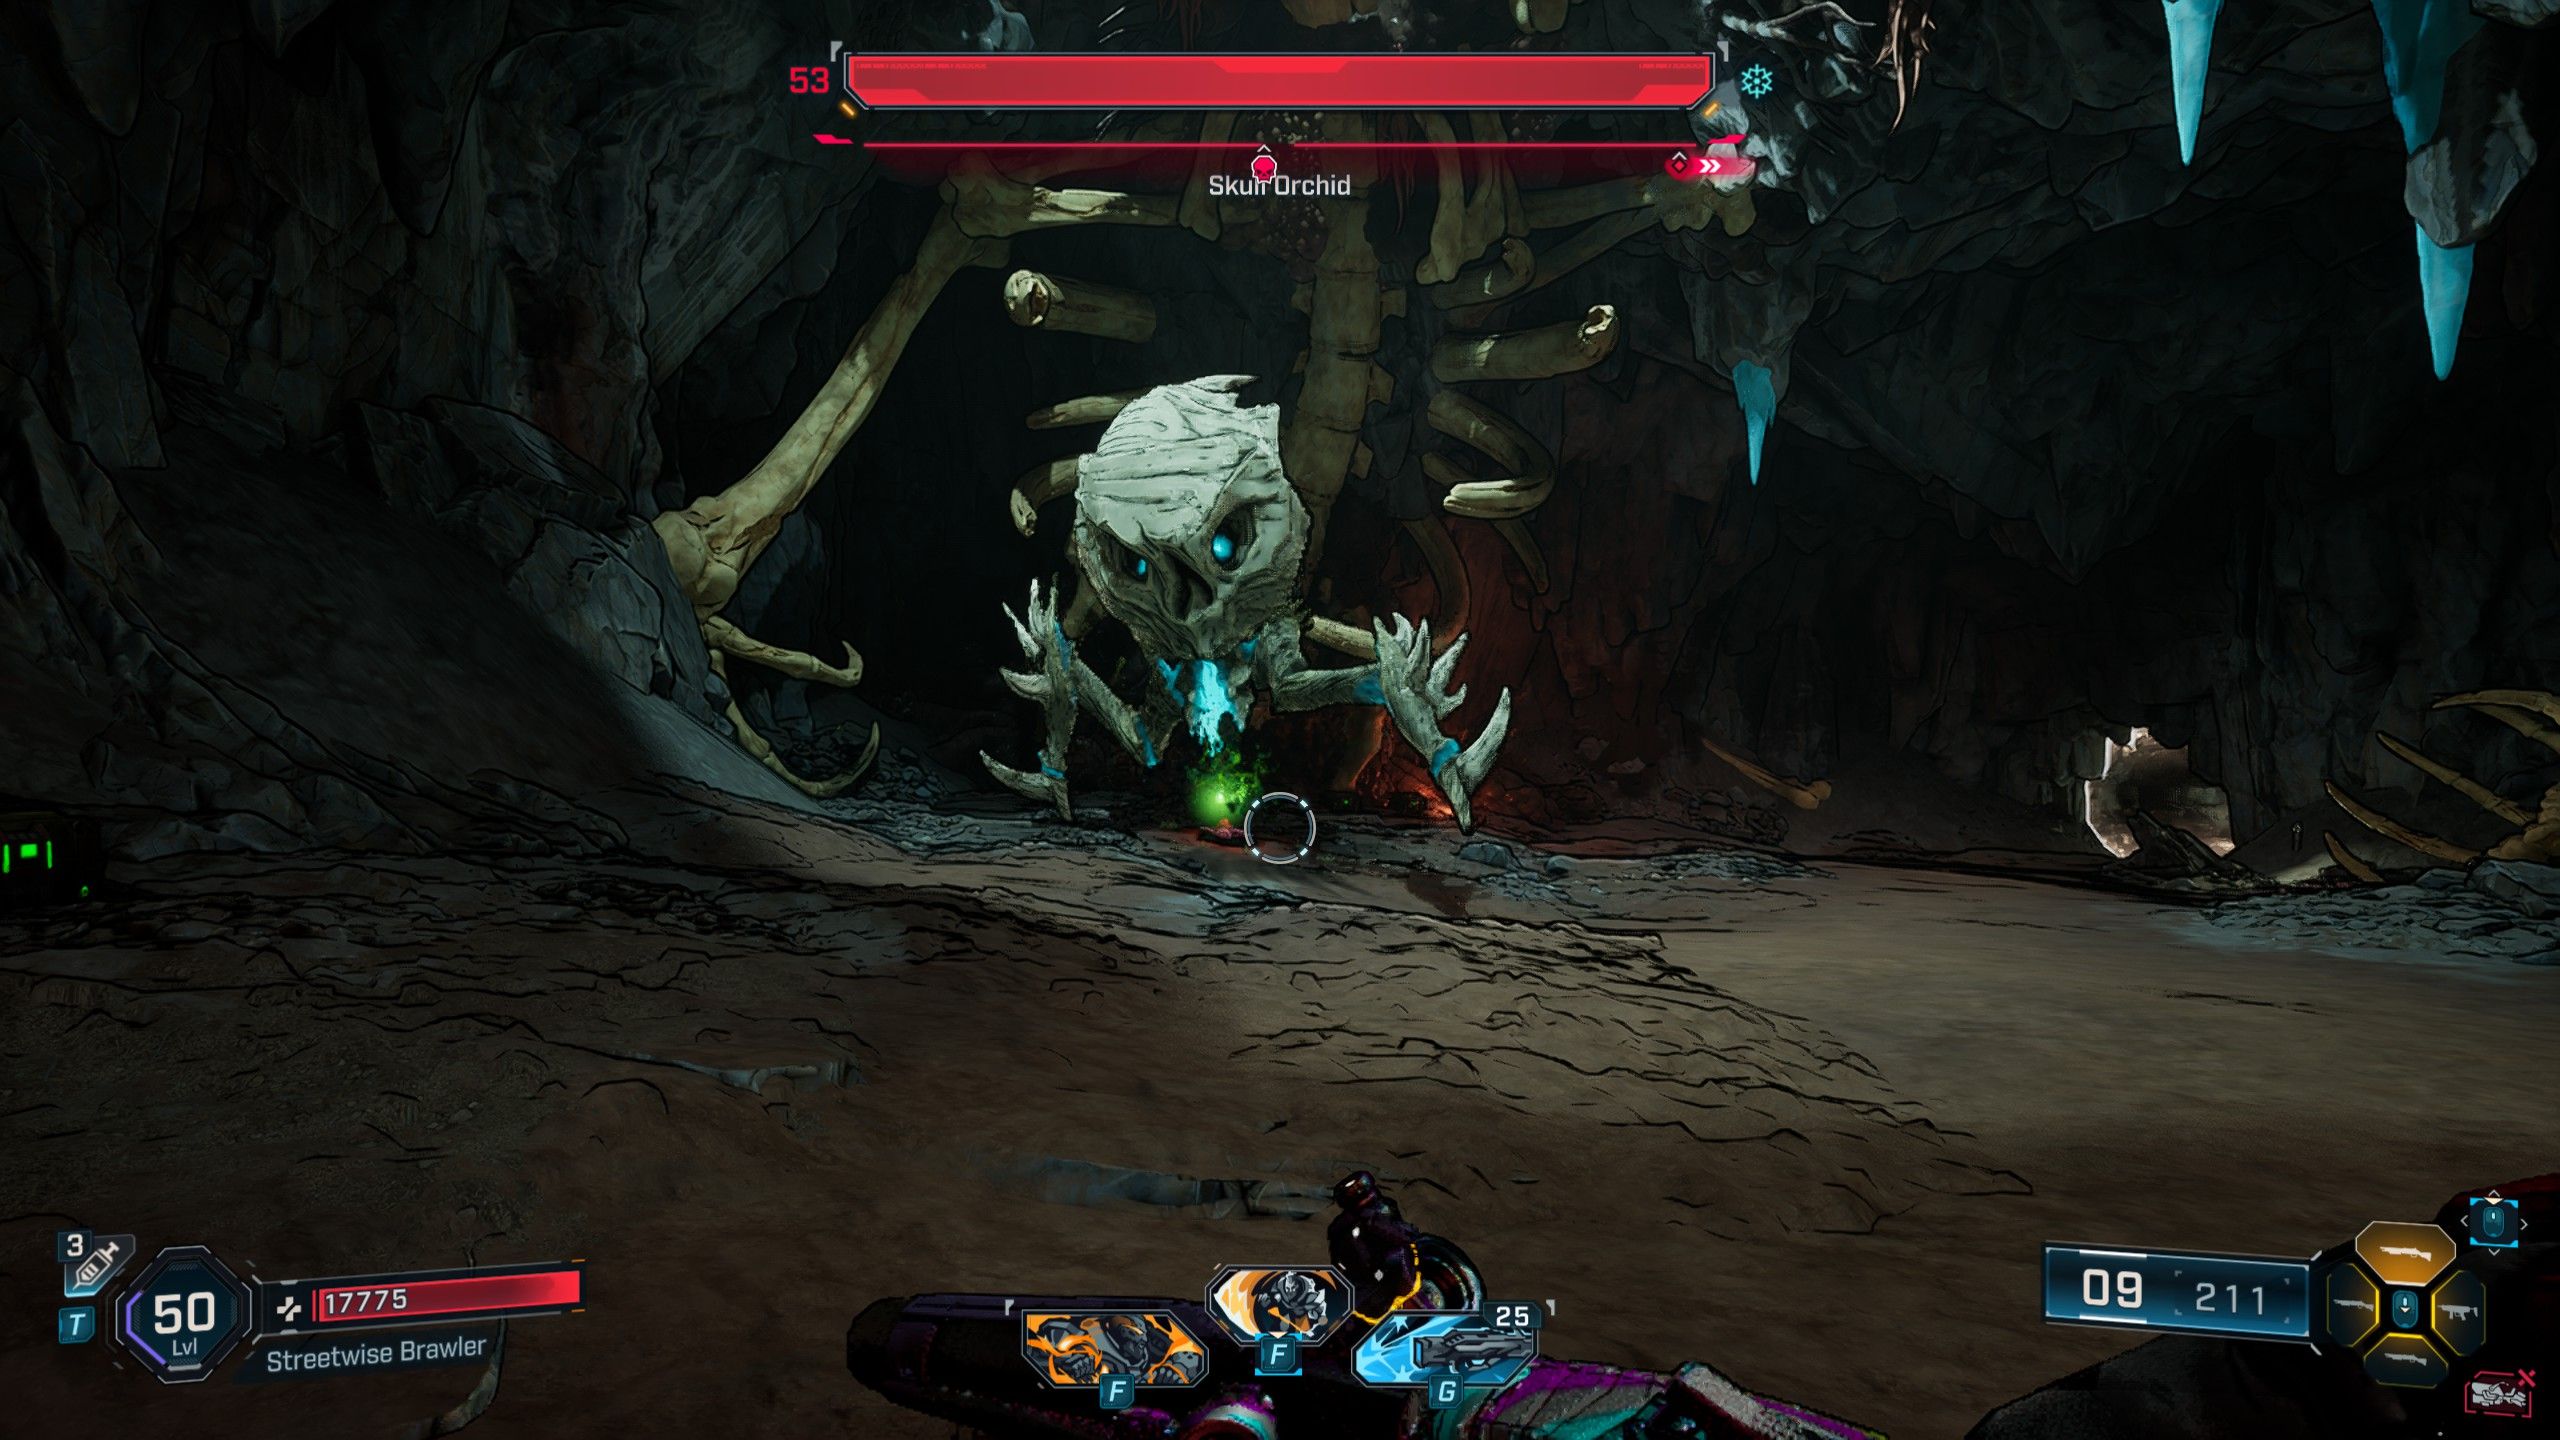
How to Beat Skull Orchid
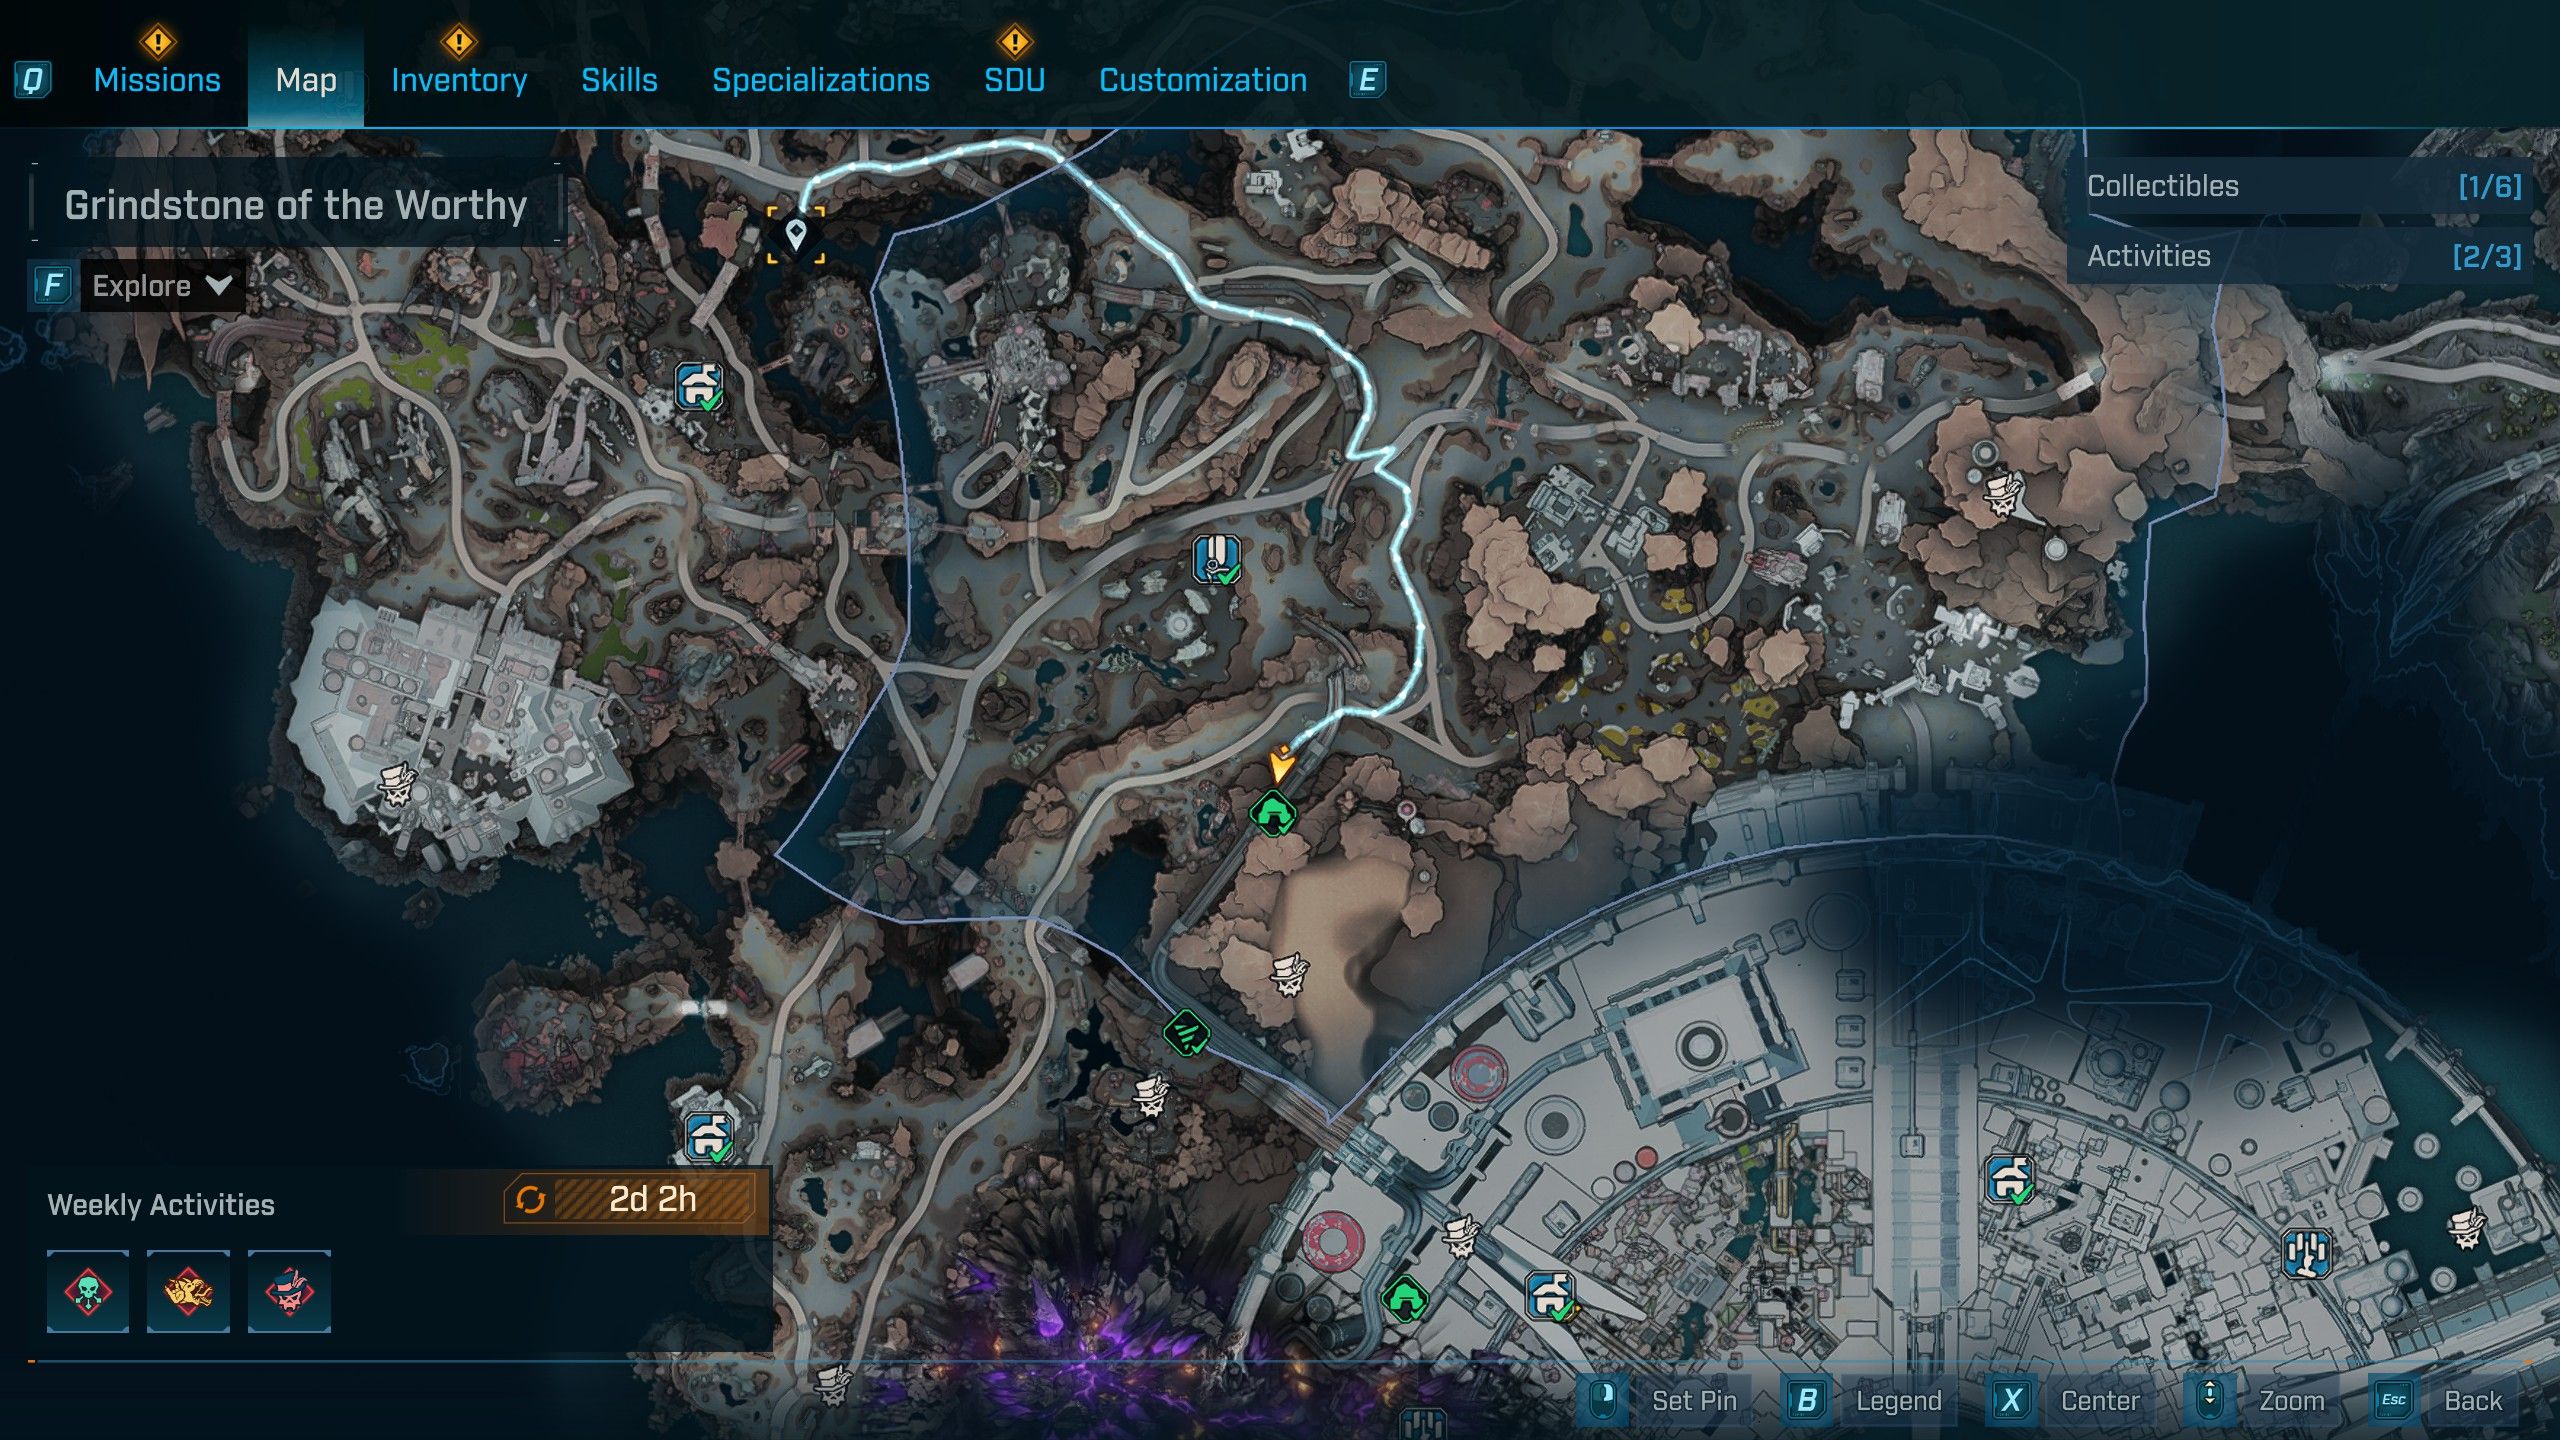
- Location: Grindstone of the Worthy, Carcadia Burn
| Legendary Loot | Type | Description | Stats |
|---|---|---|---|
| Spied Dextrous Oak-Aged Cask | Shield |
|
|
In the heart of Carcadia Burn, the initial Auger Mine lies nestled within Grindstone of the Worthy, adjacent to a southern wall near Dominion. Navigating into Pigeonhole might seem simple, but if you’re uneasy around the creatures inhabiting it, be prepared for an unsettling encounter. The challenging part comes during boss battles, as the enemy is also a Creep, capable of switching elements to resist your chosen damage type.
Similarly, Skull Orchid boasts a Flesh health bar that can be quickly depleted using Incendiary weapons. To inflict maximum damage, focus on its tendrils that dangle from its mouth, as both the eyes and head are shielded by its protective shell.
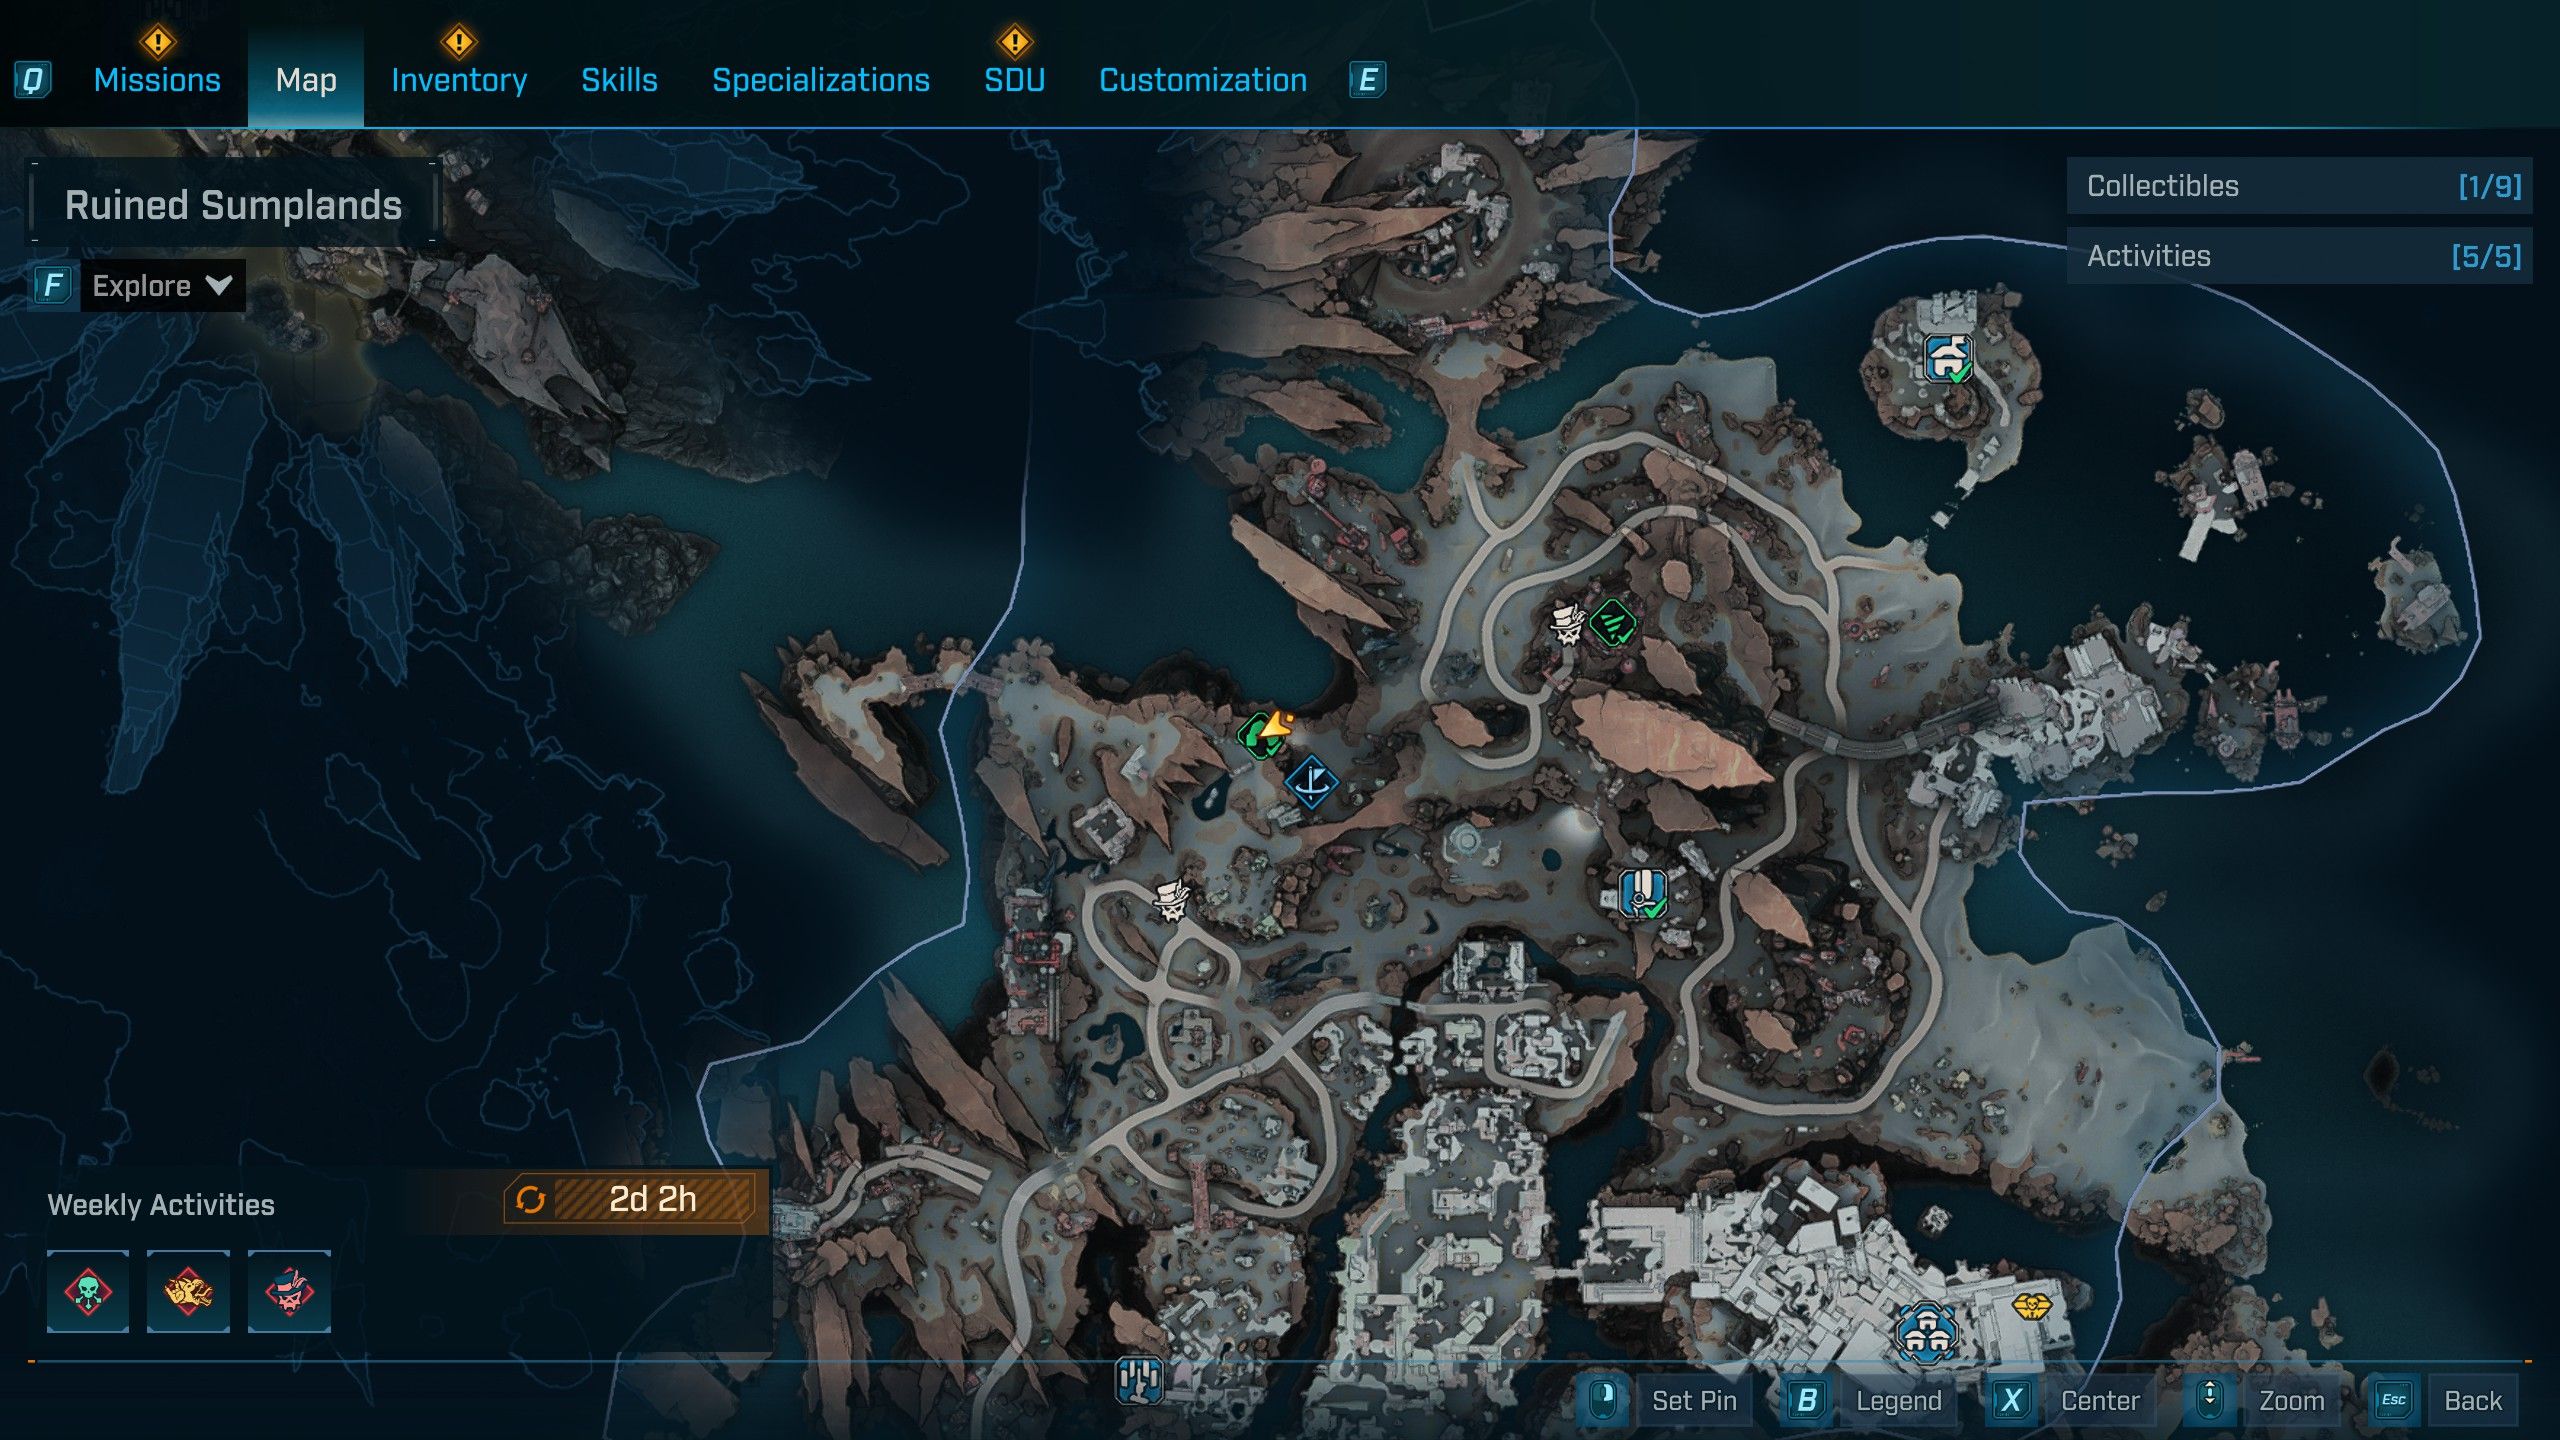
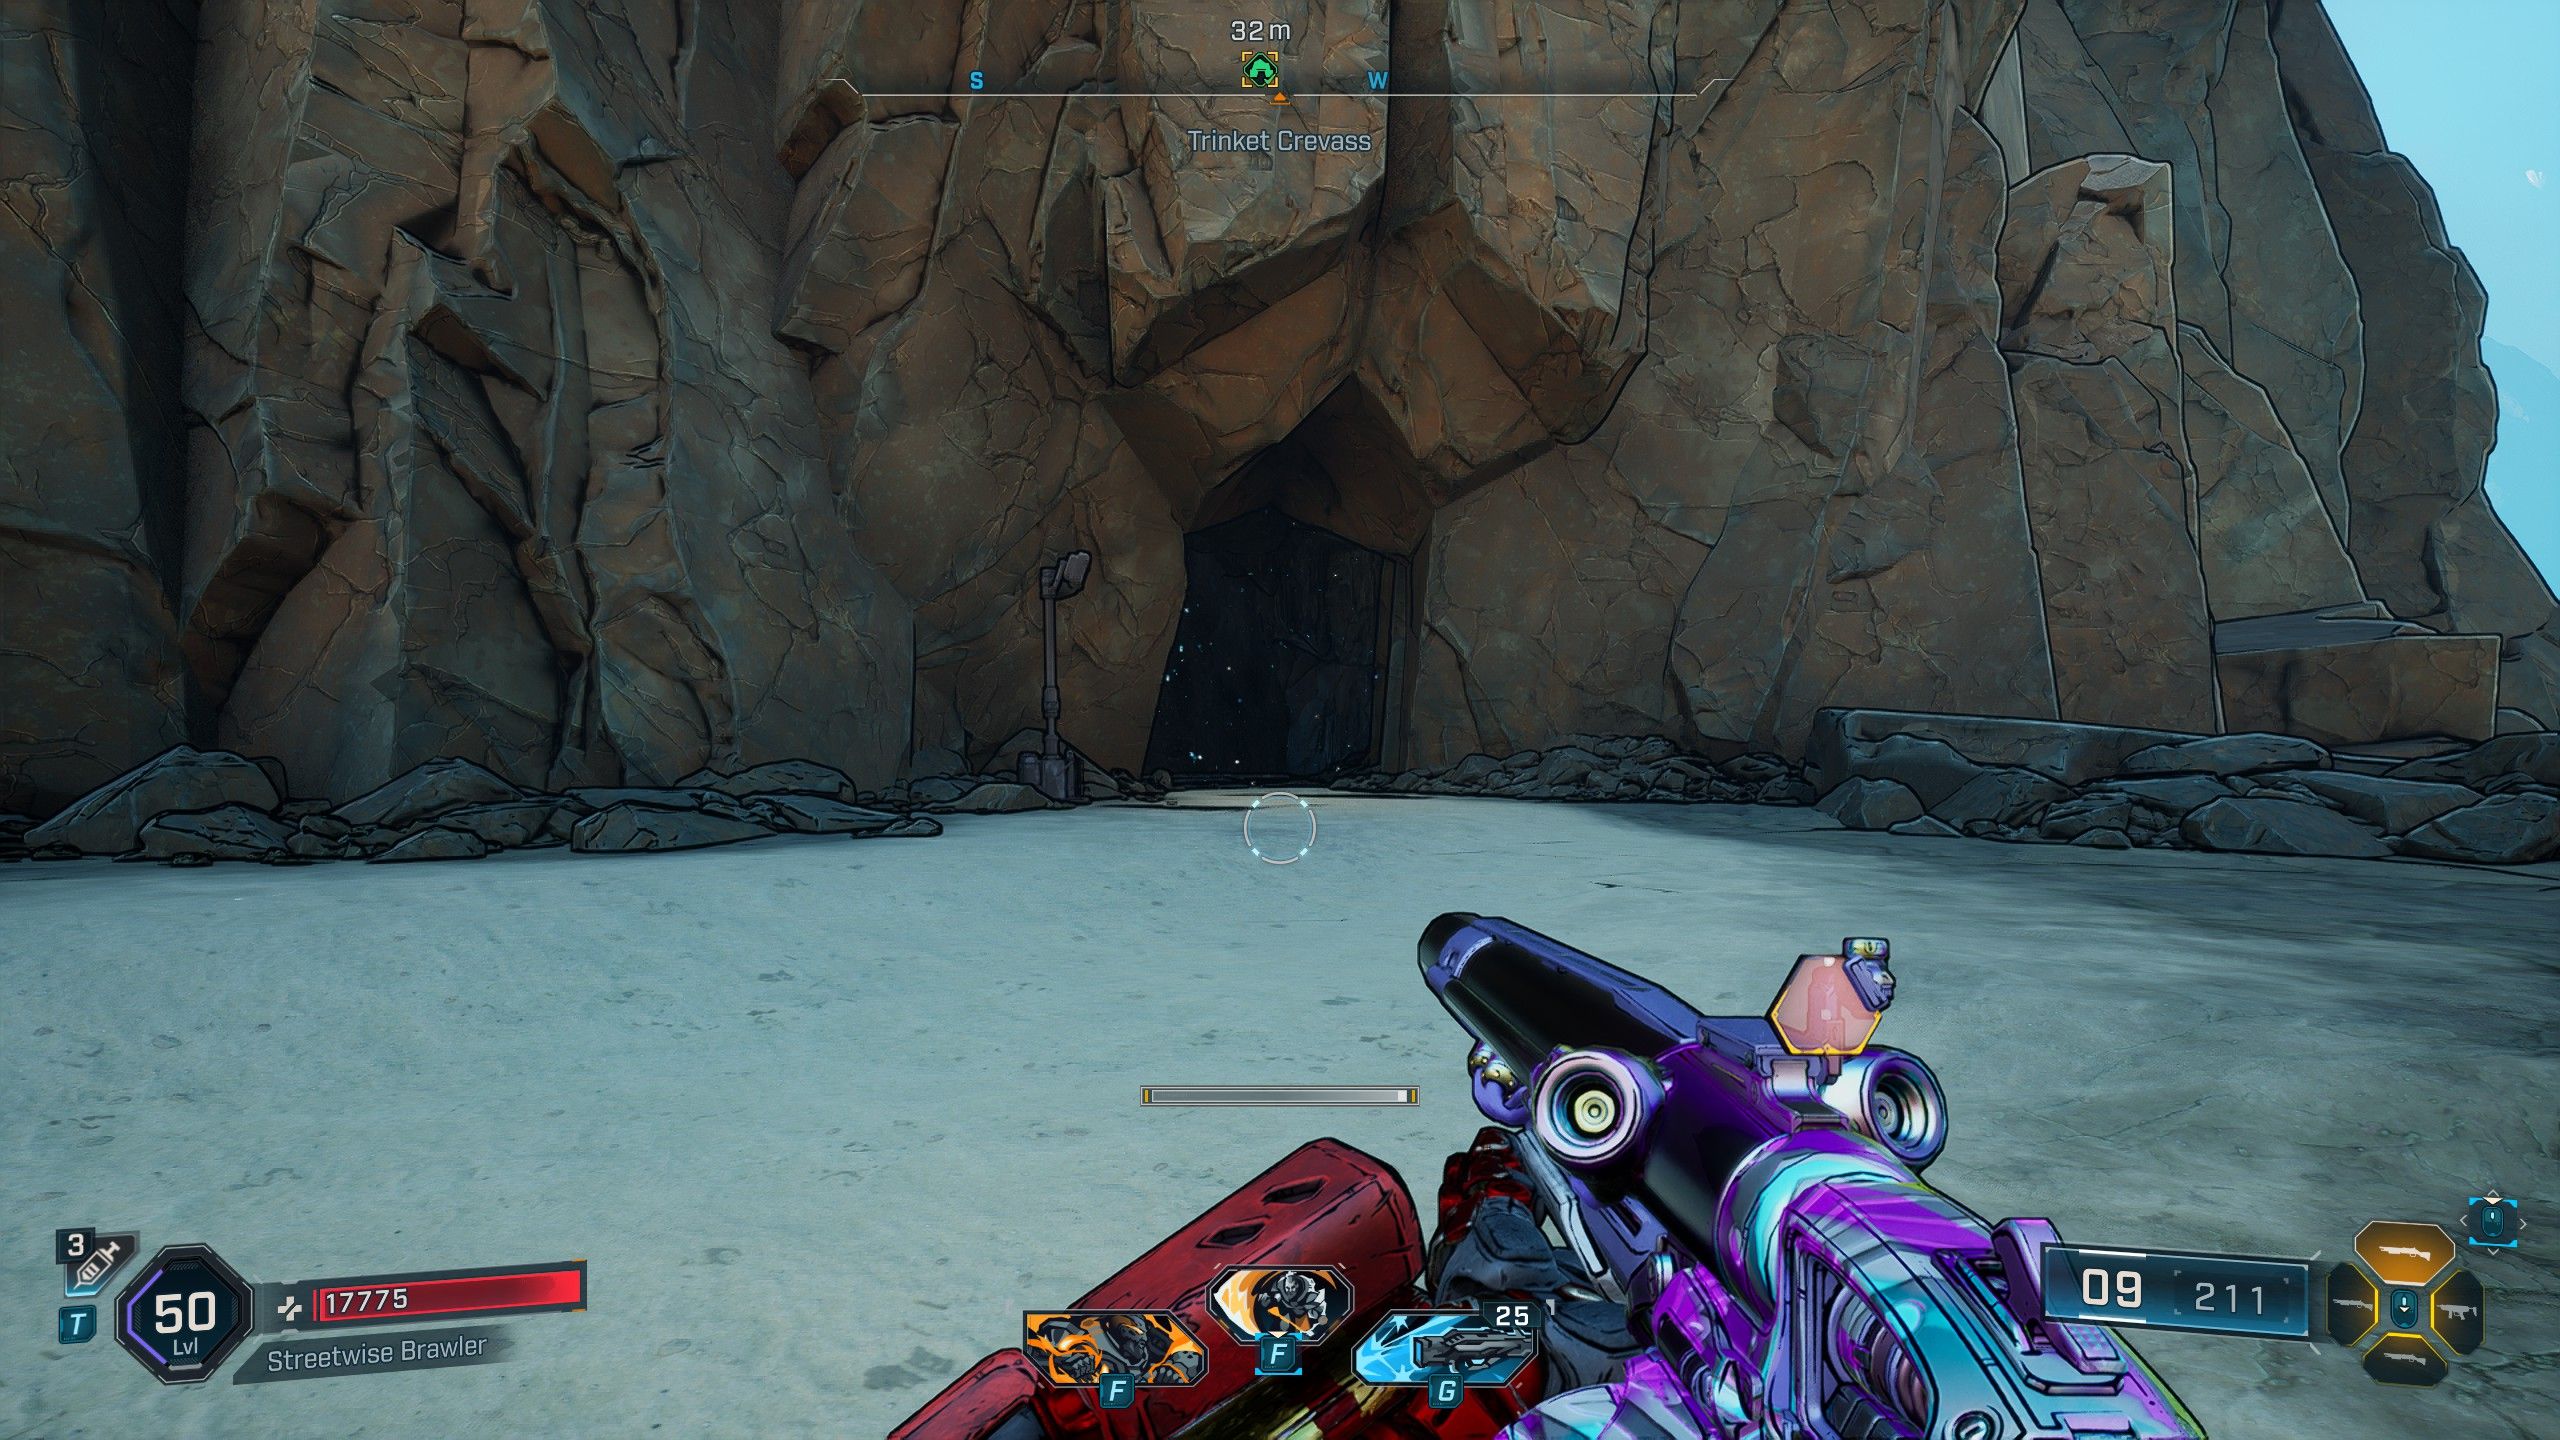
Trinket Crevass
How to Beat Rocken Roller

- Location: Ruined Sumplands, Carcadia Burn
| Legendary Loot | Type | Description | Stats |
|---|---|---|---|
| Whispering San Saba Songbird | Pistol |
|
|
In the northern part of Carcadia Burn, adventurers can make their way to the Ruined Sumplands, where next to a towering cliff lies an opening to a hidden cavern. Venturing into the cave leads players to encounter a relentless adversary known as Rocken Roller. As the boss of Trinket Crevass, Rocken Roller has a regenerating Vile health bar for his flesh, which can be damaged only by destroying the crystals embedded on his body. The Vile bar will regenerate over time, so it’s crucial to deal damage swiftly and utilize Incendiary rounds to exploit its weakness. Fortunately, Rocken Roller isn’t particularly menacing as long as you keep jumping and maintain a safe distance from the rolling threat.
Whistler’s Maw
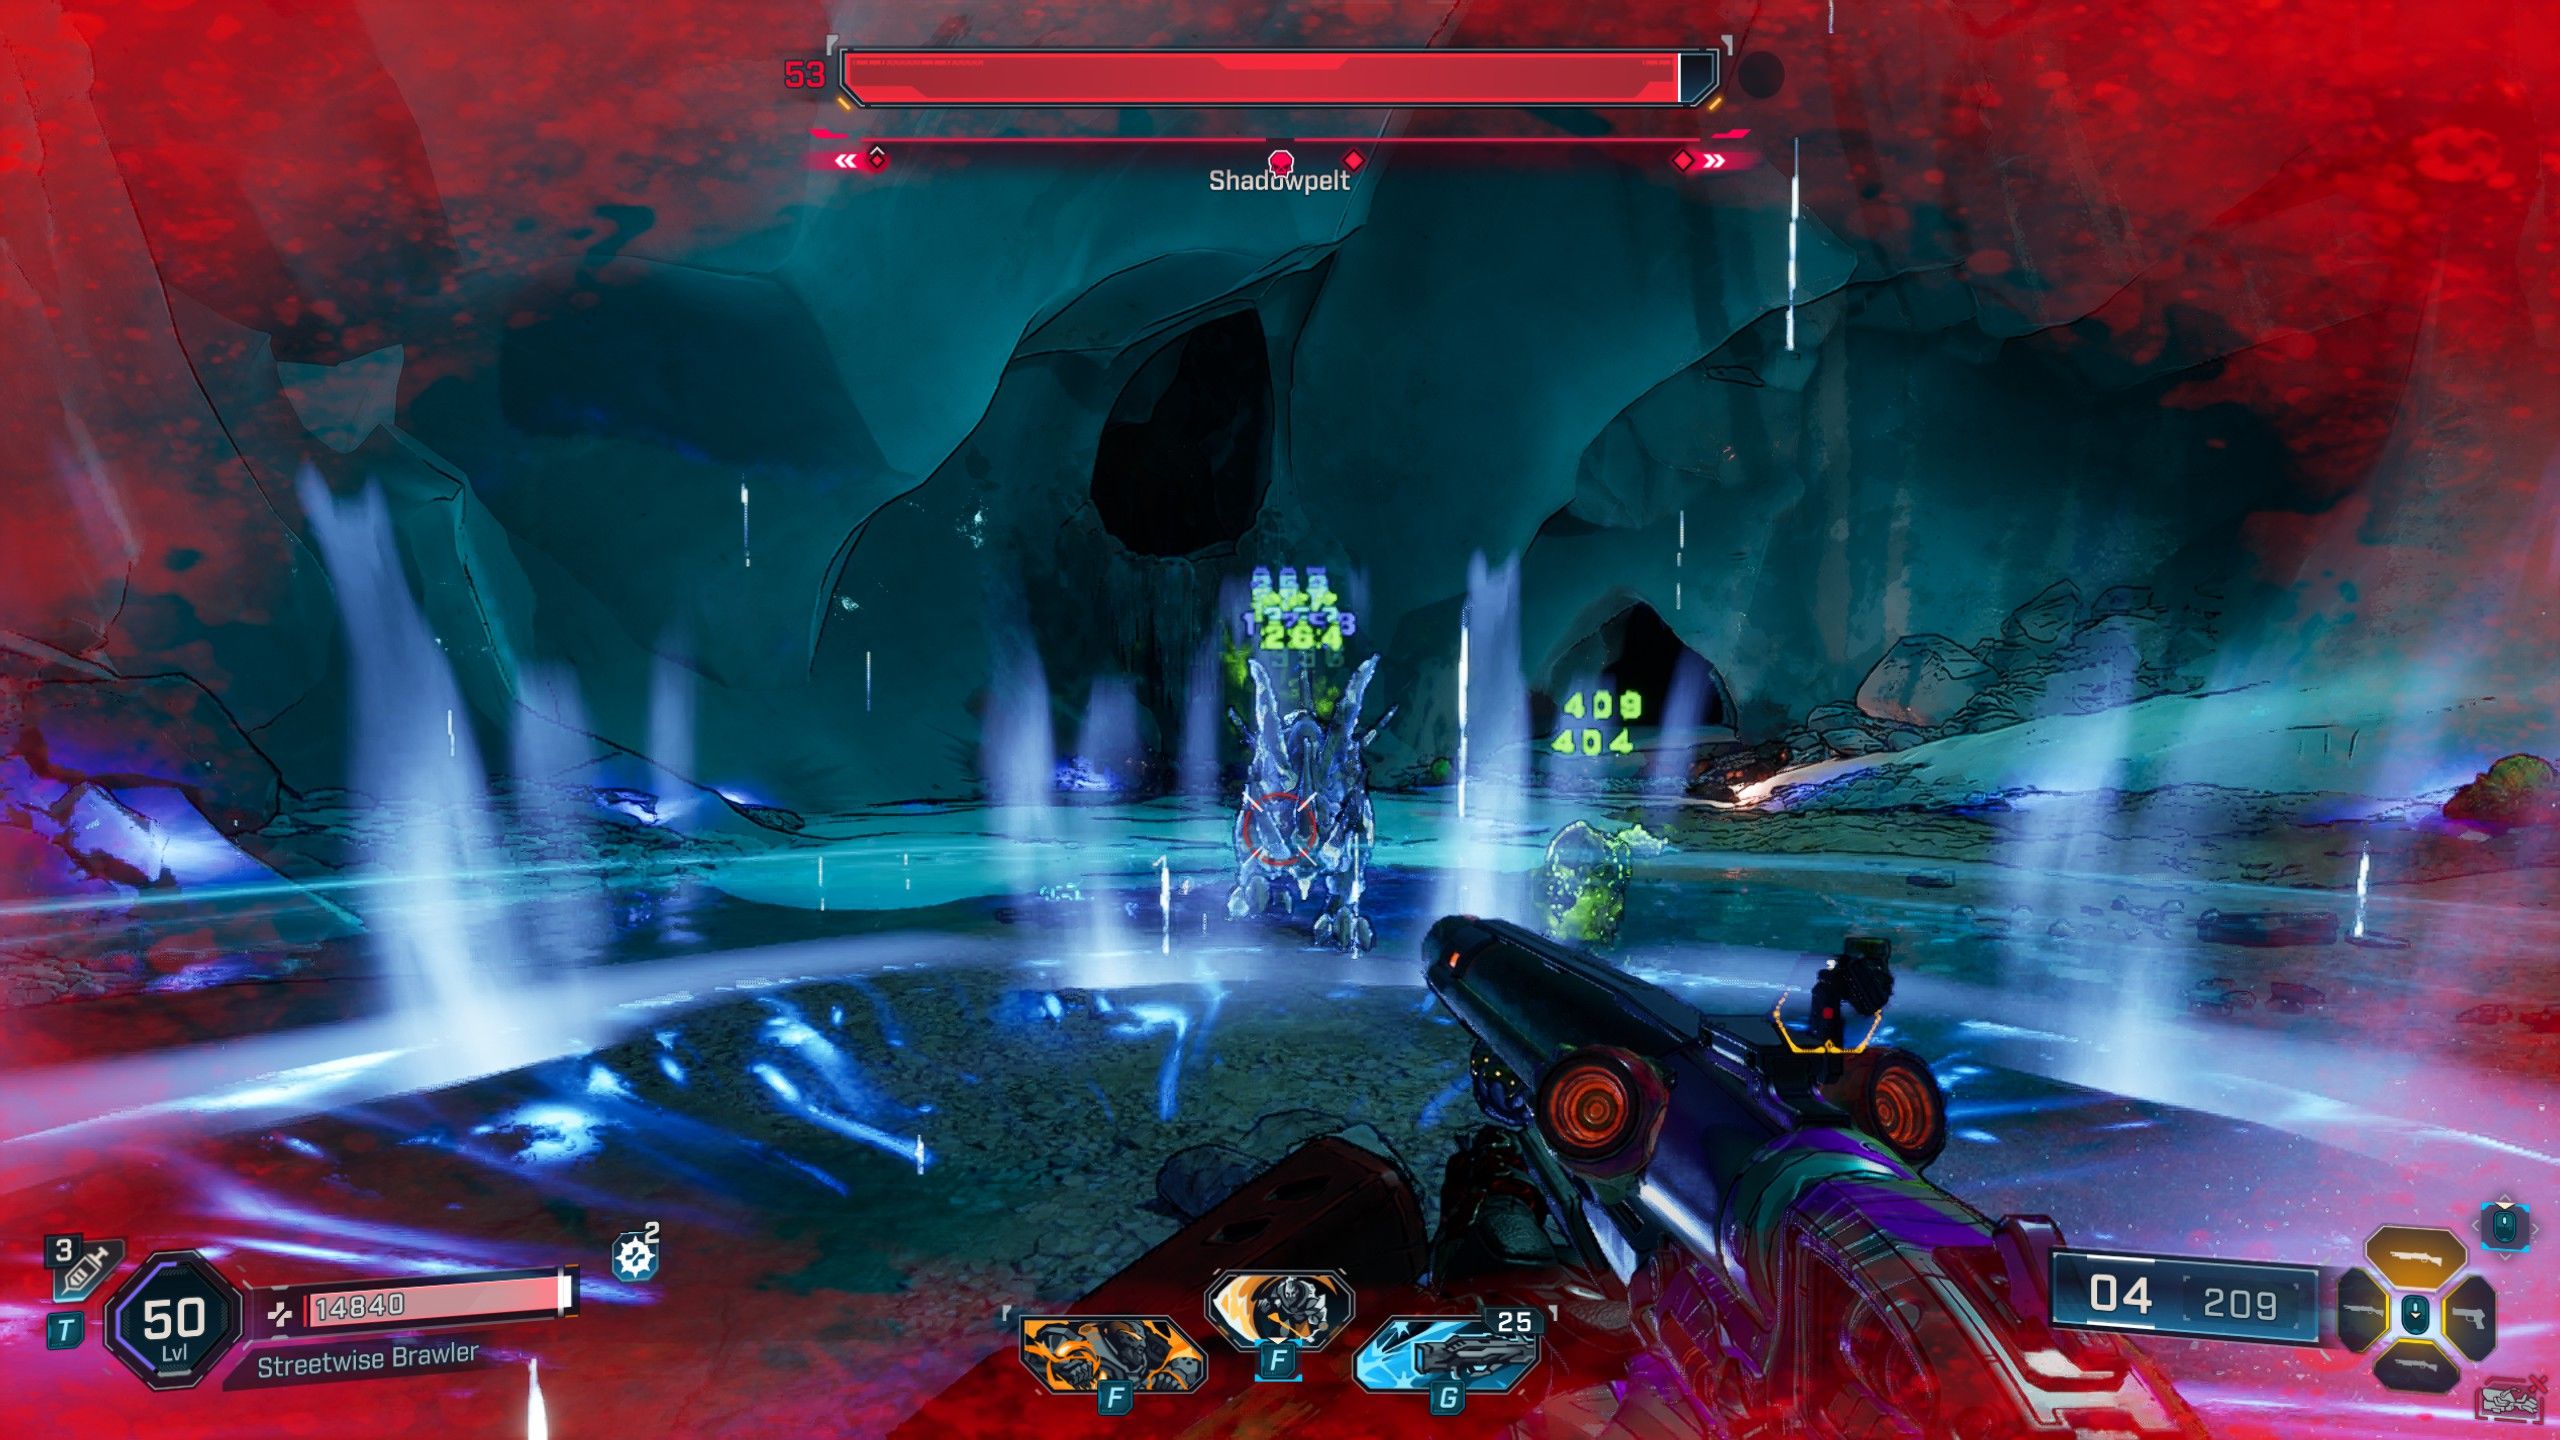
How to Beat Shadowpelt
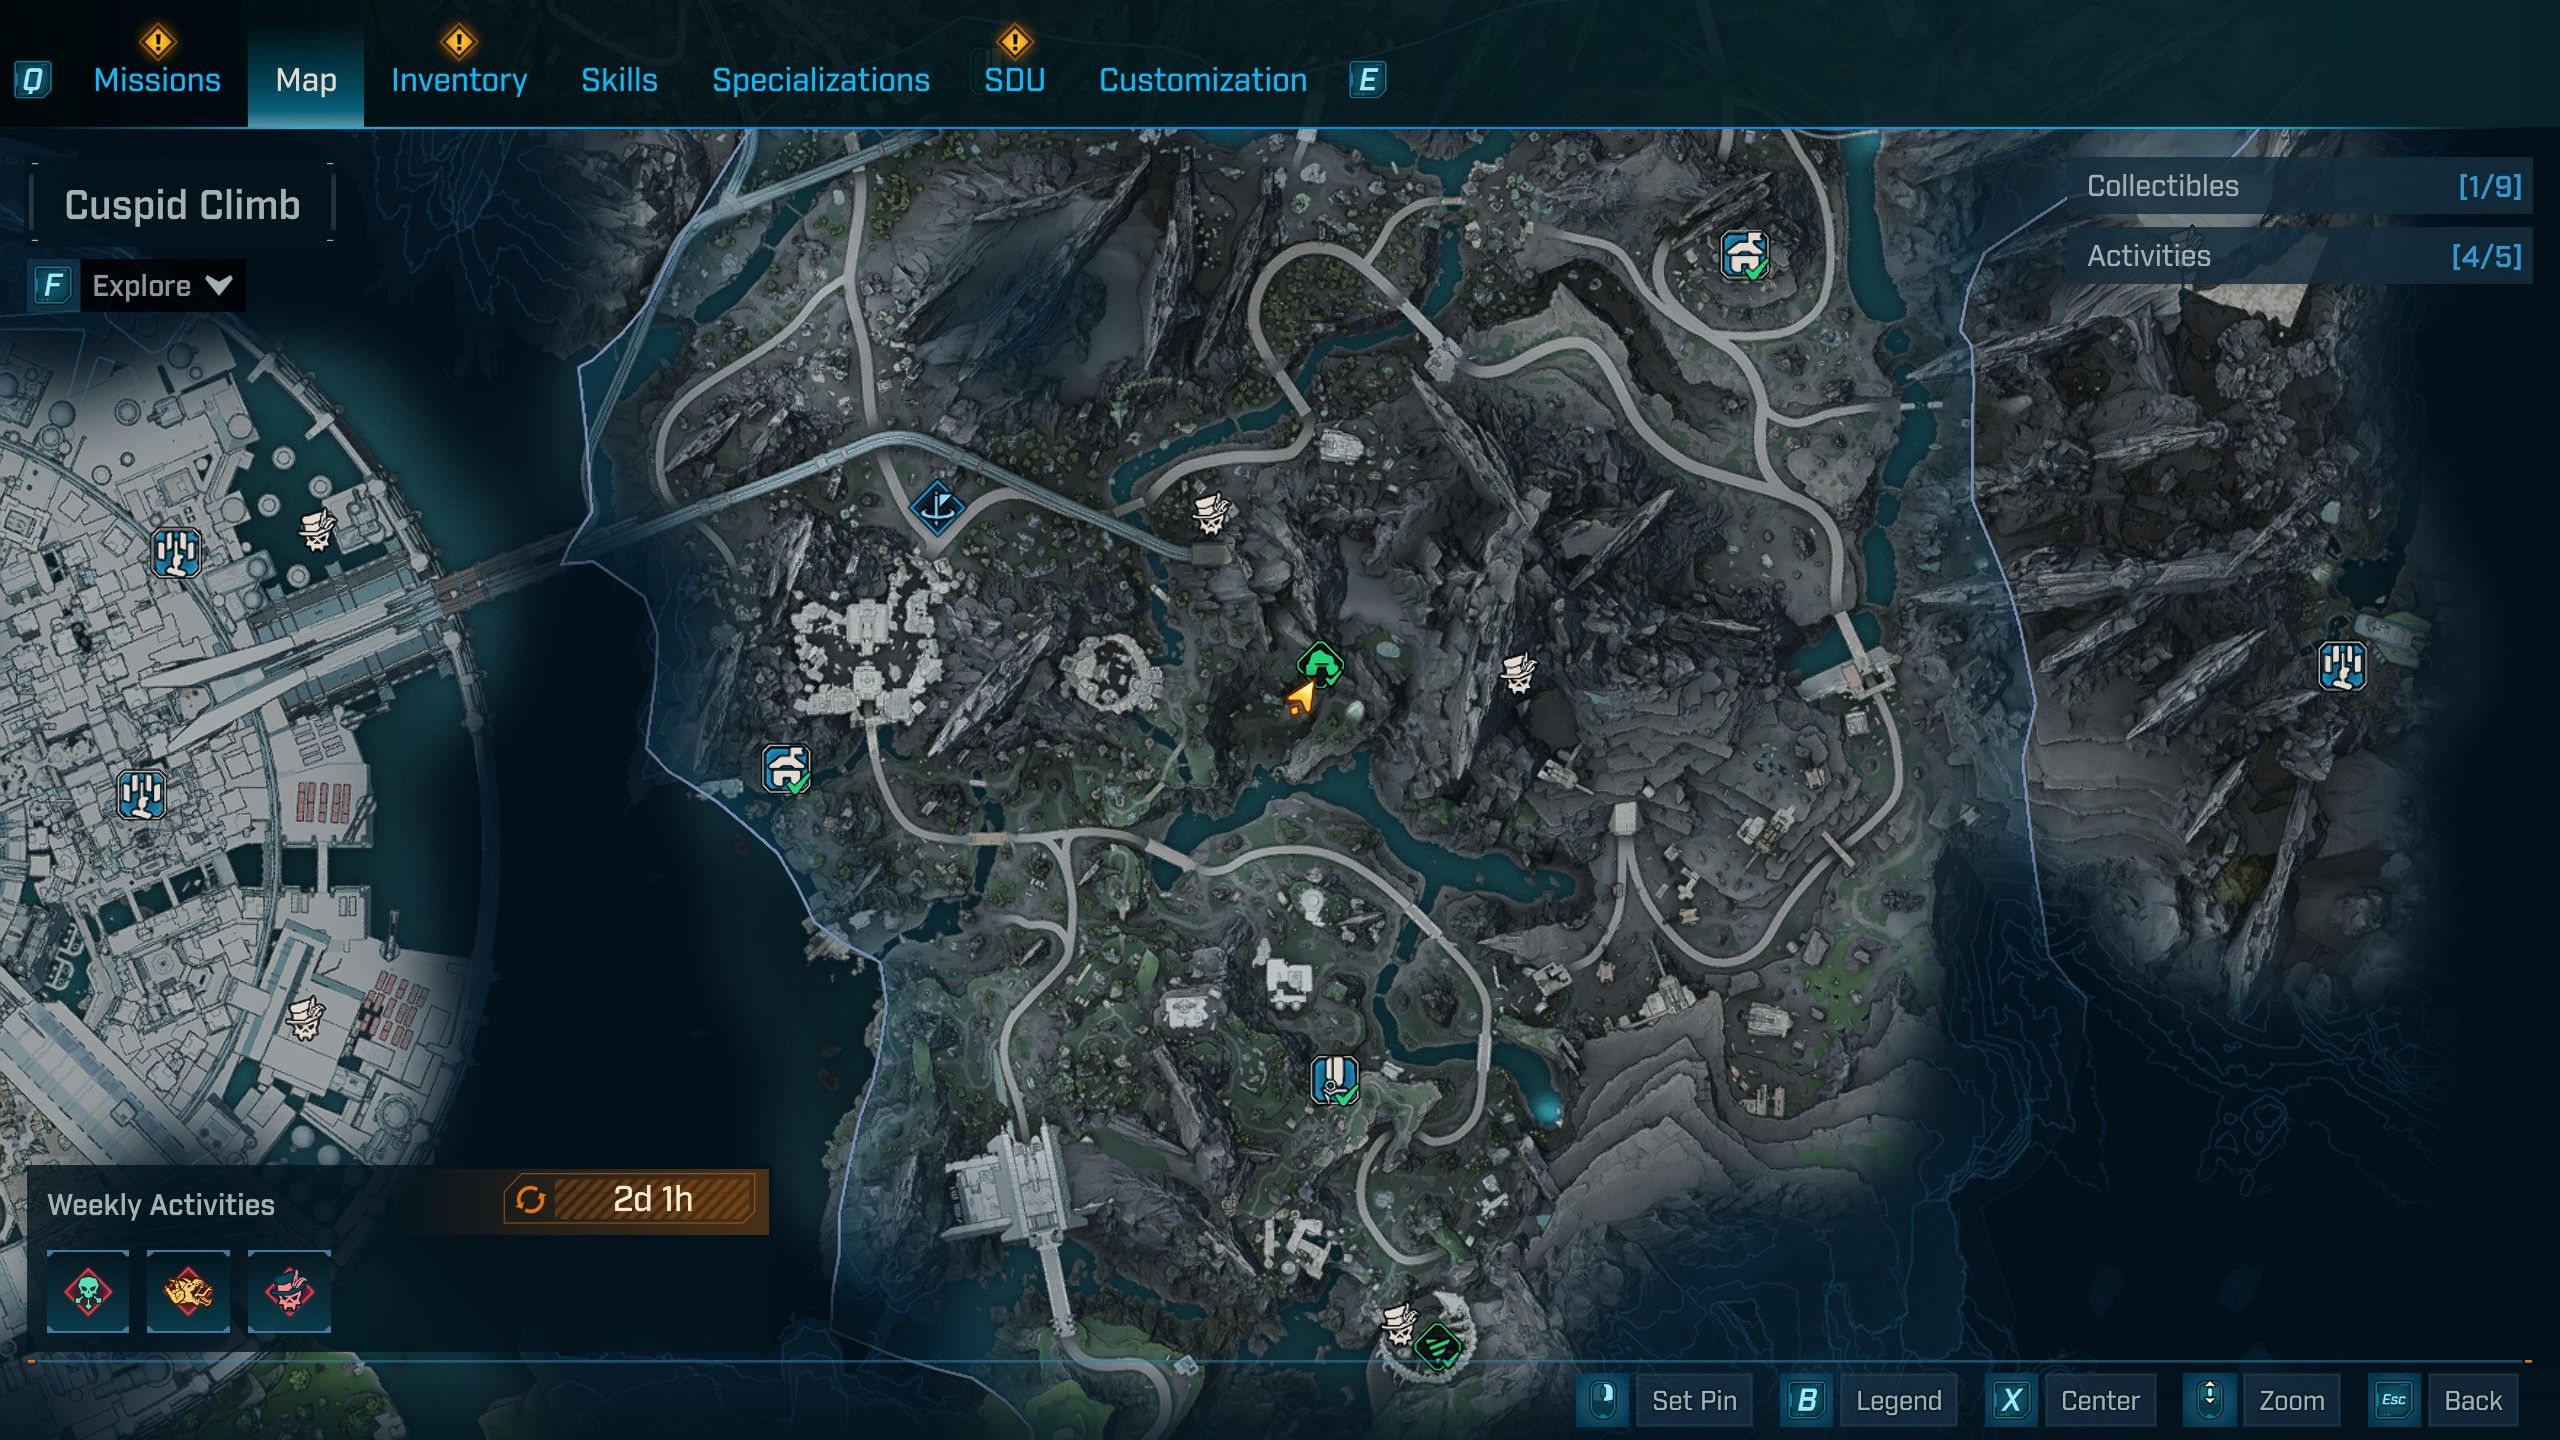
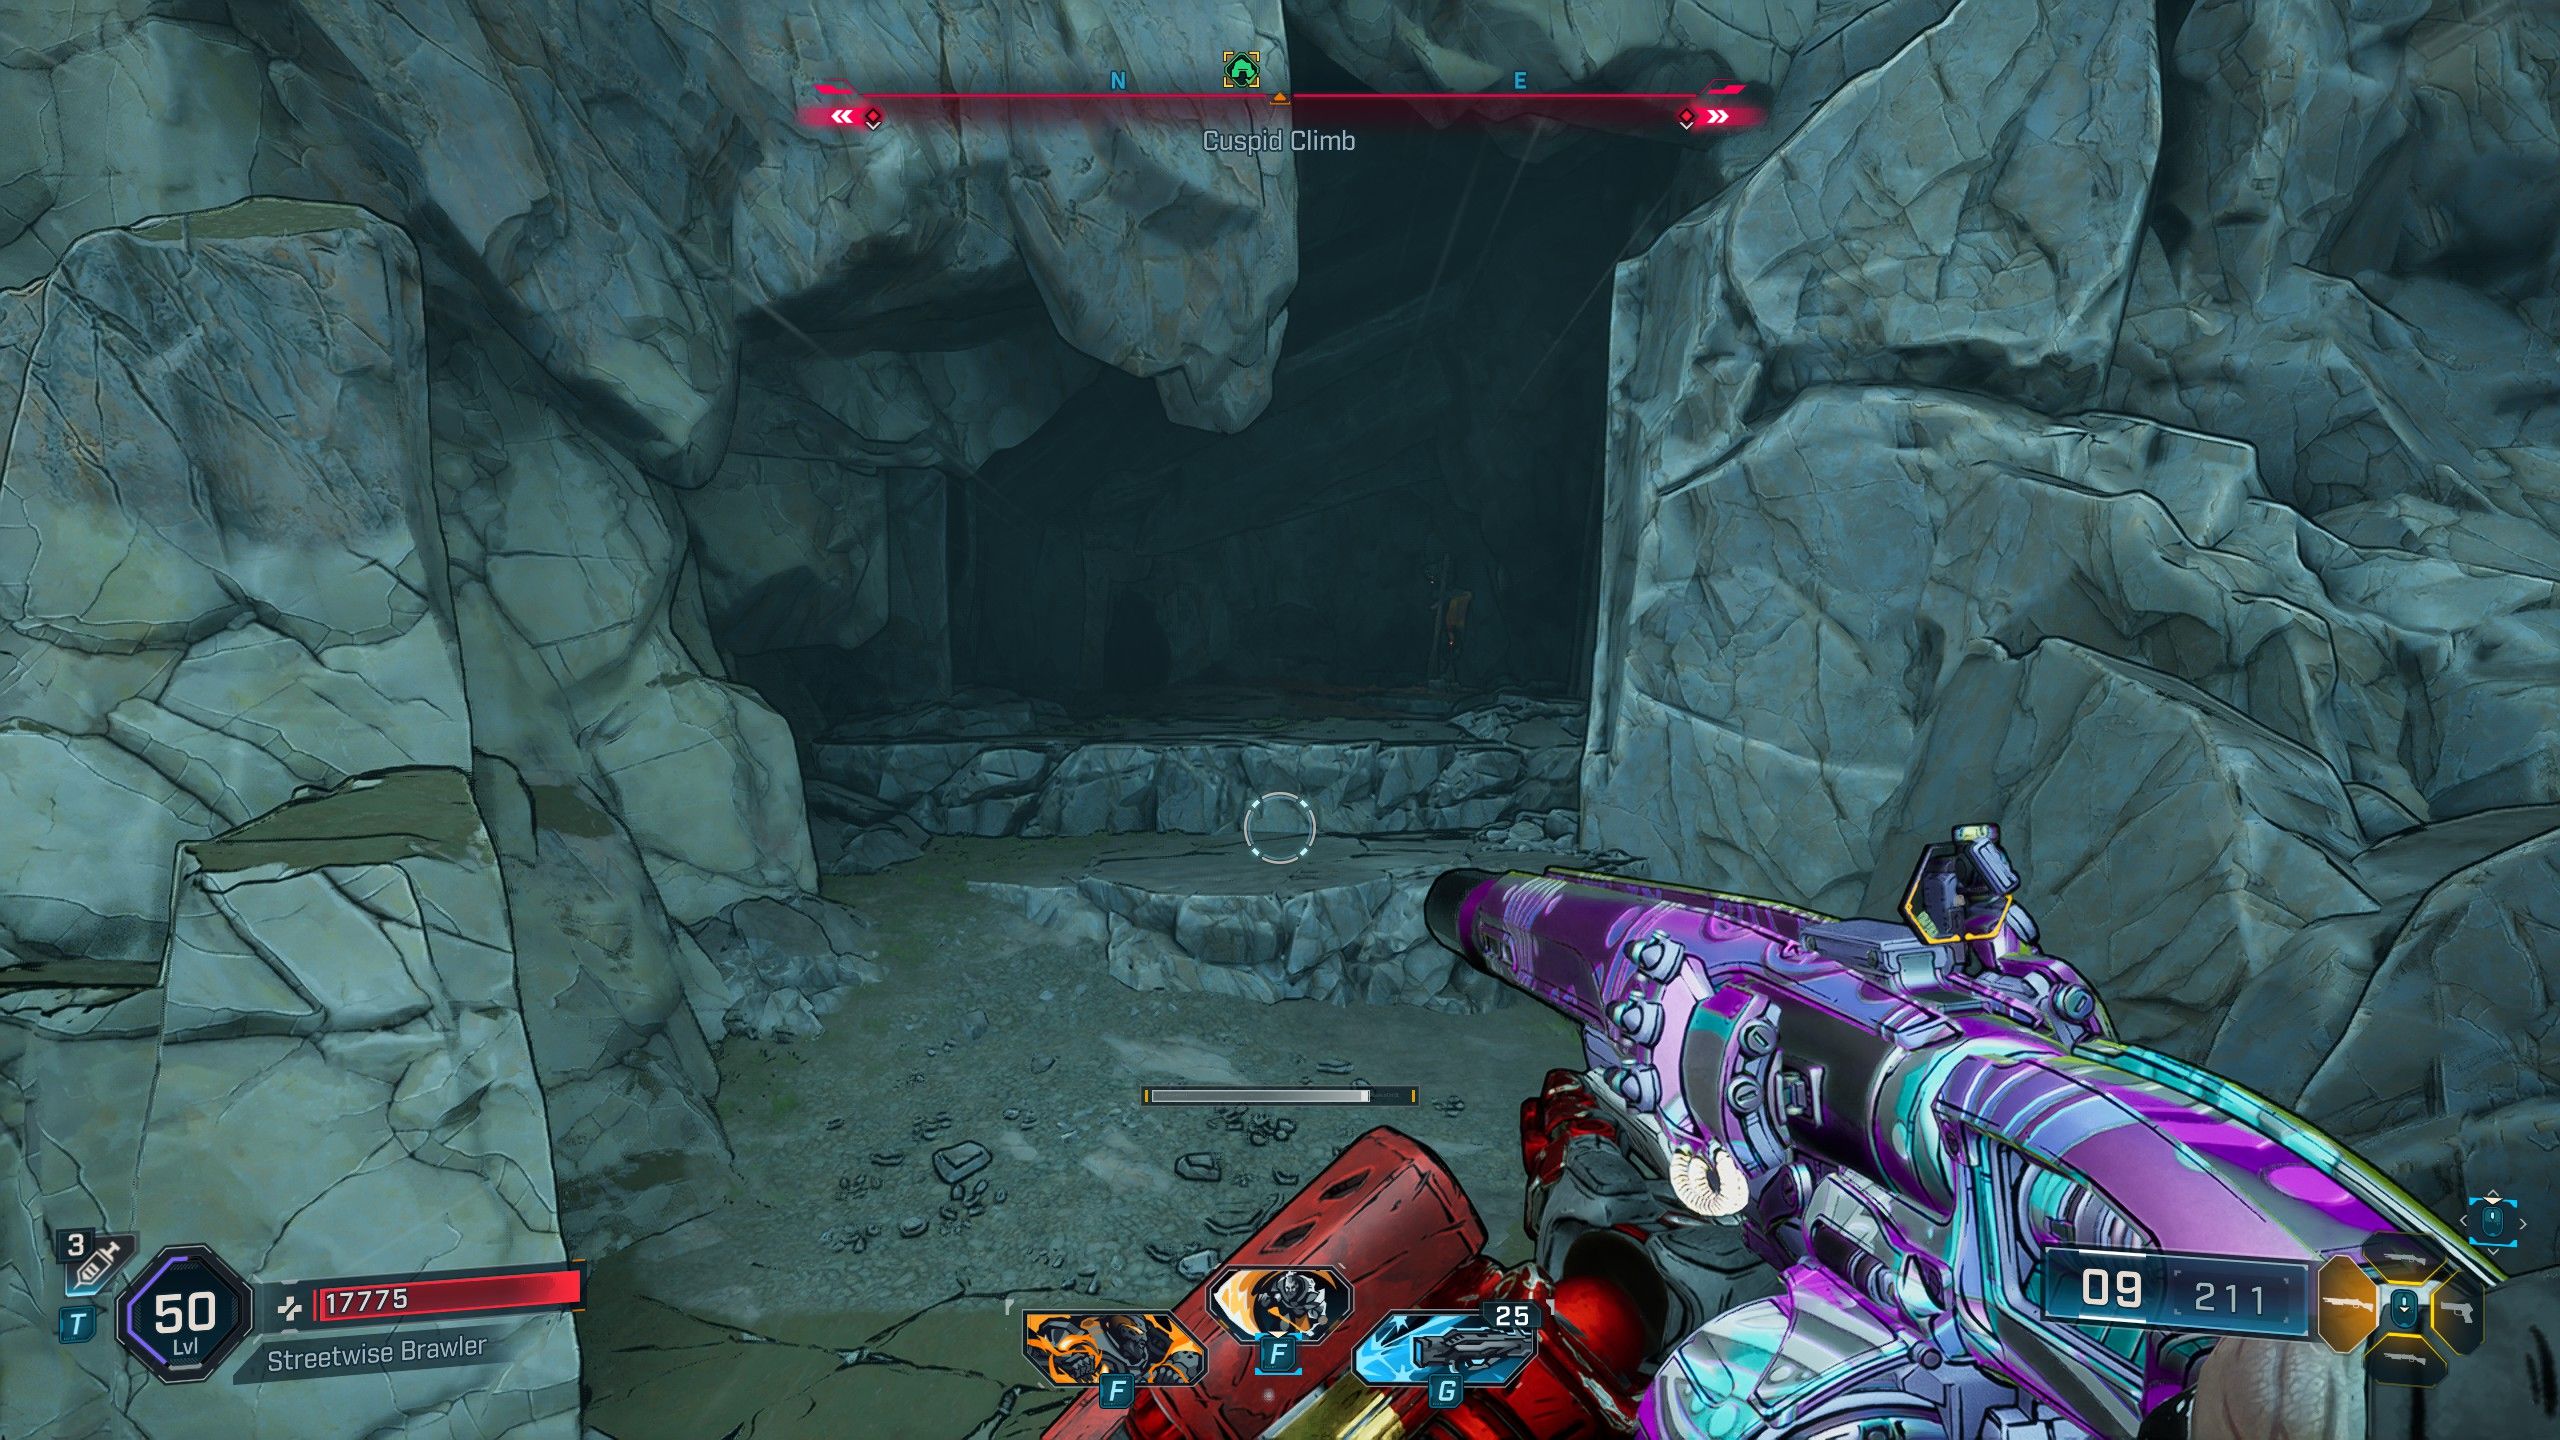
- Location: Cuspid Climb, Terminus Range
| Legendary Loot | Type | Description | Stats |
|---|---|---|---|
| Slippy | Grenade Ordnance |
|
|
| Eviscerating Vamoose | Sniper Rifle |
|
|
| Centering Weatherproof Sparky Shield | Shield |
|
|
In the heart of Cuspid Climb, nestled within Terminus Range, lies the Whistler’s Maw cave. This cave, though straightforward to traverse, is home to fearsome Manglers. Yet, the main danger comes from the boss, Shadowpelt, who can be a tenacious adversary. Shadowpelt initially has a Shield bar, so carrying a Shock weapon to break it is advised. However, Shadowpelt’s Shield bar regenerates, causing him to become invisible, resorting to flanking attacks and electric orbs to shock you fatally. To defeat him, use Shock weapons to demolish his shields, followed by an Incendiary weapon to char him repeatedly until you secure his loot.
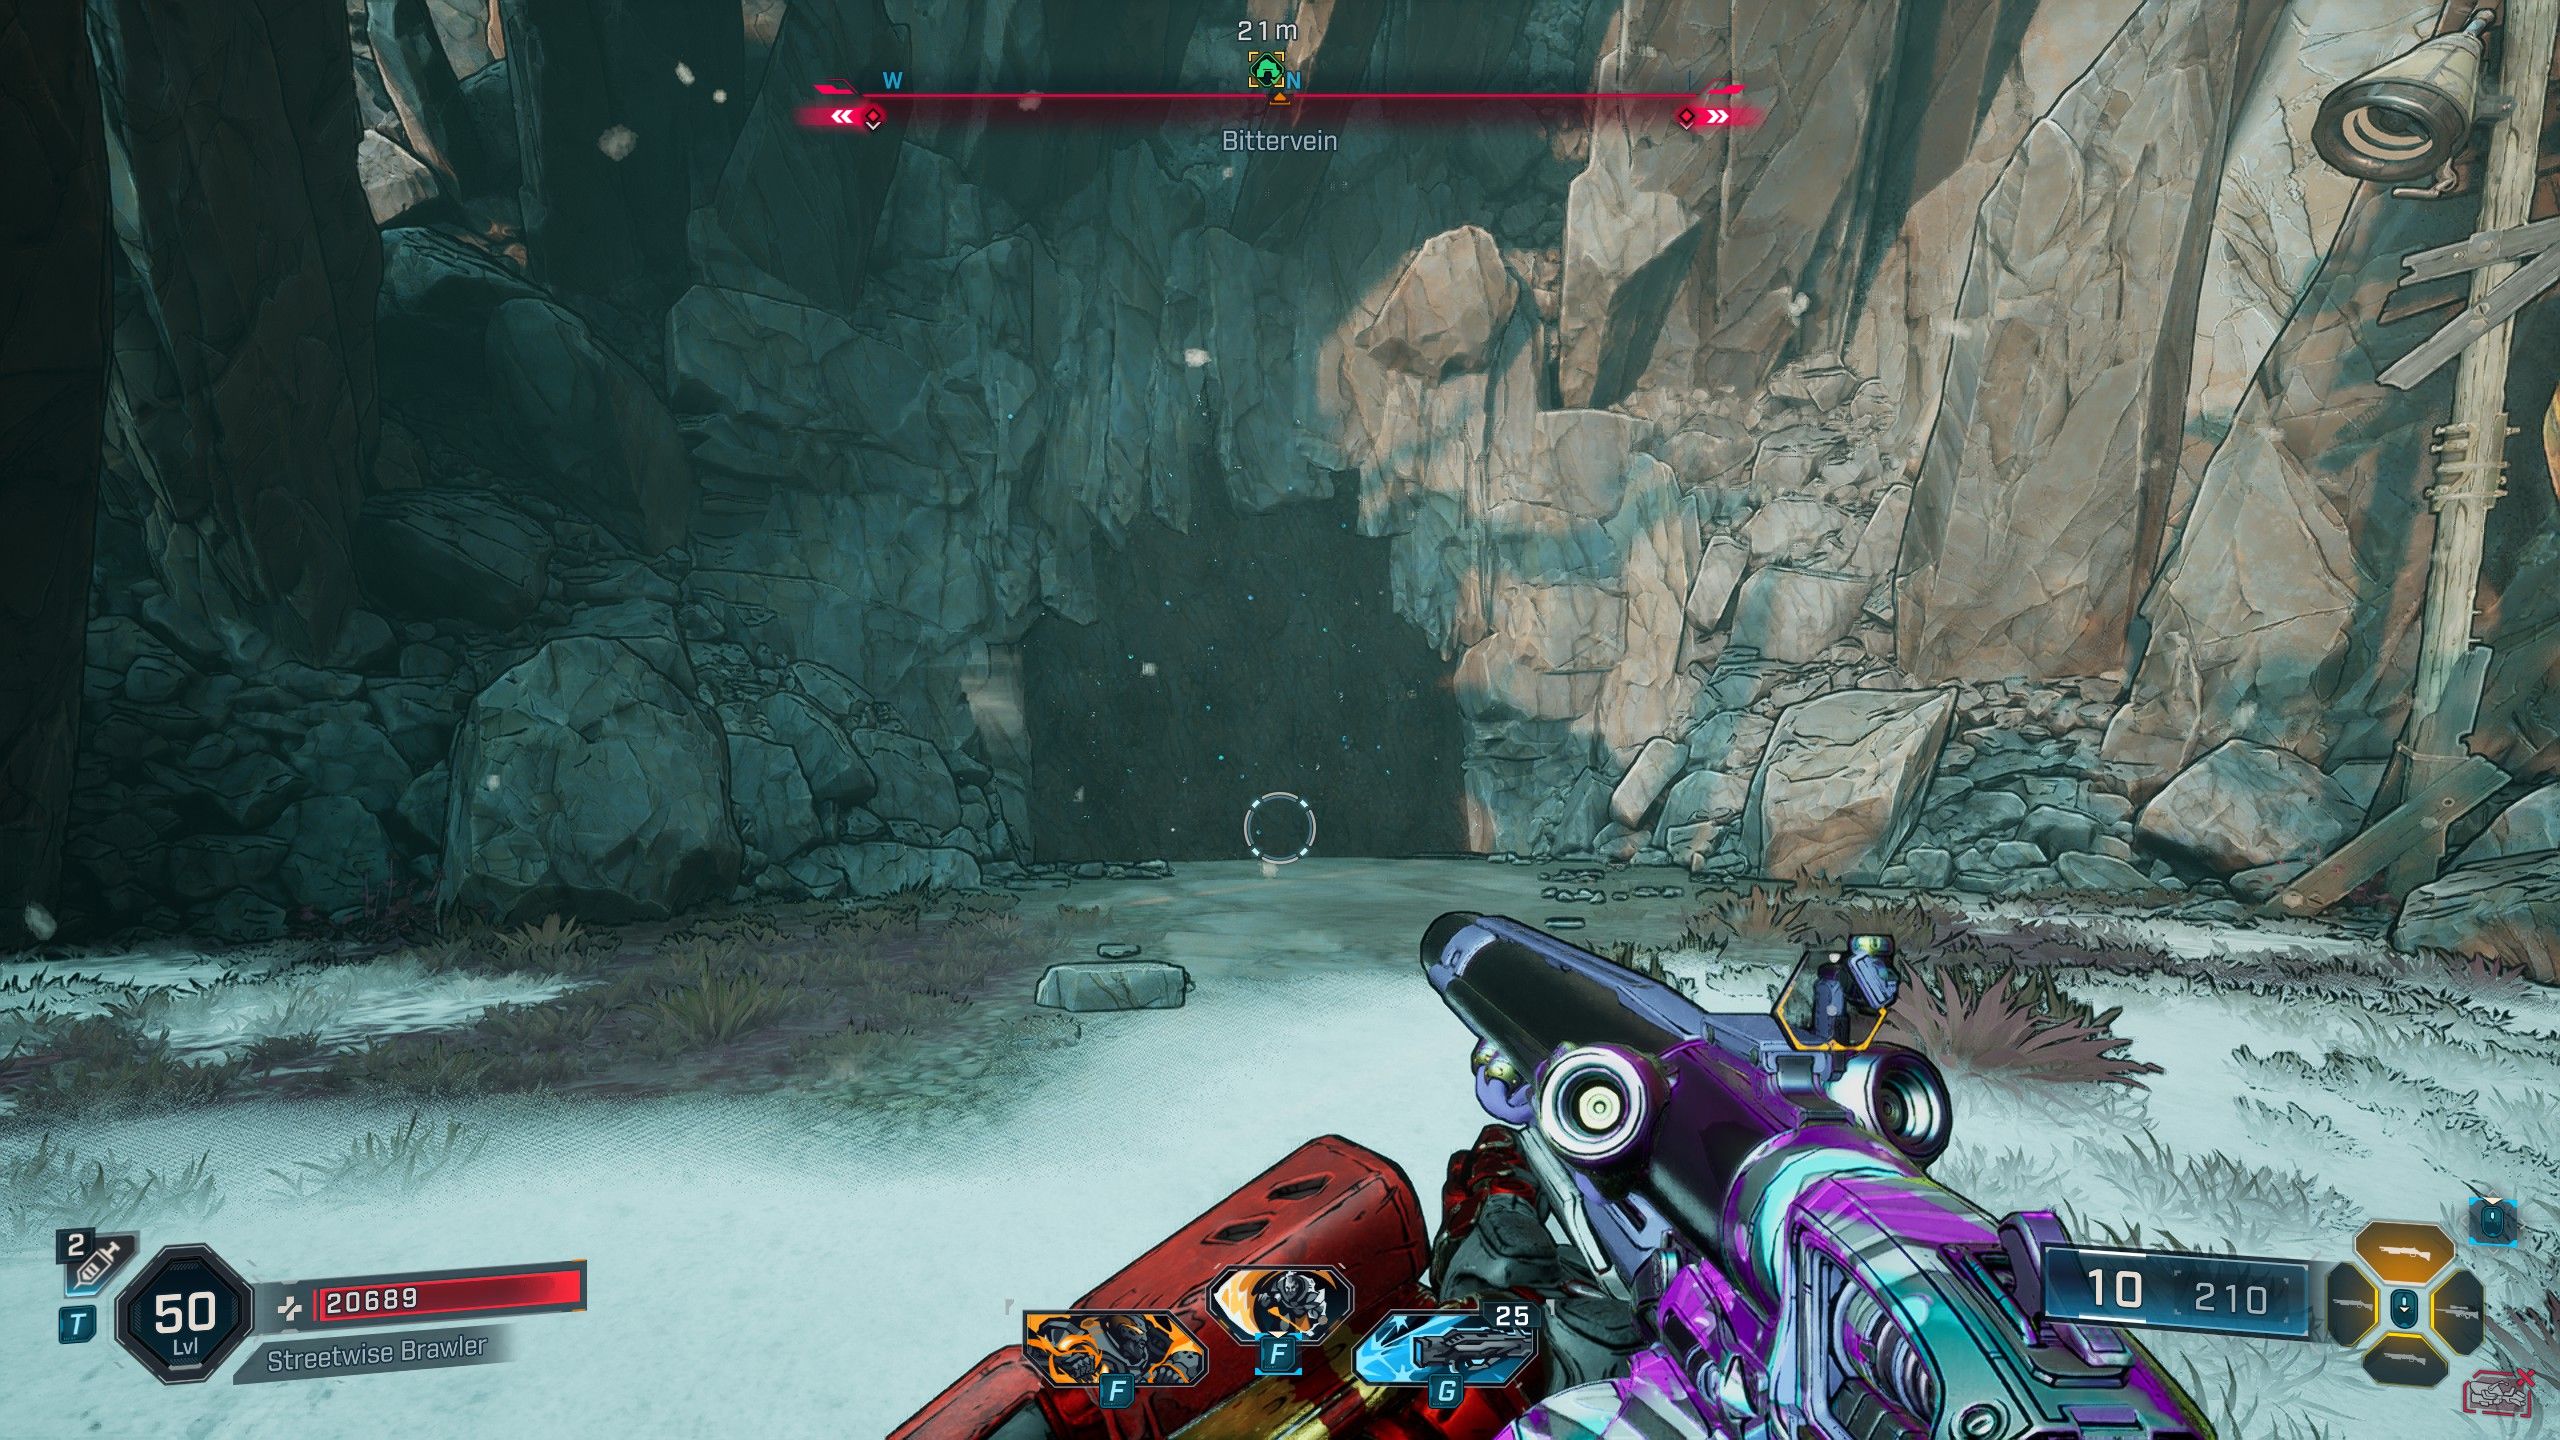
Bittervein
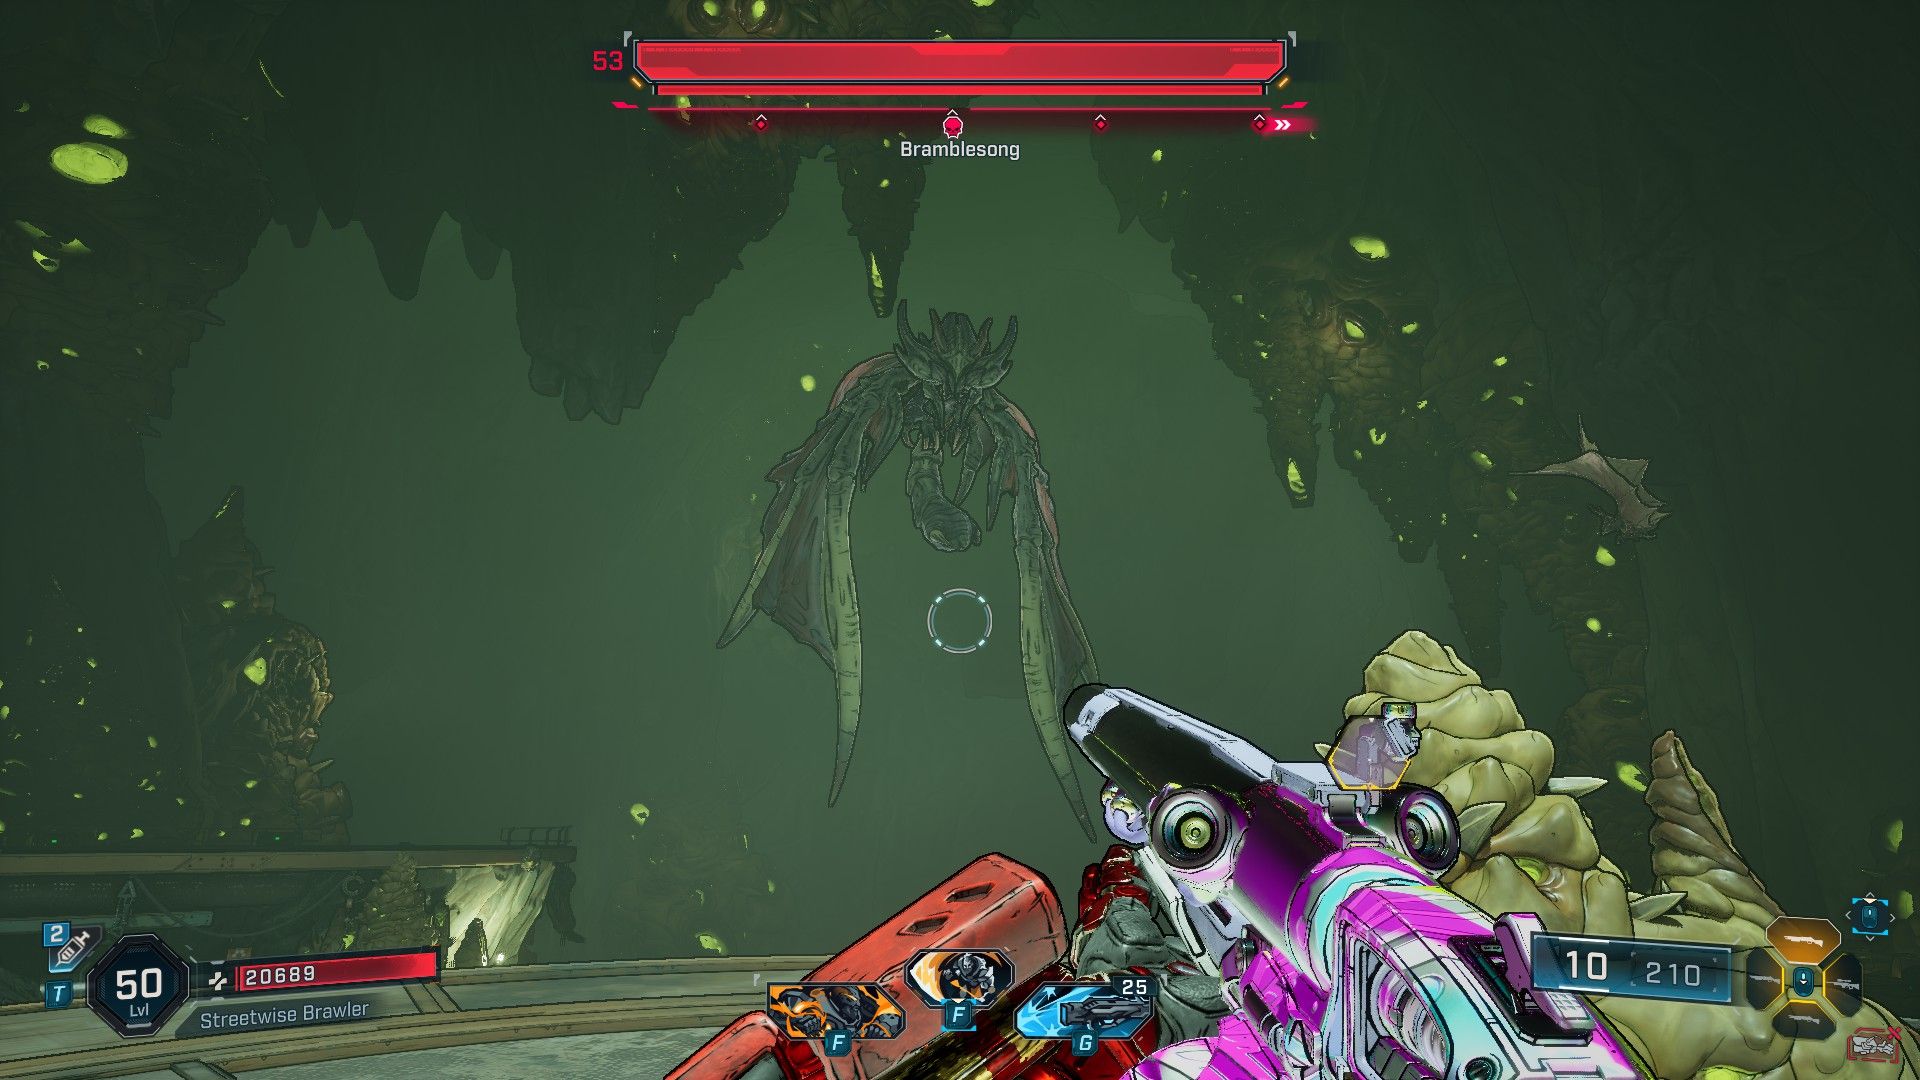
How to Beat Bramblesong
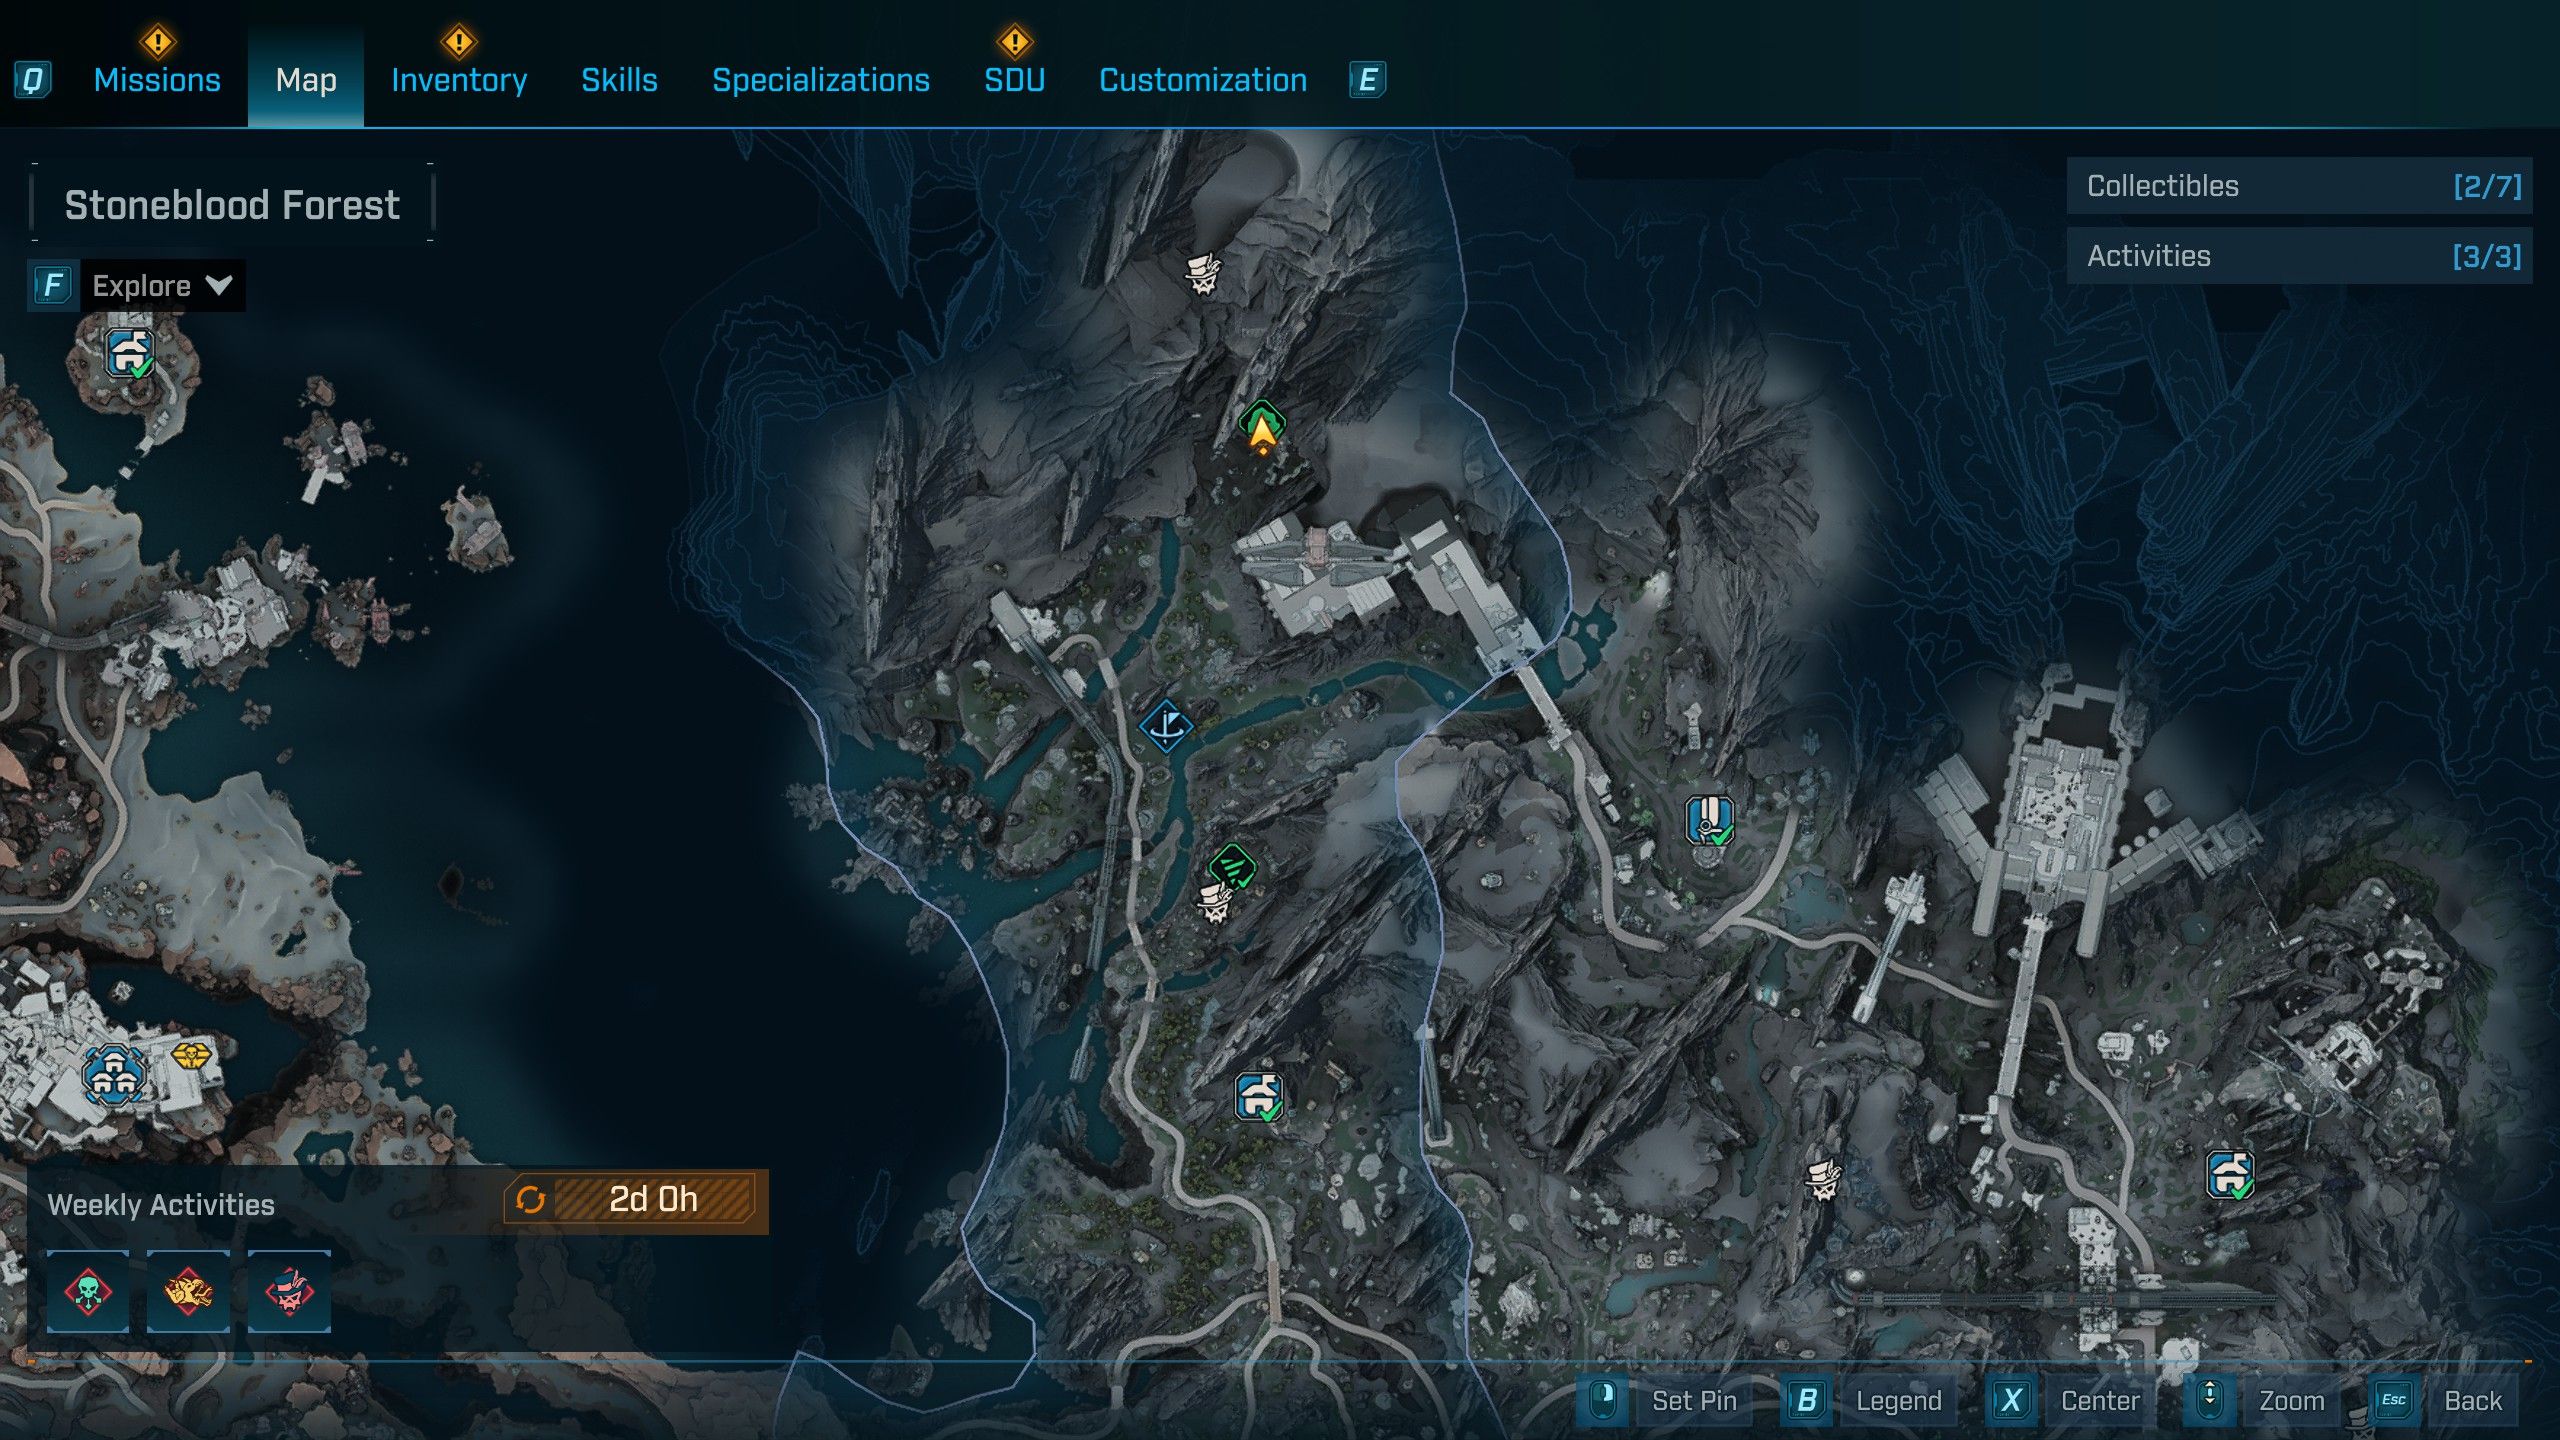
- Location: Stoneblood Forest, Terminus Range
| Legendary Loot | Type | Description | Stats |
|---|---|---|---|
| Ohm I Got | SMG | Energy Transfer – When Energy Shield is active, grants +50% Damage by consuming the Shield’s energy instead of Ammo. When Overshield is also active, Energy Shield will not deplete. |
|
Venturing deep into the Stoneblood Forest’s chilly north, nestled within Terminus Range, I stumbled upon the Bittervein Auger Mine – a den teeming with snarling Kratch foes. This labyrinthine cave is no walk in the park; its elevated platforms demand precise jumps, mid-air dashes, and a keen eye to spot grapple points high above.
After navigating the twisted network of tunnels, you’ll come face-to-face with Bramblesong, an imposing Kratch boss towering over everyone else with a whopping two Health bars! Arming yourself with Incendiary is essential to reduce this airborne nightmare to ashes.
Bramblesong’s arsenal includes tail lasers and explosive Kratch minions, so maintaining your distance from this winged terror is crucial for survival. Good luck, fellow gamer – let’s take down Bramblesong together!
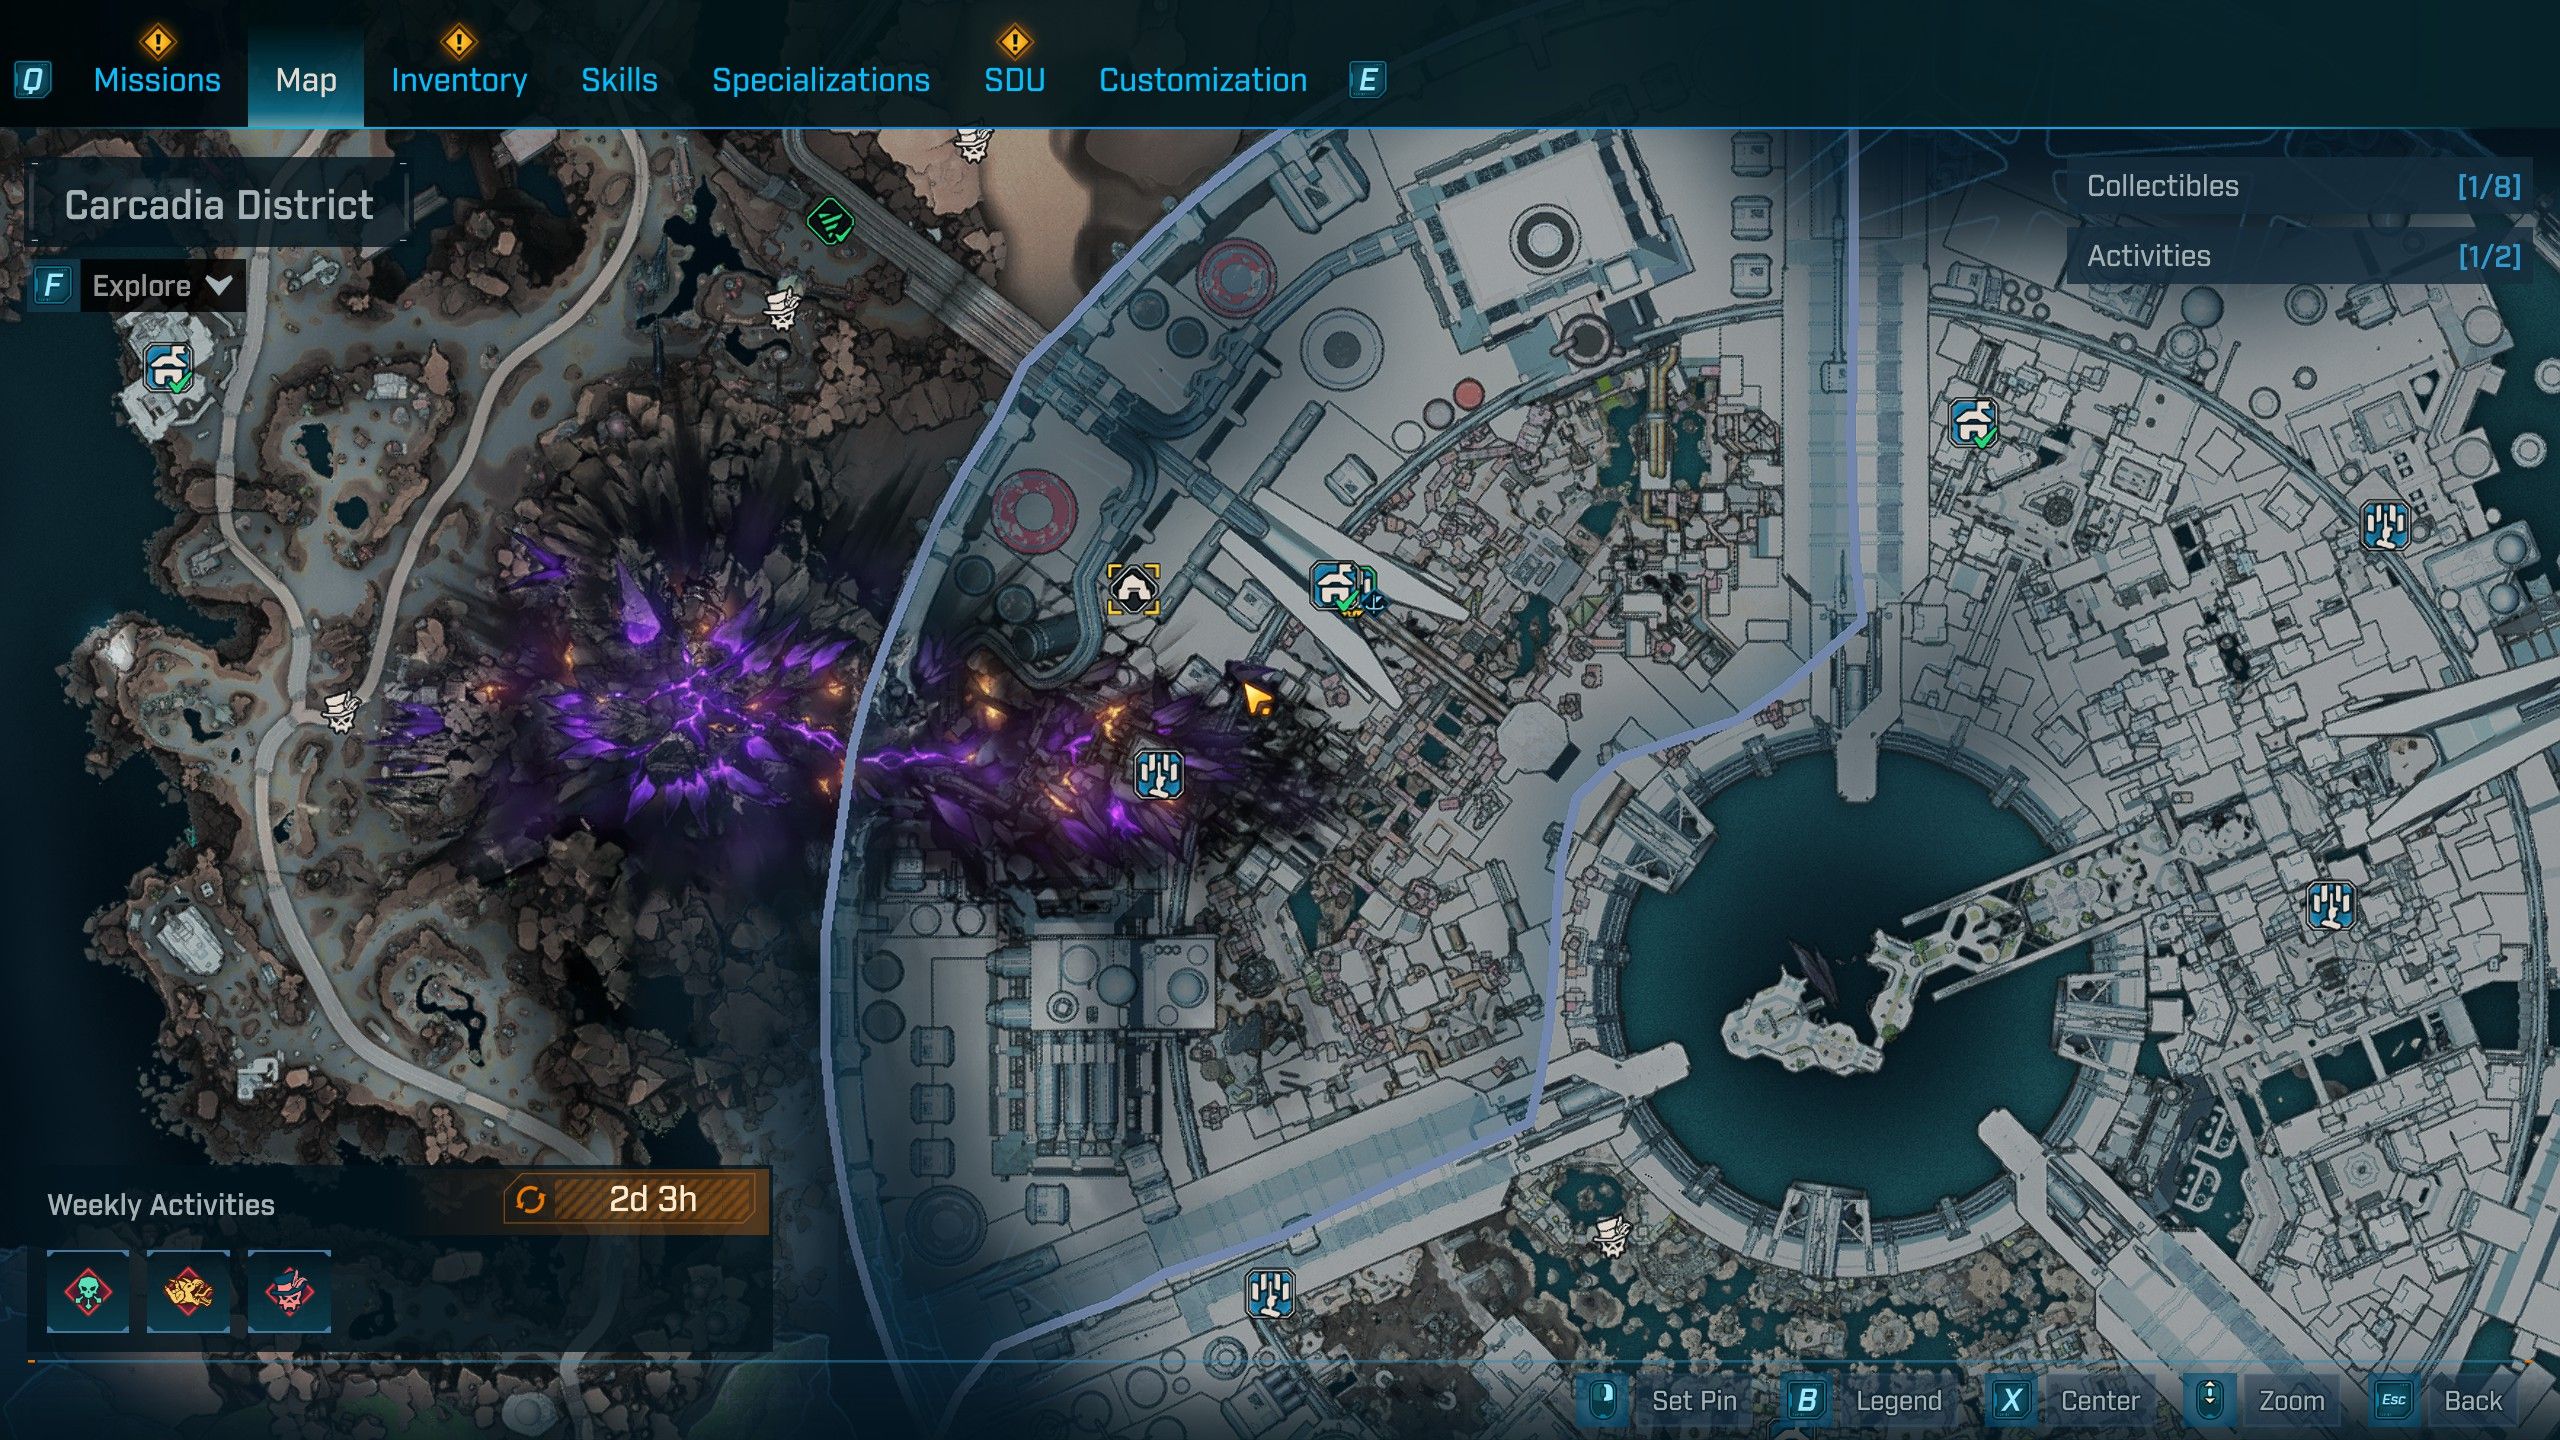
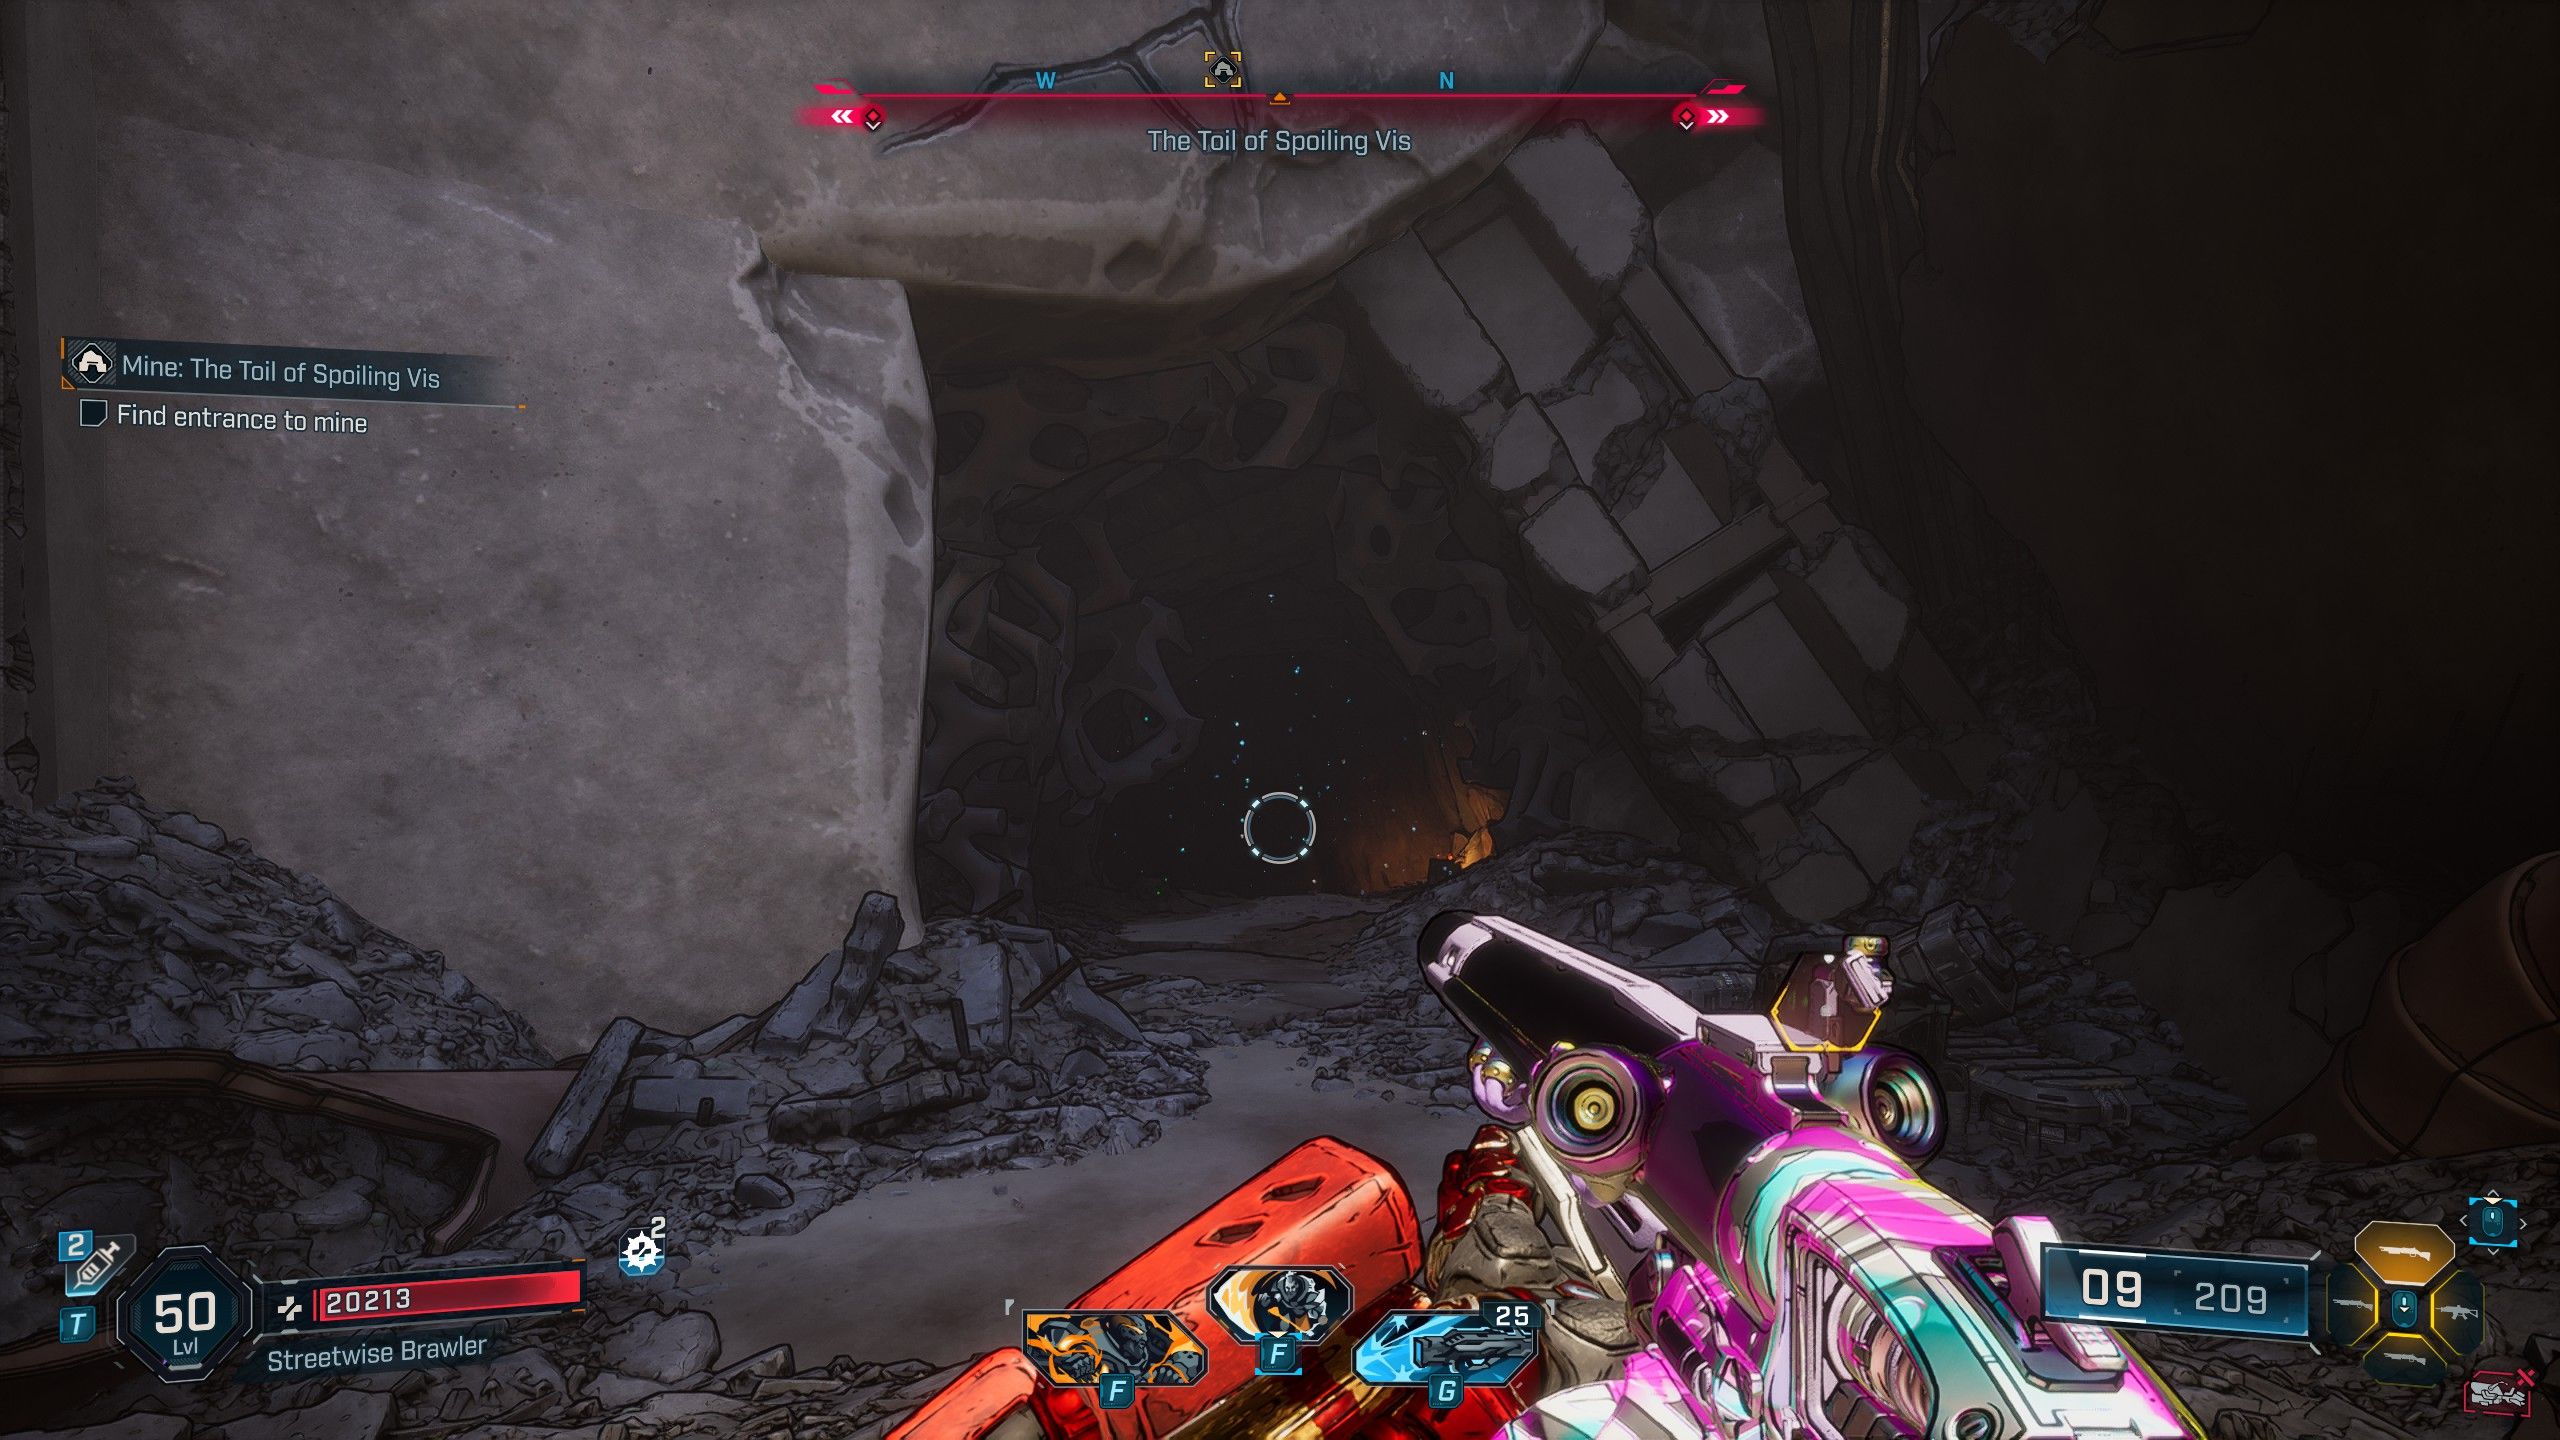
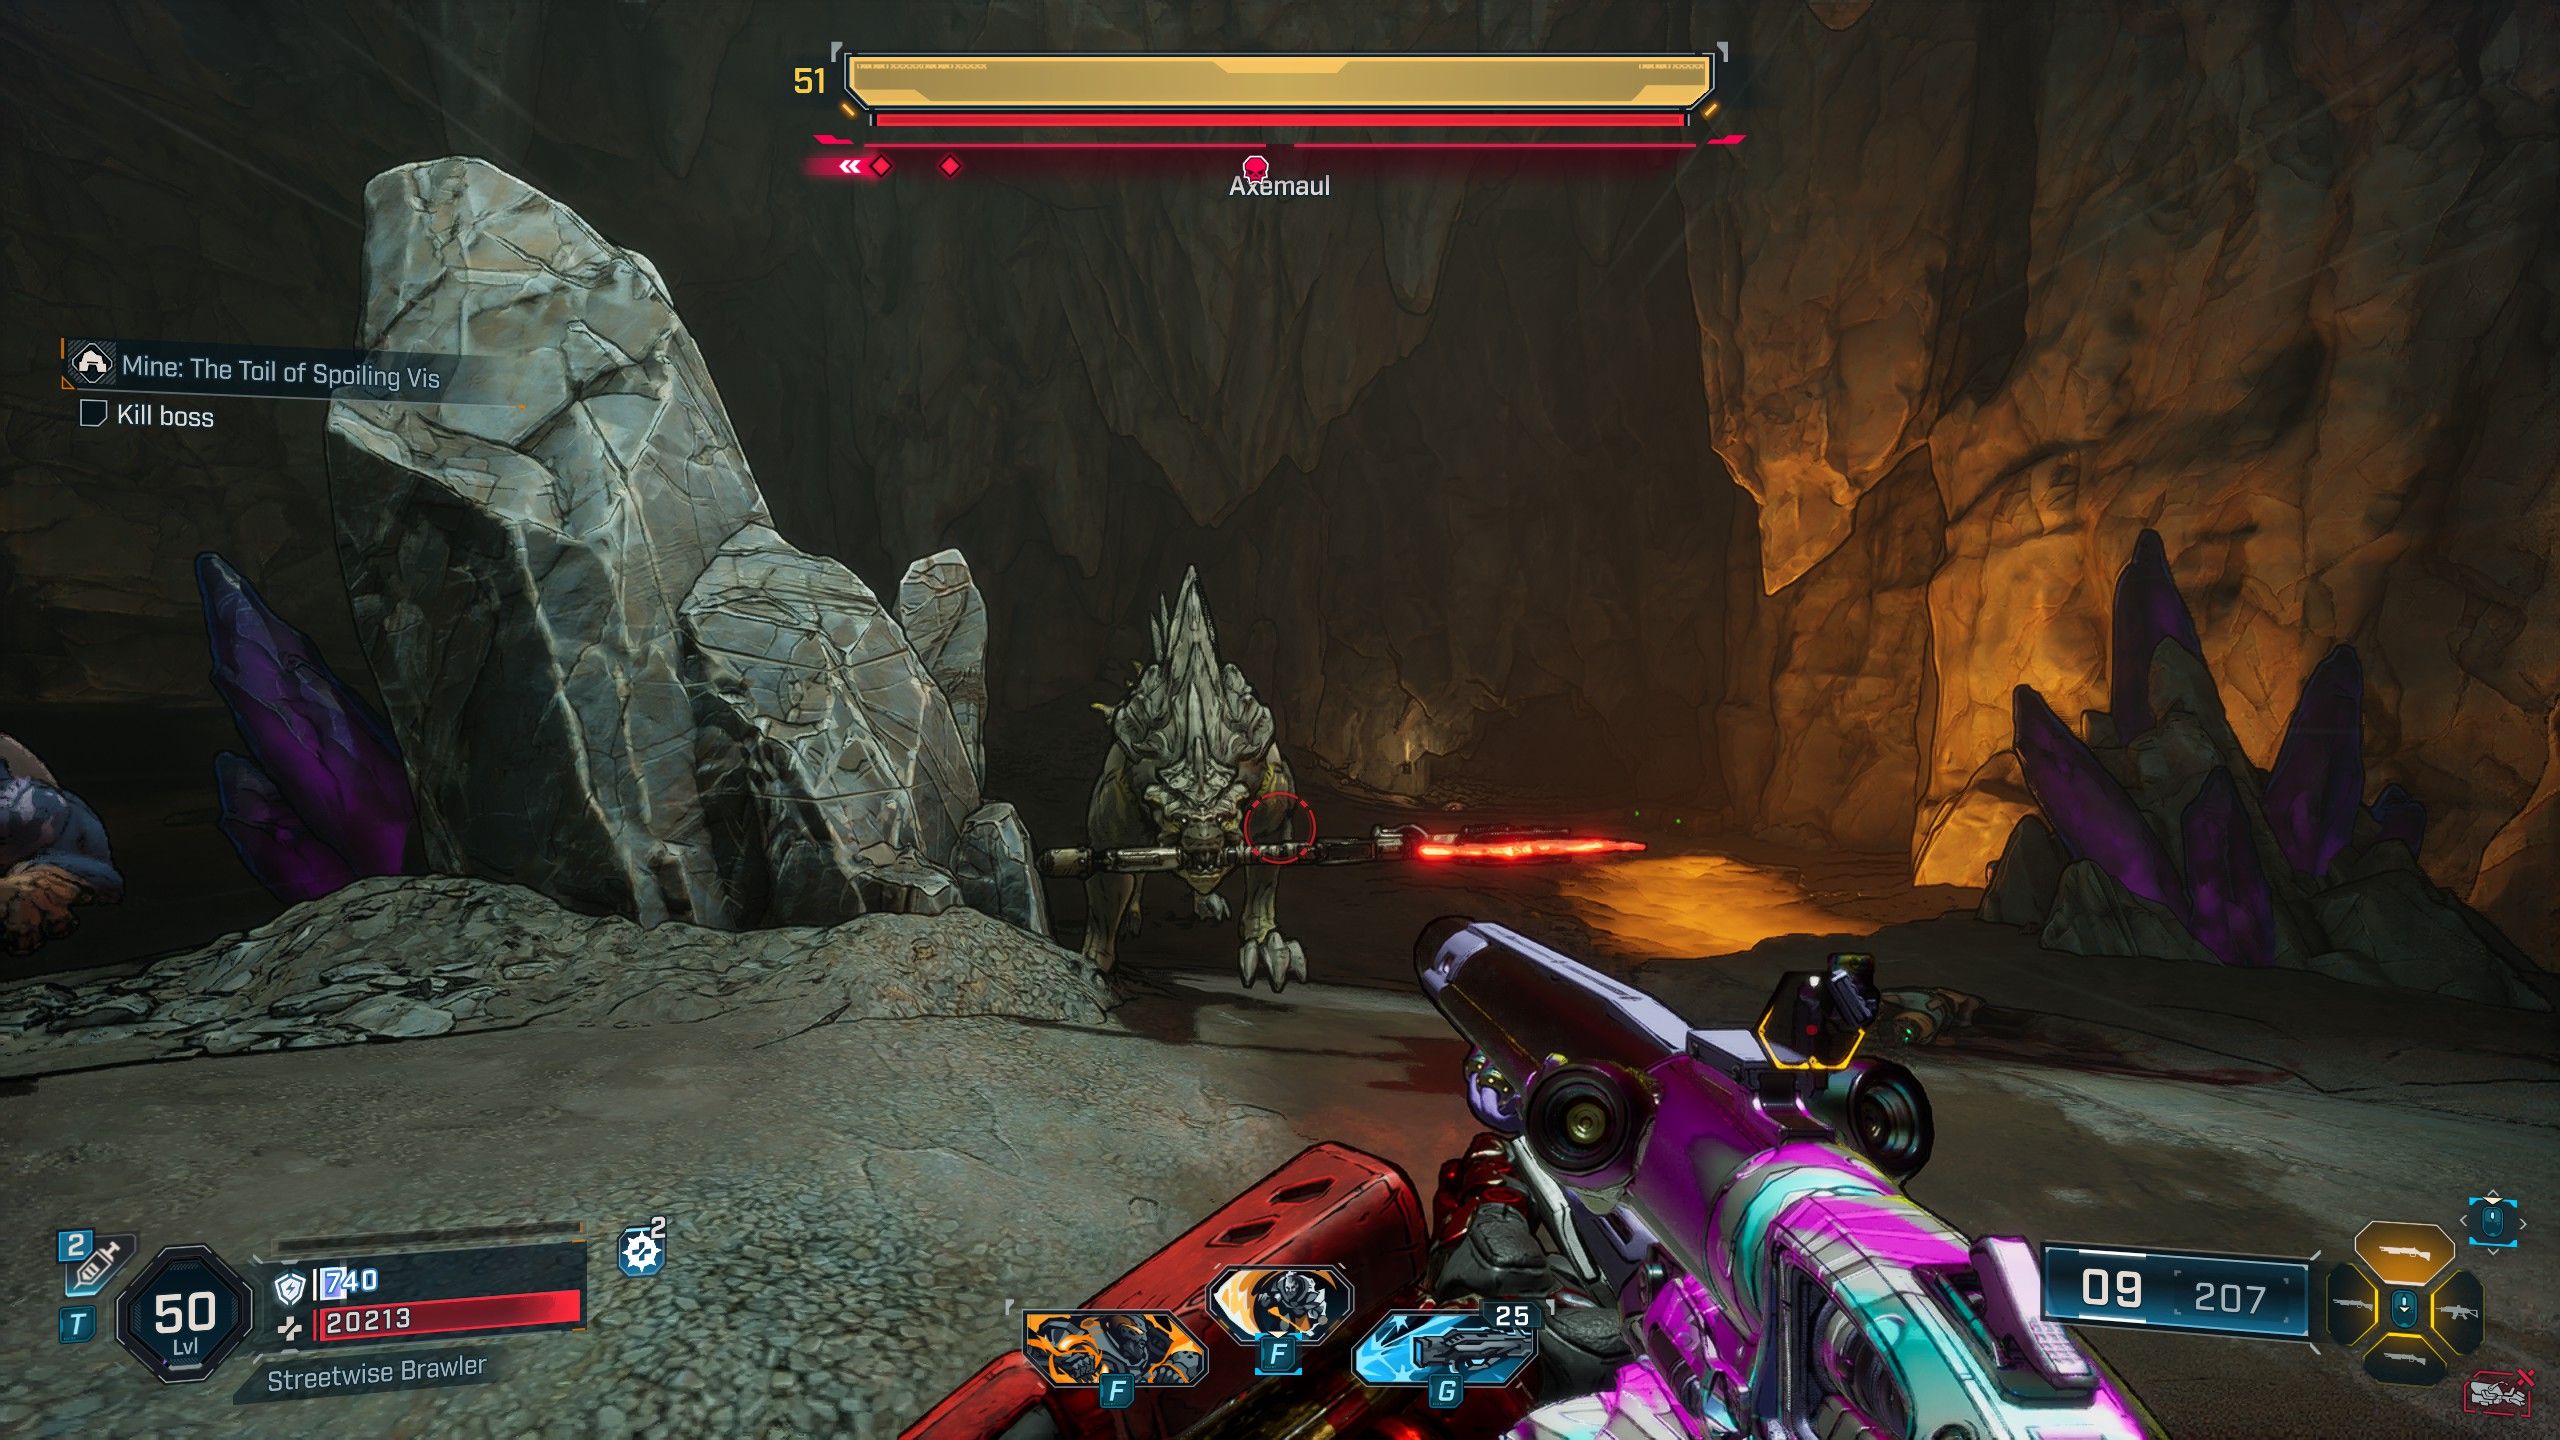
The Toil of Spoiling Vis
How to Beat Axemaul
- Location: Carcadia District, Dominion
| Legendary Loot | Type | Description | Stats |
|---|---|---|---|
| Armored Bod | Shotgun | All-Arounder – Counts as a Shotgun, an Assault Rifle, a Sniper Rifle, a Pistol, and an SMG Hyperion-Licensed Ricochet Shield – Damage to Gun Shields can Ricochet back toward enemies Daedalus – Secondary fire consumes Assault Rifle Ammo |
|
| Buzz Axe | Grenade Ordnance |
|
|
In the game Borderlands 4, the sole Auger Mine players can discover is called The Toils of Vis Spoiling, which becomes accessible in Dominion during its later stages. To get to The Toils of Vis Spoiling, players should initially spawn in Carcadia District within Dominion, then head towards the safehouse’s left side across the bridge. Here, they will notice a cave entrance amidst the debris. Inside the cave, they will encounter Manglers while progressing deeper and eventually reach Axemaul’s boss room. Axemaul is a particularly challenging boss who has an Armor health bar followed by a Flesh one. Using Corrosive and Incendiary weapons would be effective in reducing this formidable axe-wielding Mangler’s health.
Read More
- All Skyblazer Armor Locations in Crimson Desert
- How to Get the Sunset Reed Armor Set and Hollow Visage Sword in Crimson Desert
- All Shadow Armor Locations in Crimson Desert
- Marni Laser Helm Location & Upgrade in Crimson Desert
- All Helfryn Armor Locations in Crimson Desert
- All Golden Greed Armor Locations in Crimson Desert
- All Icewing Armor Locations in Crimson Desert
- Best Bows in Crimson Desert
- One Piece Chapter 1180 Release Date And Where To Read
- How to Beat Stonewalker Antiquum at the Gate of Truth in Crimson Desert
2025-09-12 12:42