
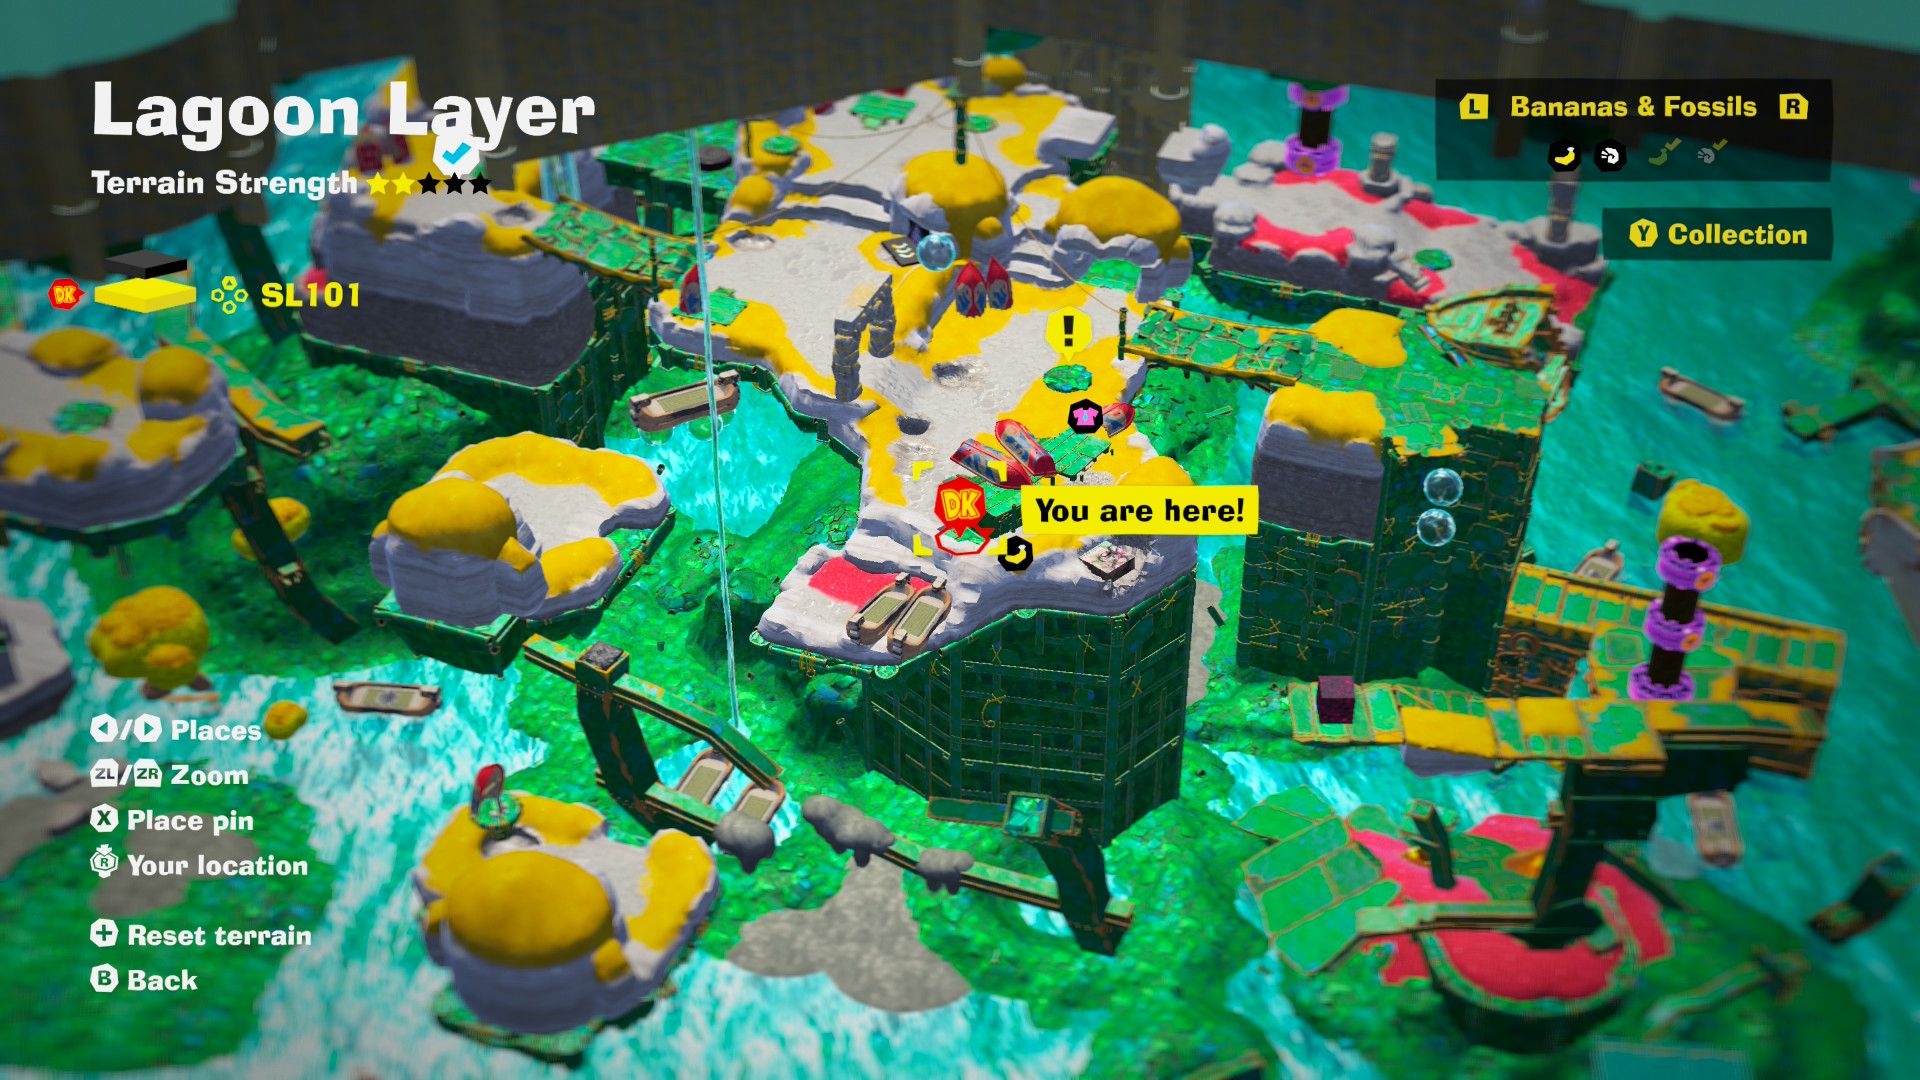
In the game “Donkey Kong: Bananza”, the Lagoon Layer SL101 holds a total of fifteen elusive Banandium Gems. These are gems numbered 26 to 40 within the Lagoon Layer. Finding some of these can be quite challenging, as it may require exploring the layer above or digging beneath certain parts of the stage. Additionally, since this is one of the game’s initial areas, you might not yet have upgraded your Sonar, adding another layer of difficulty to your search.
In this tutorial, we’ll walk you through locating all fifteen Banandium Gems scattered across Lagoon Layer SL101 in the game Donkey Kong Bananza. We’ve got map visuals and comprehensive instructions to help you navigate the more challenging and elusive gems, like those perched above the Orang-Hang Highway, or the one that necessitates a good deal of exploration on SL100 before you can access it.
26 – Landed in Salvager’s Landing
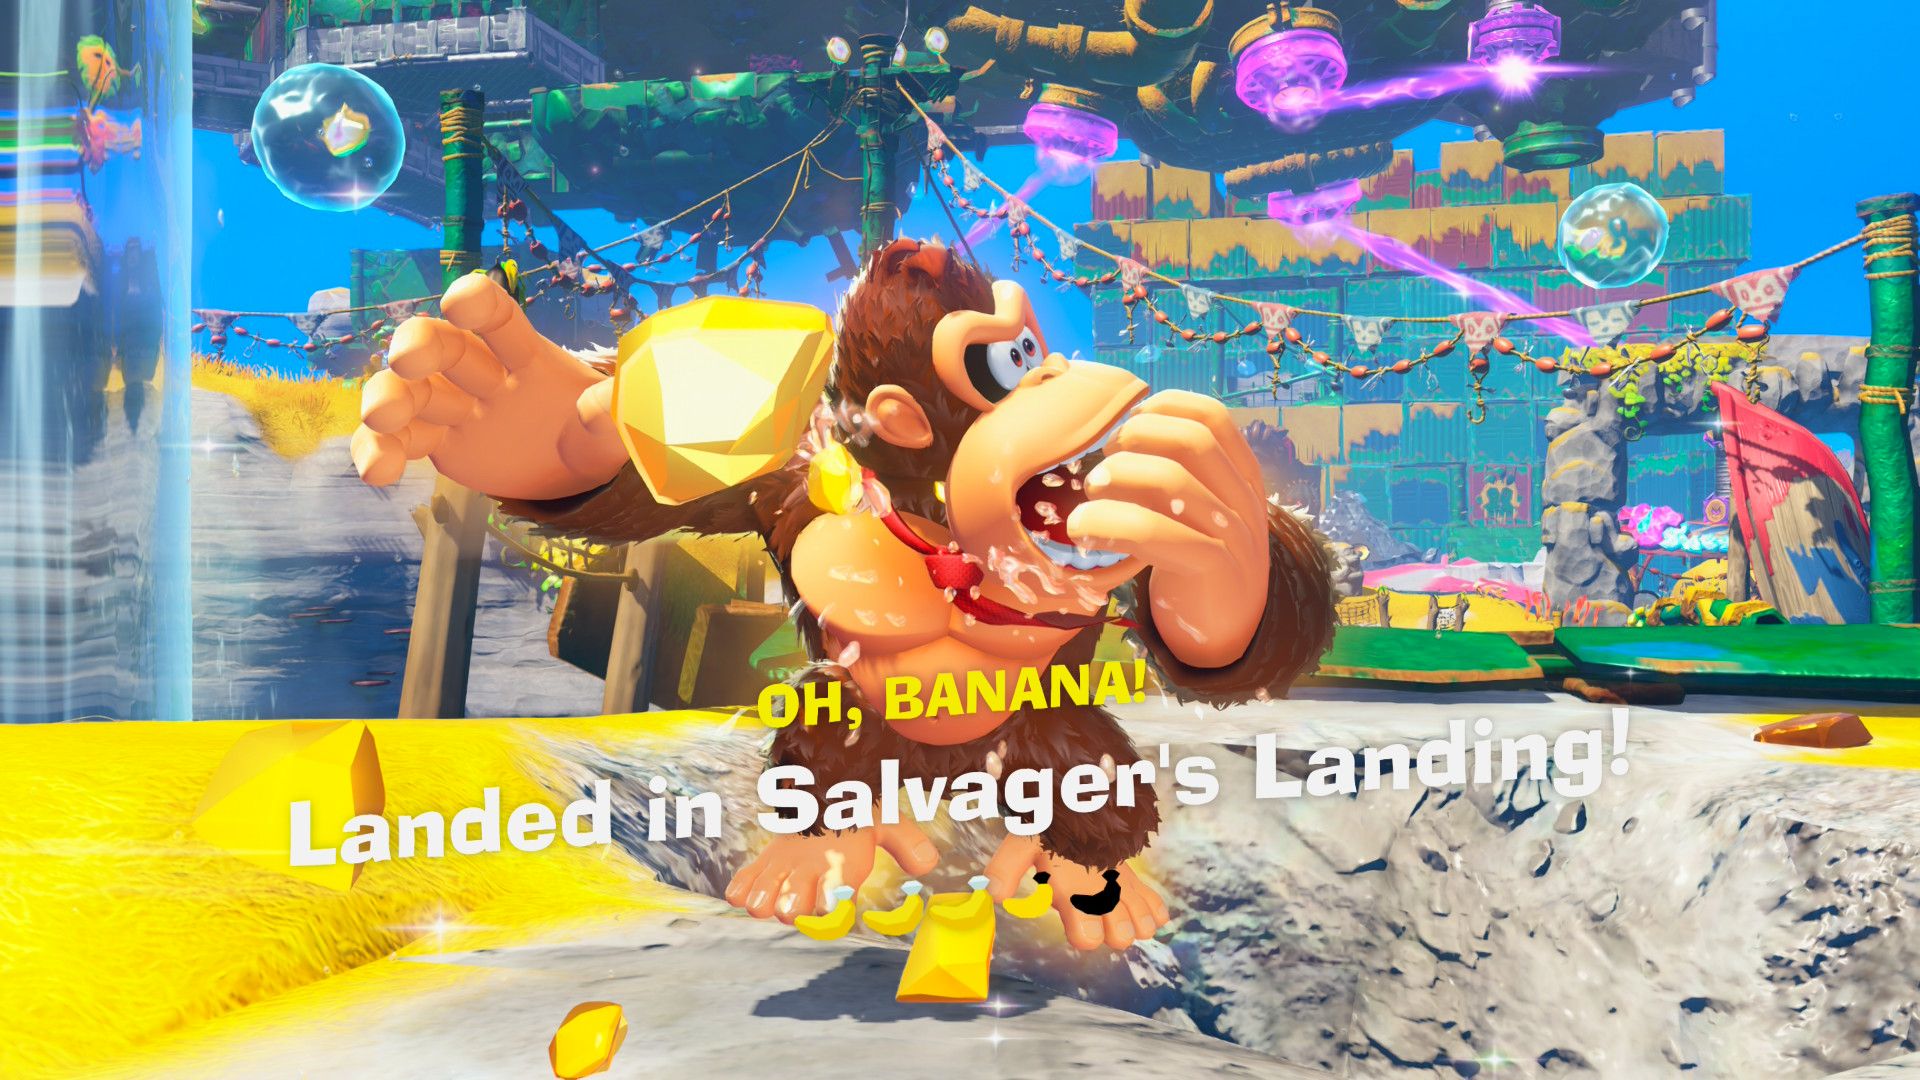
This particular item will be yours as a reward when you successfully shatter the Void Barrier obstructing your path to SL101. You can acquire it simply by adhering to the narrative and advancing through SL100. It’s valued at three Banandium Gems for the ability to gain skill points.
27 – Shifty Smash: A Wall Hanging in Air
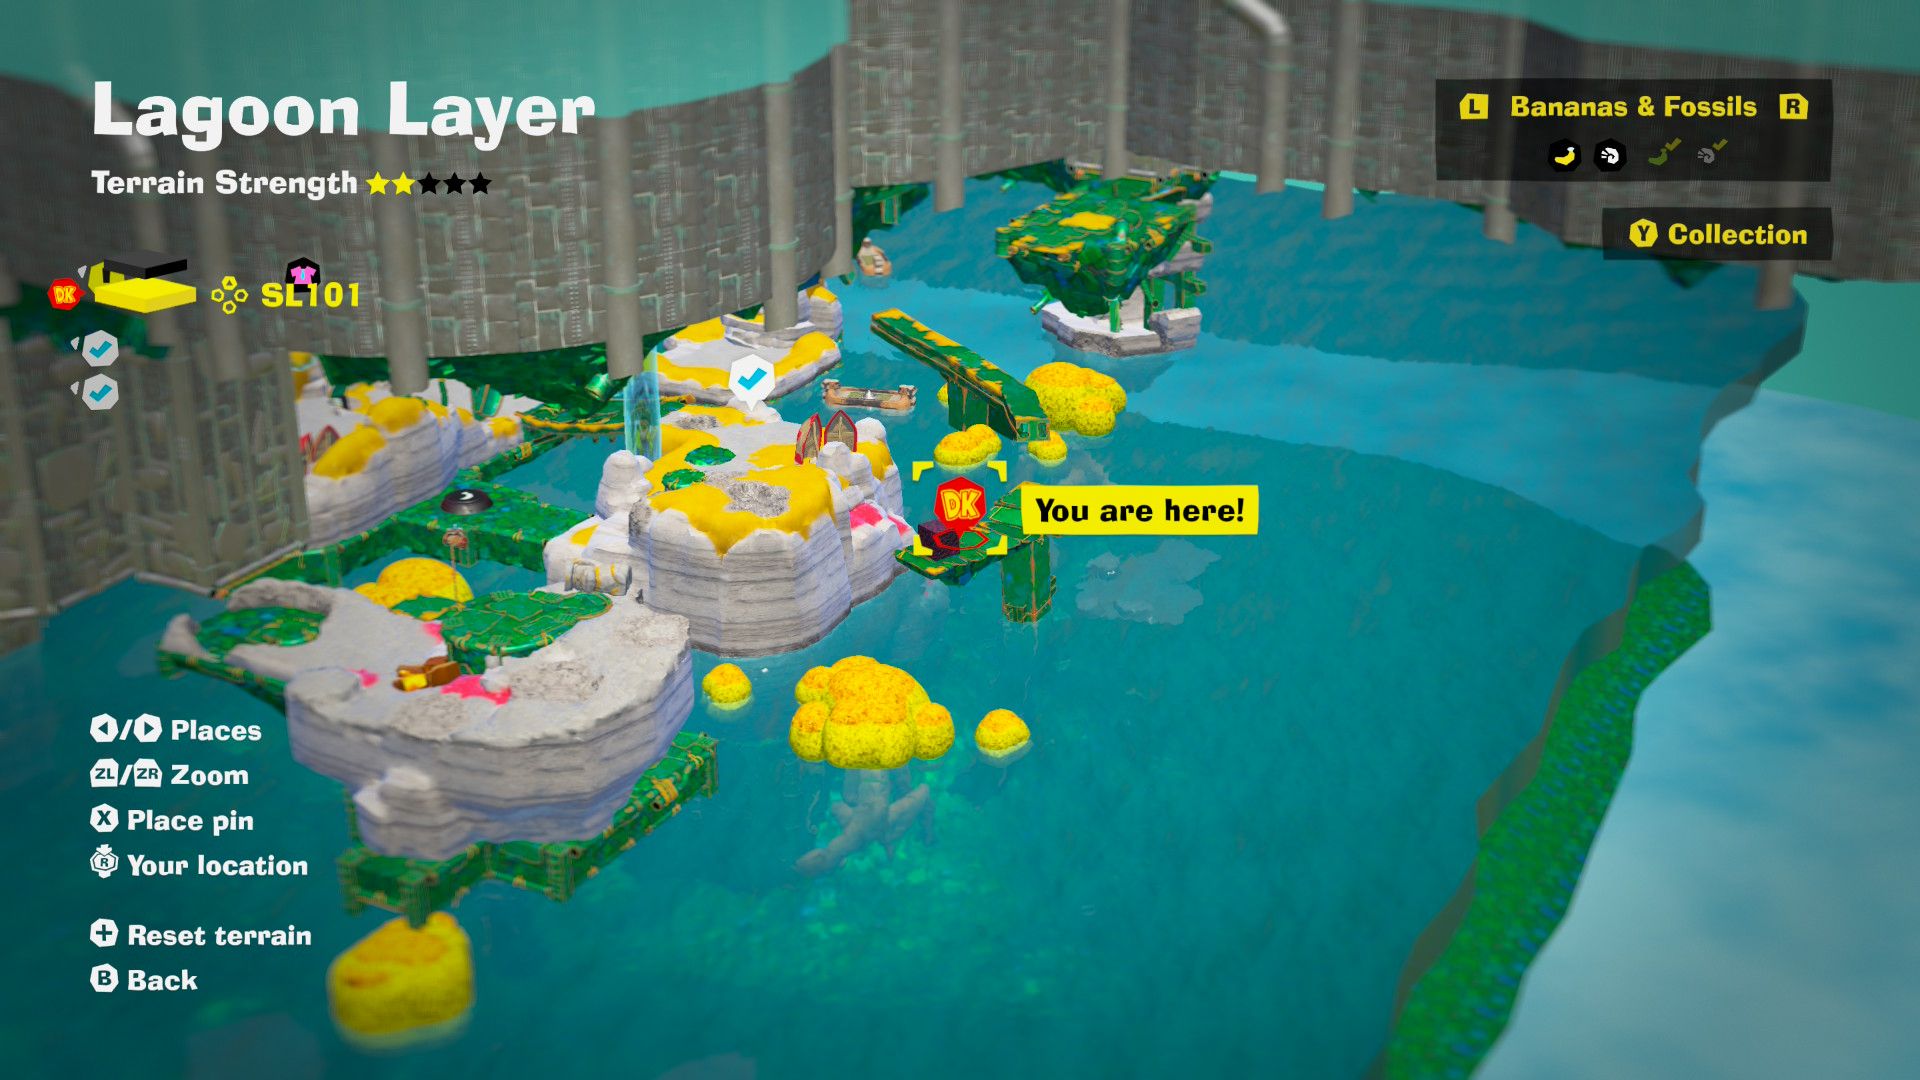

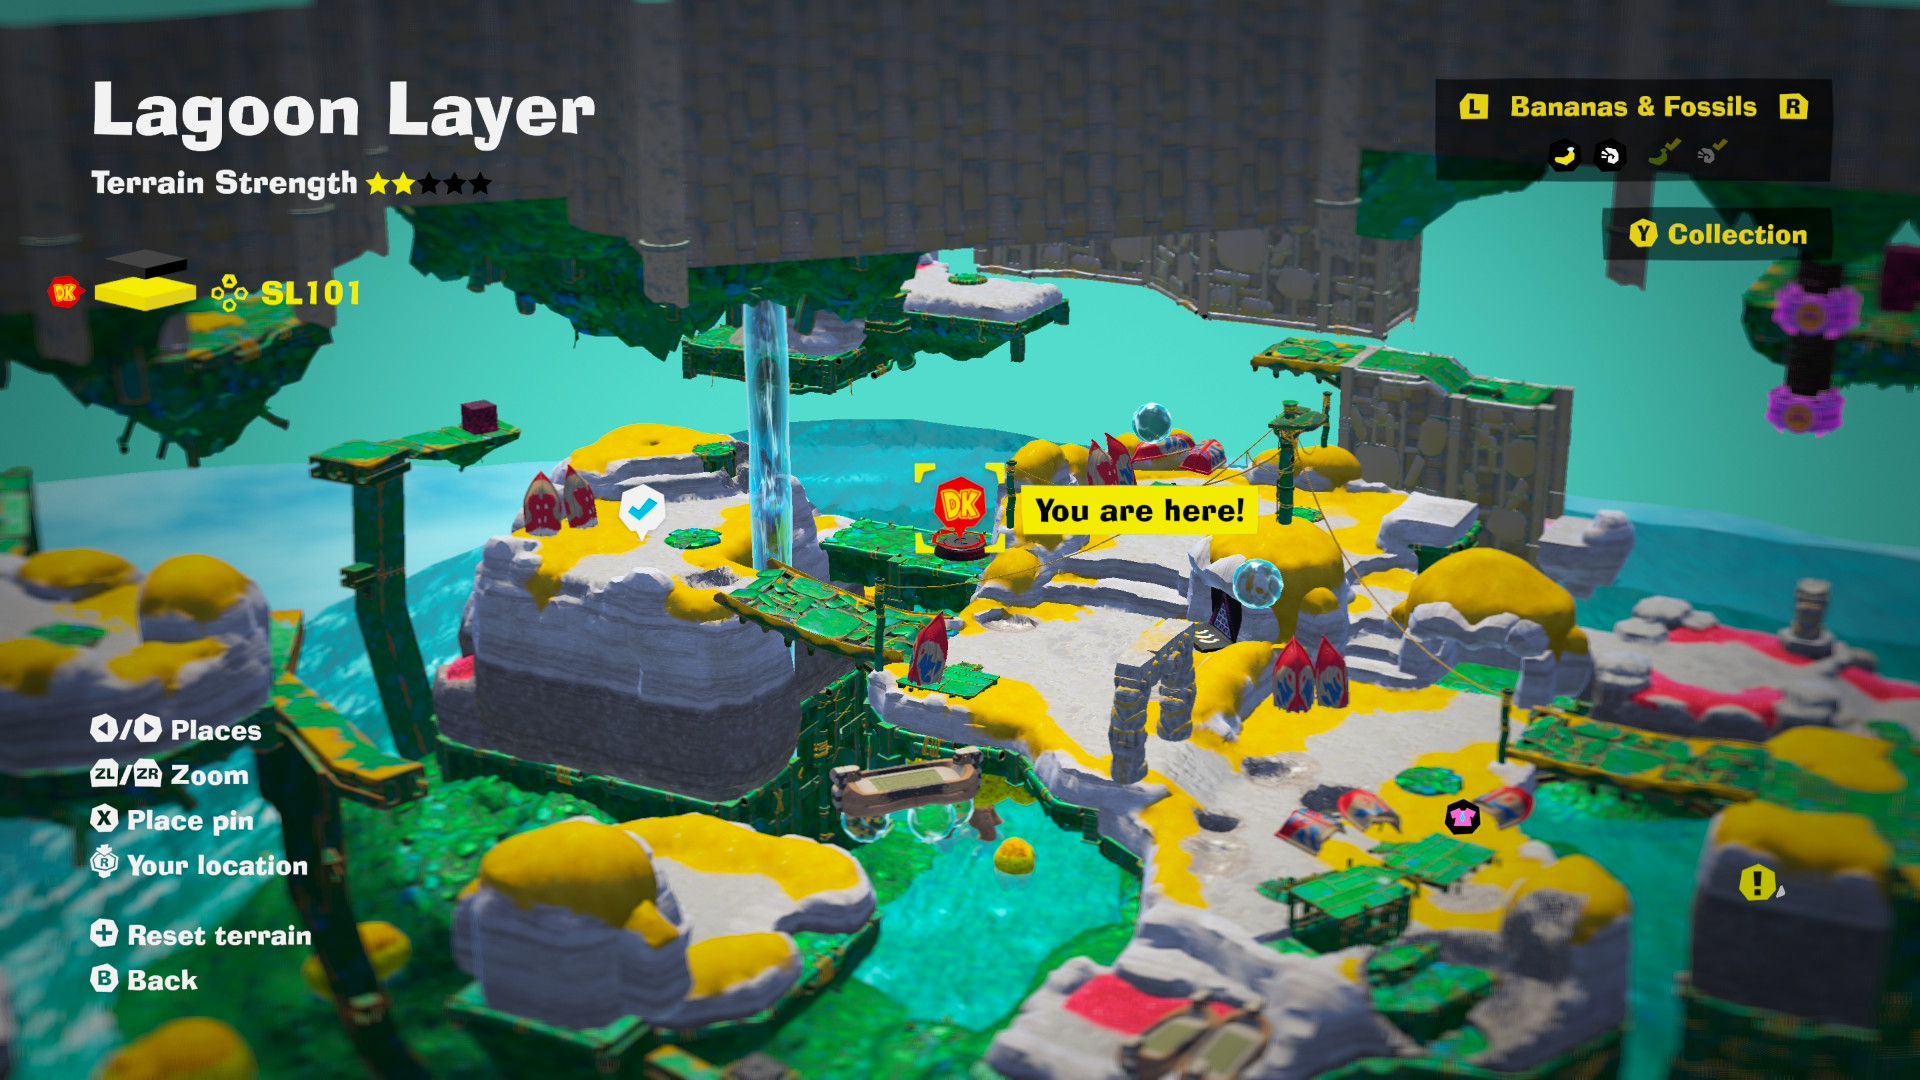
As you step in, there’s something just ahead that you might want to approach after you’ve flooded the area again. This way, you won’t have to climb back up as much if you miss the jump. To reach the spot marked on image 1’s map, you’ll need to leap off some terrain and execute a jump shot. Once you’re there, hit the switch to make a wall of concrete appear and a timer begin counting down. Find some explosive material nearby, chuck it at the wall until it’s completely destroyed (you might have to repeat this process several times). If the timer ends before the wall is demolished, you’ll need to restart, but there’s plenty of time. When the wall is gone, the Banandium Gem will appear where the switch used to be.
28 – On the Ceiling of the Floor
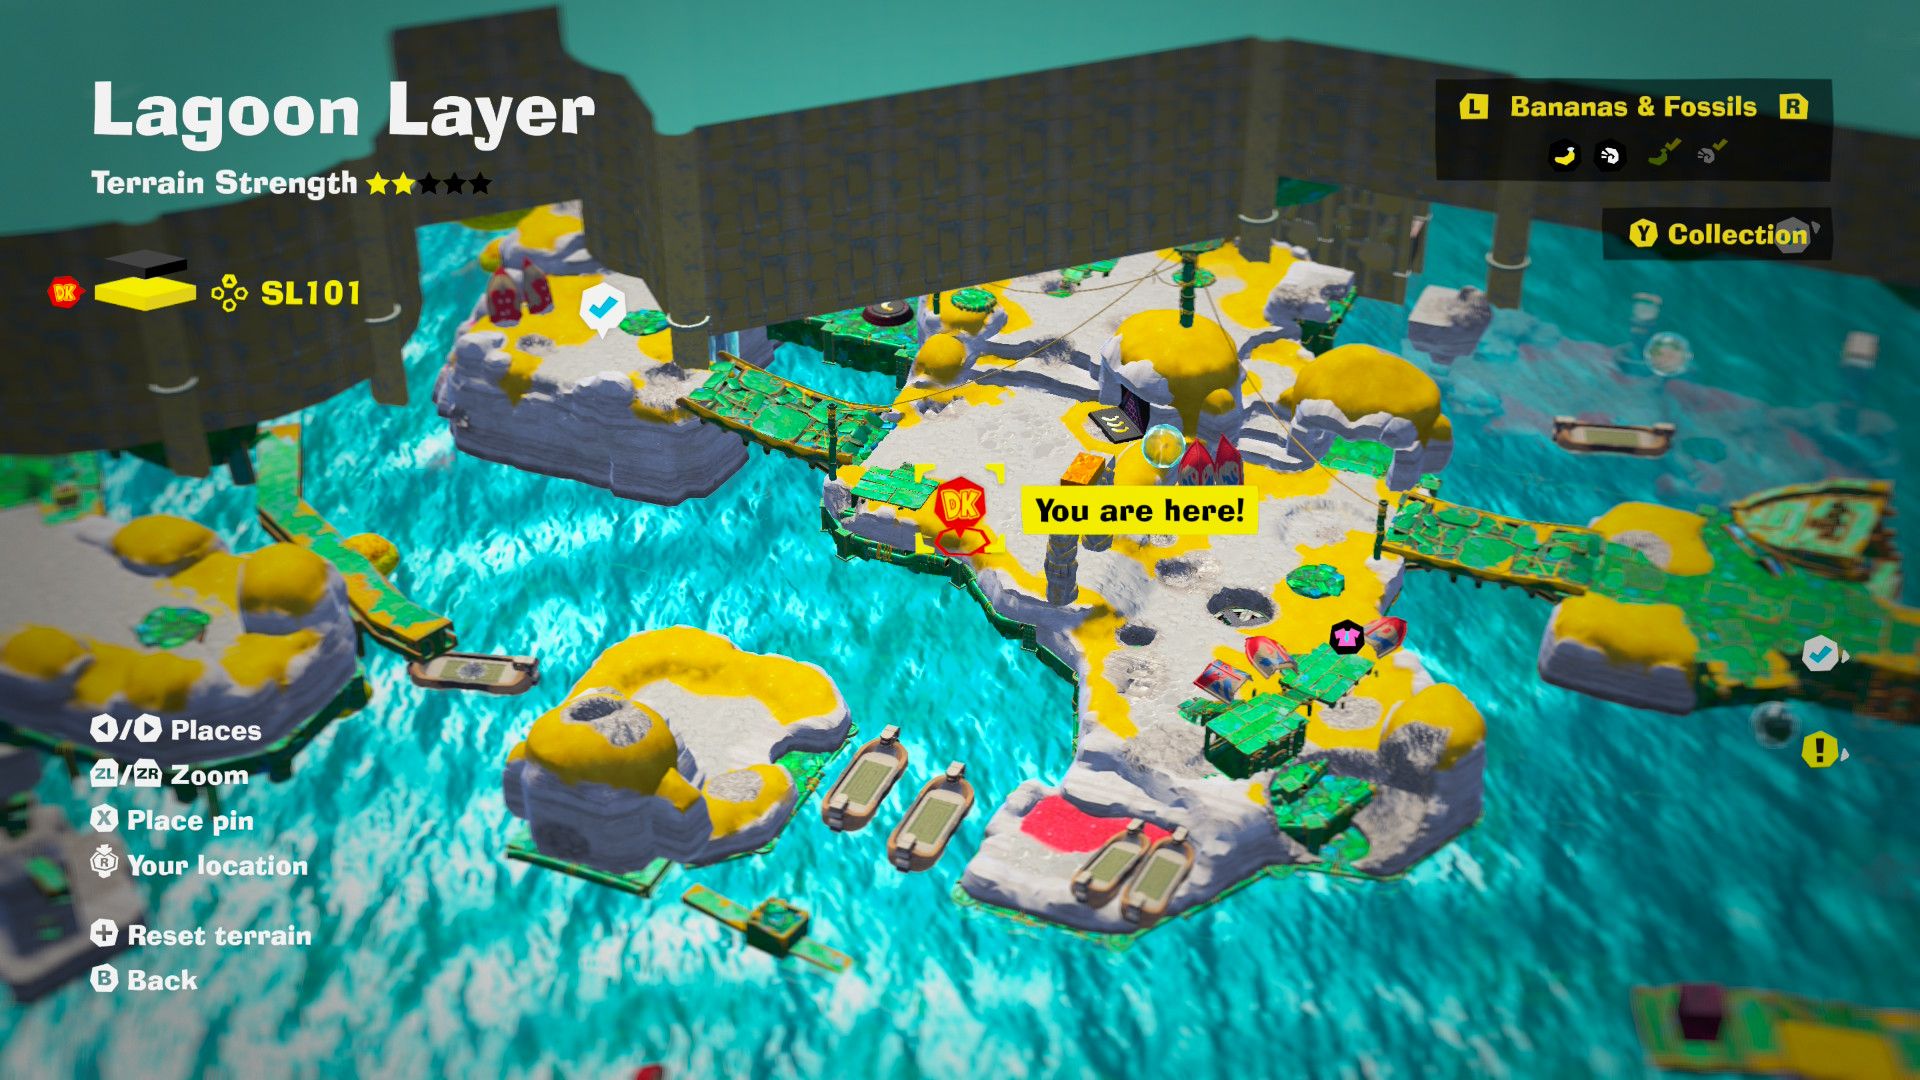
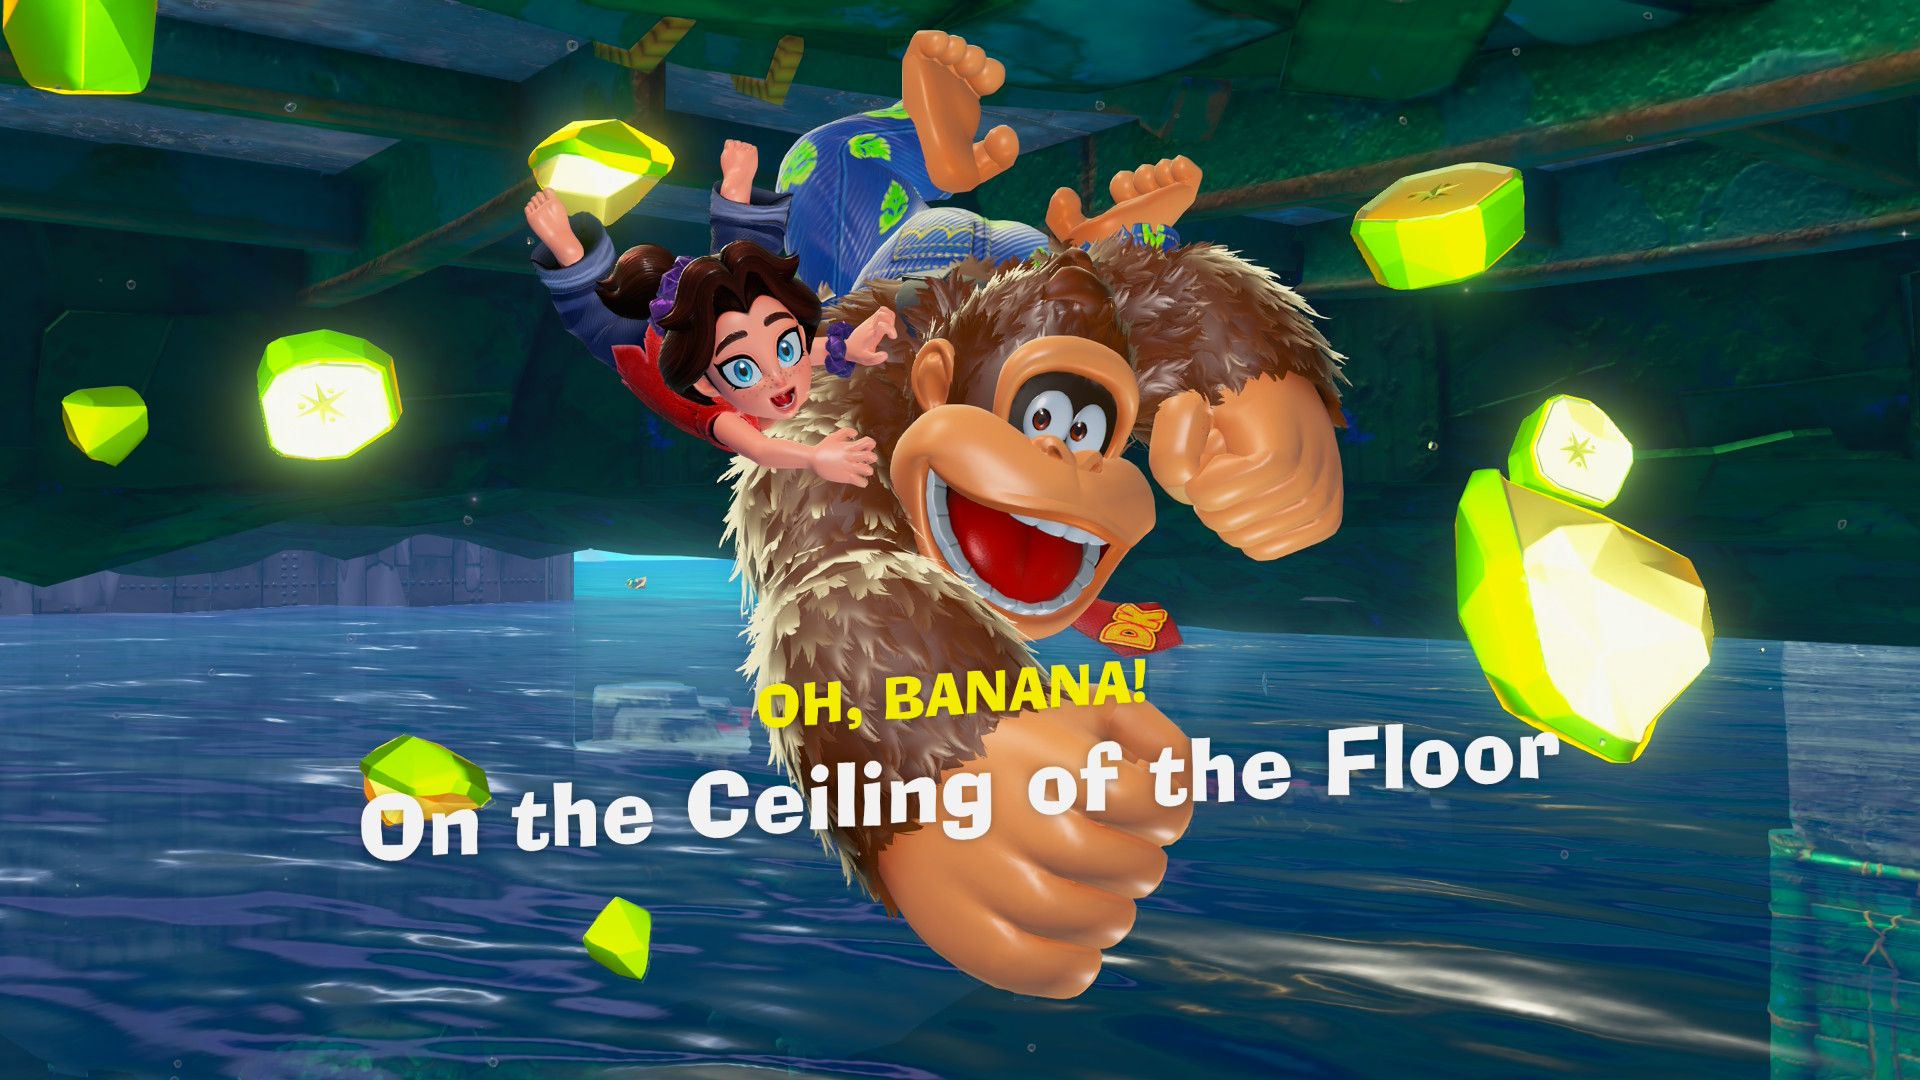
This location is concealed yet accessible; it lies beneath the region marked on the map above. To access it, you should first flood the map, allowing you to swim below the surface and reach it. You’ll be able to do this as you progress through the level, so don’t forget to return for a dip once the water level rises sufficiently to reach your destination.
29 – Over The Thorny Path

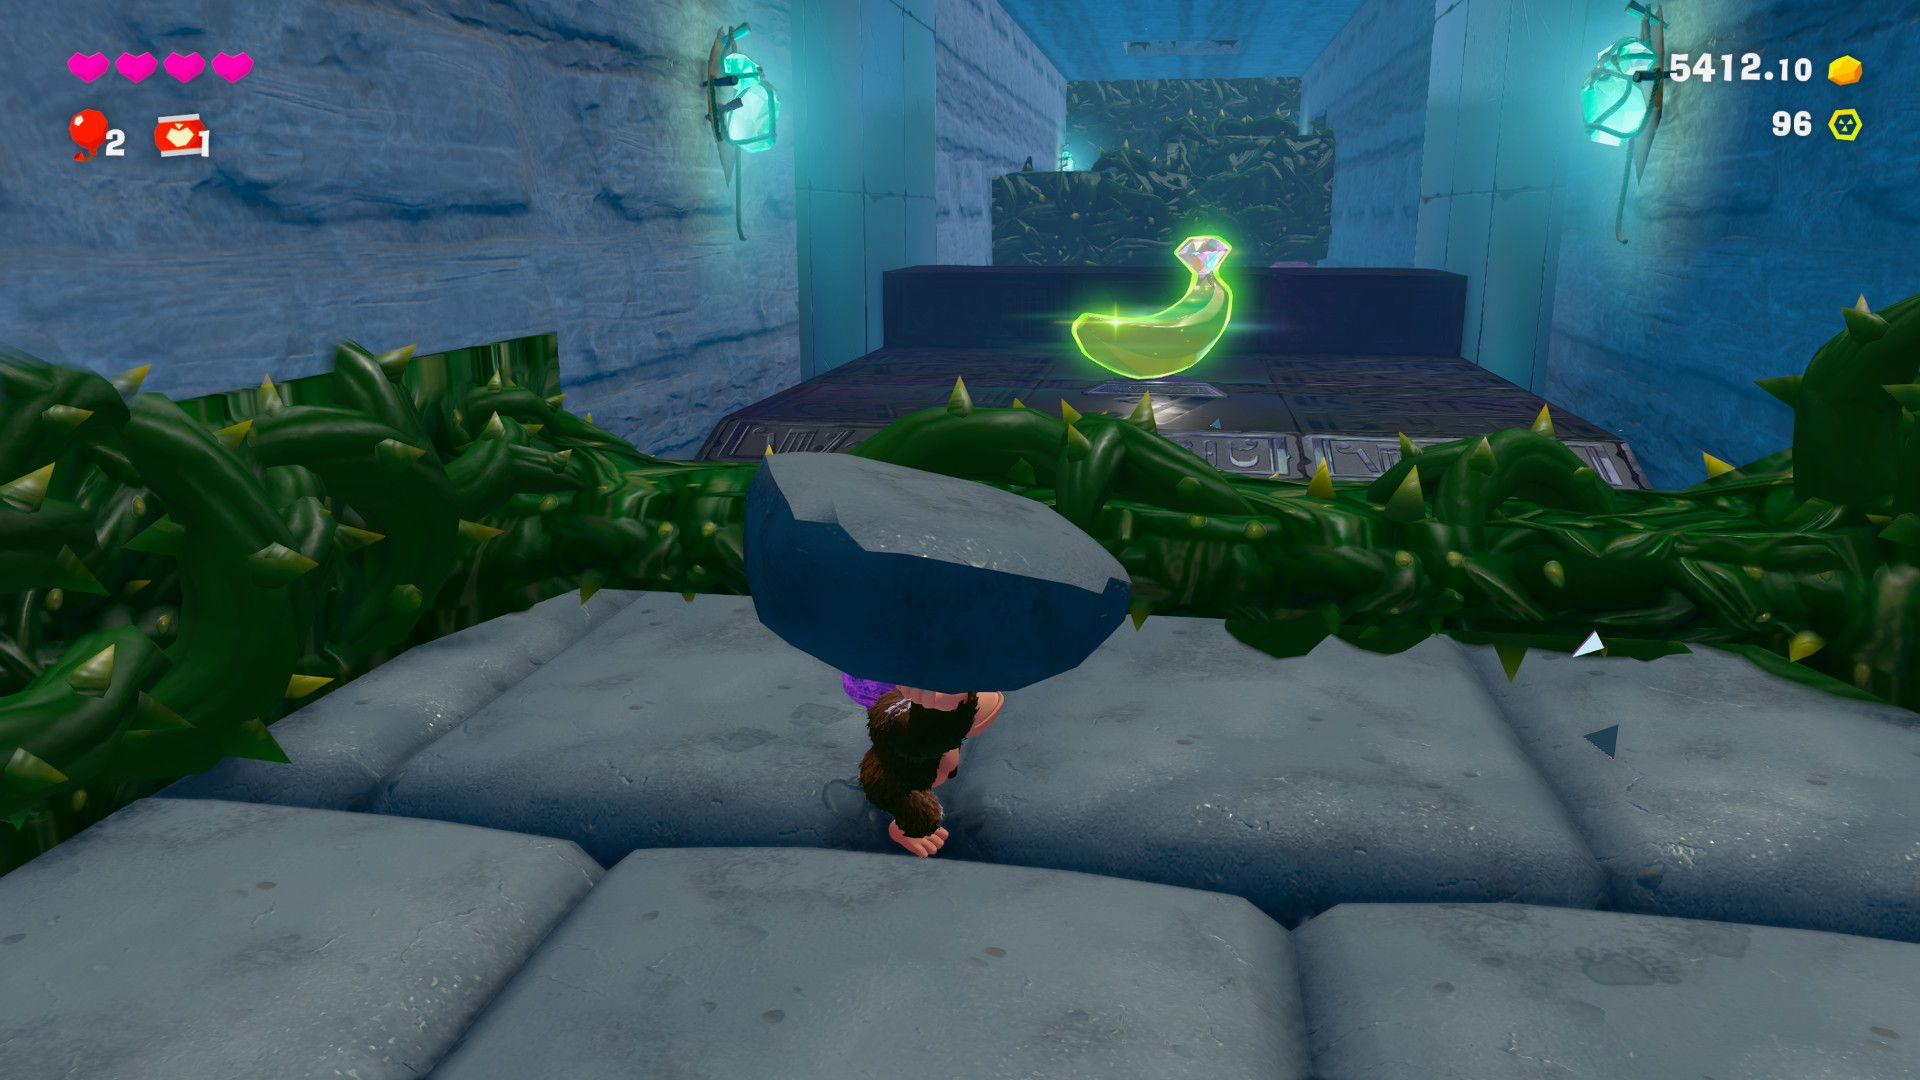
The Banandium Gem you see here, along with the next two on the list, can be obtained from a unique hurdle named “Thorn-Choked Conveyor”. To locate this challenge, refer to the map above and look for the indicated spot. To gain entry, execute a Dive Punch. Upon entering, the first Banandium Gem lies straight ahead, obstructed by some thorns. Overcome these thorns by dislodging a piece of stone from the ground and using it to smash through, creating a pathway to the gem.
30 – Into the Thorny Nook
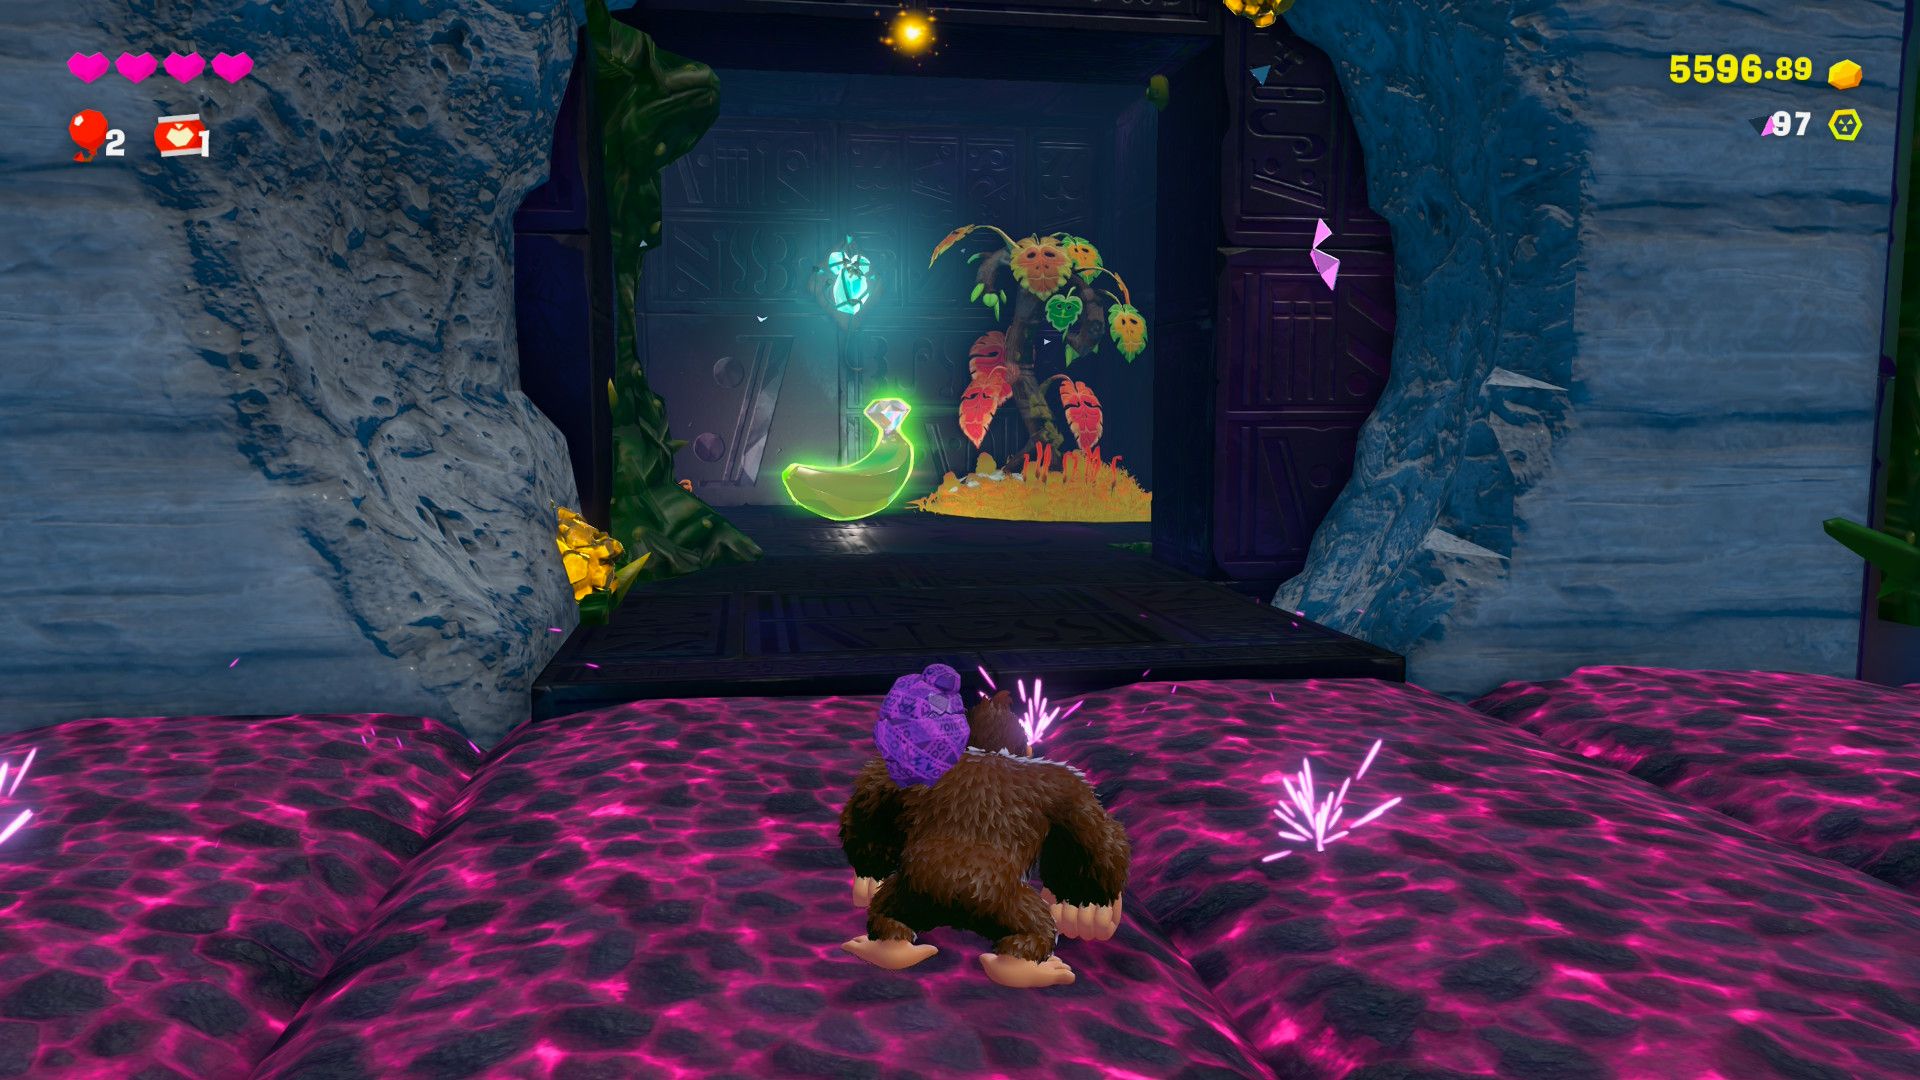
Moving on, you’ll come across this Banandium Gem a bit further ahead, past a wall of thorns that you can blow up using explosive floor sections. Once you’ve cleared that wall, look for another smaller barrier of thorns blocking a side path; you can destroy it in the same manner to uncover the gem.
31 – Through the Thorny Walls
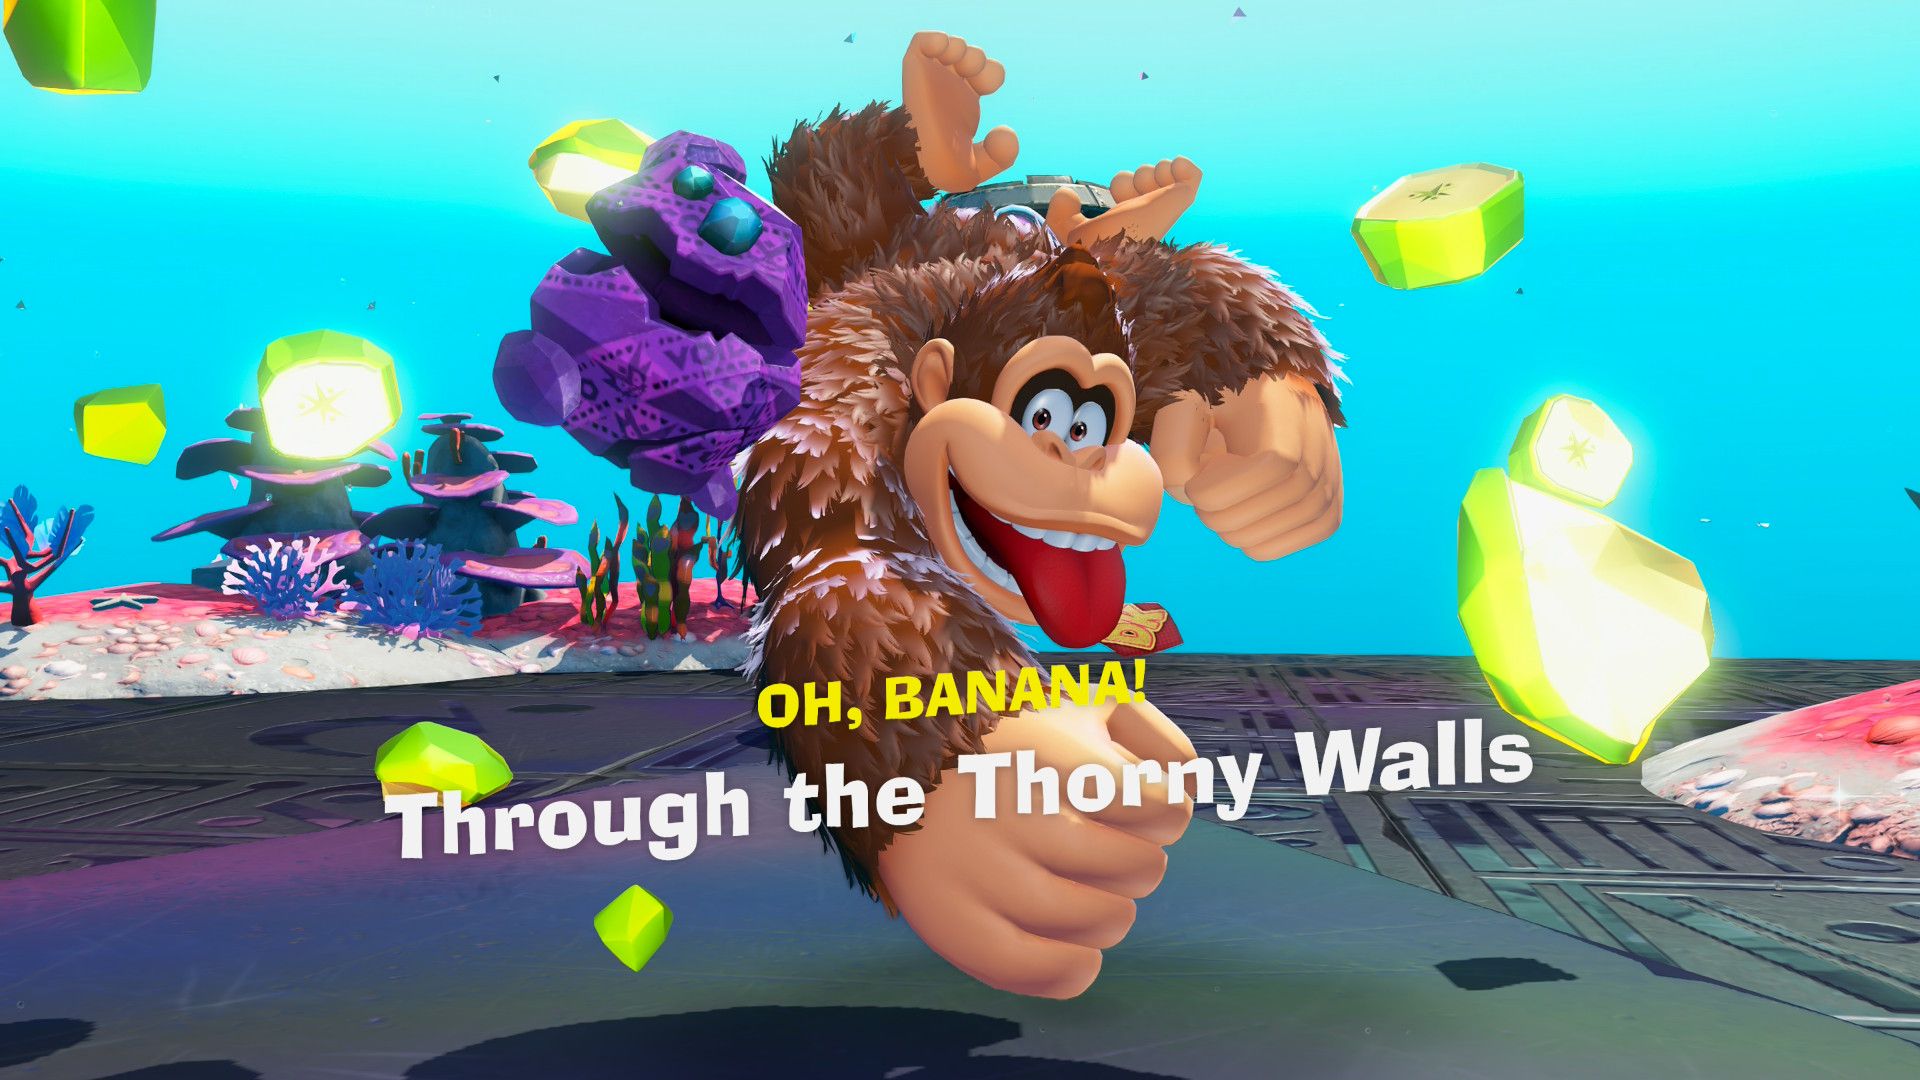
After picking up the last Banadium Gem, make your way back onto the primary route and keep breaking through the prickly barriers until you reach the end of the challenge. There, you’ll find another Banandium Gem waiting for you.
32 – The Salvager’s Stash
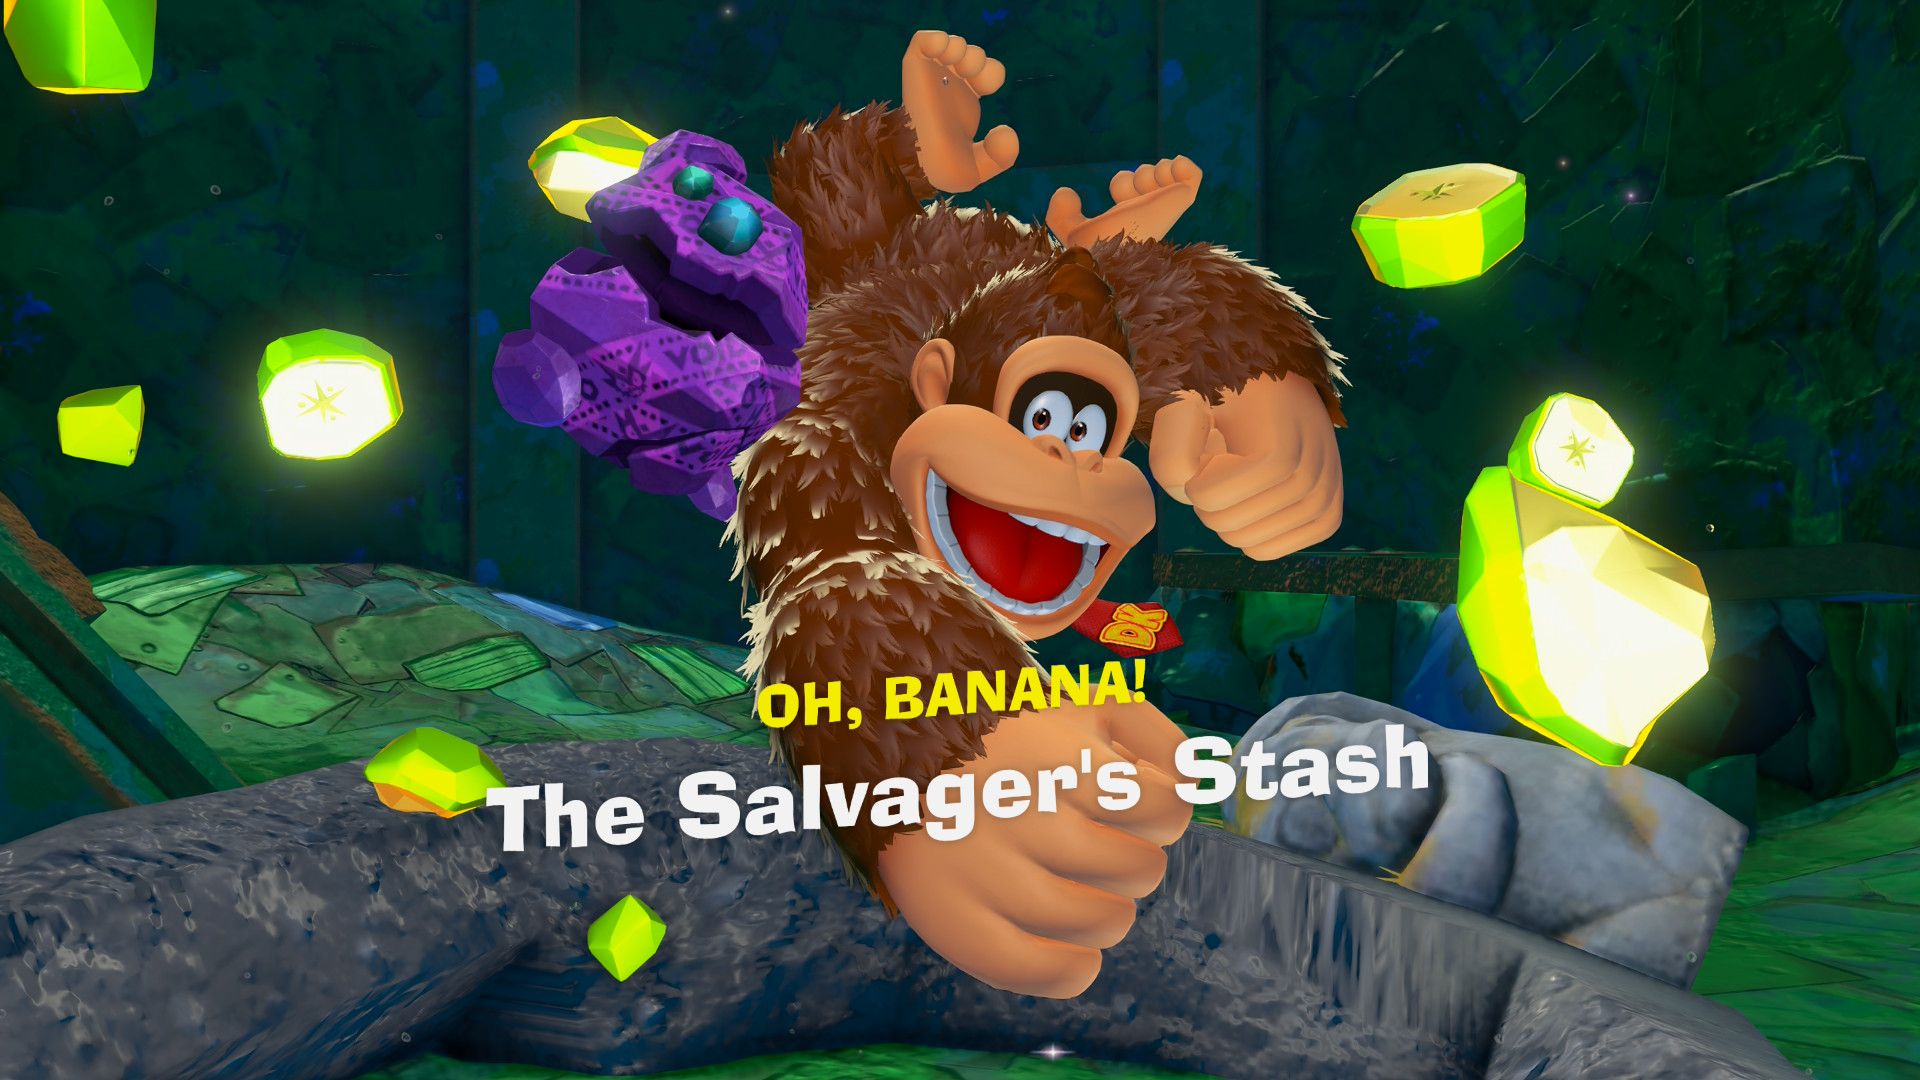
As an enthusiast, I must say that the Banandium Gem is incredibly accessible! Tucked away in a subterranean chamber beneath the Style Shop, it may not be found through conventional digging methods. However, if you follow the marked location on your map, you’ll discover a hidden path that leads directly to this gem, nestled beneath a house.
A Salvager NPC can pinpoint the gem’s exact location on your map should you converse with them, but beware – they won’t guide you to the entrance of the chamber itself. So, embark on an adventure and uncover this hidden treasure!
33 – Battle: Concrete-Wall Clash
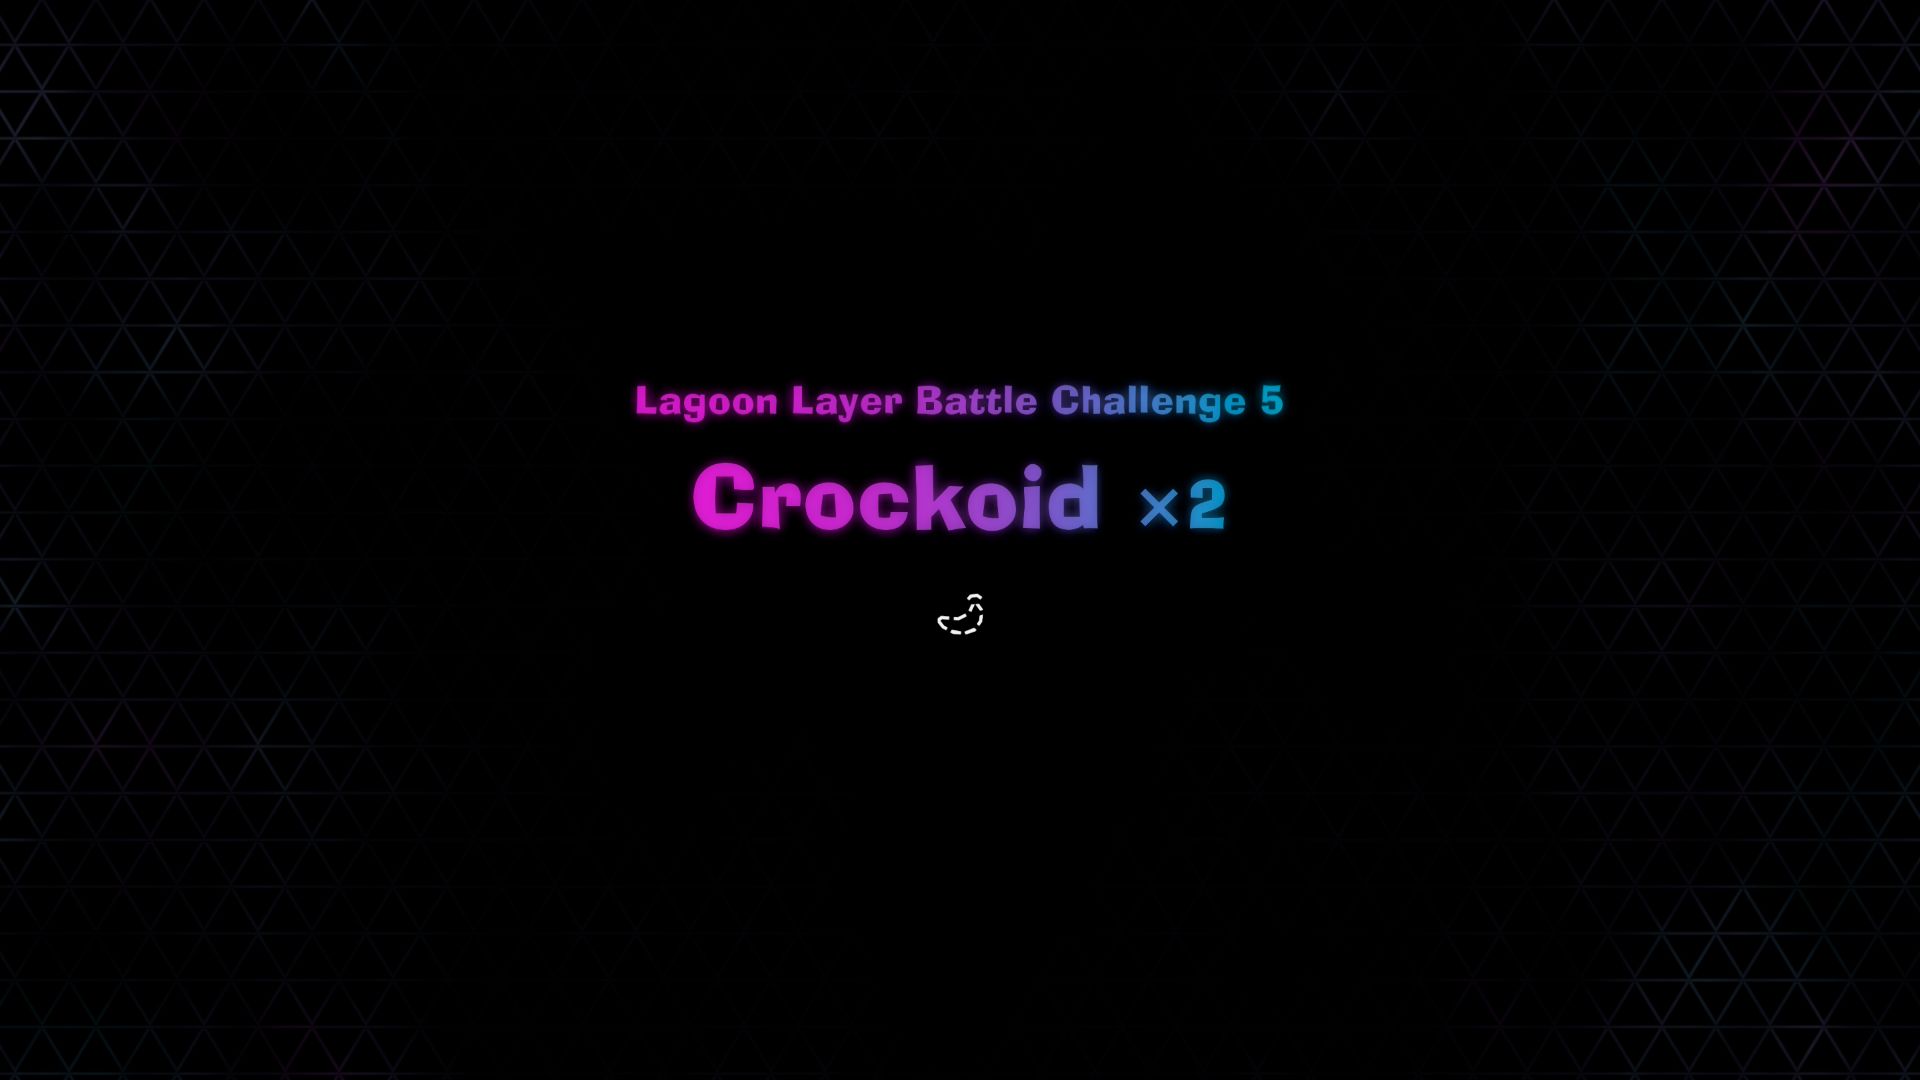
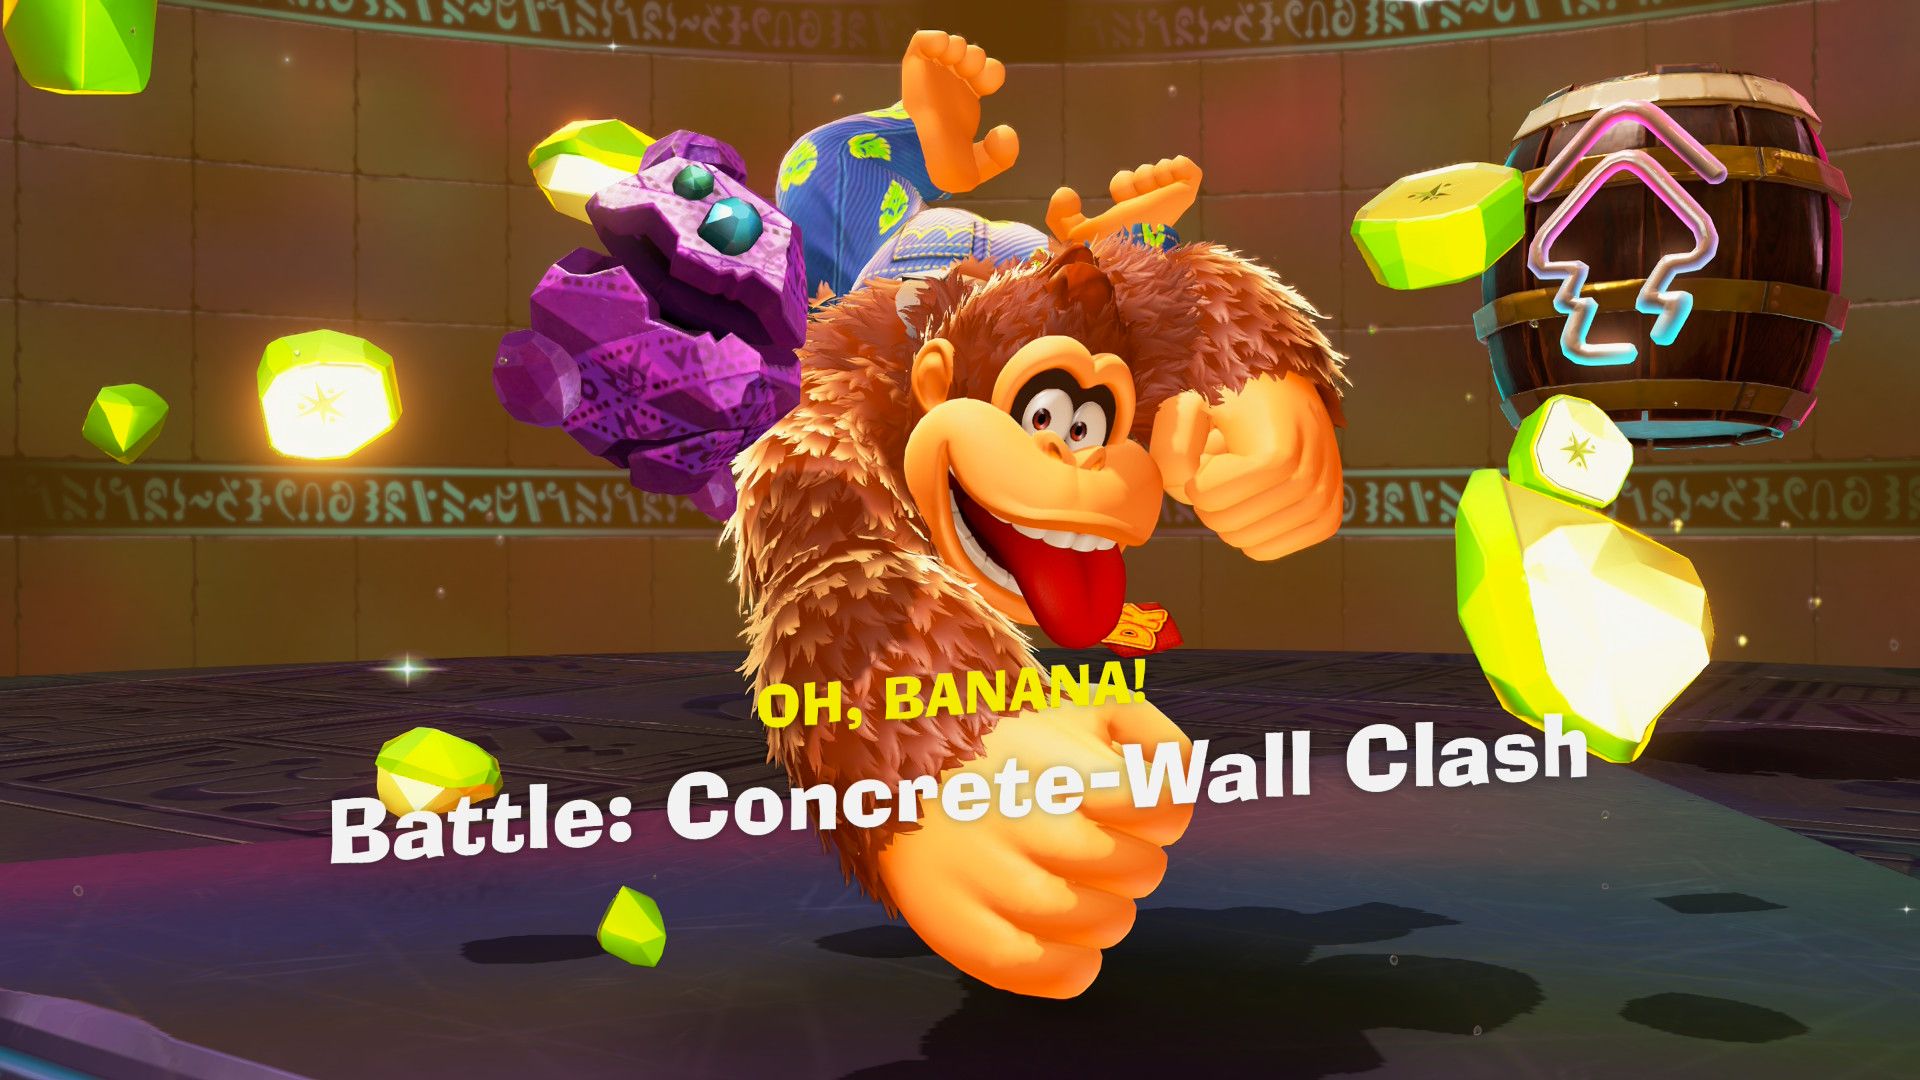
To obtain the Banandium Gem, follow the marked location on your map where a tough battle awaits you against two Crockoids. Your mission is to swiftly defeat these creatures within a narrow timeframe, made more challenging by the partitioned sections and concrete walls in the area. To overcome this obstacle, pick up some explosive terrain and toss it at the initial concrete wall to shatter it, then dash through and seize another for flinging at the first Crockoid. Once the Crockoid is reduced to a golden skeleton, strike it to complete the task. Repeat this process with the second Crockoid by using explosive terrain to break down the next wall, run through, and win the battle swiftly if you move quickly.
If you’ve got Kong Bananza unlocked, you can leverage its powerful punches to smash through walls and weaken the armor of Crockoids. However, this method might take a bit more time compared to utilizing the environment, unless you’ve enhanced those punch abilities in that specific form.
34 – Up, Over, and Across

As you move forward in the tale of this region, upon reaching the moment to tug the second lever and resume flooding the area, you’ll need to detonate explosives to shatter an obstruction on a scalable wall first. Then, ascend and traverse over a suspended mesh ceiling to obtain the gem.
35 – Within the Fast-Growing Grass
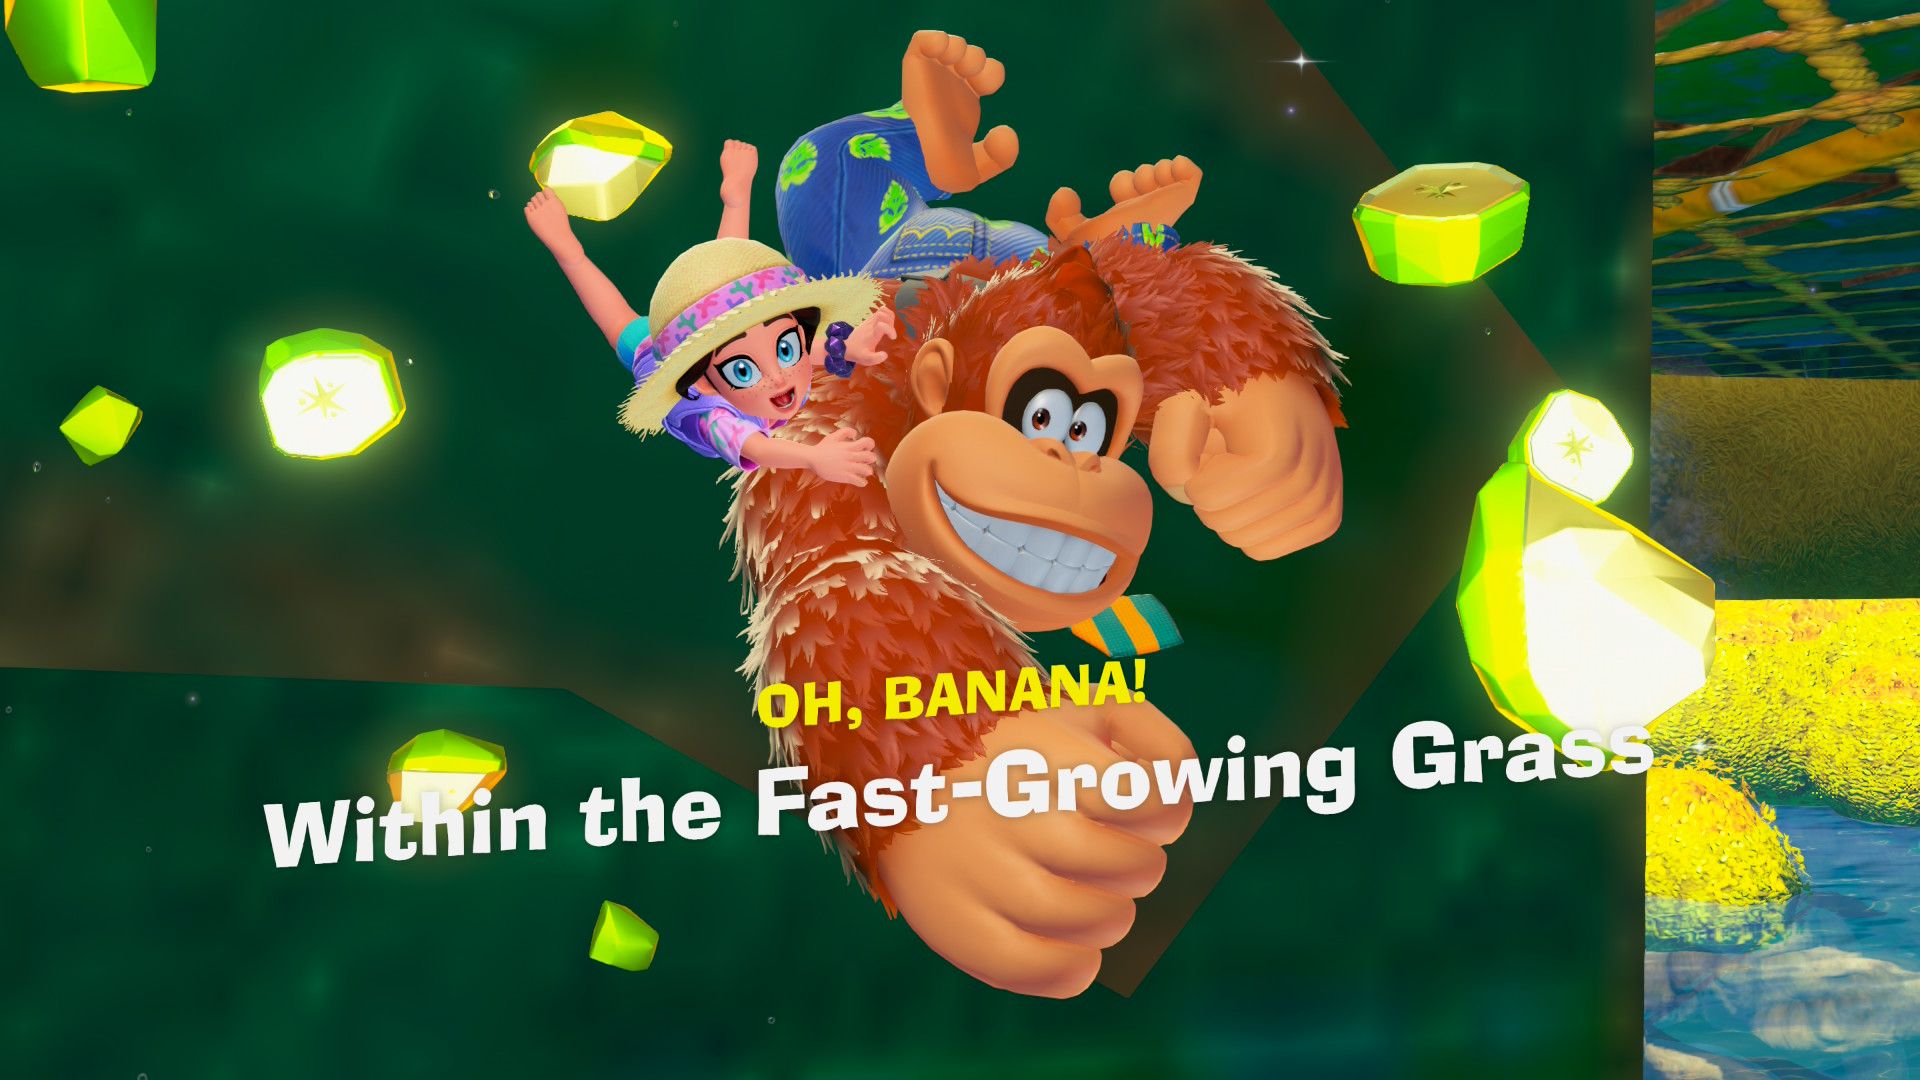
To obtain this item, first, ensure the region is properly reflooded, then follow the marked location on your map. Dive under the indicated island to find a hanging structure. Be swift once you seize it, because thorns will sprout along the way up and may cause you to lose your grip if they reach you. Proceed until you encounter a path junction, then veer right and sprint towards the gem as quickly as possible.
36 – Hangin’ on Orangu-Hang Highway!
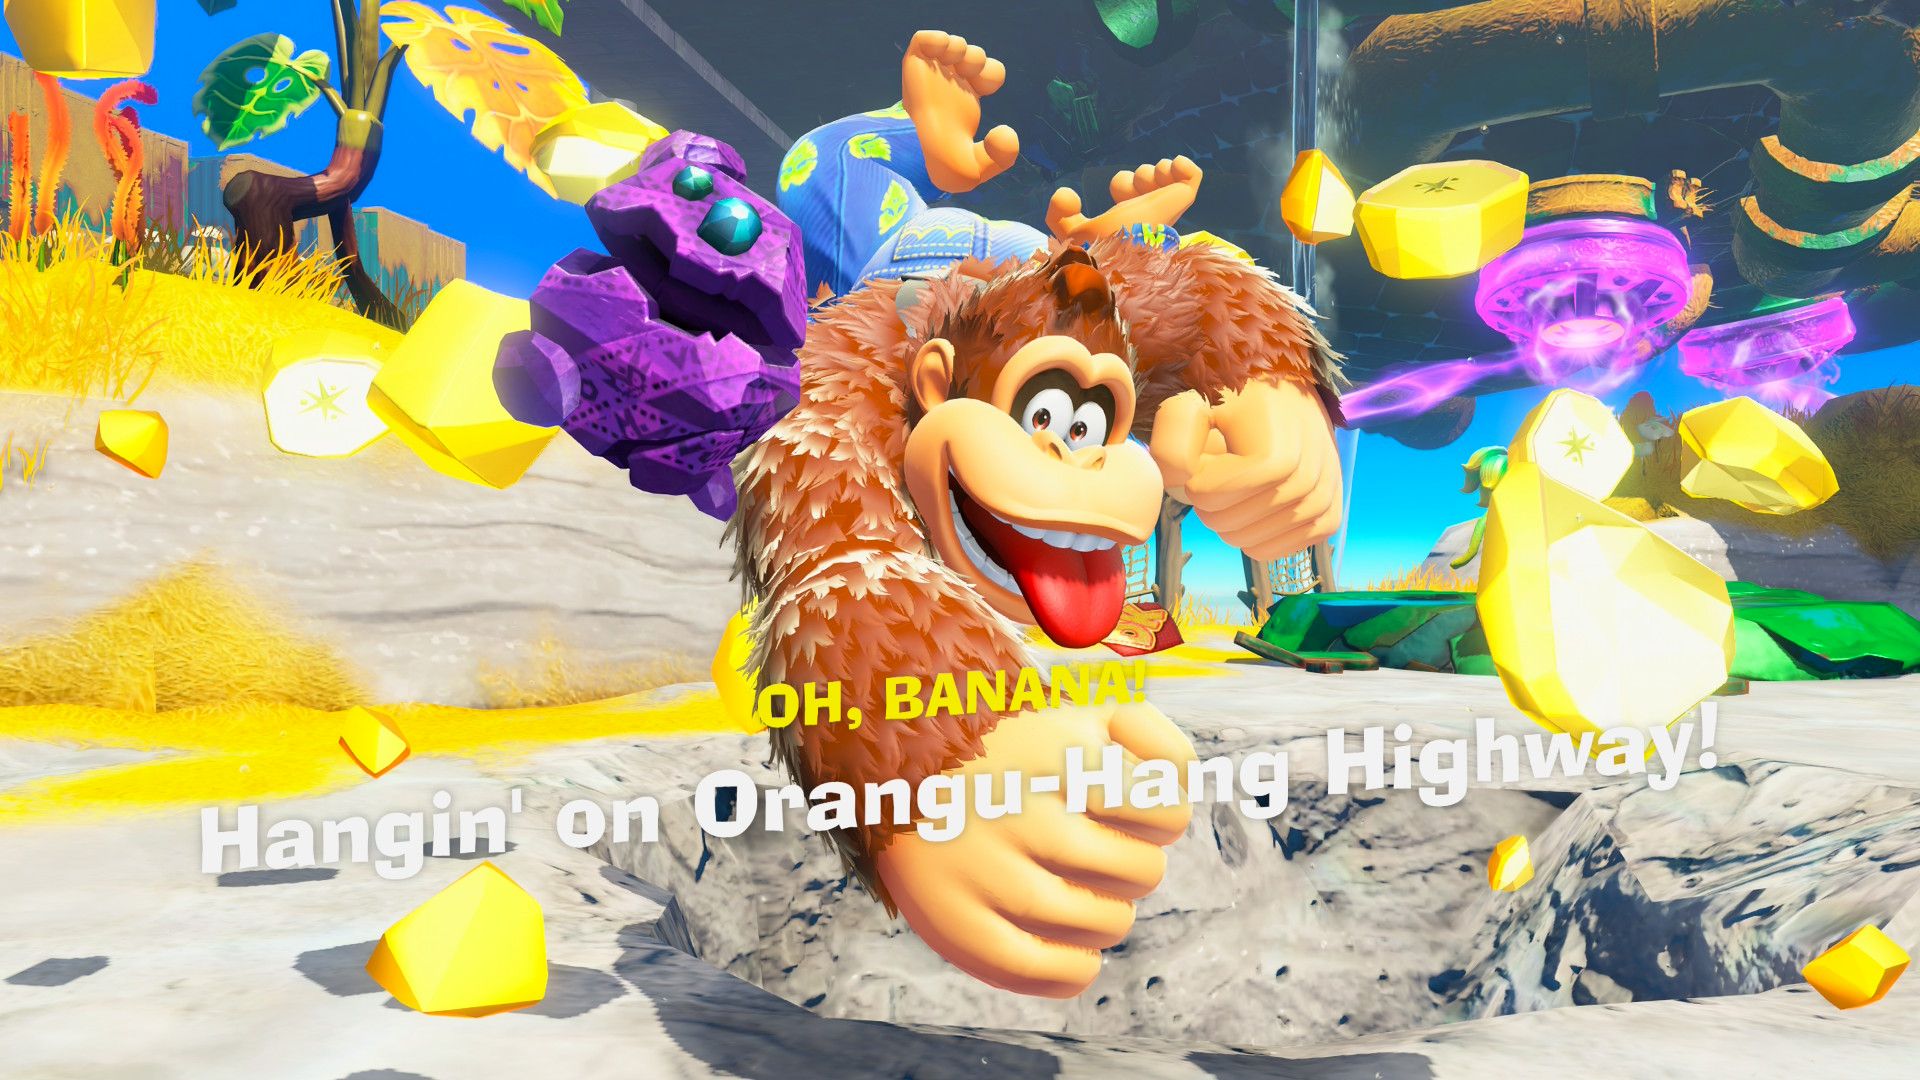
Instead, you can locate the Banandium Gem by continuing the narrative and then briefly revisiting SL100 before diving a bit deeper. Upon returning to SL100, you’ll find yourself at the start of the Orangu-Hang Highway, with the Banandium Gem directly in your path.
37 – Concrete Wall on the Moving Floor
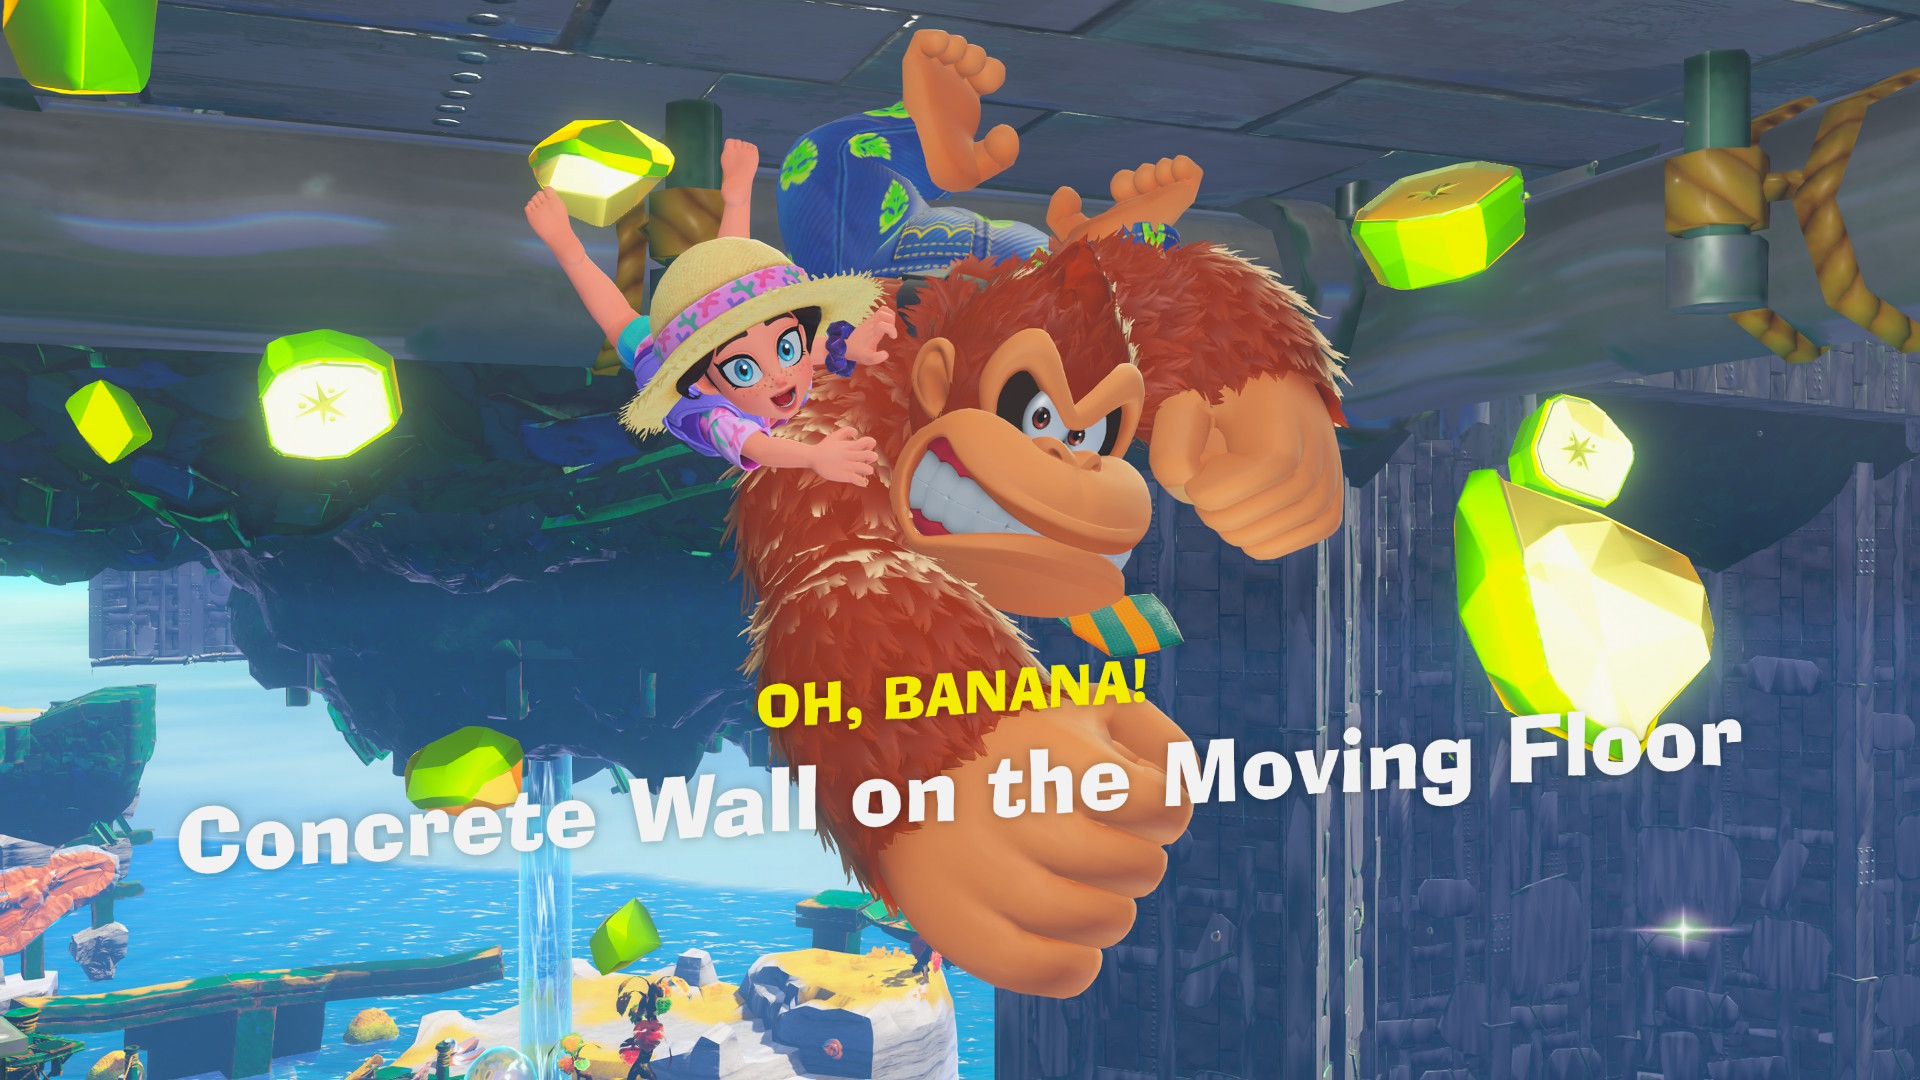
To obtain this specific item, your journey begins by traversing the Orangu-Hang Highway once you’ve collected Banandium Gem 36. On the opposite side, you’ll find a platform hosting an enemy capable of generating explosive terrain pillars.
To progress, pick up a piece of the explosive terrain and hurl it at the wall above the Orangu-Hang Highway (refer to images 1 and 2). This action will create an opening. Next, lure the enemy into forming a pillar near the newly created gap.
Then, ascend the top of the formed pillar, collect some more explosive terrain, and use it to perform a double jump, propelling yourself above the Orangu-Hang Highway. After that, simply make your way towards the section with the moving platform and hop on for a ride, which will take you to the Banandium Gem.
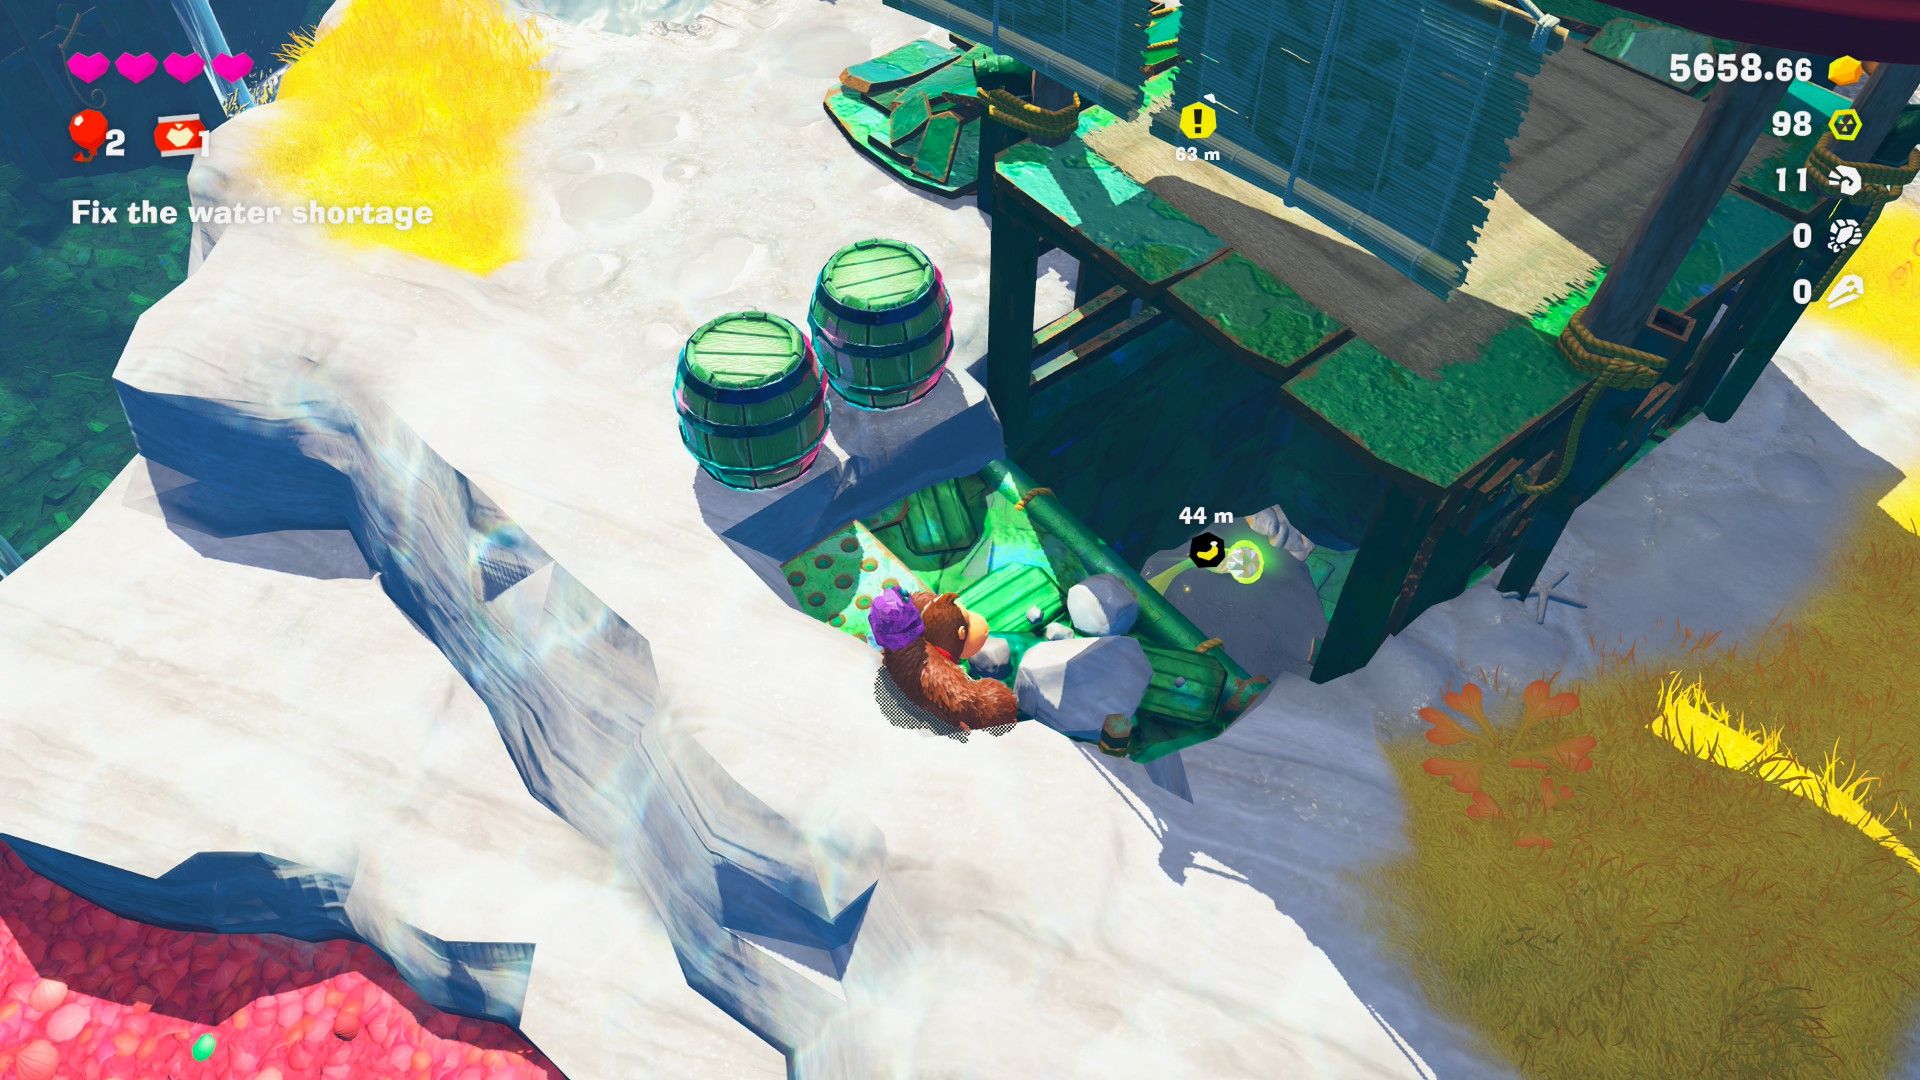
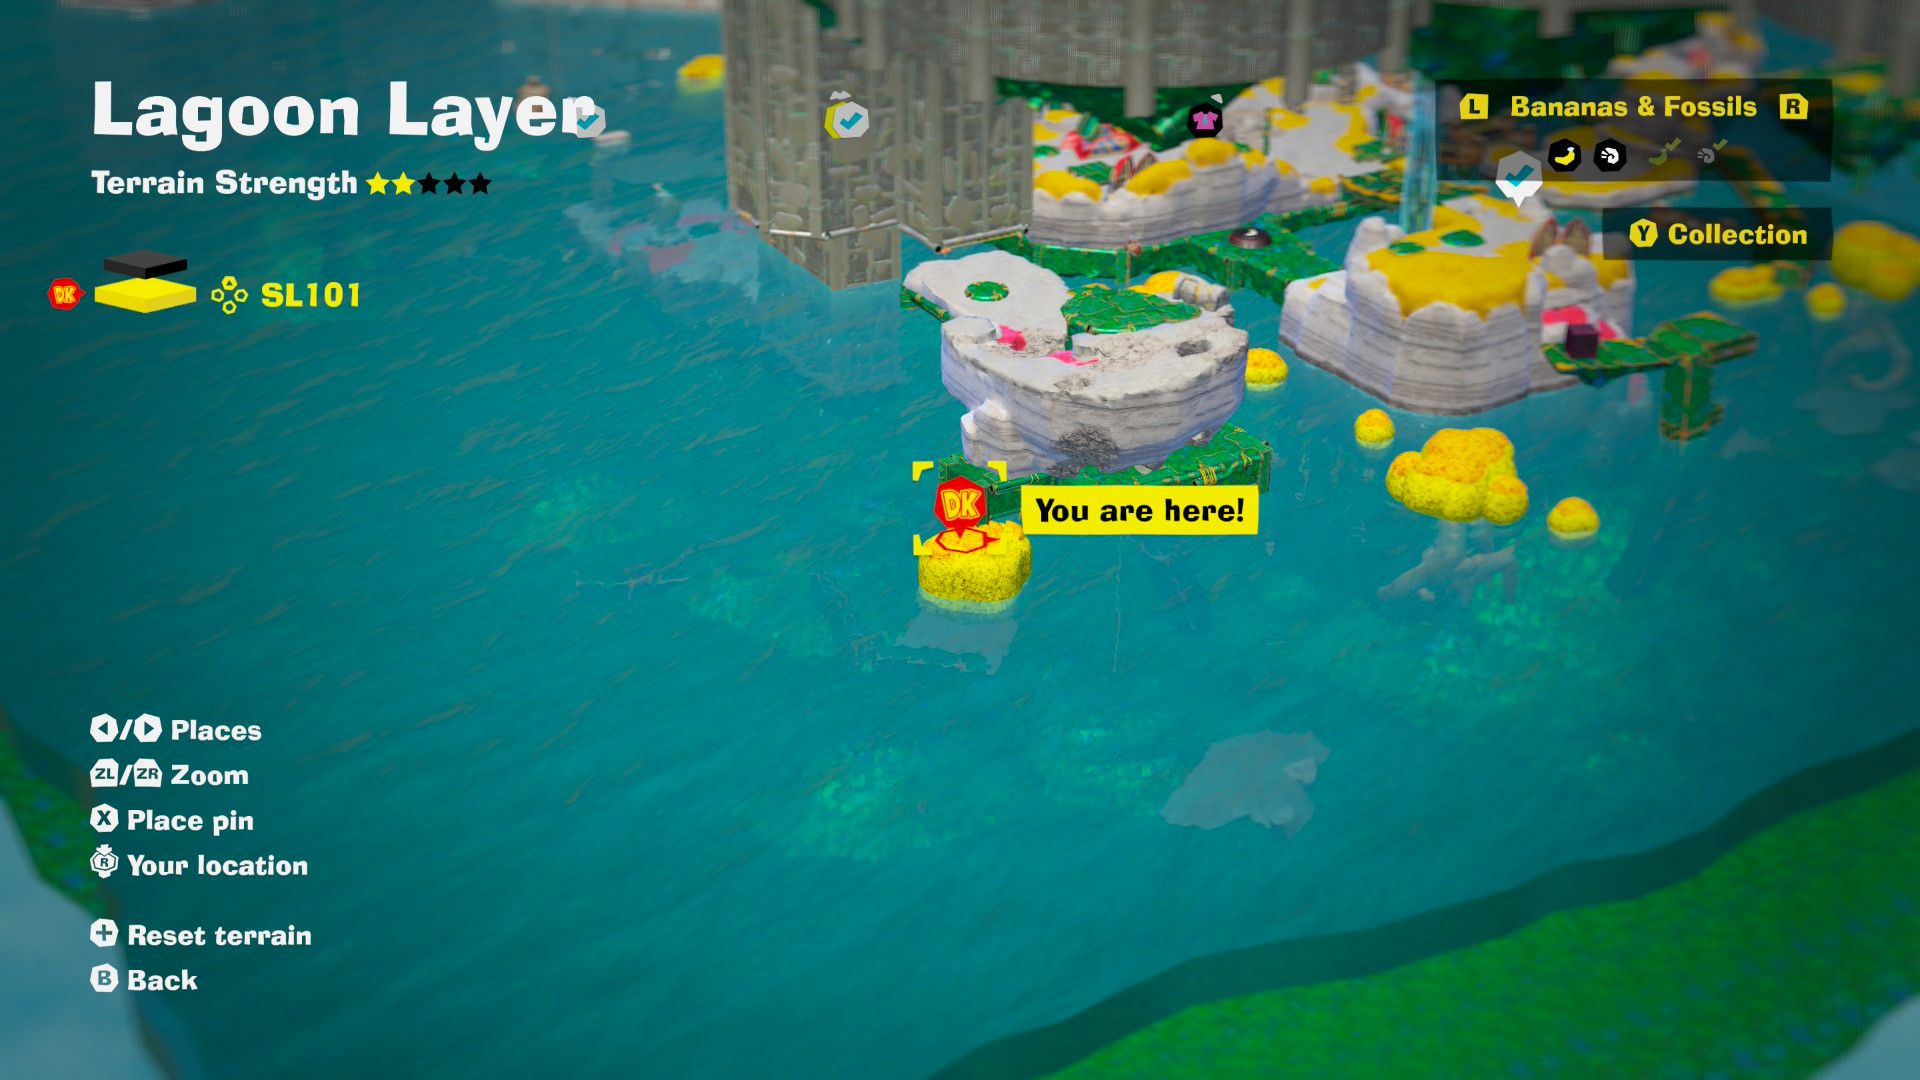
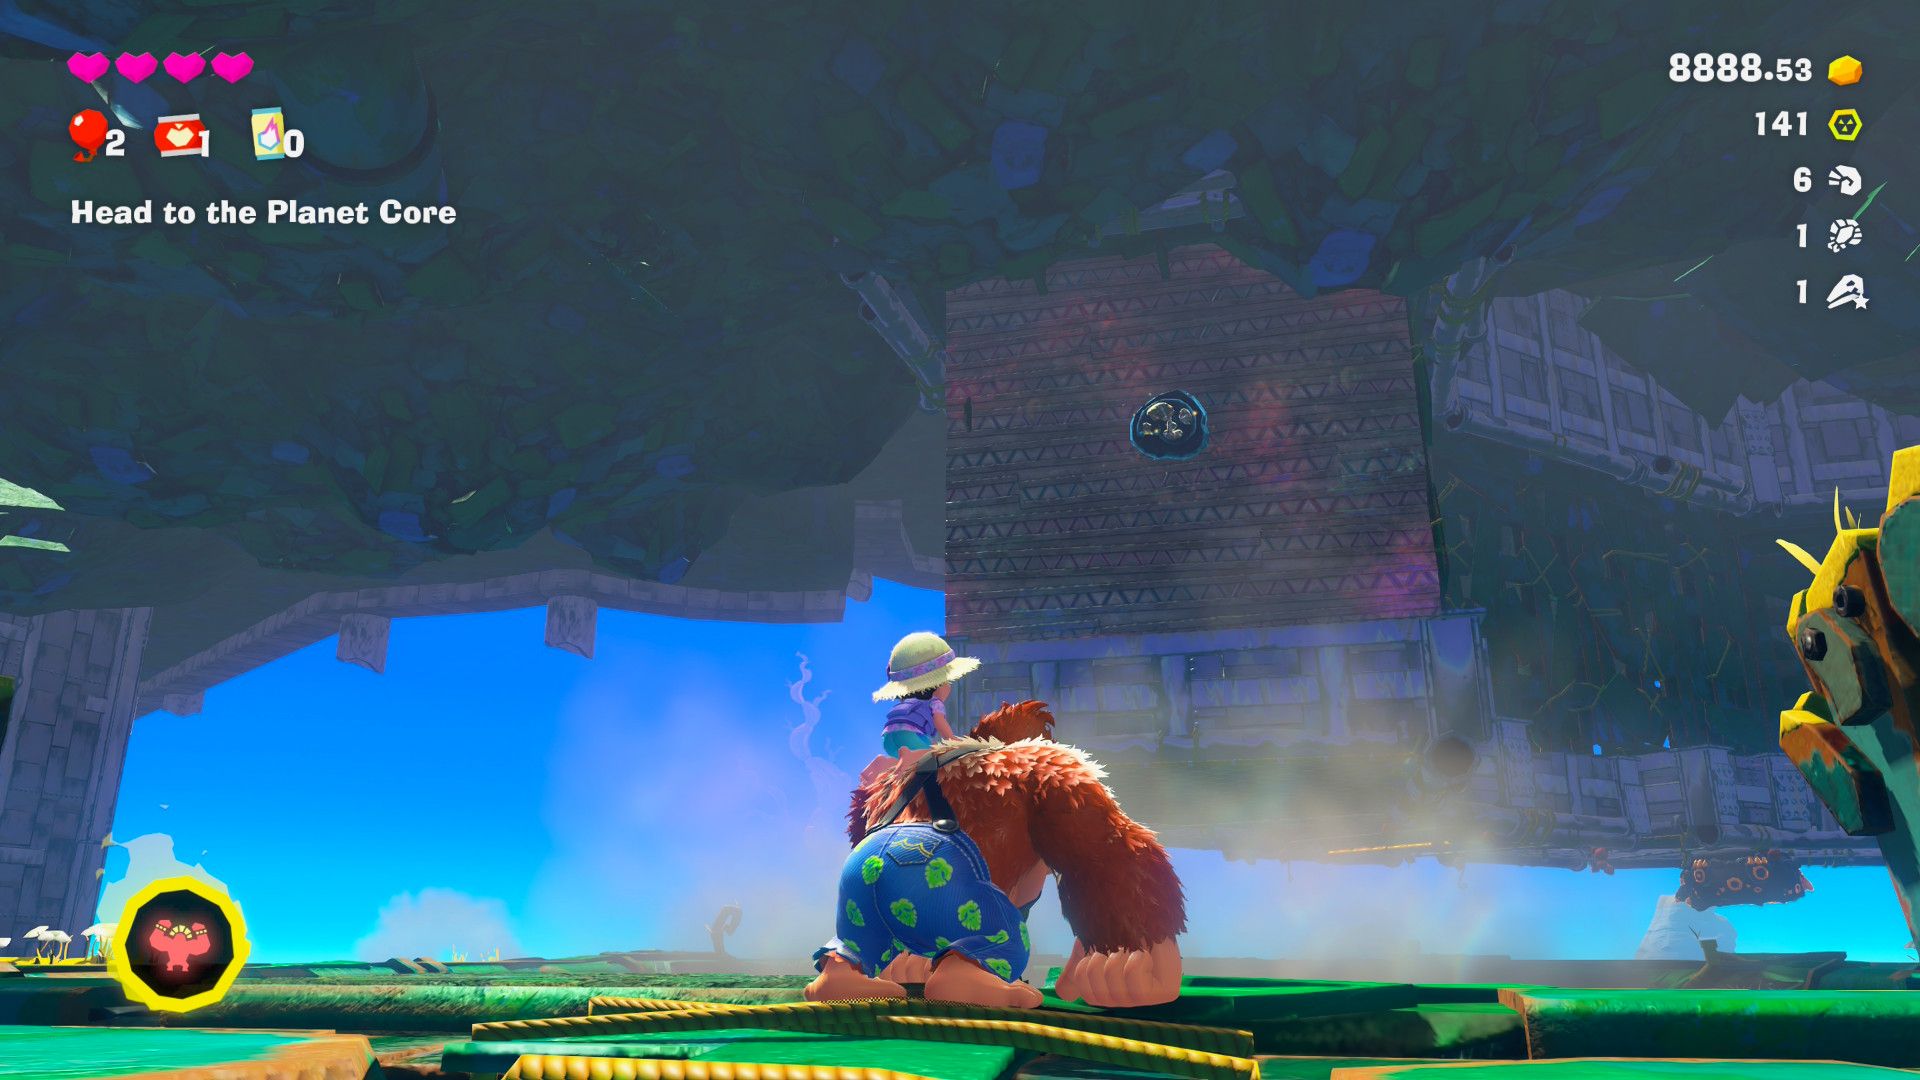
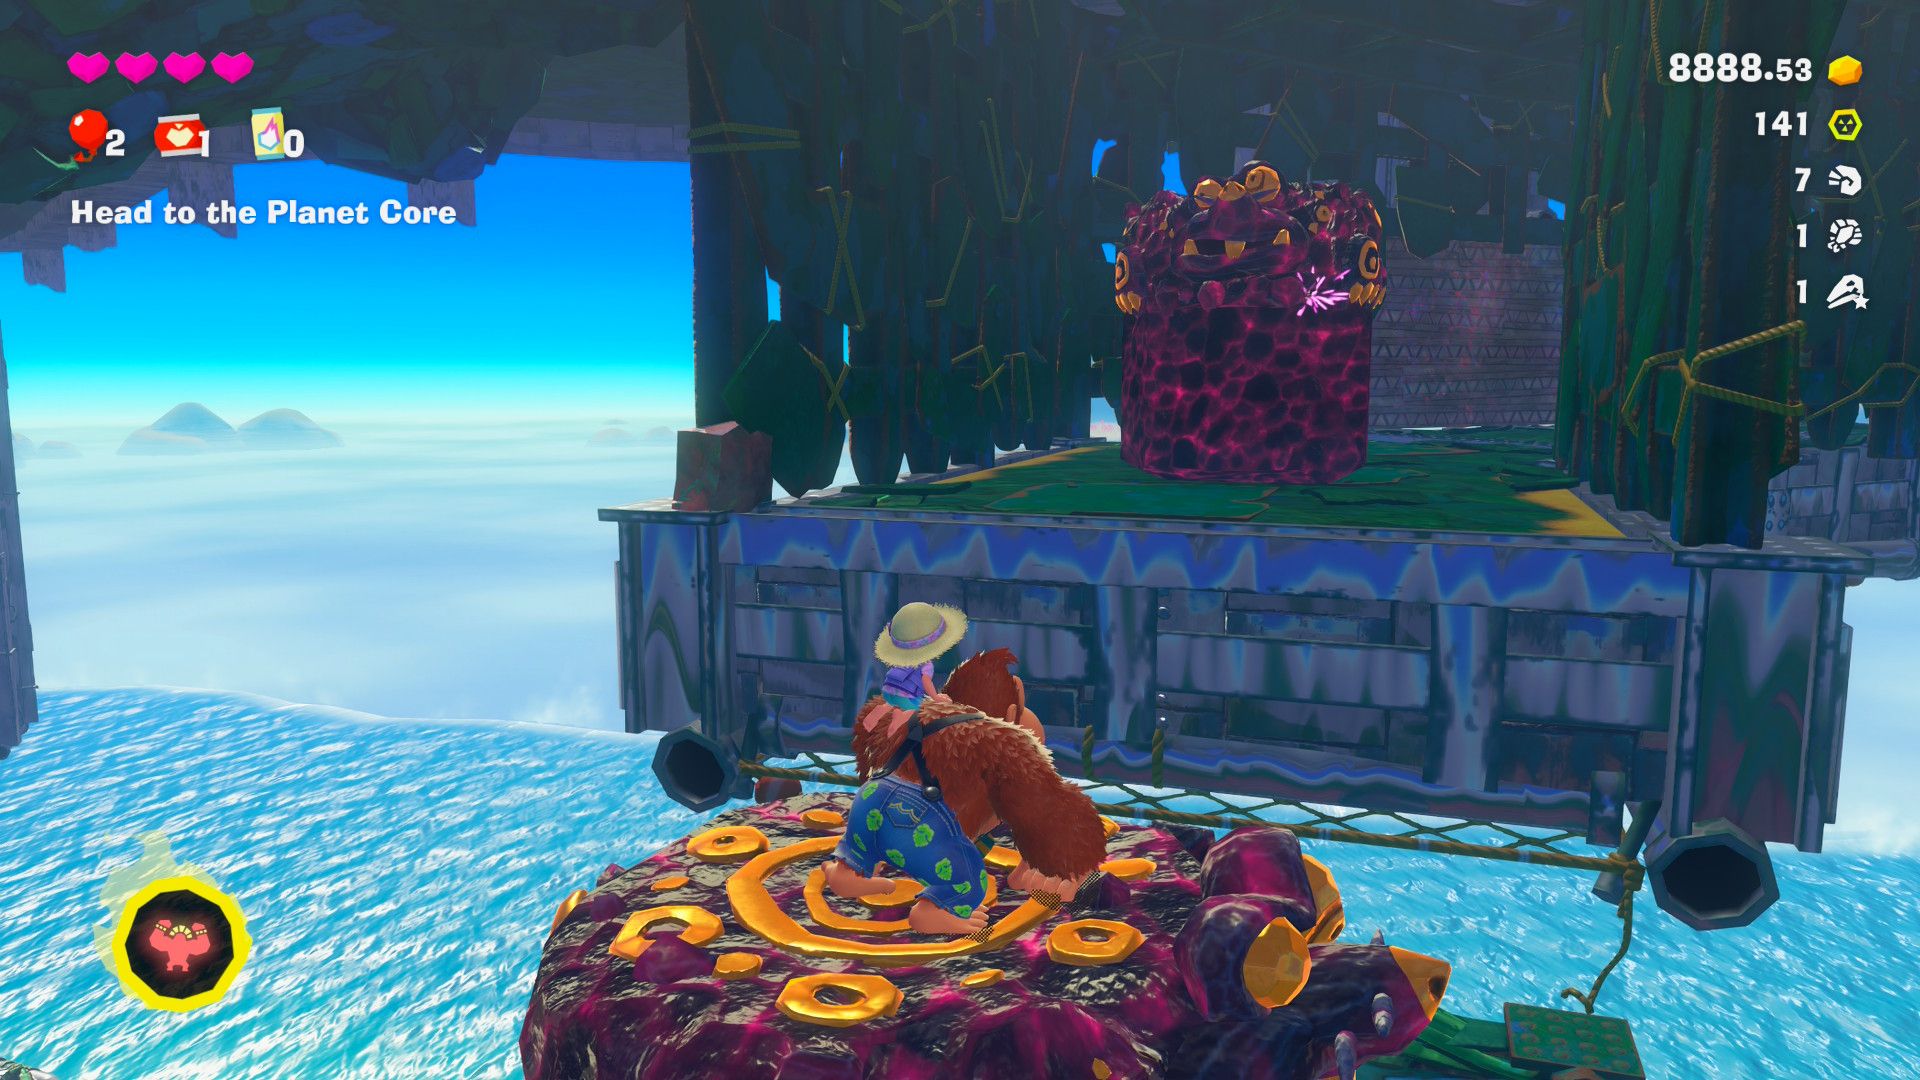
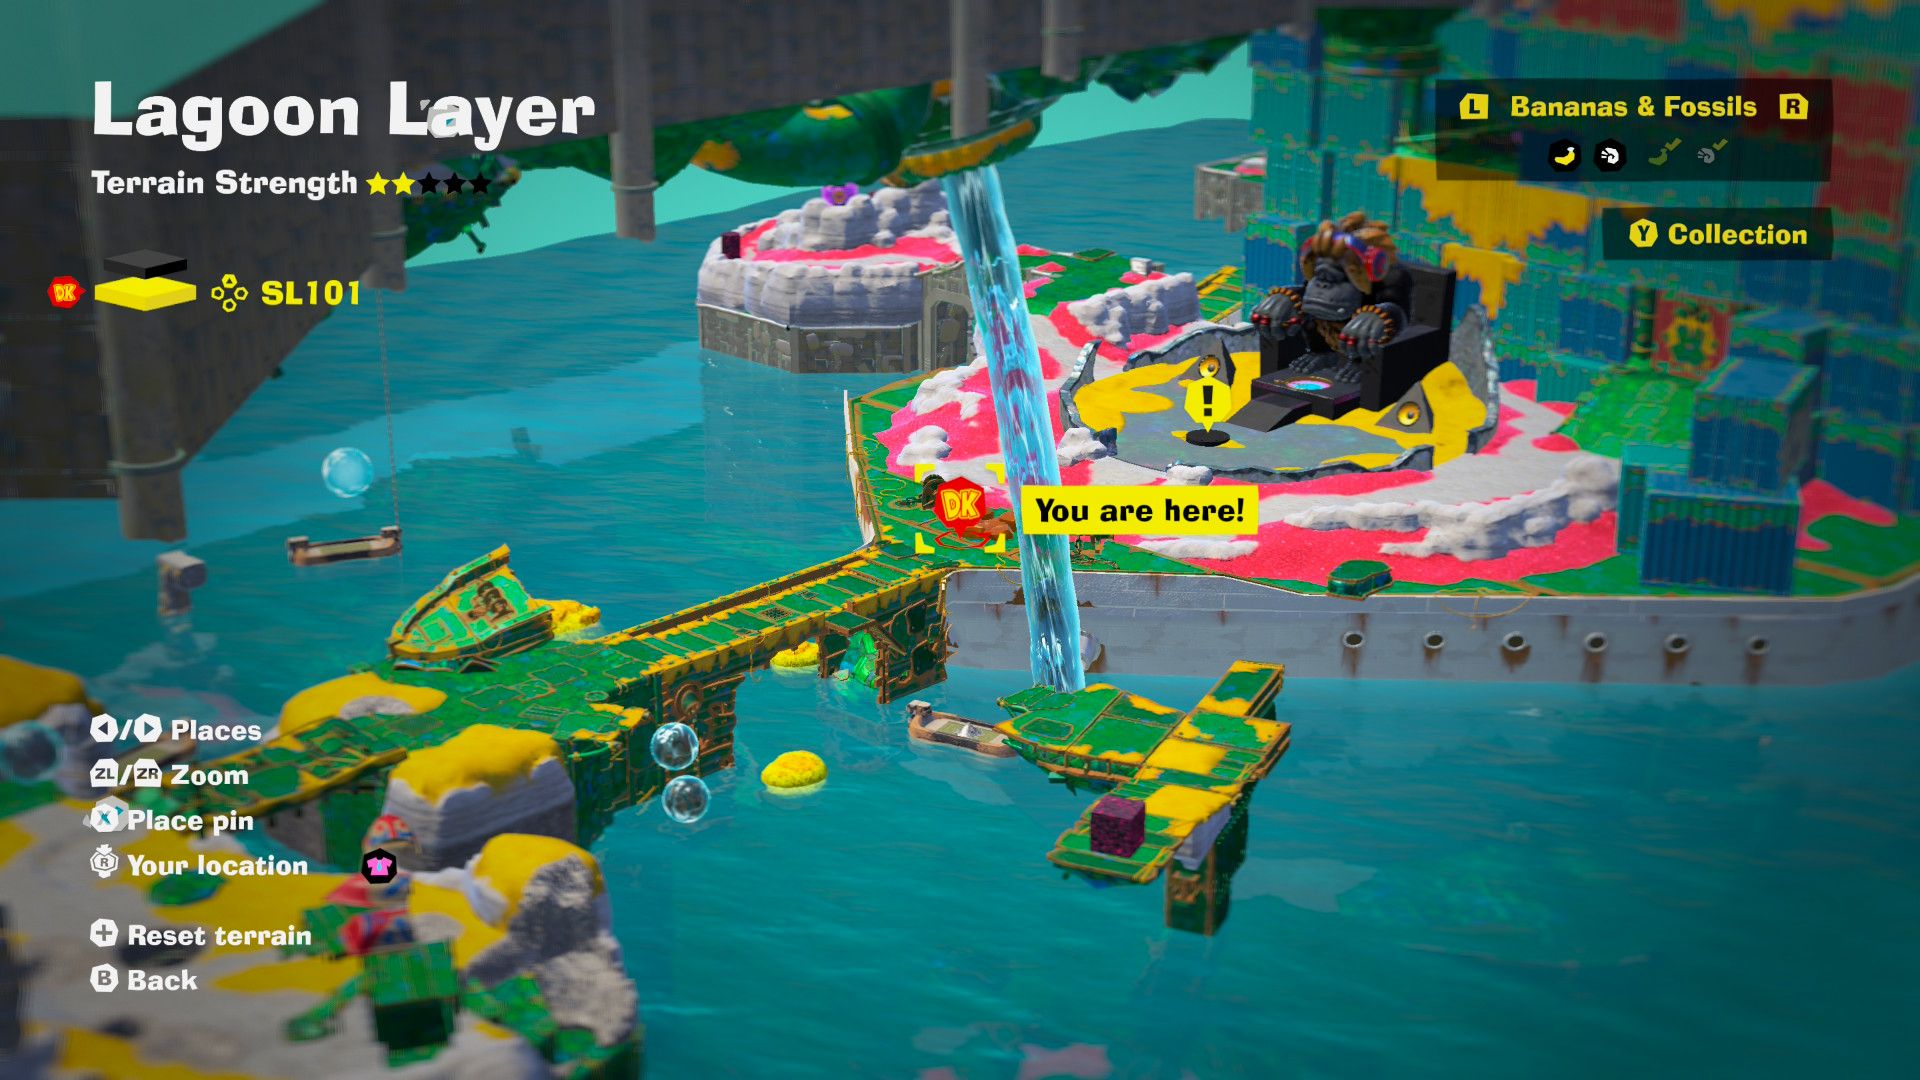
38 – Outskirts of the Fishing Village
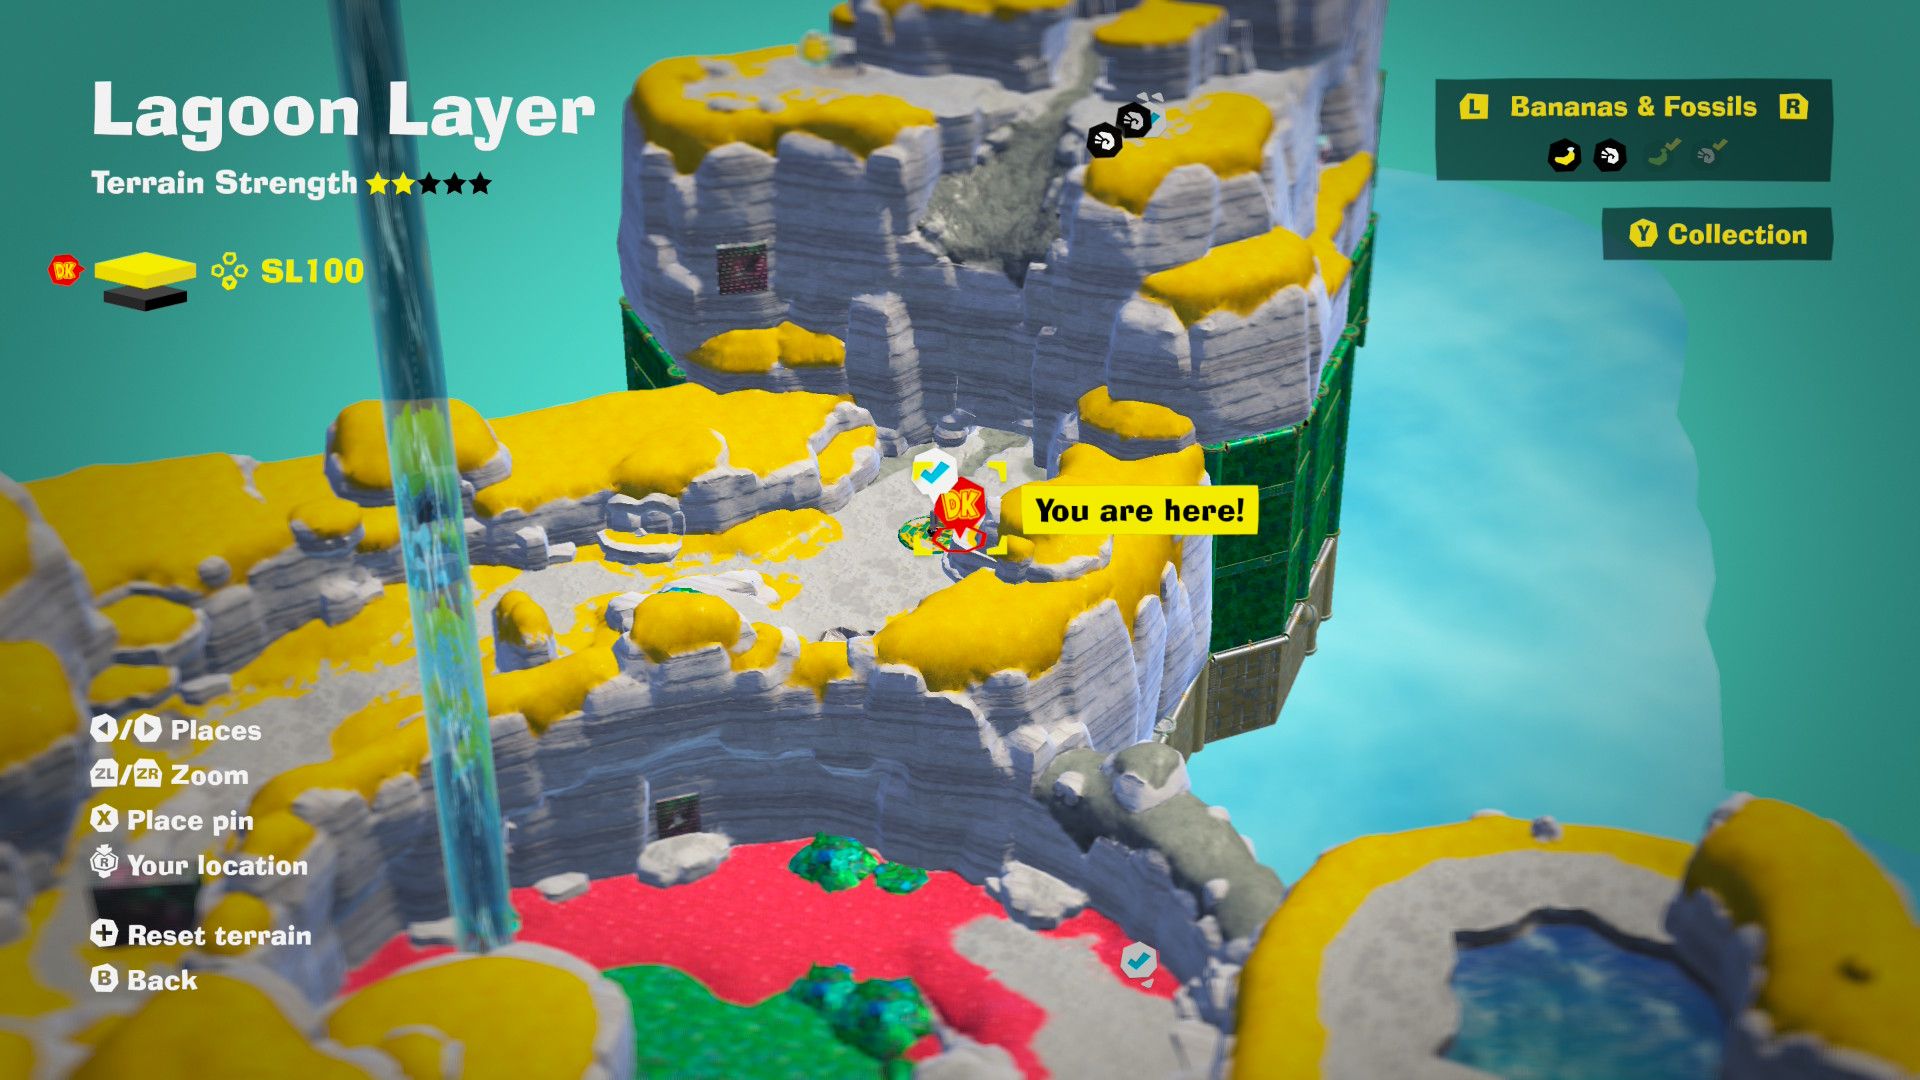
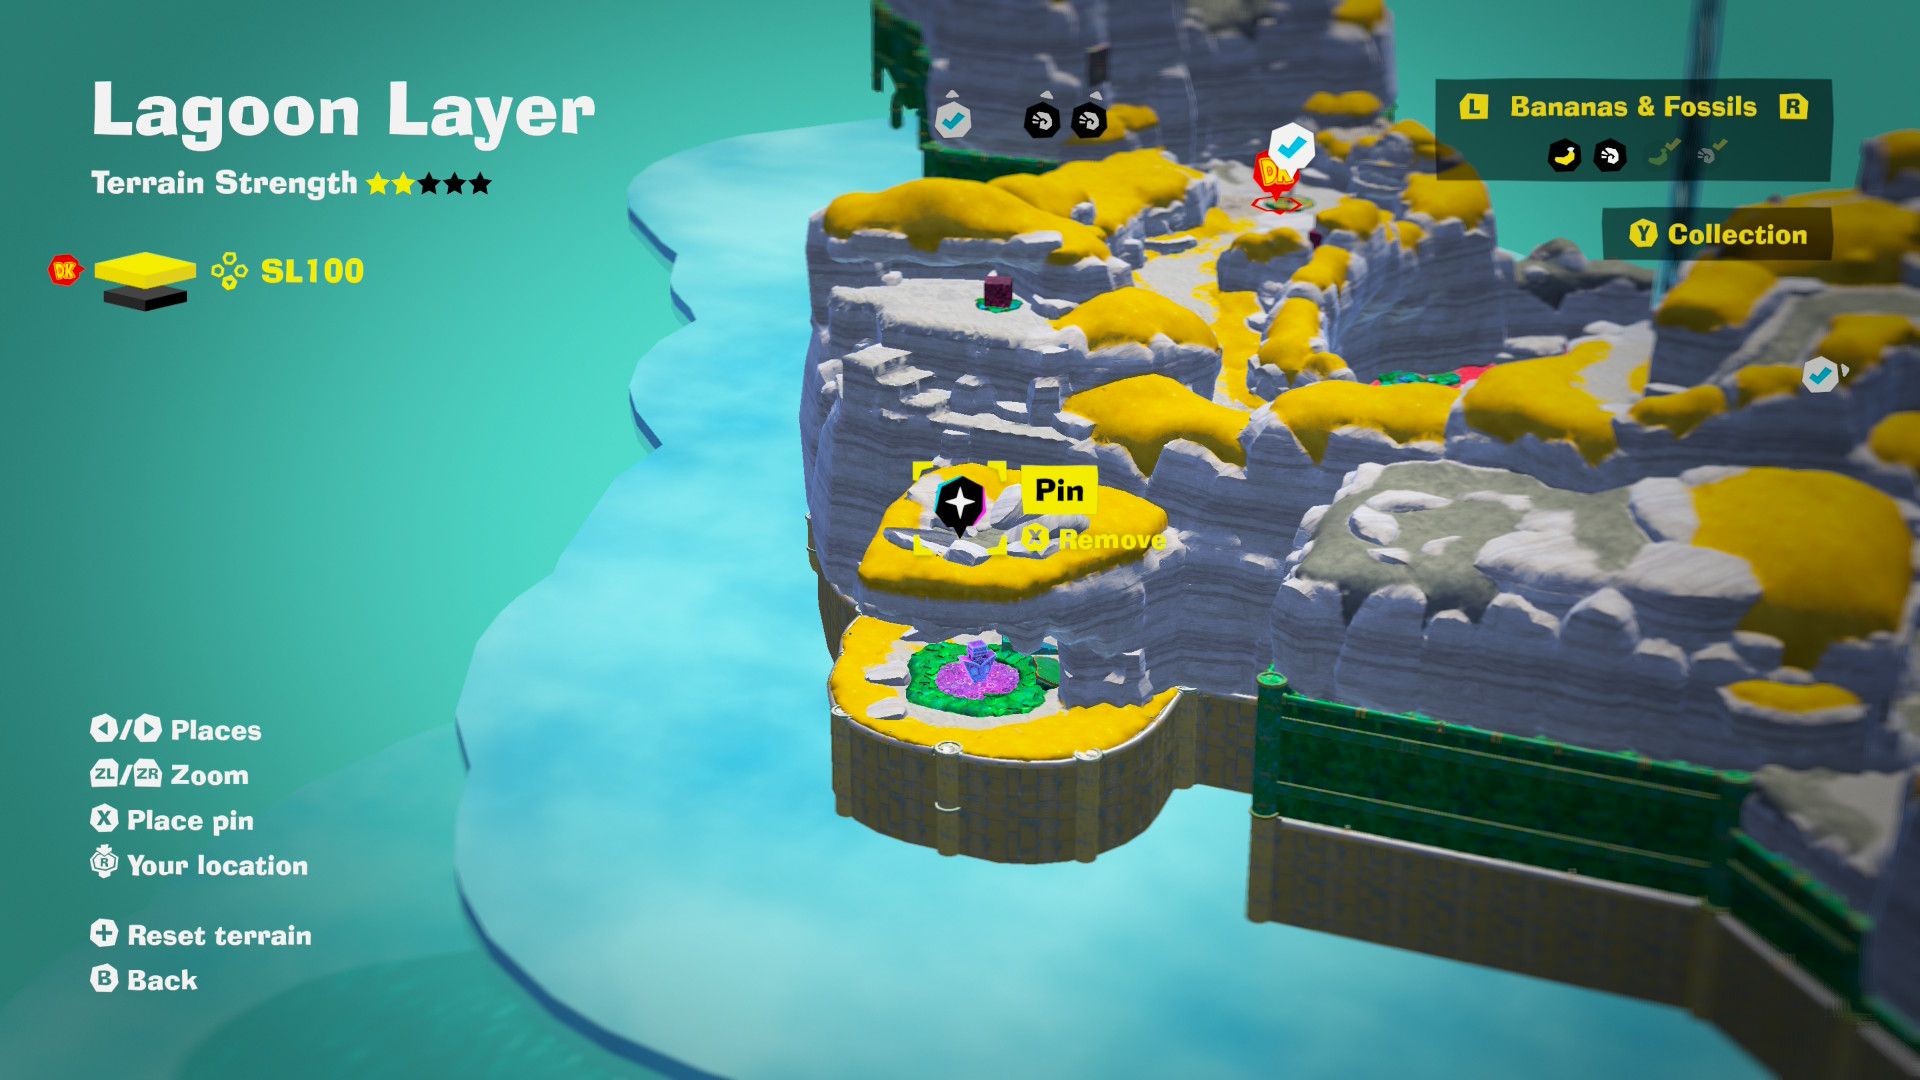
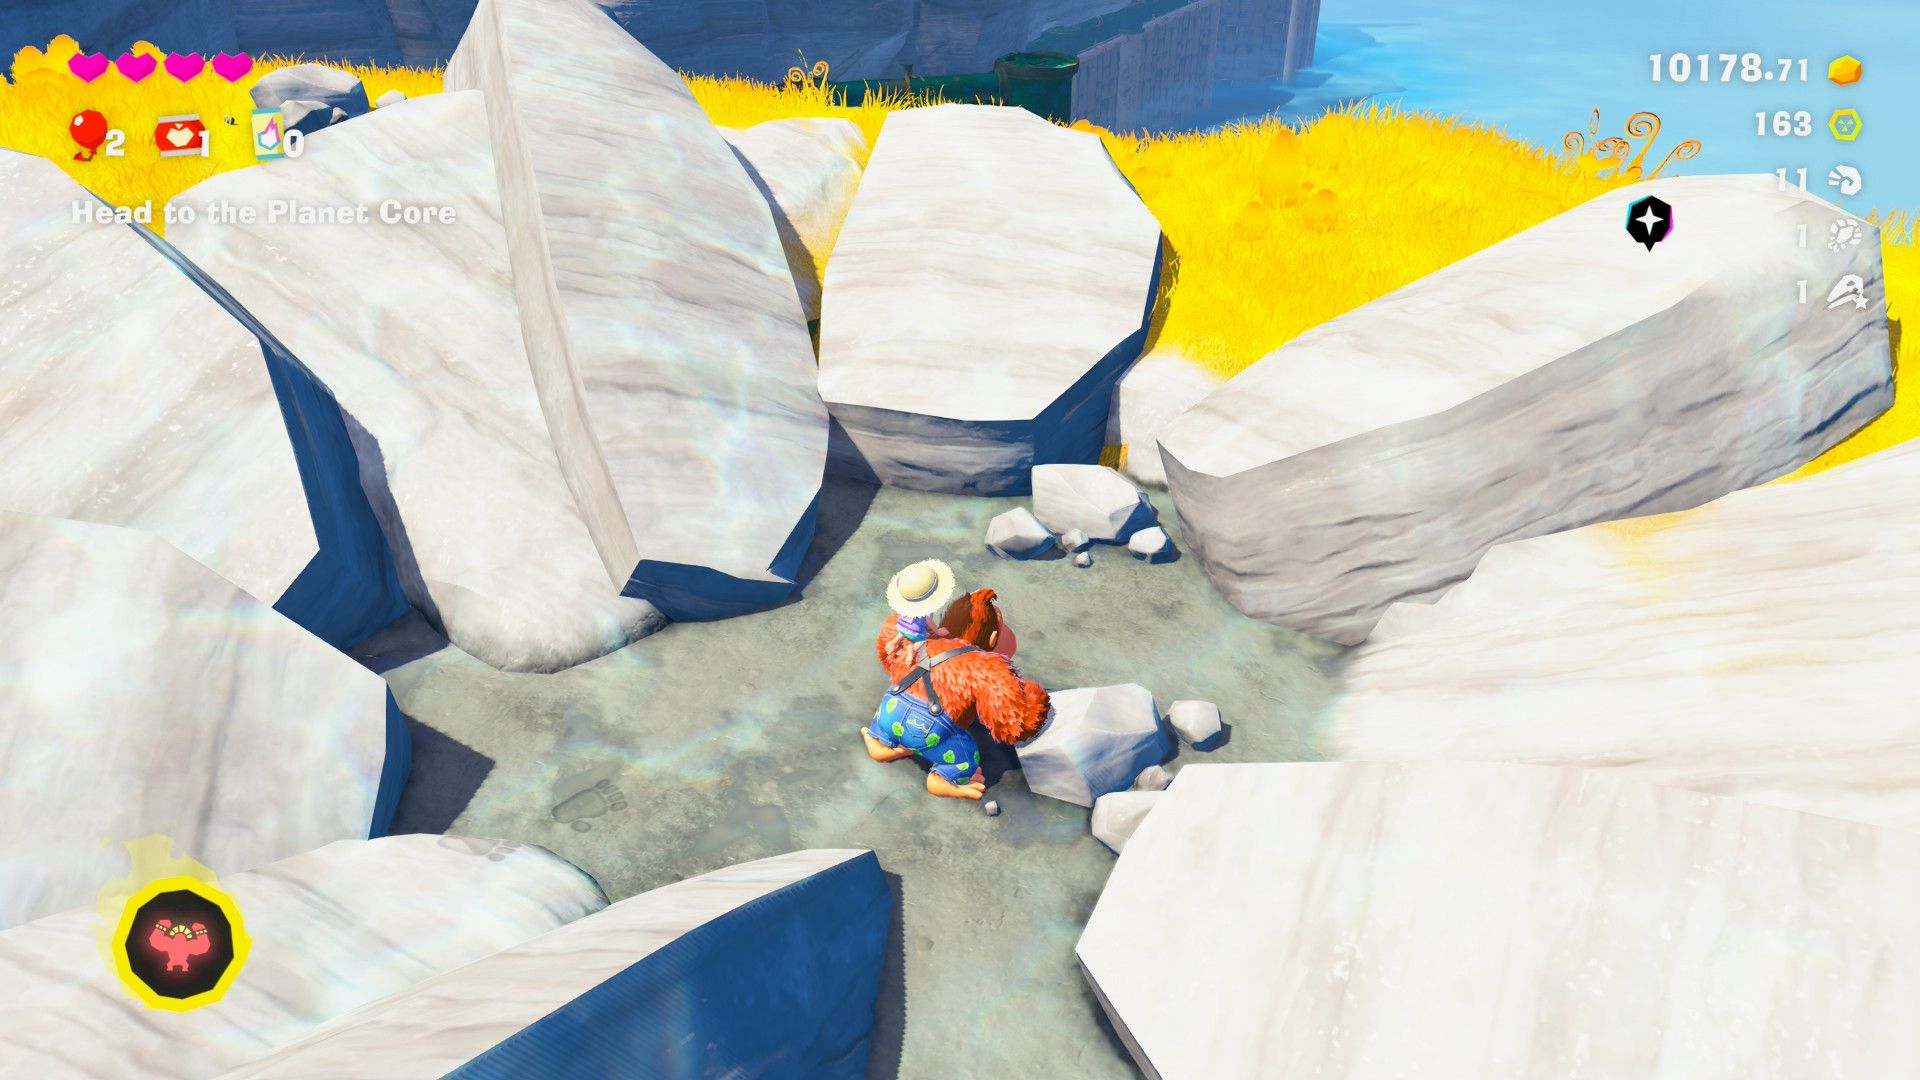
In all of SL101, the most elusive Banandium Gem is undeniably difficult to locate. Your journey begins by teleporting to the fast-travel point depicted in the first image, then proceed to the location indicated in the second image. By executing a Dive Punch to smash through the ground here, you’ll uncover a concealed Void Stake. Destroying it will free this Banandium Gem, causing it to tumble down a hole and return to SL101. To collect it, dive after it and you’ll earn three steps toward your next skill point.
39 – Crossed to the Kong Elder’s Court!
In the narrative, you will discover a Banandium Gem located close to the Elder Kong. Access to the Elder becomes possible after you have successfully reflooded the region, consequently raising the bridge that leads to him.
40 – The Ship Stern’s Snack
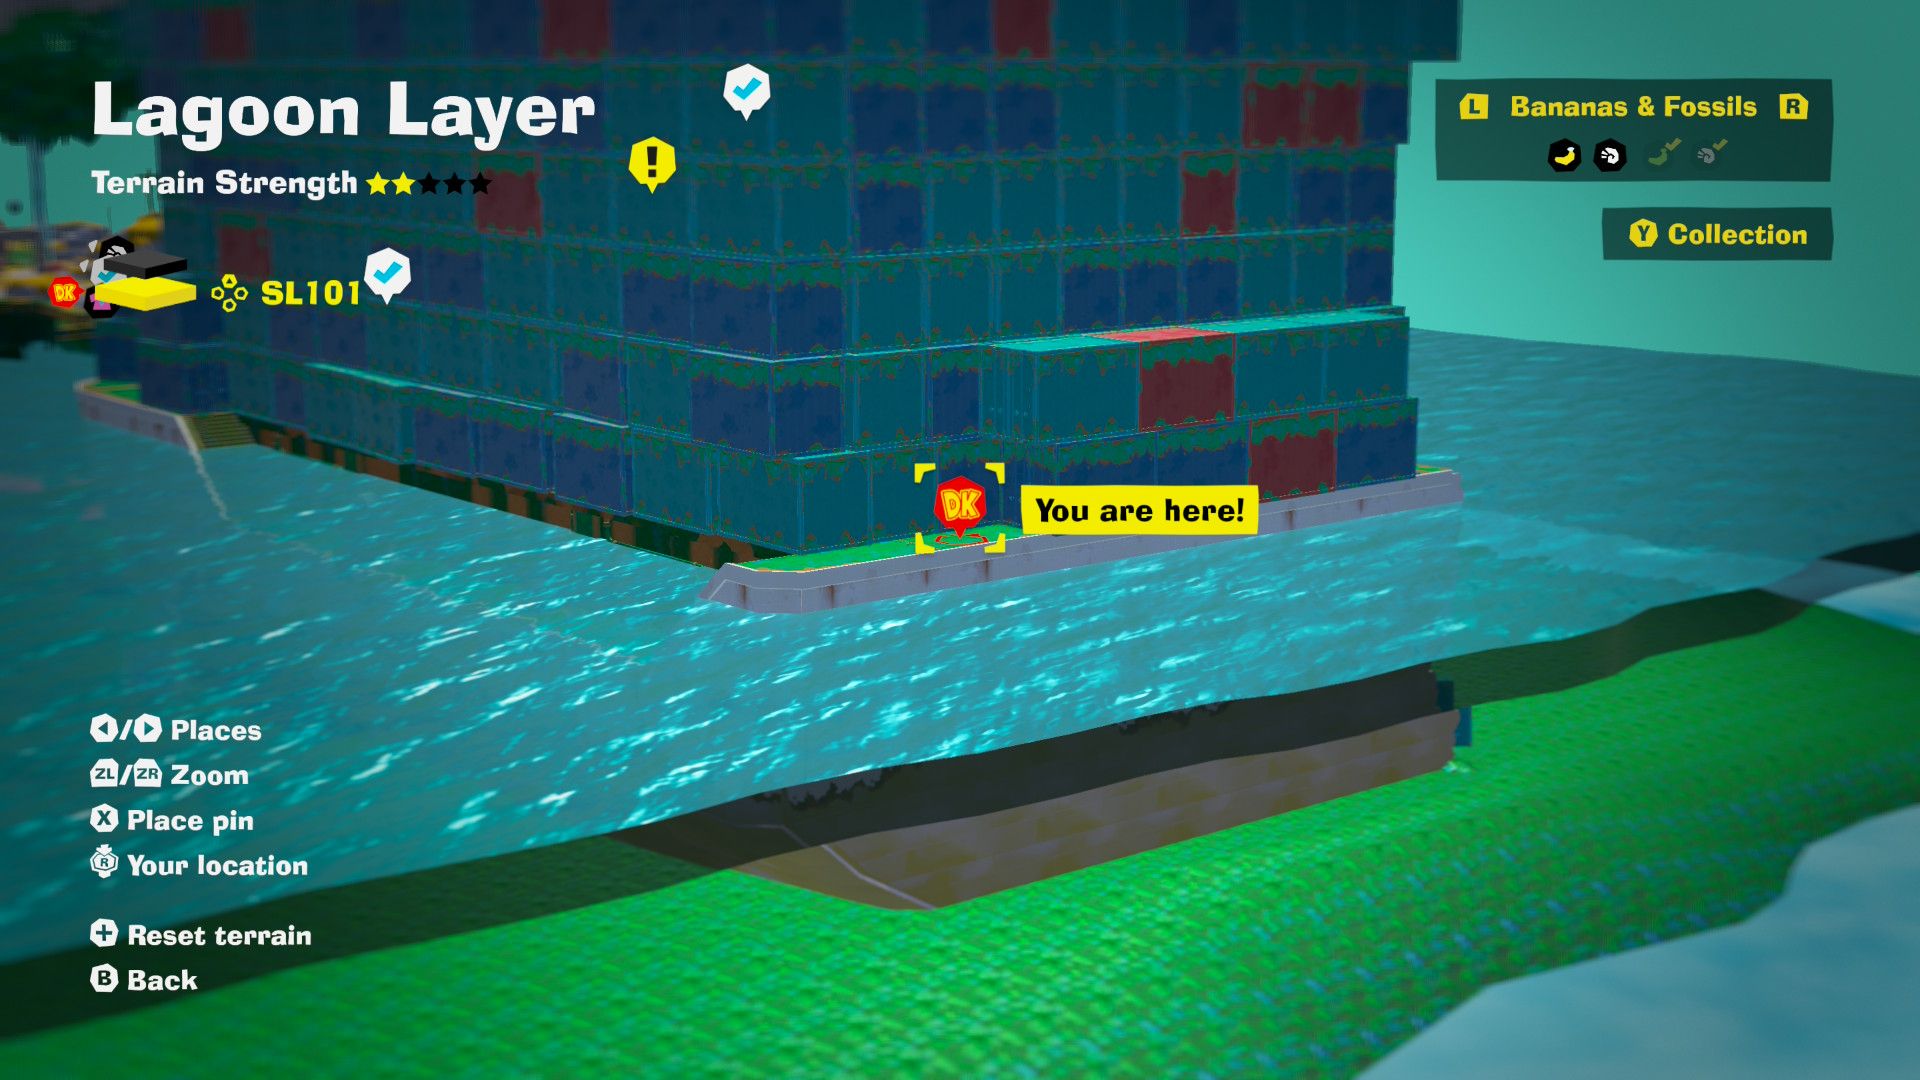
To grab the last Banandium Gem, first, gain entry to the Kong Elder’s Court. Then, circle around the massive stack of Shipping Containers located behind the Kong Elder. Follow the marked location on the map above to secure the final Banandium Gem for SL101. Although there will be some climbing involved, it should be manageable now that the area is submerged in water.
Read More
- All Skyblazer Armor Locations in Crimson Desert
- One Piece Chapter 1180 Release Date And Where To Read
- All Shadow Armor Locations in Crimson Desert
- How to Get the Sunset Reed Armor Set and Hollow Visage Sword in Crimson Desert
- New Avatar: The Last Airbender Movie Leaked Online
- Cassius Morten Armor Set Locations in Crimson Desert
- Grime 2 Map Unlock Guide: Find Seals & Fast Travel
- Euphoria Season 3 Release Date, Episode 1 Time, & Weekly Schedule
- Amber Alert Secrets & CDs In Crime Scene Cleaner Act 2
- How to Beat Stonewalker Antiquum at the Gate of Truth in Crimson Desert
2025-07-23 08:04