Ghost of Yotei features 31 bounties that players can find on regional bounty boards or by speaking with Kojiro, the Bounty Broker. To help you keep track of your progress and plan your bounty hunting, we’ve compiled a complete list of every bounty, its location, and the reward offered. If you’re aiming to become the ultimate Master Bounty Hunter in Ghost of Yotei, check out the bounties listed below, organized by region!
All Yotei Grasslands Bounties in Ghost of Yotei
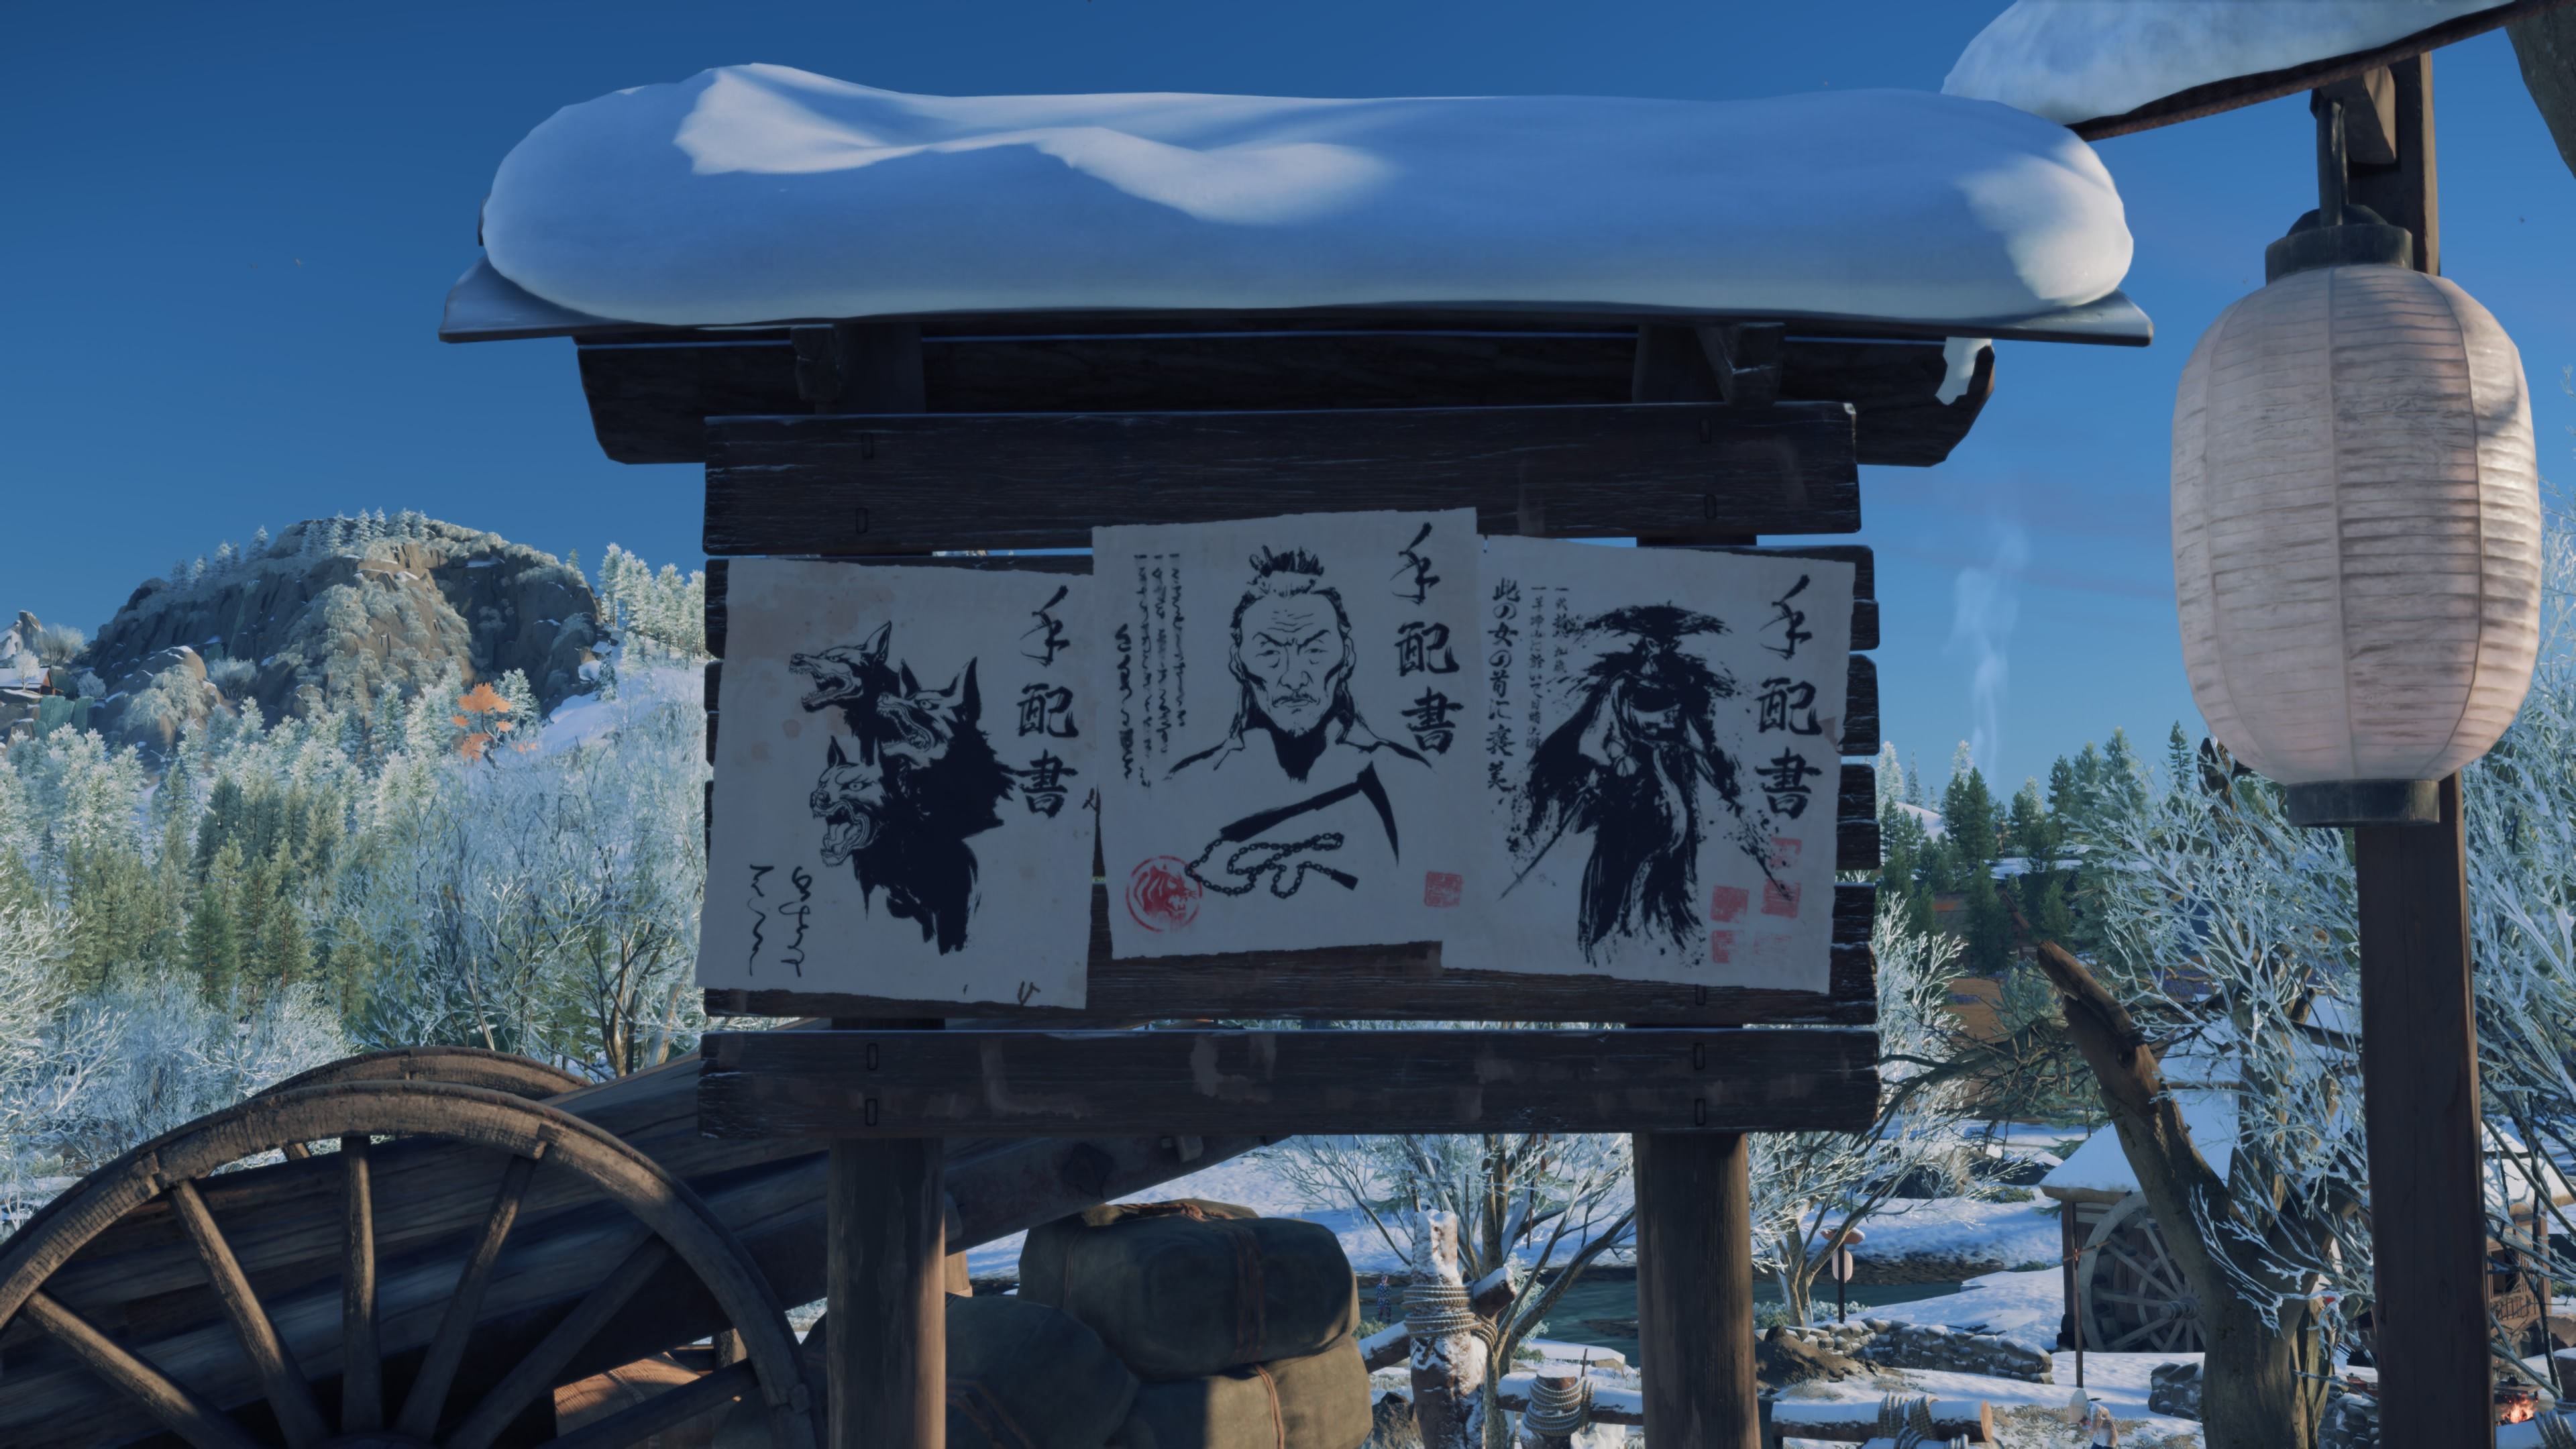
The posters asking for Hanbei the Dual Katana Master and Snake’s Assassin aren’t for collecting rewards – they’re connected to the story’s main quests.
Smiling Yoshitomo
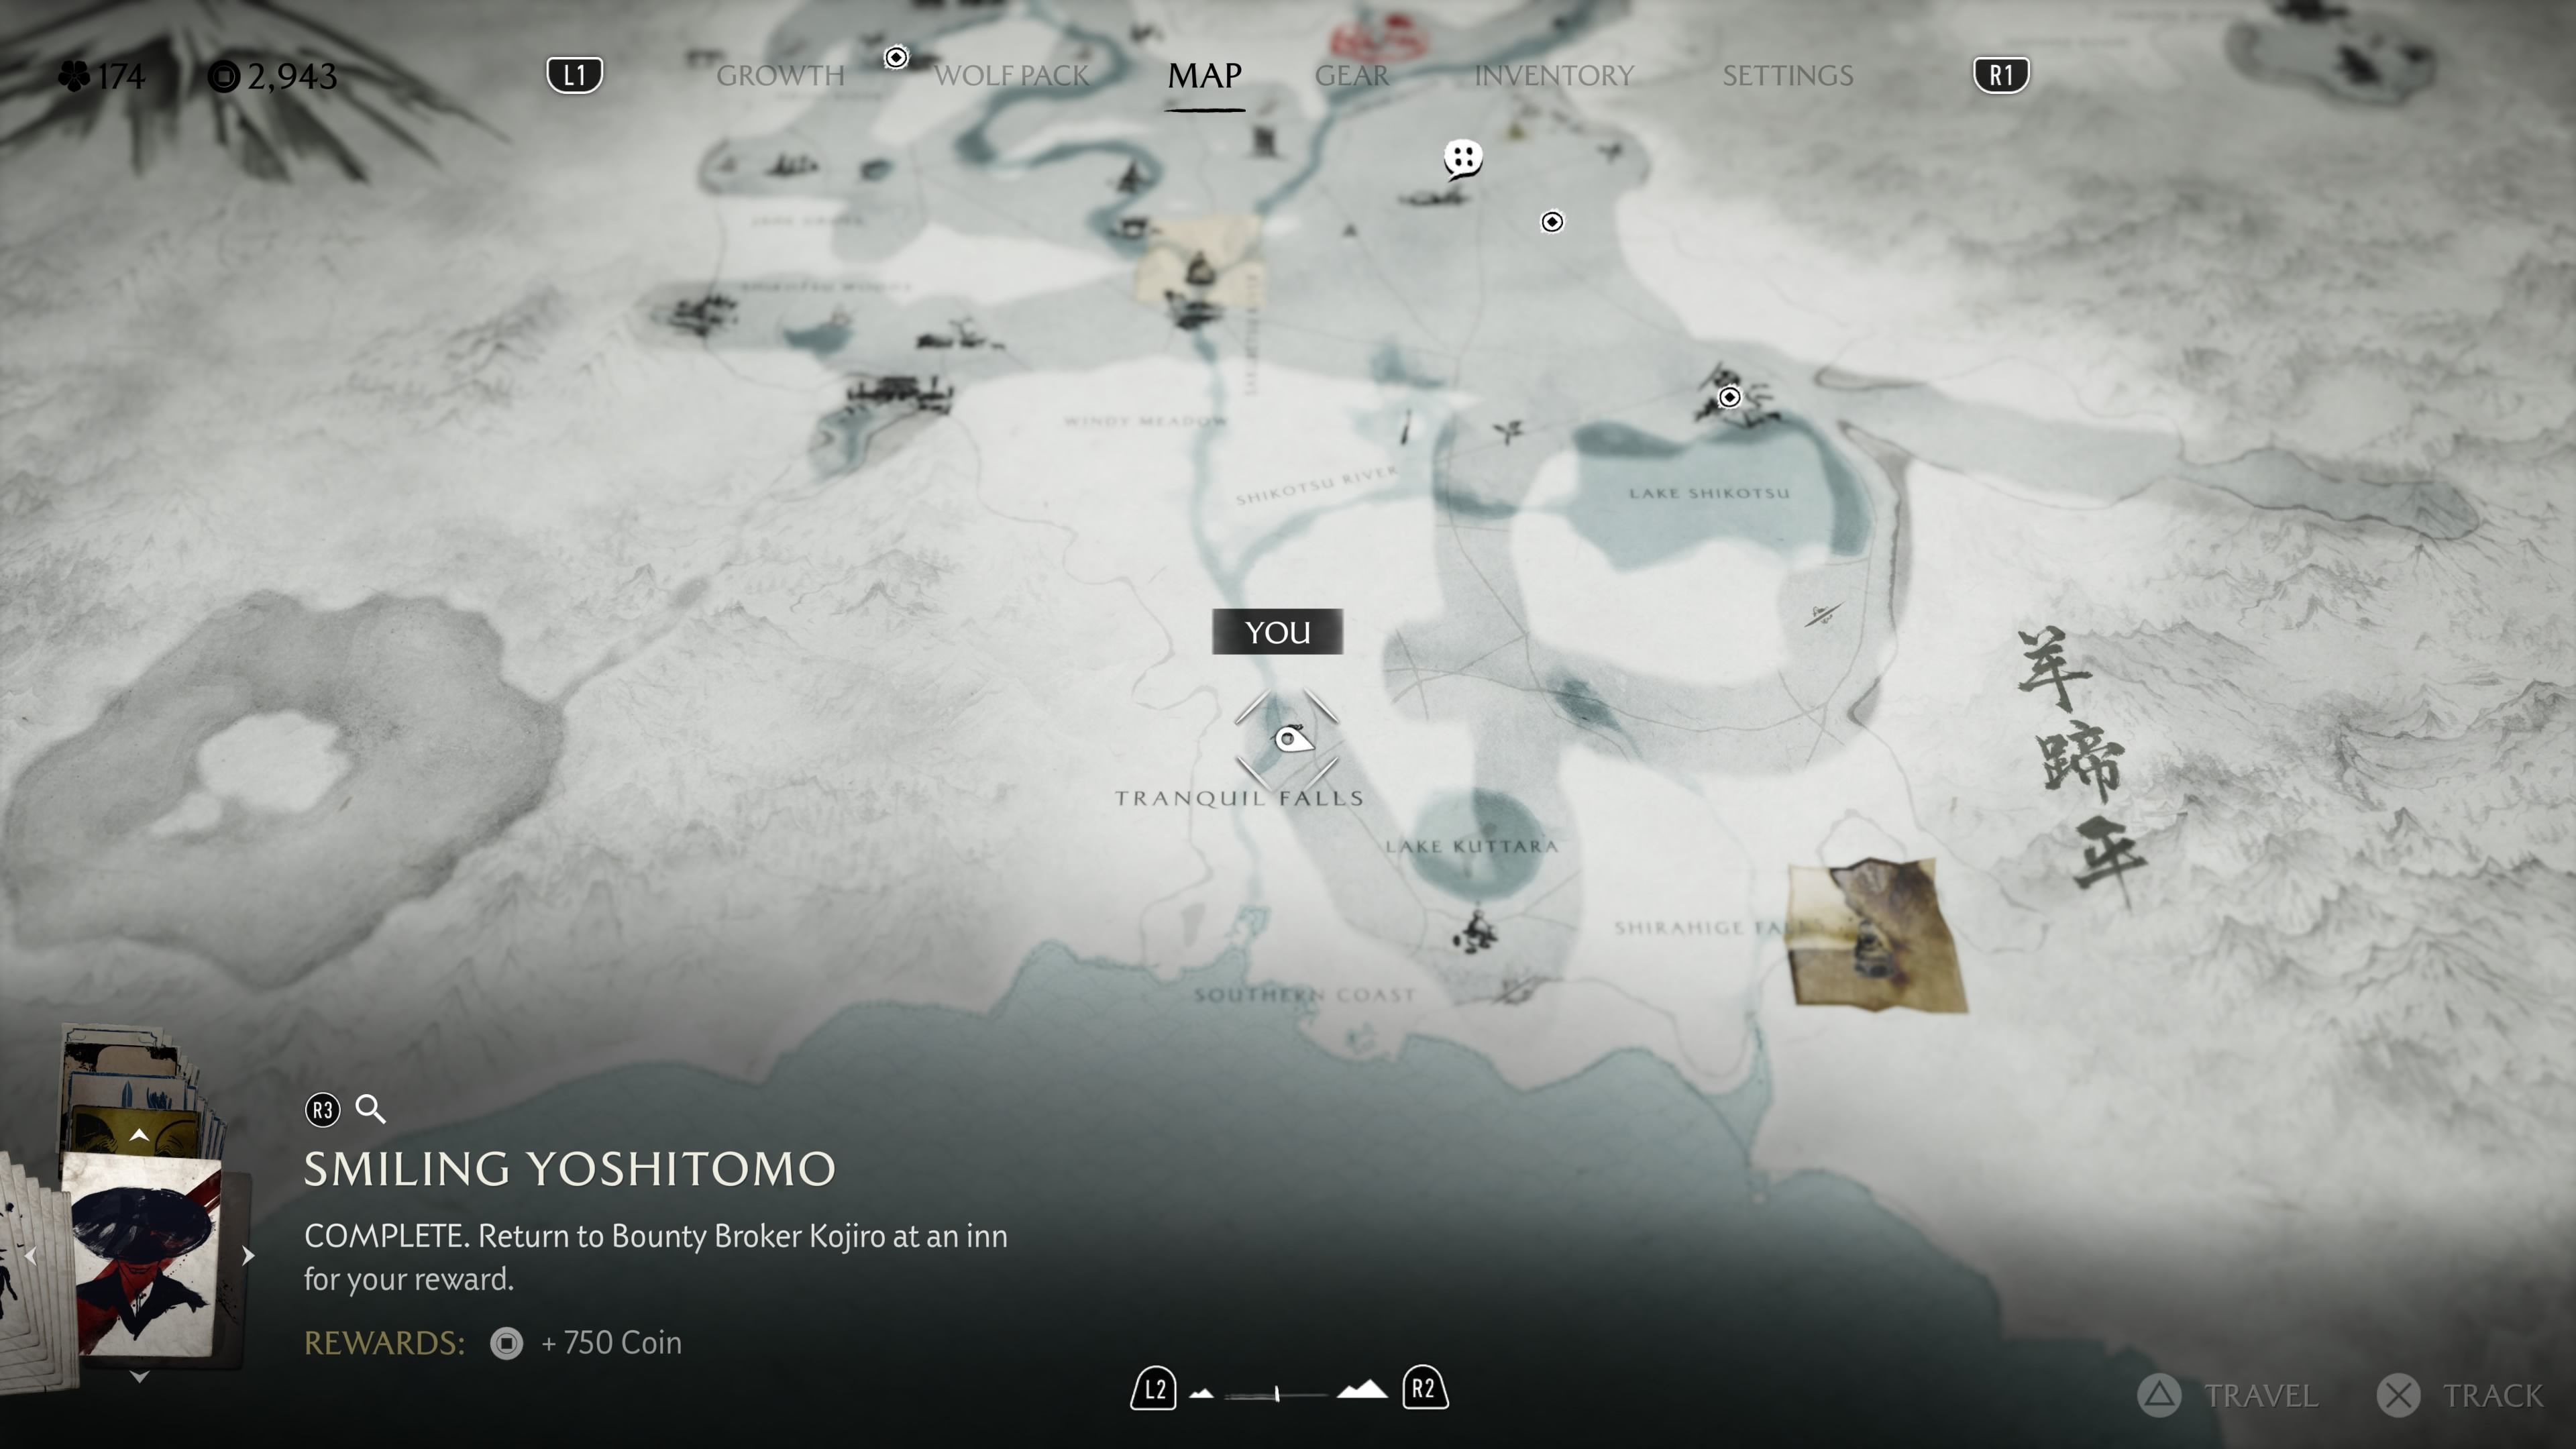
Location: Weary Traveler’s Camp, Tranquil Falls, Yotei Grasslands
Reward: 750 Coins, Smiling Kabuto-Mushi Sword Kit
Players can accept the first bounty, ‘Smiling Yoshitomo,’ at the Yotei’s Shadow Inn in the Yotei Grasslands. After accepting, Yoshitomo can be found at the Weary Traveler’s Camp in the southern part of the grasslands. All you need to do is rest by the campfire, and he’ll appear as a Settler.
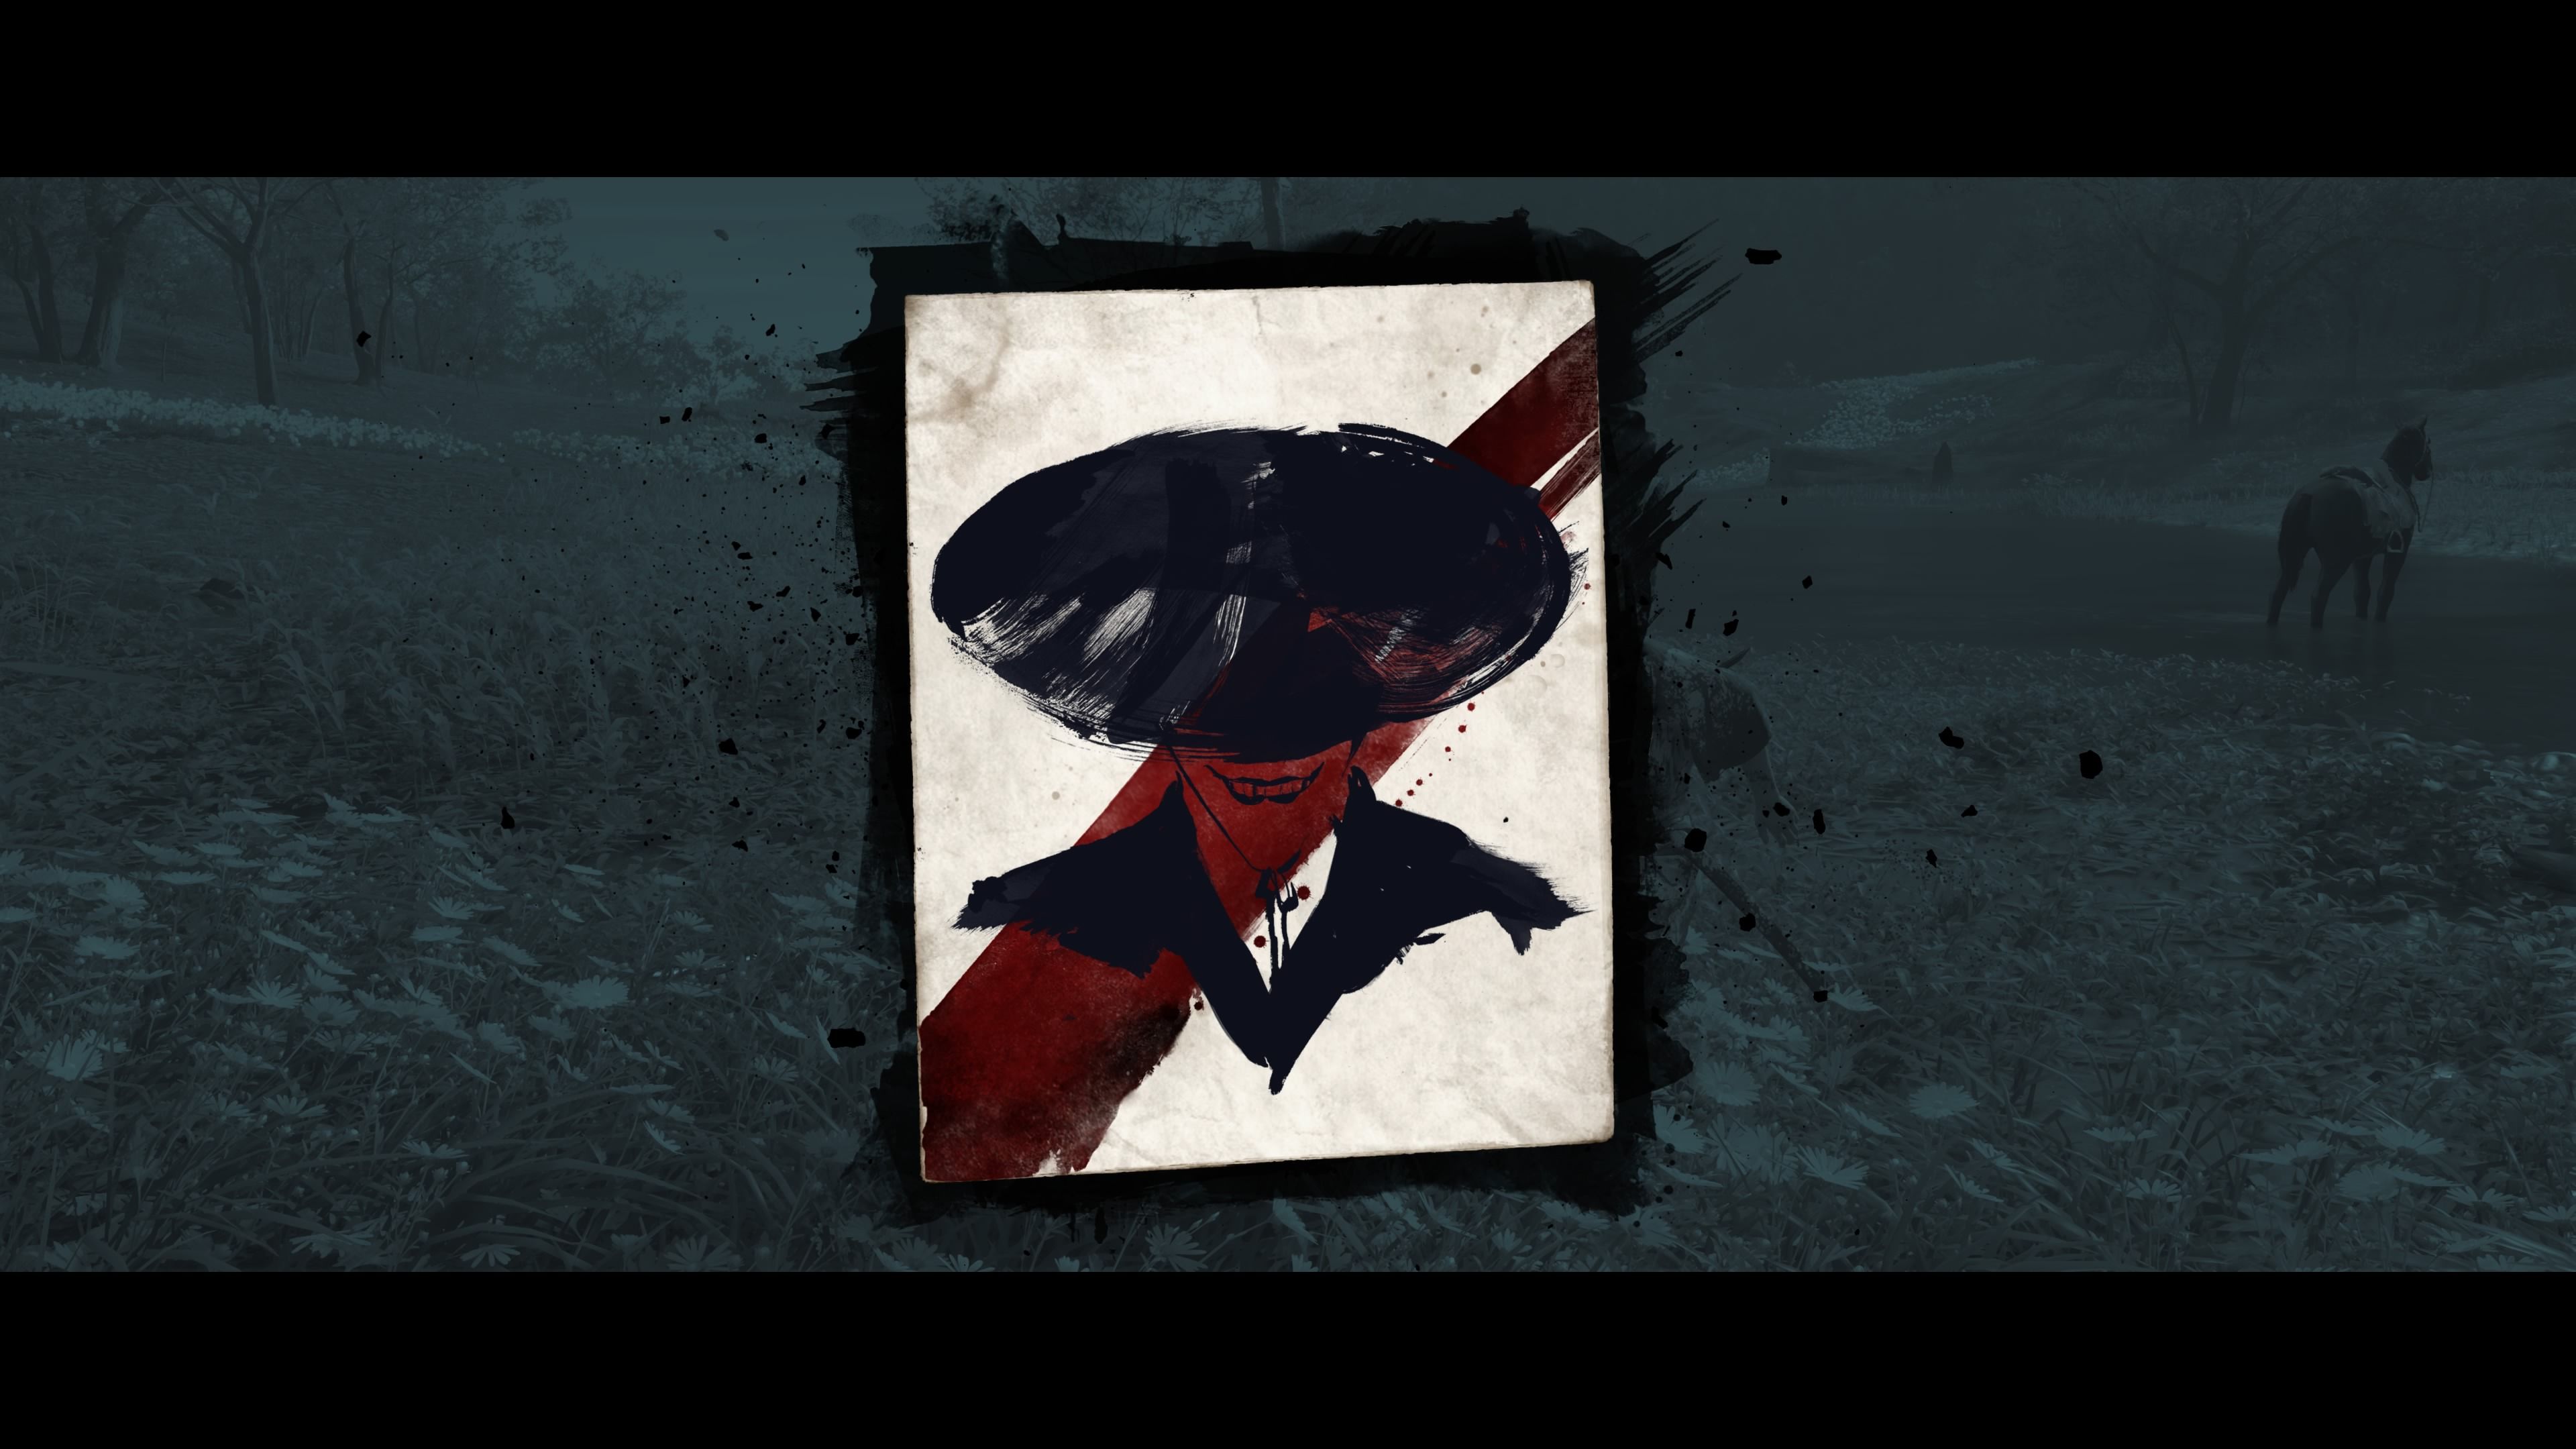
Crow Genzo
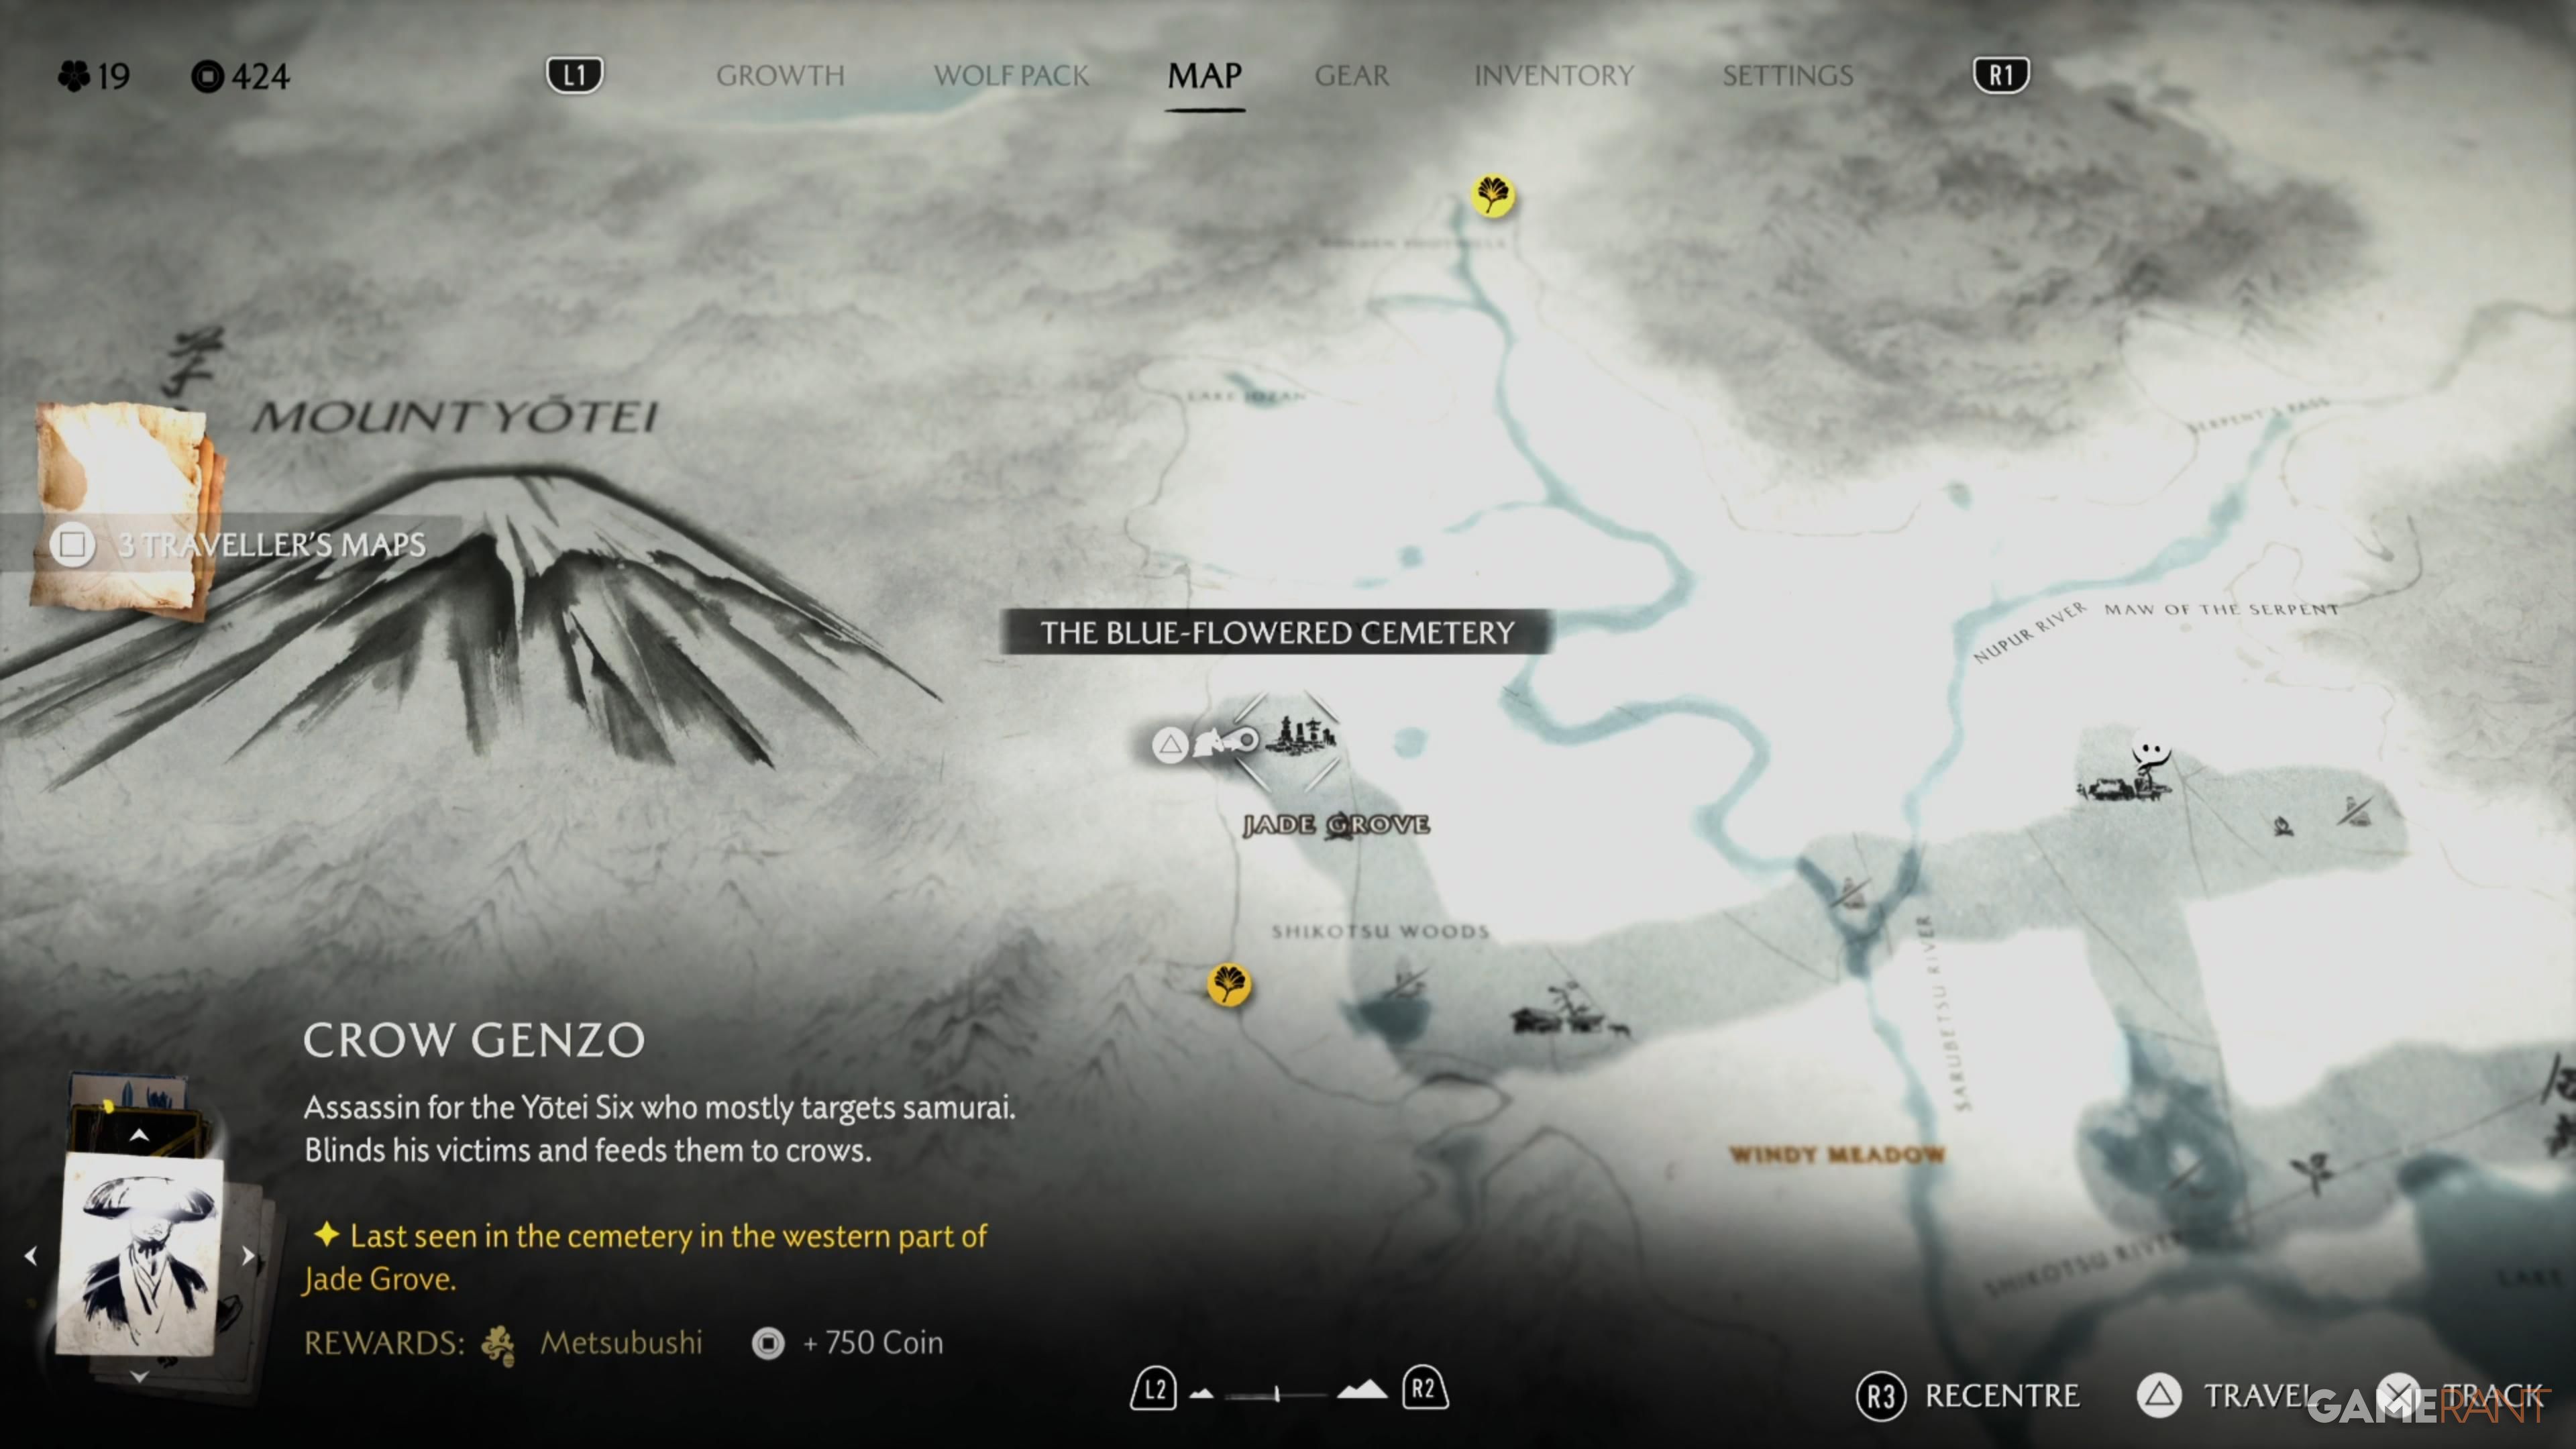
- Location: The Blue-Flowered Cemetery, Jade Grove, Yotei Grasslands
- Reward: 750 Coins, Metsubushi (Quickfire Weapon), Crow Gernzo’s Sandogasa Hat
You can find the bounty poster for Crow Genzo at the Yotei’s Shadow Inn in the Yotei Grasslands. Once you accept the bounty, travel to The Blue-Flowered Cemetery. It’s located north of Jade Grove, which itself is in the northwest part of the Yotei Grasslands, just above Shikotsu Woods. You’ll find Crow Genzo near the center of the cemetery, at the Altar of Reflection.
Muneji the Bone Crusher
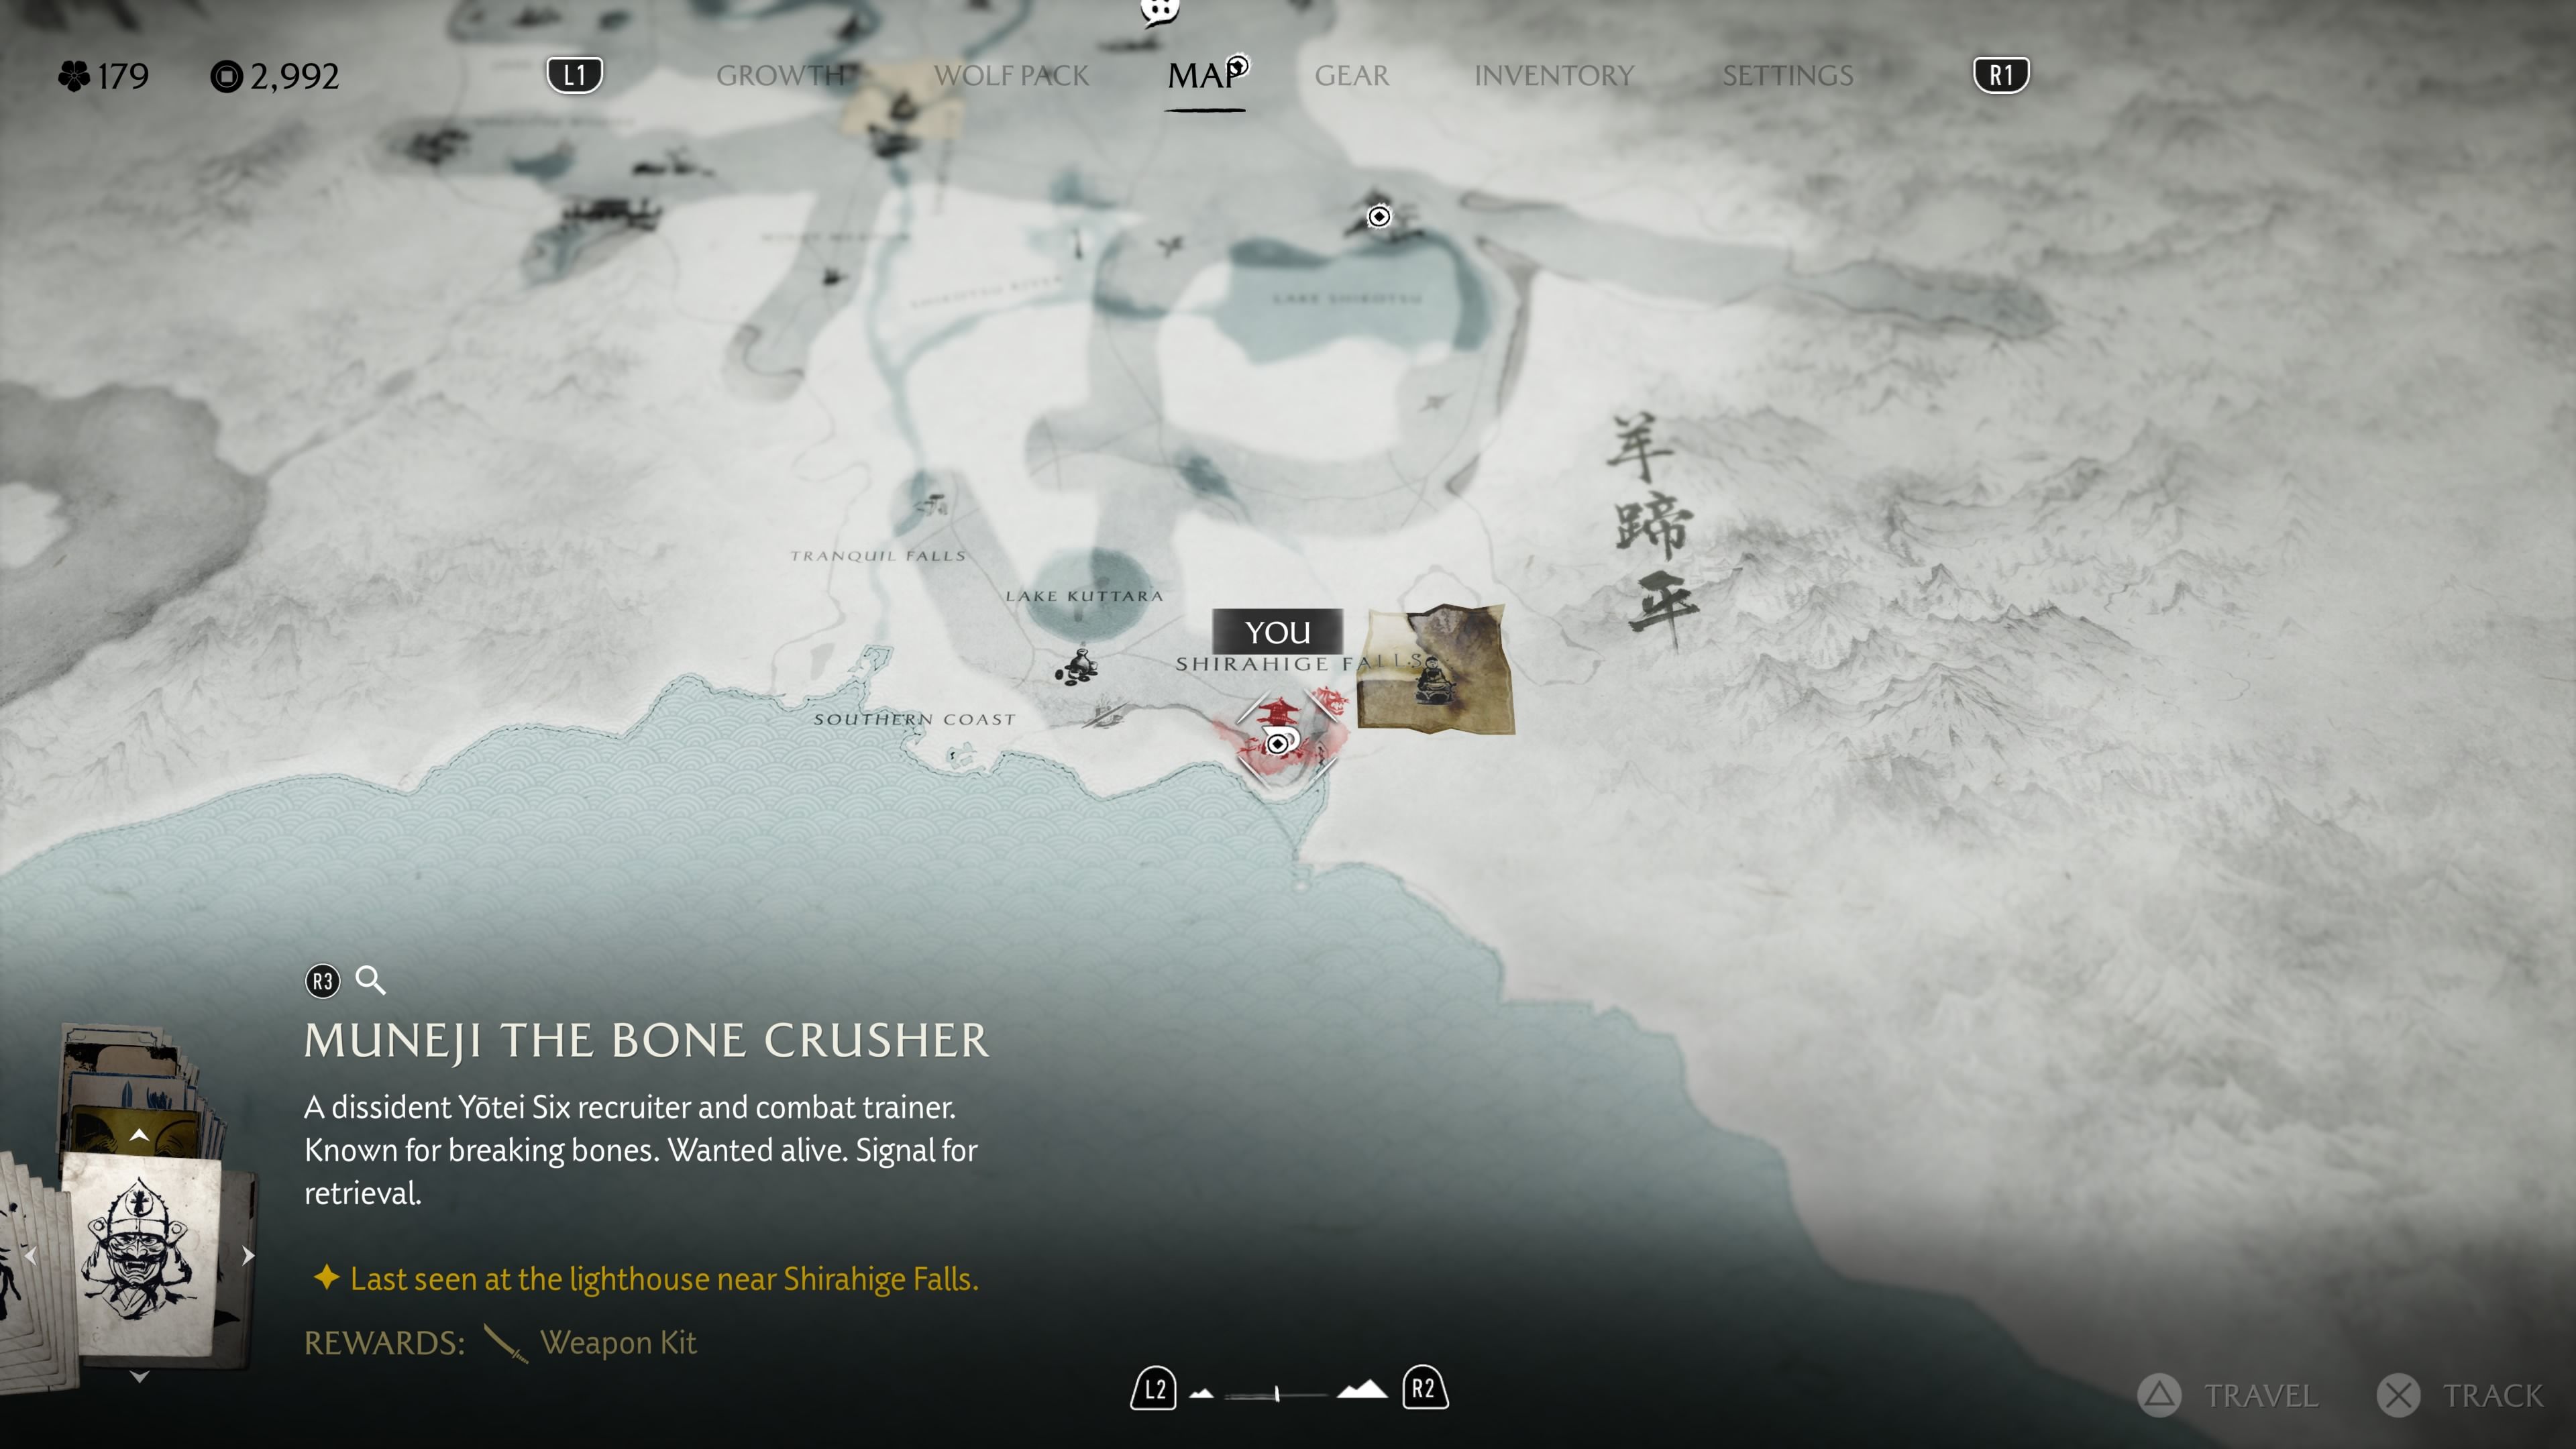

- Location: Saito Compound, Shirahige Falls, Yotei Grasslands
- Reward: 2,000 Coins, Crushing Hebi Sword Kit
Once you accept a bounty from the Yotei’s Shadow Inn in the Yotei Grasslands, the Muneji the Bone Crusher bounty will become available on the bounty board when you return. You can find this bounty at the Saito Compound, which is located in the Shirahige Falls area of the Yotei Grasslands. This location is a Yotei Six Camp in the southern part of the grasslands; you’ll need to defeat the Saito’s Outlaws stationed there to face Muneji.
The Three Terrors
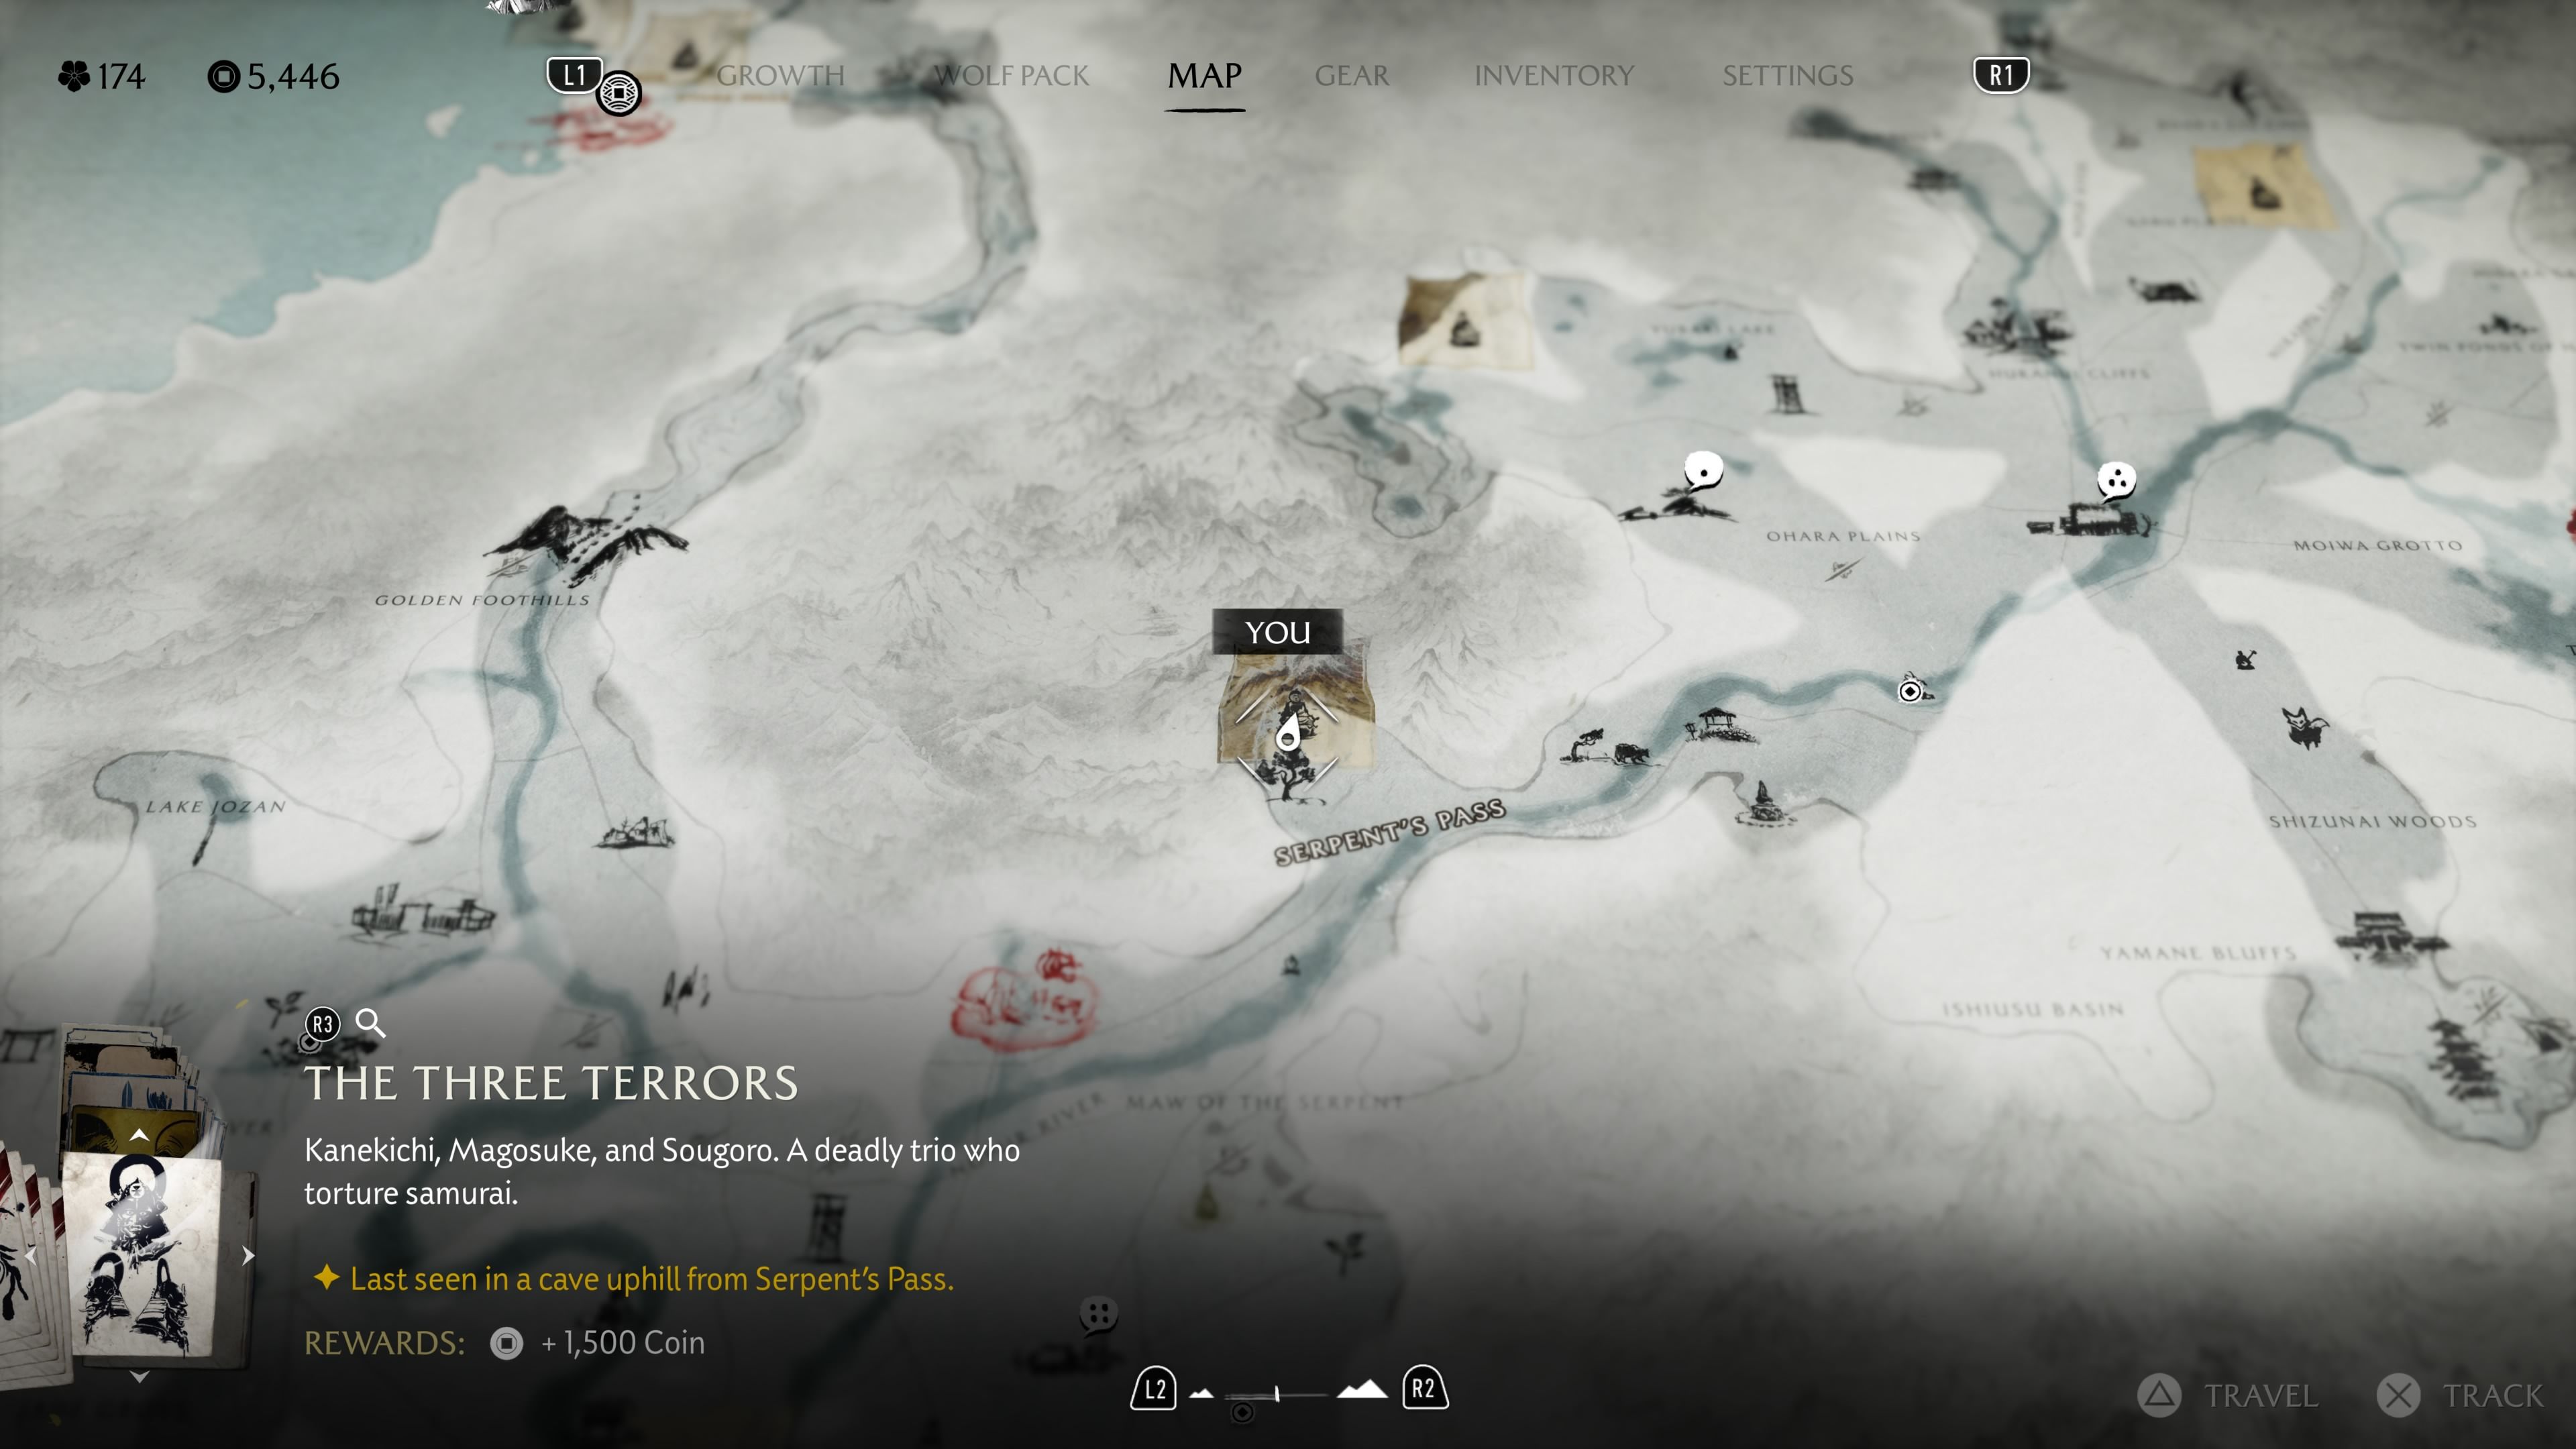
- Location: The Twisted Tree, Serpent’s Pass, Yotei Grasslands
- Reward: 1,500 Coins
The Three Terrors is a bounty available at the Yotei’s Shadow Inn in the Yotei Grasslands. It sends players into a cave to defeat three dangerous creatures. You can find these targets, all located within The Twisted Tree, by heading north from Serpent’s Pass. Look for an opening in the rock wall to enter the cave, then descend to begin the hunt.
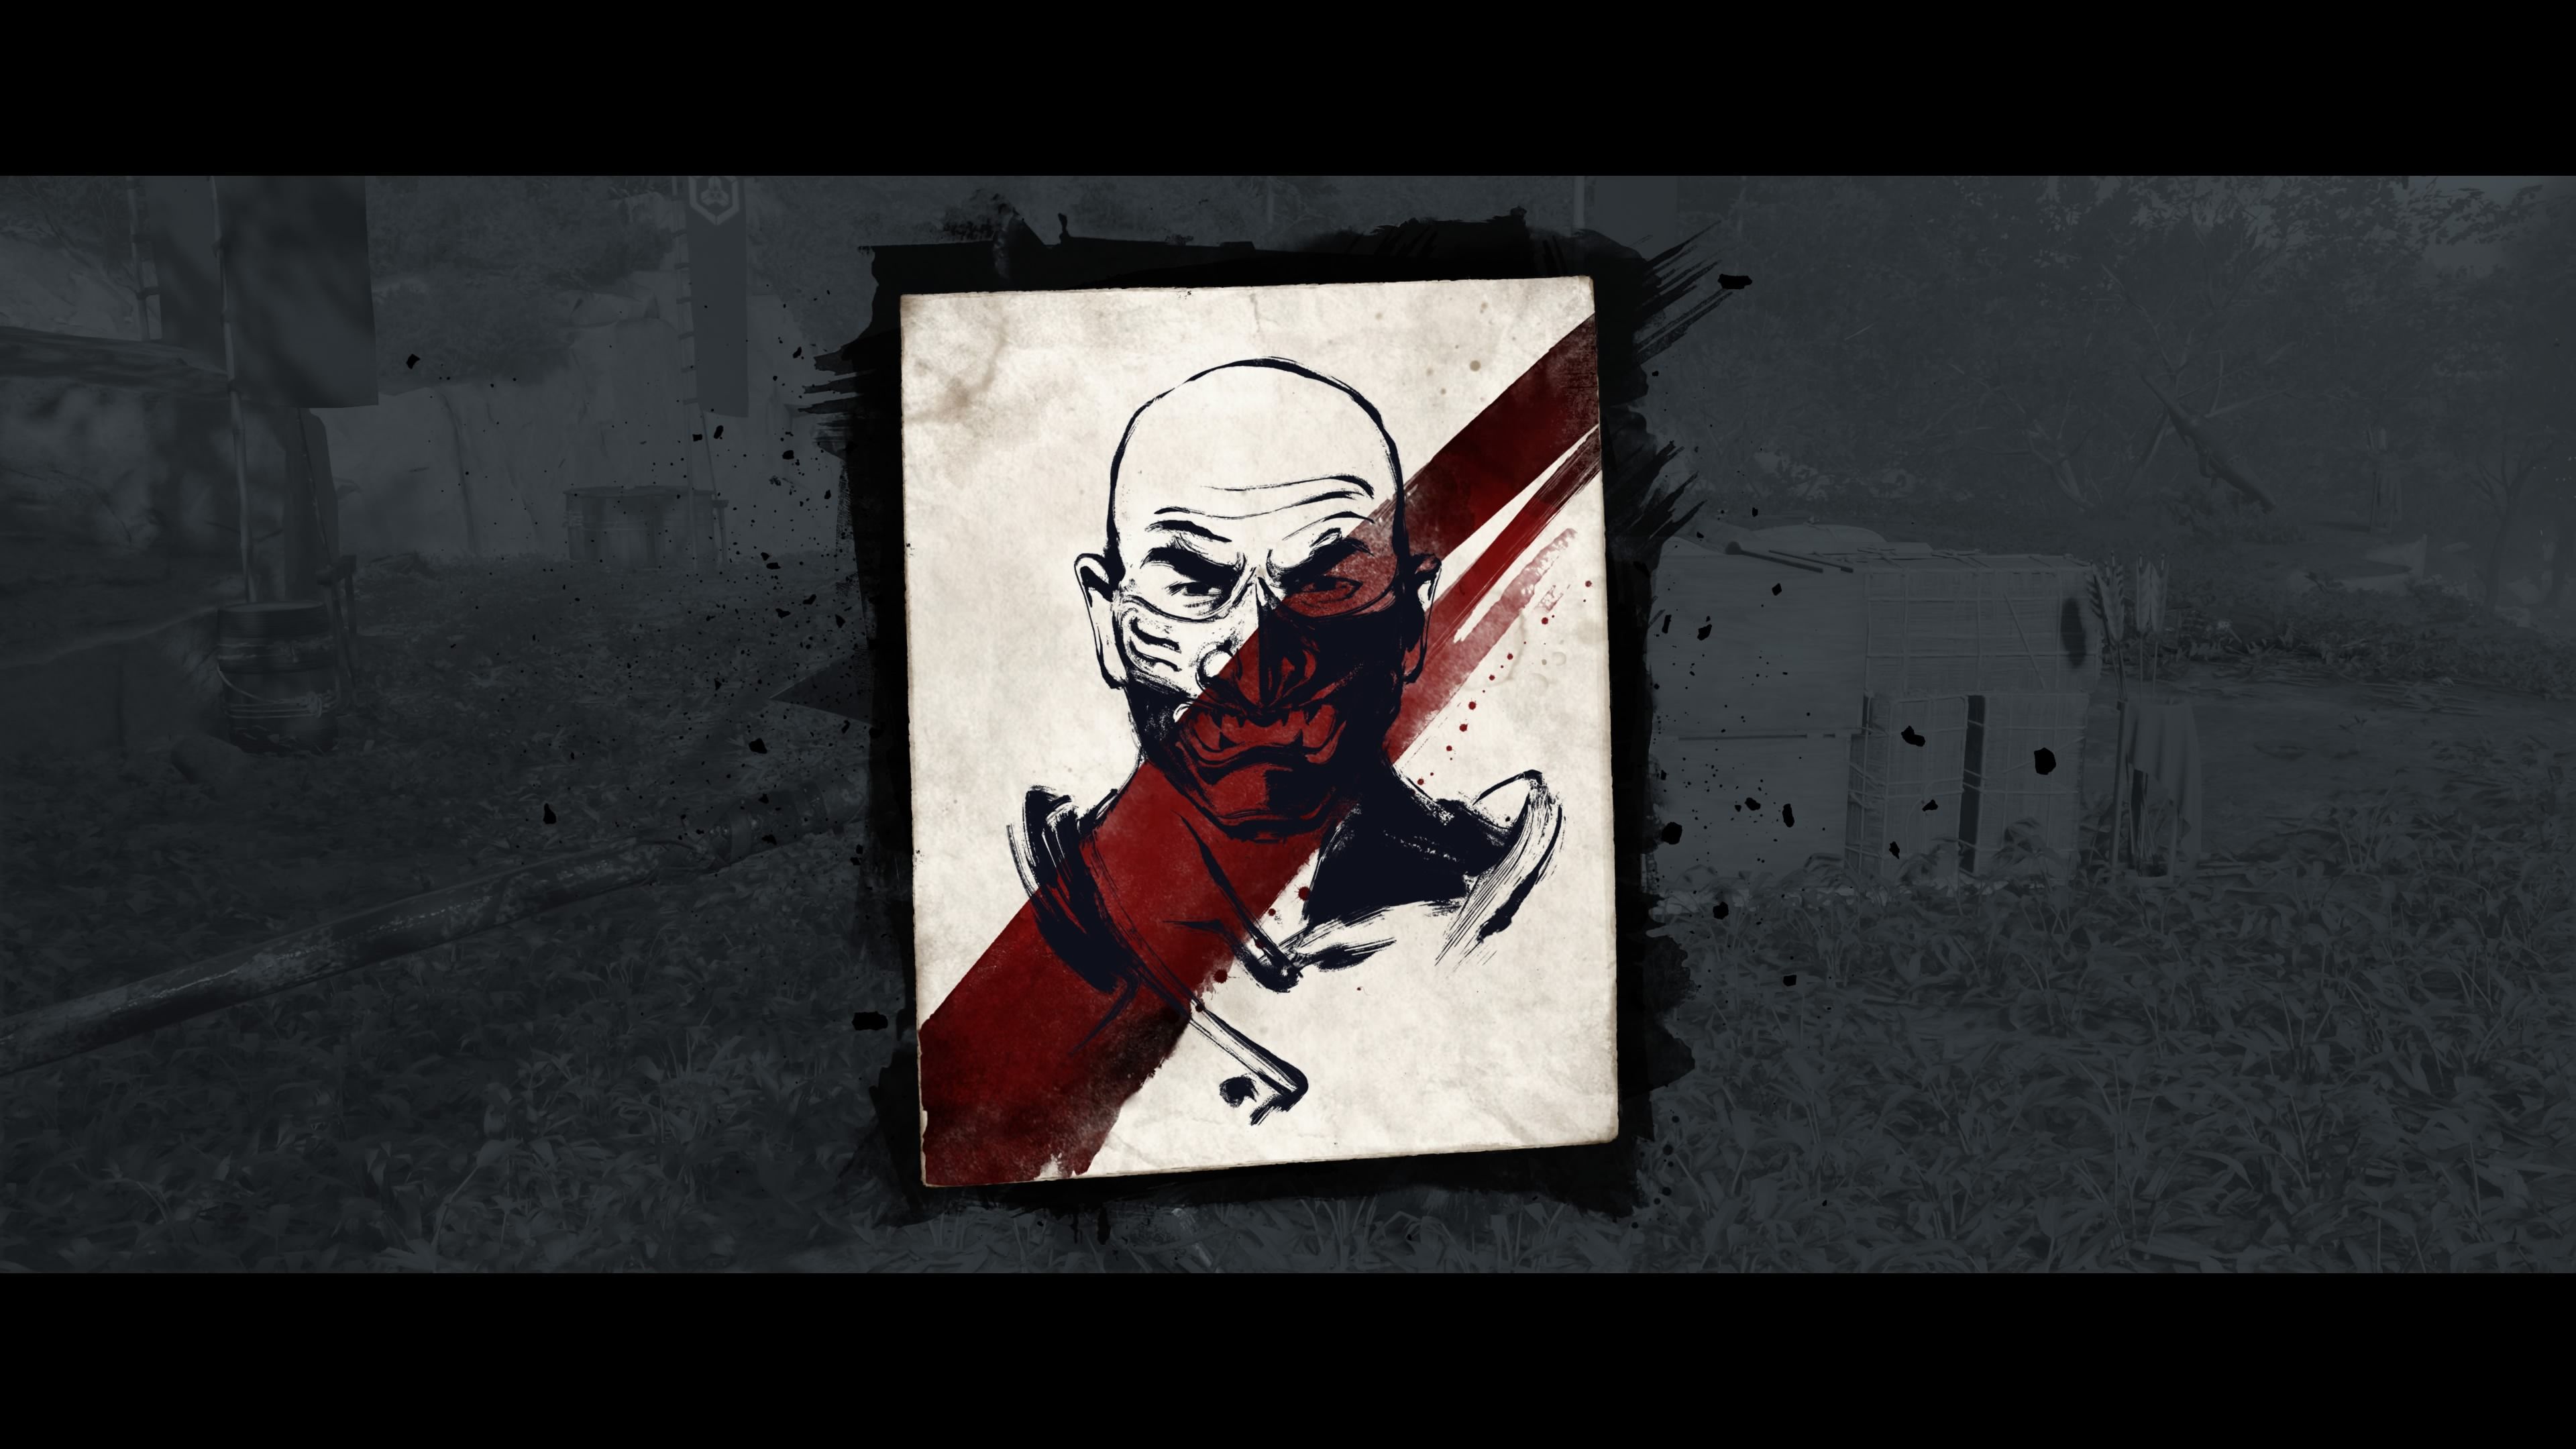
Black Powder Ippei
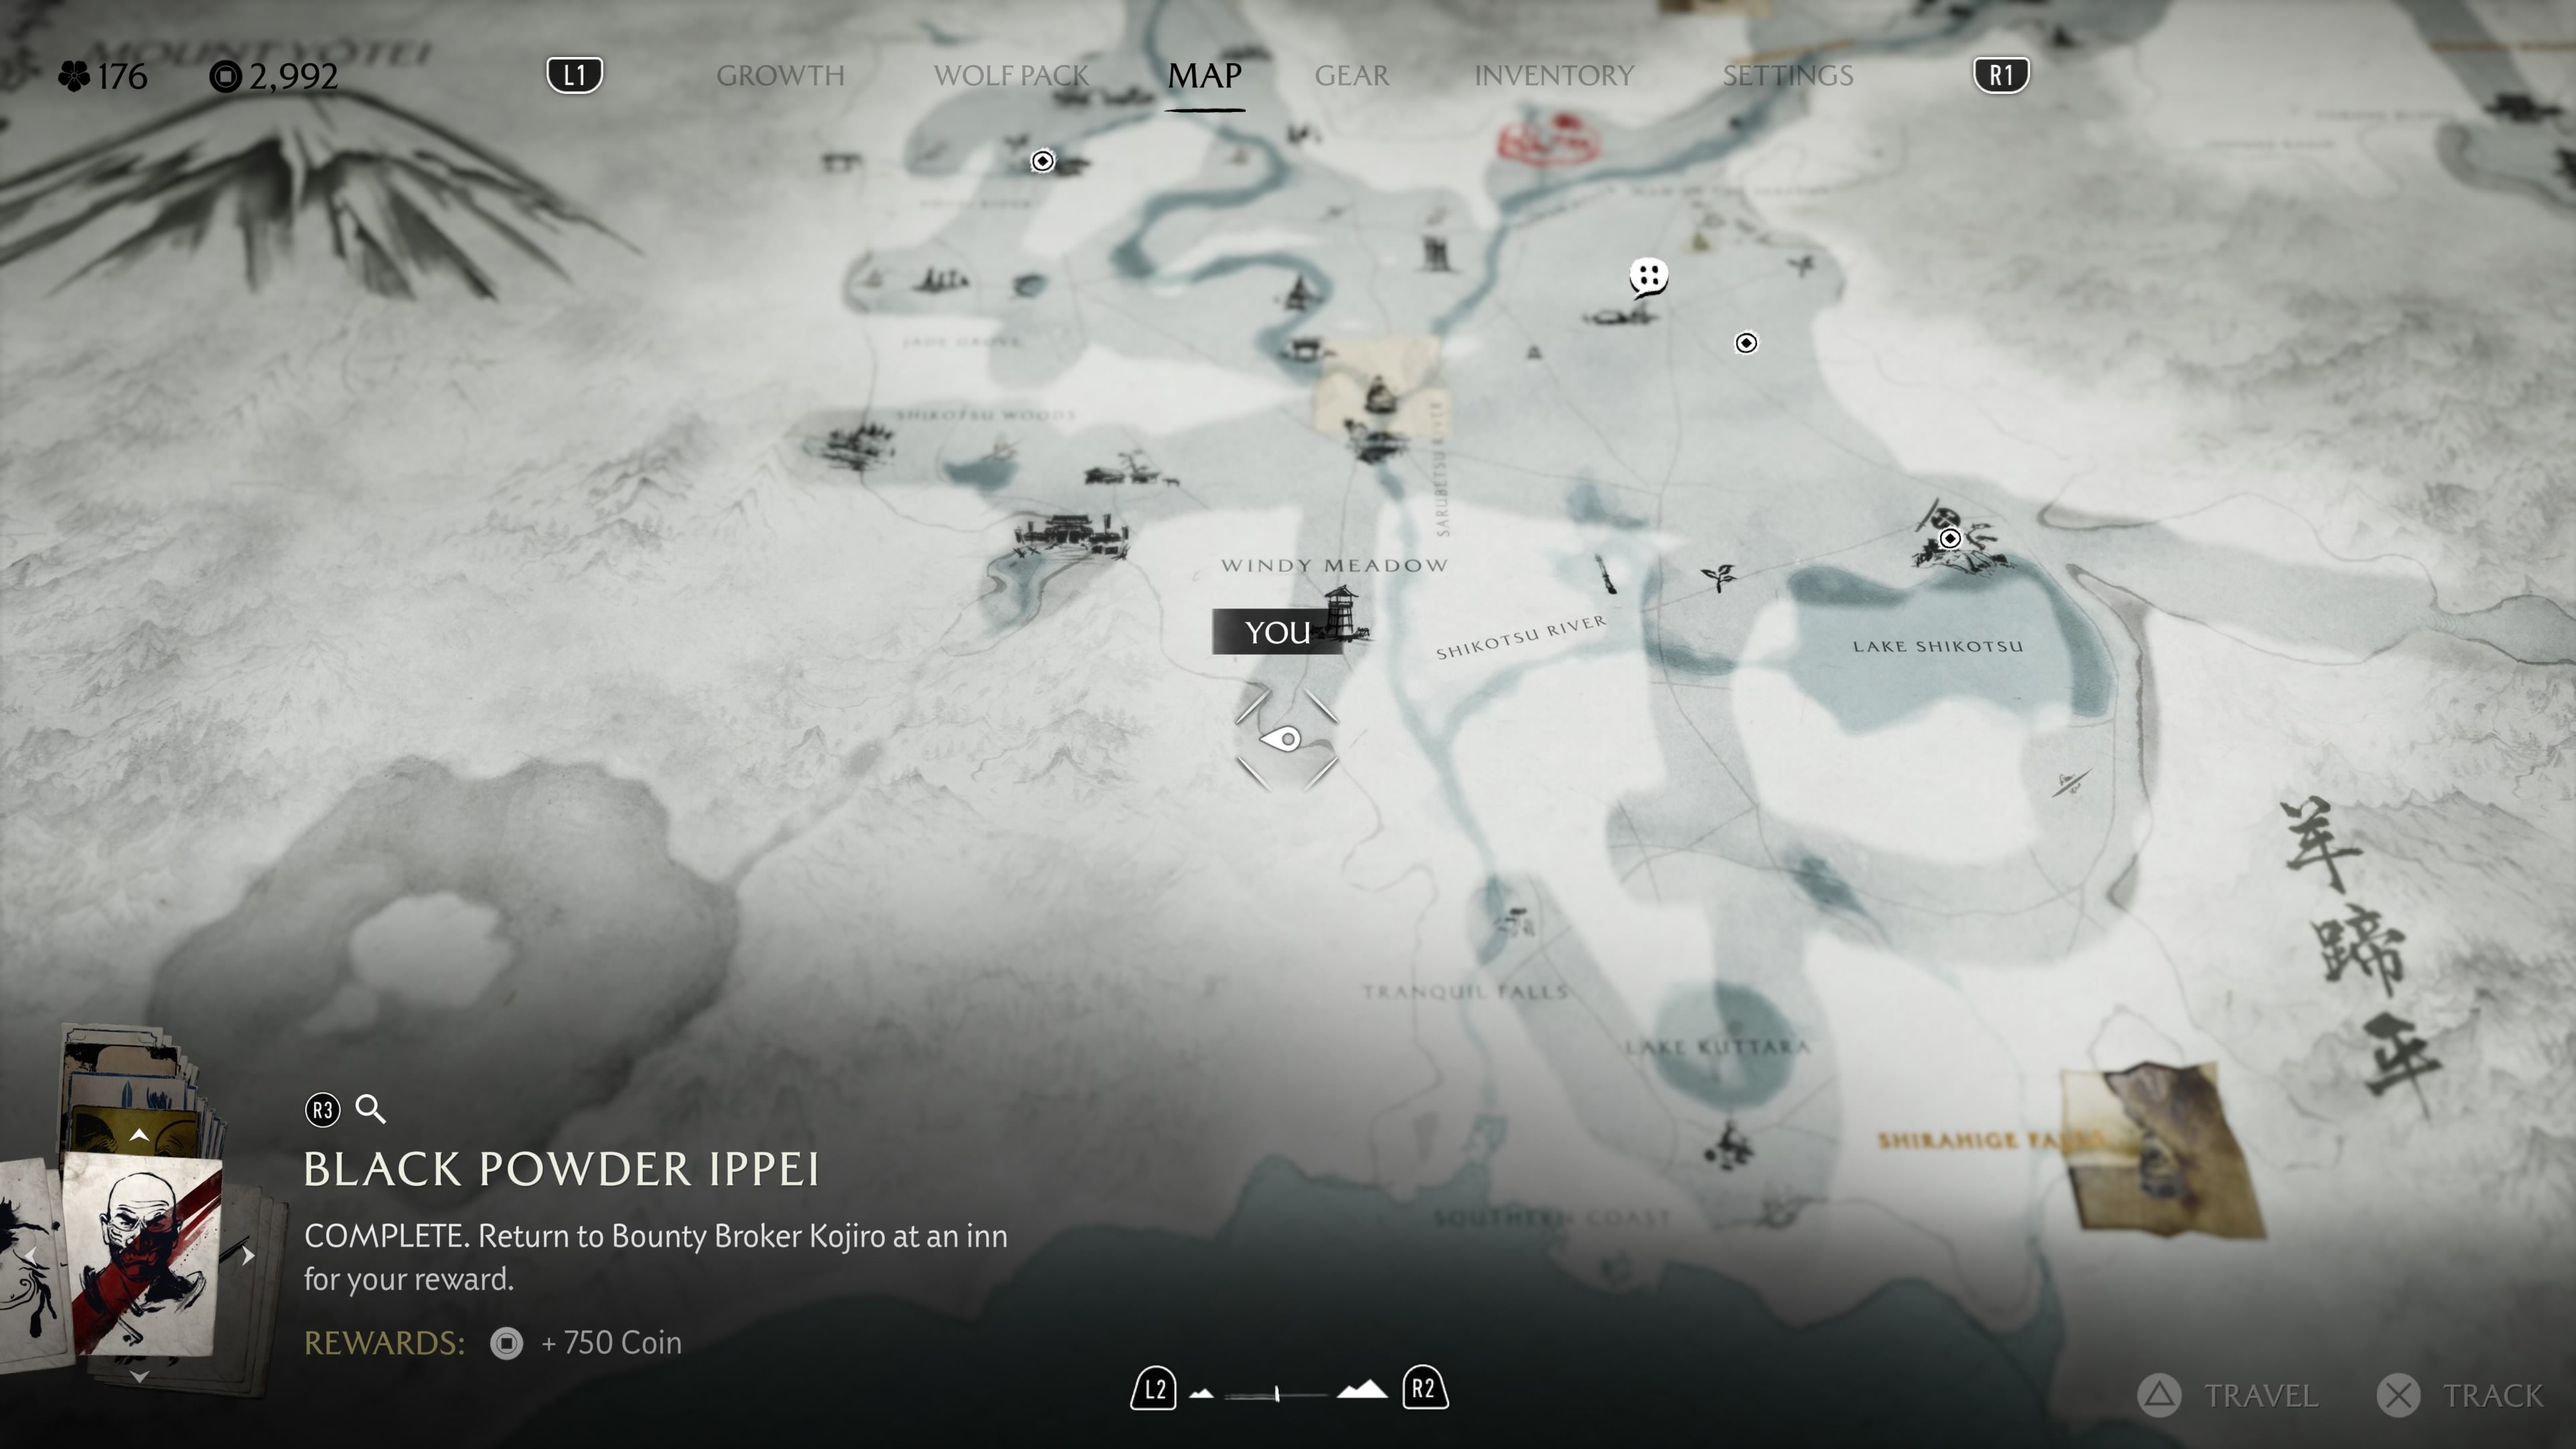
- Location: Hilltop Watchtower, Yotei Grasslands
- Reward: 750 Coins, Black Powder Ippei’s Mask
Another reward can be collected from the Yotei’s Shadow Inn. Head southwest along the Shikotsu River, and just south of Windy Meadow, you’ll discover a ruined watchtower. Once you reach this spot, look for fiery projectiles in the sky and follow their path south. This will lead you to Black Powder Ippei, who’s attacking with a cannon.
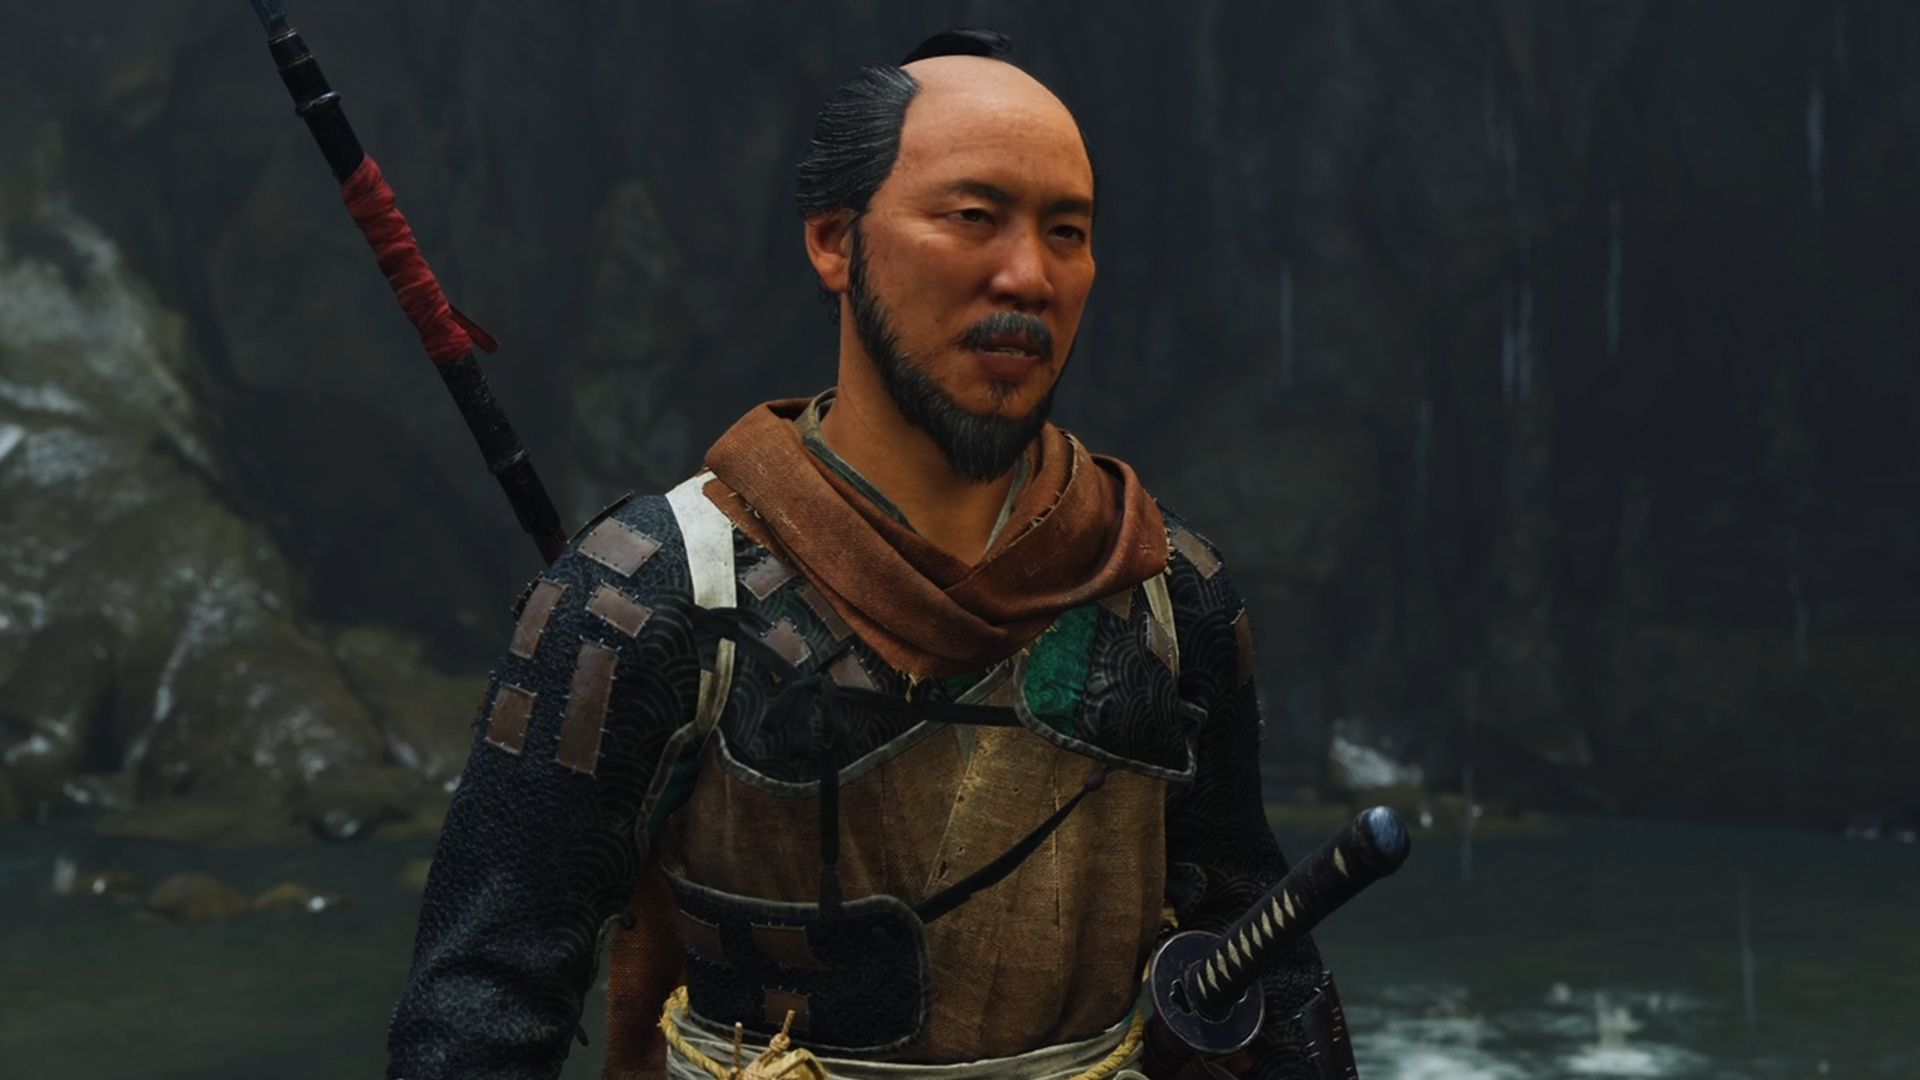
Soma the Condemned
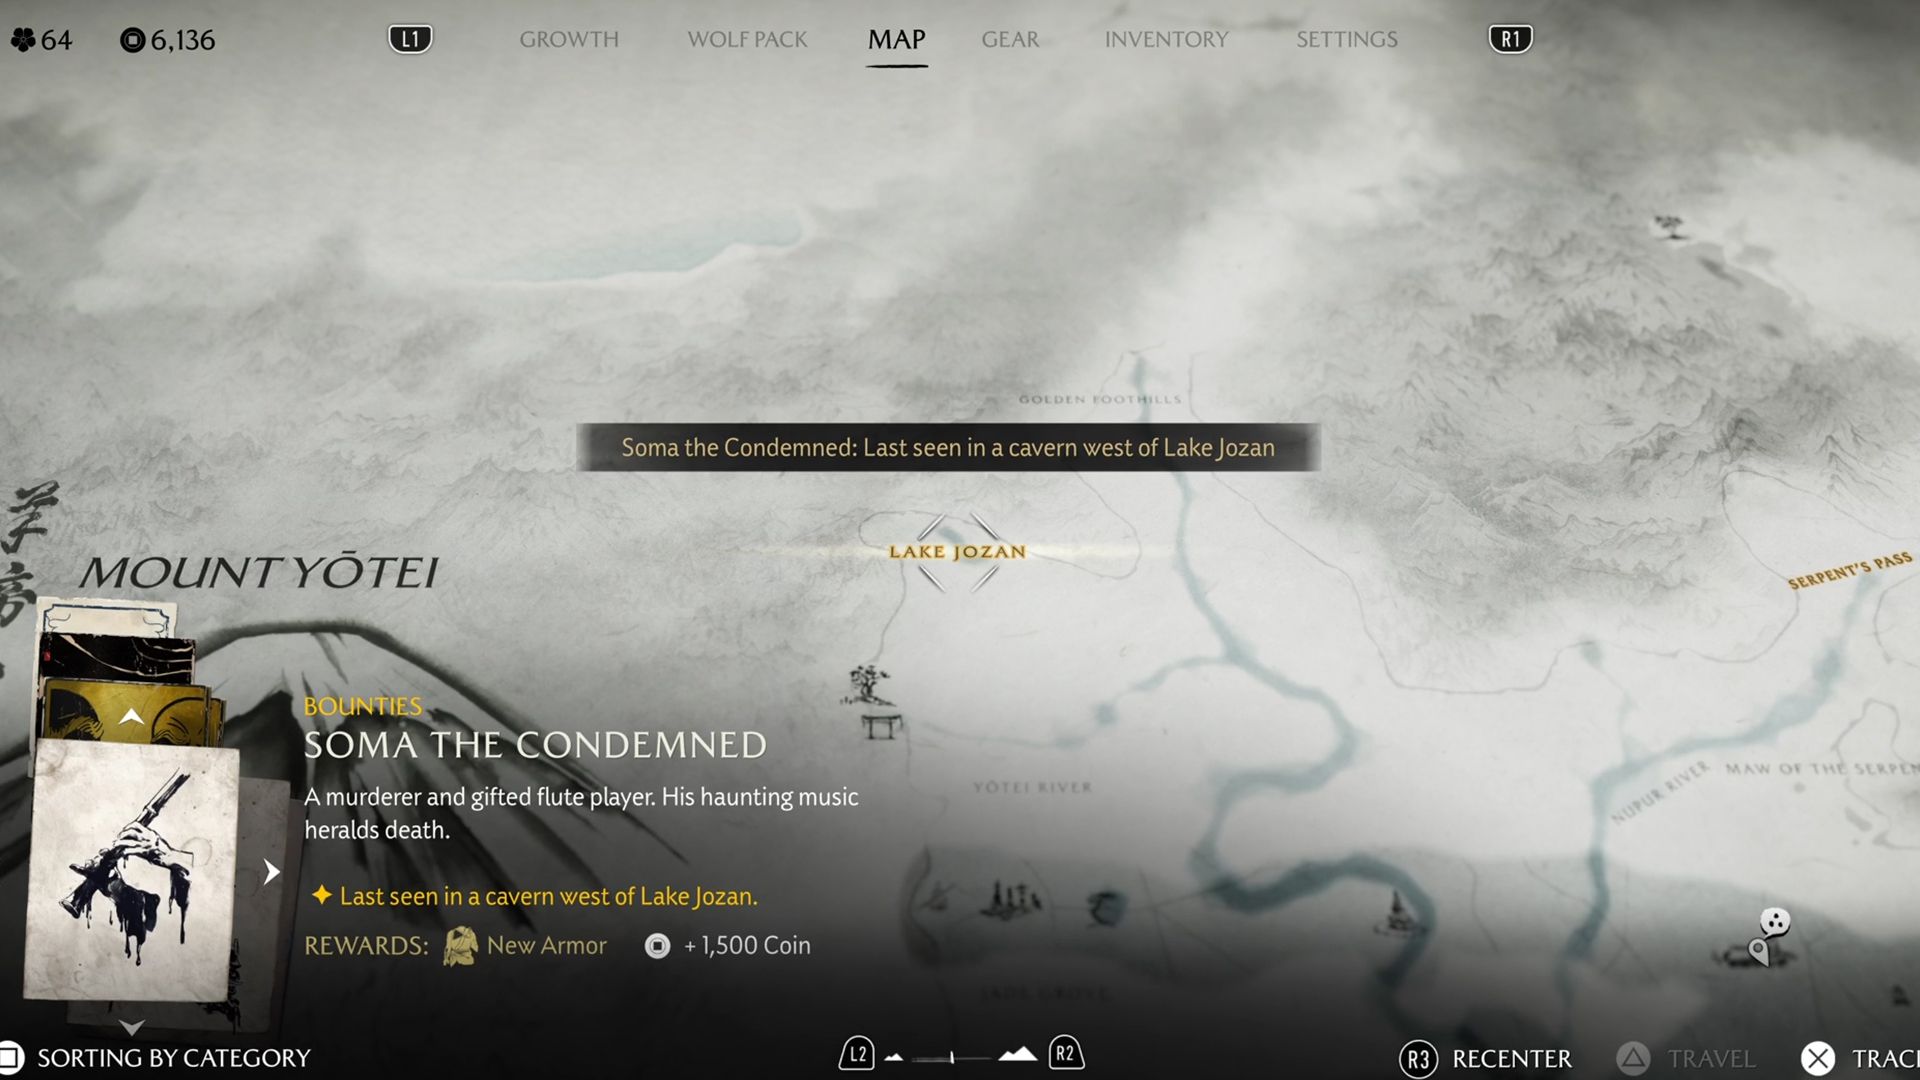
- Location: Lake Jozan, Yotei Grasslands
- Reward: 1,500 Coins, Bounty Master Armor, Bounty Master Headband
Once you’ve finished the earlier quests in the Yotei Grasslands, go back to the Yotei’s Shadow Inn and talk to Kojiro, who’s near the bounty board. He’ll give you a new quest: to find Soma the Condemned. You’ll find Soma north of the Yotei River, on the western side of Lake Jozan. Look for a cave at the edge of the map with a locked gate. To open the gate, swipe left on the touchpad and play the “Song of Soma” on your shamisen (you’ll get this song automatically). Then, go through the cave to start the fight.
All Ishikari Plain Bounties in Ghost of Yotei
Takahashi, Goro, and Ina are characters you encounter during specific missions, but they aren’t bounty targets you can hunt down anytime.
Blue Yamauba
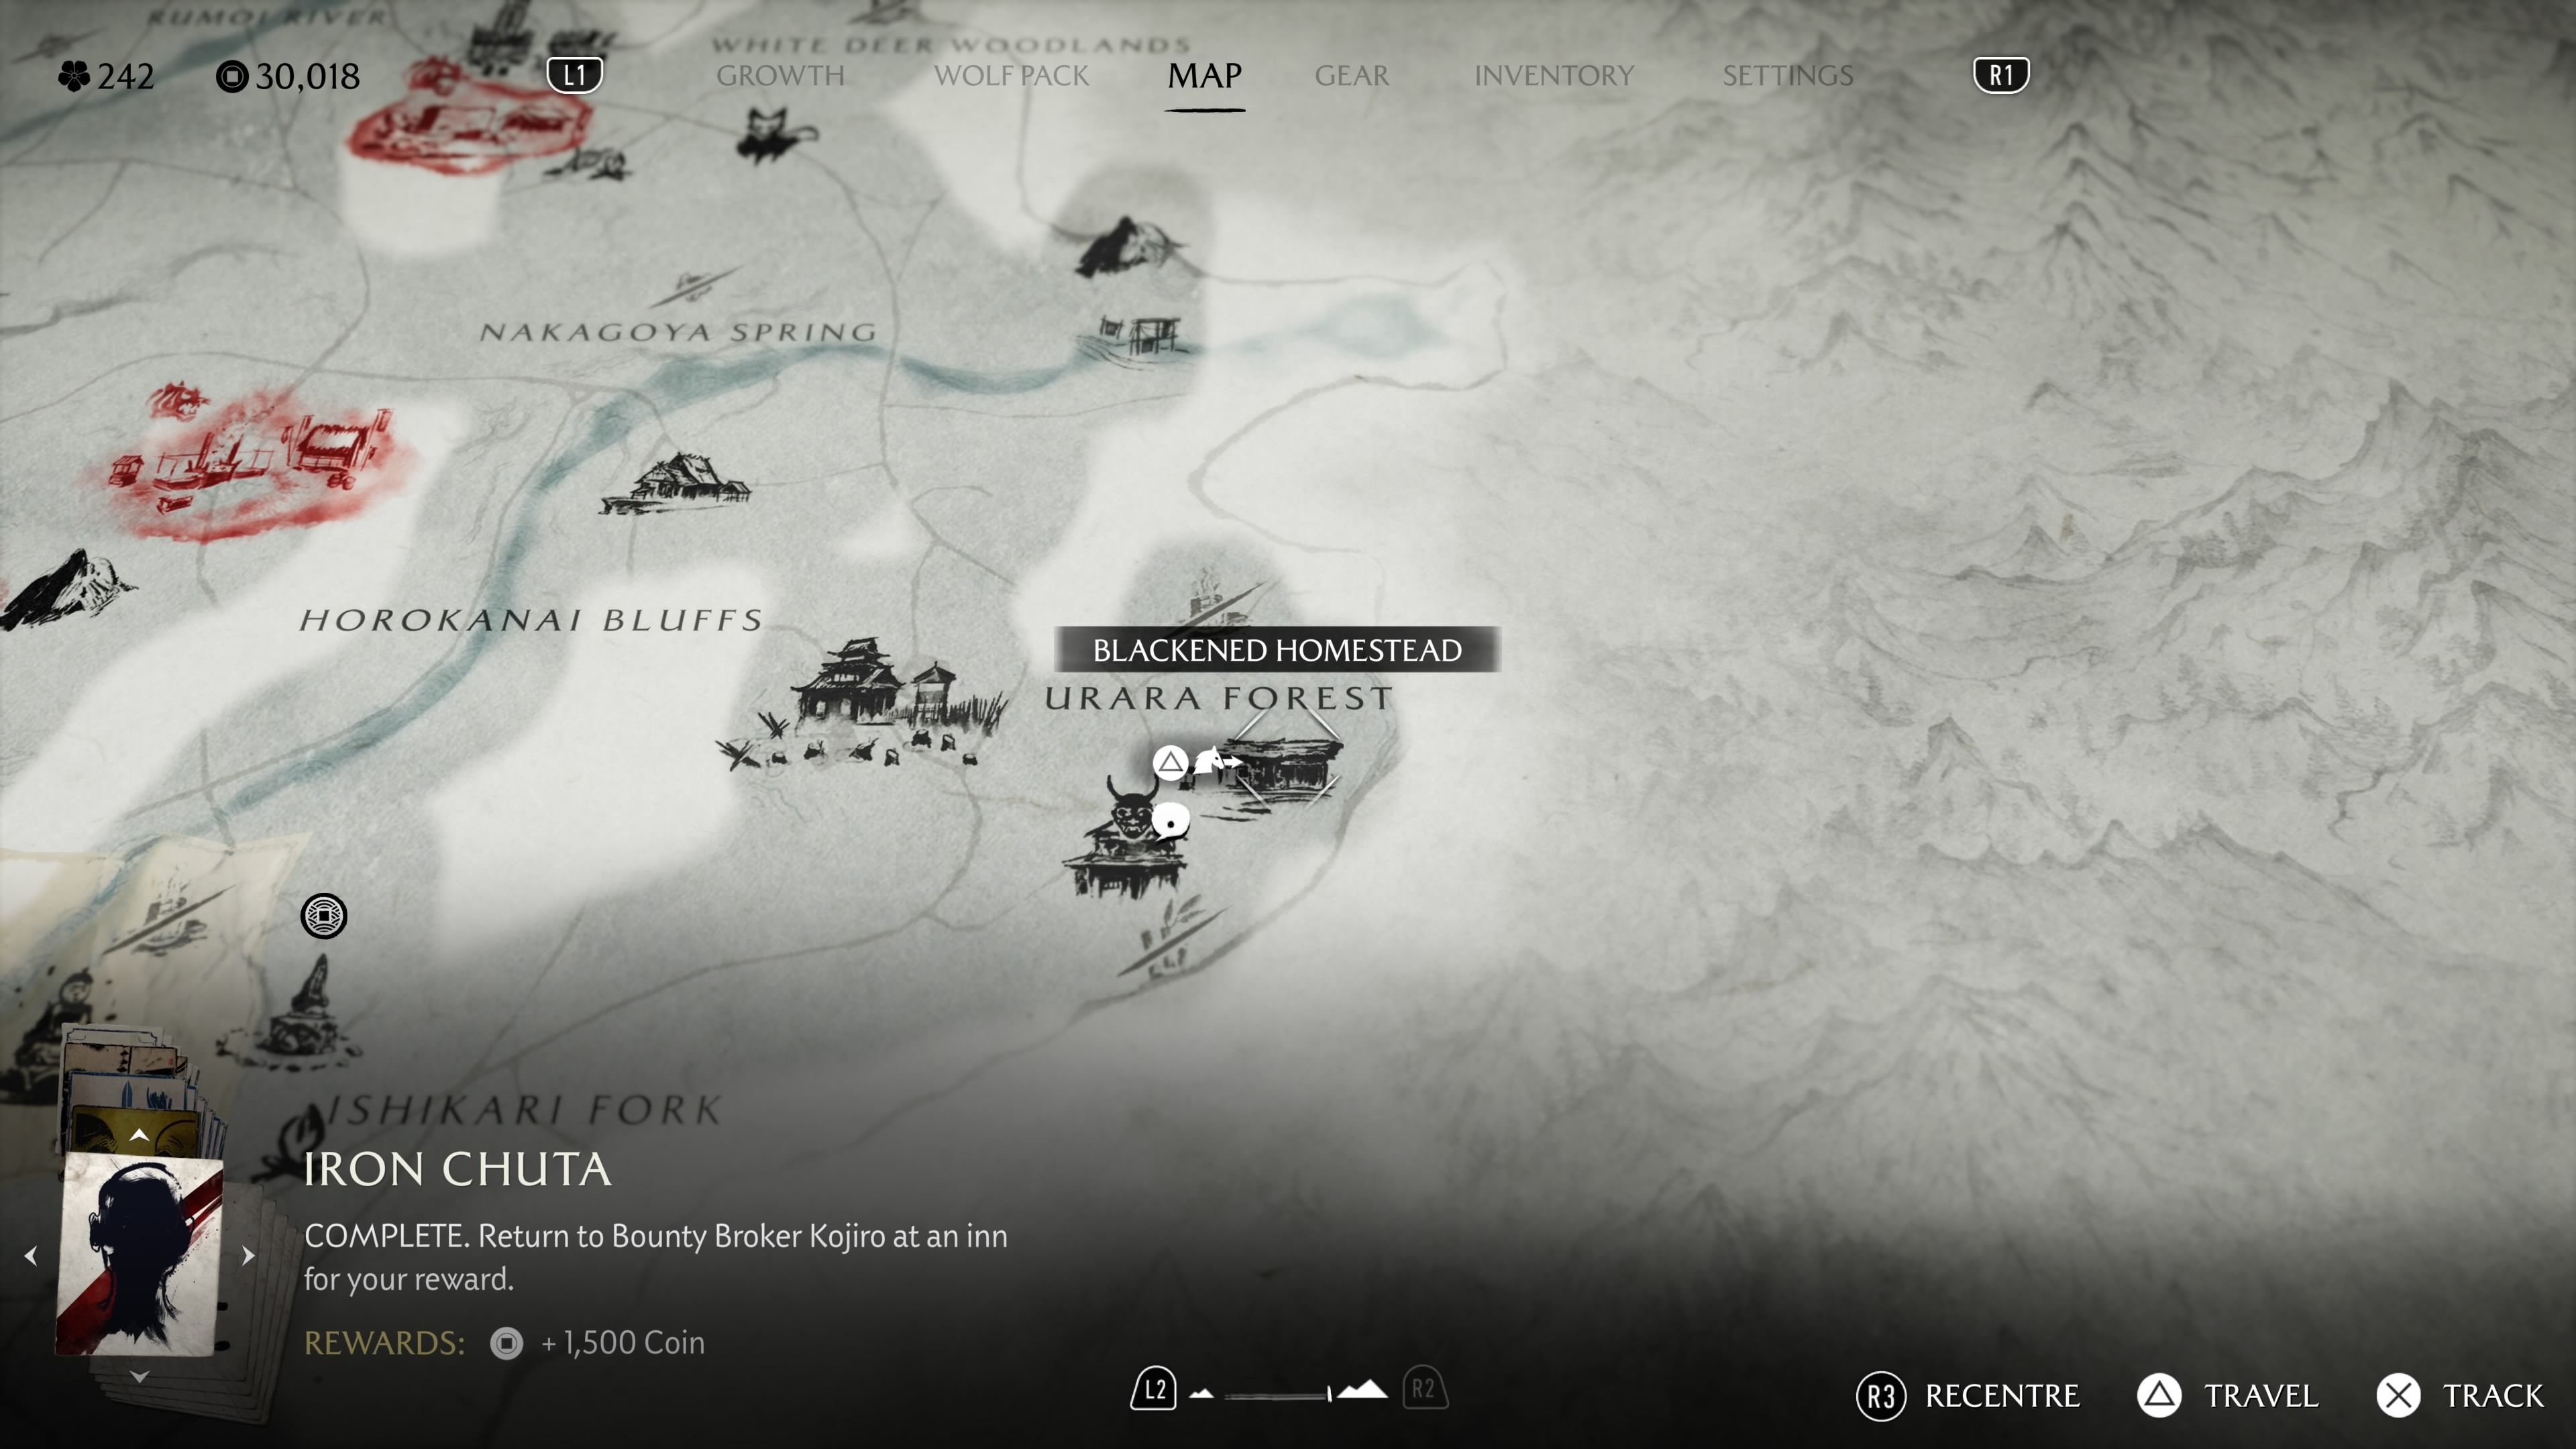
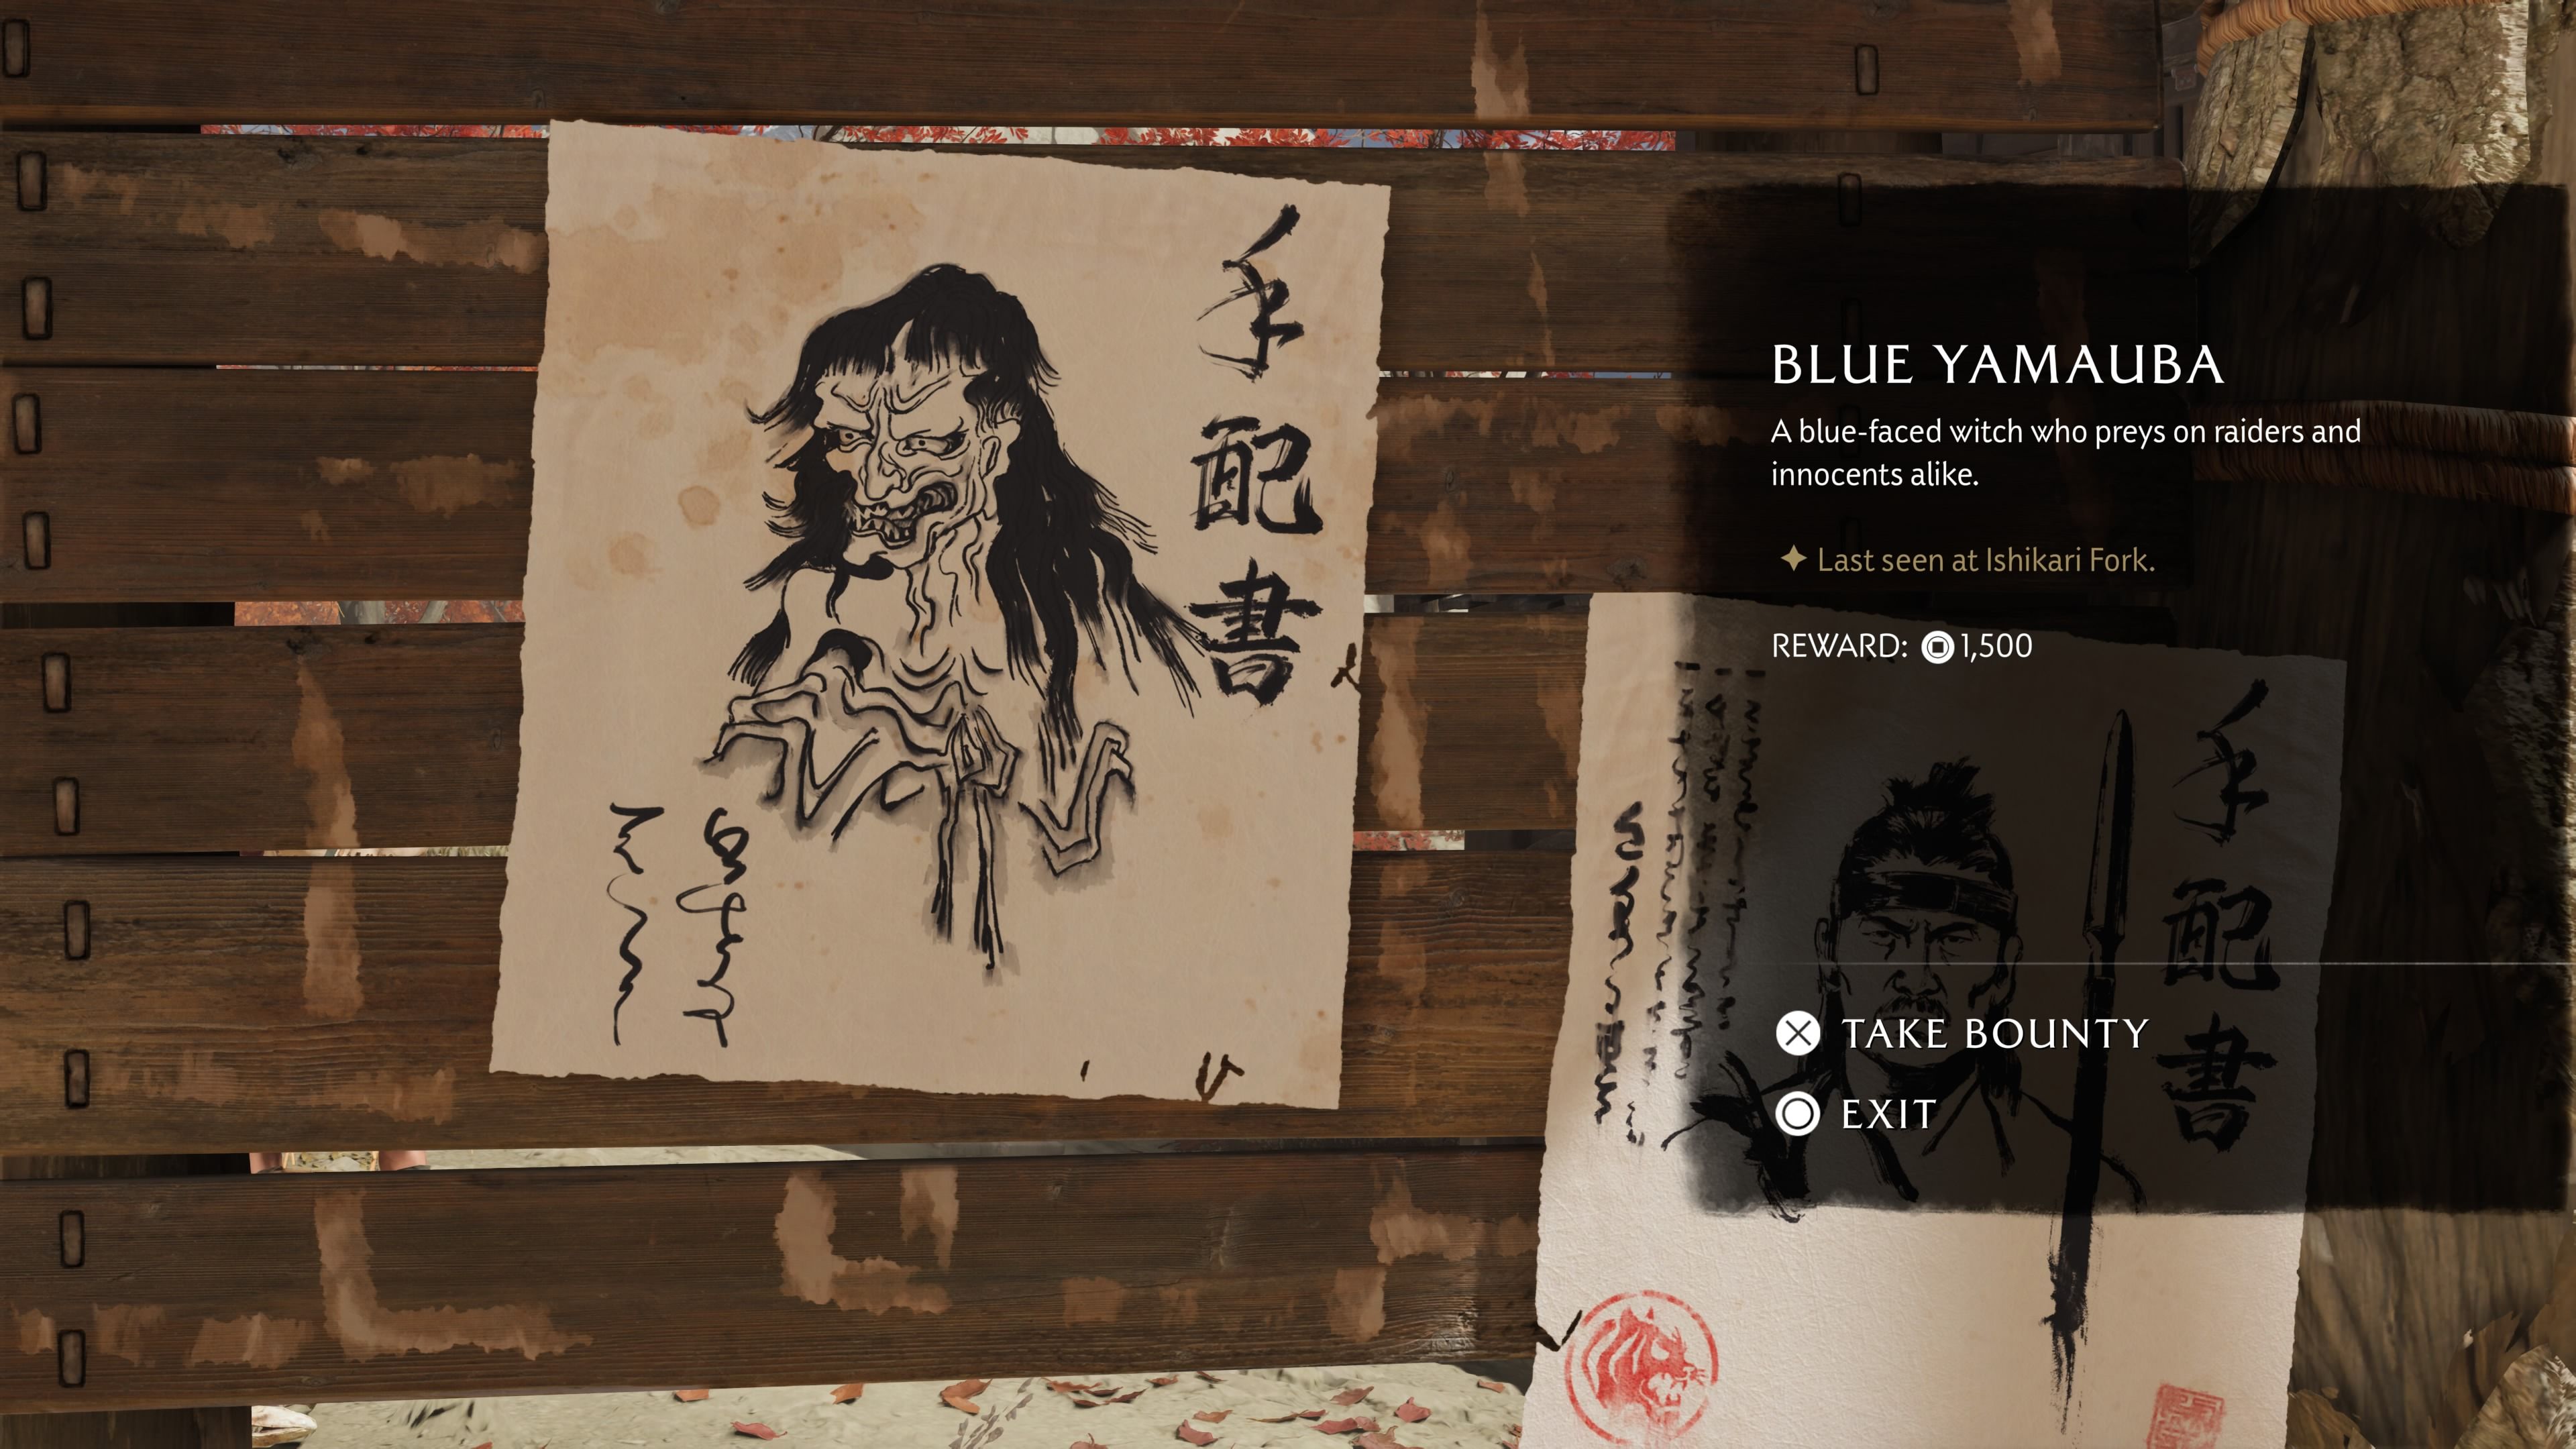
- Location: Blackened Homestead, Urara Forest, Ishikari Plain
- Reward: 1,500 Coins, Blue Yamauba Mask
First, go to the Ishikari Market and find the wanted poster for the Blue Yamauba on the bounty board. Then, travel east to Ishikari Fork and rescue the Settler marked with an “A” on the map. Use the drawing you receive to continue east to the Oni’s Breath Inn. Bring the mask you find to the Mask Merchant, and finally, go west to the Blackened Homestead to begin investigating the Blue Yamauba.
Bloody Strings Hachibee
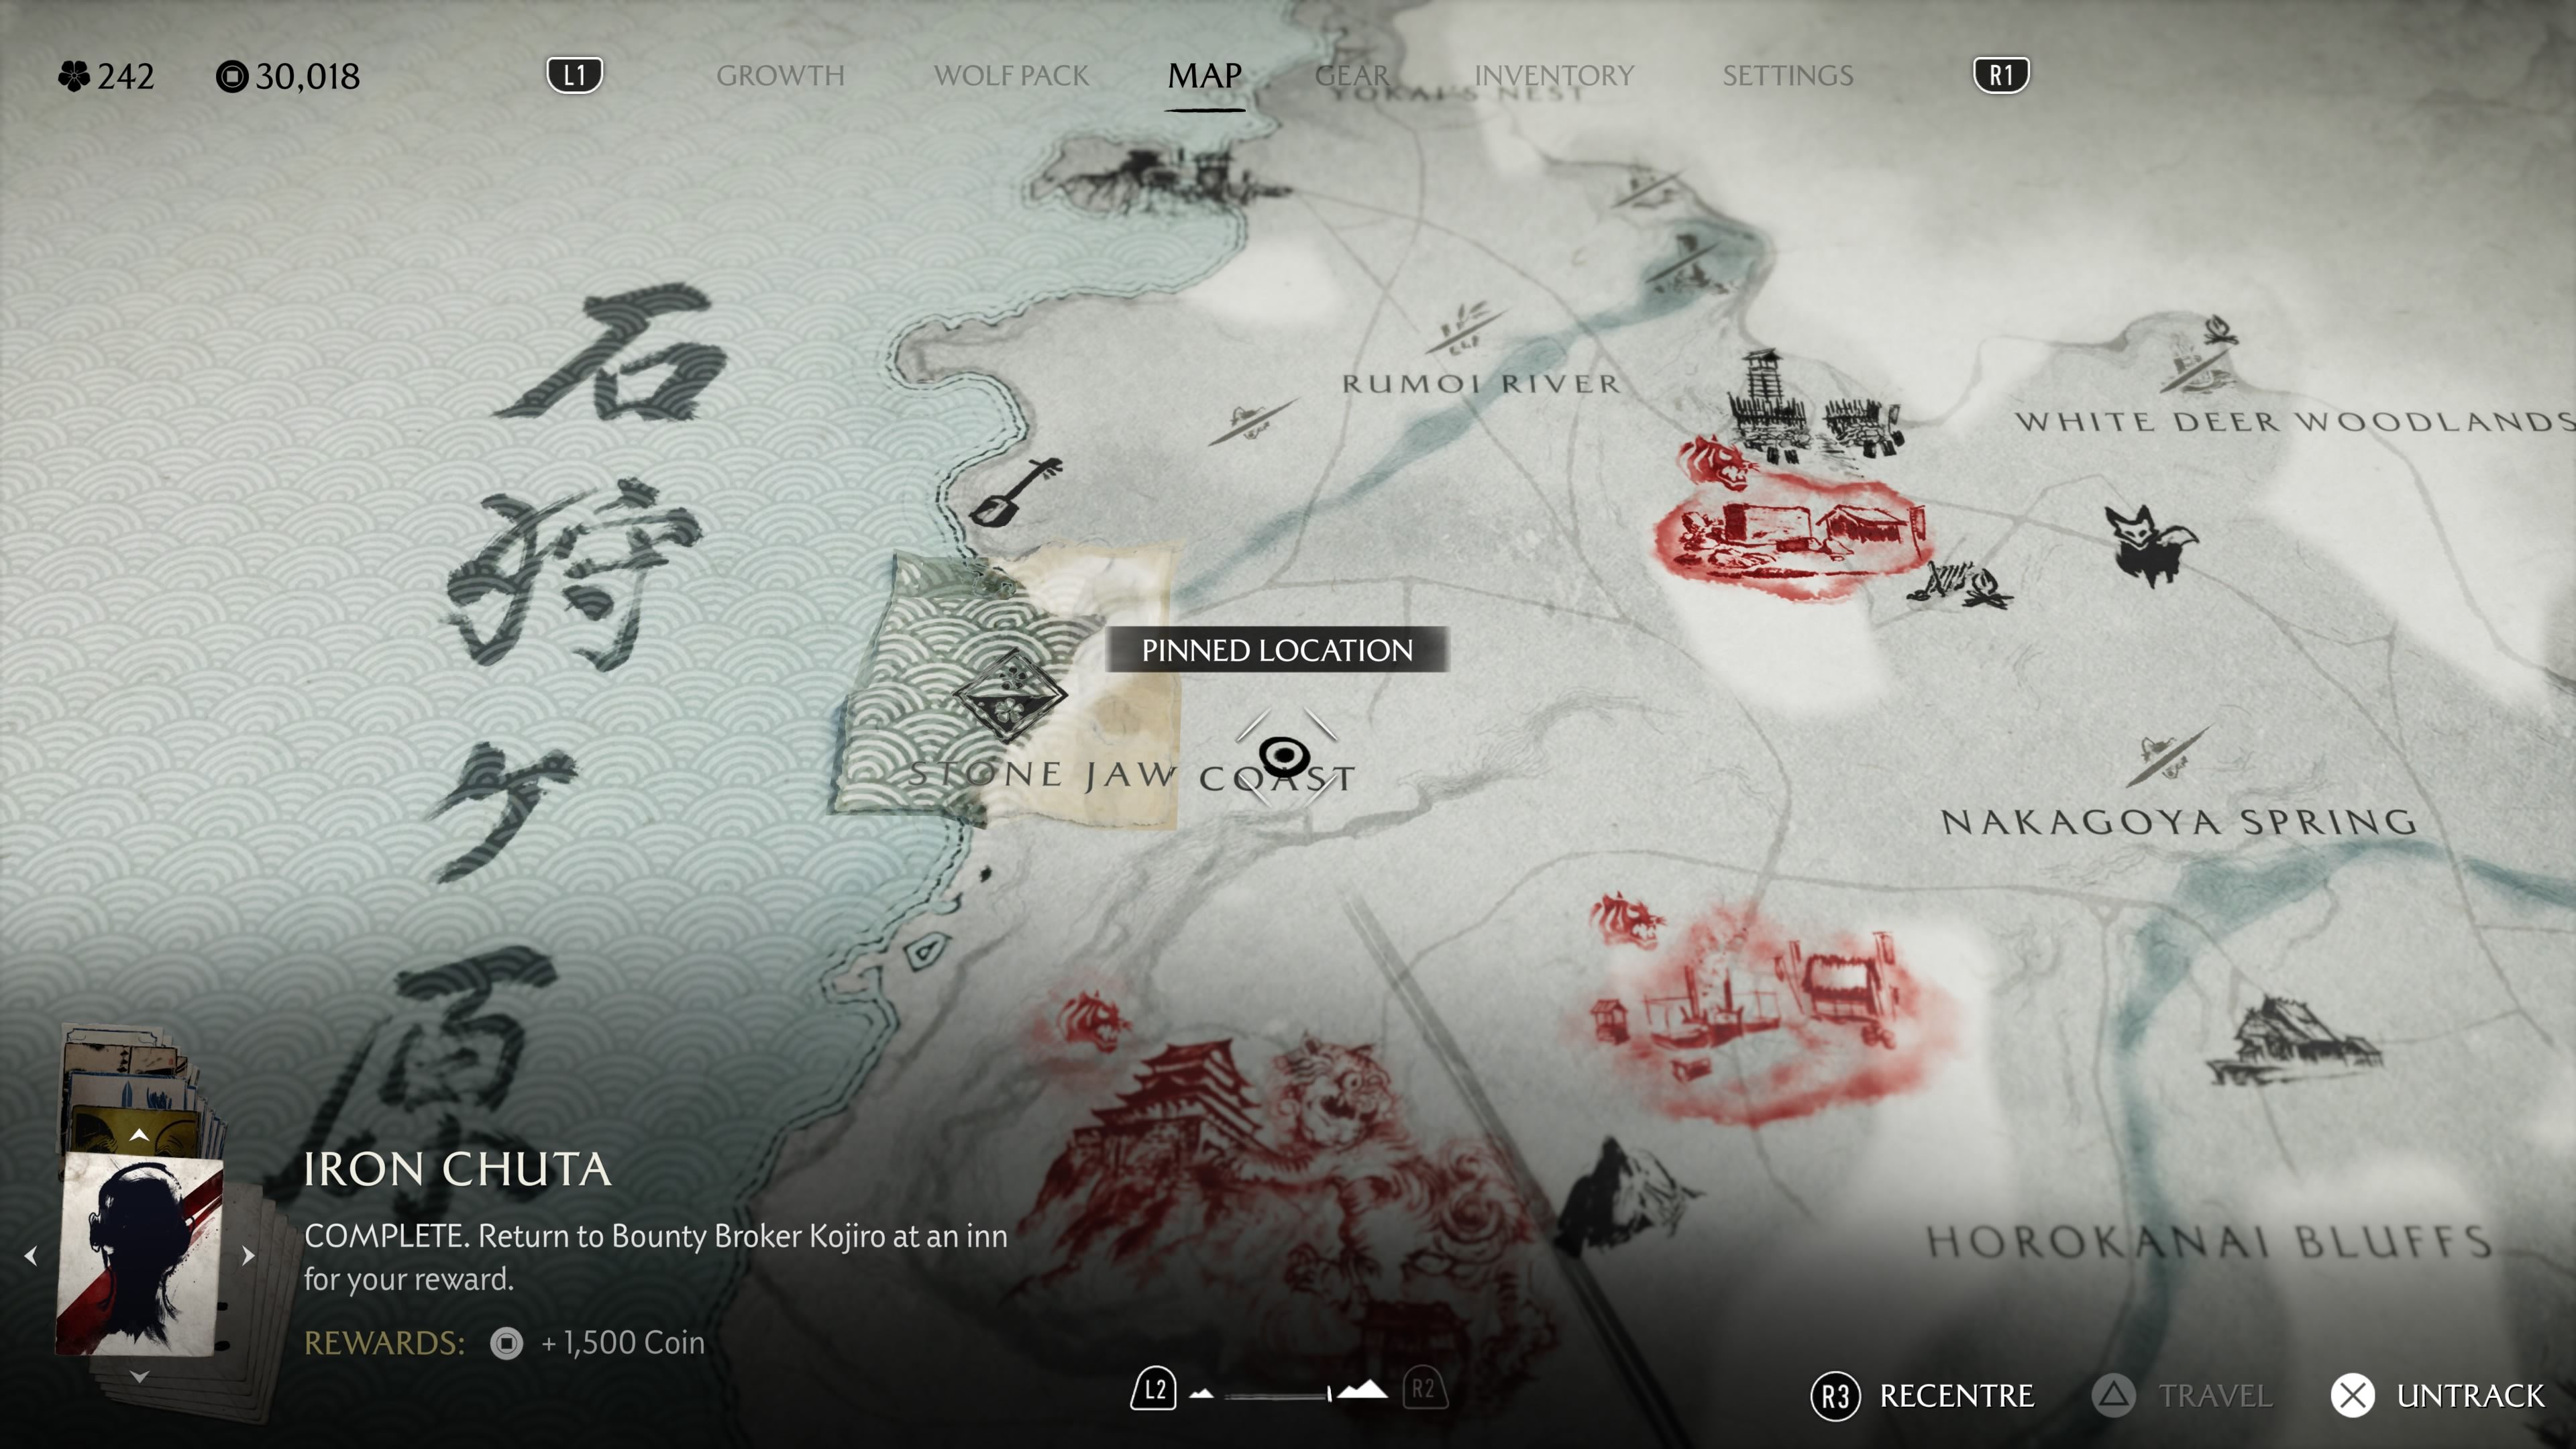
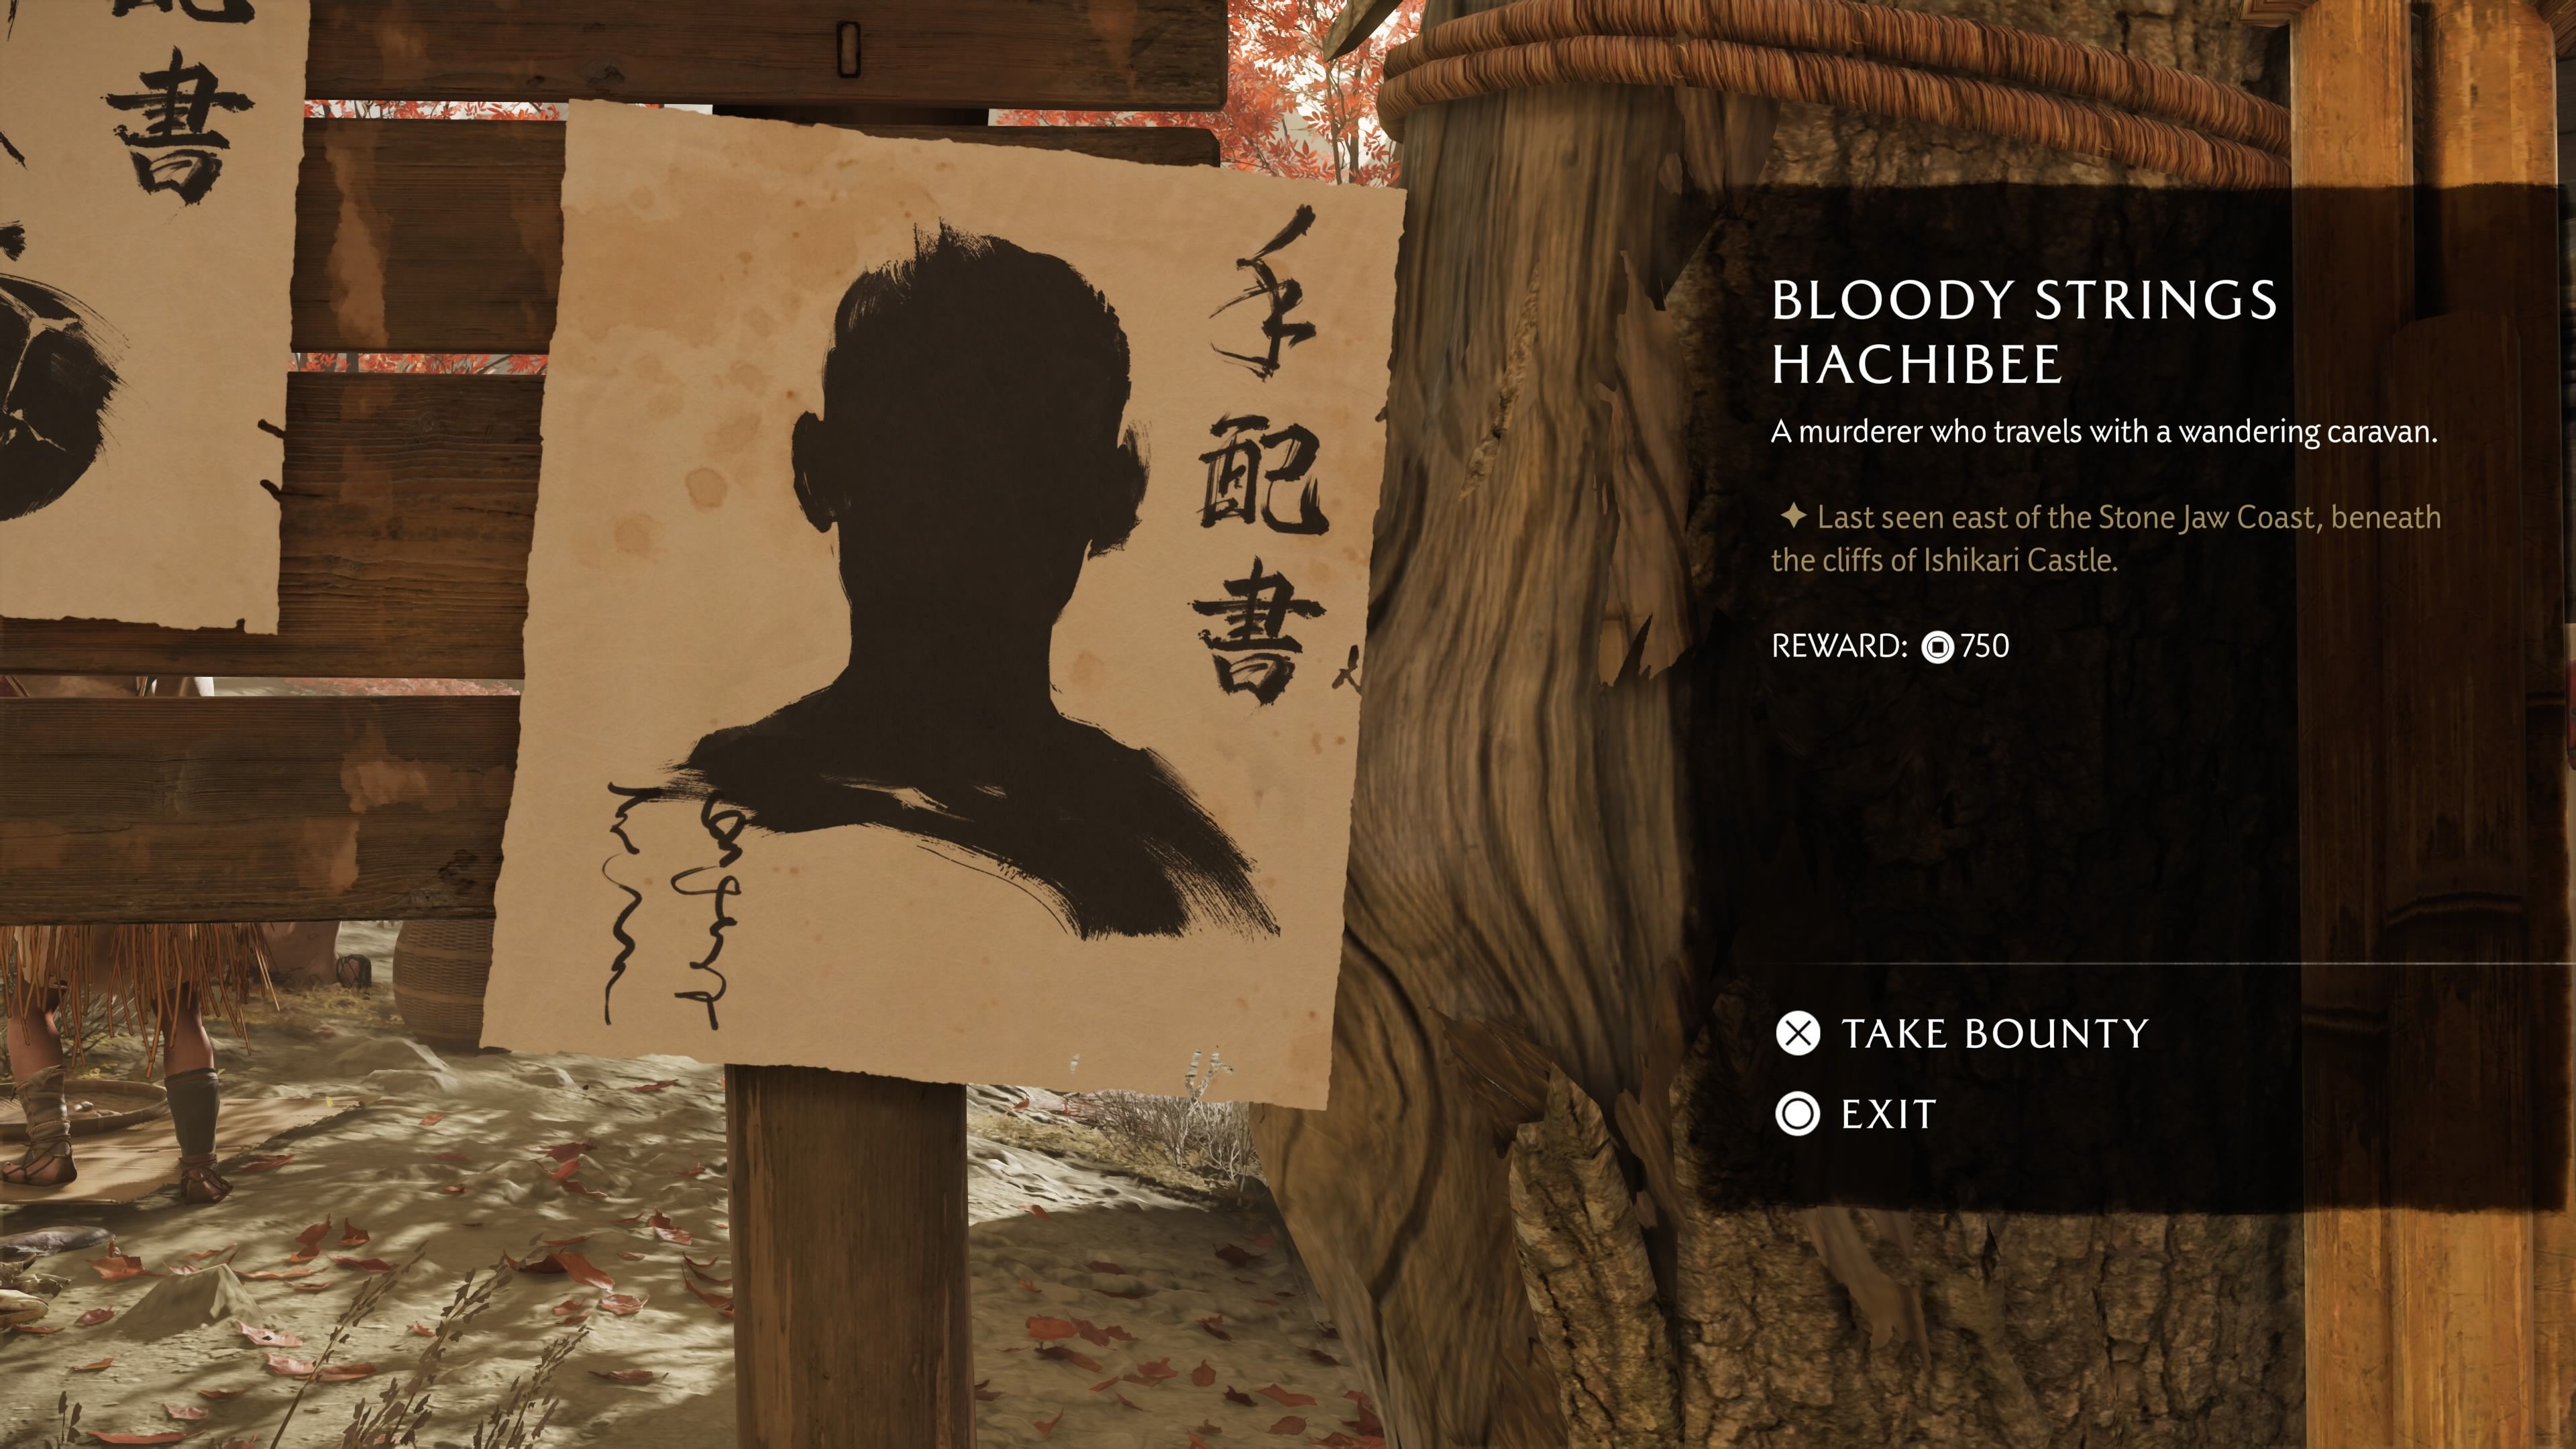
- Location: Stone Jaw Coast, Ishikari Plain
- Reward: 750 Coins, Bloody Strings Hachibee’s Straw Hat
A new bounty has appeared at the Ishikari Market: eliminate Bloody Strings Hachibee. This dangerous criminal is hiding on the Stone Jaw Coast, north of the Ishikari Plain. Look for his camp directly above the letter “A” in “Coast” on your map. To make him appear, you’ll need to play the shamisen.
Toshi the Torch
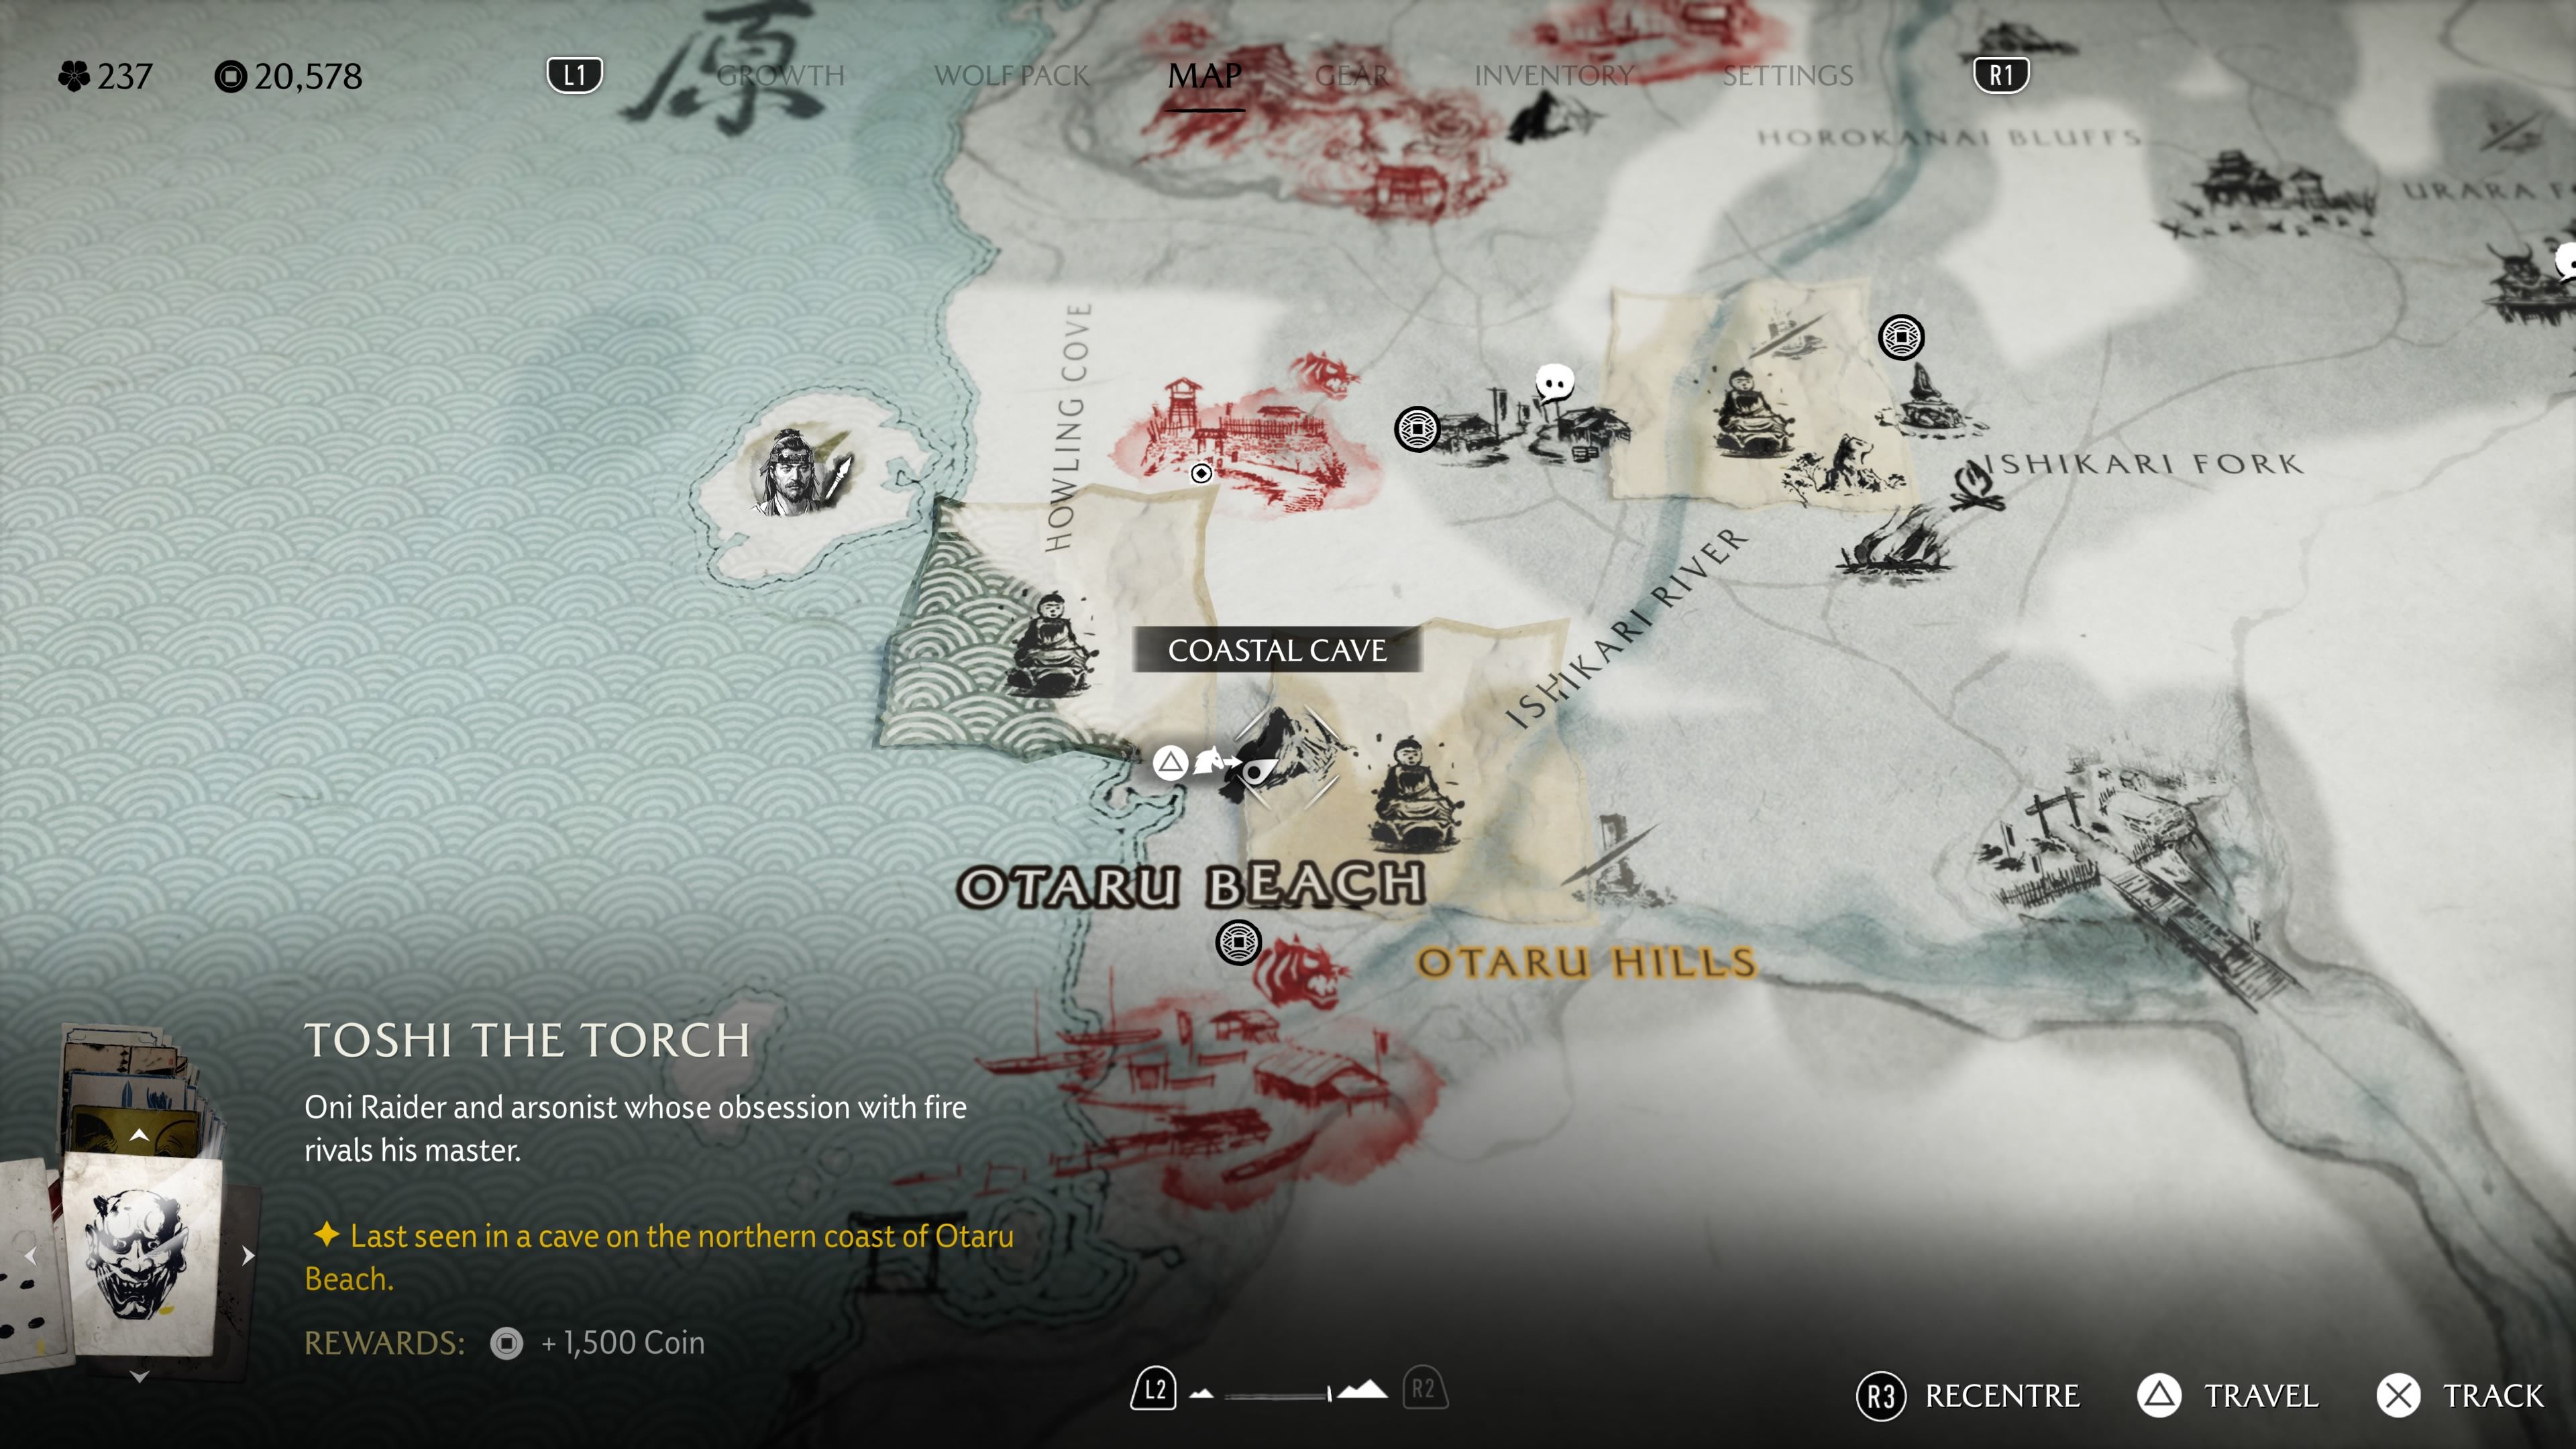
- Location: Coastal Cave, Otaru Beach, Ishikari Plain
- Reward: 1,500 Coins, Toshi the Torch’s Mask
You can find Toshi the Torch posted as a bounty on the Ishikari Market board. He’s located in the Coastal Cave, which is southwest of the Ishikari Plain and right before Otaru Beach on the map.
Eijiro the Ruthless
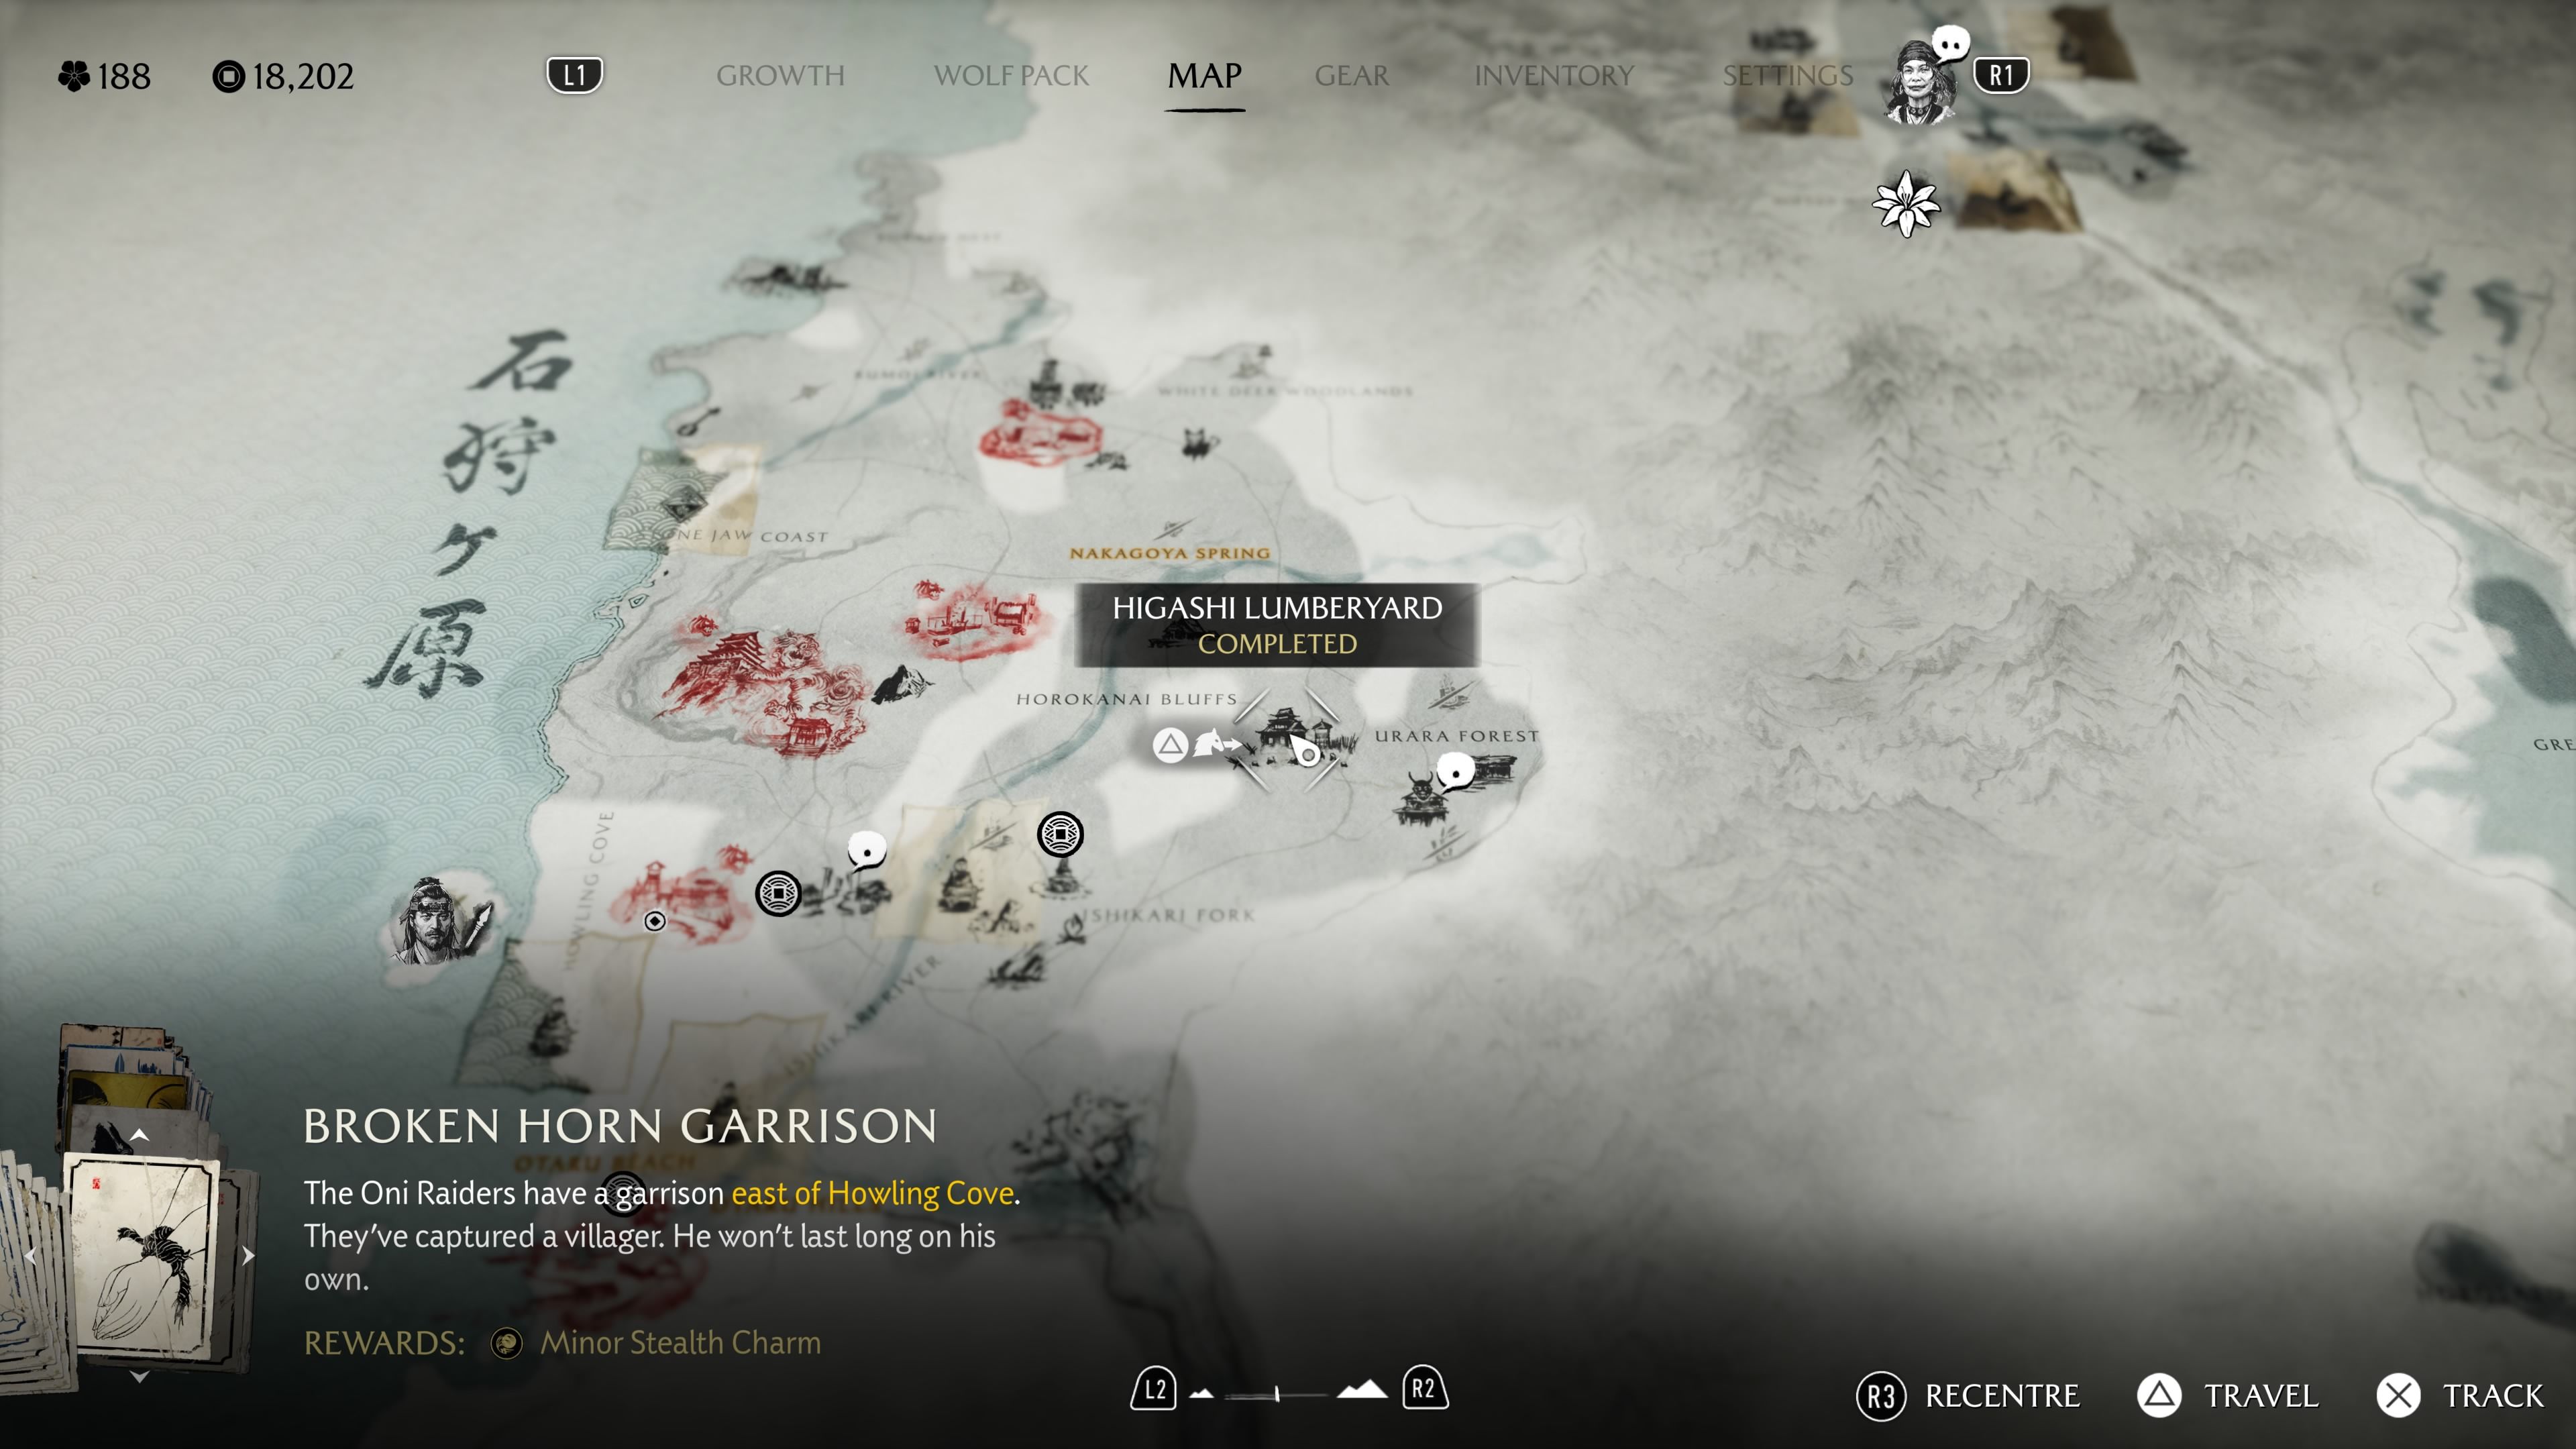
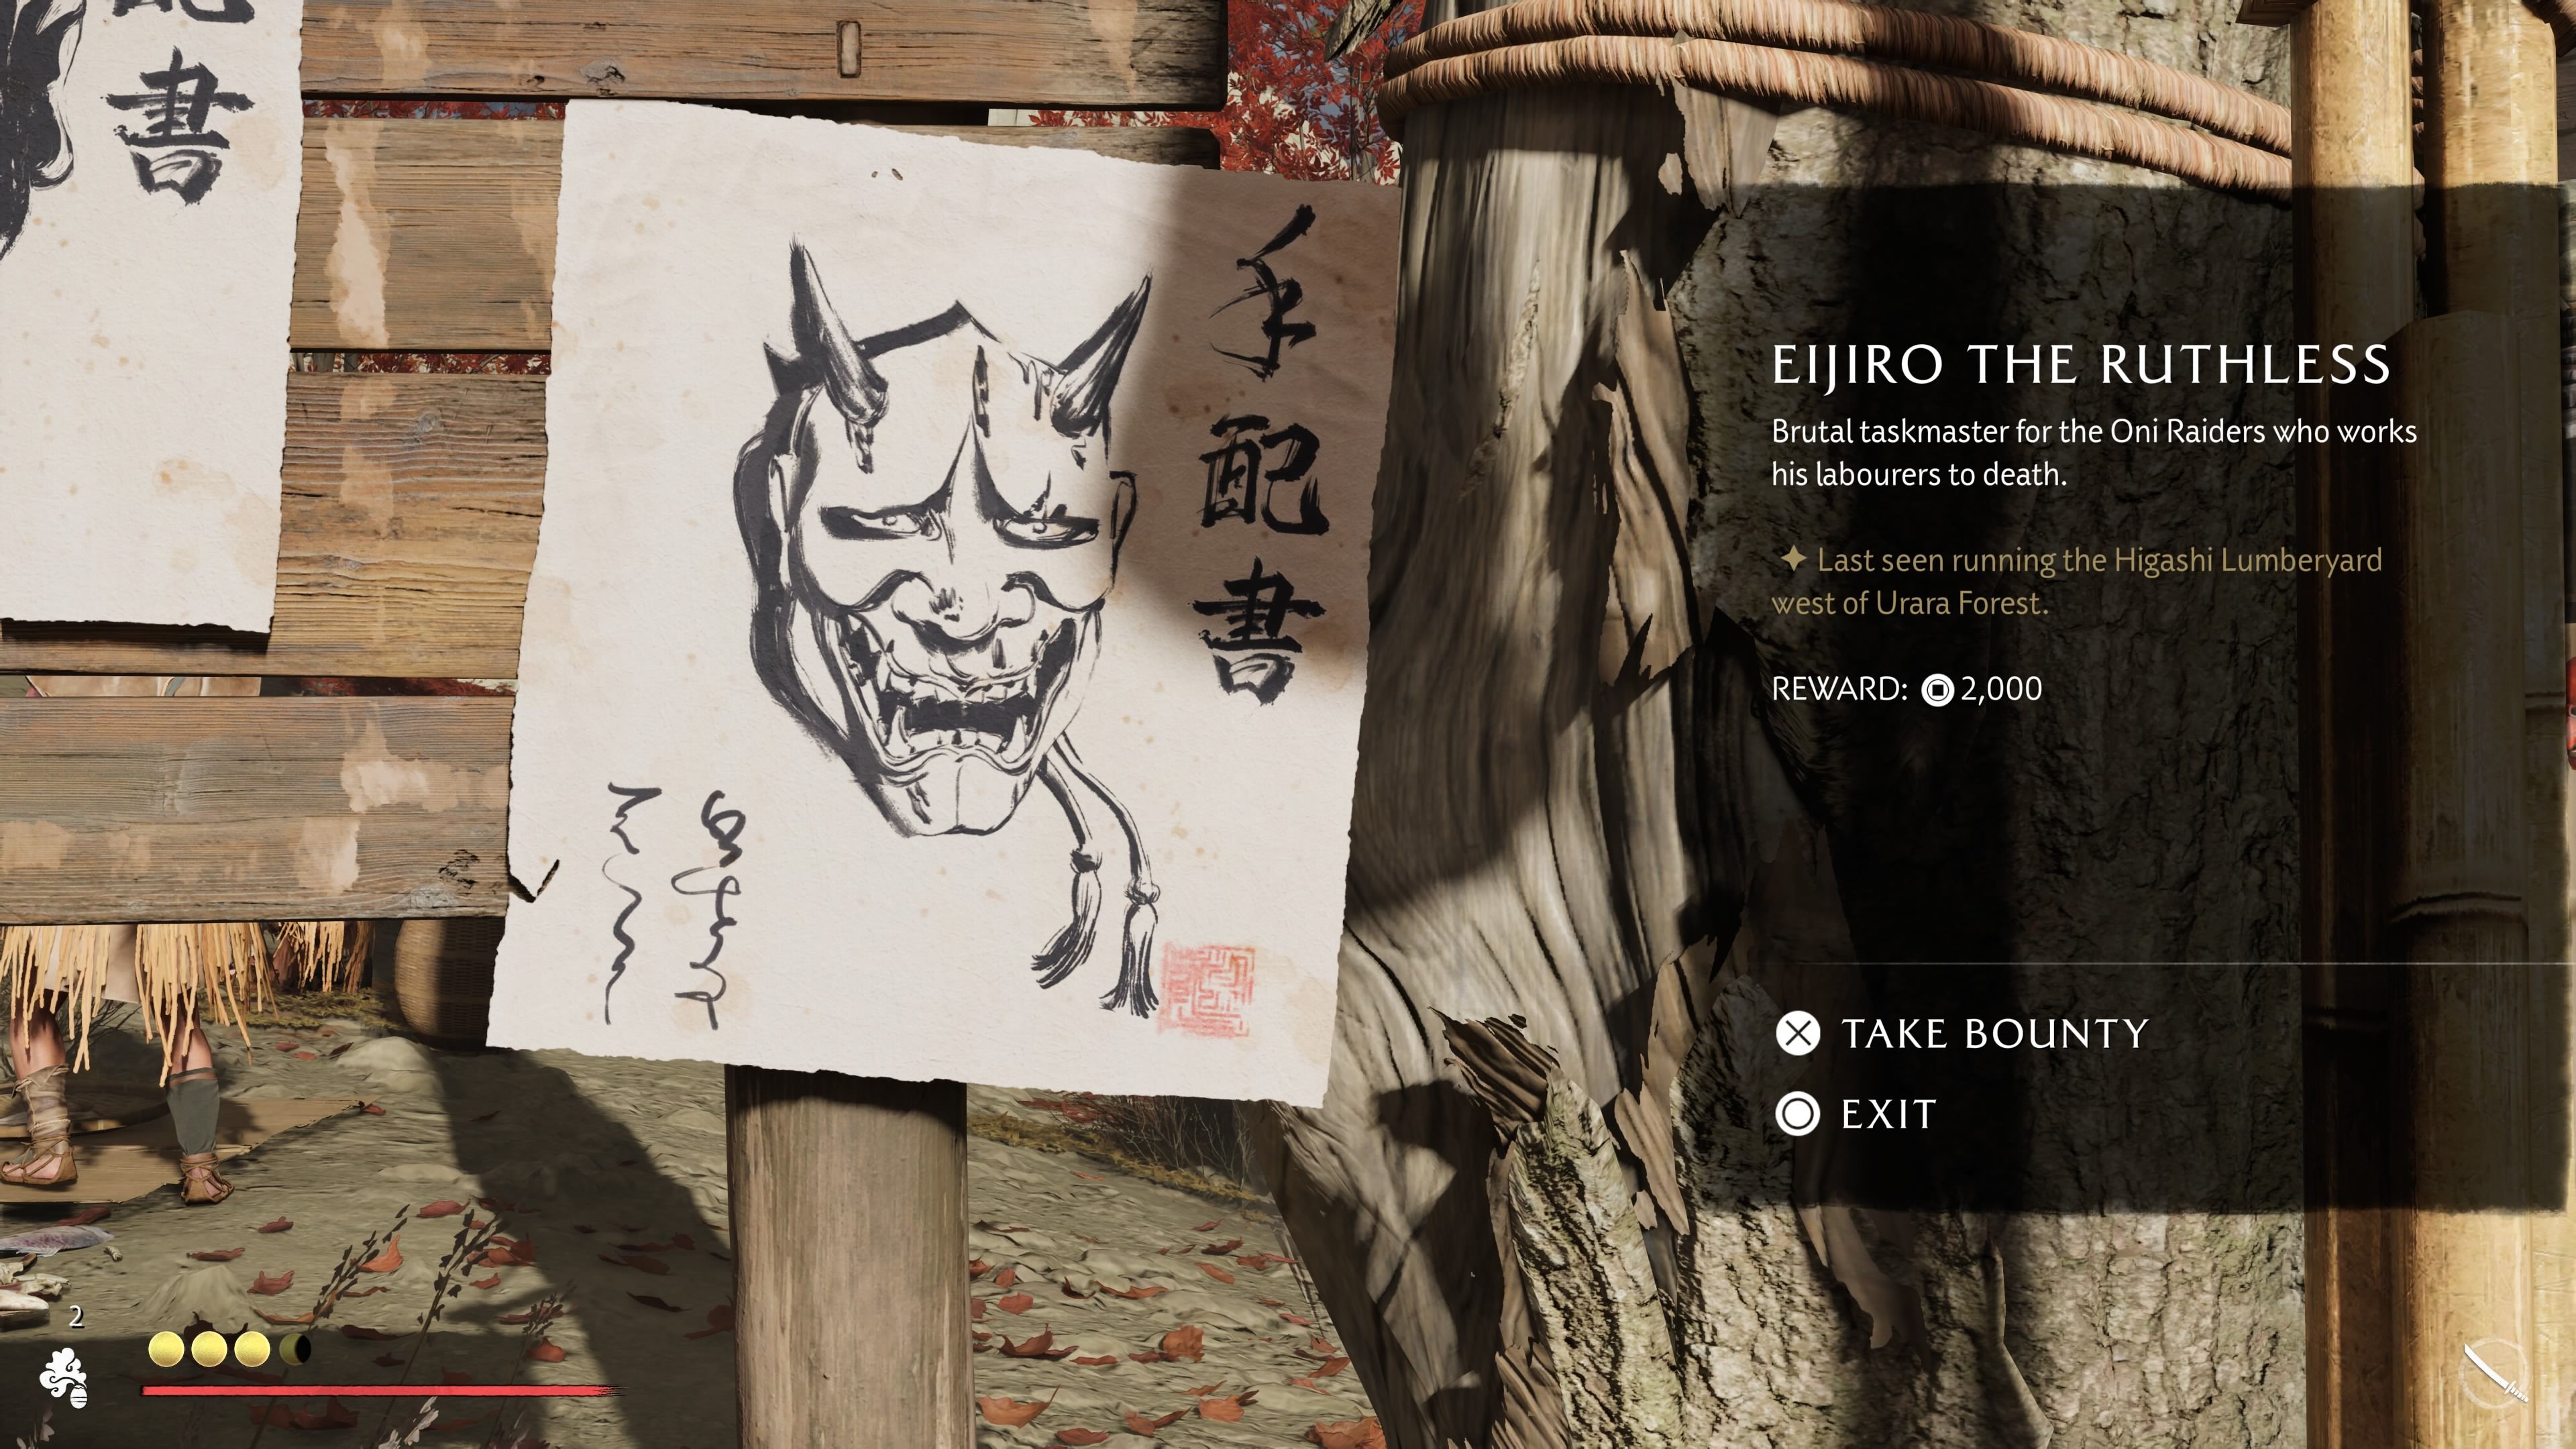
- Location: Higashi Lumberyard, Urara Forest, Ishikari Plain
- Reward: 2,000 Coins, Eijiro the Ruthless Mask
You can find Eijiro the Ruthless, who has a bounty posted in Ishikari Market, at the Higashi Lumberyard. It’s west of the Urara Forest, just to the left of the letter ‘U’ in ‘Urara’ on your map. He’s the boss you fight after defeating everyone at the Yotei Six Camp.
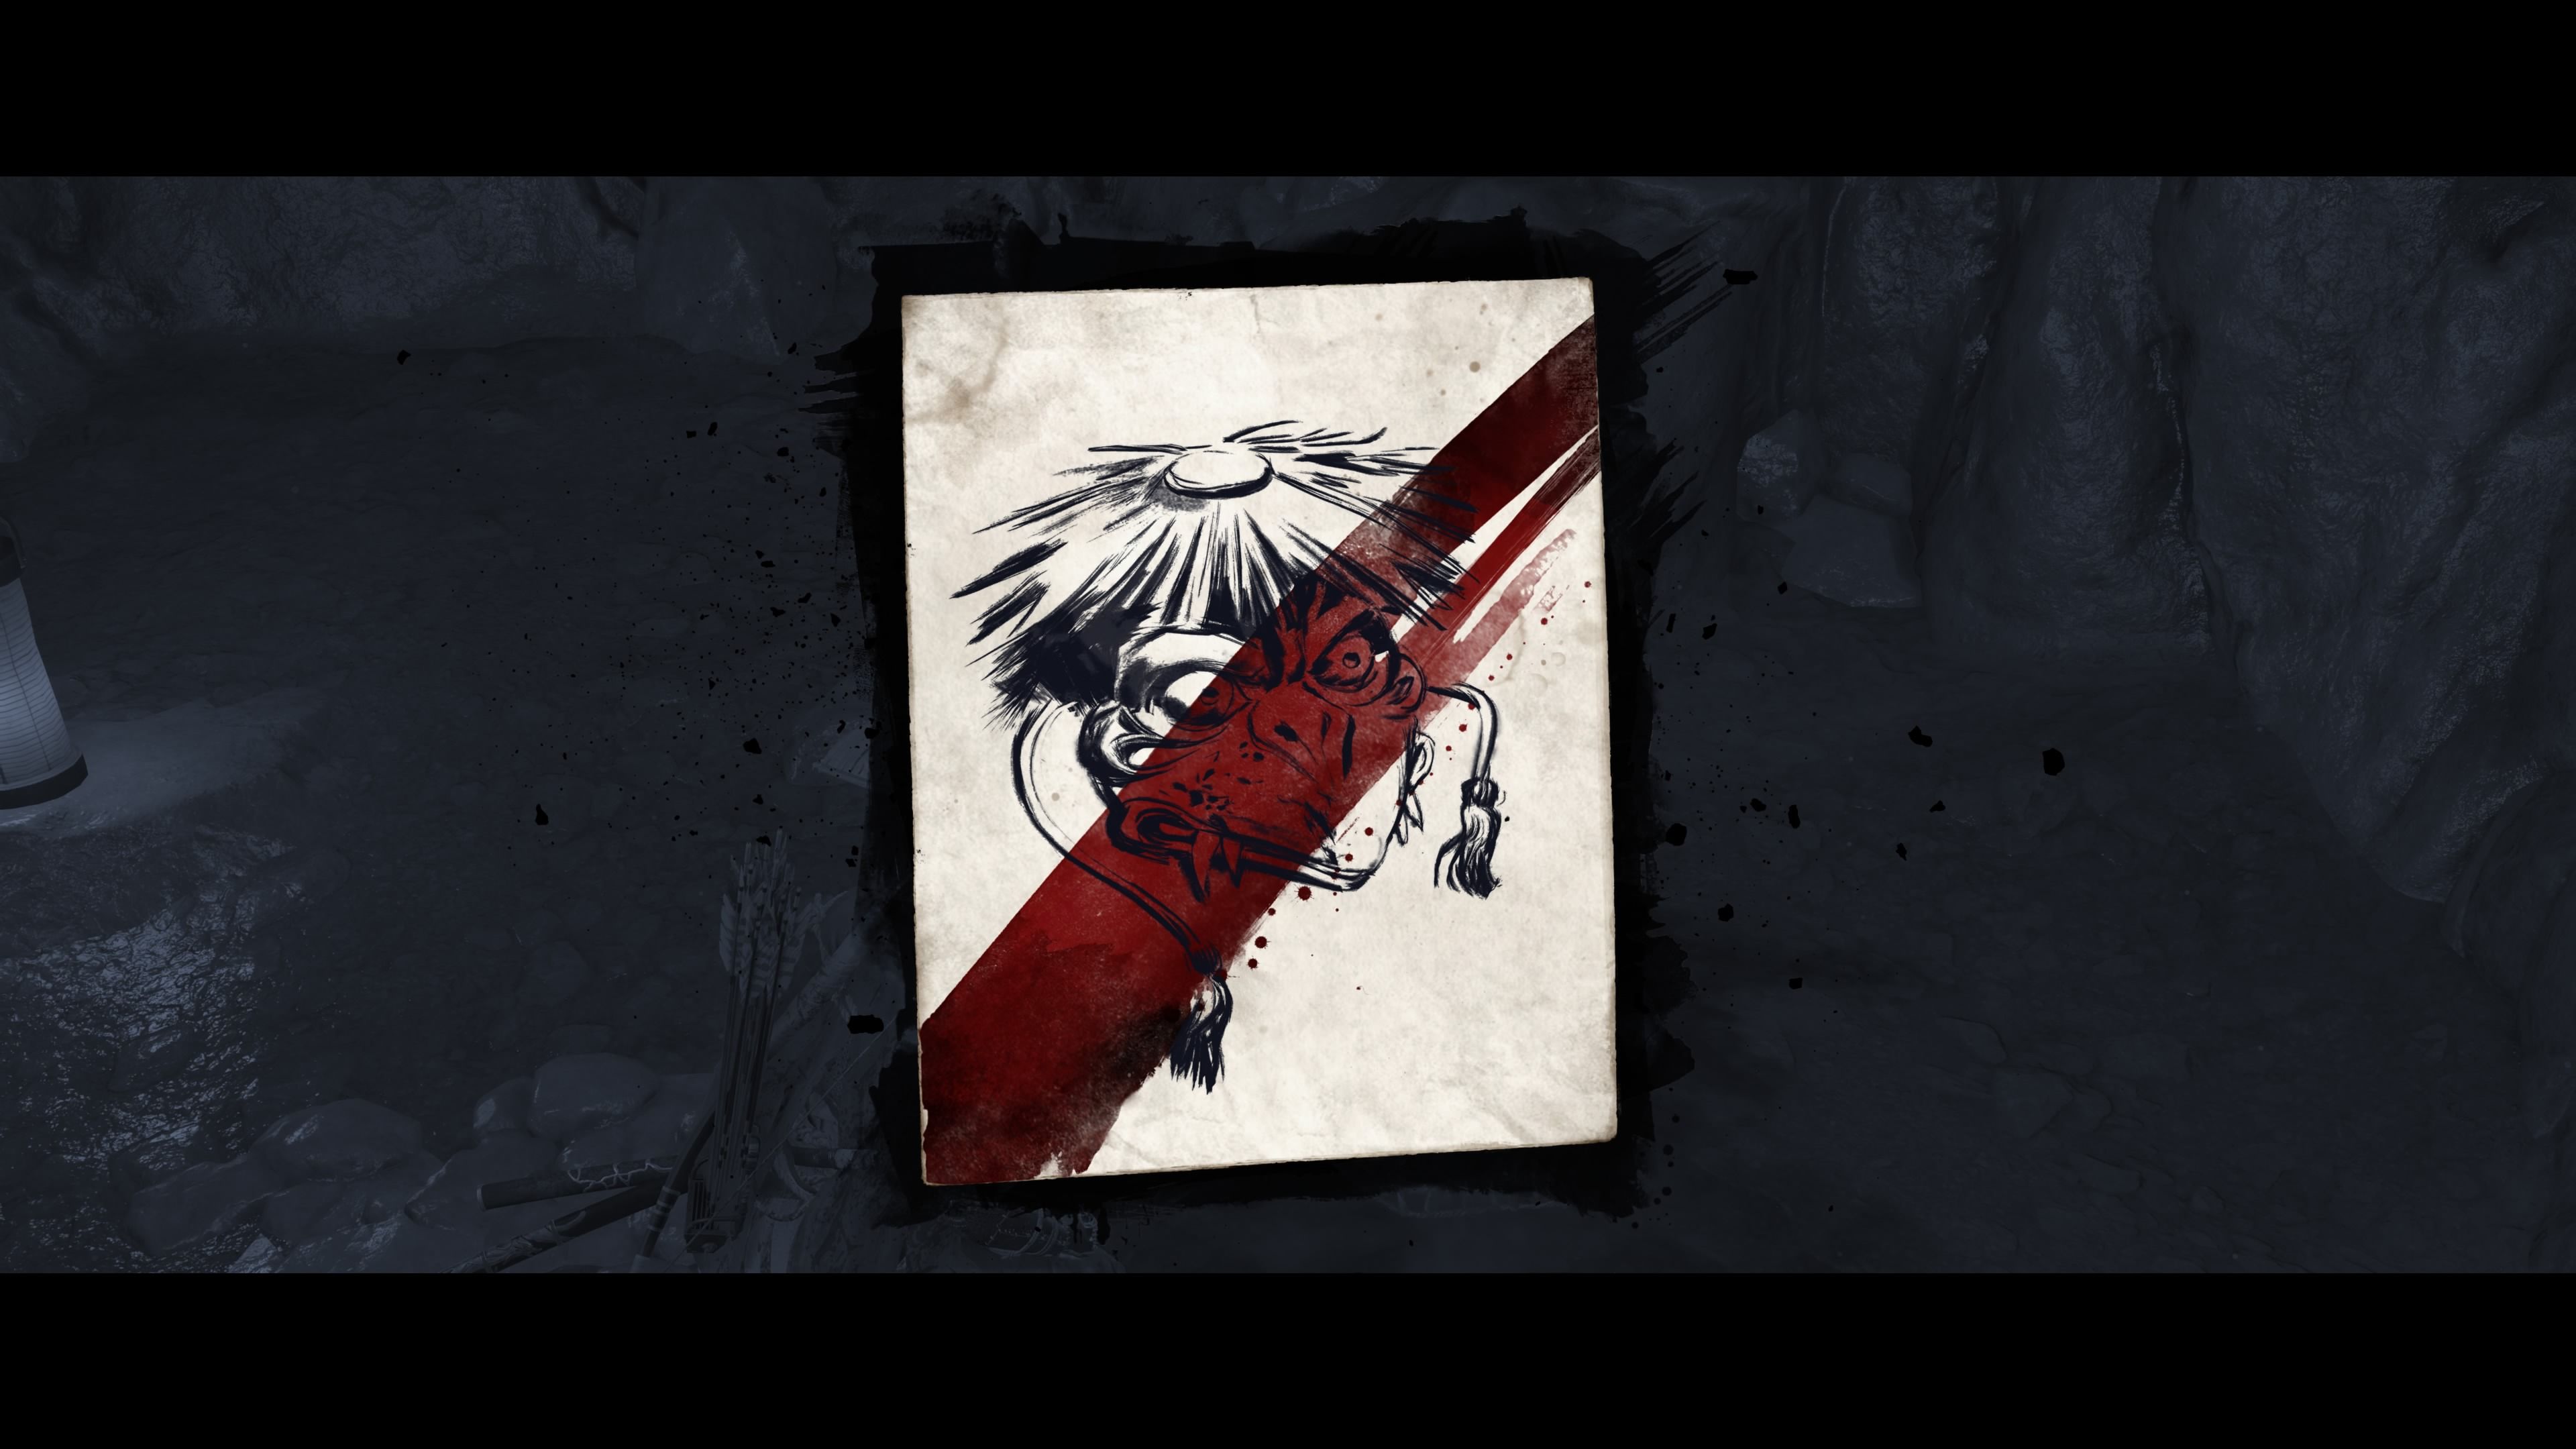
Turtle Man Kamakichi
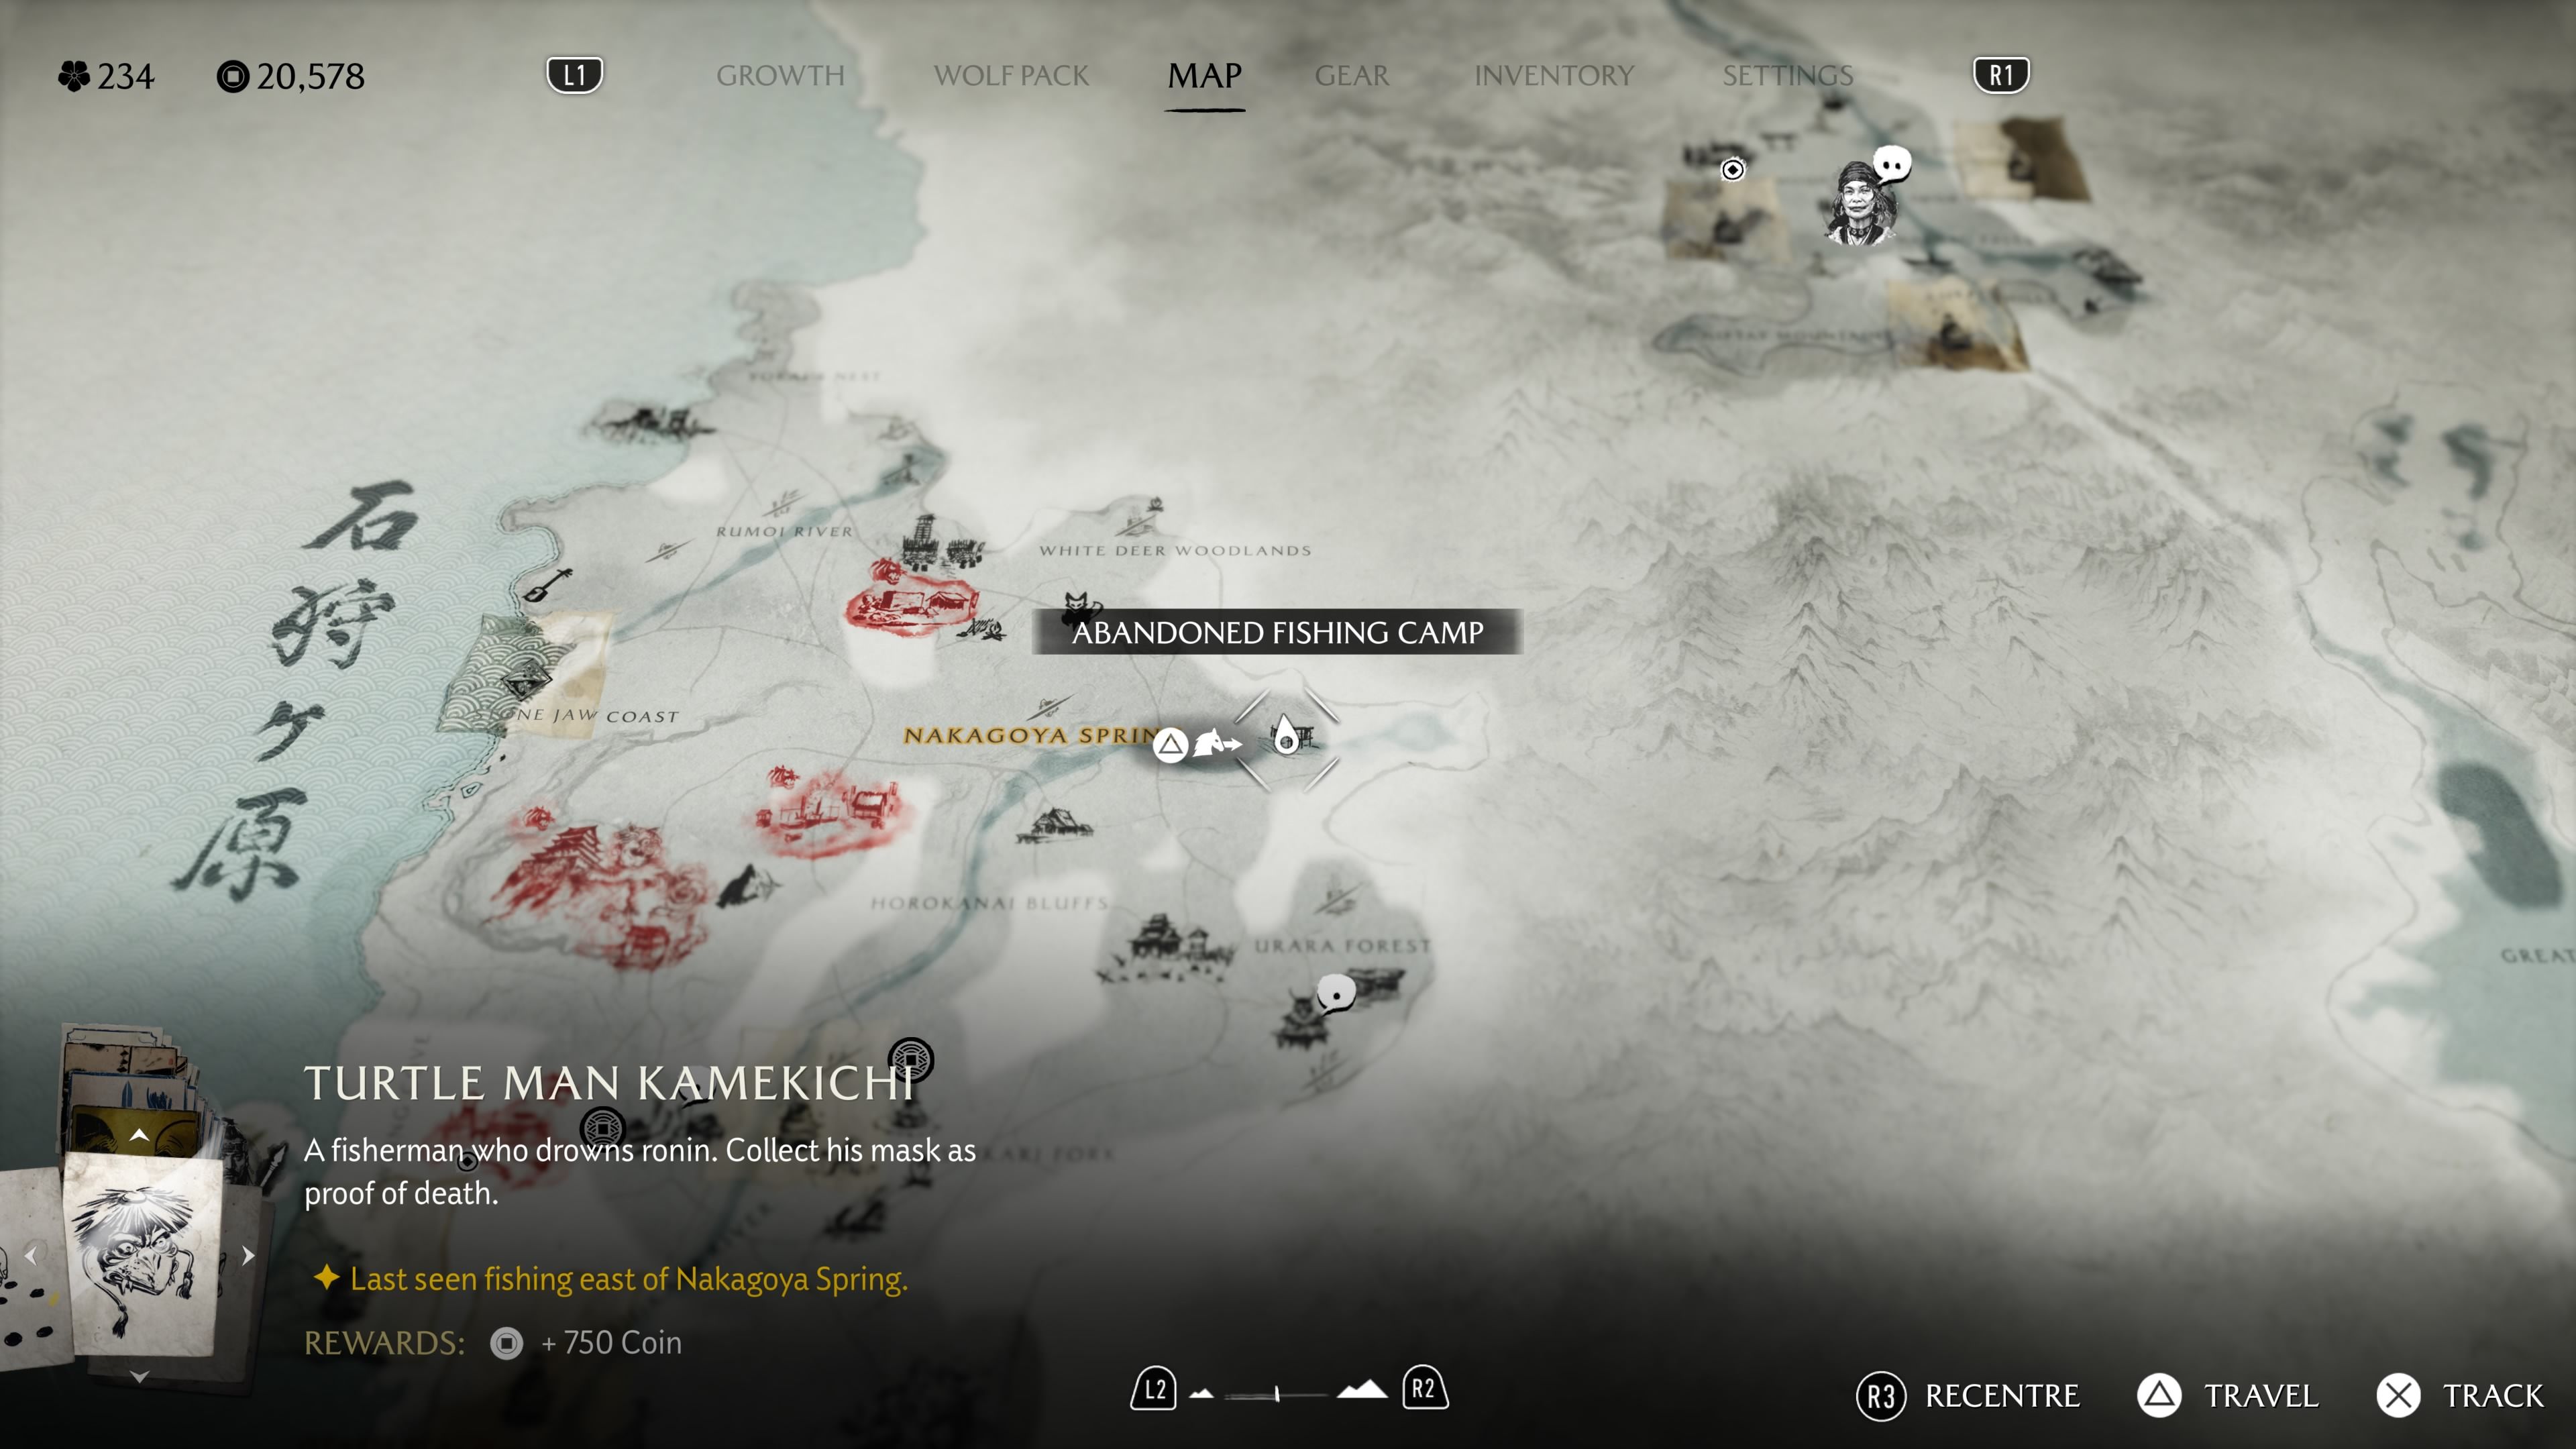
- Location: Abandoned Fishing Camp, Nakagoya Spring, Ishikari Plain
- Reward: 750 Coins, Turtle Man Kamekichi’s Mask
You can pick up this bounty at the bounty board in Ishikari Market. To find Turtle Man Kamakichi, go east from Nakagoya Spring to the Abandoned Fishing Camp. Explore the camp, then follow the fire arrows north to Nohoro Cave – the bounty is waiting for you inside.
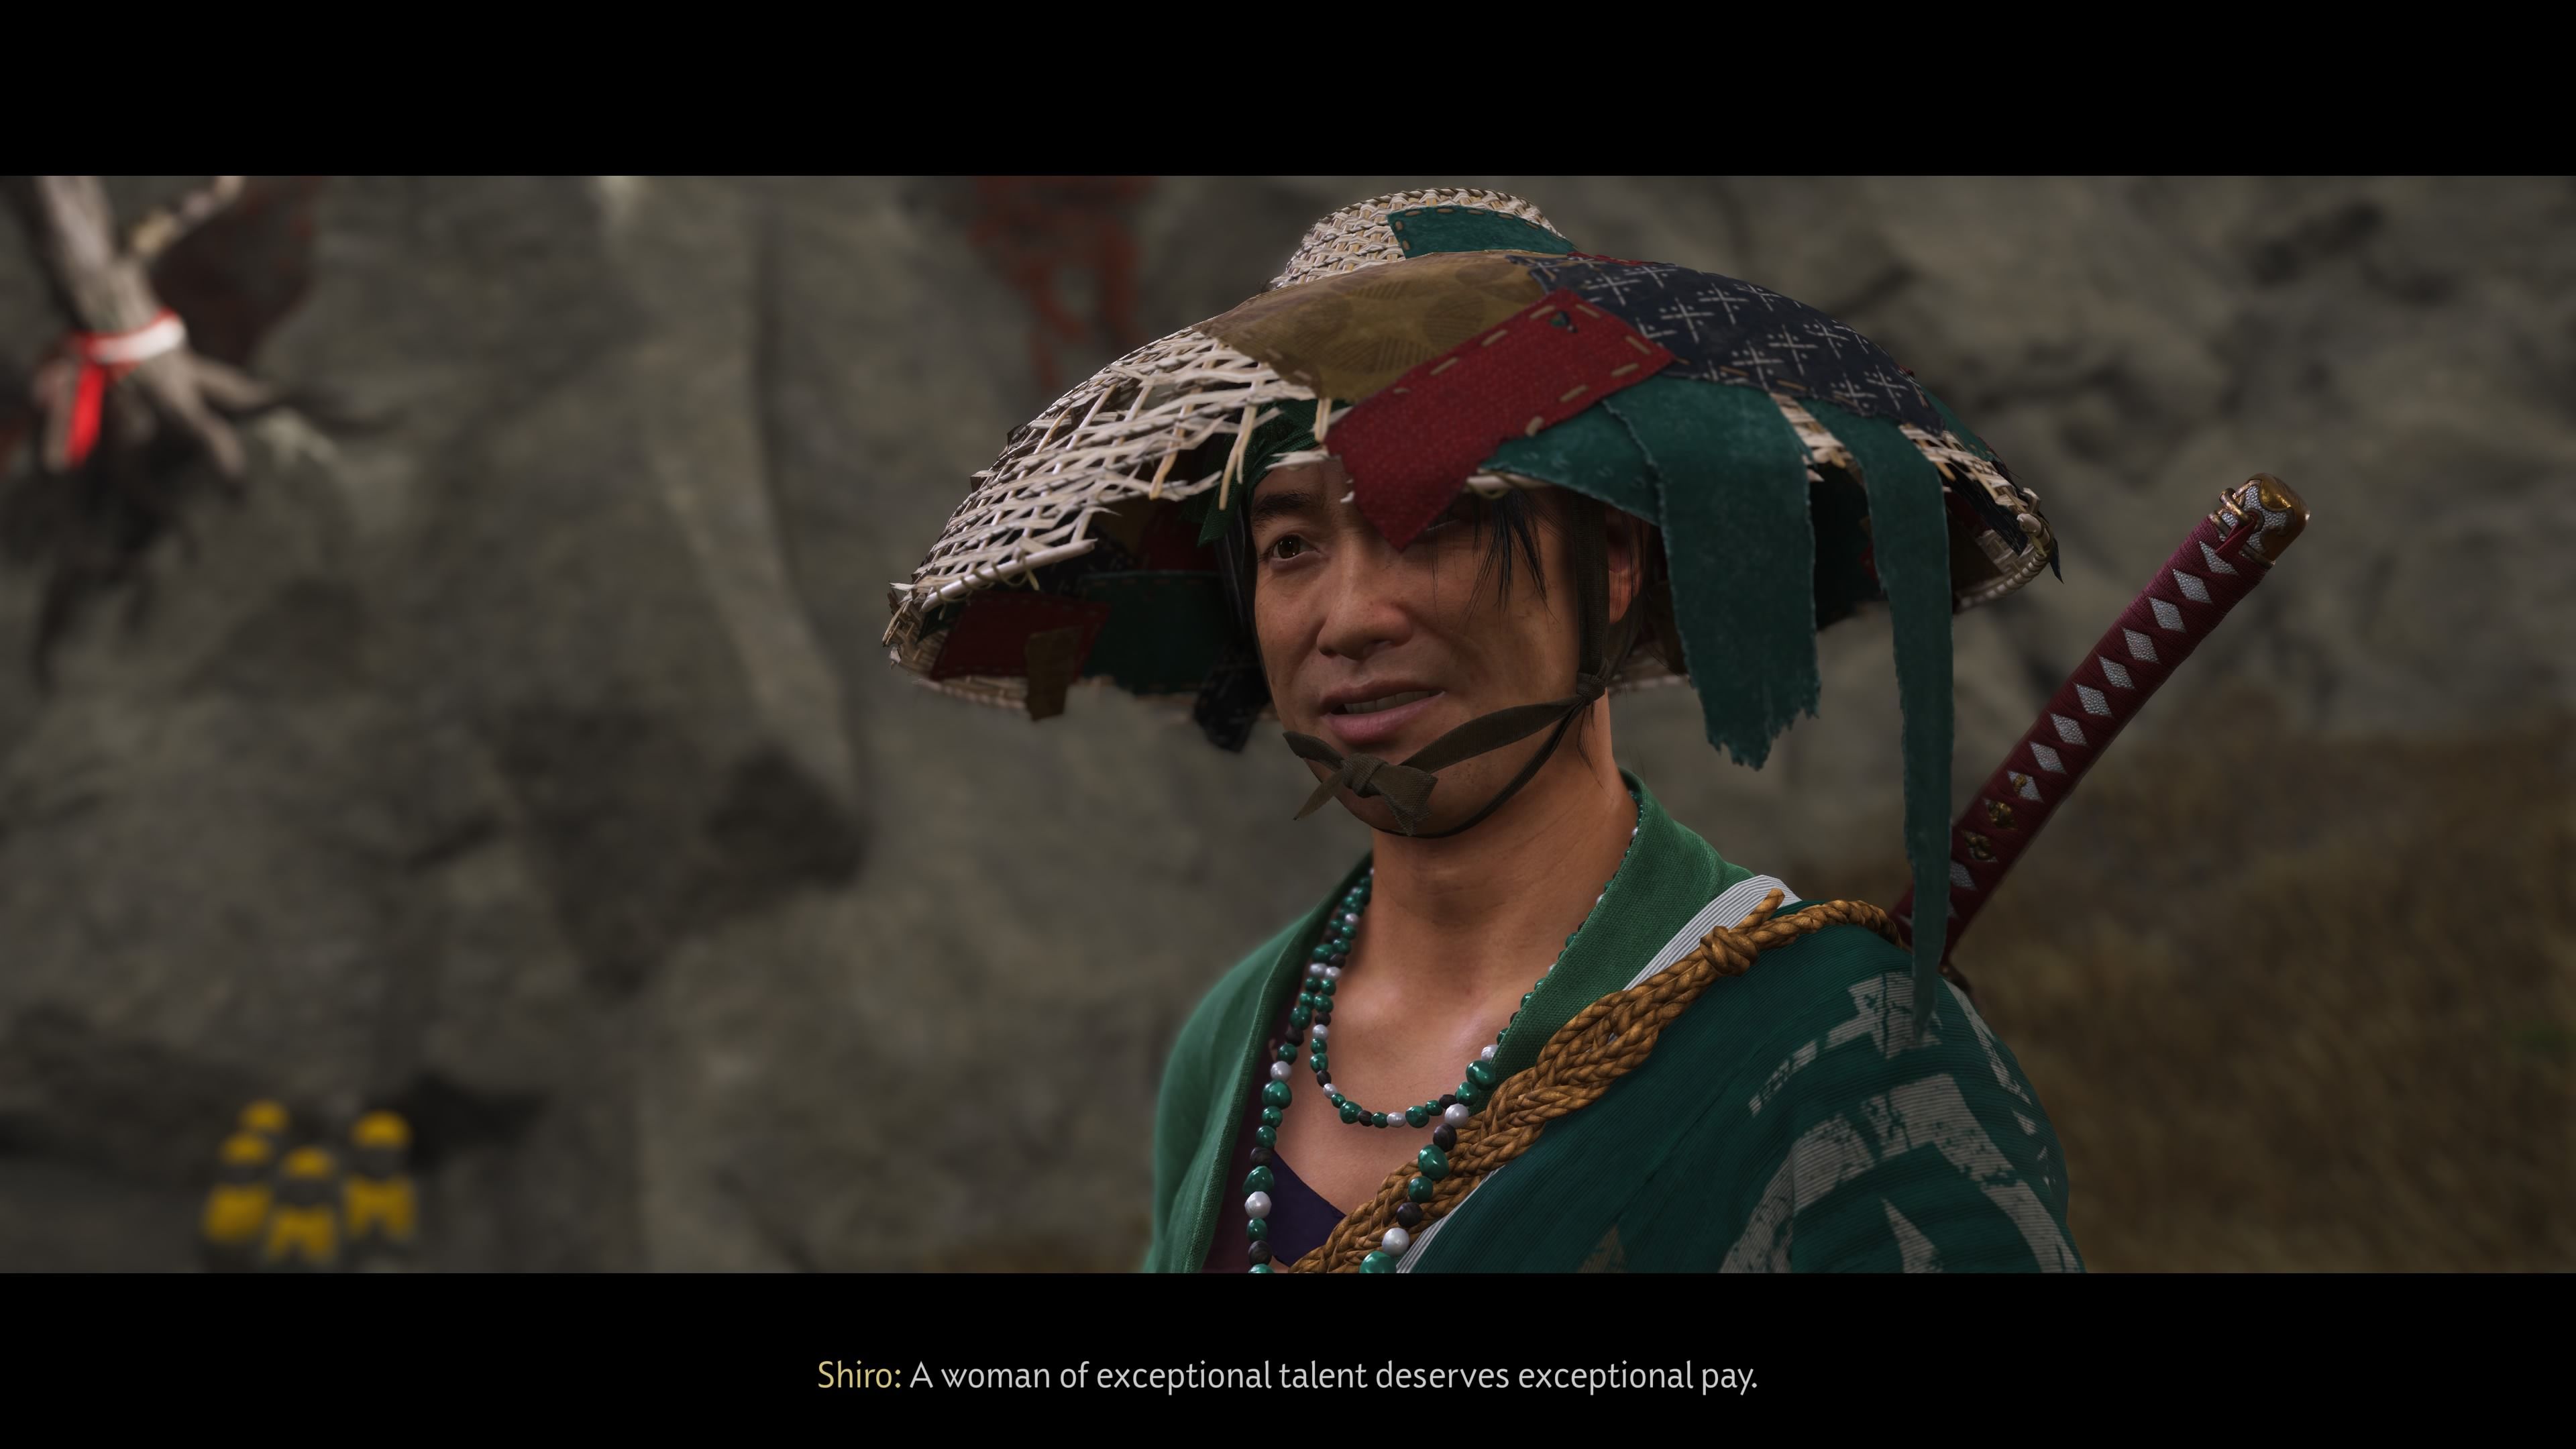
Shiro the Swindler
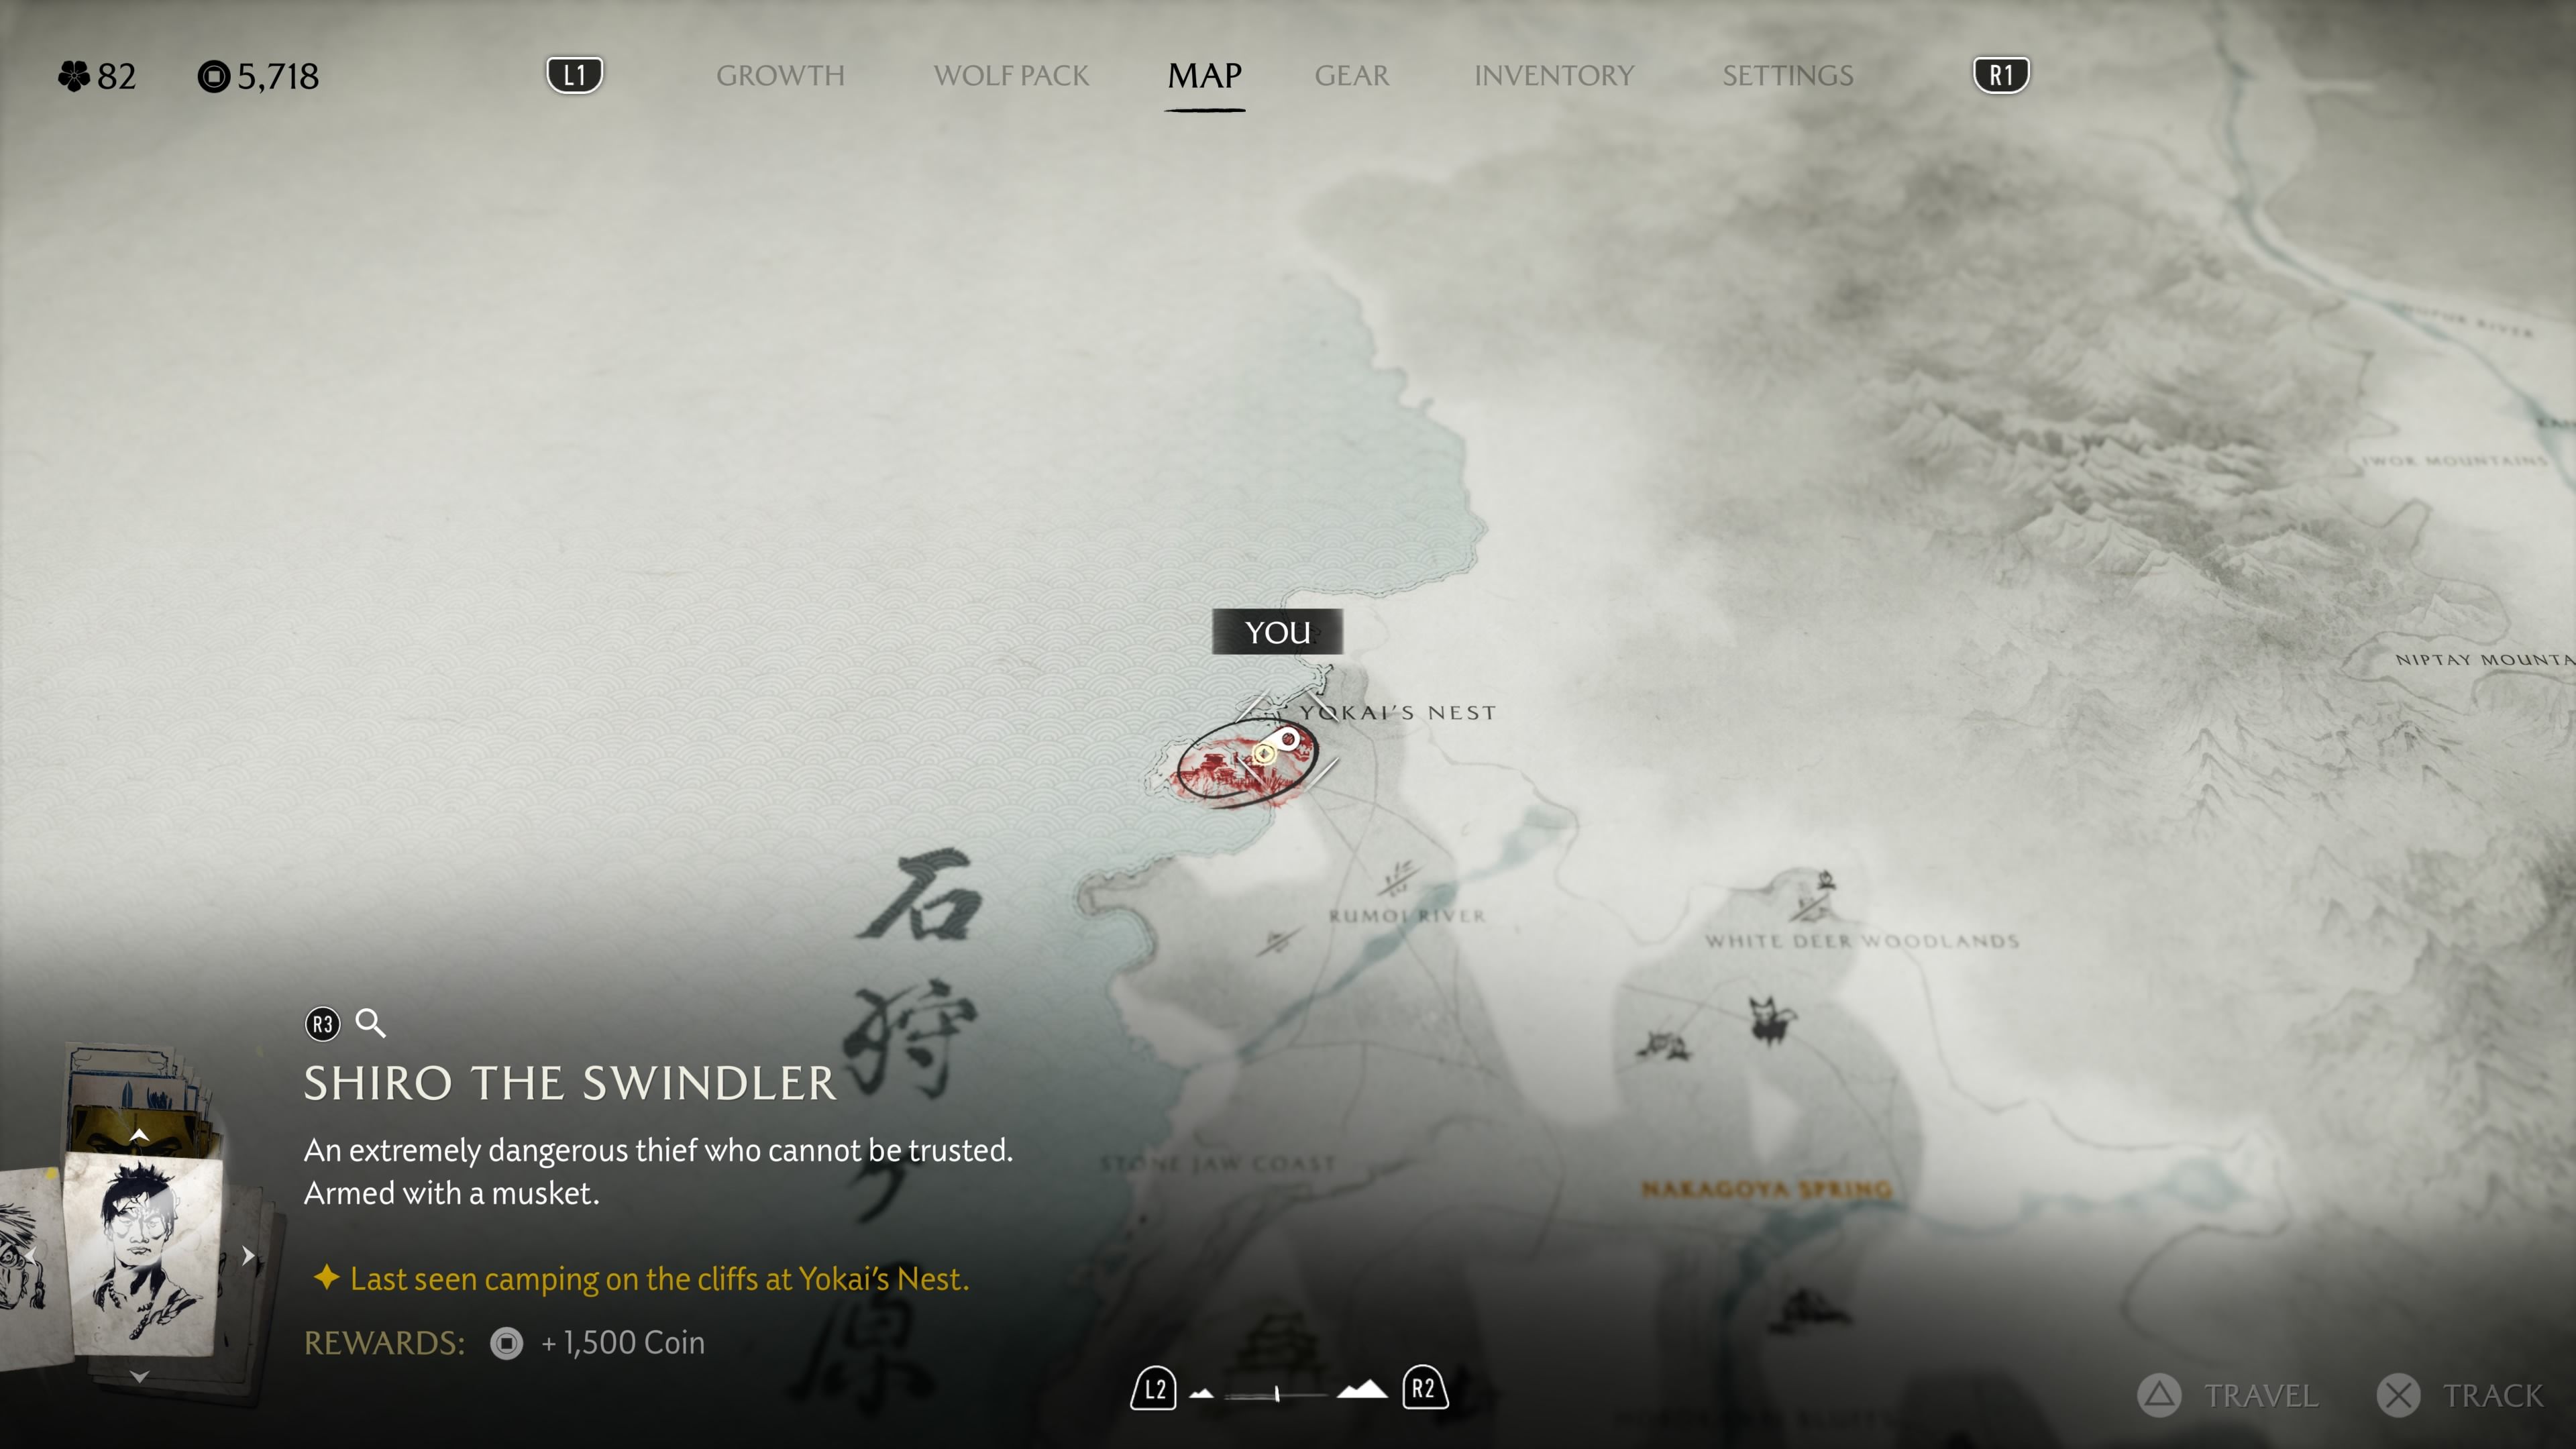
- Location: Jigoku Fortress, Yokai’s Nest, Ishikari Plain
- Reward: 1,500 Coins, Sly Thief Mask
Once you’ve finished the earlier bounties at the Ishikari Market’s bounty board, talk to Kojiro, the bounty hunter standing nearby, to get the bounty for Shiro the Swindler. You’ll find Shiro north of the Rumoi River, along the western cliffs in the Yokai’s Nest area. Investigate the abandoned camp there, and you’ll encounter Shiro and start his quest.
All Tokachi Range Bounties in Ghost of Yotei
One-Eye Moritaka
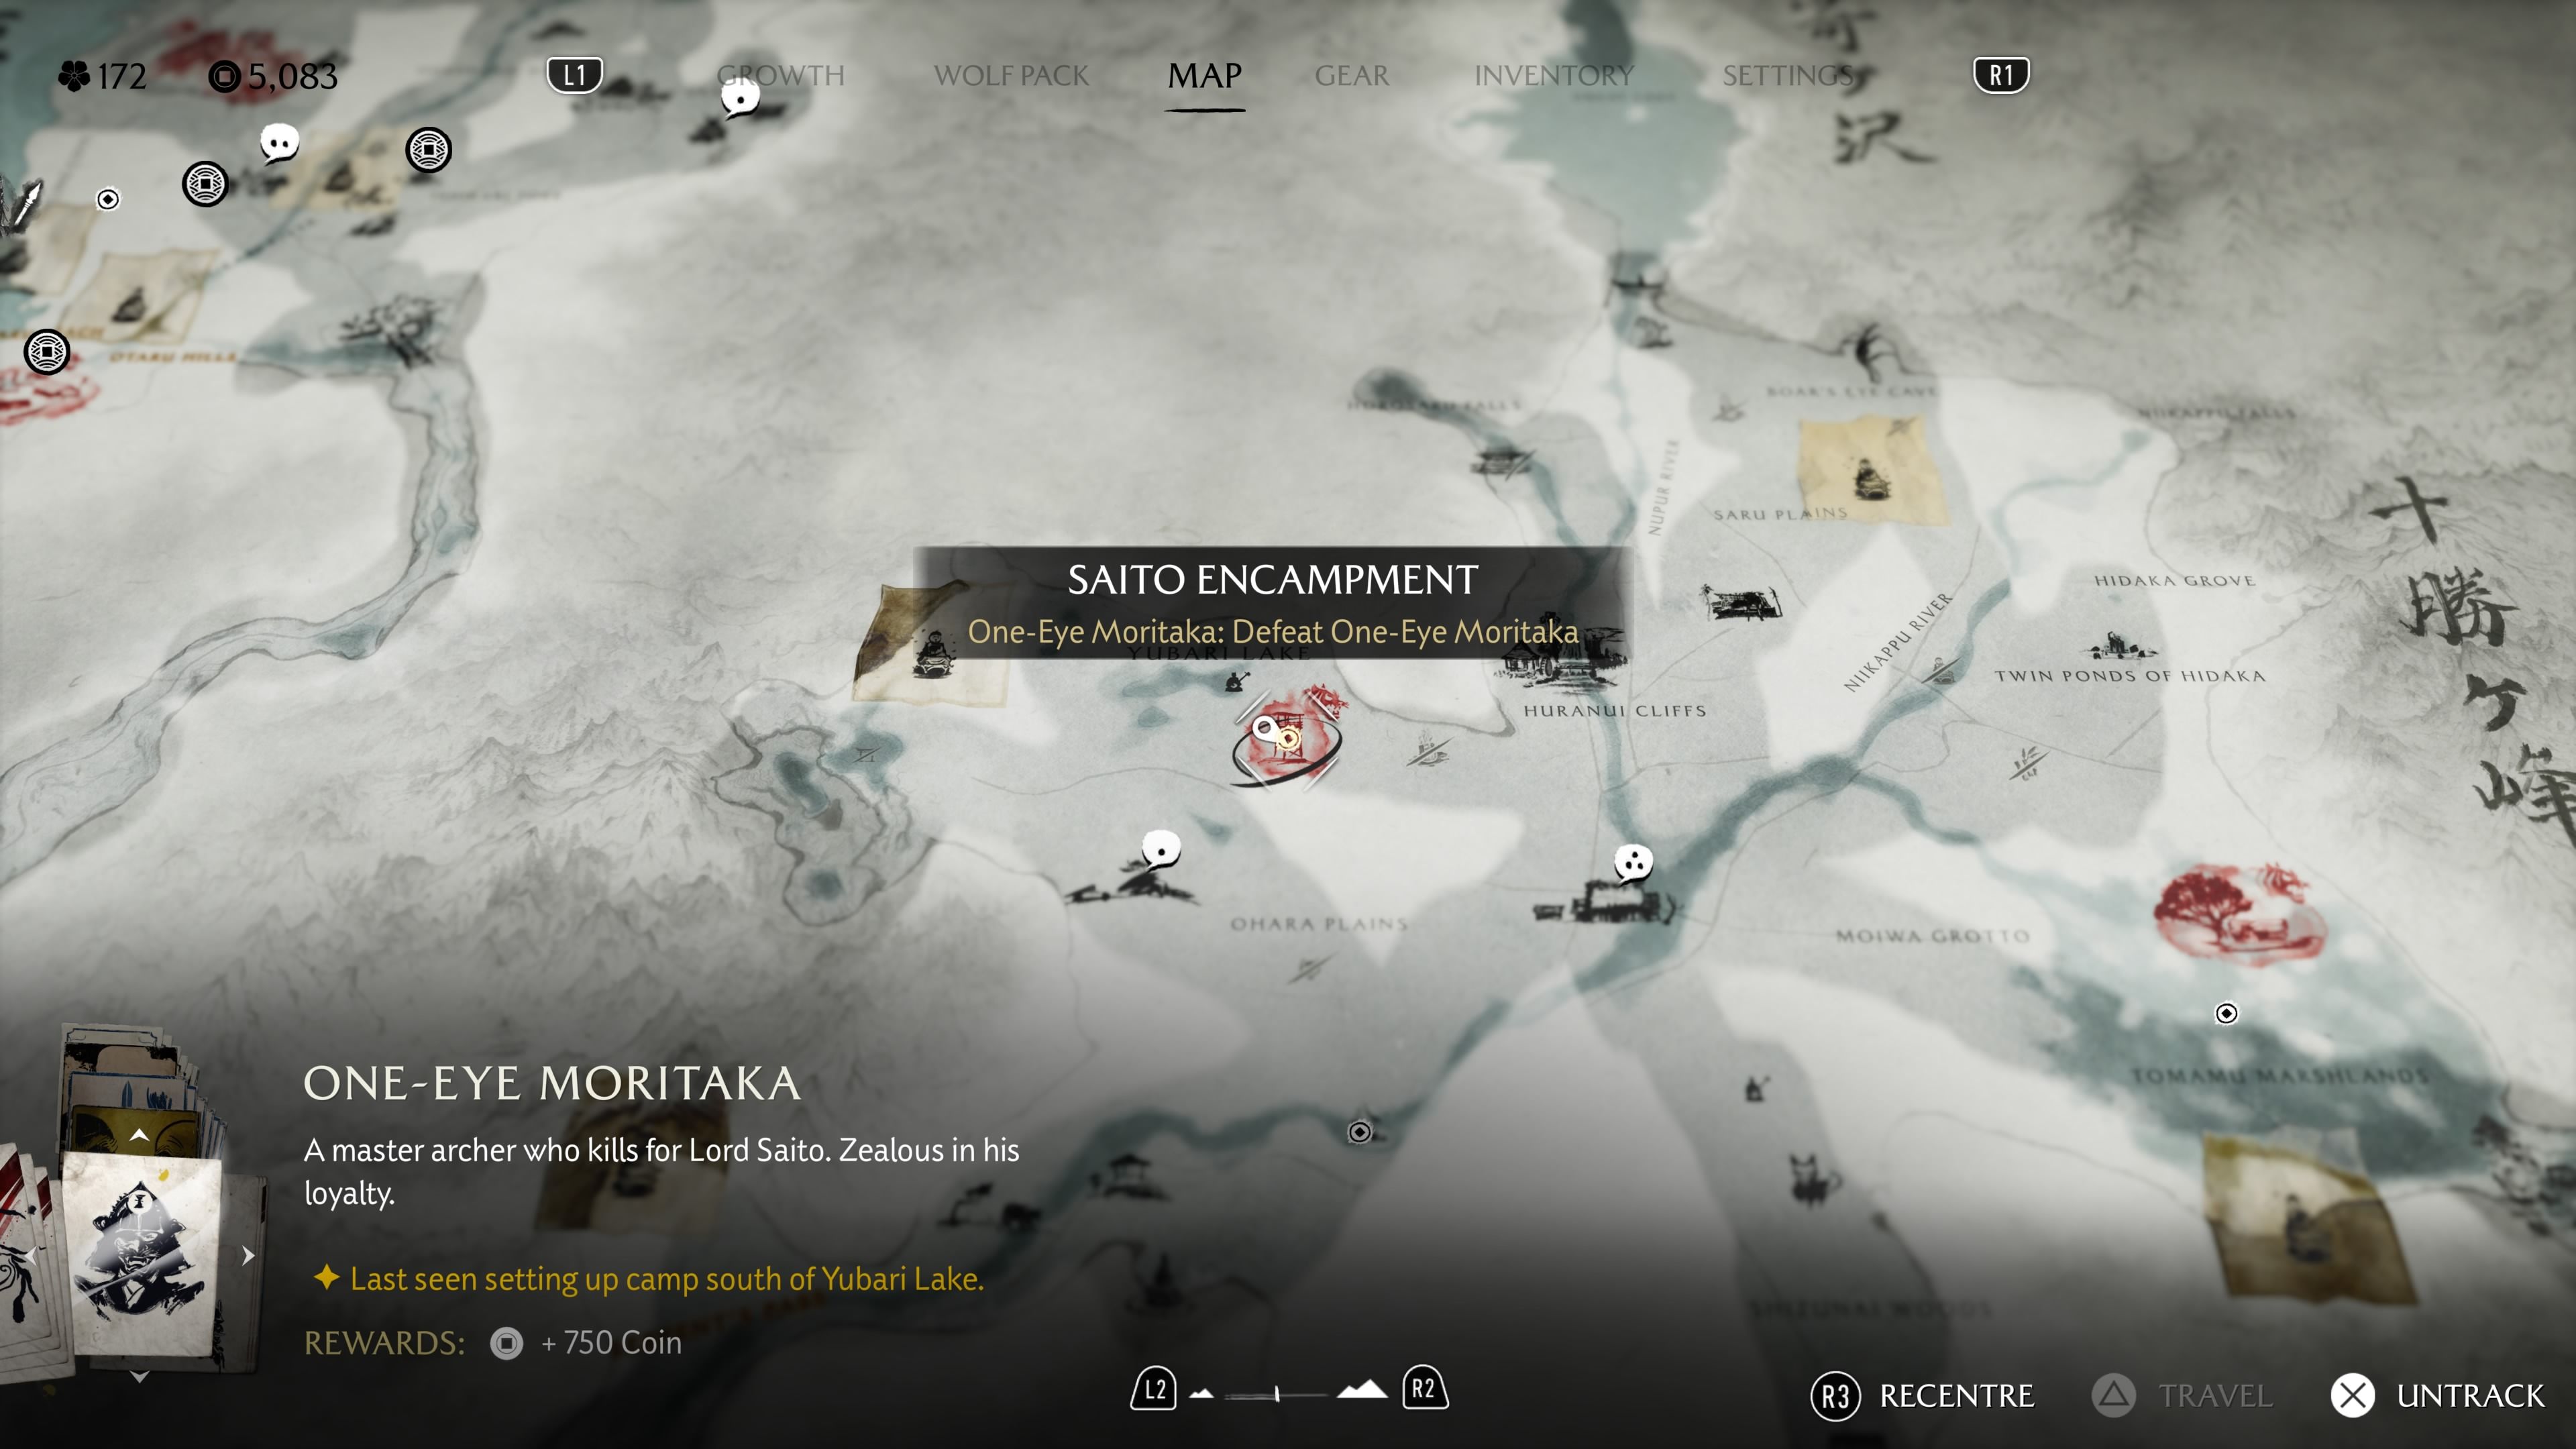
- Location: Saito Encampment, Yubari Lake, Tokachi Range
- Reward: 750 Coins
You can find a bounty for One-Eye Moritaka on the notice board at the Huranui’s Rest Inn. One-Eye Moritaka is located at the Saito Encampment, which is north of the Ohara Plains and just south of Yubari Lake. You can go there anytime, even if you haven’t accepted the bounty. To fight him, you’ll need to first defeat the enemies at the Yotei Six Camp.
Old Lady Yae
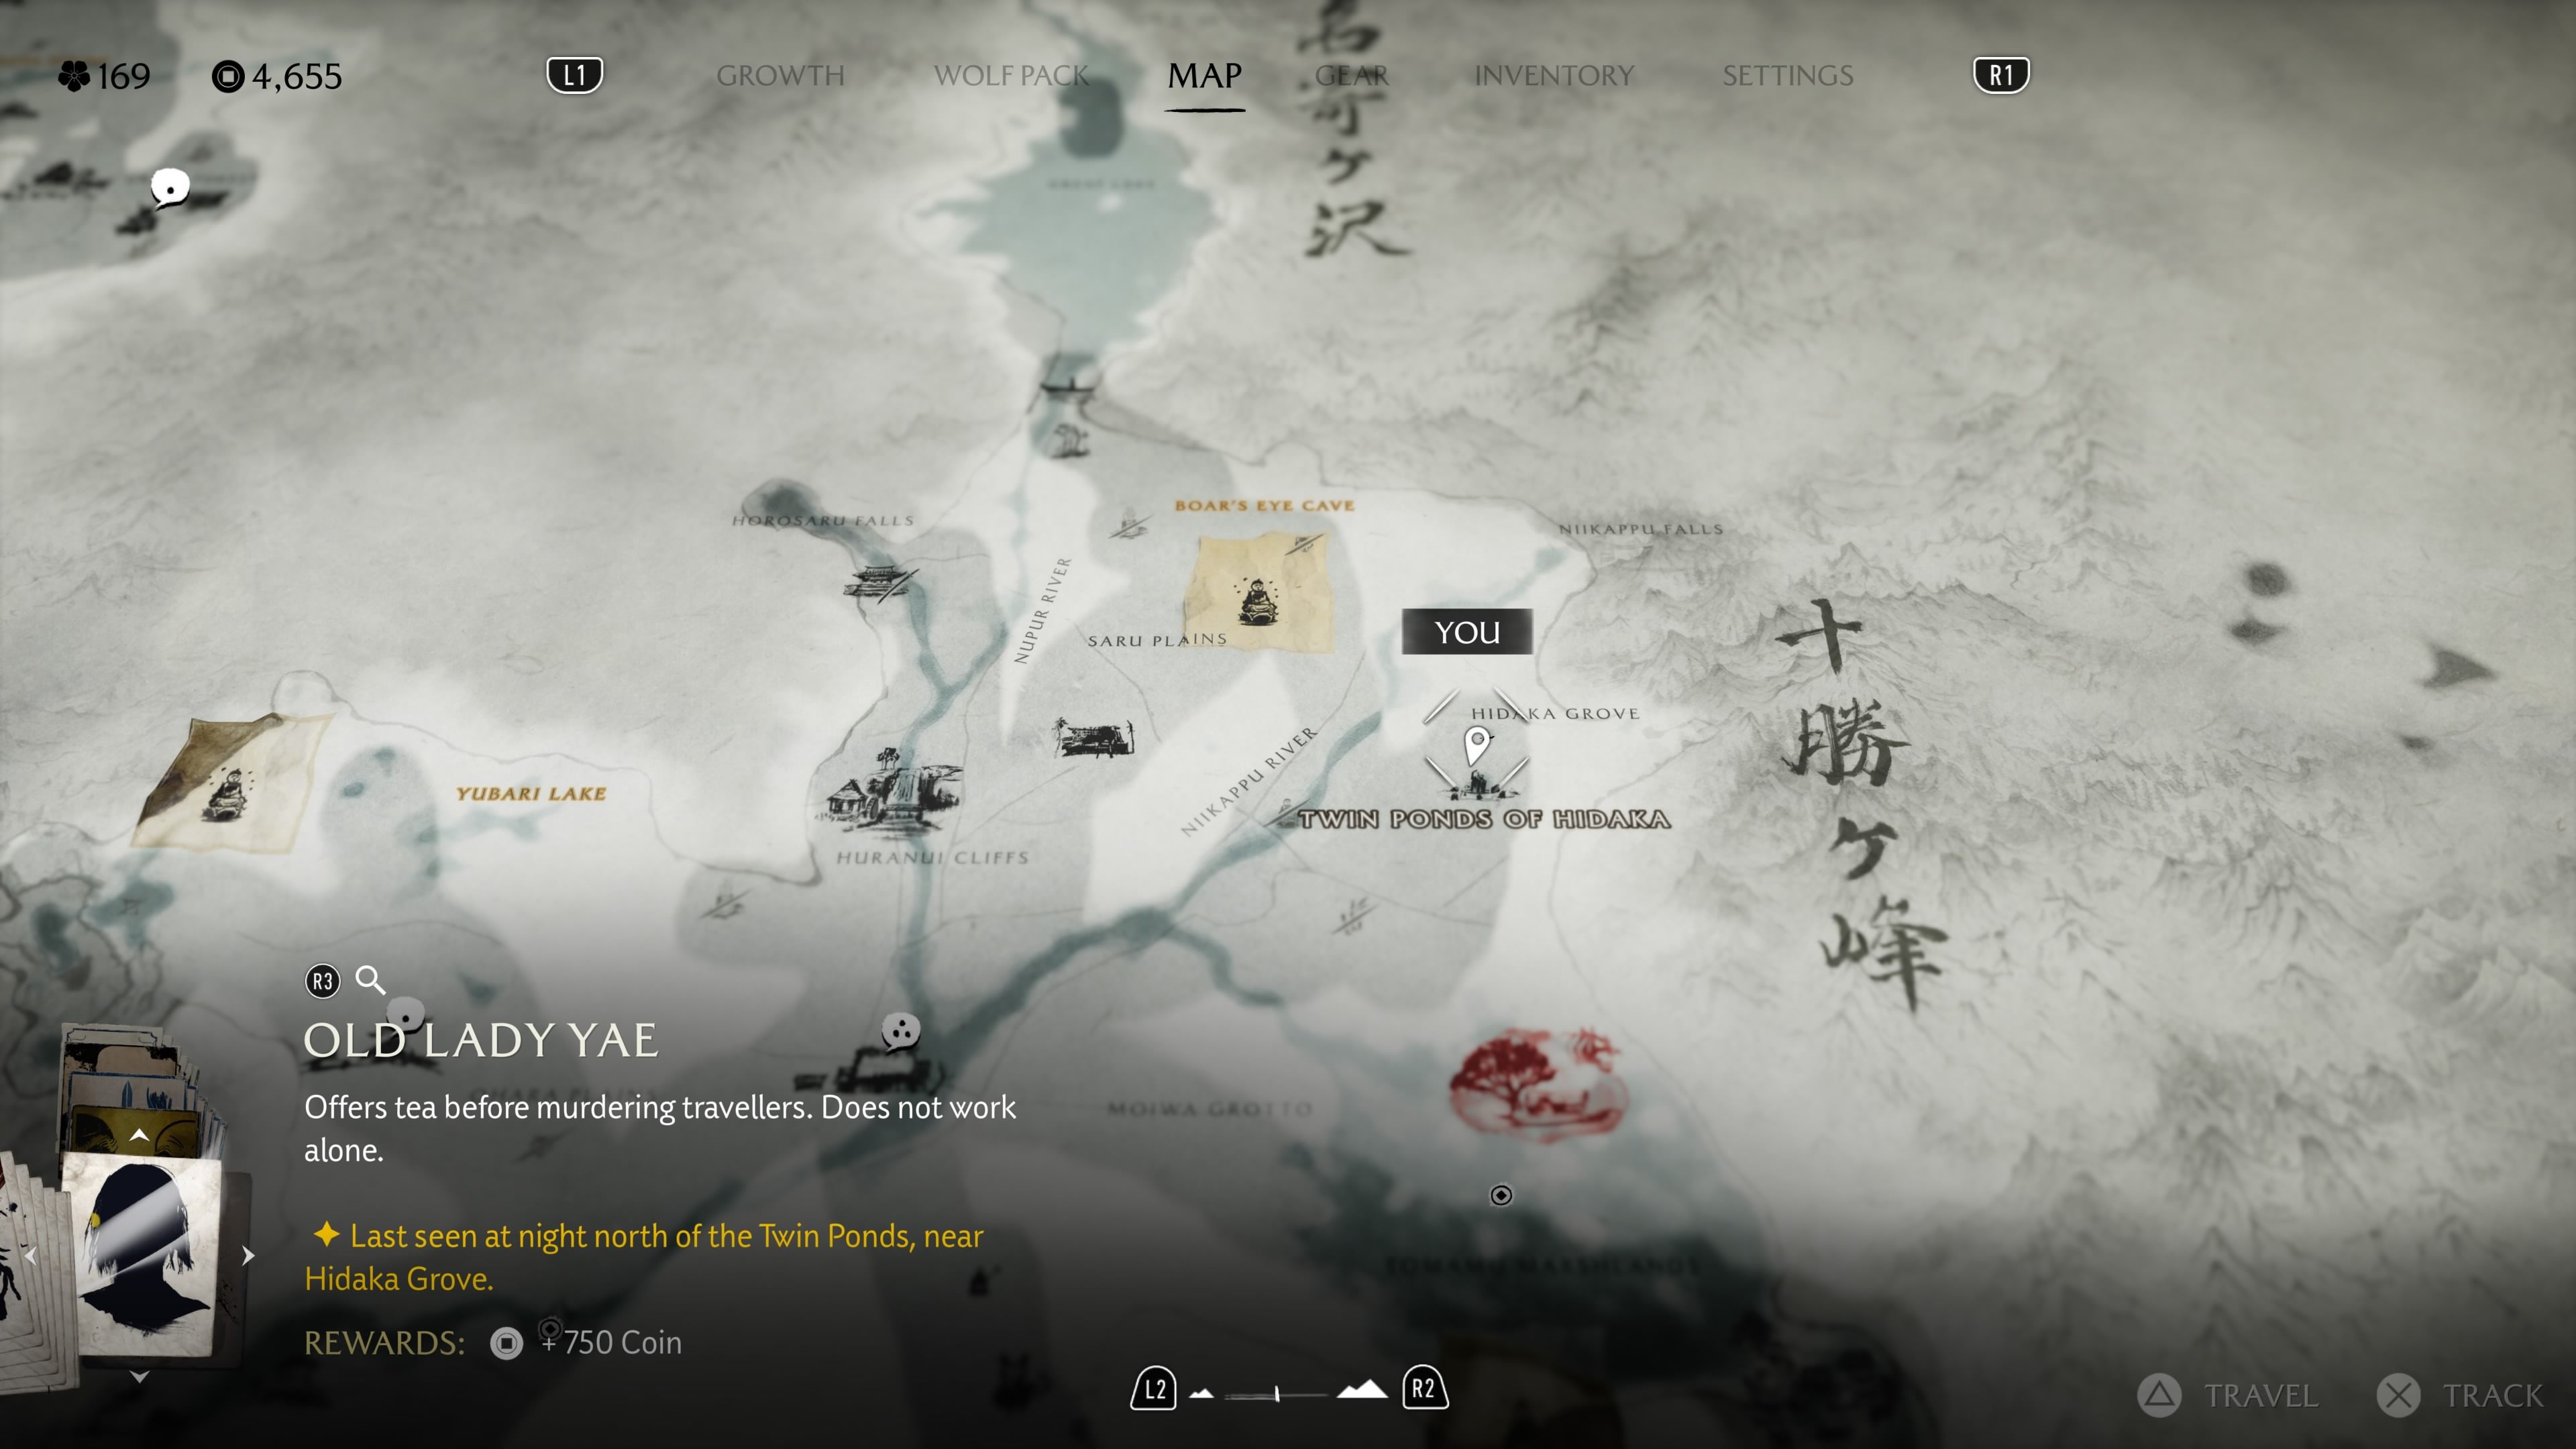
- Location: Arata’s Pond, Twin Ponds of Hidaka, Tokachi Range
- Reward: 750 Coins, Yae’s Cruel Brew Sword Kit
You can find Old Lady Yae’s bounty notice at the bounty board inside Huranui’s Rest Inn. She only appears at night, so head north of the Twin Ponds of Hidaka after dark – they’re located upriver from the Niikappu River. Look for the bounty north of Arata’s Pond.
Bear Man Chikatoshi

- Location: Shizunai Woods, Tokachi Range
- Reward: 750 Coins, A Beast’s Feast Sword Kit
You can find Bear Man Chikatoshi’s bounty at the Huranui’s Rest Inn. Alternatively, explore the Shizunai Woods, south of the inn. Within the woods, look for a body near a tree – it’s located roughly between the ‘I’ and ‘W’ on the map label for Shizunai Woods. Examining the body will trigger a fight with a bear, which then summons Chikatoshi.
Iron Chuta
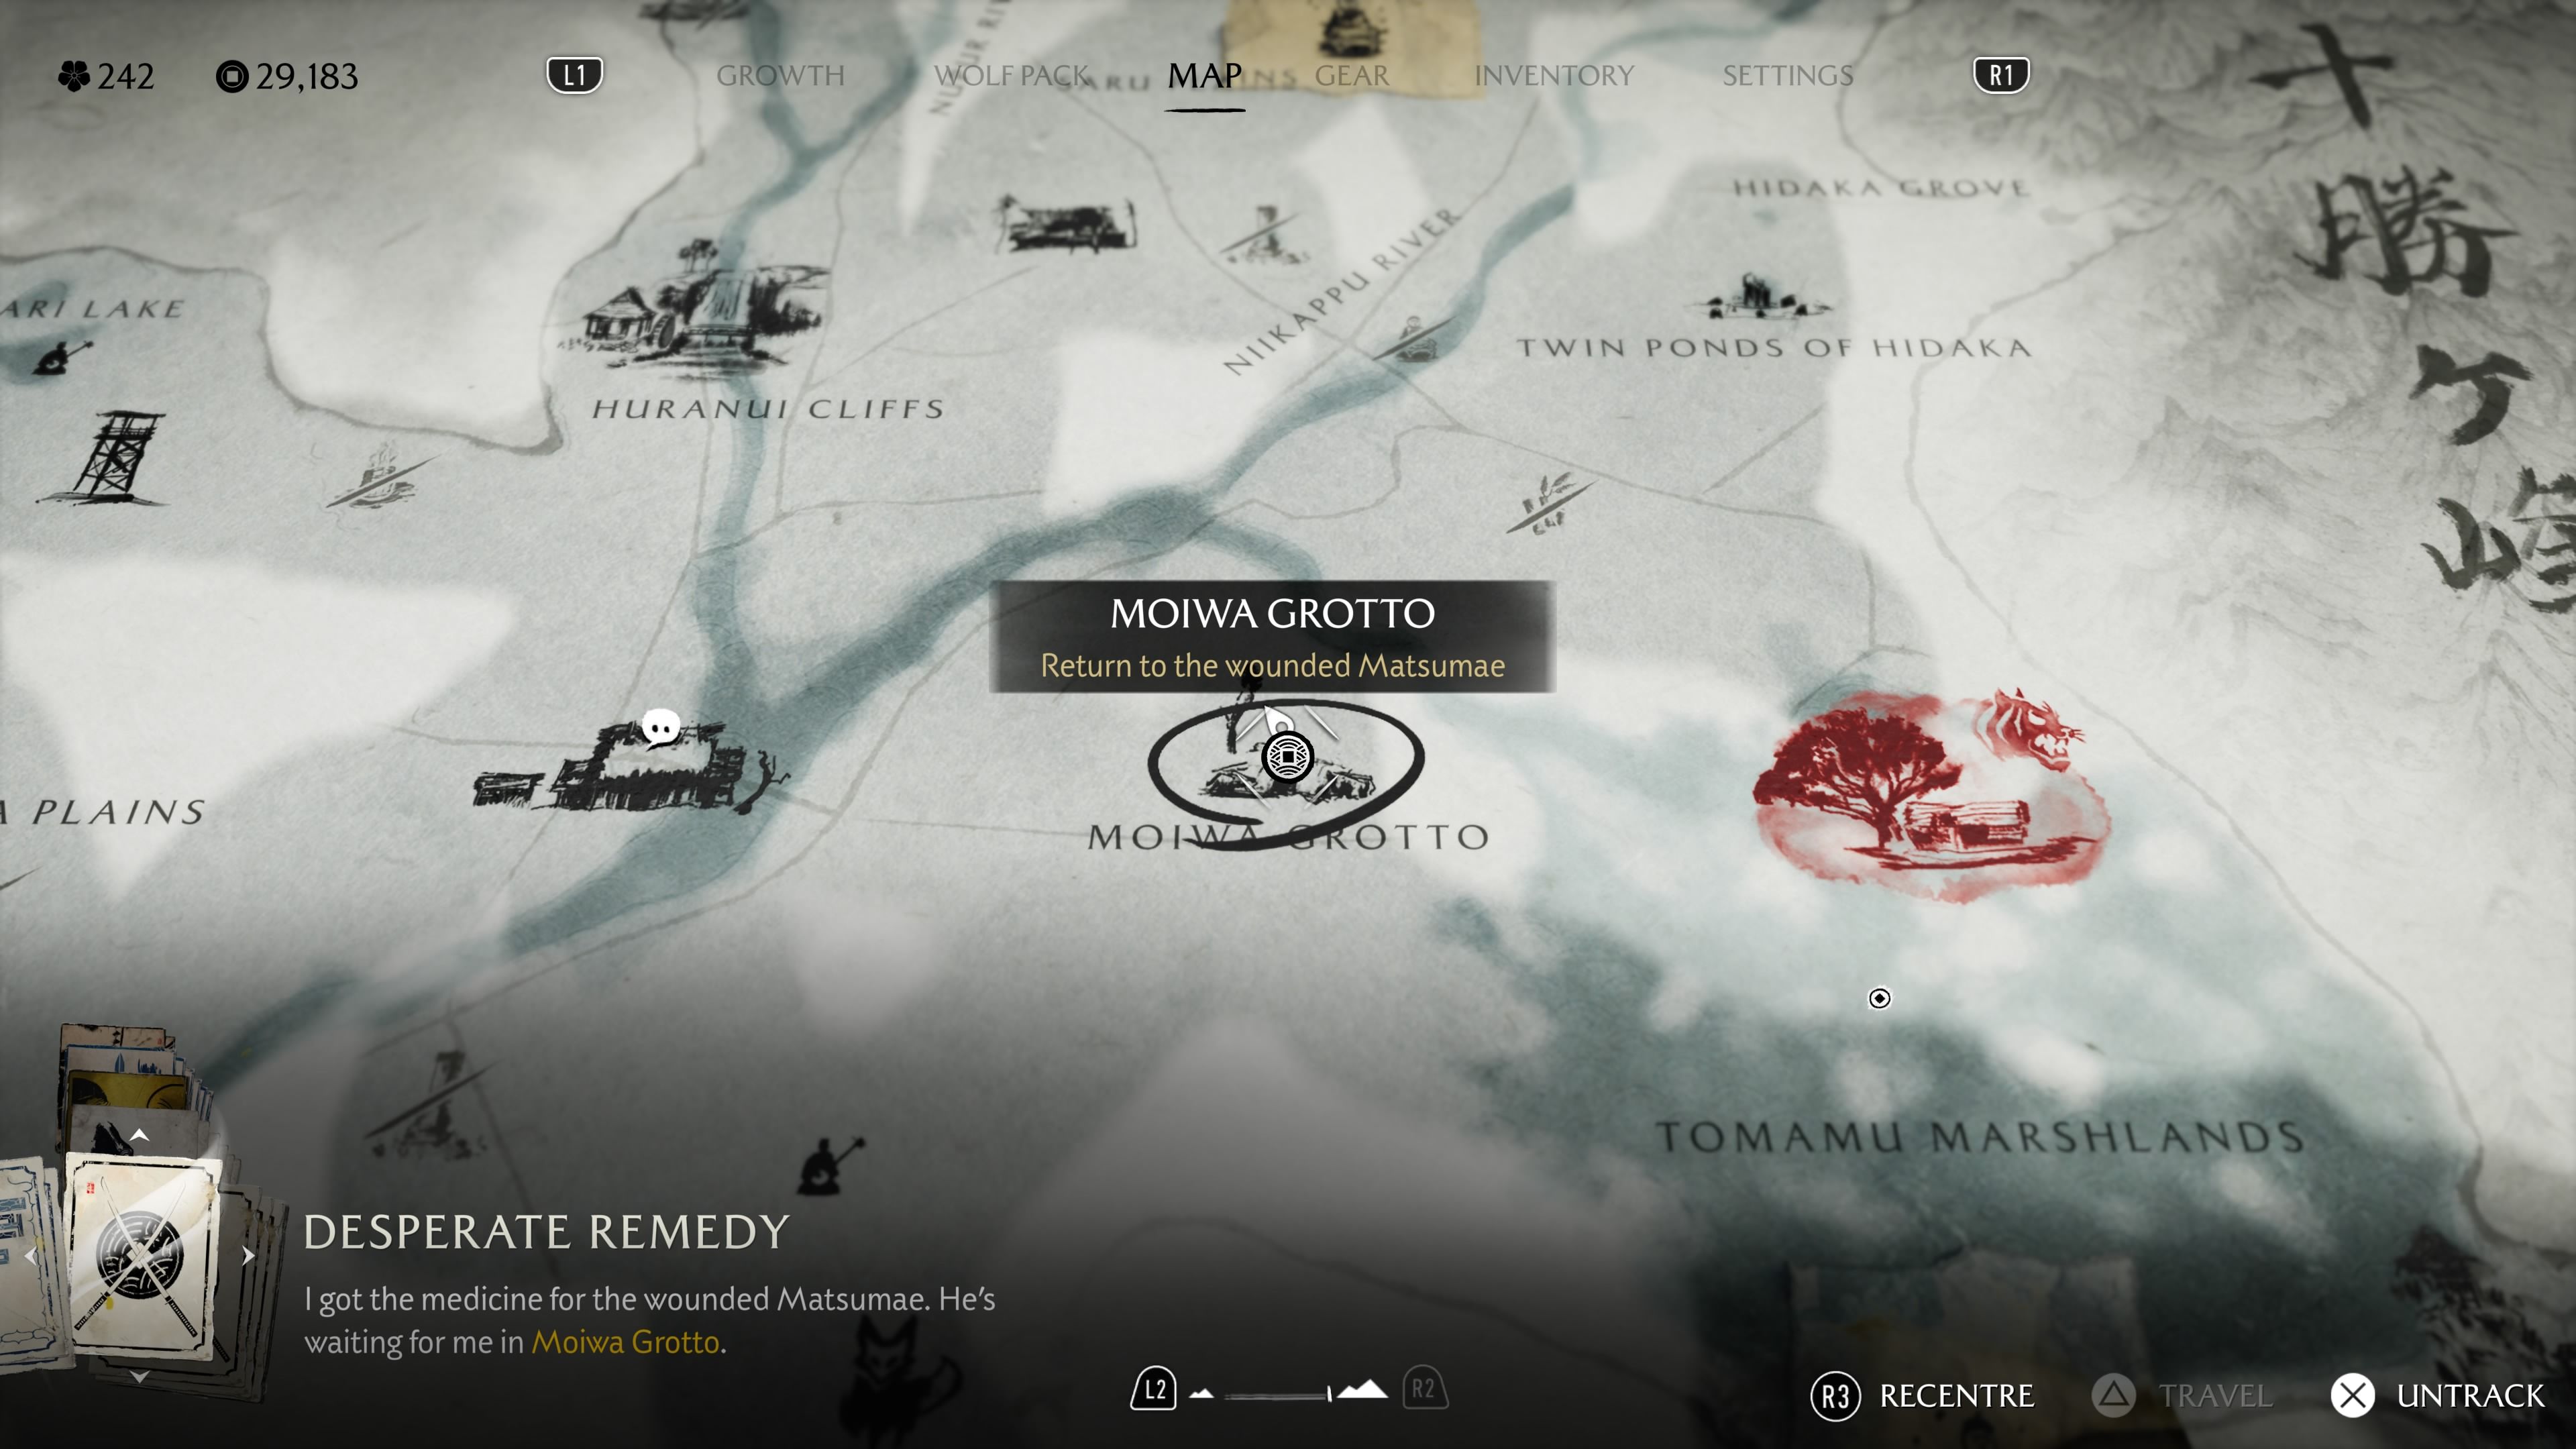

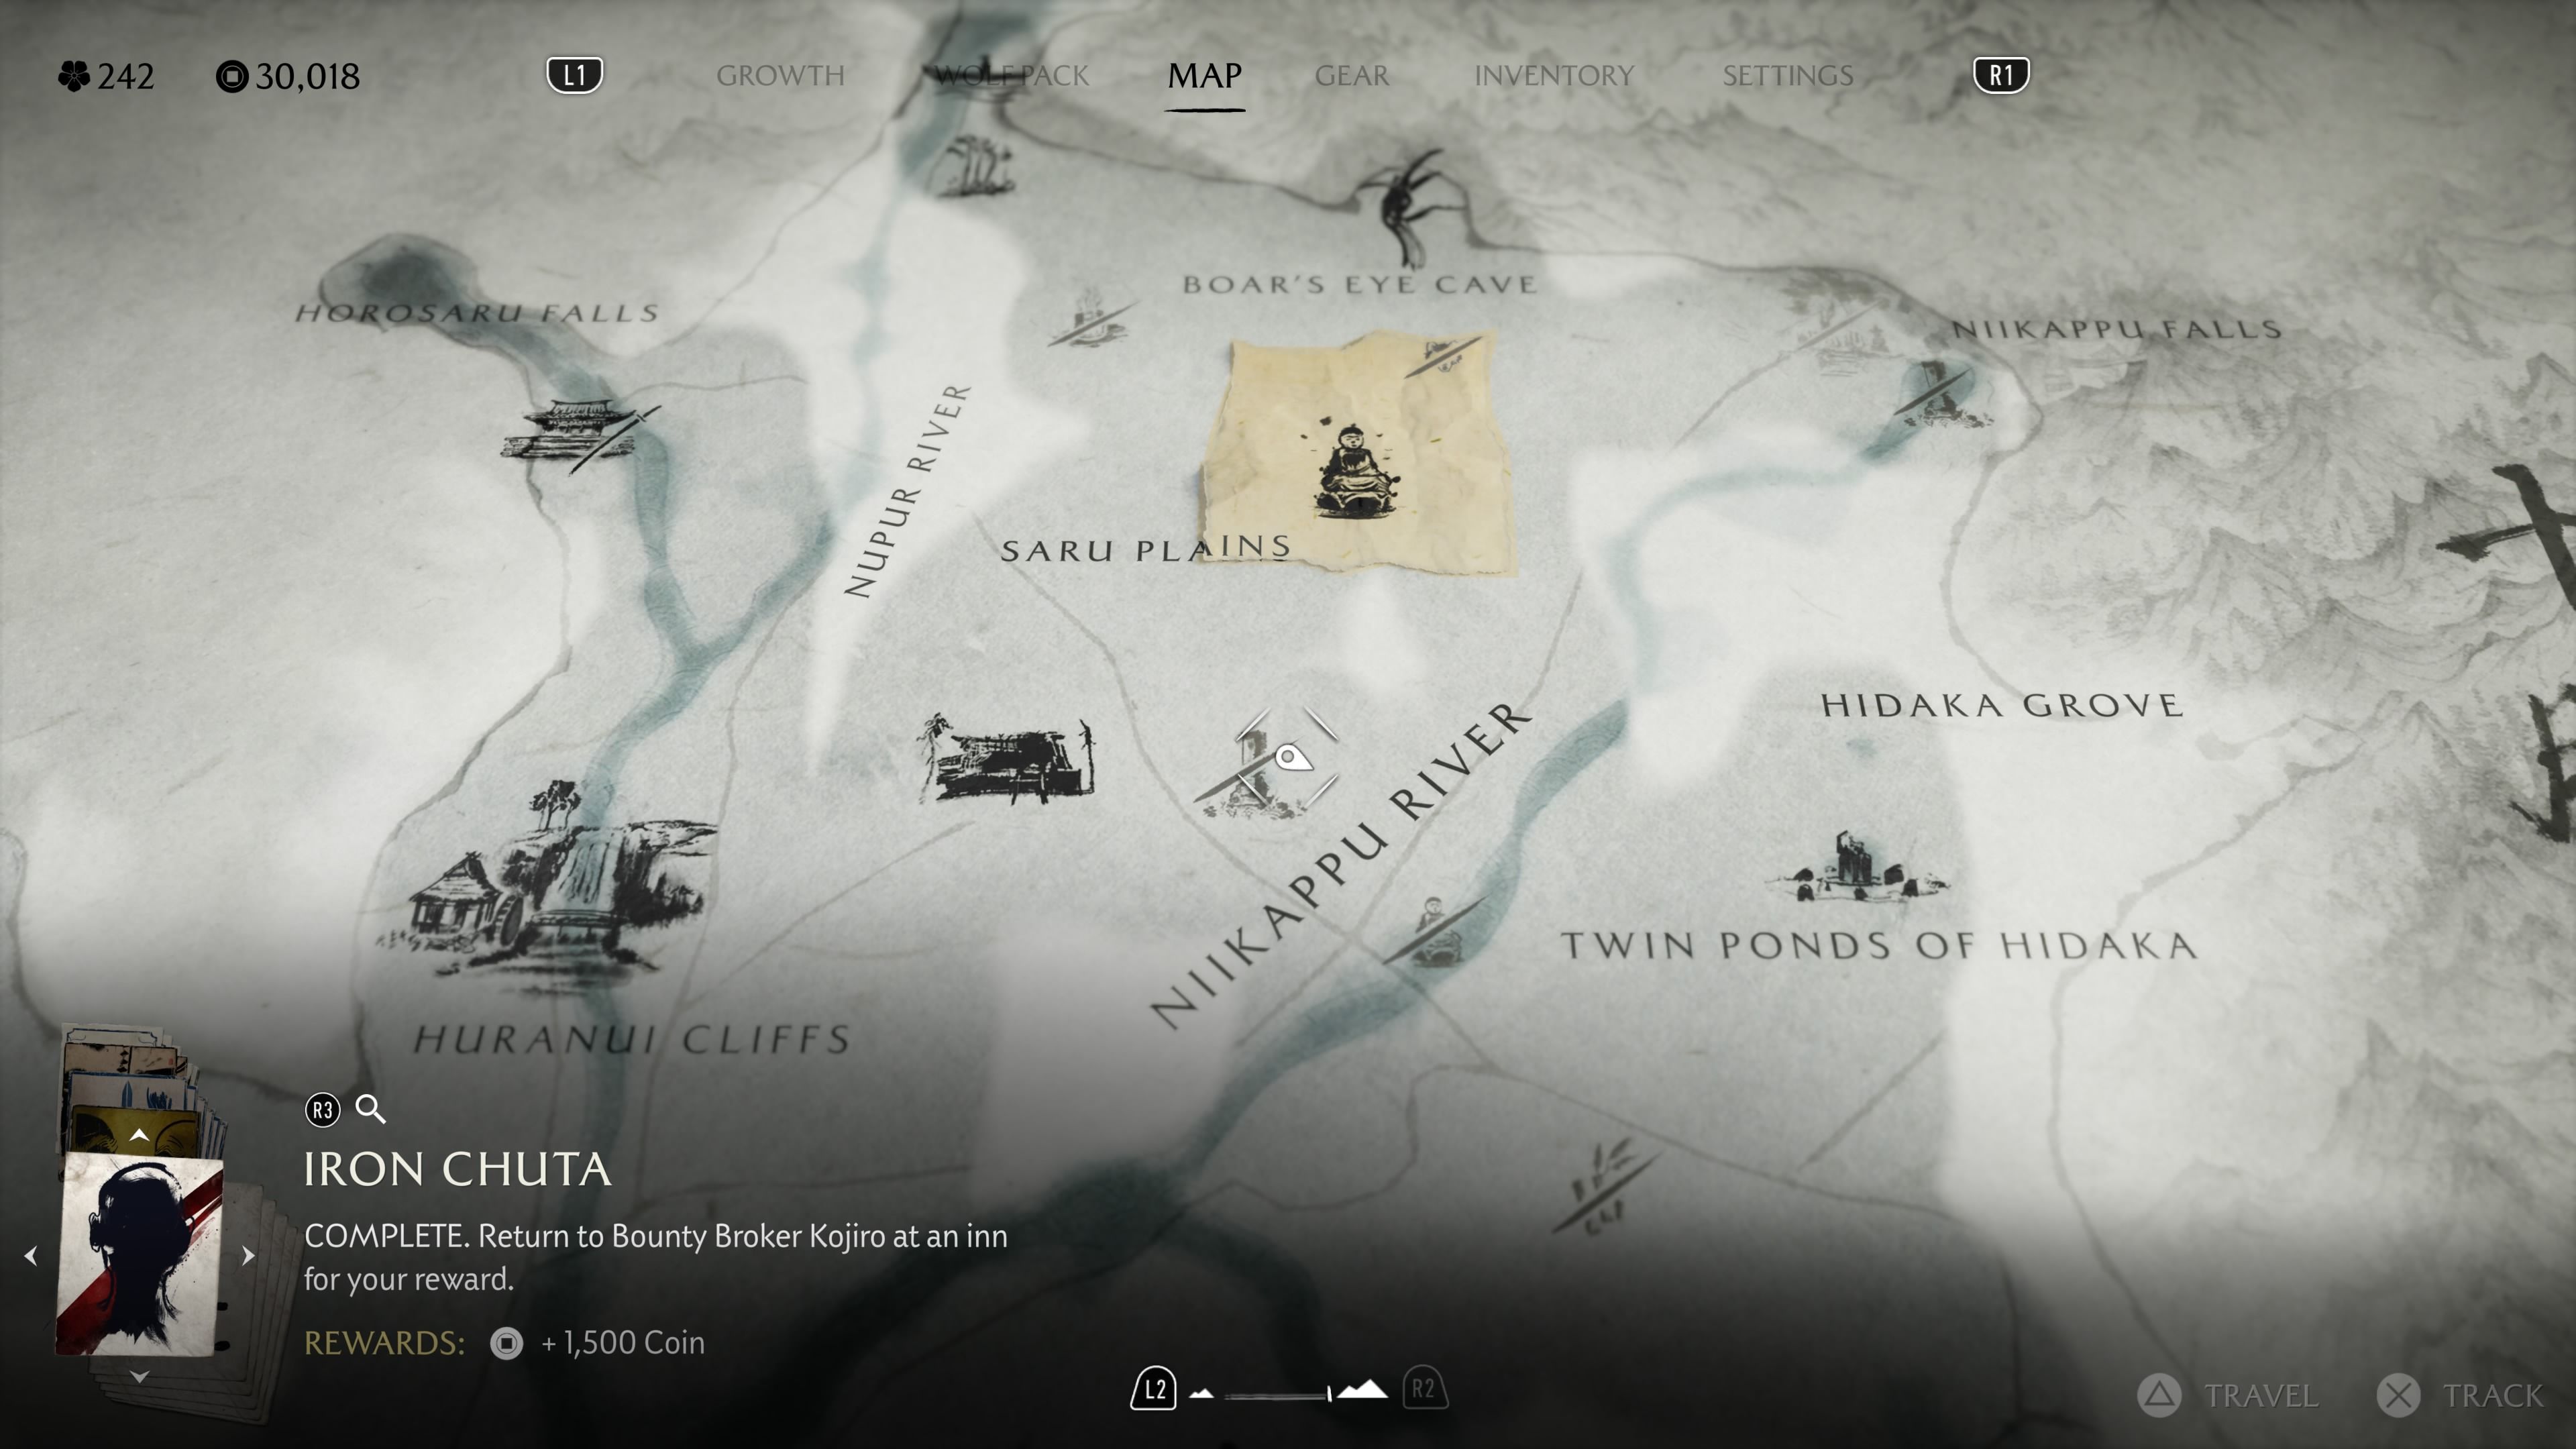
- Location: Niikappu River, Tokachi Range
- Reward: 1,500 Coins, Chuta’s Headwrap
The Iron Chuta bounty becomes available after you finish the side quest “Desperate Remedy,” found at Moiwa Grotto east of the Huranui’s Rest Inn. Once the quest is complete, check the bounty board at the inn for the Iron Chuta wanted poster. You’ll find Iron Chuta by examining a corpse located north of the Niikappu River – look for it just north of the second ‘P’ in ‘Niikappu’ on your map.
Junpei the Snatcher
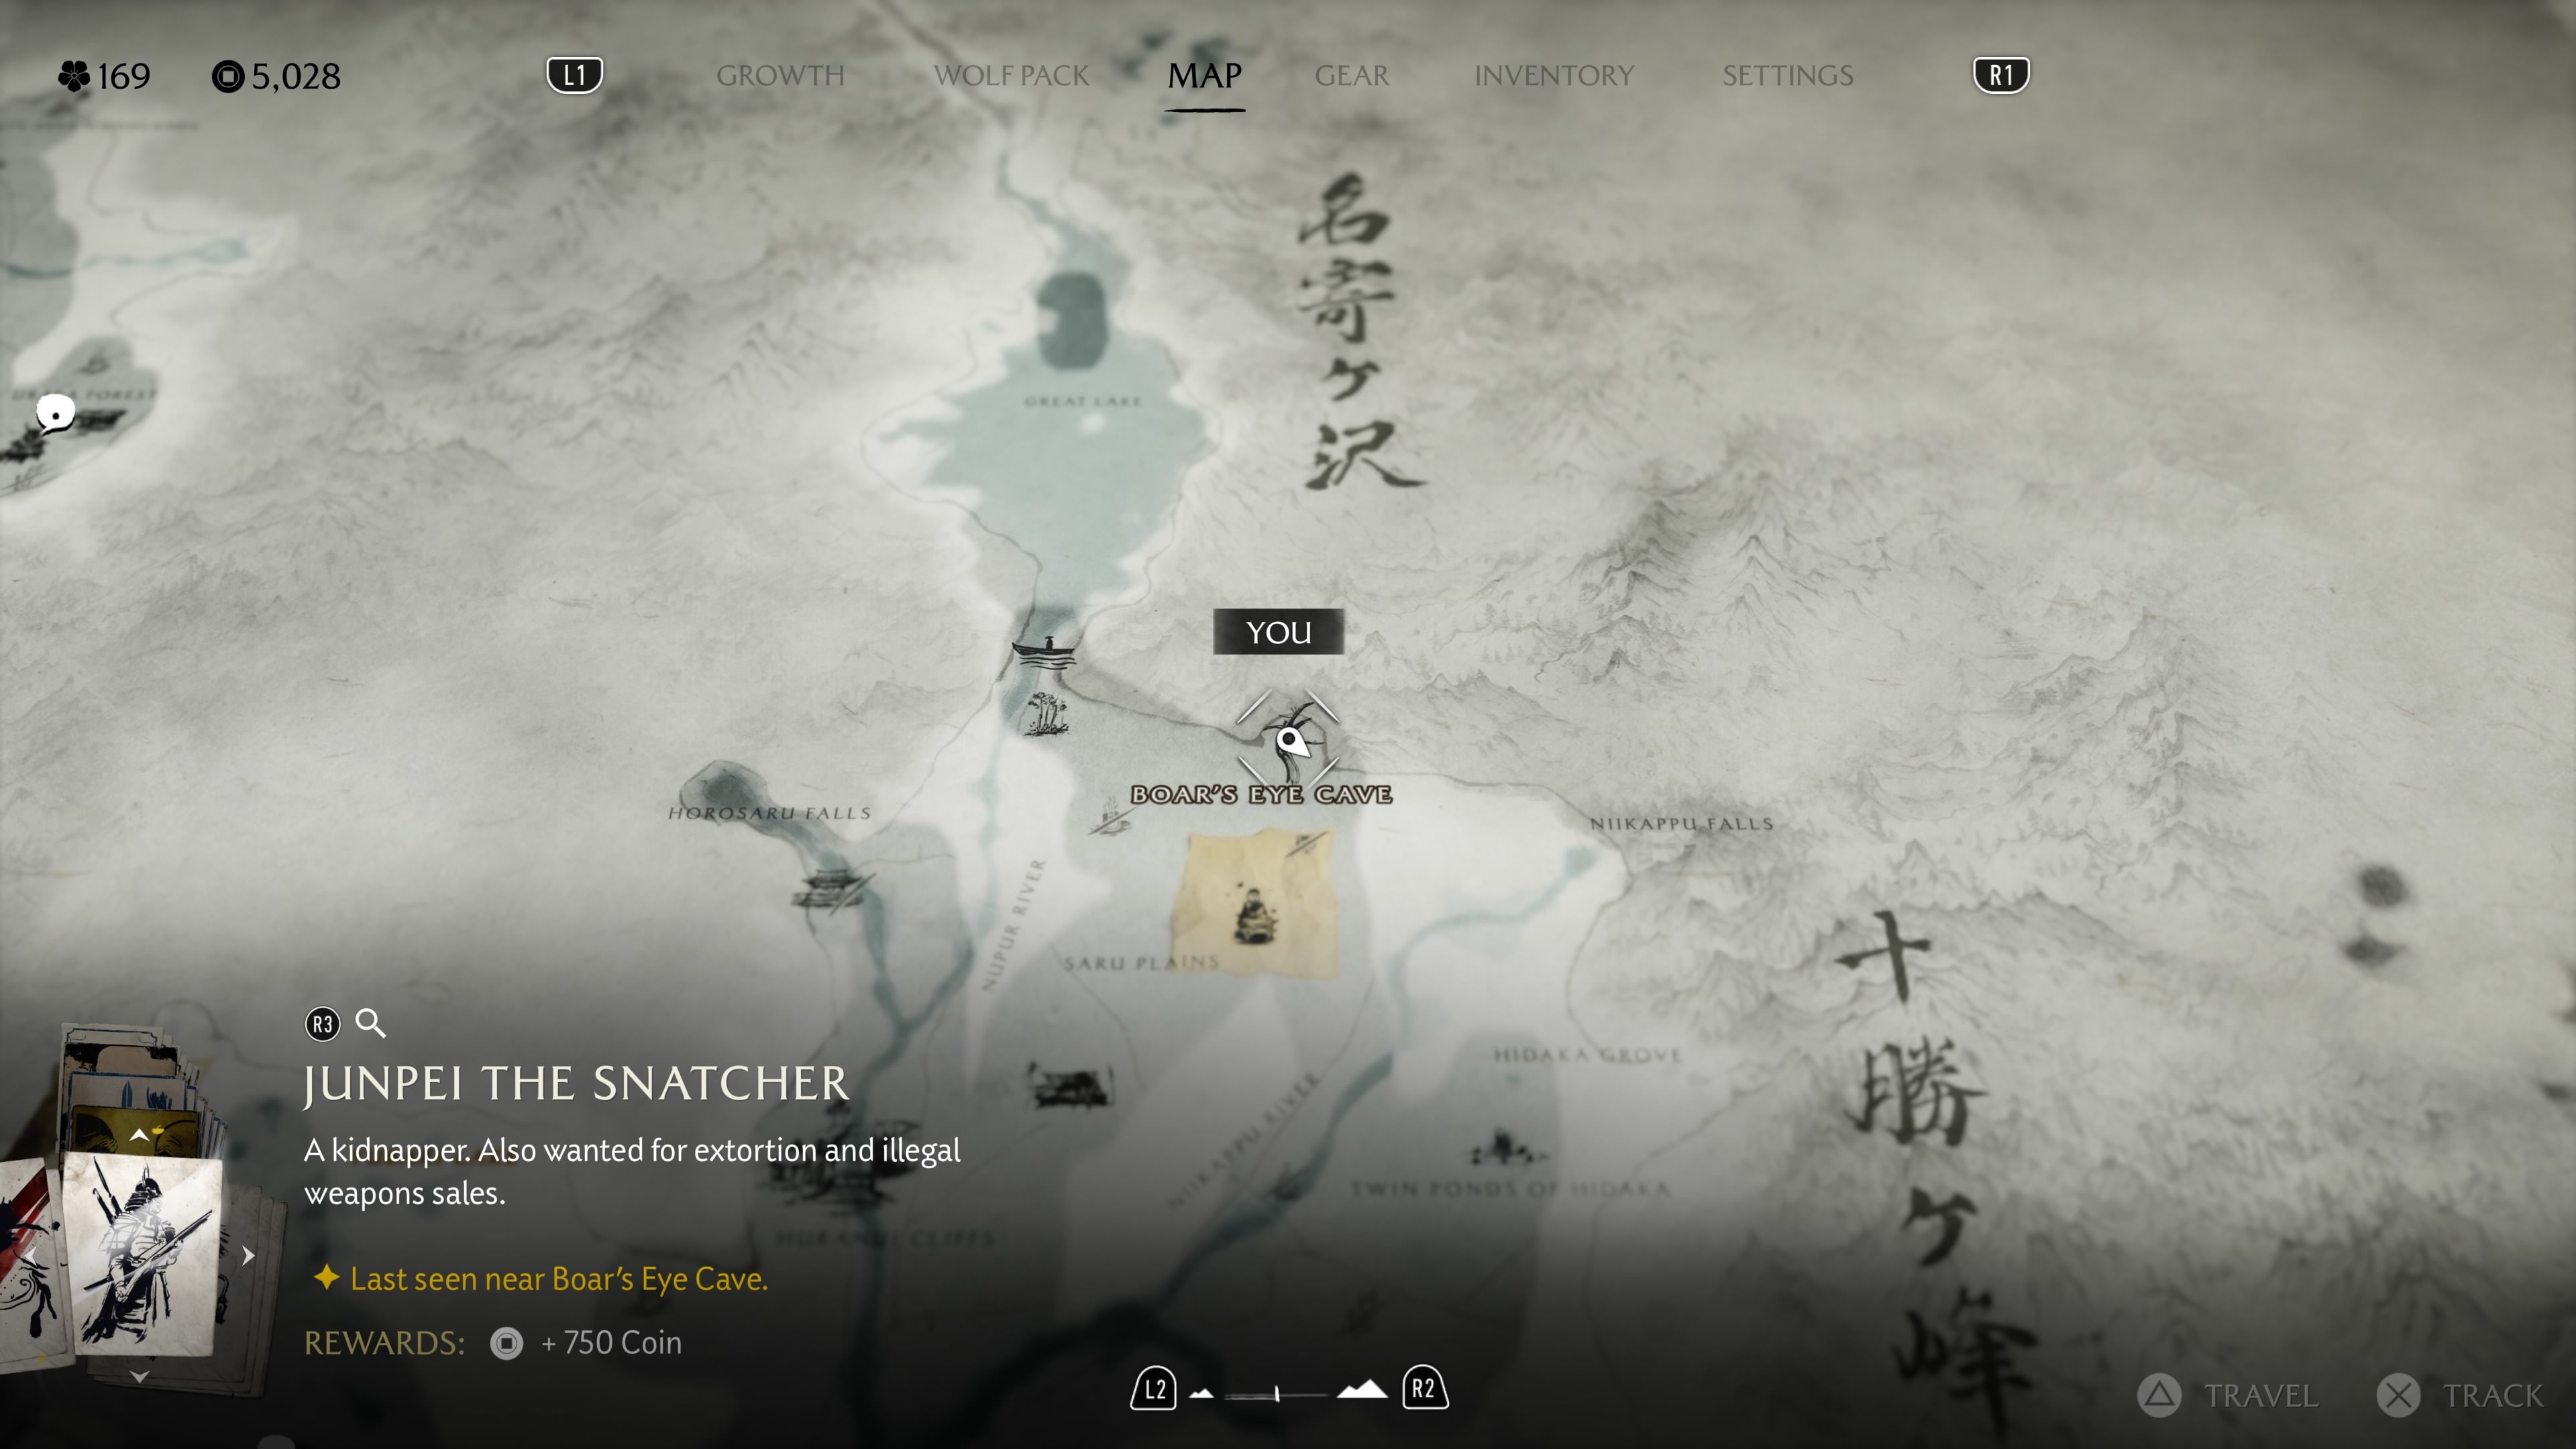
- Location: Boar’s Eye Cave, Tokachi Range
- Reward: 750 Coins
To find Junpei the Snatcher’s bounty, go to the Boar’s Eye Cave, located in the northern part of the Tokachi Range. Look for the cave entrance directly above the letter ‘S’ in ‘Boar’s’ on your map – you’ll find Junpei inside.
Inokichi the Hungry

- Location: Huranui Mill, Huranui Cliffs, Tokachi Range
- Reward: 1,500 Coins, Inokichi the Hungry’s Mask
You can find Inokichi the Hungry at the Yotei Six Camp, located at Huranui Mill. The mill is just north of the Huranui Cliffs, accessible by following the Nupur River upstream. You don’t need a bounty poster to find him – just head to that location and defeat him in a duel after clearing the camp.
All Teshio Ridge Bounties in Ghost of Yotei
The posters featuring Enomoto, the Kusarigama Master, and Hana, the Farmer, indicate missions available, not rewards for hunting them down.
Houndmaster Toyotaro

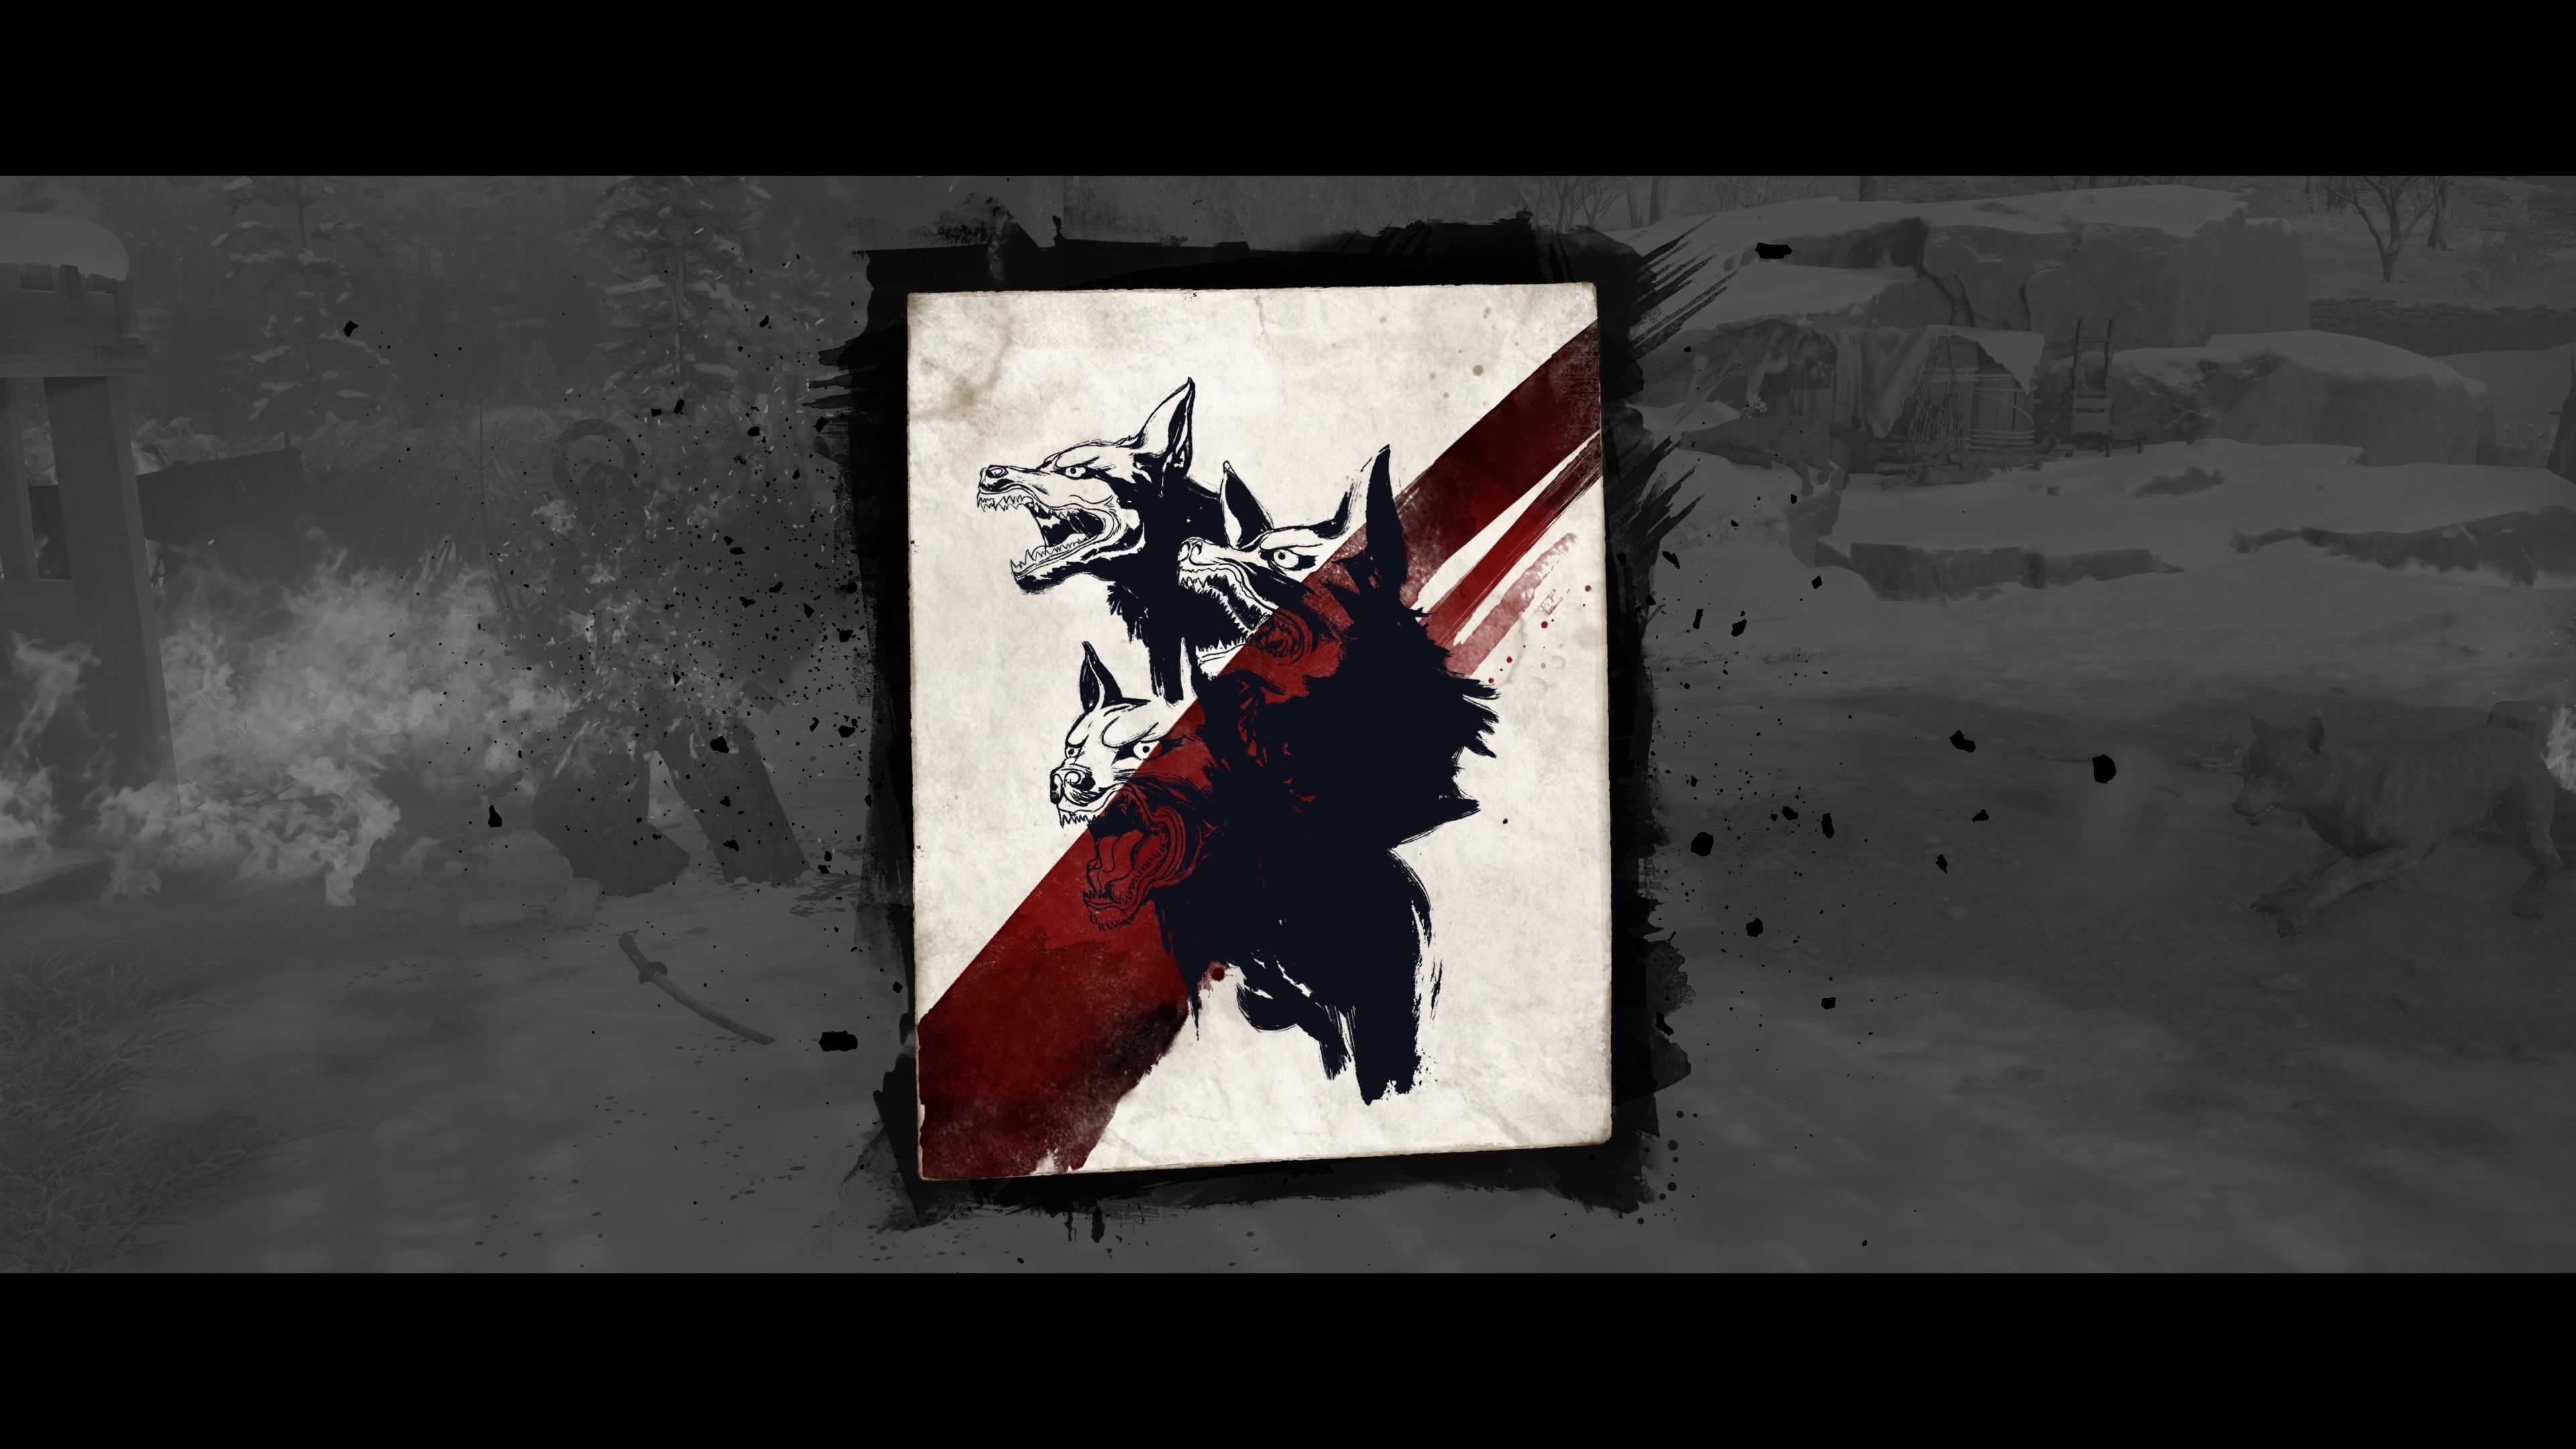
- Location: Teshio River, Teshio Ridge
- Reward: 750 Coins, Toyotaro’s Fang Weapon Kit
At the Red Crane Inn, you’ll find a wanted poster offering a reward for the elimination of Houndmaster Toyotaro. He can be found traveling northwest from the inn, along the path towards the Teshio River – look for him near the letter ‘H’ in ‘Teshio’ on your map. He’s set up camp with a few cages in that area.
Snowstorm Katagiri

- Location: Sarobetsu Forest, Teshio Ridge
- Reward: 1,500 Coins
Snowstorm Katagiri can be found north of Sarobetsu Forest, right above the Kitsune Altar – look for it on the map between the second ‘S’ and ‘U’ in ‘Sarobetsu’. He uses the cold against travelers, so if you follow him towards campfires, you’ll stay warm, but be careful – he’s known to set traps.
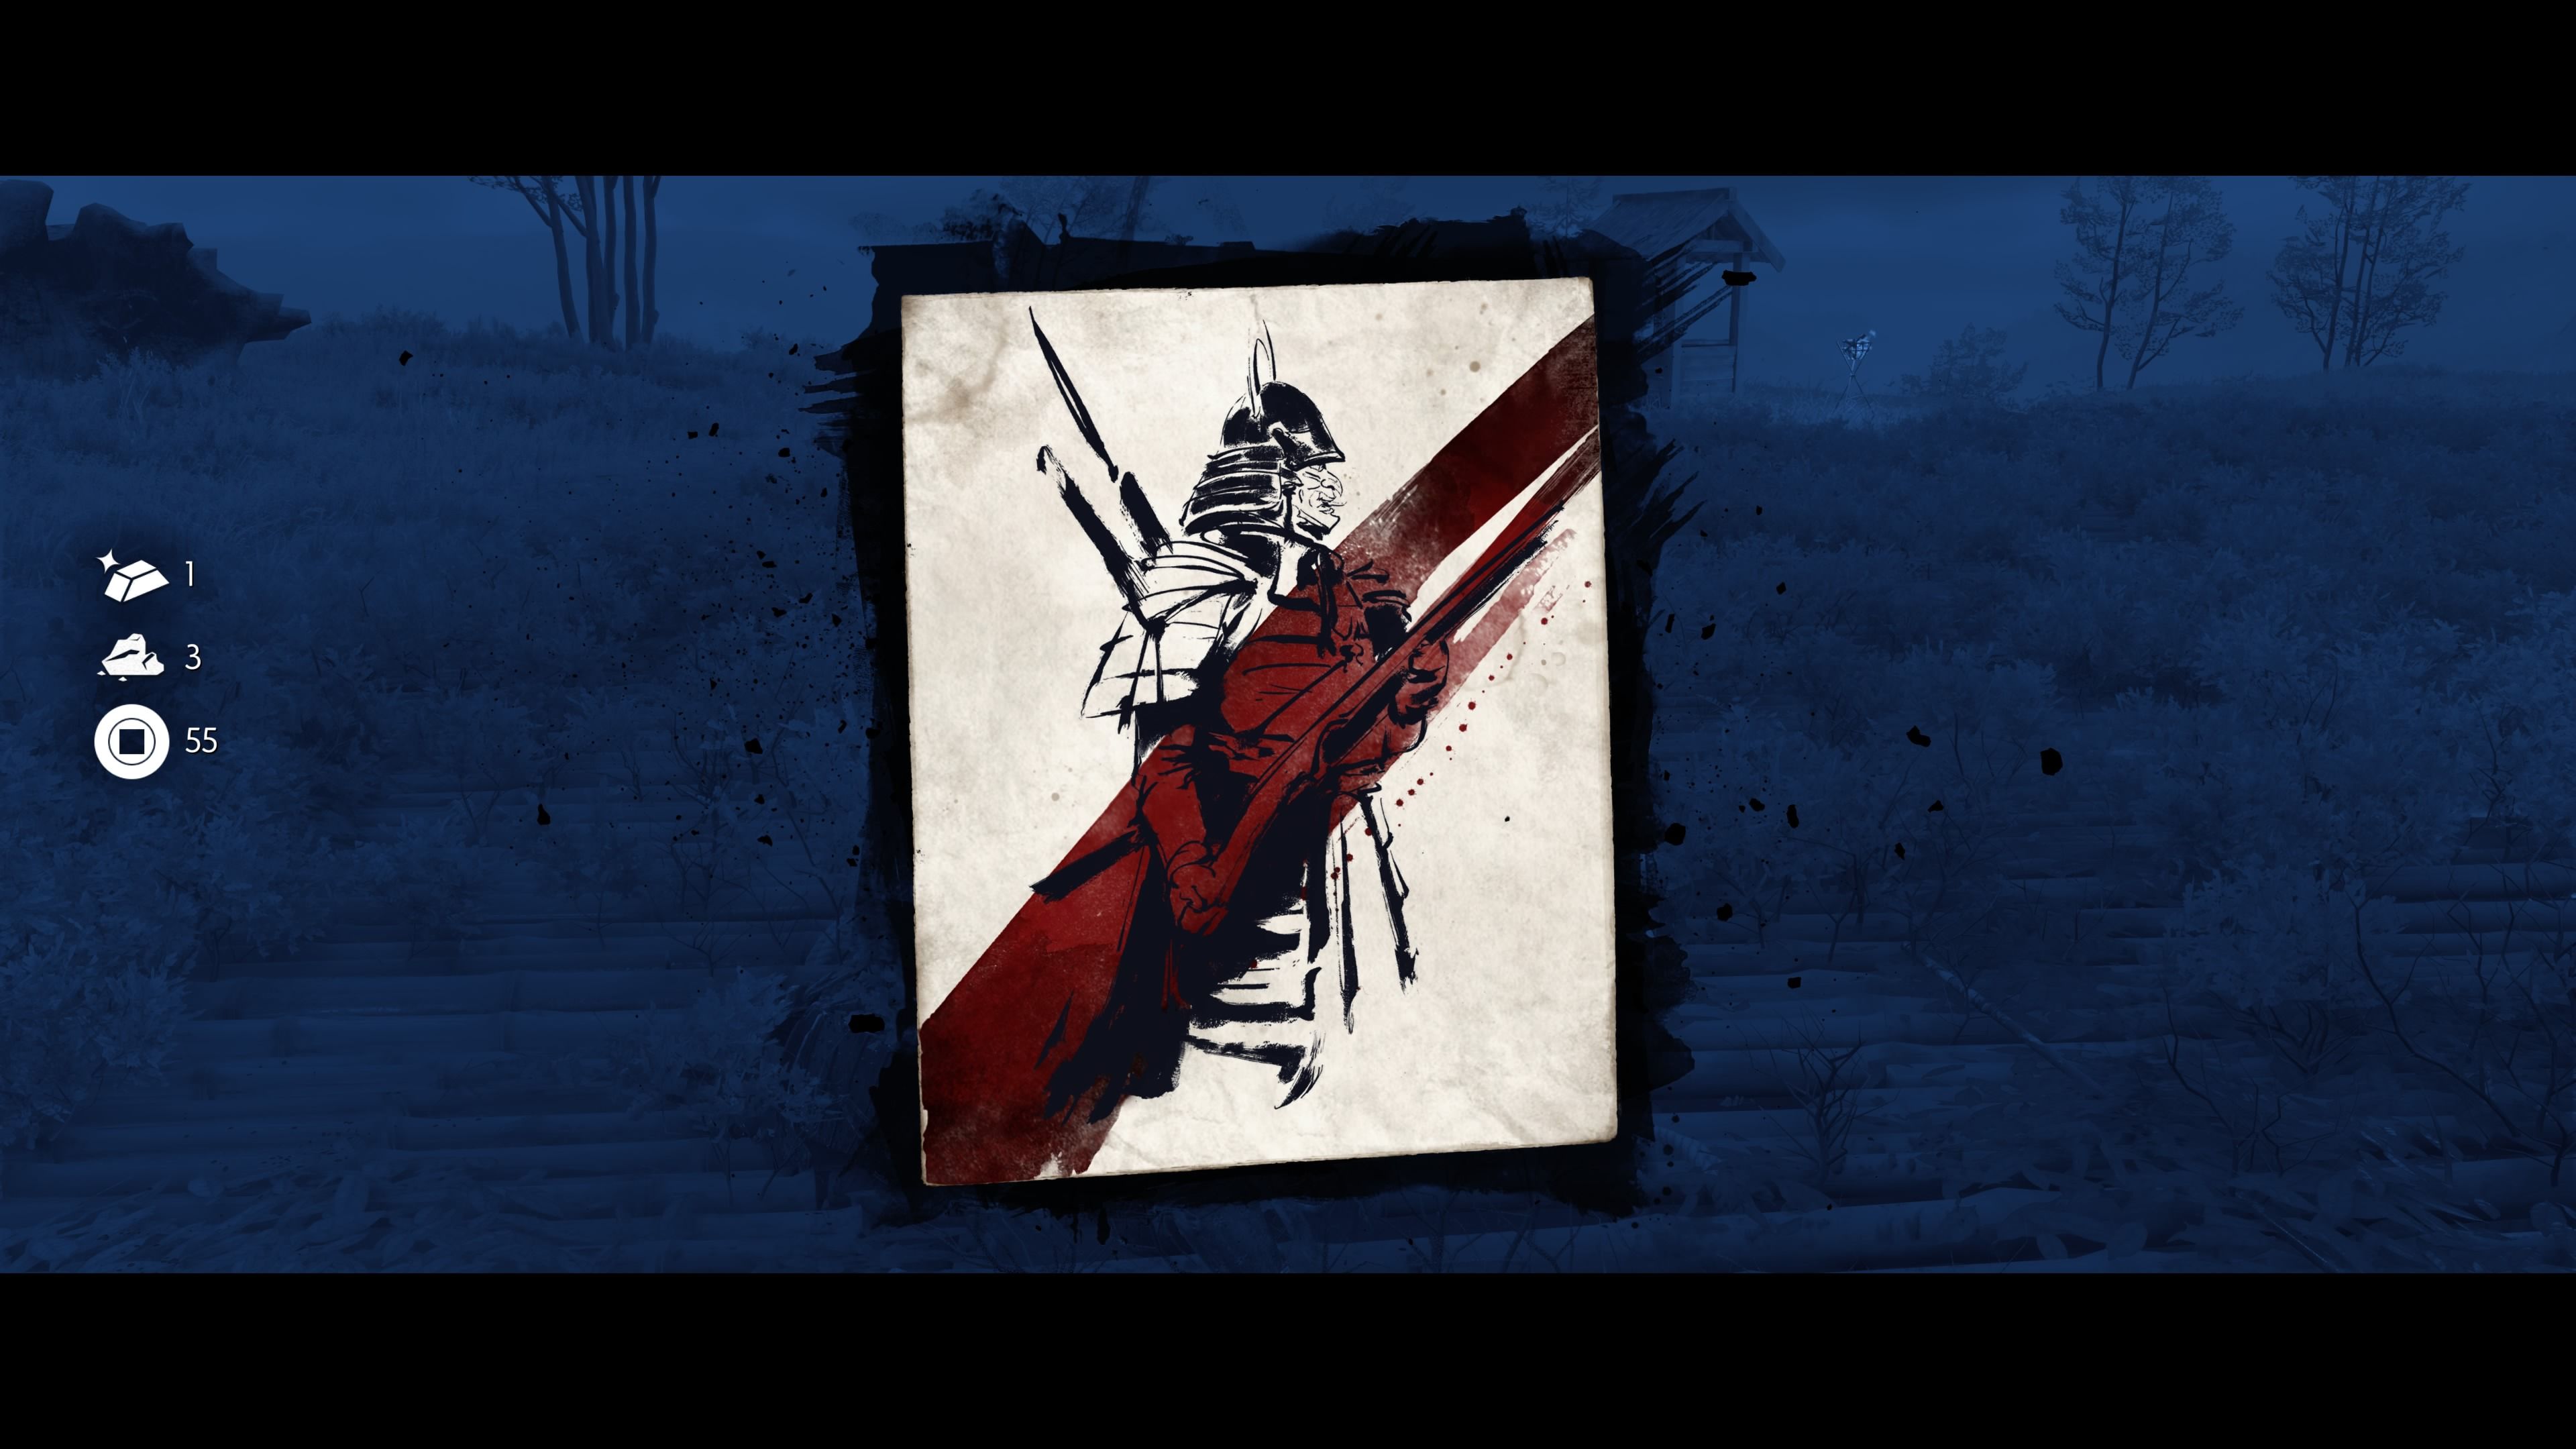
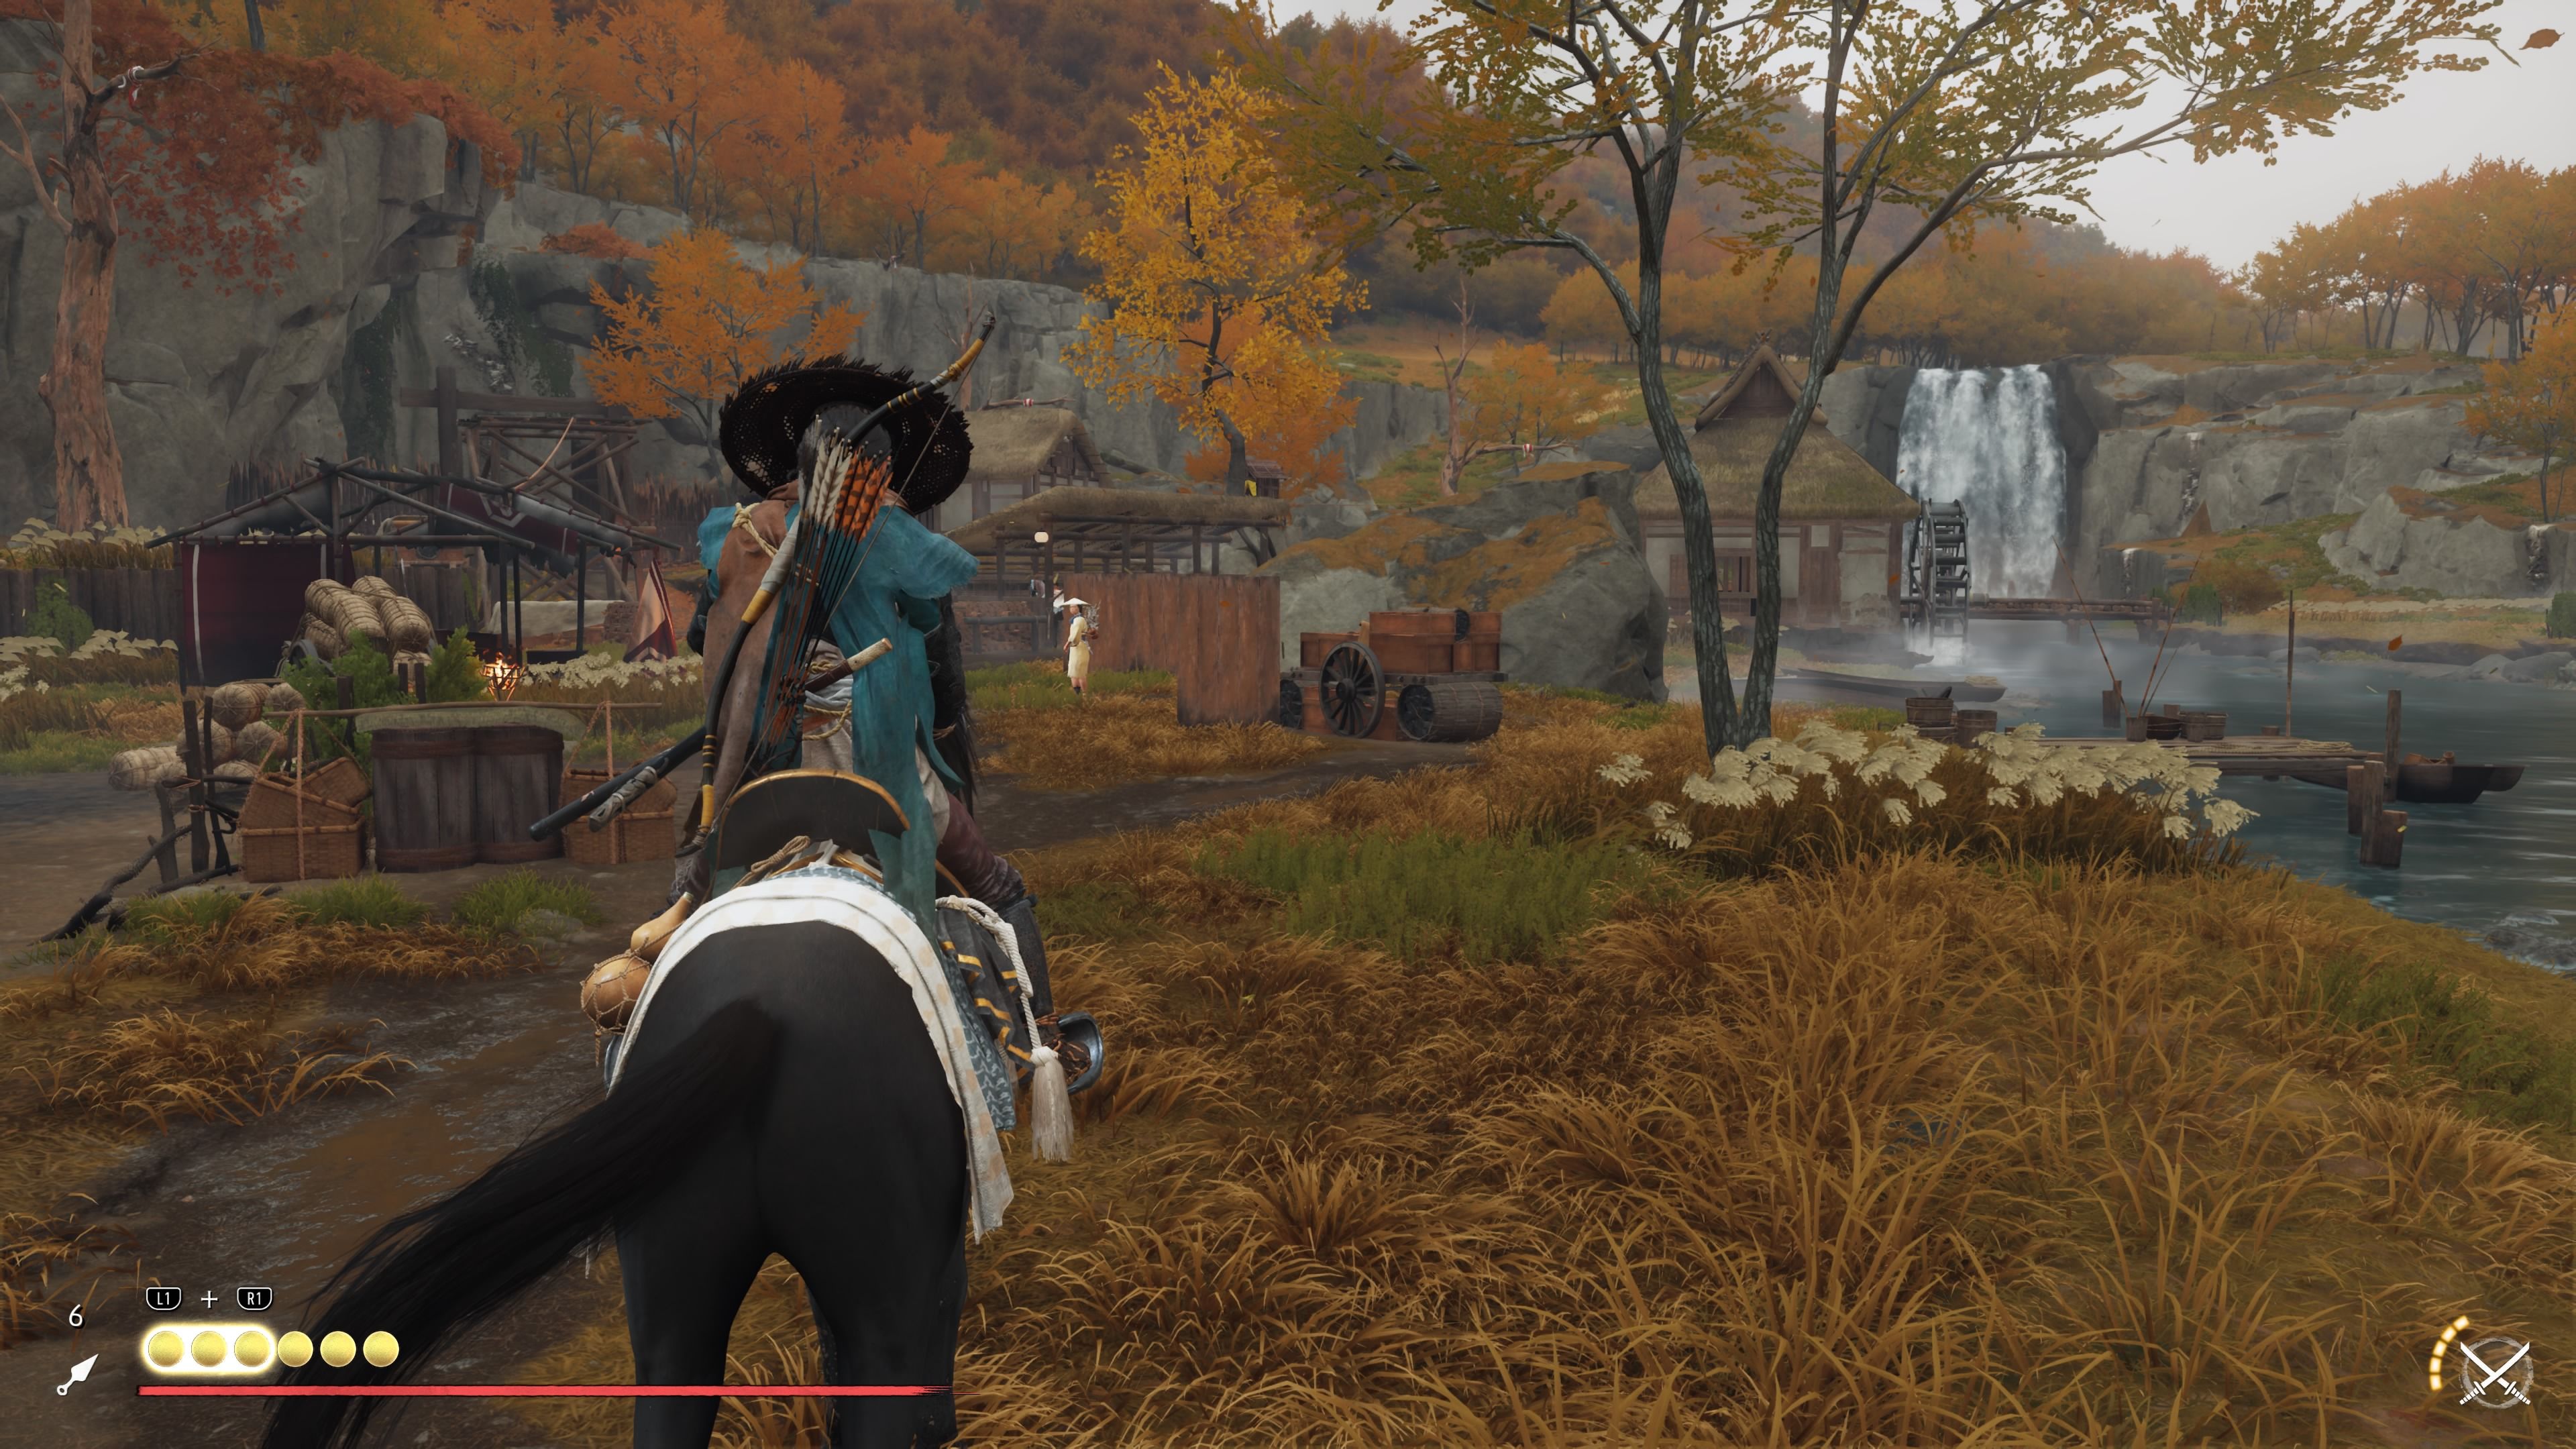
Inagawa the Gambler
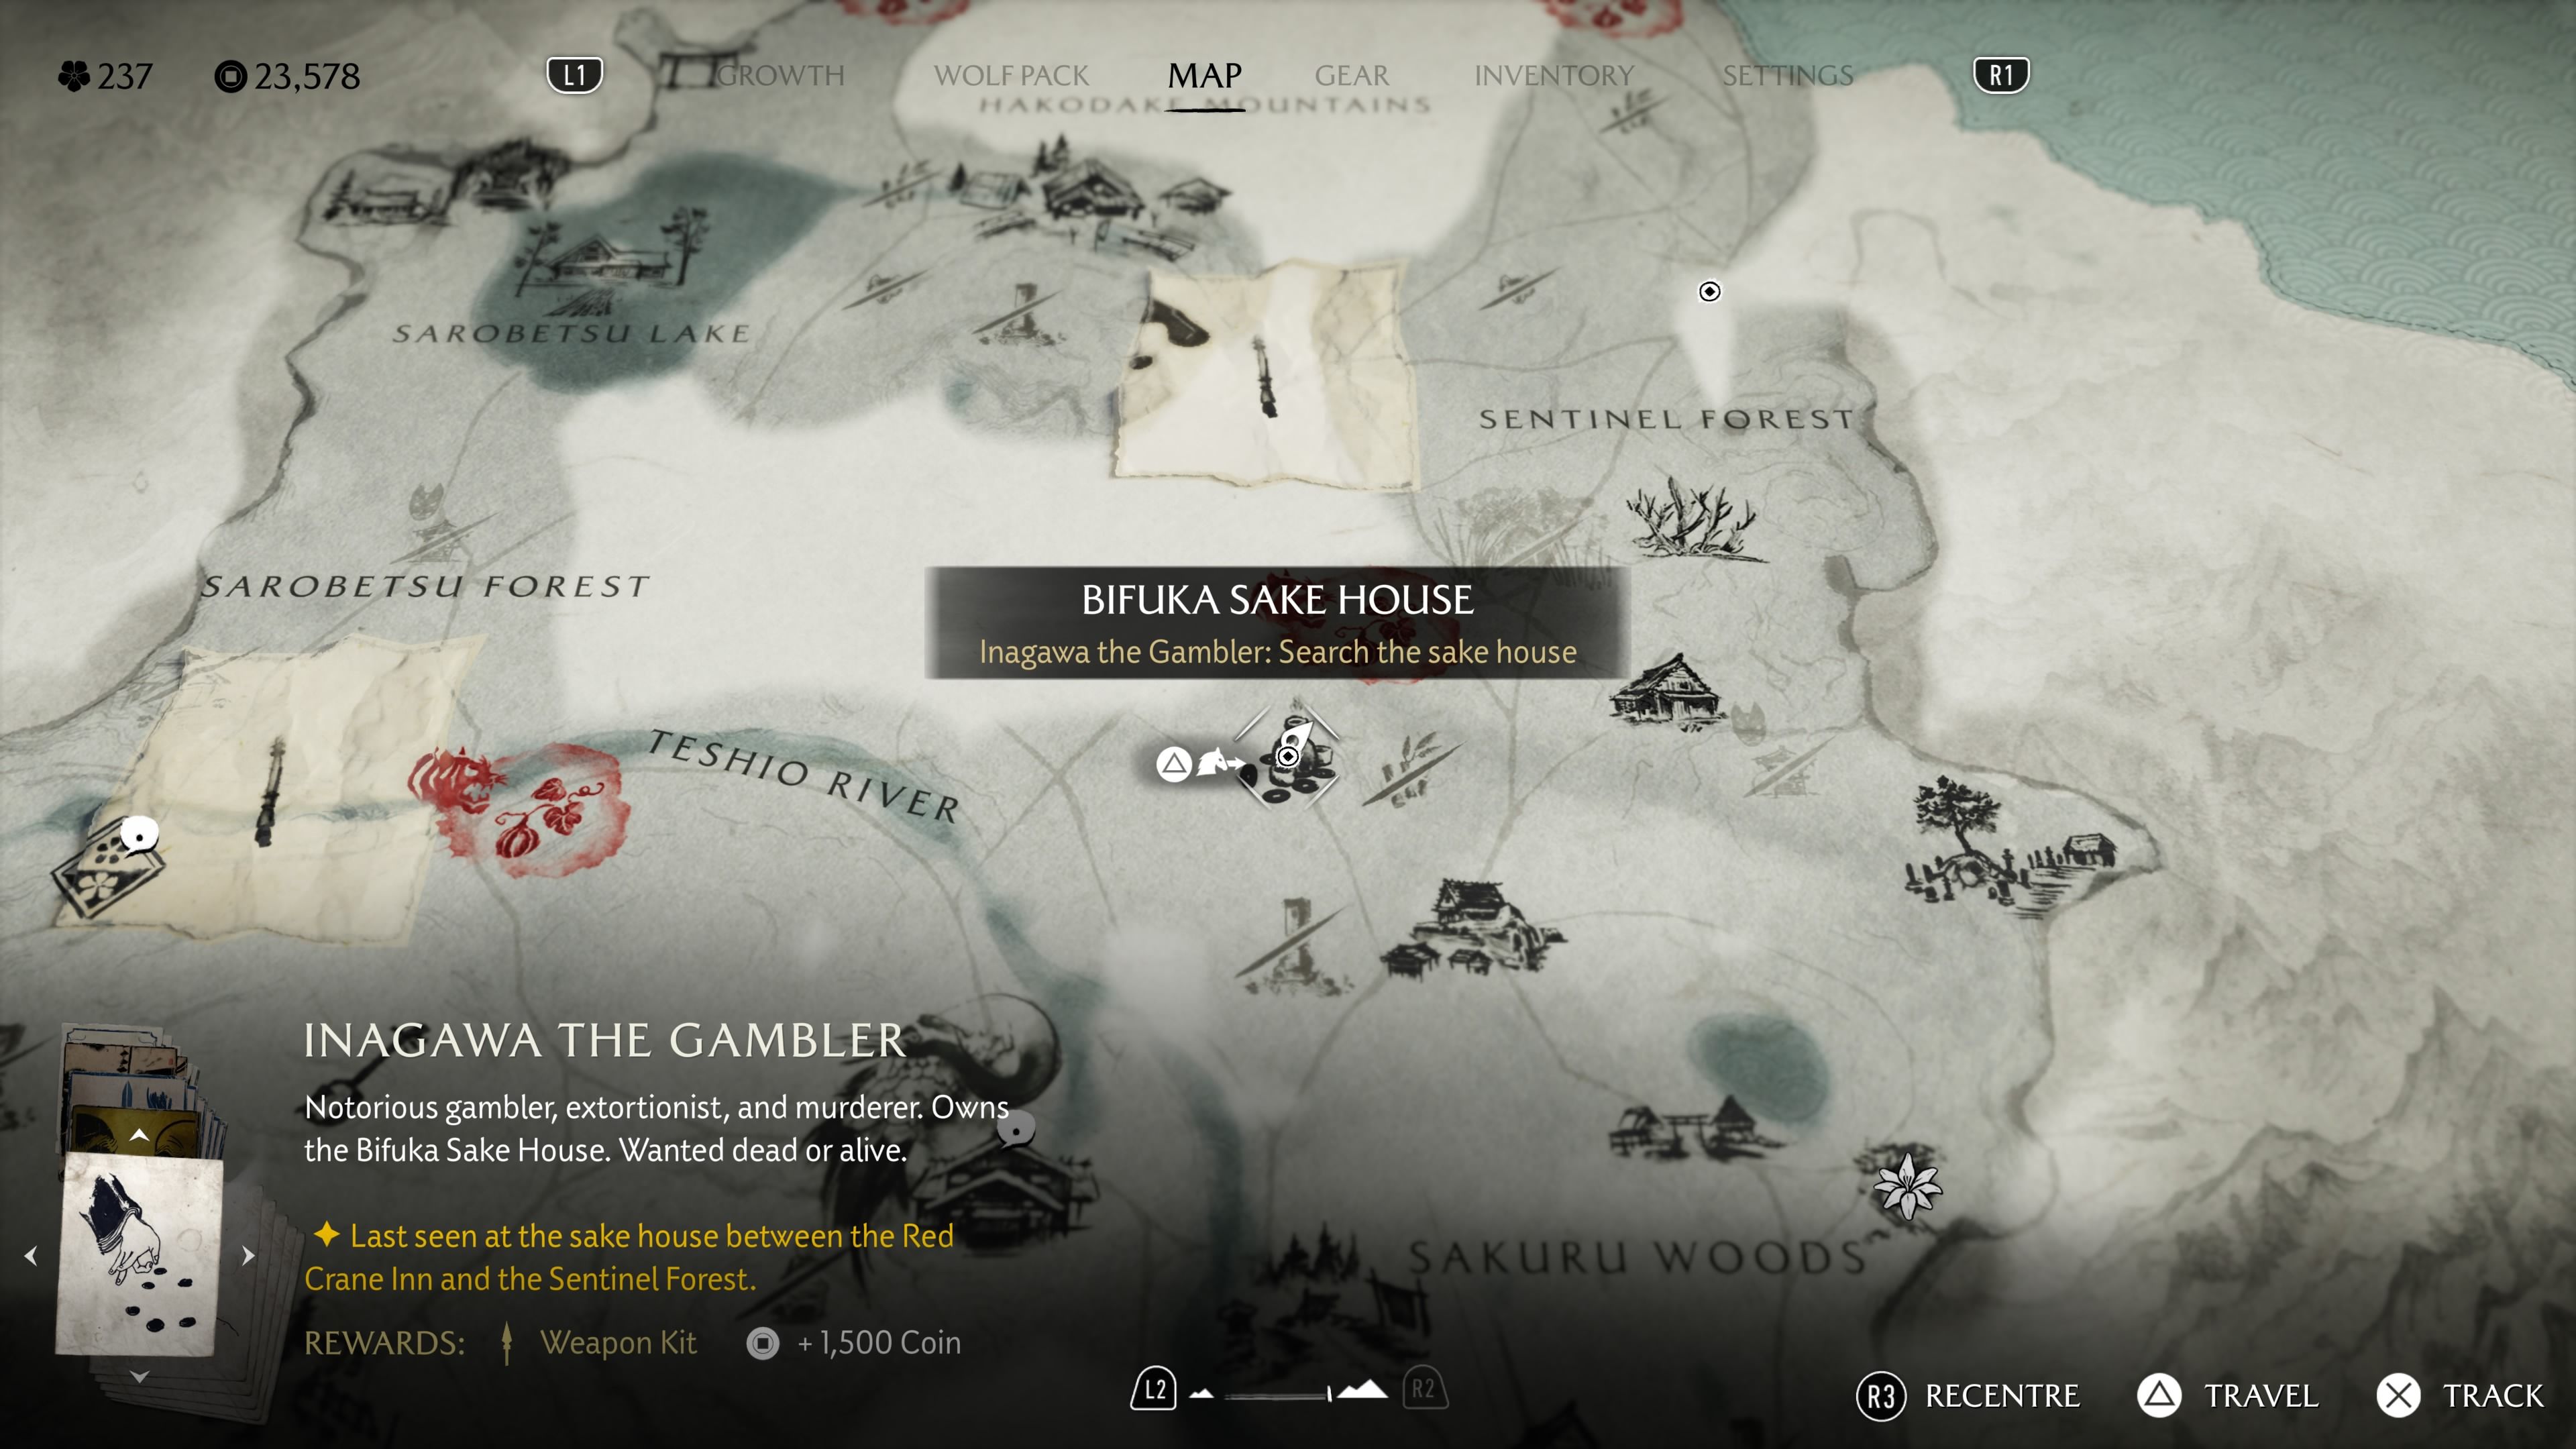
- Location: Bifuka Sake House, Teshio Ridge
- Reward: 1,500 Coins, The Gambler’s Spear Weapon Kit
Once you’ve finished dealing with the previous bounties around Teshio Ridge, return to the Red Crane Inn and talk to Kojiro at the bounty board. He’ll give you a new bounty: Inagawa the Gambler. You can find Inagawa at the Bifuka Sake House, which is north of the Sakuru Woods and east of the Teshio River. He’s in the back right corner and likes to play Zeni Hajiki. If you beat him (he cheats, so it shouldn’t be too hard!), leave the Sake House and a Settler will come talk to you to move the quest forward.
Nameless Killer
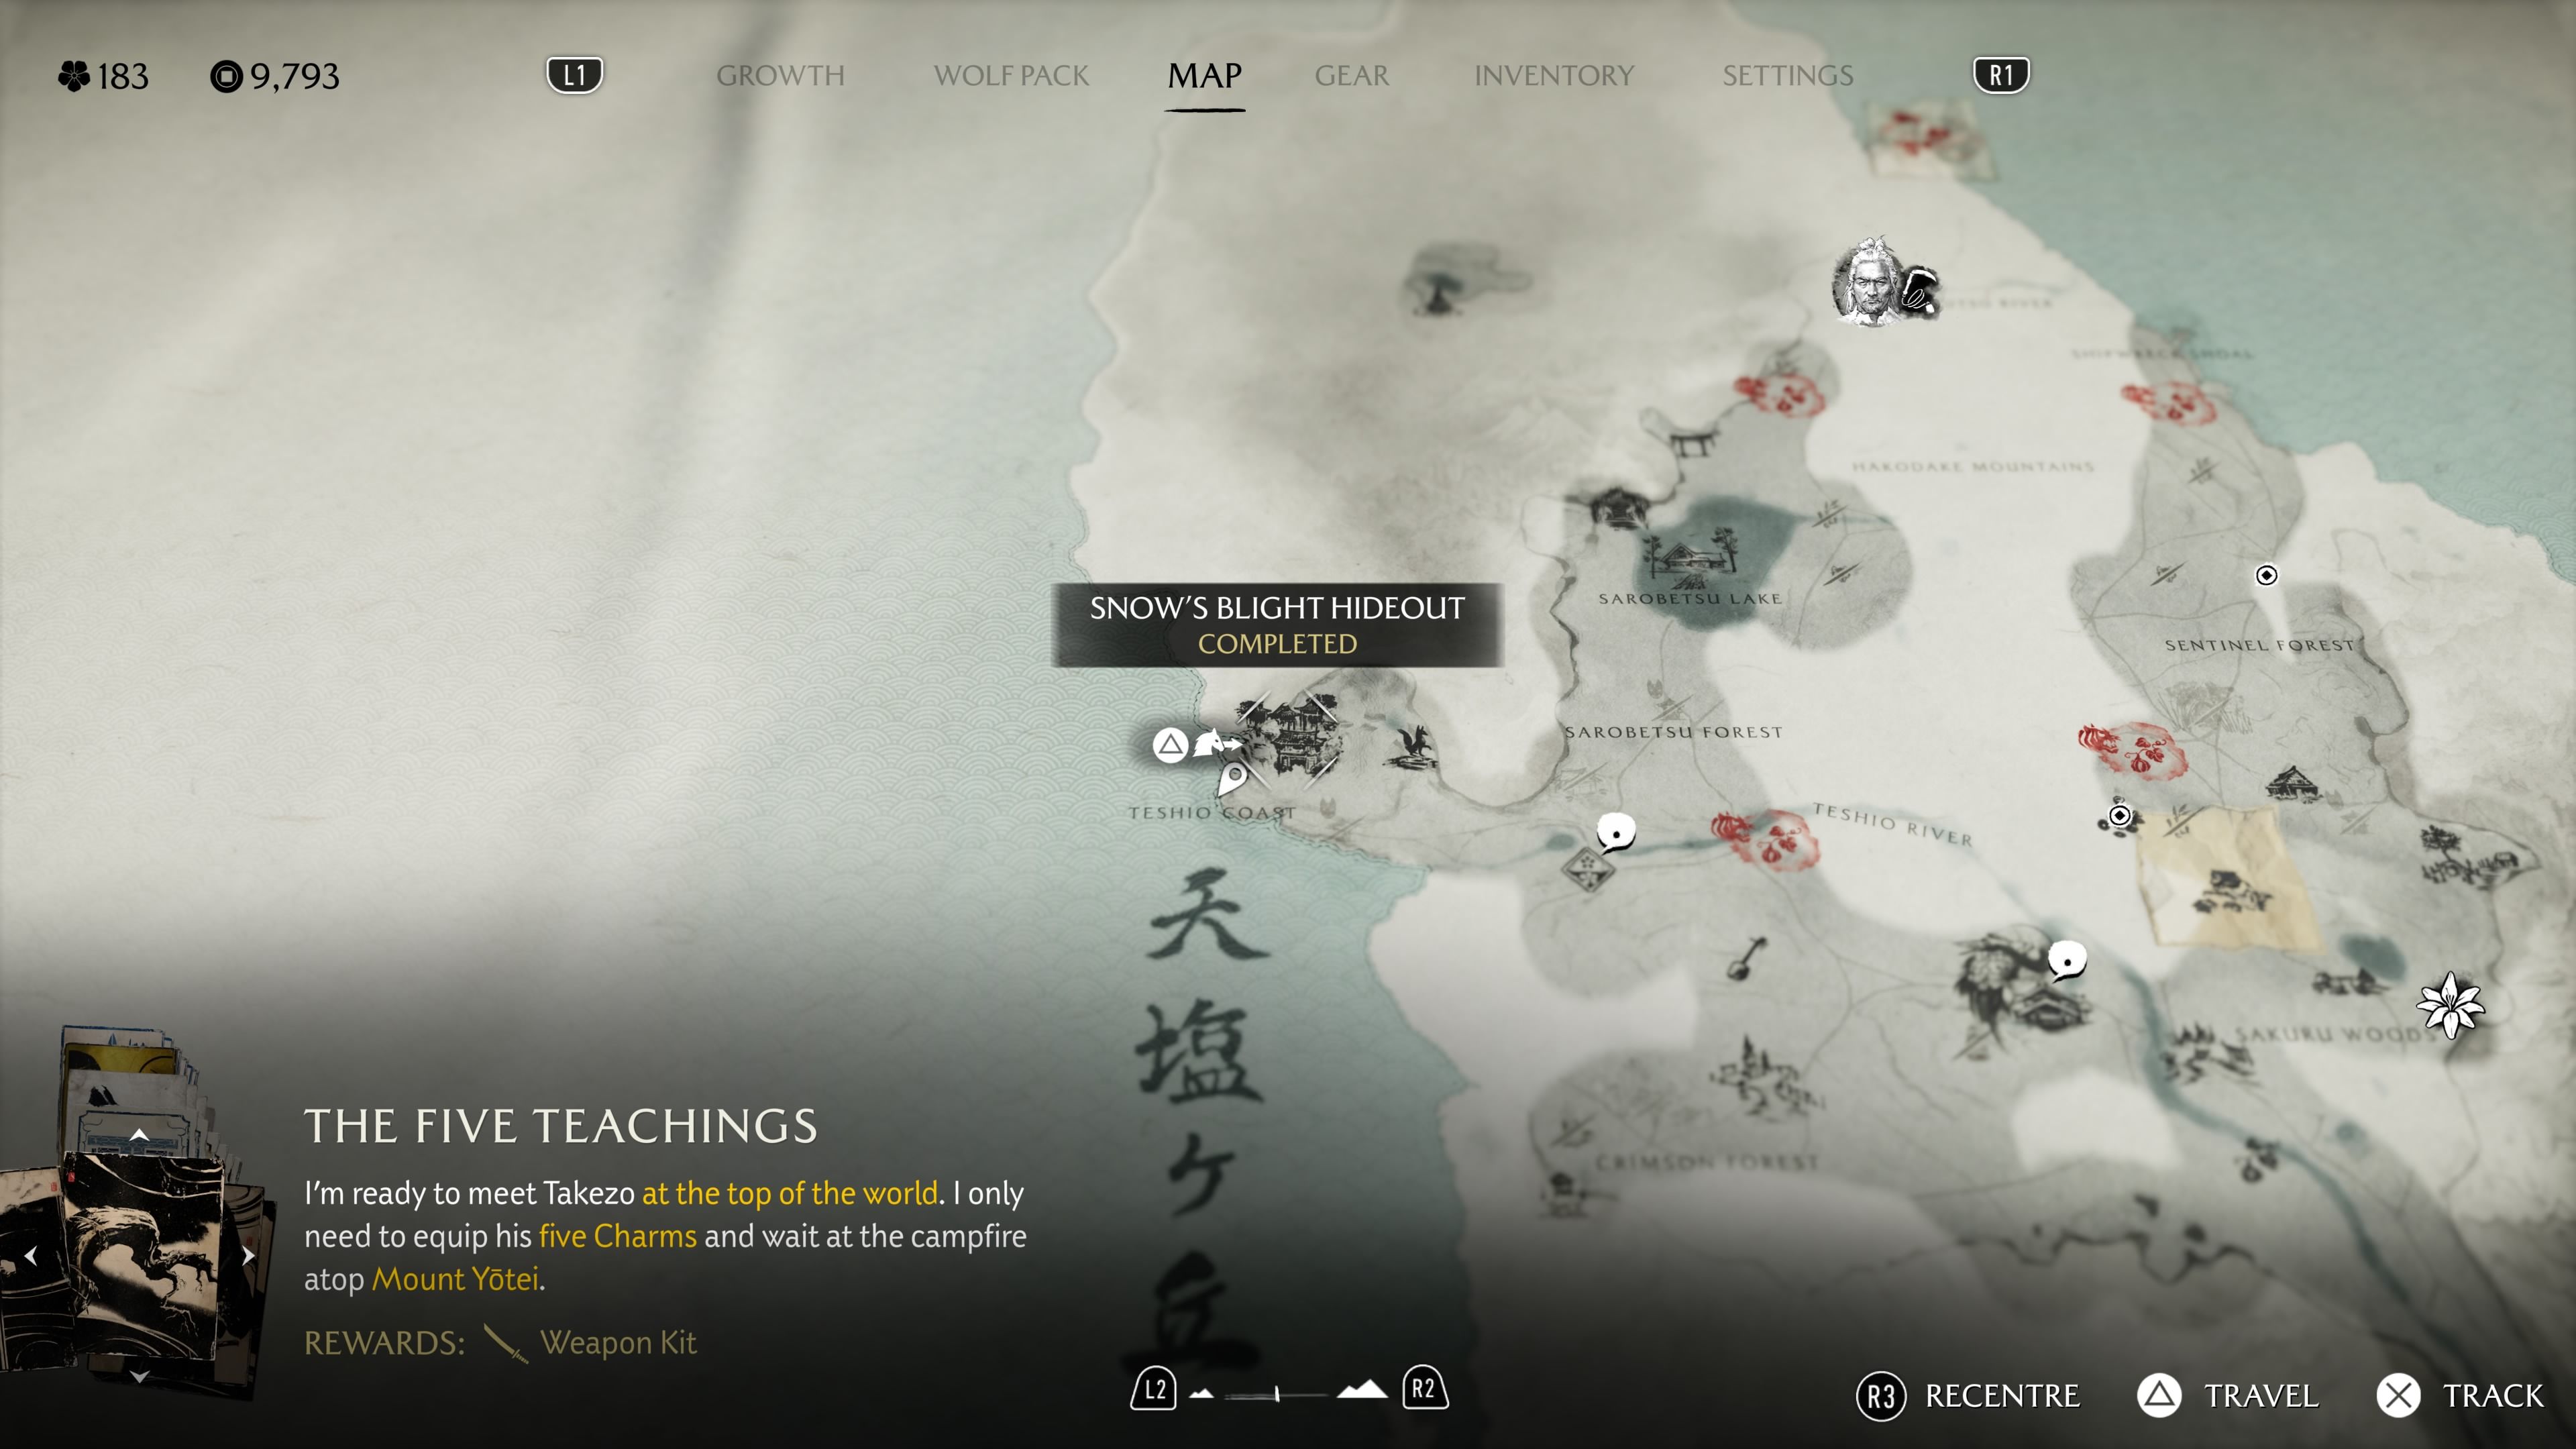
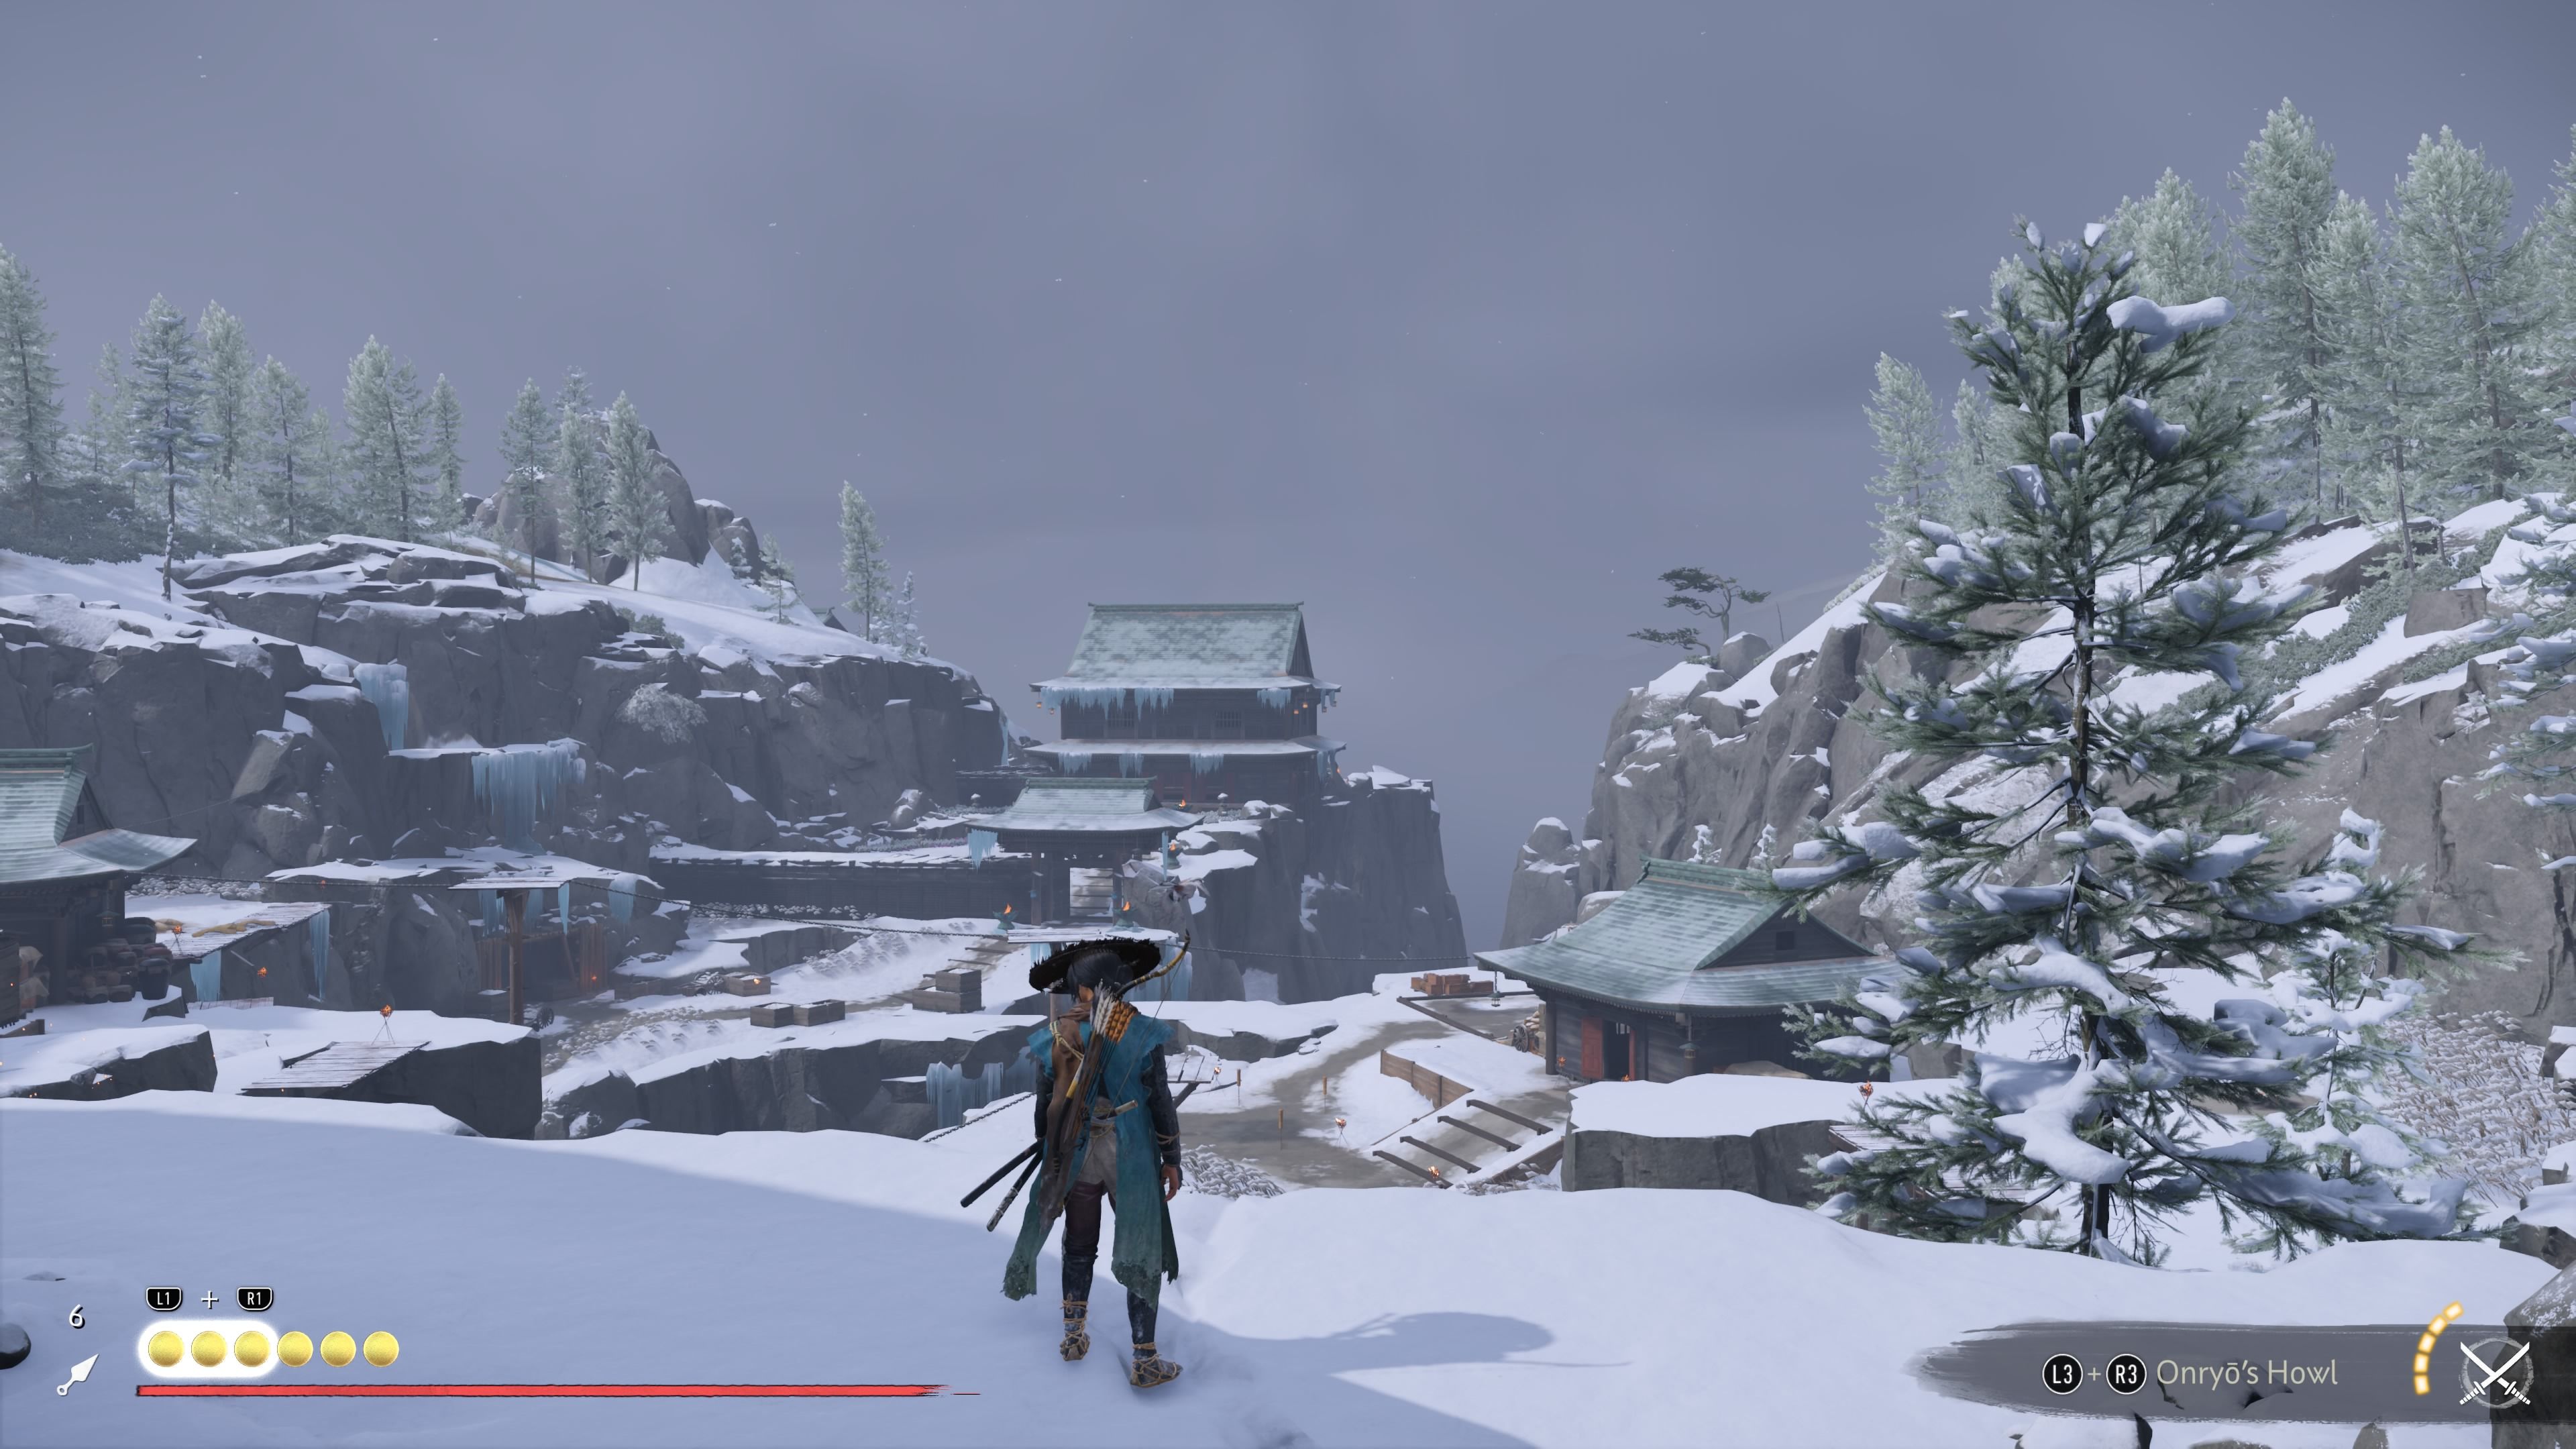
- Location: Snow’s Blight Hideout, Teshio Coast, Tokachi Range
- Reward: 2,000 Coins, Nameless Death Sword Kit
Check the Red Crane Inn for new bounty missions! The first one sends you to the Teshio Coast, northwest of town. You’ll find a cave containing the Snow’s Blight Shrine. Inside, you’ll need to solve a puzzle to unlock the path to the Snow’s Blight Hideout – a Yotei Six Camp where you’ll face the Nameless Killer, the final opponent for this bounty. Here’s a helpful guide to solving that puzzle:
- Pick up the torch and look left. Light the lanterns that already have a lit lantern on the cave wall above them. From left to right, that’s the first lantern and the third lantern.
- Look right and rotate the fox statues so that they copy the direction of the fox statues in the rock wall. From left to right, the order is: facing left, facing forward, facing right, facing backward.
Black Night Kubo
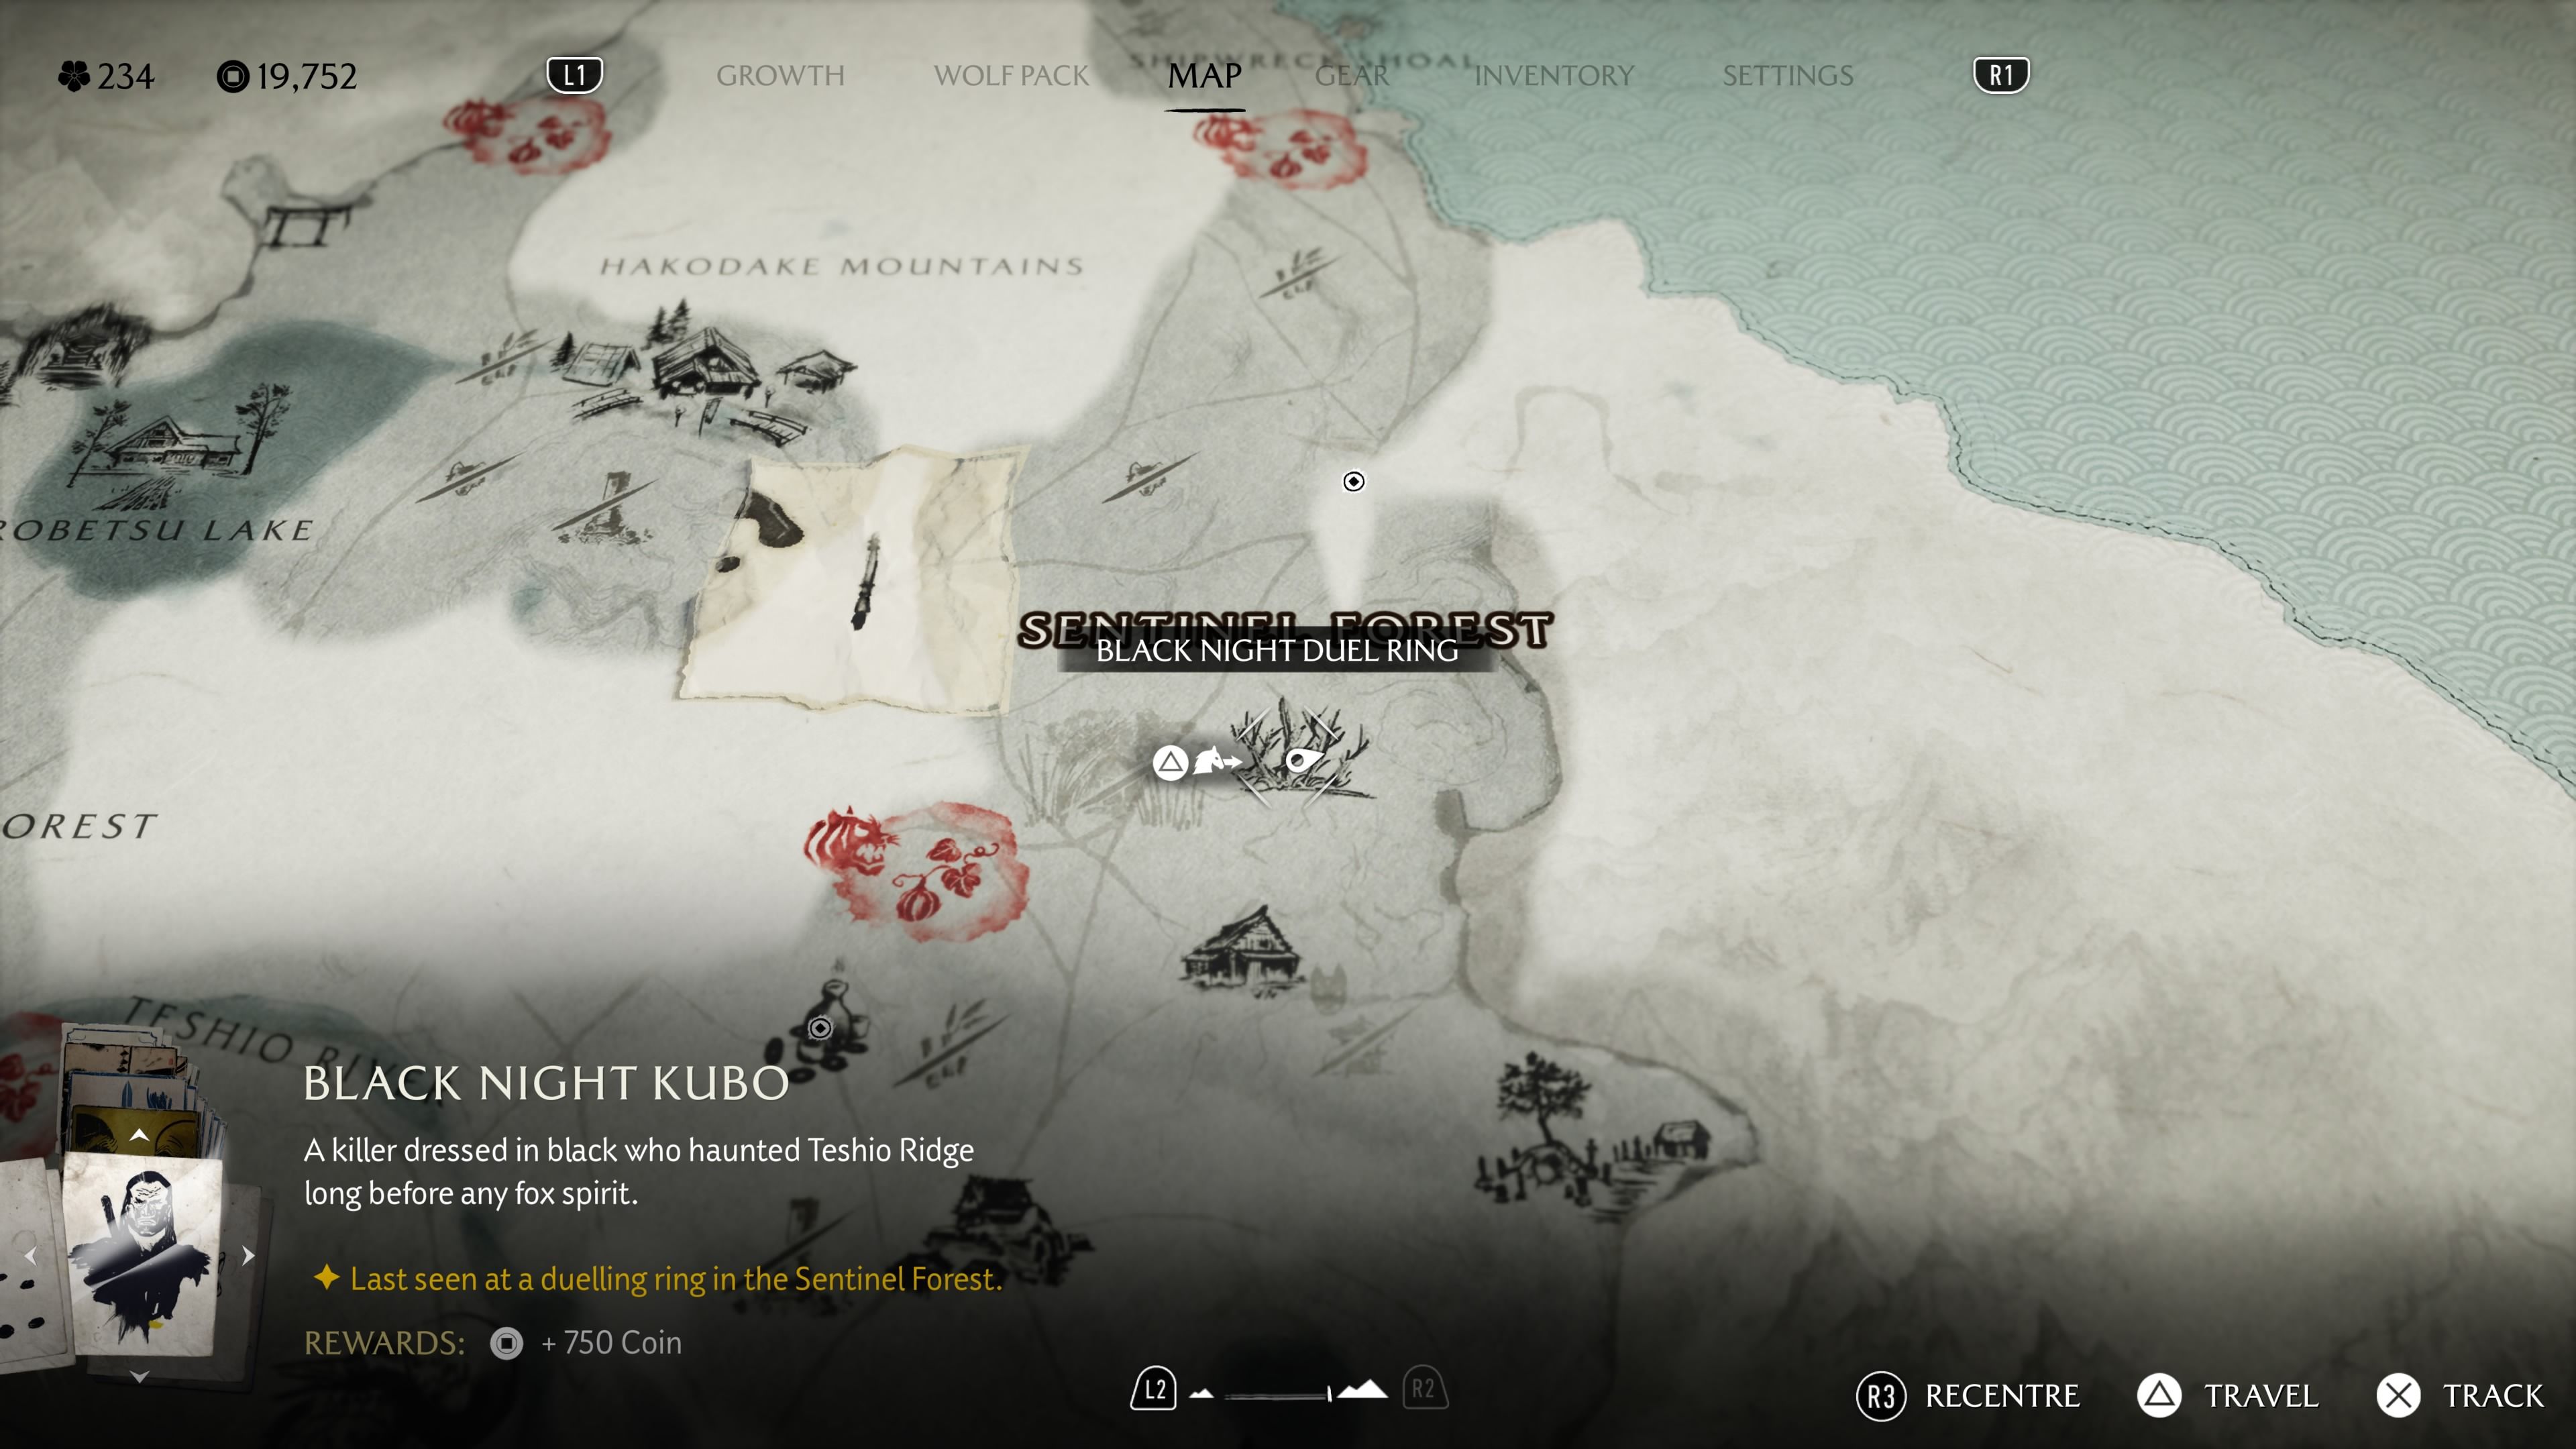
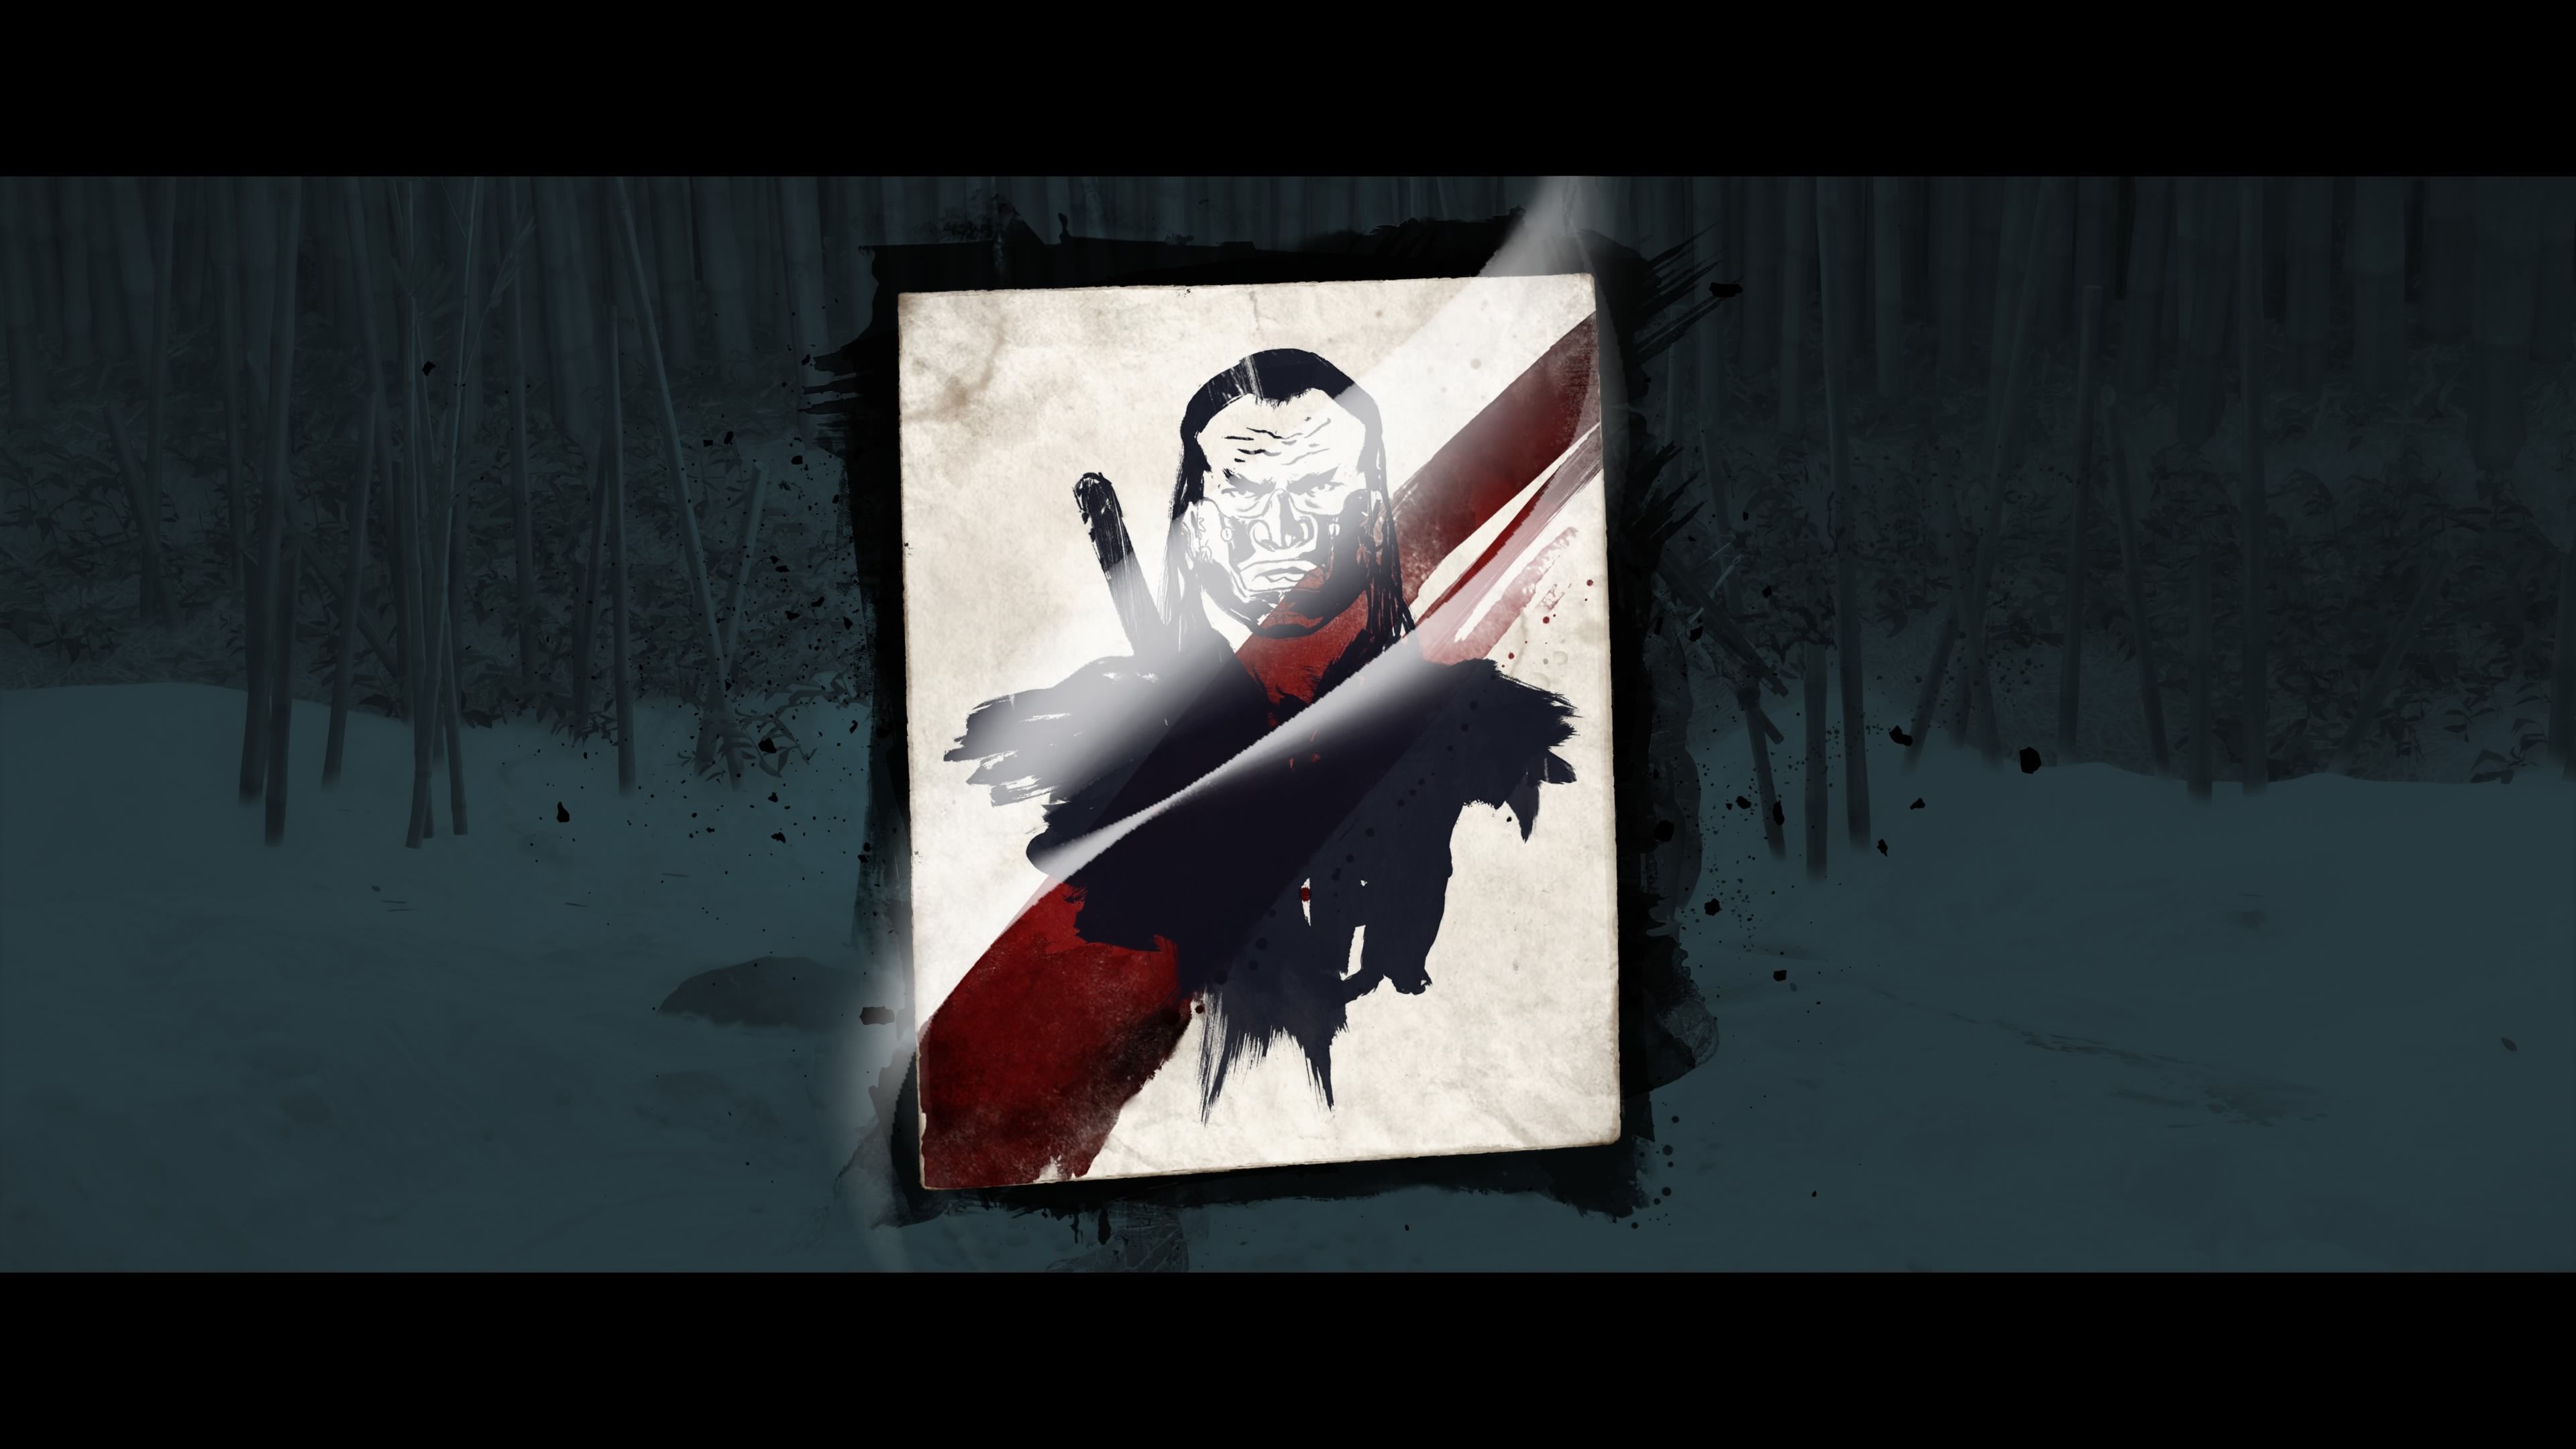
- Location: Black Night Duel Ring, Teshio Ridge
- Reward: 750 Coins, Black Night Kubo’s Mask
Once players accept the Black Night Kubo bounty at the Red Crane Inn, they’ll need to track him down. He’s located in the Sentinel Forest, specifically at the Black Night Duel Ring – look for it on the map between the letters “L” and “F” in “Sentinel Forest”. To make Kubo appear, you must be wearing black armor (the Nine Tail Armor) and interact with the woodblocks nearby. You get this armor as part of the main story quest, The Kitsune.
All Oshima Coast Bounties in Ghost of Yotei
The poster seeking Matchlock Murata is part of a story about a Sensei, not a real wanted notice.
Wayward Oni Raiders
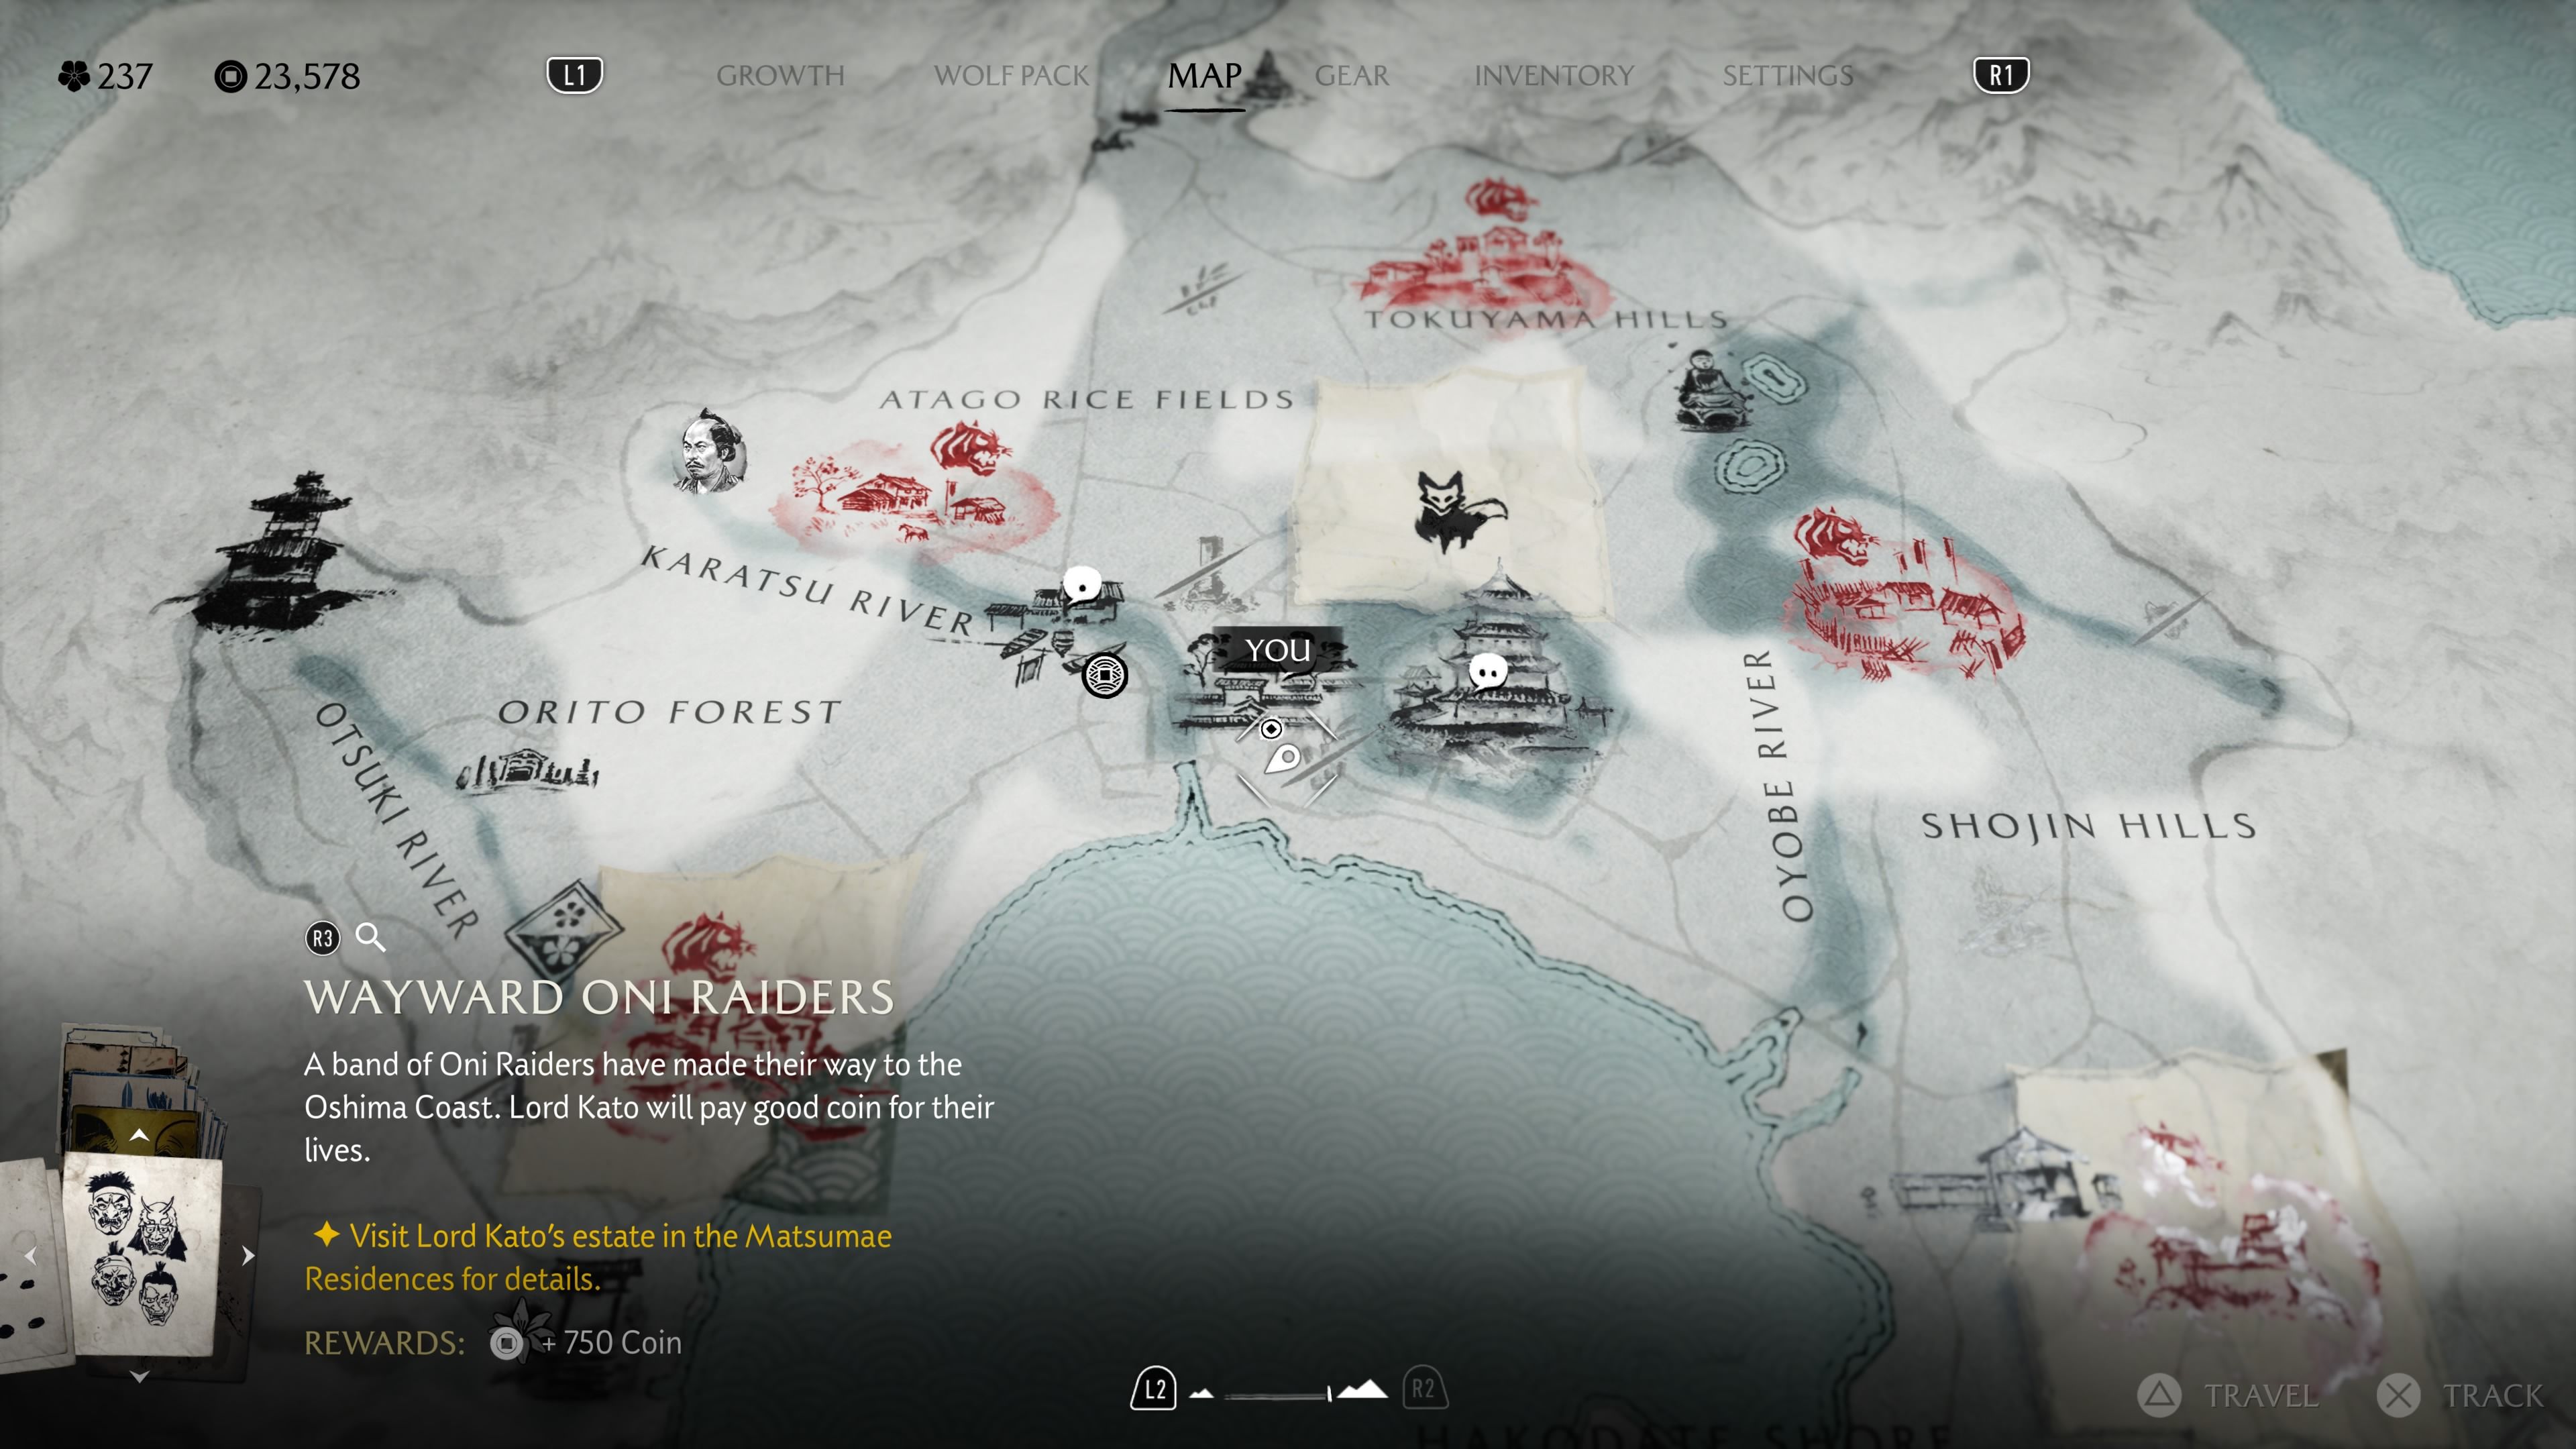
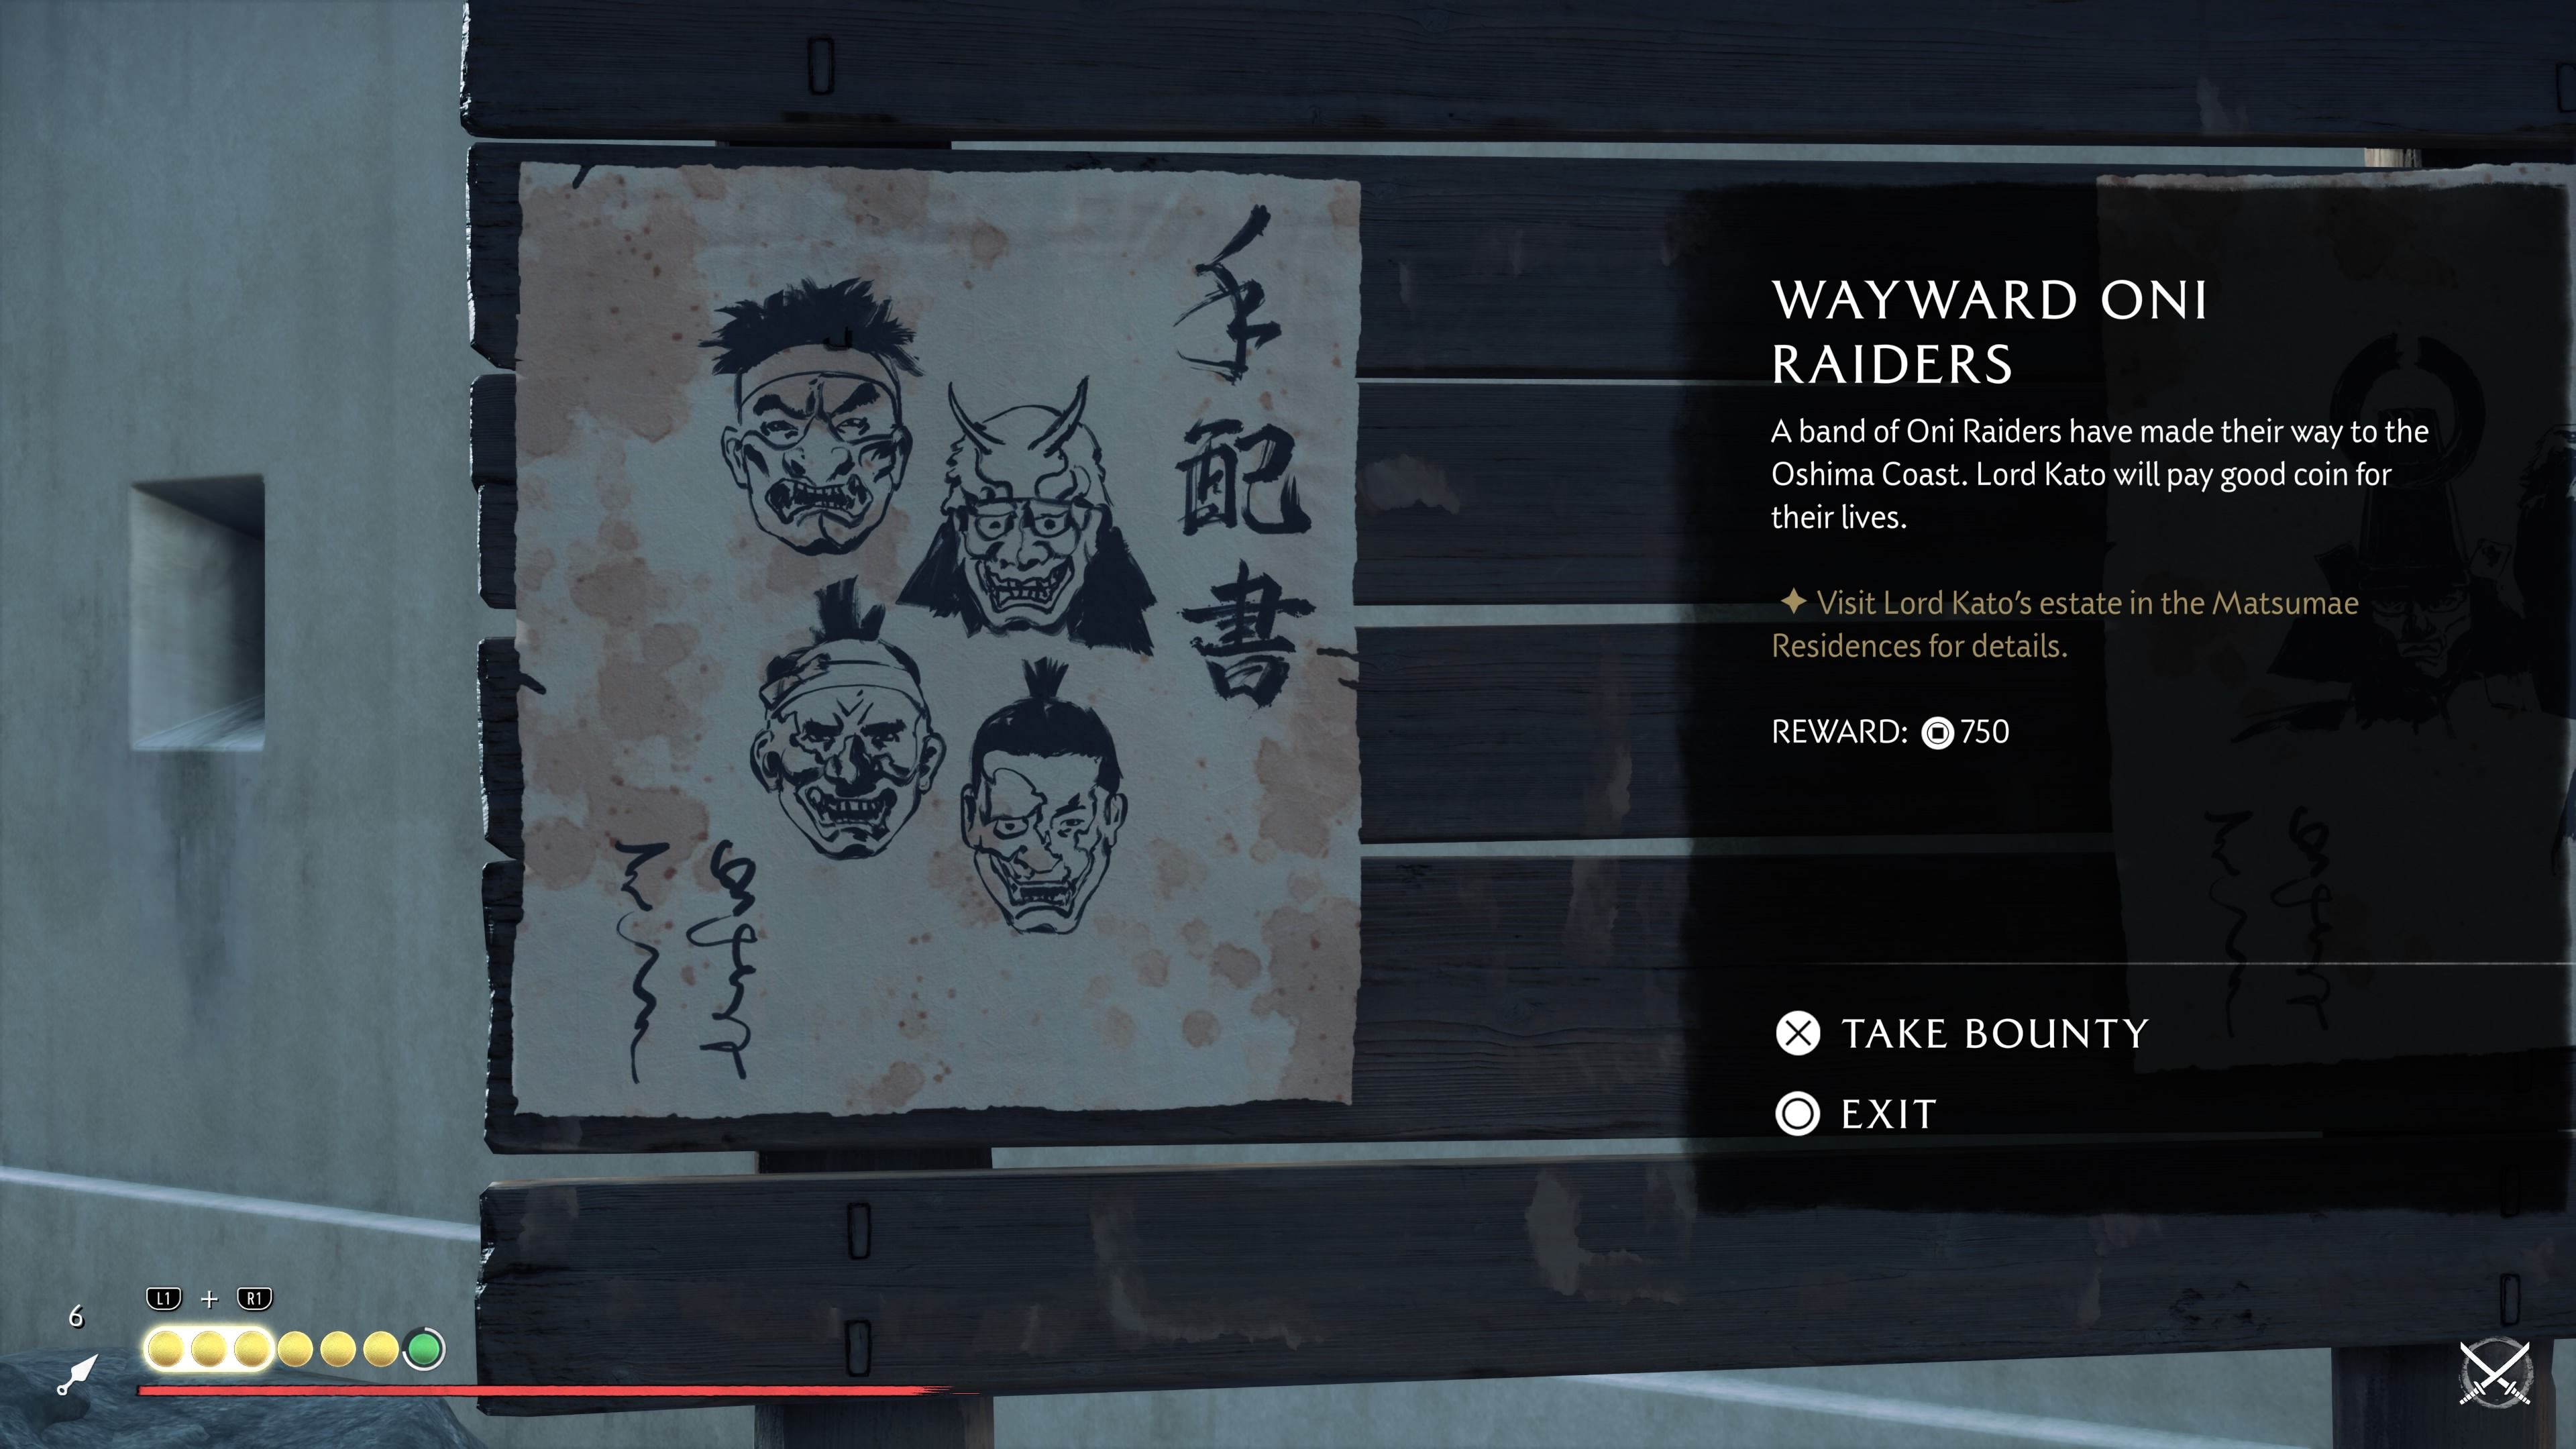
- Location: Lord Kato’s Estate, Matsumae Residences, Oshima Coast
- Reward: 750 Coins, Shiro’s Straw Hat
To unlock the Wayward Oni Raiders bounty, you first need to finish the Shiro the Swindler bounty. You get Shiro from Kojiro the Bounty Hunter in the Ishikari Plain after completing all the bounties in that area. Once that’s done, the Wayward Oni Raiders bounty becomes available on the bounty board at Matsumae Castle. You can start it by talking to a Settler in the southern part of the Matsumae Residences, close to Lord Kato’s house. Be aware that this is a long quest, and while it’s listed as a bounty, it’s more of an extended questline.
Tadaaki the Terrible
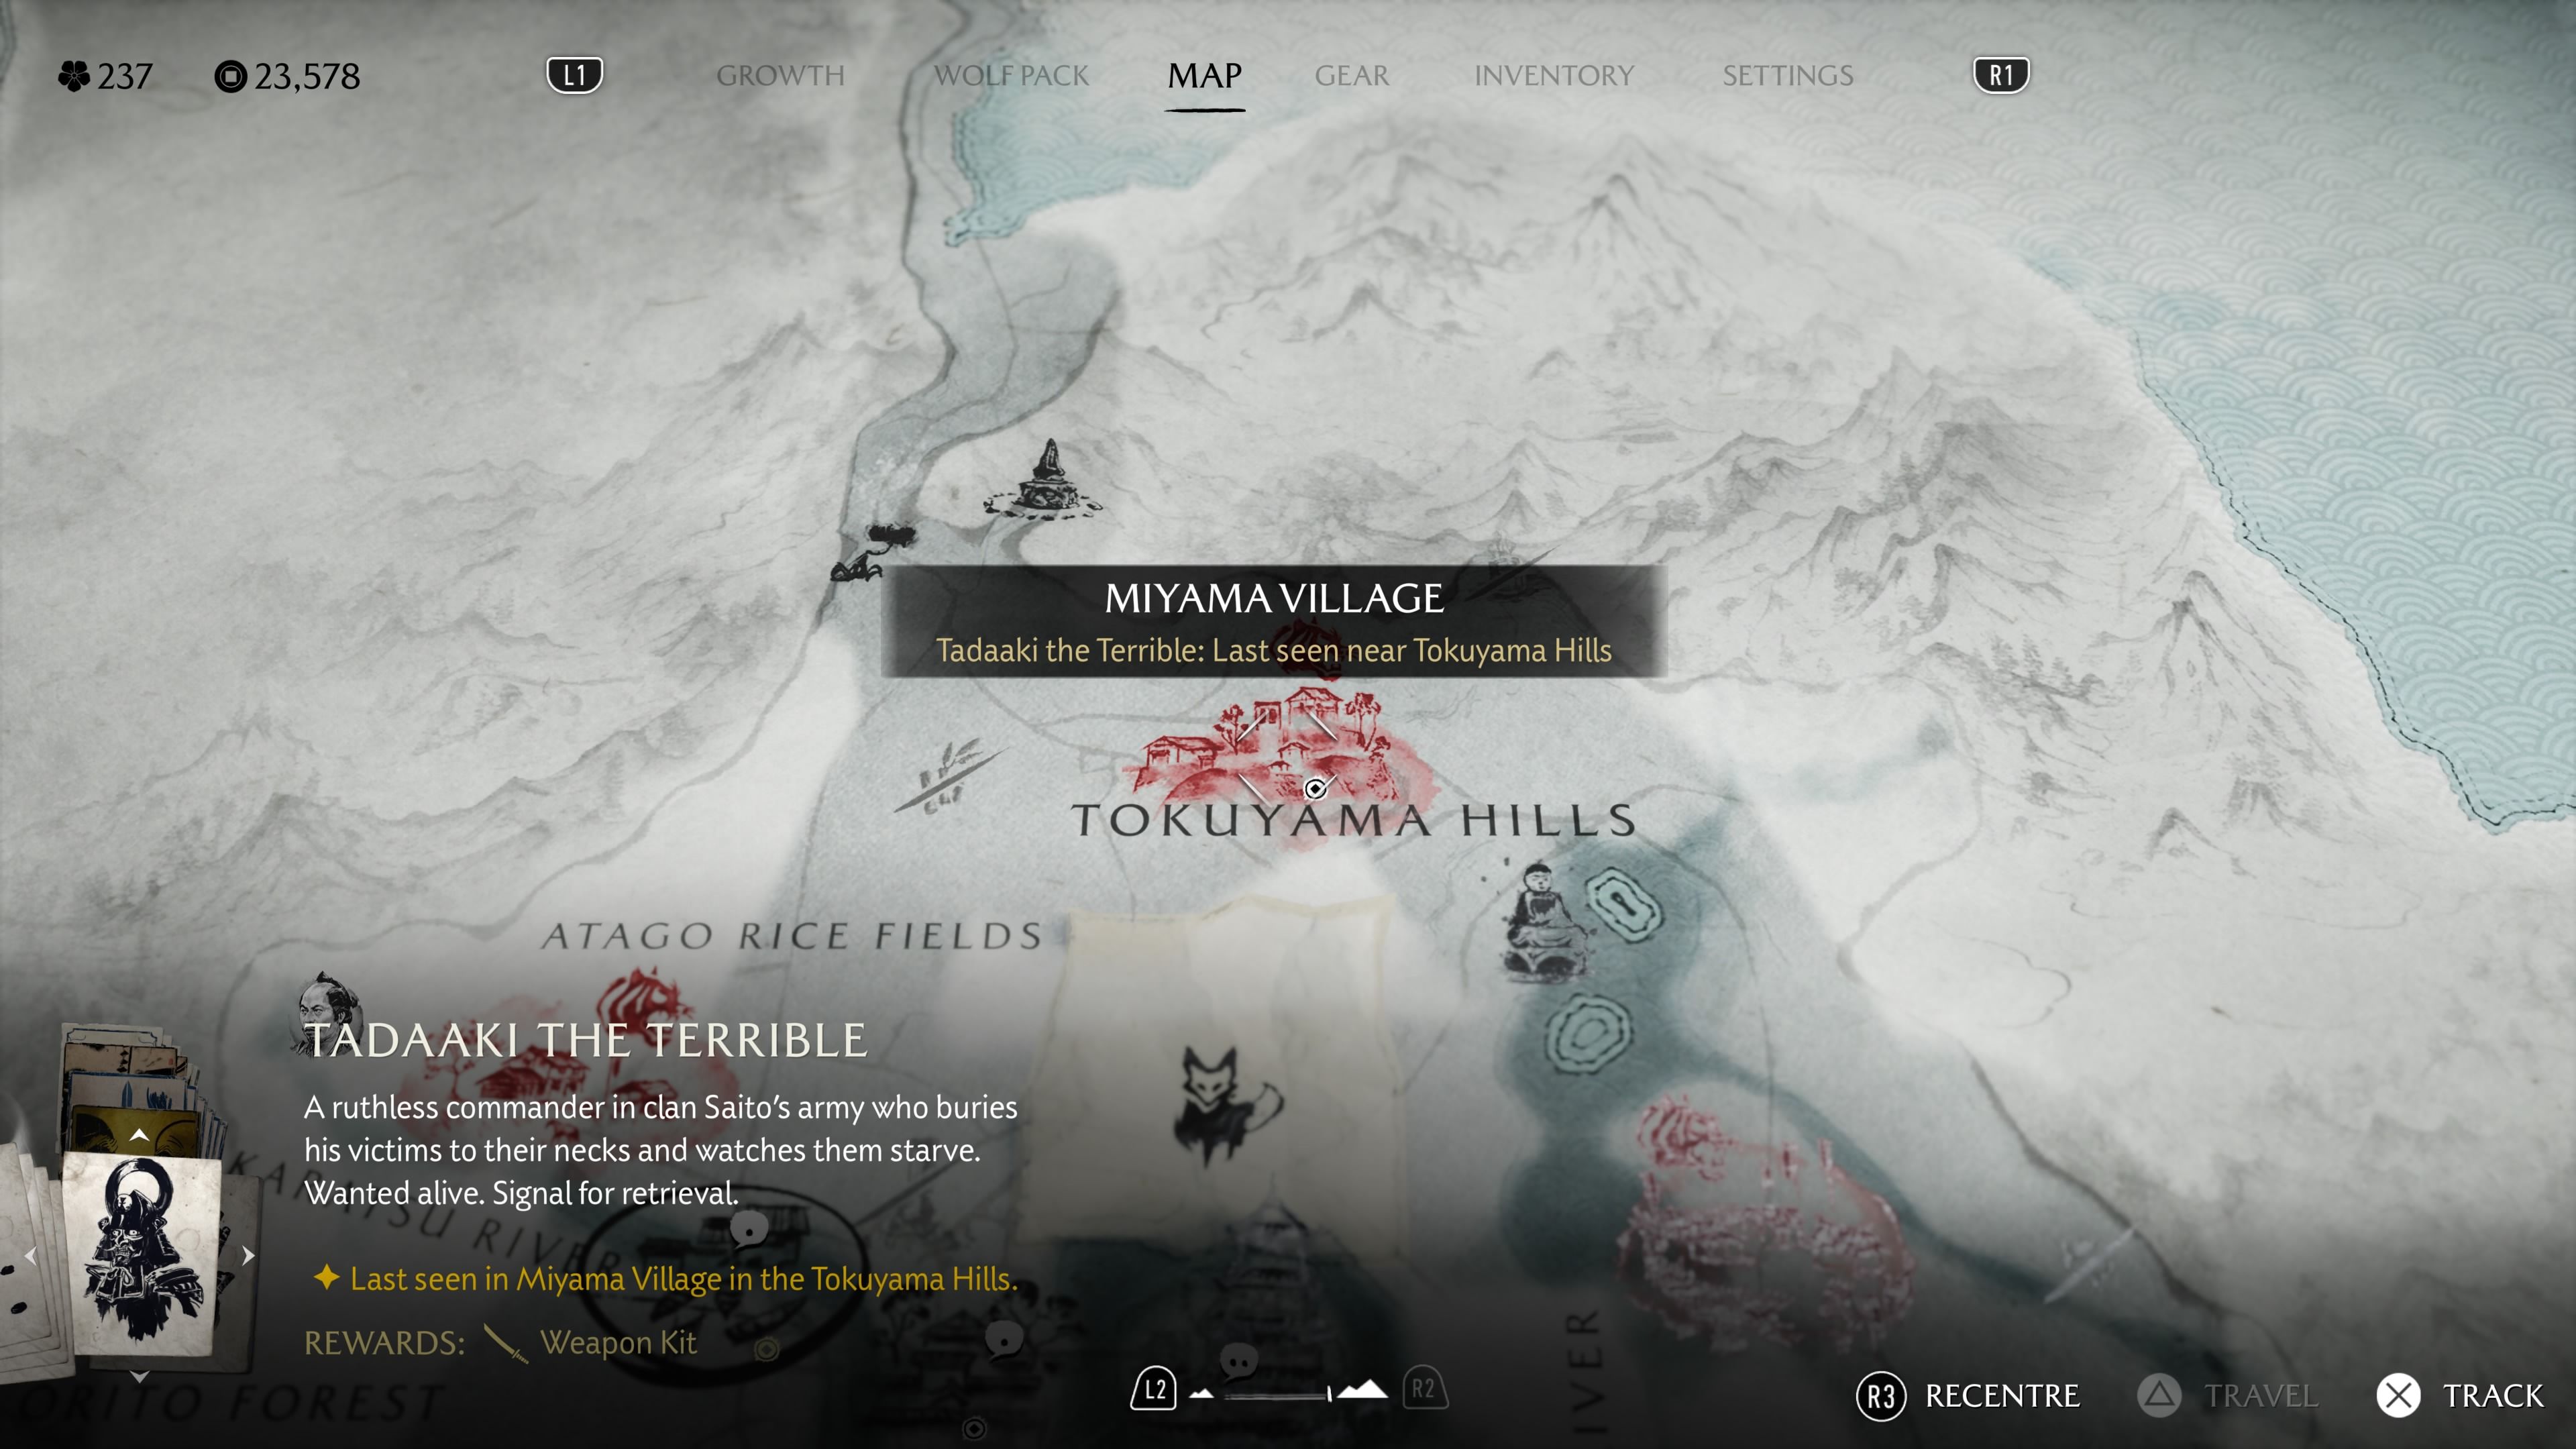
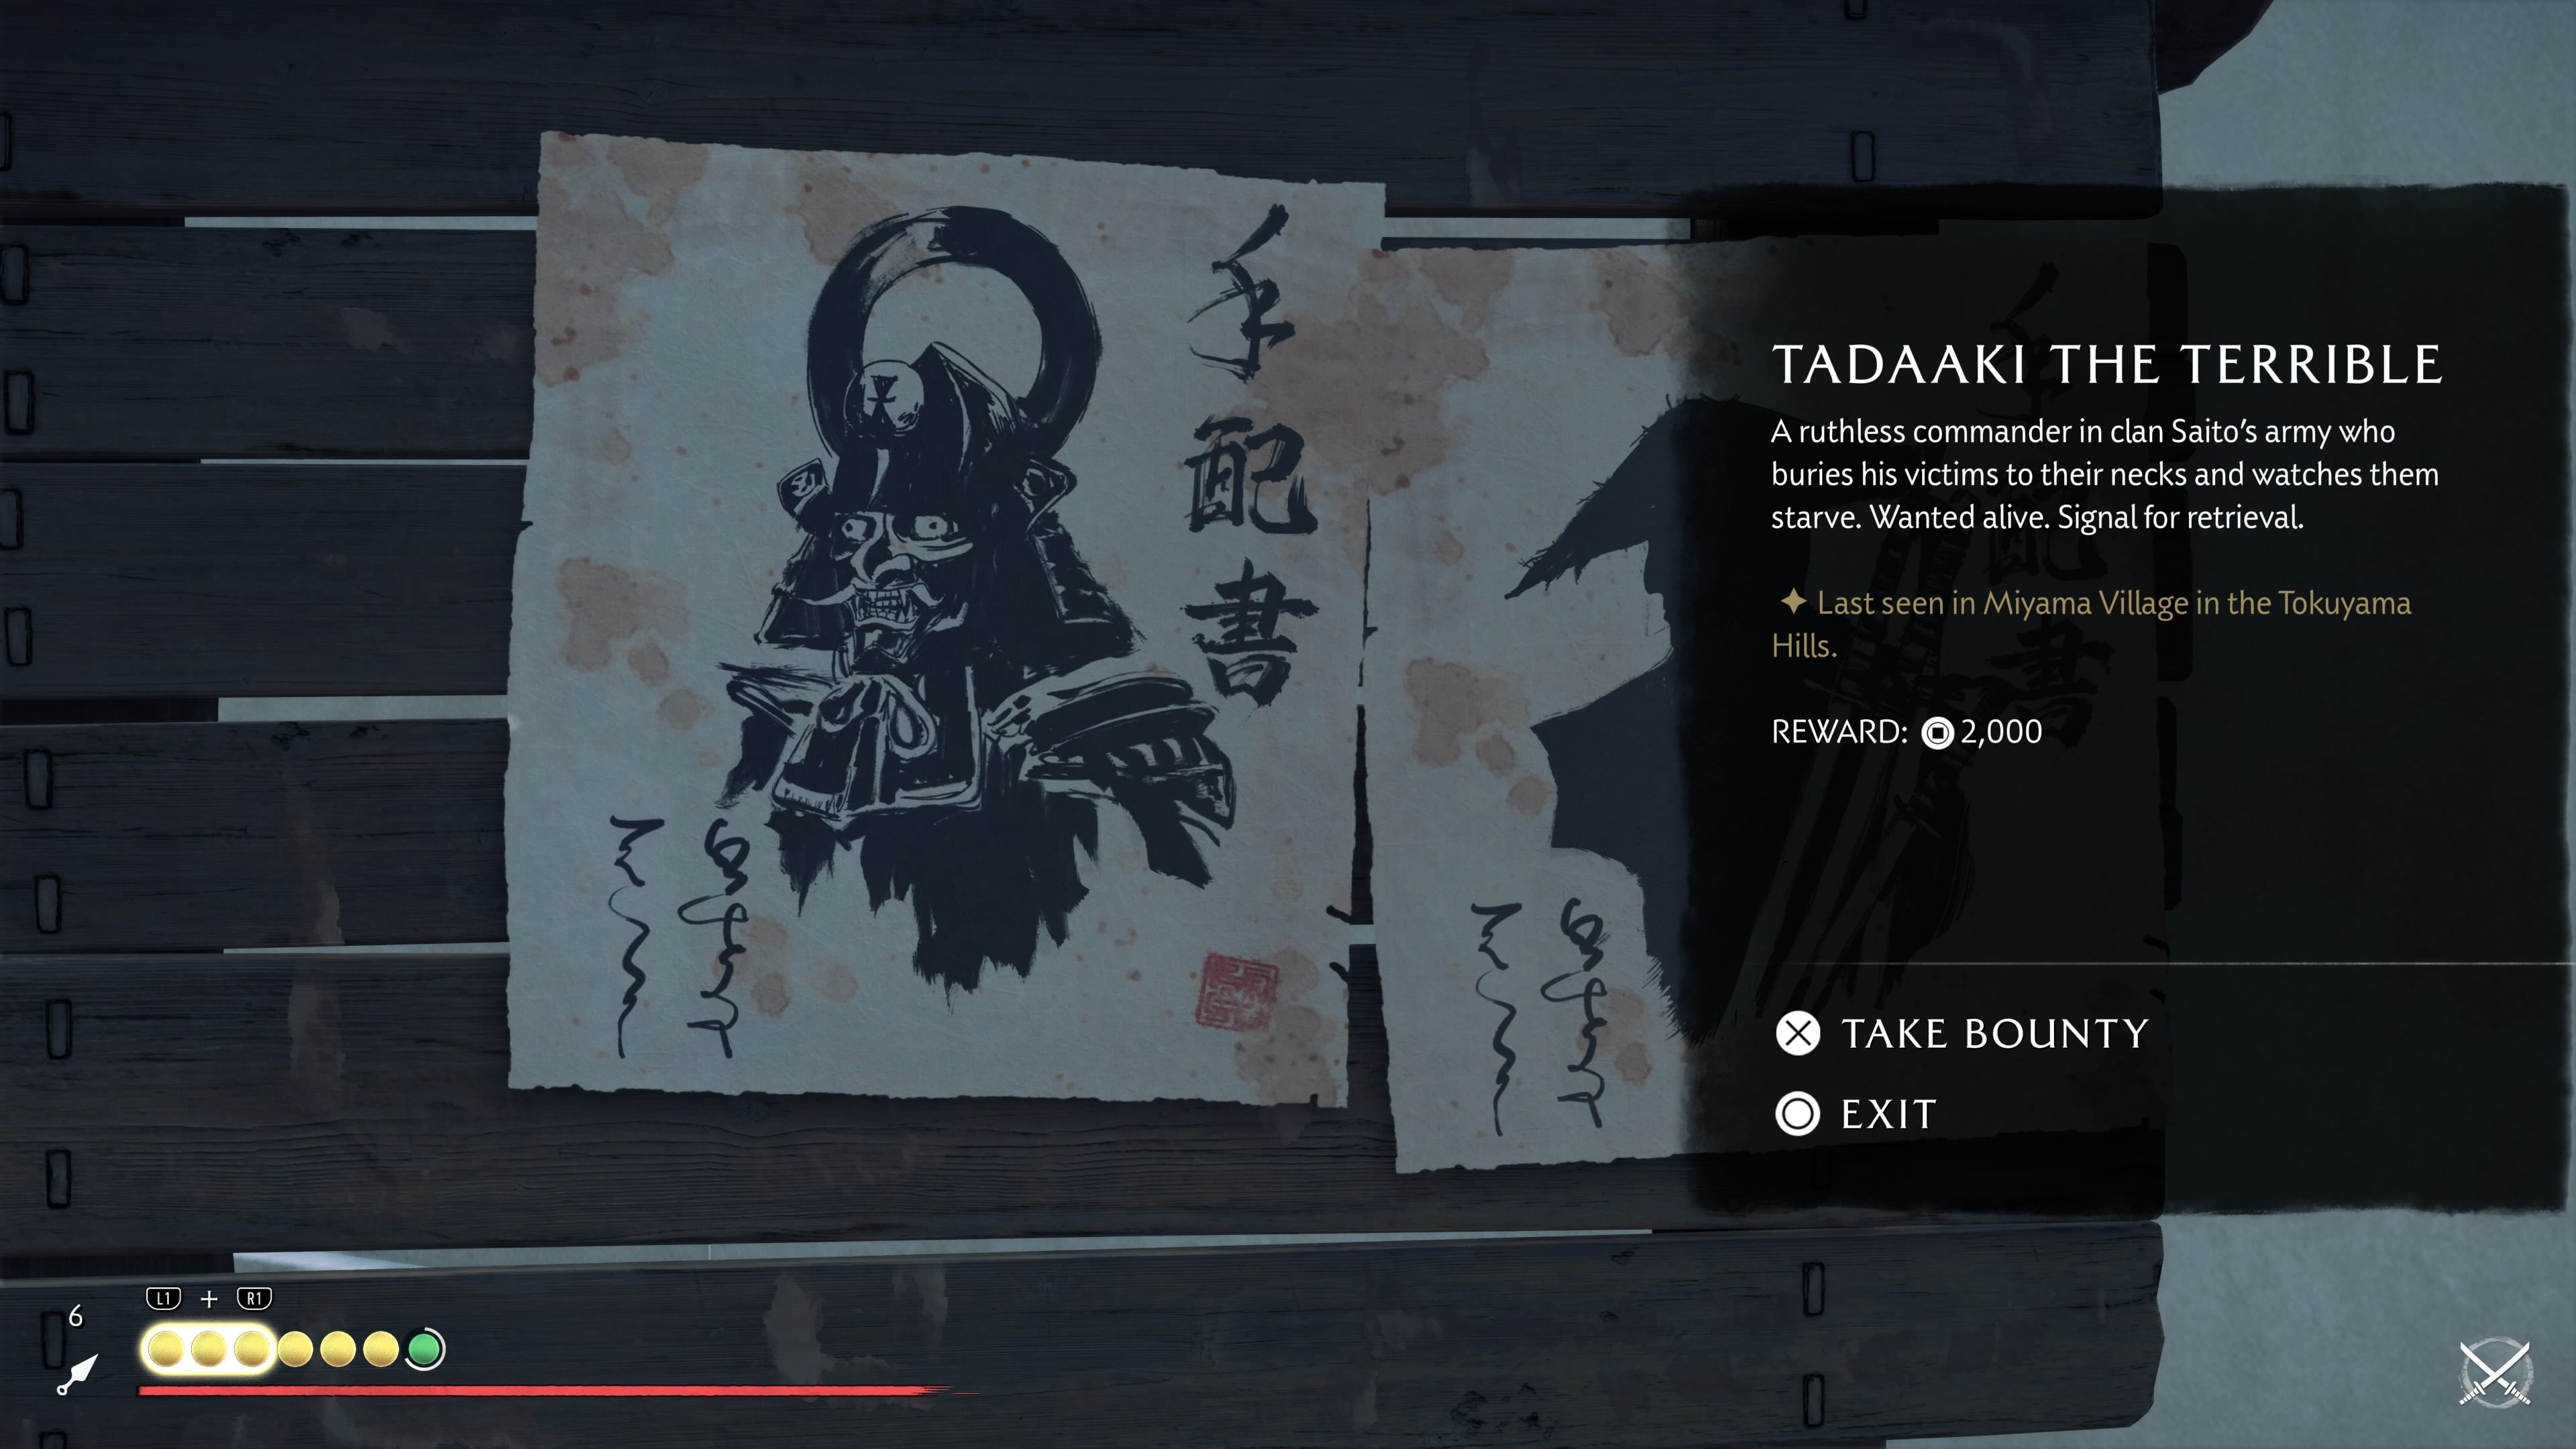
- Location: Miyama Village, Tokuama Hills, Oshima Coast
- Reward: 2,000 Coins, Hunter in Twilight Weapon Kit
You can find Tadaaki the Terrible in Miyama Village, which is in the Tokuama Hills. This location is one of the Yotei Six Camps. Defeat all the enemies there to unlock a battle with the bounty target, Tadaaki.
Shinpachi the Armor Thief
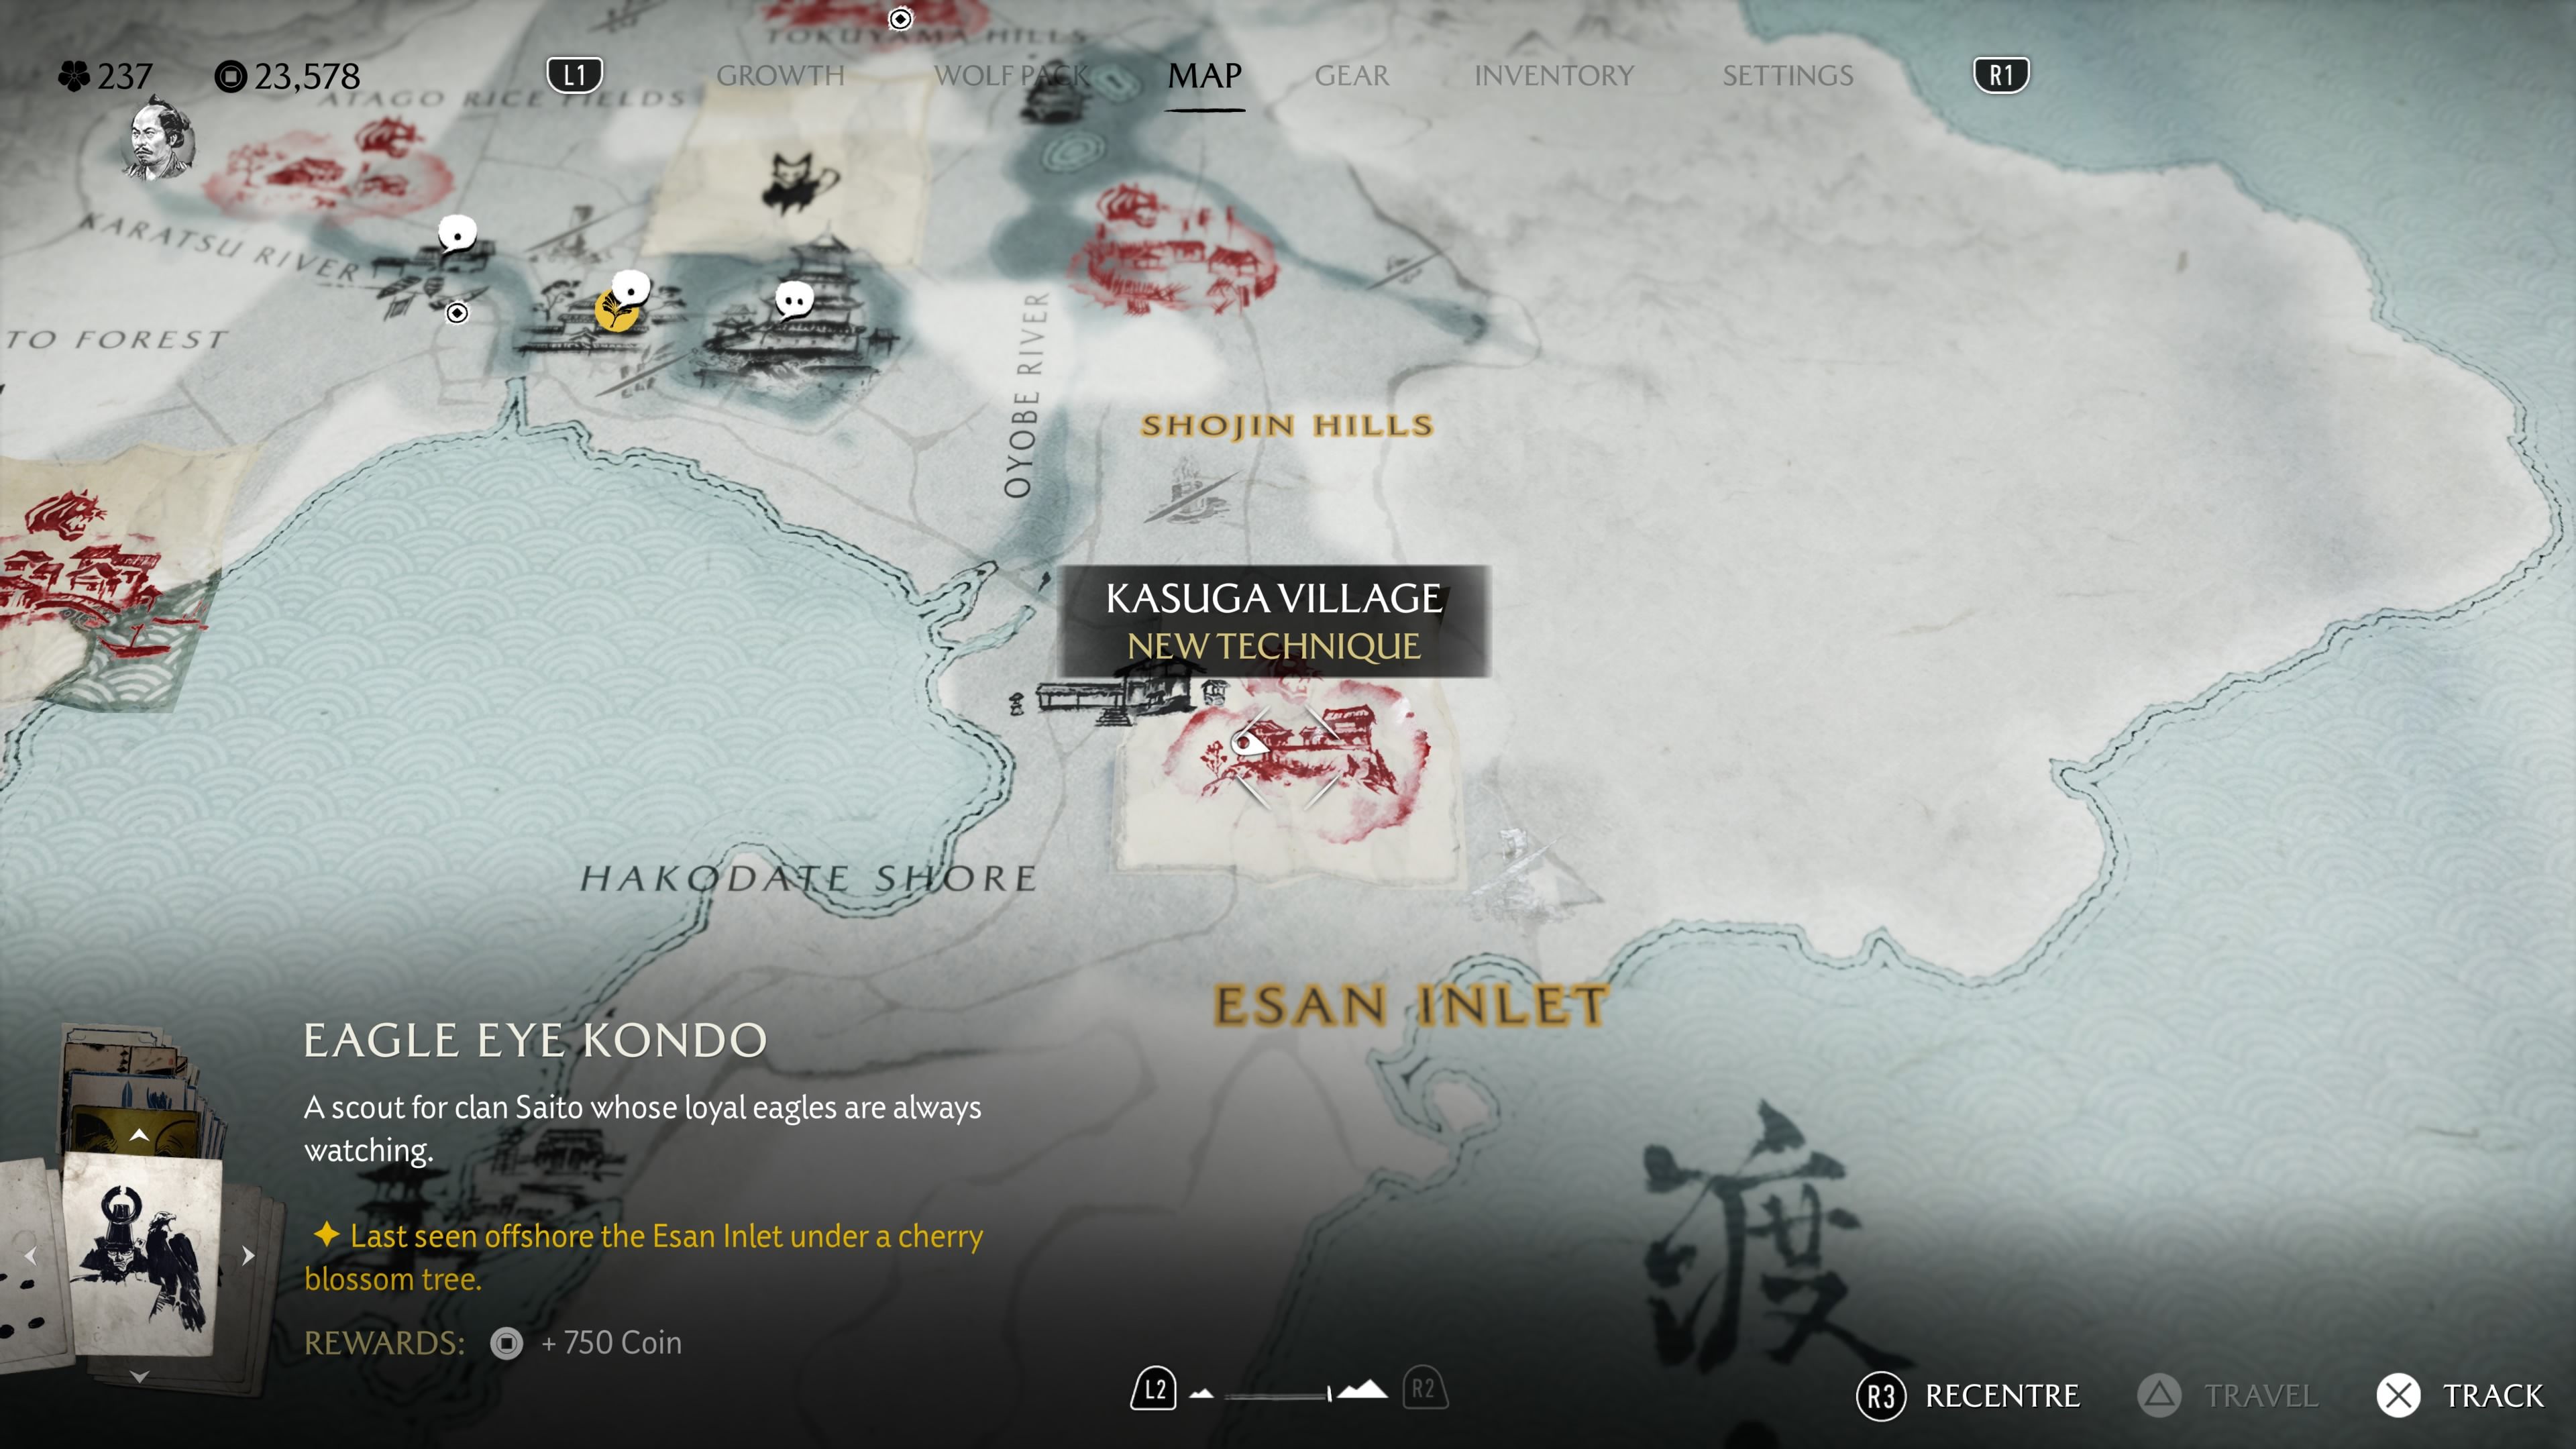
- Location: Kasuaga Village, Esan Inlet, Oshima Coast
- Reward: 2,000 Coins, Shinpachi’s Blush Armor Dye
From Oshima Coast, head southeast to Esan Inlet and you’ll find Kasuga Village. This location is a Yotei Six Camp. Defeat the enemies here, then challenge their leader to a duel, and you’ll complete the Shinpachi the Armor Thief bounty – you don’t even need the bounty poster to do it!
Eagle Eye Kondo
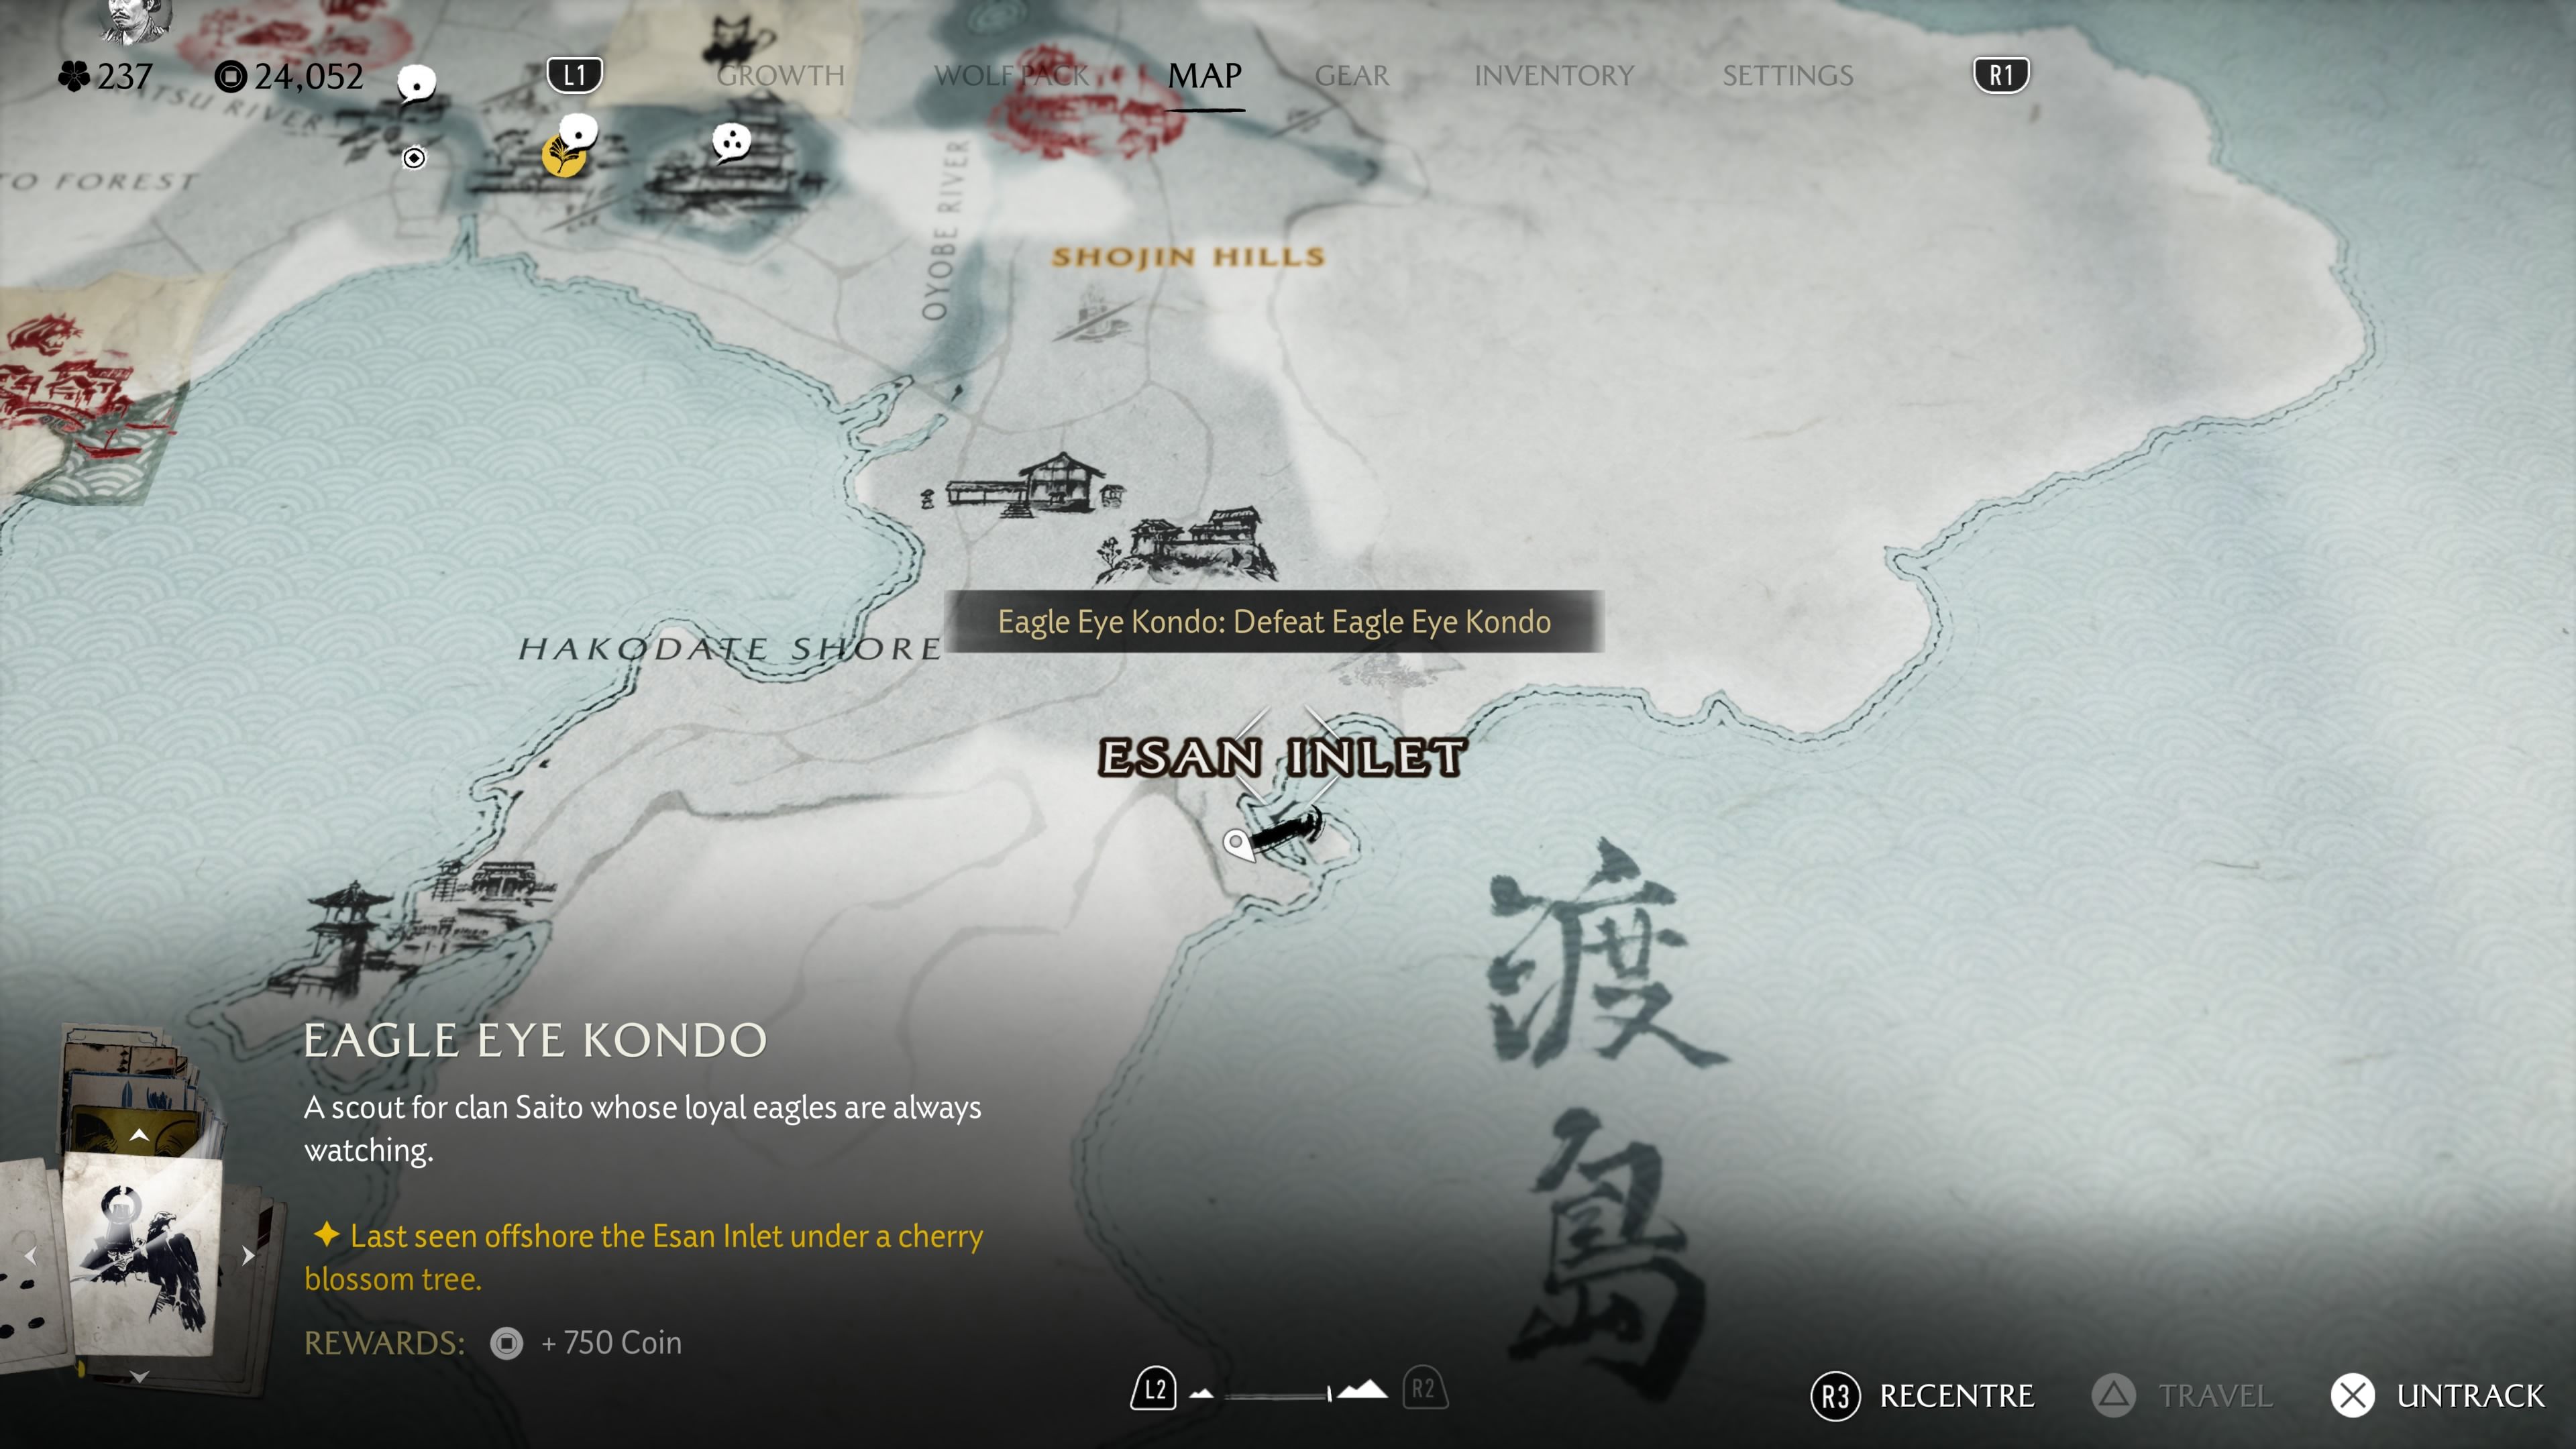
- Location: Esan Inlet, Oshima Coast
- Reward: 750 Coins
Okay, so I just checked the bounty board at Matsumae Castle and Eagle Eye Kondo’s up for grabs. You can find him over on the southeast side of Oshima Coast. Basically, head down the path towards Esan Inlet, then use that grapple point to get down near the beach. From there, just follow the shoreline around, and you’ll spot him hanging out near a cherry blossom tree. Easy peasy!
Iwa the Beautiful
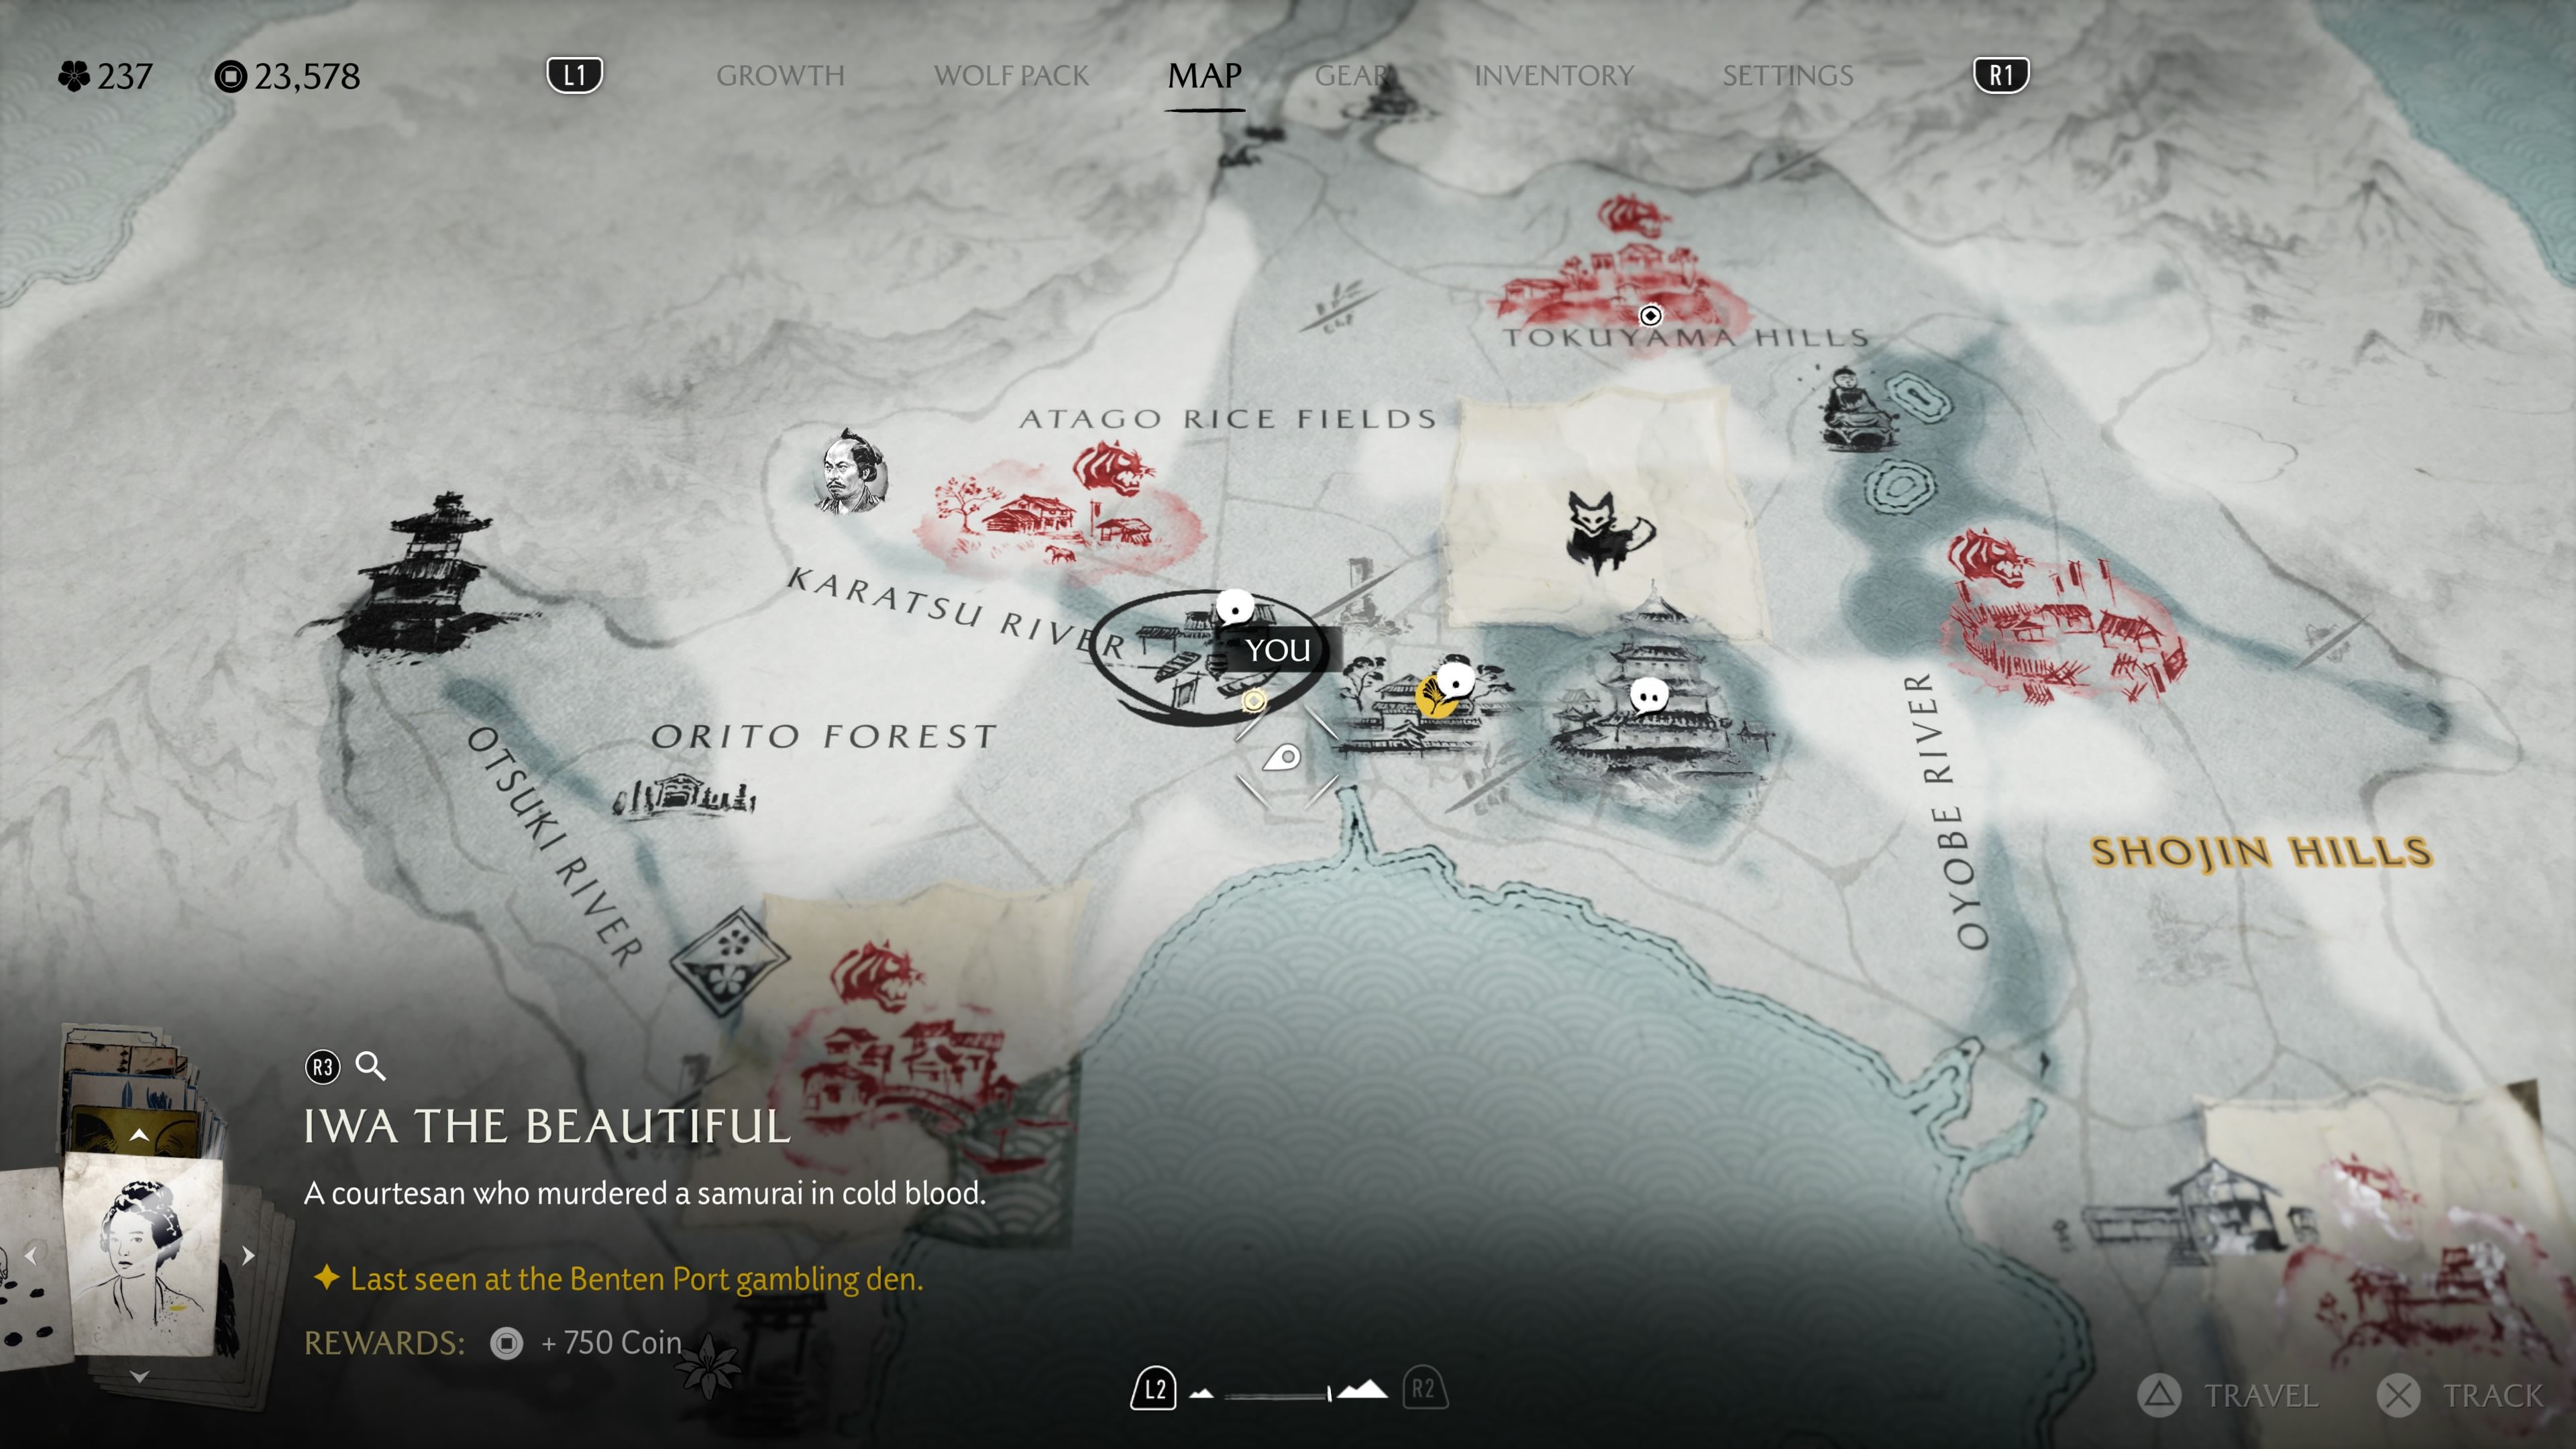
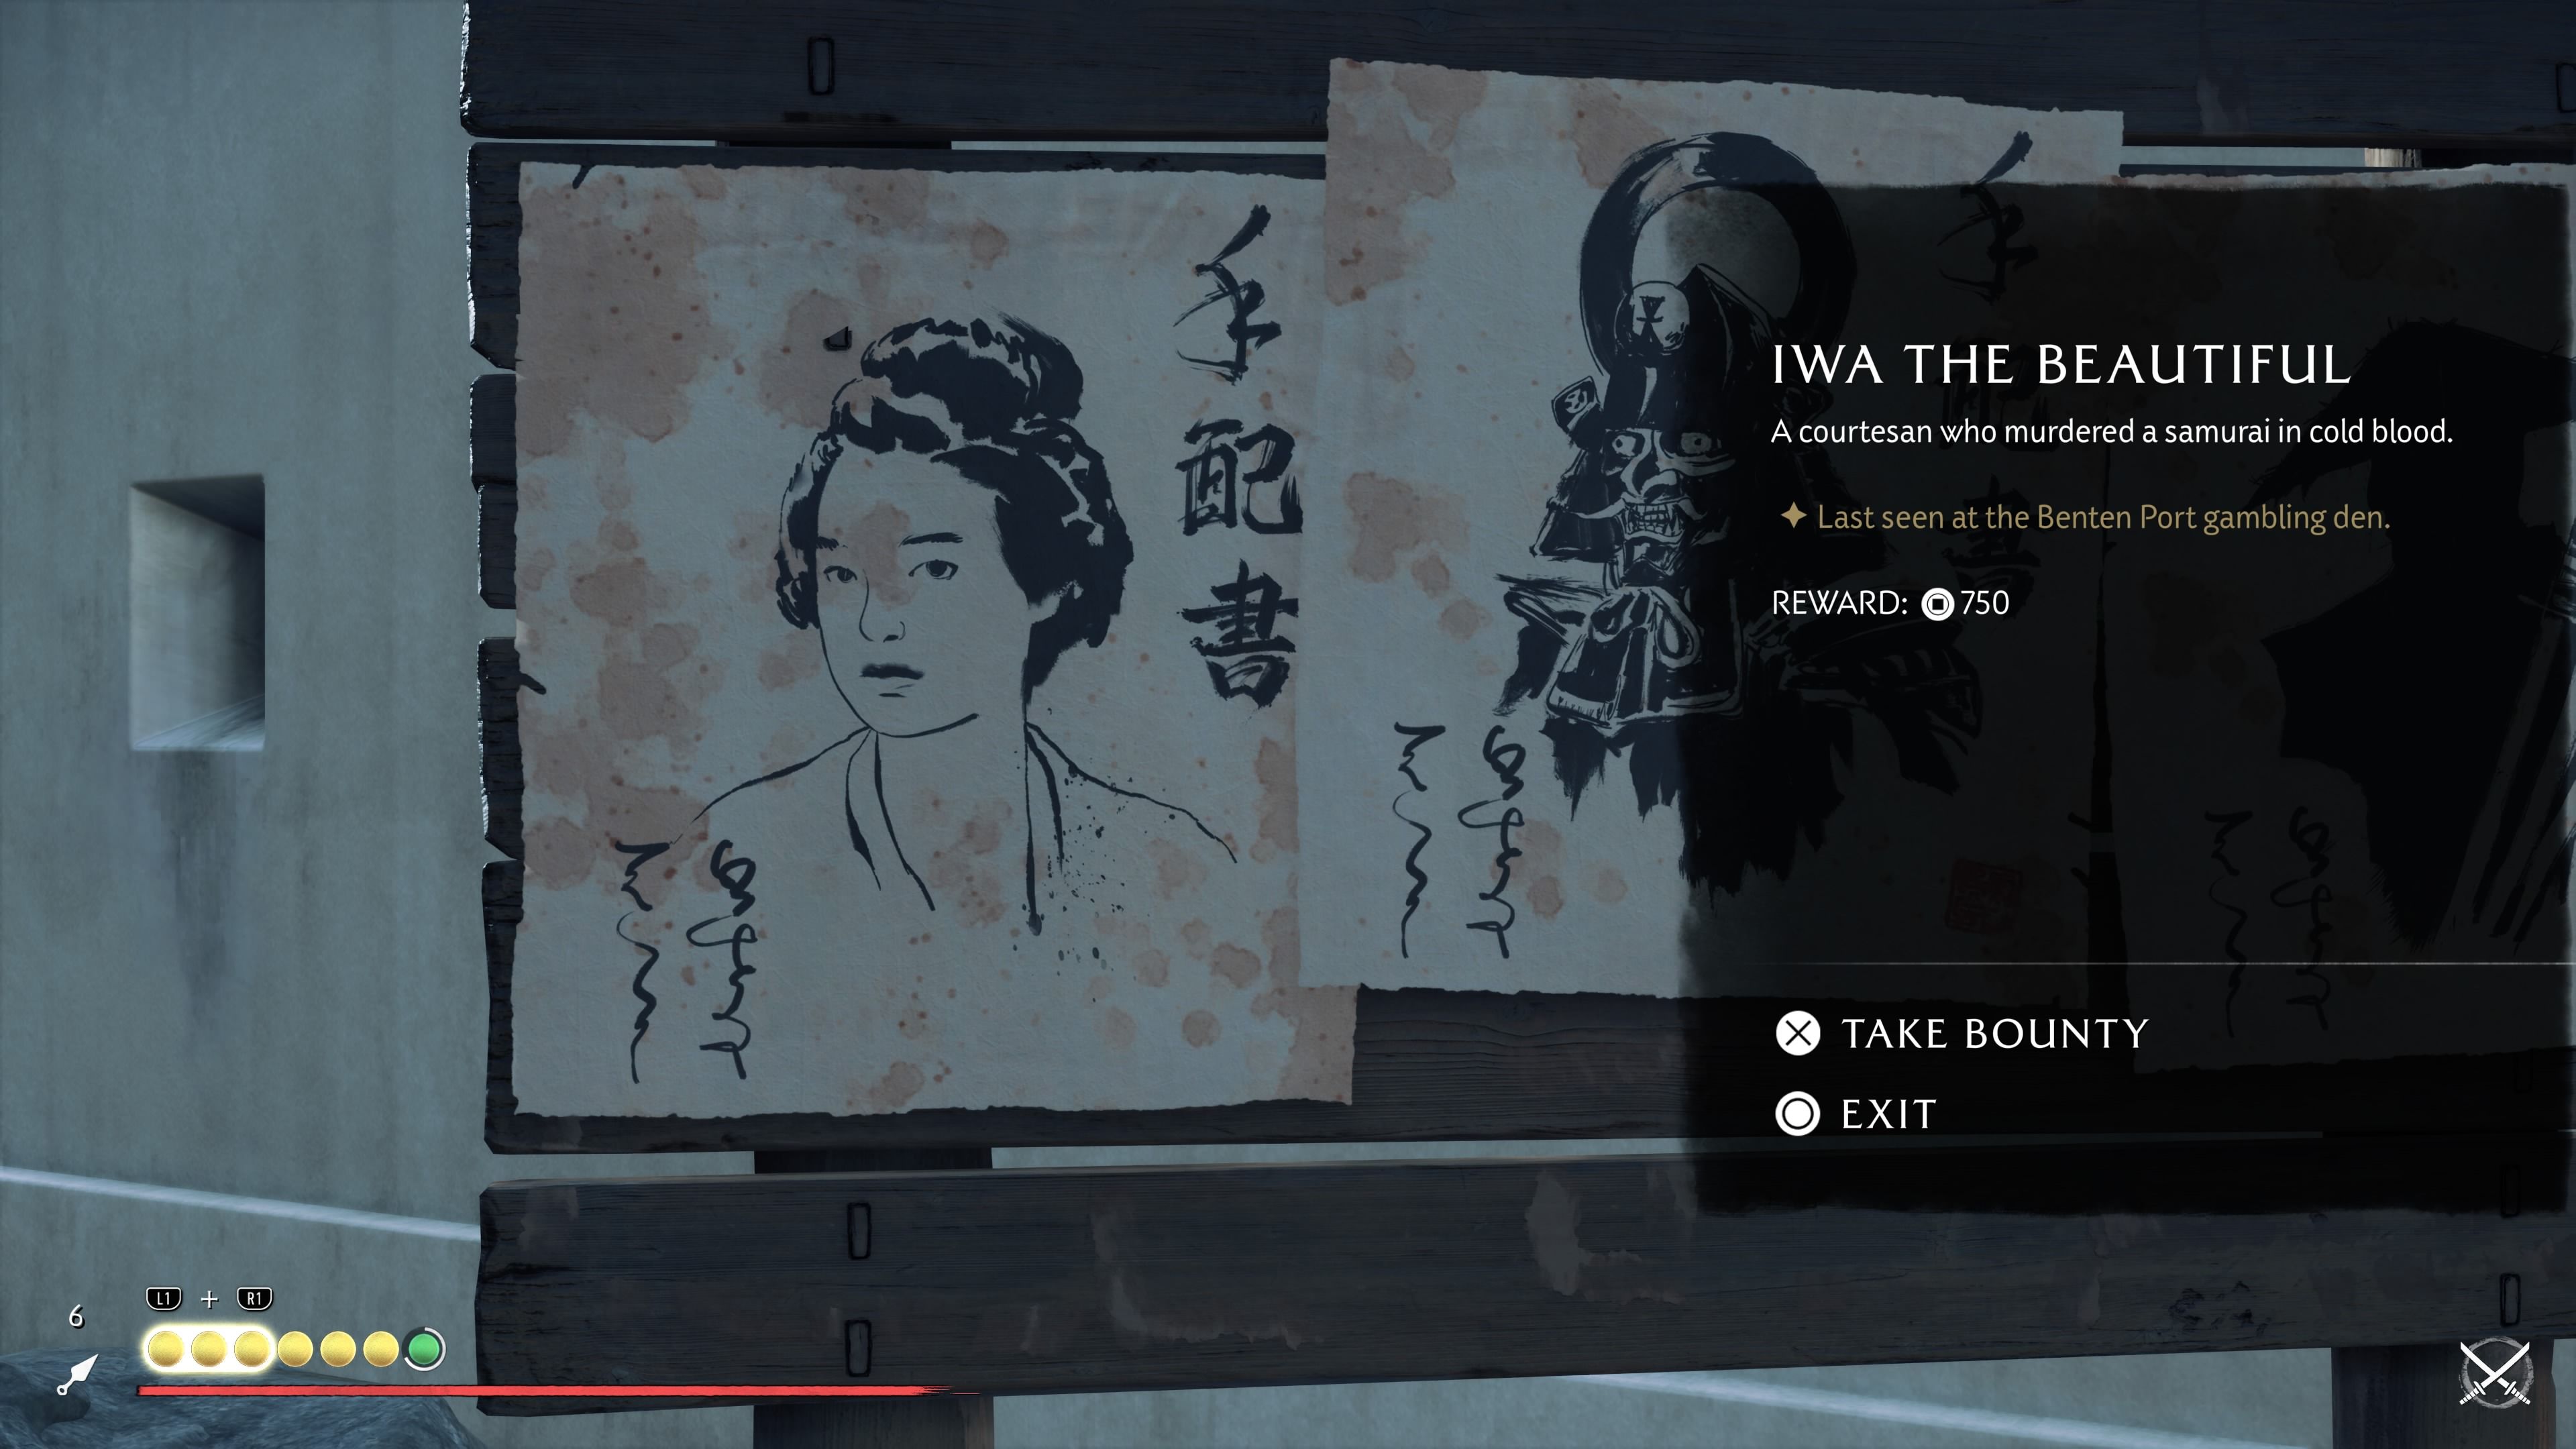
- Location: Benton Port, Oshima Coast
- Reward: 750 Coins
You can accept a bounty for Iwa the Beautiful from the bounty board at Castle Matsumae. After accepting, talk to a woman in the Benten Port Gambling Den to start the quest. This will lead you to a house covered in orange leaves in the southern part of Benten Port.
A Brokered Trust
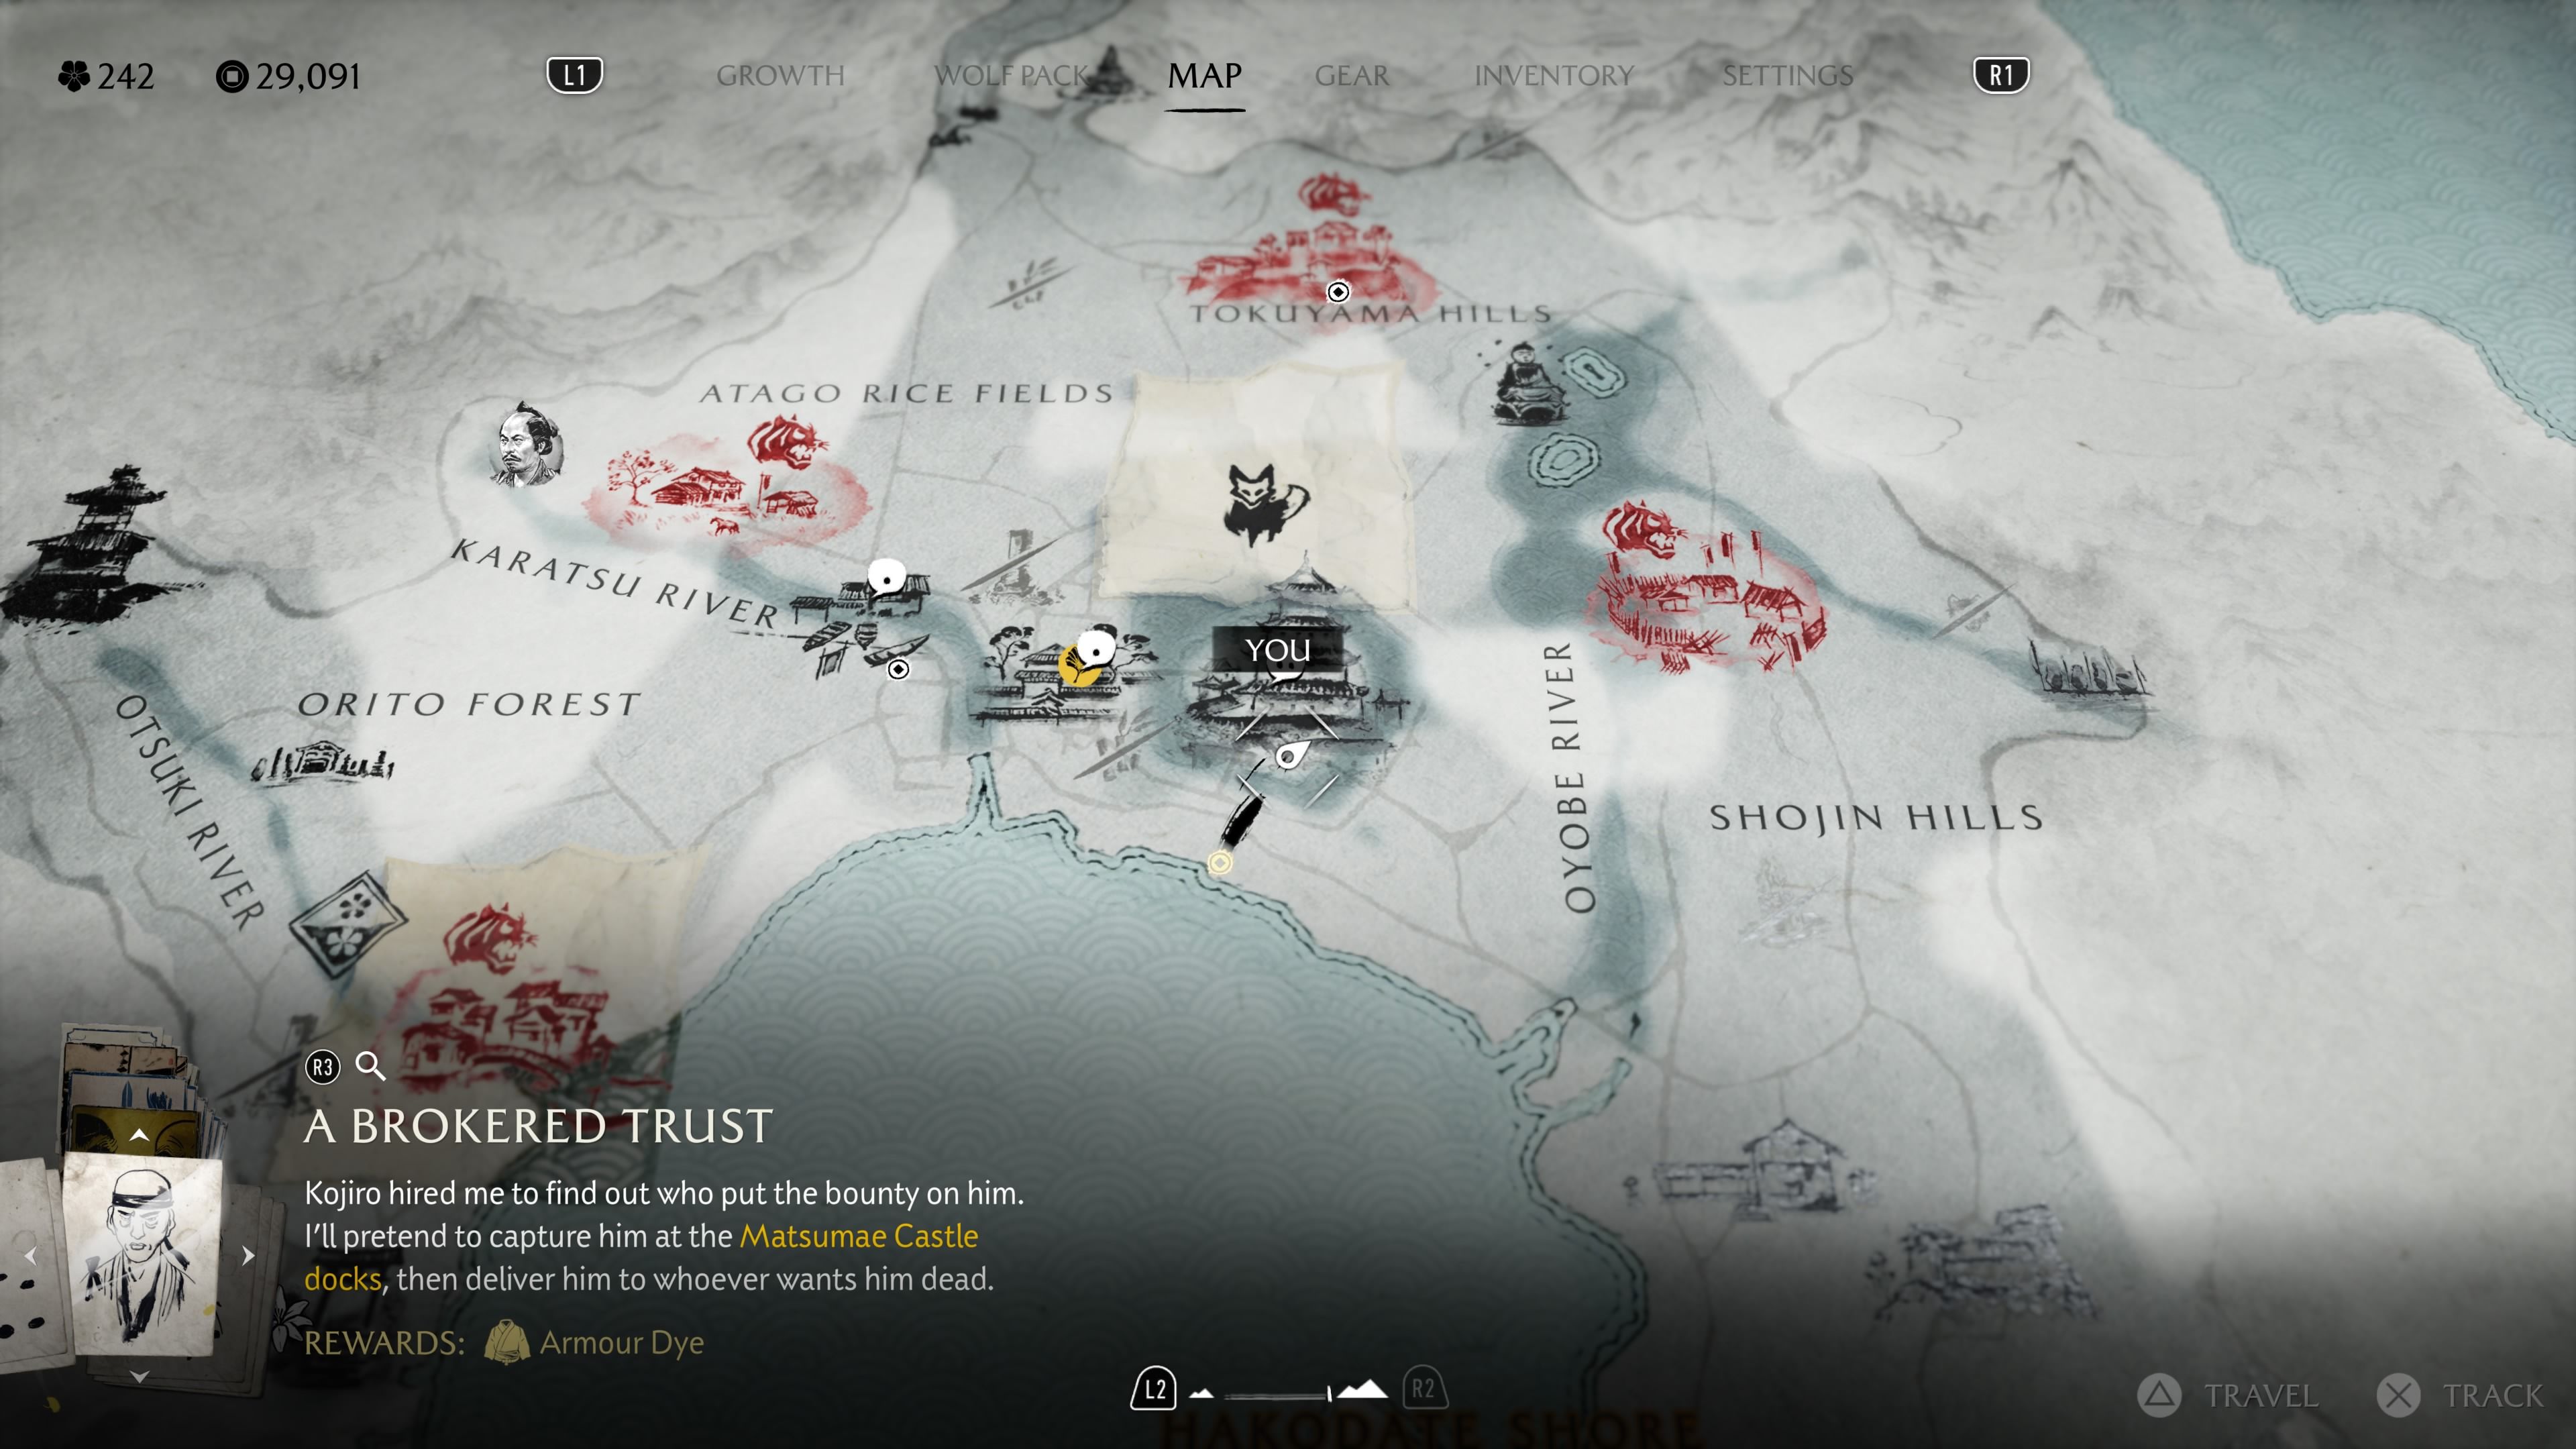
- Location: Matsumae Castle, Oshima Coast
- Reward: 1,500 Coins, Cold Blood Armor Dye
Once players complete three Oshima Coat bounties at Matsumae Castle, they can talk to Kojiro at the bounty board. He’ll explain that someone has put a bounty on *him*, and he’ll need the player’s help with a special mission. While it’s not a traditional bounty, completing it will still count towards the player’s overall progress.
The Last Brother
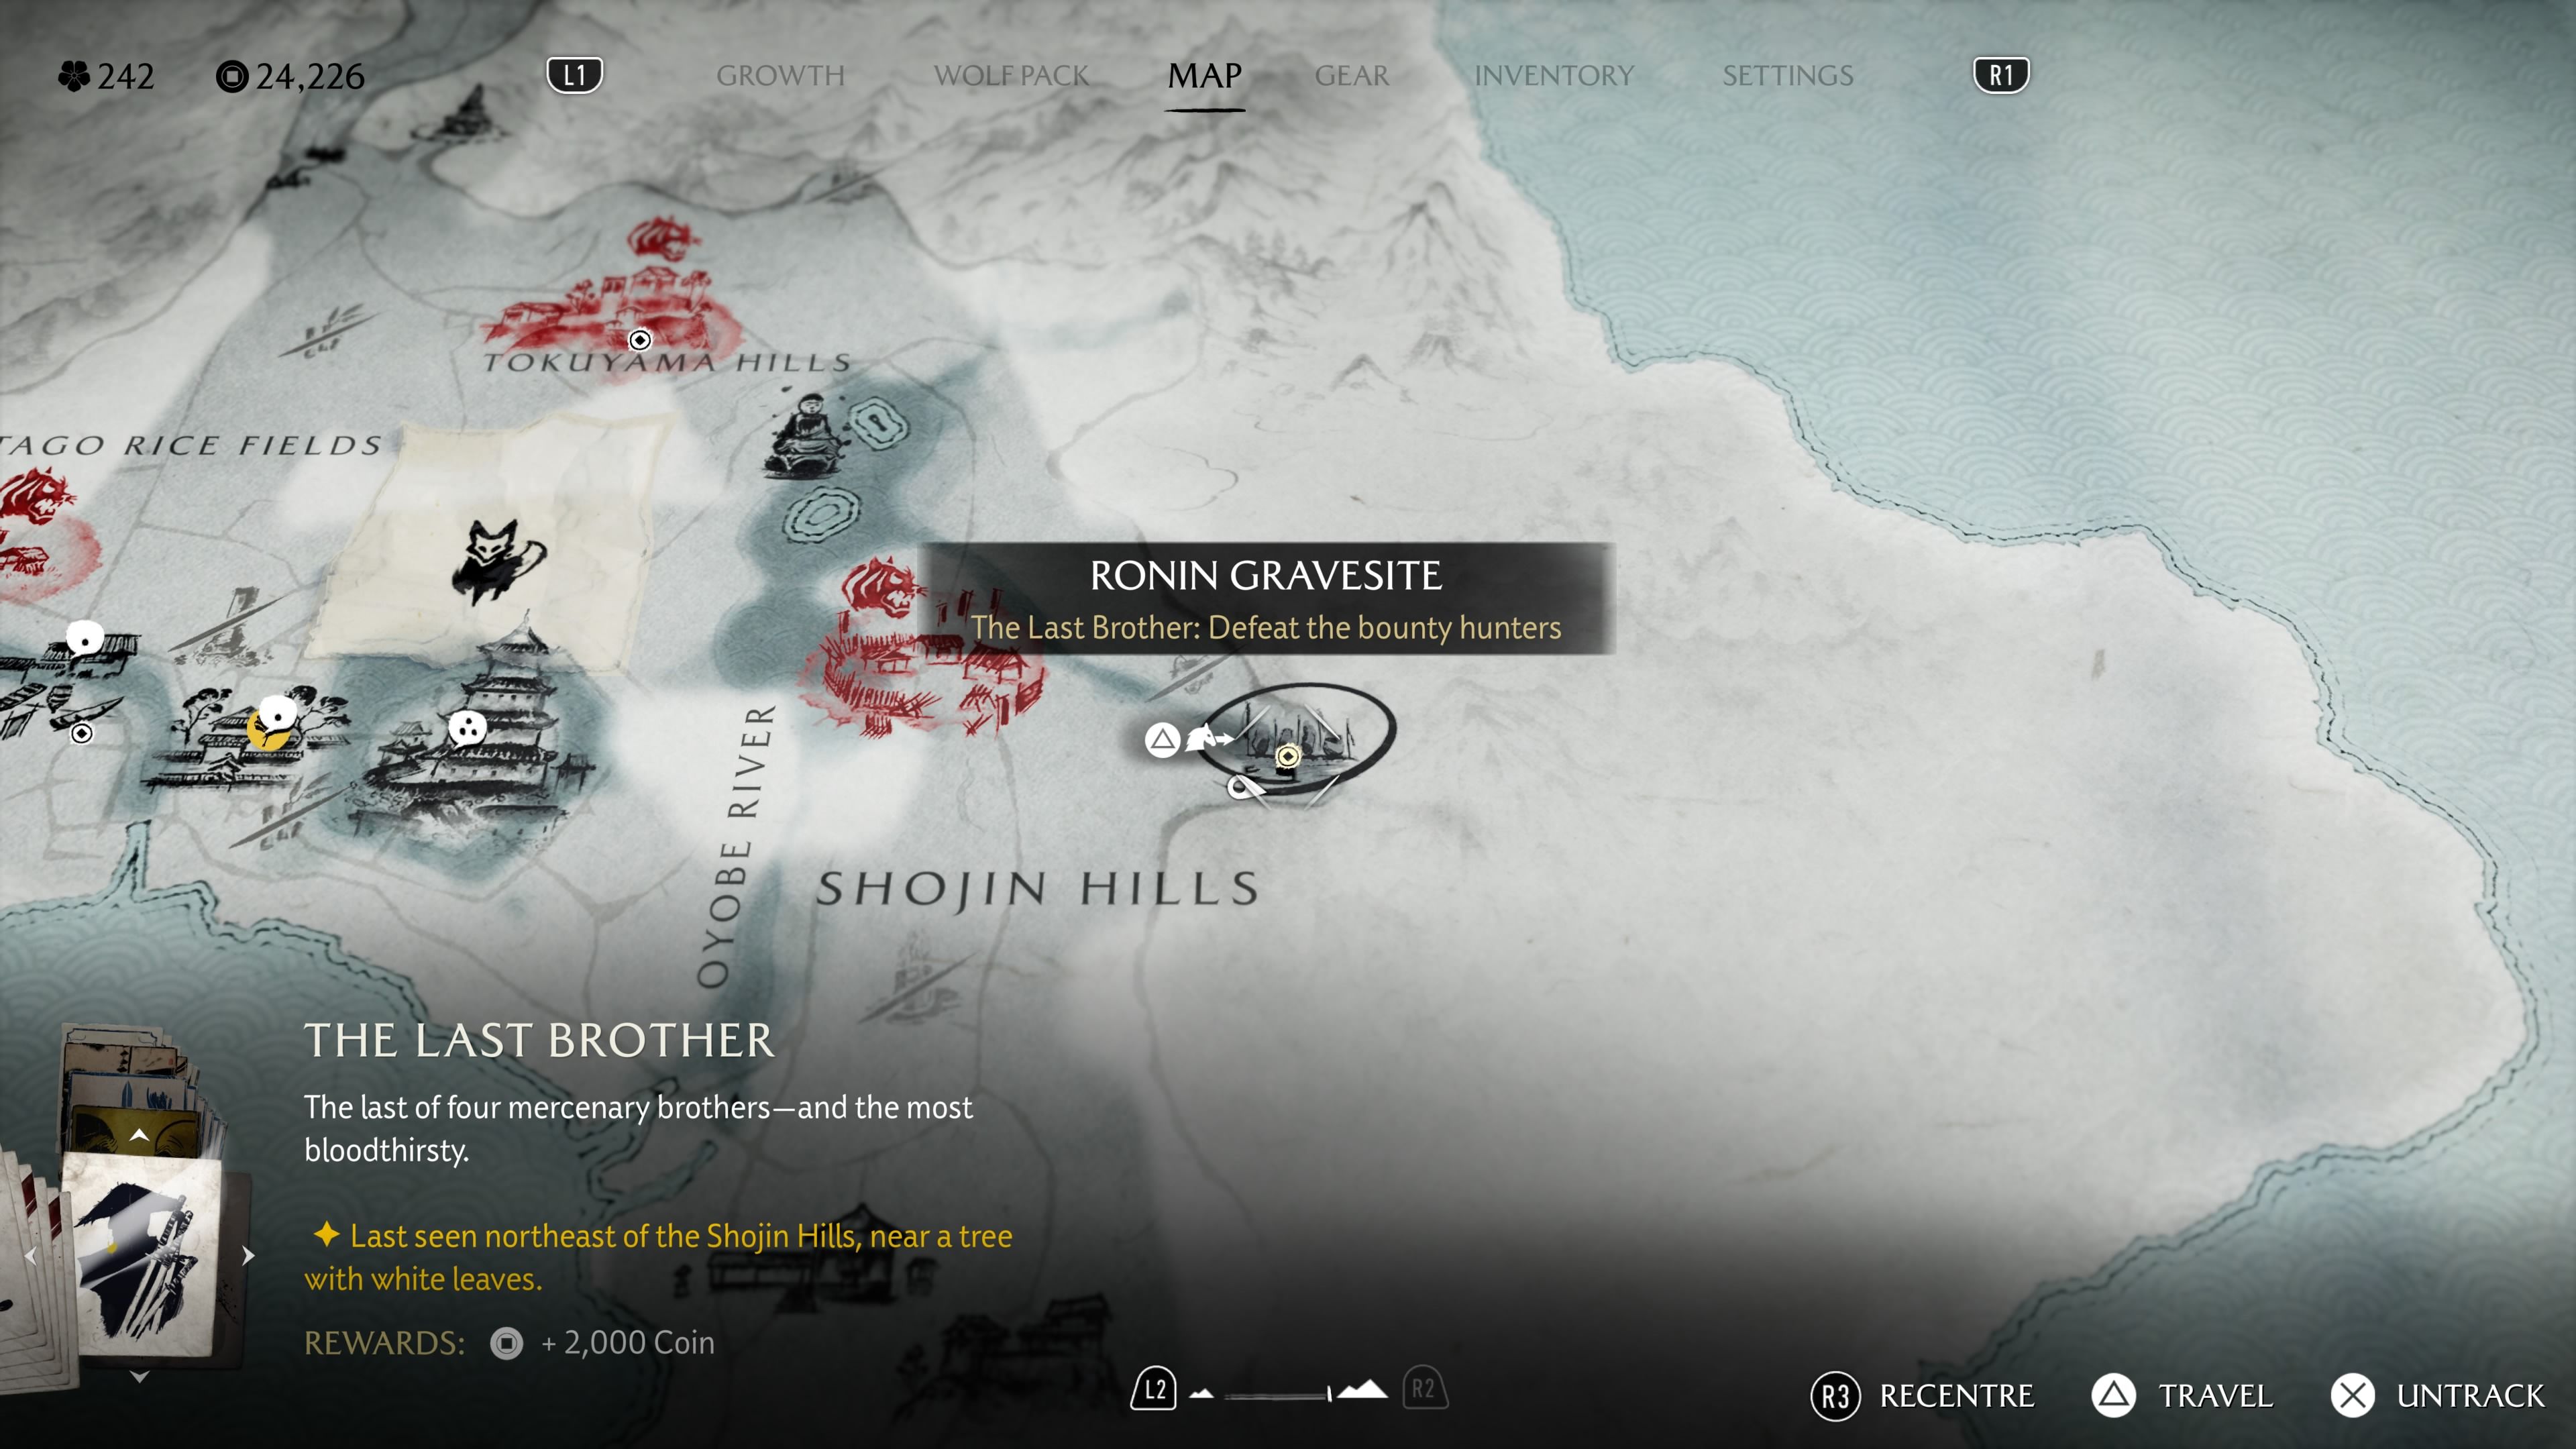
- Location: Ronin Gravesite, Shojin Hills, Oshima Coast
- Reward: 2,000 Coins, Yoshitada’s Fourth Pearl Weapon Kit
Okay, so I was looking for The Last Brother, and I finally found him at this place called the Ronin Gravesite. It’s just a little northeast of Shojin Hills, near a tree with white leaves – you can’t miss it. I had to take out a bunch of wandering ronin on the way, but once I got to the gravestones, I could talk to The Last Brother and challenge him to a duel. It was a tough fight, but definitely worth it!
The Tooth Breaker
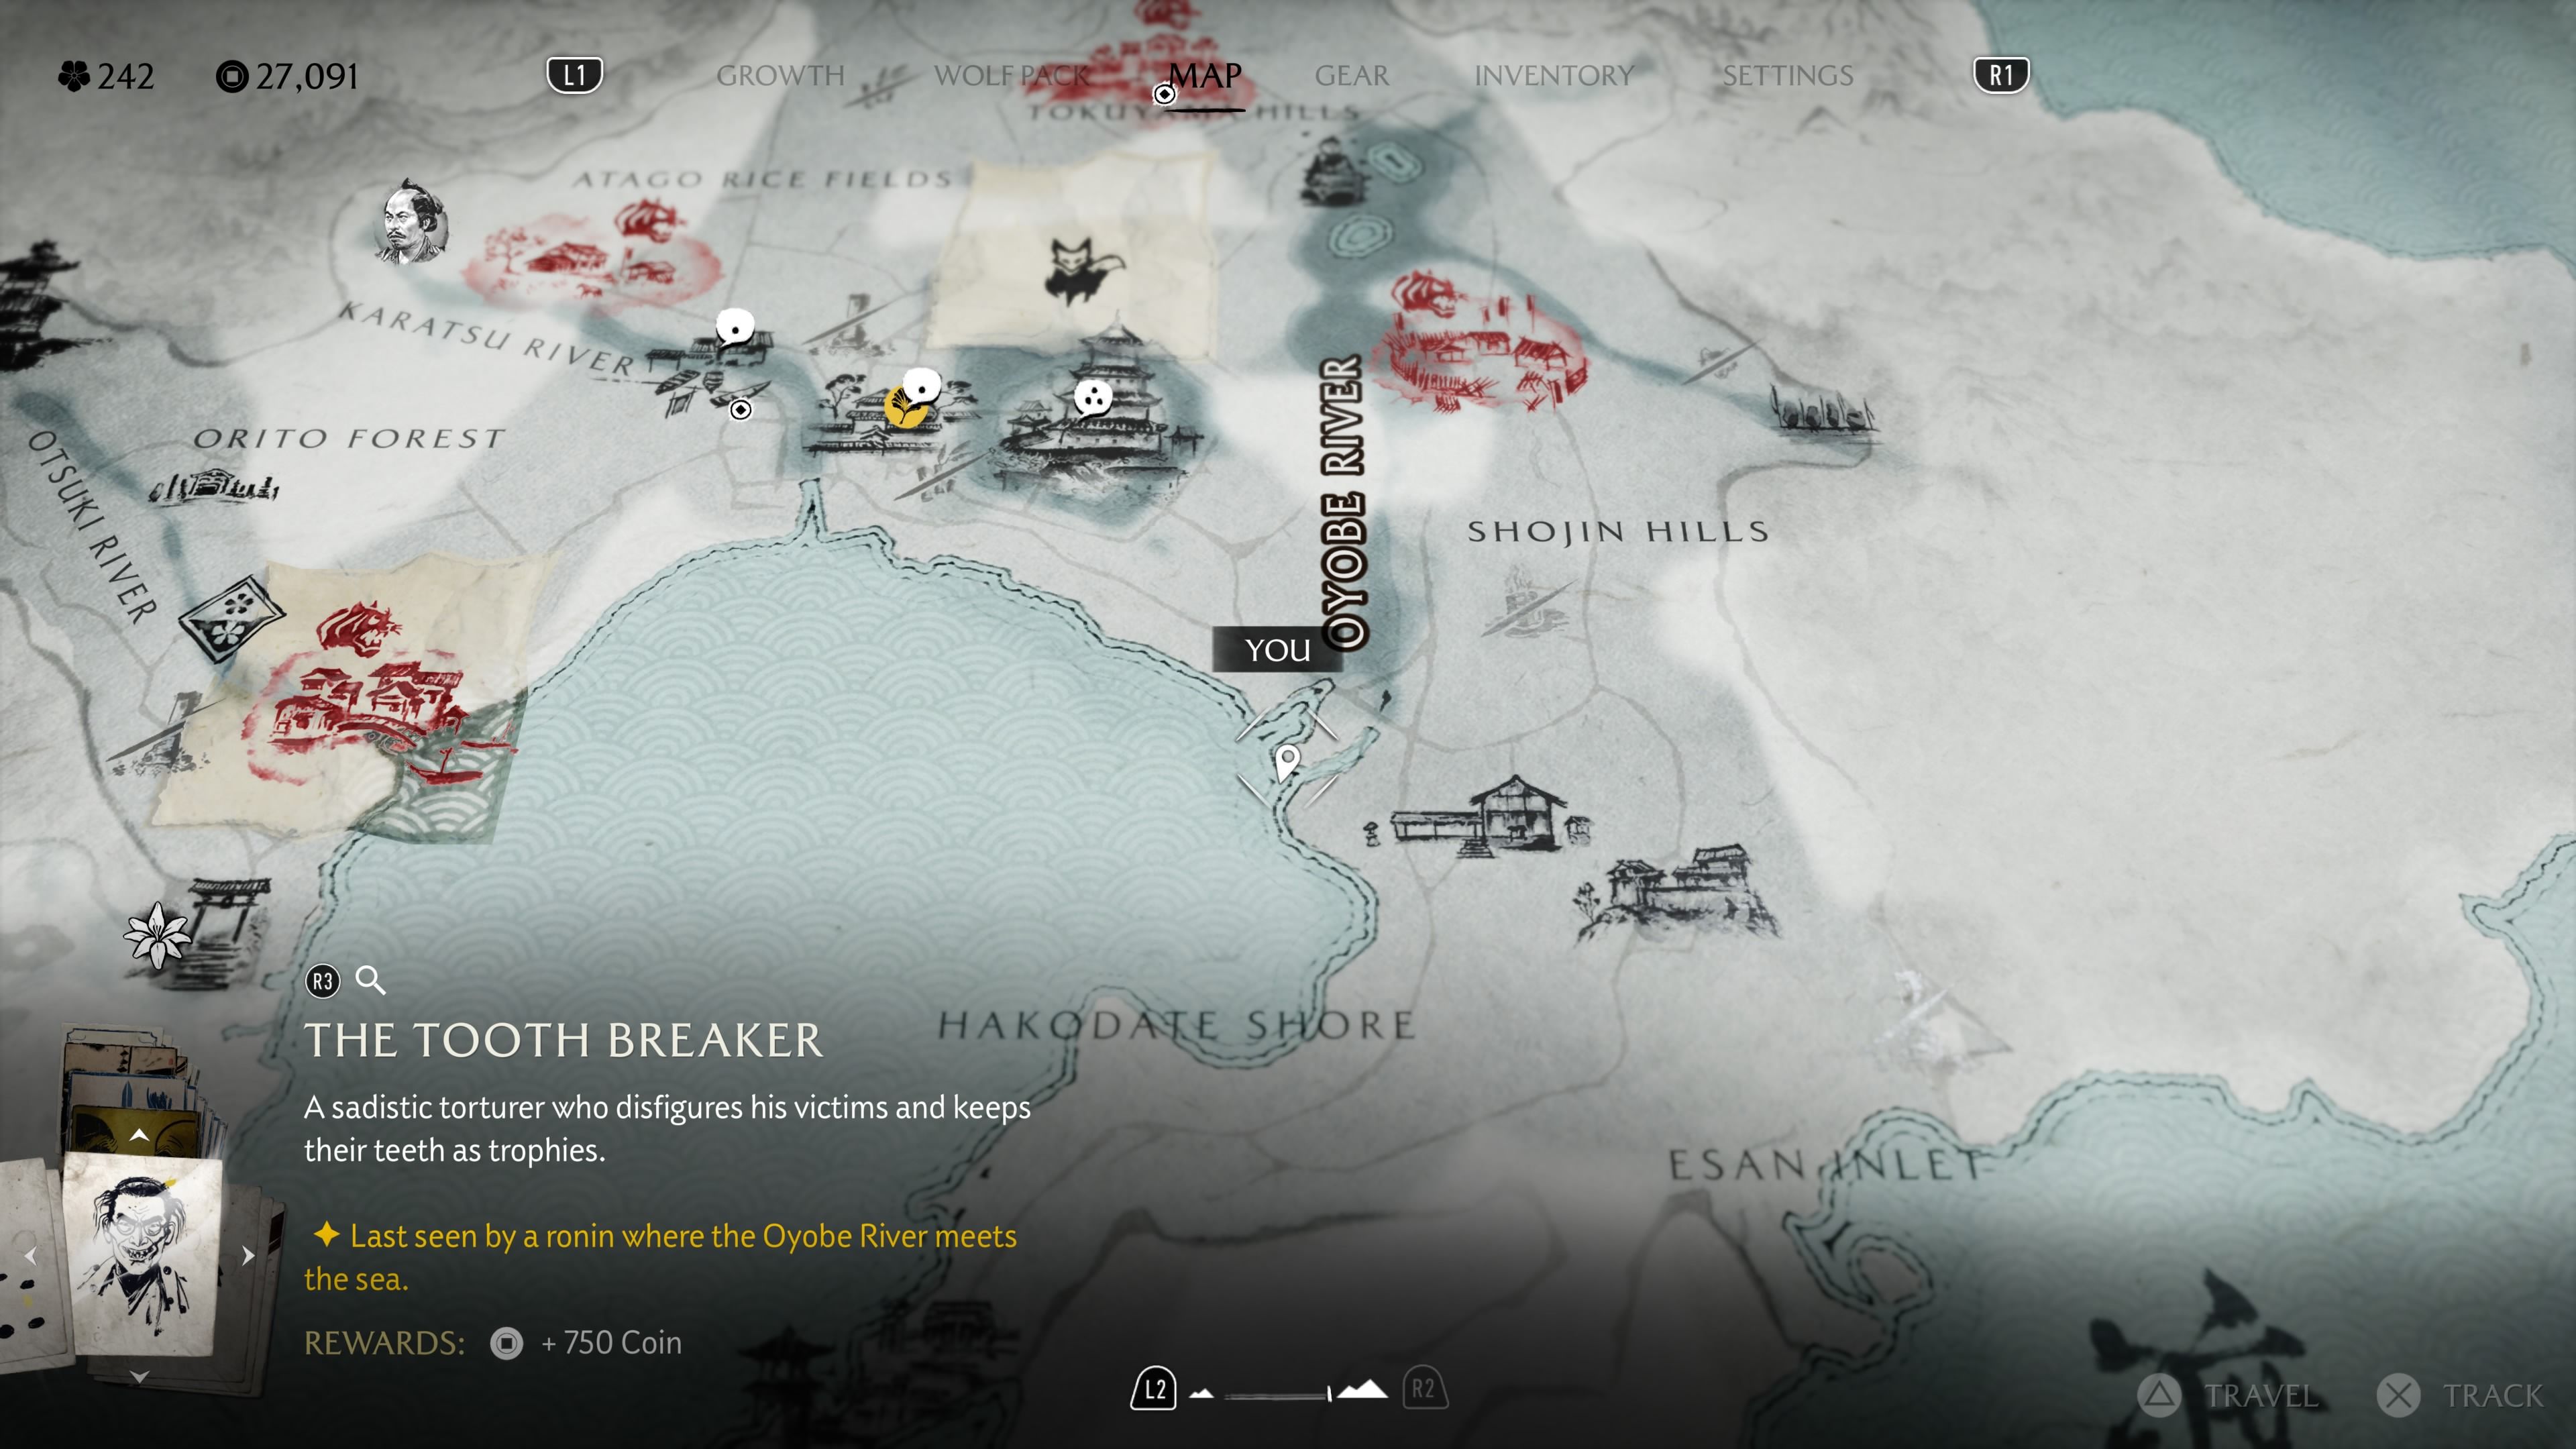
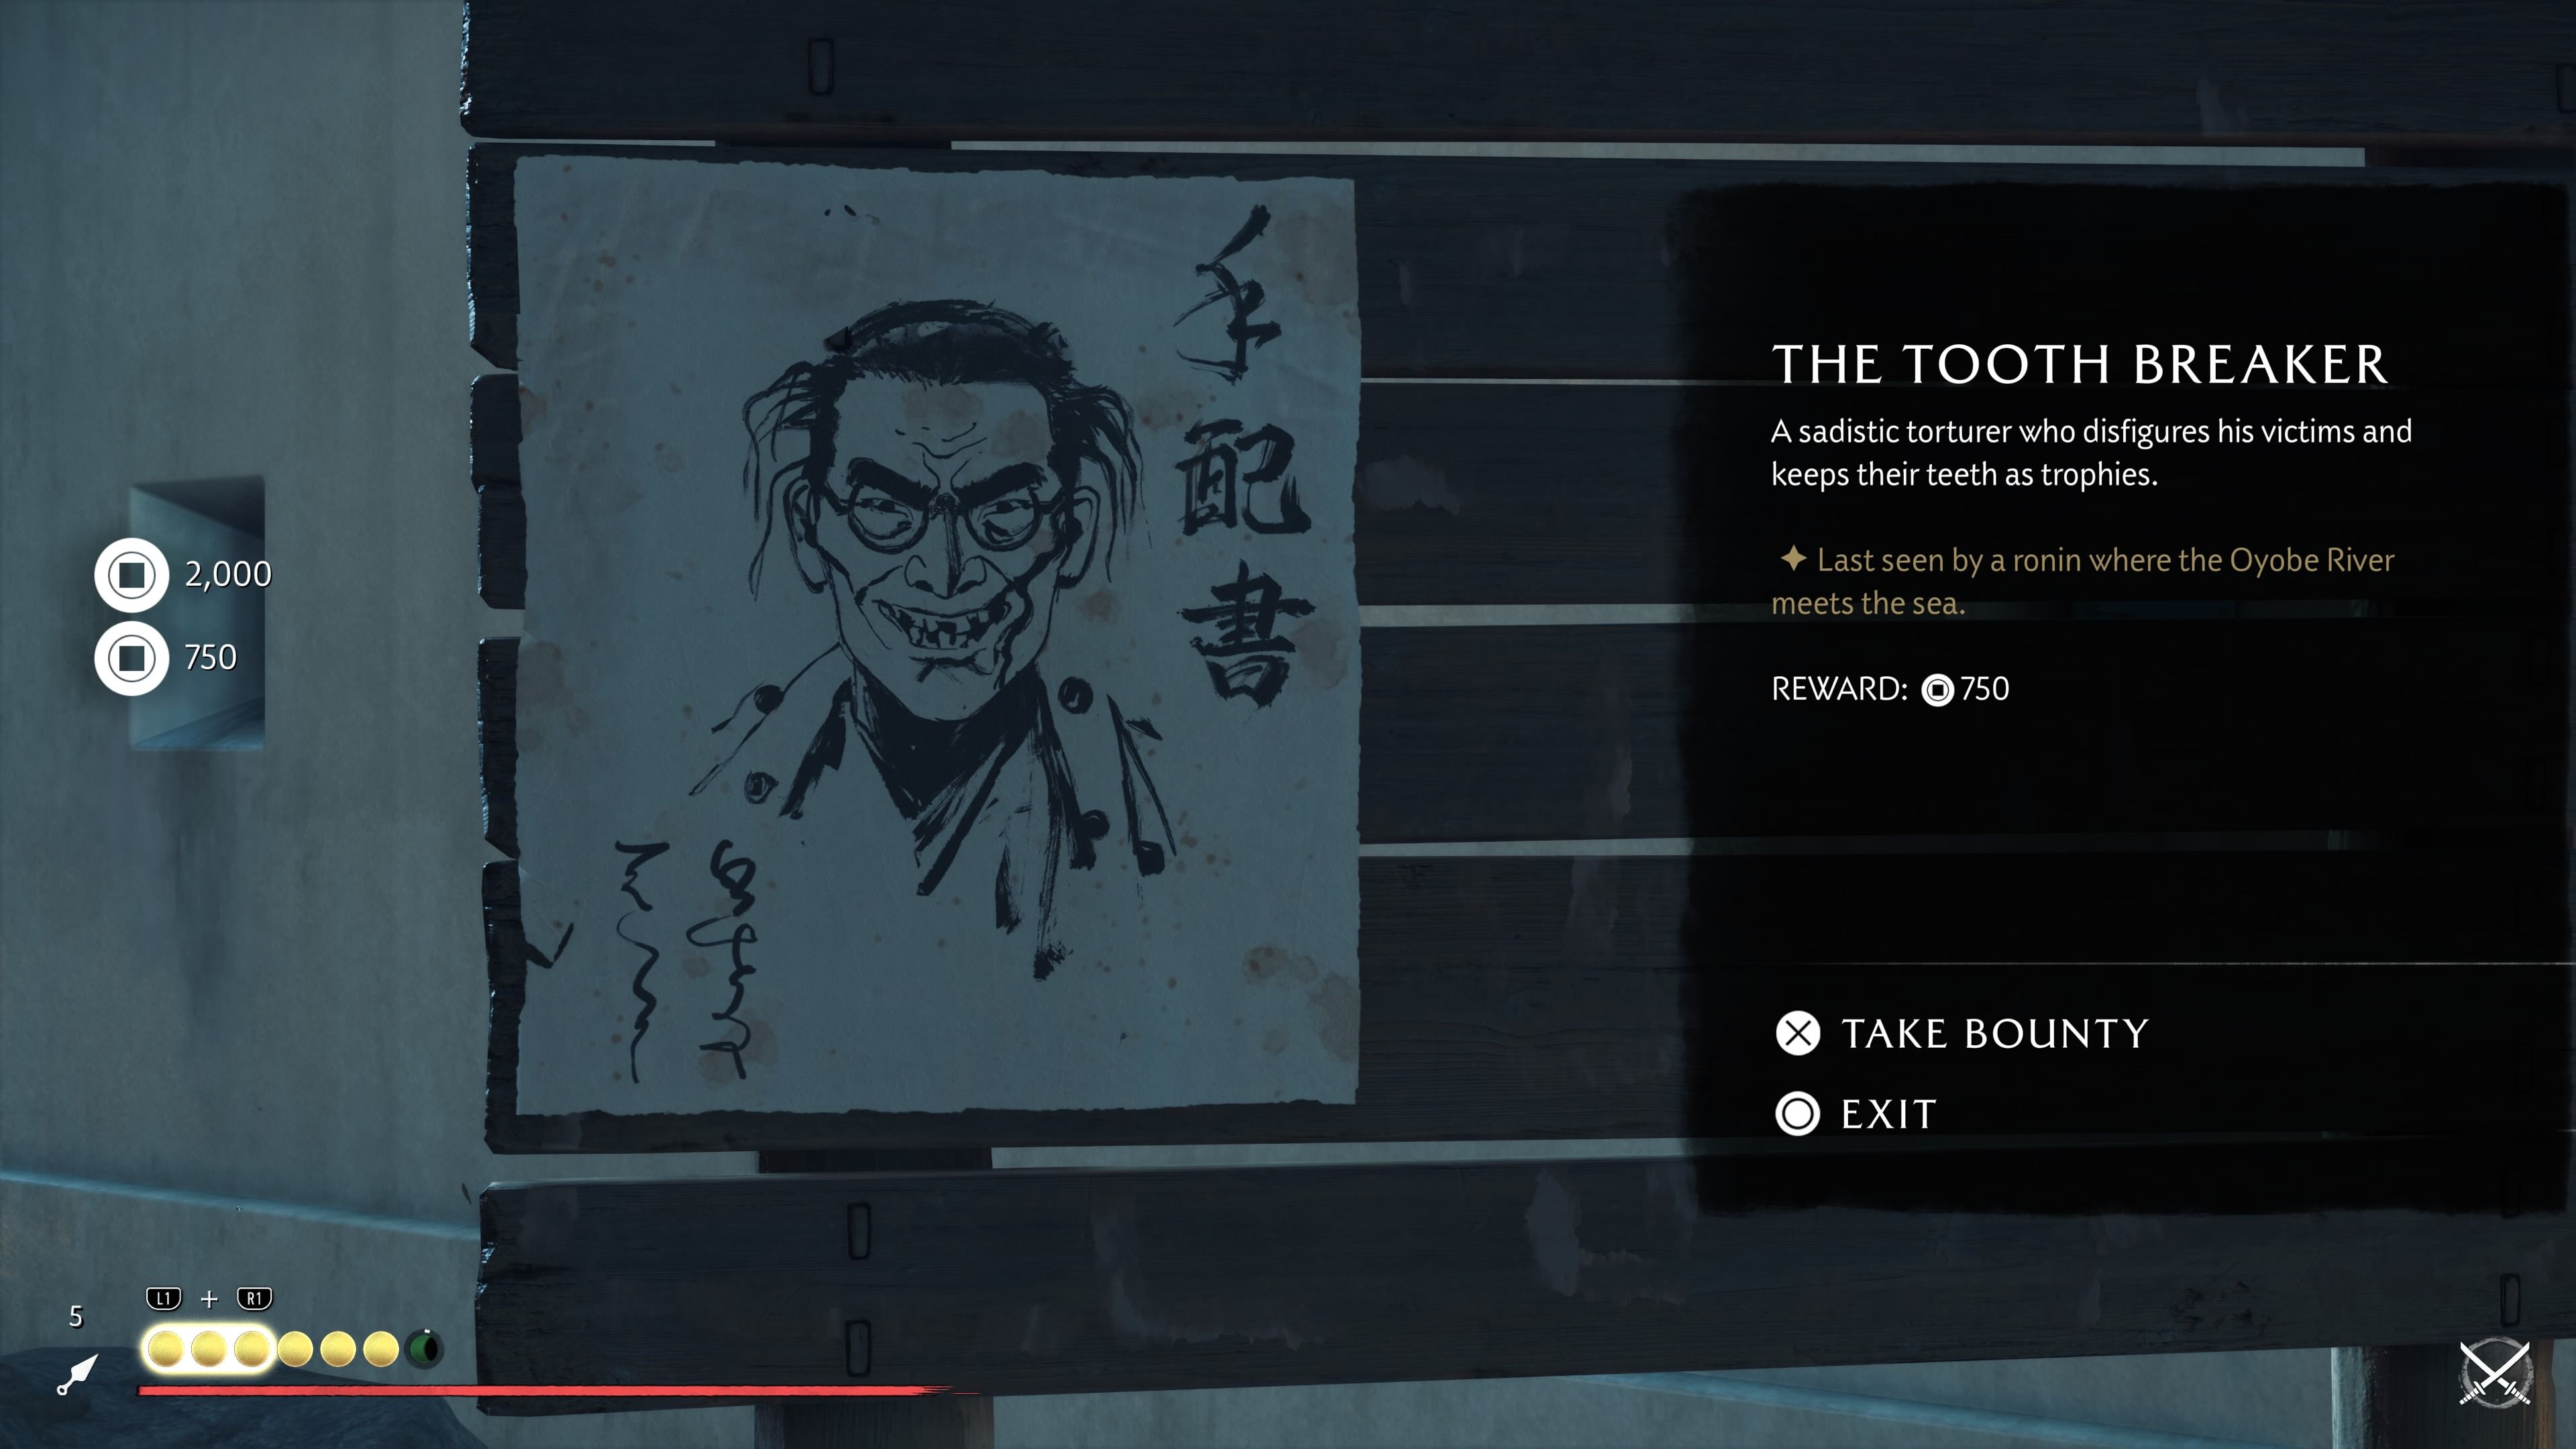
- Location: Mad Goro’s House, Oyobe River, Oshima Coast
- Reward: 750 Coins
Check the bounty board at Matsumae Castle for a wanted poster – you’ll notice the drawing has a pair of glasses added! To begin the quest, go south from the Oyobe River to the coast and find a wandering samurai (ronin). They’ll send you further south, towards Hakodate Shore, to Mad Goro’s House. Follow their instructions to finish the bounty and complete the quest.
Read More
- All Skyblazer Armor Locations in Crimson Desert
- All Shadow Armor Locations in Crimson Desert
- How to Get the Sunset Reed Armor Set and Hollow Visage Sword in Crimson Desert
- Marni Laser Helm Location & Upgrade in Crimson Desert
- Best Bows in Crimson Desert
- All Helfryn Armor Locations in Crimson Desert
- All Golden Greed Armor Locations in Crimson Desert
- How to Craft the Elegant Carmine Armor in Crimson Desert
- Keeping Large AI Models Connected Through Network Chaos
- One Piece Chapter 1179 Preview: The Real Imu Arrives in Elbaf
2025-10-07 04:09