Increasing the challenge in Resistance, the sabotage mission Sonderzüge intensifies, as enemy snipers abound and a towering hotel filled with Germans poses a significant threat. Additionally, Mission 3 of Sniper Elite Resistance’s Sonderzüge Sabotage features challenging workbenches for Harry to discover.
In Sniper Elite Resistance, the primary levels contain three Workshops apiece. These workshops could be located high up or down below, it’s always a surprise! They are concealed behind locked doors and positioned amidst busy areas. Despite the potential danger of encountering a waiting Nazi soldier who might startle you, searching for them is enjoyable.
Moving on from the rhymes, here’s your guide to finding the workbenches in the Sonderzüge Sabotage mission. Also, if you need help locating clues for the Superweapon, this guide should assist you.
Instead of rhyming, we switch to a straightforward approach, providing you with a detailed walkthrough for finding the workbenches in Sonderzüge Sabotage mission. Additionally, if you’re having trouble finding clues for the Superweapon, this guide should prove helpful.
Every Workbench Location in Sniper Elite Resistance Mission 3 Sonderzüge Sabotage
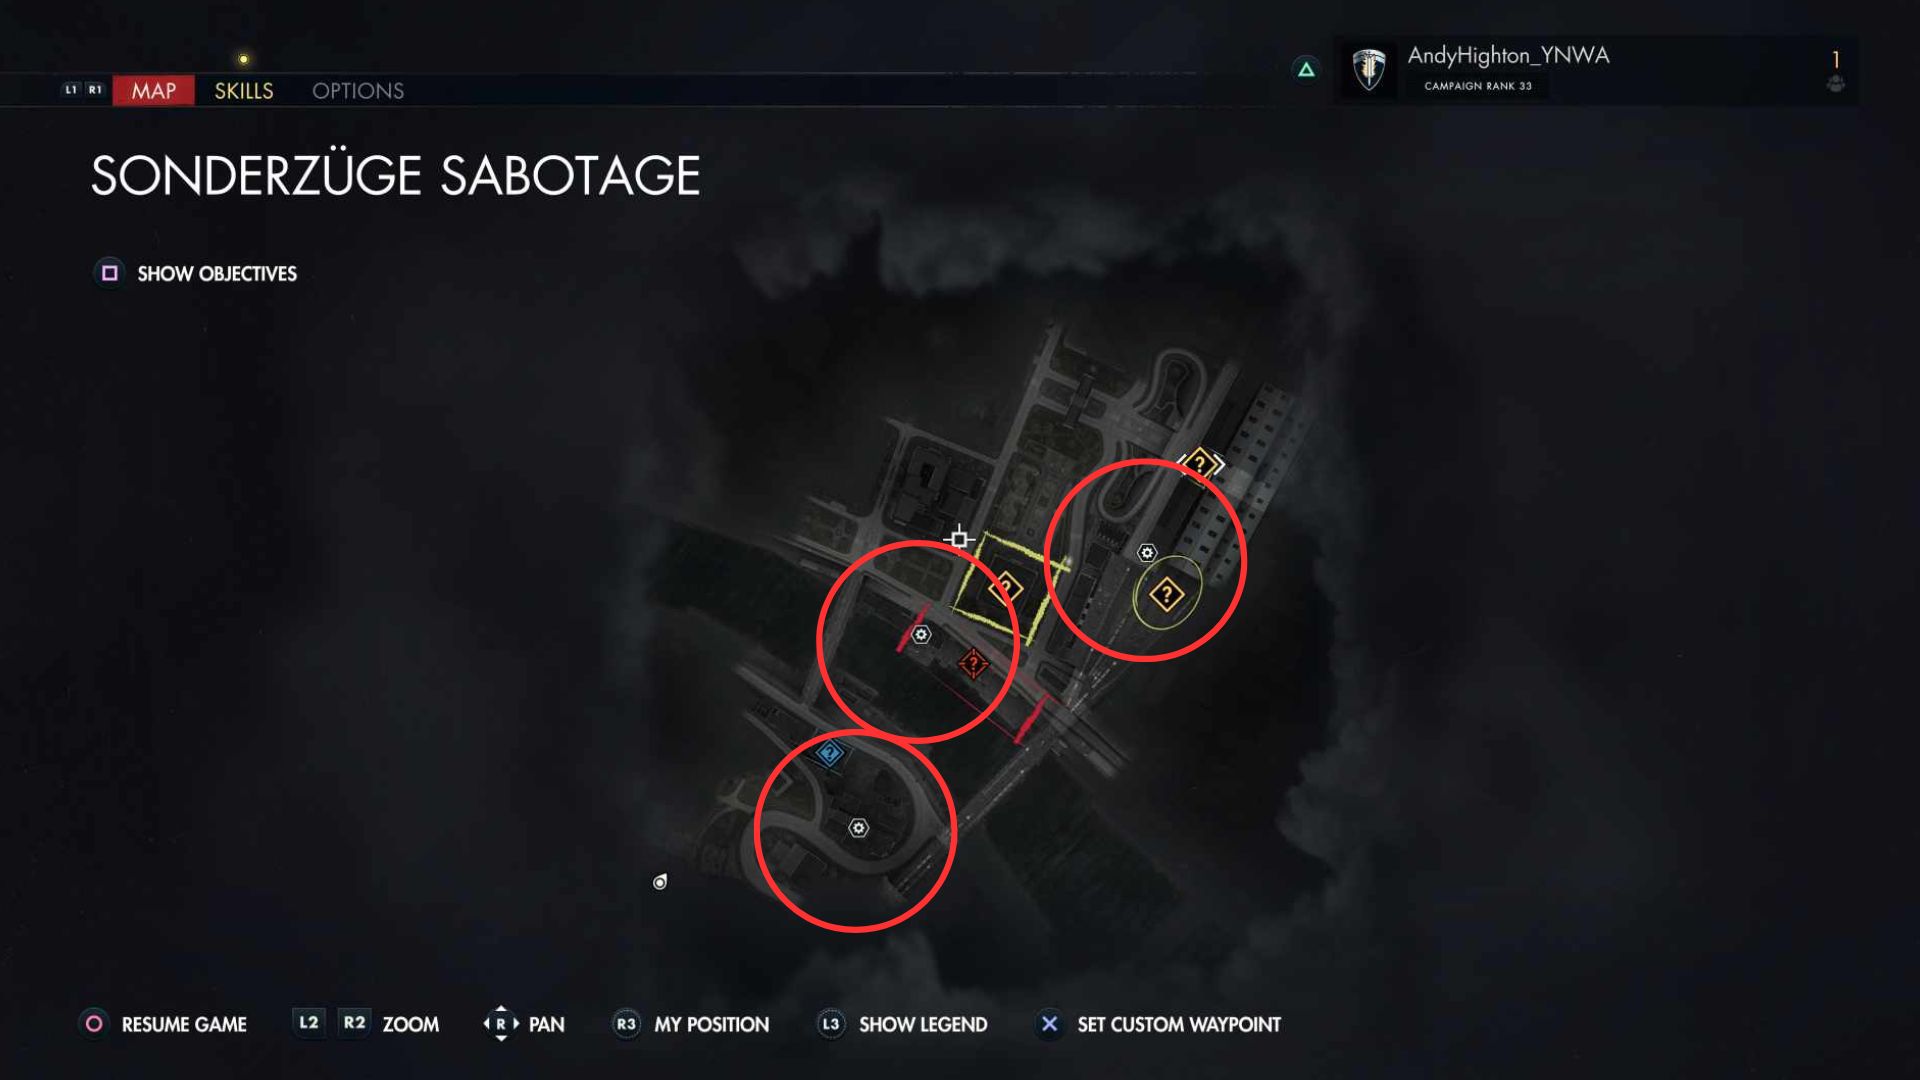
The screenshot above shows three circled symbols representing Sonderzüge Sabotage’s Workbenches.
The items are scattered uniformly across the area, and their exact position may not be immediately clear just by looking. If you’re planning to search for them, use each one as a clue. For a detailed, in-depth guide, keep reading for comprehensive instructions.
Mission 3 Sonderzüge Sabotage Workbench Location 1
Commence the level, make your way down the staircase, and proceed left following the path that cuts through the grass. Navigate towards the Workbench icon on the map you were provided with in the “Every Workbench Location in Sniper Elite Resistance Mission 3 Sonderzüge Sabotage” section.
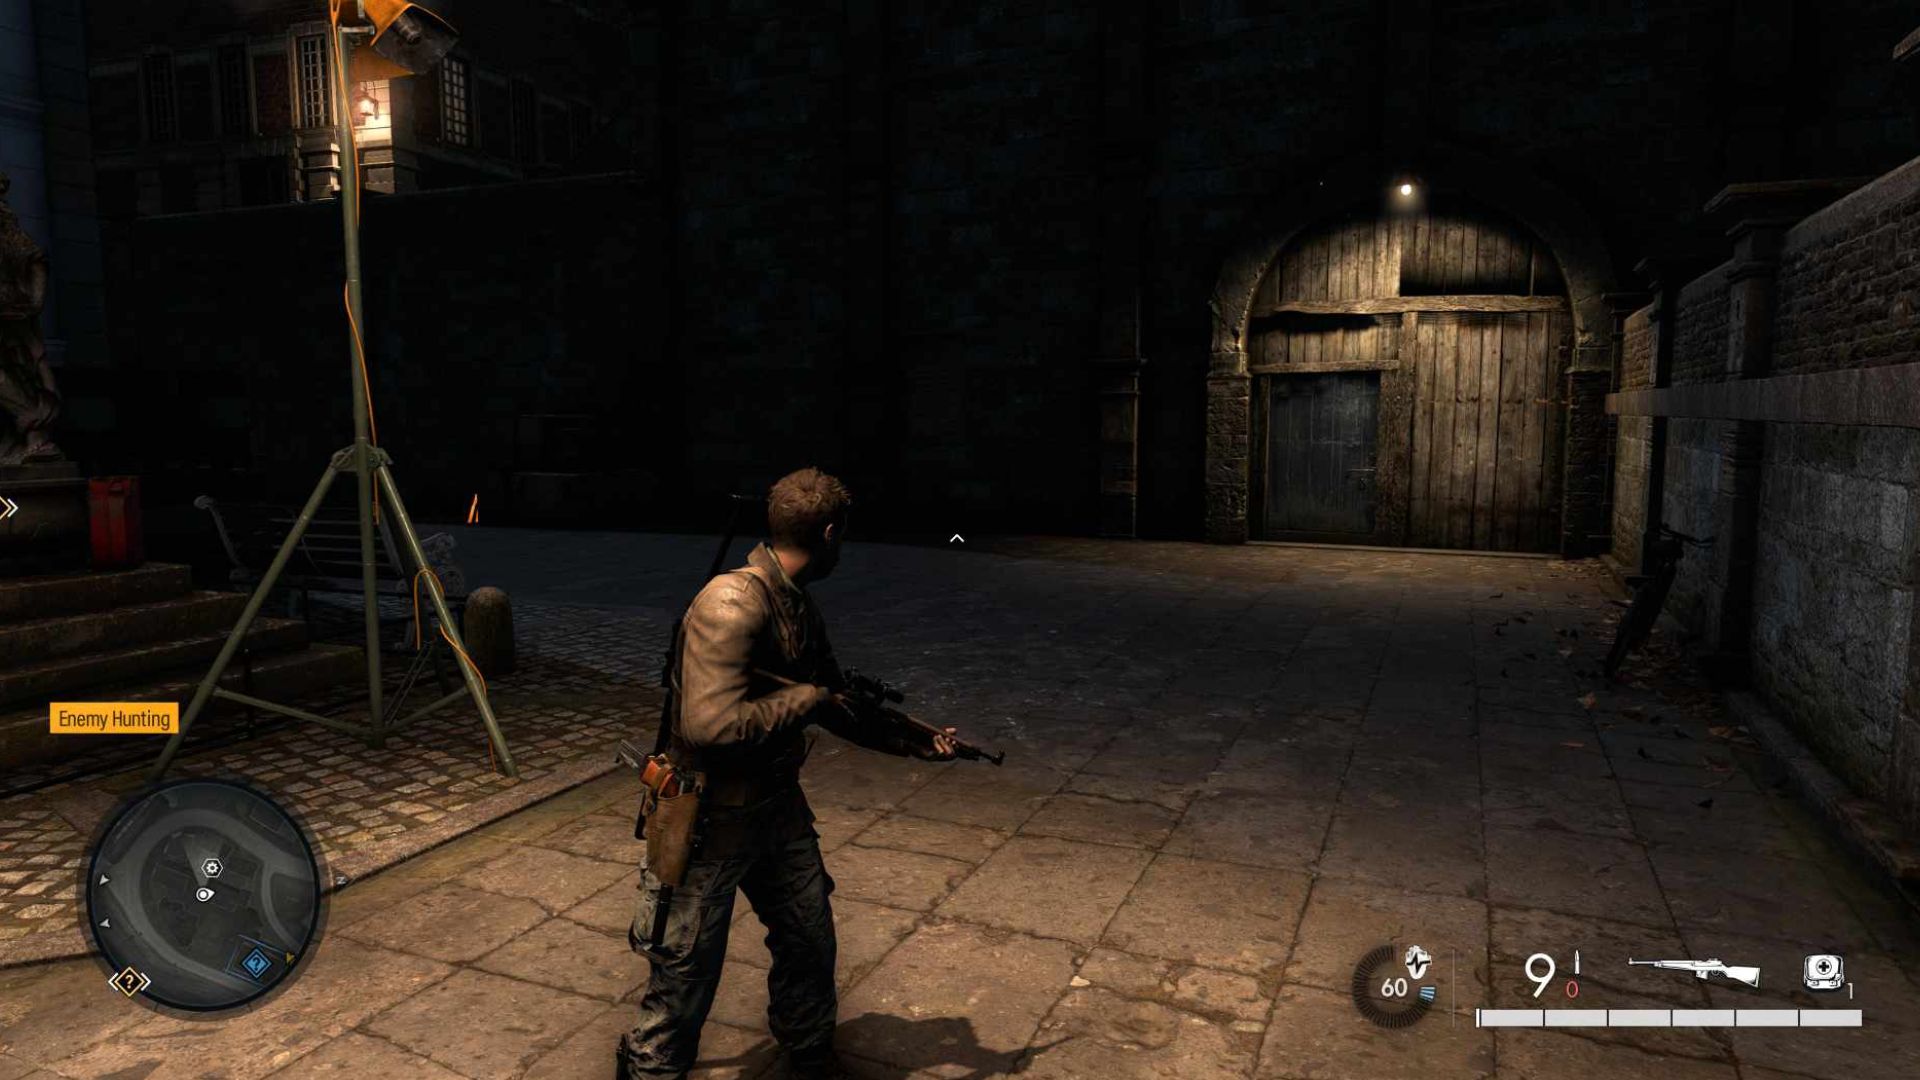
The Workbench is situated beyond a locked door on the lower level. If you aren’t there yet, you’ll likely have to navigate some stairs to get to the ground floor. You’re in the correct area if you spot a bicycle leaning against a wall, an ominous alarm system, and a small statue amidst a collection of benches.
As a keen observer, I’ve noticed that there’s a locked door leading to the Workbench, and a pile of crates is positioned to its left. Nestled among these crates, you’ll find some Bolt Cutters. If you’d like to gain access to the door more swiftly, these cutters could prove quite useful!
Mission 3 Sonderzüge Sabotage Workbench Location 2
From Location 1, I suggest you rejoin the primary route, cross the major bridge to your left (not the railroad bridge on the right), and arrive at the other side. Continue until you come across an intersection, then follow the road until you encounter a barbed wire fence. To your right, beyond this fence, there are stone stairs—descend those stairs.
Or simply:
Leaving Location 1, take the main road again by crossing the large bridge to your left (not the railroad bridge on the right). Proceed until you hit the first intersection, and then continue along the road until you see a barbed wire enclosure. Beyond it, on the right side, there are stone stairs—go down them.
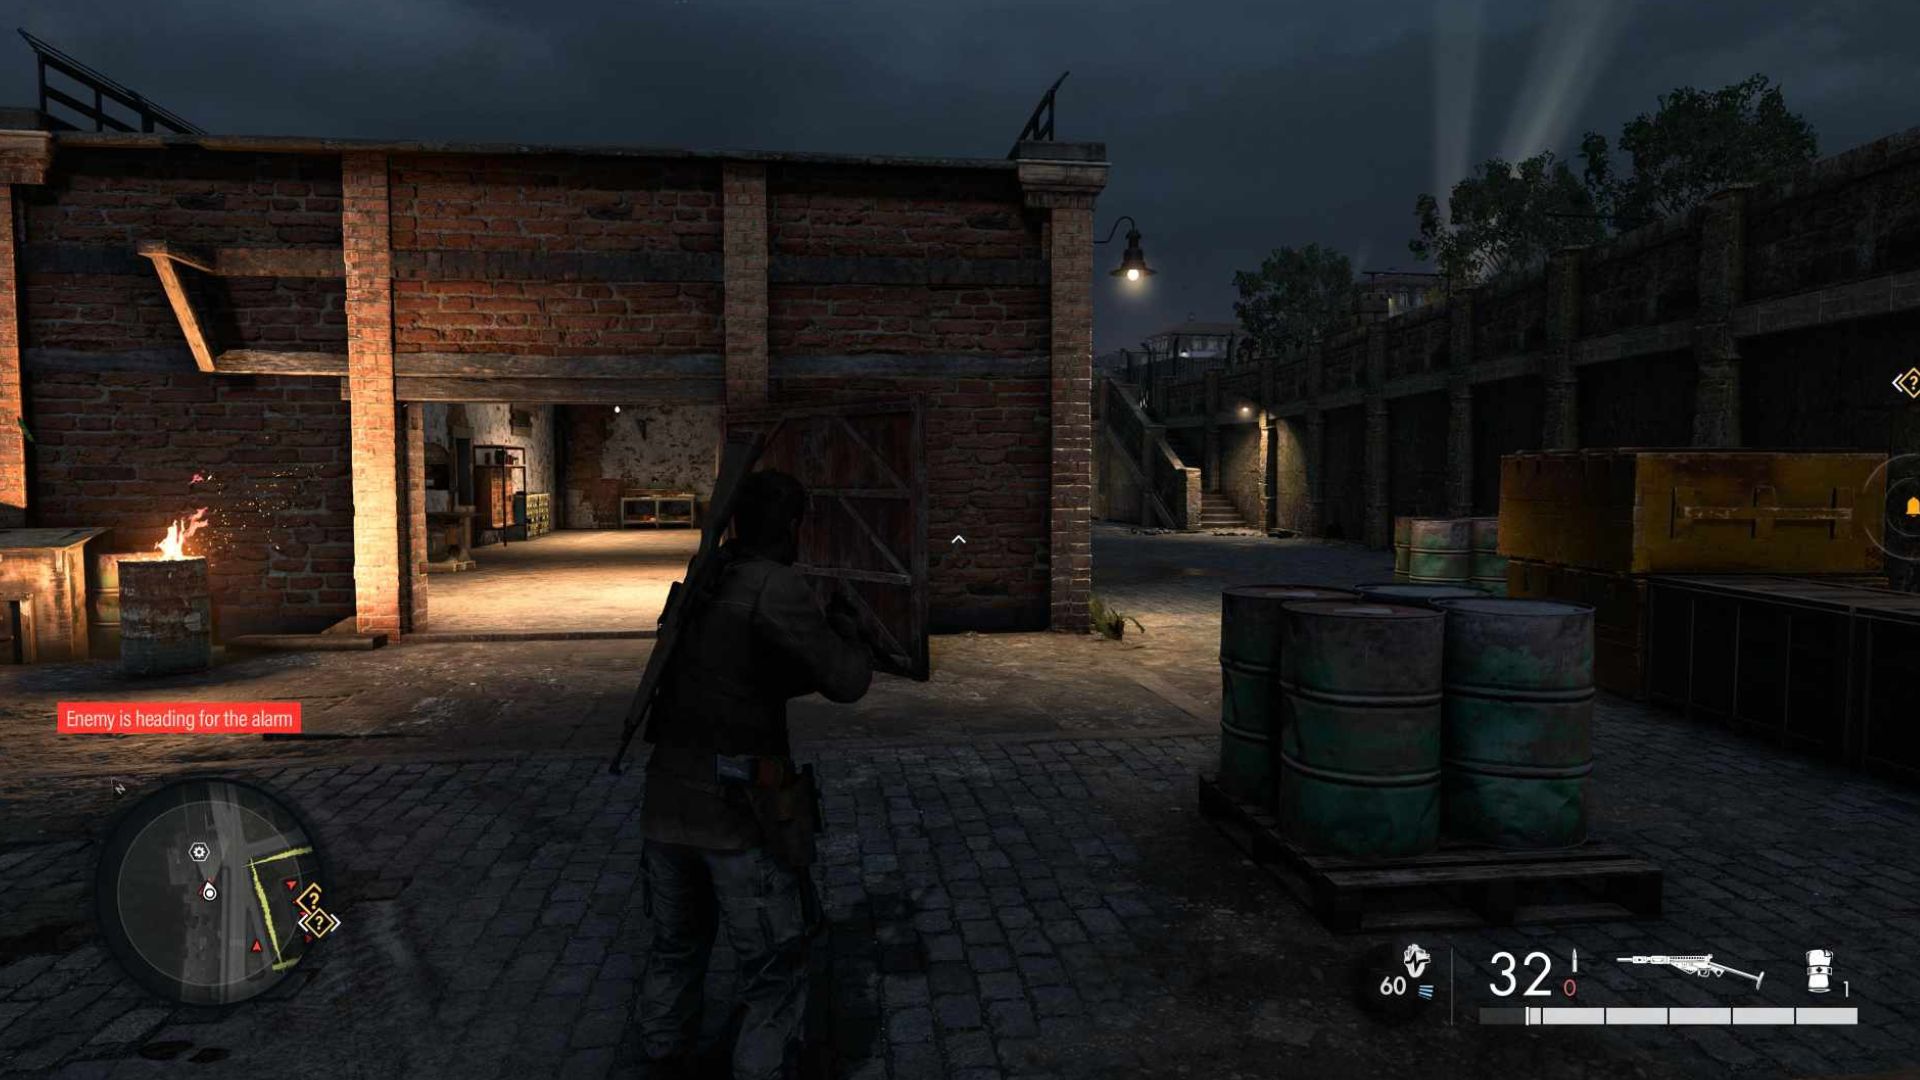
Carry on to the pier, turn right, and the Workbench is in an open building and you can’t miss it.
Mission 3 Sonderzüge Sabotage Workbench Location 3
Instead of re-entering the building, take a different route: Step outside onto the main road, then walk back towards the stairway leading up from it. Proceed along the street ahead, aiming for the railway bridge in the distance. When you reach the red and white road barriers, veer left. After passing the first row of sandbags on your right, notice a long alleyway. Follow this path to its end, then turn right at the white cloth covering. Ascend the stairs you’ll find there, unlock the gate using a key if necessary.
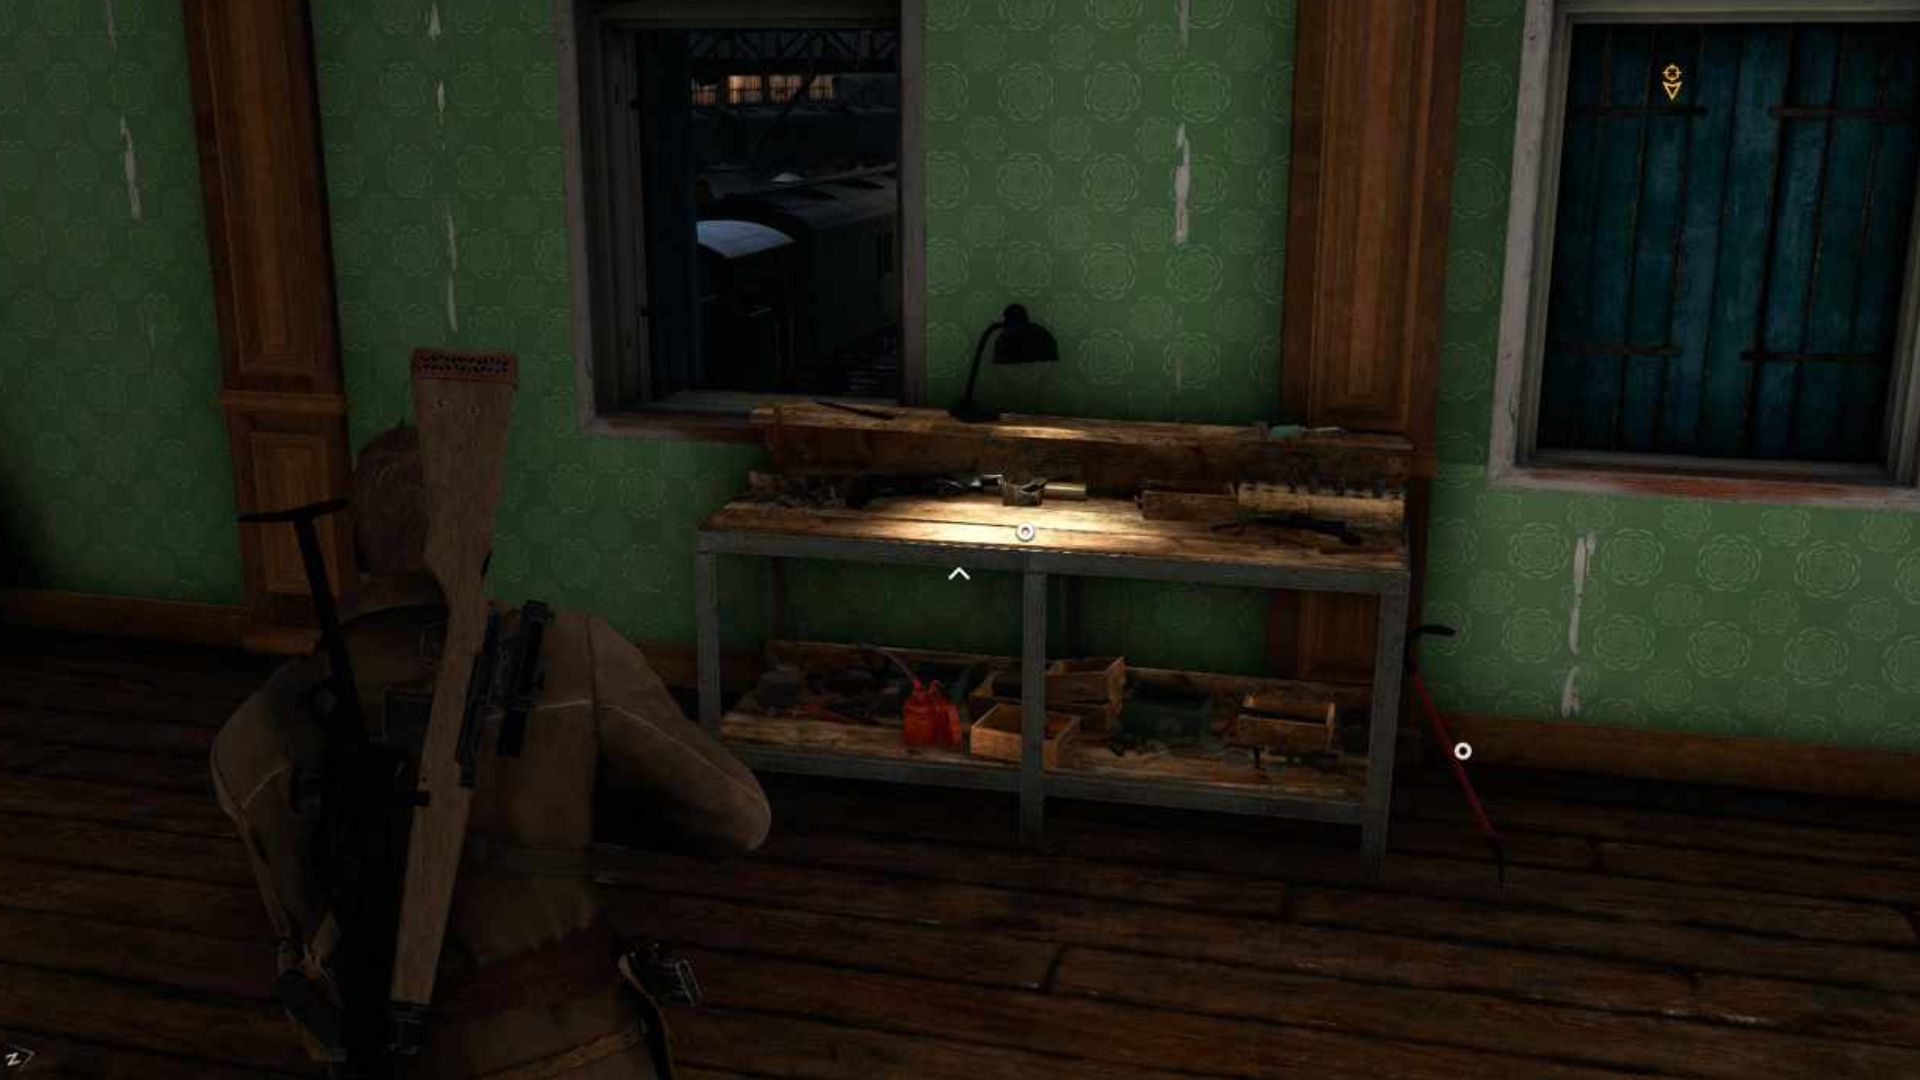
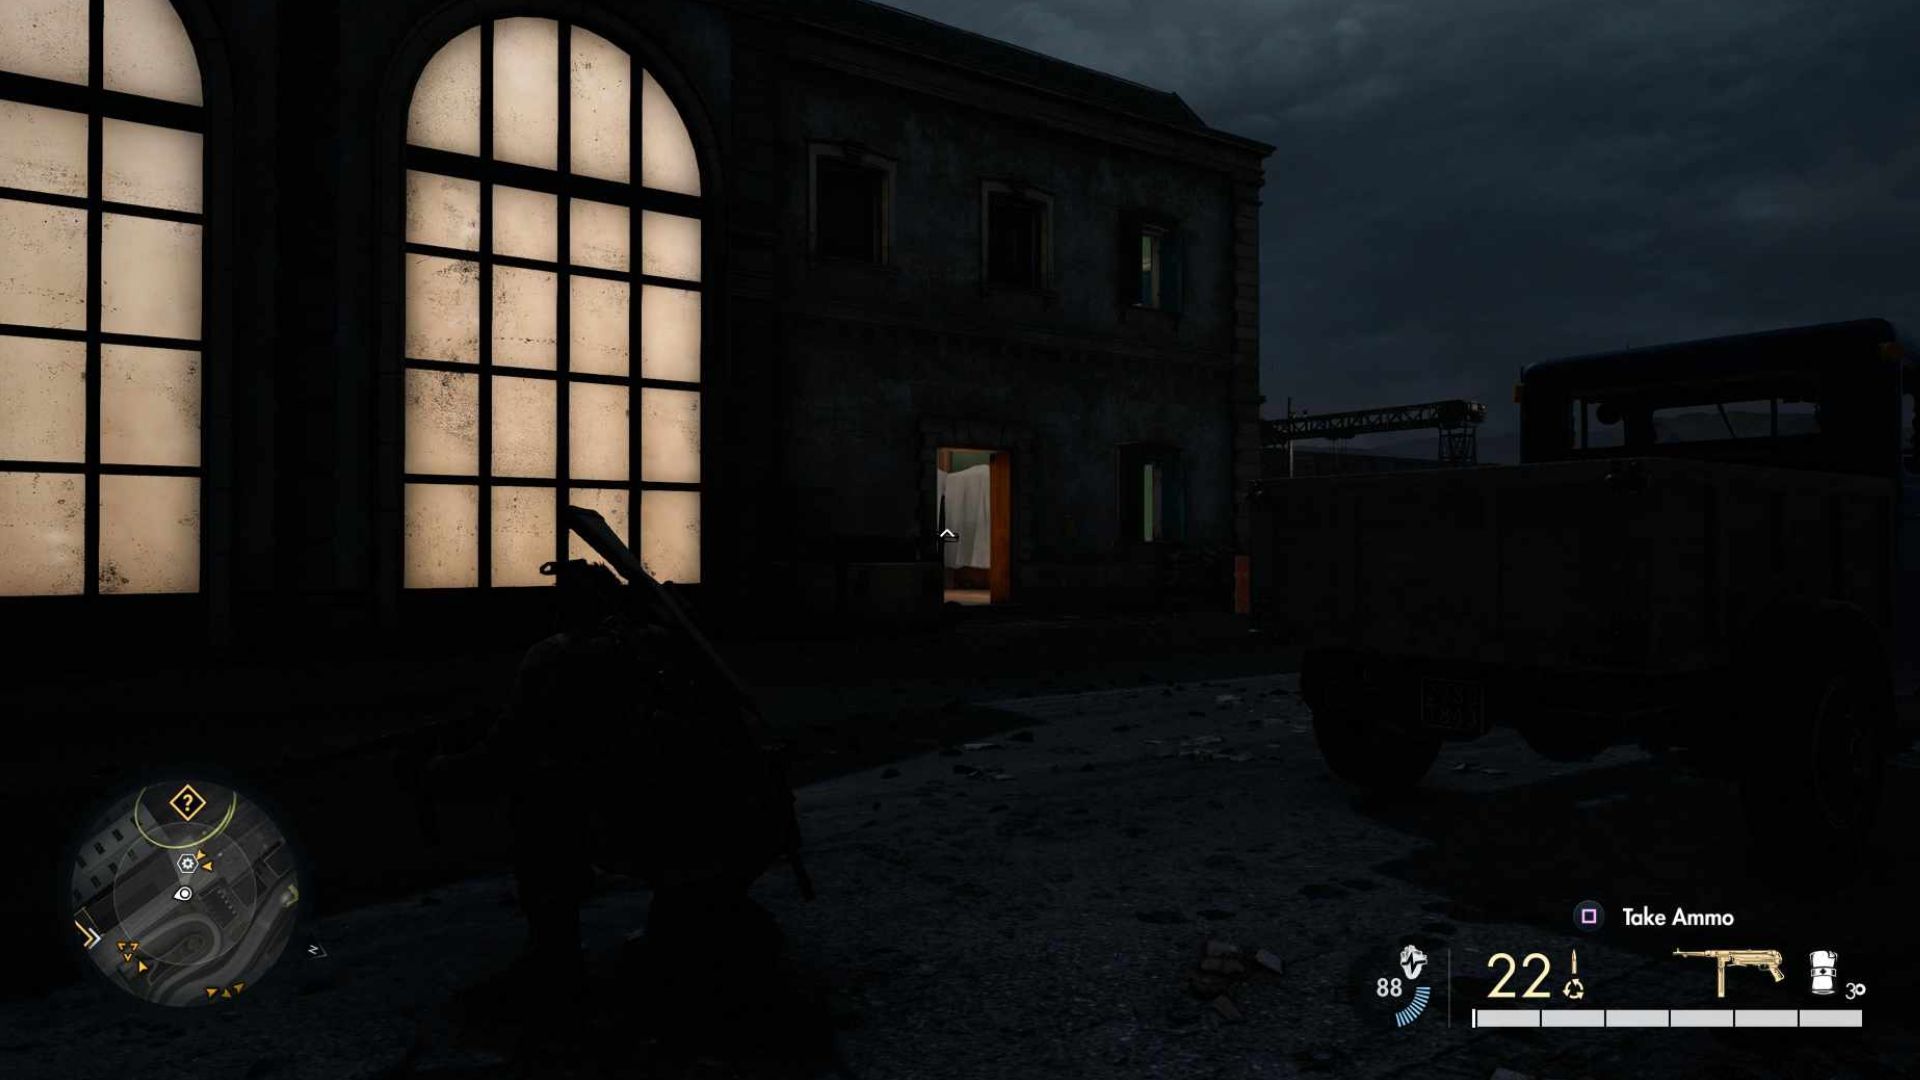
1. Continue straight ahead, moving parallel to the wall, and notice that the road gradually becomes more even as you progress. Perform a circular turn around the sandbags and spotlight, then pass by the red-and-white “STOP” marker. Proceed into the building with windows of a lighter hue on your left side. Force open the locked door that obstructs the entryway to the stairs. Climb these stairs and you will find the Workbench in the room located at the summit.
2. Keep moving forward, maintaining a consistent path alongside the wall, observing how the road gradually flattens out. Make a 180-degree turn around the sandbags and light fixture, then pass by the red and white “STOP” sign. Enter the building with windows that are predominantly white on your left side. Break down the locked door that barricades the stairwell. Ascend those stairs and you will find the Workbench in the room at the upper level.
3. Keep going in a straight line, maintaining proximity to the wall, as the road subtly slopes downwards. Execute a u-turn around the sandbag pile and light source, followed by a pass by the red and white “STOP” marker. Proceed into the building with windows that are mostly white on your left side. Break open the locked door that guards the staircase. Ascend those stairs and you will find the Workbench in the room at the top level.
4. Maintain a straight course, keeping the wall to your right, while noticing how the road gradually becomes more even. Perform a u-turn around the sandbag stack and light fixture before reaching the red and white “STOP” barrier. Enter the building with windows predominantly white on your left side. Break down the locked door that blocks the entry to the stairs. Ascend those stairs and you will find the Workbench in the room at the summit.
5. Continue moving forward, maintaining a straight path alongside the wall, while observing how the road gradually becomes more level. Perform a u-turn around the sandbag mound and light source before passing the red and white “STOP” sign. Proceed into the building with windows that are mainly white on your left side. Break open the locked door that barricades the stairwell. Ascend those stairs and you will find the Workbench in the room at the upper level.
6. Keep moving ahead, maintaining a consistent straight line next to the wall, while noticing how the road becomes more even as you progress. Make a u-turn around the sandbag pile and light fixture before reaching the red and white “STOP” marker. Enter the building with windows predominantly white on your left side. Break down the locked door that guards the staircase. Ascend those stairs and you will find the Workbench in the room at the top level.
I’m curious, what are your thoughts on the Sonderzüge Sabotage mission in Sniper Elite Resistance? Would you consider it one of its stronger missions? Feel free to share your opinion quickly.
Read More
- Top 8 UFC 5 Perks Every Fighter Should Use
- Unlock the Magic: New Arcane Blind Box Collection from POP MART and Riot Games!
- How to Reach 80,000M in Dead Rails
- Unlock the Best Ending in Lost Records: Bloom & Rage by Calming Autumn’s Breakdown!
- Unaware Atelier Master: New Trailer Reveals April 2025 Fantasy Adventure!
- Unlock Roslit Bay’s Bestiary: Fisch Fishing Guide
- How to Unlock the Mines in Cookie Run: Kingdom
- Jujutsu Kaisen Shocker: The Real Reason Gojo Fell to Sukuna Revealed by Gege Akutami!
- Reverse: 1999 – Don’t Miss These Rare Character Banners and Future Upcoming Updates!
- REPO: How To Fix Client Timeout
2025-01-31 18:18