In
This guide details the 4 relics you can collect, explaining where to find each one and what rewards you’ll receive. We’ll also help you solve the puzzles and find the relics if you’re having trouble.
How to Visit the Inner Temple and Return the Relic in Equilibrium
Step 1: Enter the Inner Temple and Return the Artifact
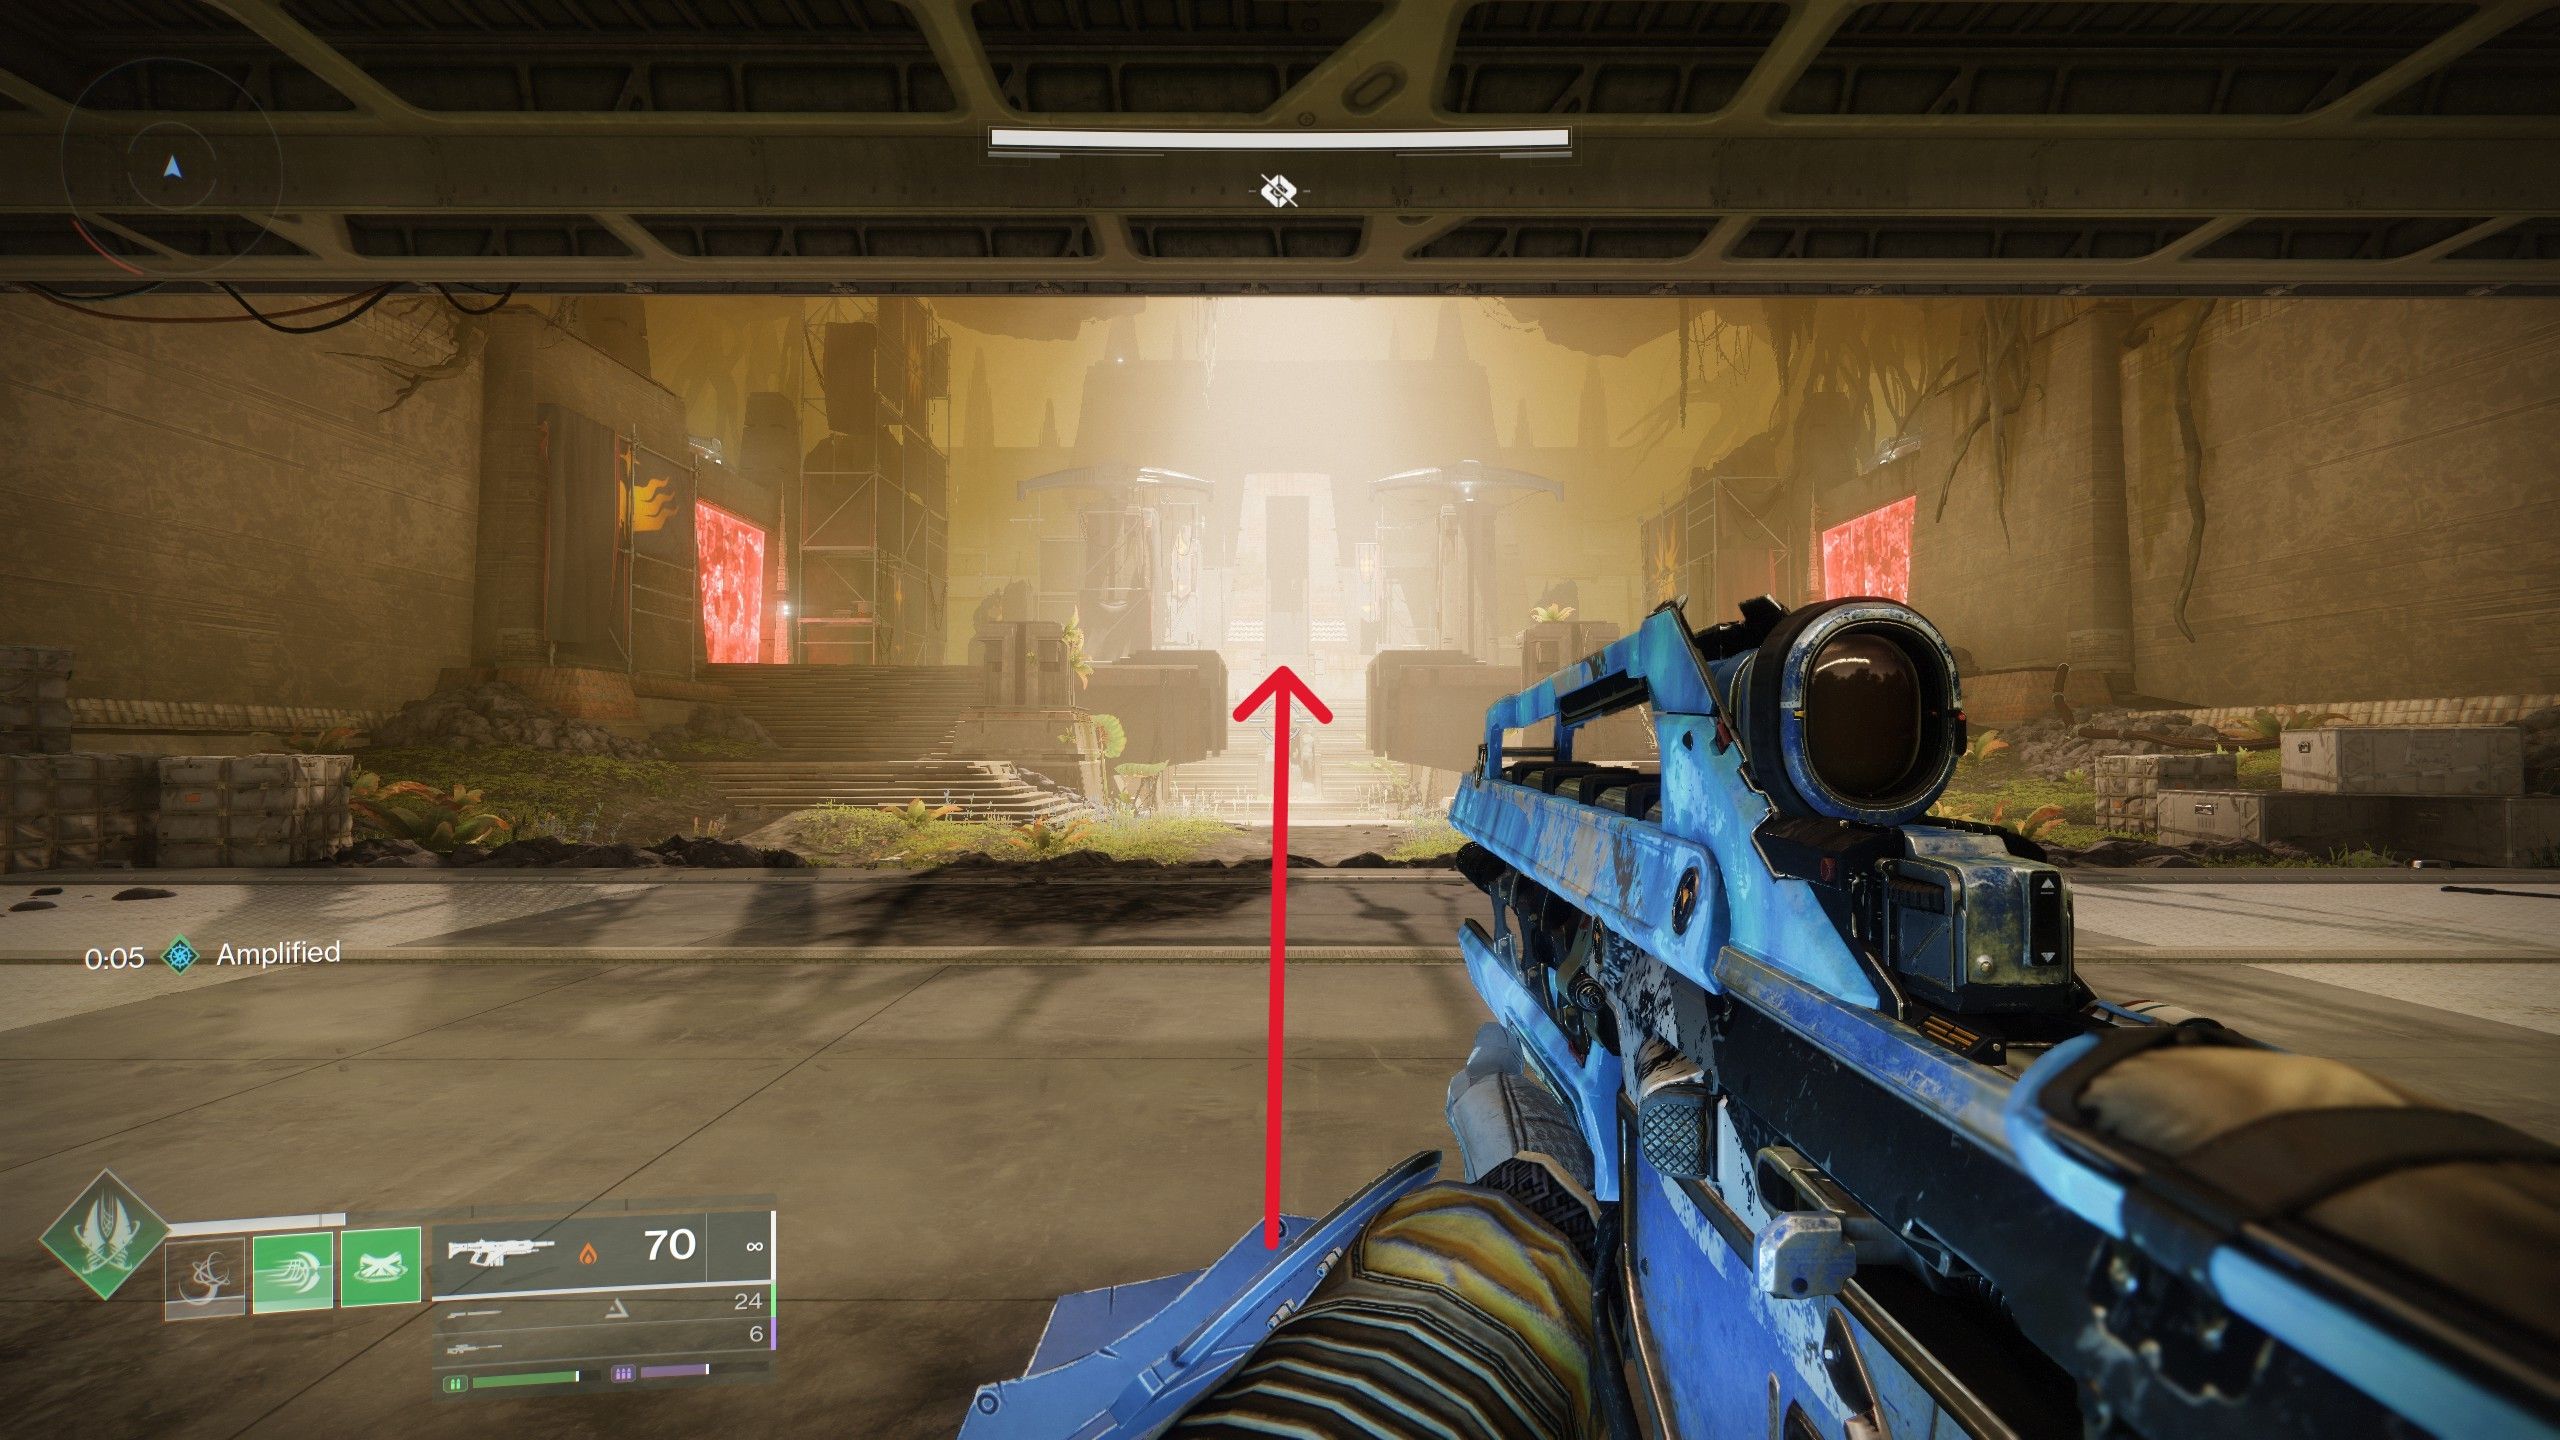
Once you’ve beaten Dredgen Sere and finished the Equilibrium Dungeon for the first time, you’ll receive a relic. Use this relic to return to the dungeon and go back to where you fought Harvester – the large, open area that leads to the Inner Temple.
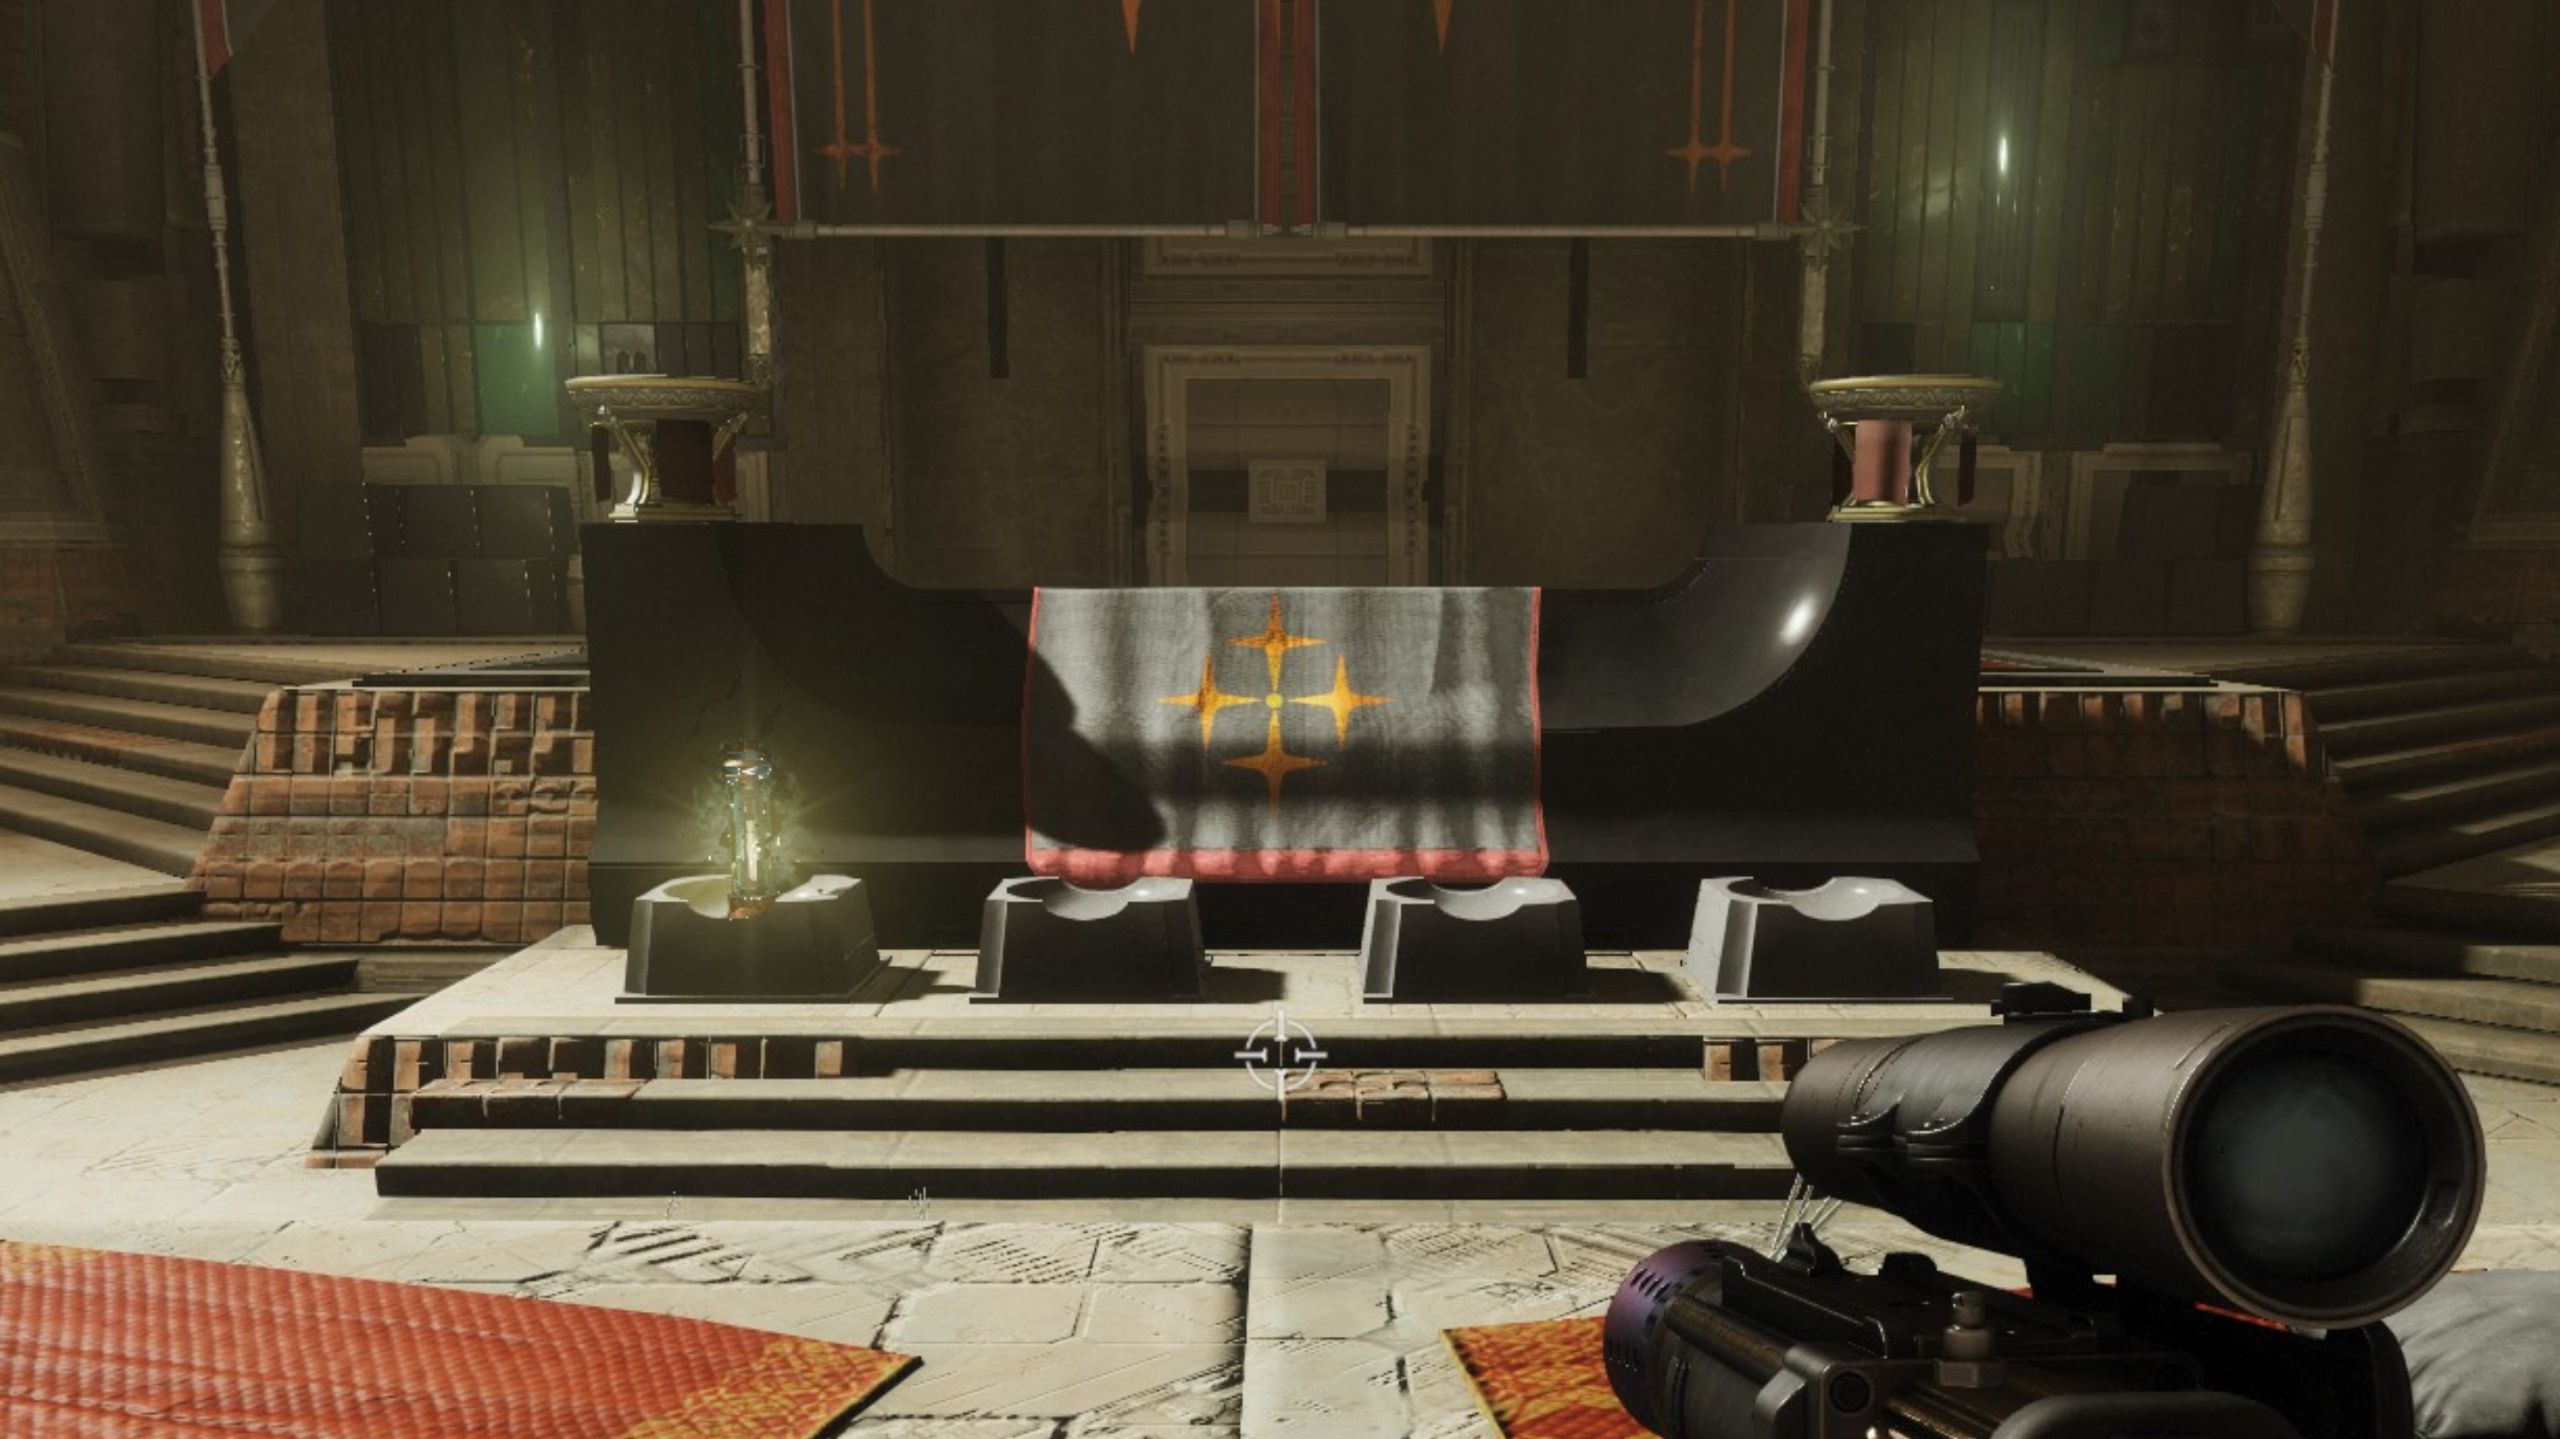
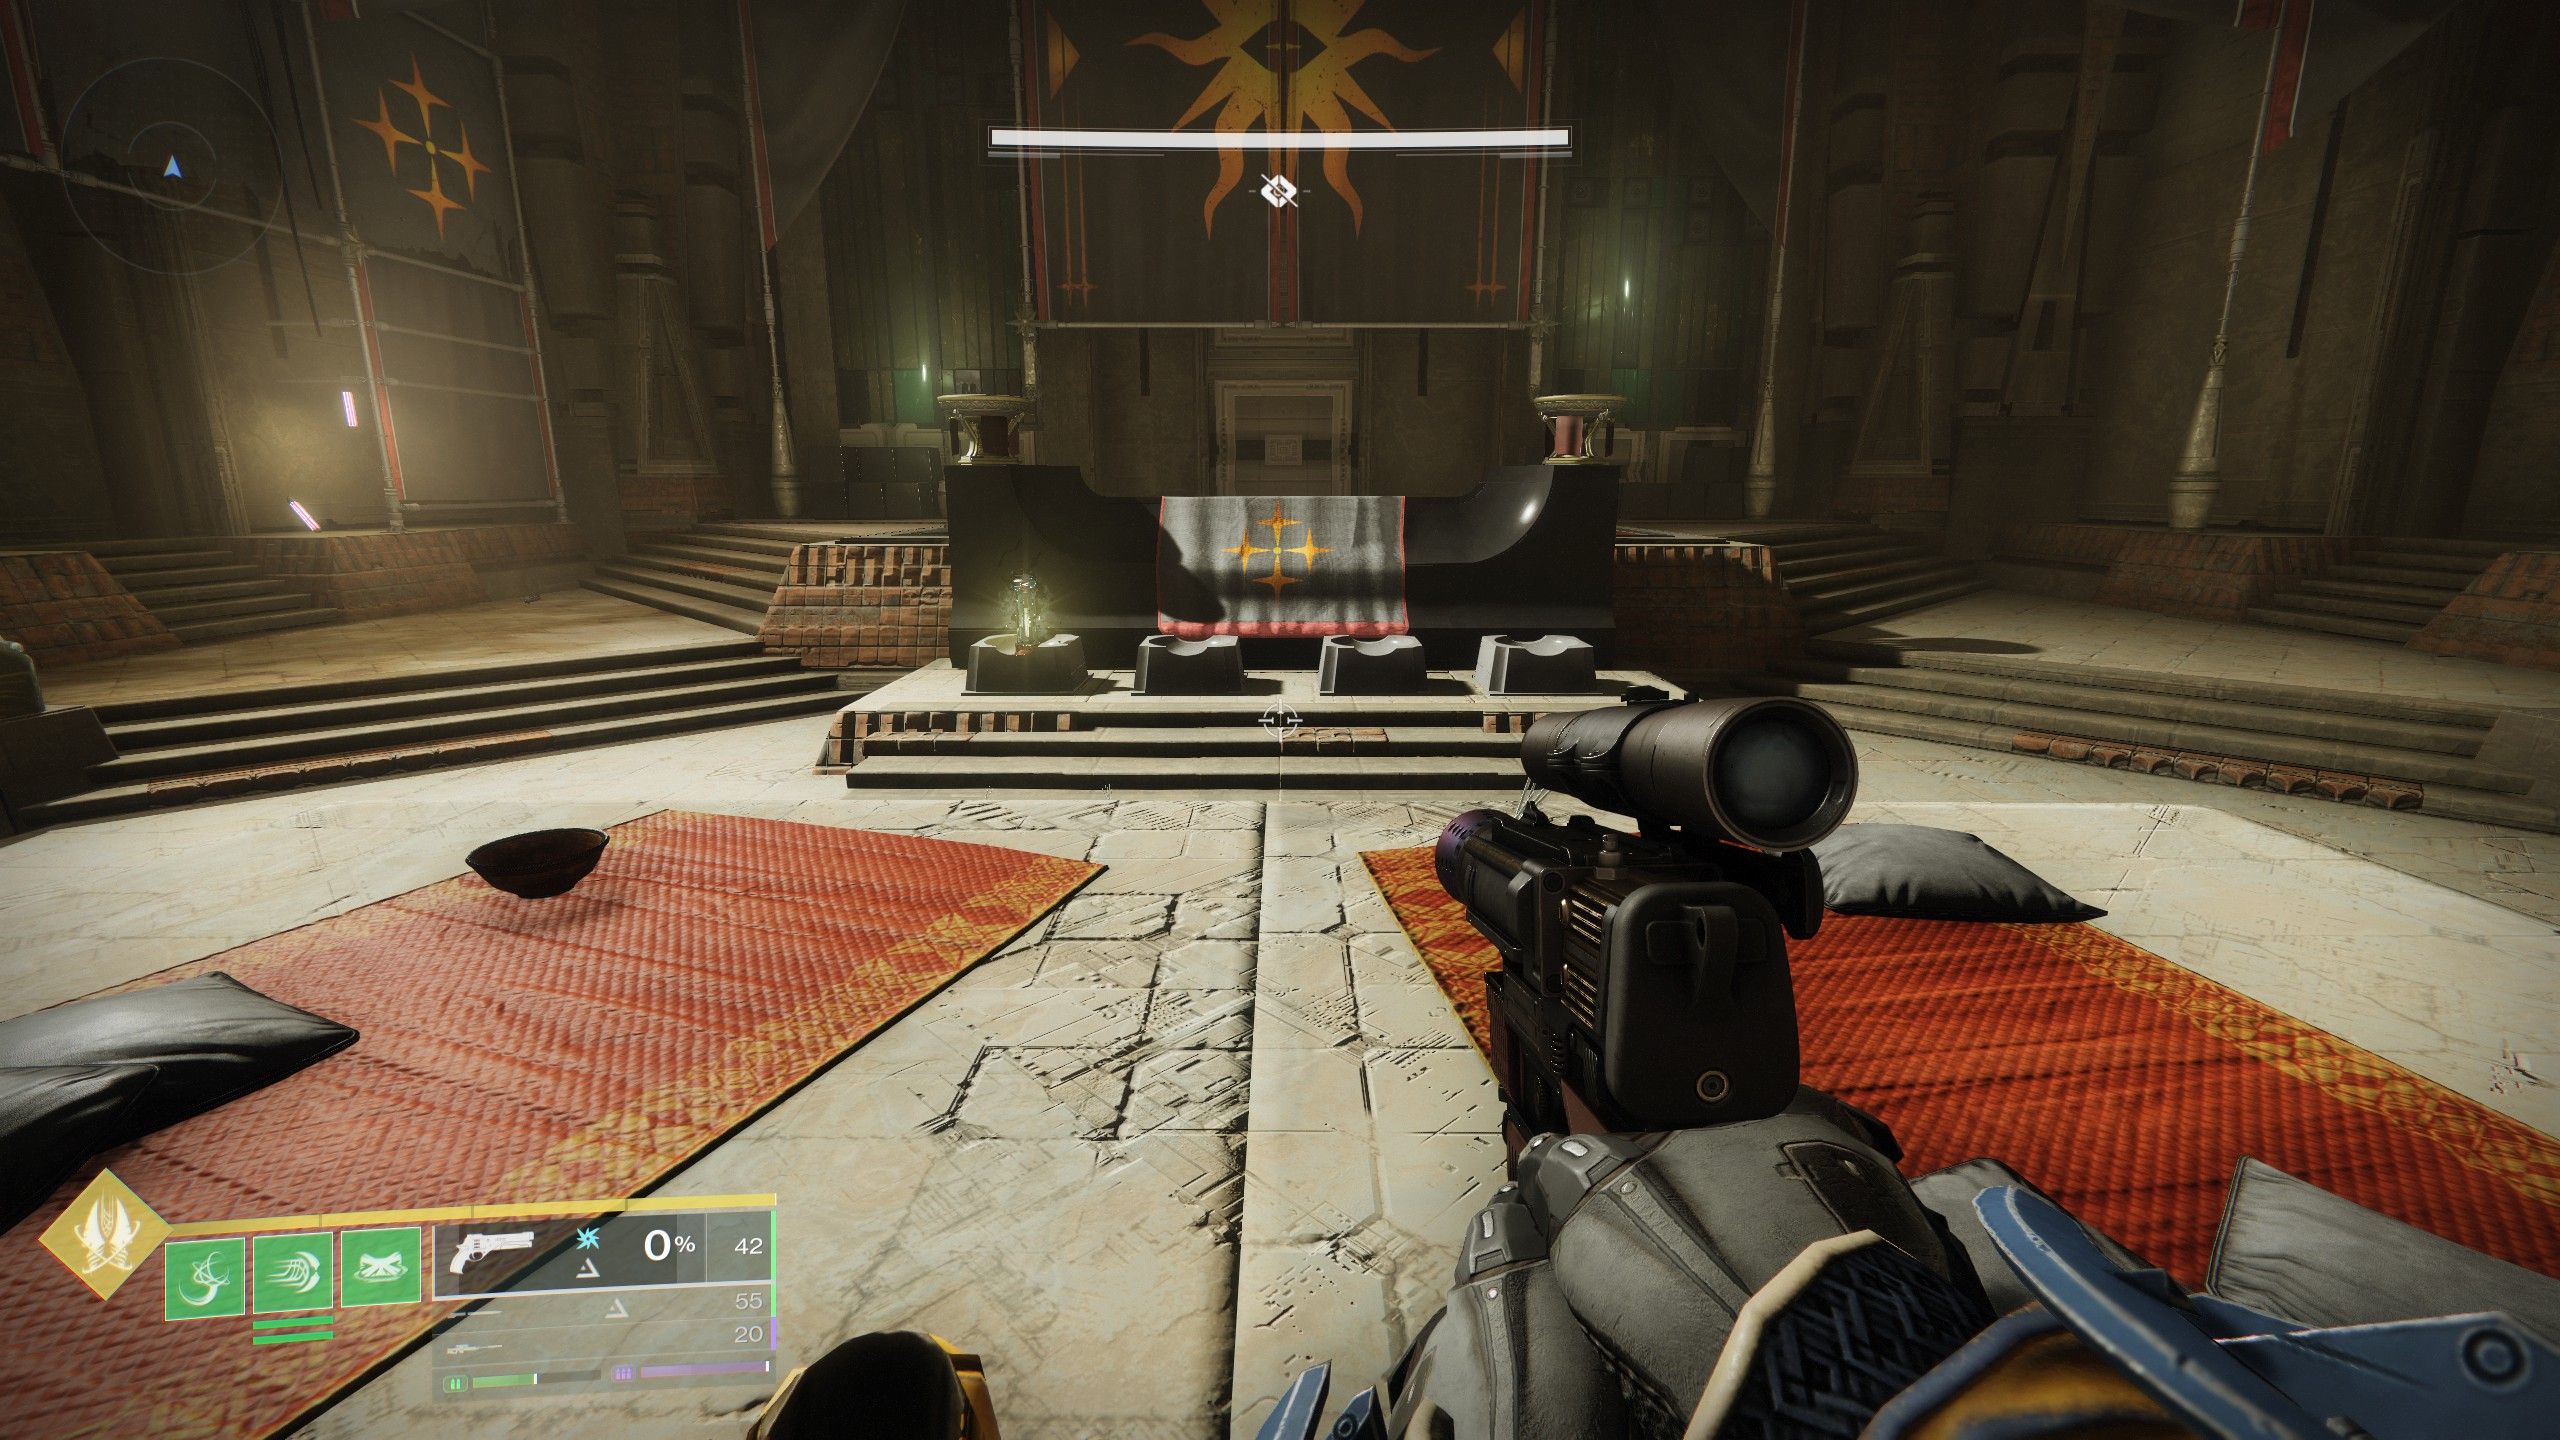
Go to the stairs of the Inner Temple, and the previously locked door will open. Inside, place the relic on the first altar to your right to trigger a conversation and get the next step in your quest.
How to Find the First Artifact in Equilibrium & the Reward
Step 2: Find the Secret Artifact in the First Encounter
You can get this item after finishing the first mission, Harvester. Instead of leaving the area after completing it, go back to the Inner Temple. You’ll now see a Taken growth on the right side – destroy it with your Praxic Blade to start a challenge. To succeed, you need to destroy the Forgotten Eyes. This will build up your Gathering Shadow buff until you reach Shadow Master, which makes your In Shadow ability last longer.
If the timer runs out, you’ll have to start the challenge over from the first Taken blight you defeated. Your goal is to become a Shadow Master and use your Shadow Power to break the shield of the Taken Captain, allowing you to defeat it. Then, use the Praxic Blade to destroy the small Taken blight that spawns.
Now that the shield is down, hop on your Sparrow and head forward, shooting the glowing eyes to keep your Shadow Master and In Shadow abilities active. Follow the path until you reach a big open area and defeat all the Taken enemies there. Then, grab the Shadow Master buff, use your Shadow Power on the Taken Captain, and use the Praxic Blade to destroy the Taken blight blocking your path.
Keep heading straight to reach the final challenge. You’ll need to defeat Shadow Master and clear out all the Taken enemies, including the shielded Captain. After they’re all down, destroy the Taken growth on the left wall, then use the Taken energy to power up the panel nearby. This will unlock a room on the left where you can find the relic.
You can power up this item by finishing the Equilibrium Dungeon. When you return to the Inner Temple on your next visit, you’ll receive the Offensive Form for the Praxic Blade as a reward.
How to Find the Second Artifact in Equilibrium & the Reward
Step 3: Find the Secret Artifact in the First Traversal Encounter
To find the next relic, head to the area right after the Harvester boss fight. Keep following the path towards the first boss until you see some blue fuses. Shoot those fuses to open the hangar doors leading outside. The hangar door nearest the two fuses will open, allowing you to destroy the Taken blight with your Praxic Blade and start the trial.
During this challenge, you’ll need to search the area and eliminate the Forgotten Eyes. This will increase your time and build up your Gathering Shadow buff, eventually allowing you to become a Shadow Apprentice. As an Apprentice, you can shoot a glowing, Taken-infused panel on the left side of the room, which will unlock a door and reveal another Forgotten Eye. Return to the beginning of the trial to find the Shadow Apprentice, defeat him, and destroy the Taken growth that appears at the previously blocked doorway.
Proceed with the fight as usual, crossing the hyperspace bridge to reach the other ship. Once you’ve defeated enough Forgotten Eyes to meet the time requirement, go to the room on the right and shoot the panel on the wall. You’ll find a Forgotten Eye behind the now-open door, and another one beyond the main room. Use your Shadow Power to defeat the Taken Captain in the central room.
After defeating him, go to the next room. You’ll find a Taken growth that you can destroy with the Praxic Blade, and a vent to break open, letting you descend into the area. Continue down until you find more Forgotten Eyes, and a larger room by heading to the right. This room holds the last set of Forgotten Eyes, a Taken Captain, and another Taken growth on the right wall – it’s behind this growth that you’ll find the final panel.
Once you break this panel, you’ll find a new artifact. Then, if you return to the Inner Temple after finishing the dungeon a second time, you’ll receive the Invigorating Blade, which enhances the Praxic Blade.
How to Find the Third Artifact in Equilibrium & the Reward
Step 4: Find the Secret Artifact in the Second Traversal Encounter
The last relic is hidden in the jumping puzzle area right before you fight the final boss, Dredgen Sere. Keep going until you see a door with a Taken growth on the left side – you can destroy it using the Praxic Blade. To move forward, you’ll need to collect Gathering Shadow and eliminate the Forgotten Eyes. Then, use your Shadow Power to knock enemies off the edge, which will unlock the path to the next room.
Keep moving forward through the rooms. Look around for glowing, purple Taken blights – you can shatter them with the Praxic Blade, which will create platforms to help you get around and destroy the floating Forgotten Eyes. Once you’ve destroyed all the Eyes, go to the back right corner and use your Shadow Power on the battery panel. You’ll find another battery panel on the opposite side of the area, up high on the left.
Once you’ve powered up both battery panels, enter the red pipe like you’re starting the boss fight. Shoot the vent on the floor to move into the last room, where you’ll face more Forgotten Eyes, a Taken Captain, and Taken blight covering the final battery panel. Activate this last panel to unlock the nearby door and claim the final relic. Returning this relic to the Inner Temple after finishing the Dungeon will give you the Gyro Core Power Core upgrade.
How to Complete The Way Between Quest in Equilibrium & the Reward
Step 5: Defeat the Shade of Sere Boss
Once you’ve placed all the relics, go to the back of the Inner Temple to create a Taken blight and a Raid Banner. Destroying the blight will transport you to the boss arena where you’ll face the Shade of Sere. To start dealing damage to the boss, defeat Taken enemies using the Praxic Blade to get Shadow Master, then interact with the Shade of Sere to Compel it. You’ll need to do this three times.
The boss will float upwards, and you can build platforms using the Taken growths to reach him and start dealing damage. This will also extend the time you have to defeat him. Next, keep defeating Taken enemies to allow your Shadow Master to take control of the boss three more times. Then, climb up to the final area and finish him off.
Once you defeat the Shade of Sere, you’ll receive the Energy Conduit Catalyst for the Praxic Blade, letting you interact with the Praxic Fire that appears. Finishing the “The Way Between” quest unlocks Dungeon Focusing for Equilibrium gear and gives you the Catalyst for the Heirloom Exotic Crossbow.
Read More
- All Shadow Armor Locations in Crimson Desert
- How to Get the Sunset Reed Armor Set and Hollow Visage Sword in Crimson Desert
- Best Bows in Crimson Desert
- Jujutsu Kaisen Season 3 Episode 12 Release Date
- Wings of Iron Walkthrough in Crimson Desert
- All Golden Greed Armor Locations in Crimson Desert
- All Helfryn Armor Locations in Crimson Desert
- How to Craft the Elegant Carmine Armor in Crimson Desert
- How To Beat Ator Archon of Antumbra In Crimson Desert
- Dark Marksman Armor Locations in Crimson Desert
2025-12-15 04:06