
The first expansion for Elden Ring: Nightreign, called The Forsaken Hollows, added new bosses, characters, and a completely new area to explore with branching paths. It also introduced relics – items you equip before each adventure to give your character special abilities and bonuses.
To get these new relics, you’ll need to complete certain side quests for specific characters and defeat the new Nightlords. This guide will show you everything about the relics in Elden Ring: Nightreign – what they do and how to collect them.
Every New Boss Relic
I’m so excited about the new bosses in Forsaken Hollows! What’s really cool is that each boss has a special relic, and we can actually equip those relics on any of our characters. It’s a great way to customize how we play!
| Relics | Color | How To Get | Effect |
|---|---|---|---|
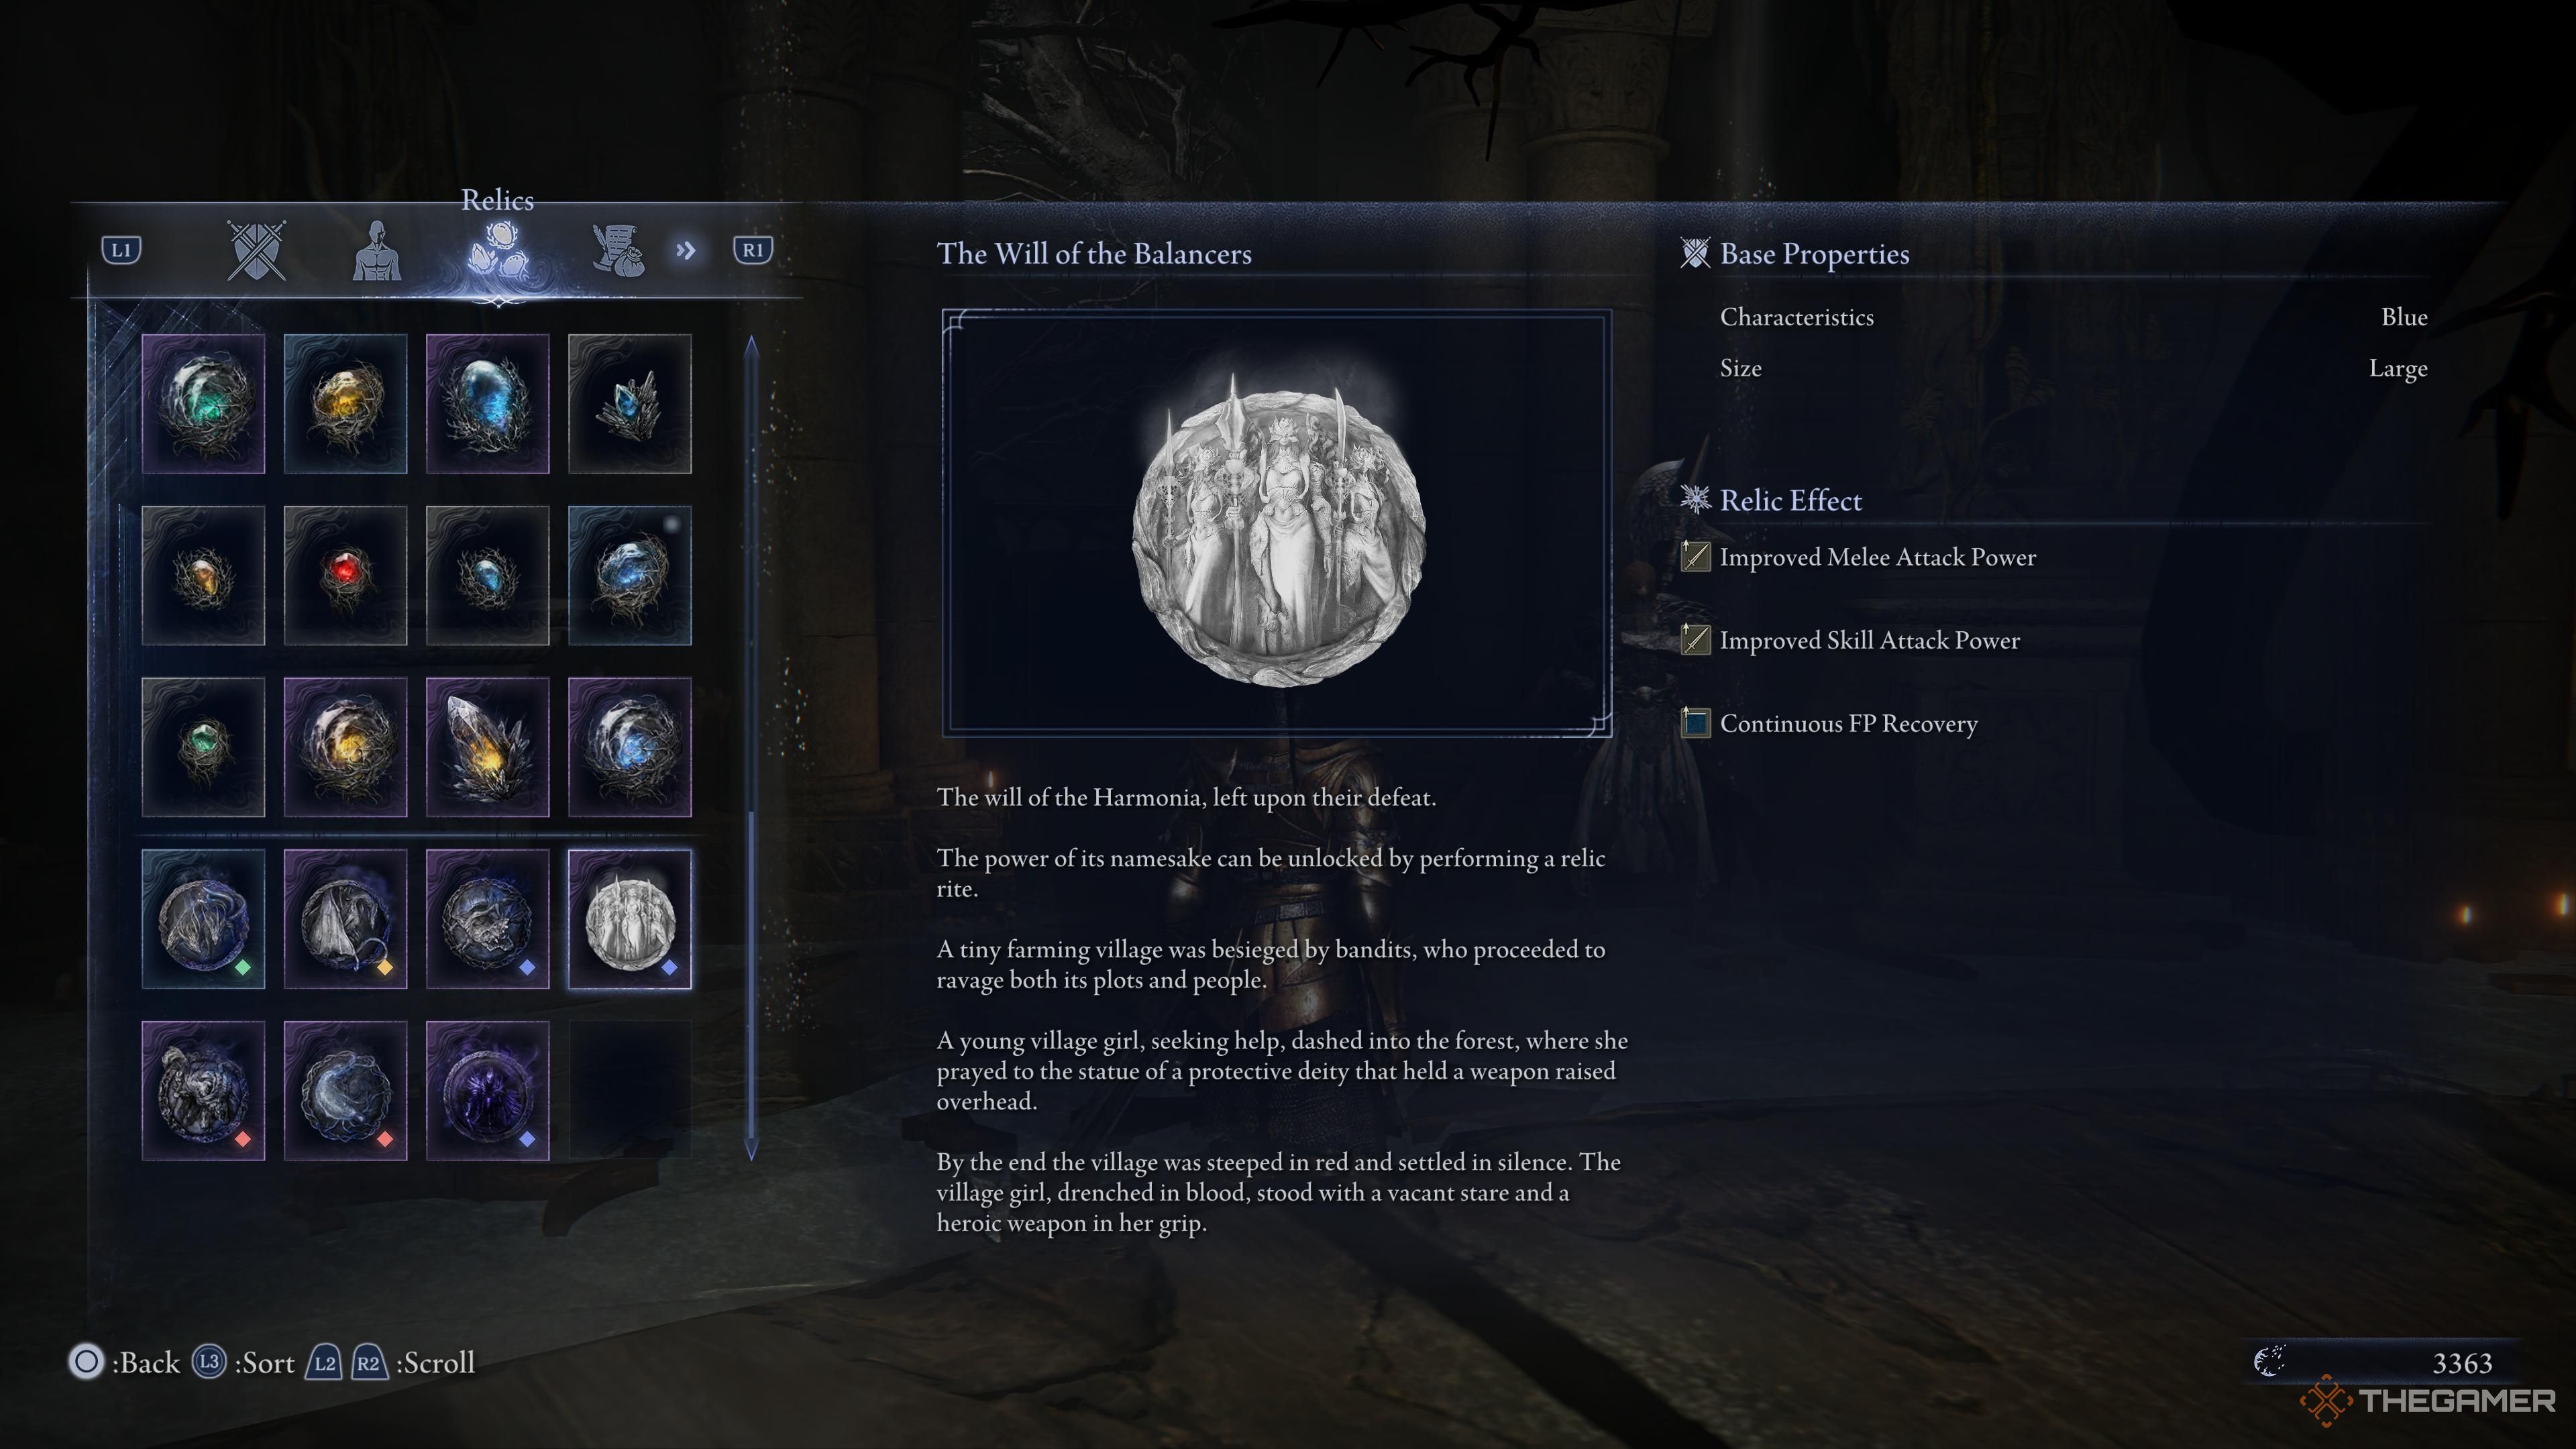
| The Will of the Balancers | Blue | You need to defeat the boss Weapon-Bequeathed Harmonia, the Nightlord of the Balancers’ expedition. Here’s a guide with some tips for your battle. |
|
| The Will of Balance | Red | Similar to the previous one, you need to defeat the Everdark (alternative, tougher) version of Weapon-Bequeathed Harmonia. This will be unlocked once you complete the Balancers at least once. Then this Relic will be available at the Collector Signboard for 12 Sovereign Sigils. |
|
| The Night of Dregs | Red | You need to defeat Traitorous Straighees, which you can find at the end of Dreglord’s expedition. If you need some tips, here’s a useful guide. |
|
You can equip both Balancers’ relics at the same time and stack their effects.
Every New Character Relic
Here are the new predetermined relics you can find for both the Scholar and the Undertaker.
| Relic | Color | How To Get | Effect |
|---|---|---|---|
| Leather Monocle Case | Blue | You need to complete Chapter 3 in the Undertaker’s Remembrance quest. Here’s our complete guide on the whole side quest. |
[Undertaker] Physical Attacks boosted while assist effect from incantation is active for self.
|
| Glass Necklace | Green |
You need to defeat Heolstor, which is the final Nightlord in the Night Aspect expedition, with the Undertaker. After it, you’ll see a Dismembered Finger in your inventory. Drop it, and then interact with the corpse in the Roundtable.
Here’s a guide on Heolstor.
|
|
| Grand Tranquil Scene | Green | It costs 1,000 Murk at the Small Bazaar Jar. |
[Undertaker] Attack Power increased by landing the final blow of a chain attack.
|
| Grand Drizzly Scene | Blue | Acquire it for 3 Sovereign Sigils at the Collector Signboard. |
|
| Grand Tranquil Scene (CS) | Green | Idem. |
|
| Cleansing Tear | Red | Complete Chapter 5 in the Scholar’s Remembrance quest. |
|
| Note “My Dear Successor” | Yellow | Complete Chapter 8 of the Scholar’s side quest, which involves defeating Dreglord with this class. Then speak with the Undertaker at the Roundtable. |
|
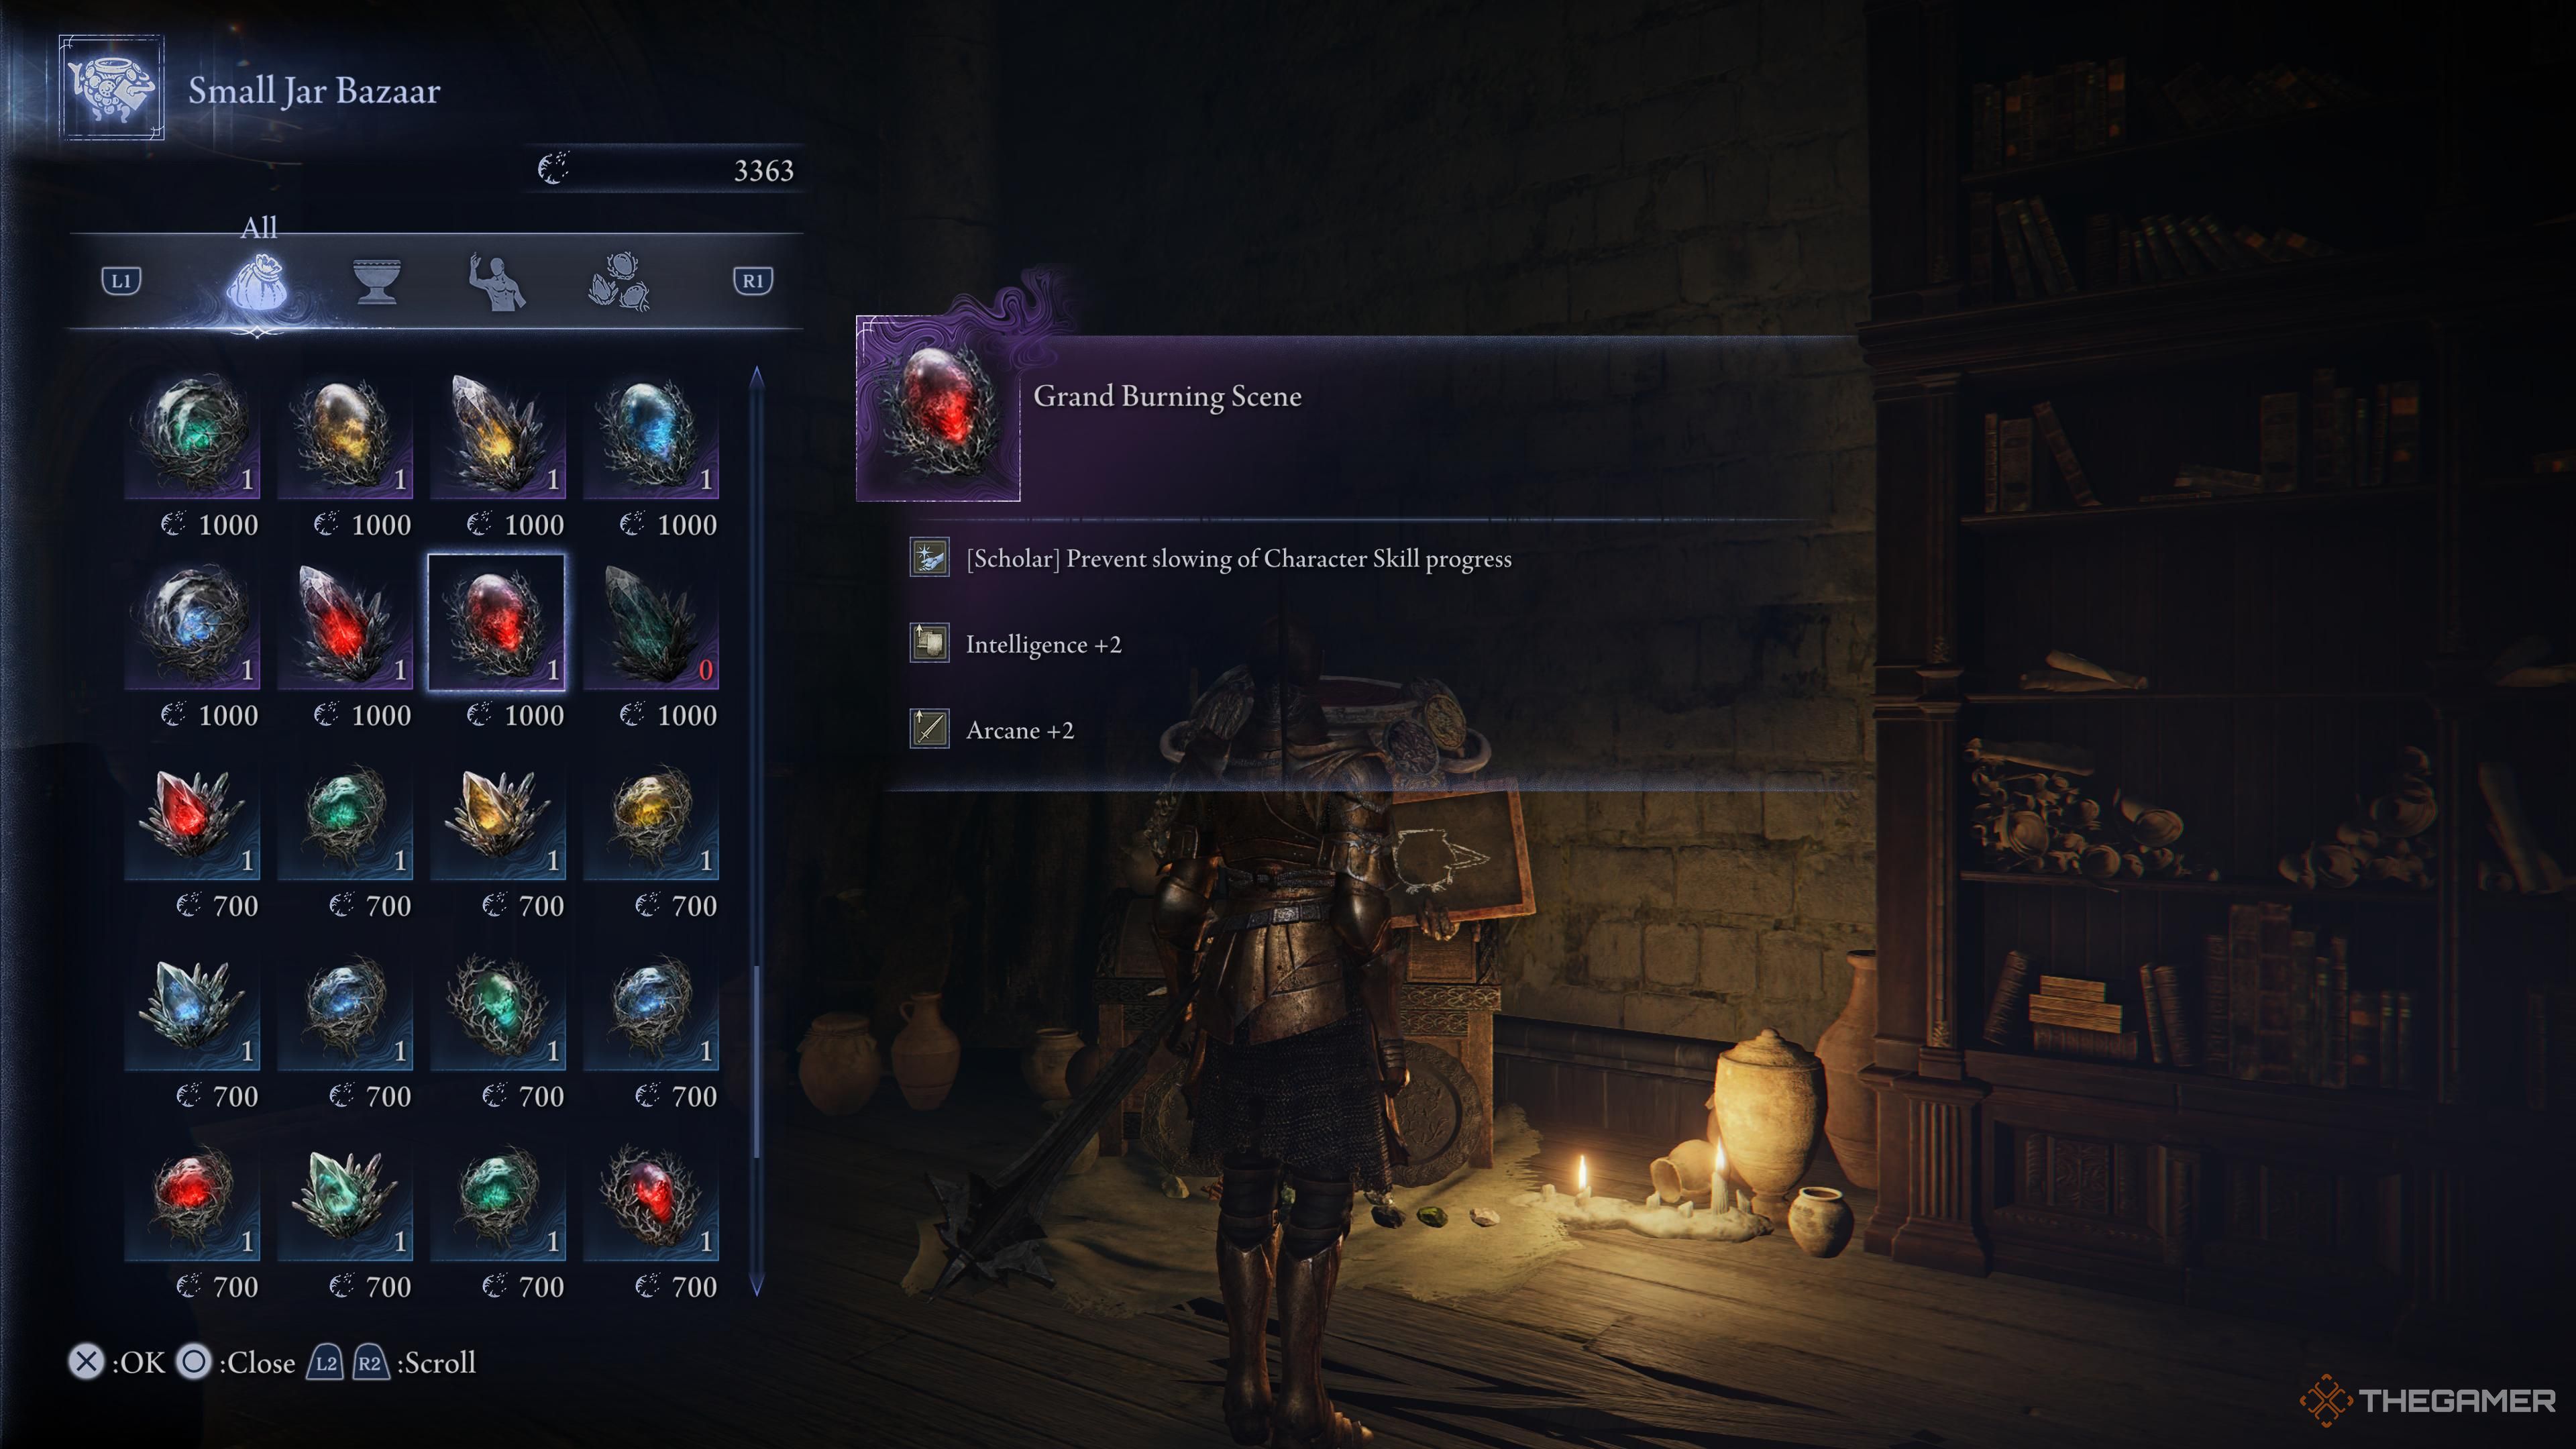
| Grand Burning Scene | Red | The Small Bazaar Jar has it for 1,000 Murk. |
|
| Grand Burning Scene (CS) | Red | Find it for 3 Sovereign Sigils at the Collector Signboard. |
|
| Grand Luminous Scene | Yellow | Idem. |
[Scholar] Improved Endurance and Dexterity, reduced Intelligence and Arcane.
|
This list doesn’t include the random relics you can earn while completing expeditions.
Read More
- All Skyblazer Armor Locations in Crimson Desert
- How to Get the Sunset Reed Armor Set and Hollow Visage Sword in Crimson Desert
- One Piece Chapter 1180 Release Date And Where To Read
- All Shadow Armor Locations in Crimson Desert
- Marni Laser Helm Location & Upgrade in Crimson Desert
- All Golden Greed Armor Locations in Crimson Desert
- All Helfryn Armor Locations in Crimson Desert
- How to Beat Stonewalker Antiquum at the Gate of Truth in Crimson Desert
- All Icewing Armor Locations in Crimson Desert
- Black Sun Shield Location In Crimson Desert (Buried Treasure Quest)
2025-12-27 23:36